Featured Gallery Photo
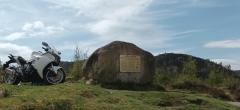
 IMG_20260515_143135

All Activity
- Yesterday
-
Seems fine to me Miguel. Thanks for your efforts.
-
I waited forever to upgrade this forum to the lastest version, but the company that makes the software are threatening to stop support for the software. There all sorts if issues I am still trying to sort out, there are lots of problems. I expected it would go like that, since I have done this at least 10 times now, so yeah nothings changed. Upgrading and installing software on a linux machine is never easy. Well first I will work on getting it running right, then I will start making it look better later. I know its buggy so be patient please
-
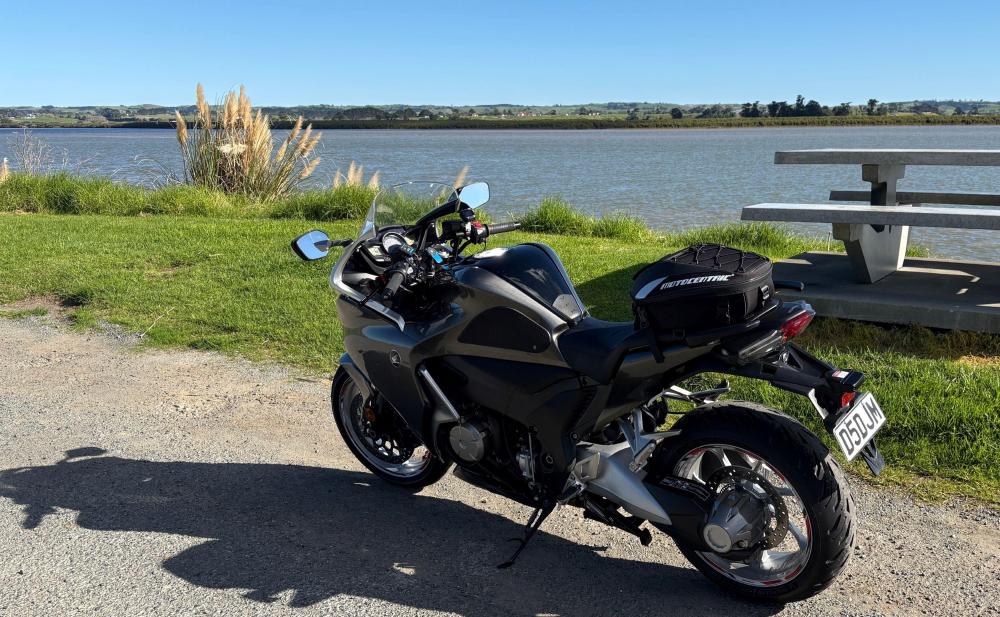
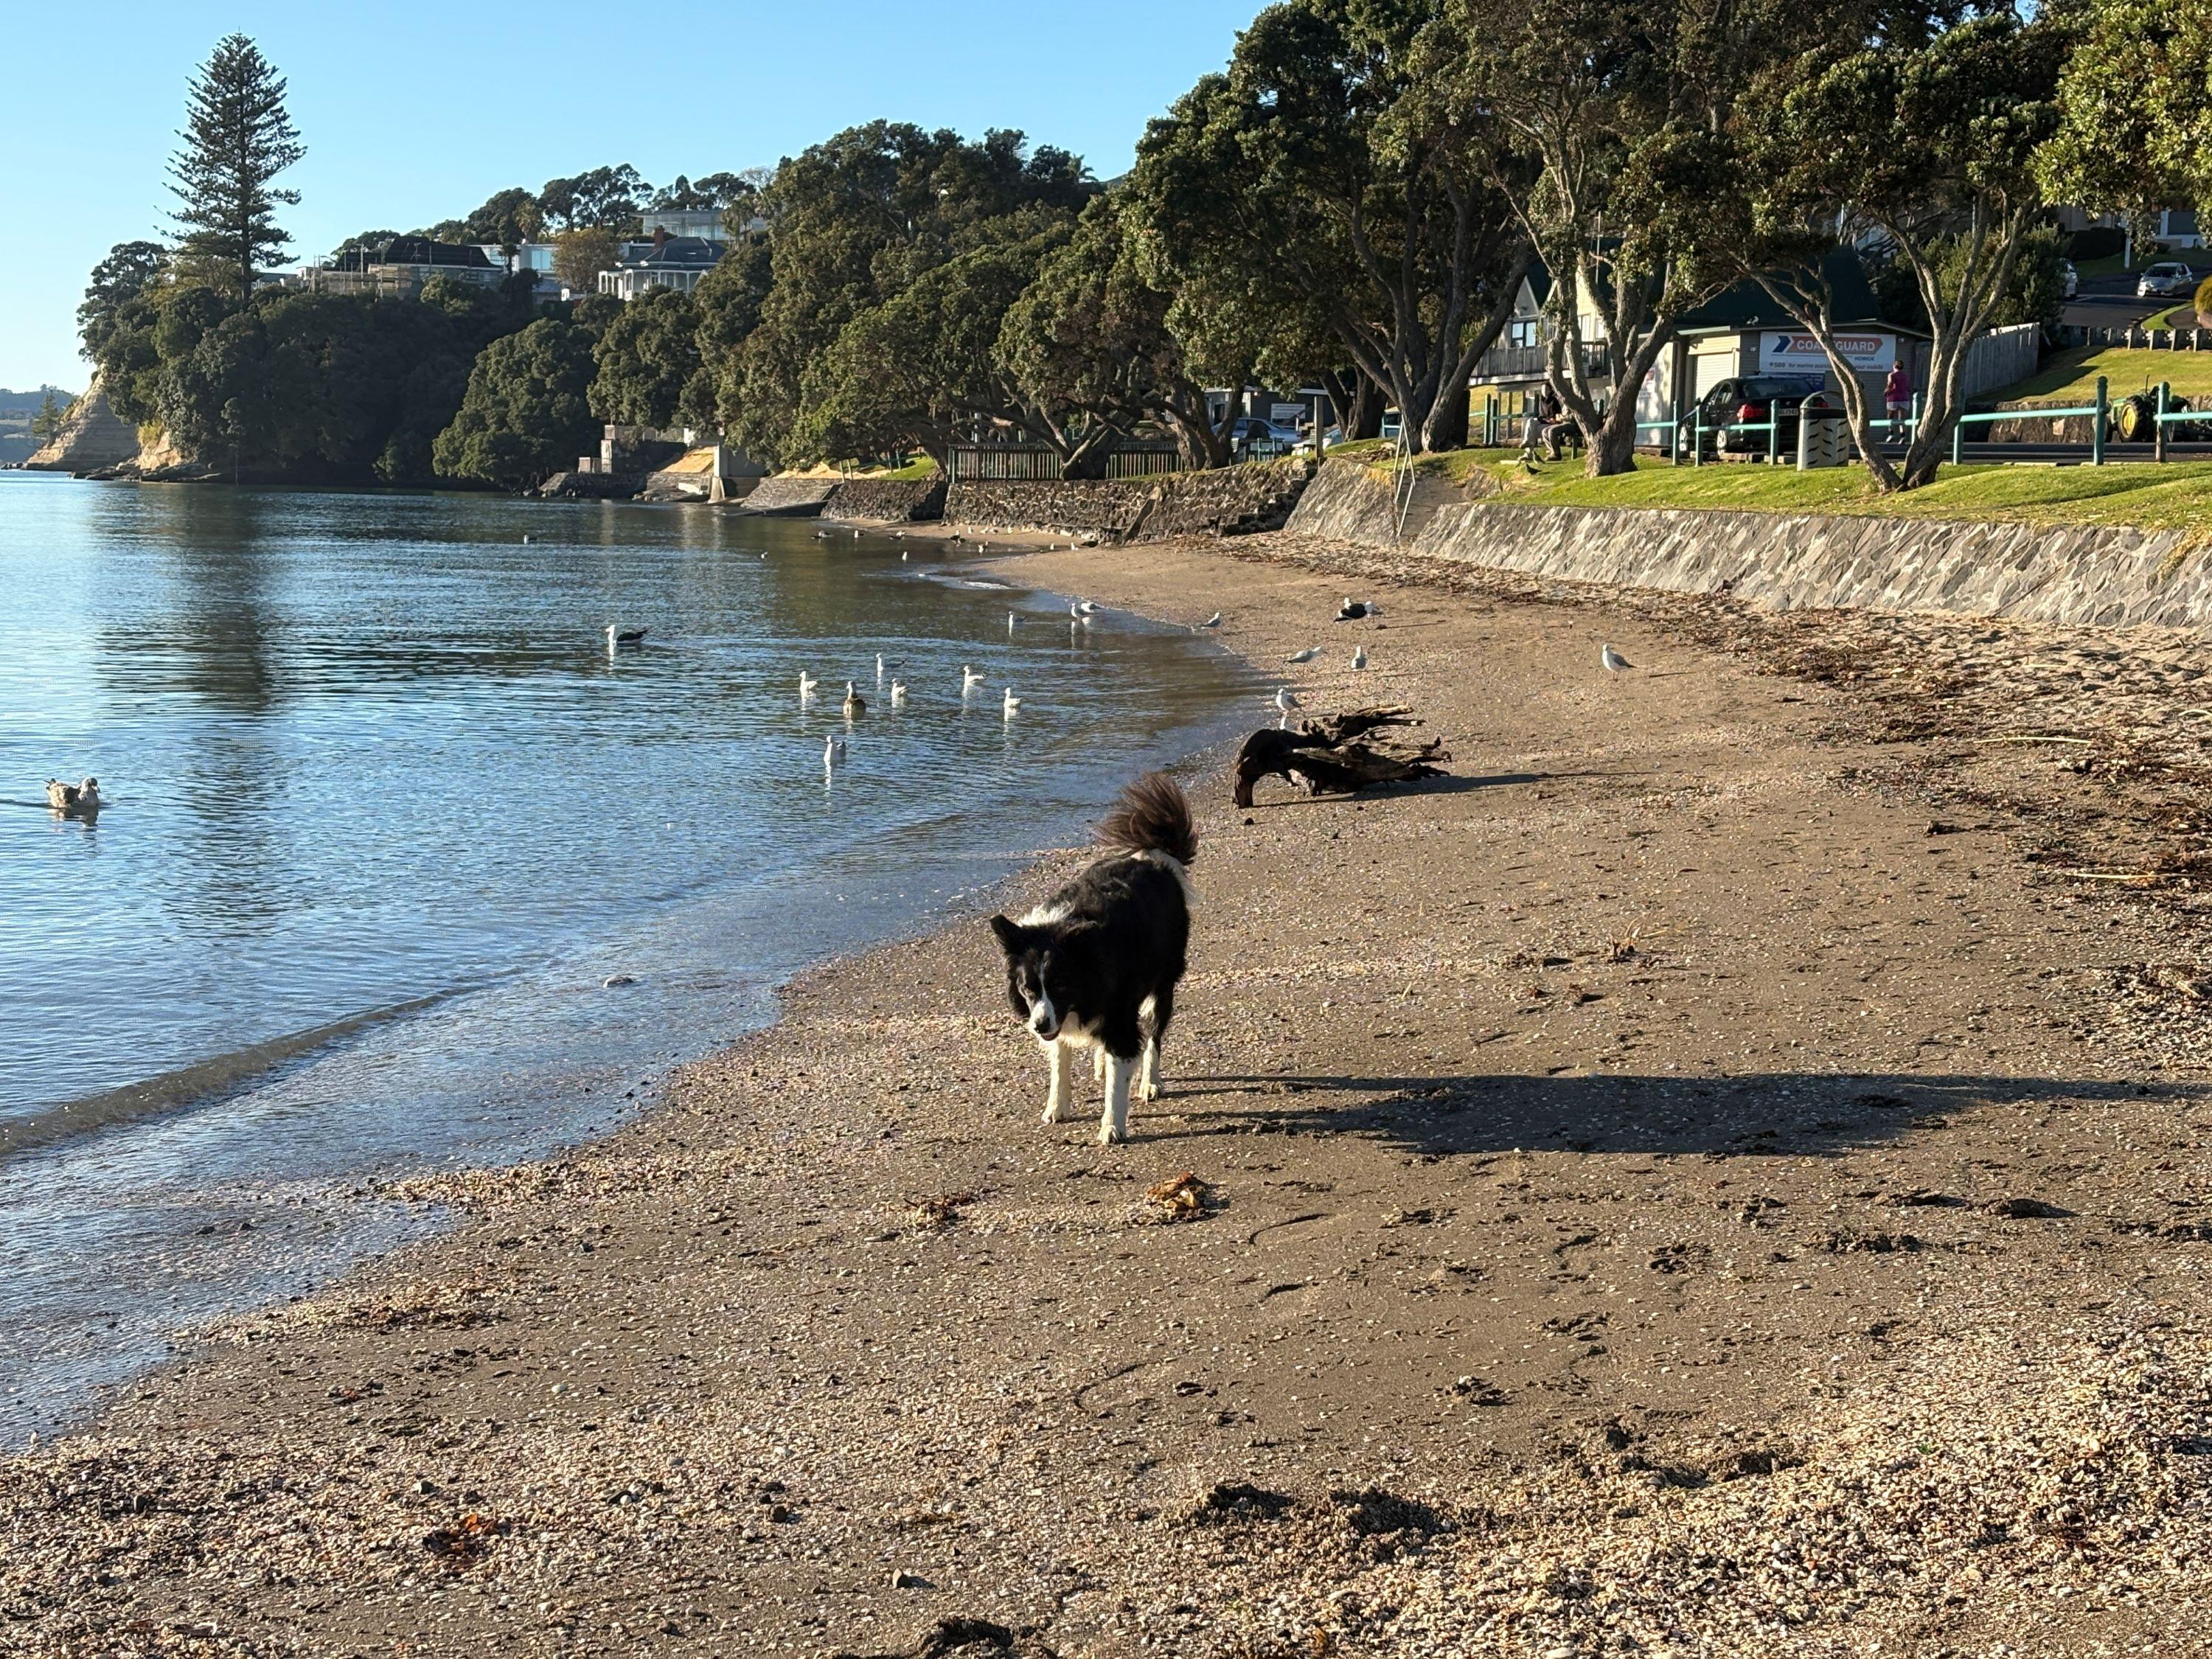
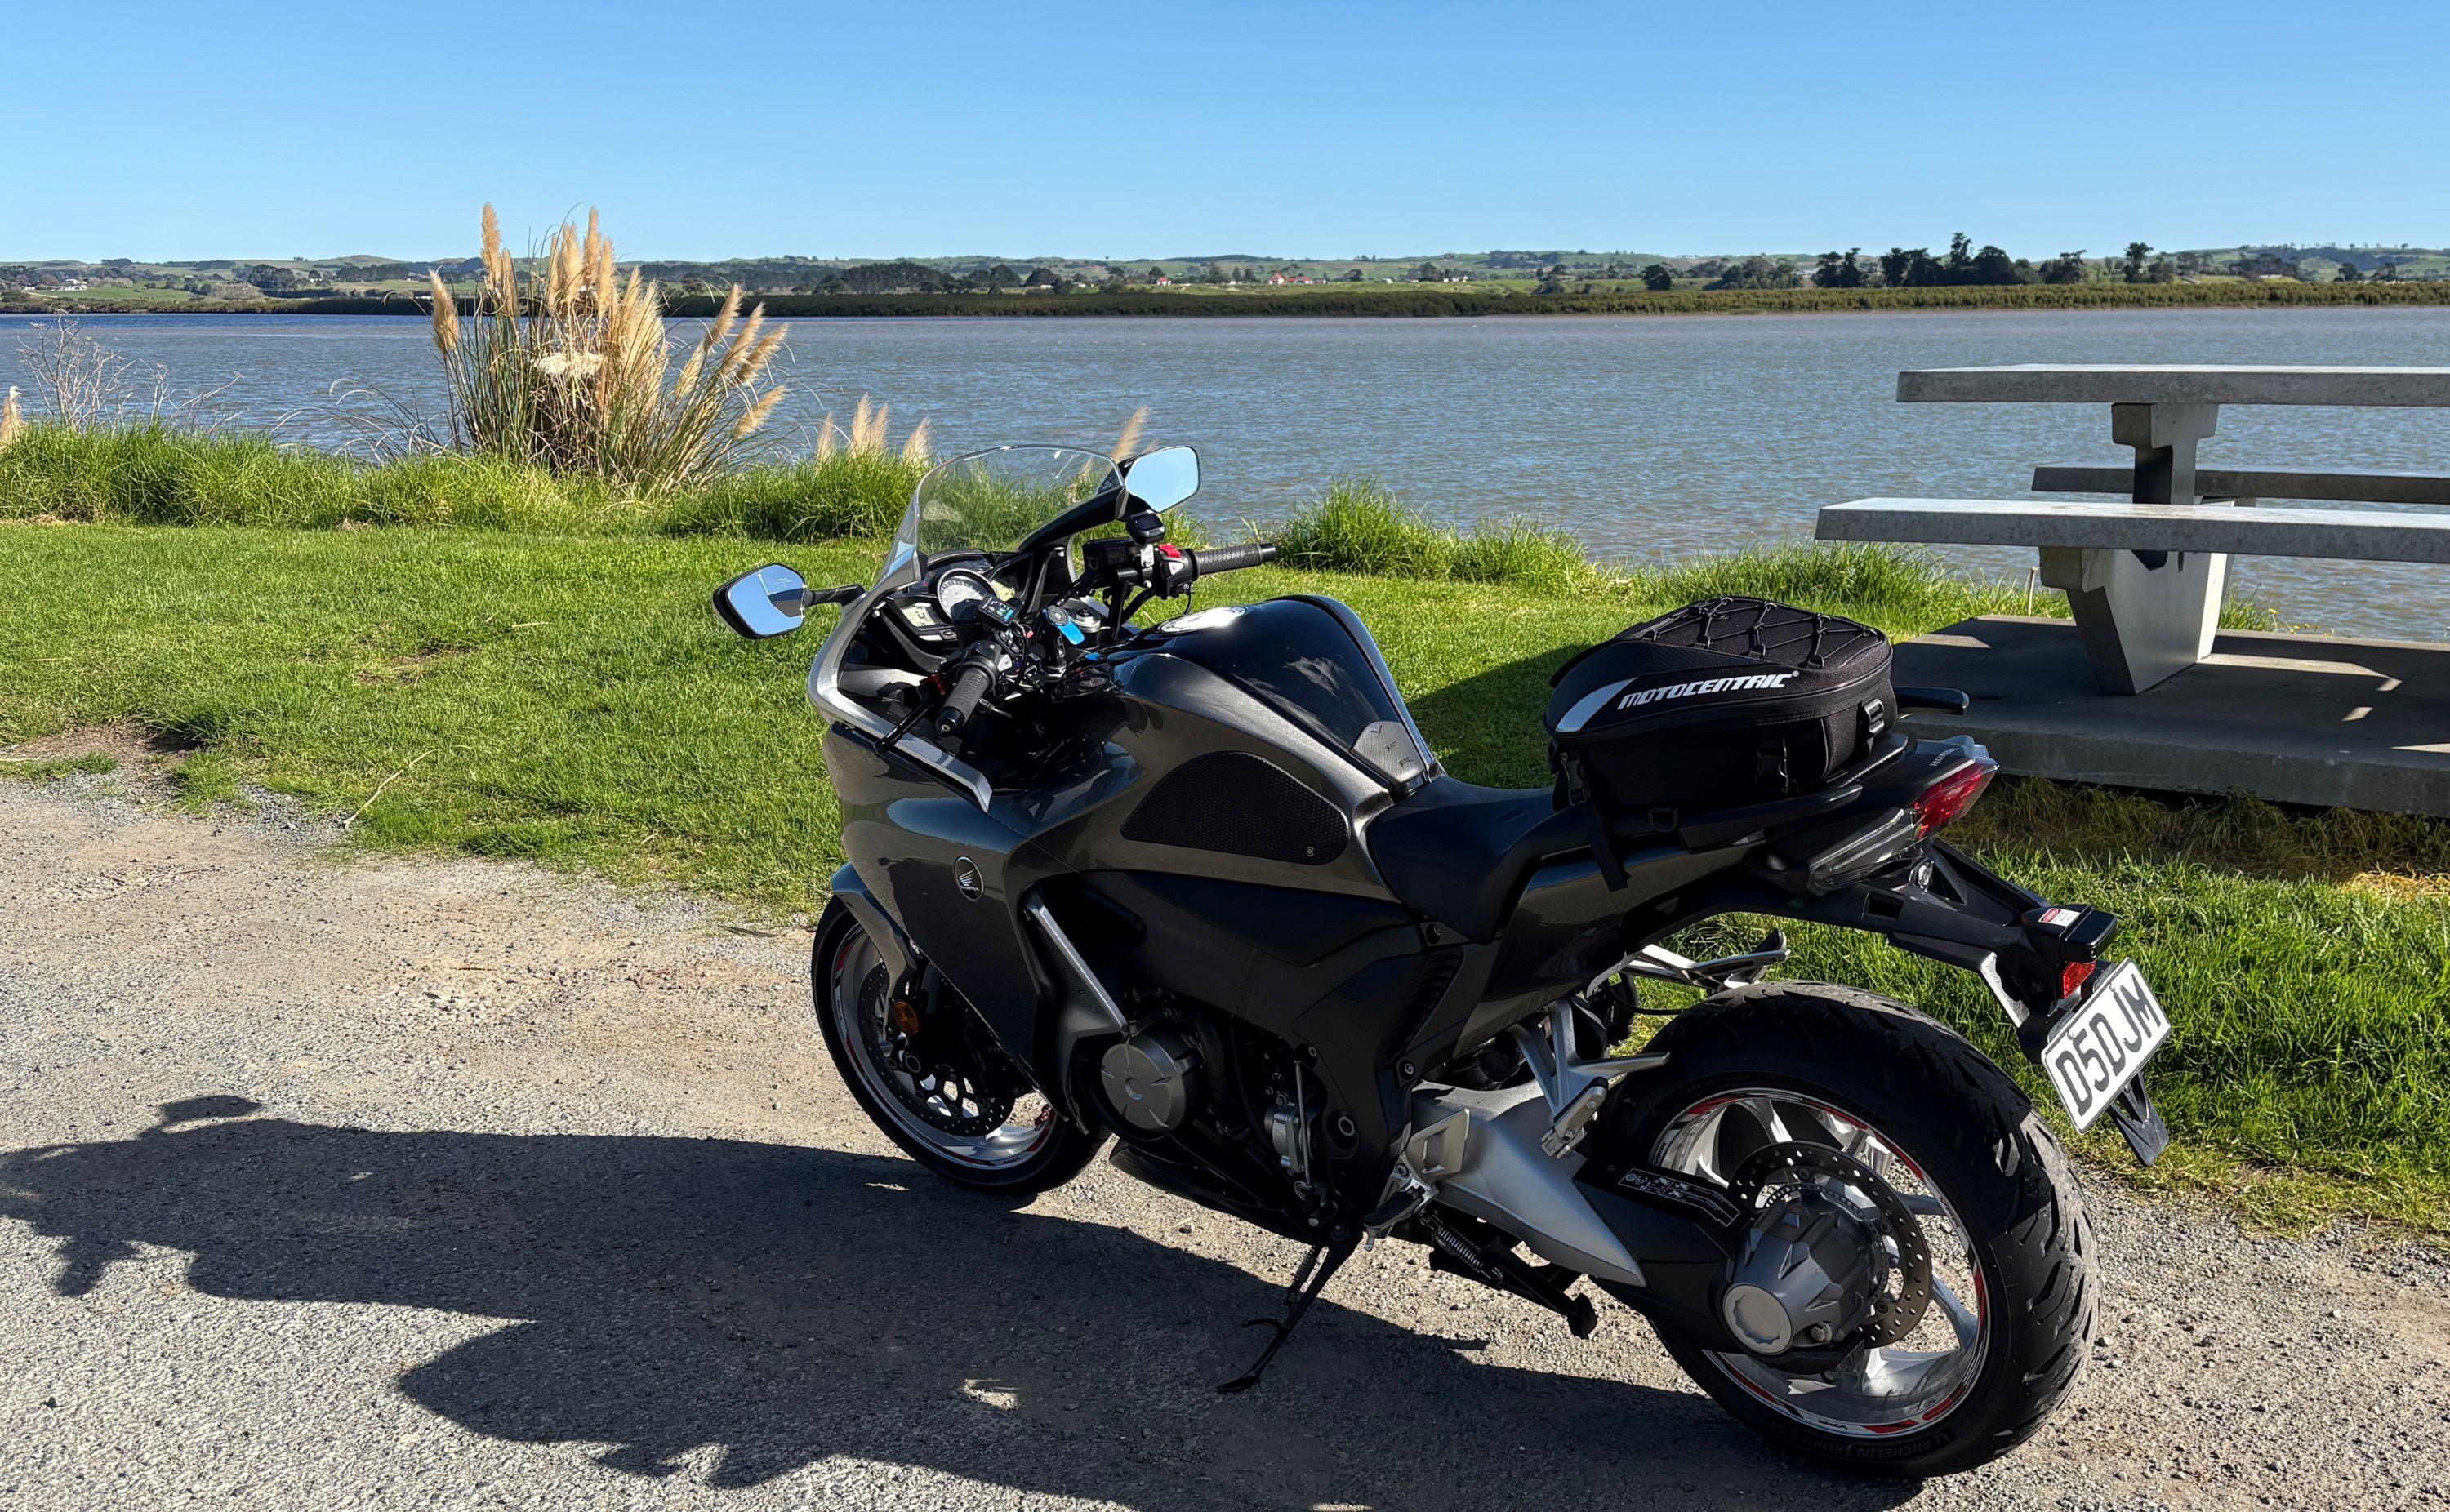
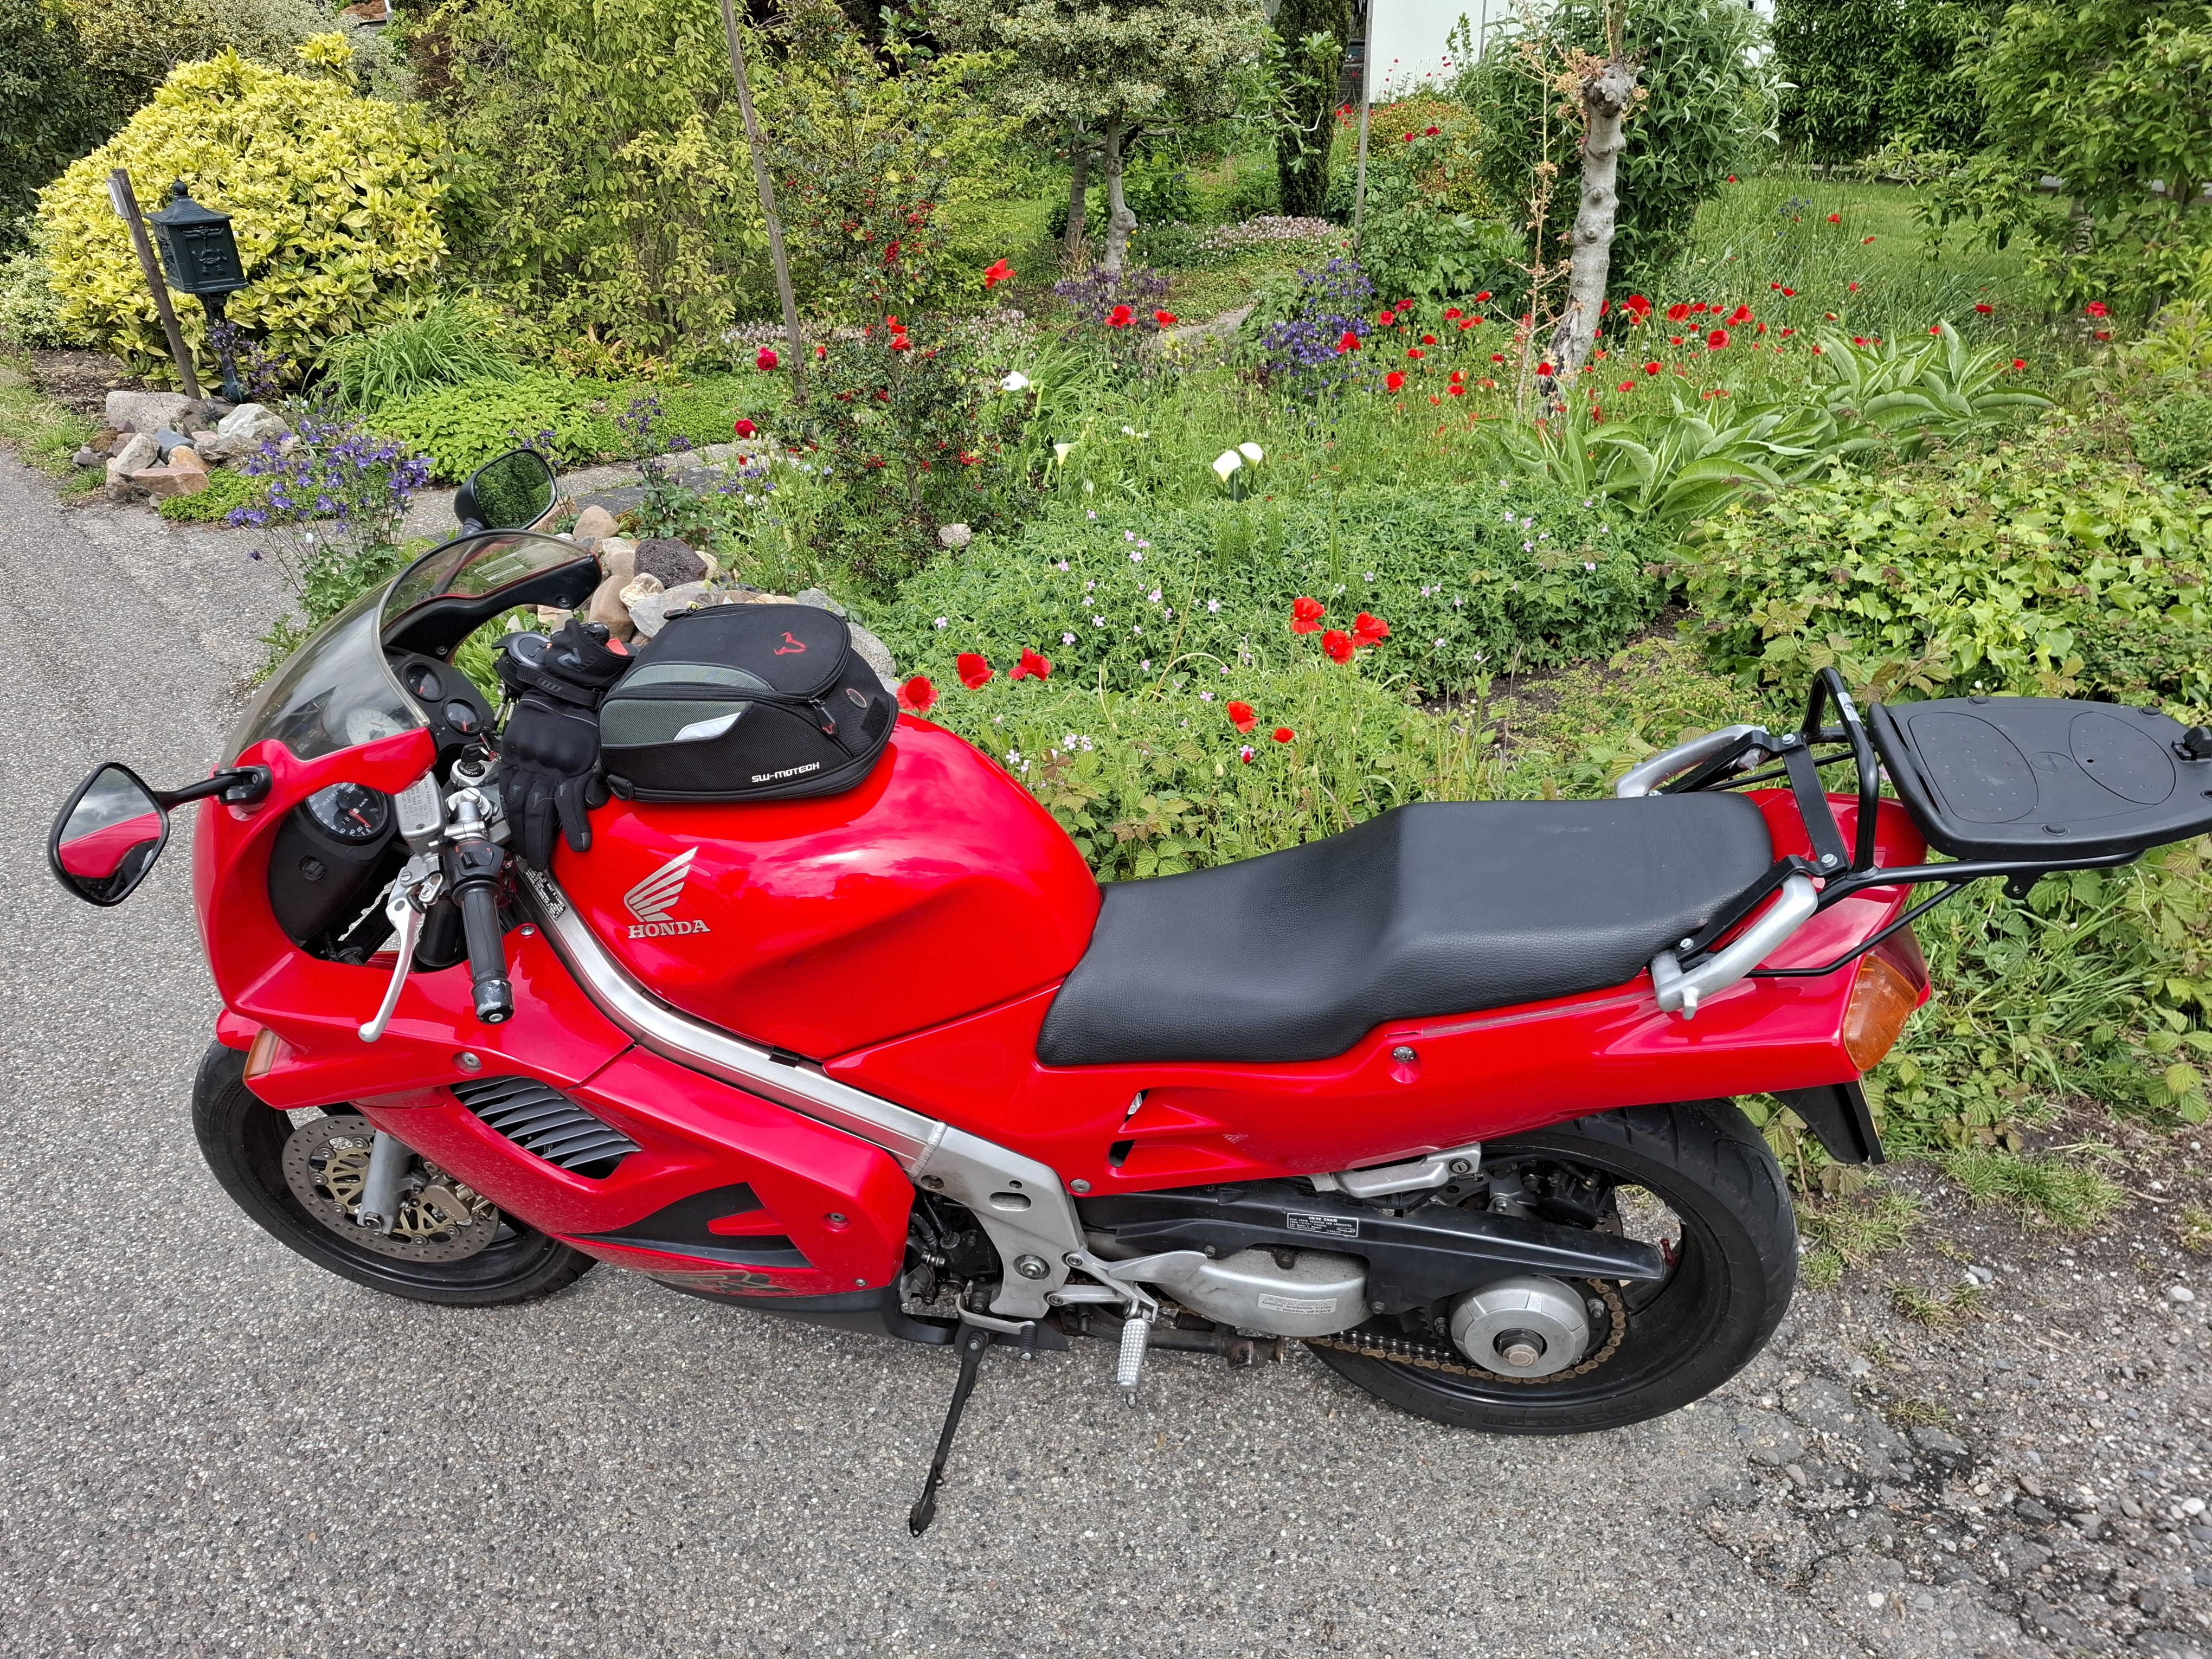
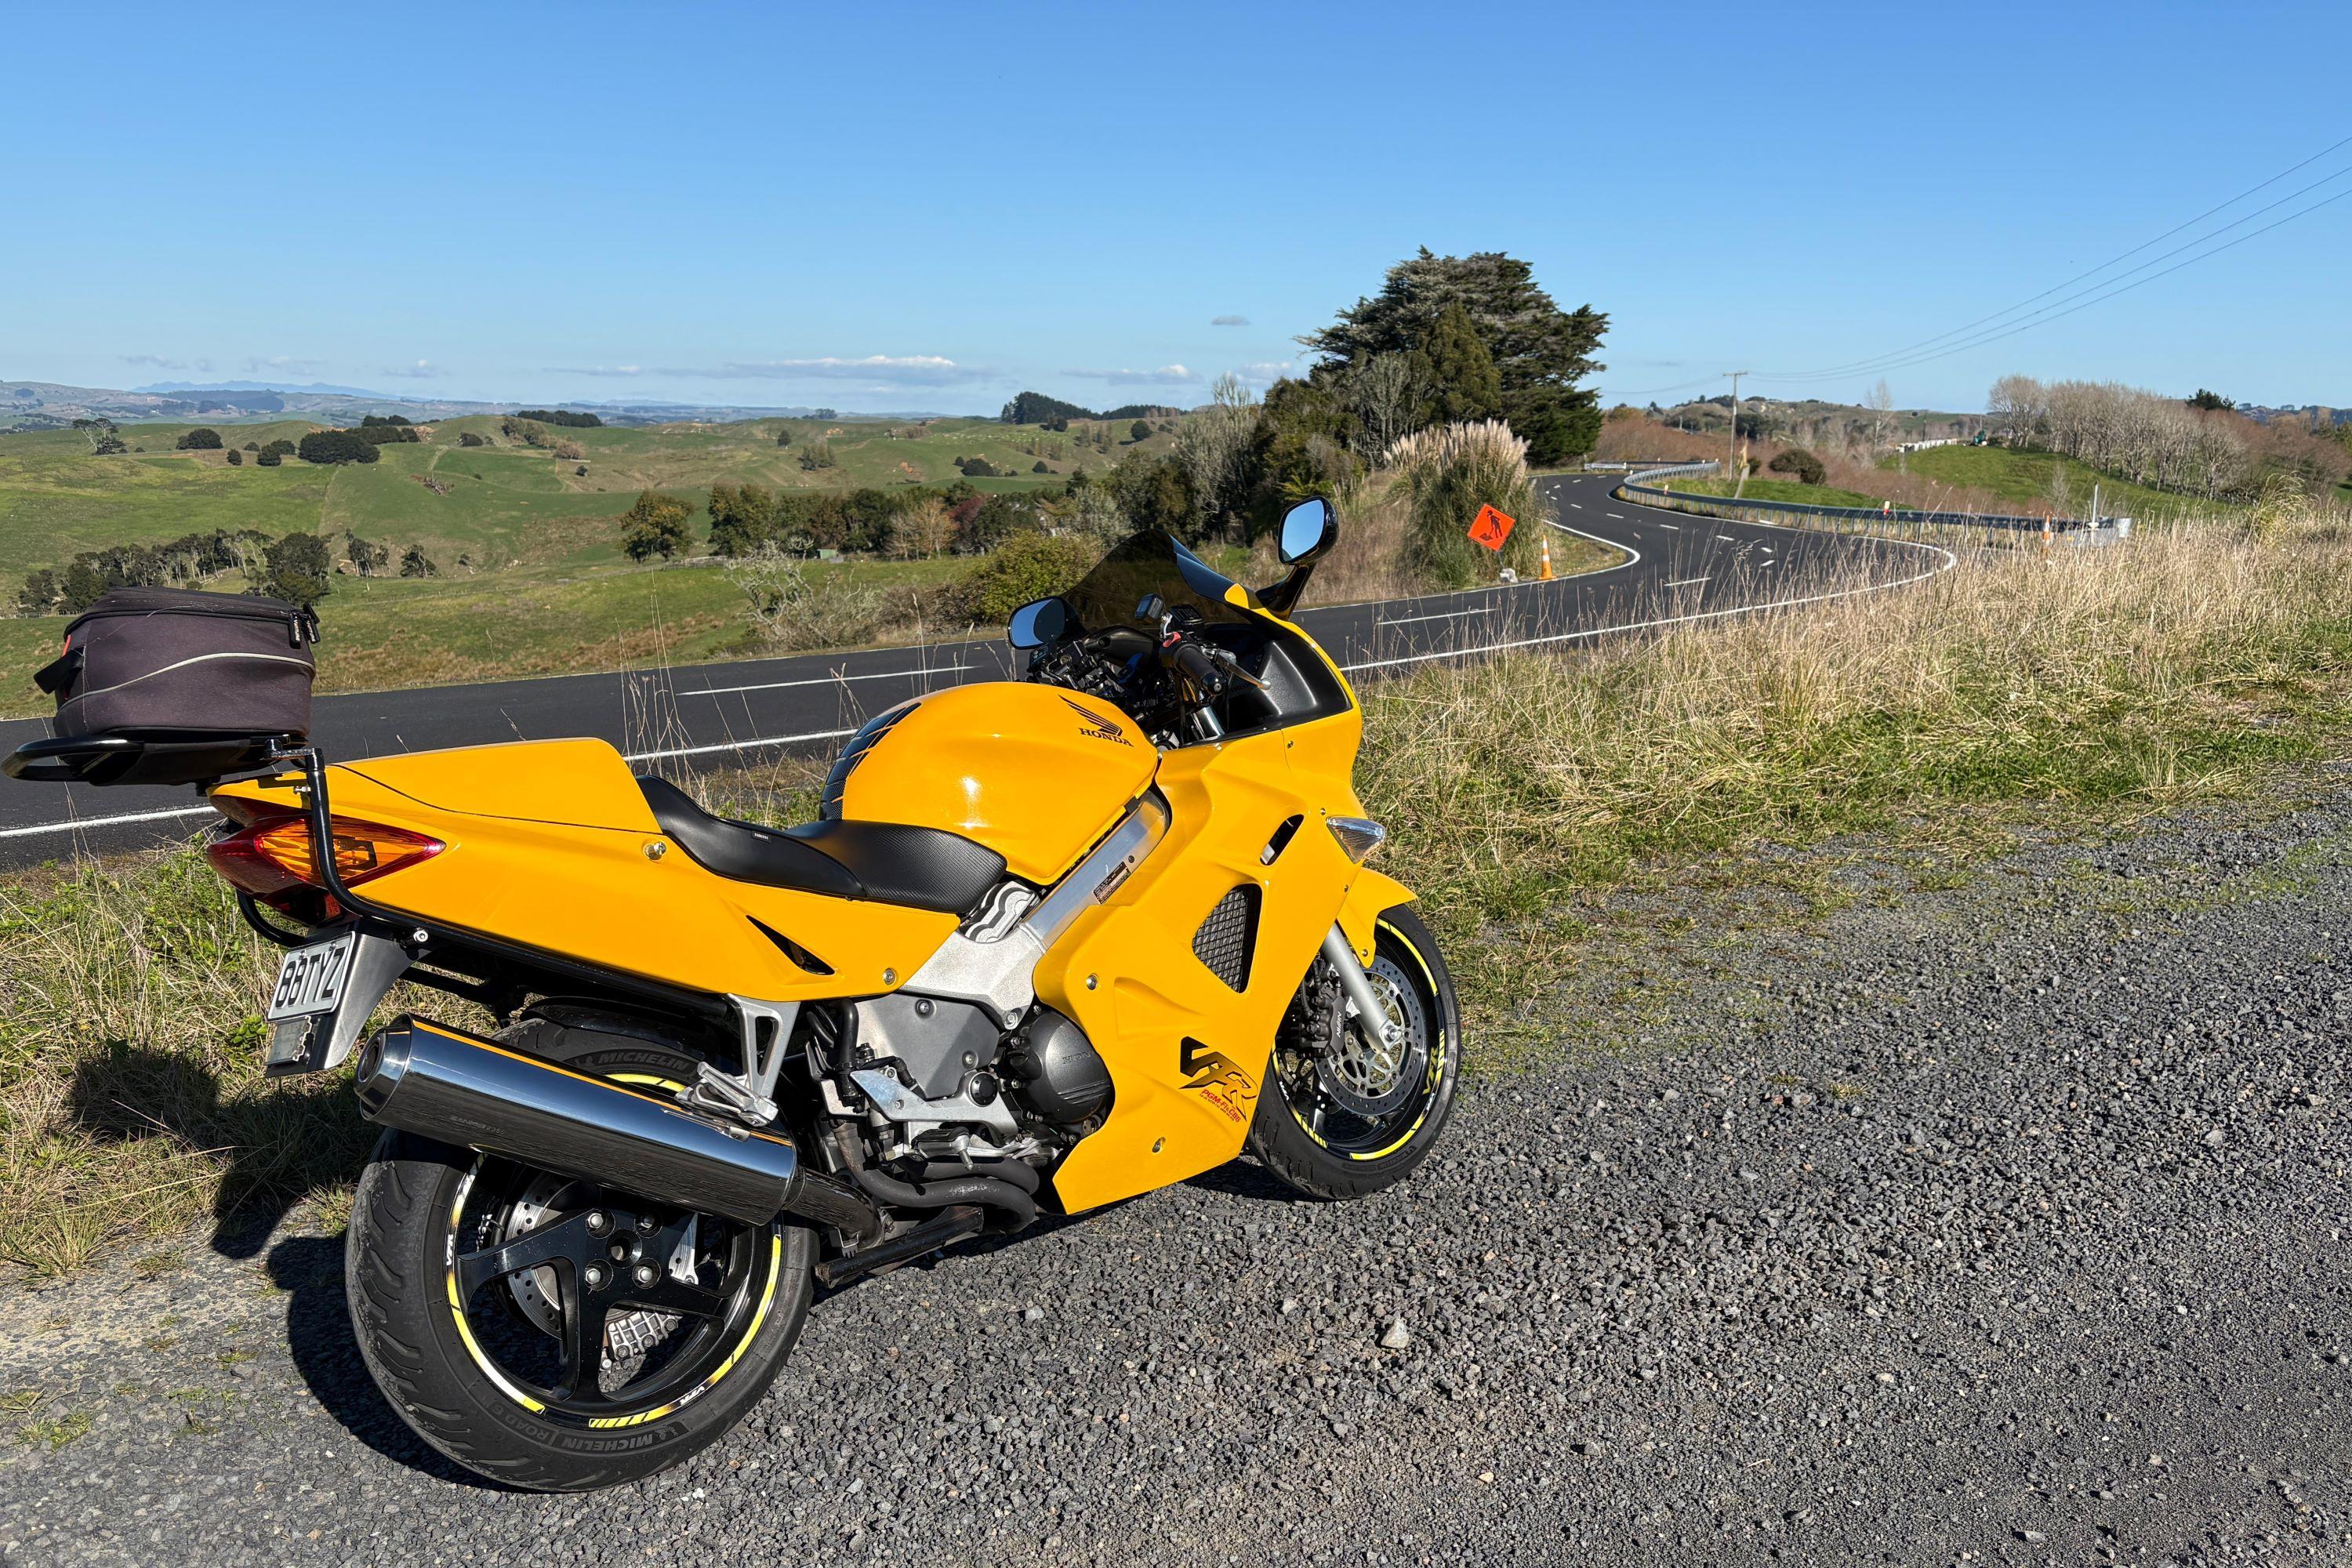
Yesterday was another beautiful autumn day; started off with a very pleasant walk with my dog via a couple of beaches to the cafe, one of us did a little swimming. After that I pointed Earl to the north and meandered up SH16 and around to Dargaville. I had planned on completing the loop around Opononi and Kaikohe which takes you through the lovely Waipoua kauri forest but alas I had an unexpected domestic requirement and had to turn back and head for home. So I ended up doing a pretty solid non-stop 6 hour ride, which was a decent test for my endurance on top of the 4 hours the day before. Happy to say both Earl and I survived and thoroughly enjoyed the run, although the centrestand might have other ideas as we left a few grams of metal behind on a couple of dippy bends. The cruise control was a real boon, and even the heated grips got a little action at the start of the day. The photo below is of the Wairoa River which forms the northern end of the Kaipara Harbour, in the sunshine. Here's a little factoid: "By area, the Kaipara Harbour is one of the largest harbours in the world. It covers 947 square kilometres (366 sq mi) at high tide, with 409 square kilometres (158 sq mi) exposed as mudflats and sandflats at low tide".

-
That setting is fine, anywhere between 2 and 2 1/2 is reasonable and recommended. If it needs a lot less or more, a different slow jet might be in order.


-
I miss NZ...
-
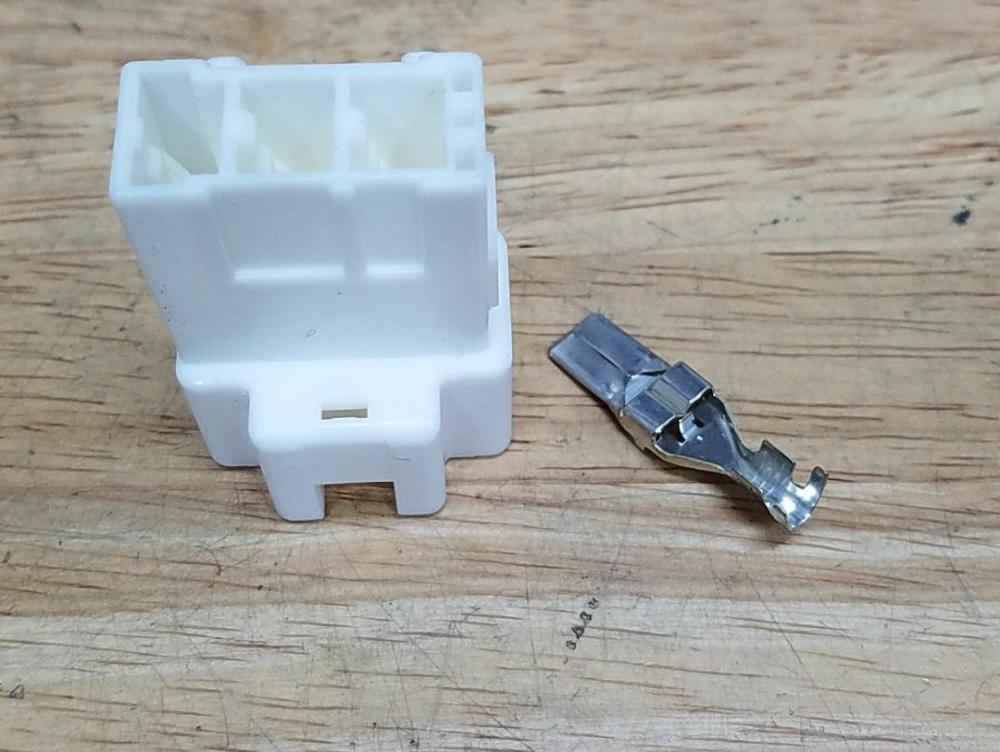
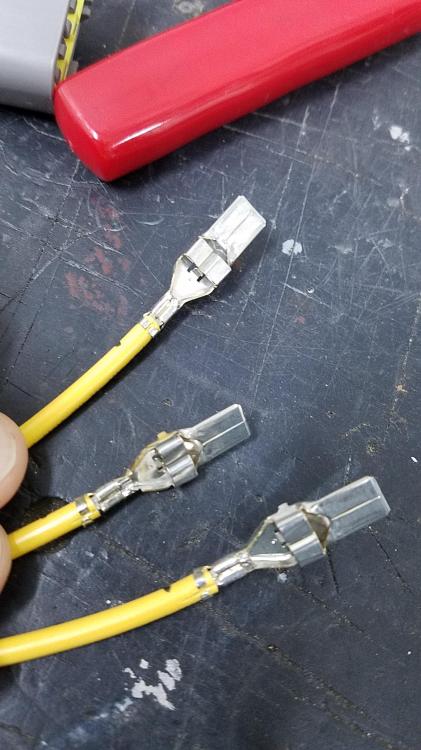
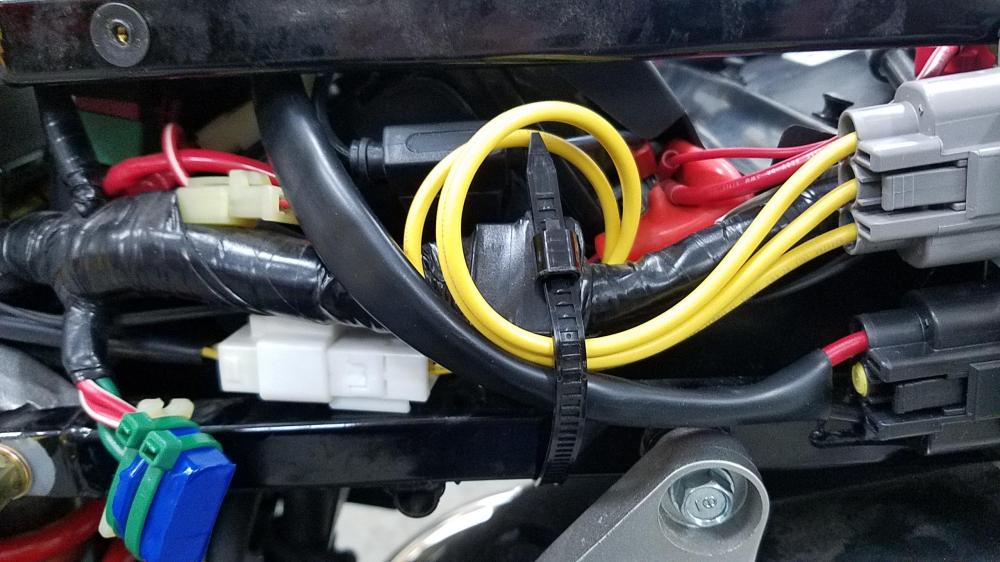
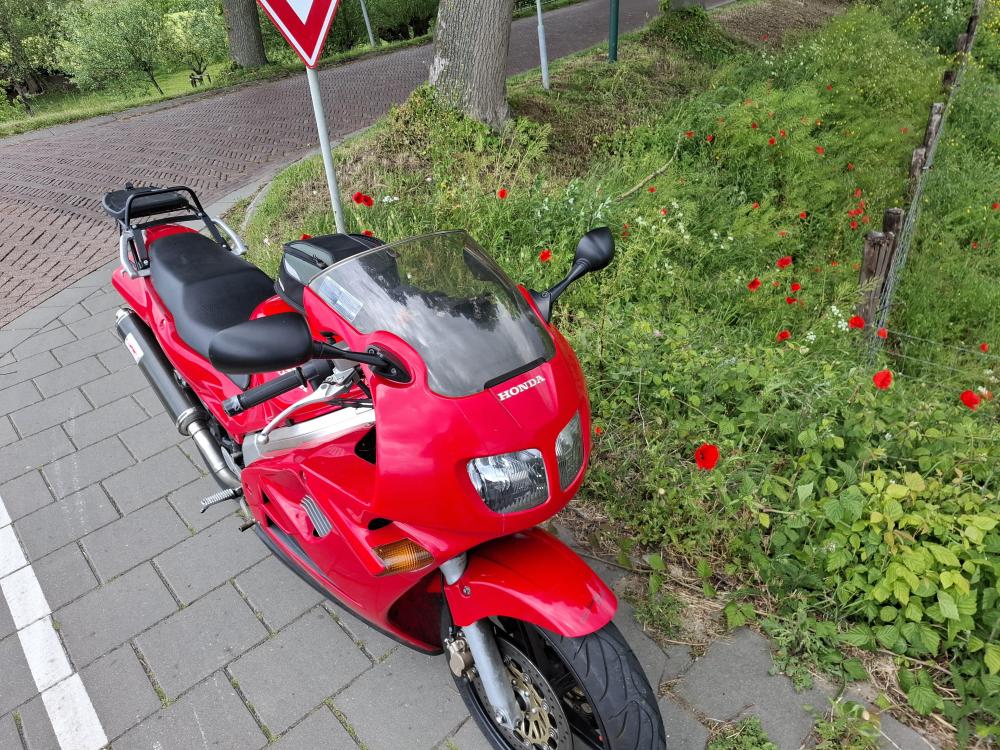
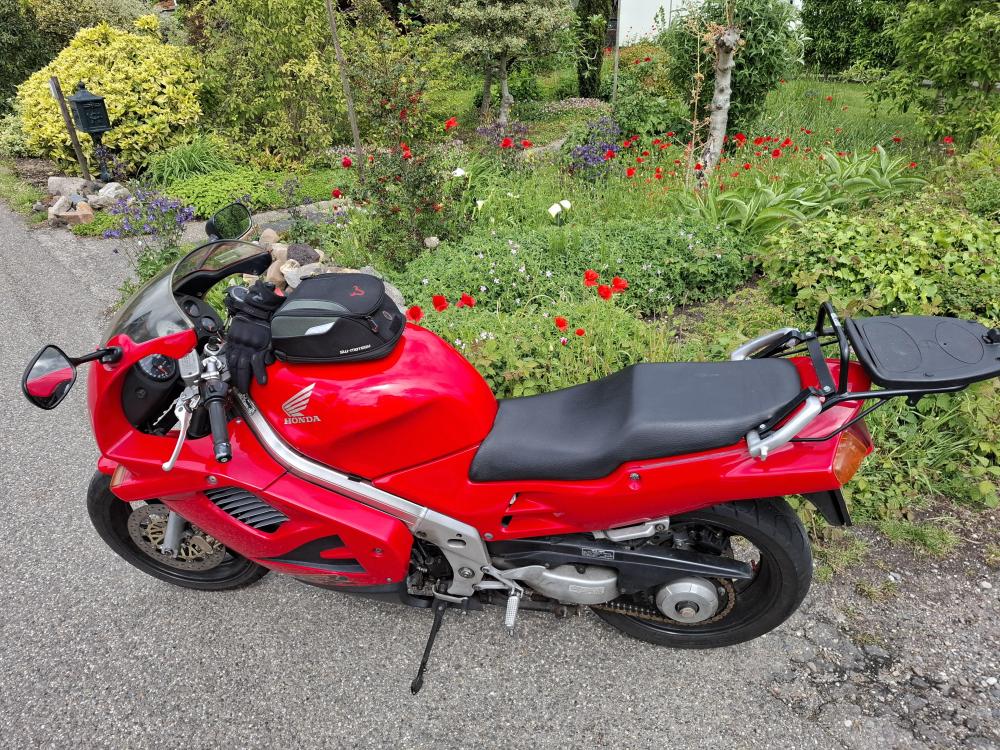
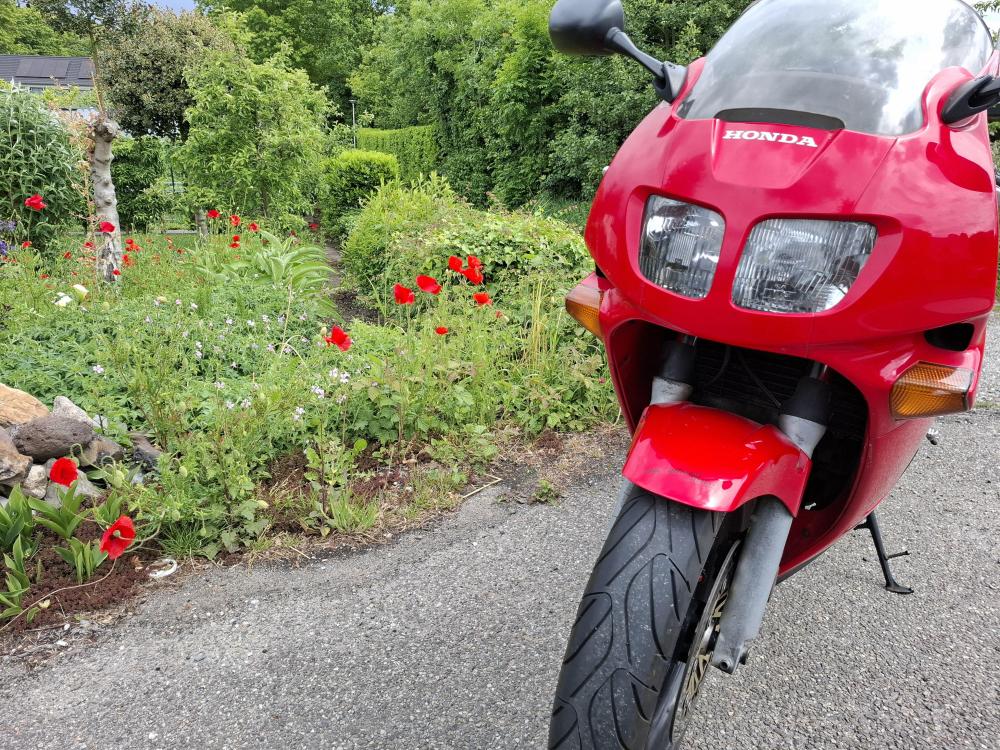
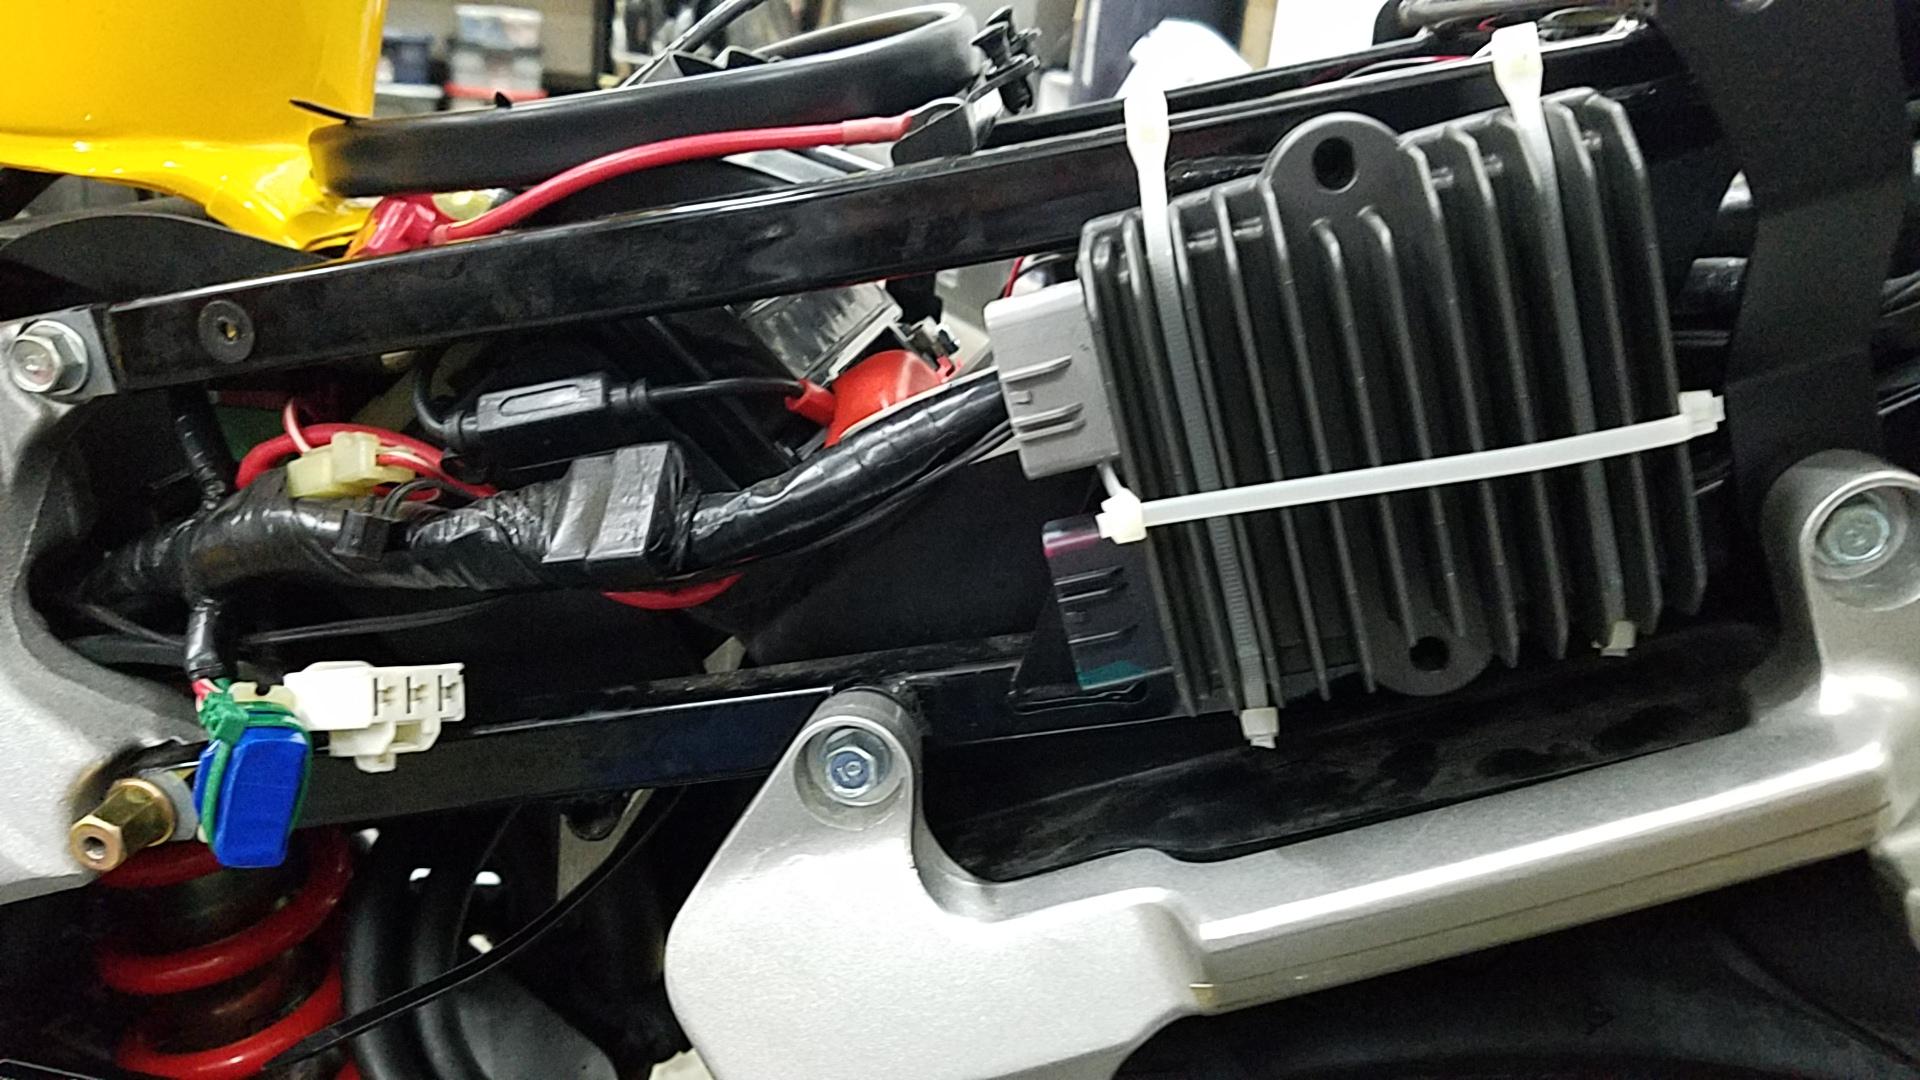
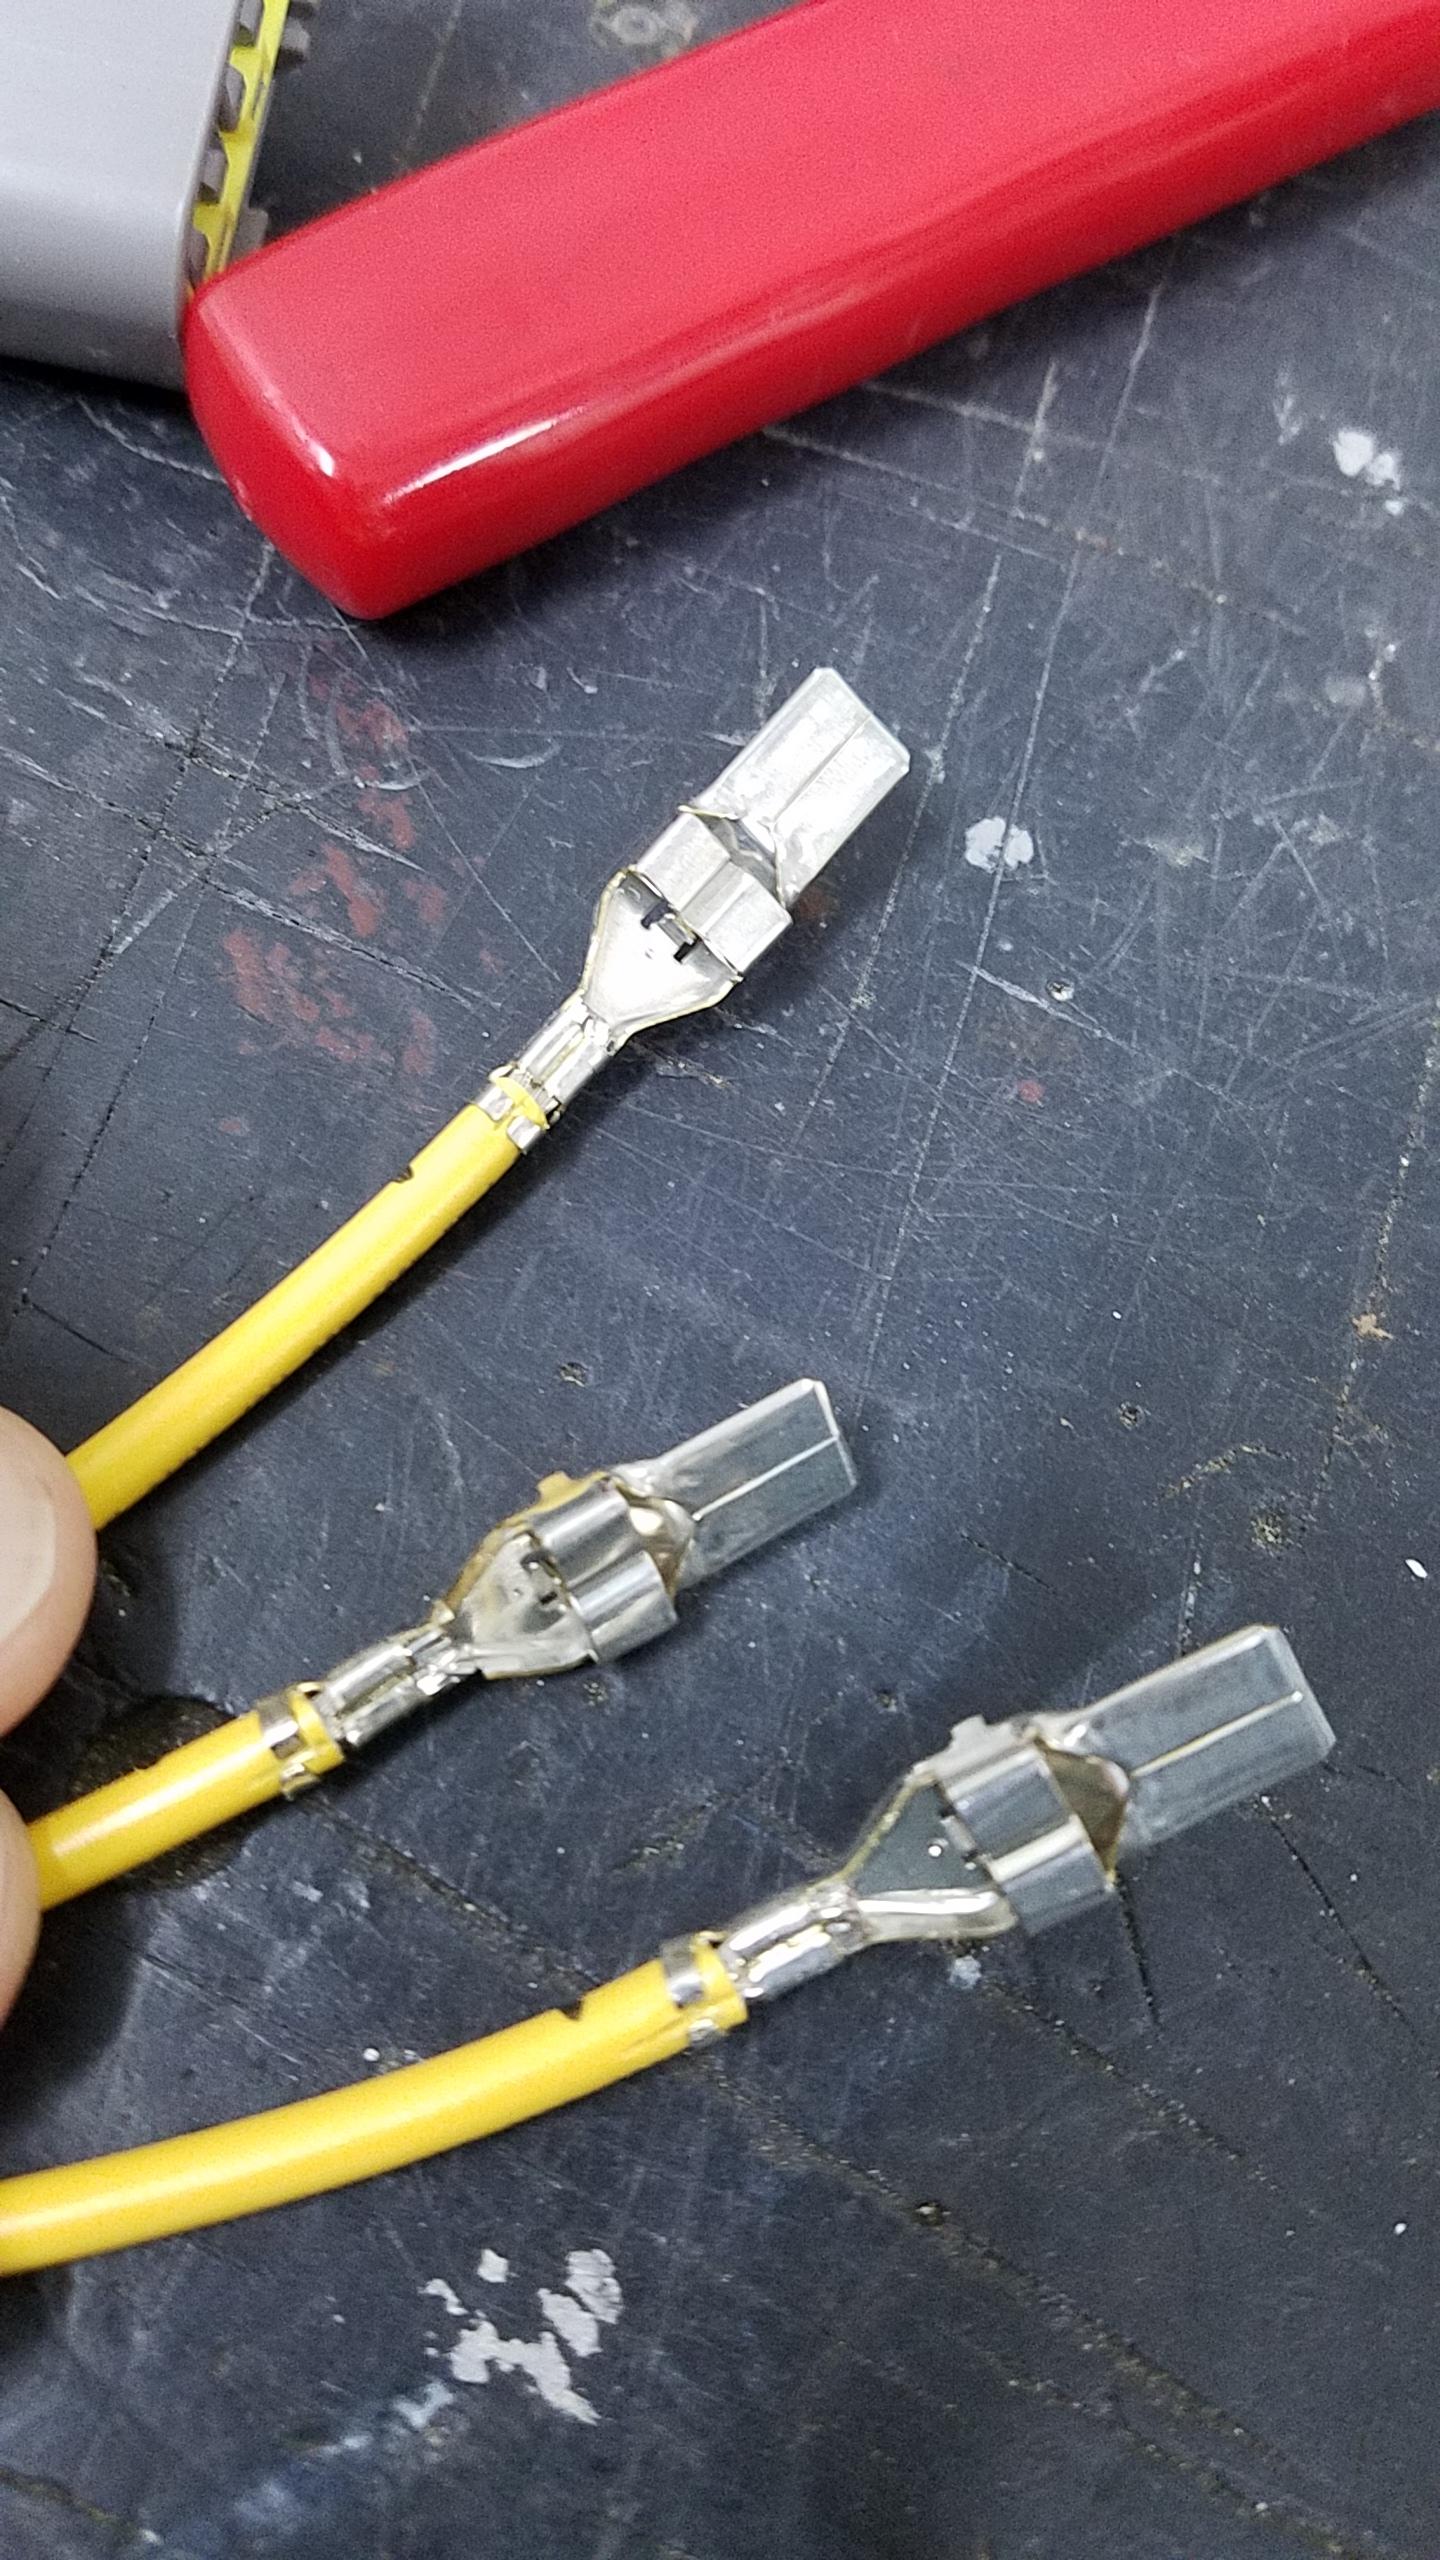
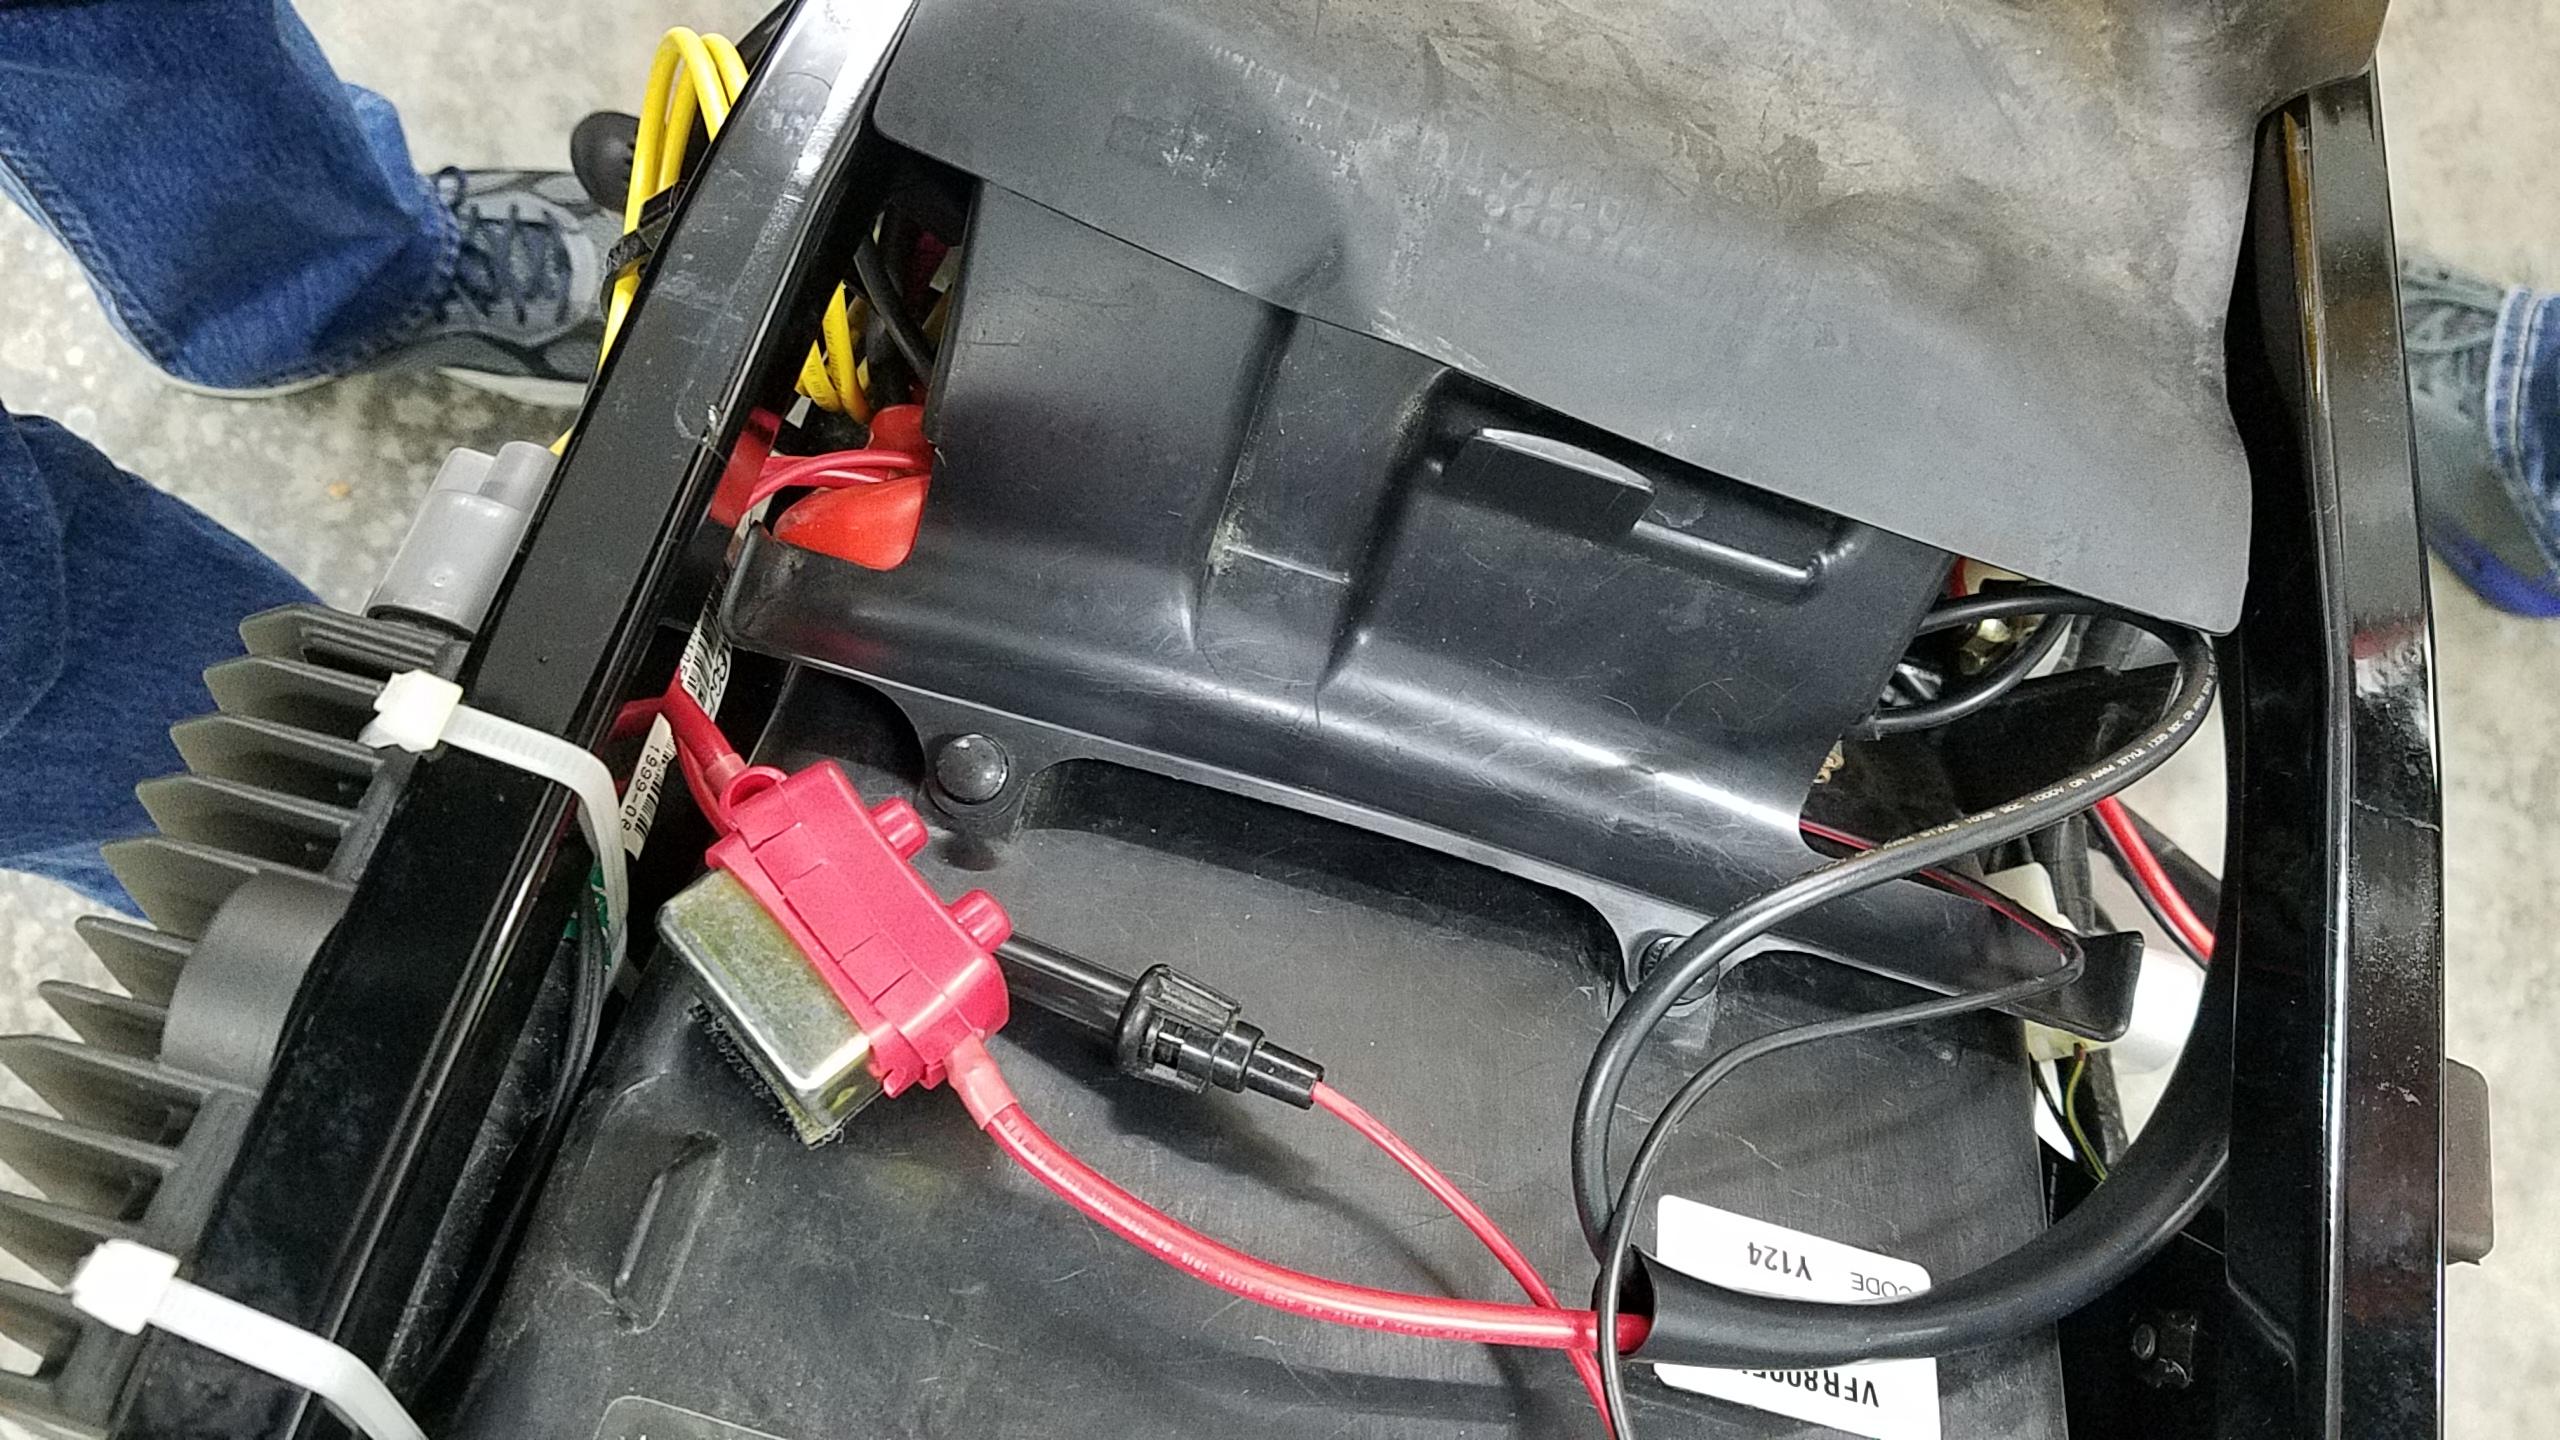
1-did you buy the one for that bike? If so, generally plug and play. Some solder. I didn't. A few pics of my 2000:


-
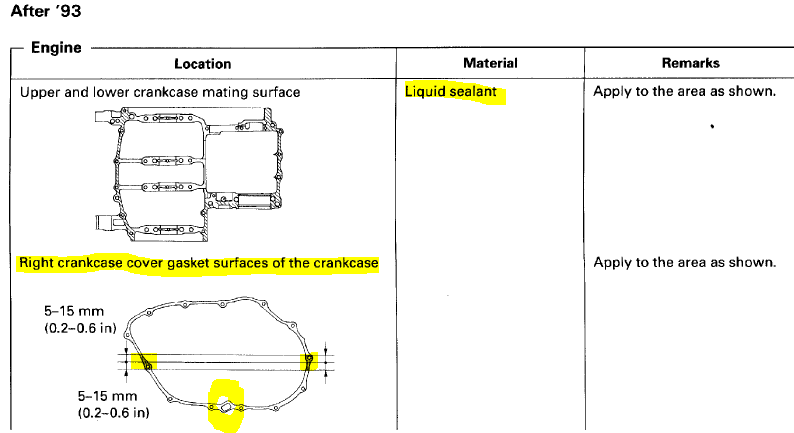
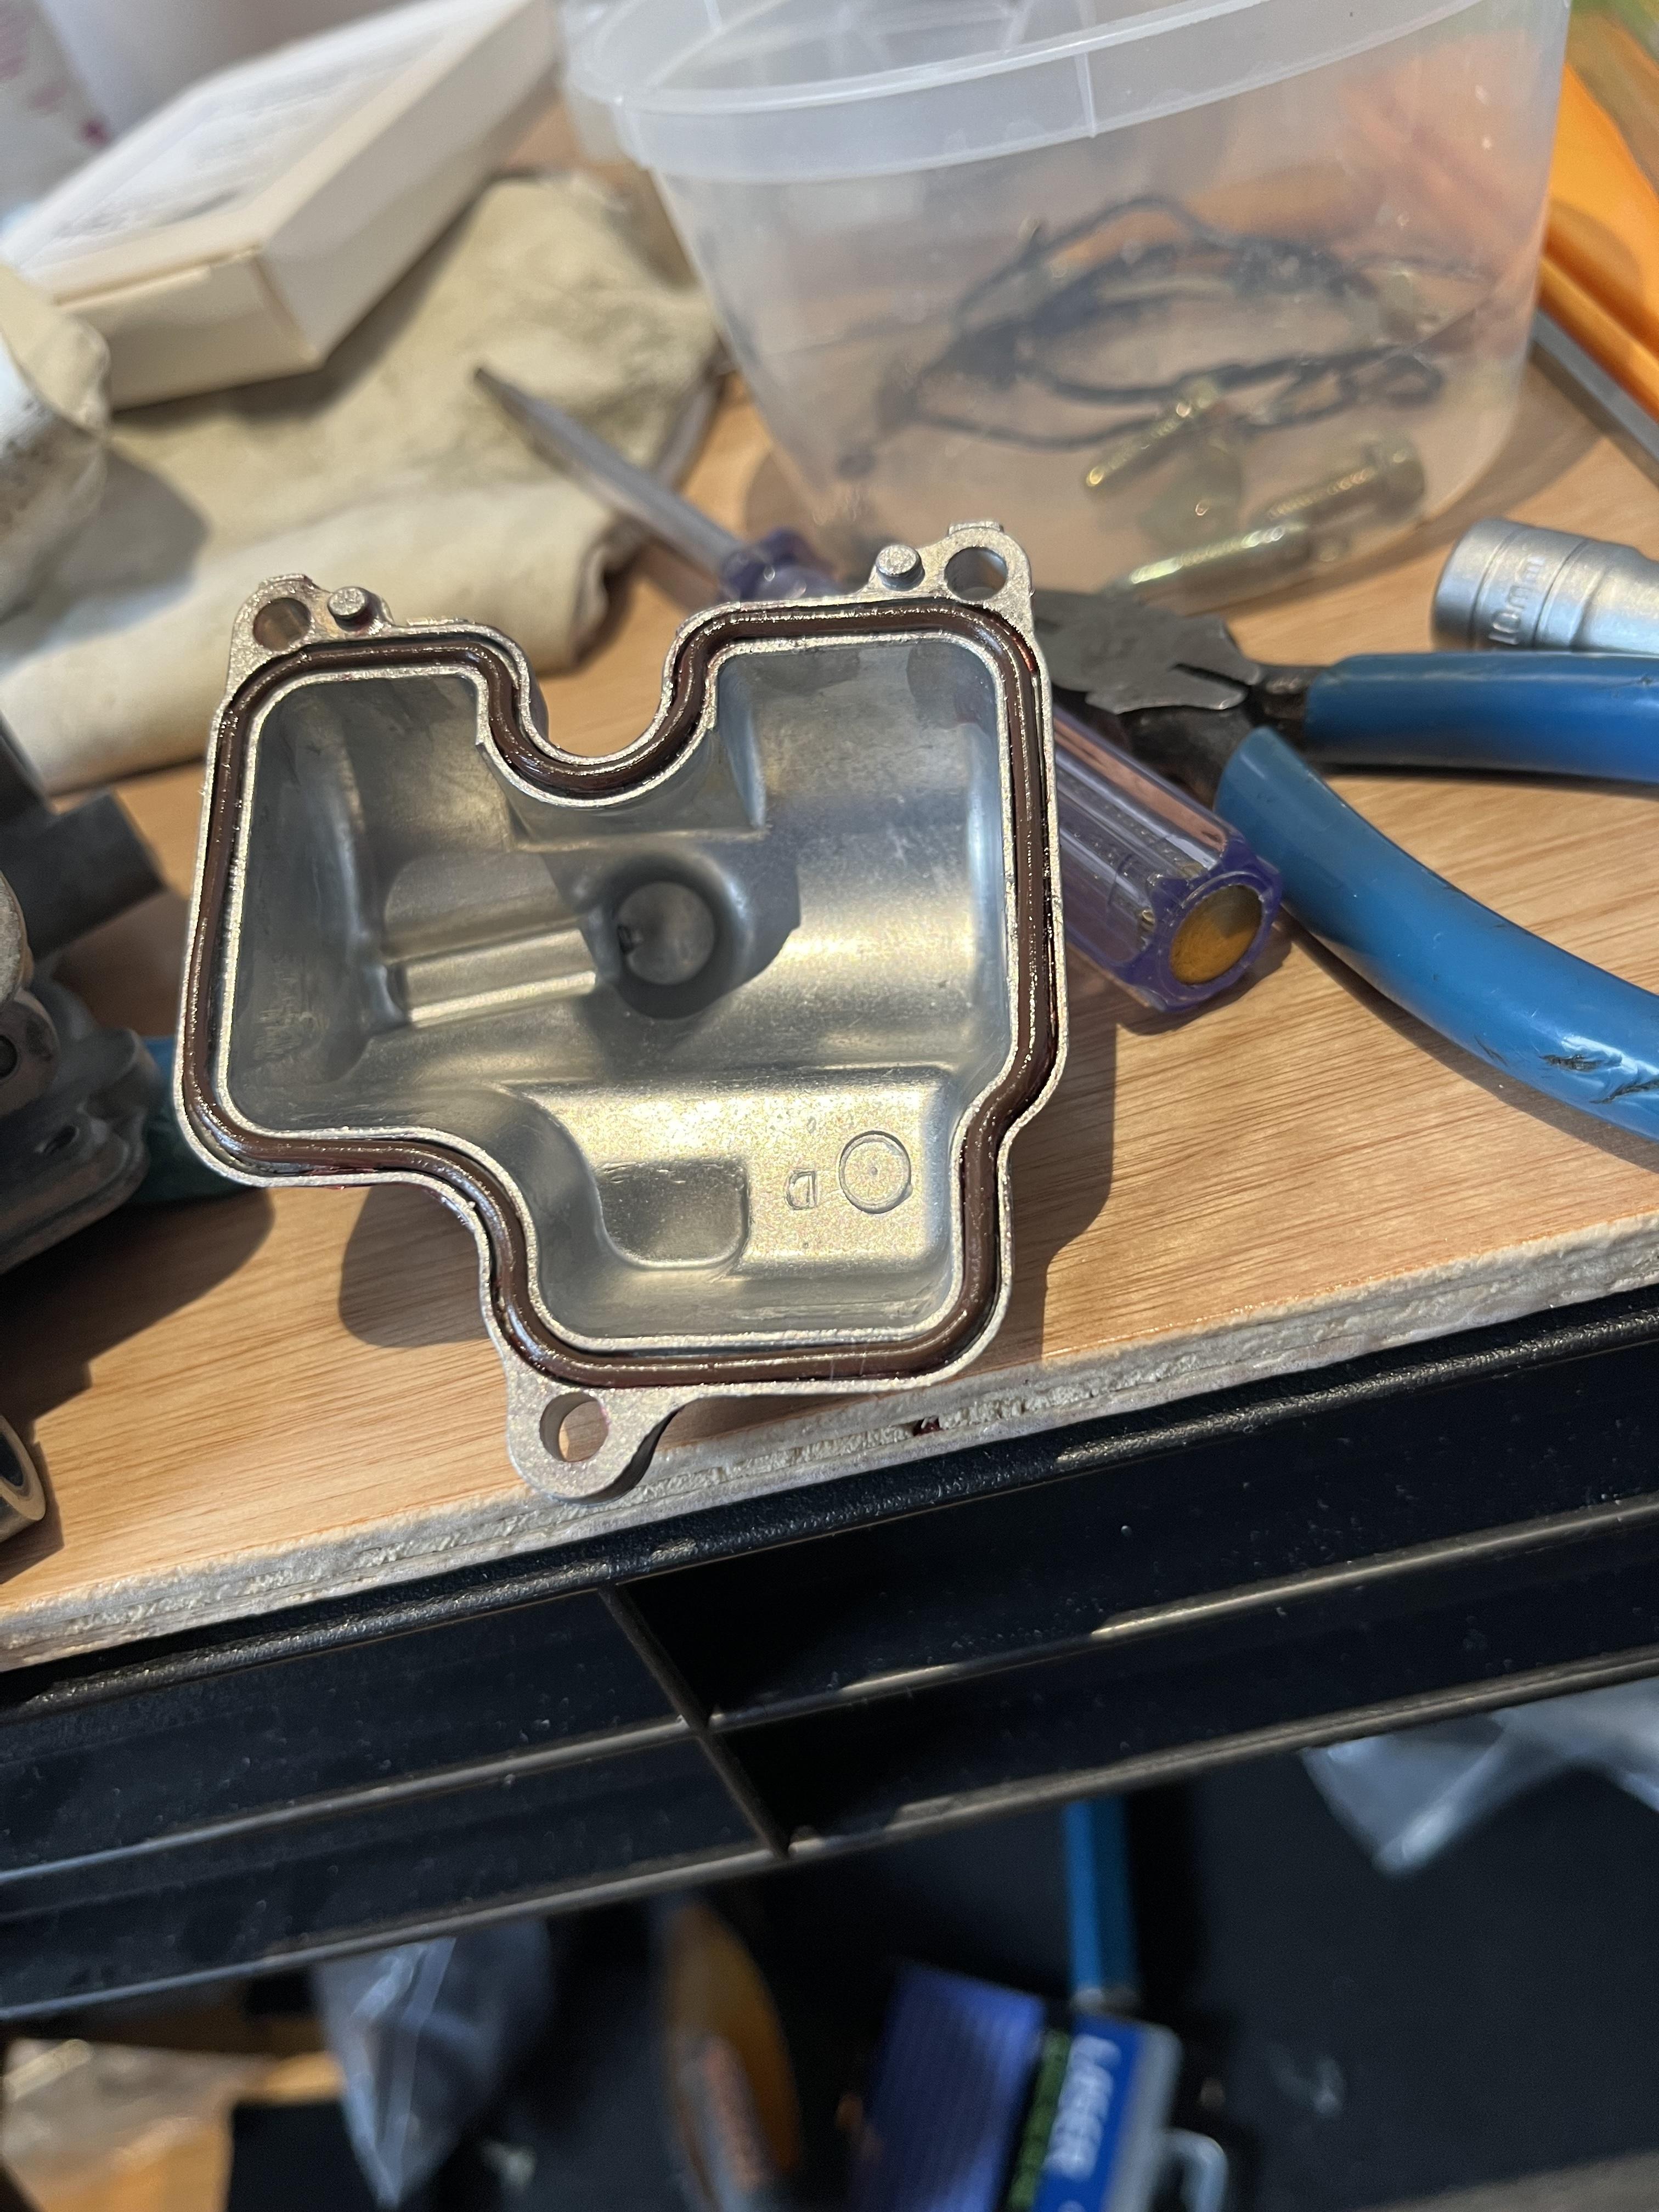
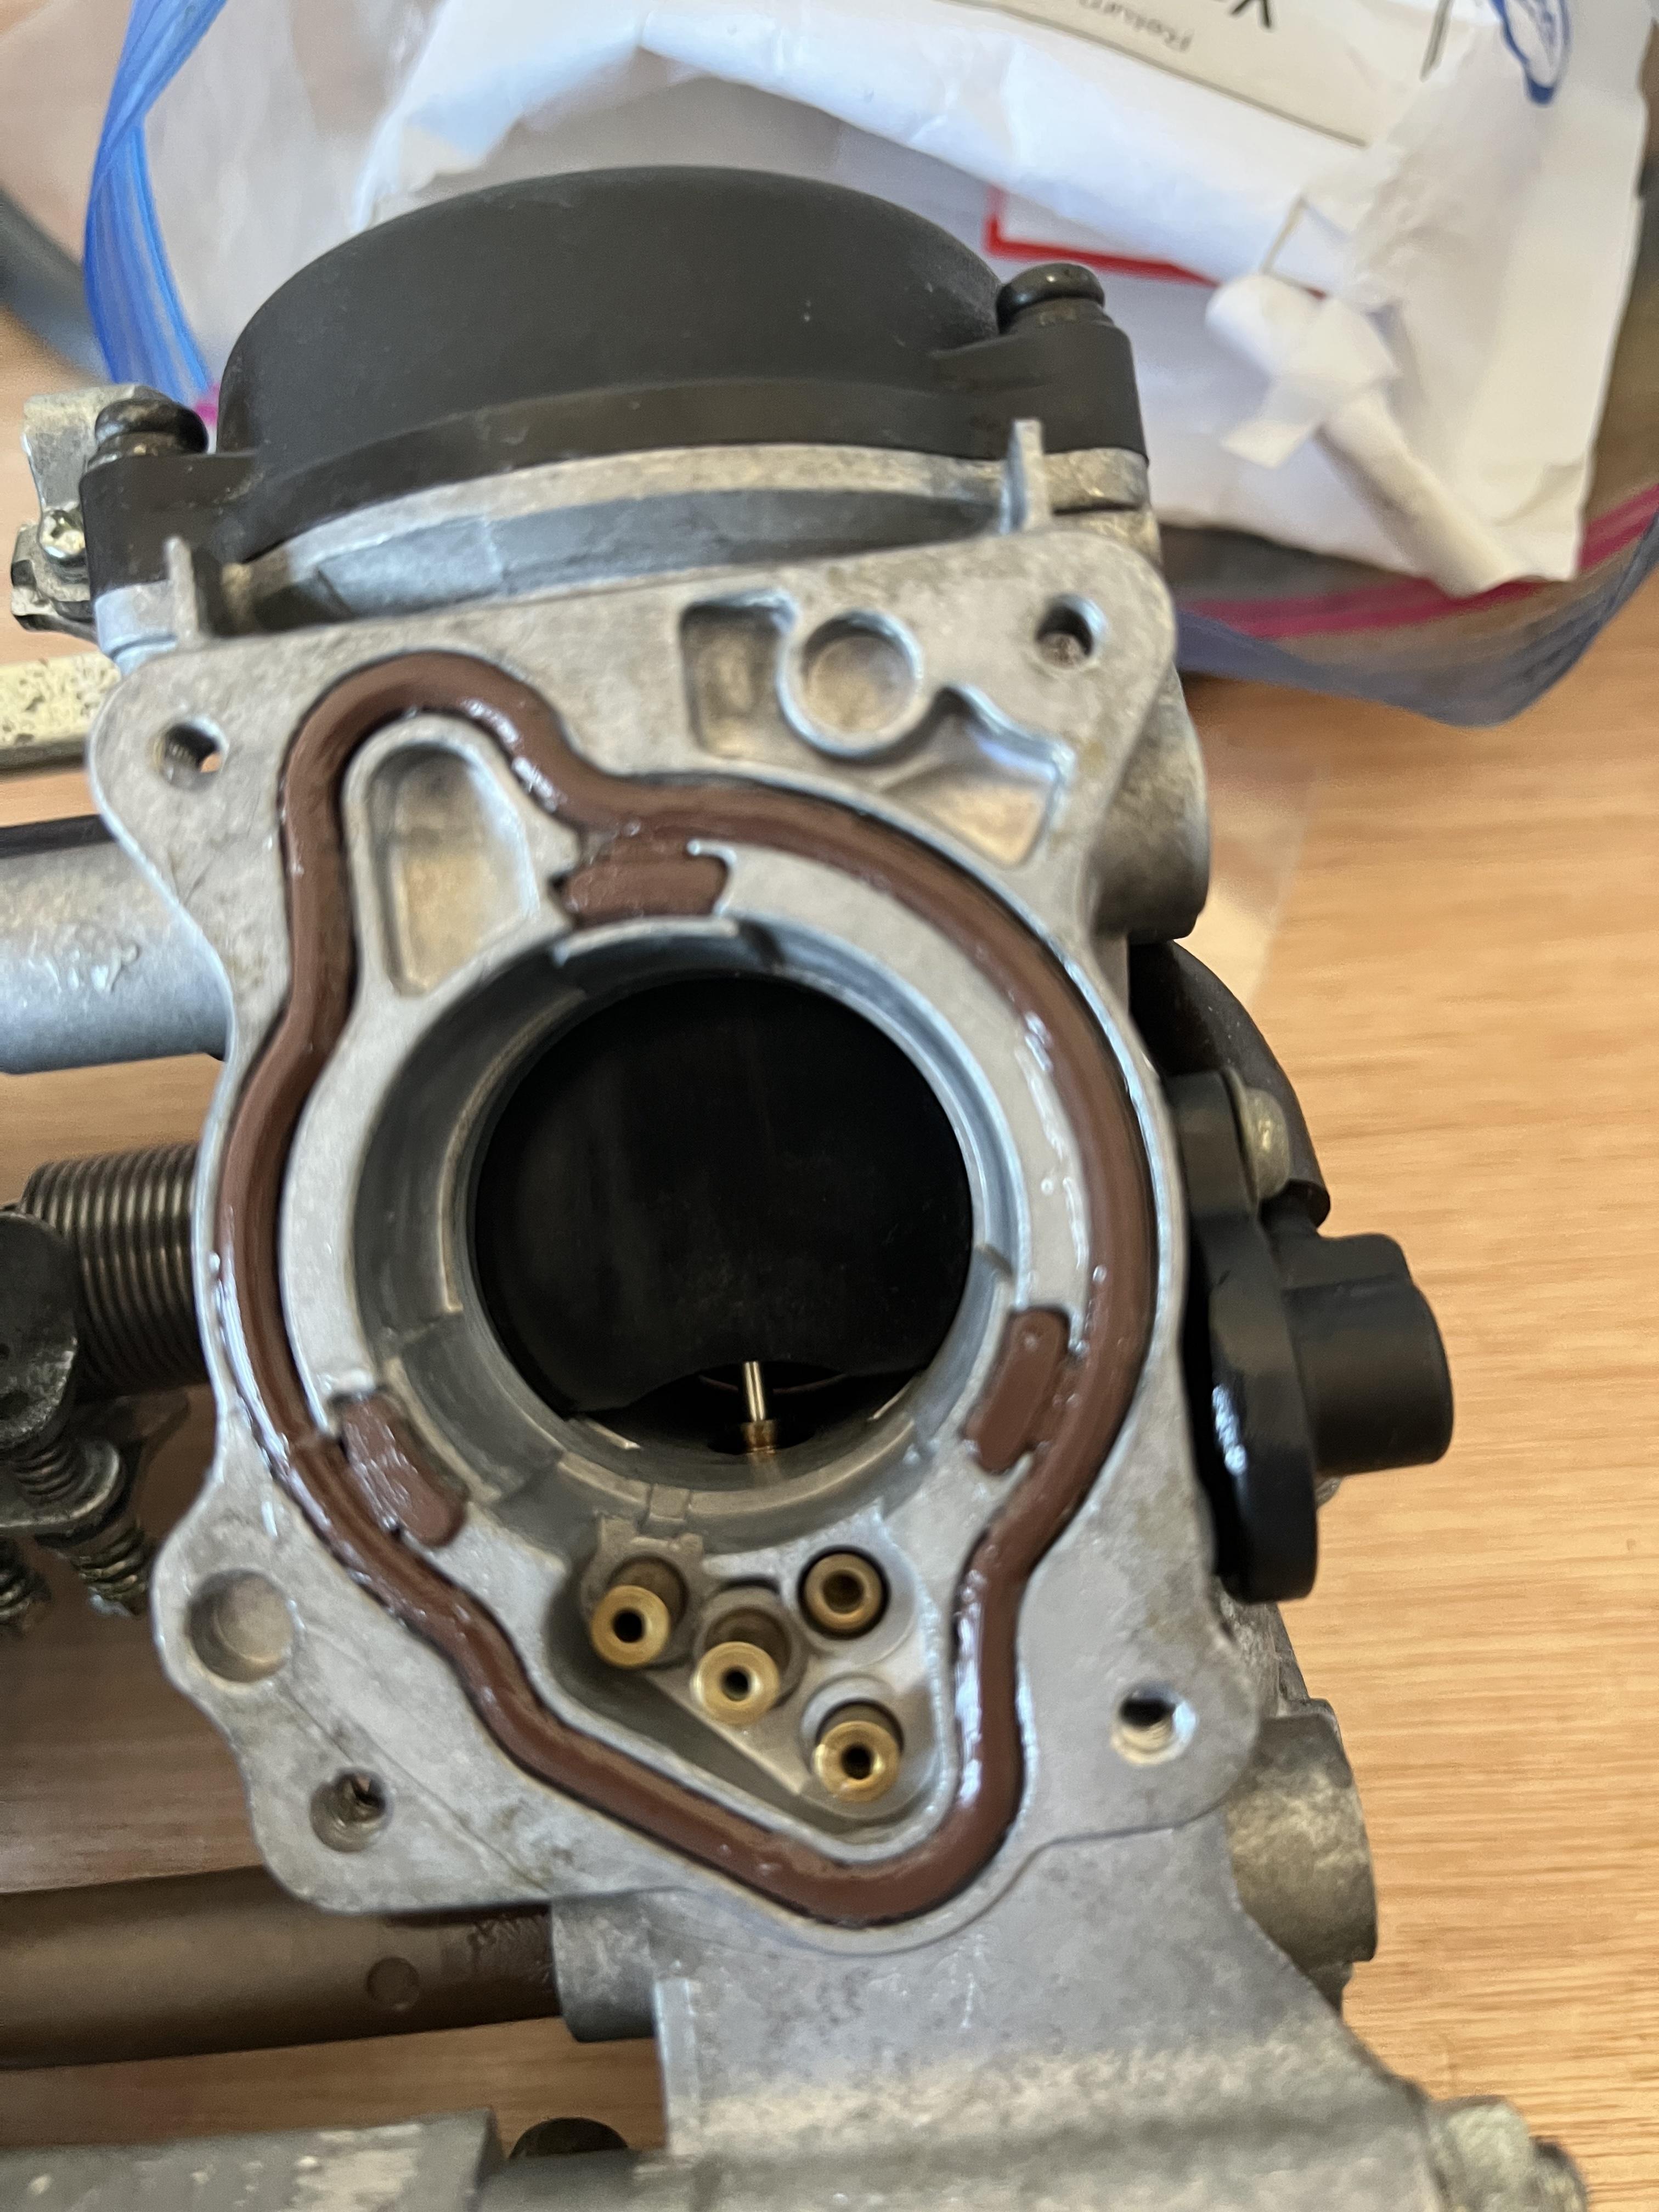
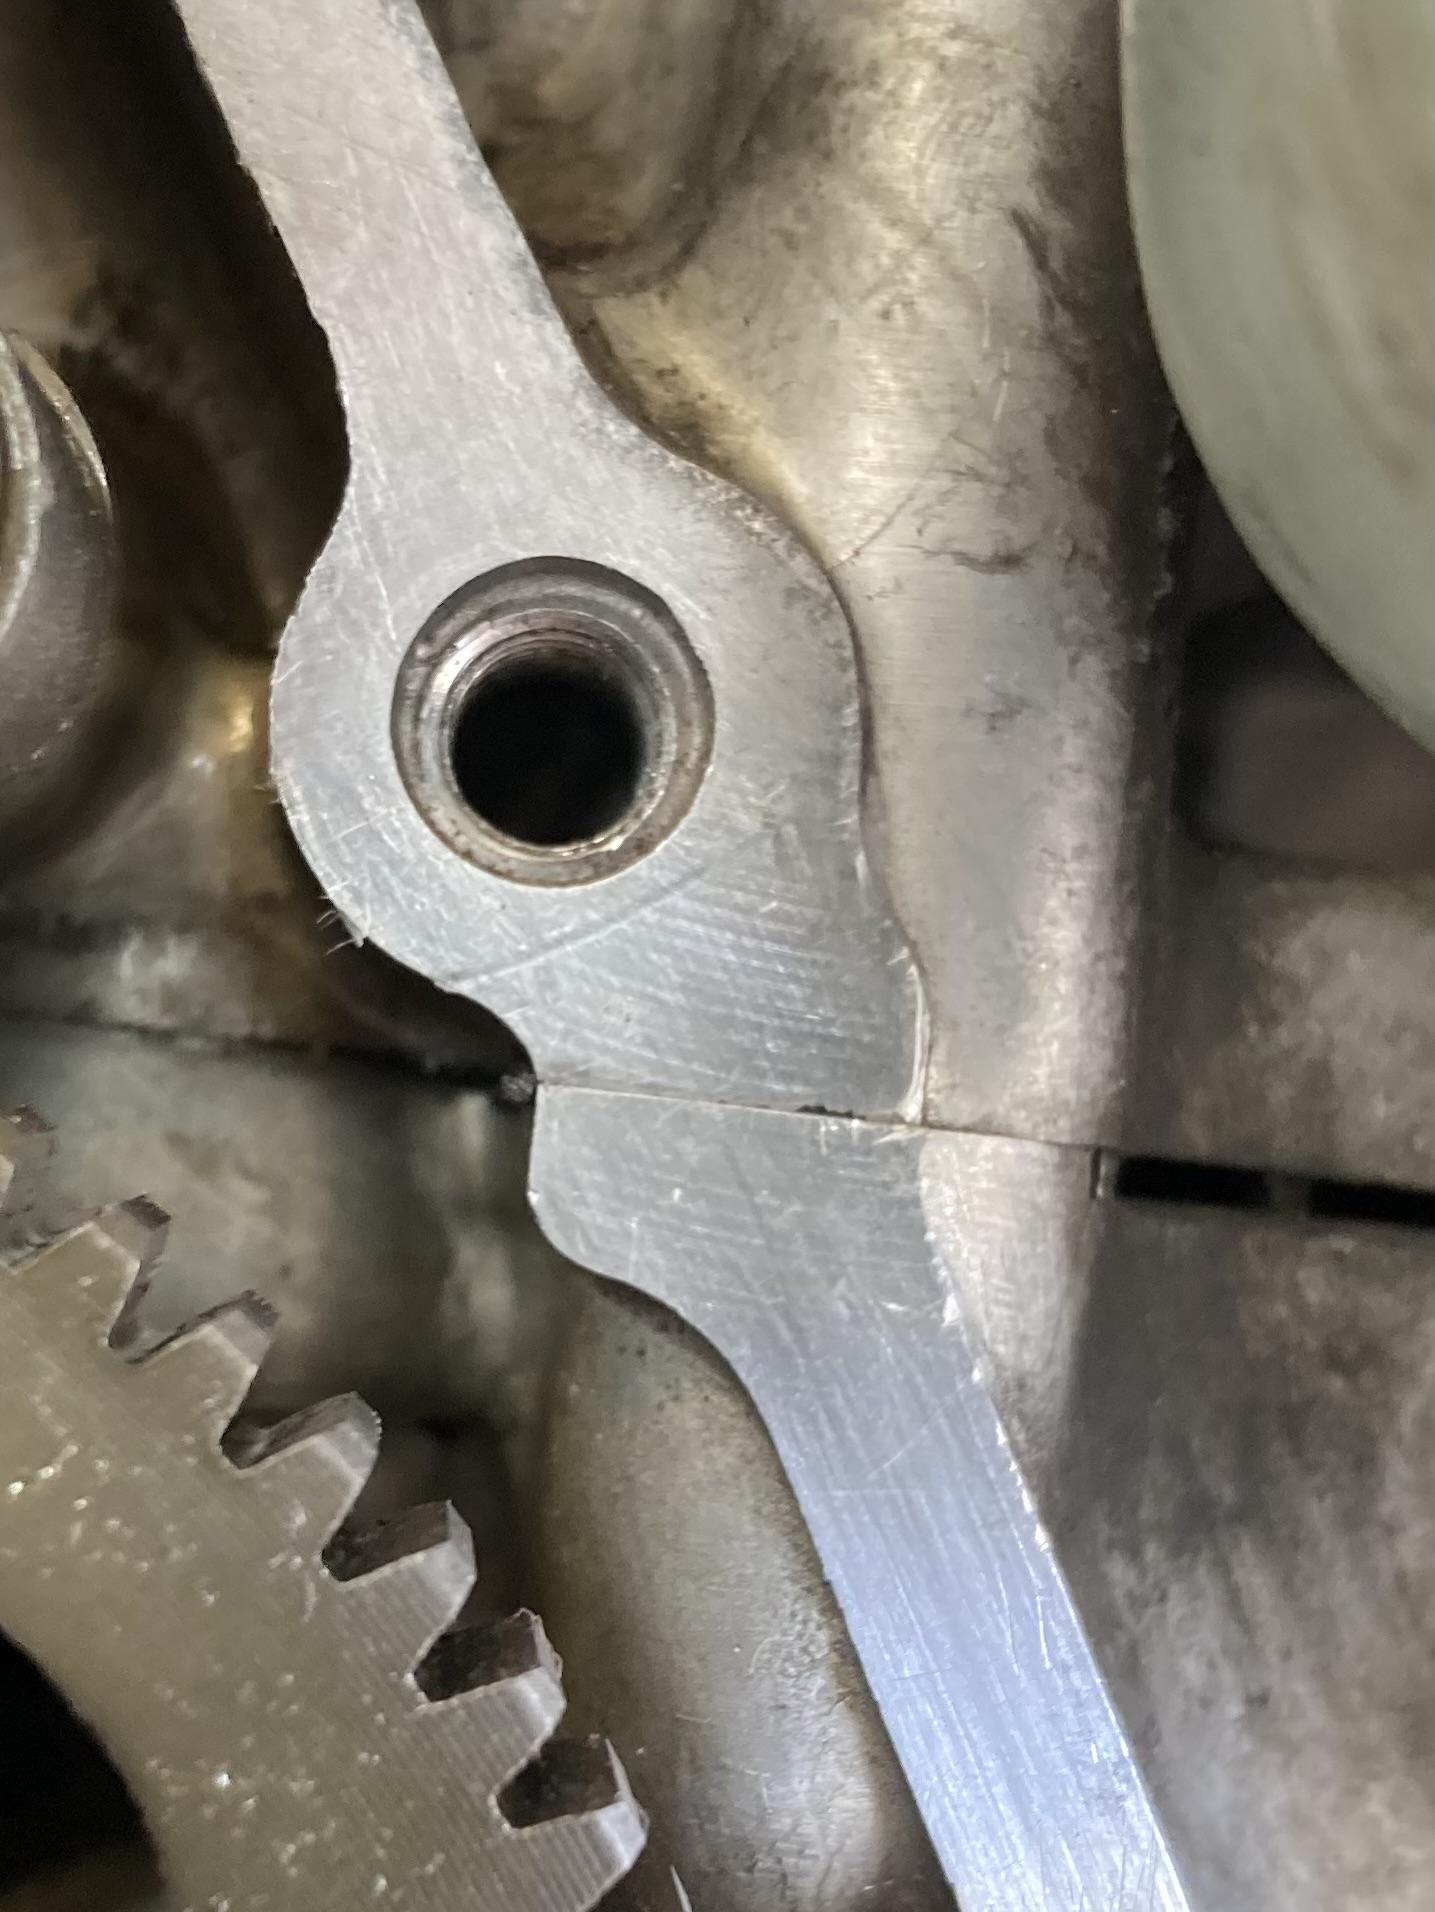
I checked the locations where the sealant is required and could confirm that it's not at the dowel pins but on the crankcase parting line (as stated above). There are two slightly sunken lines clearly visible on the surface. I applied a thin coat of gasket sealant in the area. I really appreciate that someone uploaded the service manual here on the forum 👌

-
So that's the carbs done. Few more things to do before the bodywork goes back on - coolant change at least - but in nice time for the good weather and looking forward to riding the best bike ever again, with hopefully the fuel system as good as new. Oh I forgot, the idle mixture I set to 2 3/8 turns. This is one thing I'm not sure of, though it is idling completely fine from what I can tell. What should I do here? Thanks in advance for guidance.
-
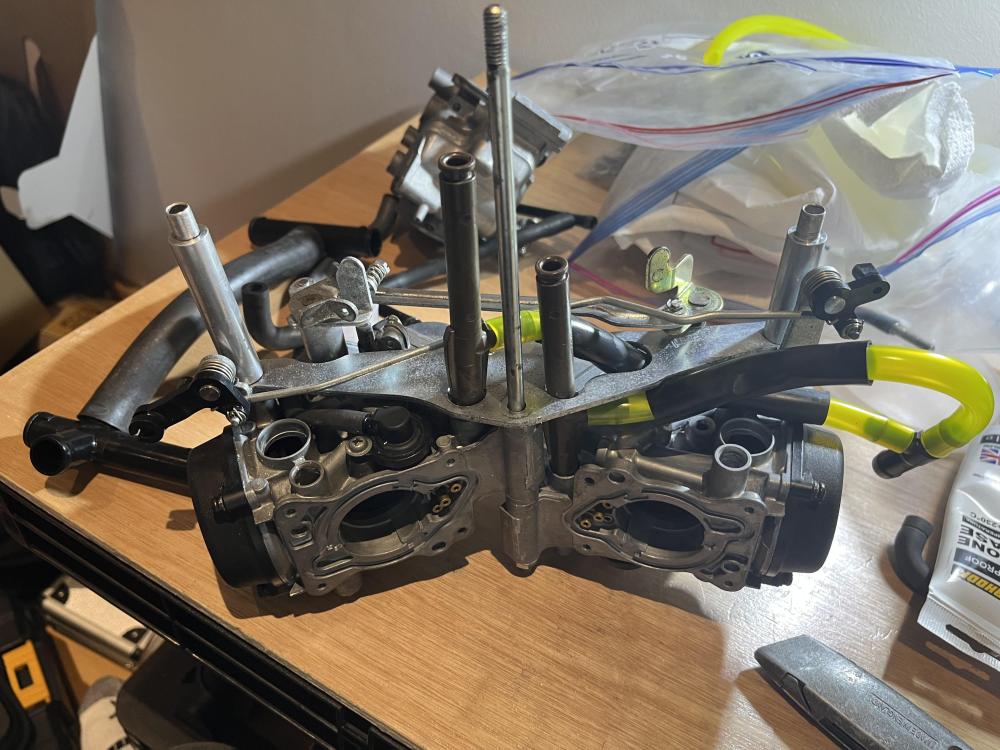
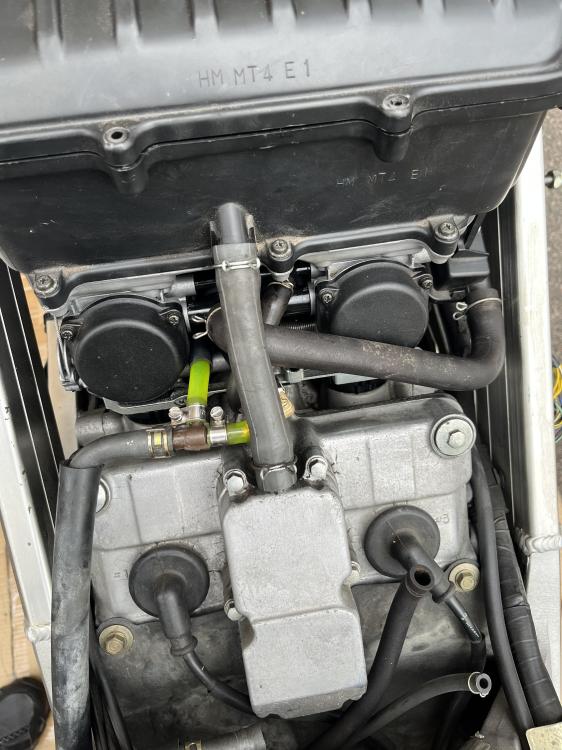
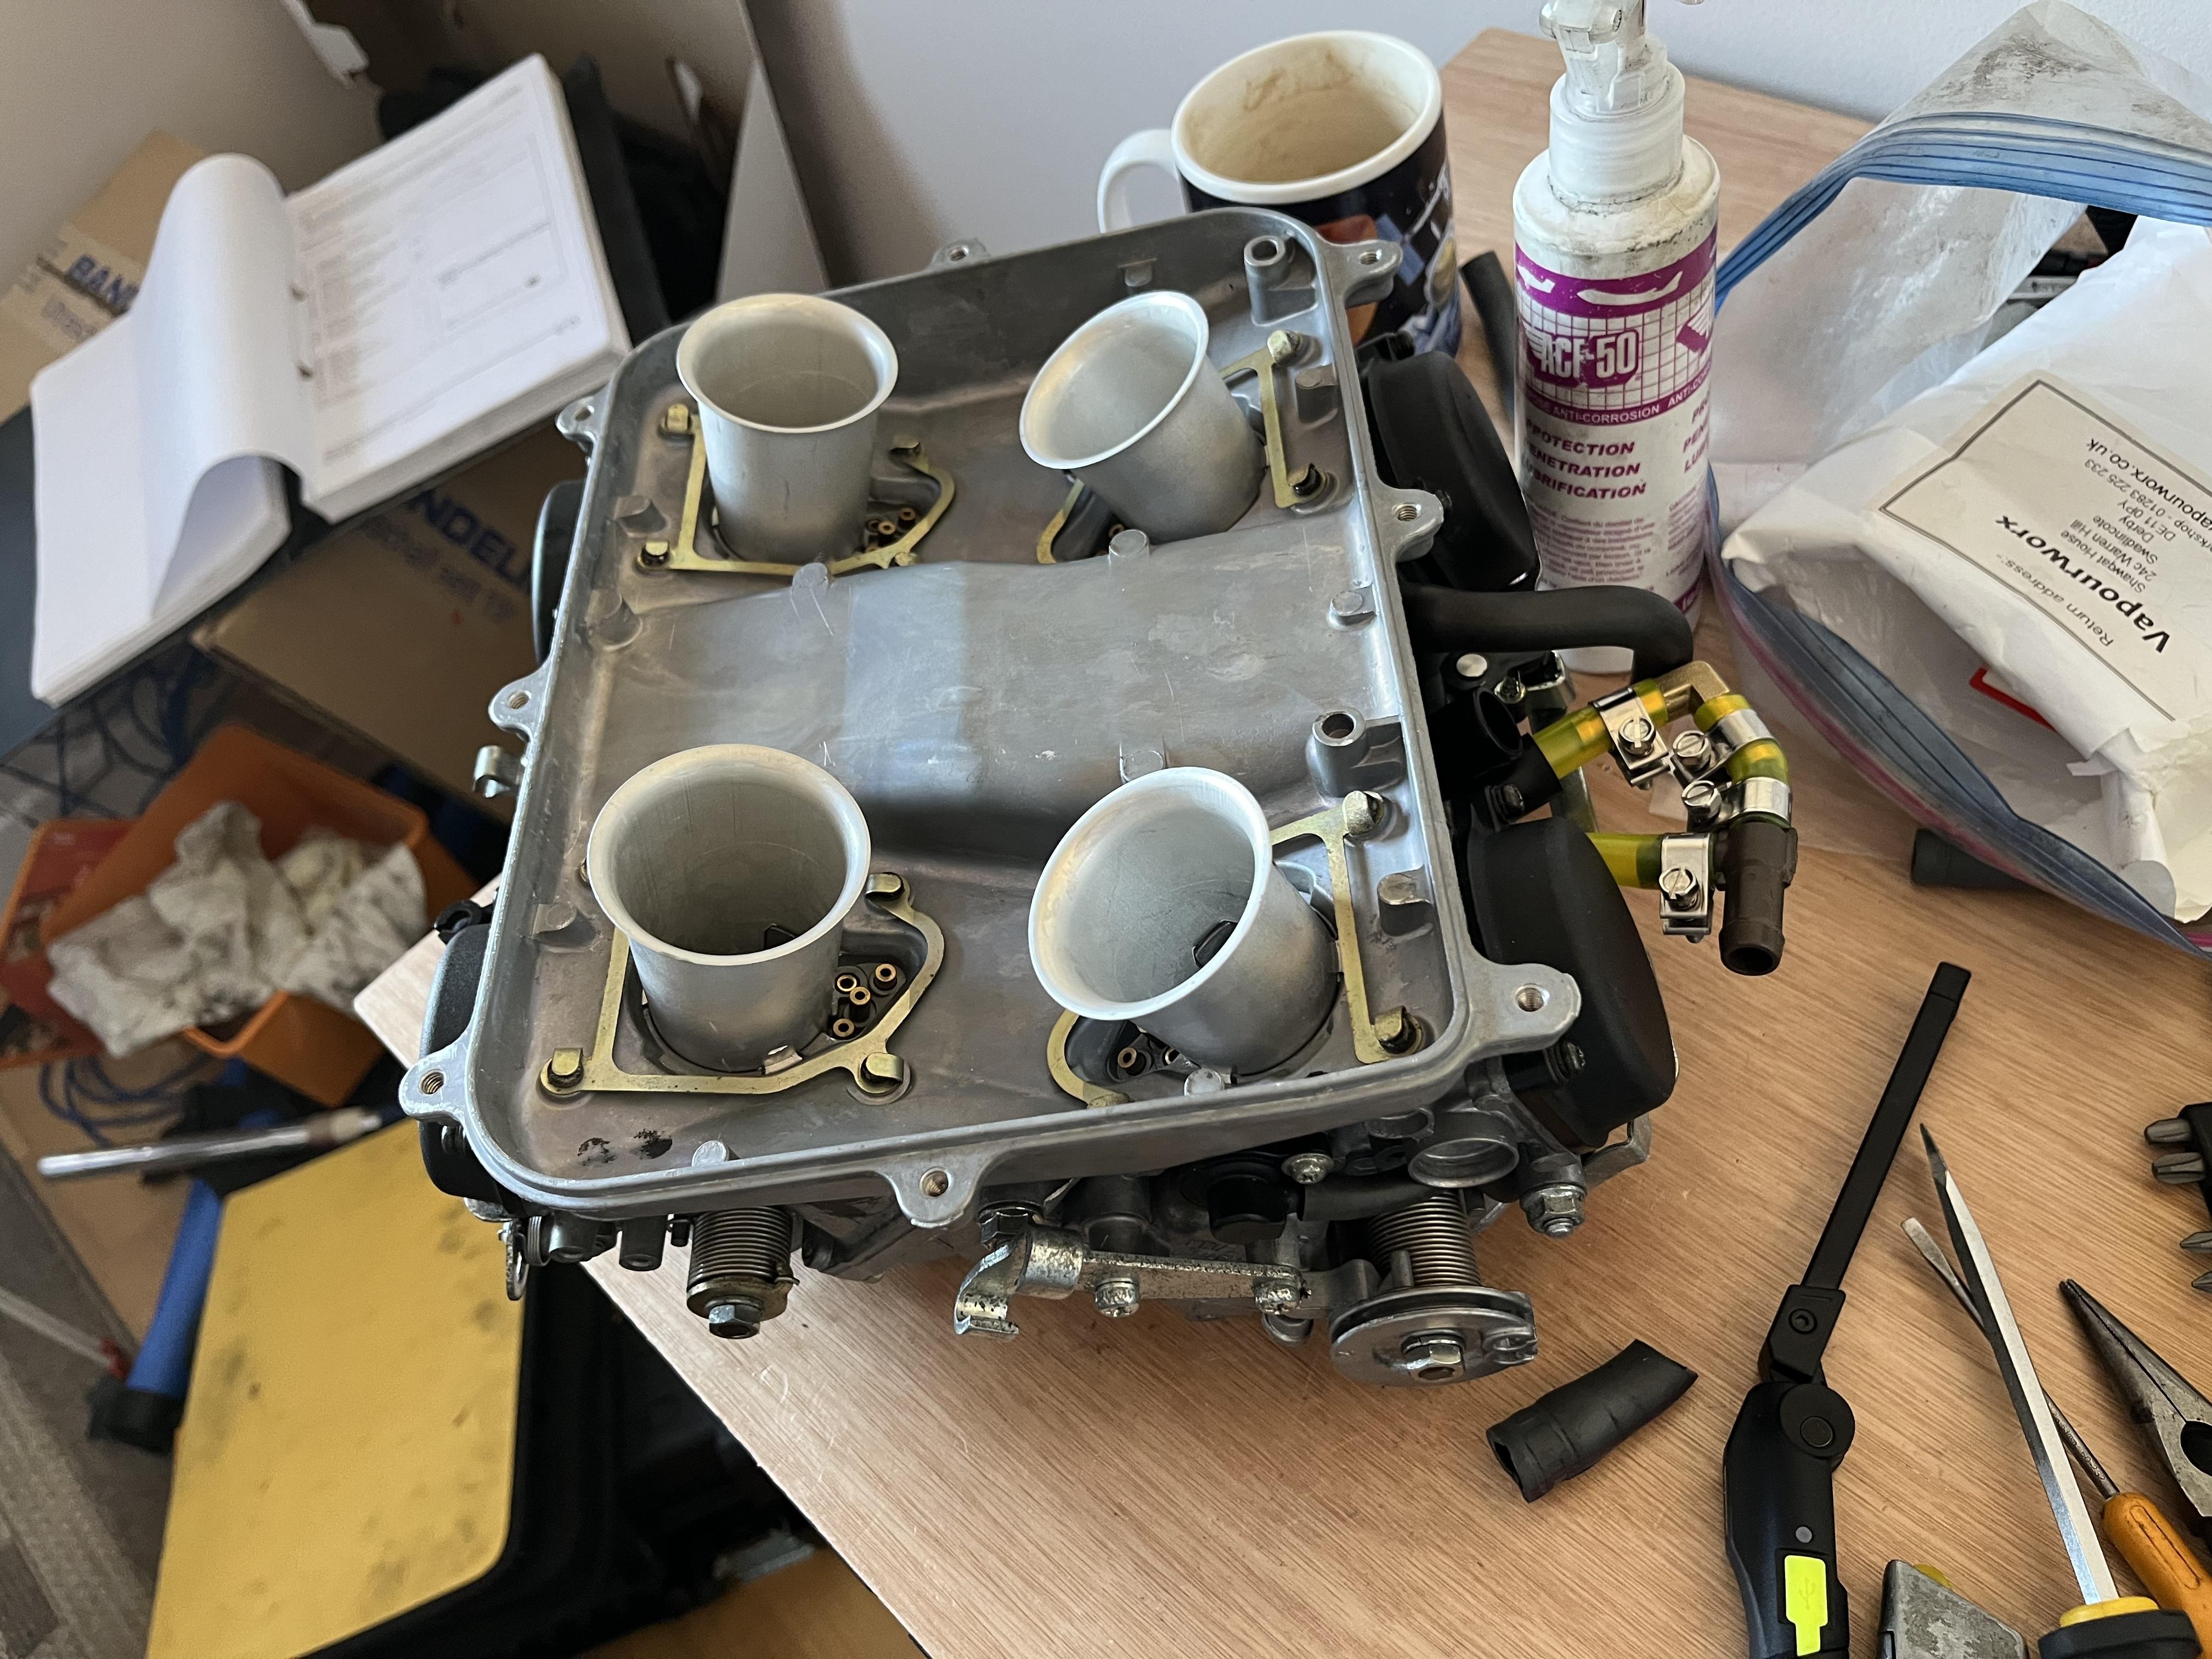
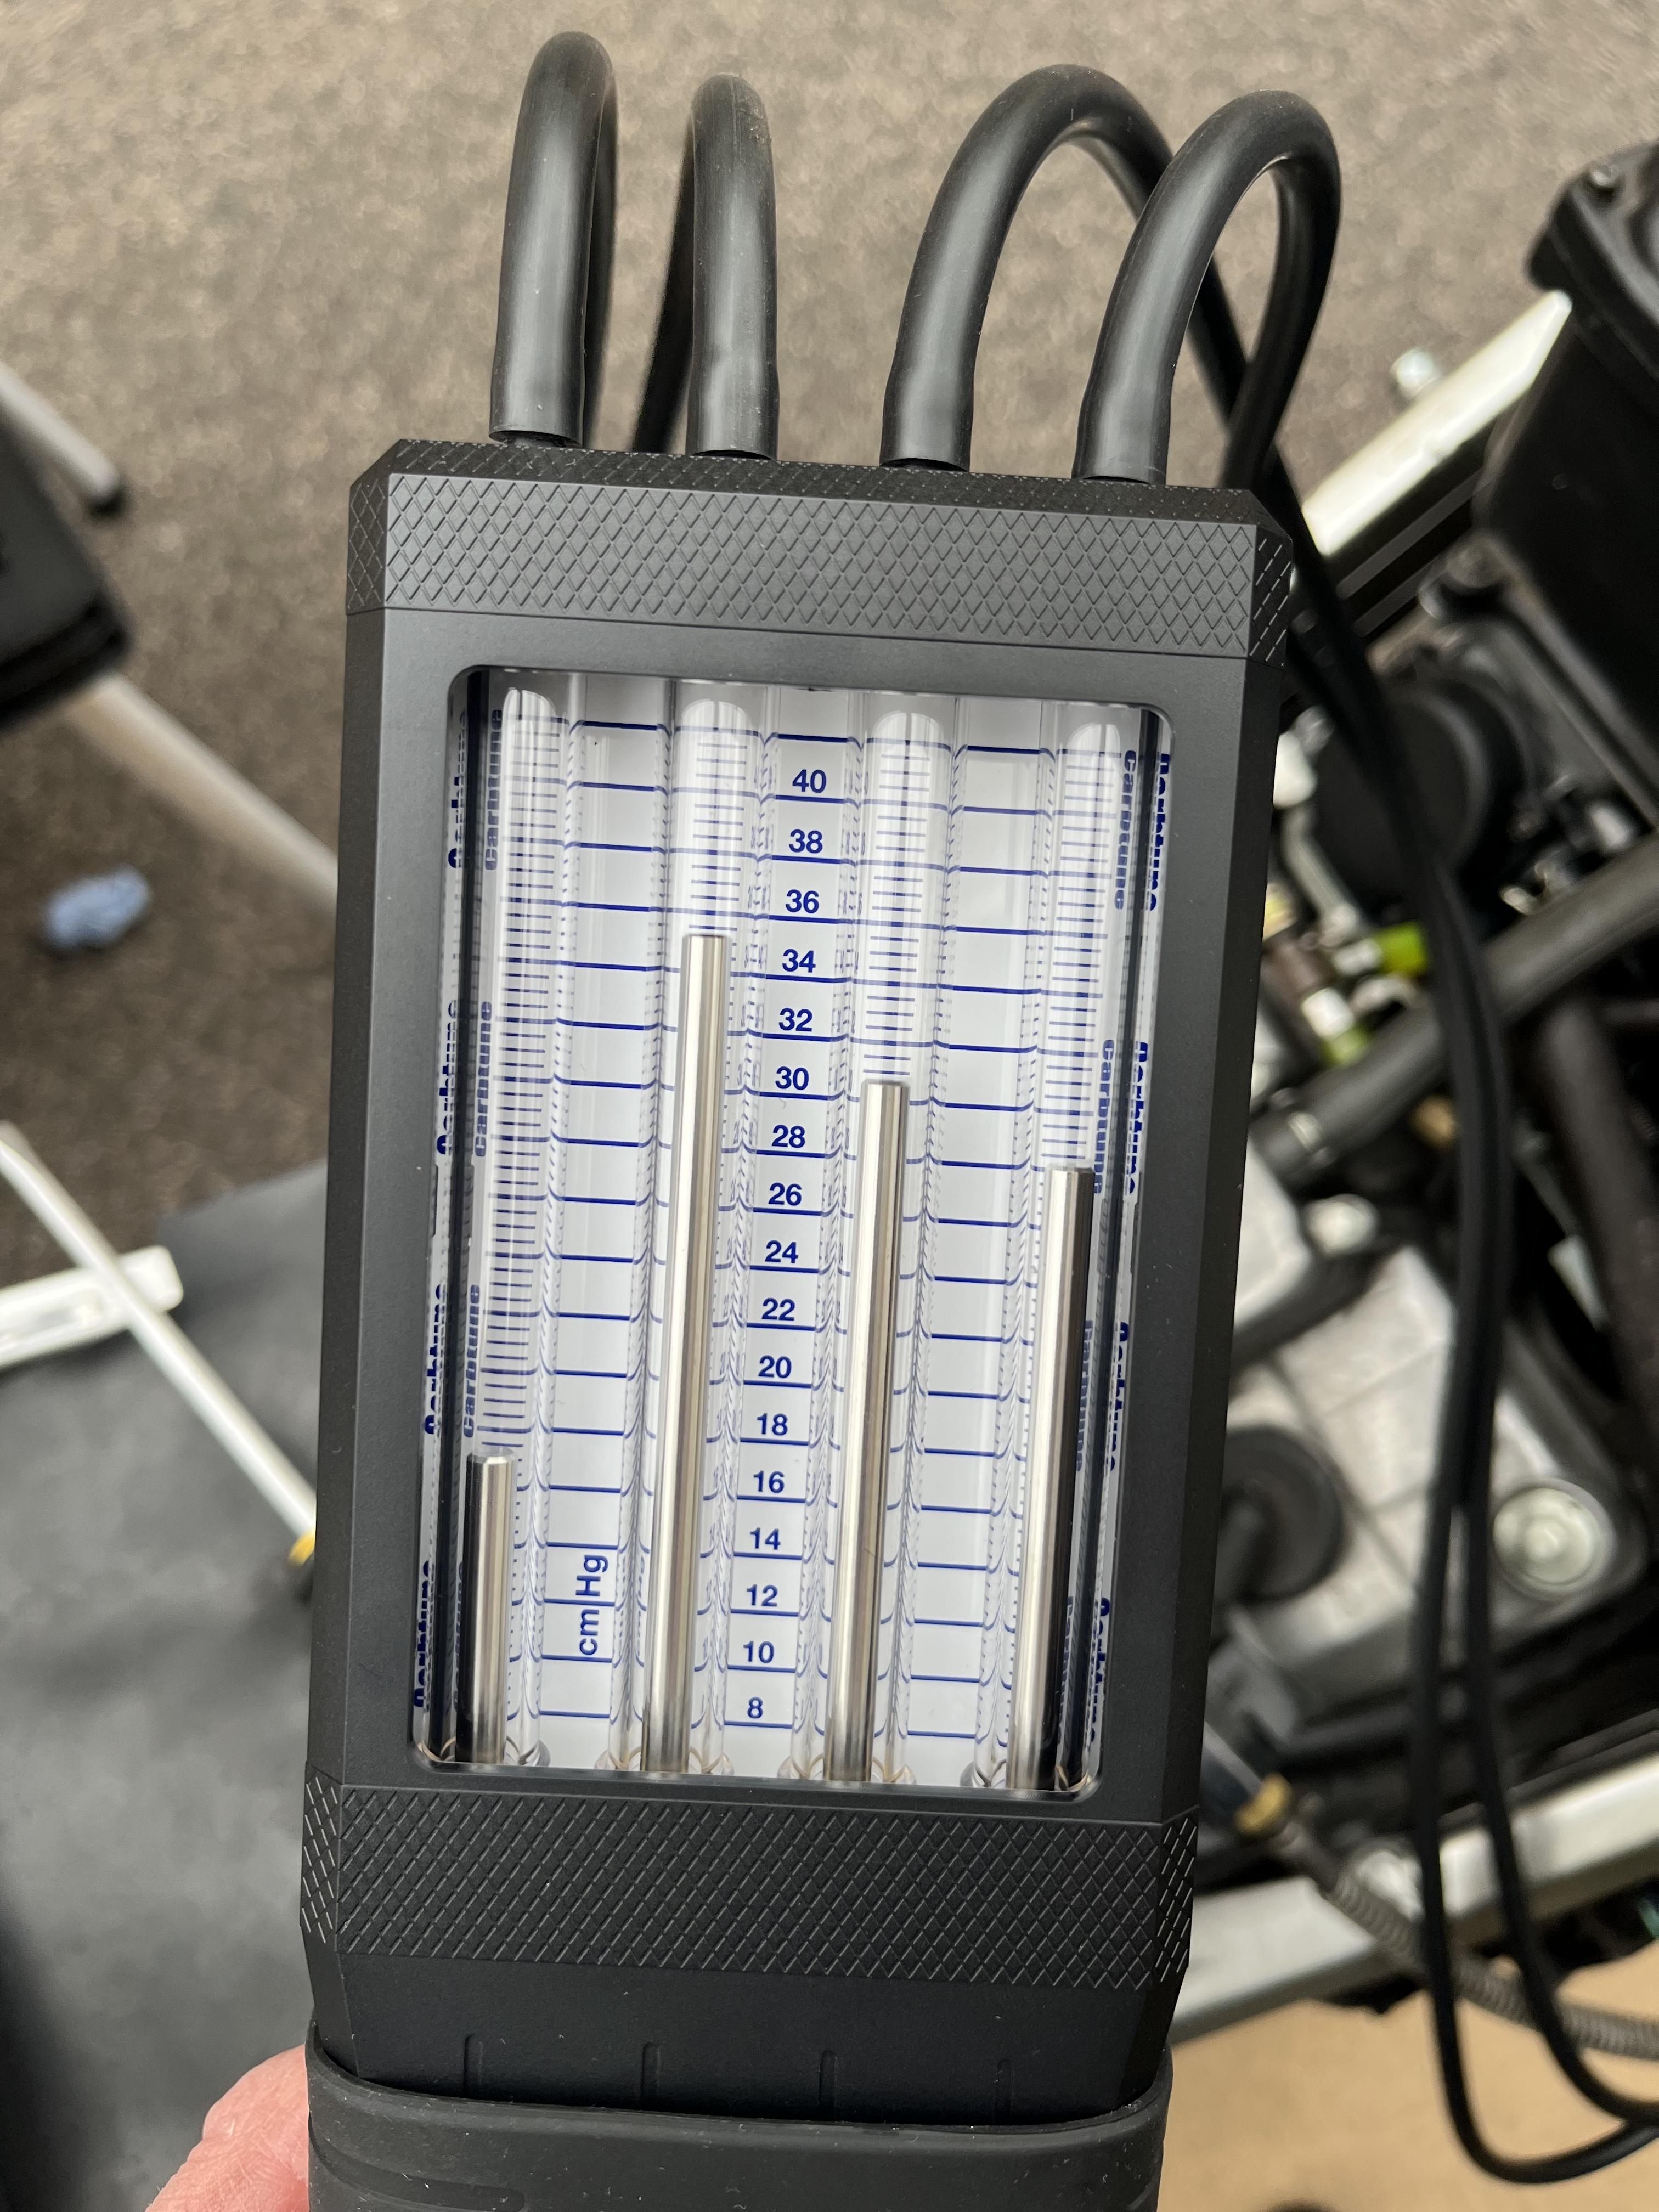
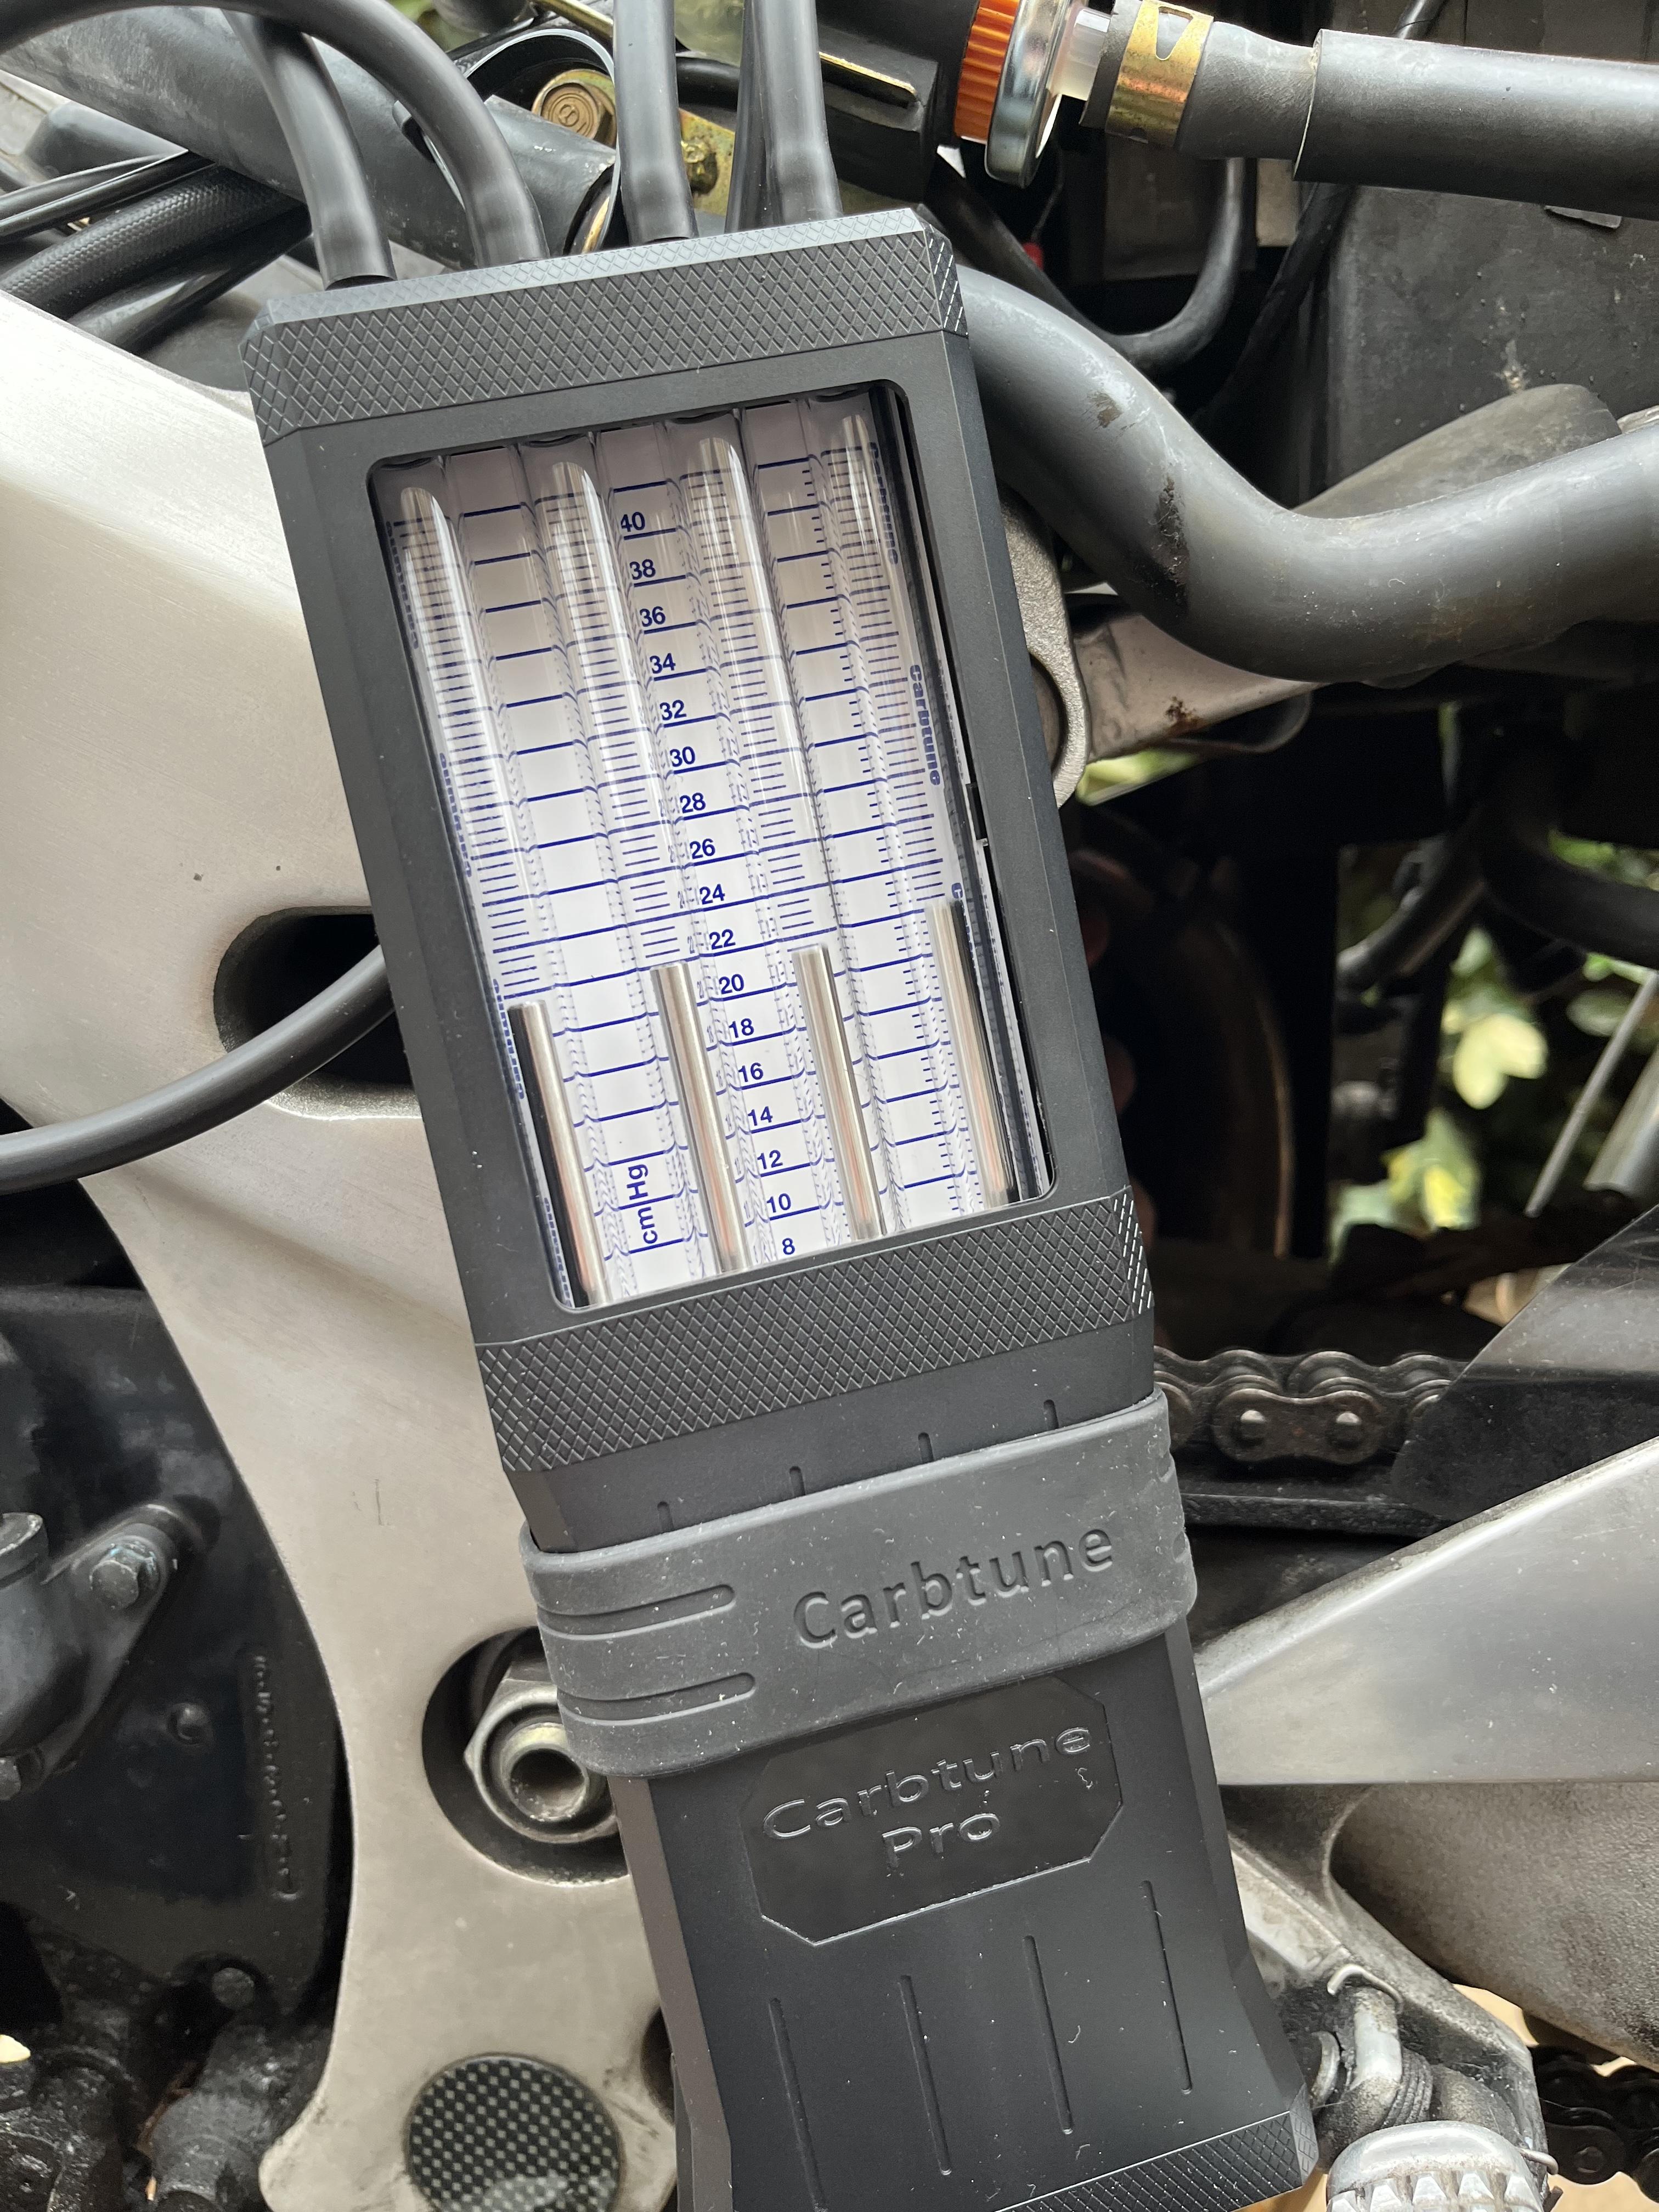
Balancing. I got a Carbtune Pro. There was no need to fit any of the adapters that come with it, as this model already has spigots with rubber covers. They are sufficiently accessible after the carbs are back on the bike. Just need to careful not to drop them. I had attempted to adjust them on the bench. This is what things looked like on installation To reach the adjusters I got one of these https://www.amazon.co.uk/dp/B0BKQFQ9MR The reviews are uninspiring but it's a helluva lot cheaper than the one linked by V4 Dreams, which comes with a mini socket. Obviously that is better but ... the price. I was persuaded to get this by one reviewer who said they were just about able to balance their carbs on a VFR400... OK then. #2 is the most difficult to get to, because of the water pipes, but you can just about get there and once the screwdriver is in the slot it does work. You will need a suitable light source. I have a Unlite IL175-R . Works well for this job. Afterwards. Not too fiddly at all, even though adjusting a given carb will affect others.
-
Another look at the pipes now everything is back in place. May be not so bad. Managed to fumble the phone for the button press moment, but this is the first start and it sounds fantastic. Very pleased. Pattern replacement fuel filter. IMG_4852.MOV
-
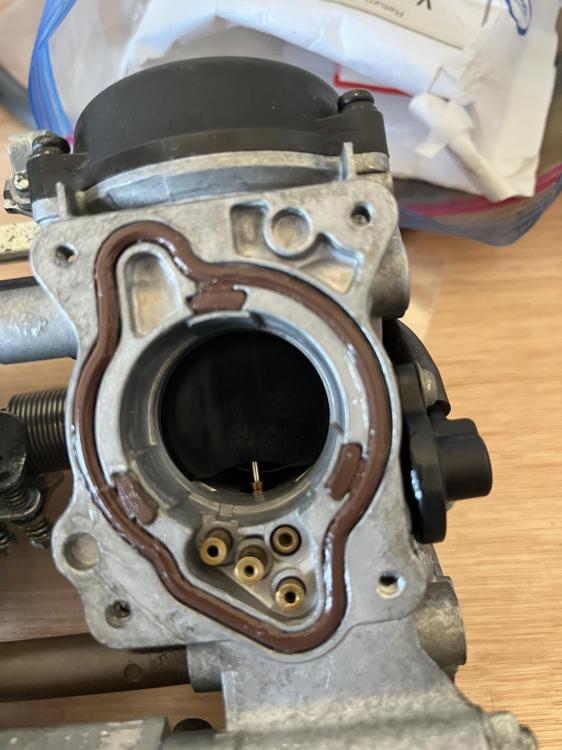
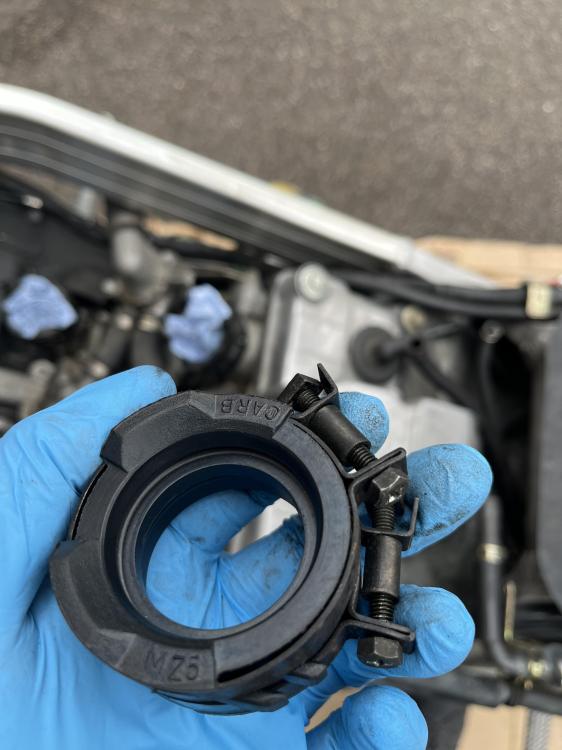
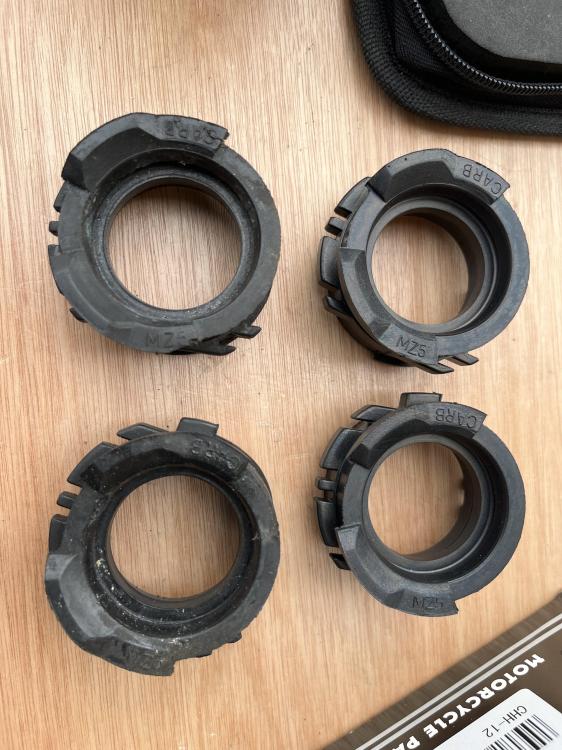
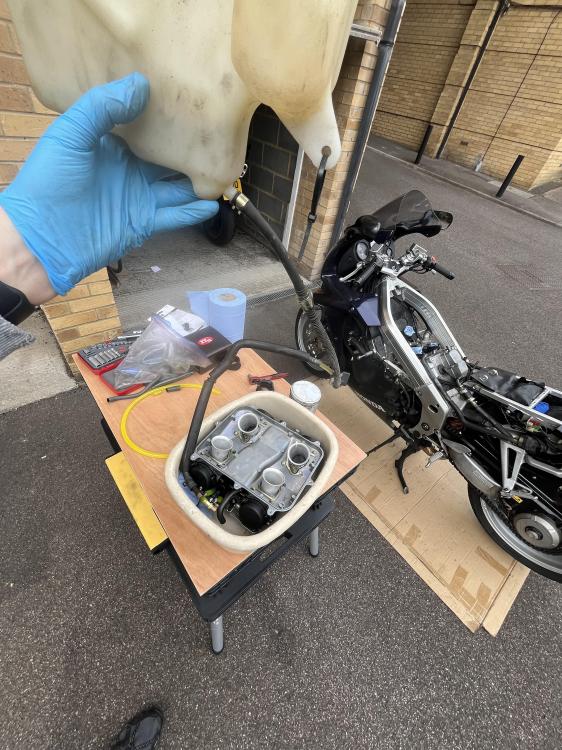
Let's go! I chose to fit new rubbers. These are the Tourmax ones and seem good. Seated with a little red rubber grease. Old on the left, new on the right. The old ones didn't seem too hardened, in fact. Leak test and fill the float bowls with my old two stroke oil tank. All good 😁
-
 featured
 -
The feet of the air stacks sit on these tabs. More silicone grease You have to juggle the stacks in the chamber base to get everything to back. It's a bit of a fiddle. You can see here I have put a brass elbow in (as advised earlier) because the original rubber pipe has a preformed bend the plastic cannot make. I have also gone for these stainless clips - even then the elbow was sloppy so I bound it with some PTFE tape, which research suggests is OK for petrol. It may not look that great but it all tests petrol tight. What do you all think?
- Last week
-
yes, i got a kit with metals. The old ones were looking like retirees so i'm happy i got them.
-
I hope that you enjoy these! https://photos.app.goo.gl/kUctG3mzhcMHUo397 Feel free to share the link with buddies if you think that they would enjoy them. There was a LOT more there than when I saw it many years ago.
-
Did you buy a whole kit, including metals? If not, repeat after me... "I'm going to scuff my metals radially."
-
Great, thanks! The discs are already soaking in oil, I'll assemble it tomorrow and put some fresh tyres on. Then (hopefully) endless miles of freedom ahead of me 🙂
-
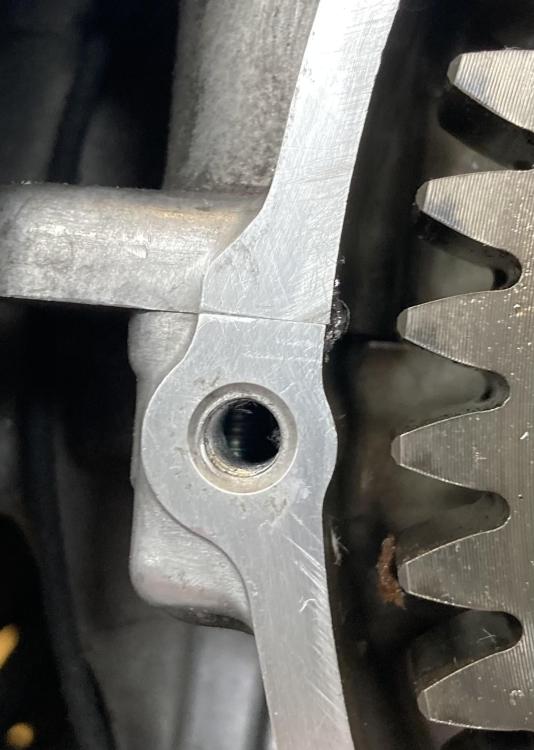
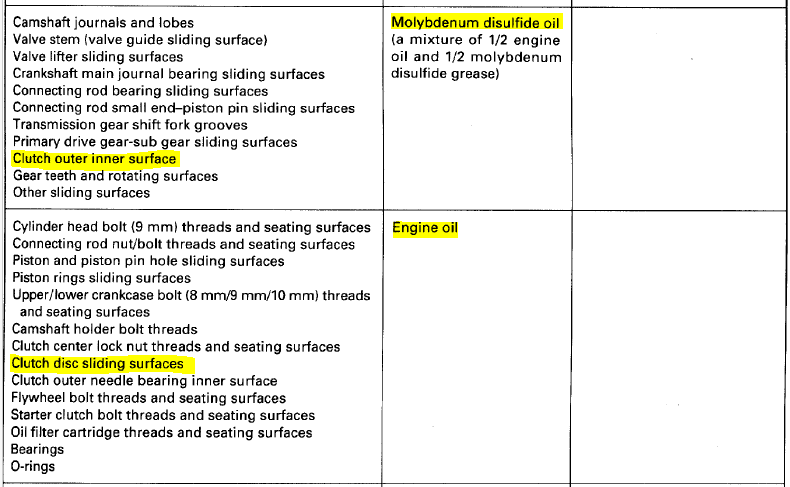
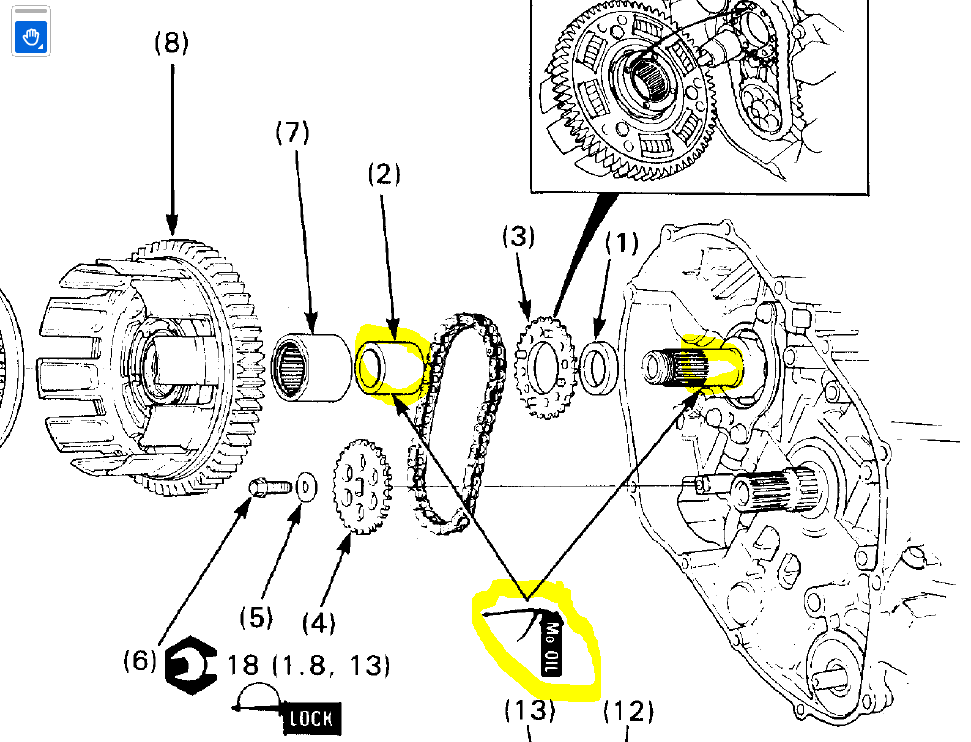
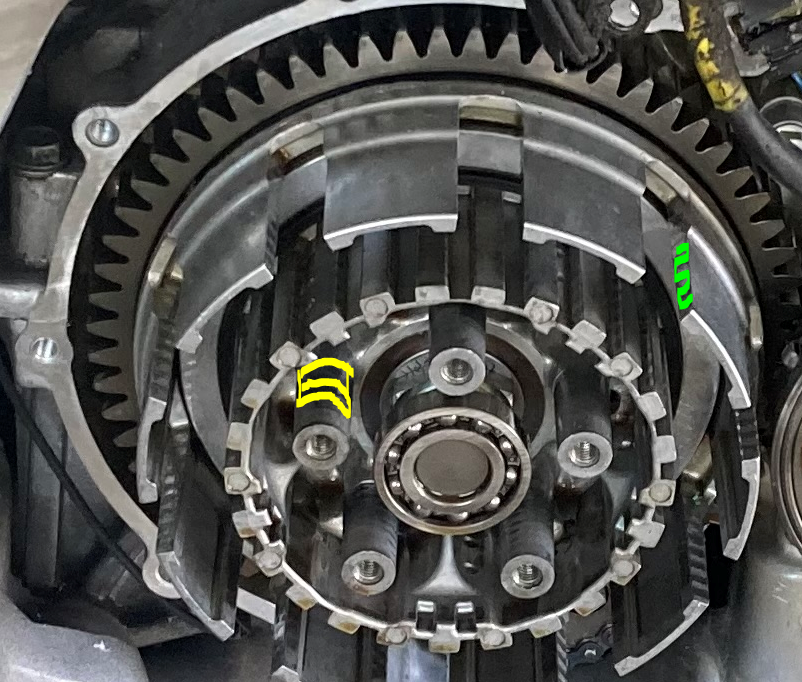
My $.02 The sealant in those locations is where the two halves of the crankcase meet, so there is a seam, and could provide a path for oil. That being said, I don't usually apply Hondabond there and I have never had an issue. But it definitely won't hurt anything. I do usually put a light smear around any wire grommet. They aren't under oil, but I guess I do it to prevent weeping from hot oil fumes. The "Clutch outer inner surface" is exactly where they are pointing on the Main Shaft and #2 (Inner bearing collar). It has nothing to do with the basket "fingers" or the threaded bolt bosses. The wear marks on the Clutch "Basket" (another name for the "Clutch outer") are normal. Unless they are very pronounced on a very high mile bike, they usually don't present any problems. You can file them down a bit if you have it out the bike (to prevent contamination), the same surface 180 degrees away is in the same plane, so you can keep everything "square" by engaging both surfaces at the same time. I think I've only ever done it once on a bike that was pretty damn bad, I didn't want to try and source a better replacement, and the thing just needed to go back together and leave. I wouldn't worry about it. "Clutch disc sliding surfaces" means don't put the clutch together dry. They probably want you to put some oil where you see the wear marks on the basket and inner clutch if the engine is being reassembled with clean, dry parts. Pre-soak the frictions and oil the metals on assembly, this will get plenty of oil on those surfaces when assembling anyway. Scuff your metals radially (!), or figure-8 them on a thick piece of glass and sandpaper, and clean them real good.
-
I've started the clutch repair, it has been an easy job so far and the clutch discs were way below service limit thickness. As adviced, i spent most of the time scraping off the old gasket 😄 However, I've got some questions on the information in the service manual, see below pictures: Liquid sealant is required in two specific places only, why? It seems to be in the location of the dowel pins, if these are a known point of leakage then i guess it makes sense but then both sides of the gasket would require sealant in this area. Or? Does the text "Right crankcase cover gasket surfaces of the crankcase" mean to apply sealant on one side only, on the crankcase and not on the crankcase cover? (this is how i read it) The picture of the gasket area in the service manual is upside down vs the real orientation and the yellow circled area in the middle has a rubber cable grommet opening in it. This seems to be a likely point of leakage, and there's already (what appears to be) silicone sealant remains on my motor there. Shouldn't this area have liquid sealant too? And a question on the lubrication, see below picture: Why lubricate clutch outer inner surfaces with MoS2 oil mixture? This is a friction reducing compound, i guess it could be useful to lubricate the axial sliding of the discs during clutch operation, but won't it quickly be dissolved and contaminate the motor oil, possibly causing clutch slipping? The only mention of MoS2 oil application in the clutch procedure in chapter 9 is for the clutch axle and bearing surfaces: It could make sense to use the MoS2 oil mixture where there are clear wear marks (yellow and green below), but i think i'll avoid it altogether due to the unclear instructions. The clutch outer has significant dimples from the plate edges, as can be seen in above picture. I think it is probably not good to try to flatten these as it will be hard to keep all the surfaces plain and perpendicular. Thanks for any insights!
-
And still we have wannabee kings and defacto dictators wage wars....
-
Motomatt99 joined the community
-
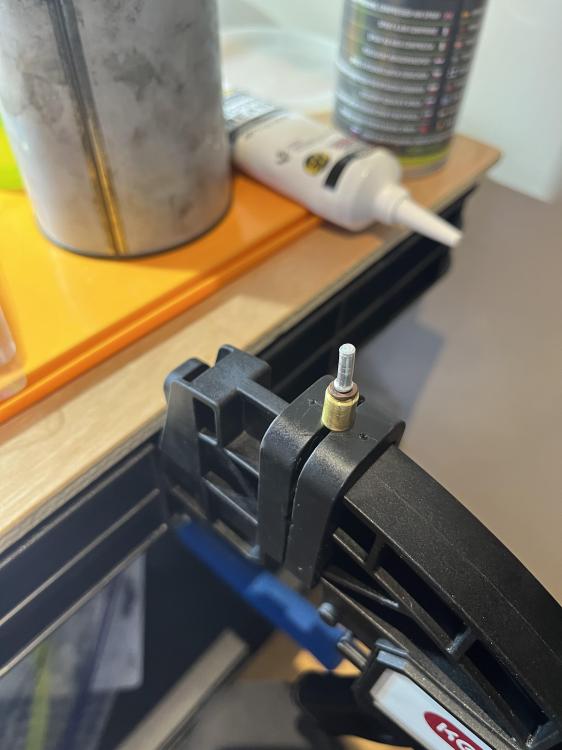
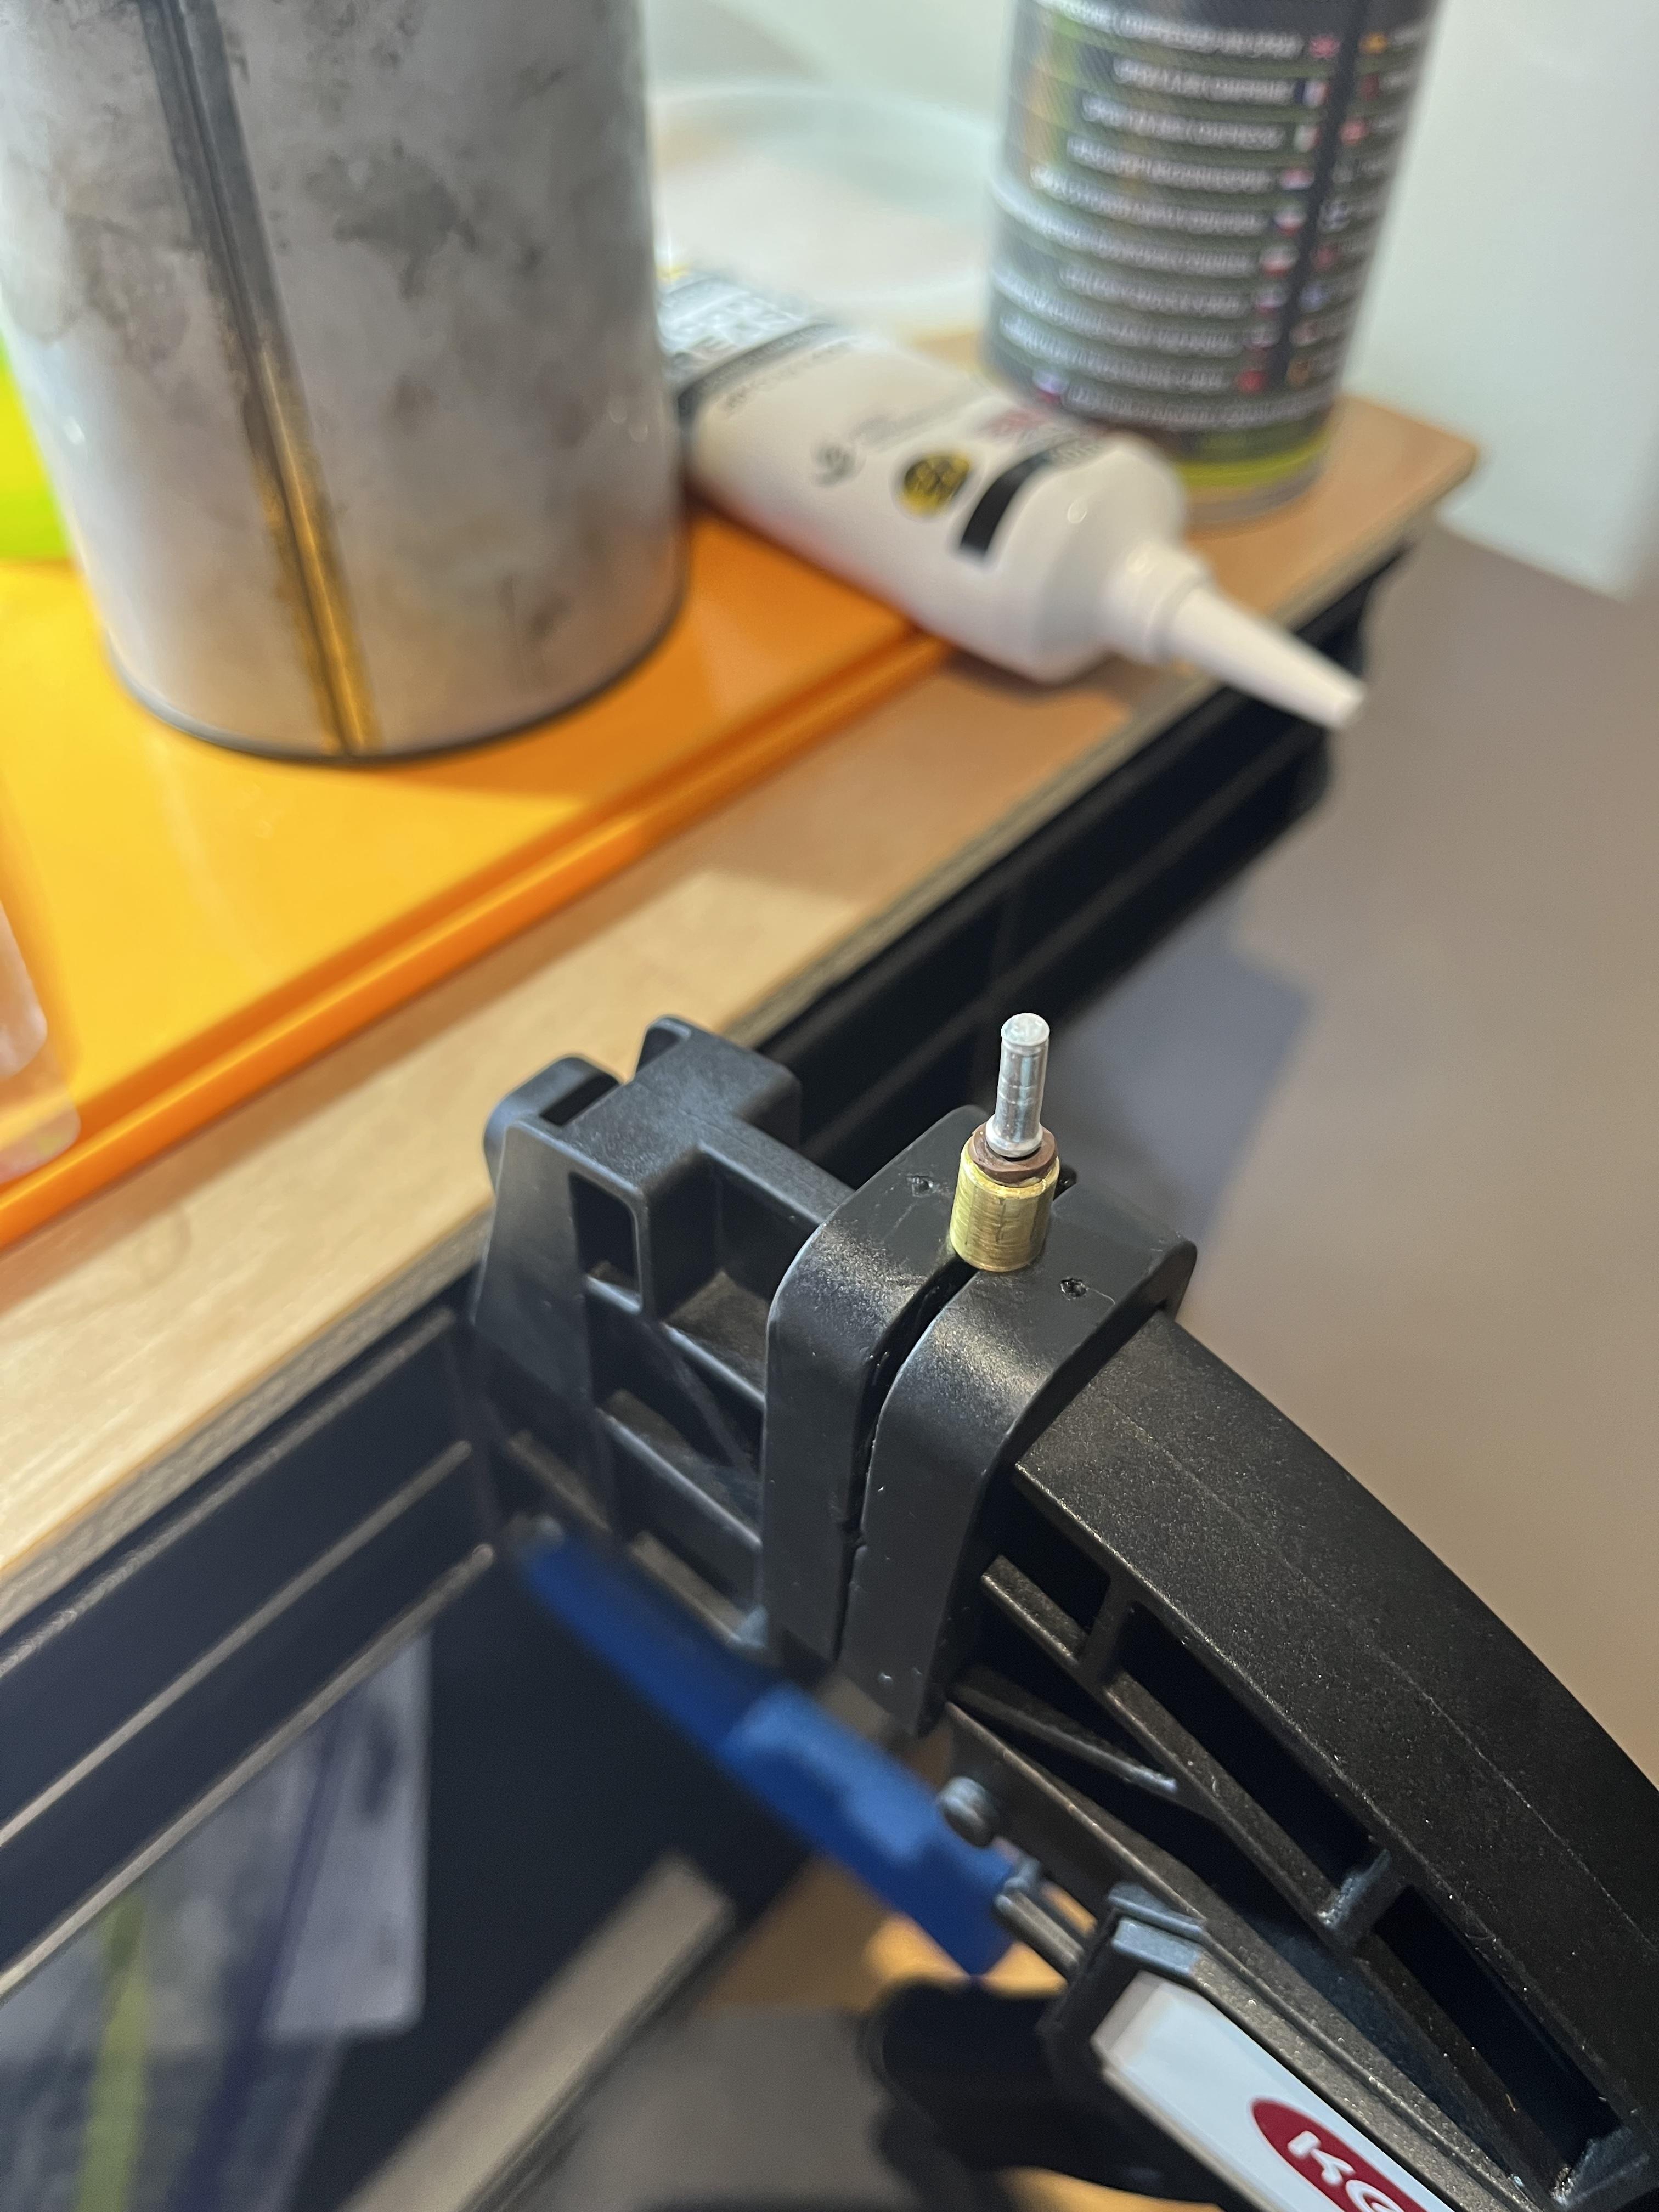
While the parts are out, take the time to clean the threads of the damper base and the socket bolt; this will ensure that you don't get a similar problem if the bolt binds as you reassemble it. I hadn't seen JZH's post before; some wise words there.
-
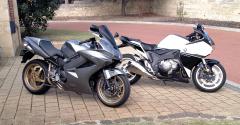
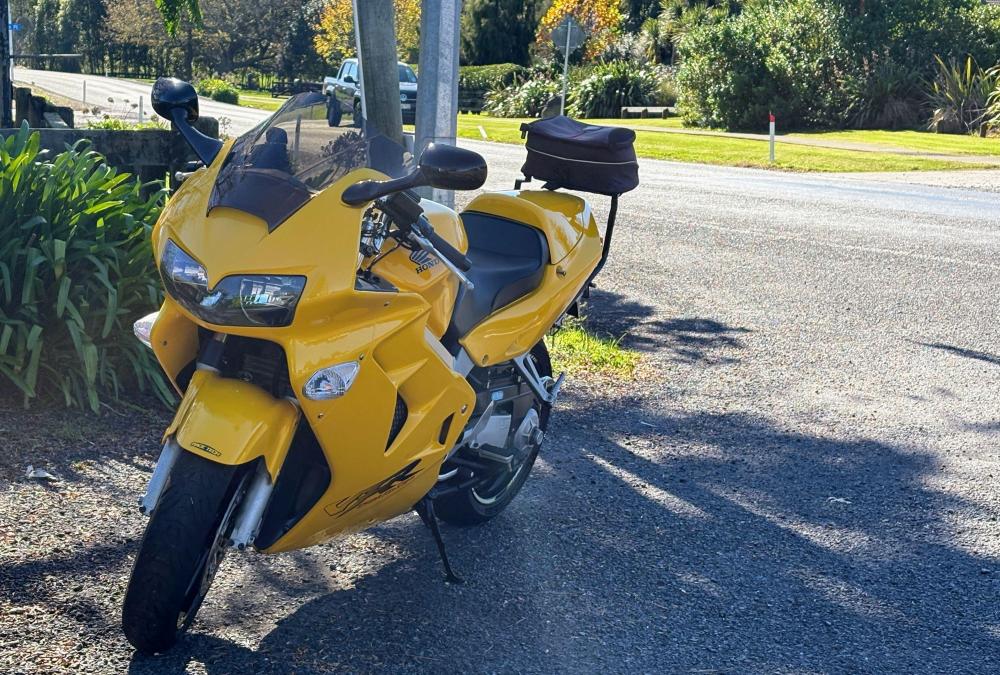
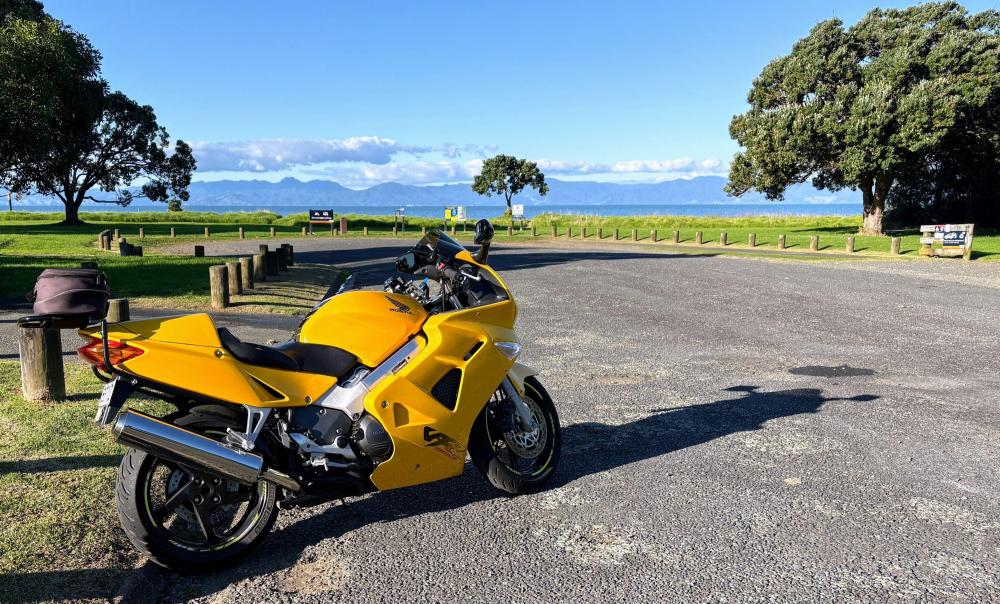
I love autumn around Auckland. This is the season with the most settled weather, and right now we have a lovely mix of nippy, clear nights and warming dry days, with little wind. I'm always happy to add on another layer (or switch on some heated grips), and the advent of the PInlock and drop-down visor means my vision is unaffected. Today was Bumblebee's day, and we had a lovely 300km round trip to Waingaro Springs and back, round my favourite twisty roads. Mother Nature played nice, the Man was mostly absent (or only around when I was well-behaved) so we had a splendid few hours of bonding. All being well, Earl and I will head out tomorrow so I can scrub in his new Road6 GT rear tyre.

-
So pulling on the fork definitely worked. I cobbled together a makeshift fork spring compressor tool from some angle iron, a few bolts, and a ratchet strap worked well too.
-
I certainly am interested! thanks for the response. Do you have pics and details available?
-
filip9 joined the community
-
TheStig79 joined the community
-


.thumb.jpg.6b9488d9849fb7037caa4c17228db2ab.jpg)


Blogs
-
 A blog by HispanicSlammer in General
-
Entries
122 -
Comments
564 -
Views
302,649
- 122
Entries - 564
Comments - 302649
Views
Recent Entries
Latest Entry
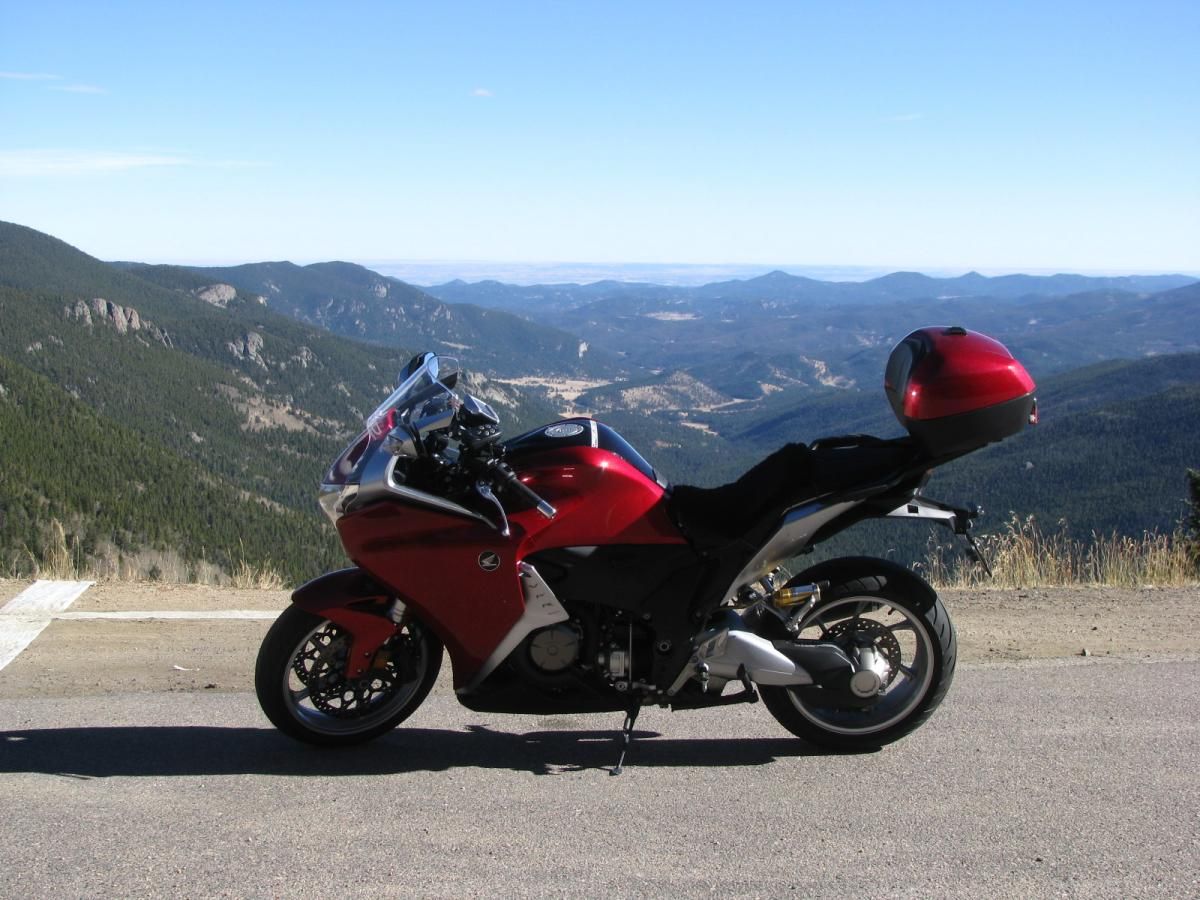
The Last Day Of Good Riding Weather
Juniper Pass
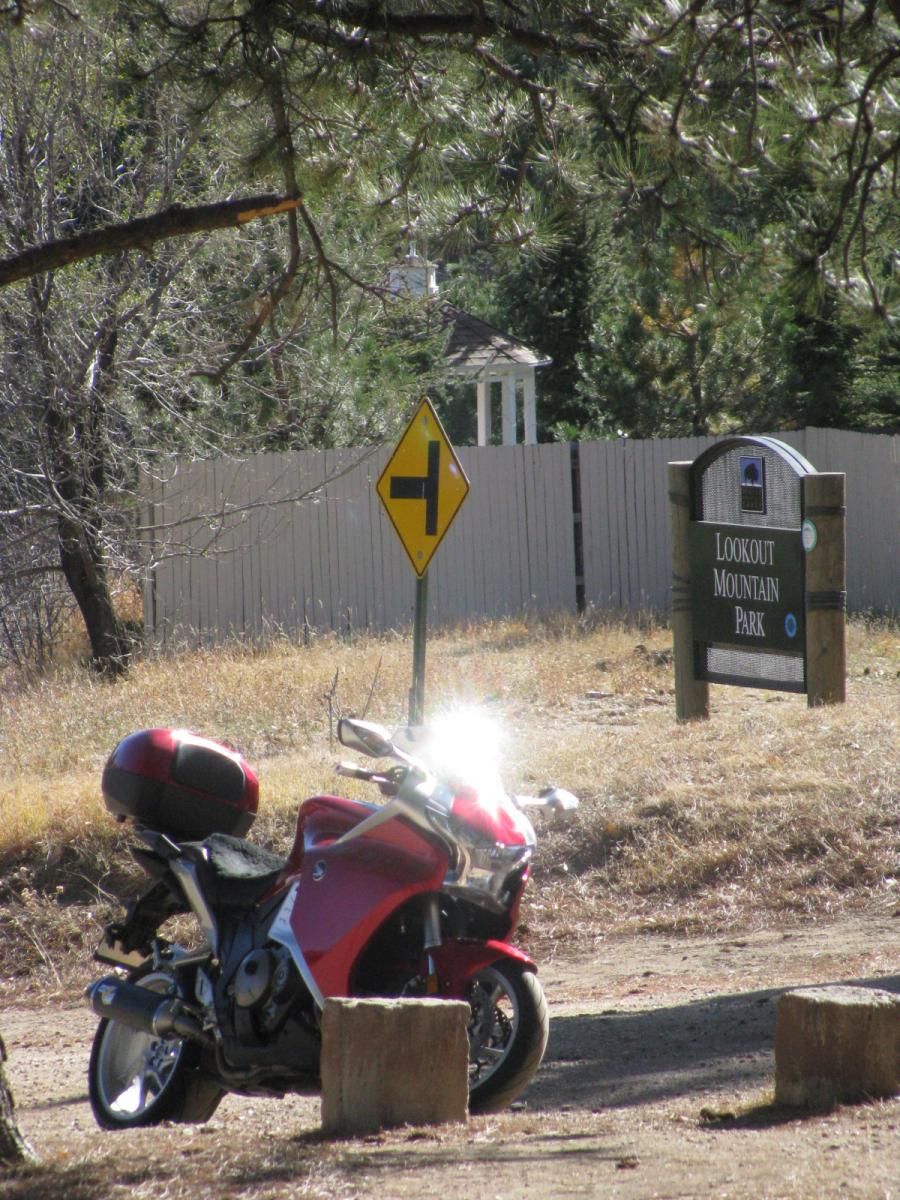
I took a day off from work and also from my bicycle training to take out the Veefalo one last time before the weather turns ugly, supposed to snow the rest of the week and possibly start sticking to the ground along the Colorado Front Range. I took a leisurely pace up hwy 105 toward Morrison and got reacquainted with the bike since its been over a month since I took any sort of twisties on it at all, hwy 105 is a scenic ride along the front range between Denver and Colorado Springs, its mostly easy fast sweepers and lite traffic so its a favorite road of mine when going north. Then I have to negotiate a bit of traffic near Highlands ranch and up hwy 470 into the mountains. I decided to take the Morrison Exit and try either Lookout Mountain or head up Golden Gate Canyon - this time it was Lookout Mountain, I was sort of making it up on the fly as I went along. Lookout Mountain is my old bicycling haunt from my days while I was working at Coors, its a killer ride and all uphill - I don't think I could do it today If I had to, not quite there yet! I saw a whole bunch of riders doing it though and wished I was in shape enough to be there doing it as well. 30 more lbs and I will be able to do it! On this day I would do it on the Veefalo instead.
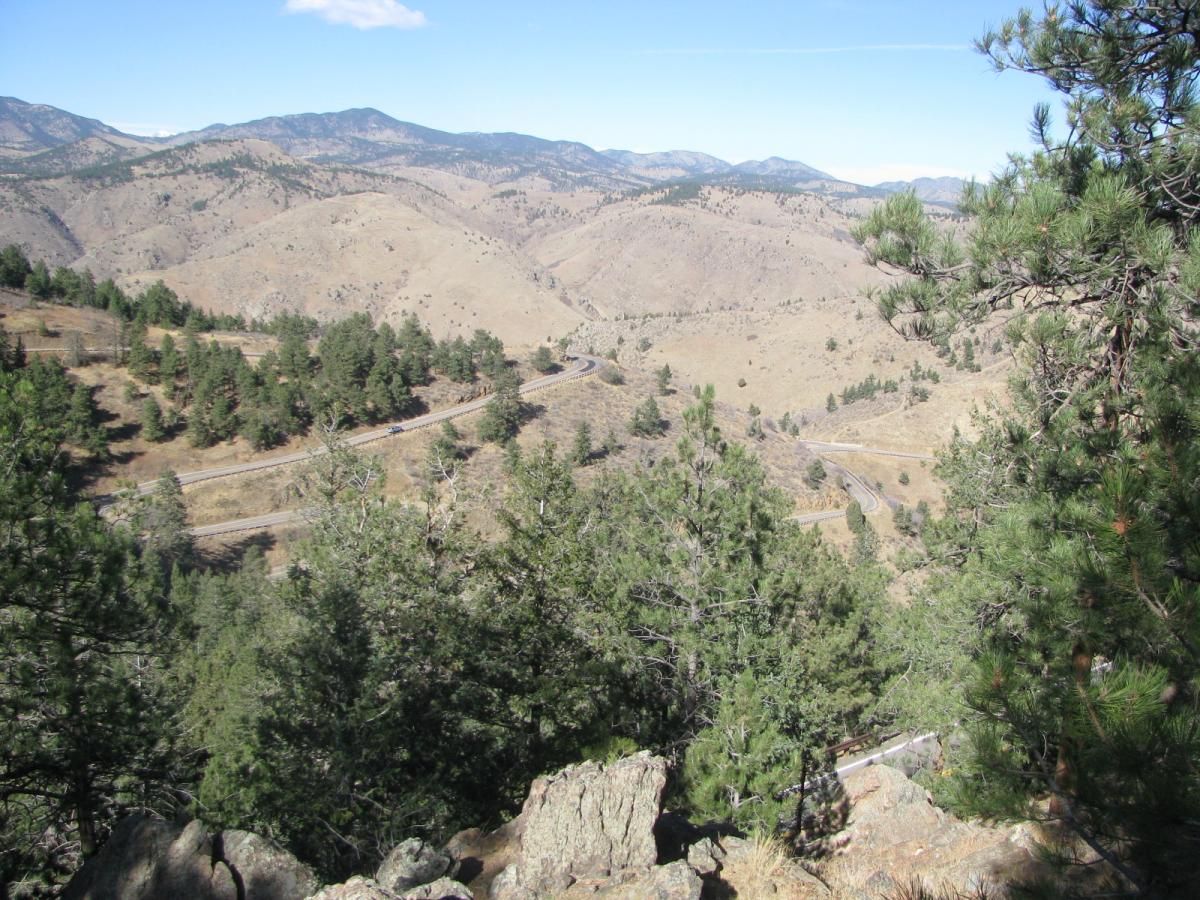
I took a video from the gateway to the top at the Lookout Mountain State Park, getting past riders, the guy in the green jacket actually pretty much astounded me with how far he had gotten in the short time it took me to set up my camera, some 3 miles at least and up to the gateway from the turn off at hwy 6! Amazing I thought. I took the first two turns slow then got more comfortable as I went up further, till I was doing well, I made some gearing mistakes and took the tight 15mph marked hairpins in the wrong gear so I lugged it a bit on one or two. Still enjoyed it though and then got off at the top and hiked over a rock outcropping for an overview of the road for the pictures below.
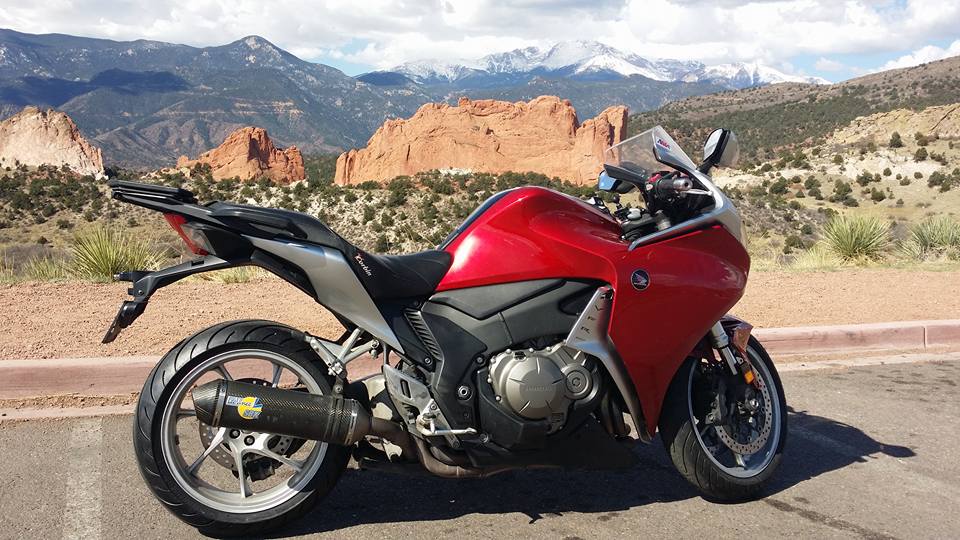
Lookout Mountain - Golden Colorado
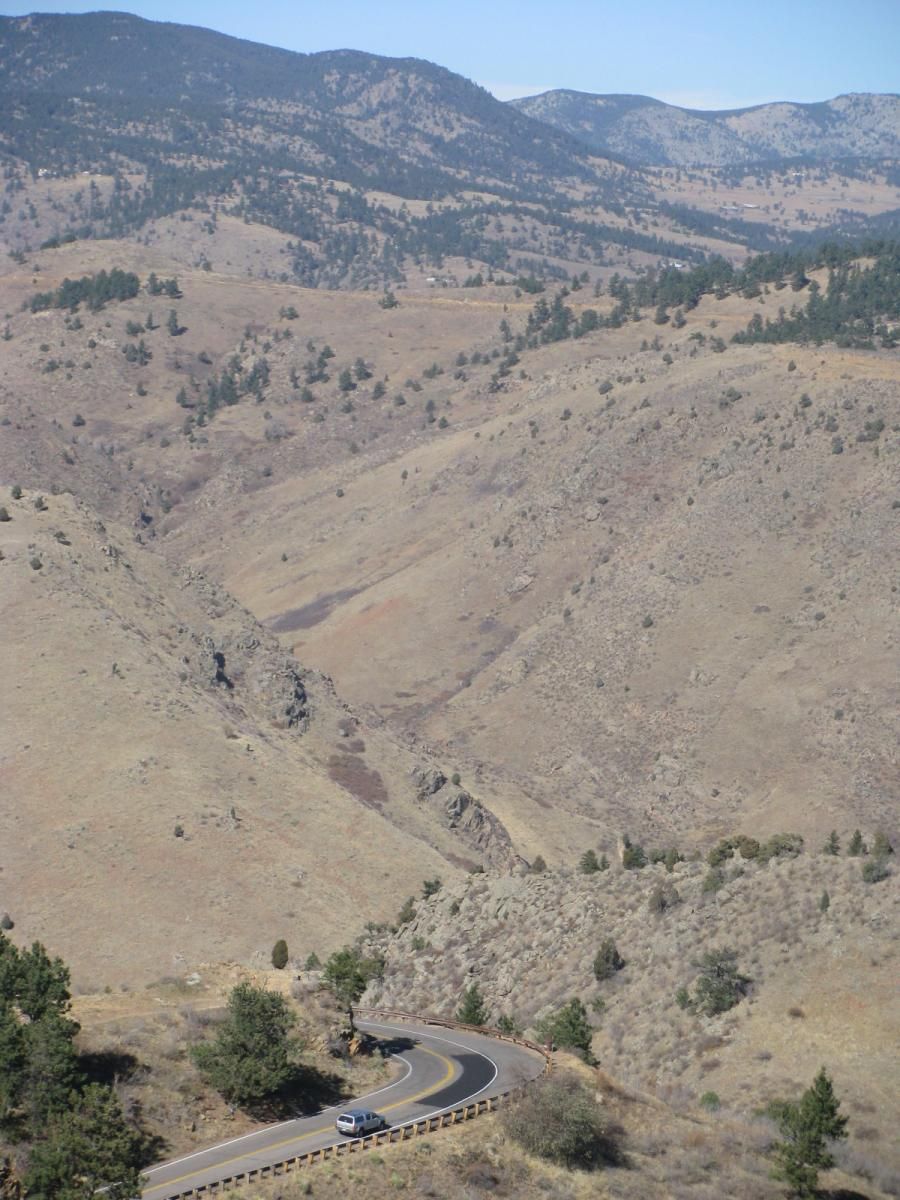
Zoomed in
Lookout Mountain Park top of the mountain
From there I headed up interstate 70 to Idaho Springs for a beer at the Tommy-knockers brewery, I was the only customer in the joint - slow day for them so they treated me like a king! I got a nice tour of the place sort of impromptu, they made me a nice Pastrami sandwich on rye and with the brown ale it was fantastic. I must say the beer is much better there than in the bottles - its always good at the brewery. I am glad I stopped
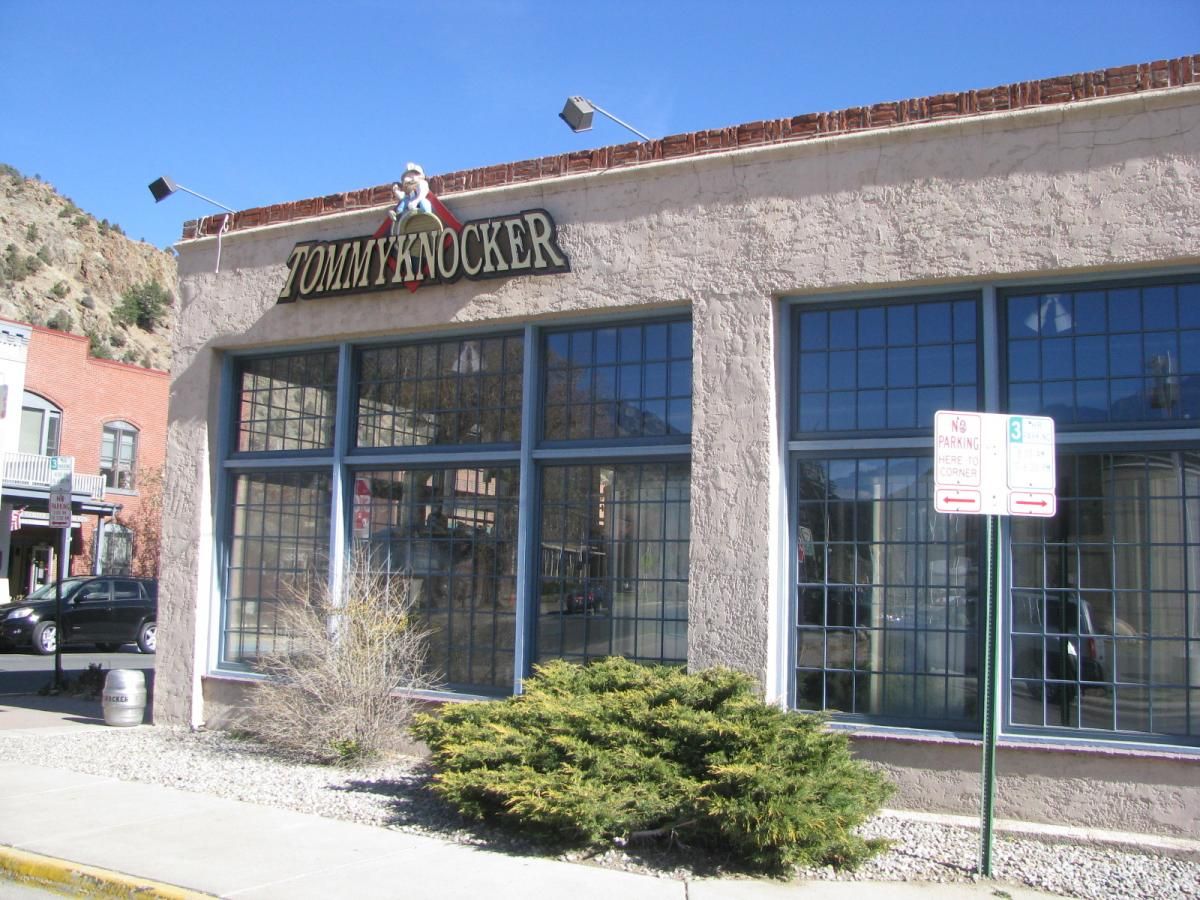
Tommy-knockers Brewpub Idaho Springs
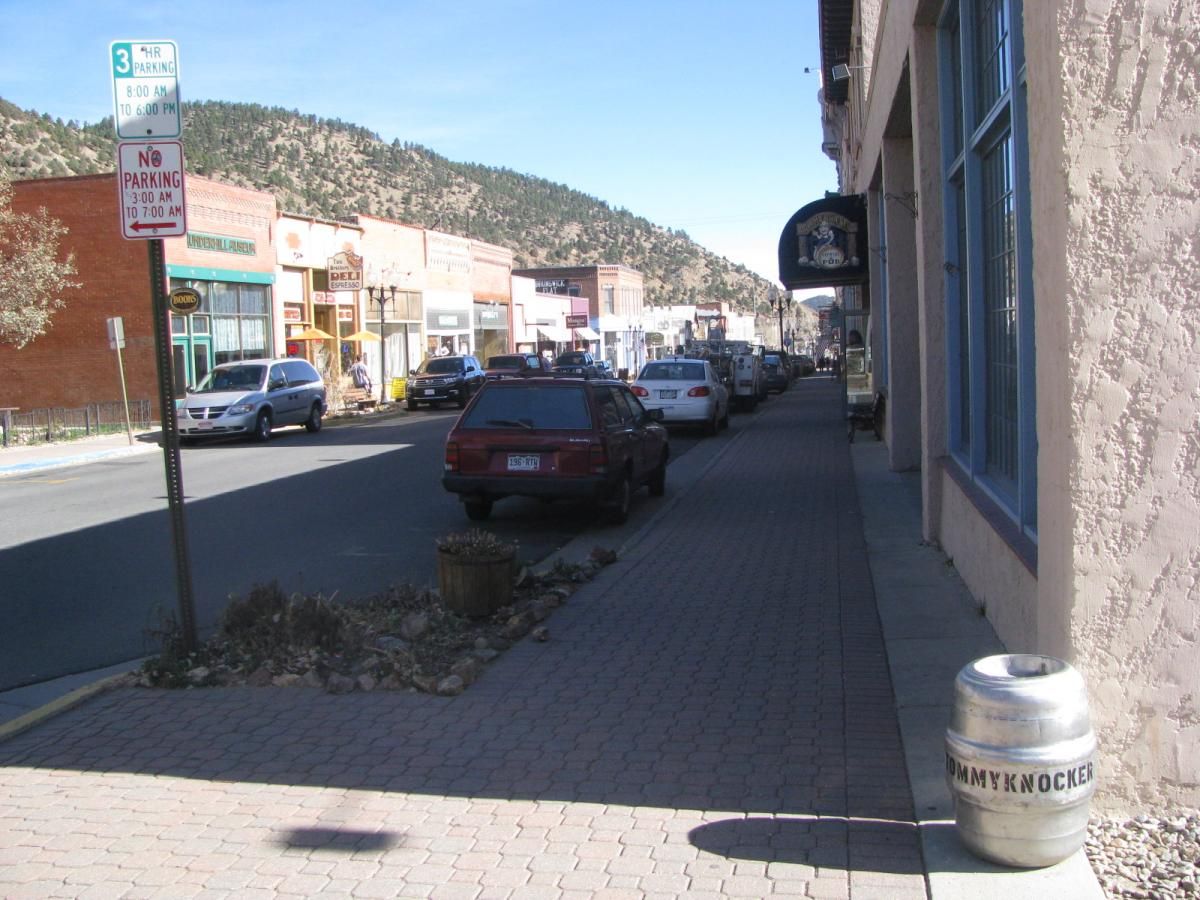
Idaho Springs Colorado
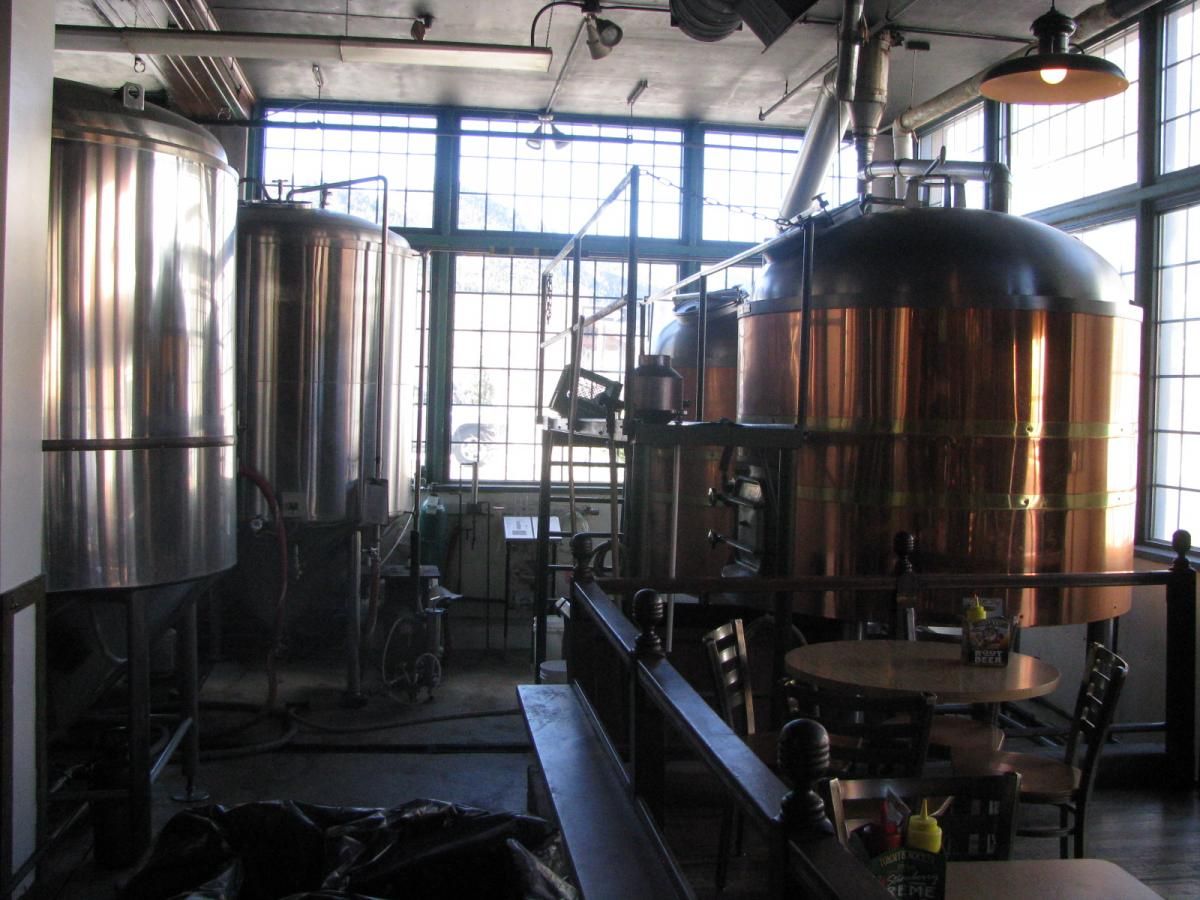
Mashtuns and fermenters
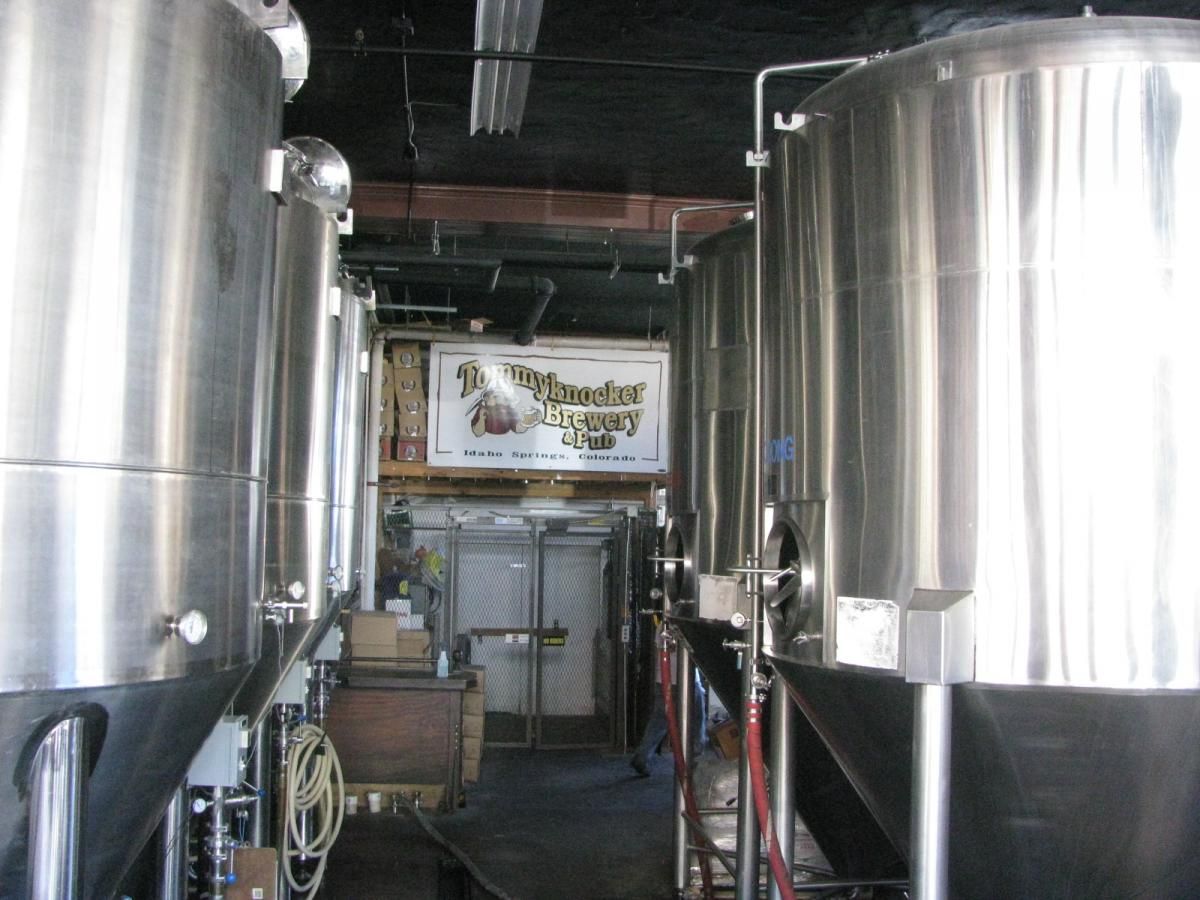
Rows of fermenters
I finished my lunch and since the road to Mount Evans is right there I headed up Squaw pass hoping to get in some nice pictures I wasn't expecting what I found, ICE IN ALL THE SHADY PARTS
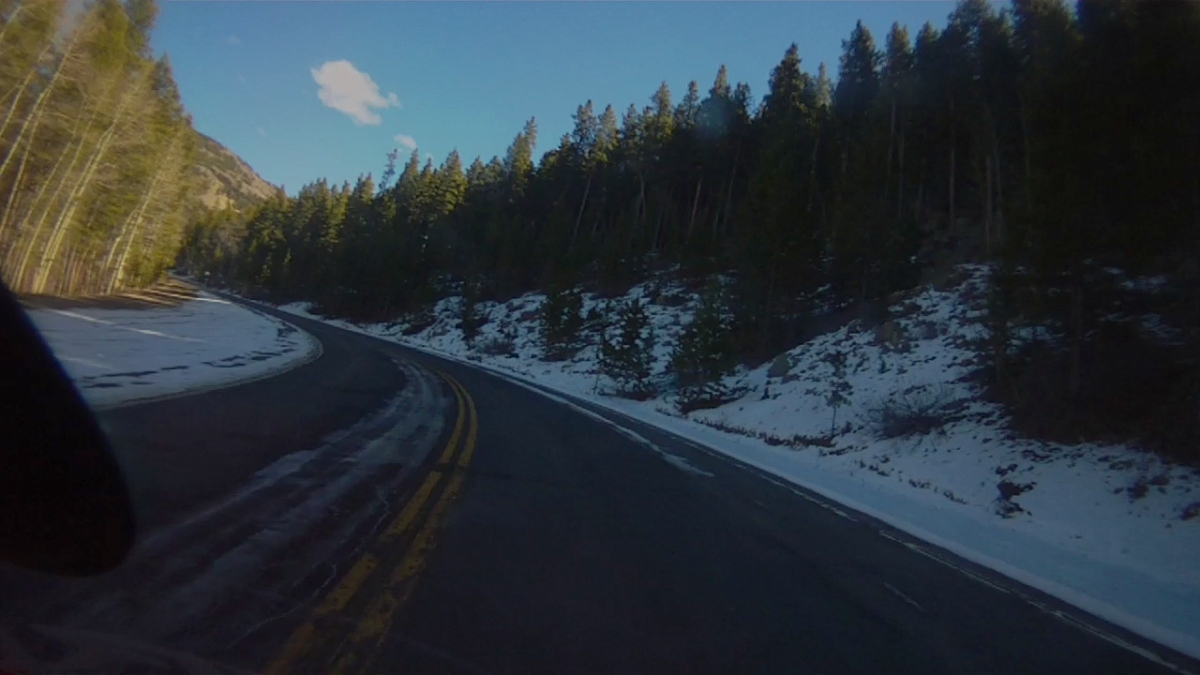
Icy patches on Squaw Pass definitely taking it easy on that road
There were some section where the ice covered the whole road for 300 yards or so I had to roll through it with my legs out to help keep the bike from sliding and falling over, I took it real slow. A Ford pickup was right behind me so I pulled over to let him pass but the guy was going slower then even I was so I pressed on - in places where I could see I just cut over to the oncoming lane and out of the ice where the sun was shining on the road more, but some places there was not alternative so I just had to go slow, good thing it wasn't slick but rather they tossed some gravel over the worst parts so I had some traction!
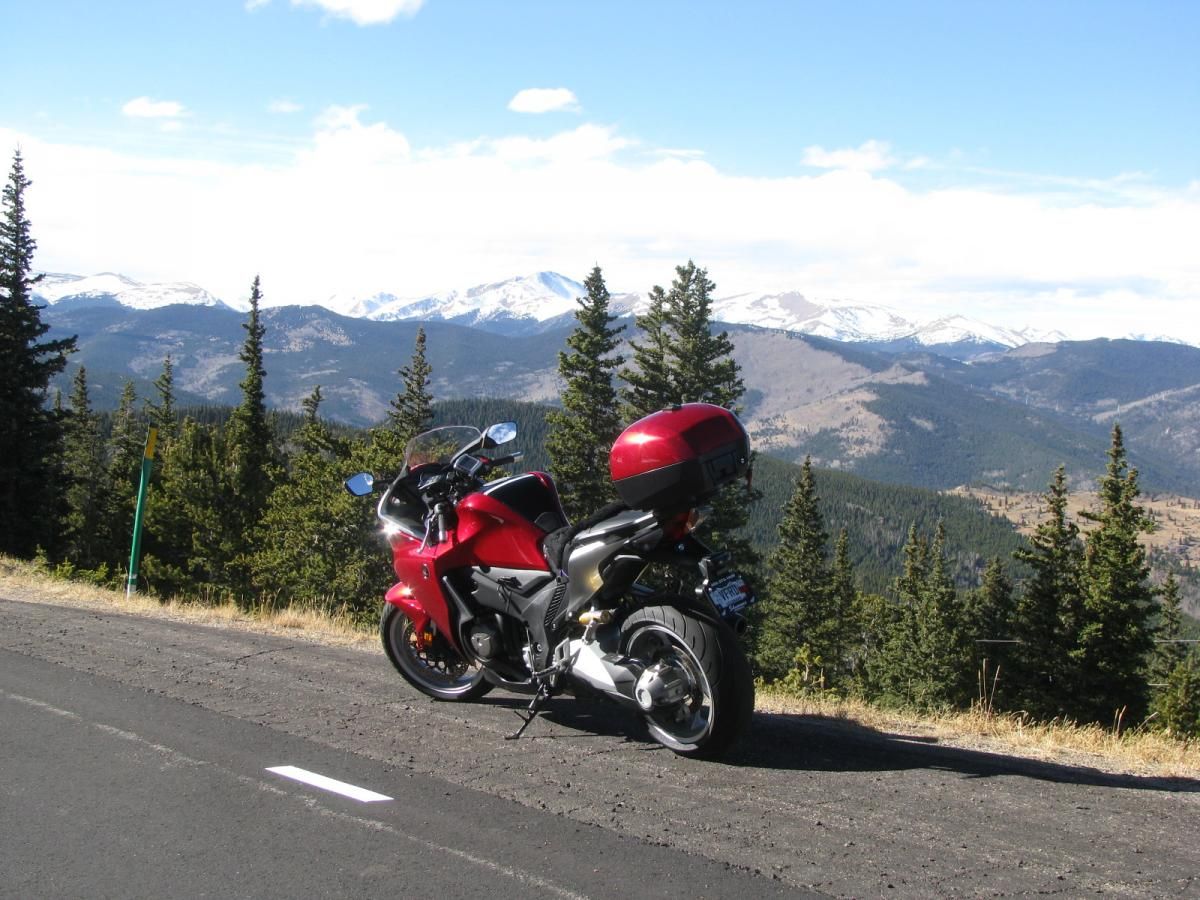
I did stop for pictures in all the best spots
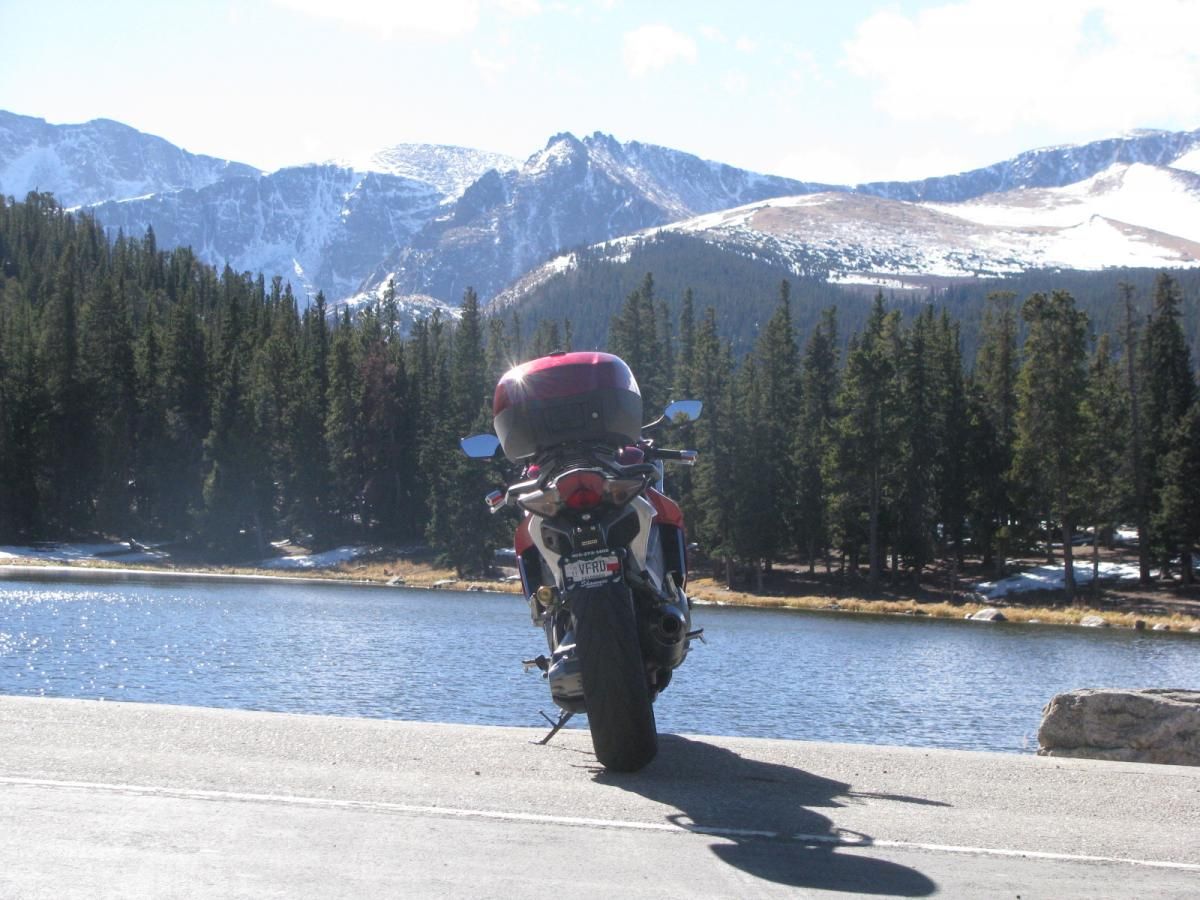
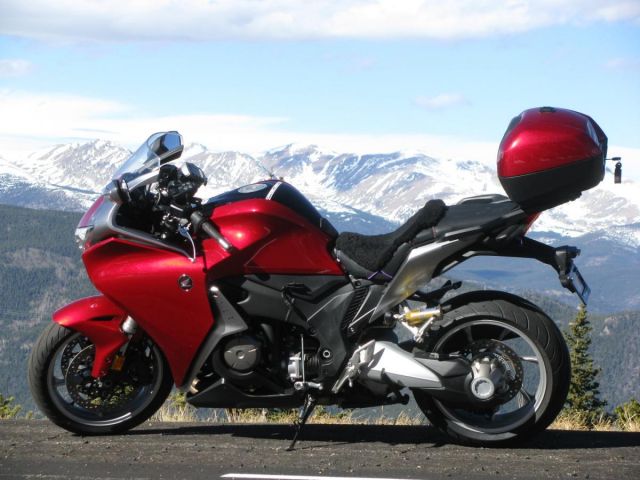
Echo Lake at Mount Evans showing off my new plate
Elephant Butte Park and Denver

Close up
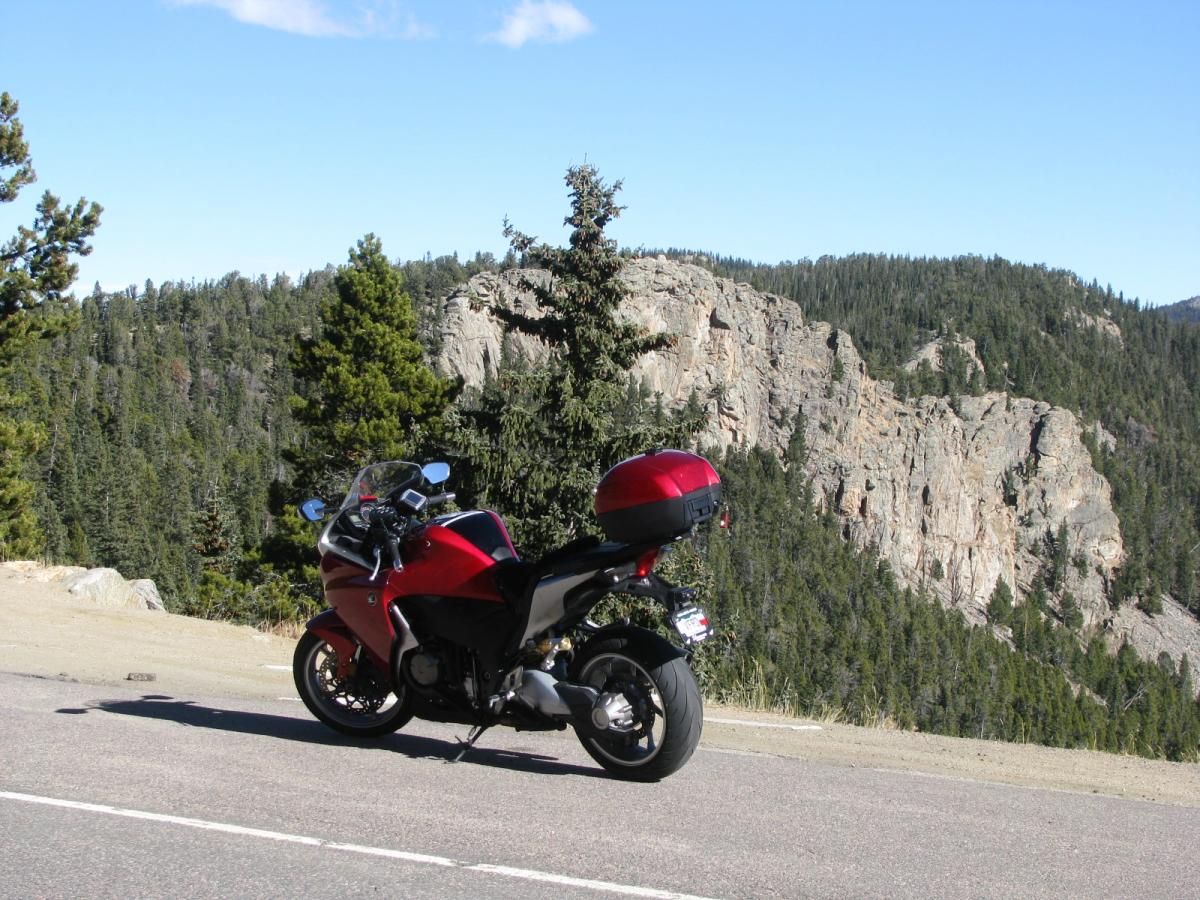
Veefalo on Squaw Pass

Juniper Pass
Juniper Pass
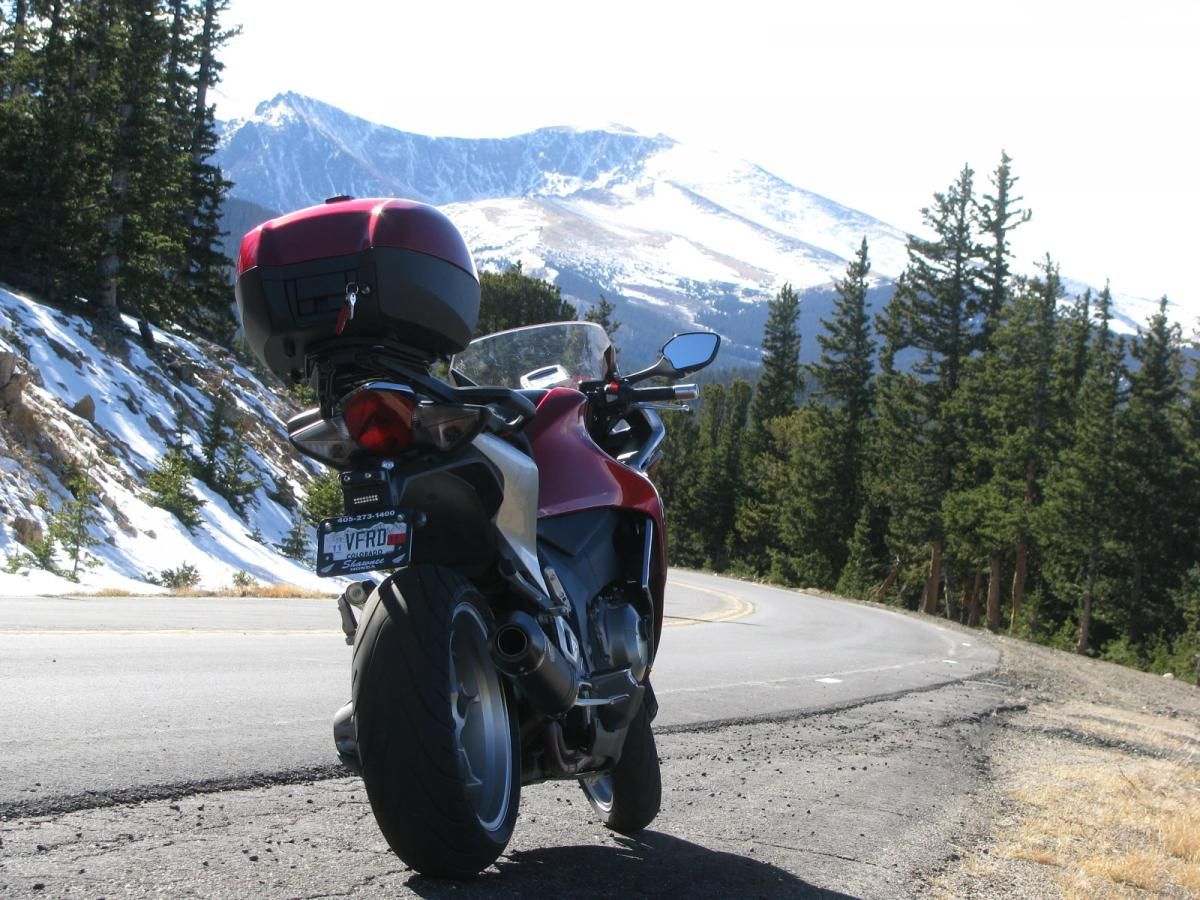
Mount Evans
My route A is home B is Tommy-knockers
-
-
-
Entries
8 -
Comments
77 -
Views
36,961
- 8
Entries - 77
Comments - 36961
Views
Recent Entries
Latest Entry
I Am Back !

Not that it matters and not that I expect anyone had noticed, but to those who sent me "where are you?" I would like to say I am back. Not only that I am officially returning to VFRD after nearly 2 months break but I have also ridden my Hawk last weekend and had FUN! Let me restate that; I had major fun riding! Something I have almost given up on.
Most of you have been riding your whole adult lives and riding is not only a hobby to you, it is part of you. But I started riding three years ago and even though I have encounter some setbacks, till this spring I loved riding with whole my heart. However, I have always considered riding as my hobby. As a hobby which suppose to make my life better, more fun and more rich. Life is too short to do something which we don't fully love.
My love of riding received a first major scar this spring: I lost a friend on the racetrack. He was a total stranger who offered me his help after I lowsided at CMP track last year. I still remember hearing his "Hi, my name is Todd, do you need help?" while I was duct-taping my roadrash from ripped jacket. He helped me straighten up the shifter and we kept in touch. The next time we saw each other was the day he died.
With 9 months delay, I can say that Todd's death shook me more than I have realized. It rooted fear in me which was fueled by seeing and hearing about others getting hurt over and over again. If I was to summarize this year - it would be one big accident report. I became sensitive to every broken bone, every roadrash, every lowside. And even though I did 10 track days this year, I became slower and slower and slower. Suddenly, I have acquired this 'grandma' riding style on the road, frozen with fear that behind every corner there is car standing in my lane, or major sand trap or deer staring at me ... I was crippled with fear not only for me about also for my fellow rider.
So, at the end of this year, I rode more and more by myself. I could not bear the feelings of responsibility for others on the road and my lines were crippled by my own fears. It all culminated this fall at WDGAH. In a freaky accident Love2rideh82crash was taken down by a truck crossing into our lane. I was done. I finished the weekend, locked the VFR into a garage and took a break.
Until the last weekend, I pretended that motorcycles do not exists. As a last instance after 2 months break from riding, I decided to go to CMP track to see if I can still have fun. I also felt like I should go for the memory of Todd. I went and I had fun! I had much more fun than I expected and the most fun on track I can remember. Suddenly the whole track connected into an uninterupted line of turns and I felt one with the bike riding around! I was giggling like a little girl in my helmet and keep on giggling ever since

Granted I was not the fastest one and through out the weekend, I have never exceeded about 60% of my riding abilities, but I had no "oh-shit" nor 'blond' moments. I could have maybe go faster, I could have brake later for the turns and I could have lean further, but I am no Rossi nor Stoner. I decided to ride for fun and I had amazing blast riding well within my comfort zone.
I was proud of myself when, after bandaging Ricks arm, I was able to distance myself and go back to riding without the year-long fear. I did feel bad for him but the feelings were not crippling my lines nor my mind. And when a total stranger came to me and said "Hi, my name is Todd", my heart stopped for a minute though but I suddenly knew that my life went a full circle. I probably will never win MotoGP :idea3: , but I am back! :wheel:
-
