Leaderboard


Popular Content
Showing content with the highest reputation since 06/05/2025 in all areas
-
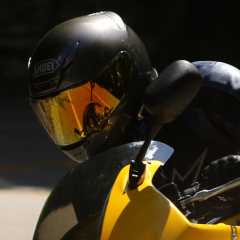
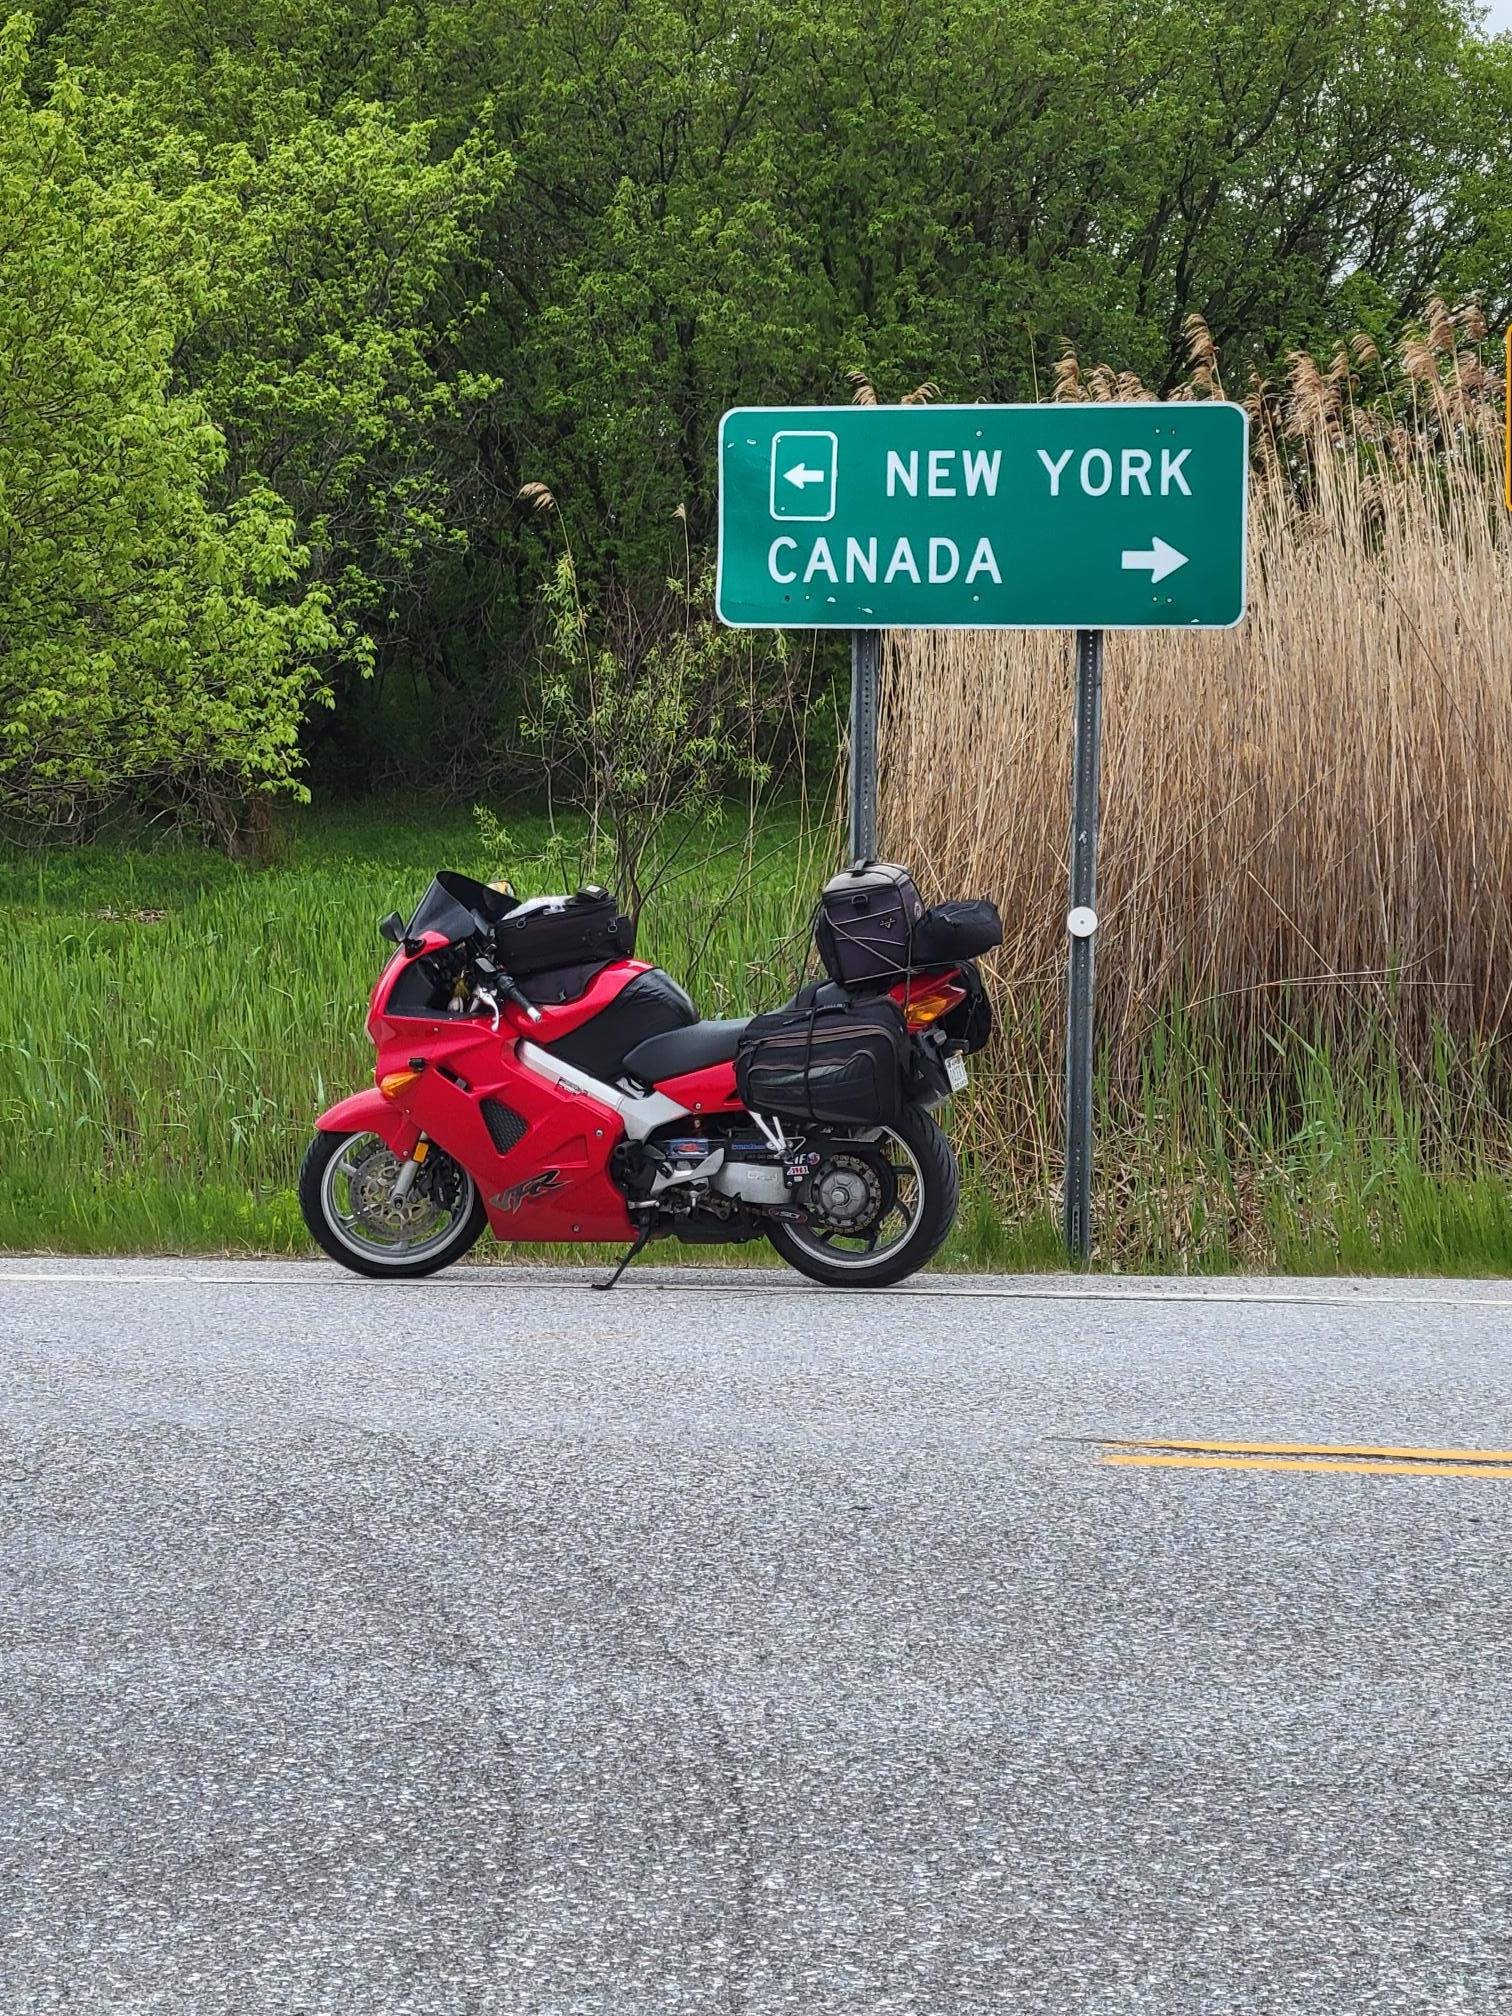
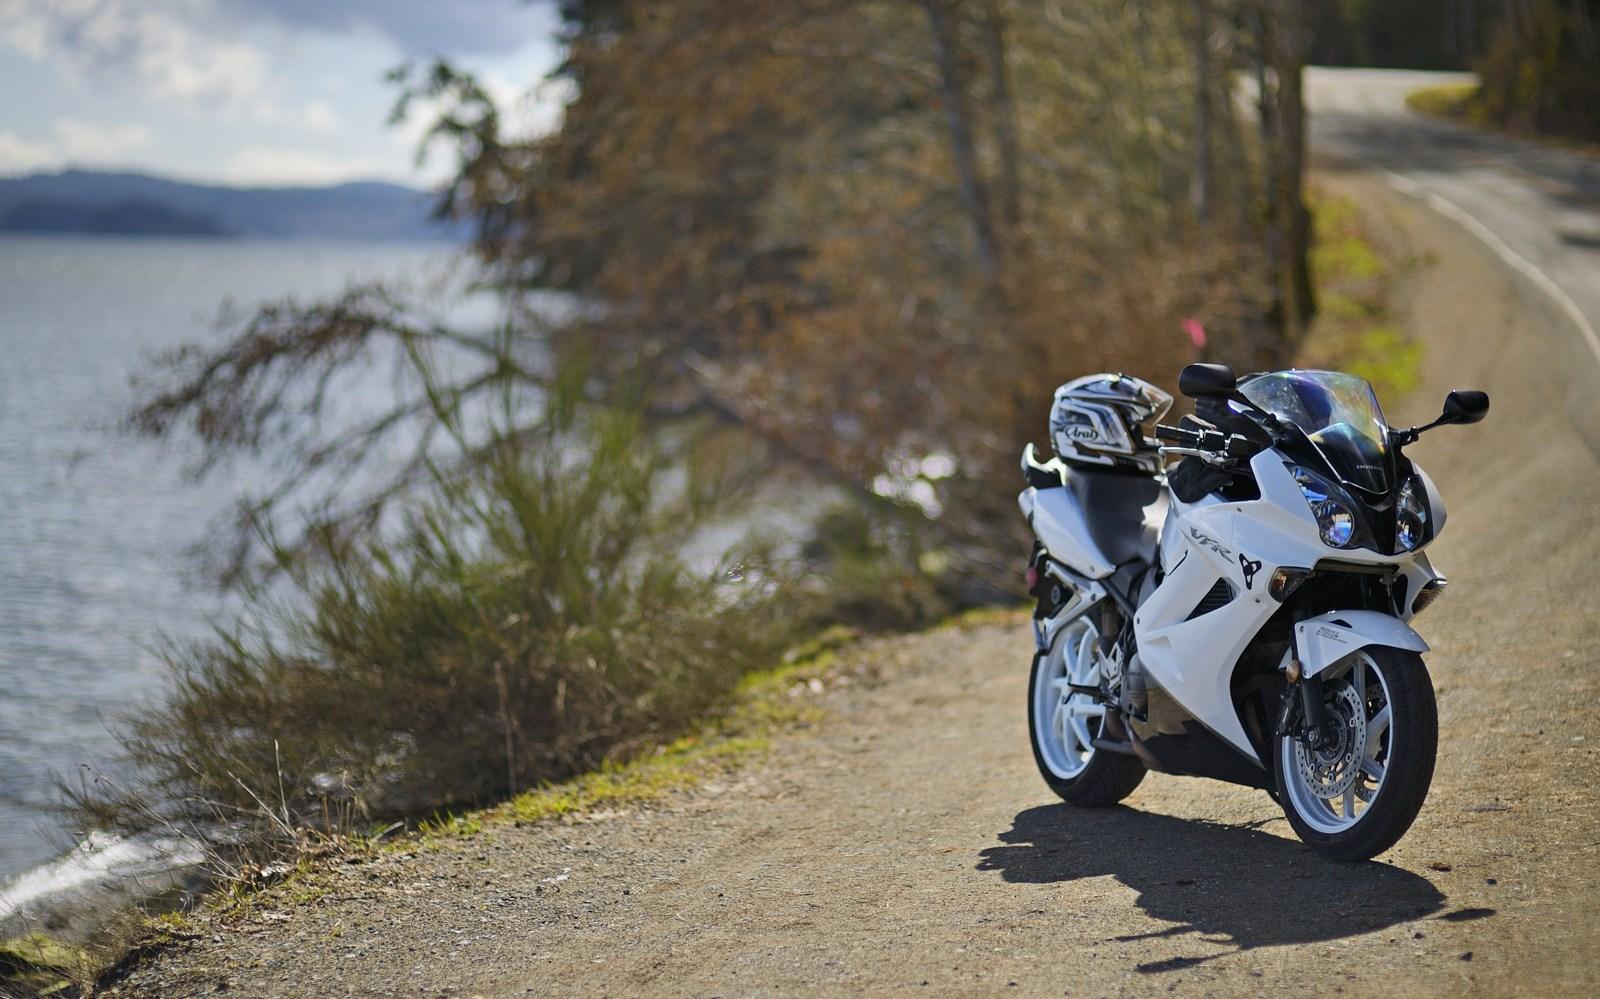
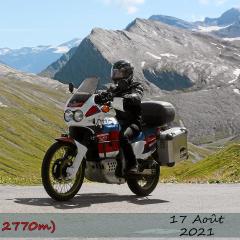
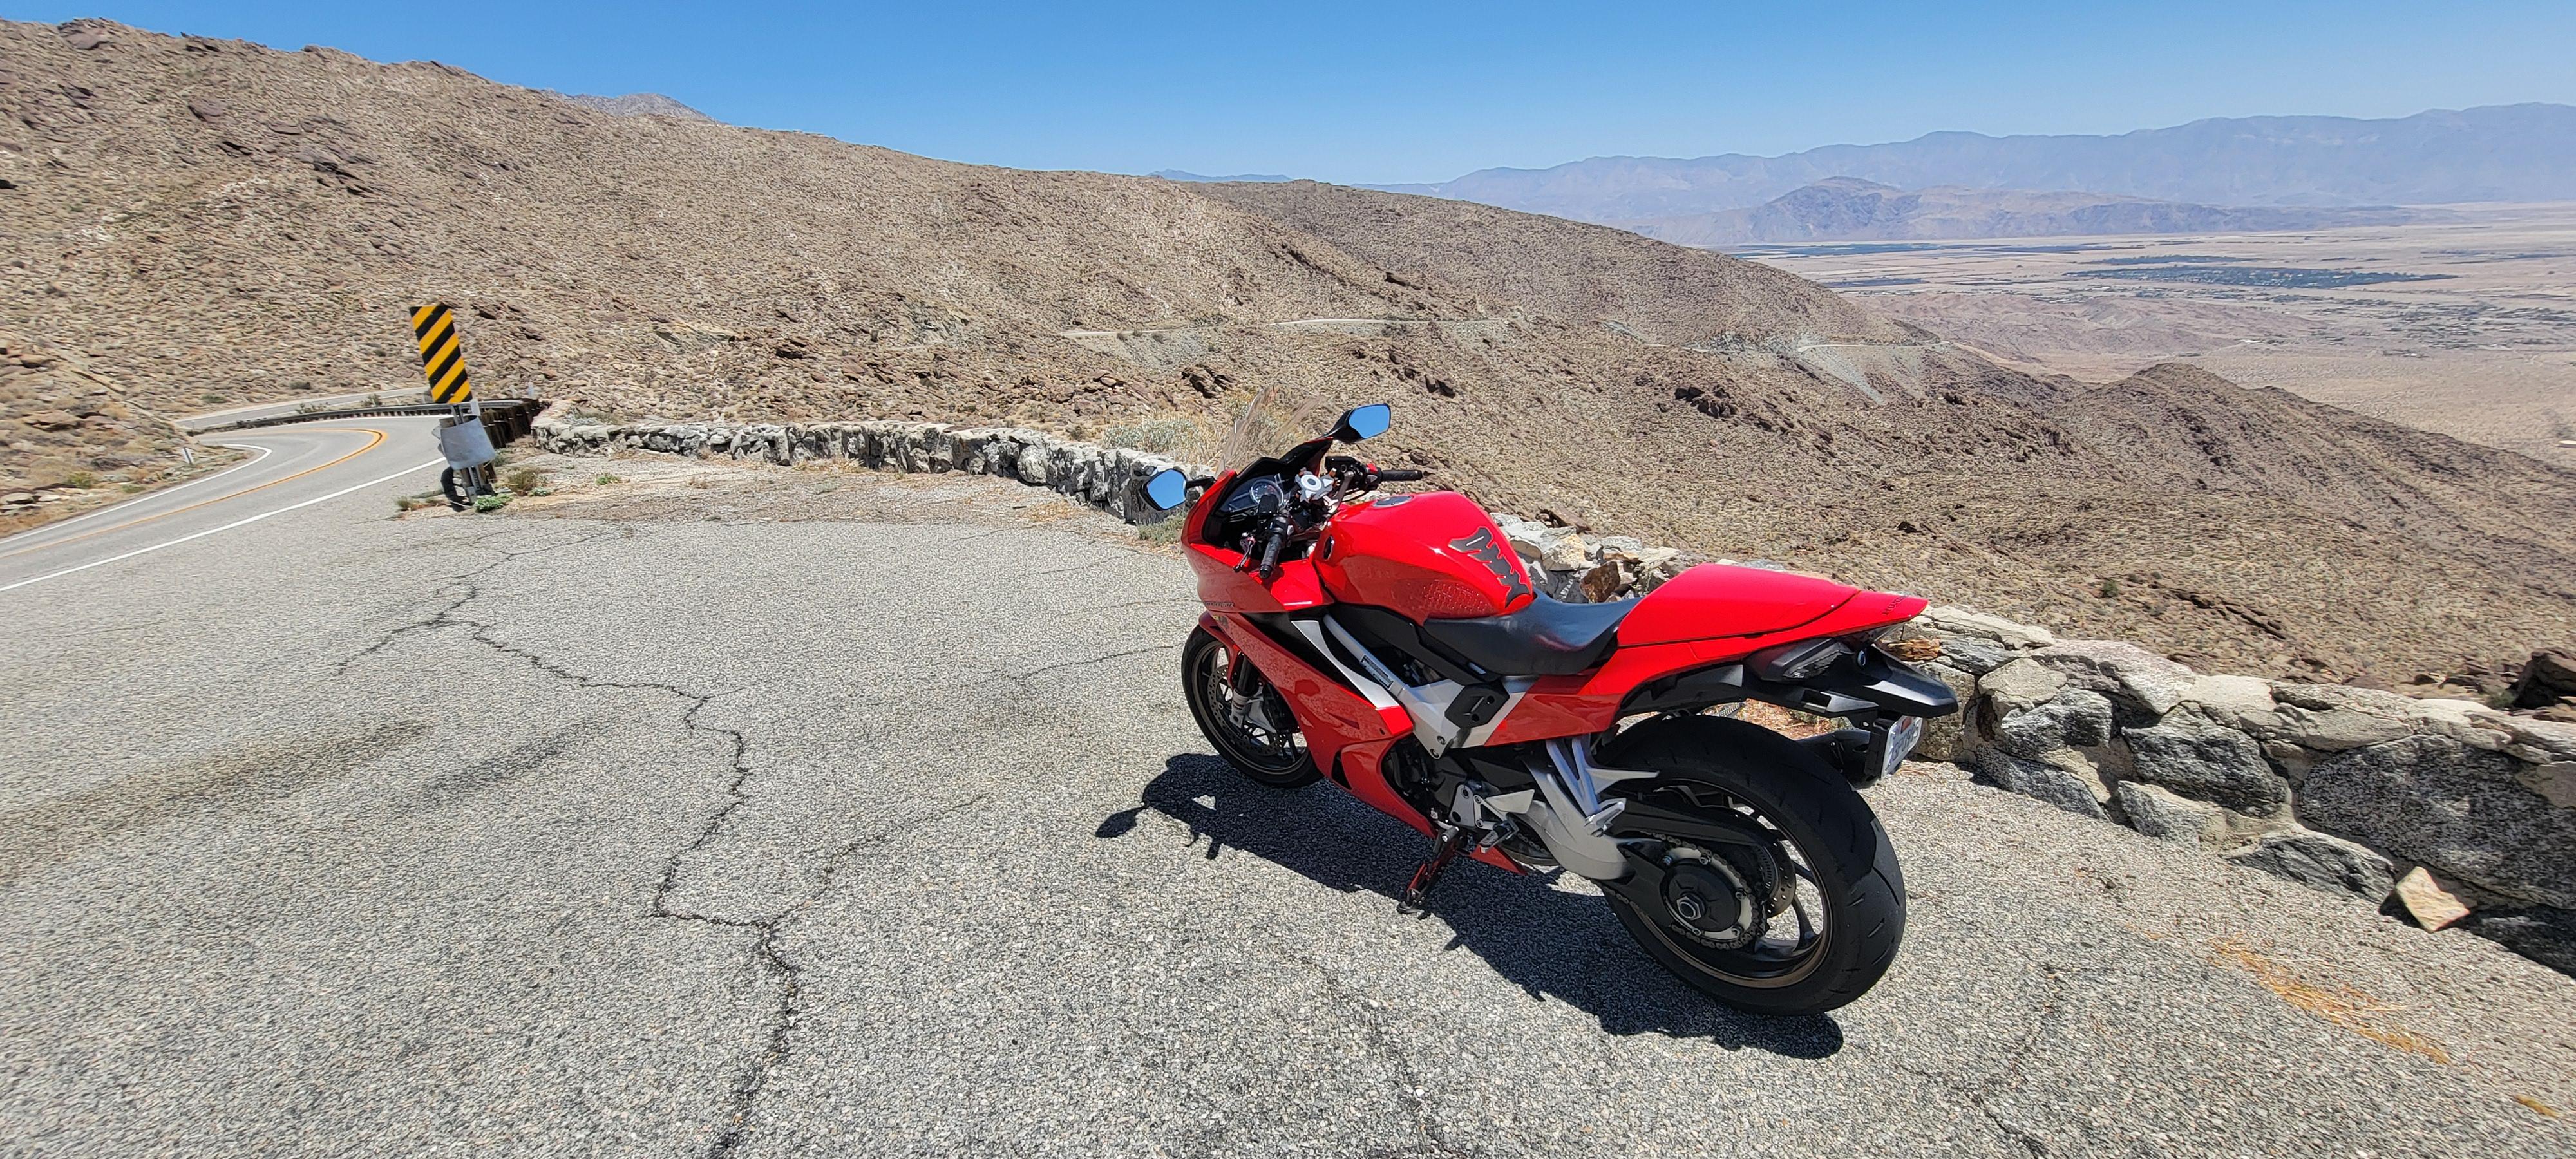
Twenty years ago I flew to Nashville, borrowed a 5th gen, and rode to Charlotte NC on all the best roads. Went home and bought one soon after. Last week I flew to Nashville, borrowed the same bike (only 22k miles now) and spent 4 days riding some of the same roads. I now understand why VFRD meets in Franklin. We stayed in Townsend, and just rode everything we could in the area. It was epic, and I will not wait another 20 years to head east again.
 11 points
 -
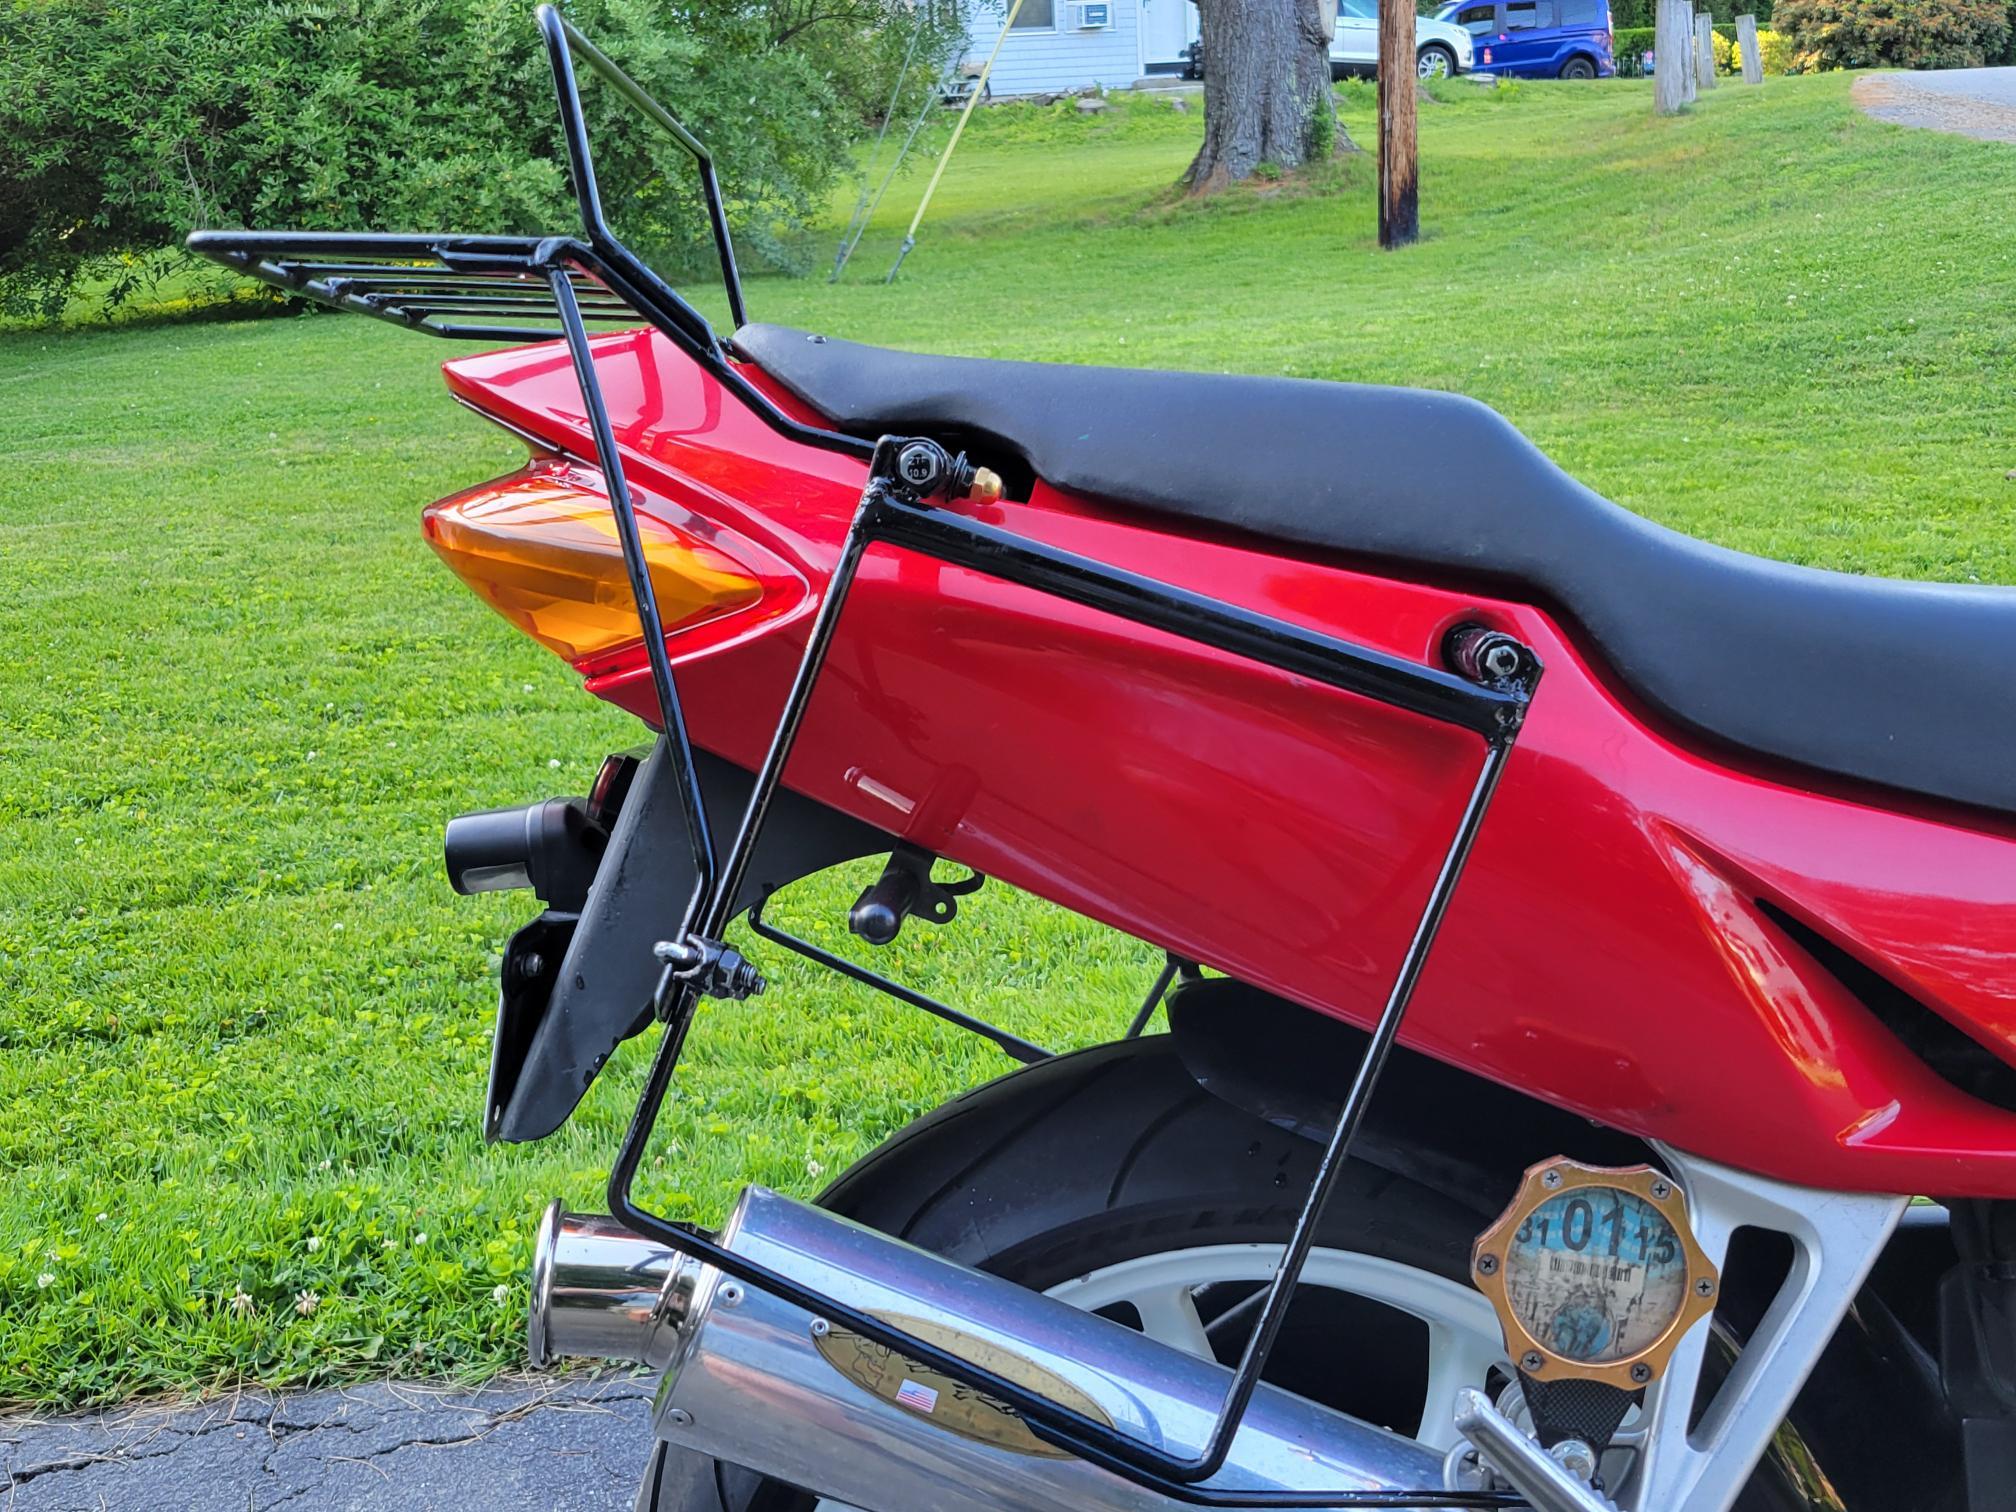
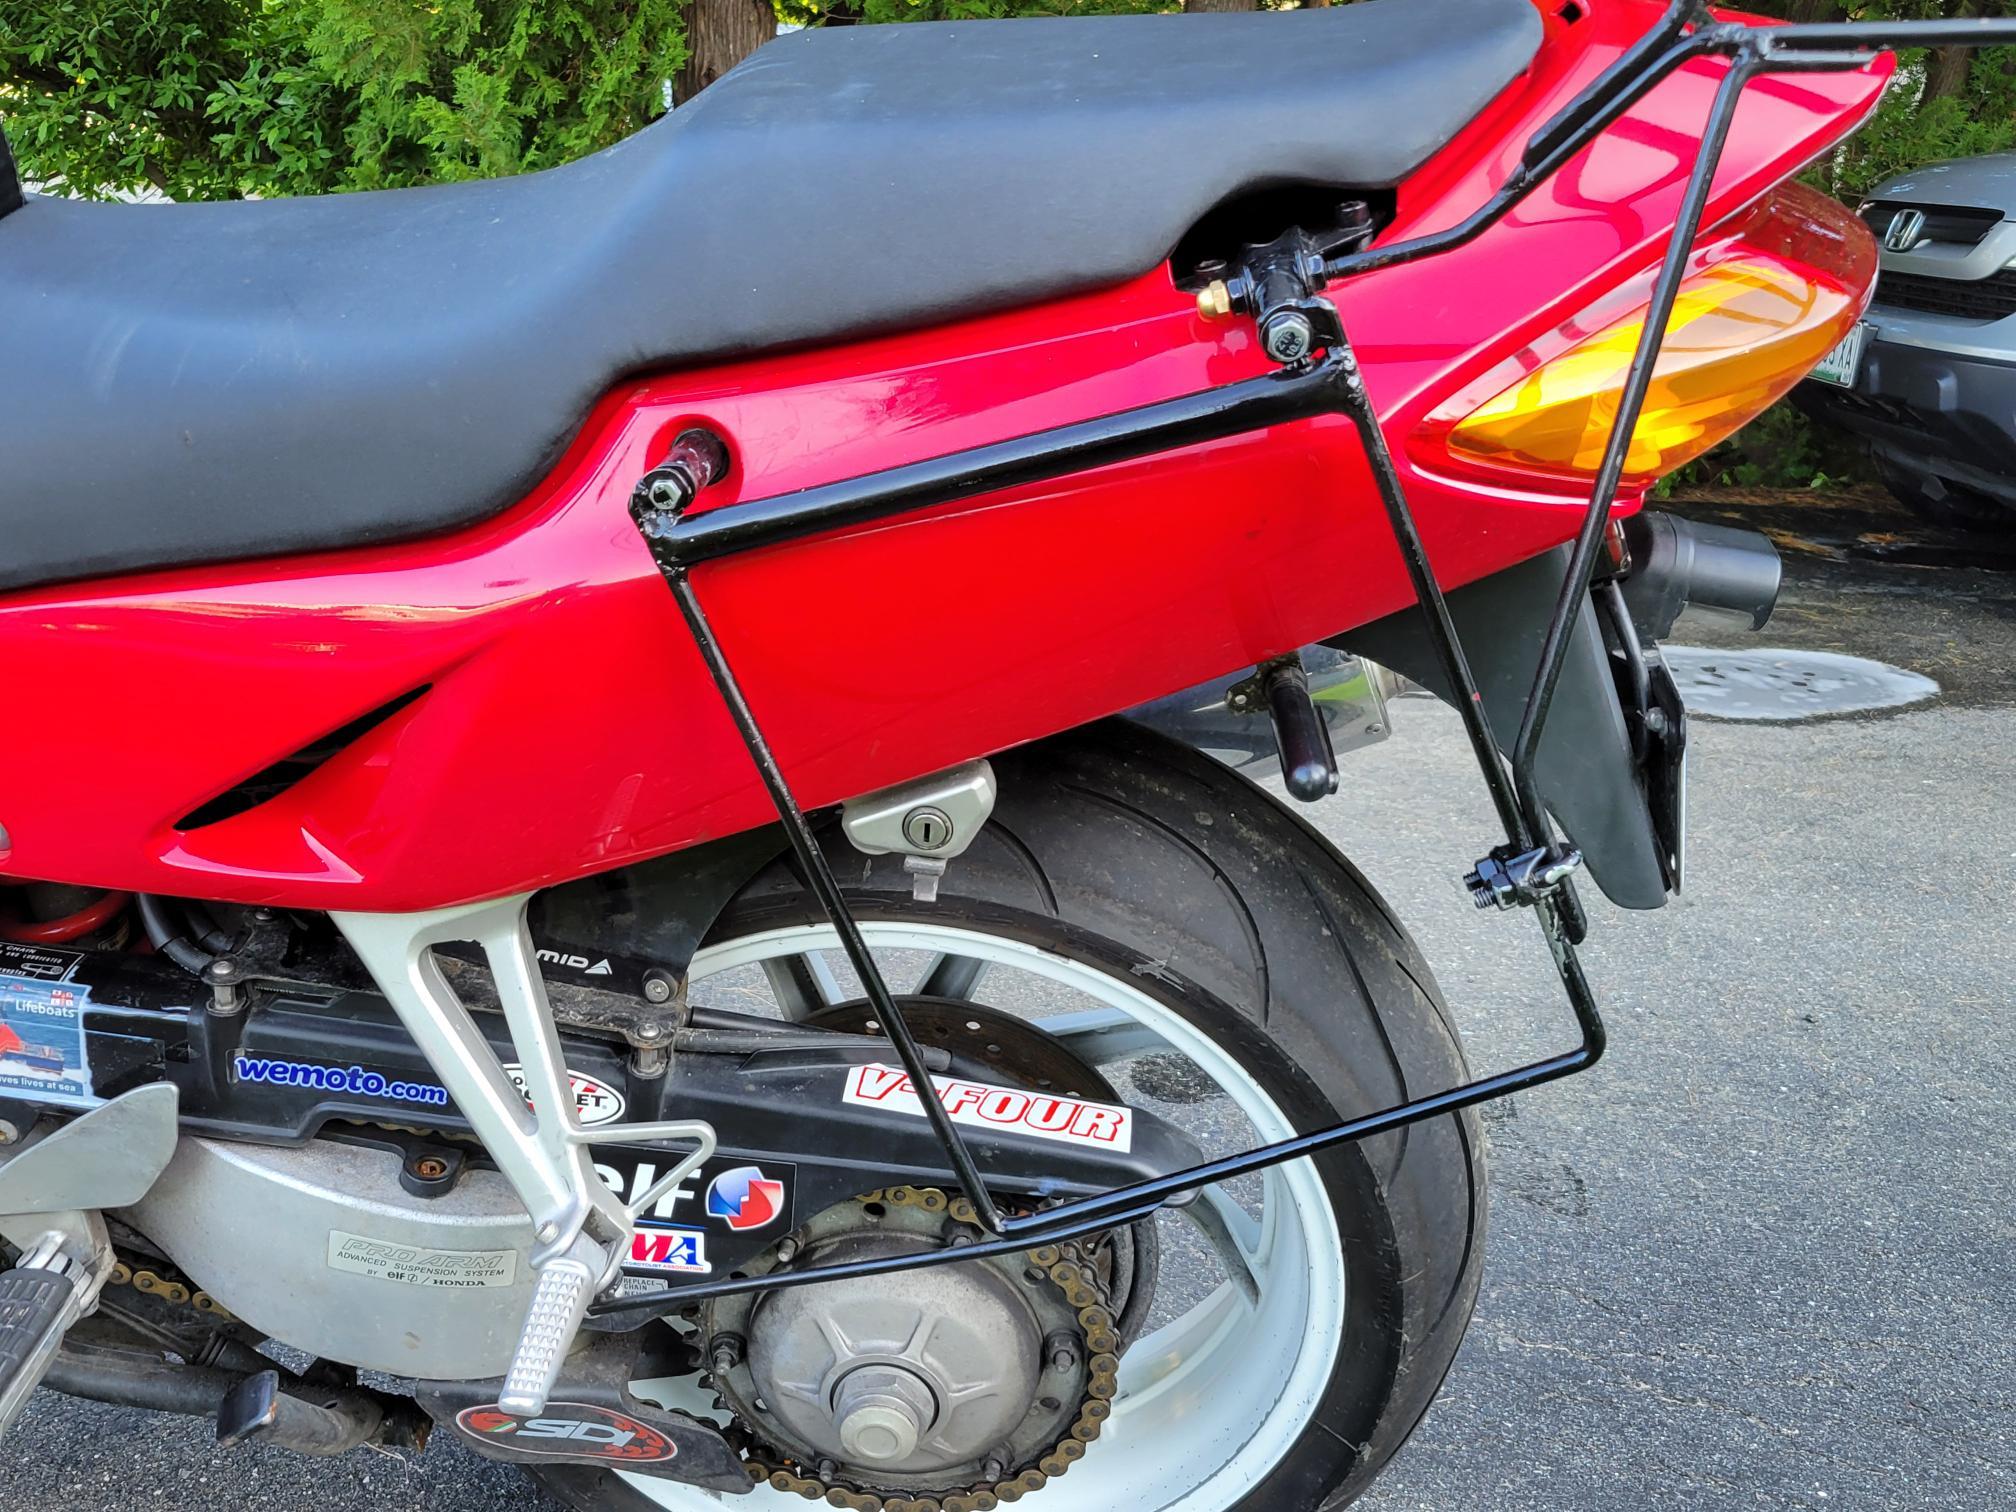
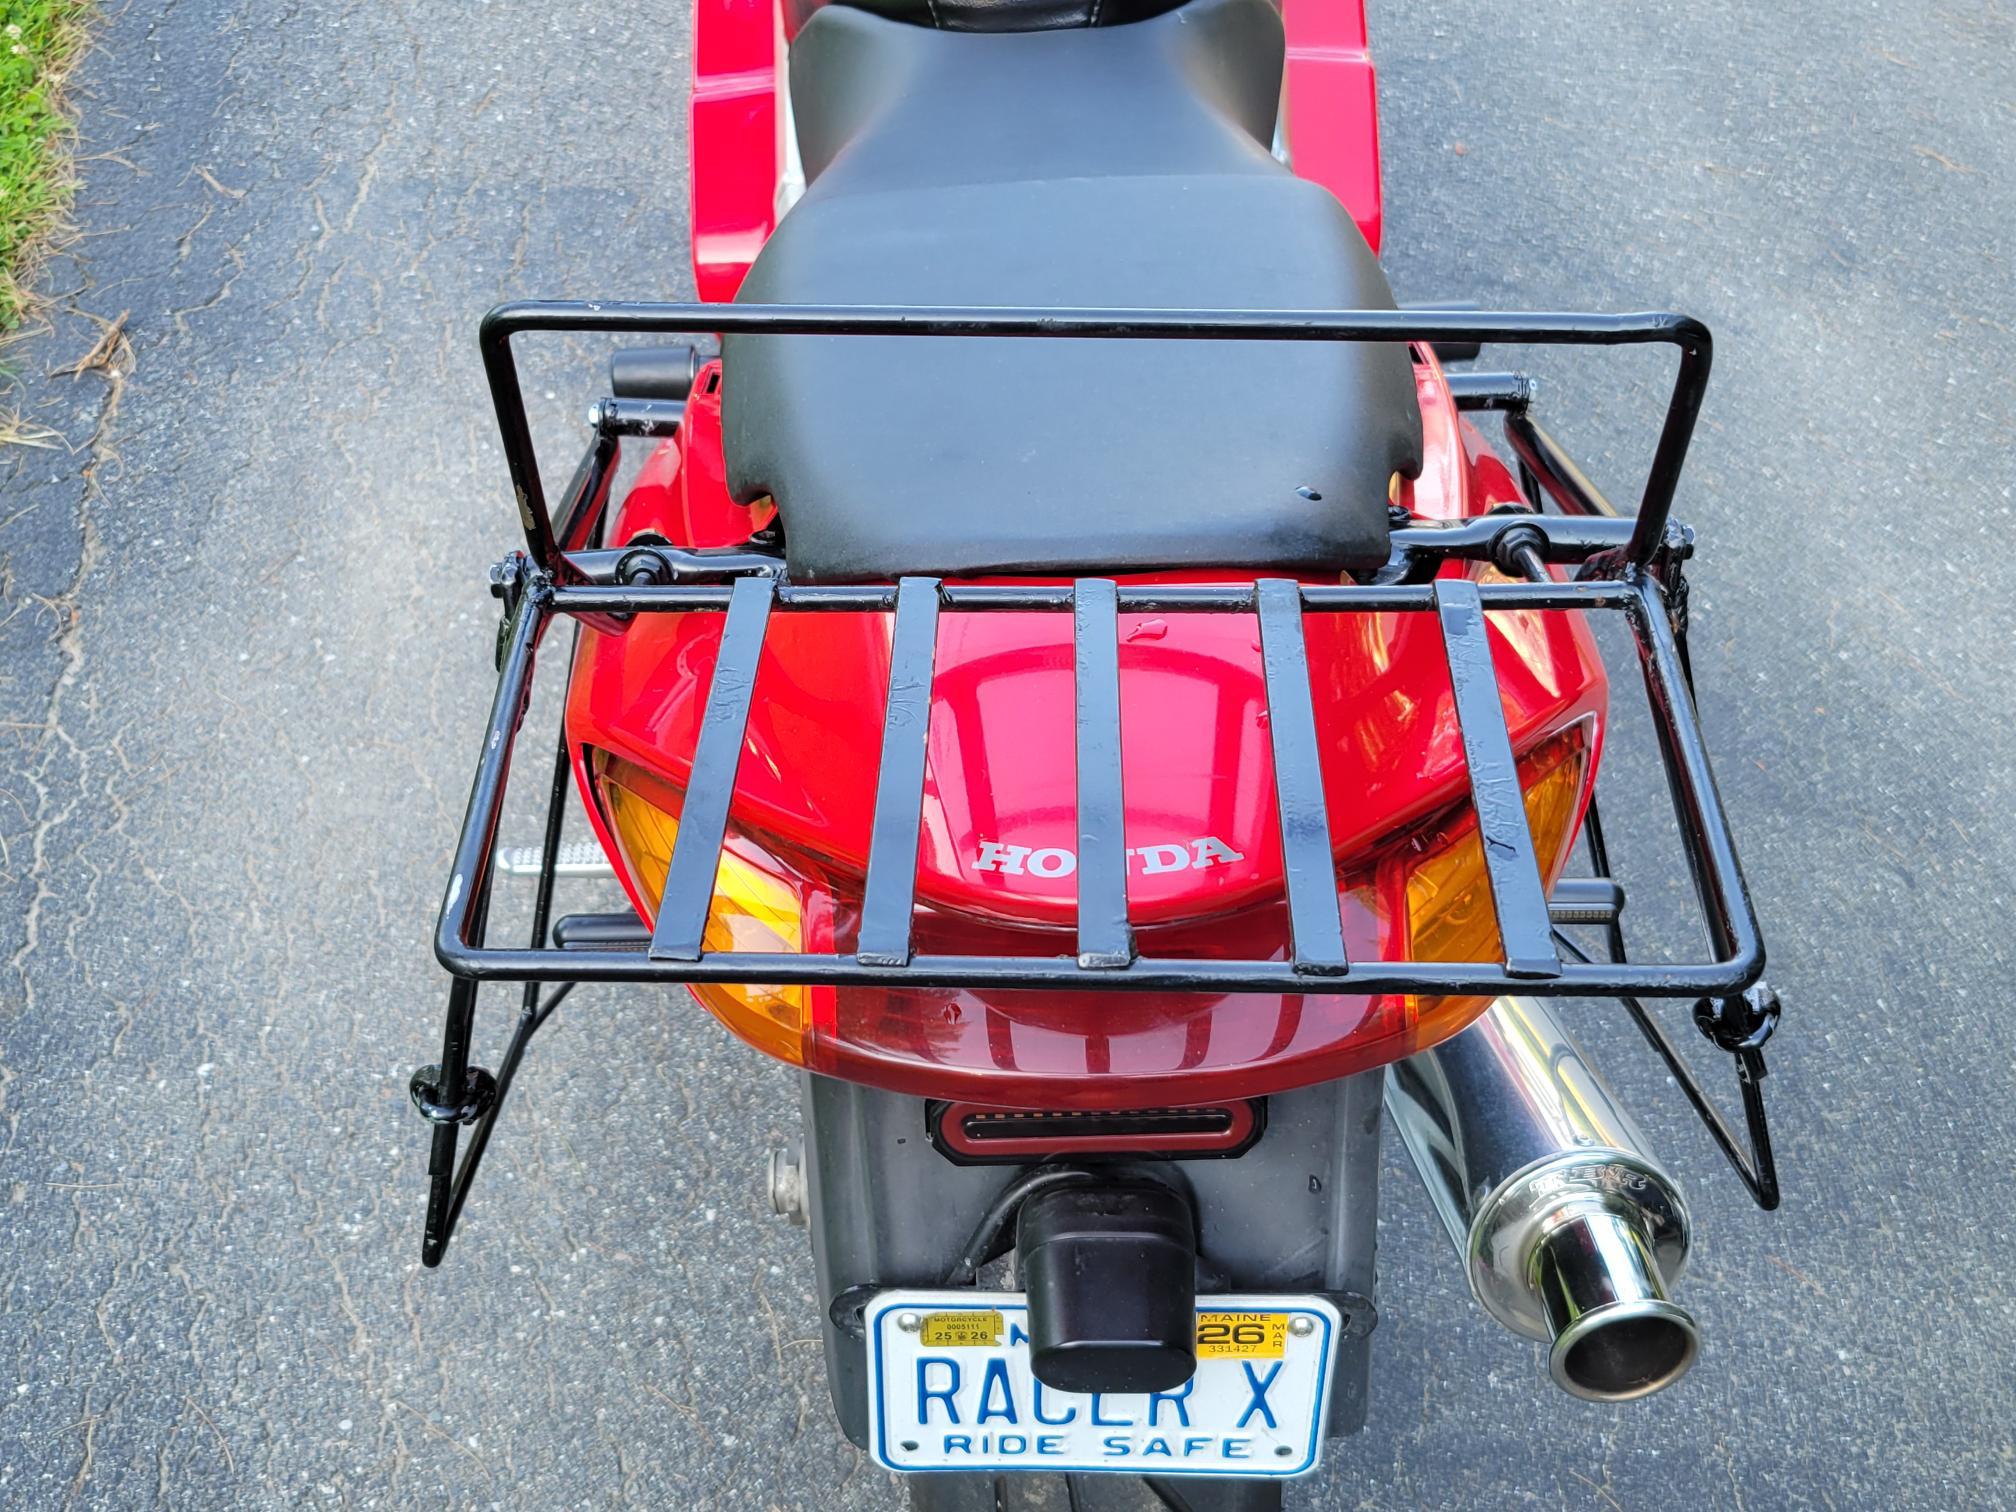
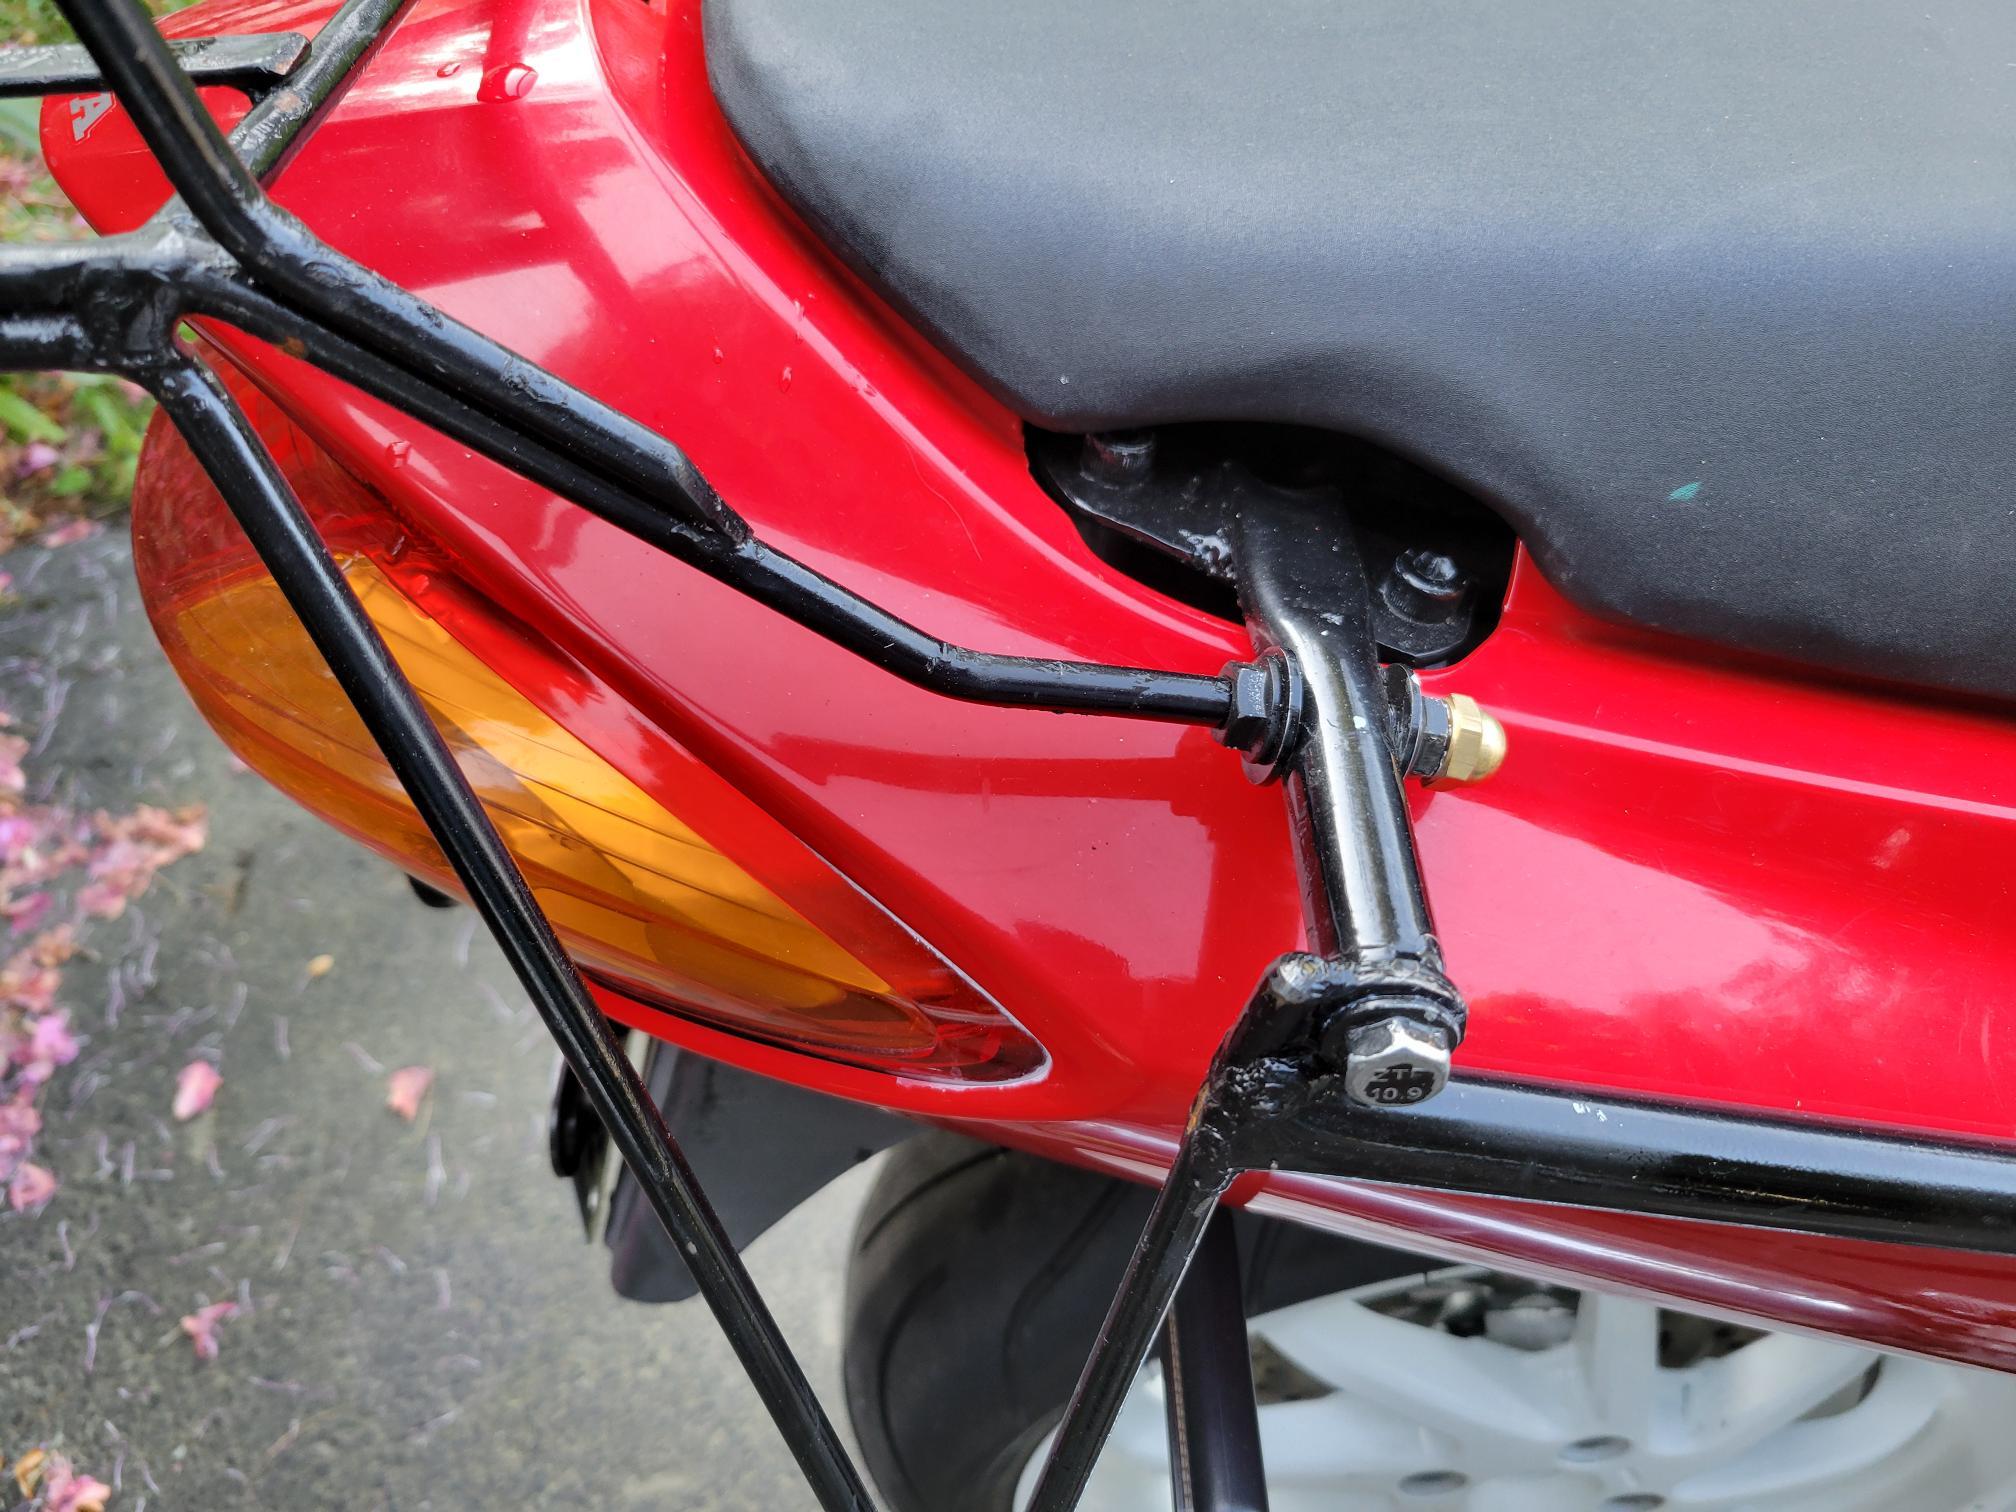
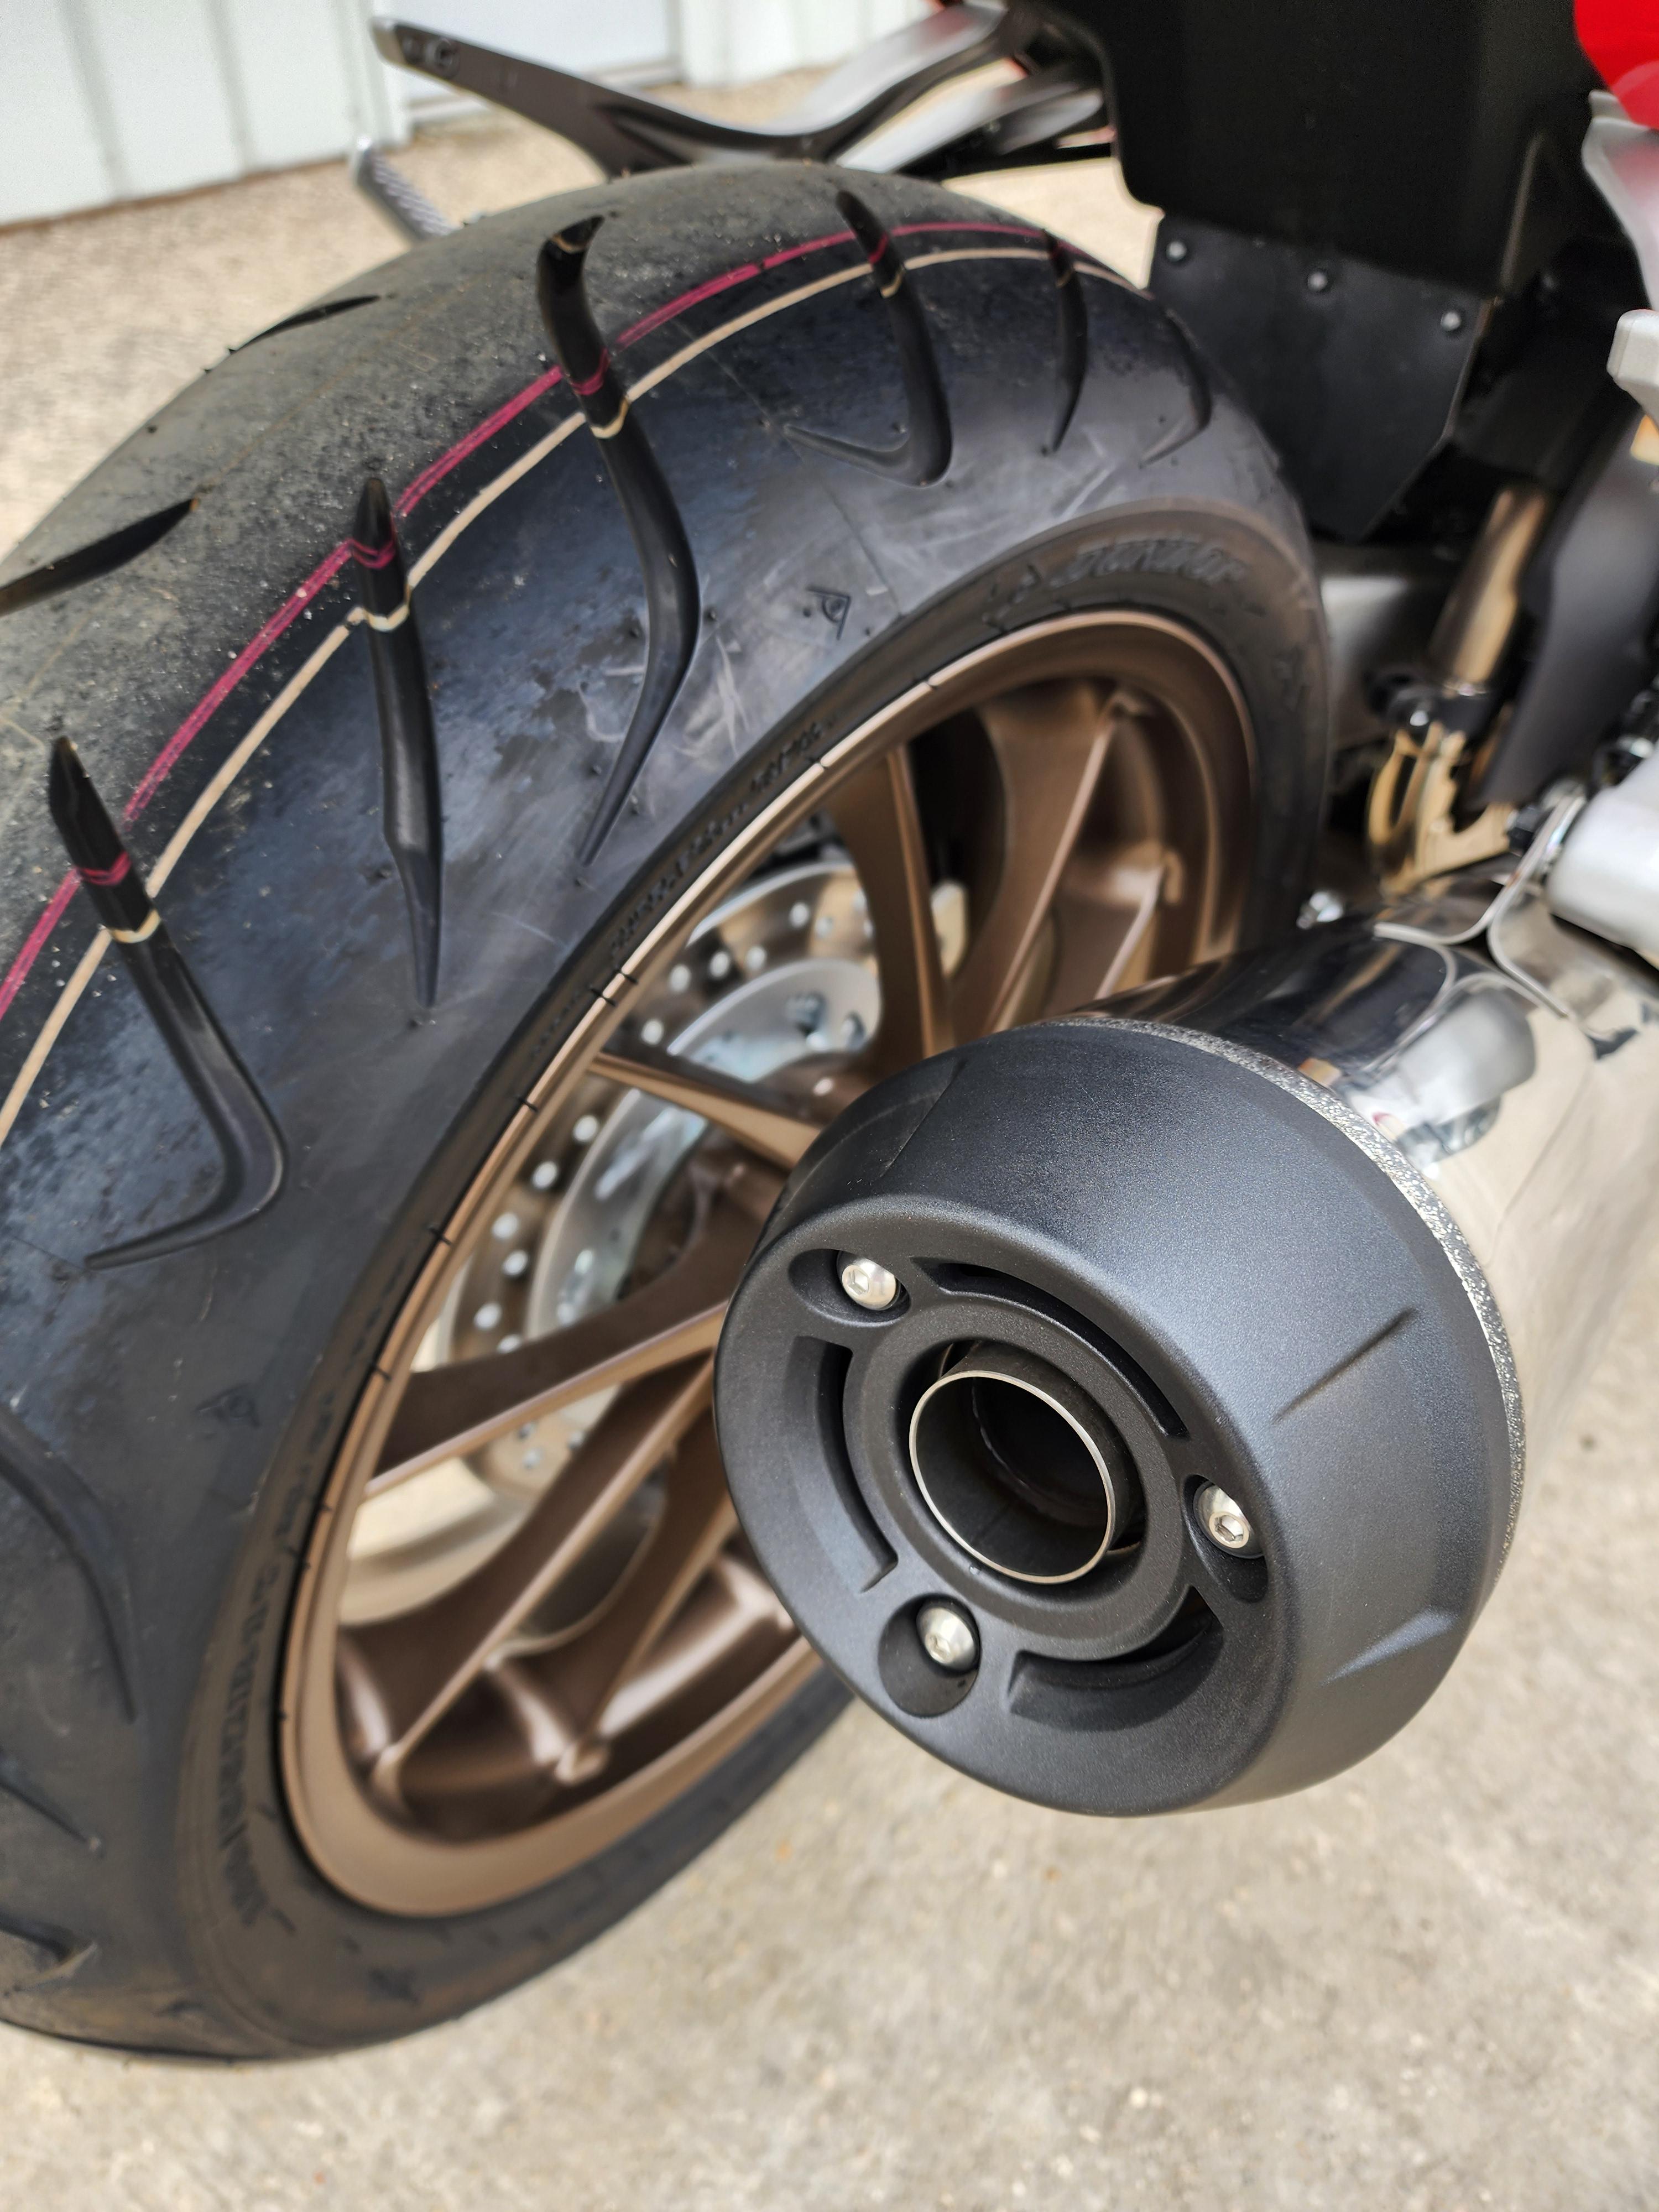
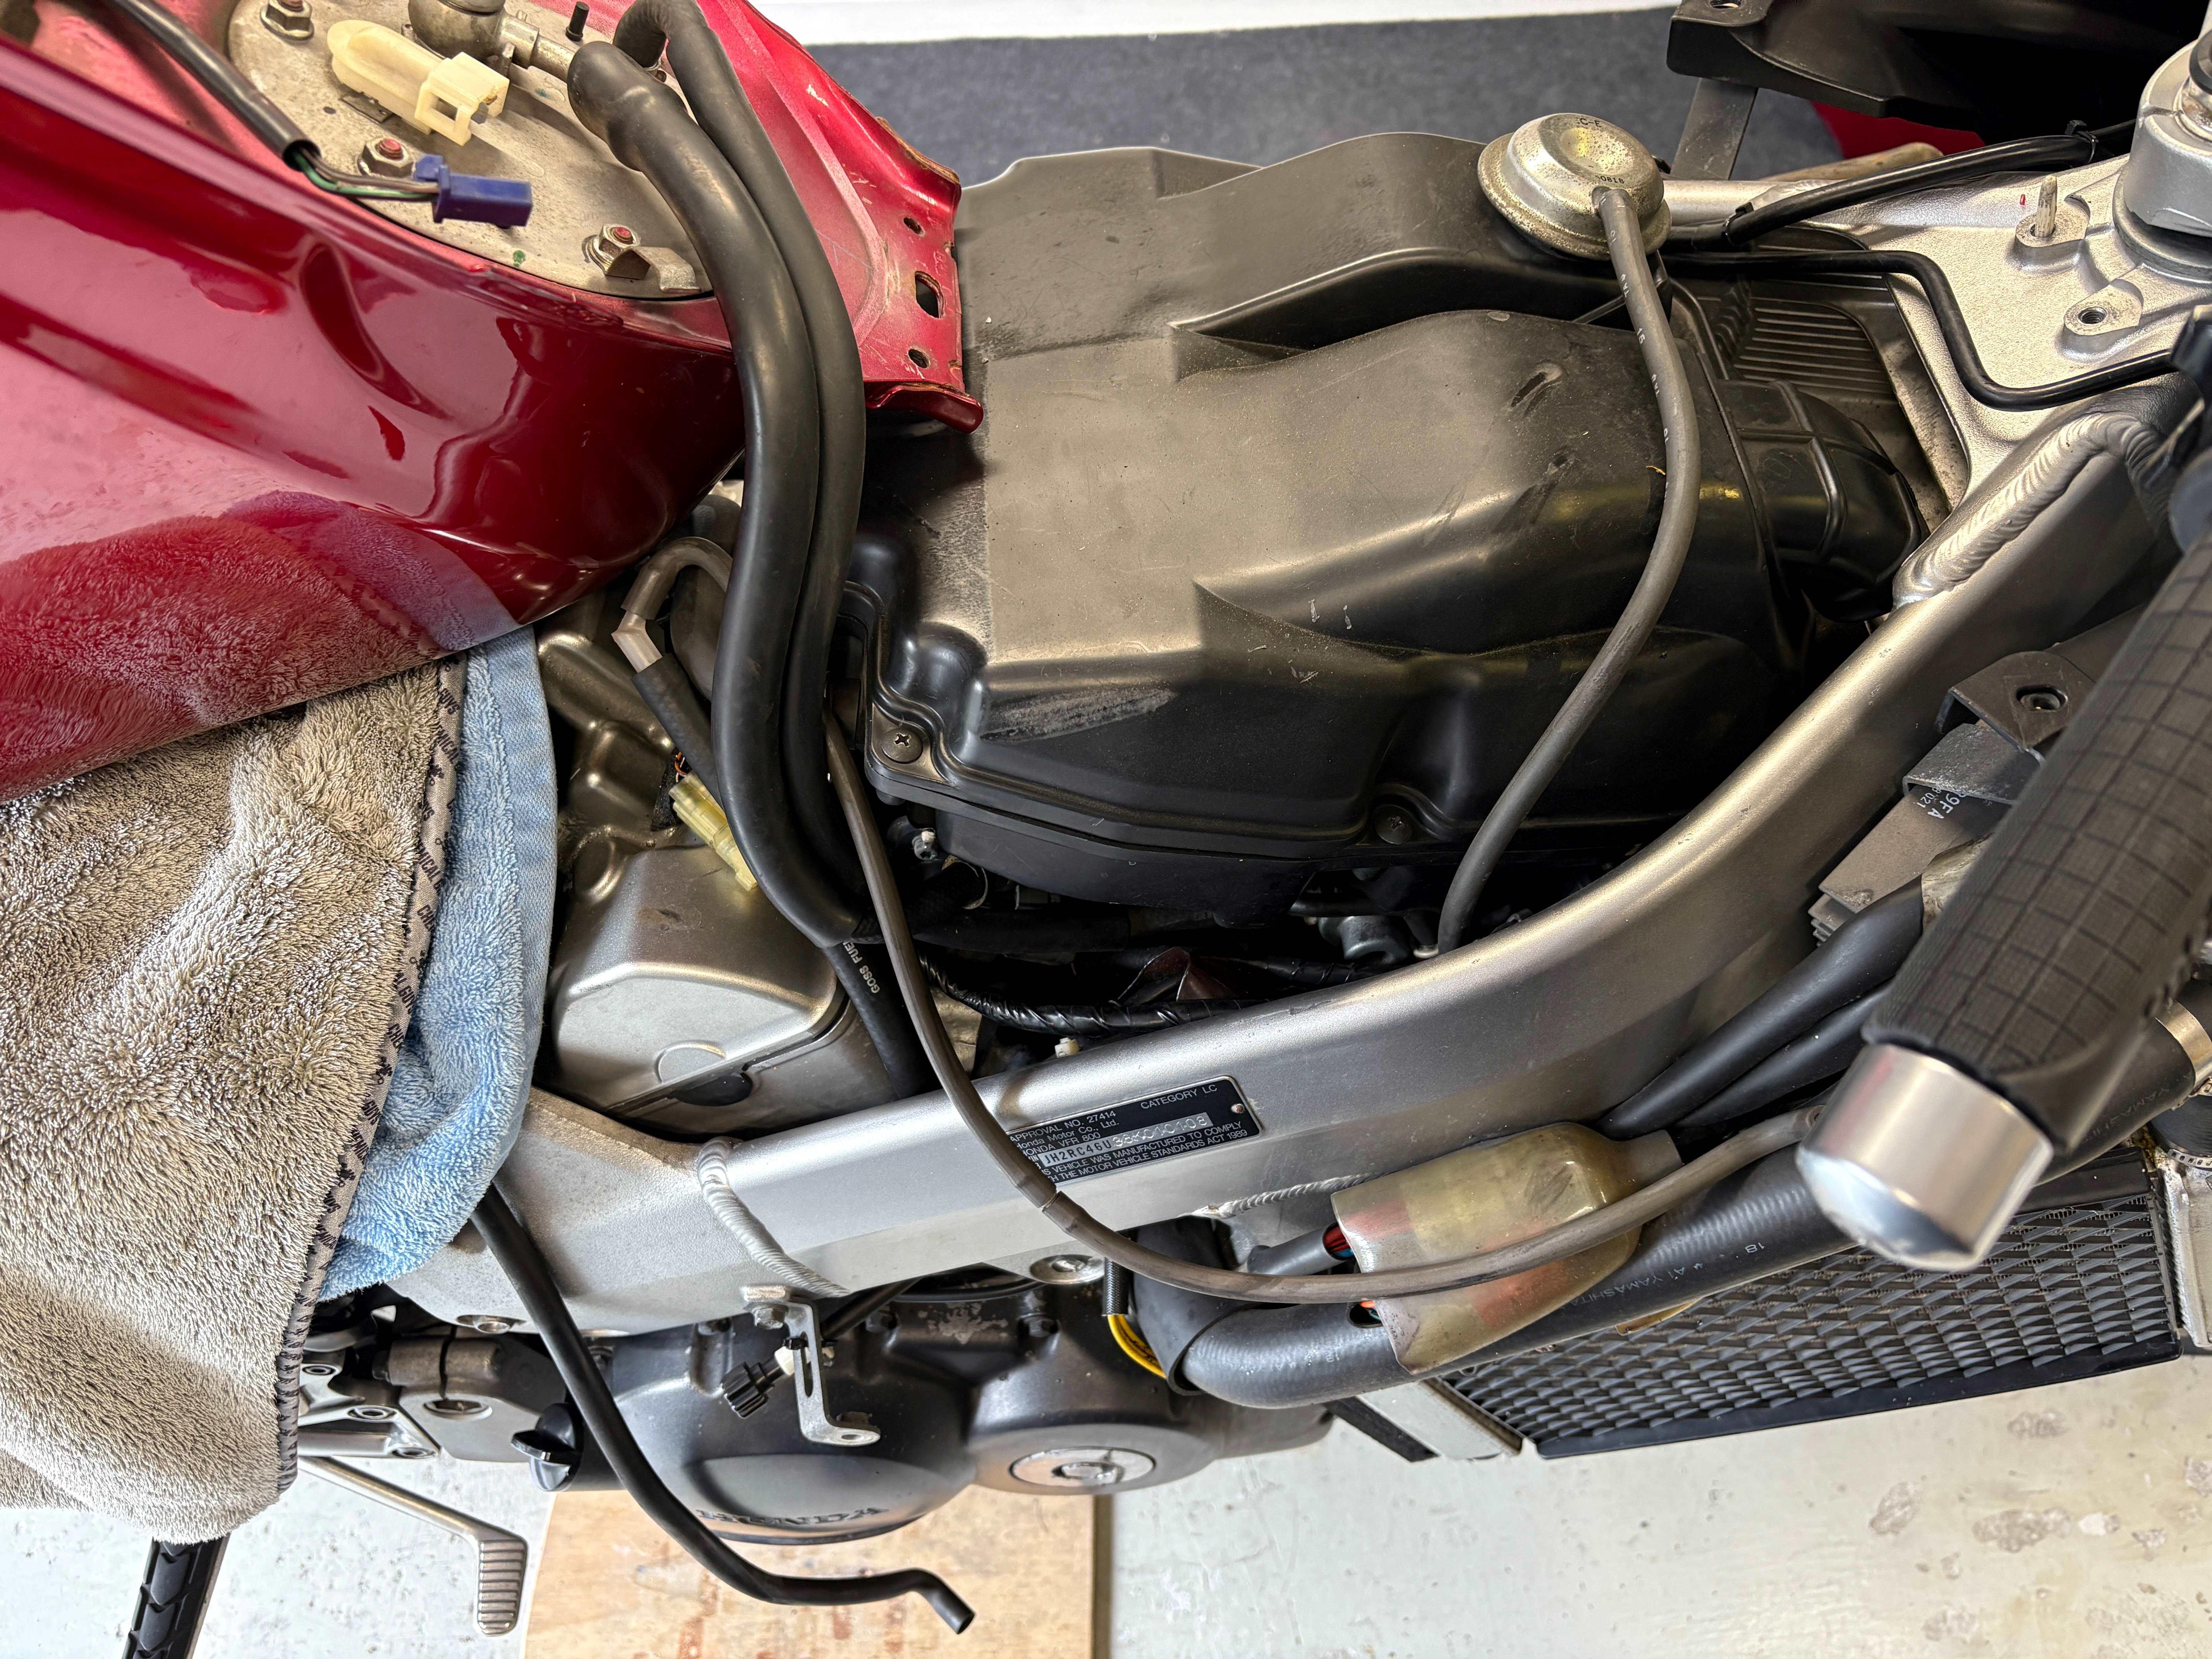
Last Sept. I finally got my new to me 5th Gen in running order. Unable to find any hard bags for it I ended up building a pair if saddle bag supports for my soft bags. I used 5/16" - 8mm weldable rod for most of it, with some 1/4" - 6mm for the forward stays. Everything was cold bent on my 6" vise with a 3lb ball peen, then welded. They are easily removable with 4 fastenings per side. I used them on a 3,000 mile trip that Fall and worked well. I did think though that a six pack rack would be helpful. Not finding anything available for the 5th Gen, and having trips to VA, TN, NC, then 4 days after that up to New Brunswick and the Cabot Trail in Nova Scotia in May, I figured I'd have a go at making a serviceable six pack rack a shot. Again I used 5/16" - 8mm rod for the frame and some 5/8' - 16mm X 1mm flat for the slats. I piggybacked off the Saddlebag supports to make it easier to mount, and threaded the rod at the forward end to adjust the rack, but also make it removable. The cable clamps on the aft lower are for the same reason. I can remove the rack in less than 2 minutes, but it is strong enough that a buddy and I lifted the back of the bike off the ground with it. 2 trips and just under 5,000 miles this May, and it has indeed proved useful. I'm a form follows function guy, so I'm not bothered if its less than elegant. Besides, there's so little in the way of luggage options for the 5th Gen that I had to figure out something if I wanted to go touring The last pic was taken around the 20th of May at Rouses Point NY as I was returning from NC etc. I generally will go up to the Quebec Border and turn right to get back home. This eliminates going through CT and MA, a far more relaxing way to enter Maine.
8 points
-
Hello all. Marcus here. Just wanted to say hi. This is my VFR.
7 points
-
Hello dear bikers, VFR enthusiasts and all who feel similar 🙂 I registered a long time ago, but I never actually introduce myself, so better ever then never. I'm Denis and I'm from Croatia, 38y/o, and driving two-wheelers from very distant youth. There were small 50cc manuals, tuned 50cc 2T scooters, 125 2T sport bikes (Cagiva Mito inclusively), FZ6, Z750, racing 180 2t scooters and etc... I fell in love in one RC36 also when I was a kid, but at that time I didn't even know which brand it was and why it has so beautiful sound. Actually I thought it was V2 but high revving model (apparently I didn't know much about mechanics and engines back in the day) 🤣 After I tried friend's 1998 RC46 for the first time in 2021 (he actually stole my idea after selling his SV1000), I said that's it, and same year I bought my first VFR, silver RC46 from 2001. She was 20 years old, but she didn't give any sign of fatigue. 106 HP, slightly schratched in the front, previously repainted, but mechanically perfect. 258km/h top speed, niiiiice 😙 But I don't like silver. 😴 For me it's the color of the primer, ready to put some COLOR, red, blue, yellow, orange, even black!!! So I did what had to be done. Perfect! I dreamed about red one. Putted iridium spark plugs, new oil, new tires, new filters... (one rectifier later, of course) and that's it. And it was nice one and a half year, one of the best tours in my life, a lot of commuting, freerides, turned 26 thousand kilometers in total. And then my other friend happened.. asked me for a spin, and unfortunatelly the bike was almost totalled, he was luckily OK, only scratches, bruises, but broken pride. 😢 Season skipped unintentionally. And then "banana" came (as my friend calling her) 😆 1999, imported from Germany, well preserved, also mechanically very good, 114 thousand kilometers, yeees manual choke, not that nice gauge background as facelift version, not that nice mirrors... but BOS high-mount exhaust, sport air filter and remapped ECU. A lot of original accessories (Honda tools, passenger grips and original passenger seat cover)... and 270 km/h 😎🫢🤪😮 Plus stronger pull from lower rpms. Everything you need from a bike. And after one year and 8 months, she's still here, but 30 thousand kilometers older (plus one battery which died). Uh, what a bike. She still puts a smile on my face. And almost 150 tkm... Well done Honda 😉
6 points
-
Today pulled the cover off my VFR and gave it a bath. Even under a carport and with a bike cover the dust finds a way to get everywhere. Then I cleaned the chain, aired up the tires, installed the battery, and changed the oil & filter. Next job will be replacing the cam chain tensioners, a task I've put off far too long. For a variety of reasons it's been almost 3 years since I last rode it. Since 1991 I'd never skipped a year until 2023. Not the most exciting story, but it's an excuse to show this pic.
6 points
-
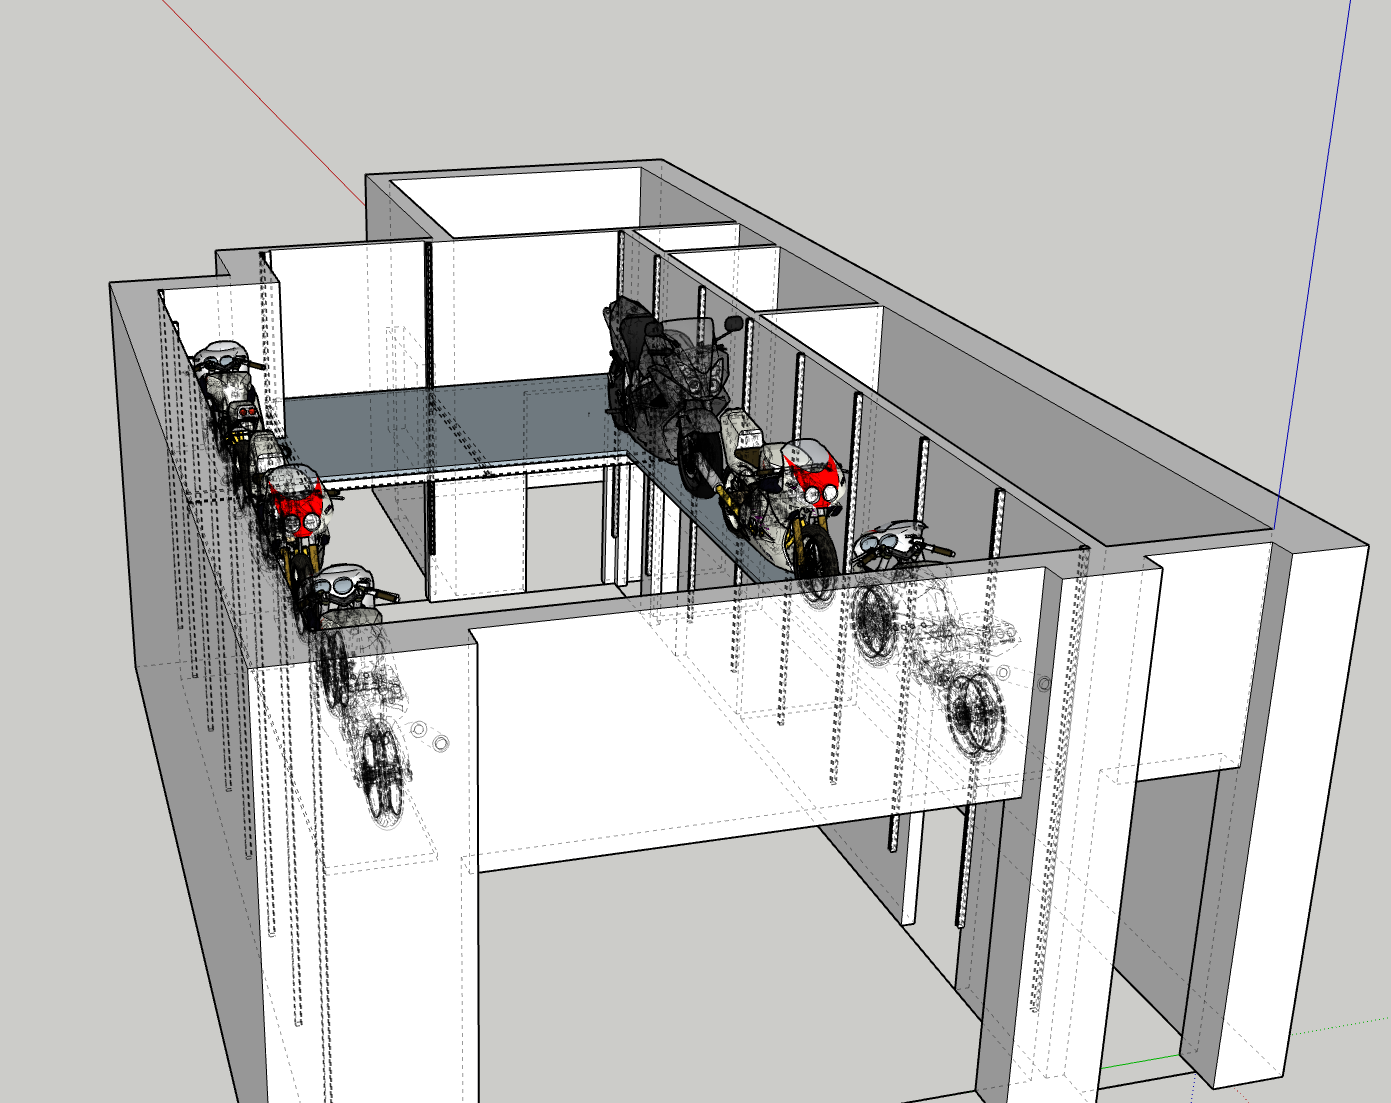
Coincidence, or what?!? So, I'm buying a ~275 year-old, three-story "canal house" in the Netherlands with a ground floor which is destined to be my new garage. Not an American-sized garage by any stretch of the imagination, but if I can manage the space well it should be big enough to meet my current needs. The total garage area is about 40m2--with 3.5m ceilings. The challenge is that if I want to be able to use the space as a workshop (and I do), I've got to find some place to store 9-10 motorcycles... (No, selling them is not an option!) My tentative solution is to use the garage's height in a creative way, such that I will build a heavy duty shelf 2m off the ground on the three side walls and lift the bikes up and down using an electric "pallet stacker". The shelves will be constructed from 41x41 Unistrut, with 1m-spaced verticals attaching at the floor and the ceiling (as well as to the walls). I'll use a 45-degree shelf support bracket made of welded rectangular tube attached to the horizontal and vertical struts. The bikes will sit on metal "sleds" I will design and build, which may be based on the Baxley-type wheel chocks I have 6 of now, or maybe on an ABBA stand-type design. The stacker can lift 1000kg 3.5m (it was either that or install some sort of winch/gantry system to the ceiling--this is simpler!) I'm not a structural engineer, but I've read a bit about the Unistrut system, which is quite versatile and very strong. I won't need to weld anything to the Unistrut (which is good, because it is galvanized steel...), but I can build the 45-degree brackets and the "sleds" from mild steel tubing and plate. I should have enough room for six bikes, even if I only use the side walls. I can only ride one at a time, so as long as they are accessible (and the floor area remains free of obstruction), I should be able to retrieve them whenever I want to worn on them or ride them. It should look something like this: The front wall will have 4x folding doors with windows above, plus there are french doors at the back and a small office. I should get plenty of light. Thoughts...? (Especially re the crazy shelf idea!) Cheers, JZH
5 points
-
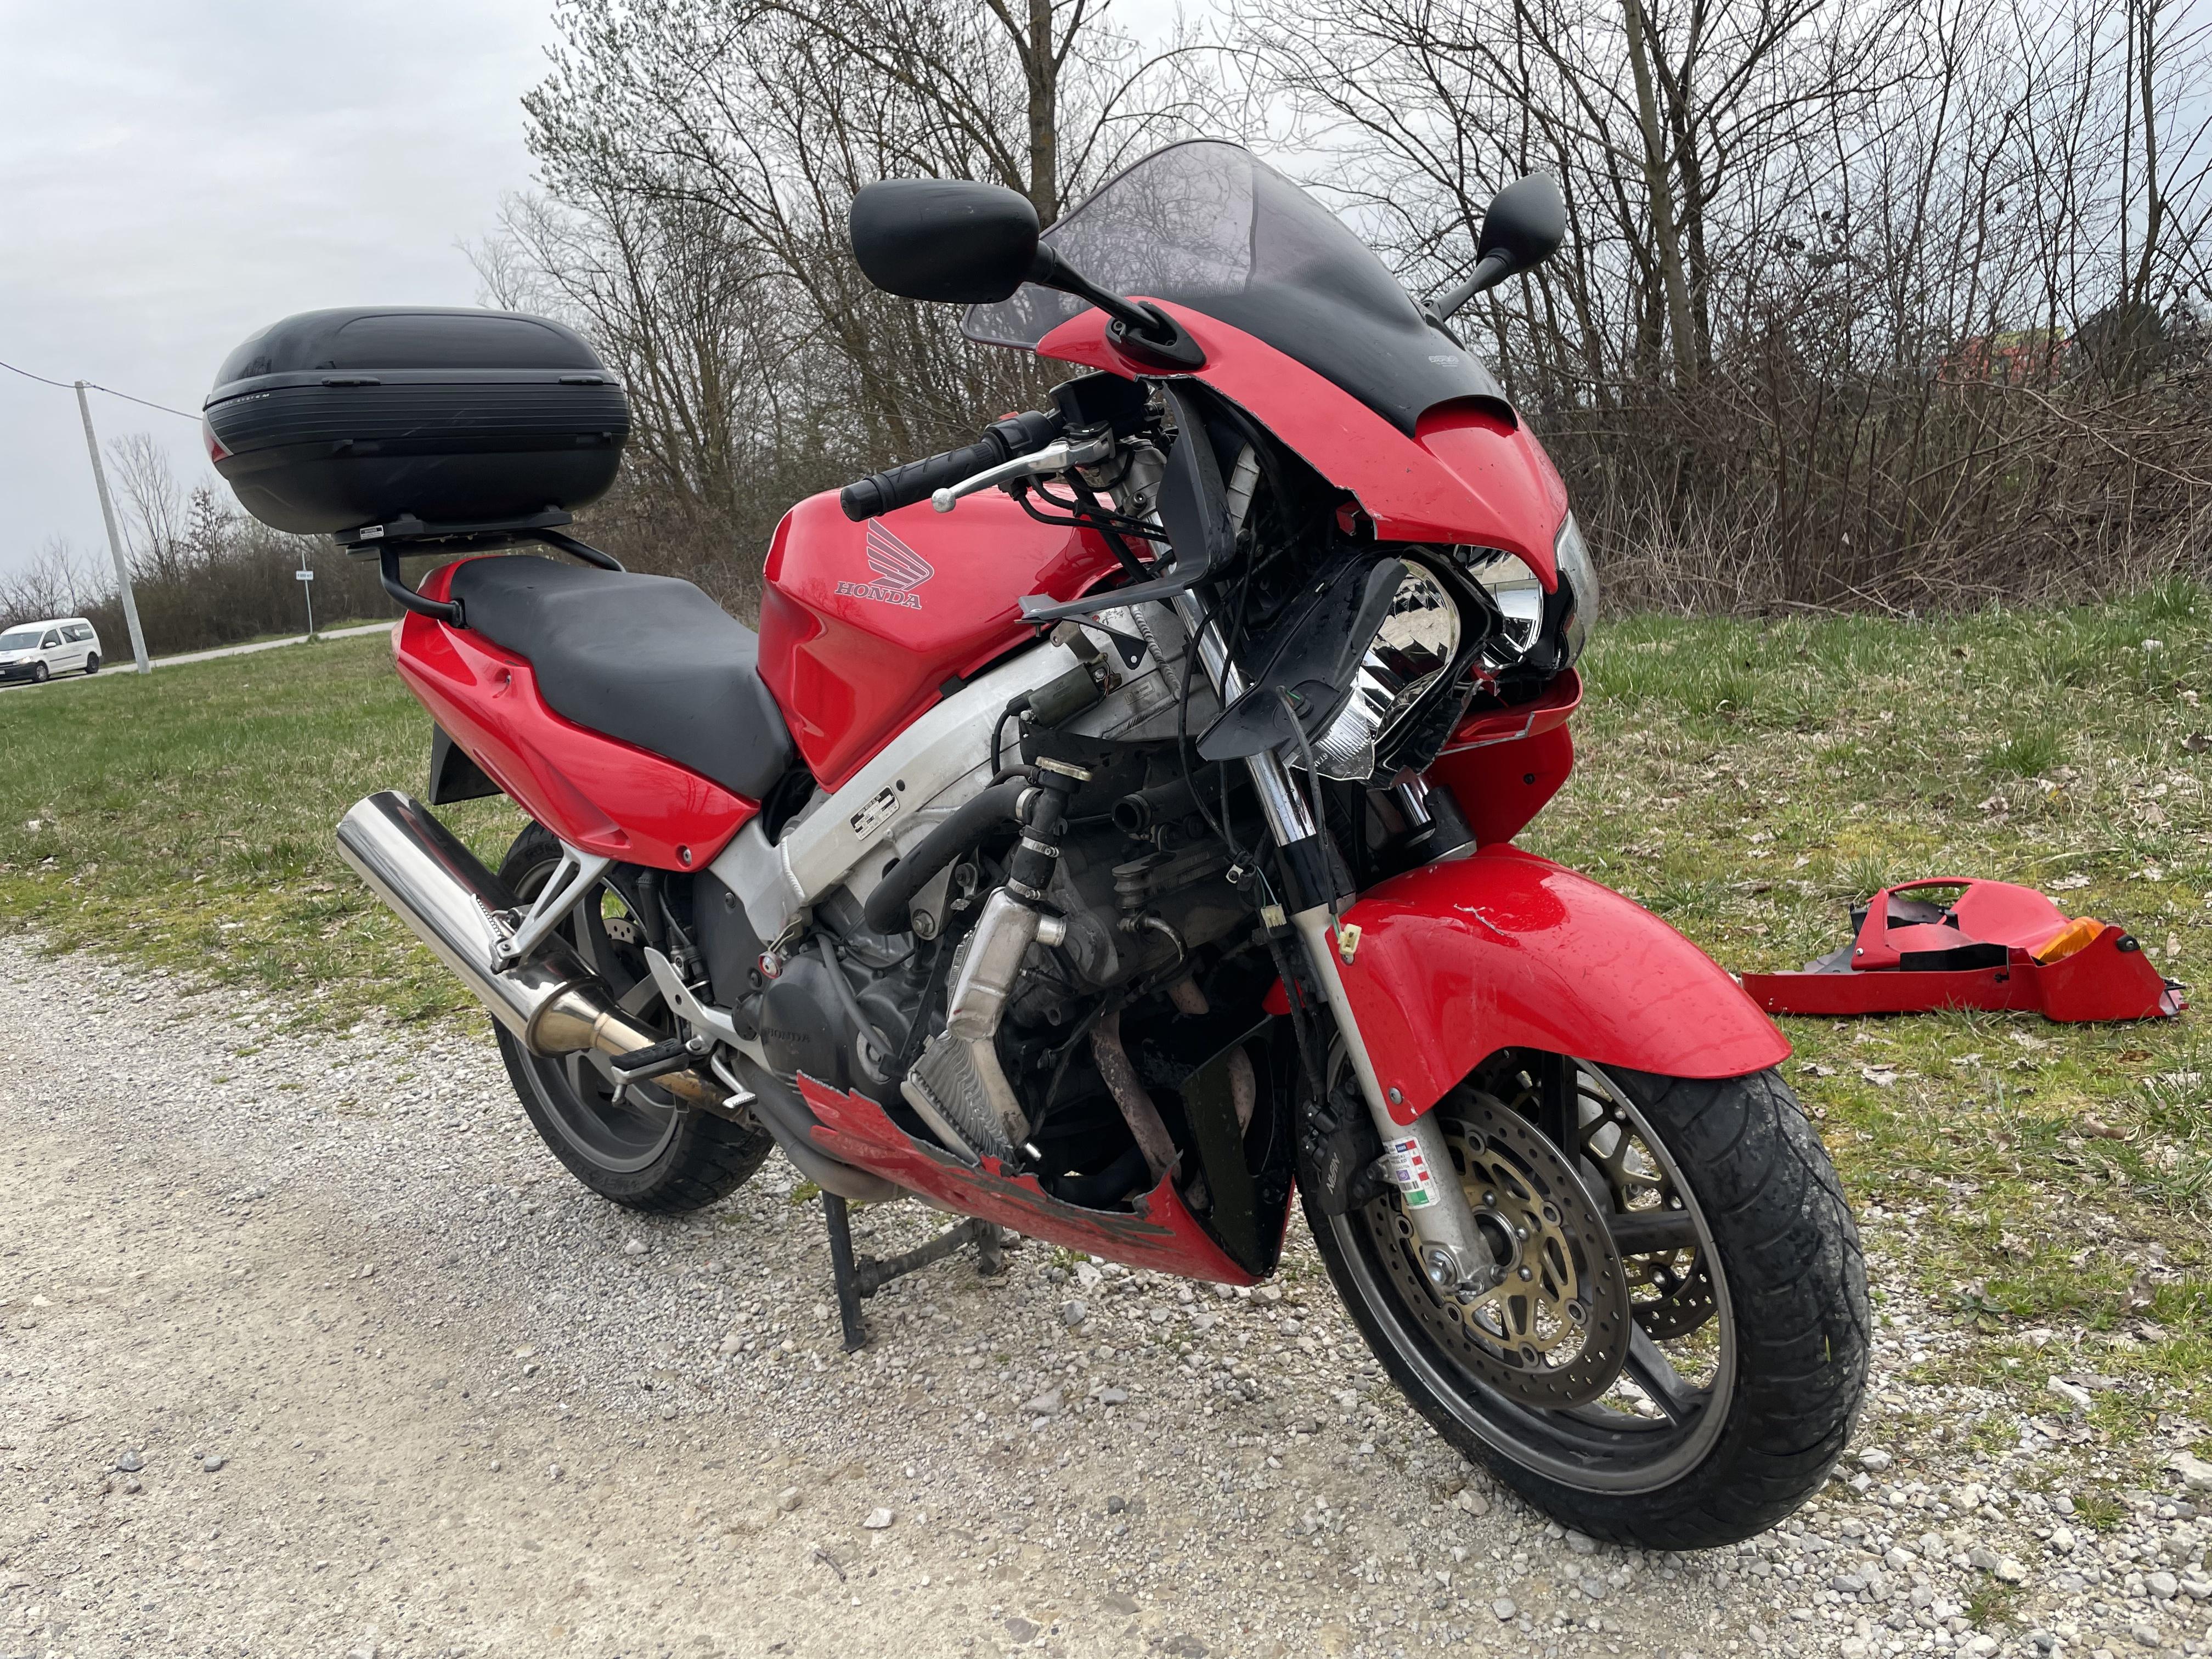
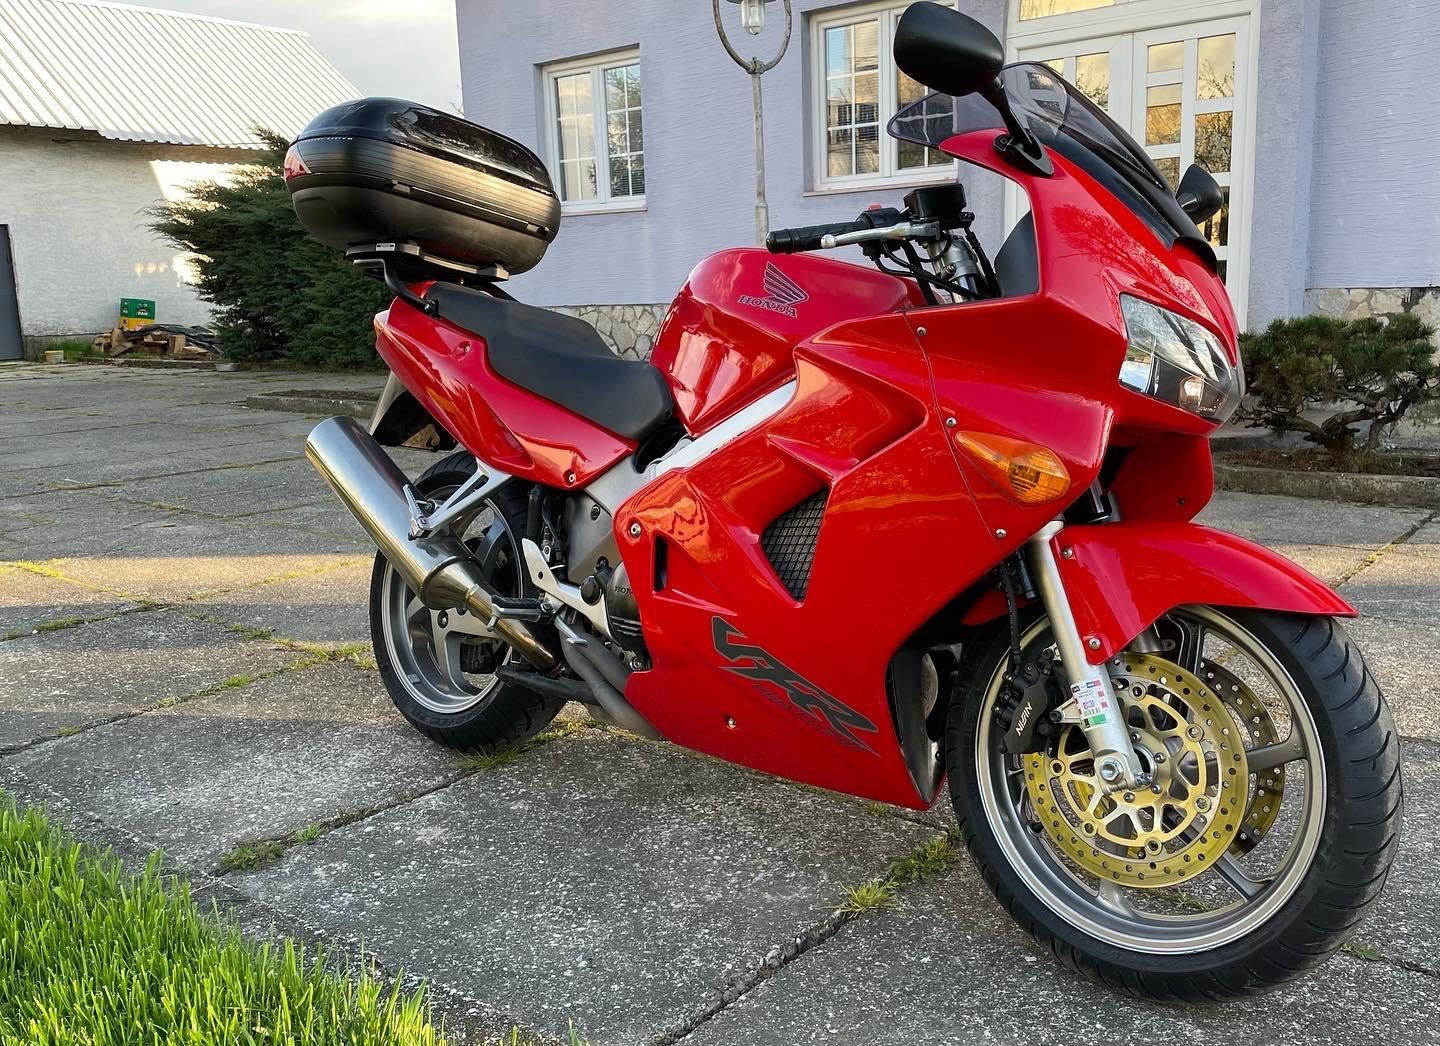
Yes, only 1 mile. I bought this bike from an estate of an older gentleman who was a bike collector. This is the second VFR 800 I have owned and have decided to sell it rather than ride it. The pictures here speak for the bike. It is in absolutely brand new condition, never ridden. Please contact me directly with any questions and more details. ! am asking $10,500. for the bike. markbrunsell@gmail.com
5 points
-
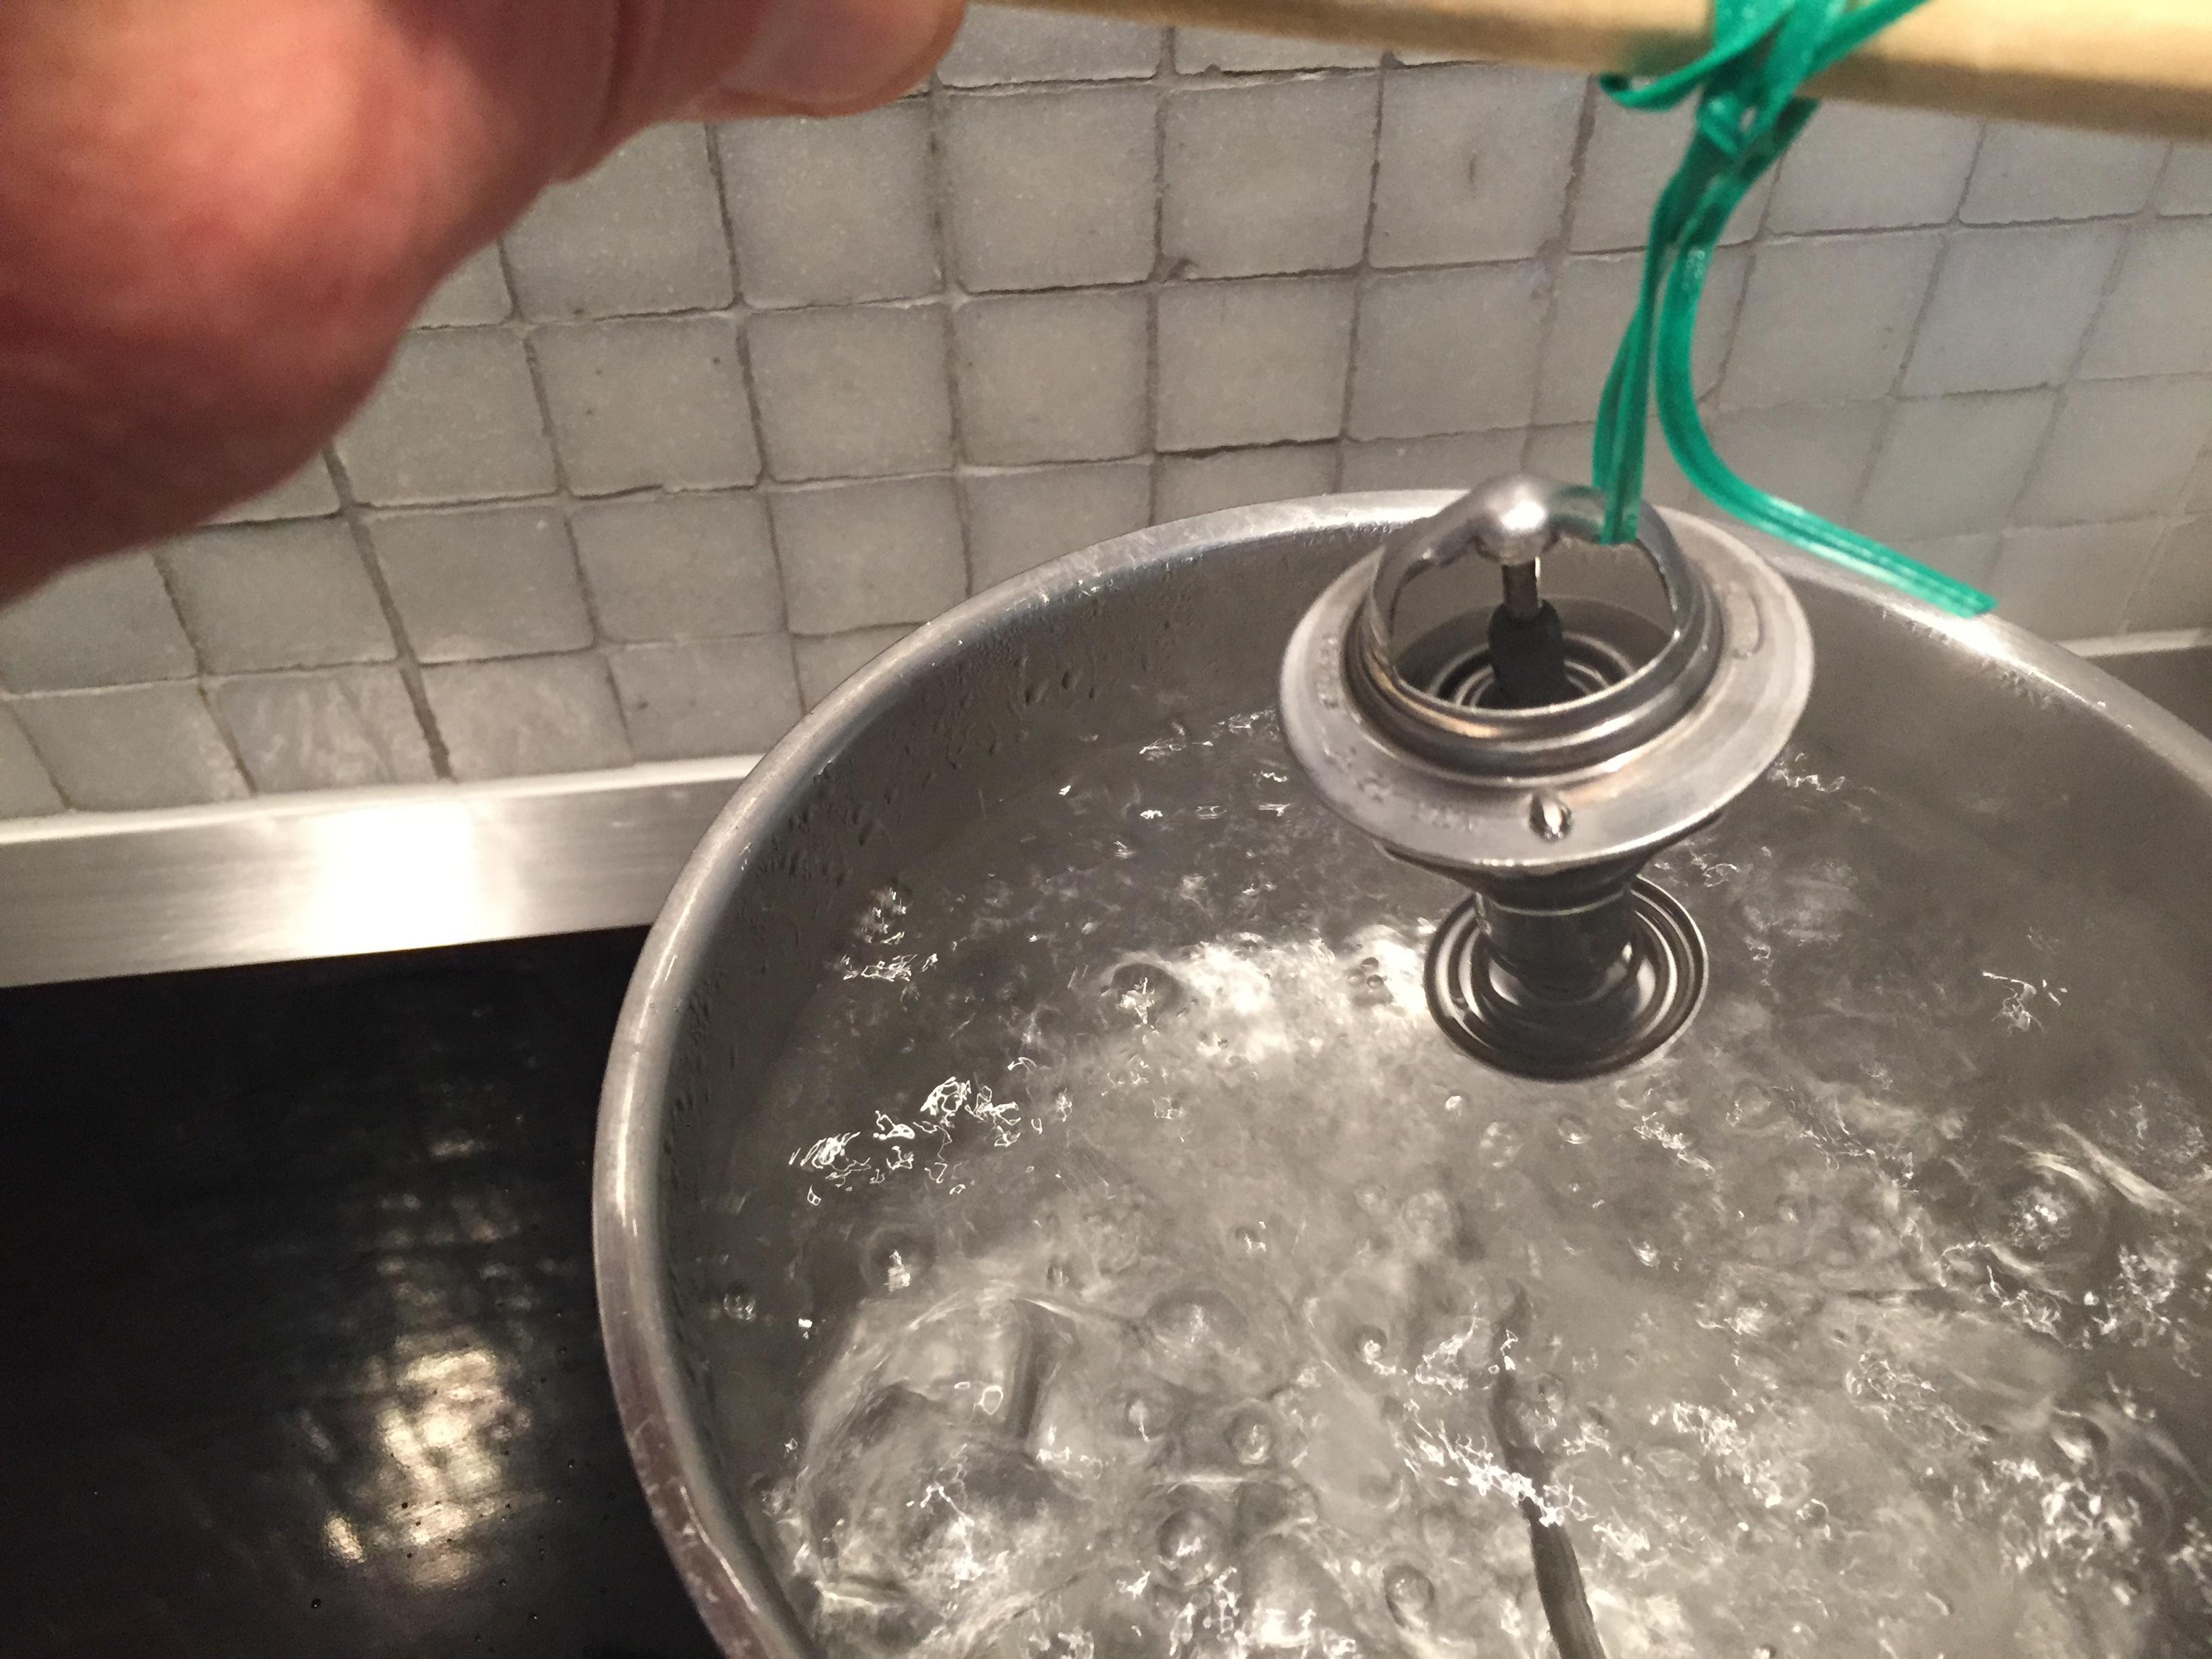
Do it when your wife is out shopping and the pot will be fine. The action in boiling water is very obvious from closed to open.
5 points
-
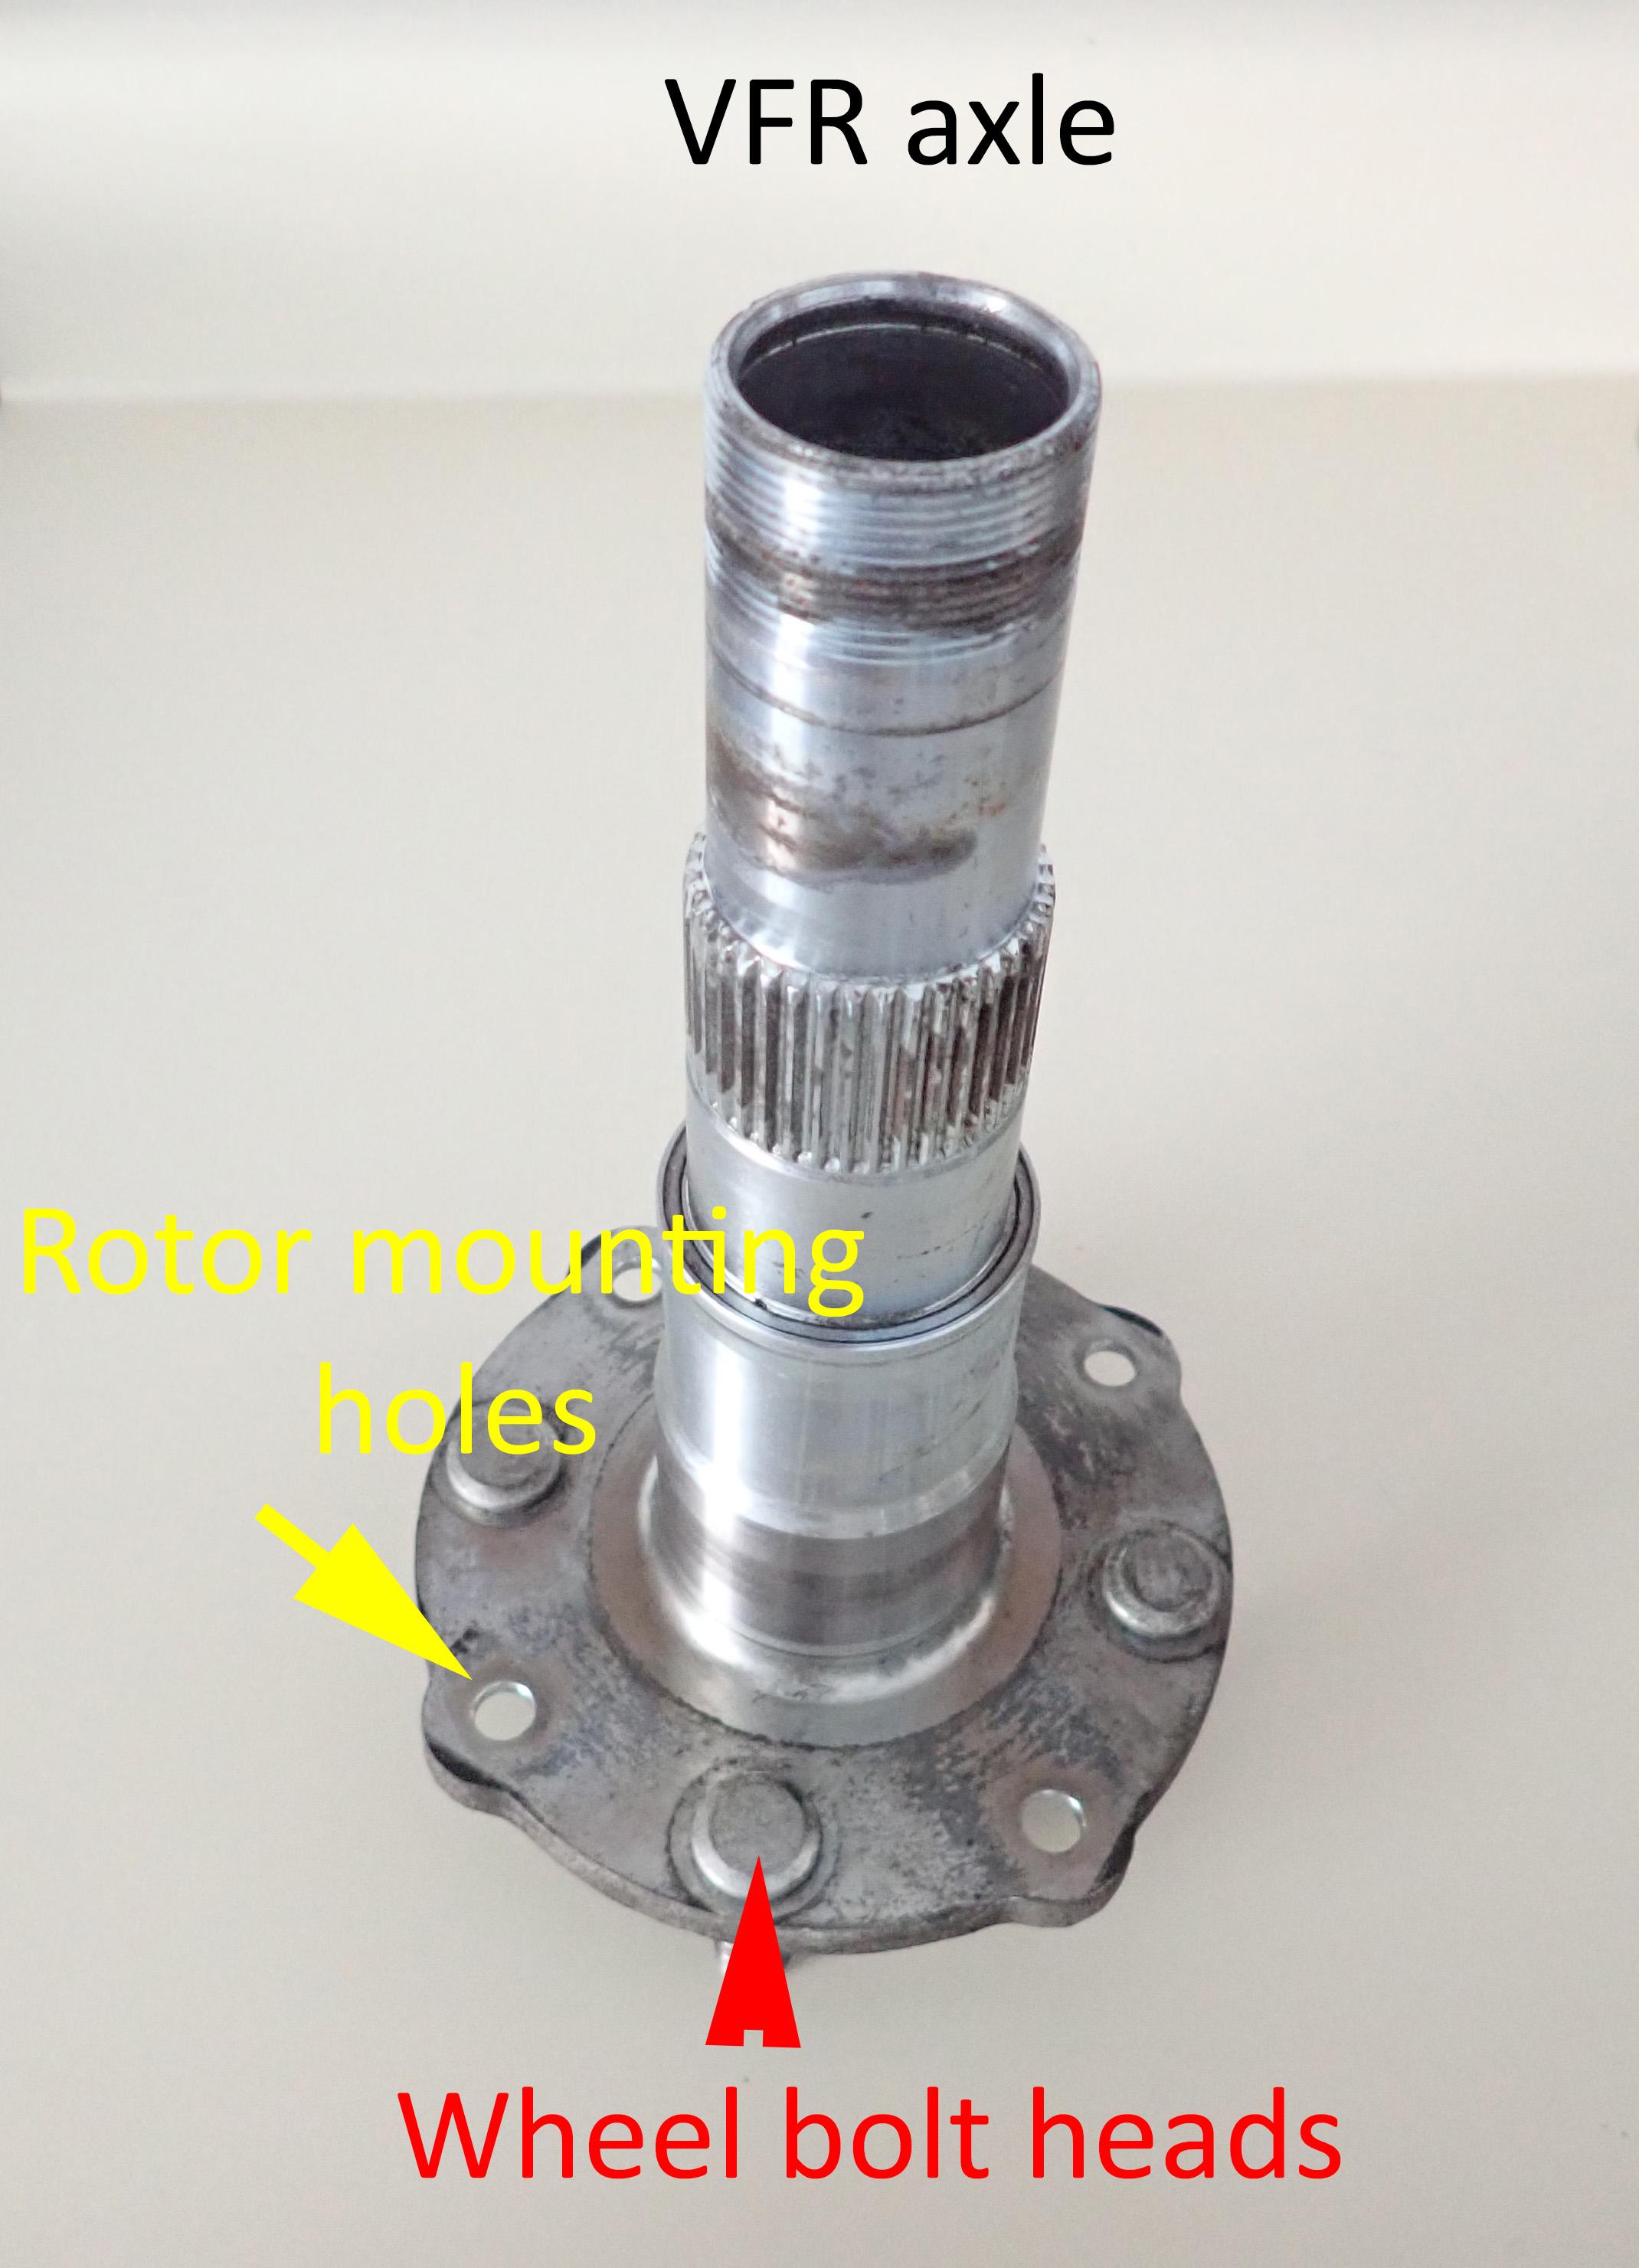
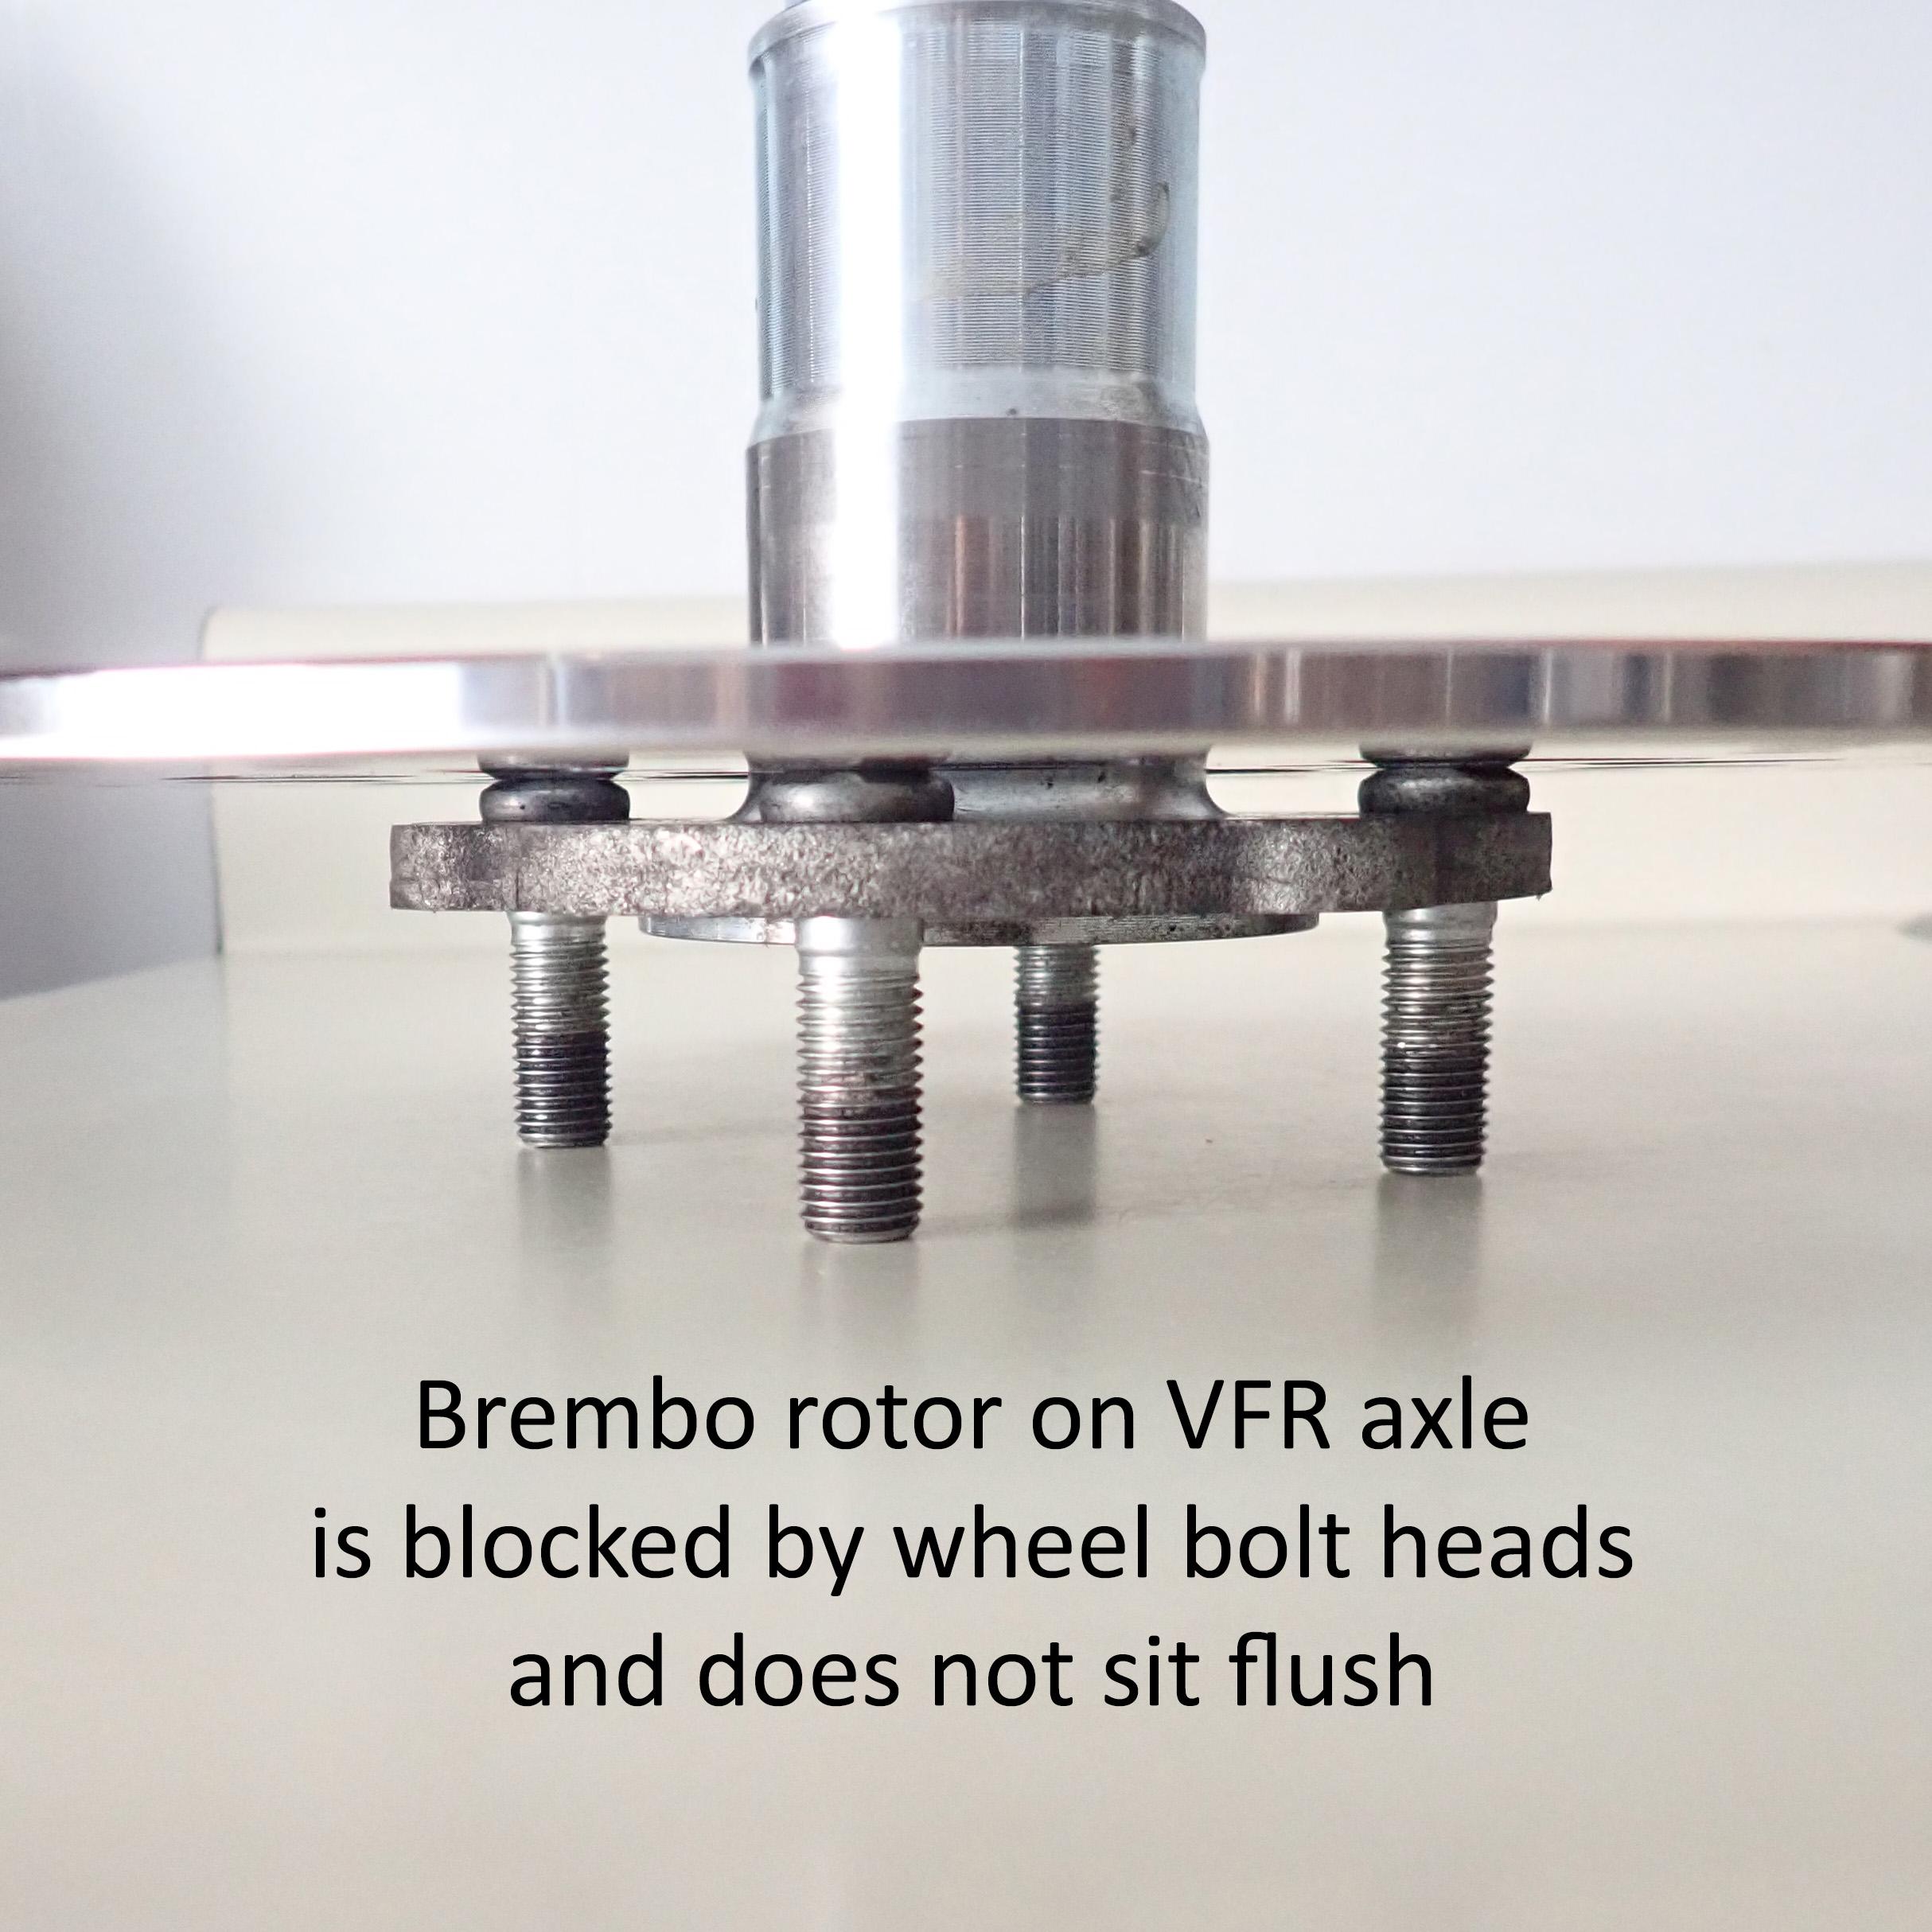
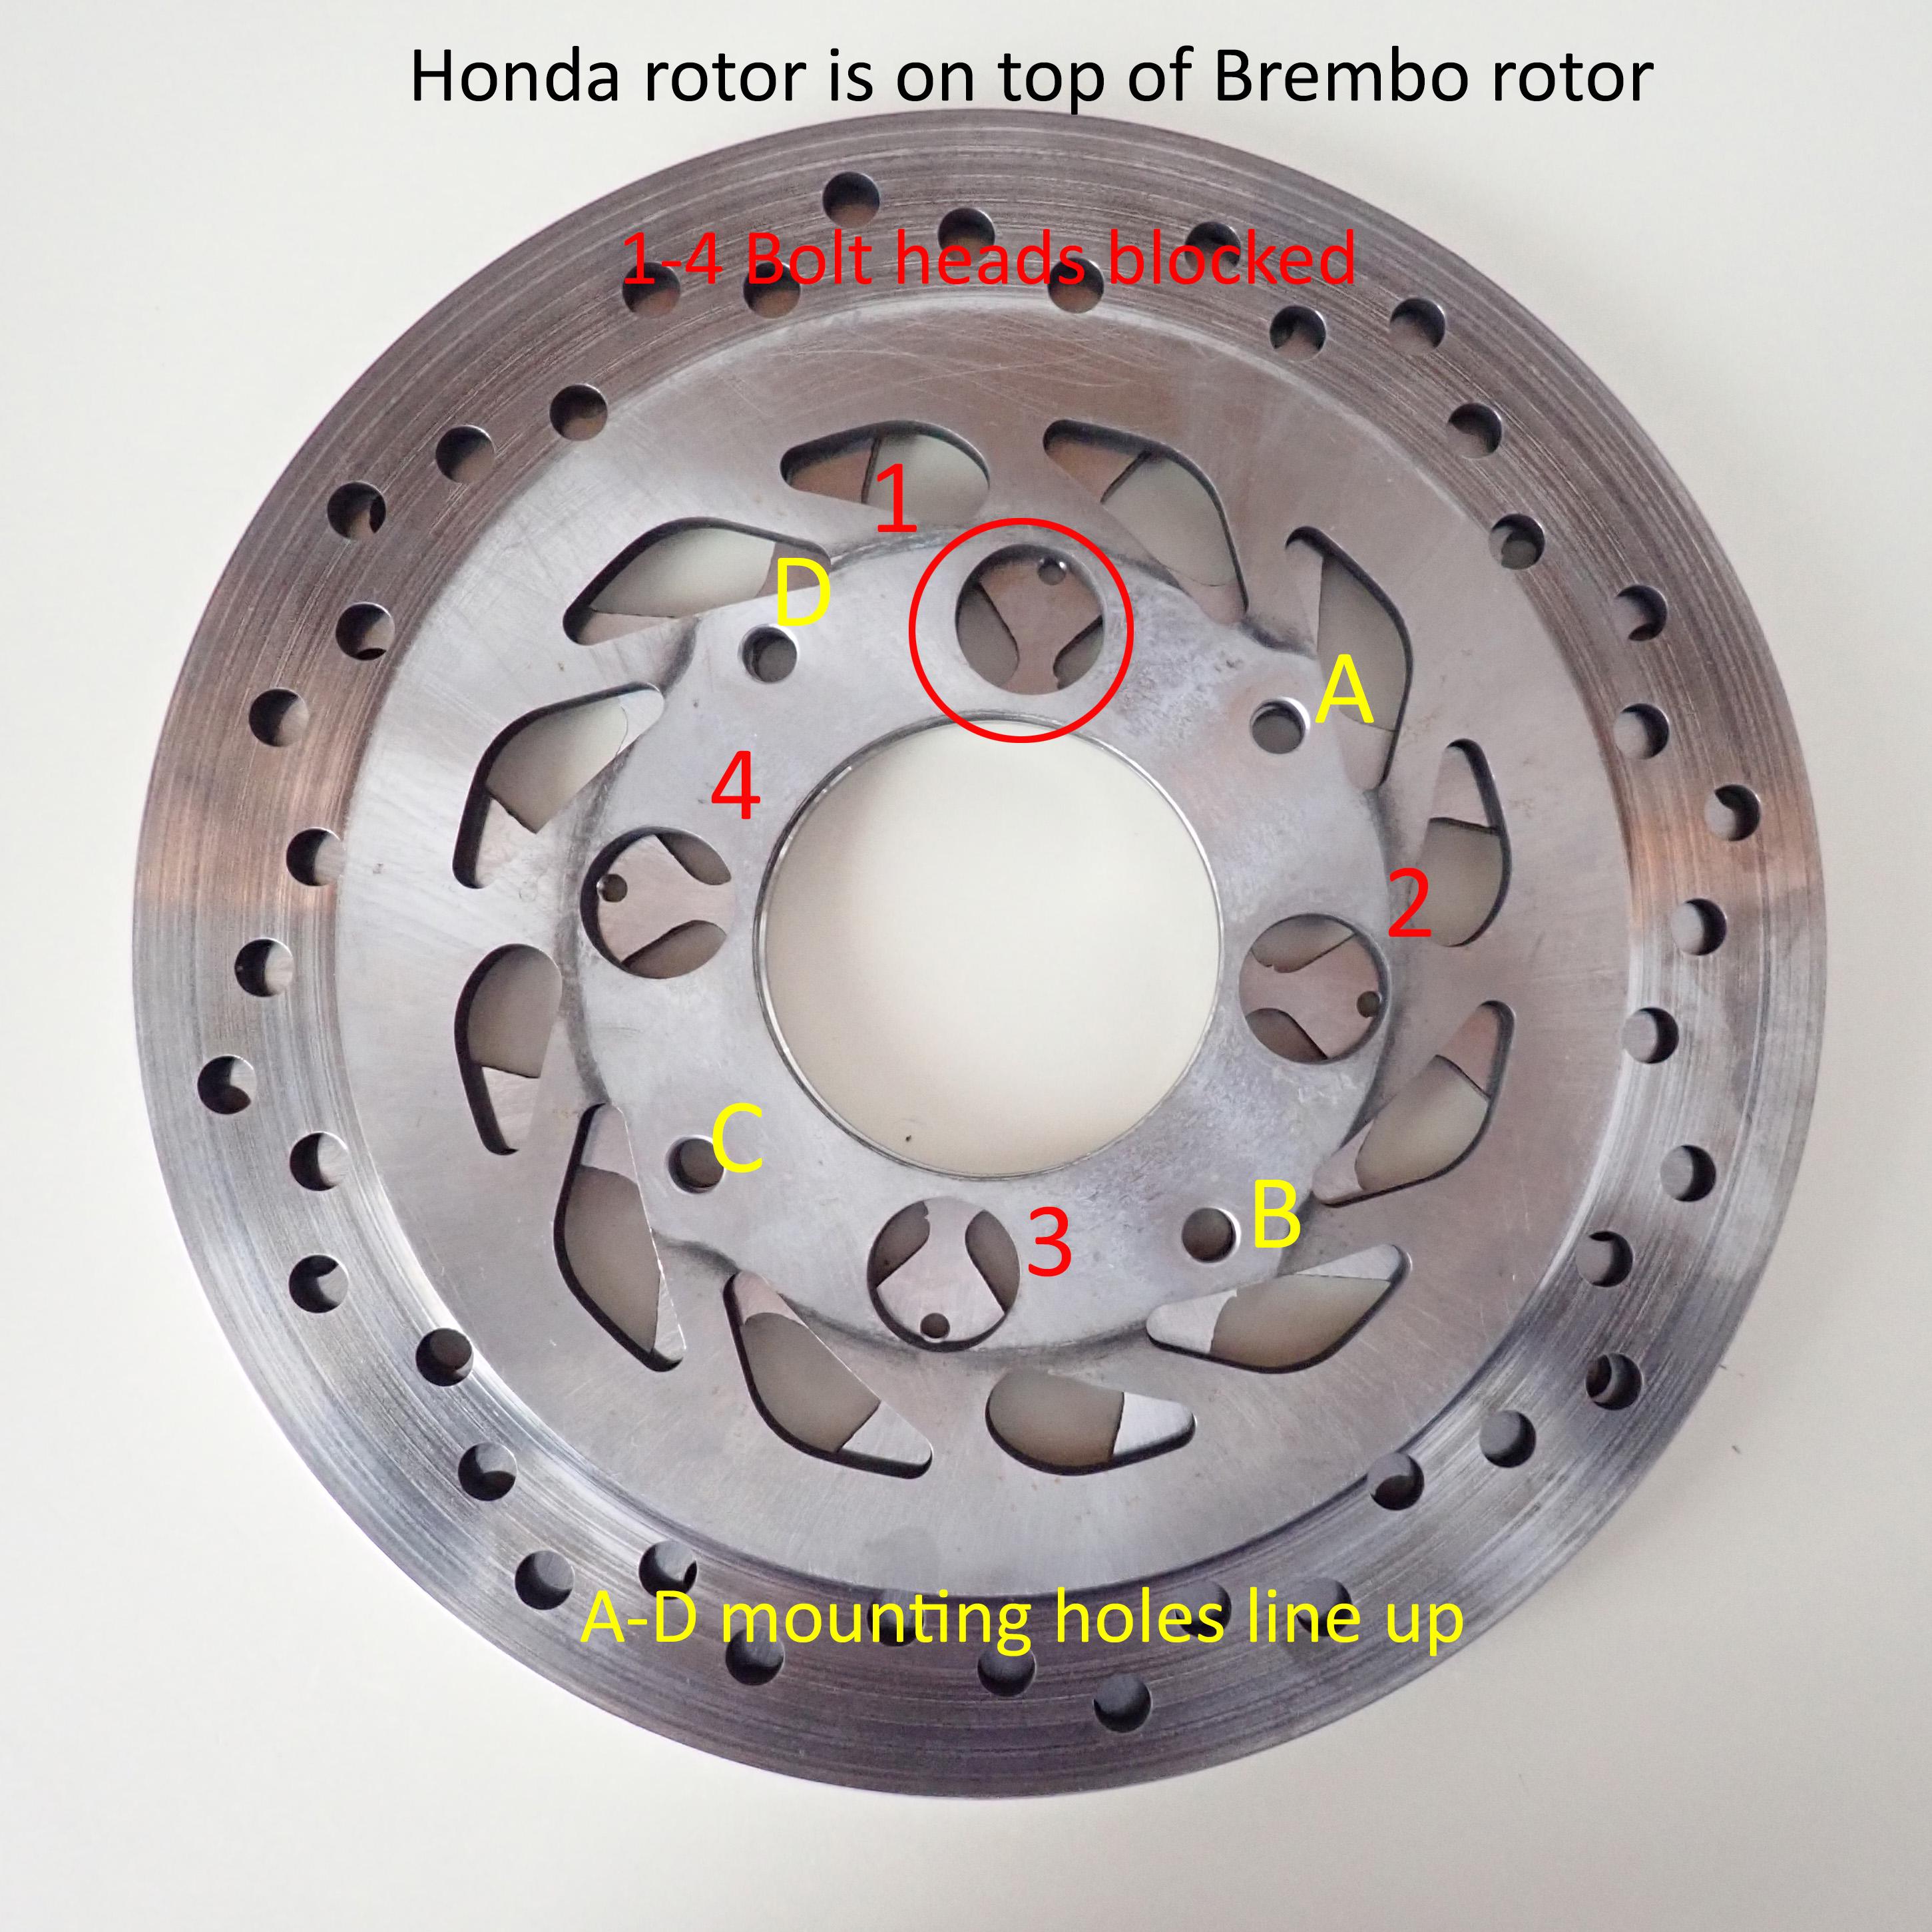
I ordered a Brembo rear rotor for my 2006 non ABS VFR800. Checked with multiple sources including Brembo itself and all said it was model 68B407M6. When it arrived 8 weeks later (they make them per order) it would not fit due to the the Brembo not having the 4 holes to accomodate the heads of the tire mounting bolts that protrude from the axle face. Fortunately they owned up to the mistake and refunded my money. This model is supposed to fit 1998 to 2012 VFRs. Big Fail. They could not determine which model, if any, would fit the VFR or what bikes the 68B407M6 does fit. Too bad. It was half the price of the Honda rotor I eventually purchased.
4 points
-
There are many ways. I like to use a drift that is smaller than the slot. And I don't smash all the way down, but leave a small gap so I can easily get a small chisel in to release it later if I need to do some work.
4 points
-
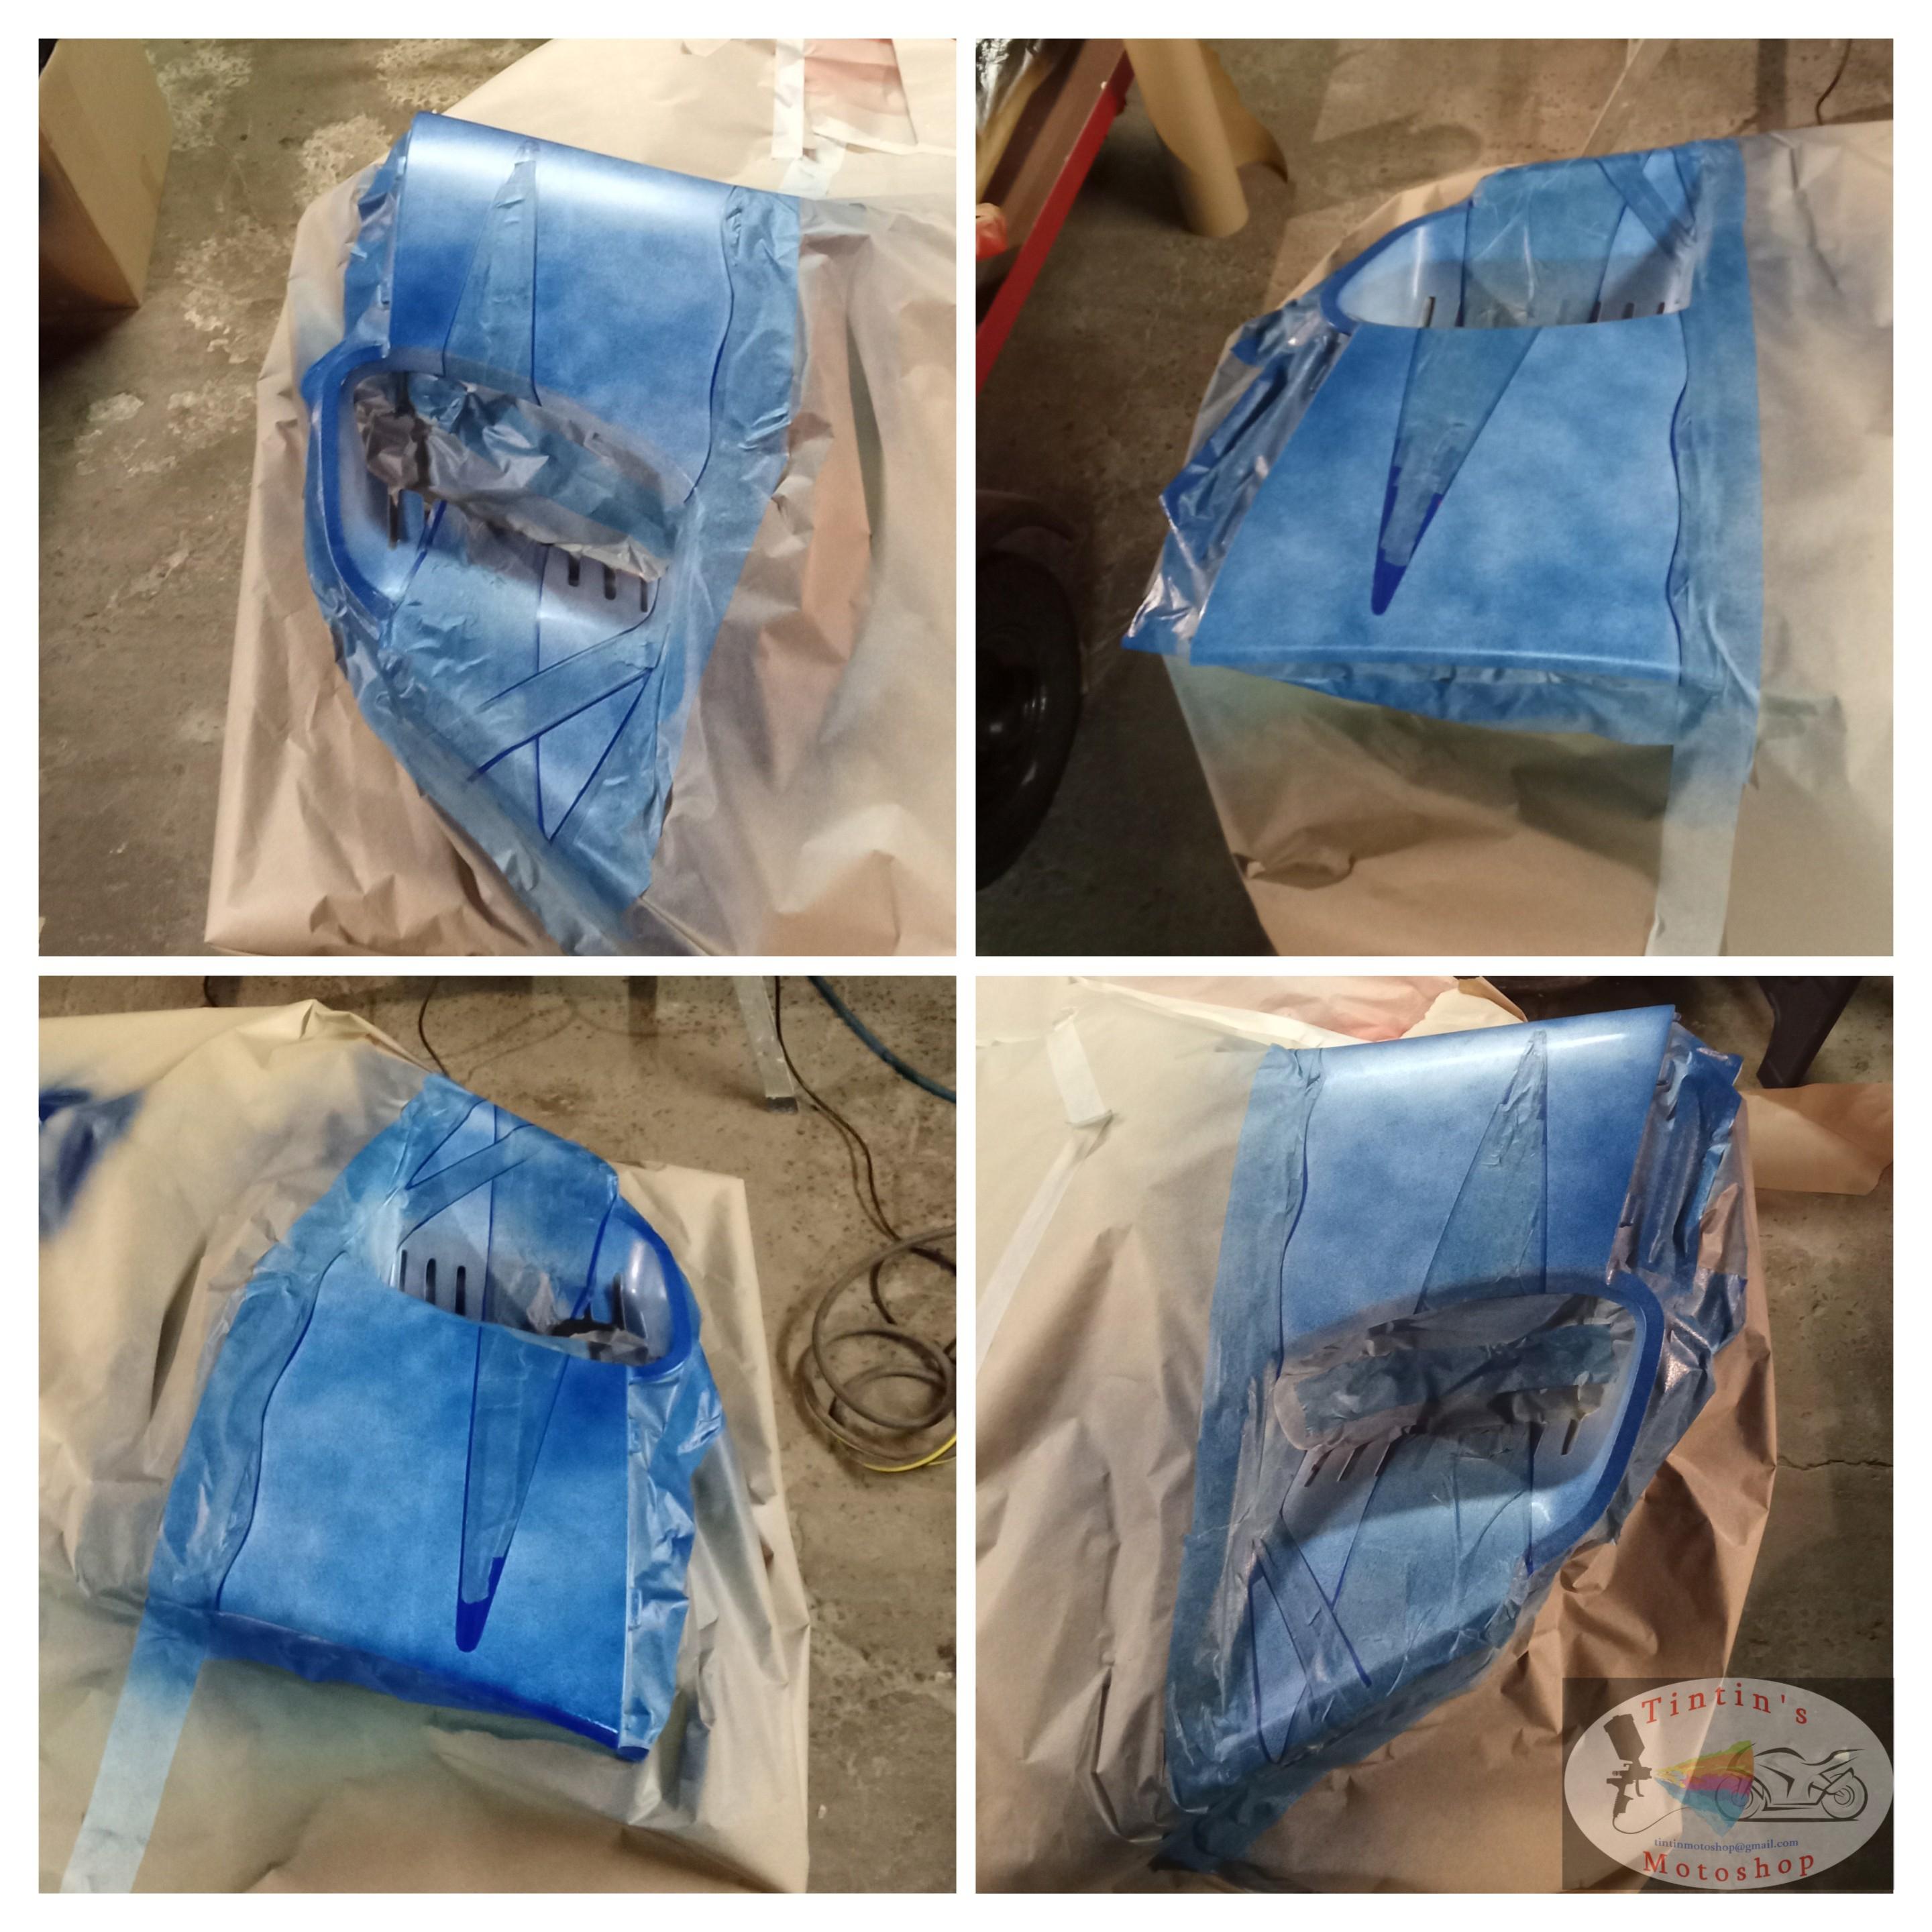
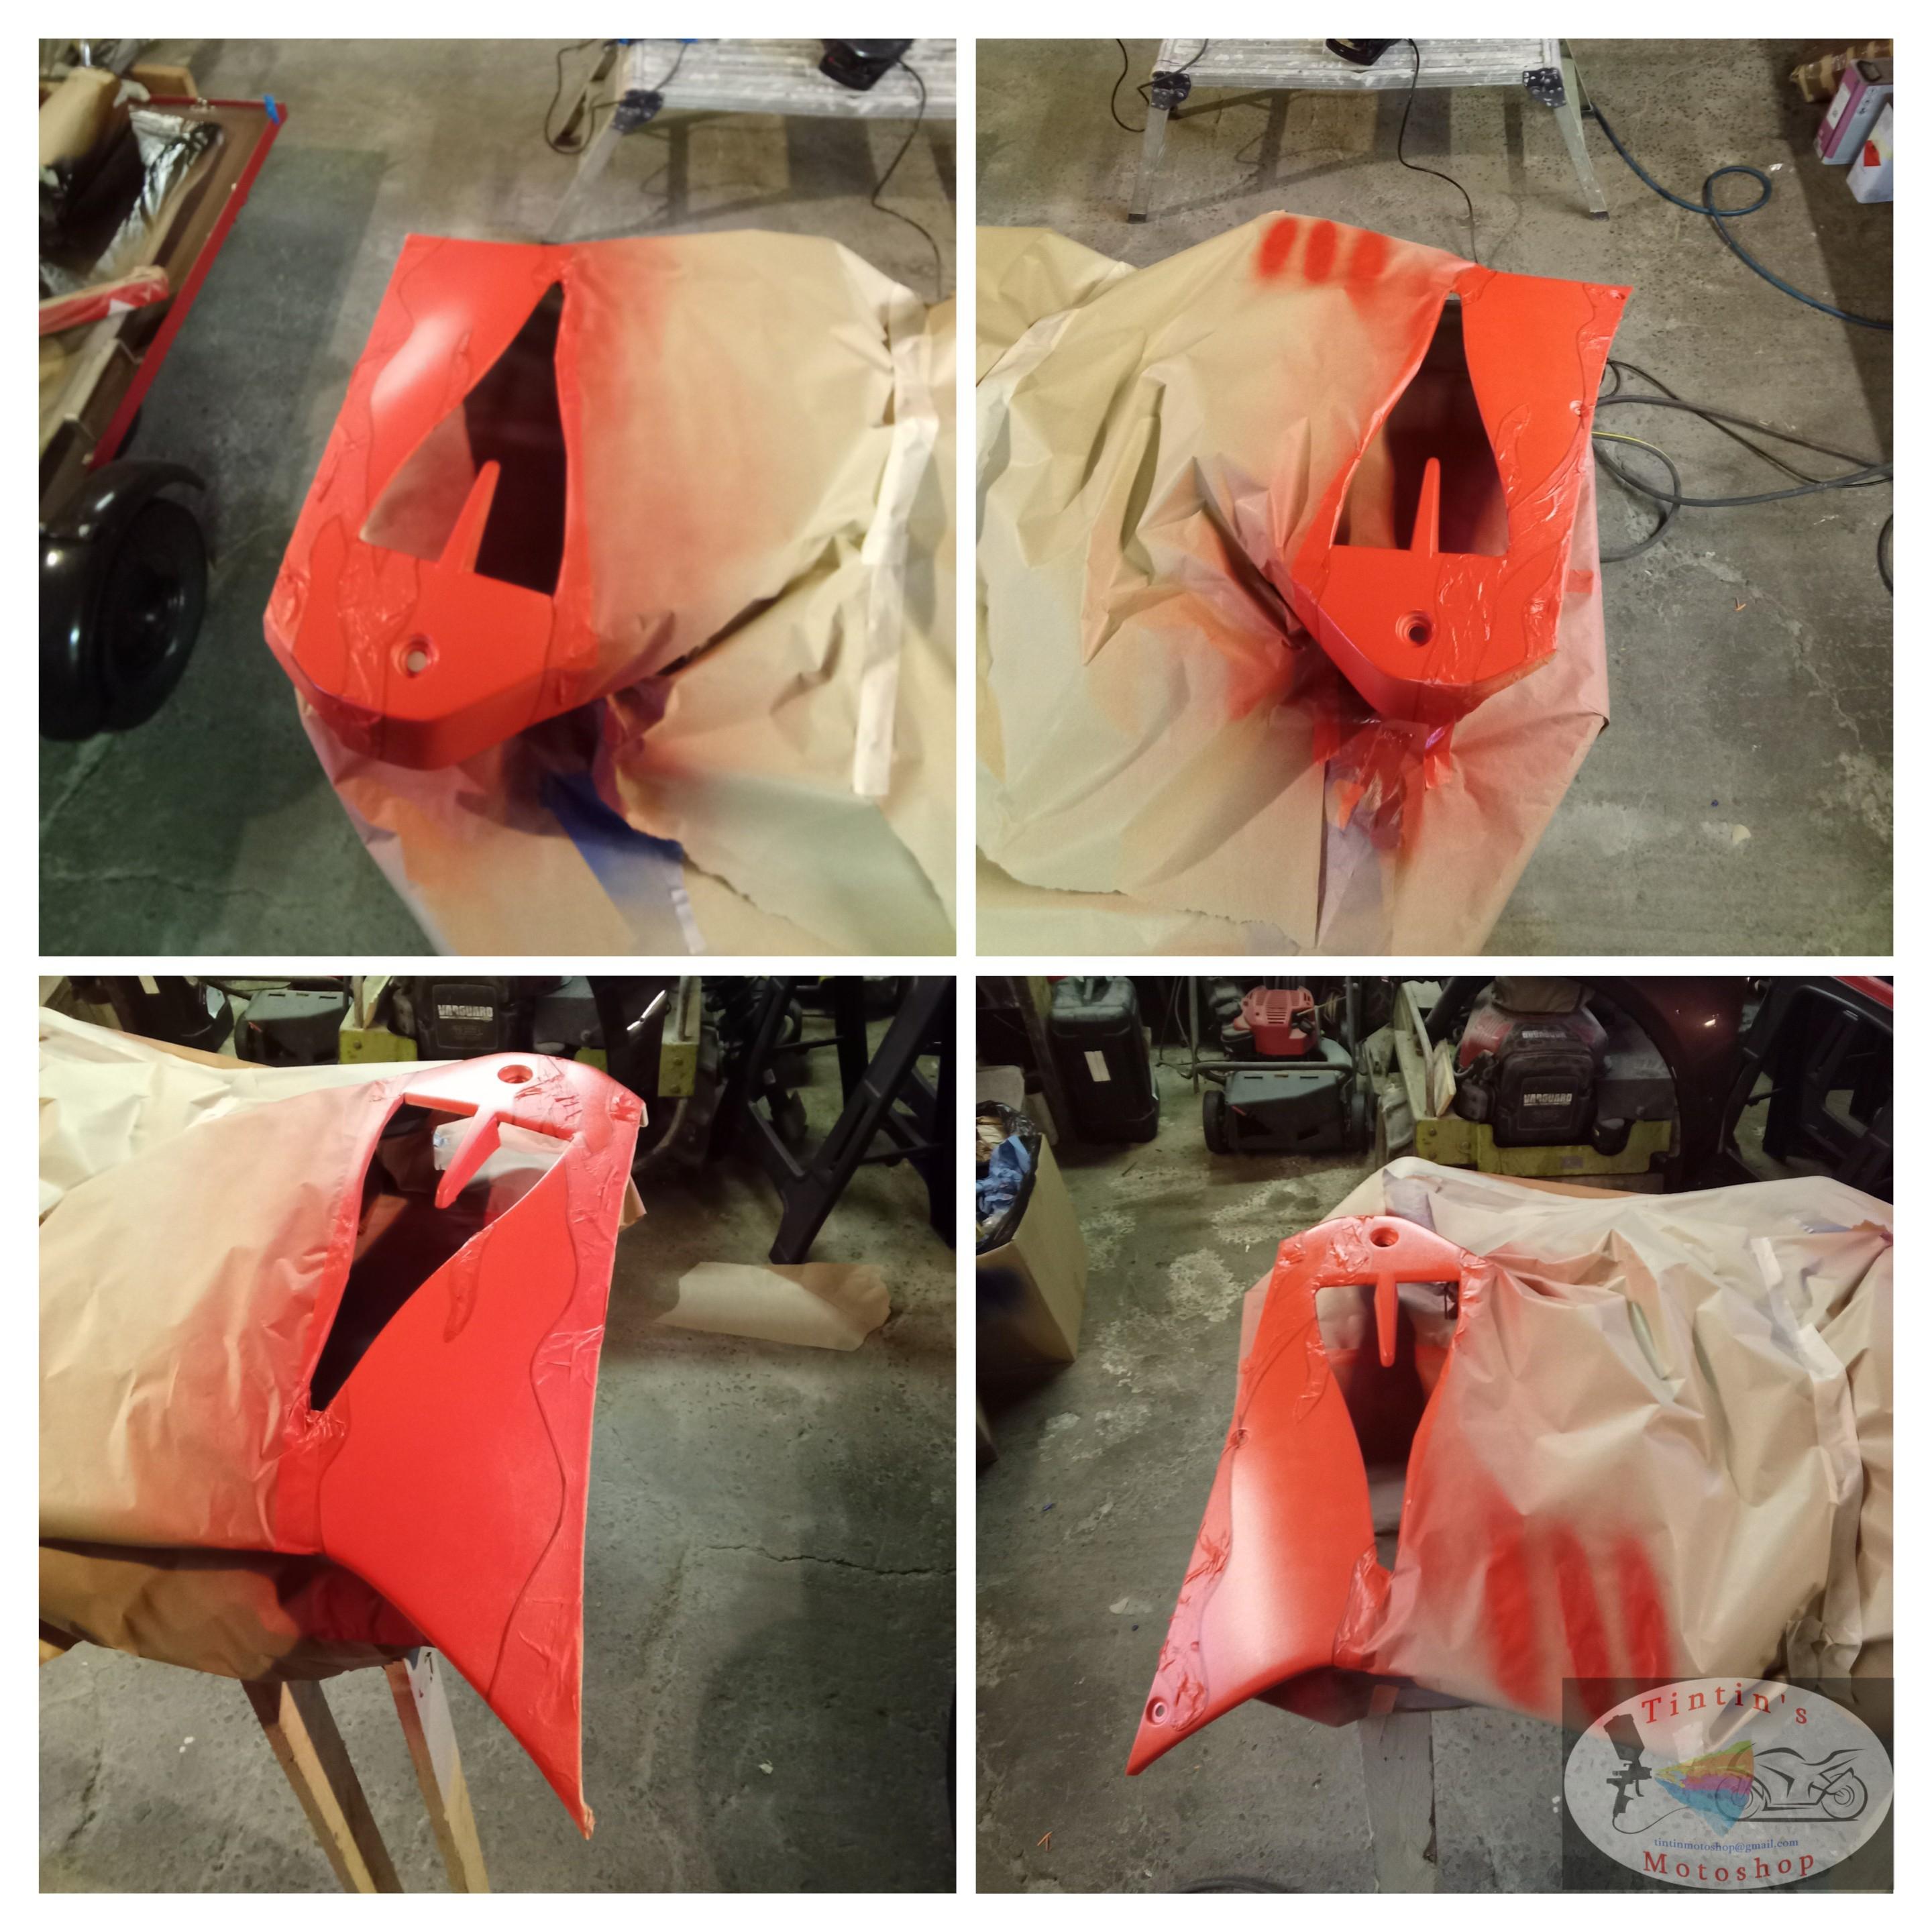
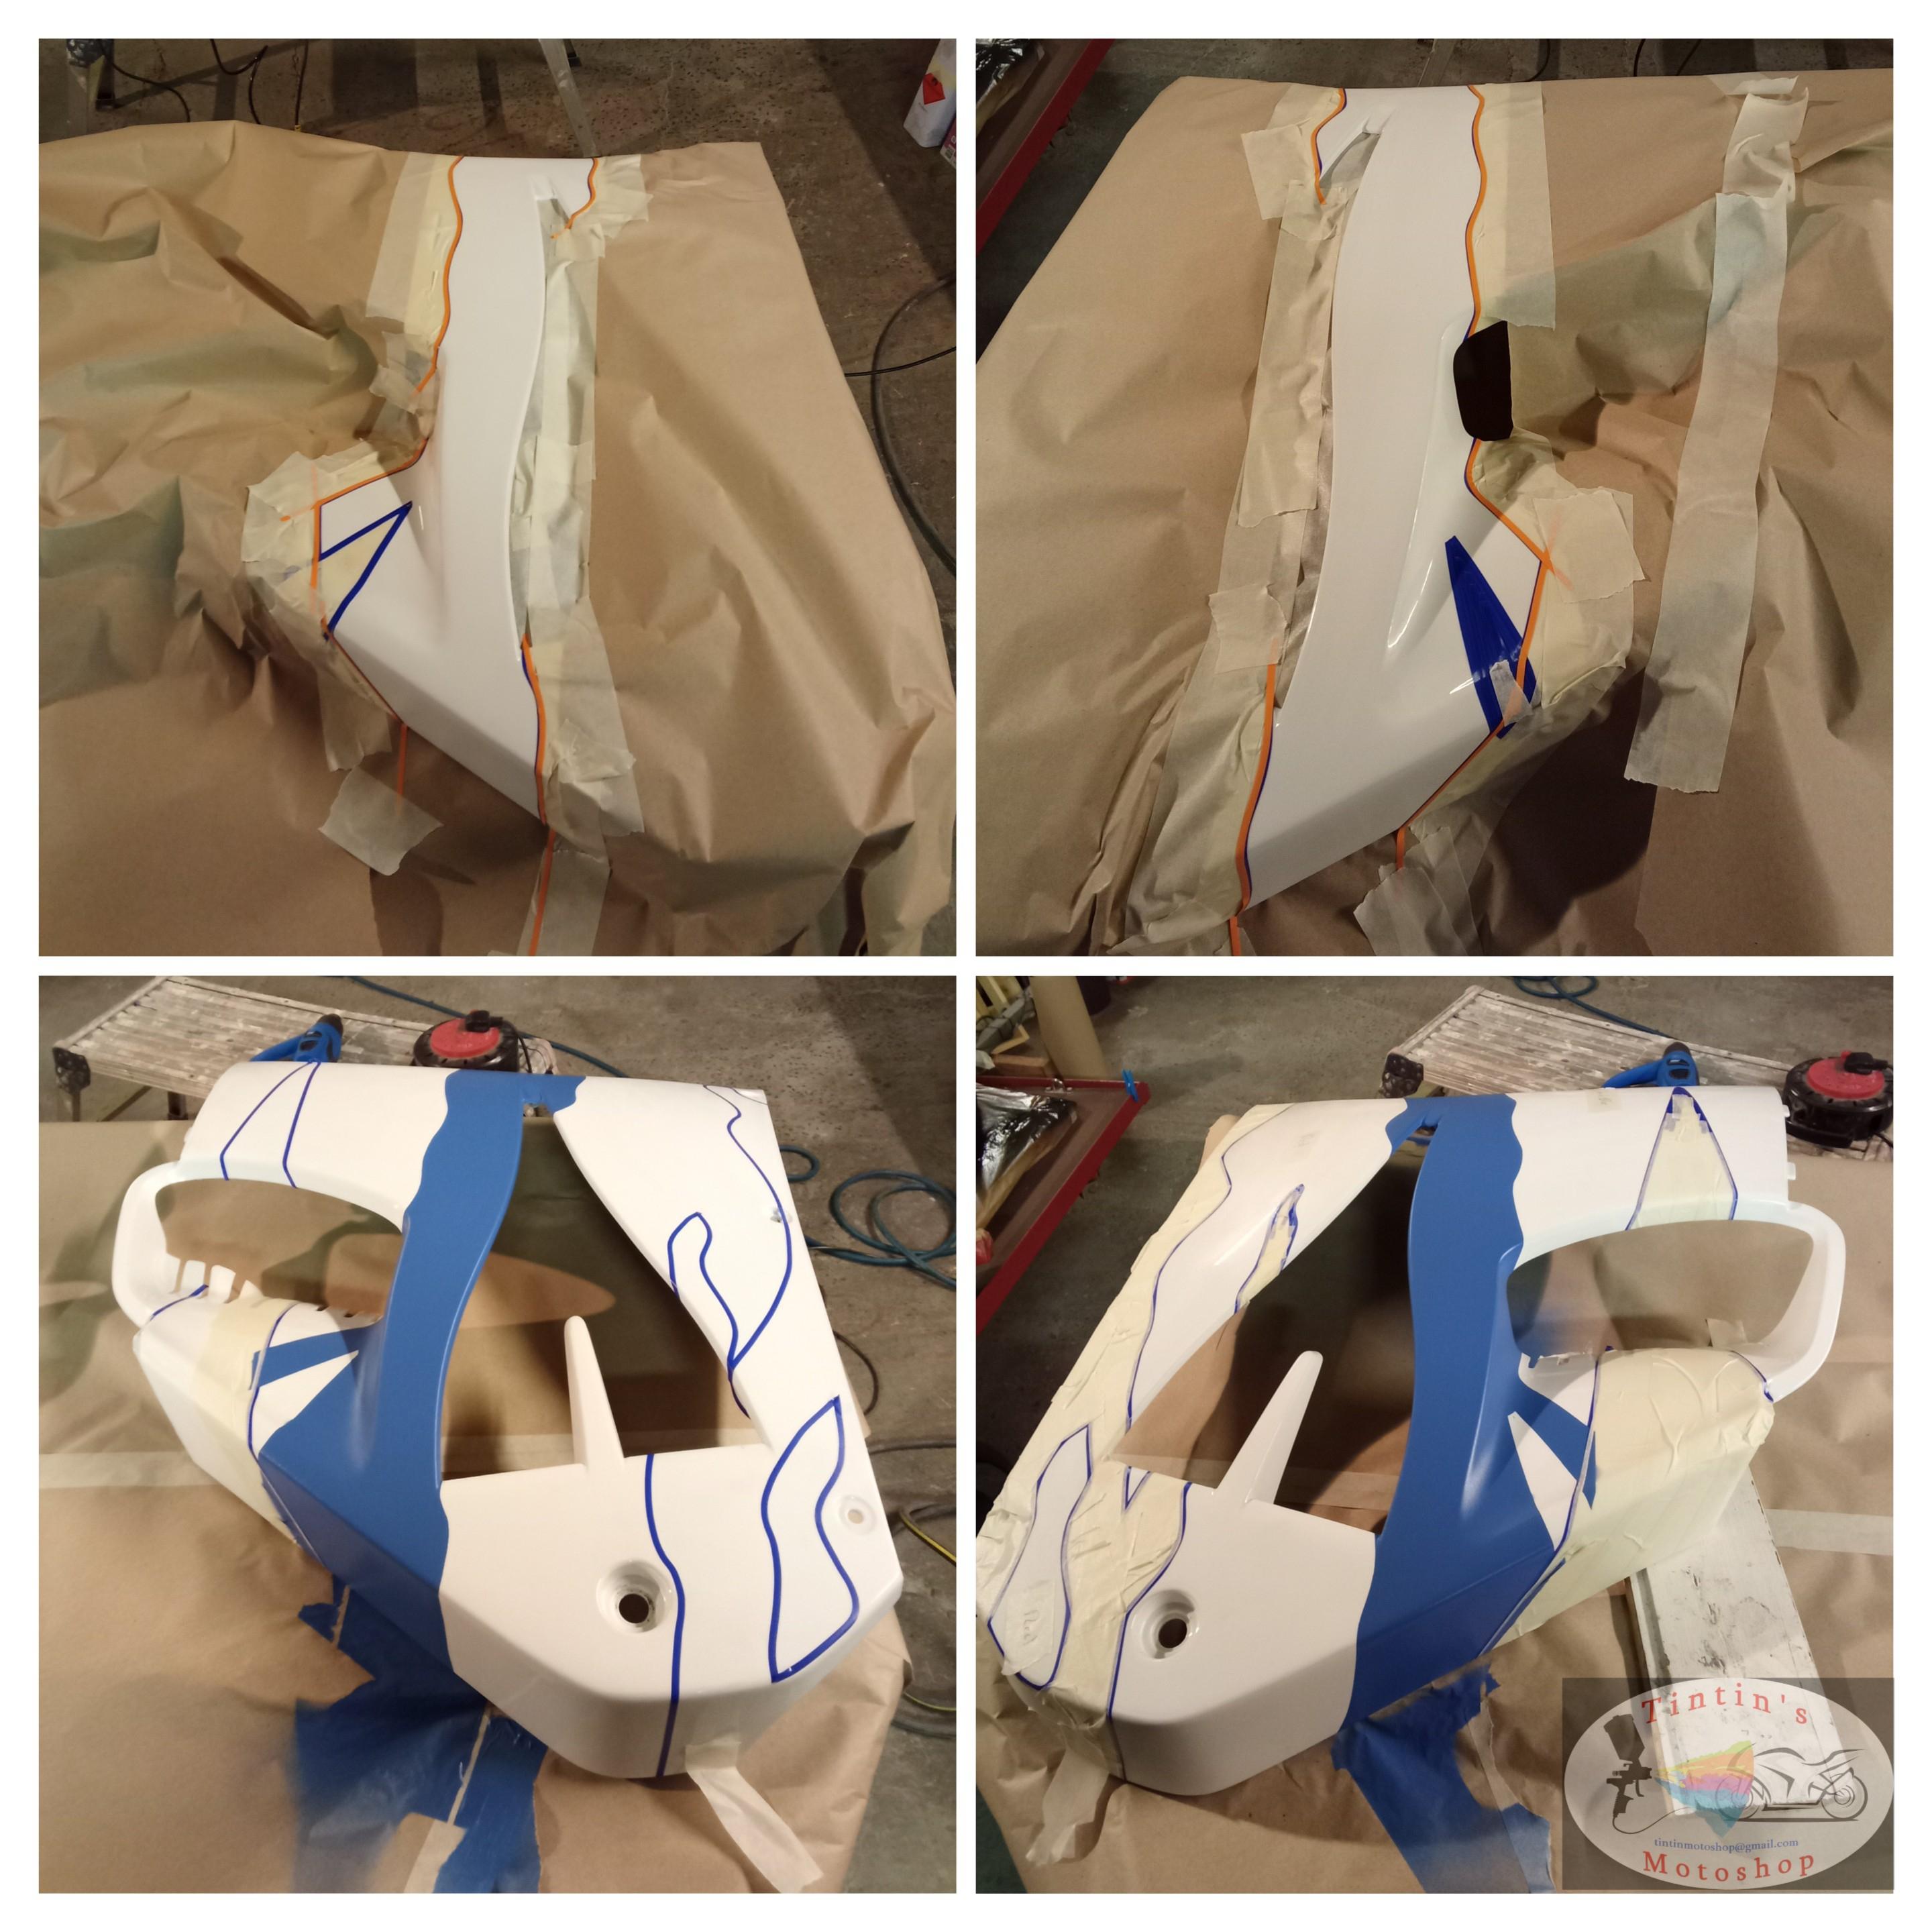
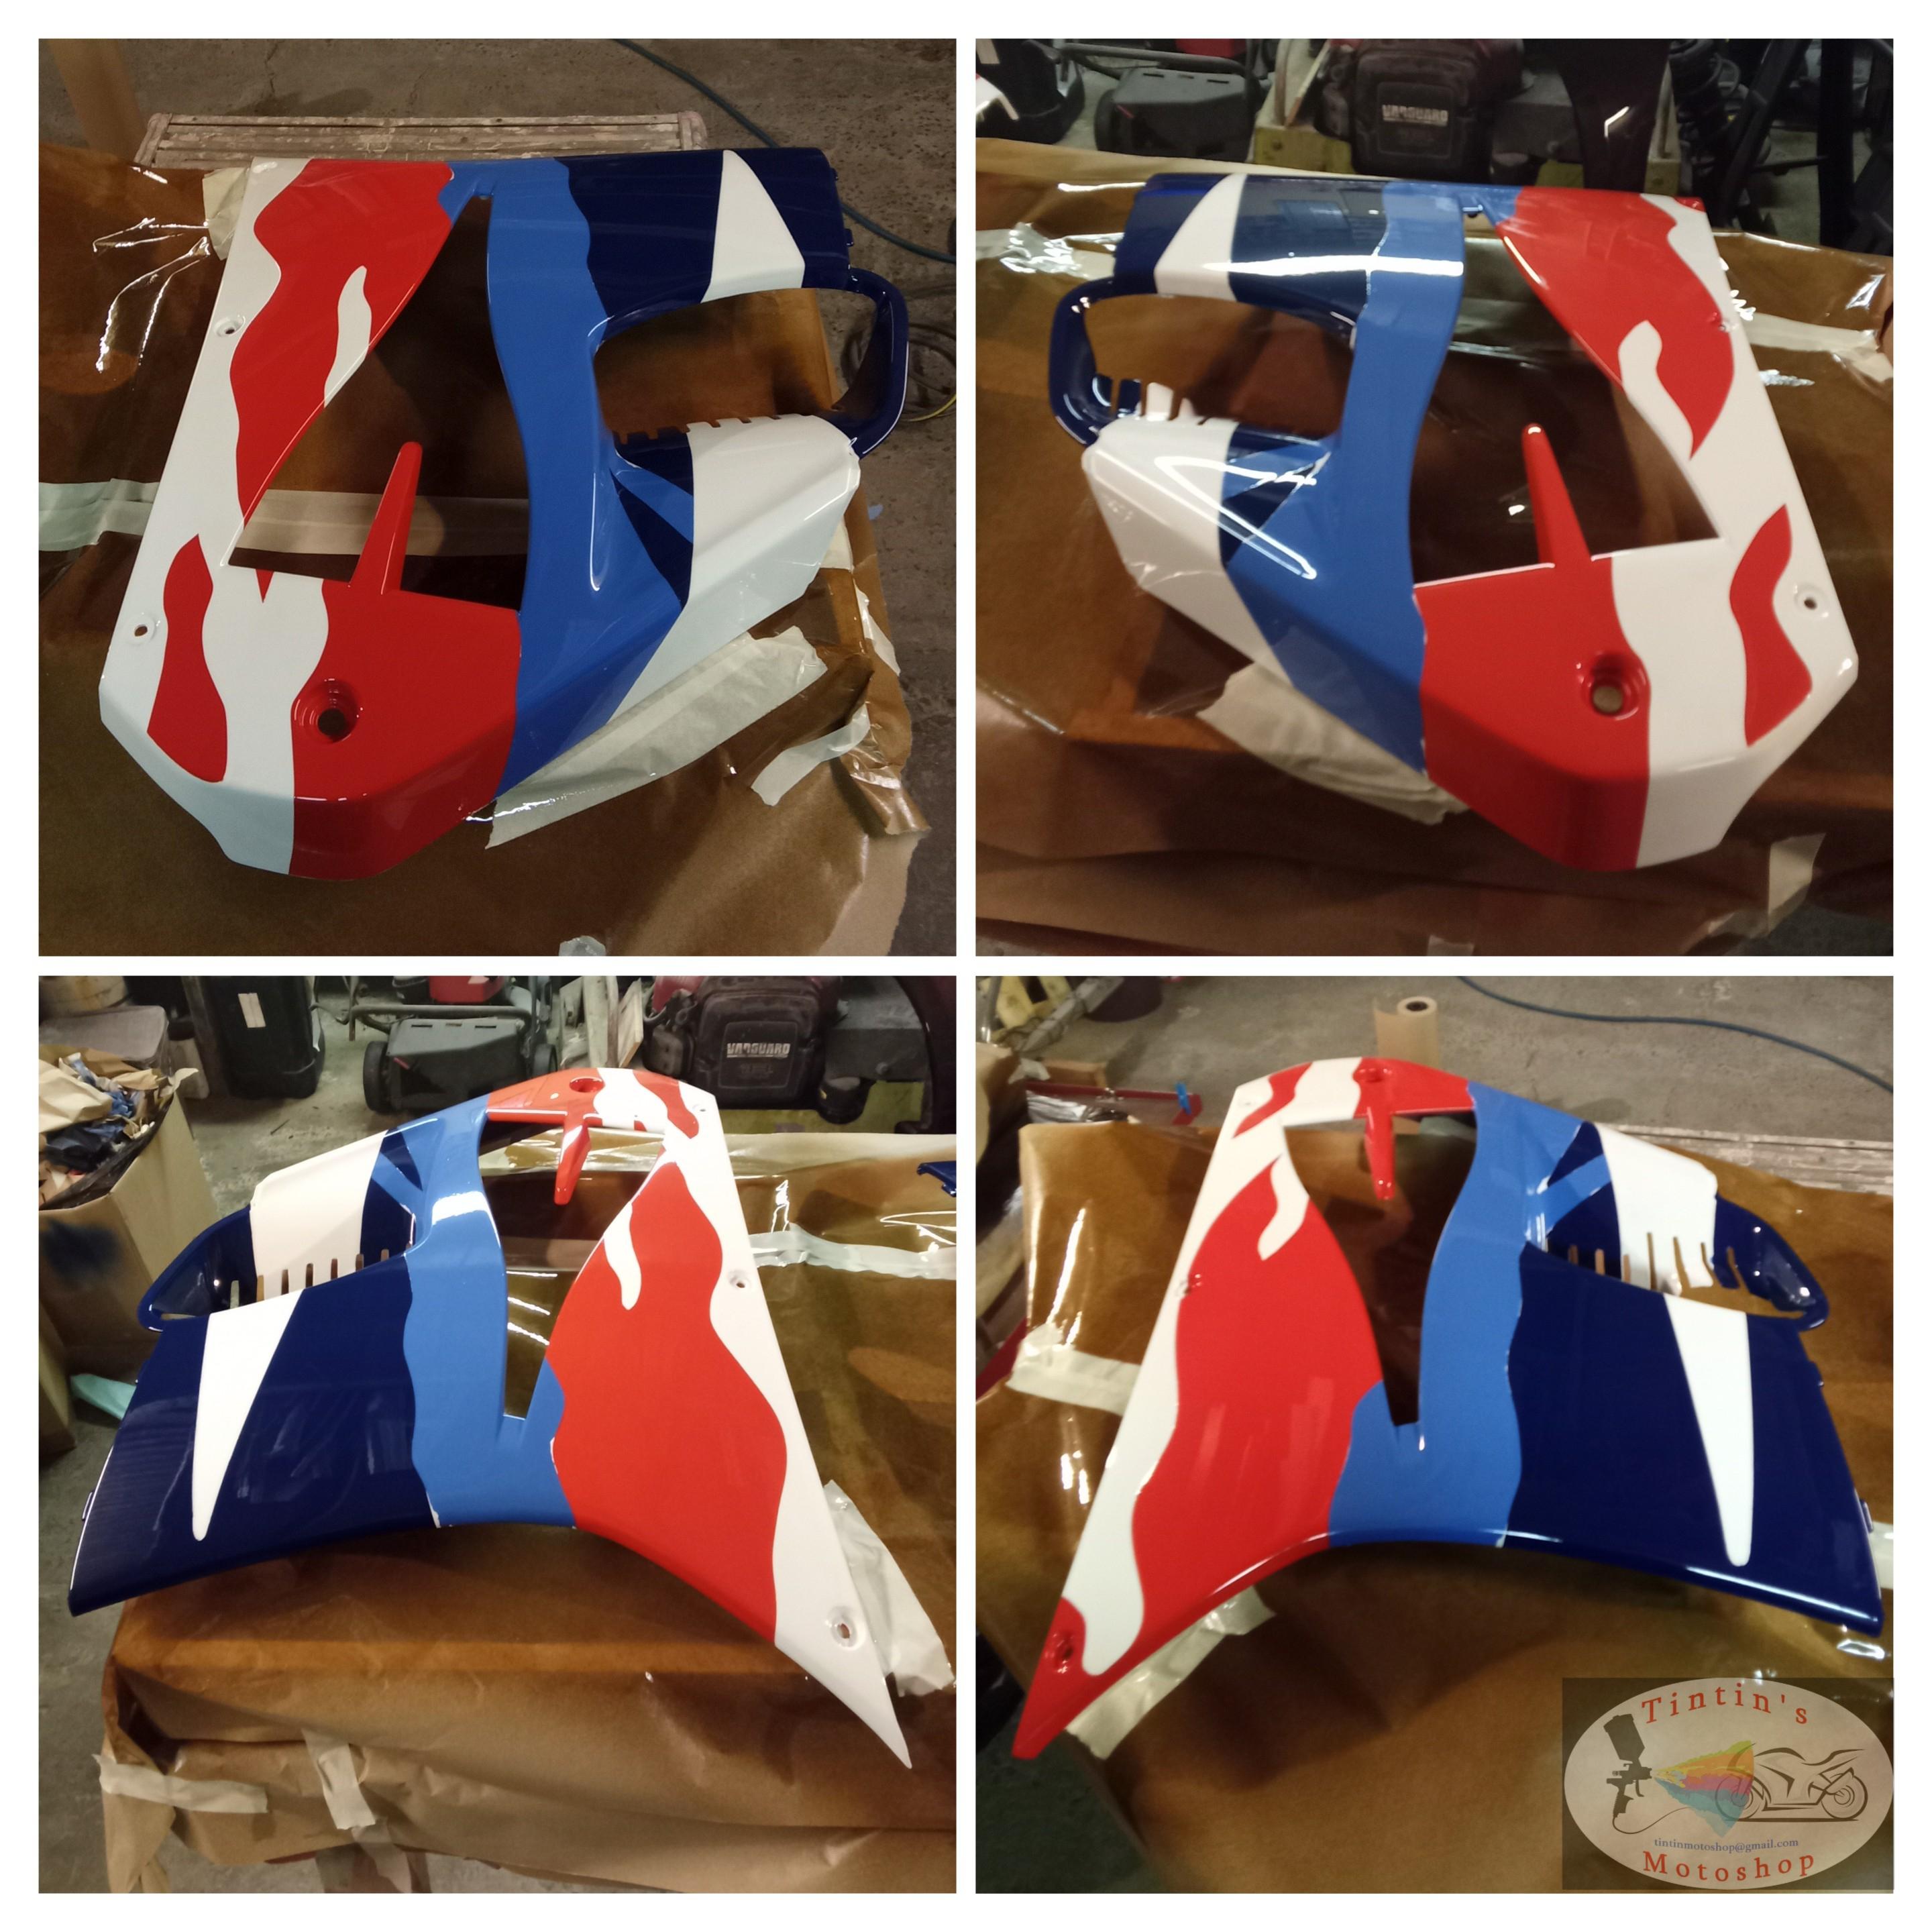
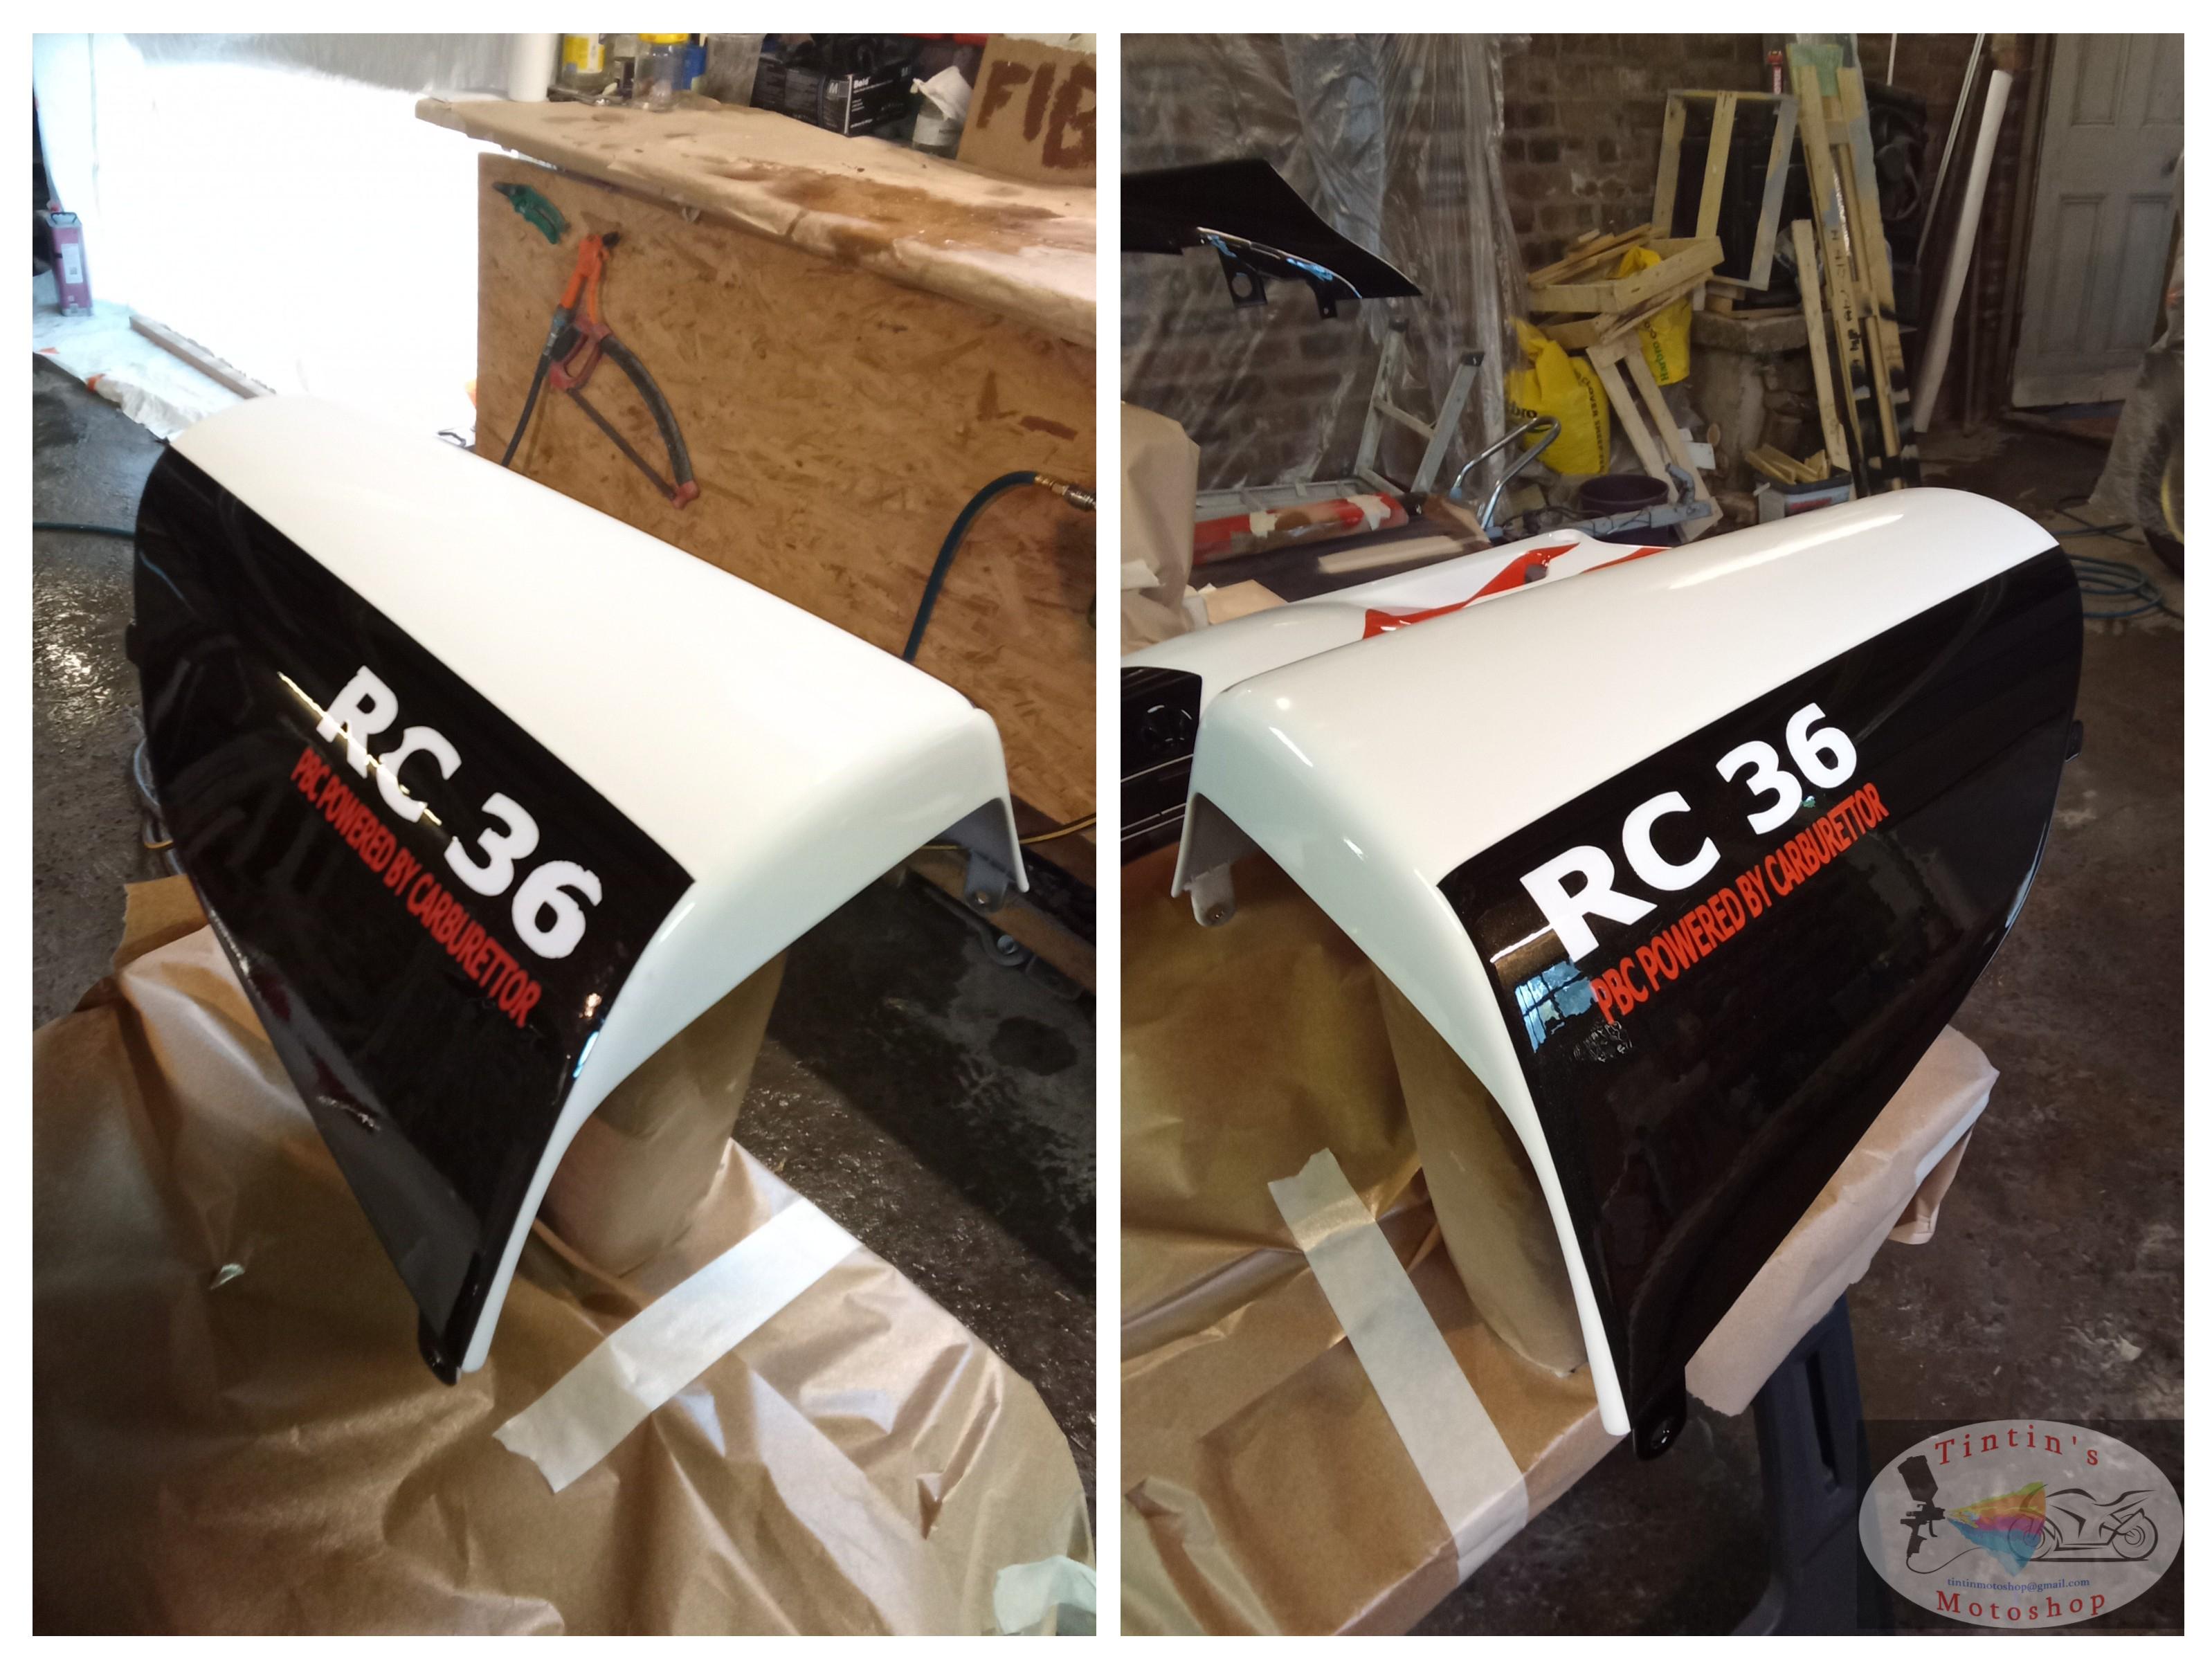
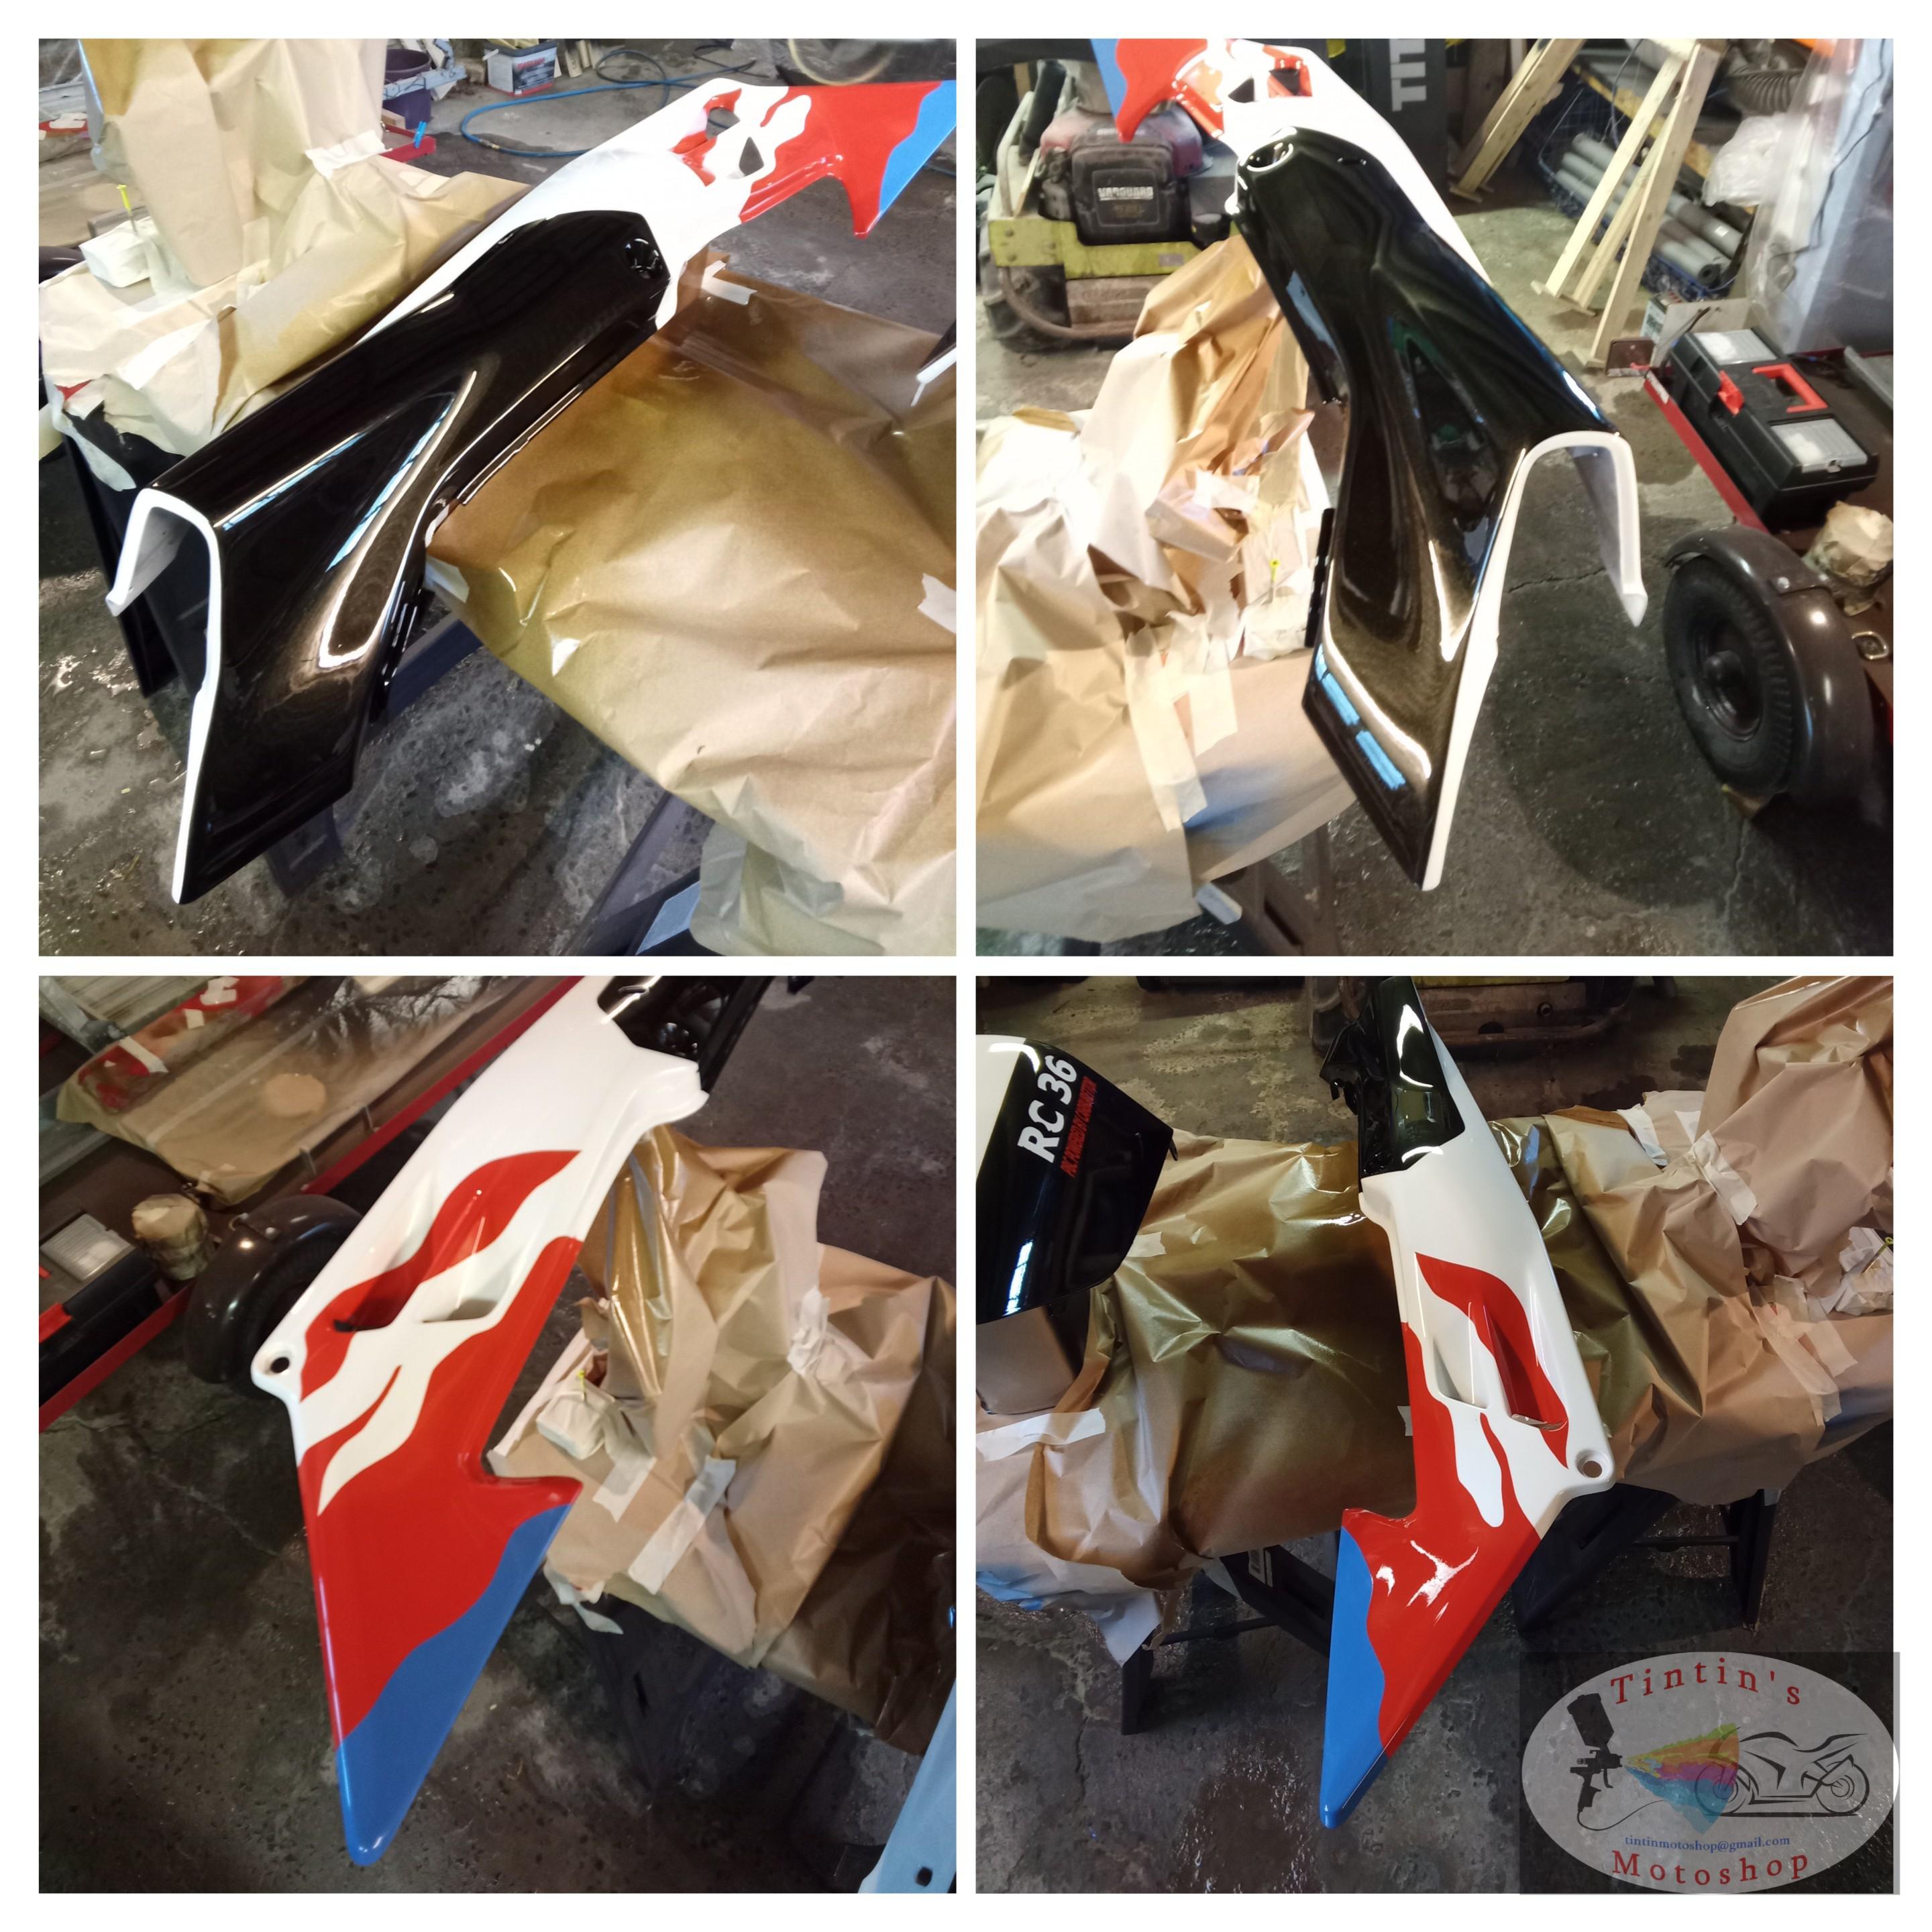
Good morning everyone, Here are the progress and set backs from this week and last weekend. A lot of masking, painting, bleeding, re-masking, airbrushing, repeat. If anything, that job is teaching me patience and accepting my mistakes. Still unsure about what happened about on the "RC36" on the right hand side on the seat cover. Most likely a mix of airbrushing too thick, too soft sanding (p1200) and possibly a bad vinyl ? But once again, that will be adjusted on the next step. Slow and steady wins the race ! 🐢💪
4 points
-
Got up and changed the air filter, then went on another long ride. This time to Borrego Springs(Bad idea. Too hot.) Then up to Julian to meet the wife for lunch. Took a massive bug to the inner visor when my main visor was up and actually tasted whatever part of it went in my mouth. A friend of mine snapped a pic of me when I was waiting on the side of the road for emergency crews to take care of a downed rider(I don't know his status, but I hope he's going to be OK). All in all, a good ride and much needed stress relief from the work week. Probably need another one next weekend.
4 points
-
Couple things: "All fuses are good" Does that include the Main Fuse that is under a cover on the solenoid holder? I have to ask. Also, solenoids come in two styles and they are mirror images of each other. There is usually a "B" (Battery) and an "M" (Motor) molded into the plastic near the cable posts. If you got an opposite (and your original unit was really bad), you will need to re-pin the wires on the plug in the mirror image too. Also closely inspect the wires going into that plug. It is VERY common for those to be melted and burnt and can cause what you describe. Sometimes you don;t realize how bad it is until you really look close. Also, you can plug in your original solenoid just to see if you get any power again. Great choice in a VFR model and good luck.3 points
-
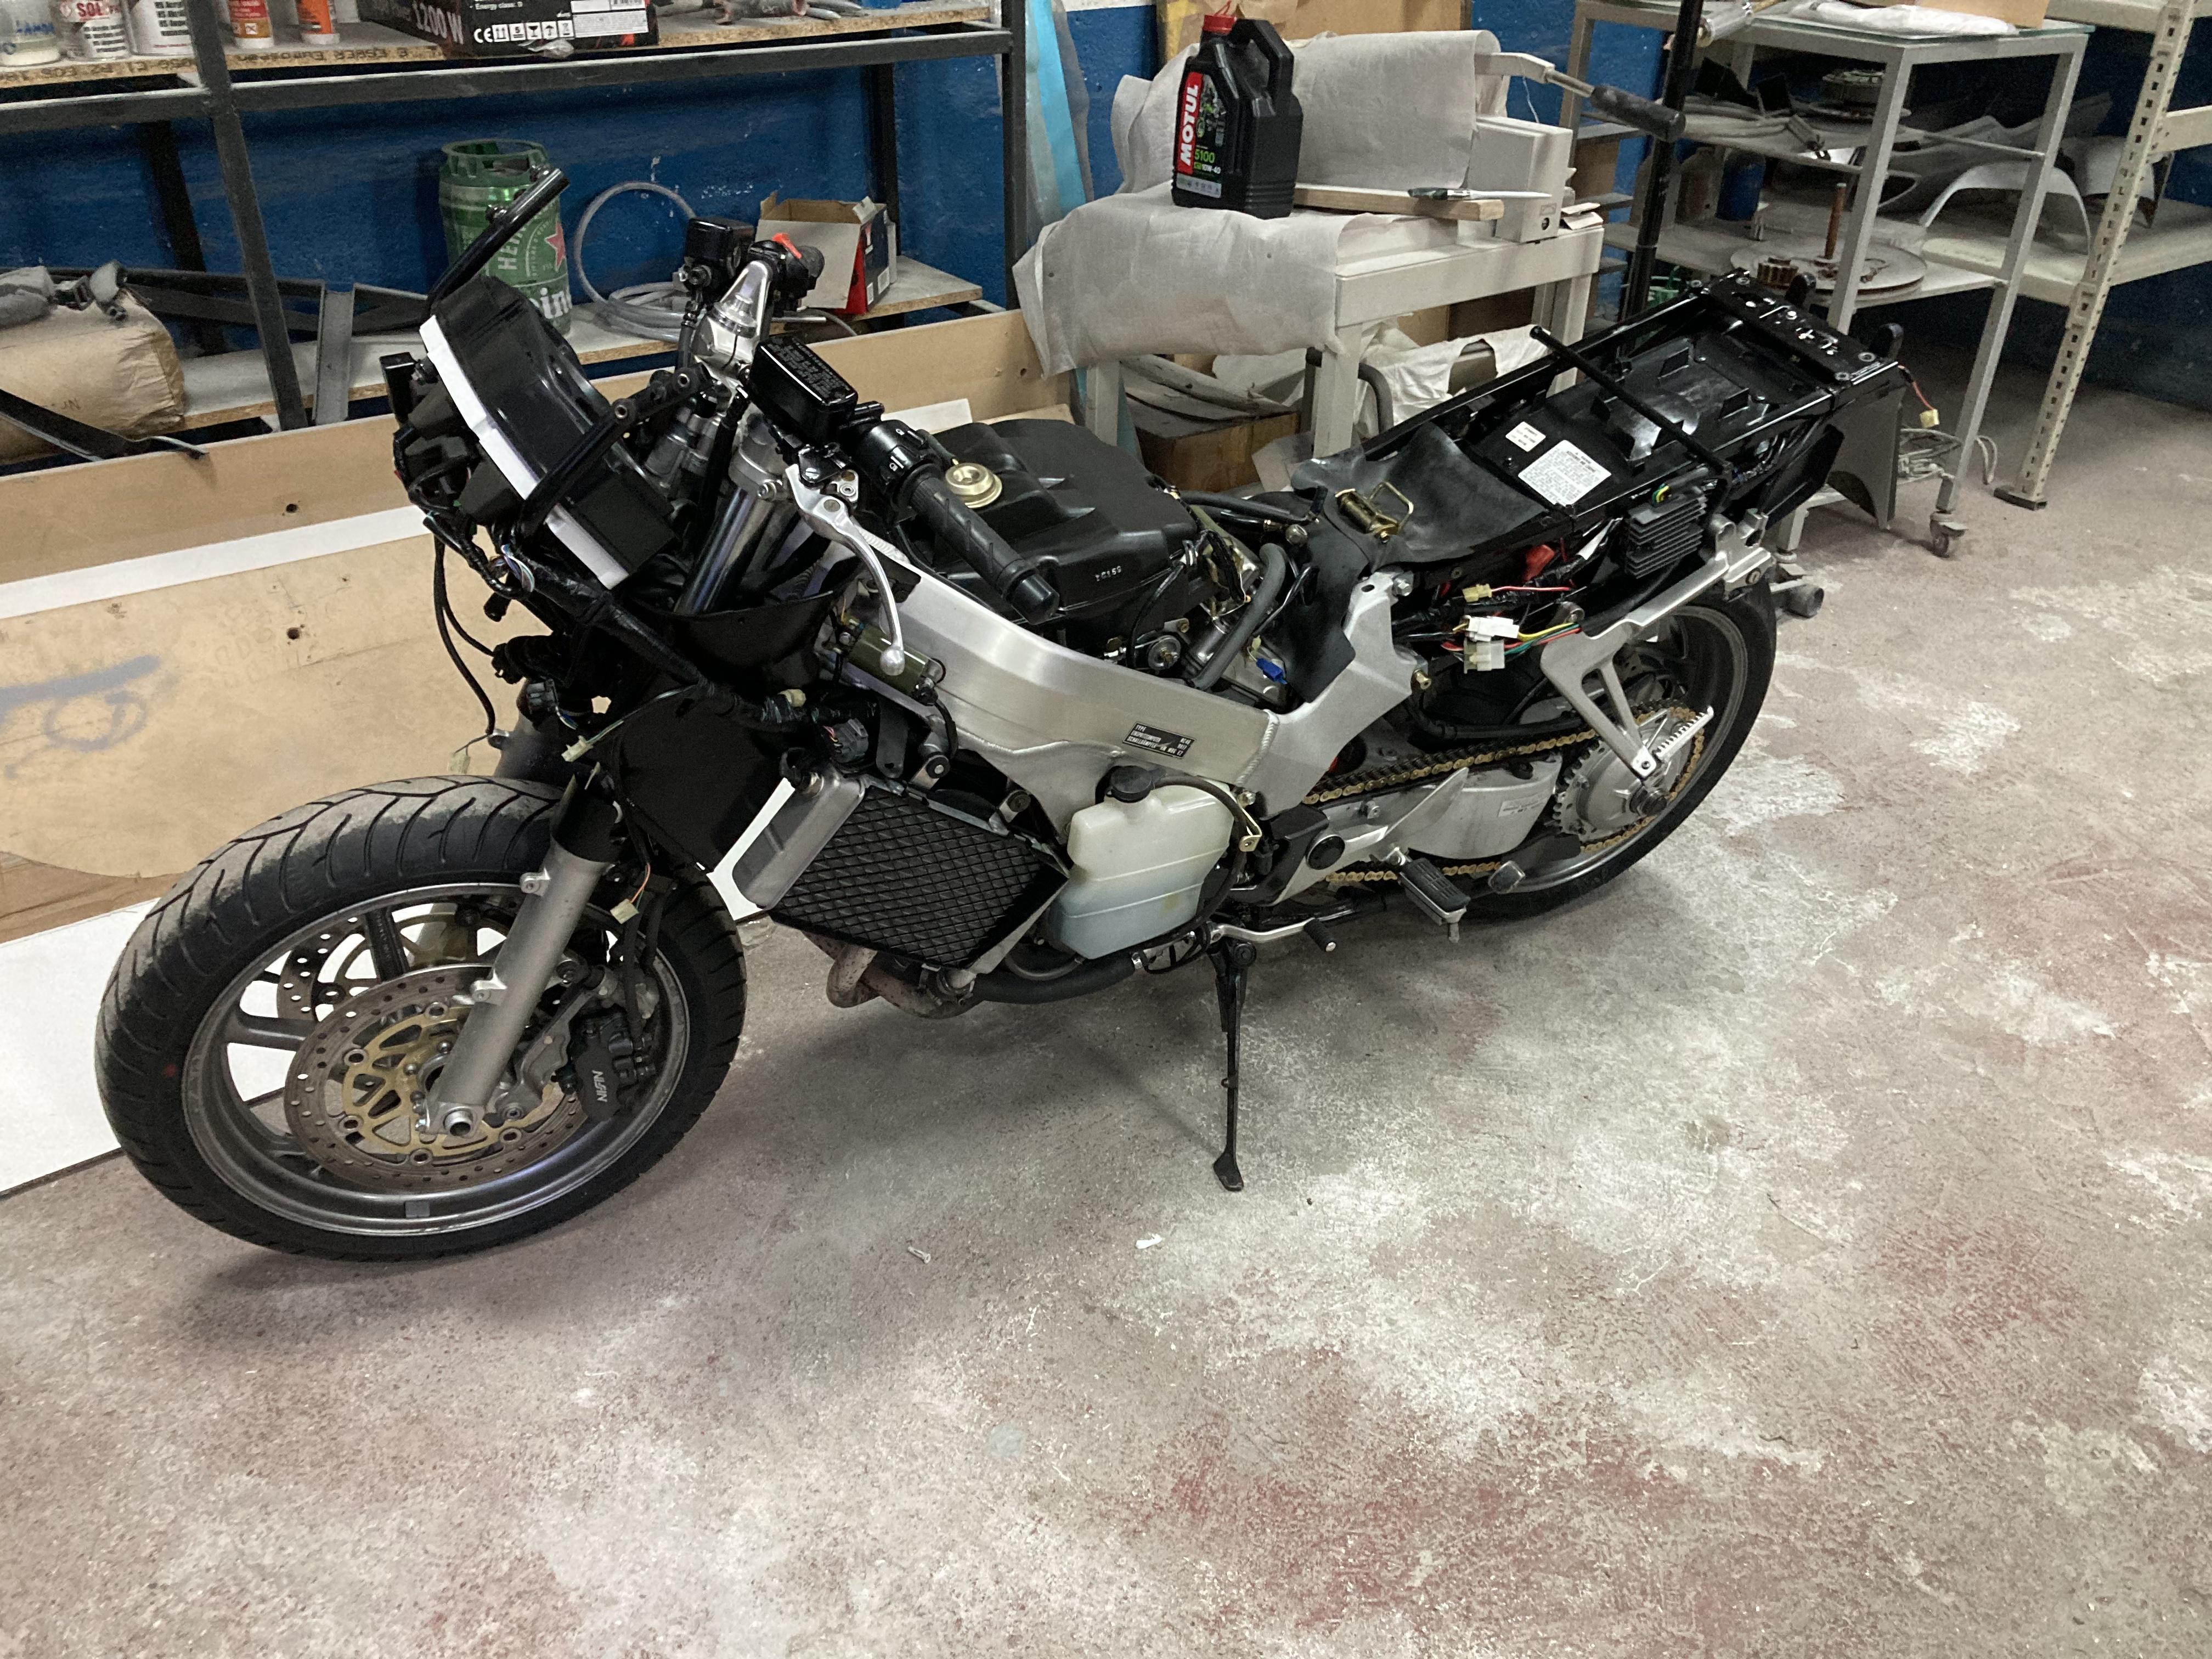
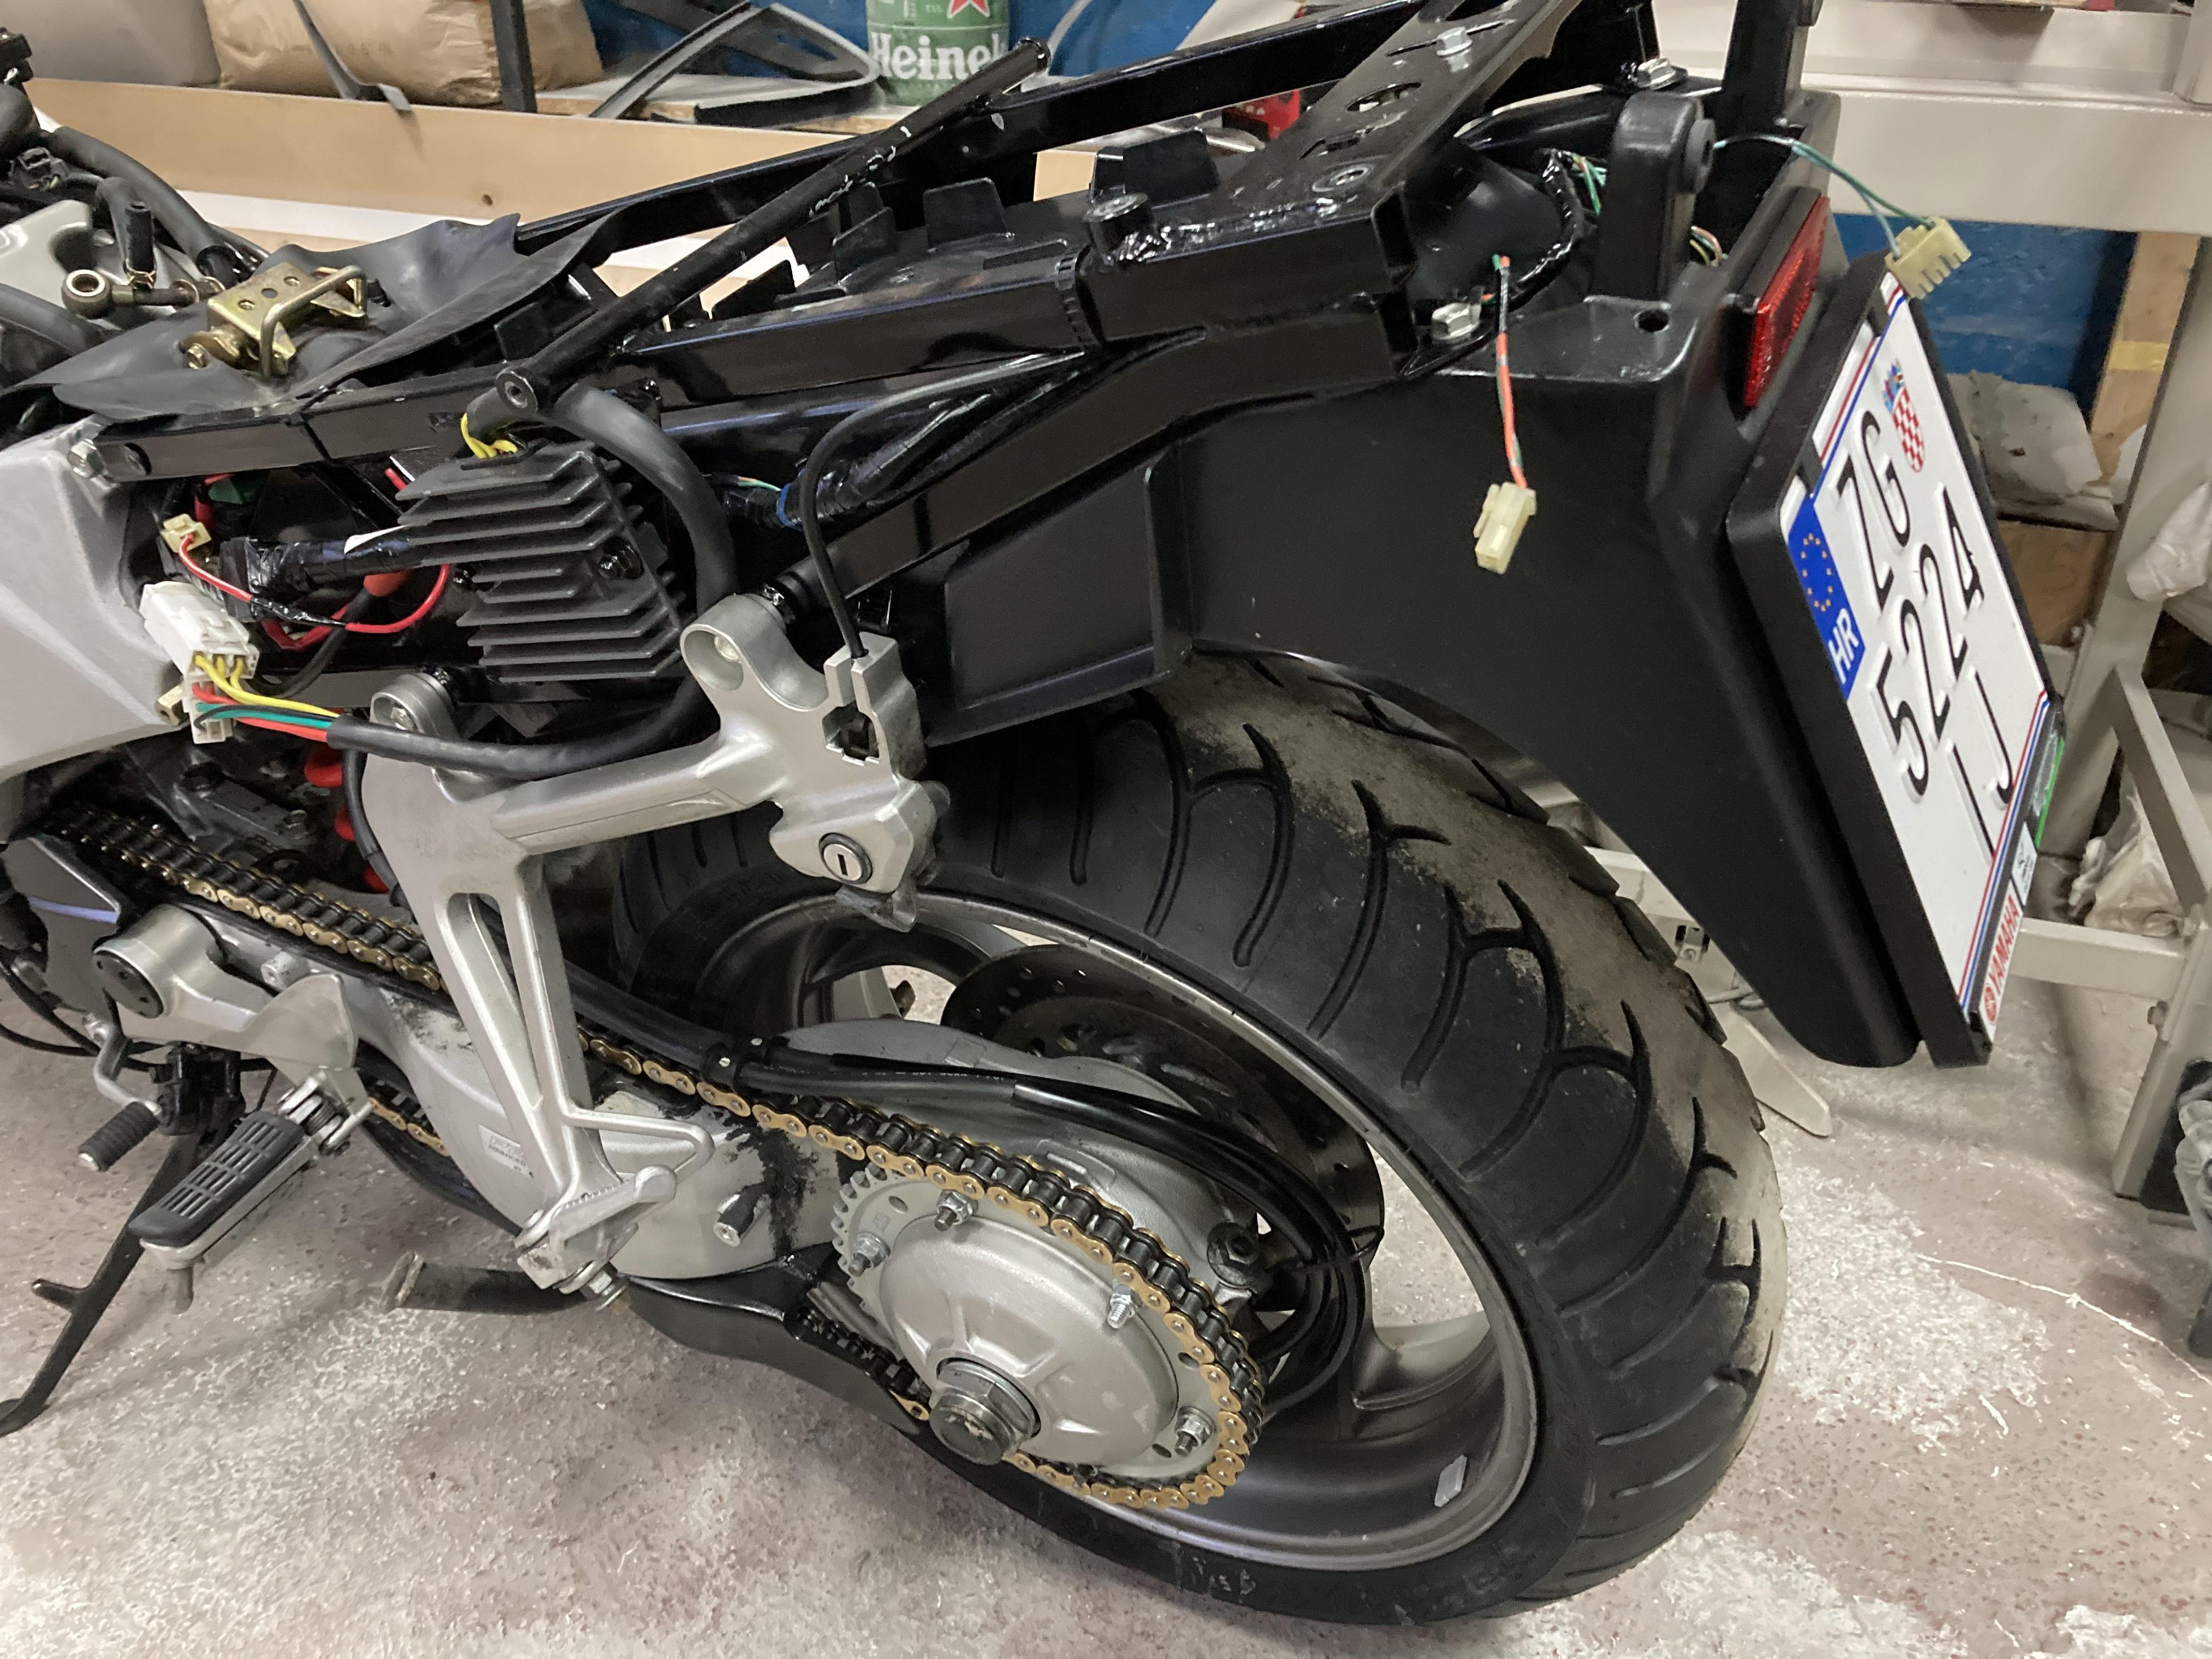
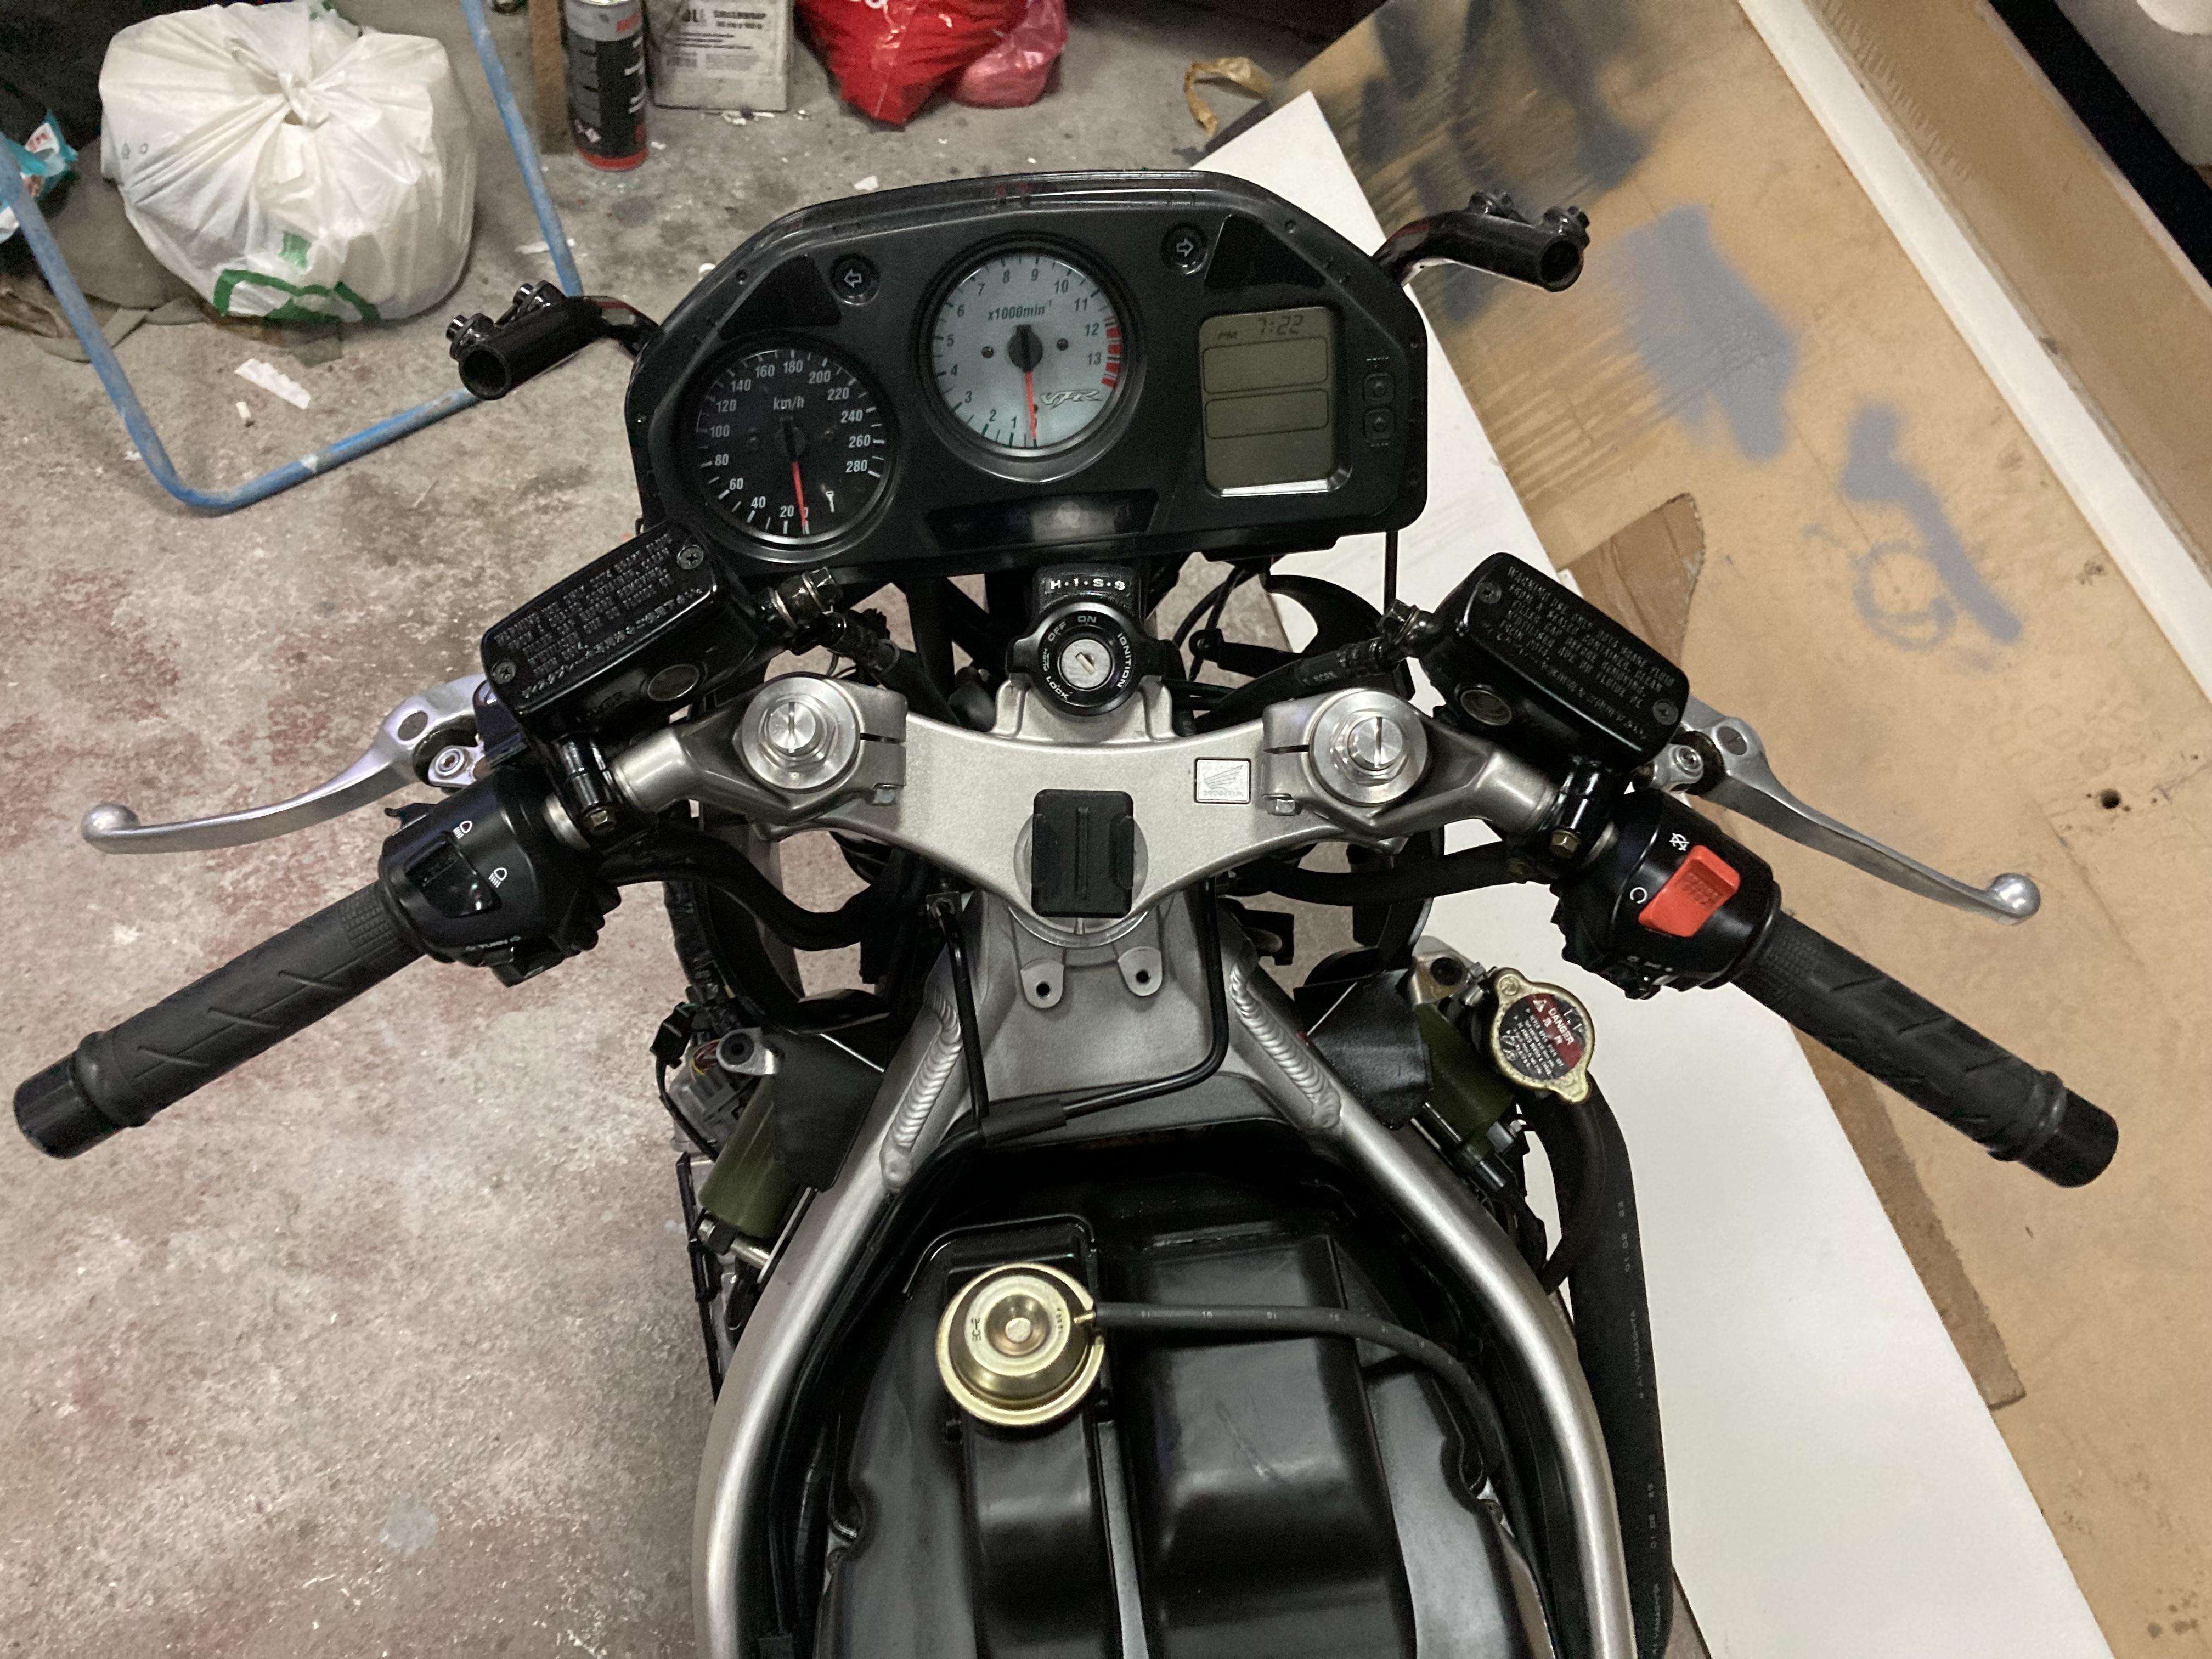
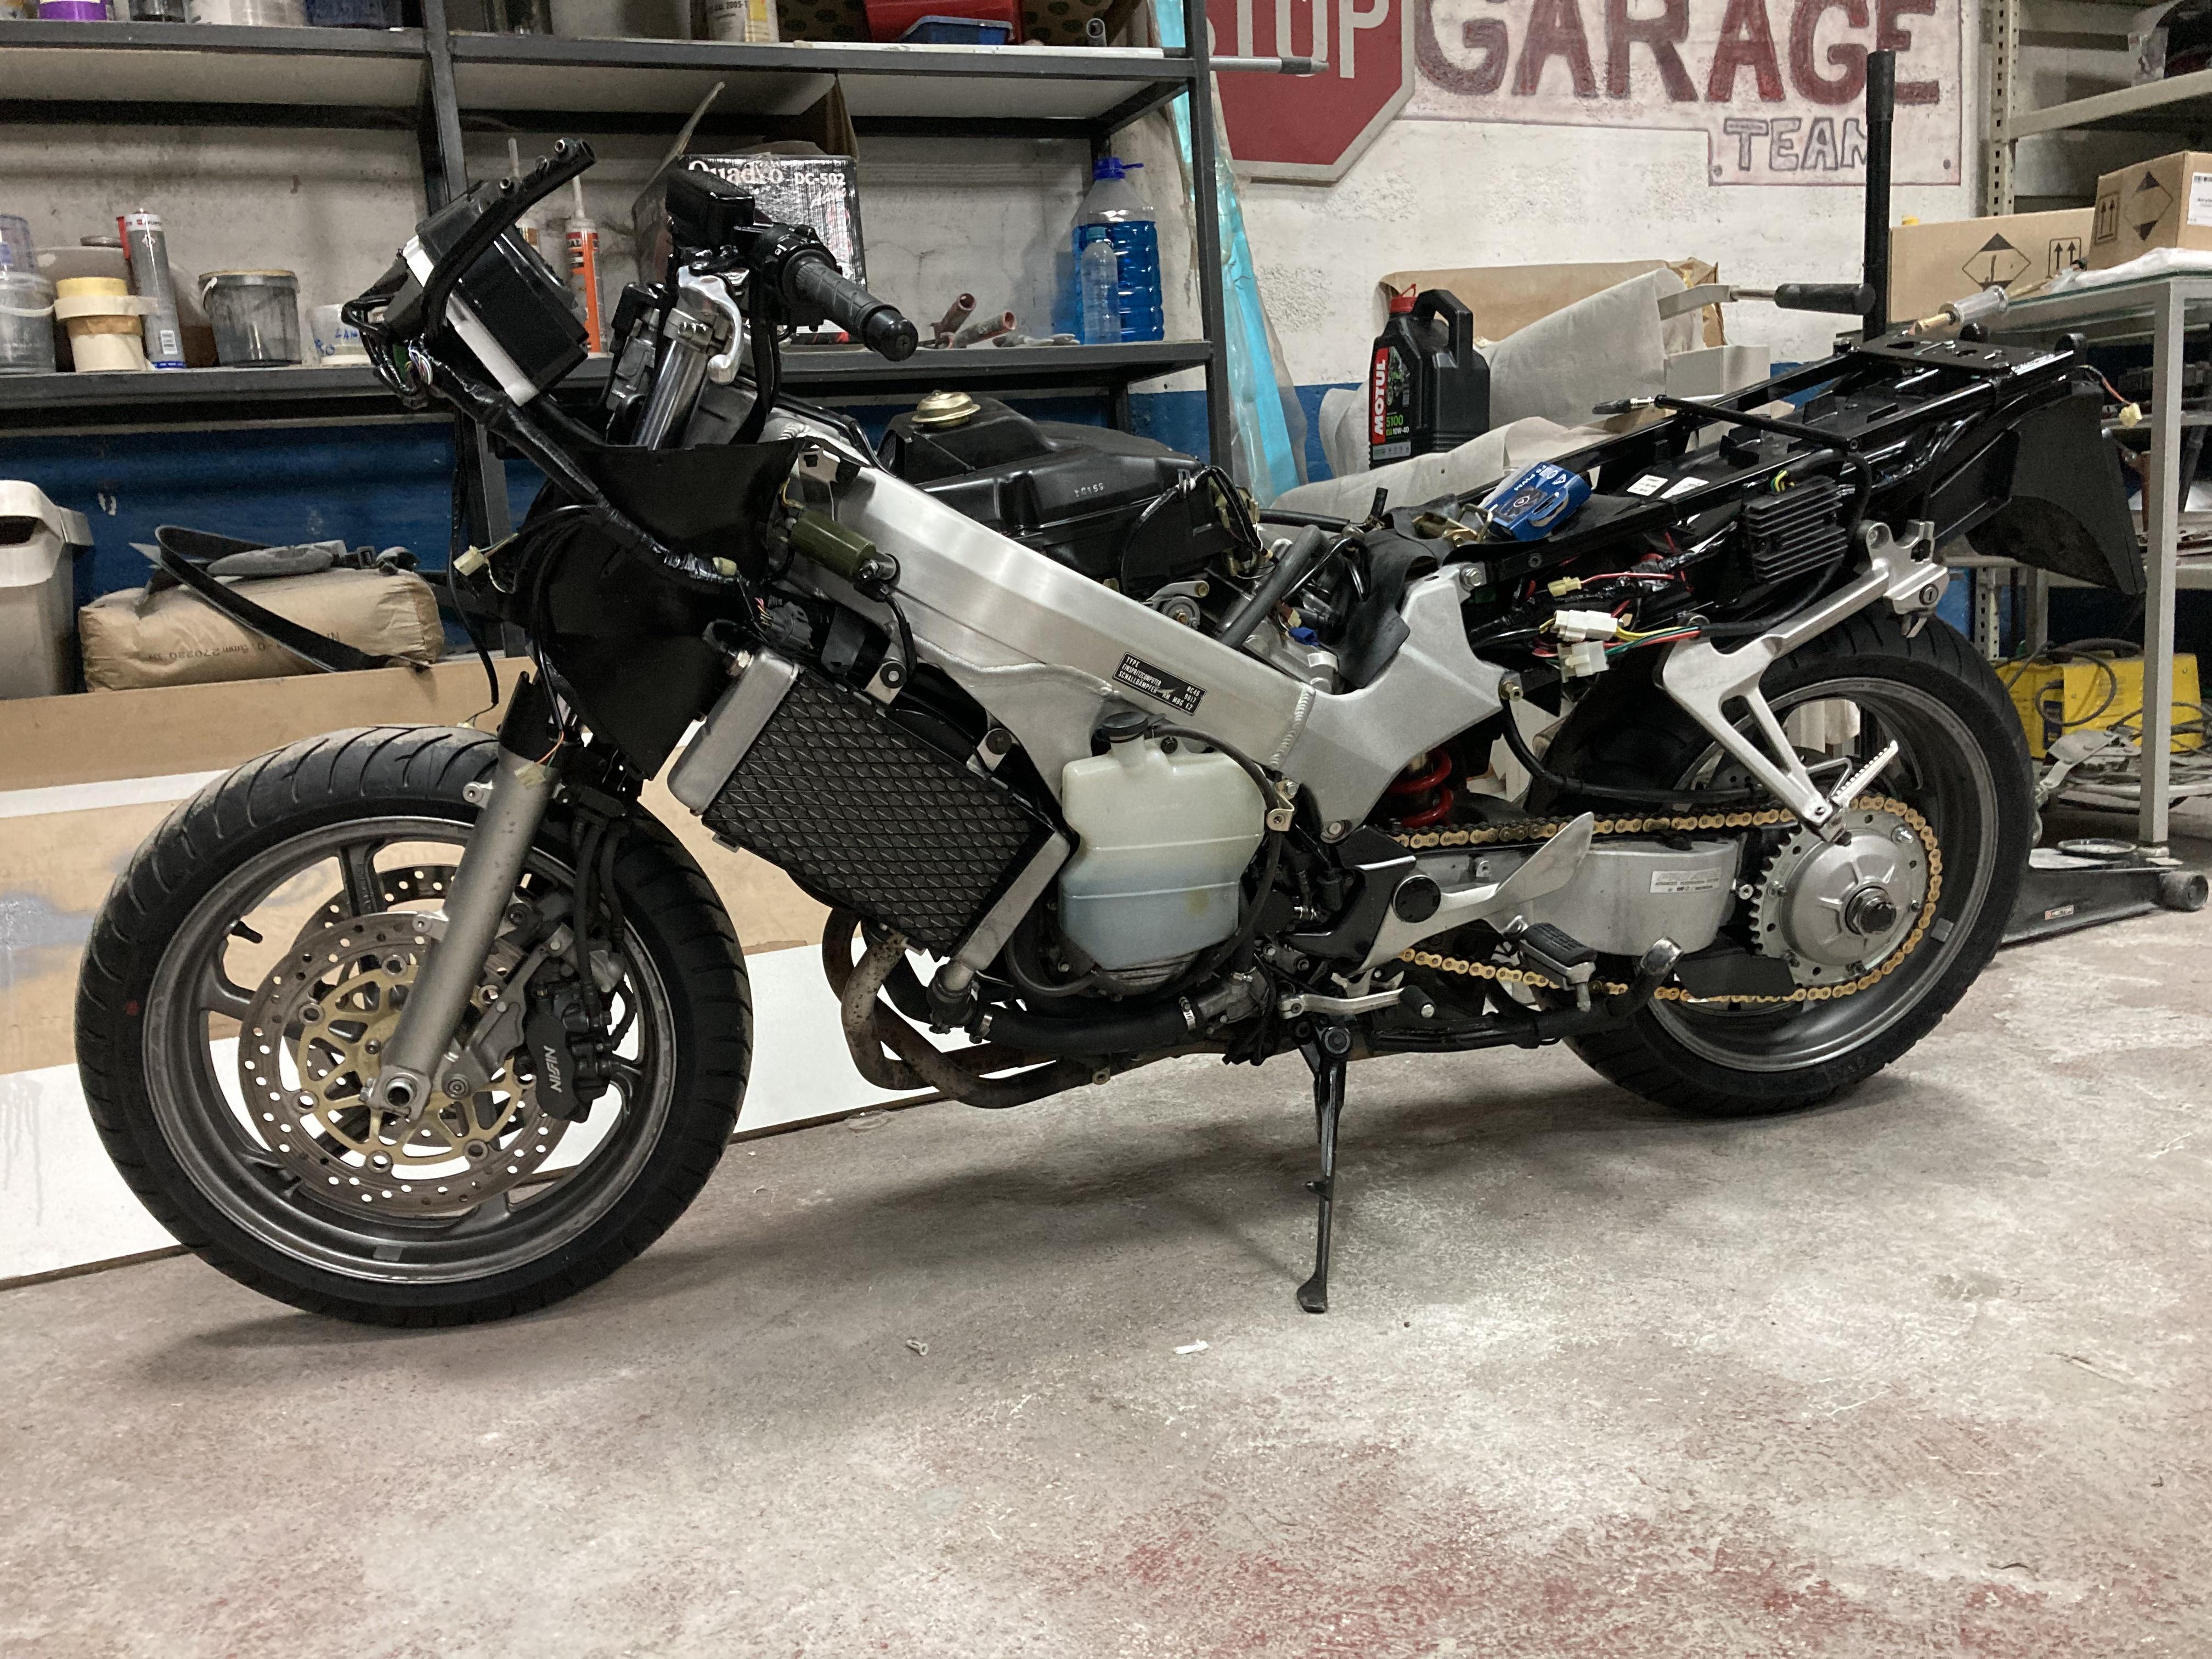
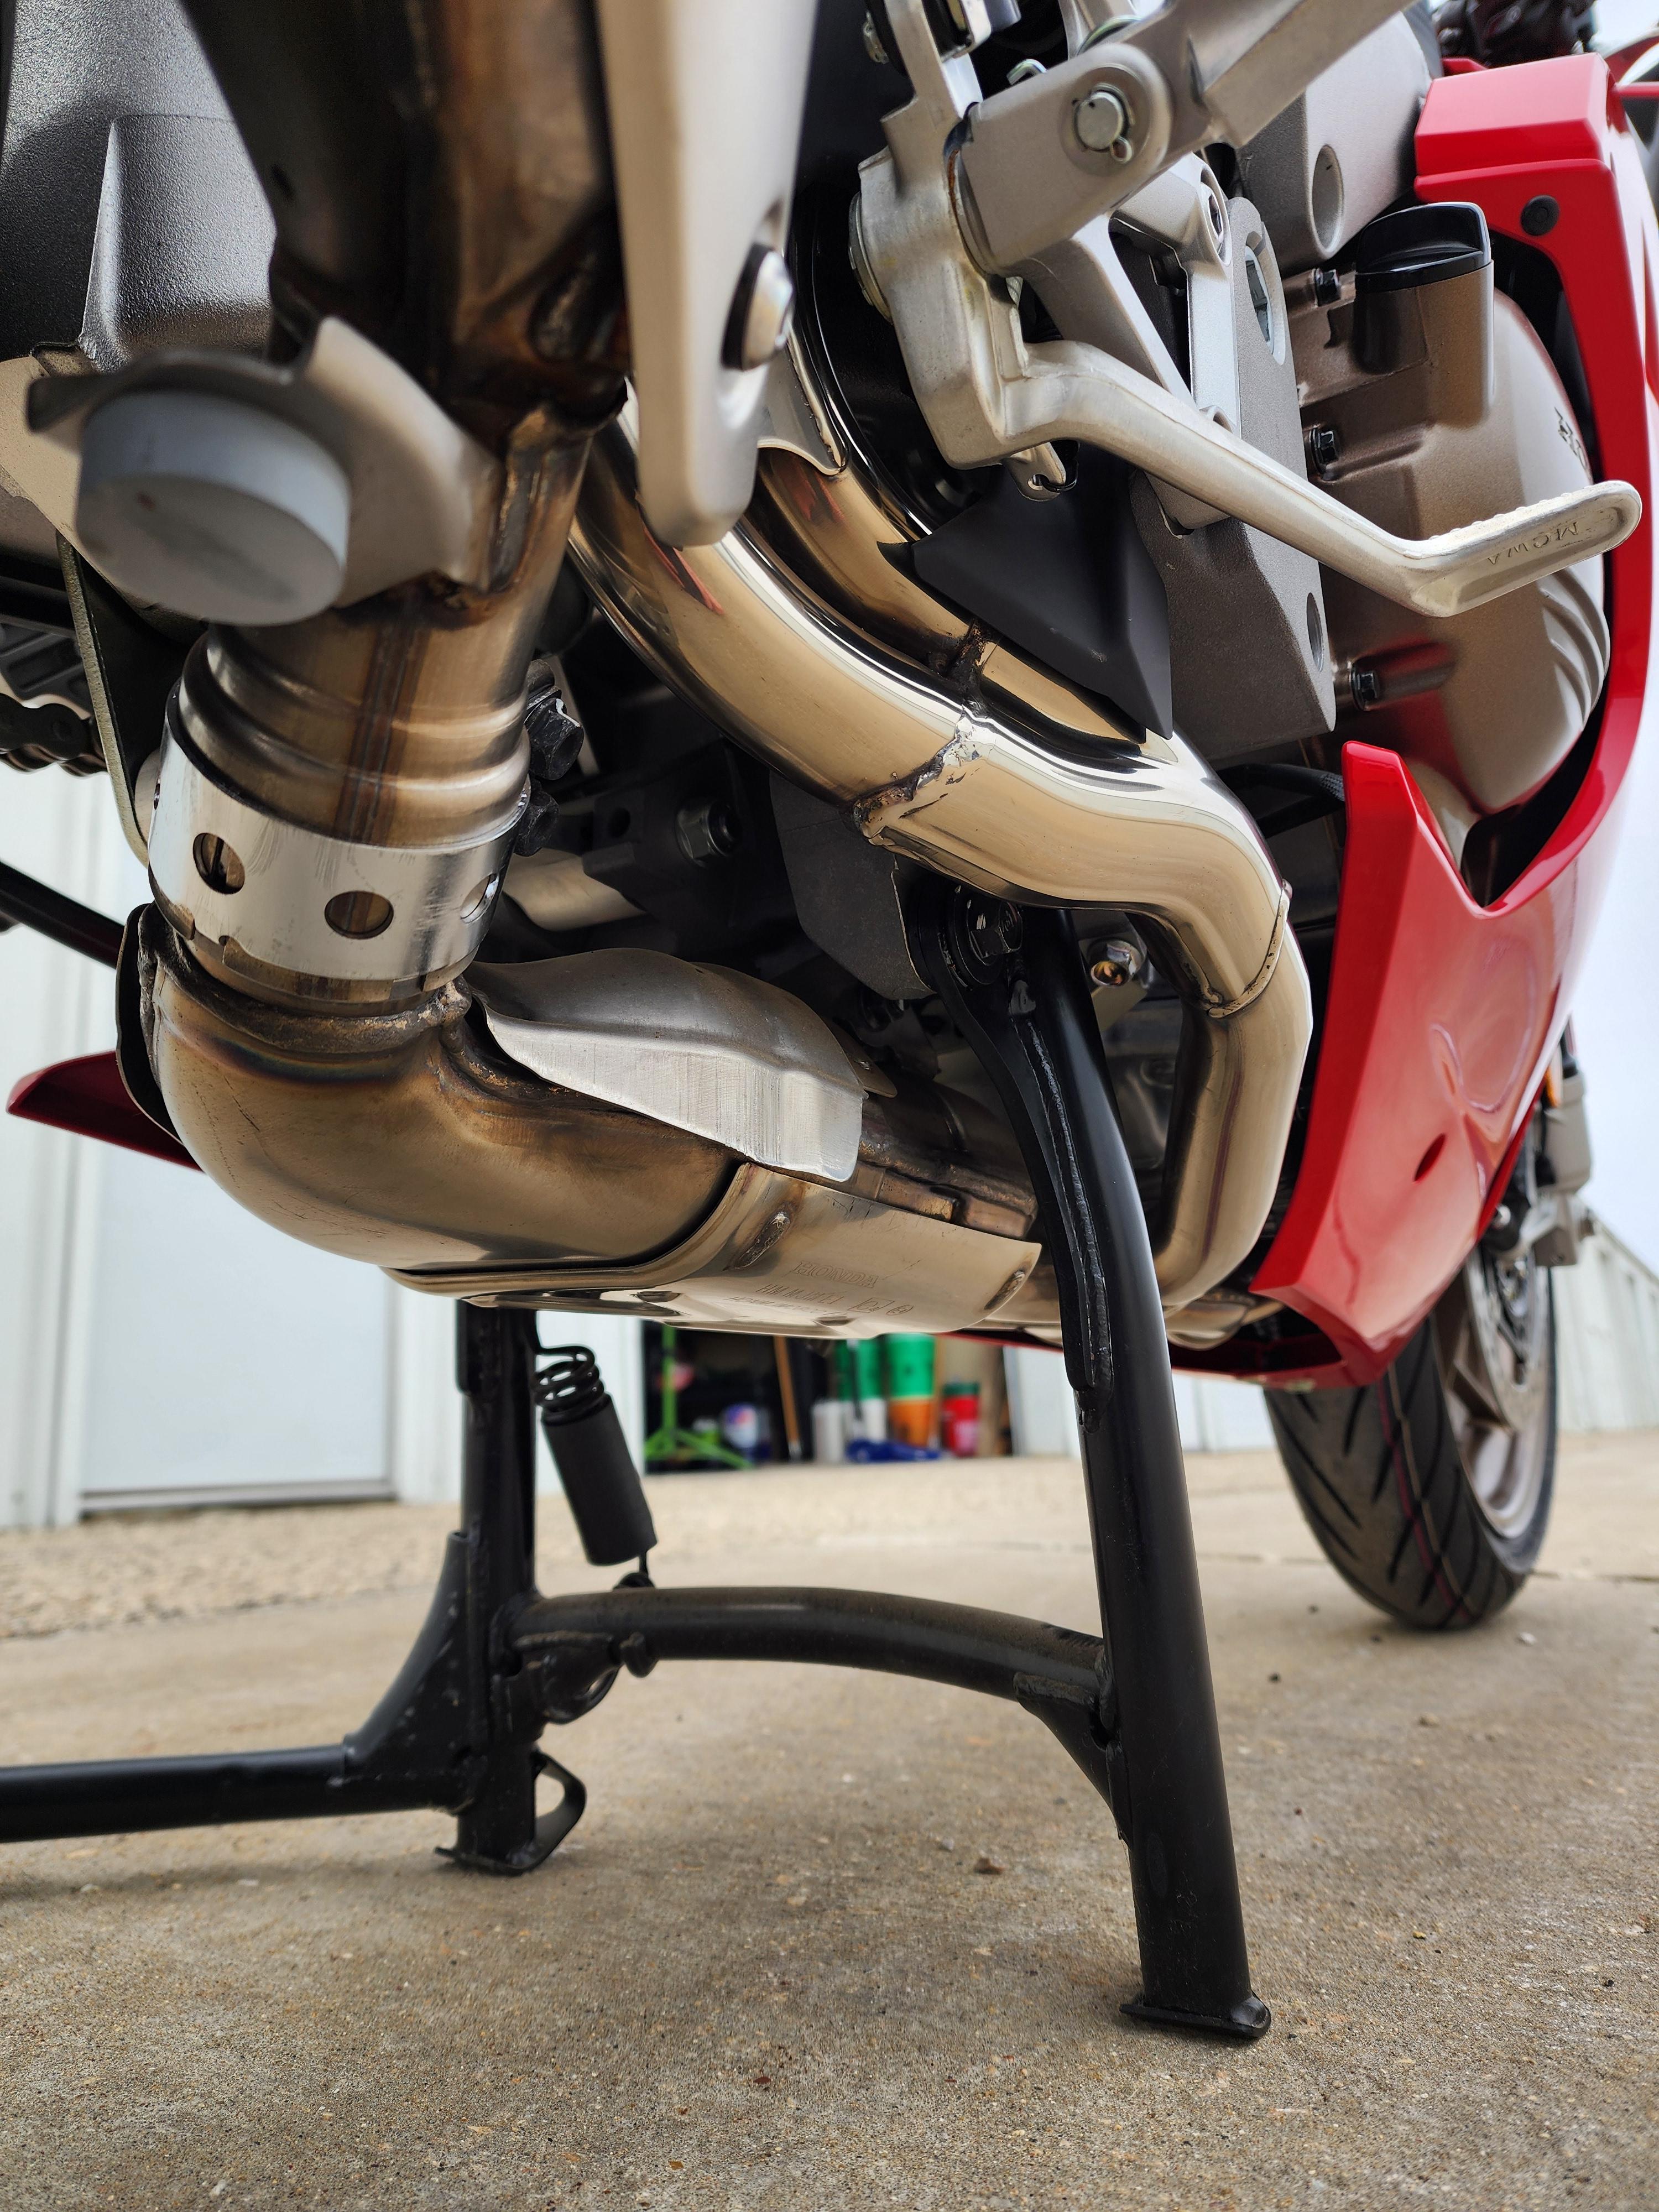
It's a new project. But I'm determined. 99 vfr800. Bought it as a project and am tearing into it... bodies aren't terrible, needs a few misc parts... I'll check mileage when I plop a battery back in. As for pictures, I'm tryin to get those figured out3 points
-
5th gen already has oil feed to stator. One of the issues with 6th gen is they closed that oil feed & early 6th gens burned out stators. The 5th gen has the worlds most power hungry clock. If you leave the battery attached & not on a tender it will drain it.3 points
-
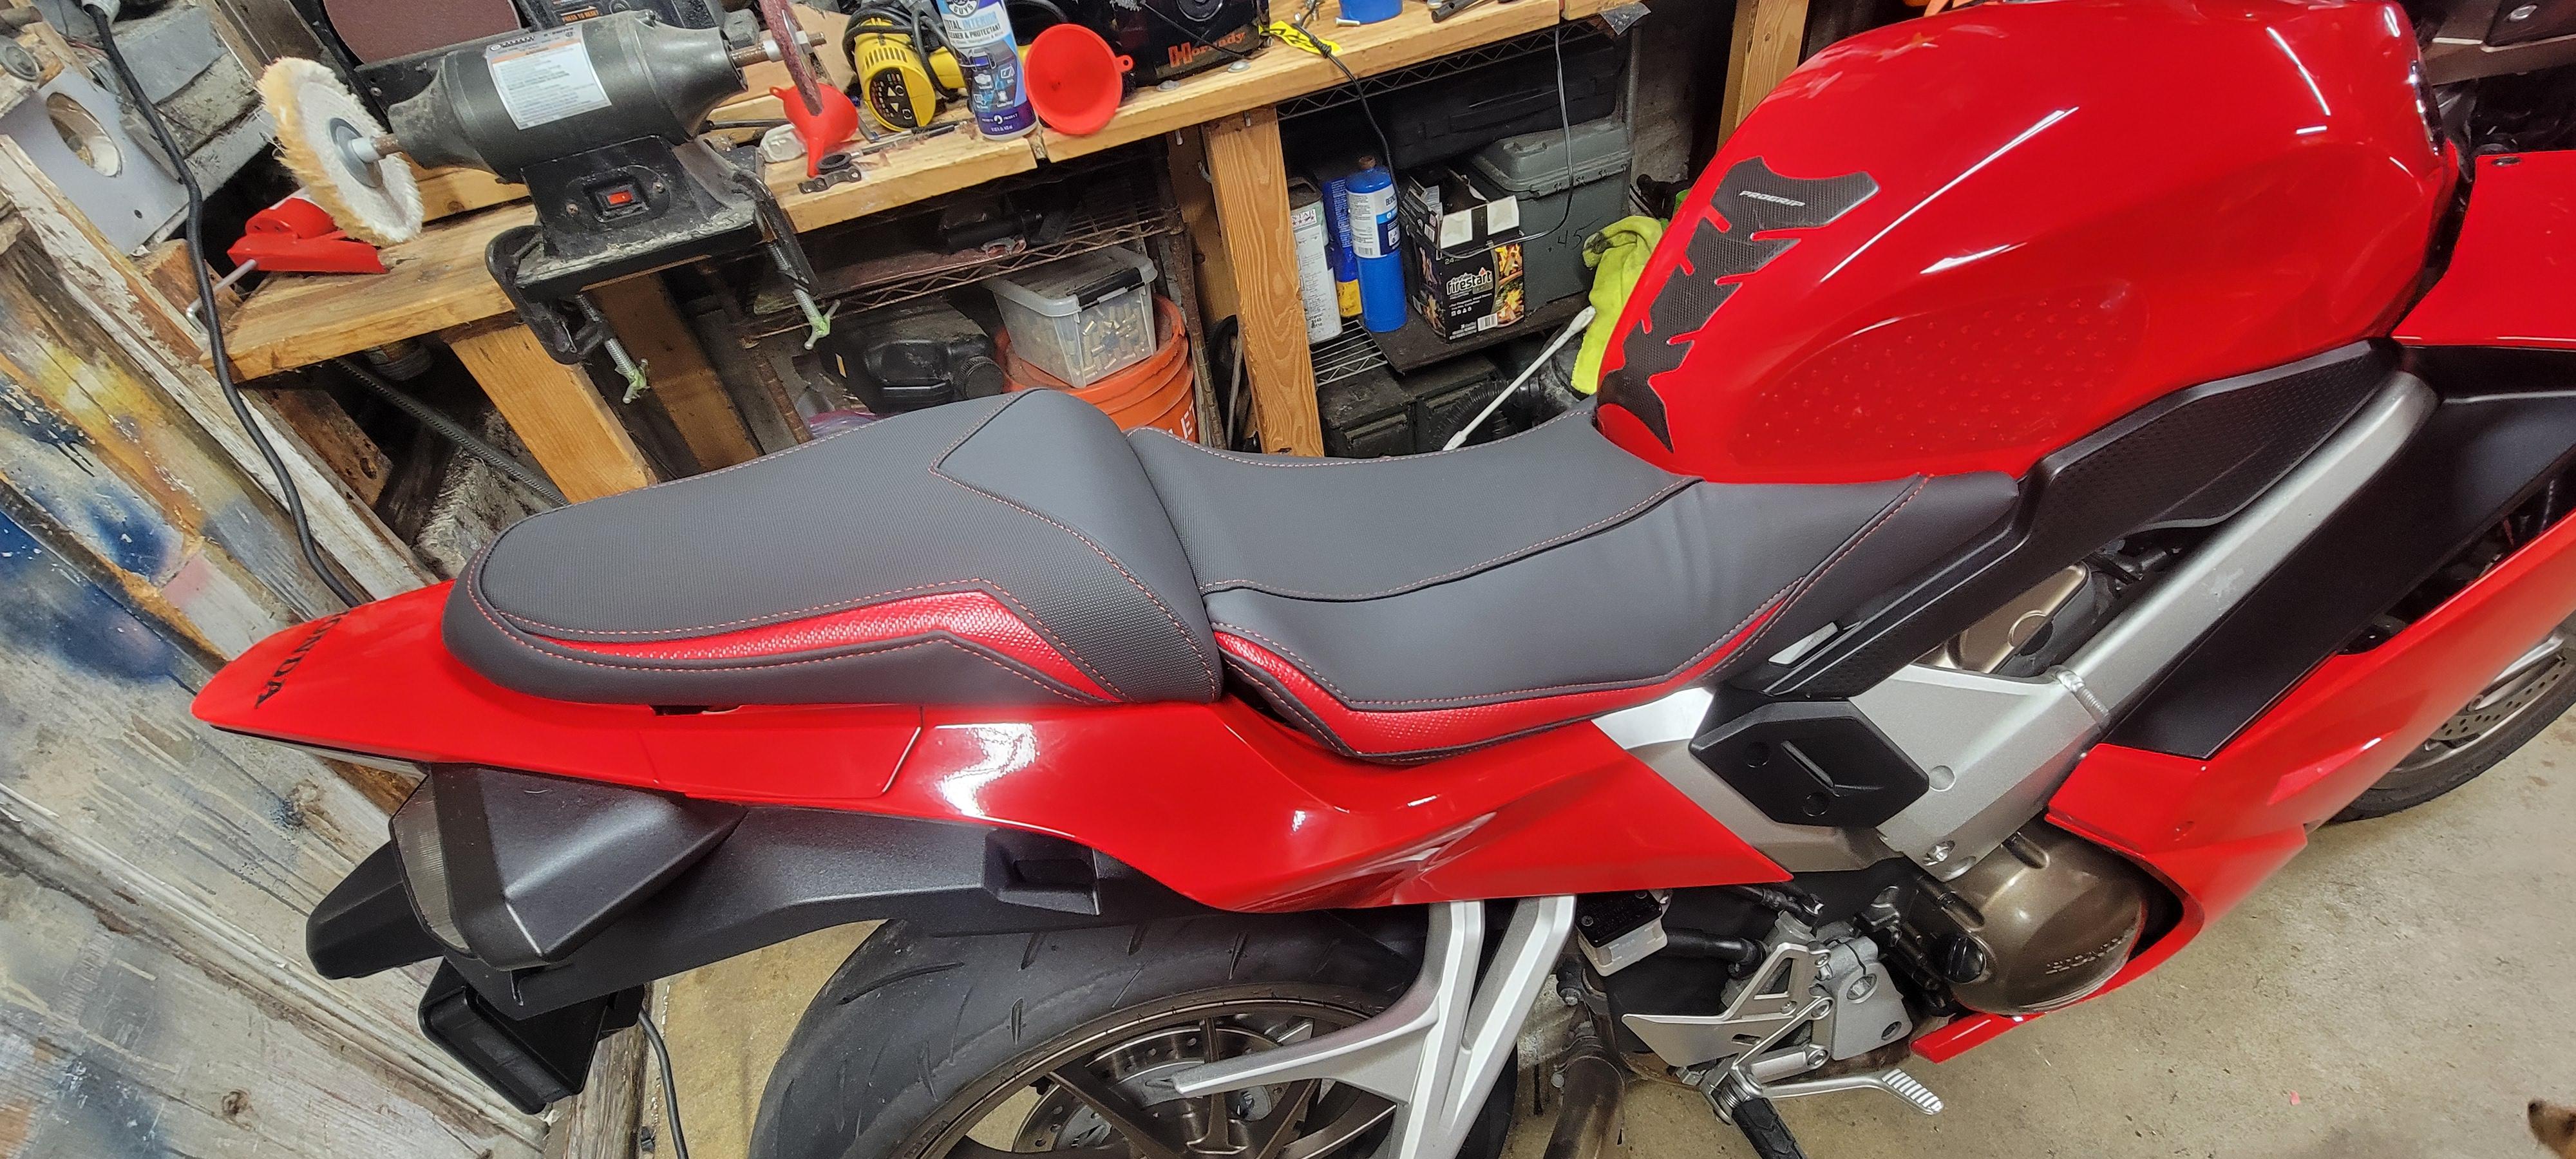
New seat cover! Way more grippy than the OEM. Also bought an OEM windscreen. I'll use the big one it replaced for long trips with lots of freeway miles. I just prefer the look of the original. Also, I just realized there are tiedown loops under the the back seat 🤯
3 points
-
For cleaning the aluminum parts check into building a vapor blaster-friend has one and parts look brand new or better after cleaning. It's a "sandblaster" that sprays water and glass beads with compressed air.3 points
-
Upon request, Dynojet have provided me with the PC2 software, user manual and maps for the VFR. Thought might be useful to some others as well 😁 ! Here's the reply from Dynojet: "While this software is no longer supported by Dynojet, you can still download it here: https://drive.google.com/file/d/1Wb8mQeHeao6_k4xkl6ZswDXyVGhYyWKD/view?usp=sharing It has not been tested with Windows 10, and requires a serial port connection to communicate with those older Power Commander 2/3/3r serial units. The USB to serial adapters, which are common in the marketplace, are also problematic. A true RS-232 serial port is recommended. Also make sure that your serial port is assigned in the port range of 1-8 as our software will not address ports using a higher number than 8. We also attached the Software User Guide to this email for your convenience. You need to have a map open in the software that matches the unit you have, before the software will communicate. I have attached all the map files on a zip file, M101-all.zip for this bike to this email. Please extract the zip file to use the MAP files. Save the maps to your computer, open it in the software, then you should be able to communicate with the unit. The User Guide will have the procedure to send the map. It uses this map to determine what the bike is, and therefore what the data type is coming in." I have successfully tested this on my 5th gen with a CHIPI-X10 RS232-TO-USB converter. All the files they provided are attached to this thread and I also started a new map file here (pending approval as of today): PCII_SOFTWARE_AND_MAPS.zip3 points
-
I'm enjoying this thread, looking forward to all the other things you will figure out, and the final result. Are the elevated motorcycle "shelves" really just for display, or do you intend to walk downstairs one morning, decide which bike is perfect for a ride that day, bring it down and zoom off?2 points
-
This guy should be able to sort you out, he’s had everything I wanted for my 89 https://shop.xtremedecals.com/shop/category.aspx/vfr-series/38/2 points
-
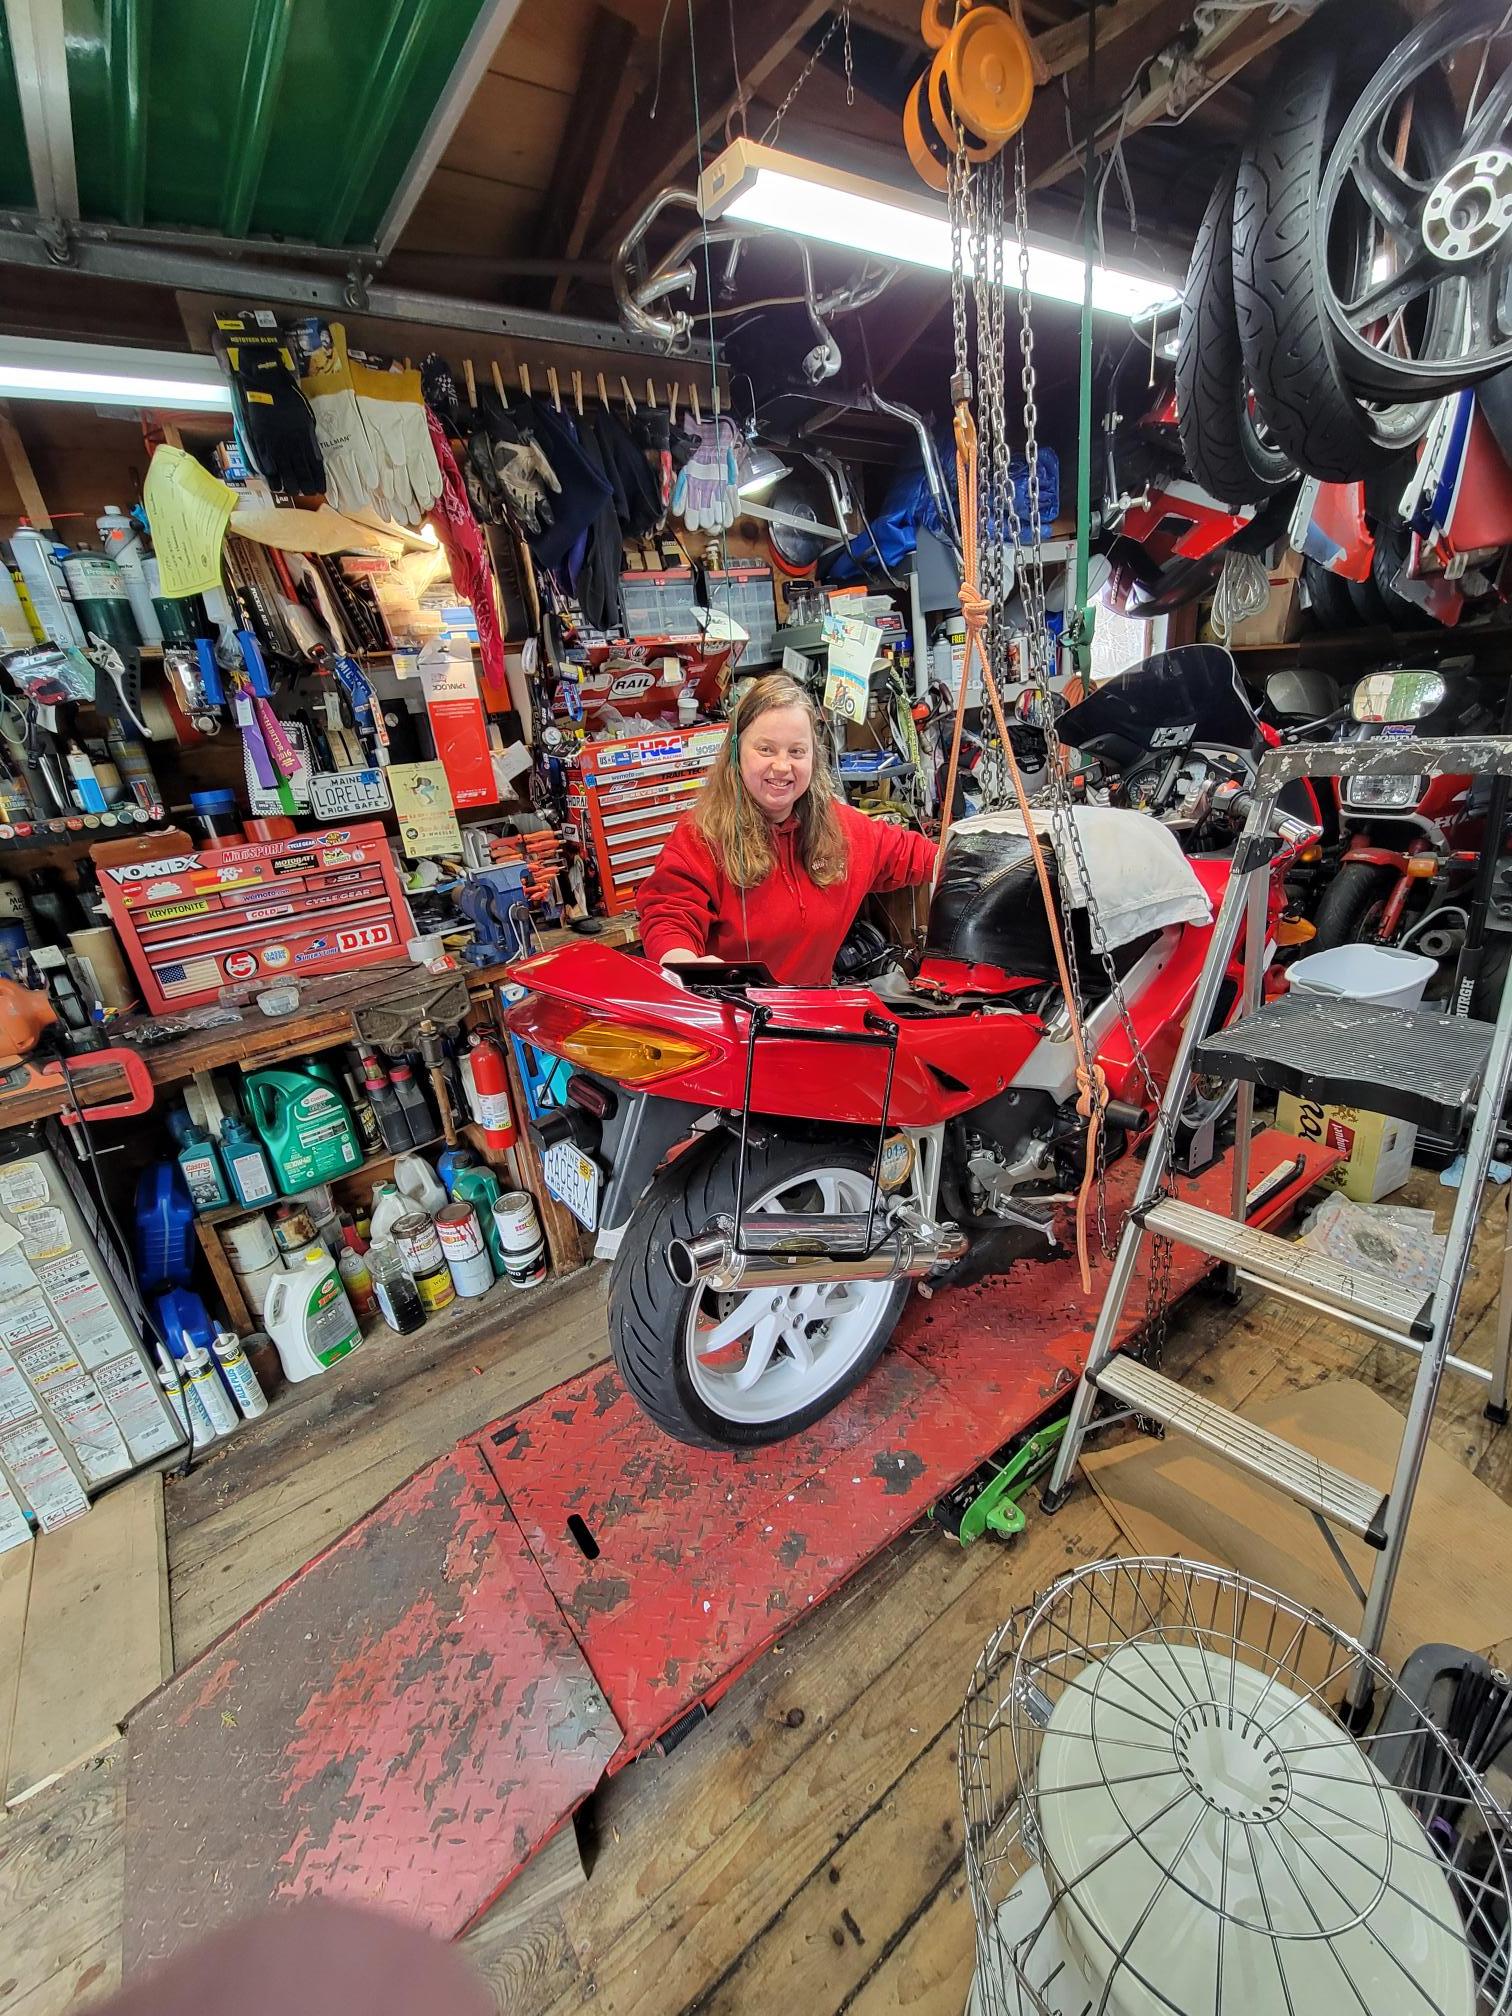
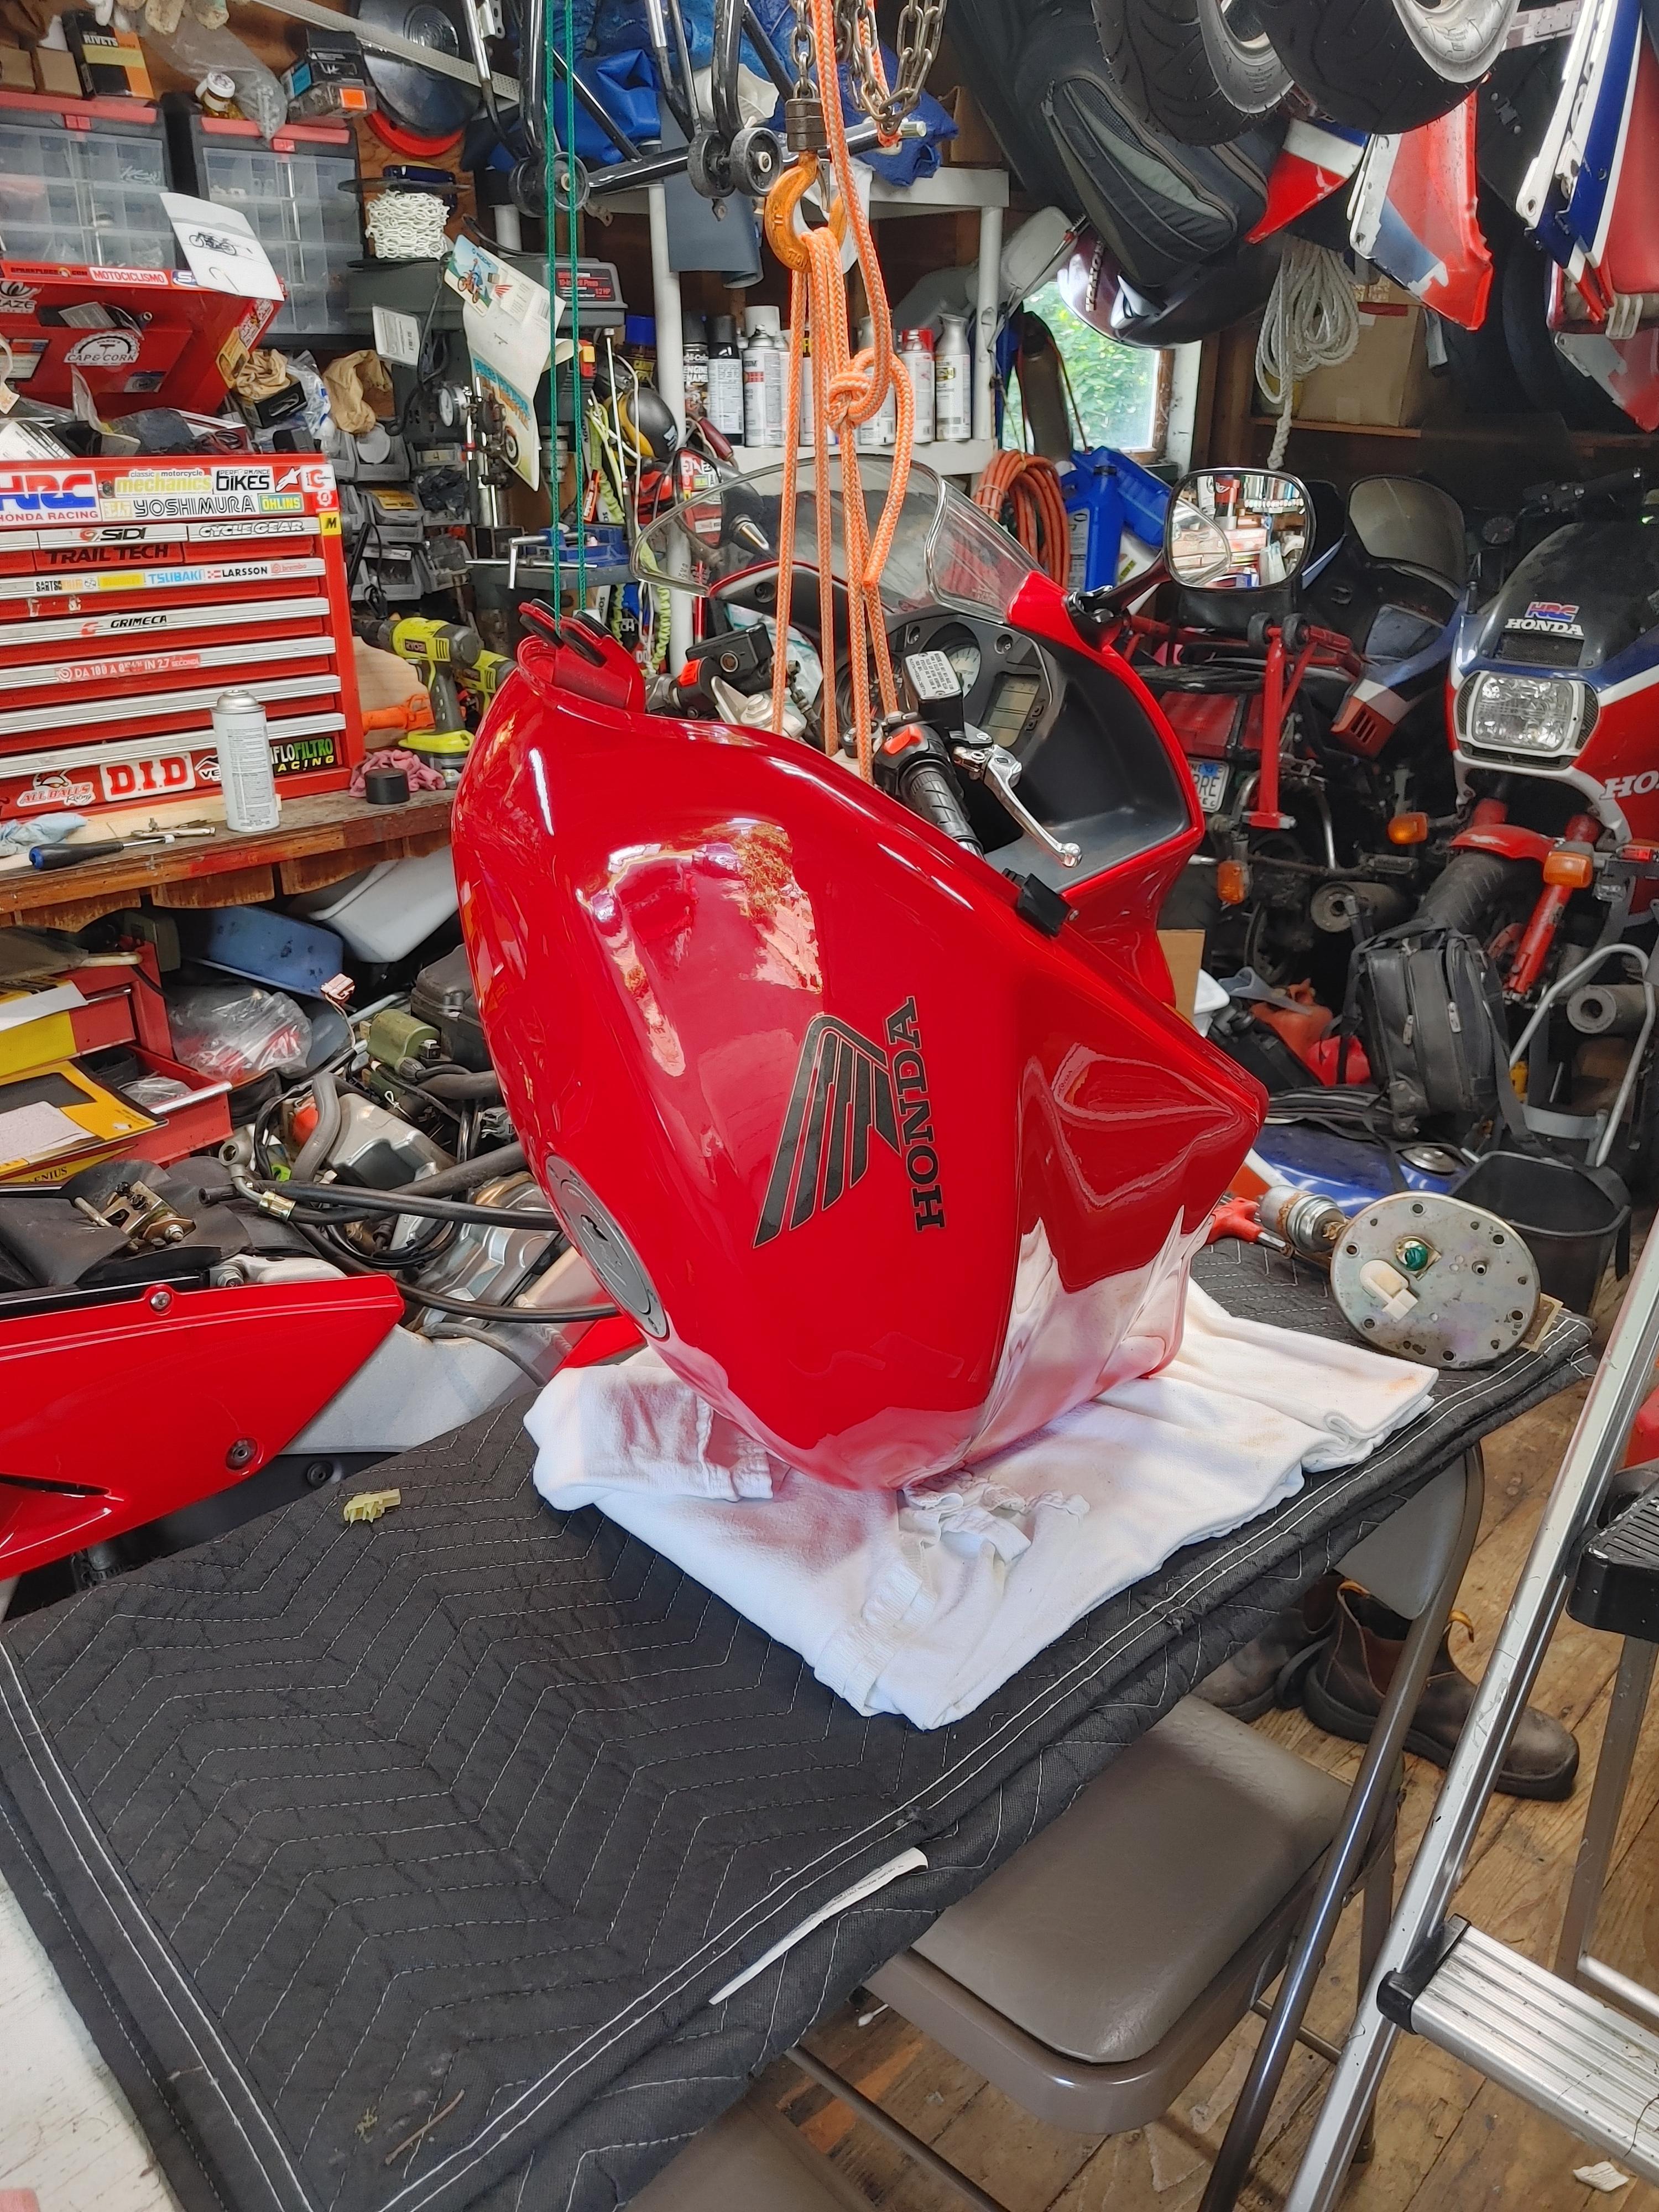
As Stray points out, having a structural member in your garages ceiling has some benefits as far as options for lifting or stabilizing the bike I have a 1 ton chain hoist mounted above my lift. They are about $70 at HF. First pic I used my hoist to lift the bikes rear up as bit to do some work this Spring. Second pic I used the hoist to stabilize the bike at the handlebars as I was going hammers and tongs working on it this past Fall. Good tip over insurance without having to strap the bike down.
2 points
-
It's this view that cements it for me. The shape of the relief/flare for the handlebars at full lock just flows better with the other bodywork pieces and tank. A little more organic looking. When final placement is done, trim the screen down a bit to compensate for the height proportions and you can even re-angle the top cut to (more) match the angle of the top of the tank. (If that makes sense)
2 points
-
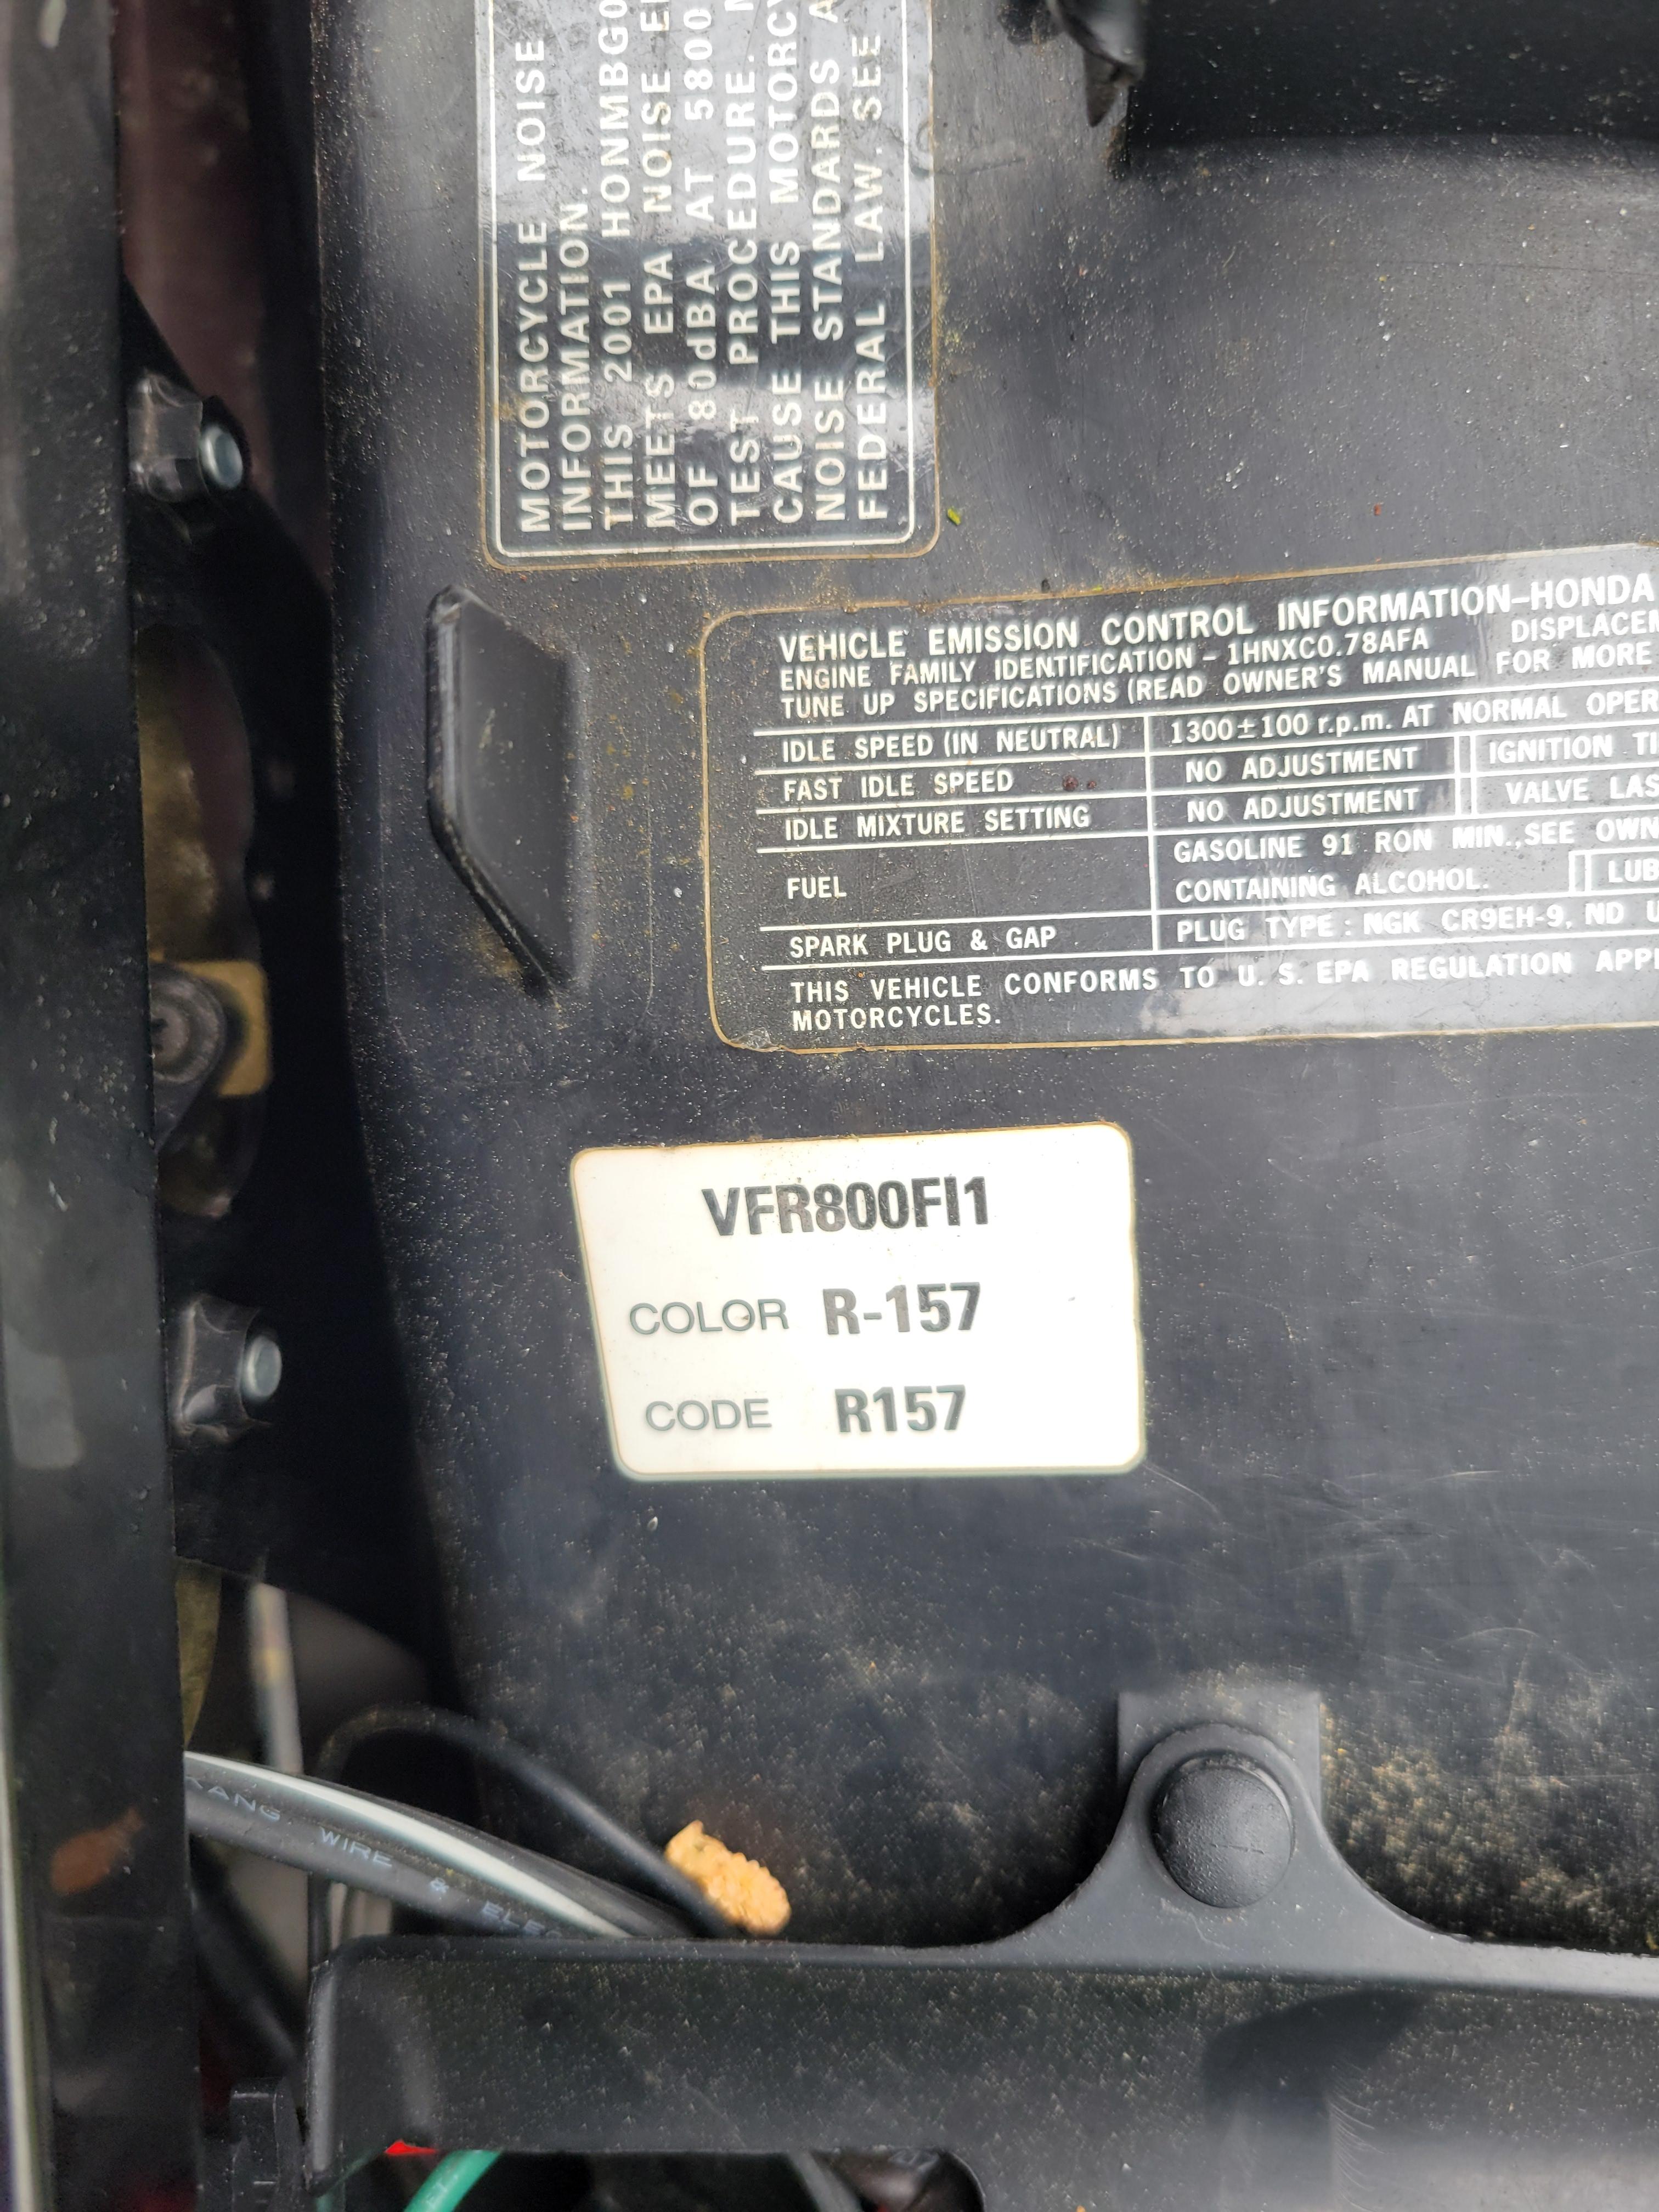
Take your seat off. Look for a sticker similar to the one on the photo, this is the color code for the bike. A company called "Colorite" makes touch up paint for motorcycles. You may have to order it, and it won't be cheap, but should still be available. Alternatively check out the stock touch up sticks at your local auto store. Depending how big and the location of the dings you may find one close enough for your needs. I was able to find a red and blue that were very close for my 85 RWB 1000R that way. Good luck. OEM Motorcycle & Powersports Paint | Touch-Up Pens, Aerosols, Quarts | ColorRite
2 points
-
Not really that hard; remove the small hoses/cables while propped up, then remove the rear pivot bolt and flip the tank right over and then undo the fuel banjo. Place lots of padding on the rear rails to protect the paint then keep the tank upside down while stored. I had my half-full tank off for a fortnight while I serviced the valves on my VTEC and never lost any fuel.
2 points
-
If I tried to dig a basement in South Holland, I'd have a swimming pool! Yes, the reason for the cantilevered shelves is mainly to avoid interference with the workbenches and machine tools underneath. I could, of course, run at least some front verticals, but I've seen other workshops where they're using pallet racks for both storage and workbenches, and the extra vertical supports always seem to be "in the way". I'm trying to avoid that. I'm also trying to avoid supporting anything from the ceiling (which is also the bottom floor of our house). They built these houses very sturdily, but I don't want to chance doing anything which could compromise the structure of the house itself. I will try to post my progress here. I don't actually have the keys, yet, but that day is almost here! Then I've got to move fairly quickly to avoid having everything in the UK delivered to the same space in which I'm trying to build all this stuff... Ciao, JZH2 points
-
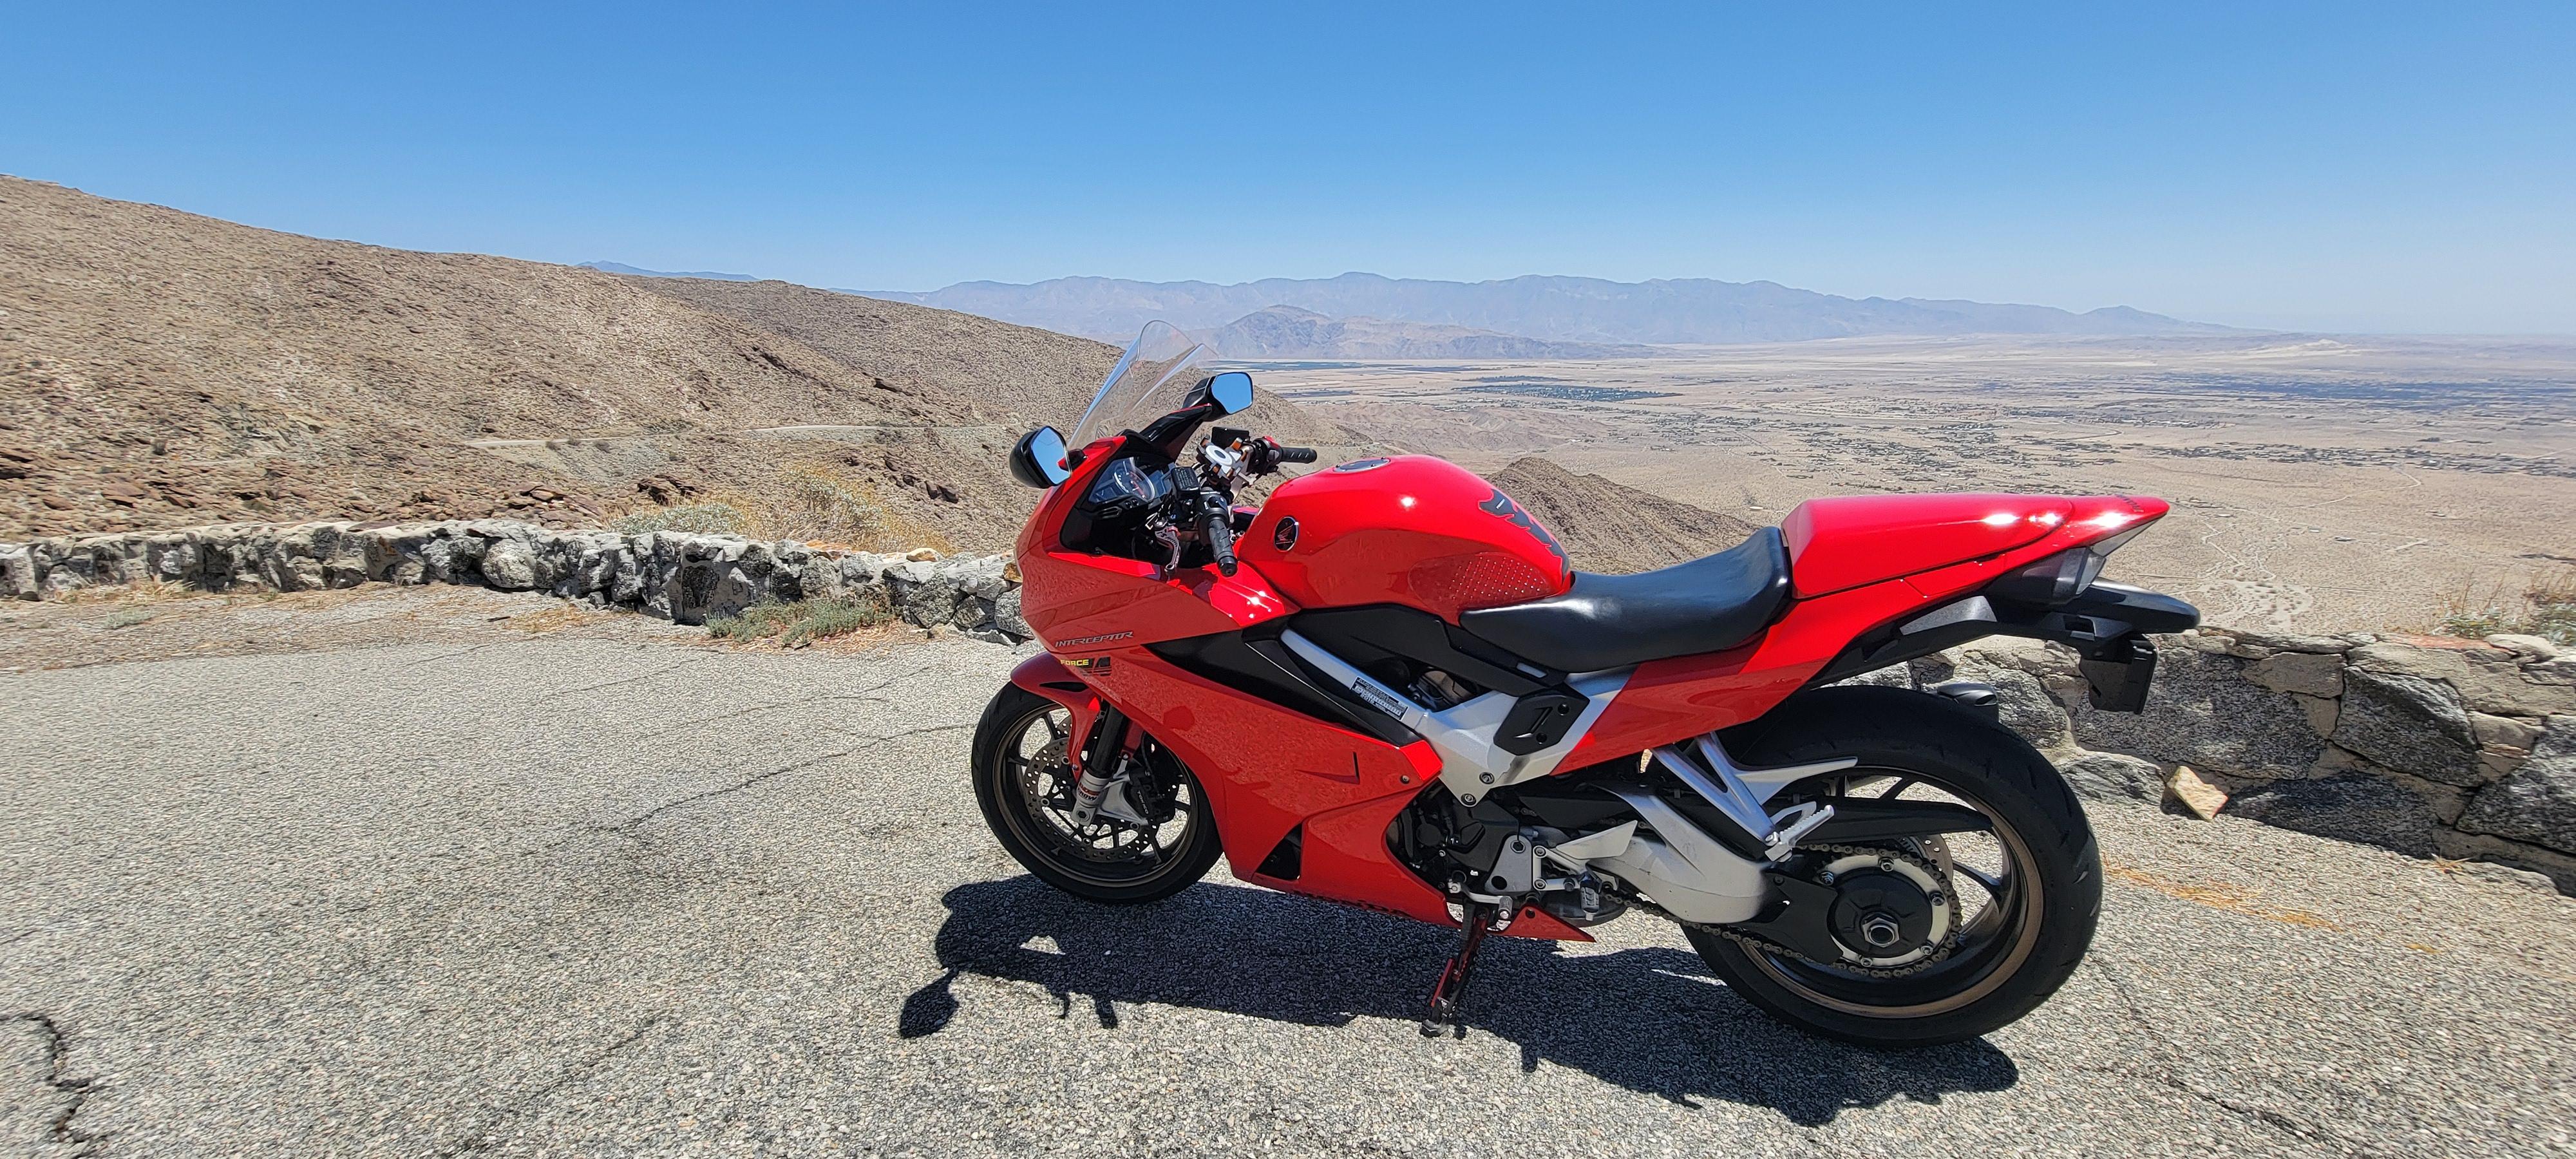
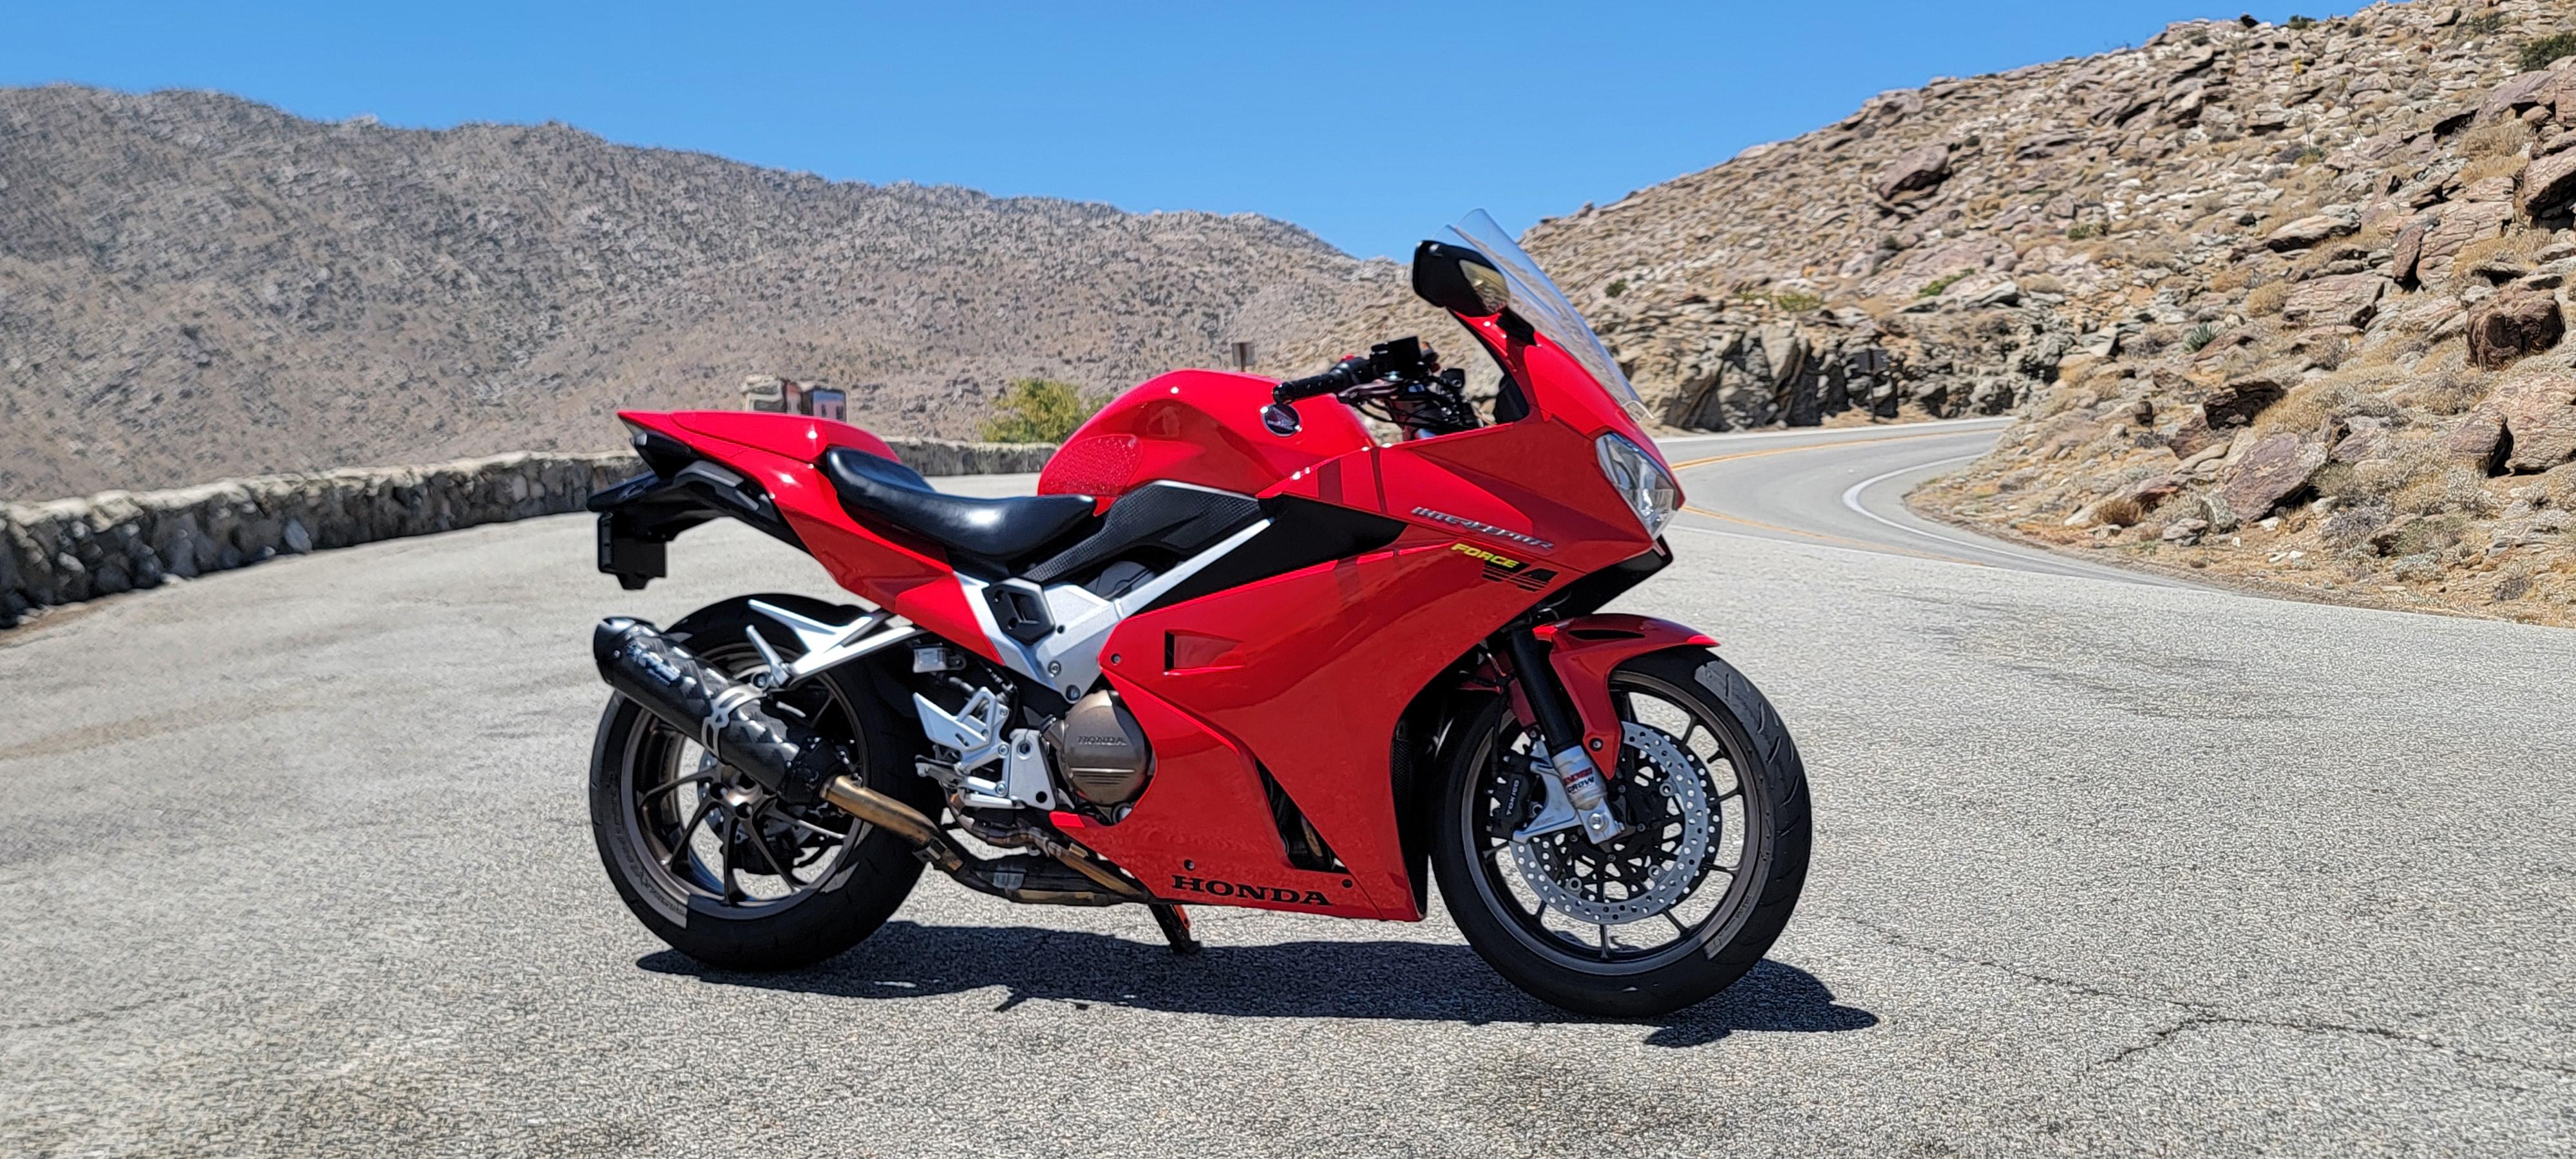
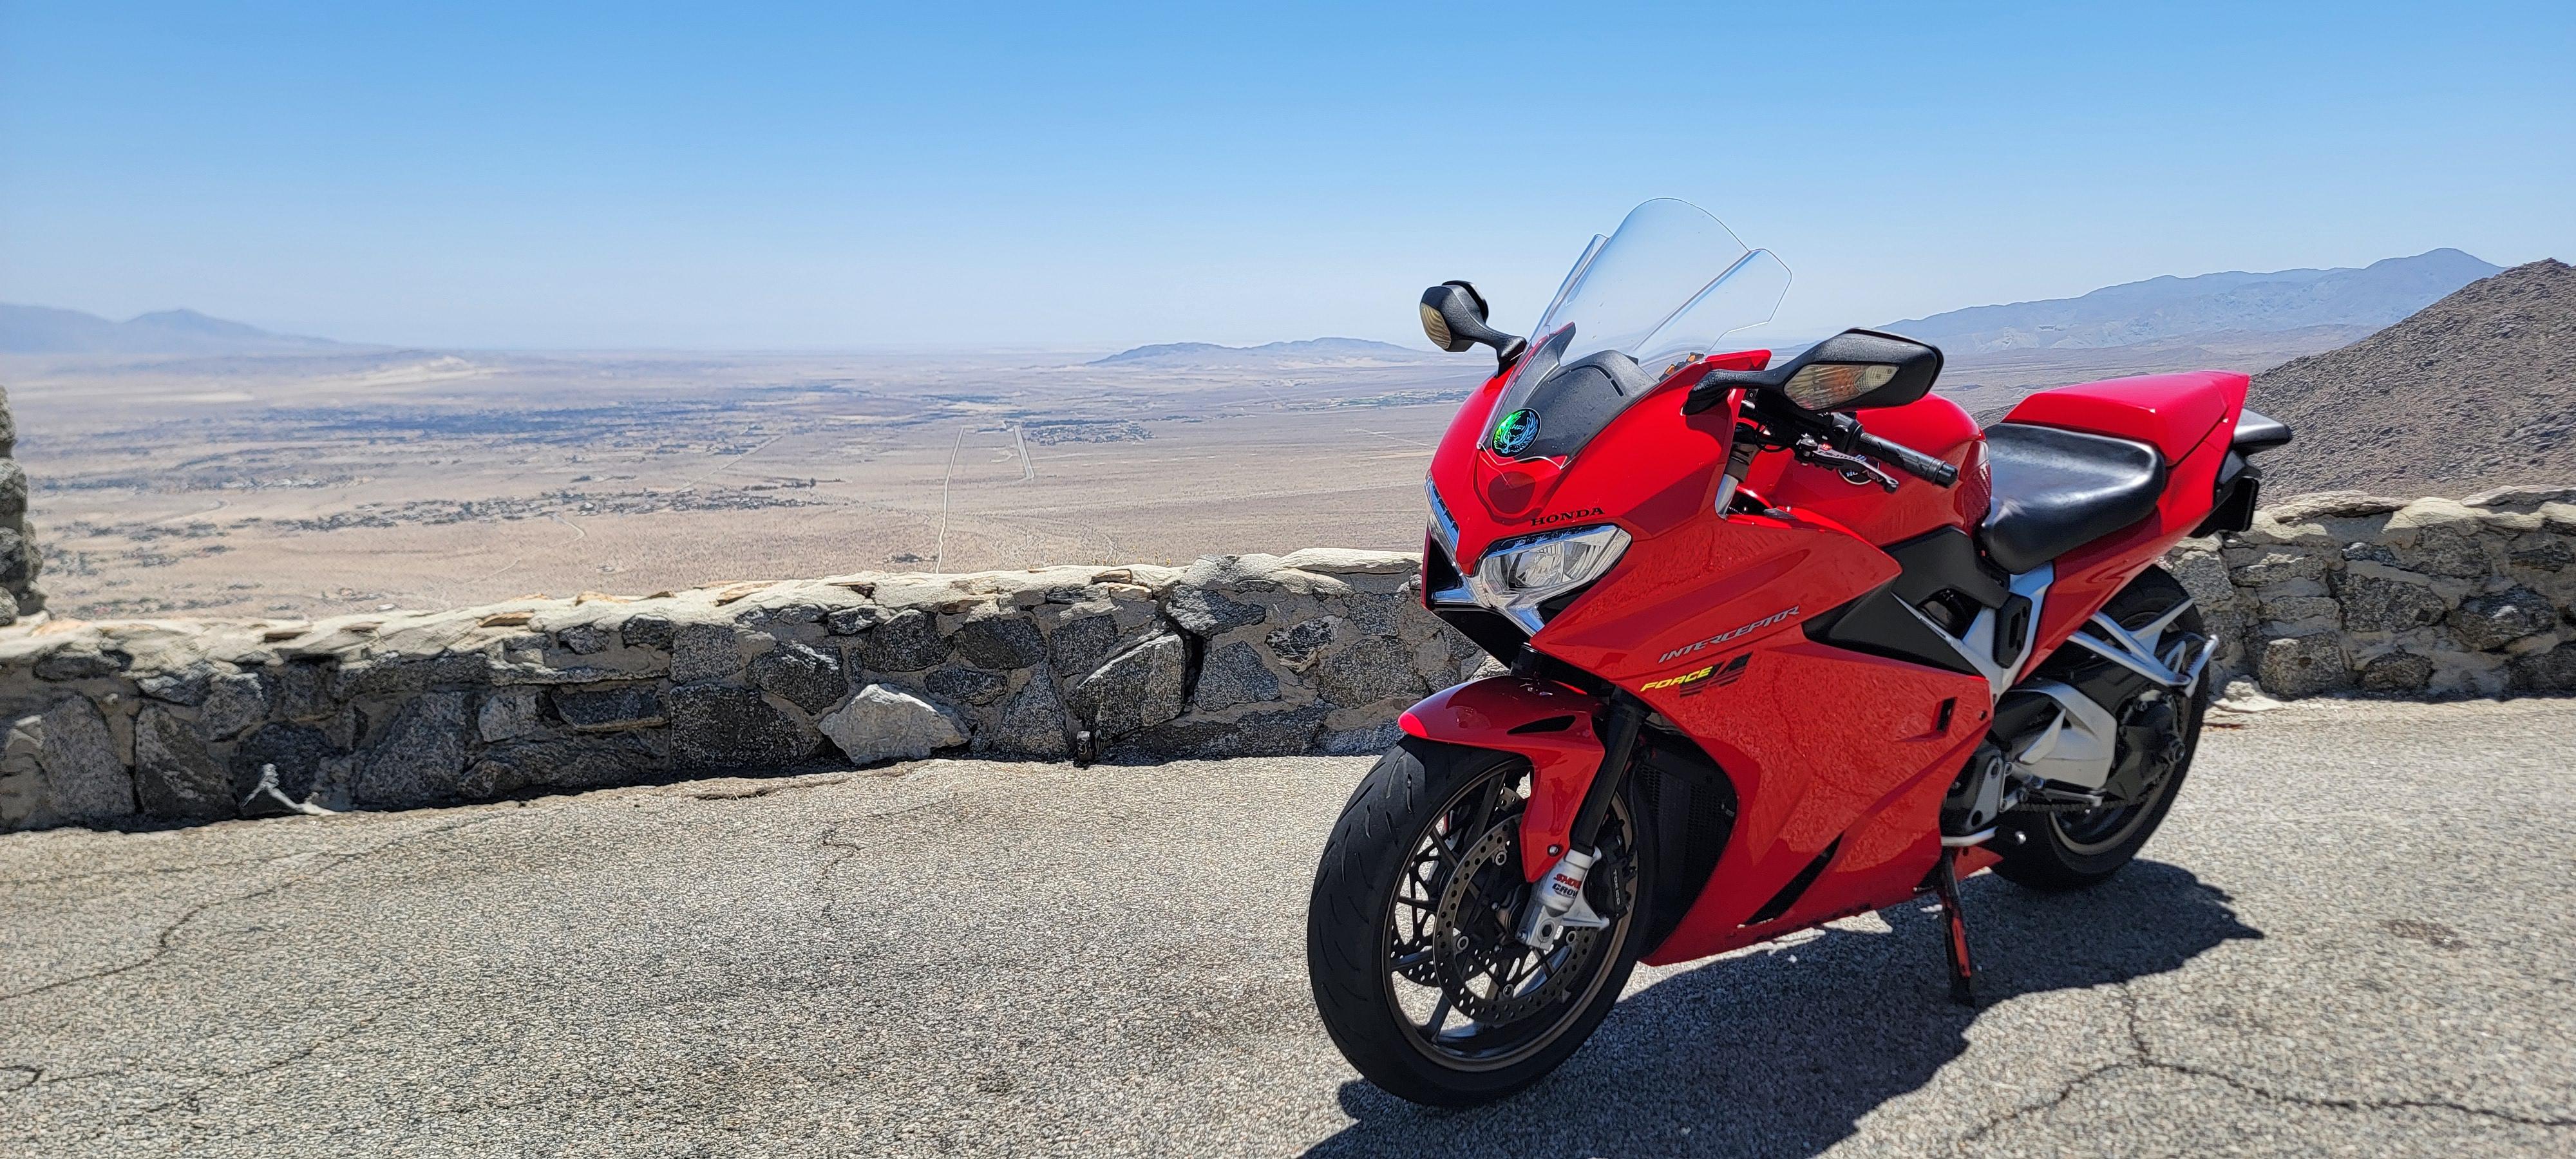
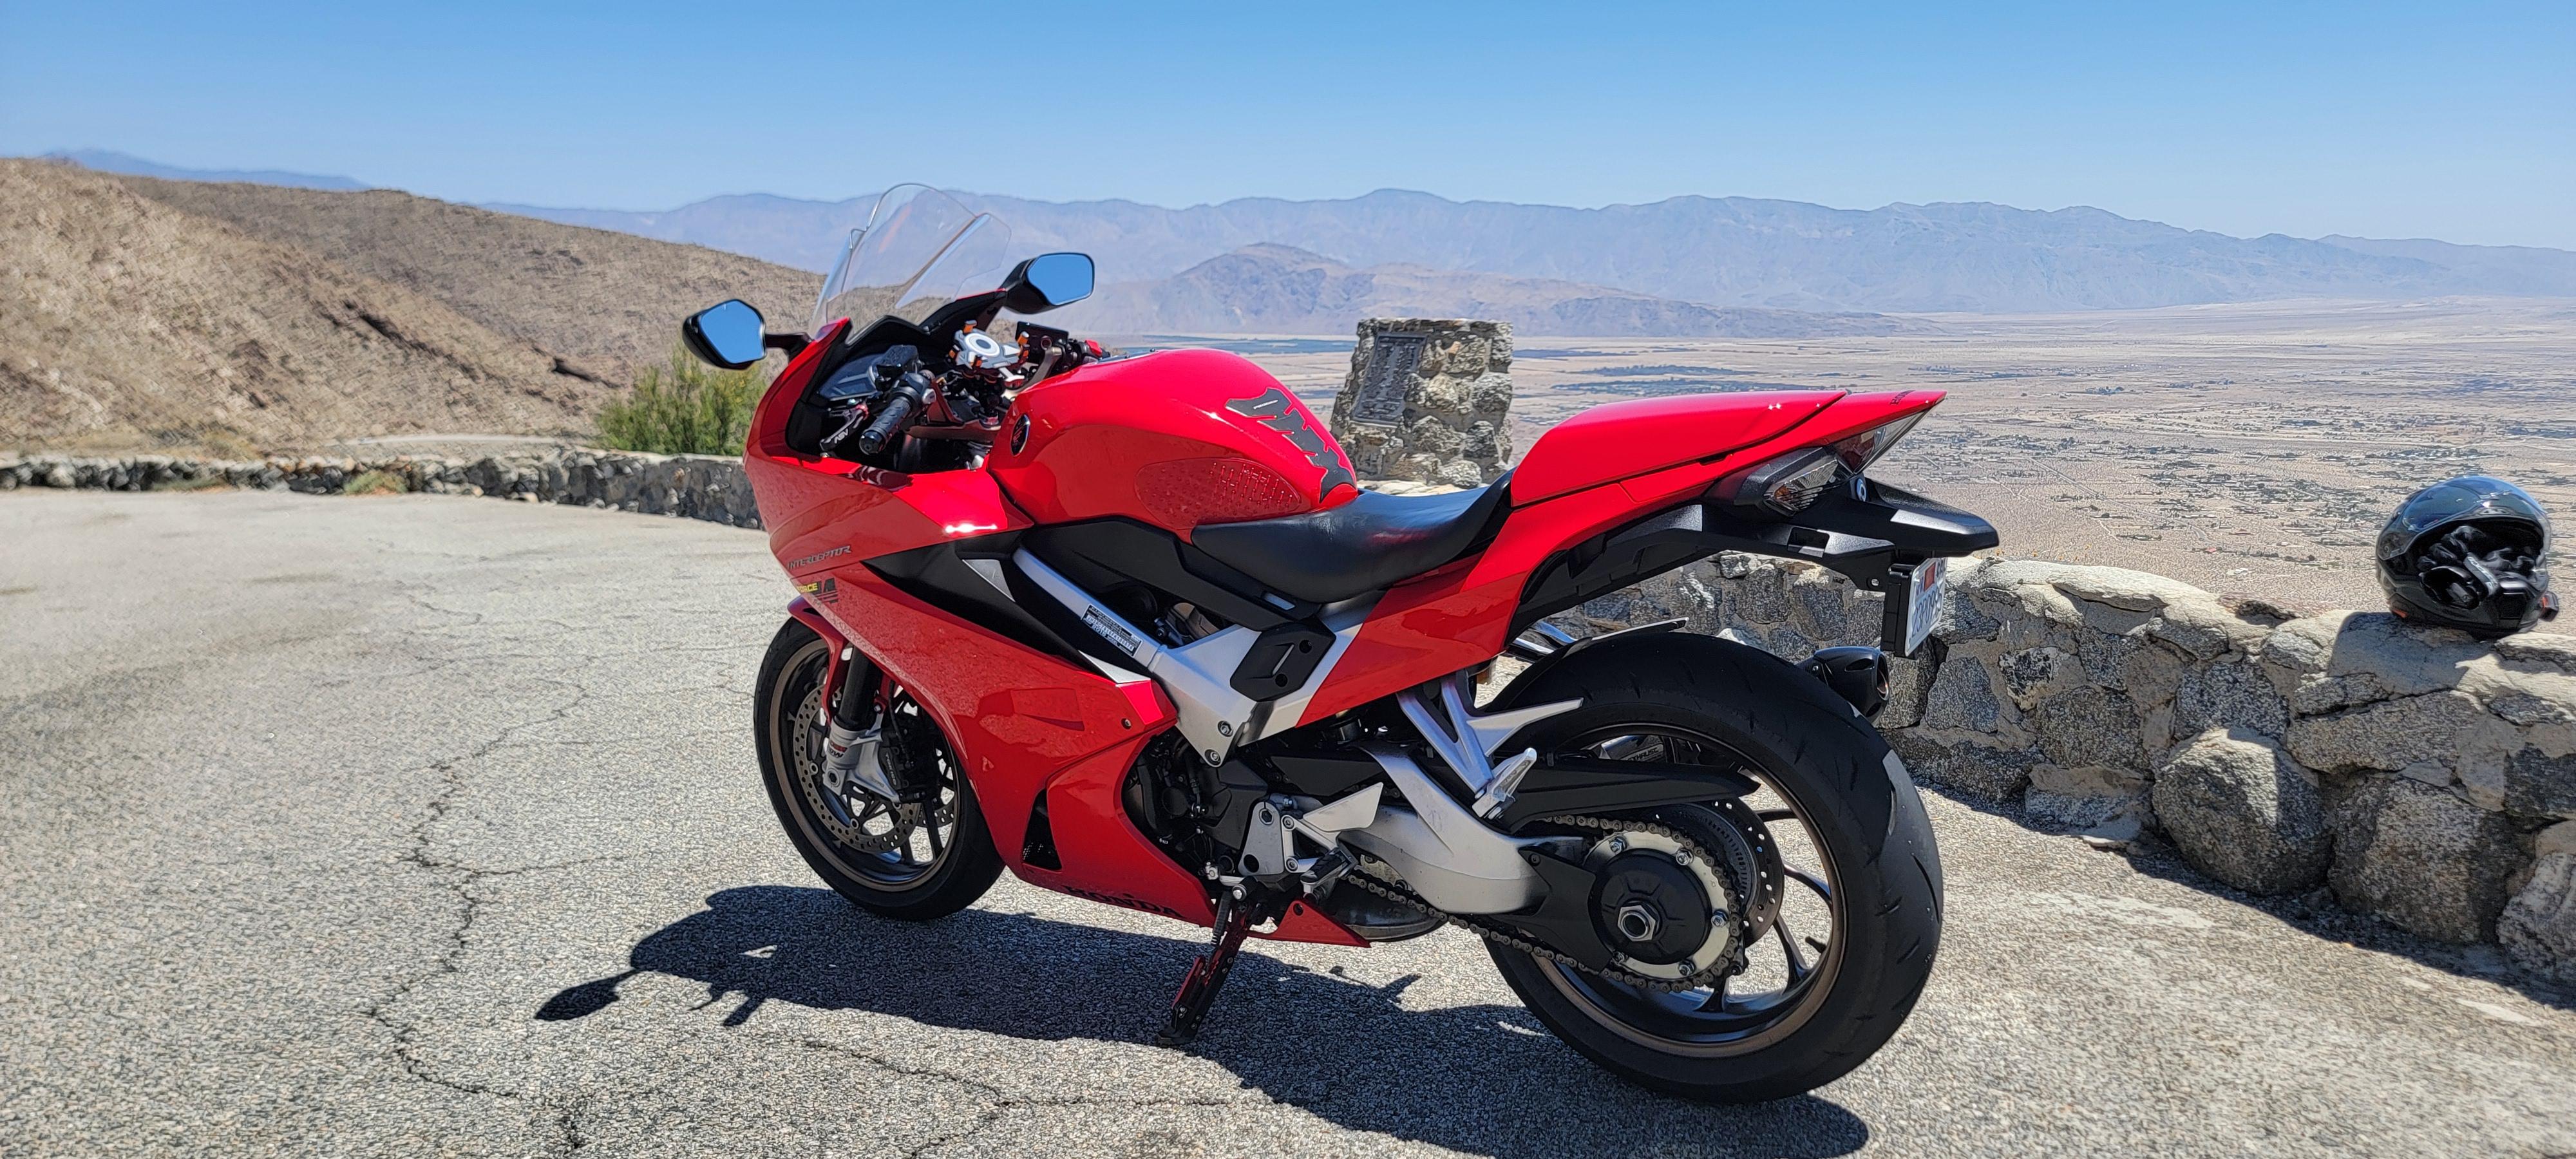
b.jpg.cf59144f18c2389fcfa22bacc6194b94.jpg)
From the album: 5th gen tour 2025
2 points -
Hey everyone, I’m new here and recently picked up a 2005 Red VFR800. I’m located in Houston and would love to meet some folks in my area. Currently the bike is not running, I believe it’s a wiring issue so I’m in the middle of troubleshooting and plan to make a new post or two for help. I also have a 2011 HD Street Glide and 2014 Yamaha Stryker. I used to have a 2006 CBR1000rr and always wanted a VFR. Looking forward to connecting with a few of you soon.2 points
-
Leaky Head Gasket Check... You can visual inspect for a leaking head gasket by pulling the spark plugs and peering down each hole... if the top of the piston is black then no leak that cylinder... if the top of the piston is a bright shiny aluminum then leak detected... because a leaky head gasket allows coolant in and that produces steam under the heat of combustion... the net effect is a super clean piston dome and no nasty black...2 points
-
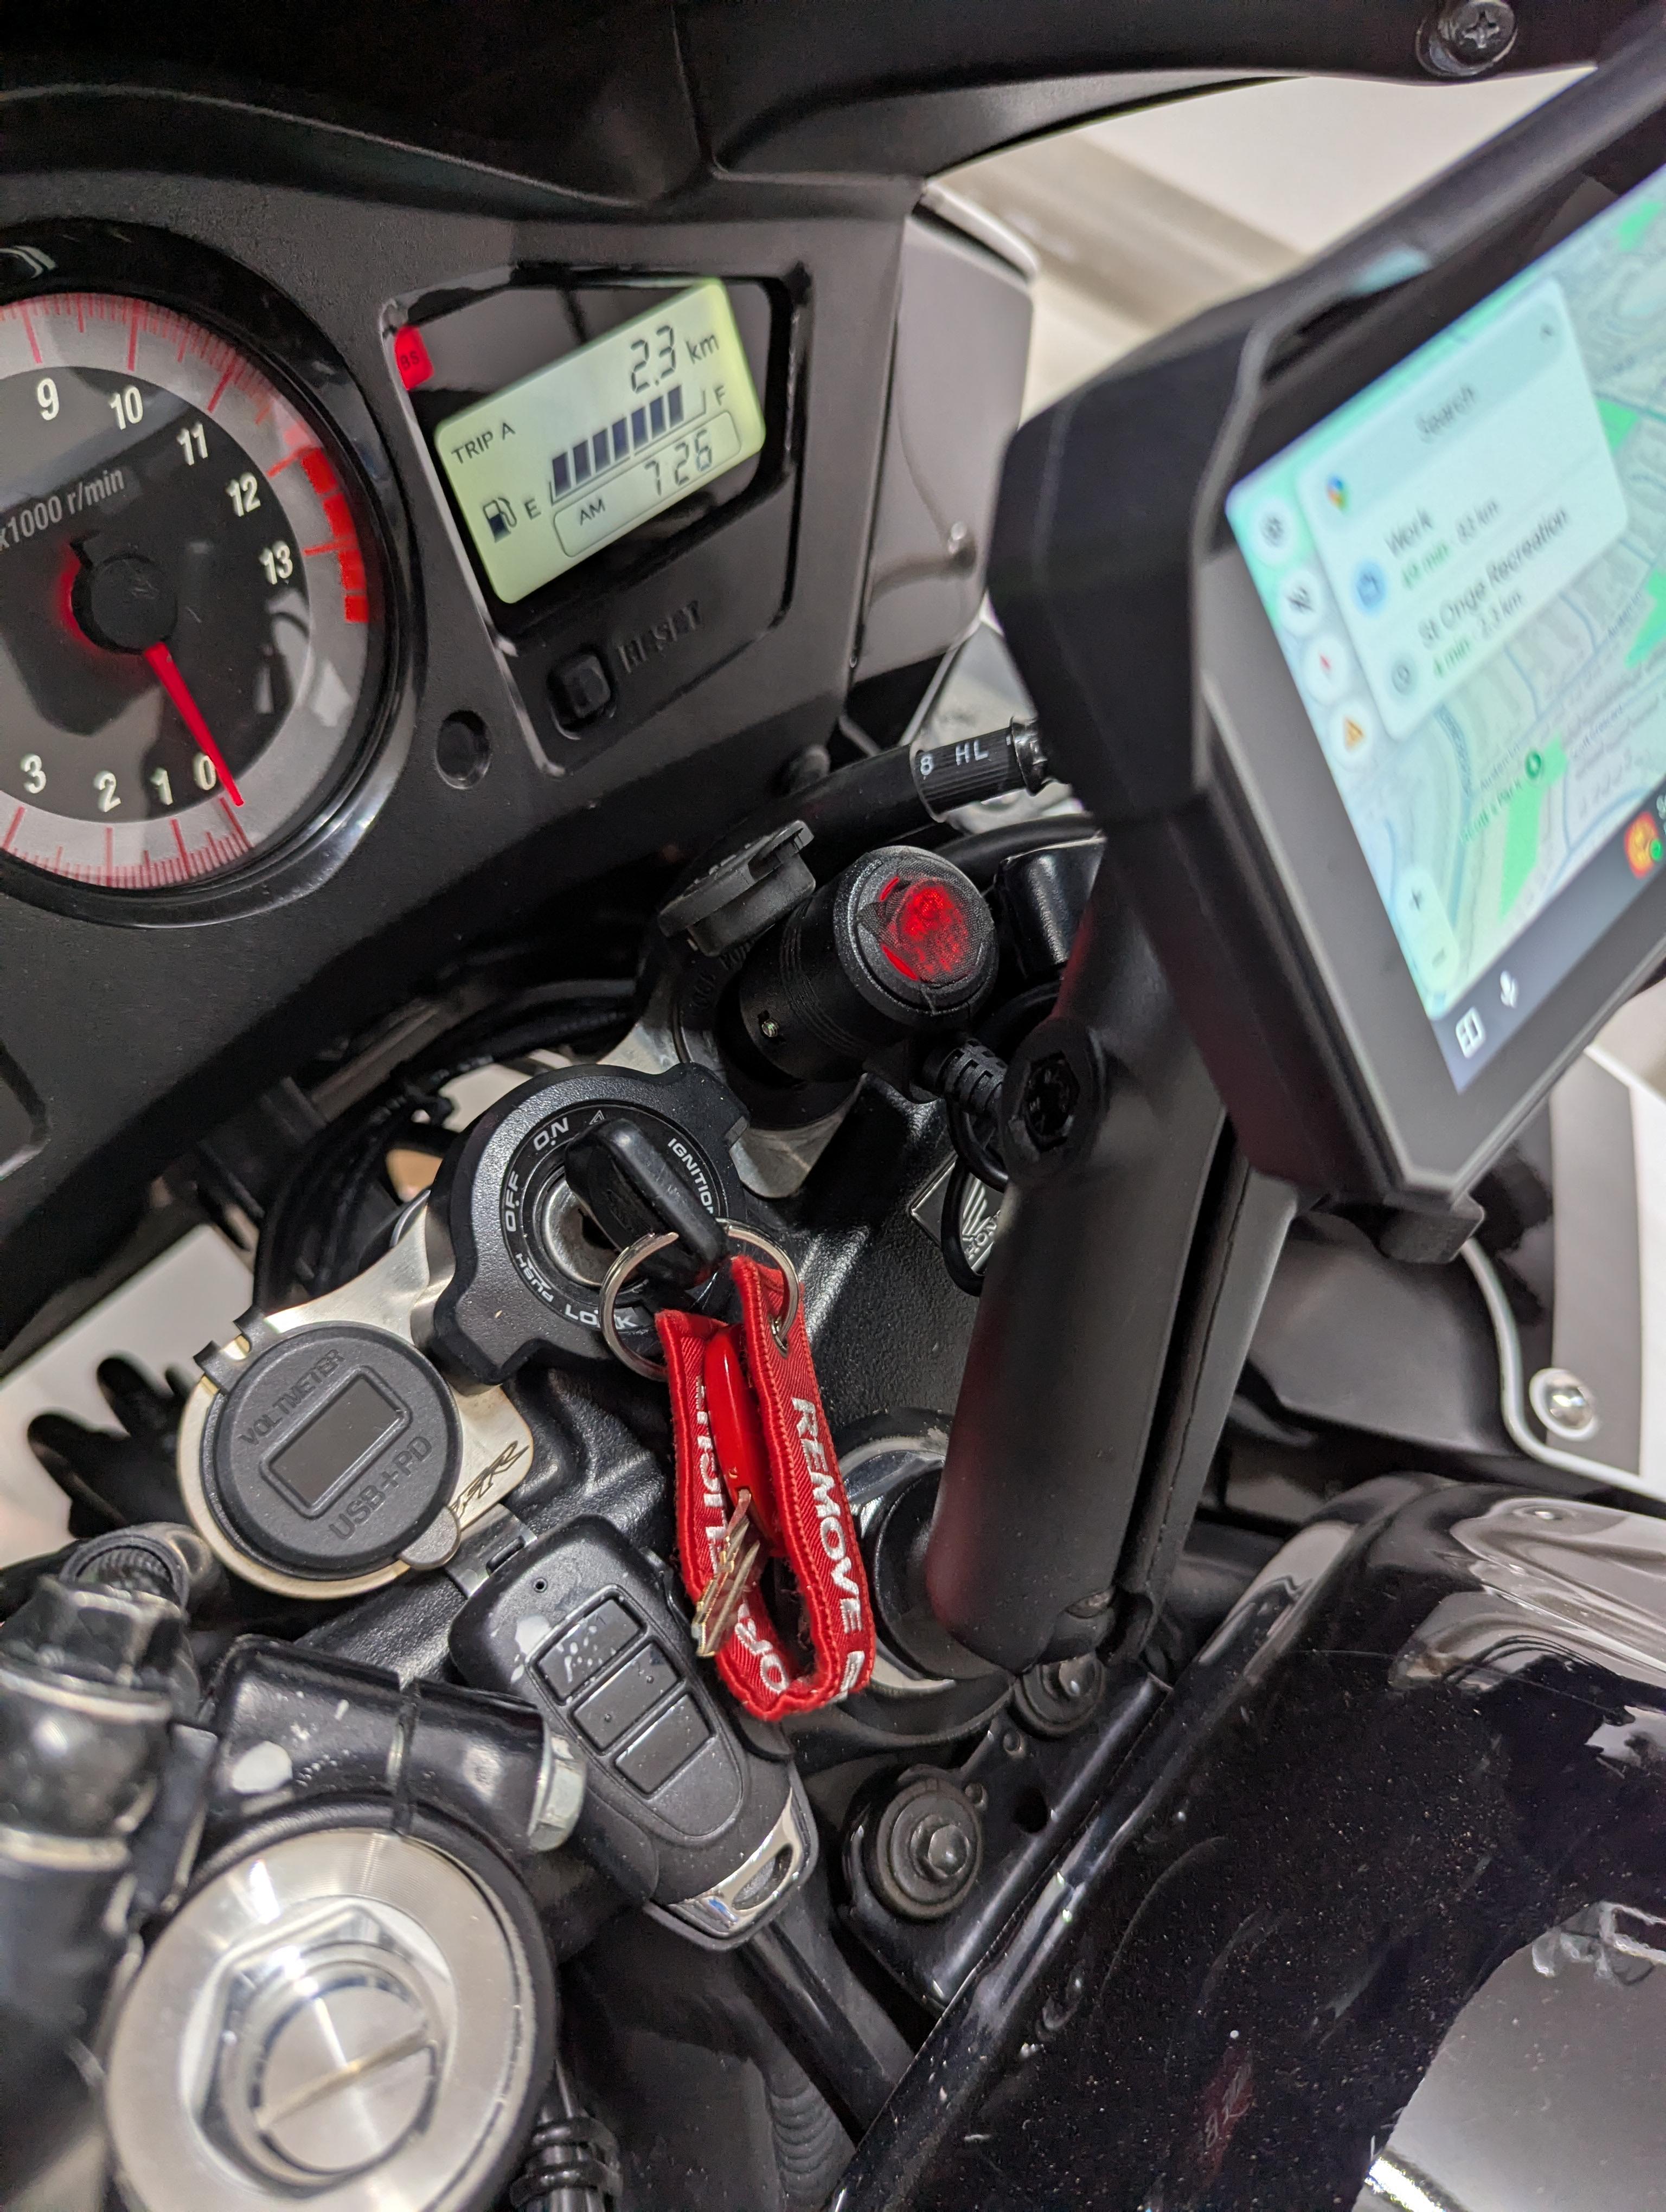
It ships with just a positive and negative wire lead. I have a 12v outlet on my handlebars already, so i picked up a male 12v connector and wired that to the unit, so i can plug it in and unplug it whenever i want. Here is a link to what i used https://www.amazon.ca/dp/B0D7HR736J?ref_=ppx_hzsearch_conn_dt_b_fed_asin_title_1&th=1 And this is how it looks The unit requires 12v, so unless you have a usb step up adapter, you'll need to wire it to a switched 12v ignition source. There are definetly many ways to set it up, but this worked best for me
2 points
-
I used them about a year ago, still in business then. The owner (I don't recall his name) has had to step aside and another person is answering the phone now. IIRC the cost was $135 including return shipping, but always good to call and get a quote. You may need to leave a message. I've used them several times now and have been happy with the results. I've also done the stator / flywheel swap to my 5th gen motor. It did help the output - using the 847 I get charging at idle when the fan is running - that was not happening with the stock 5th gen stator / f.w. If doing the swap, you >> must << use the bolts from a 6th gen stator to secure the stator in the 5th gen cover. While the 6th gen stator does fit in the 5th gen cover, the 6th gen stator is slightly thinner, and thus the 5th gen bolts will bottom out in the blind holes before securing the stator tight. One would think that given the high degree of commonality between 5th and 6th gen engine blocks, the shape of the stator covers would be the same - but that is not the case. So, the 5th gen cover must be retained - just the flywheel and stator will swap over.2 points
-
This is the canadian amazon link, not sure if it'll work properly for anyone south of the border: https://a.co/d/9YyjHX7 One thing I've learned is alot of these are generic Chinese units that you can get on aliexpress for the same money or less. This is another similar one https://a.co/d/2g9ub74 It's really hard to beat the instant updates, traffic and waypoints that you get with Google. I loved my Garmin gps, until it became obsolete2 points
-
A cheap compression tester and endoscope are about £10 each from eBay, to me that’s money well spent2 points
-
Out on a spin whit Transalp on my favorite road's again, just can't get enough of this road And now 2 week s vaccination starts, so more time to ride as work on bikes 😊2 points
-
@k miles from home, on stunning roads.2 points
-
-
Got the blunt screwdriver thing out, cussed and fussed another hour on the one grommet... no go. Eff it. In frustration jumped on the Valkyrie for a good thrashing... back later...2 points
-
We meet in Franklin every May. Come join us and you will find even more roads that the locals share with us. There is also a Fall Ride in mid September that moves to different locations just to keep it interesting. We usually end up with a couple of groups so everybody can find a ride.2 points
-
I have an old flat blade scew driver that I shaped the tip into a soft arc that I use as a grommet remover / installer. Get it started and then start going around and pushing thru, while holding/applying pressure to not lose what you got so far.. Doesn't tear or damage them. That particular style, thick and solid on both sides, is one of the tougher Honda grommets tho I will say.
2 points
-
Finally getting moving on this..(I want to ride this bike!) Thermostat and hoses (clamps loose) Left Started.. Hiccup in the road.. bleah, gotta clean that.. The while I'm at it disease in full infection... (attack of the mello dude) Well, since the brakes are hanging there... Turns out doing the rear brake teardown was a good thing.. Fronts Side tip for the masses.. I had been wanting a low range torque wrench and tried a couple from Amazon. They were quite mediocre, returned them. Found this Tekton recently and its a little jewel. (10 to 150 in-lbs) Gives a good positive over center "click" when the torque setting is reached. Very good! Also have found Tekton tools to be very good. The wrench is little about 9 inch long. Very useful. Last thing for the day... some commiserating (help?) How do I get this frickn new grommet into the radiator? I have lubed it but struggle the shit outta it. (The FSM is comical, its says intsall new grommet. Oh really?Duh!) Cheers all2 points
-
I replaced my PIAA 60/55 watt Xenon gas Super White bulbs that glow in the 4200 Kelvin range with Speed Metal's 25 watt Cree LED H4 with a working high and low beam... At the time Speedmetal LED kits were $69 each at Cycle Gear... Out back the twin tail light bulbs are replaced with dual round circuit boards of LED... a plug and play system sourced at WSB Laguna Seca... RC45 LED Custom Tail Lights... Adapting the LED to center inside the existing housing requires some mild fabrication... Behold LED tail lights... Hit the stop lights and now you're really shinning.. in fact the intensity hurts the eye... Up grading to LED and you're riding so bright you gotta were shades...2 points
-
It doesn't have to be "D" shaped to be the correct length. Just like a float bowl o-ring doesn't have to be pre-formed to the bowl shape.2 points
-
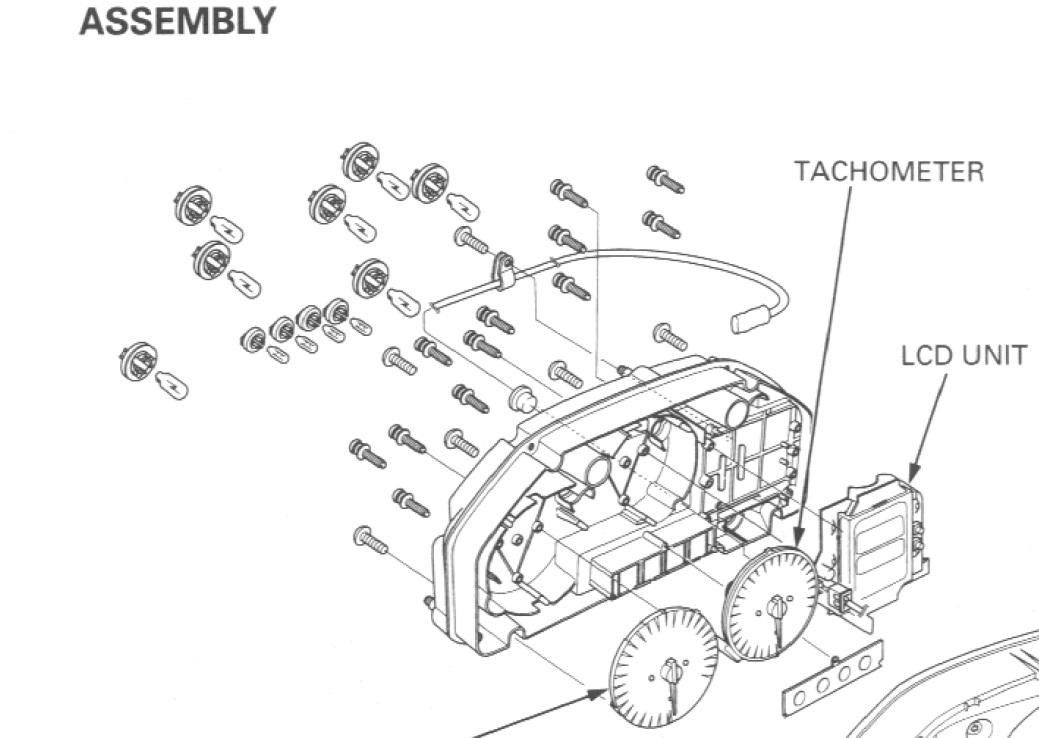
The turn signal bulb and the dash bulb are in parallell; the same 12v feeds to both (basically the circuit is 12V+ to flasher to direction switch to bulbs to earth), but they have their own earth path. So it is certainly possible for a faulty dash bulb to be the problem as that won't affect the turn signal bulb (and vice versa). IIRC the bulbs in the dash are accessible once the nose fairing is removed, and they just pull out in a removable socket.
2 points
-
My FSC600 scooter had a small oil jet aimed at the stator which I assume was there for cooling purposes (but it still burnt out the stator). The photo below shows the gallery where the oil crosses into the alternator cover and then the little jet (at 12 o'clock when installed) where it aimed at the stator.
2 points
-
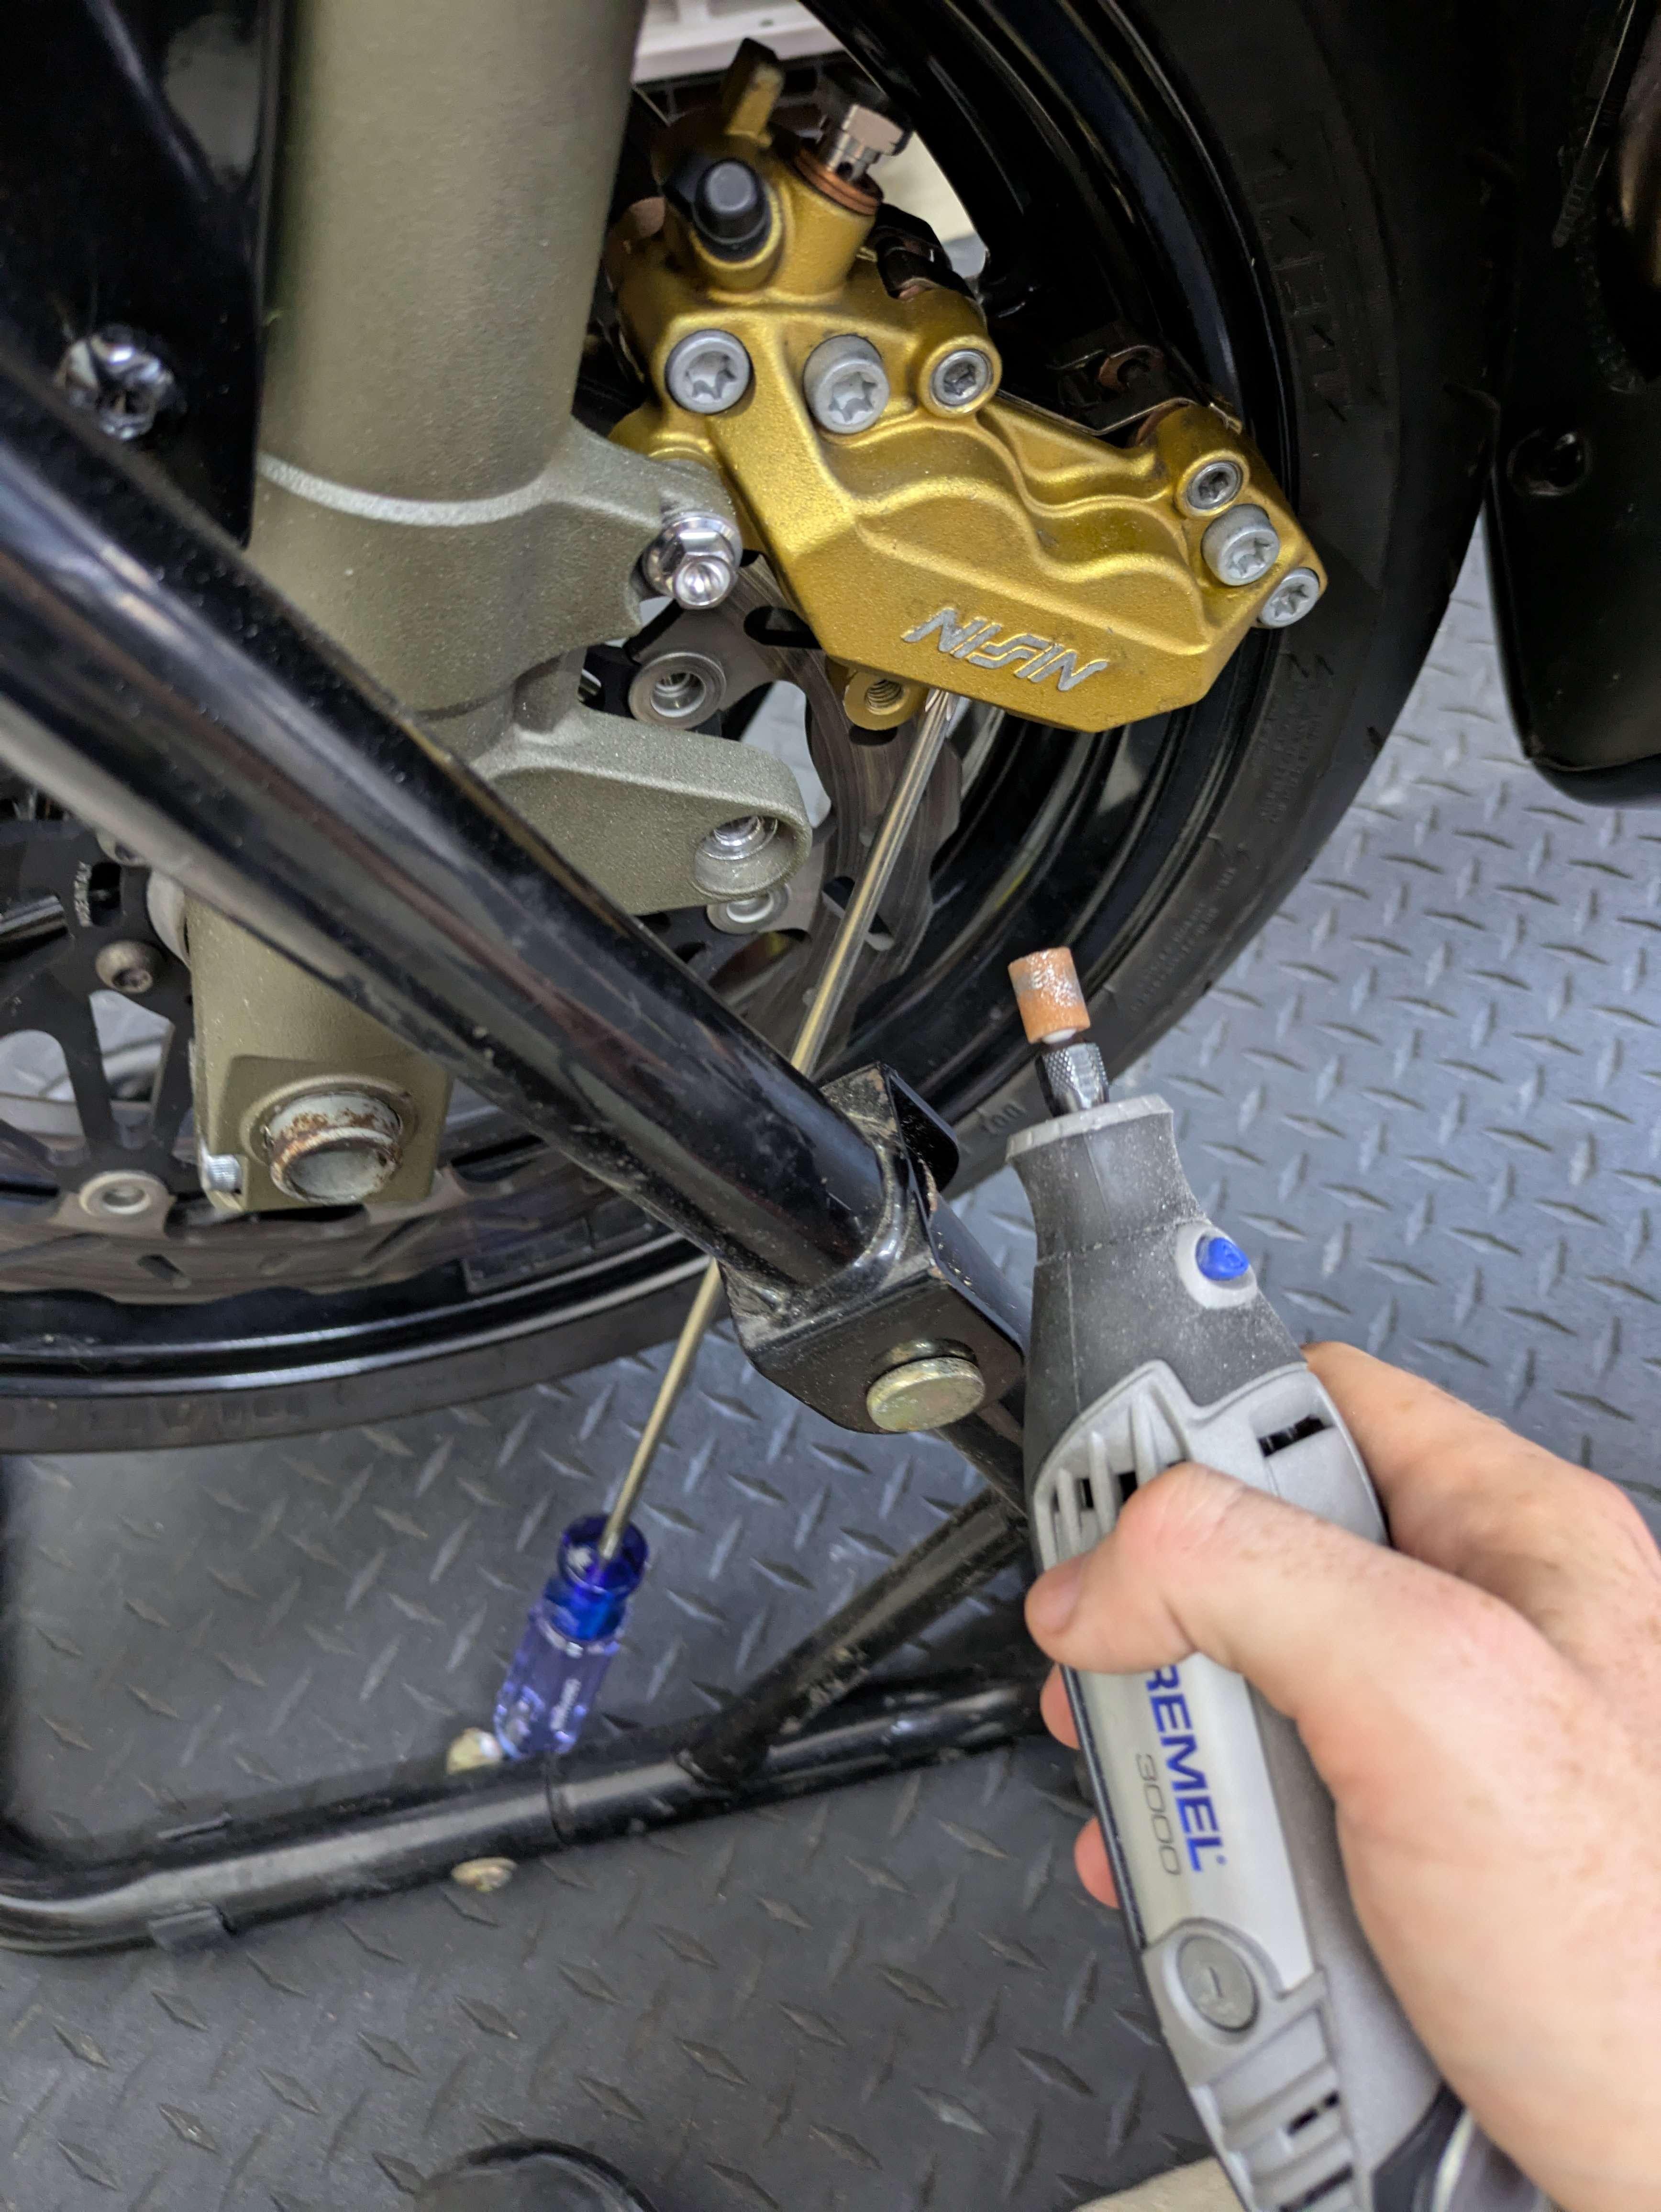
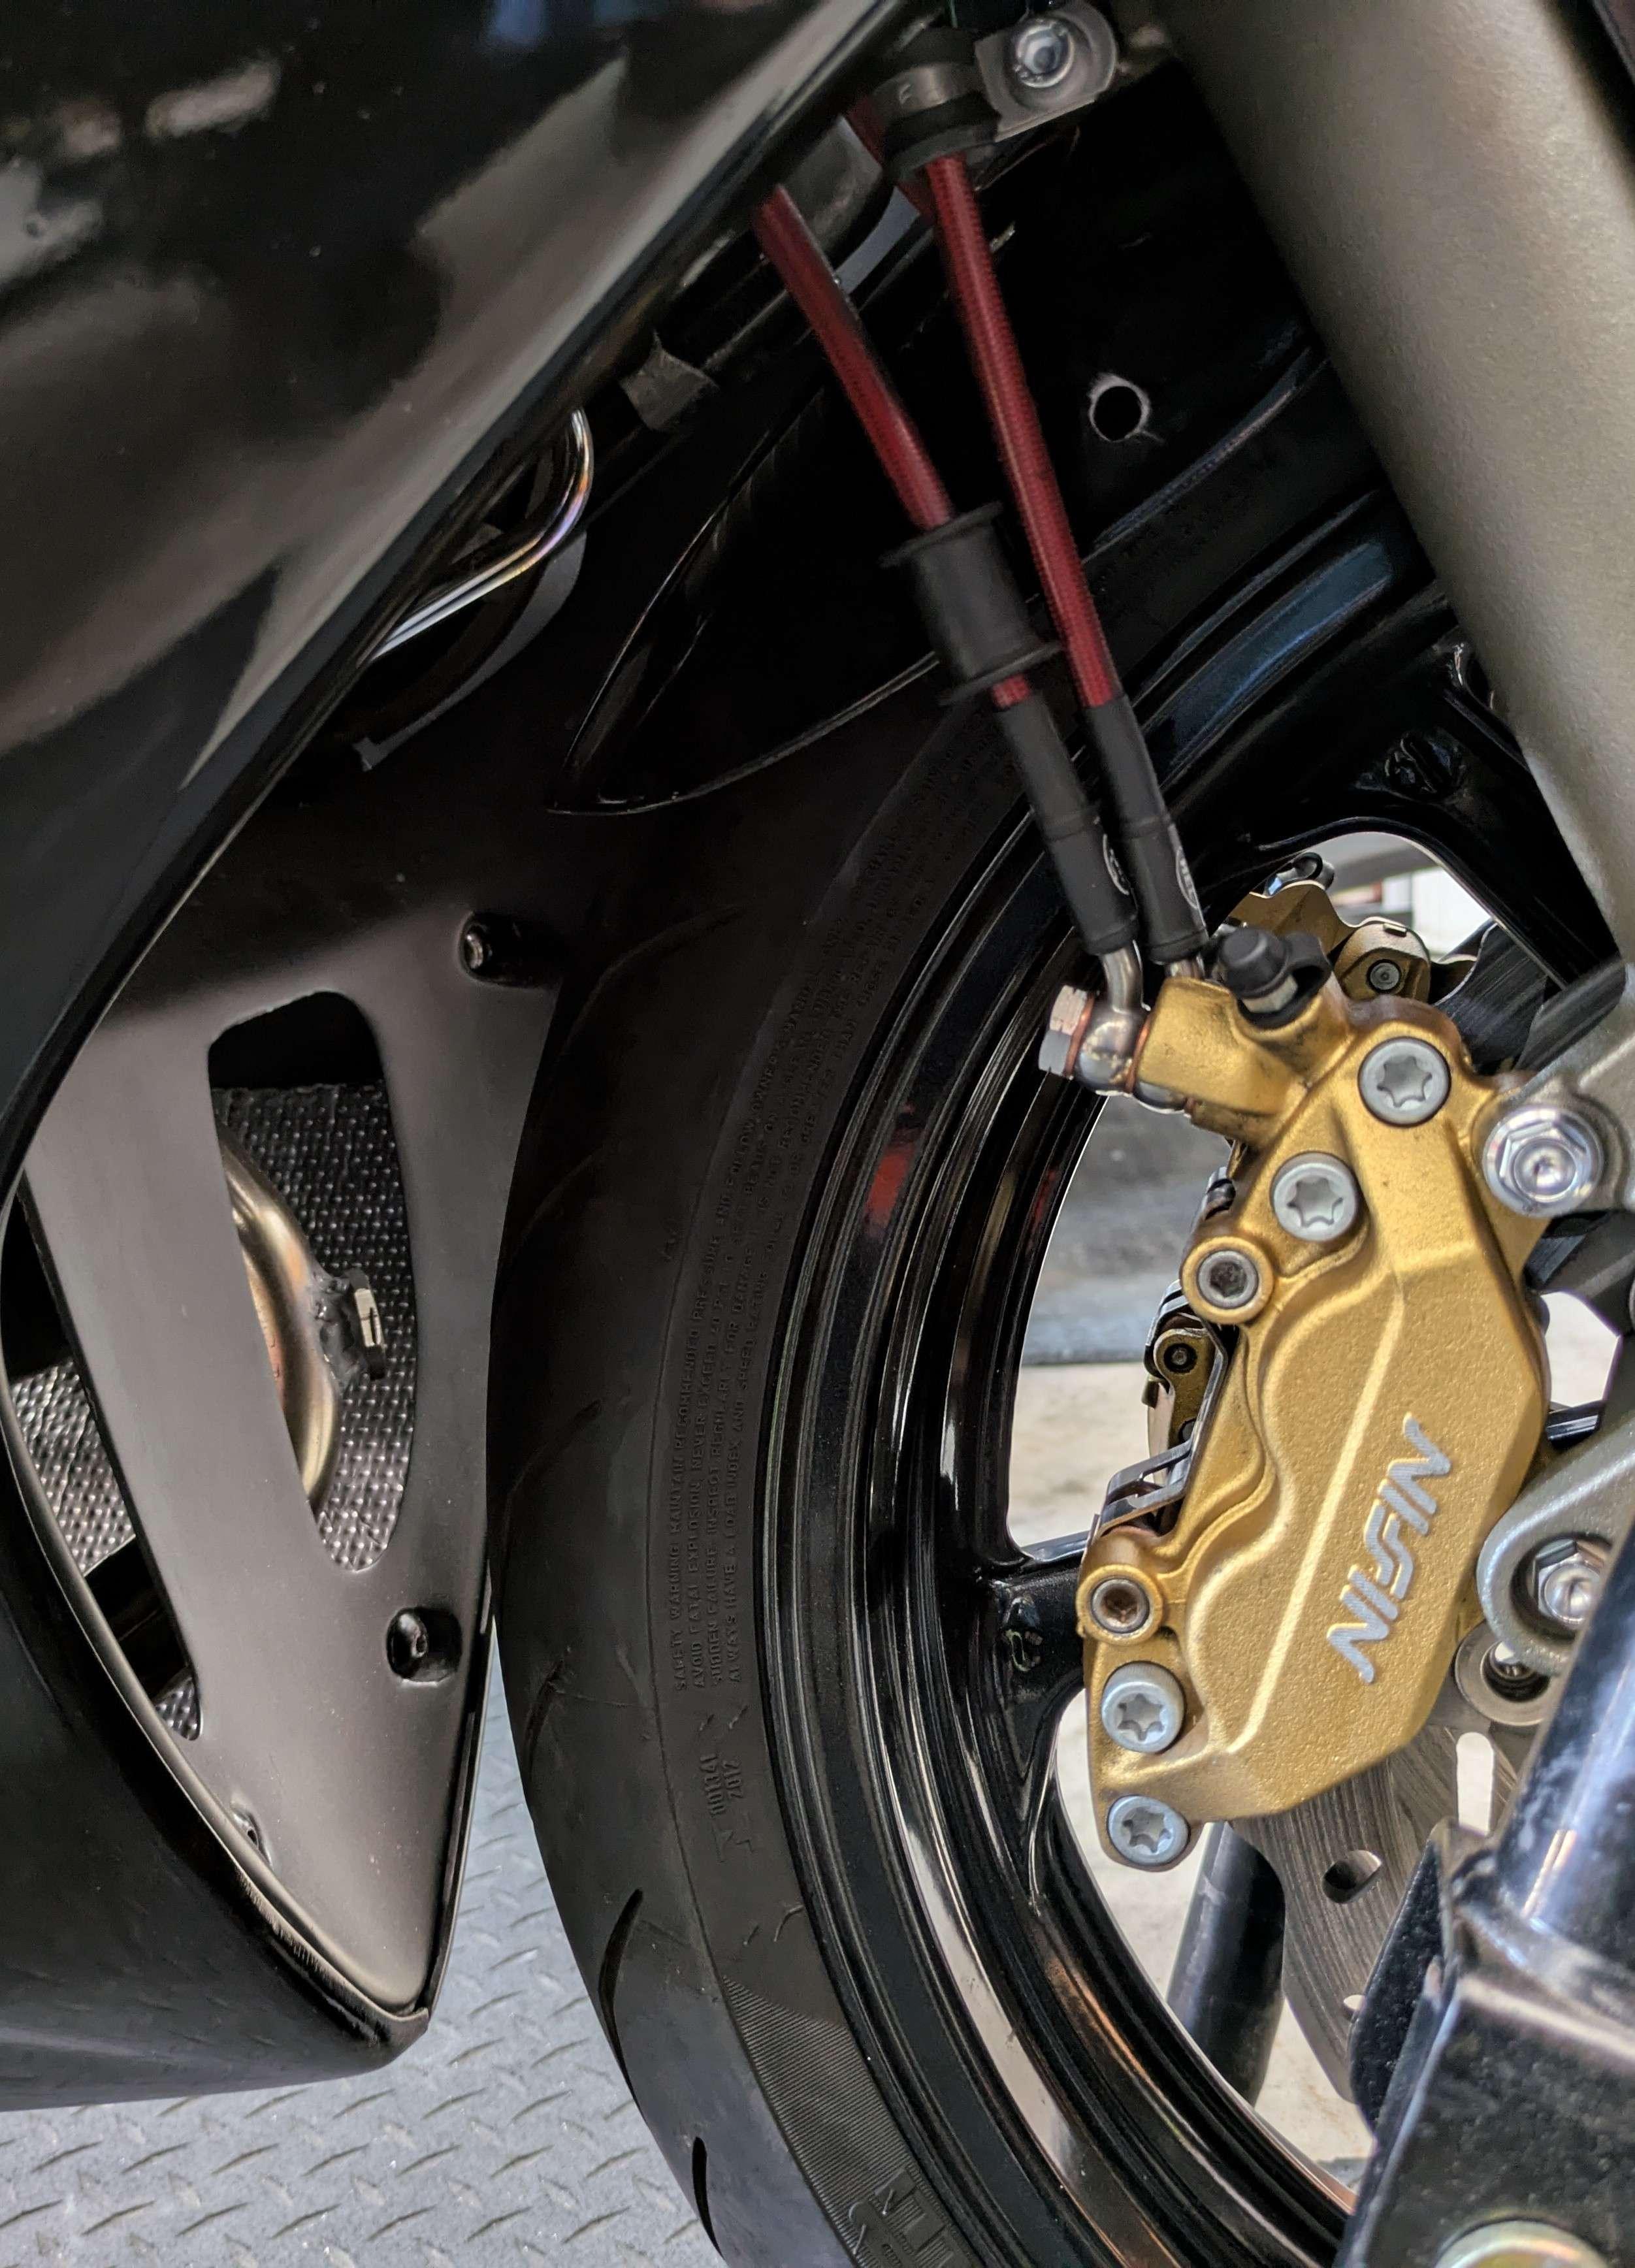
It's the bane of all automotive and motorcycle projects! 😧 I did get mine to fit and they are oh so pretty! I only shaved off from the Fork side! The witness marks are visible, but that will surely only ever bother me lol Got the other side done, and the brake lines all plumbed up too! Thanks for all yalls help!!! --- I will make a write up here for my fork teardown, but that story is a long one and will take some effort to post. I'll happen in due time though!
2 points
-
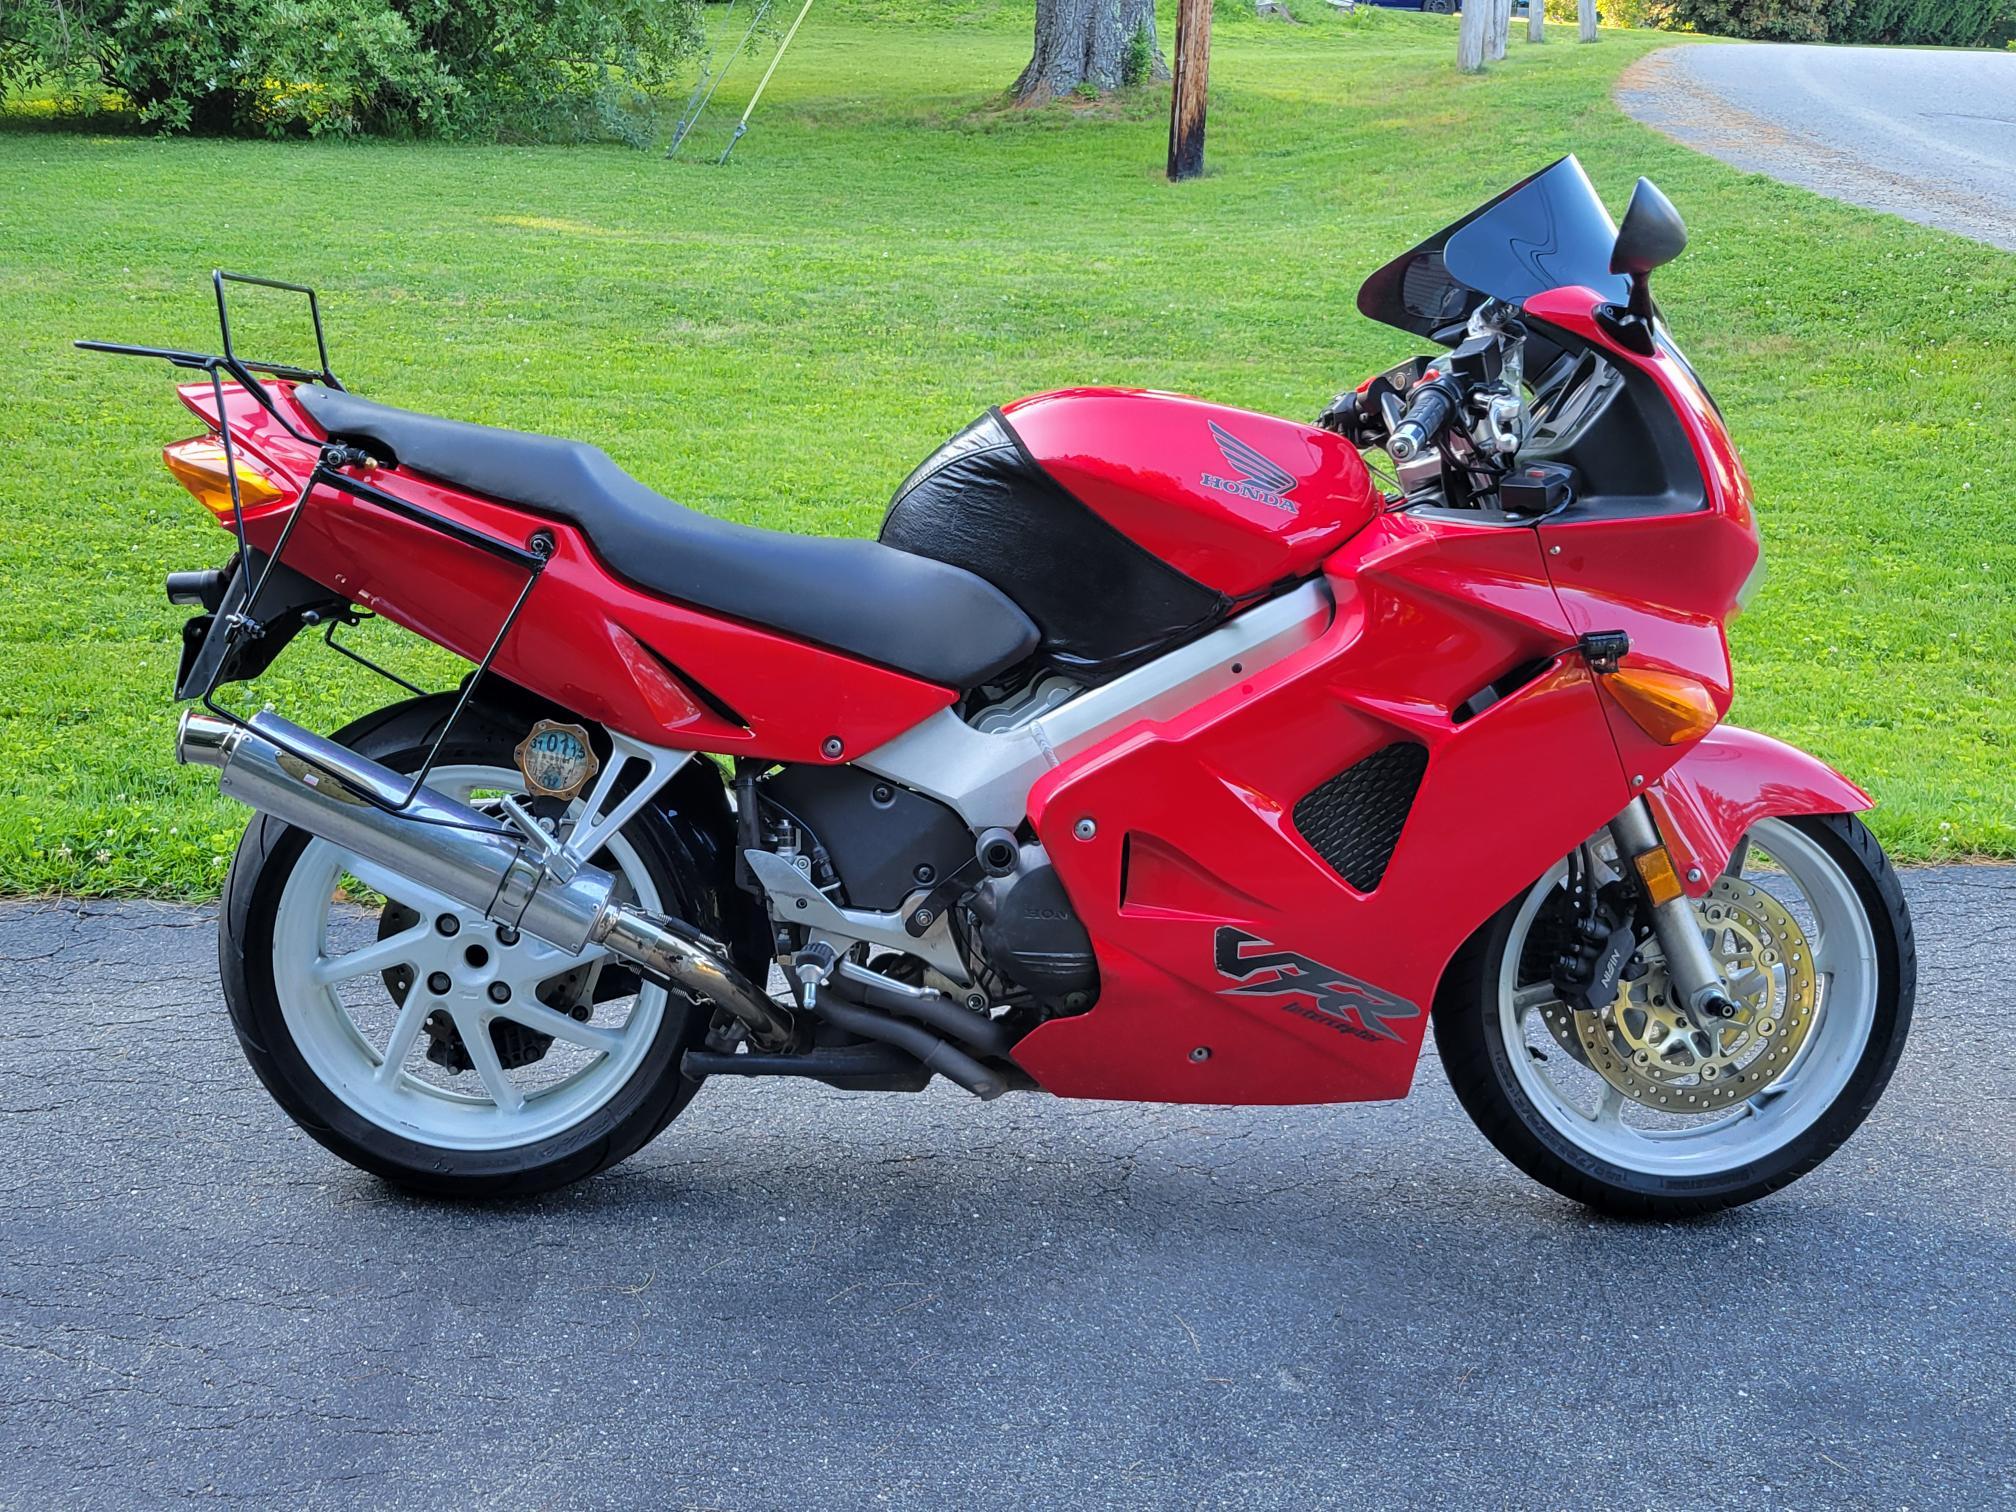
That black and white is striking--it allows the tires and seat to be part of the color scheme. Time to lay down a few miles Lorne!2 points
-
View File Official Power Commander 2 Software and Maps - From Dynojet Hi everyone, New here but I thought I should contribute ! Upon request, Dynojet have provided me with the PC2 software, user manual and maps for the VFR. Thought might be useful to some others as well 😁 ! Here's the reply from Dynojet: "While this software is no longer supported by Dynojet, you can still download it here: https://drive.google.com/file/d/1Wb8mQeHeao6_k4xkl6ZswDXyVGhYyWKD/view?usp=sharing It has not been tested with Windows 10, and requires a serial port connection to communicate with those older Power Commander 2/3/3r serial units. The USB to serial adapters, which are common in the marketplace, are also problematic. A true RS-232 serial port is recommended. Also make sure that your serial port is assigned in the port range of 1-8 as our software will not address ports using a higher number than 8. We also attached the Software User Guide to this email for your convenience. You need to have a map open in the software that matches the unit you have, before the software will communicate. I have attached all the map files on a zip file, M101-all.zip for this bike to this email. Please extract the zip file to use the MAP files. Save the maps to your computer, open it in the software, then you should be able to communicate with the unit. The User Guide will have the procedure to send the map. It uses this map to determine what the bike is, and therefore what the data type is coming in." I have successfully tested this on my 5th gen with a CHIPI-X10 RS232-TO-USB converter. Happy tuning ! Submitter ShinyPants101 Submitted 06/06/2025 Category Power Commander Maps2 points
-
Came in the mail today For the Transalp cosmetic upgrade next winter2 points
-
That stater looks ~KRISPY~2 points
-
Yes, 2003 or later stator will bolt in to the 5th gen, with the same '03 or later flywheel. Flywheels are relatively cheap on eBay.2 points
-
Its been a few years, but have used Custom Rewind in Alabama in the past. The owner has MS and cant talk so his daughter was helping the last time I used them. Business is done all by phone call. 205-798-7282 --- I dont know if they are still in business. Some guys have changed over 5th gen stator and flywheel to 2003 and later parts. I think VFRcapt is one.2 points
-
Oh, there's A LOT a "man in the street" can do on a bike, with a bit of fantasy 😁 I.e., here's my beloved (and heavily modified) CBR1100XX. Believe it or not, I cut out half a hundredweight from its shoulders, stiffening it at the same time. and there's even more under the cover... Further to the forkbrace, we live too far, unfortunately; but let me dig into my old HD; I could find the drawings and send'em to you (pld give me your email), so that you may manufacture'em by yourself2 points
.jpg.626a52e5c41b0b450a13bed7311223bd.jpg)
b.jpg.62d00799d49817d15d880137d76e97d9.jpg)
b.jpg.d2d0d4b0adac8db159639cf6db93a31d.jpg)
.jpg.814de0b0fc1efb2c82ec310523854014.jpg)
b.jpg.d9371ab88186ede3b8a6931f02bb24a4.jpg)
b.jpg.f45d97241d5677d90b2678da71c9af32.jpg)


.jpg.20ad5689e47d3b3eb067525f33920c68.jpg)


.jpg.eaf83a6ec8493086aae902d82ddab68e.jpg)
b.jpg.160003306ea4651145c27c96ea0af12b.jpg)
.jpg.c359657fdab22d056e38676ef0e13bc7.jpg)
.jpg.a97fc9c10643d13ab569ac850df2108a.jpg)
b.jpg.584975d09e2170813daa41394e470e44.jpg)
b.jpg.264f4aa97d8f818513cca26e6914073c.jpg)
b.jpg.0caa3cf93411178795e2e193afacac41.jpg)
b.jpg.90b36bc1f90669811163ad98adac2d8d.jpg)
b.jpg.0e5617eade4244d6a04af718367374b9.jpg)
b.jpg.f37c2b58b7eab13172096ef519555293.jpg)
.jpg.ce681c66c3d4a2a7aac284f44fda764c.jpg)


.webp.03bcfd91452fb5a5ecd17d6e7d8803a7.webp)