Captain 80s
-
Posts
2,310 -
Joined
-
Last visited
-
Days Won
188
Content Type
Forums
Profiles
Gallery
Blogs
Downloads
Events
Everything posted by Captain 80s
-
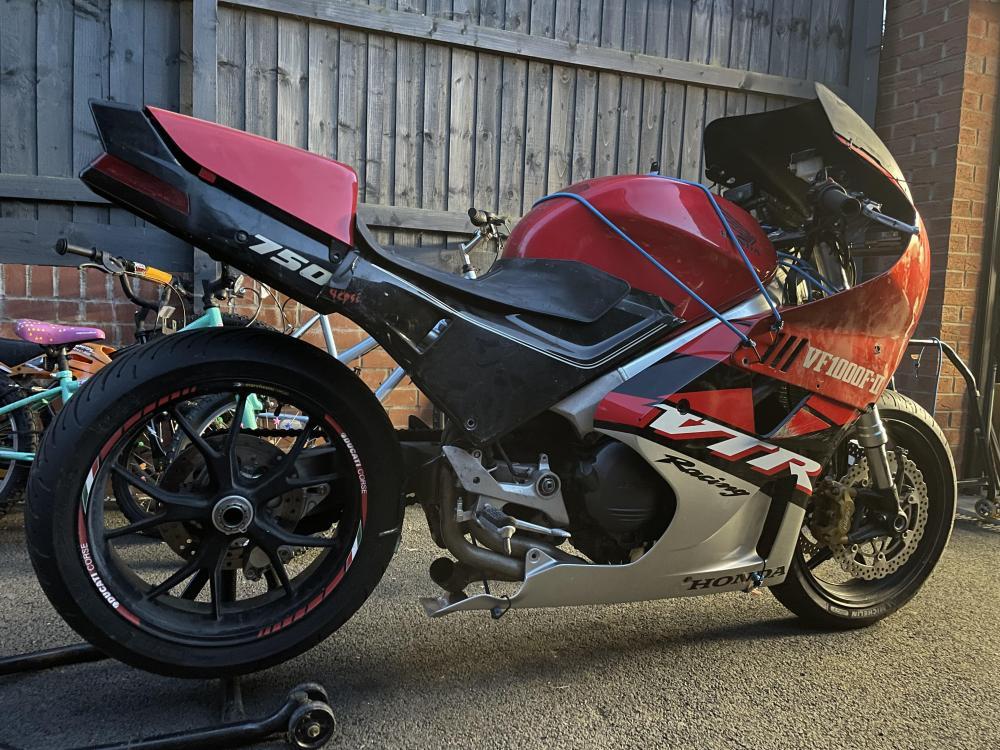
Good for you. So which year/version was on your locker? That is a mash-up.
-

Novice looking for maintenance/restoration guidance
Captain 80s replied to arnie3020's topic in Fifth Generation VFR's
@squirrelman@Terry -
Very cool. Congrats dude. Gonna have a great summer.
-
1987 Honda VFR700F Interceptor Intake boot part number?
Captain 80s replied to Manofsteeeeel's topic in Maintenance Questions
If I had a 40 year old single cylinder Honda and learned I could still get a new, genuine intake boot for a little over $20 I would be pretty stoked. Now relish the fact you have a killer 40 year old V4 you can still get parts for. -
Way different than what I was expecting or thought I read about. What a great tip. I swear I've seen photos of drilling at angle or something.
-
Here's a YouTube video. De-Link Drill
-
Hey.... Jumping on said RC31. I'll check in later. But awesome progress!!
-
Now that it has ran you can plug the relay back in and feel if the pump clicks every now and then while it runs and starts to empty the bowls.
-
Most of my bikes have a toggle wired in parallel so I can prime the fuel system after winter storage AND get home when the Fuel Cut Relay fails in the middle of nowhere or a floating bridge. Both scenarios are true.
-
Ok. Very cool!!! Possibly. You can run the bike no problem with the relay bypassed. When the pump reaches a pressure it will stop and then pump when it senses it needs to when the line pressure drops. The relay is a 'safety feature" to keep the pump from running in the event of an accident where the key is on and the pump could continue to pump fuel into a bad situation. The Hawk GT I'm riding today just has a toggle in place of a relay in case I'm working on the fuel system with the key on.
-
Also realize that with the relay in place, the only time the pump will operate is when it is being cranked or running (That ignition signal we talked about earlier). If the carbs are empty or need some filling, it will take a bit of cranking to get enough fuel in the carbs to start. Also I have found that if you are trying to prime a dry system (lines and pump) sometimes that fuel tank and petcock just won't "start" flowing even tho the pump is trying to pull some fuel. I sometimes have to put a rag around my air nozzle in the fuel filler opening and "pressurize" it just a little and then the fuel start flowing no problem. Good luck!
-
Unplug the relay and jump the black and black/blue wires with a wire at the female connector. With the key on, and the relay bypassed, the pump should operate. The colors of the three wires change some across the models, but I should be close. You can hurt anything trying different combos. If there is a yellow/red wire present, it should be the other two. Basically, when the yellow/red wire (or whatever it is on yours) is getting a signal from the ignition, it energizes the relay to allow 12v to the pump by "connecting" the other 2. Those are the two wires you are trying to jump. Report back.
-
Couple things: "All fuses are good" Does that include the Main Fuse that is under a cover on the solenoid holder? I have to ask. Also, solenoids come in two styles and they are mirror images of each other. There is usually a "B" (Battery) and an "M" (Motor) molded into the plastic near the cable posts. If you got an opposite (and your original unit was really bad), you will need to re-pin the wires on the plug in the mirror image too. Also closely inspect the wires going into that plug. It is VERY common for those to be melted and burnt and can cause what you describe. Sometimes you don;t realize how bad it is until you really look close. Also, you can plug in your original solenoid just to see if you get any power again. Great choice in a VFR model and good luck.
-
Yeah, that's kinda what I'm driving at. Most screens that are cut like that, the top "plane" tends to match the angle of the top of the tank. Cheers!
-
It's this view that cements it for me. The shape of the relief/flare for the handlebars at full lock just flows better with the other bodywork pieces and tank. A little more organic looking. When final placement is done, trim the screen down a bit to compensate for the height proportions and you can even re-angle the top cut to (more) match the angle of the top of the tank. (If that makes sense)

-
I like them both. A big part of me likes the 1000F cowl. The larger proportions seem to work for me with the tank and tail.. Maybe trim the windshield down to reduce some overall "height". Anyway.... loving it!
-
With RED especially, my experience with ColorRite is... ColorRong
-
That says it all. Weight (unsprung), complexity, extra failure points in a critical system. Fucking stupid.
-
Did you have to return it? Seems like a machine shop could mod it pretty easily to work and still be ahead money wise.
-
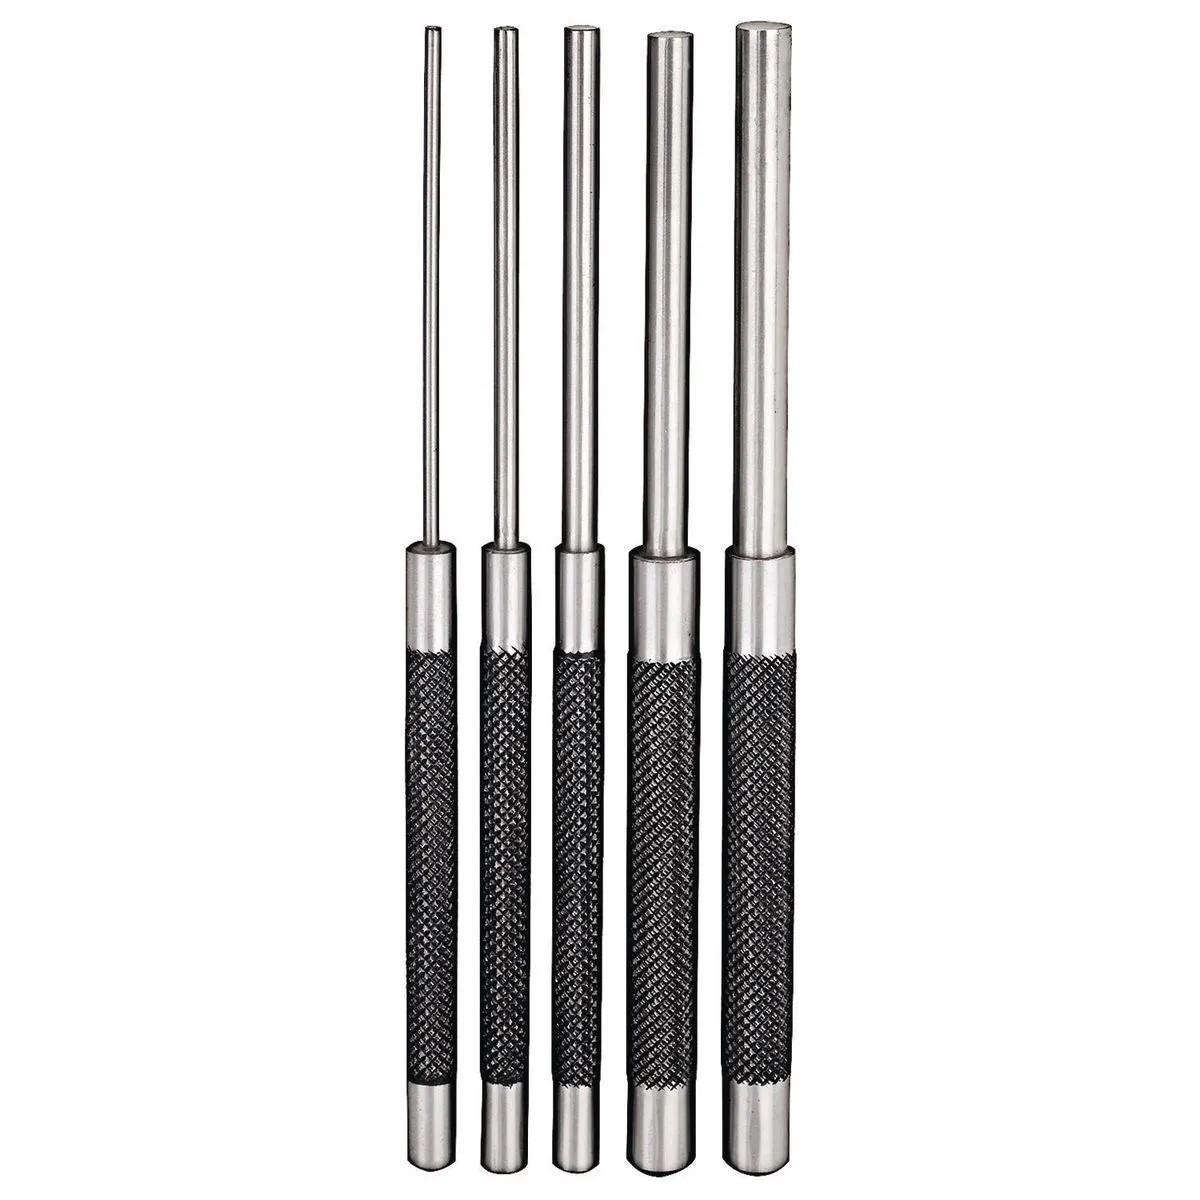
There are many ways. I like to use a drift that is smaller than the slot. And I don't smash all the way down, but leave a small gap so I can easily get a small chisel in to release it later if I need to do some work.
-
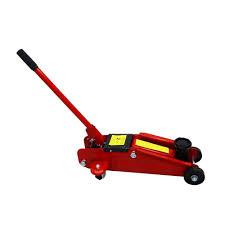
If you can arrange a little help, it can be done with a normal car jack. I have done it by myself with one. Would have preferred not to, but I have.
-
Another Thermostat/hose and Throttle body redo job
Captain 80s replied to mello dude's topic in Fifth Generation VFR's
Gotta pinch it a bit and get just part of the slot engaged with the bracket hole. Then keep pressure in that direction while you work your way around pushing in/thru a little at a time. Once you get some progress it will better stay at what you've accomplished so far without wanting to back out as easily. I know I pretty much just said the same thing I said earlier, but that's what works for me. And like I hinted at before, those are my least favorite to do, so I feel for ya. -
Another Thermostat/hose and Throttle body redo job
Captain 80s replied to mello dude's topic in Fifth Generation VFR's
I have an old flat blade scew driver that I shaped the tip into a soft arc that I use as a grommet remover / installer. Get it started and then start going around and pushing thru, while holding/applying pressure to not lose what you got so far.. Doesn't tear or damage them. That particular style, thick and solid on both sides, is one of the tougher Honda grommets tho I will say.
-
It doesn't have to be "D" shaped to be the correct length. Just like a float bowl o-ring doesn't have to be pre-formed to the bowl shape.
-
I'm surprised you didn't order my equivalent when you ordered your others. I've installed 3 or 4 now.