-
Featured Gallery Photo
 KIMG0191.JPG

All Activity
- Past hour
-
 SteveP joined the community
 - Today
-
Thanks, I'll give that a try.
-
I'm used to it but it is annoying that I have to brake twice specially in an emergency. I tried regular bleeding technique, pump the levers still it's stiff, loosen the bleeding bolt and retighten. I even tried reverse bleeding. I maybe refilled the master cylinder like 10 times. I did hold the lever under pressure using velcro overnight just to check if there are any leaks and there were none. When I removed the velcro, after 10 seconds, the pressure was gone and I have to pump twice again.
-

Camchain Tensioner Replacement on an 8th Gen VFR800DLX
SgtMarbles replied to SgtMarbles's topic in Maintenance Questions
I was just curious, the bike has been acting a little odd… I went to start it the other day and heard a metallic “slap” which has never happened before. It still started no problem, but im noticing it sounds awe-fully clattery once it’s fully warmed up. I think it’s a cam-chain and tensioner issue, but I don’t want to fire the parts cannon at it hoping it’ll eventually fix the issue… -
It will remain firm for about 10 seconds. No plays in the bearings, I just flipped my tire so I checked all of that.
-
 welcome. yes, chatgpt unfortunately lied to you; our bikes use banjo fittings for the fuel feed rather than a quick-disconnect. you could unbolt either end to get a fuel sample, but that'd probably get messy and would also necessitate replacing crush washers. here's an easier option: -find the smaller rubber hose clamped to a barb next to the fuel feed line. this is the fuel return line. -unclamp and disconnect, put hose in collection receptacle. -killswitch off, key on, and cycle killswitch once or twice. this will run the fuel pump for a second or so at a time and should cause fuel to come out the fuel return. as far as fuel dryer, i have no experience with it so i can't say. best of luck at any rate, hope the sample comes back with a clean bill of health.
 -
I did try the reverse bleed method, did not fair any better. I pressurized the brake lines overnight to see if there's any leakage, no leaks and the pressure remained until I released the velcro. Then when I pulled the lever again, no pressure till the 2nd pull lol
-
 bodyshk joined the community
 -

1997 streetfighter conversion
vfrcapn replied to Whirrygears's topic in Third and Fourth Generation VFR's
Here's a couple of Sebspeed's builds. https://iconicmotorbikeauctions.com/auction/1999-honda-vfr800-custom/ https://iconicmotorbikeauctions.com/auction/1996-honda-vfr750-custom/ -
Front I did bleed the brakes, refilled the master cylinder about 15 times now. I even rebuilt the rear caliper and bled it.
-
 jamesgall90 joined the community
 -
 Hello all, first post here. I've recently bought myself a 5th gen. I'm loving it, but there's a bit of work ahead in order to get 'er into the condition I want, so hopefully will be getting to know people over the coming years, it seems like the place to be. Anyway, on with my post... TLDR: Finding it difficult to take a fuel sample from a 1998 VFR800fi-w, and unsure about using fuel dryer. Thanks. I'd really appreciate some advice from those with experience of using "Fuel Dryer", and/or taking samples of fuel from the tank on a 1998 VFR800fi-w My situation is this: About 2 months ago I bought a 1998 5th Gen VFR800fi-w (I'm pretty sure it's a UK model if that counts). And so, I've taken a few rides out on the bike since owning it. Although I had never gotten the bike wet until last week. And when I say wet I mean around 20 minutes in absolutely torrential rain... quite a lot of intense water exposure for a short time. I got home after my ride, myself soaked, and parked the bike in the garage, dried it down, and called it a night. The next day the weather was fine and I thought I'd take another ride, I started the bike up and let it warm for about a minute, then put it in first gear and rode about 20 meters around to the front of the house. Now, one issue with the bike is that the petrol gauge does not indicate how much petrol I have in the bike at any time, it's always stuck flashing at one bar, even when the tank is topped up... and so, I switched the engine off and opened the cap to have a look to get an idea of how much fuel I had left, and when I looked I saw that around about 3 to 5 teaspoons worth of water had settled in the little moat under the cap. It appears that the overflow outlet hole is blocked under the cap, and so the water is unable to escape. My first reaction was to panic, and immediately assume that water had gotten into the tank along with the fuel. I have not turned the key in the ignition since, and pushed the bike back into the garage. I've spoken to a friend who has a fair amount of experience in general, and he seemed confident enough in believing that there would be no water in with my fuel, after asking about the condition of the rubber seal under my petrol cap. I told him that the rubber was fine, which it is. He told me that if any water had gotten into the engine, that I would have known about it already... and that there would have been a noticeable amount of objection in the form of spluttering from the engine. But I wanted to be 100% sure before starting up my long awaited VFR and potentially destroying the engine, and in researching I arrived at a few plans of action. 1 - Siphon and drain all fuel from the engine and refill with fresh clean petrol. 2 - Take a sample of the fuel to determine if action plan 1 is necessary. 3 - Add fuel dryer and top up with fresh fuel. So I thought that action plan 2 would be the best place to start... I'd see if I could determine if there was any water in the tank at all. This is where I ran into issues caused by my lack of experience. Through a conversation with ChatGPT I was informed that I should lift up the tank (no need to fully disconnect), and that there would be hose running from the fuel pump at the underside of the tank towards the throttle body, and that this hose would have a quick disconnect coupler. All I would have to do, would be to disconnect the hose at the coupler and switch the "reds" on, and collect the small amount of fuel that would be ejected from the hose that is intended to prime the fuel injectors before the bike is started. My problem is that there is no such coupler on this hose that runs from the fuel pump, and with this it seems like it will be more difficult to collect a sample. I believe I can't just take a sample directly from the tank because if any water has indeed entered the tank it will have sunk to the bottom of the tank, water being heavier than petrol. So basically where I'm at is wanting to take a sample from the tank, and any guidance or advice of a good way to do so would be greatly appreciated. I'm also a bit unsure of whether I should use fuel dryer. My thinking here was that if any water has gotten in, it may have just been a small amount, and I could run fuel dryer to deal with such a small amount. My VFR is a 1998 bike, and so I'm concerned that the fuel dryer could cause issues with older injectors possible. At the moment, I'm not eager to do anything until I know more about what is best. Has anyone had experience, good or bad, in using fuel dryer on older fuel injected bikes? Thanks for any help in advance. I'm real keen to get out again for a ride, but I don't want to hurt my bike in anyway. Best wishes all.
 -
ChrisophViffer joined the community
-
1997 streetfighter conversion
slo1 replied to Whirrygears's topic in Third and Fourth Generation VFR's
A couple examples. The Blue one has a huge build thread in here. Also, SebSpeed did a few really nice ones.
-
You need to take the left hand caliper off and bleed it with it elevated to get rid of the air in the pipe that wraps over the mudguard. Find a piece of wood or something for the pads to grip so you don't pop the pistons out. For braided line setup see this https://www.vfrdiscussion.com/index.php?/forums/topic/112621-braided-lines/&do=findComment&comment=1155648
-
Hi all i am just starting a streetfighter conversion on my 97 36/2. Bike is currently stripped down, engine out etc. i am trying to find information on what builds people have done but there doesn’t seem to be much about! I have an vision in my head of how i want it to look. Frame is being powder coated graphite black and i am currently prepping engine to also paint the same colour. my plan is something along the lines of a 929/954 front end with a flat bar conversion, though i have read that early R1 and Gixxer front end can be done. Rear end is causing me the biggest headache. I really like the early Yam R6 style but cannot seem to find much info about it, things like subframe dimensions, difficulty in getting it to fit and so on. i’m pretty competent but don’t have welding and fabrication ability, though i can get the work done locally. if anyone can give me advice, links, hints and tips i would be very grateful. I am UK based. Cheers all
-
What position is the lever in ?
-
 kiwimacchi joined the community
 -
The tying back the lever works by compressing the air bubbles into micro bubbles which will then naturally migrate upwards. It helps if you make sure the master cylinder is the highest point of the system & remember to release the lever slowly so the bubbles expand gently in front of the master cylinder at which point they combine & burp into the reservoir. Once the lever is fully out pull it gently until you hear the brake light switch activate then release, repeat this a good number of times as it helps break the fluid tension & allows the air to escape into the reservoir. If you do this with the reservoir cap off you will see it bubbling out. Have fun.
-
 JosephySoata joined the community
 -
All of the above
-
Camchain Tensioner Replacement on an 8th Gen VFR800DLX
Terry replied to SgtMarbles's topic in Maintenance Questions
I tried doing the "extra twist" fix on my old CCTs and wasn't happy with the result. New tensioners (but not chains) fixed the noises right up, I have done 10,000km since the swap and couldn't be happier. -

Camchain Tensioner Replacement on an 8th Gen VFR800DLX
Captain 80s replied to SgtMarbles's topic in Maintenance Questions
Preach it! Honda tensioners never just fail. /s -
 Onward..... About this setup...been running this for years.... (old photo) OEM manifold... So... waht do you do if you are not totally happy or convinced this is working out to be the way to go and just maybe the OEM maniford is leaving a small air pocket (real or percieved) and not helping brakes? --Well.... you design your own of course...below is my chicken scratchings. ------ Credit steyrTMP and worfje for CAD conversion Machined part - Credit steyrTMP for the excellent machine work. Quasi polish by md...... OEM left......New Design right... Why would I foole with starting from scratch and make a new maniford? (I'm such a geek) The OEM part bore is roughly 6.5mm and possibly allowing an air pocket in bleeding...(real or percieved) So, do another one with a much smaller bore..... Like so... ---------------- On bike with brake hoses set in... I added a speed bleeder on the left side to aid in killing any air pocket... --Bolt on lower center-ish sticking out is a horn mount bolt. That is all for today... things are starting to really move now..
 -
Two pumps to get the front brakes working is scary. Maybe we need to talk about your bleeding technique? Air in the lines still is the likely cause but I have (once) caught the rear calliper pad spring with the pad and that was enough to push the pad away from the disc, needing a lot of fluid pumped to get the pads back on the disc. Tying the lever back to the bar overnight (so the brakes are under pressure) is a technique that has worked for me in the past to get the last bit of squish out of the system.
- Yesterday
-
And after that the brake lever feels firm? No play in the front wheel bearings? Front axles and spacers installed correctly and torqued to spec?
-

RC79 Security - anyone have a Litelok / Hiplok?
Mohawk replied to JasonC's topic in Eighth Generation VFR's
I have D1000 the original one from the Hiplok kickstarter campaign. I believe the DX is bigger. I also have an original Oxford ROC lock from the early 90's which is way bigger but still won't lock front wheel between the forks. Did on older bikes that had narrower fork spacing. I just put the D1000 through a rear wheel spoke & use a length of Armor wire to connect the lock to a piece of street furniture like a lamp pole etc. This stops van pickup thefts which are a common way to steal a bike that is not attached to anything just lift it into the back of a van. If they need to faff around cutting cables etc they will generally pick another target or get filmed by the public whilst dicking about. The problem with frontend locking is 2 people can lift the bike by handlebars & roll it away. So best left connected to an immovable object if possible. -
Yup, pesky air bubbles are the enemy. One thing I do is also "burp" the lines at each banjo bolt. Especially if you had the calipers off. Also I push the brake pads back into the calipers to try and move any bubbles of air, then bleed again. And finish off with the old overnight zip tie around brake lever and handlebar method. And also overnight leverage on the brake pedal.
-
Nominally squishy is caused by air in the brake lines. Is it Front, Rear or both ends ? Did you bleed fresh fluid through or empty then refill?
-
Maybe someone who encountered the same issue can assist me. Front brake is squishy, I have to pump the lever twice to have brake pressure. I've done the following 1. Bled the brakes 2. Replaced the seals on the master brake cylinder 3. Replaced the seals on the calipers 4. Cleaned the rear caliper 5. Replaced the rear brake pads 6. Replaced the master brake cylinder 7. Bled the brakes again The rotors doesn't seem to be warped. My next step will be to replace the brake lines with steel braided lines. The issue is, I want an OEM style brake lines because it is neater install than standard steel braided lines. Thanks,
-
In-Ear BT Comms Kit - which do you use and is it good?
Captain 80s replied to Skids's topic in Electronics
I have a group of friends that ride together A LOT, on and off road, for week long+ trips with 8 - 10+ riders. They have used all of the SENA products for years, many early adopters, and they all say if they were replacing or buying one right now it would be the Spider RT1. I do not know about the in-ear compatibility of that unit. When I buy a pair for the wife and me, that will likely be what I buy. I have zero experience with any of them, regardless of brand. Just passing on some real world comments from riders who use the shit out their SENAs.- 1 reply
-
- 1
-


-
Blogs
-
- 122
entries - 565
comments - 297730
views
Recent Entries
 Latest Entry
The Last Day Of Good Riding Weather
Juniper Pass
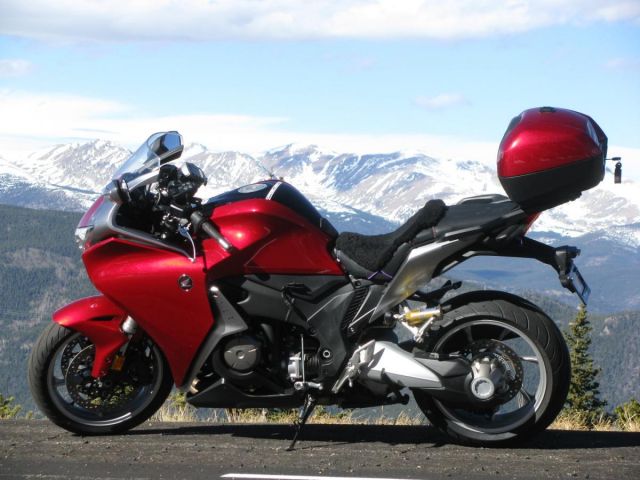
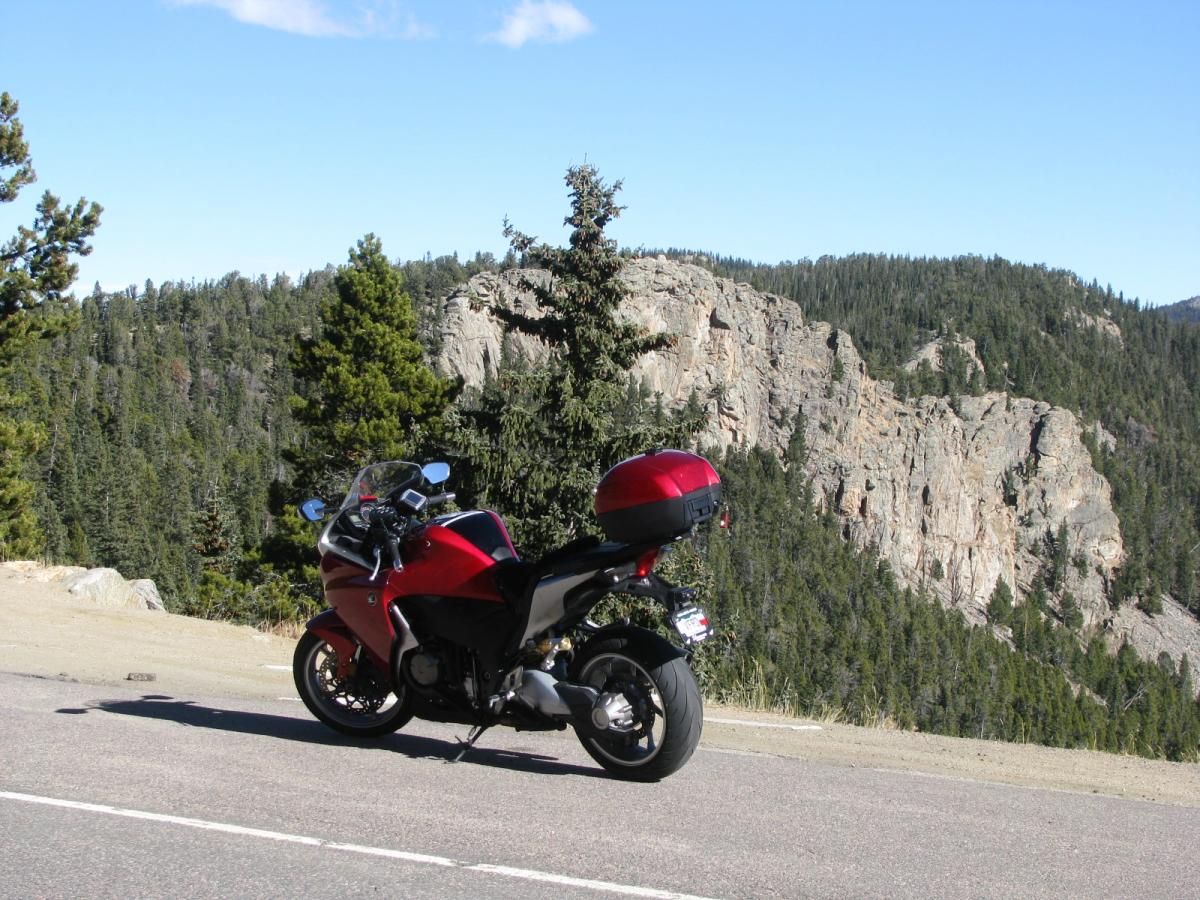
I took a day off from work and also from my bicycle training to take out the Veefalo one last time before the weather turns ugly, supposed to snow the rest of the week and possibly start sticking to the ground along the Colorado Front Range. I took a leisurely pace up hwy 105 toward Morrison and got reacquainted with the bike since its been over a month since I took any sort of twisties on it at all, hwy 105 is a scenic ride along the front range between Denver and Colorado Springs, its mostly easy fast sweepers and lite traffic so its a favorite road of mine when going north. Then I have to negotiate a bit of traffic near Highlands ranch and up hwy 470 into the mountains. I decided to take the Morrison Exit and try either Lookout Mountain or head up Golden Gate Canyon - this time it was Lookout Mountain, I was sort of making it up on the fly as I went along. Lookout Mountain is my old bicycling haunt from my days while I was working at Coors, its a killer ride and all uphill - I don't think I could do it today If I had to, not quite there yet! I saw a whole bunch of riders doing it though and wished I was in shape enough to be there doing it as well. 30 more lbs and I will be able to do it! On this day I would do it on the Veefalo instead.
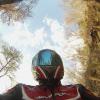
I took a video from the gateway to the top at the Lookout Mountain State Park, getting past riders, the guy in the green jacket actually pretty much astounded me with how far he had gotten in the short time it took me to set up my camera, some 3 miles at least and up to the gateway from the turn off at hwy 6! Amazing I thought. I took the first two turns slow then got more comfortable as I went up further, till I was doing well, I made some gearing mistakes and took the tight 15mph marked hairpins in the wrong gear so I lugged it a bit on one or two. Still enjoyed it though and then got off at the top and hiked over a rock outcropping for an overview of the road for the pictures below.
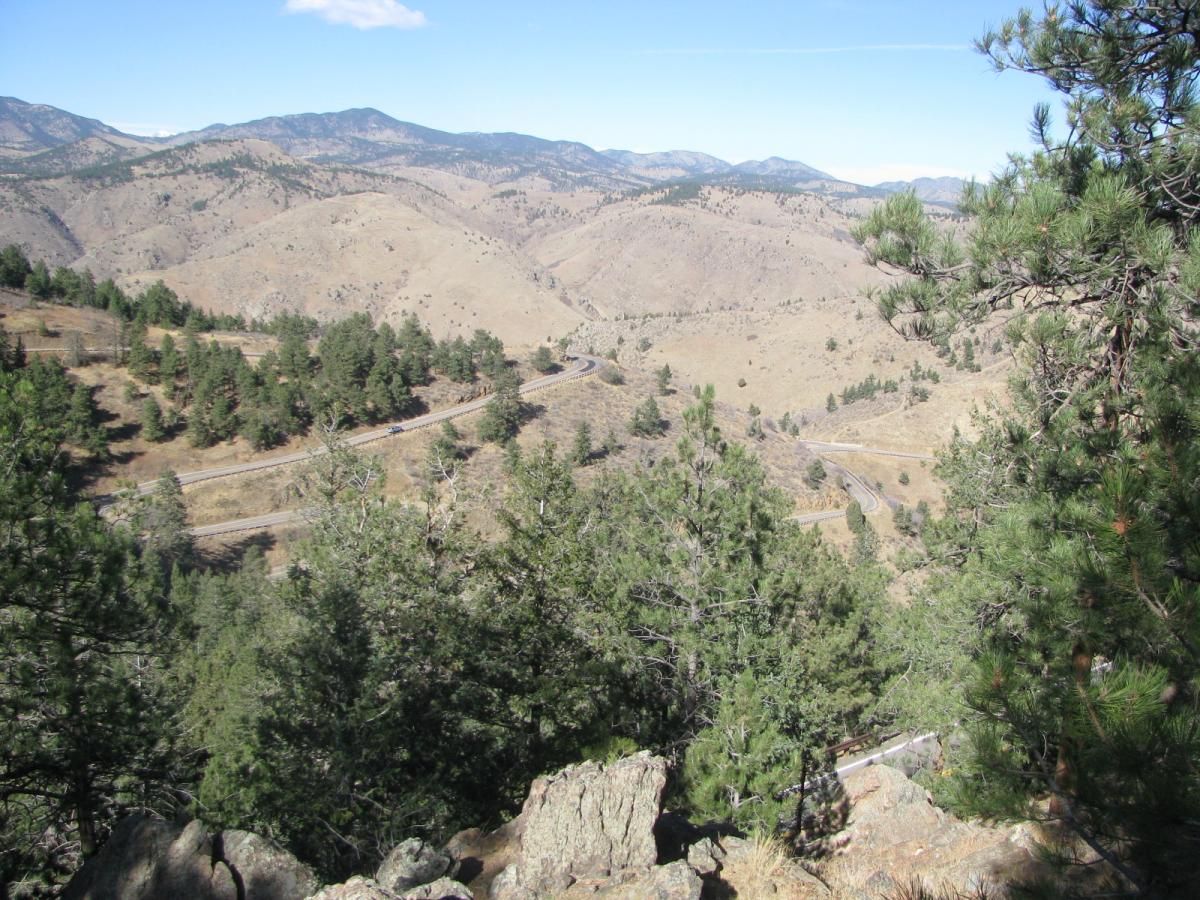
Lookout Mountain - Golden Colorado
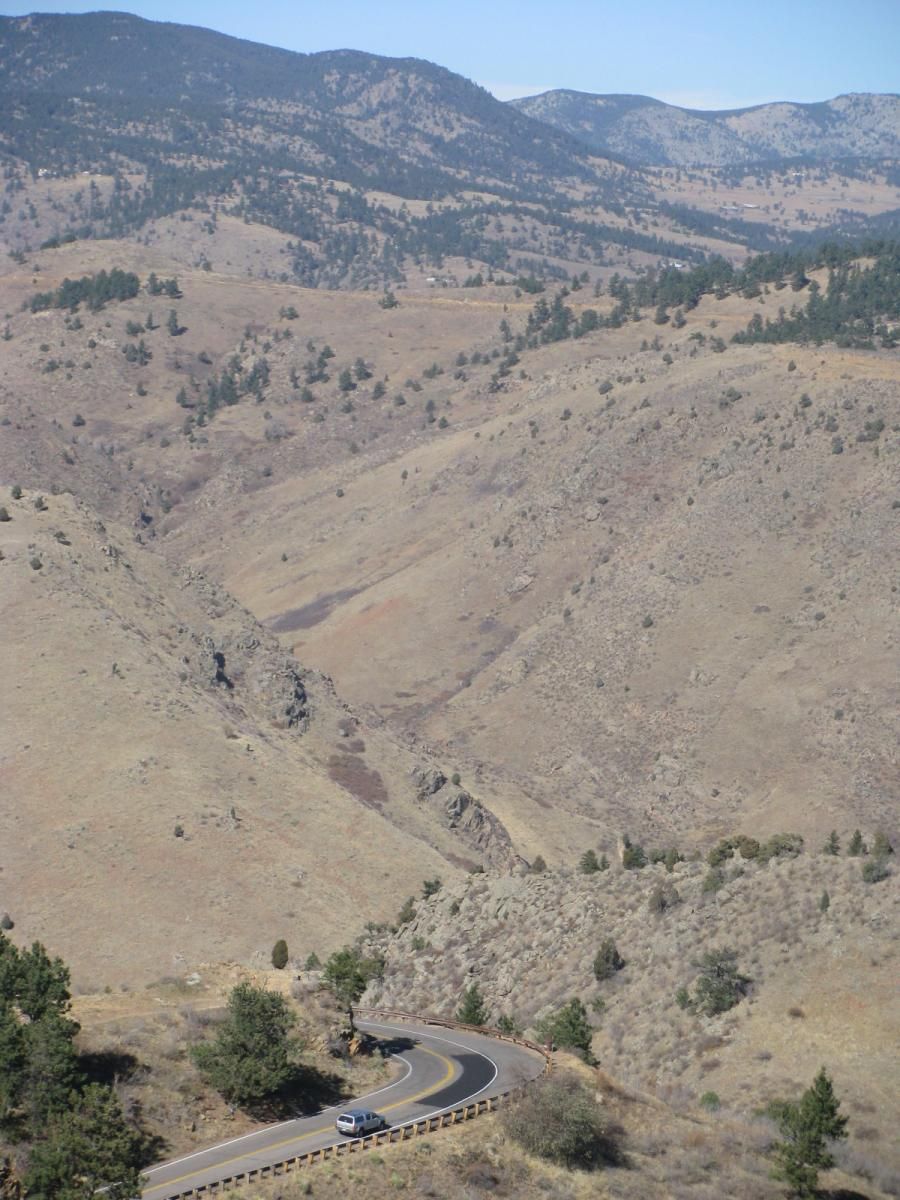
Zoomed in
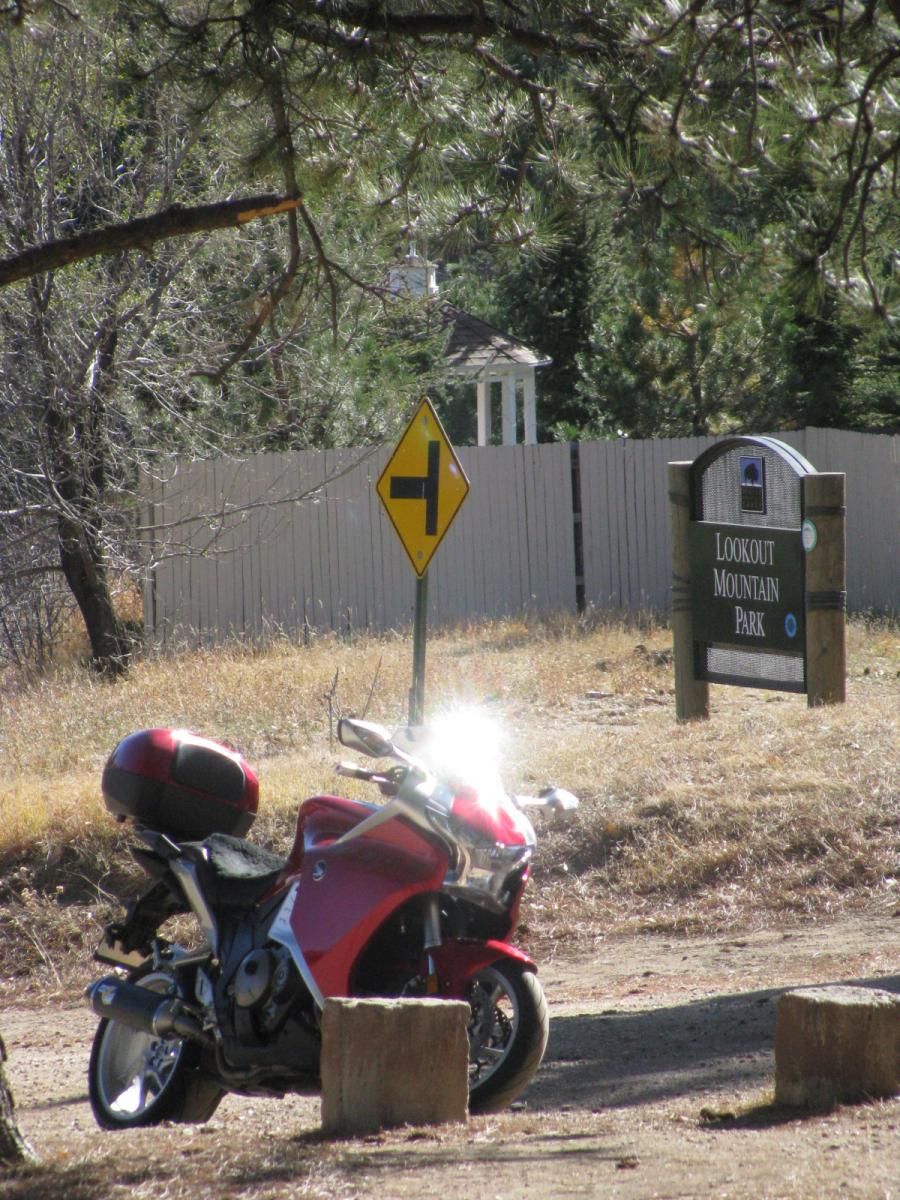
Lookout Mountain Park top of the mountain
From there I headed up interstate 70 to Idaho Springs for a beer at the Tommy-knockers brewery, I was the only customer in the joint - slow day for them so they treated me like a king! I got a nice tour of the place sort of impromptu, they made me a nice Pastrami sandwich on rye and with the brown ale it was fantastic. I must say the beer is much better there than in the bottles - its always good at the brewery. I am glad I stopped
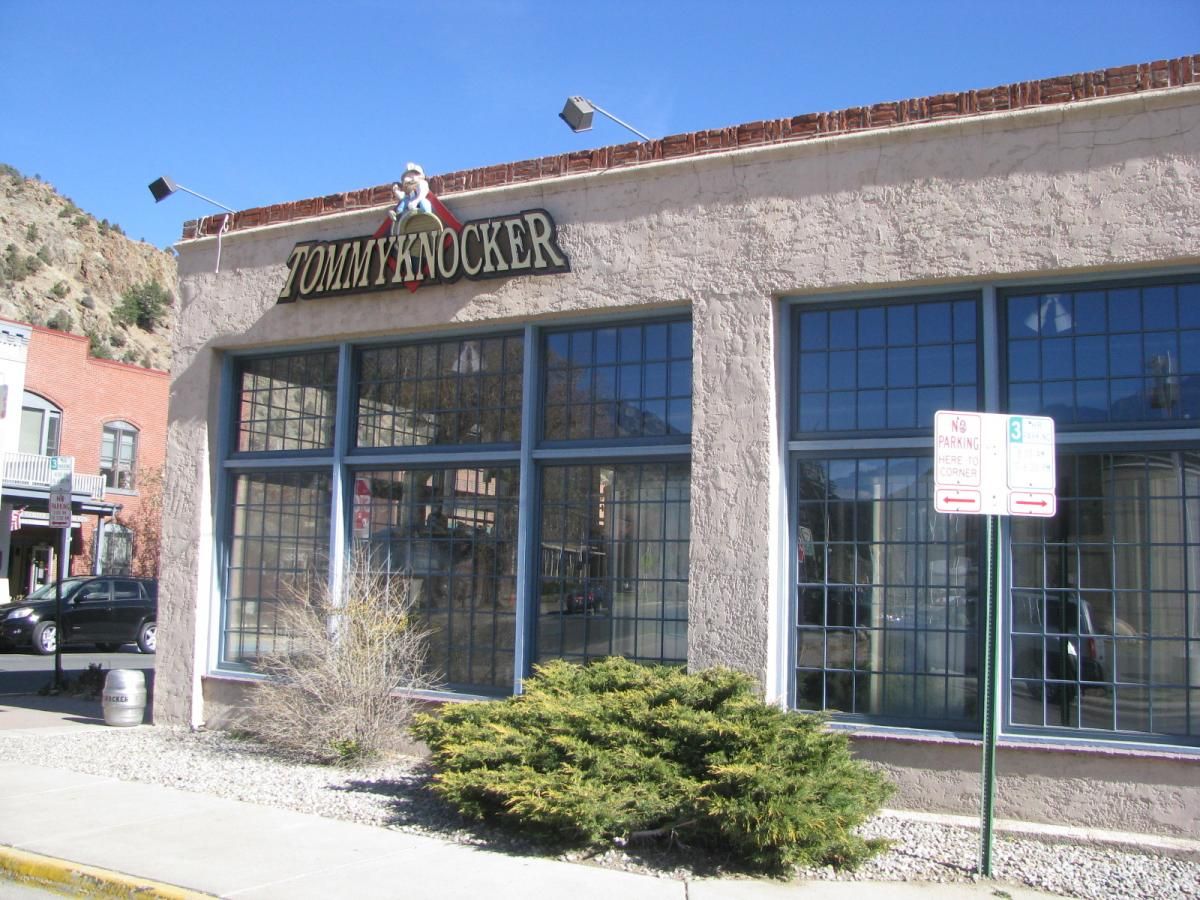
Tommy-knockers Brewpub Idaho Springs
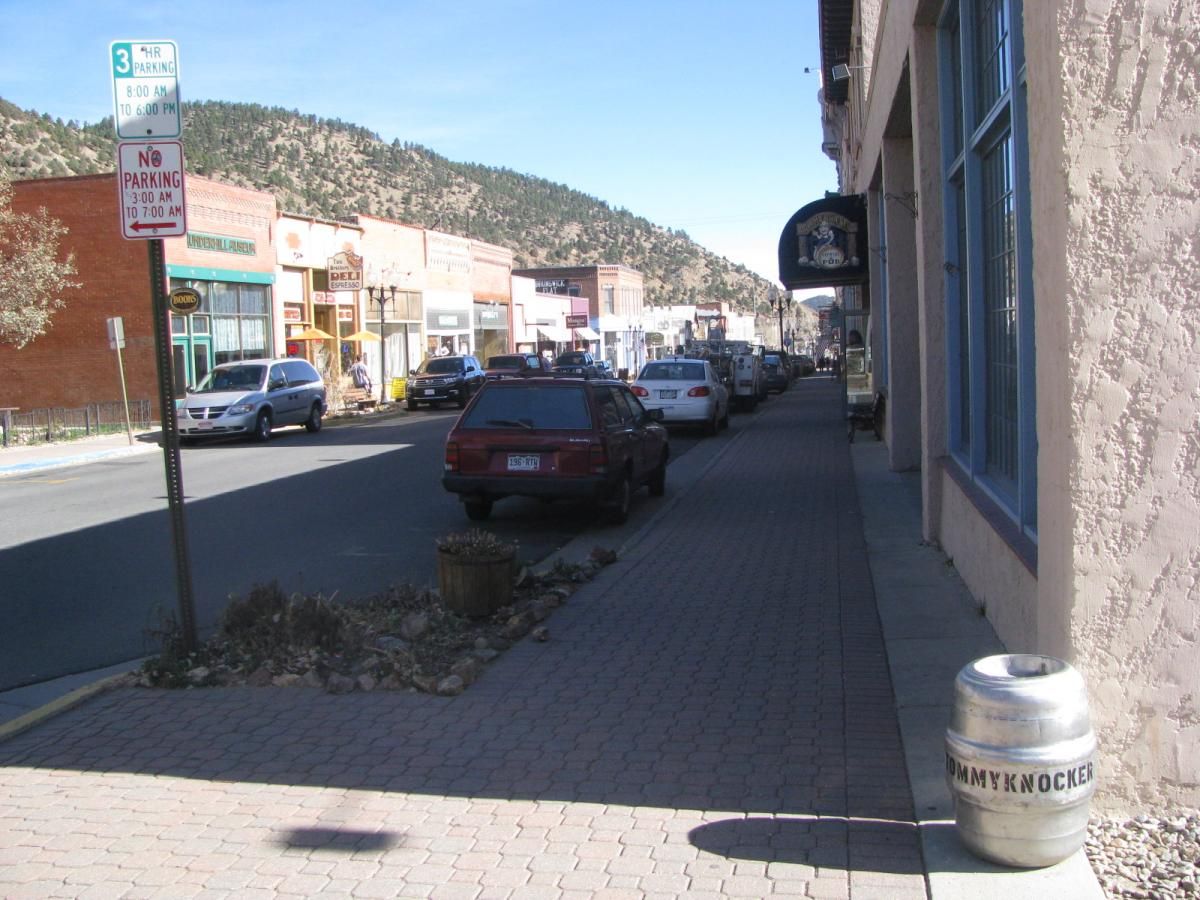
Idaho Springs Colorado
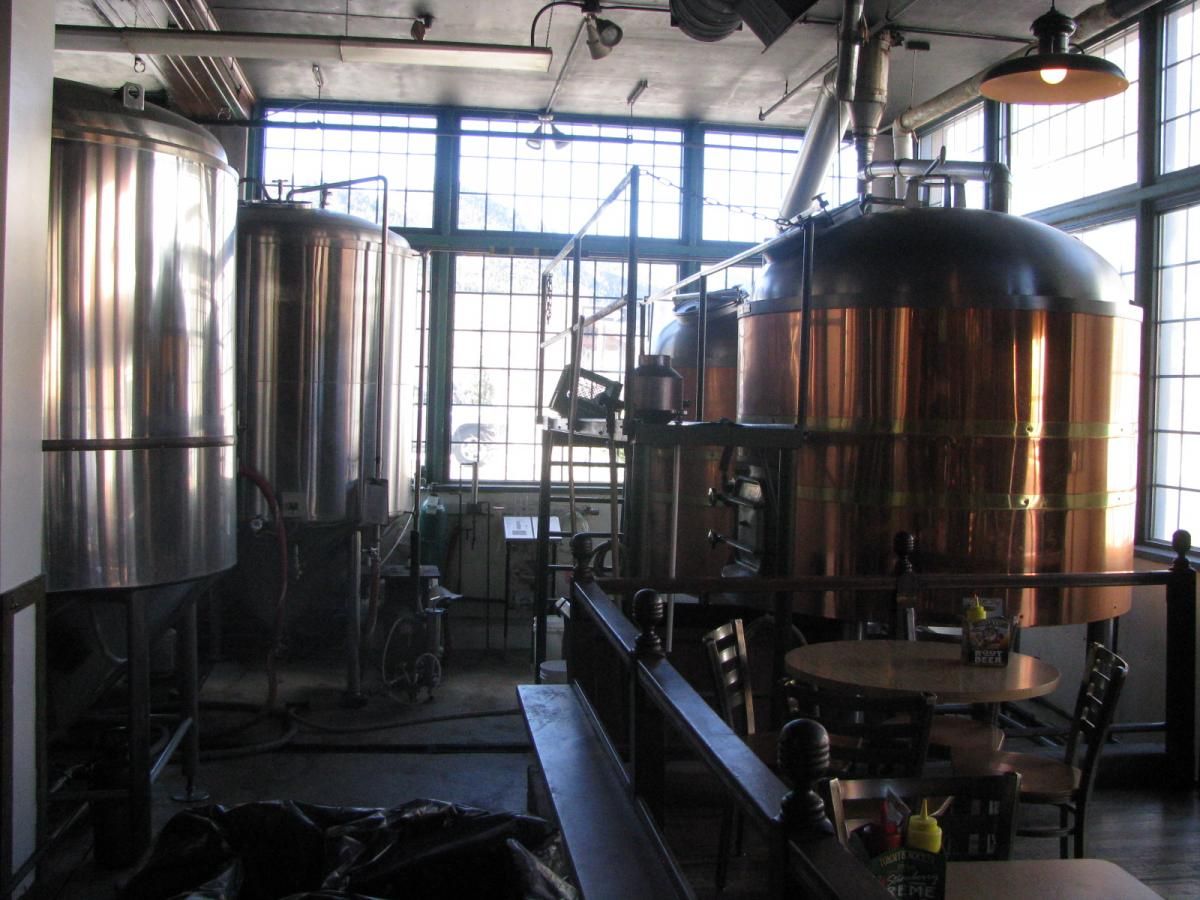
Mashtuns and fermenters
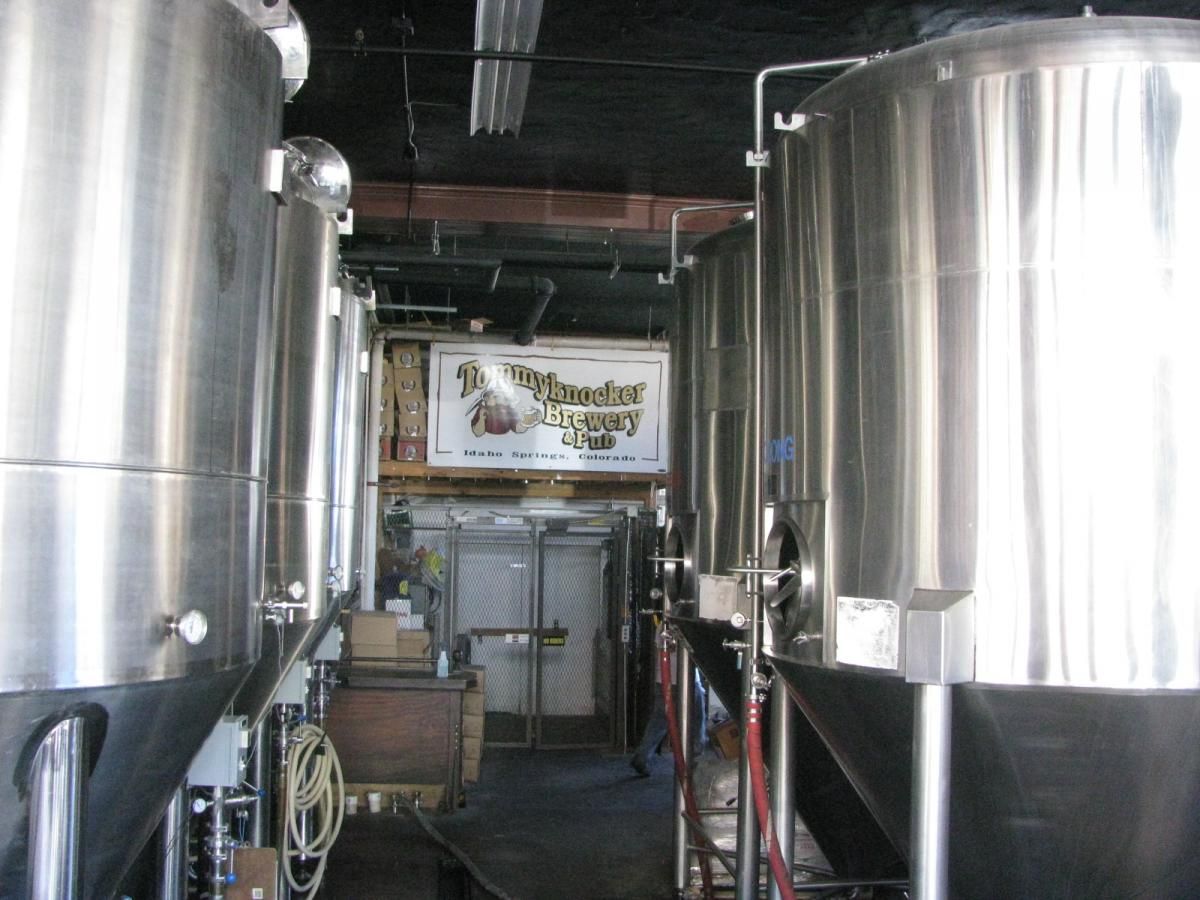
Rows of fermenters
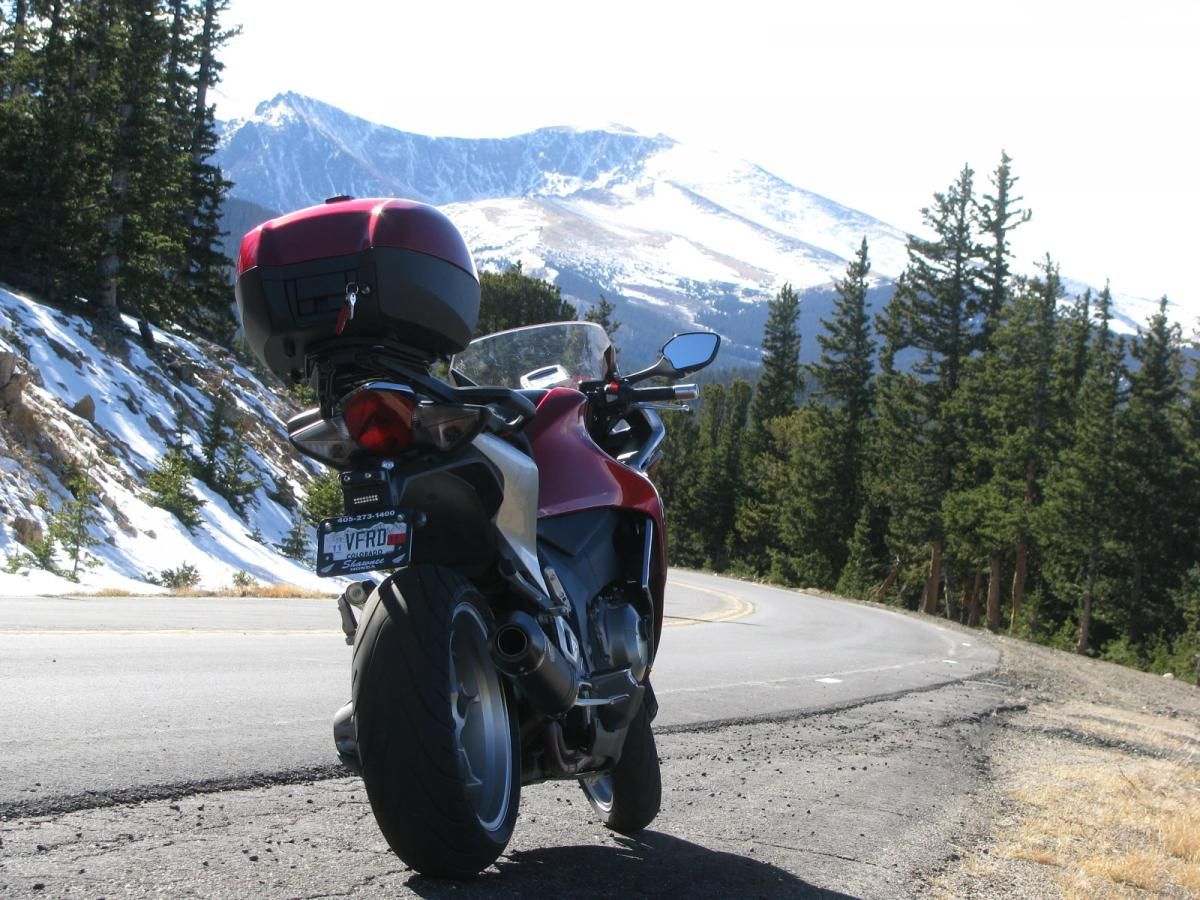
I finished my lunch and since the road to Mount Evans is right there I headed up Squaw pass hoping to get in some nice pictures I wasn't expecting what I found, ICE IN ALL THE SHADY PARTS
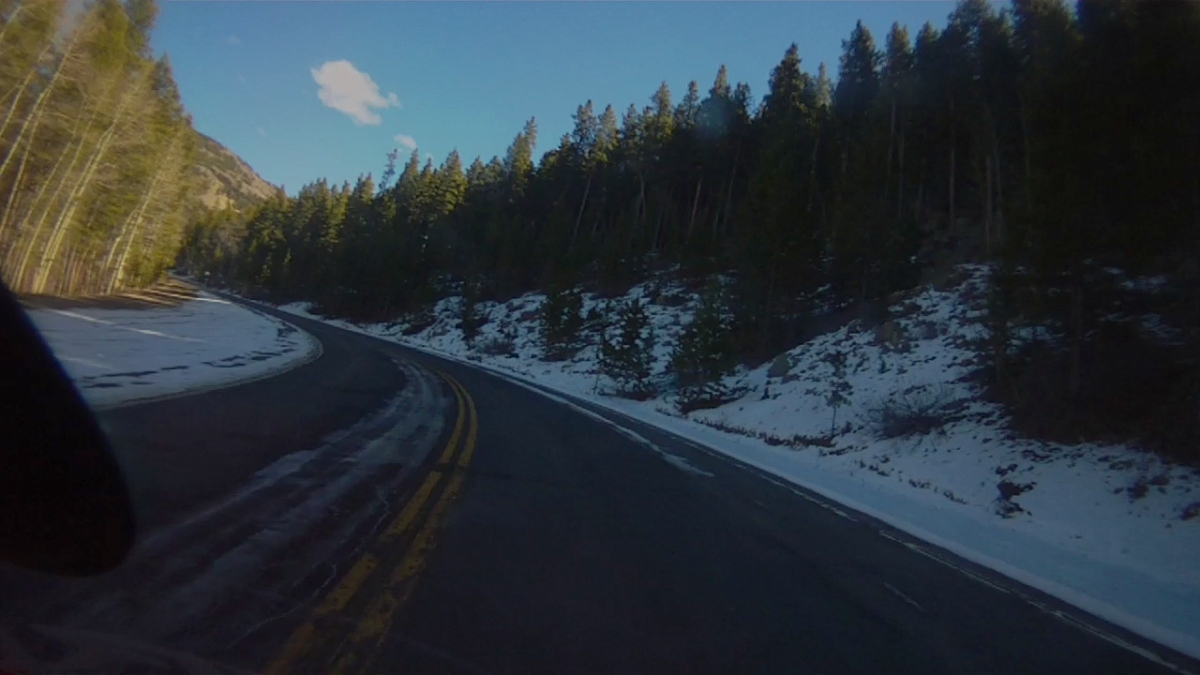
Icy patches on Squaw Pass definitely taking it easy on that road
There were some section where the ice covered the whole road for 300 yards or so I had to roll through it with my legs out to help keep the bike from sliding and falling over, I took it real slow. A Ford pickup was right behind me so I pulled over to let him pass but the guy was going slower then even I was so I pressed on - in places where I could see I just cut over to the oncoming lane and out of the ice where the sun was shining on the road more, but some places there was not alternative so I just had to go slow, good thing it wasn't slick but rather they tossed some gravel over the worst parts so I had some traction!
I did stop for pictures in all the best spots
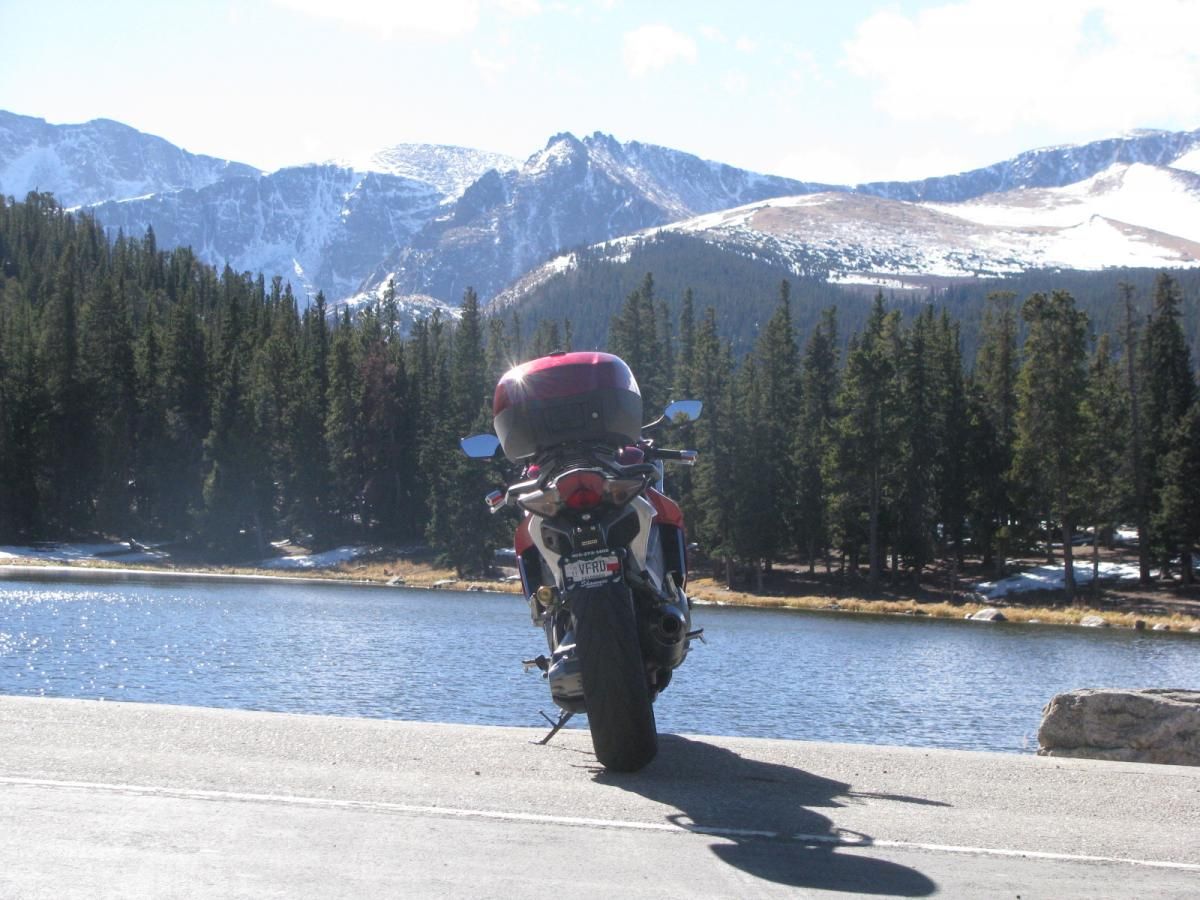
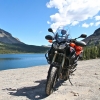
Echo Lake at Mount Evans showing off my new plate
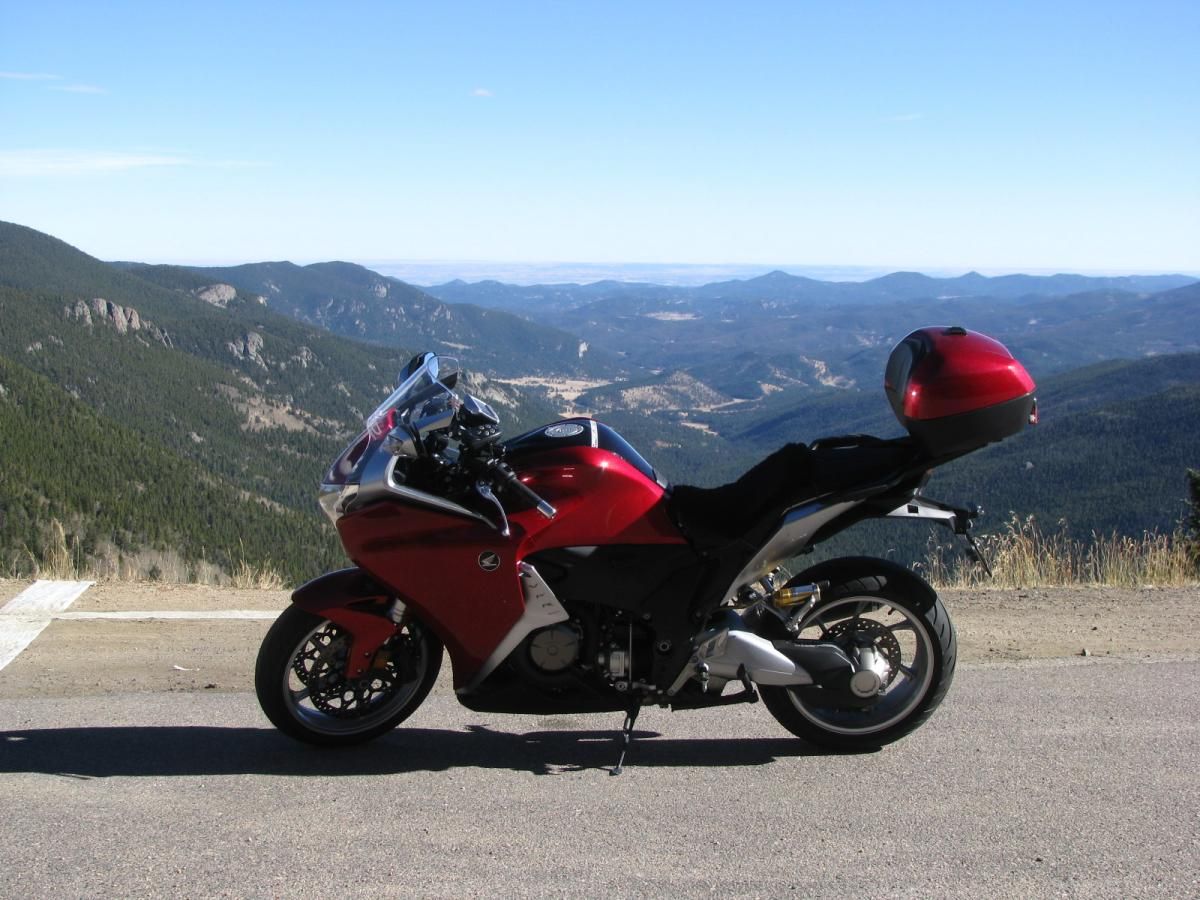
Elephant Butte Park and Denver

Close up
Veefalo on Squaw Pass

Juniper Pass
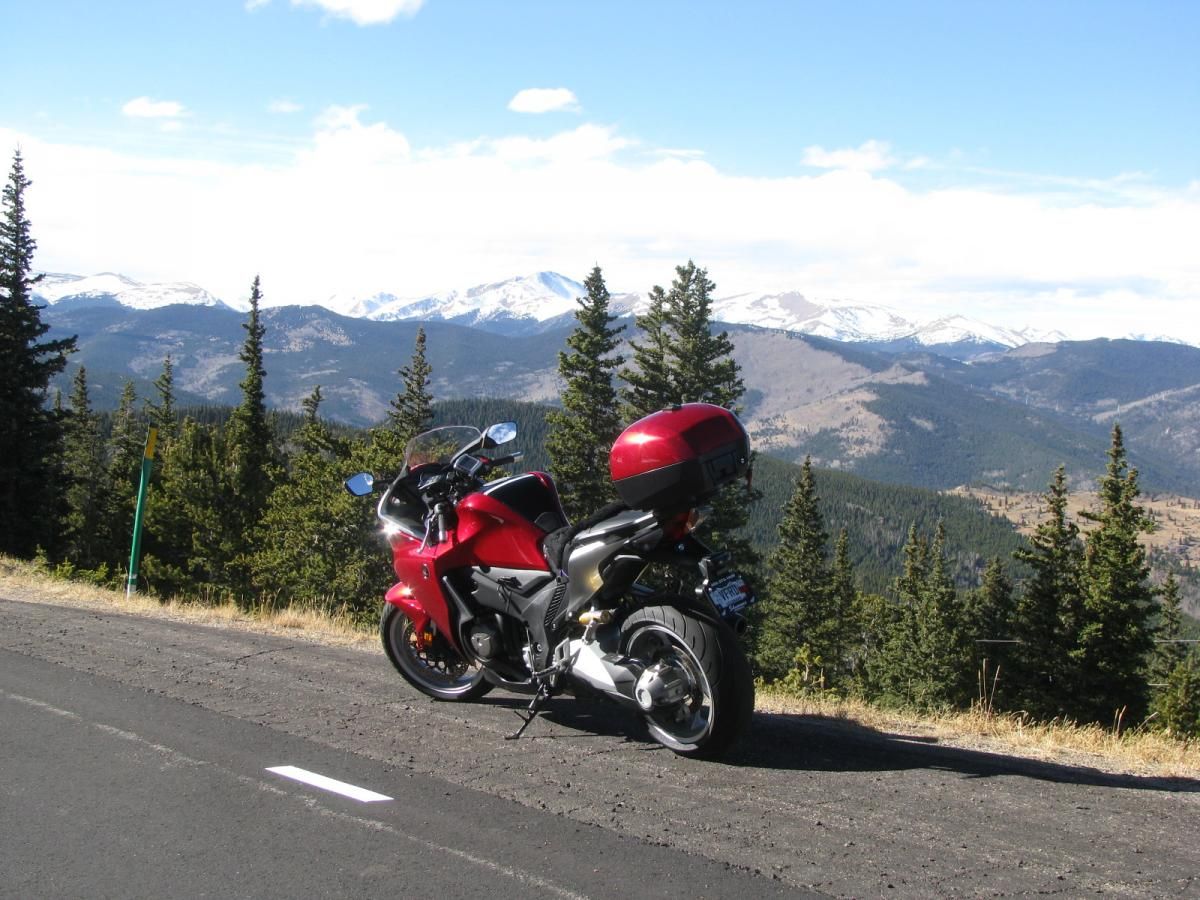
Juniper Pass
Mount Evans
My route A is home B is Tommy-knockers
- 122
-

- 8
entries - 77
comments - 34699
views
Recent Entries
 Latest Entry
I Am Back !

Not that it matters and not that I expect anyone had noticed, but to those who sent me "where are you?" I would like to say I am back. Not only that I am officially returning to VFRD after nearly 2 months break but I have also ridden my Hawk last weekend and had FUN! Let me restate that; I had major fun riding! Something I have almost given up on.
Most of you have been riding your whole adult lives and riding is not only a hobby to you, it is part of you. But I started riding three years ago and even though I have encounter some setbacks, till this spring I loved riding with whole my heart. However, I have always considered riding as my hobby. As a hobby which suppose to make my life better, more fun and more rich. Life is too short to do something which we don't fully love.
My love of riding received a first major scar this spring: I lost a friend on the racetrack. He was a total stranger who offered me his help after I lowsided at CMP track last year. I still remember hearing his "Hi, my name is Todd, do you need help?" while I was duct-taping my roadrash from ripped jacket. He helped me straighten up the shifter and we kept in touch. The next time we saw each other was the day he died.
With 9 months delay, I can say that Todd's death shook me more than I have realized. It rooted fear in me which was fueled by seeing and hearing about others getting hurt over and over again. If I was to summarize this year - it would be one big accident report. I became sensitive to every broken bone, every roadrash, every lowside. And even though I did 10 track days this year, I became slower and slower and slower. Suddenly, I have acquired this 'grandma' riding style on the road, frozen with fear that behind every corner there is car standing in my lane, or major sand trap or deer staring at me ... I was crippled with fear not only for me about also for my fellow rider.
So, at the end of this year, I rode more and more by myself. I could not bear the feelings of responsibility for others on the road and my lines were crippled by my own fears. It all culminated this fall at WDGAH. In a freaky accident Love2rideh82crash was taken down by a truck crossing into our lane. I was done. I finished the weekend, locked the VFR into a garage and took a break.
Until the last weekend, I pretended that motorcycles do not exists. As a last instance after 2 months break from riding, I decided to go to CMP track to see if I can still have fun. I also felt like I should go for the memory of Todd. I went and I had fun! I had much more fun than I expected and the most fun on track I can remember. Suddenly the whole track connected into an uninterupted line of turns and I felt one with the bike riding around! I was giggling like a little girl in my helmet and keep on giggling ever since

Granted I was not the fastest one and through out the weekend, I have never exceeded about 60% of my riding abilities, but I had no "oh-shit" nor 'blond' moments. I could have maybe go faster, I could have brake later for the turns and I could have lean further, but I am no Rossi nor Stoner. I decided to ride for fun and I had amazing blast riding well within my comfort zone.
I was proud of myself when, after bandaging Ricks arm, I was able to distance myself and go back to riding without the year-long fear. I did feel bad for him but the feelings were not crippling my lines nor my mind. And when a total stranger came to me and said "Hi, my name is Todd", my heart stopped for a minute though but I suddenly knew that my life went a full circle. I probably will never win MotoGP :idea3: , but I am back! :wheel:
- 8
-
-
VFRD Mission Statement
For owners of the Honda Interceptor and related Honda V4 motorcycles, for the purpose of mutual help concerning safe riding, maintenance, and performance of their motorcycles.
Rules of the ride - No one goes to jail, and No one goes to the Hospital.
Contributions - VFRD is a member supported website with no commercial advertising.

-
Forum Statistics
-
Total Topics26.5k
-
Total Posts362.1k
-
-
Who's Online (See full list)
-
Member Statistics
-
Upcoming Events
No upcoming events found -
Latest Classifieds
-
-
Top Downloads
-
-
Popular Contributors
-
1

-
2
-
3
-
4
-
5

-
-
Blog Statistics
-
Total Blogs116
-
Total Entries345
-
-
Gallery Statistics
-
Blog Entries
-
-
Blog Comments
-

By vfrpilot28 · Posted
I enjoyed reading this and seeing your story. For the love of motorcycling! -
-
By interceptor69 · Posted
Oops. I do believe I know how to post YT videos or they wouldn't be on YT. However I may have screwed up copying the link to the playlist. Thanks for the helpful comment. -
 I think that you might not know how to post videos. You're in your YT studio in these links. You need the link to the actual video.
 -
-
-
Most Contributions
-