-
Featured Gallery Photo
.jpg.db4e69f5b7eb8b5d0b7345f7cd59f96e.jpg "The Dragon (2).jpg") The Dragon (2).jpg
The Dragon (2).jpg

All Activity
- Past hour
-
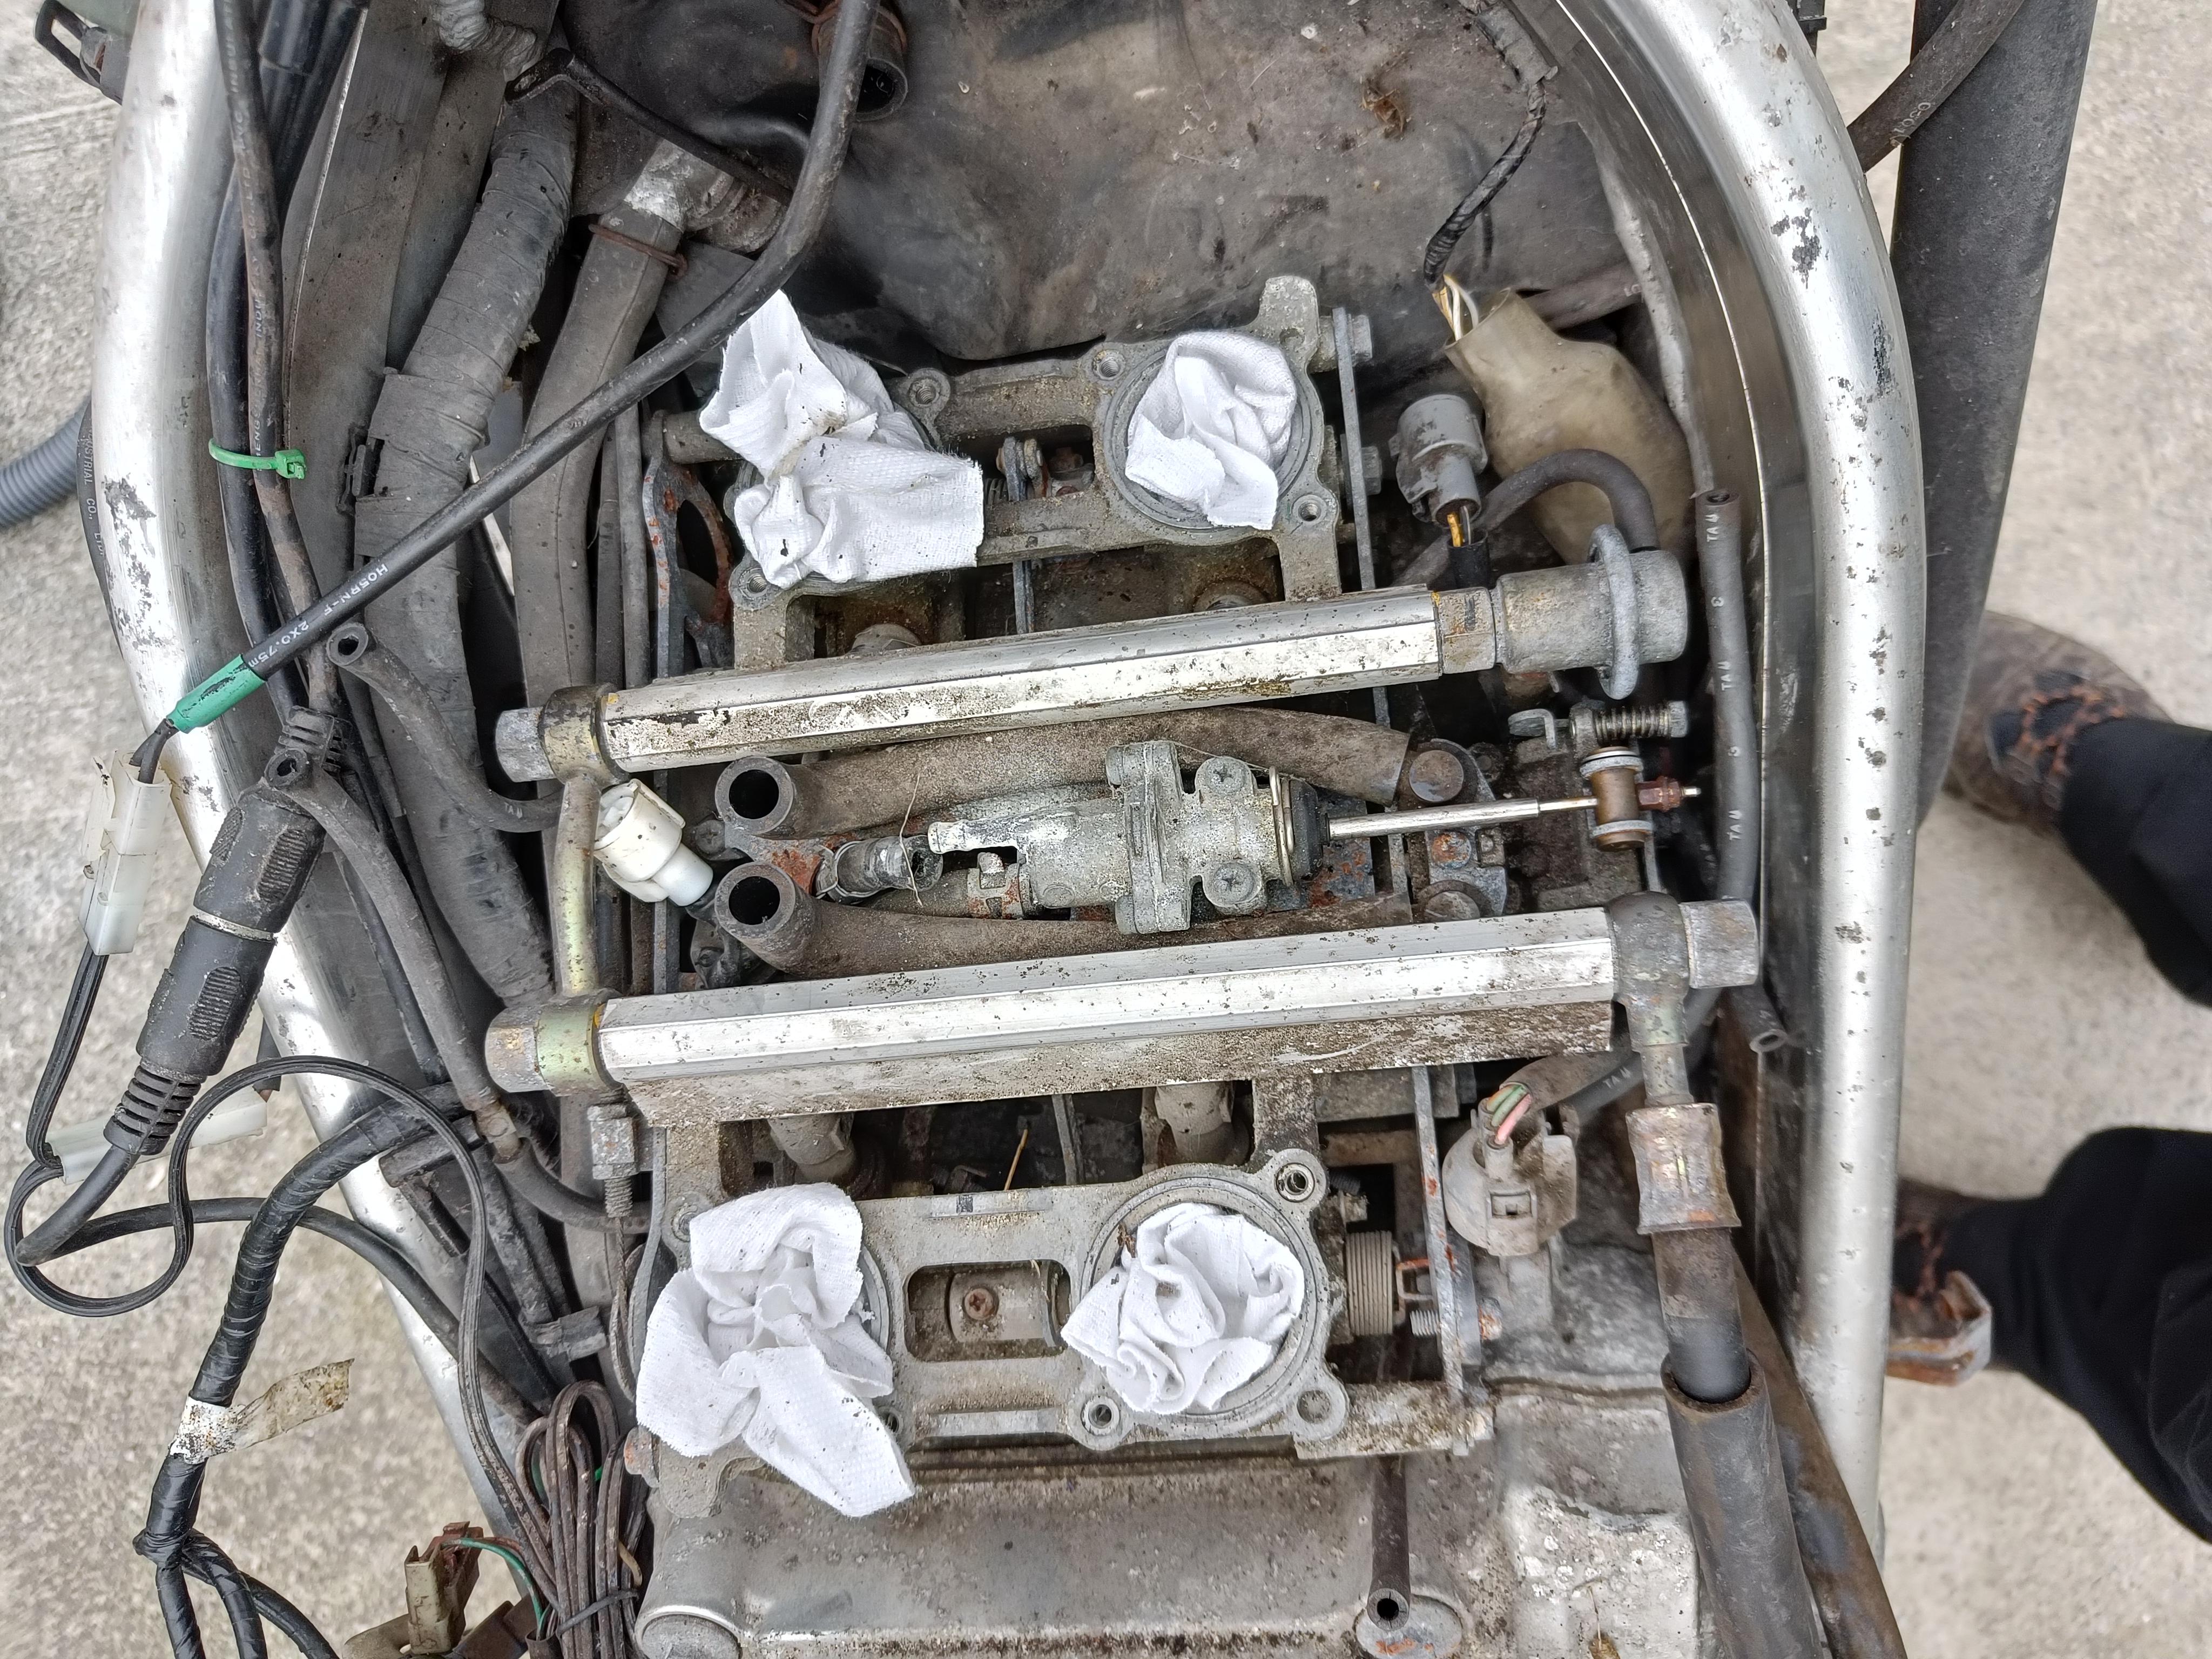
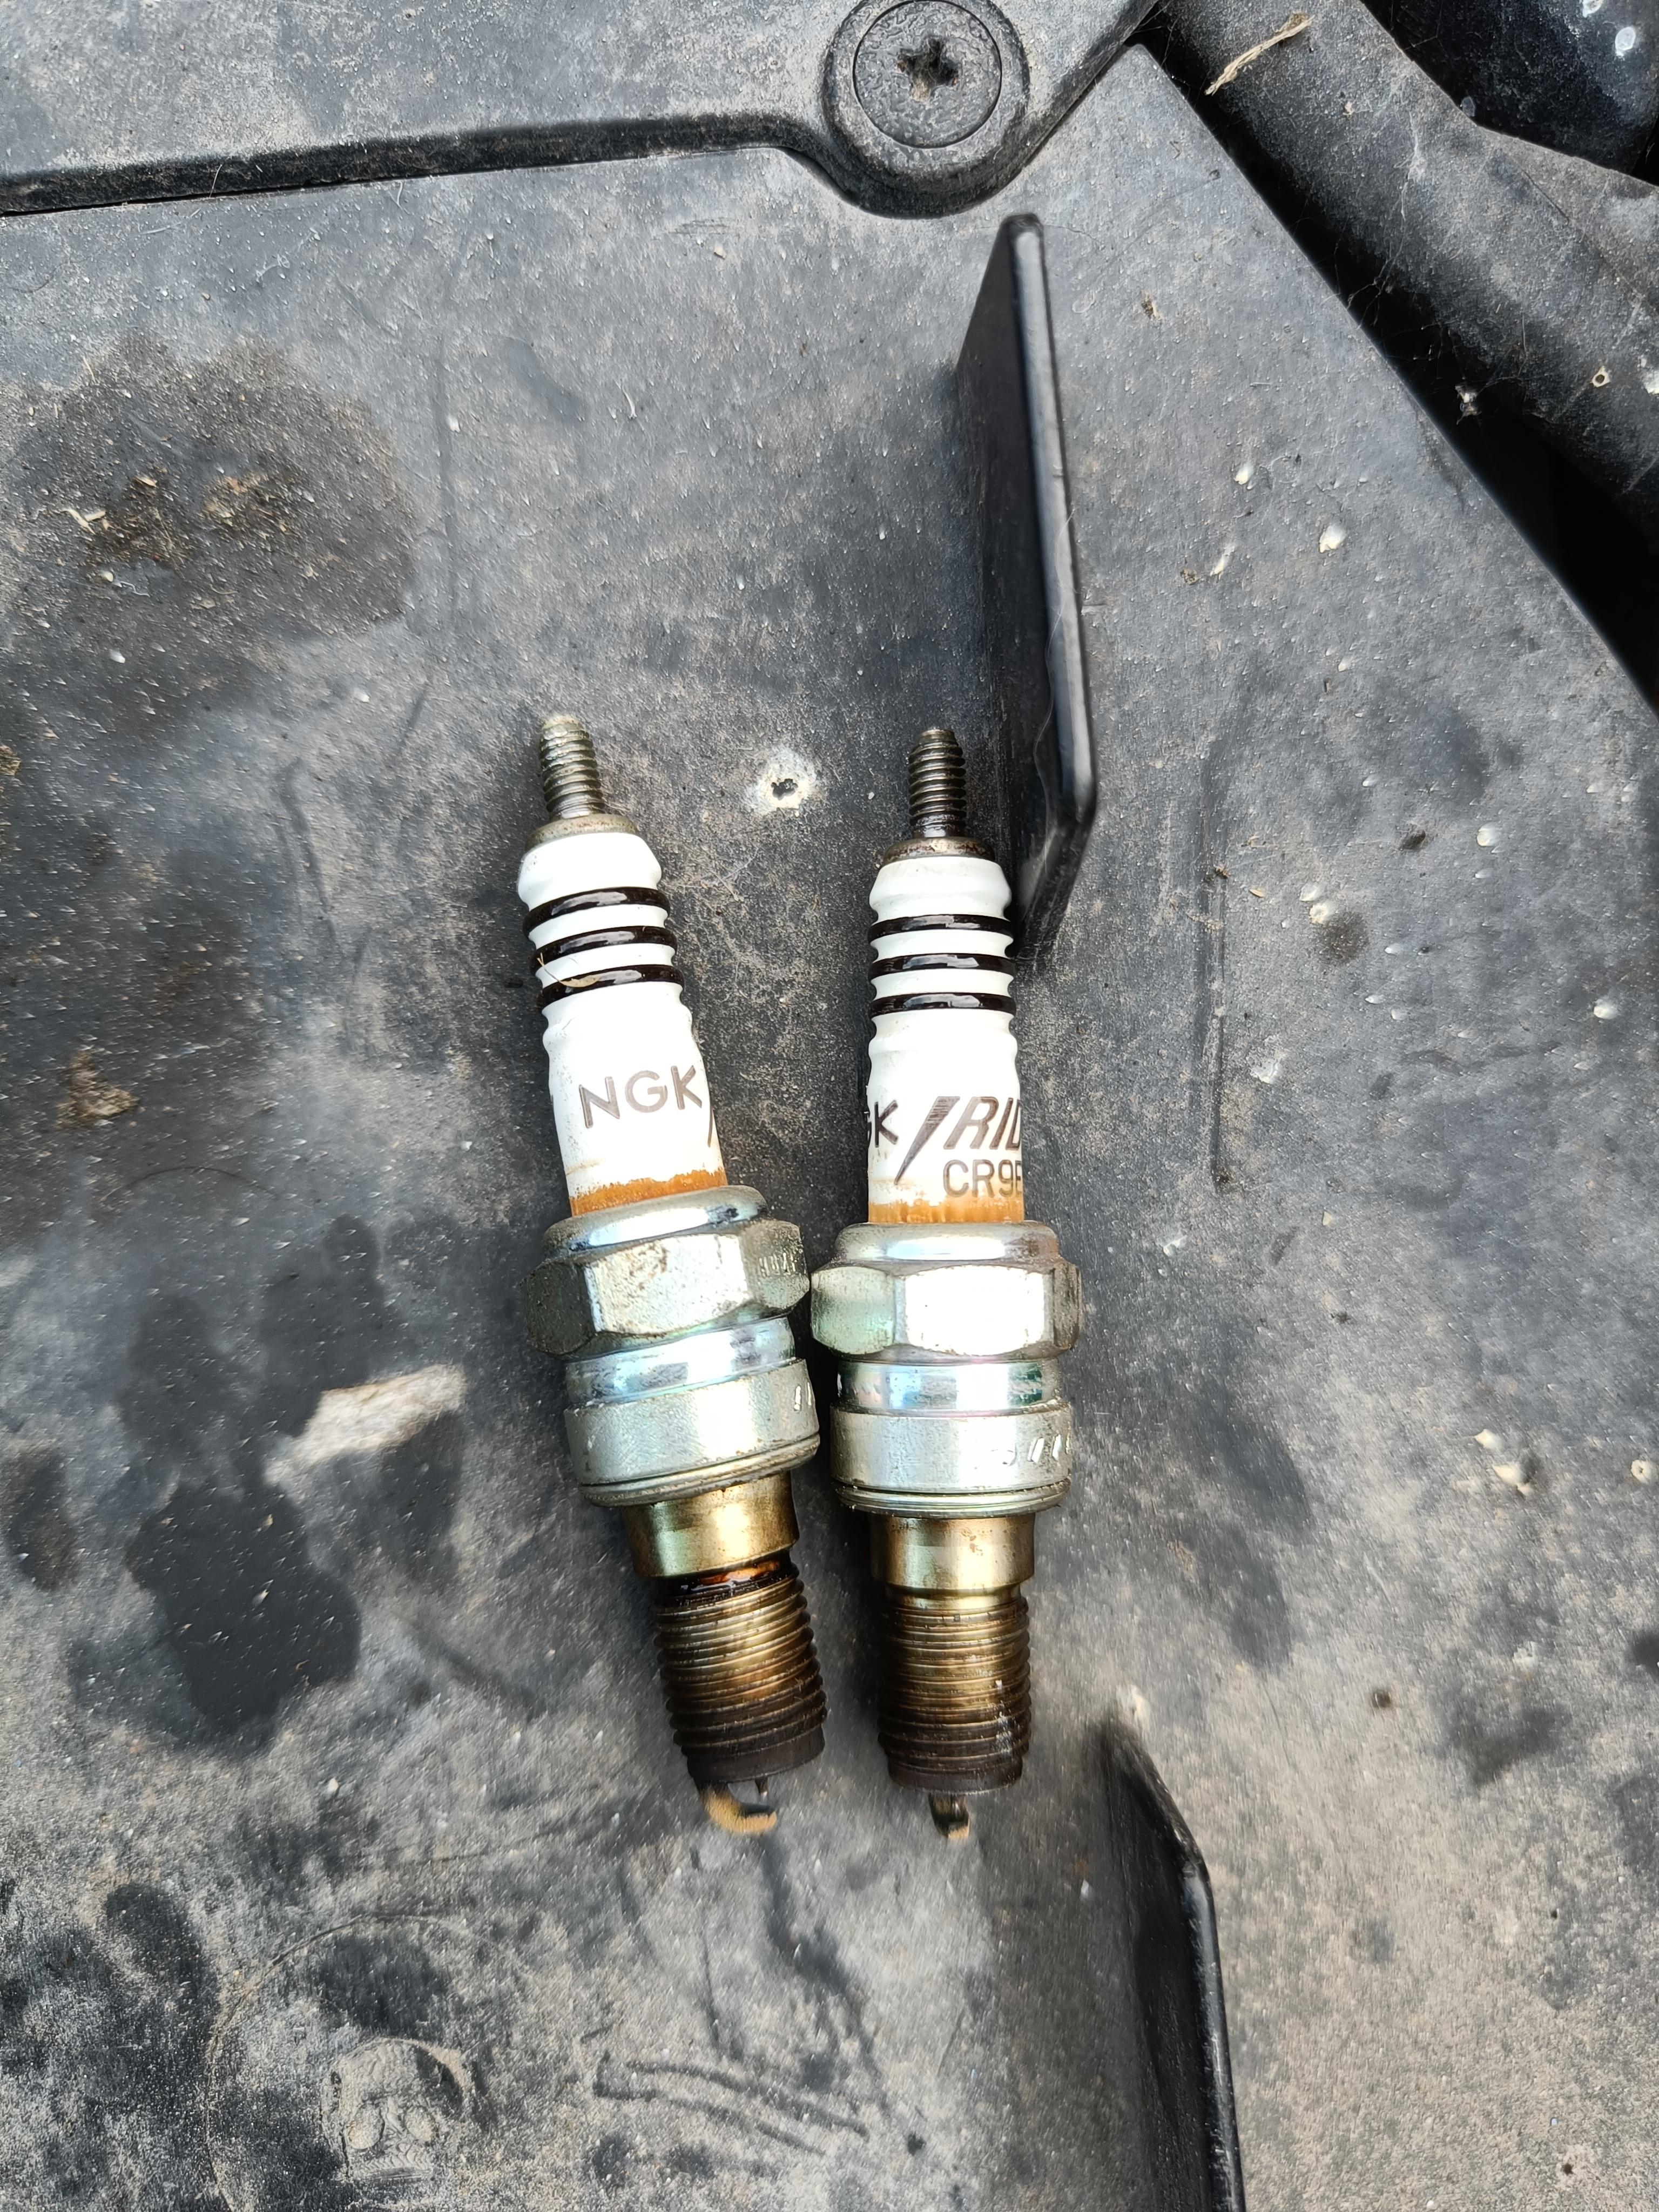
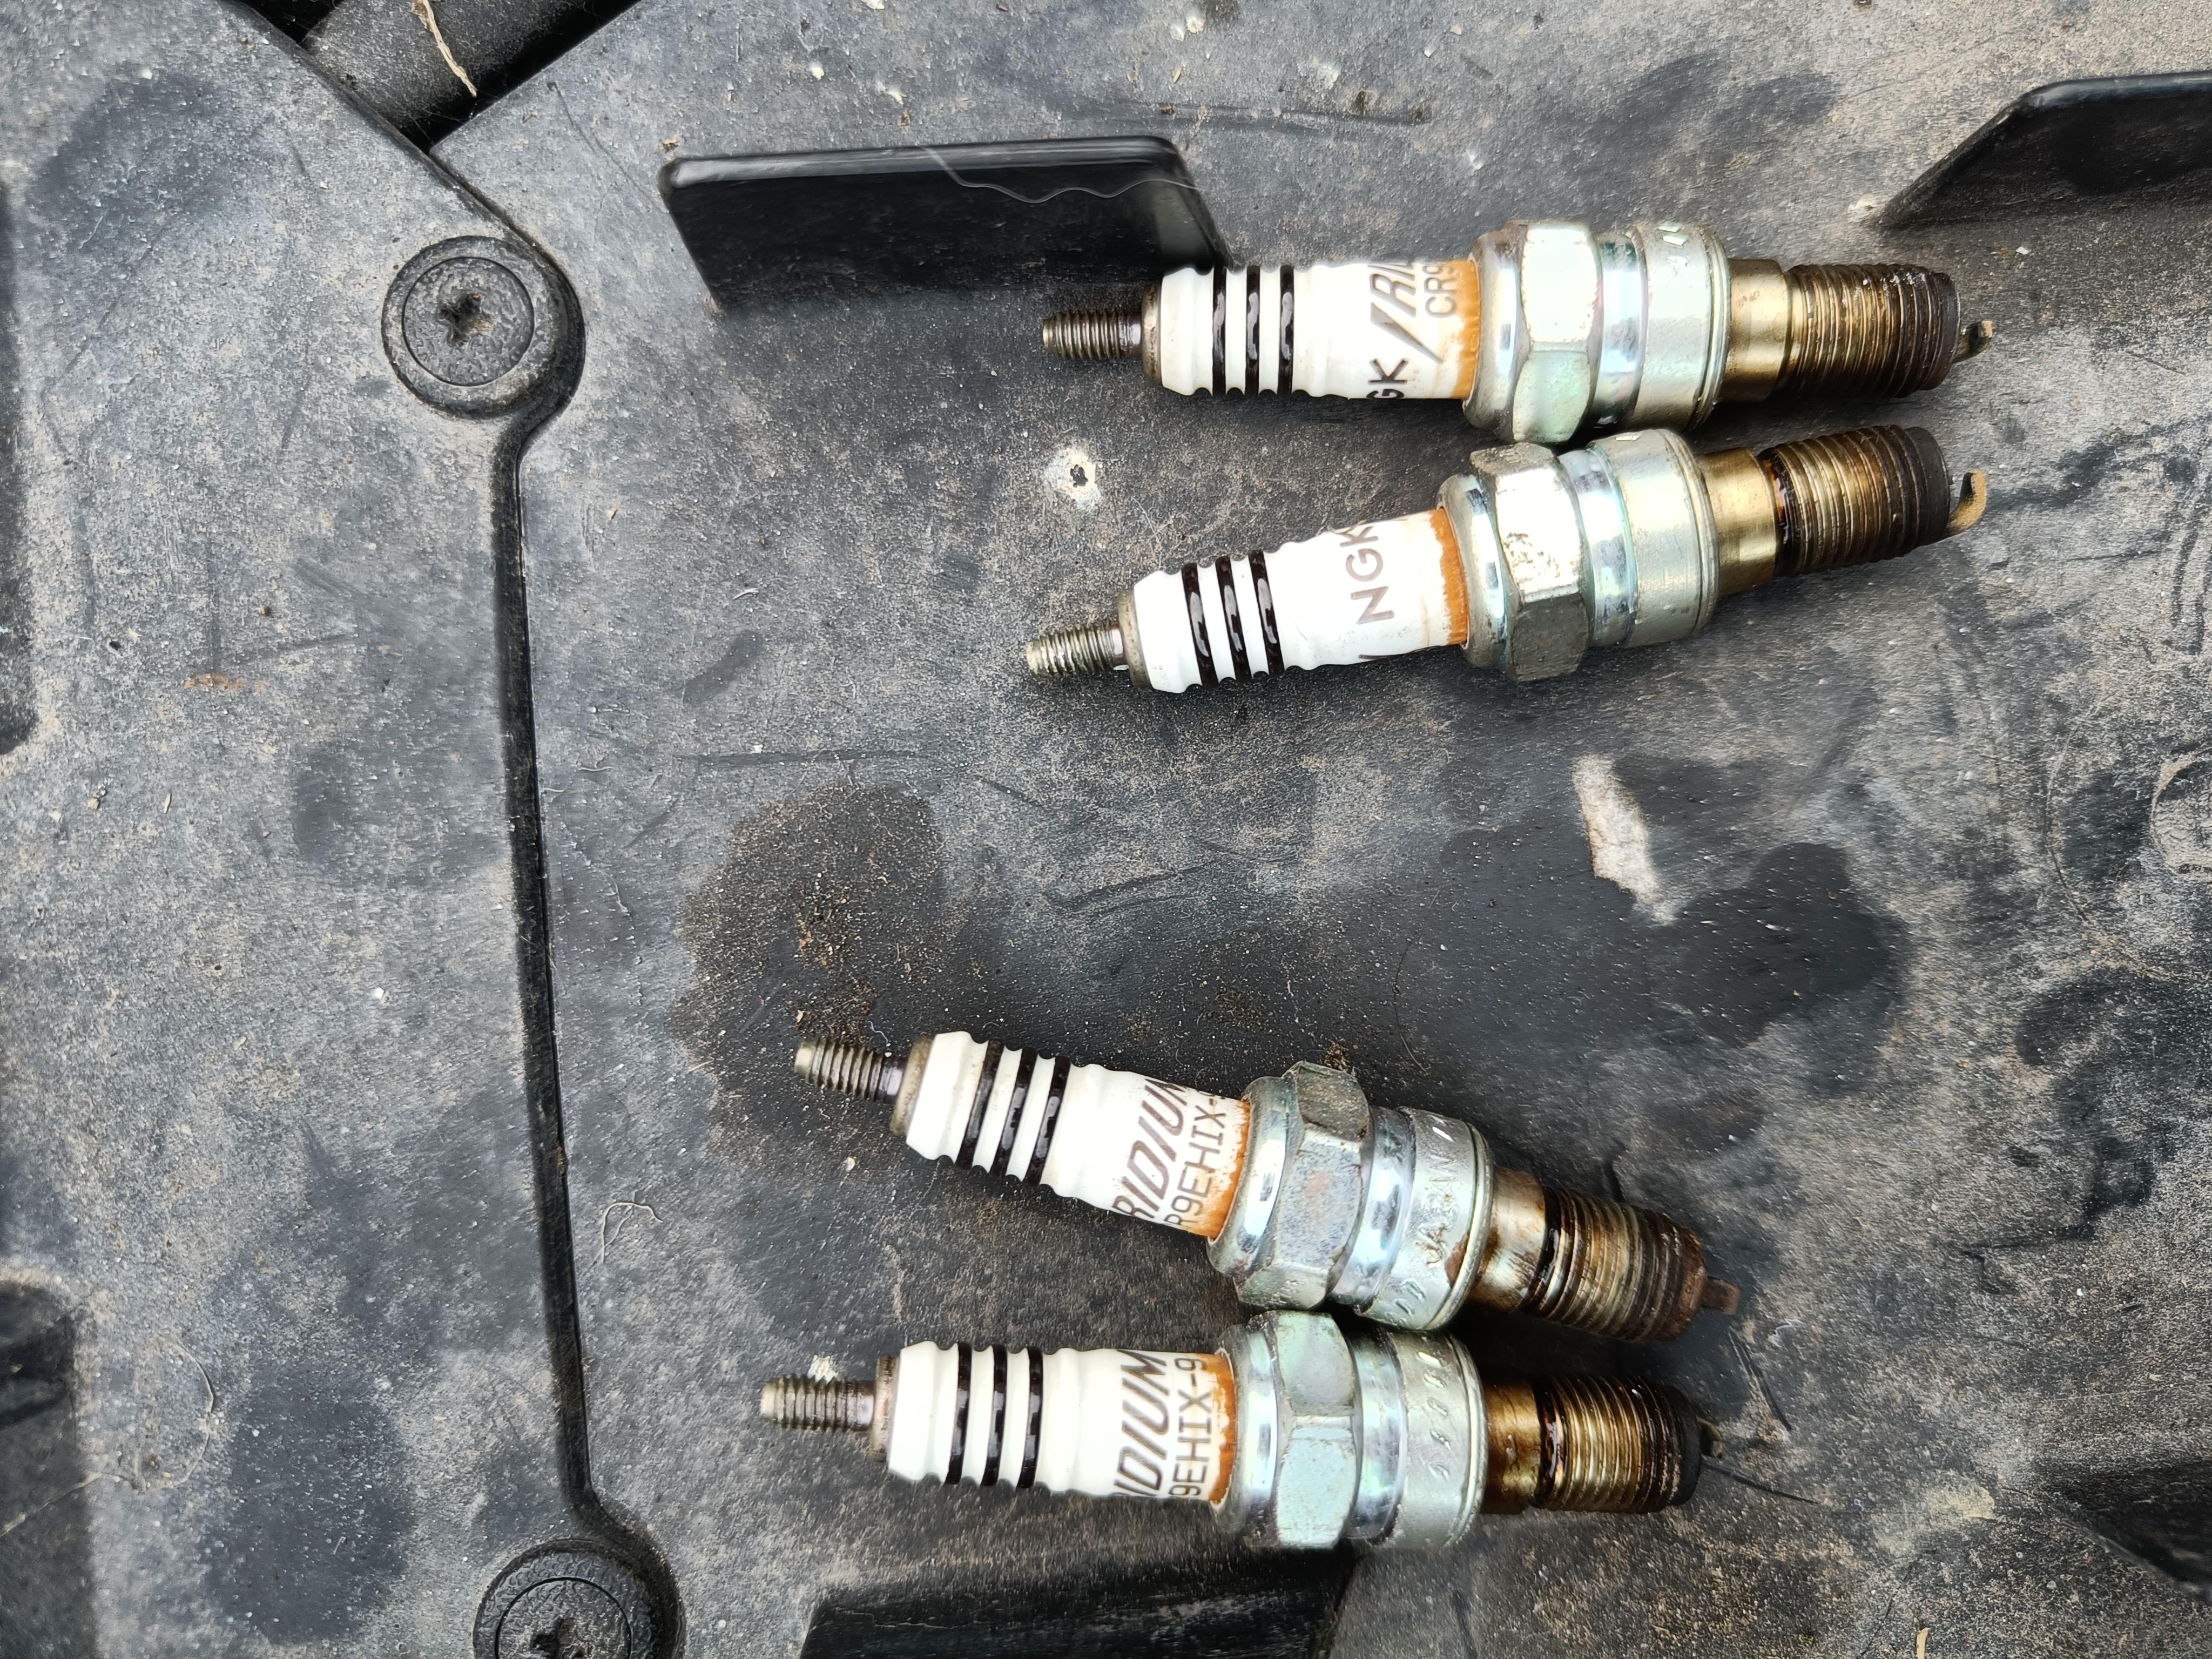
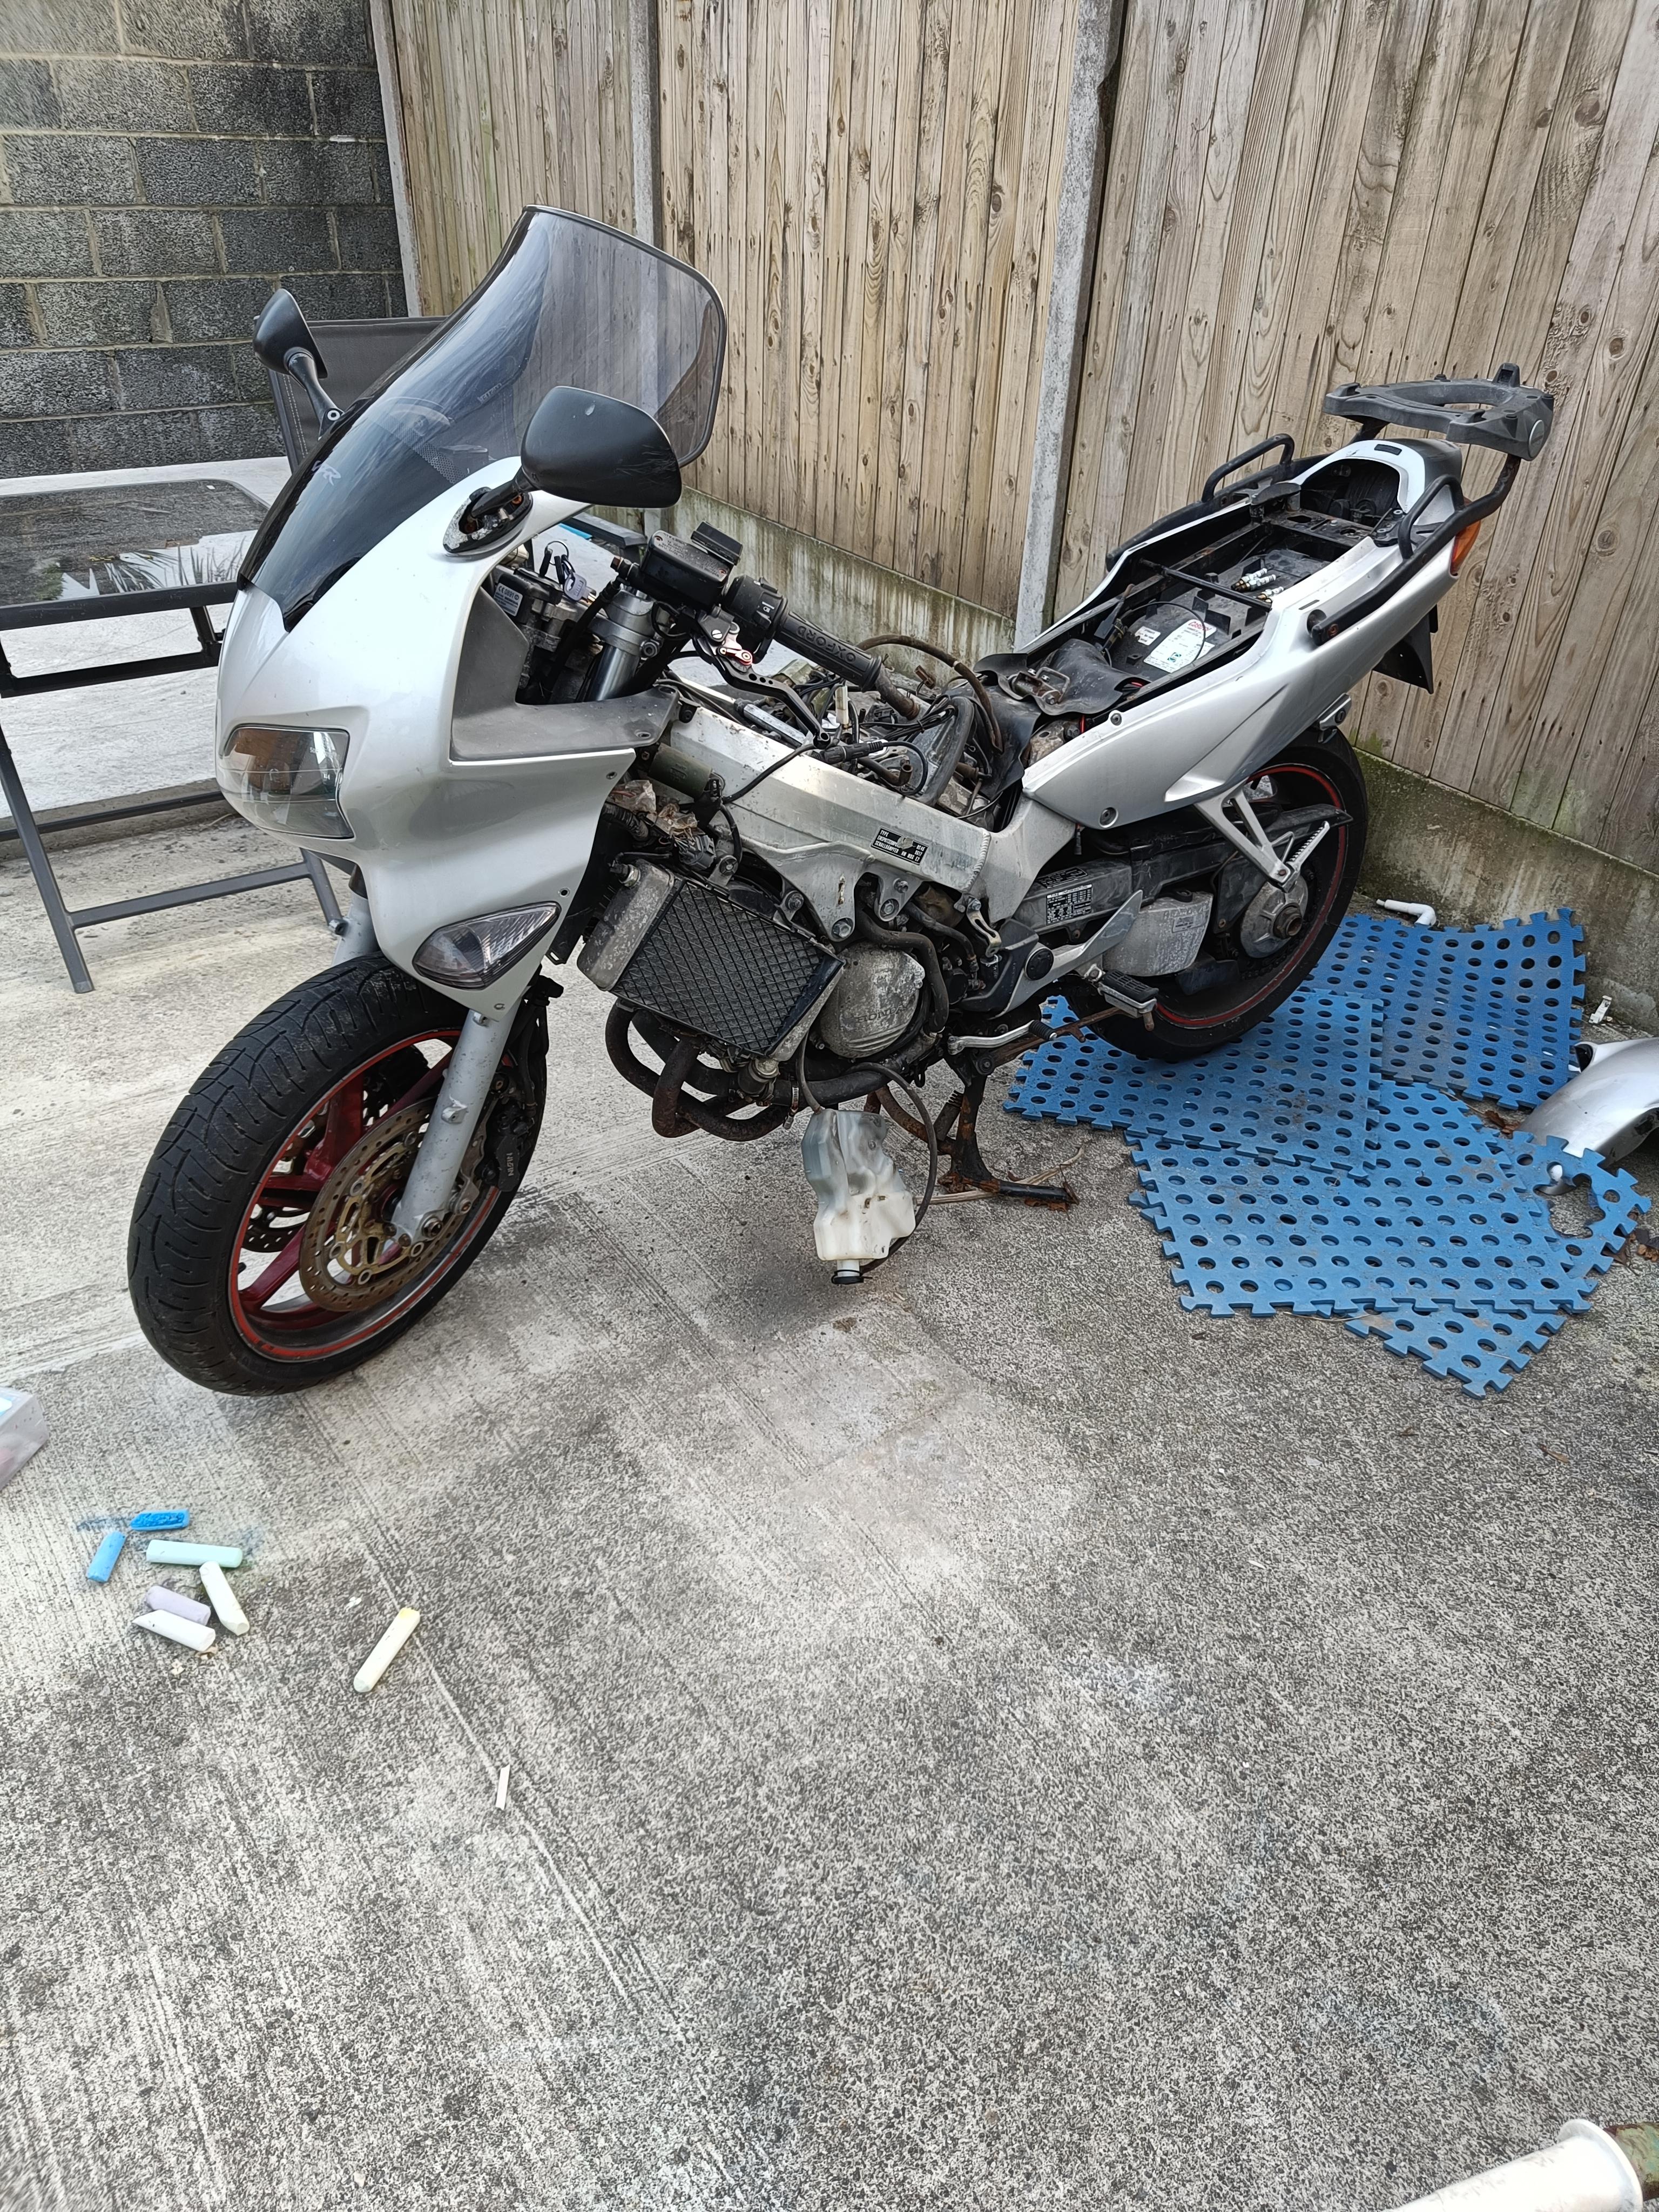
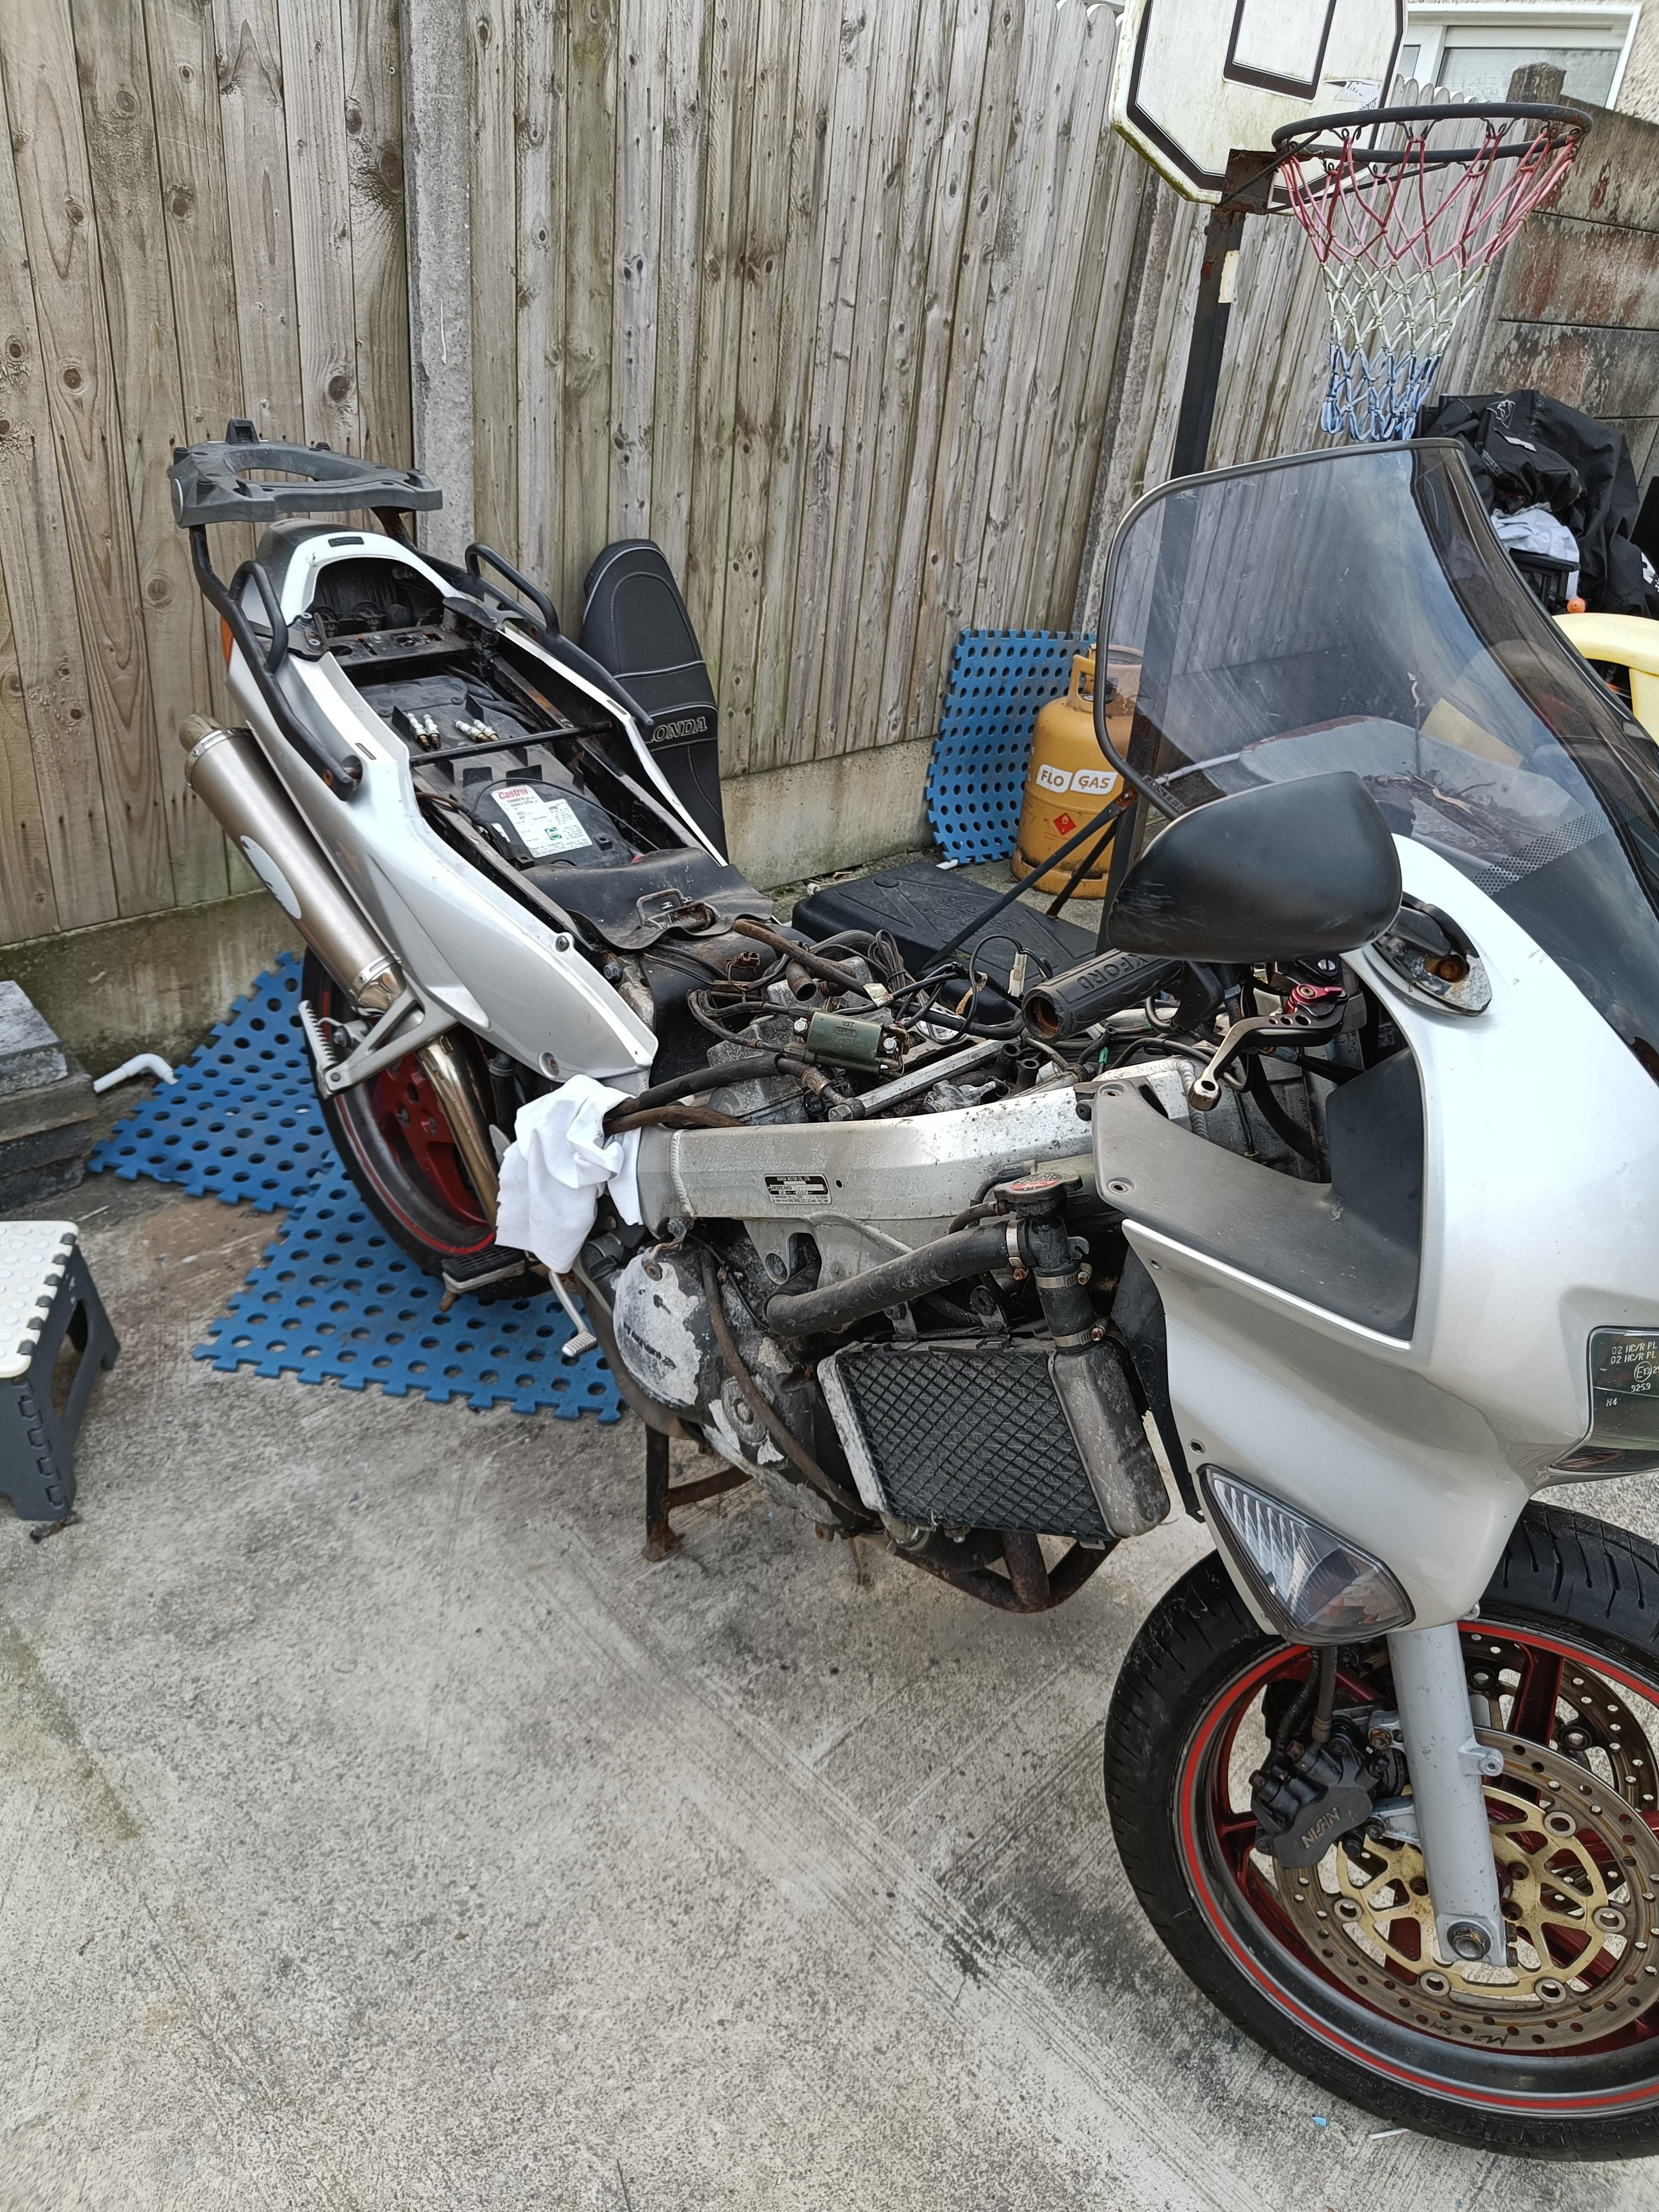
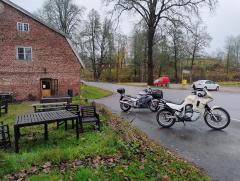
I got a few hours at it today. Not as much progress as I would have liked, but this bike is just so filthy and covered in crud, everything takes longer! First up was removing the tank but I didn't want to do that until I had cleaned it up a bit as under the filler cap was pretty manky and the vent was completely blocked. A good scraping, vacuum and a few baby wipes later and that was looking much better. Tank off and airbox off. Some of the hoses are in poor enoguh condition so they go on the long list for replacement Fairings off as well which went alright. Coolant drained (looked fresh enough) Swapped out the plugs (also looked reasonably new) Tried to remove throttle body but just didn't have the correct long screwdriver to hand, I tried to see if I could get at it with extensions but it quickly became clear it wouldn't work so I'll buy a long screwdriver in the morning and see if I can get them off tomorrow afternoon and then start the process of putting it all back together

- Today
-
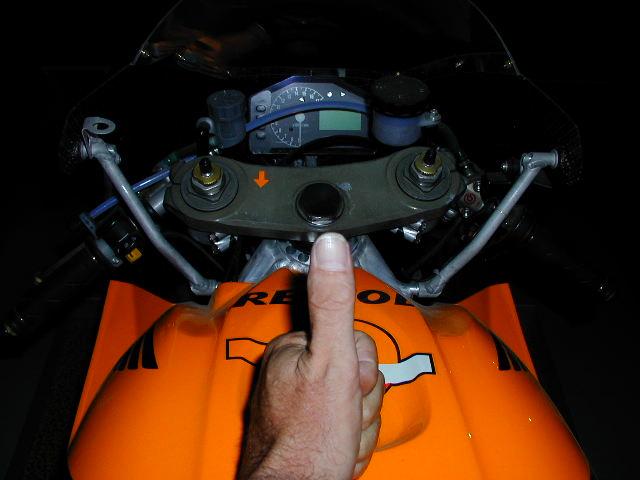
Love the vented boots in the first shot. Sidi or Dainese?
-
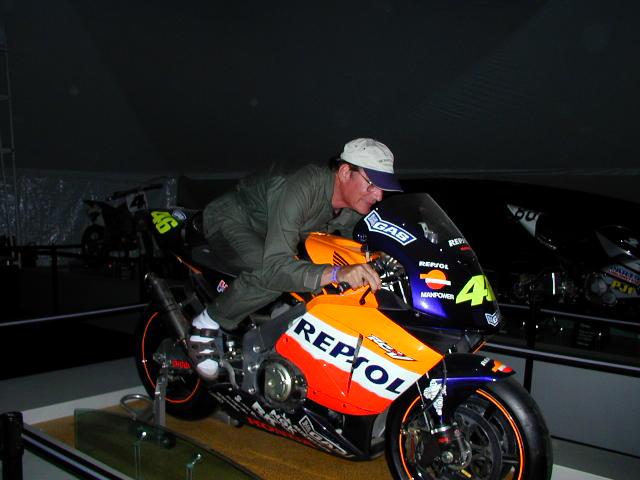
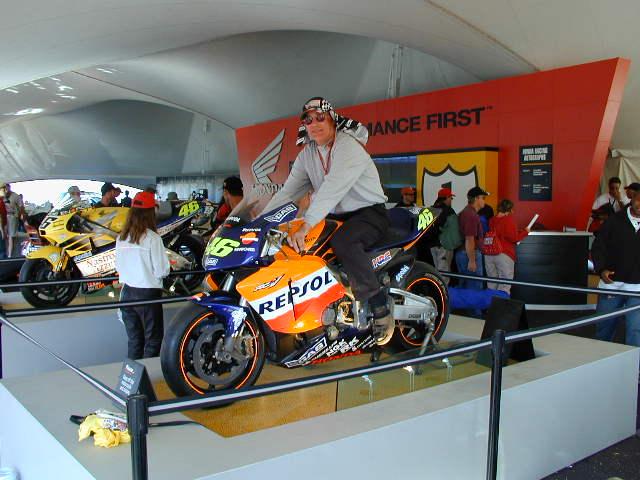
I can't be trusted to stay off the RC211V especially when security ain't looking...
-
-

Favourite windscreen setups - suggestions?
gropula replied to mmi64's topic in Sixth Generation VFR's
The MRA Vario is the whole screen with the spoiler being an integral part of it. It's not just an addition to the stock screen like ebay spoilers. -
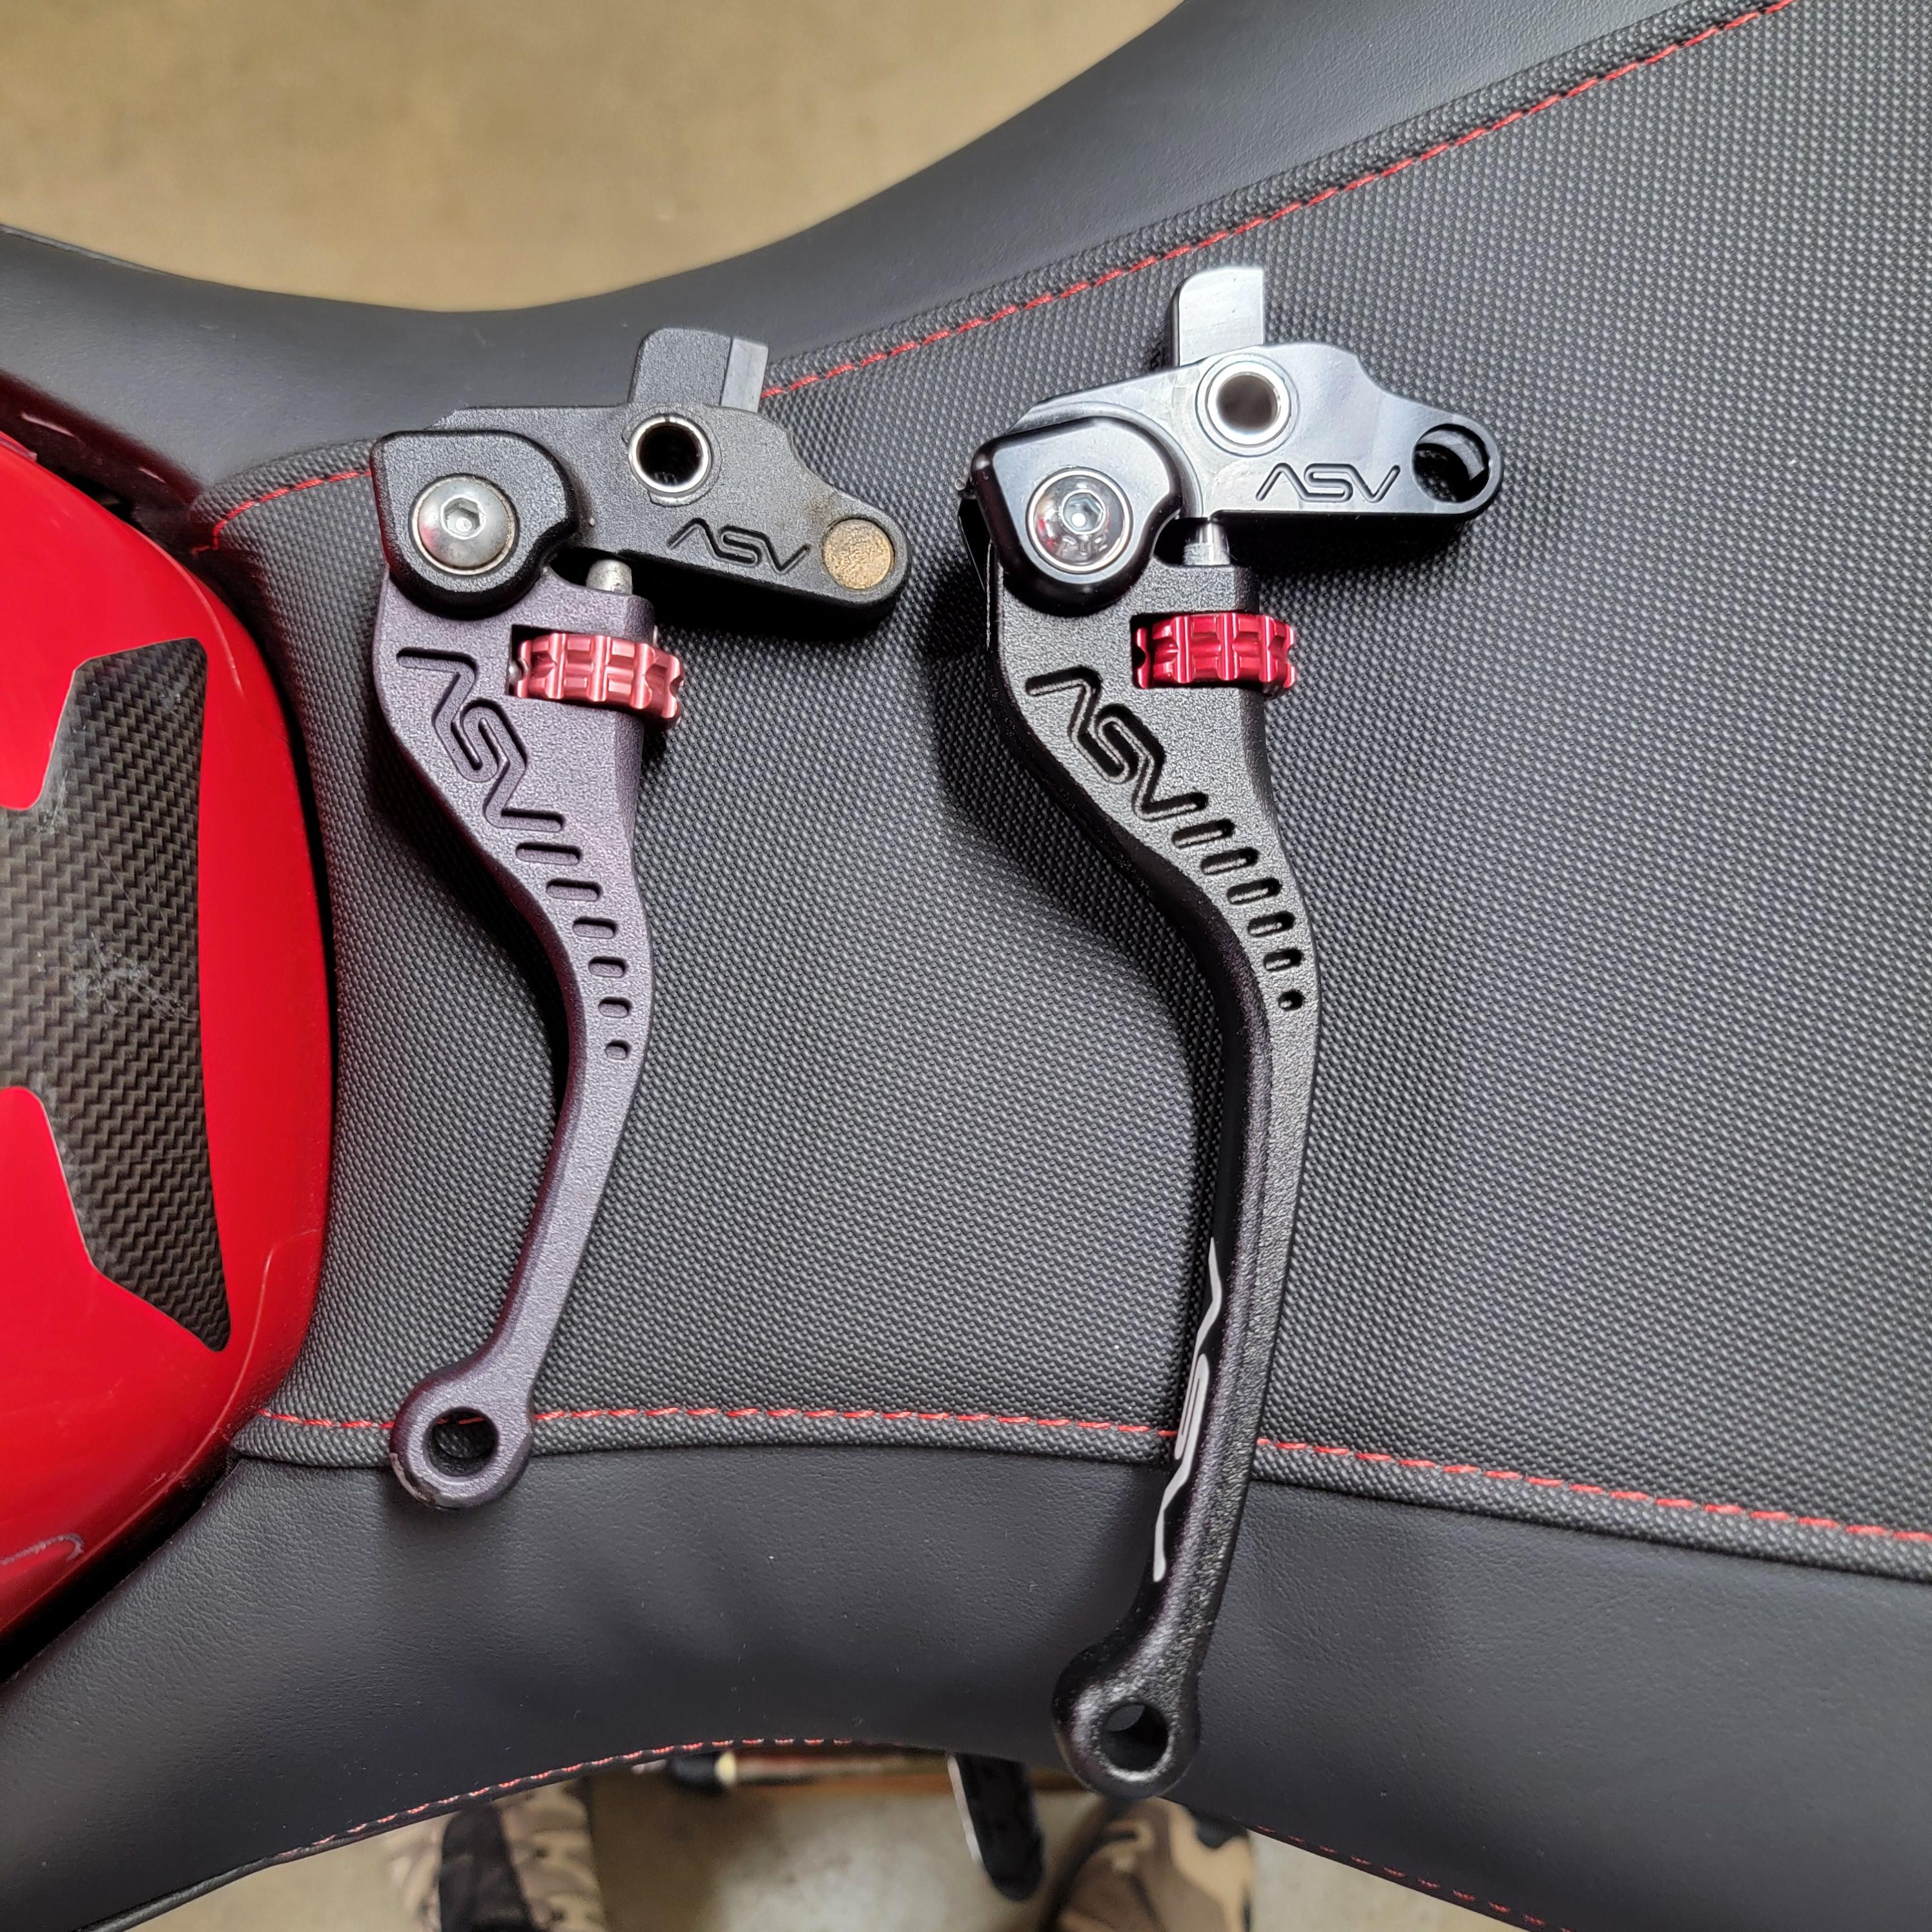
Shorty levers rock. My activations are all 1 or 2 fingers.
-
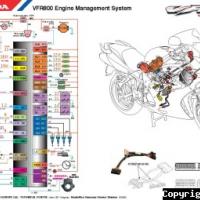
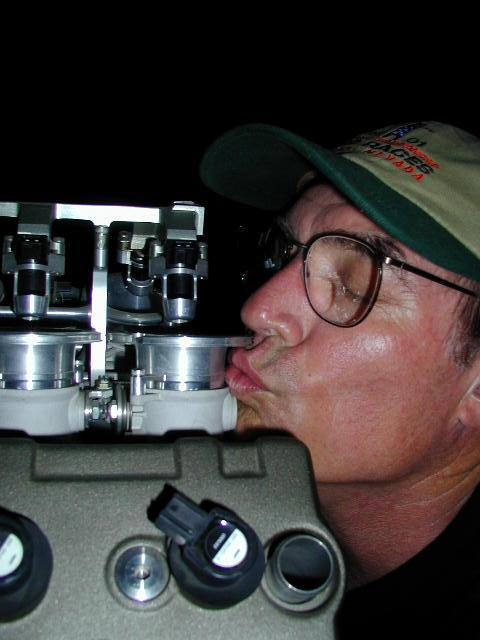
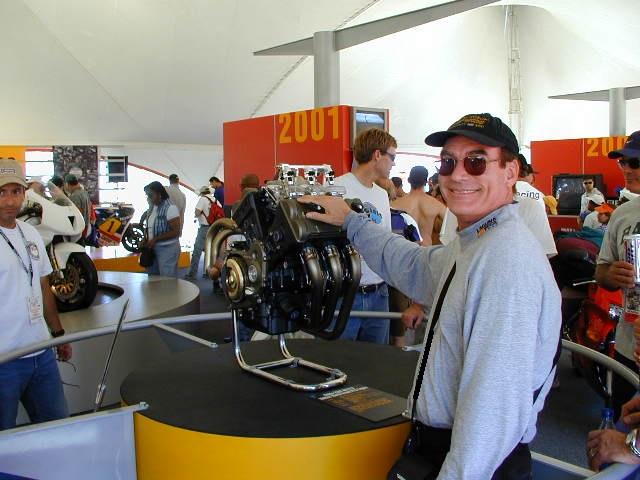
Amazing engine. As a technician, the most remarkable thing to me is how refined it is; the one in the picture is surely the unit for the production bike, but the root is undoubtedly the racing engine; that's a sign of how good its design was
-

What did you do to your VFR Today?
DirtbikesRule replied to weee06's topic in Eighth Generation VFR's
The previous owner of this bike had installed shorty levers for some reason. It's something that has bothered me from day one, but I didn't do anything about it. I don't know why I waited so long to replace them, and now that I have....wow. I feel like I'm on a new bike. Bike doesn't look any different in pictures, though, so that kinda sucks 😅
-
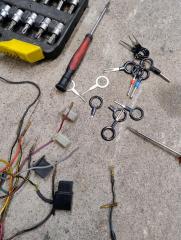
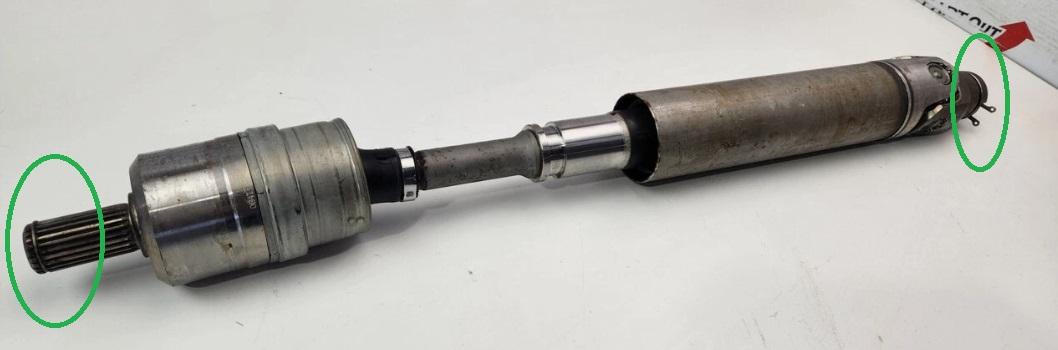
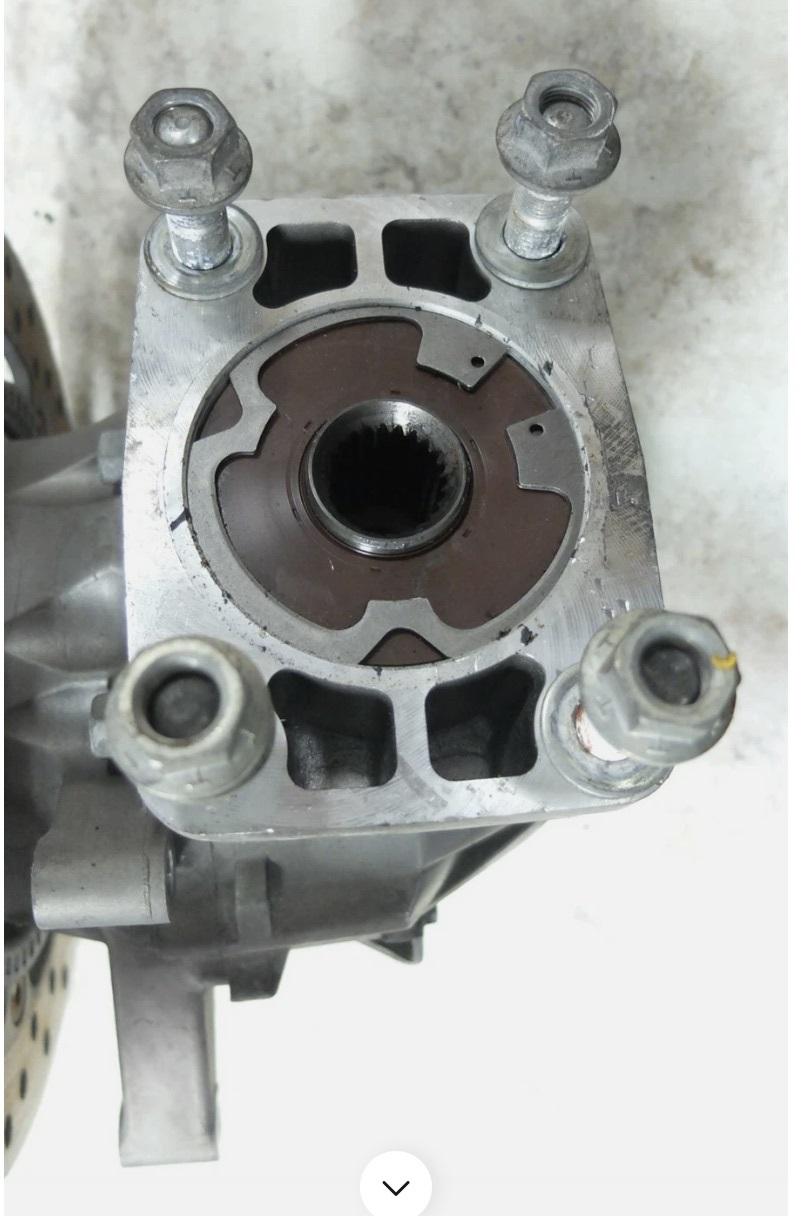
Thanks for the suggestion MBrane. The frustrating thing is that I believe I am spreading the circlip ends fully but I just can't get the clip to recess into the groove on the inside of the prop shaft and fully out of the groove on the output shaft, with all of the splines that are there. I think the circlip may be distorted somehow, doesn't seem to have a lot of spring left either. Or maybe corrosion. I decided to leave it alone for a day as it was making me pretty frustrated. I am hopeful that I can proceed to refit the final drive without disconnecting this circlip. The prop shaft pushes into the final drive with a spring clip that expands into a groove inside the splined cup, and it is just a push fit. If I can hold the prop shaft from sliding back up the tunnel this should be do-able, I am thinking of wrapping a hose clip around the prop-shaft as an anchor point to work with. Along the prop-shaft is a CV joint which feels pretty springy; the manual cautions not to yank too hard to avoid tearing the CV boot. For those who wonder what the heck I am talking about I present a nice image from eBay; the right circle shows the ends of the circlip on the motor end, the left circle is the spring clip on the spline that meets the pinion gear at the wheel end. If only it was all so easy to access on the bike! The shiny silver section next to the left green circle is just accessible with the bevel casing removed.
-
I recommend Knipex snap ring pliers. I sprung for a full set some years ago when I tired of fighting with cheapies or improvising. It has been money well spent.
-
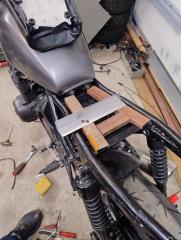
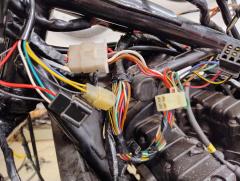
 Work bike was down for 7 months while I rebuilt the shock, and made a heat shield to keep the exhaust from baking it, and the critical wiring above. Also installed a new harness on the stator since I discovered one of my butt splices was getting crispy. It's now all one from the stator to the R/R. No more splices. Play bike did commuter duty during that time so now it's her turn on the lift.
 - Yesterday
-
 Agree - I used BrakeCrafters for my caliper rebuilds... very good kit... Will use them again if I need anything.. Also, they are local to me, I can show up on their doorstep and pickup anything I need, a big plus....
 -
 if you need somewhere to get rebuild kits for the hydraulics i can heartily recommend these guys https://brakecrafters.com/collections/1999-Honda-Interceptor-800-VFR800F
 -
I just pulled the trigger for a complete rear head of a 1986 RC24. This way I will get cam as followers, and some spares.... And bought from a place I can return if not in good nic. 75€ is not so bad I think.... Might be a overkill to get a complete head whit cam's, but feel's best this way
-
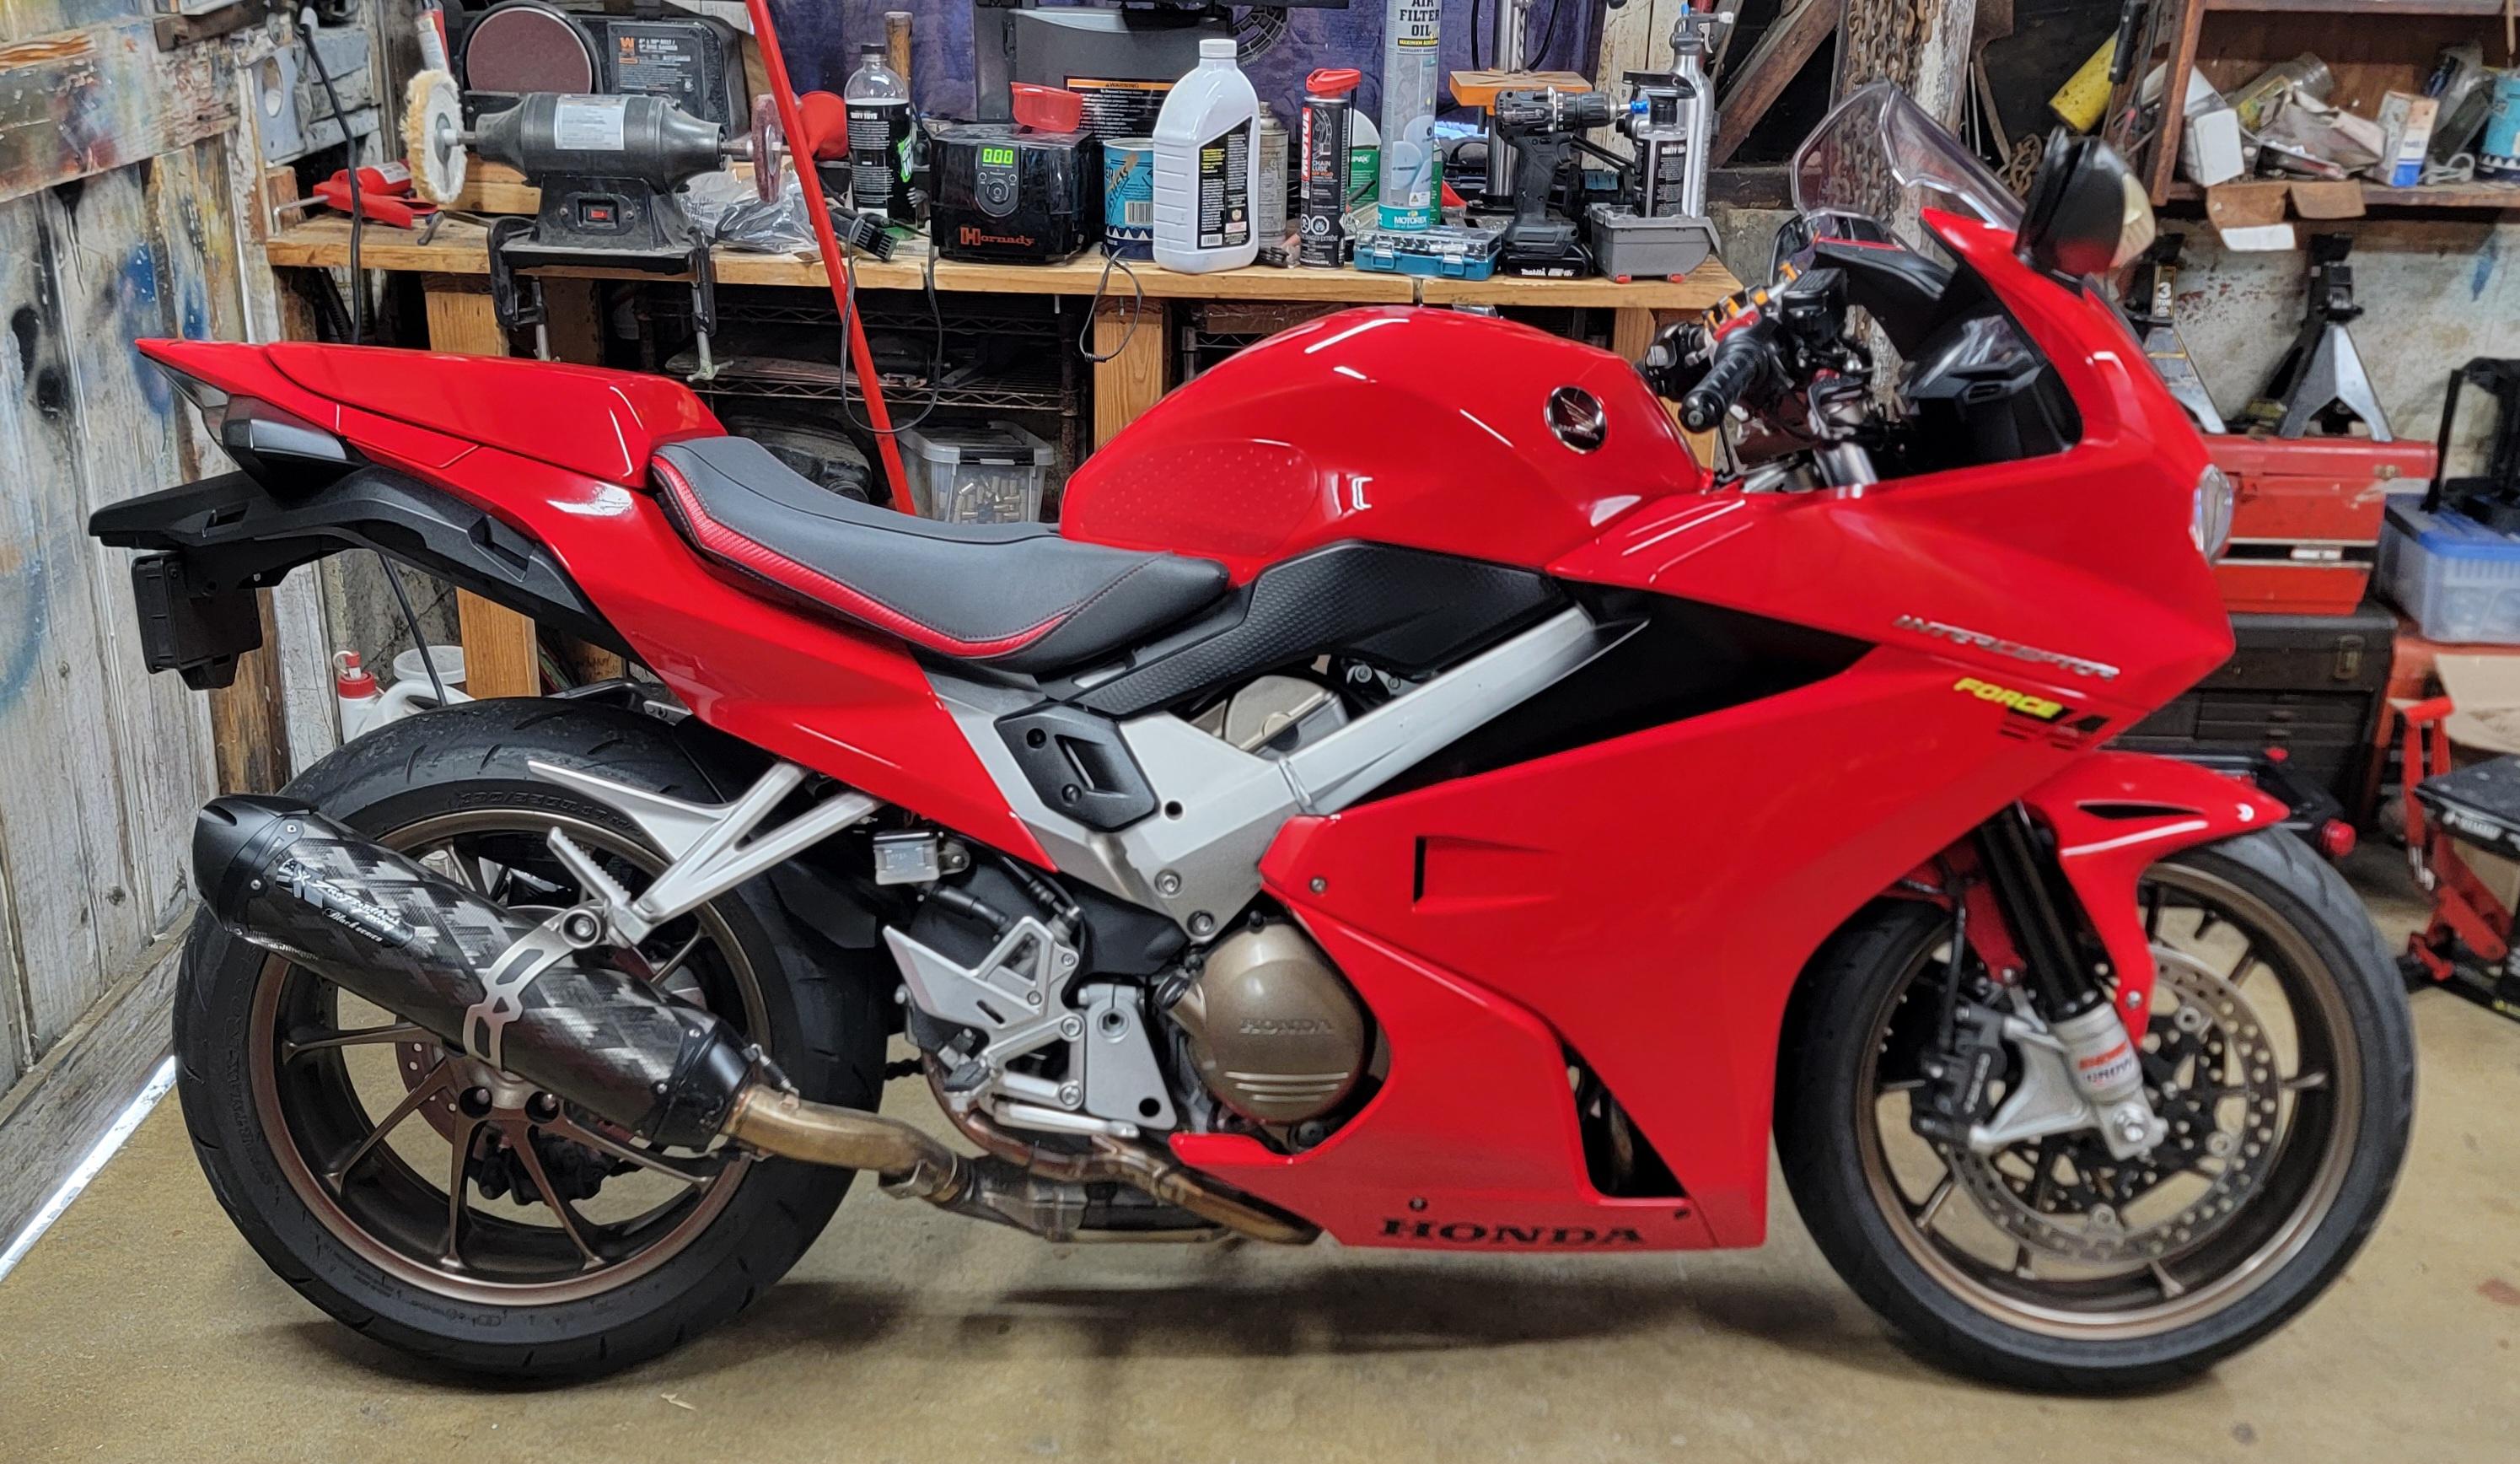
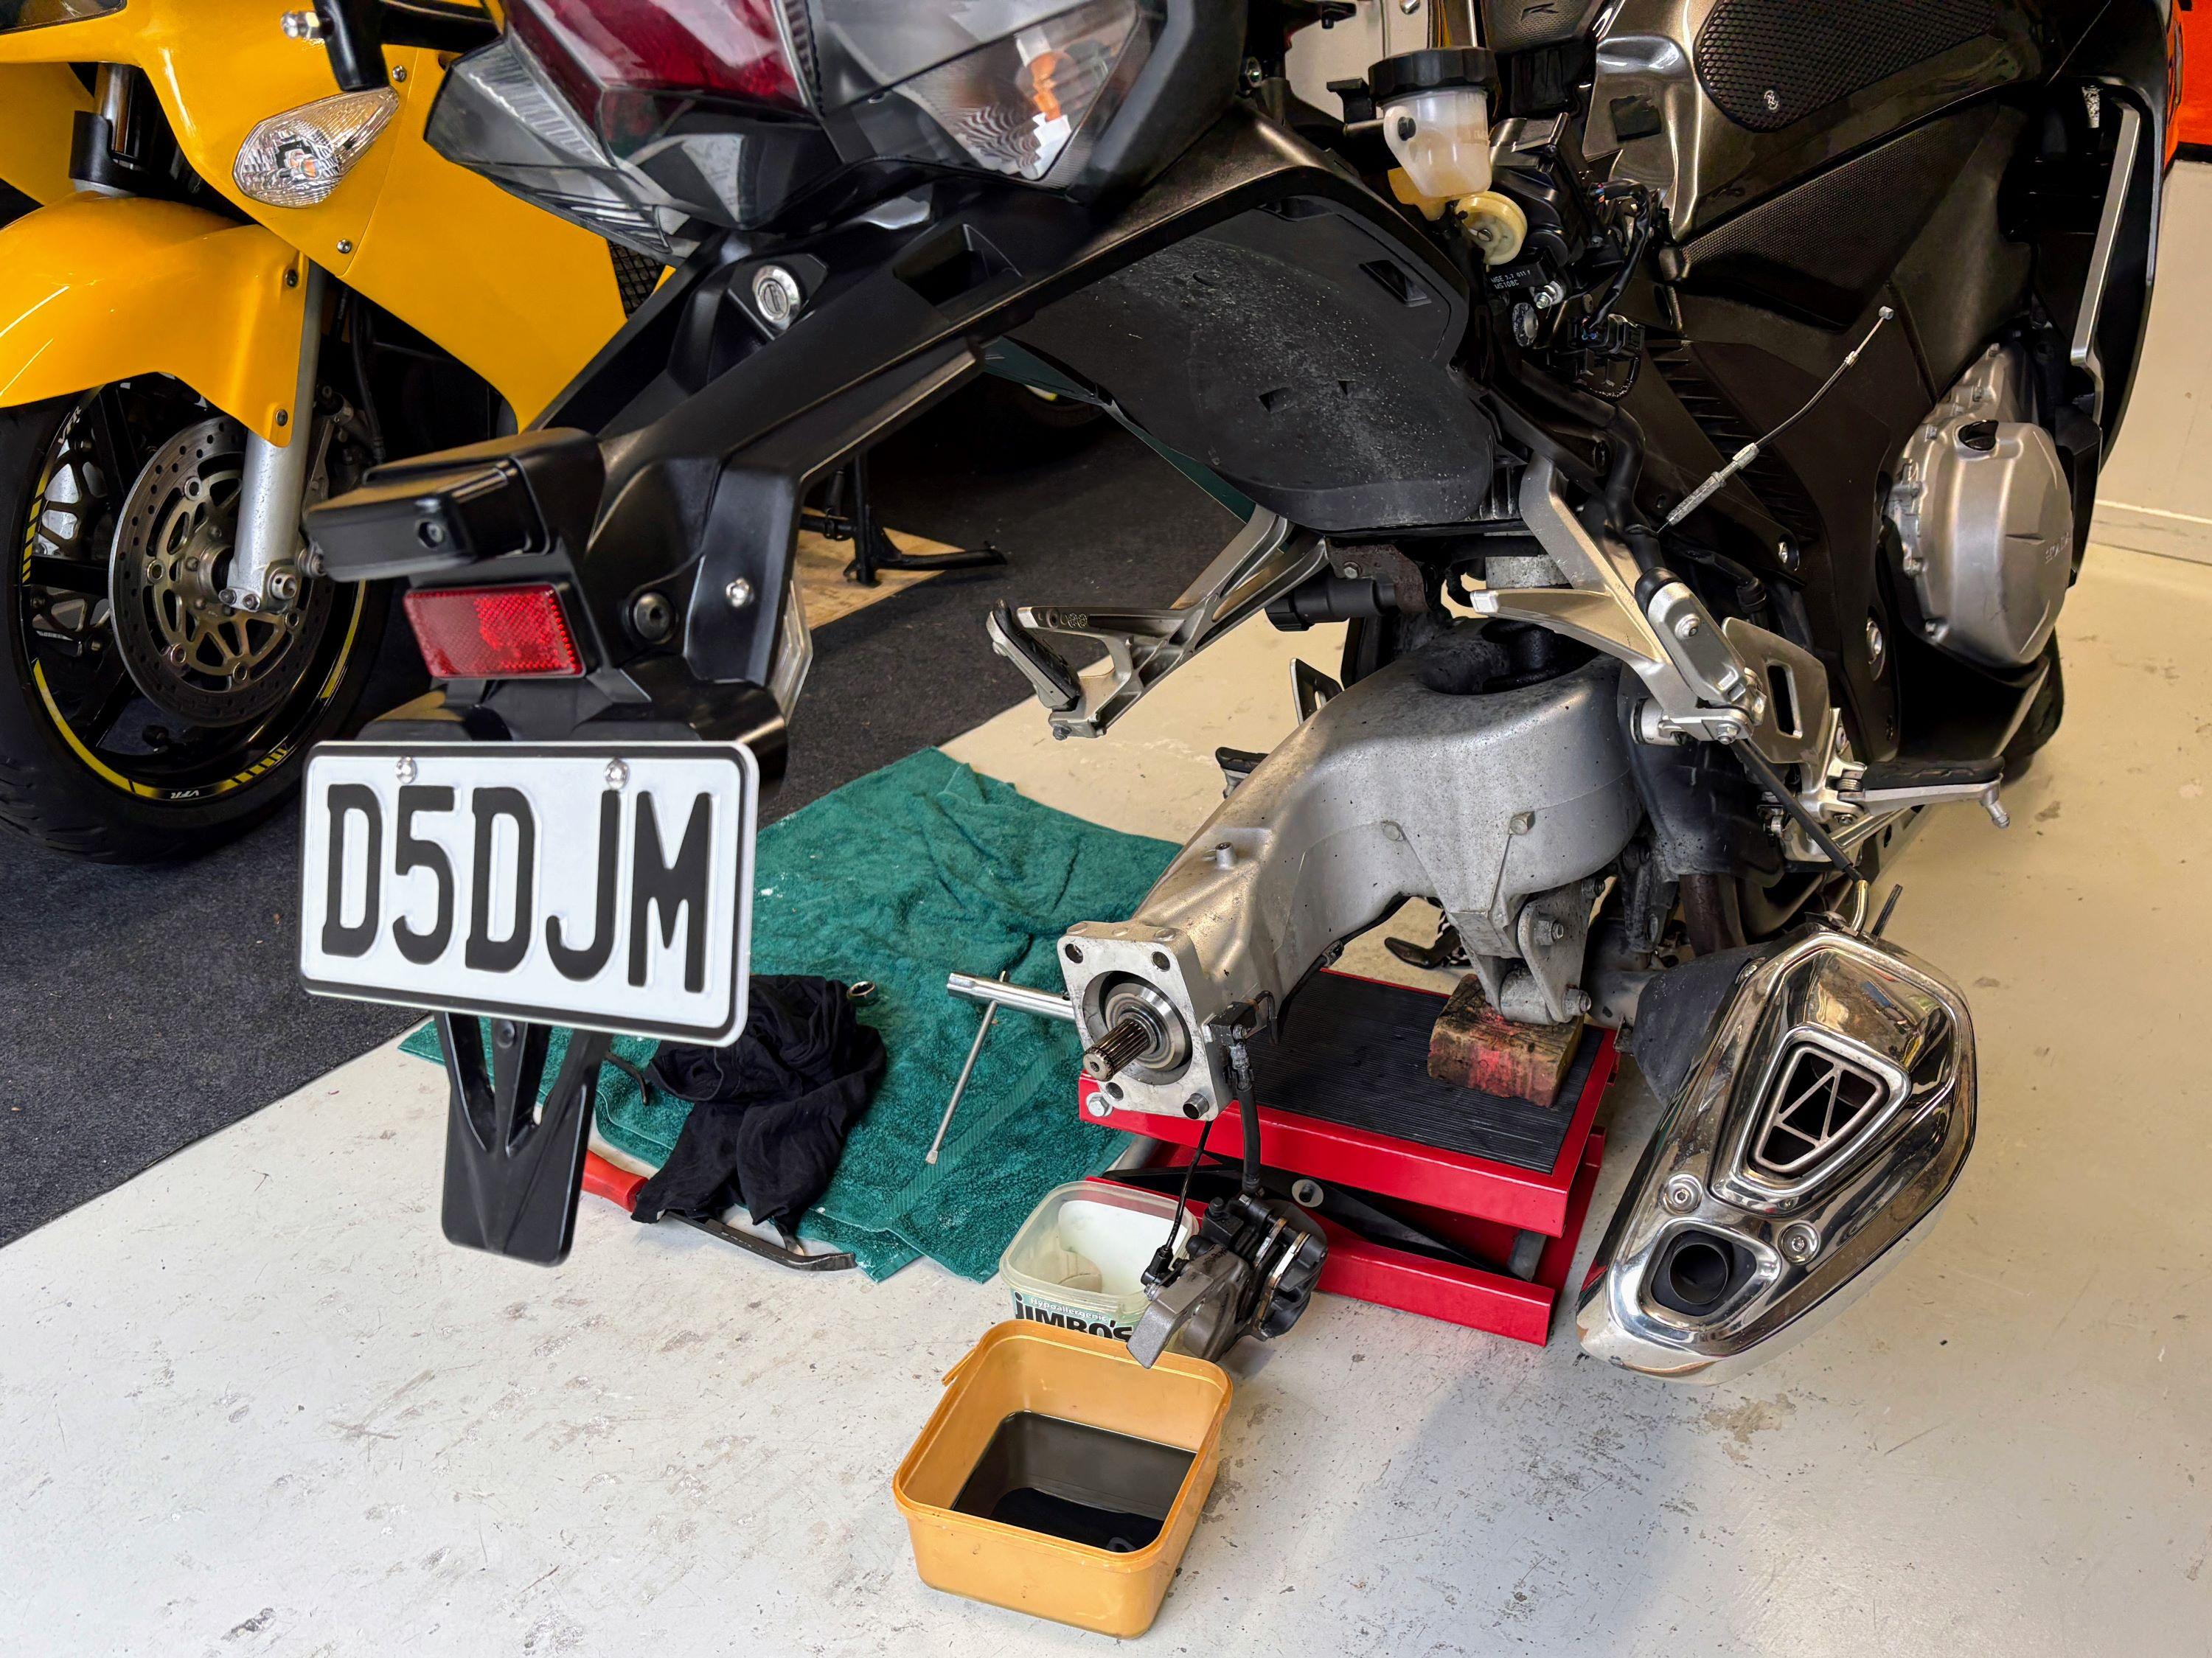
So..... here the bike sits at the moment... not much left to do, normal stuff. The clutch MC fluid looked like coffee, so dumped the whole system and clutch slave... refresh soon... Since the weather is turning to shit...... debating whether the mount up the rotors.... new tires and everthing else... or wait to March... Jeez, never thought I would have the bike down for a season...
-
I love your confidence Lorne. I cracked on with removing the final drive case. The manual helpfully just says to open the drive boot (at the motor end) to access a circlip that holds the prop shaft to the output shaft and slide that back...and that circlip will not release at all. I may need circlip pliers that expand a bit more than the ones that I have, or figure out some other way to spread the circlip and get it off the output shaft groove. Unfortunately it sits inside the final drive end with just a small cutout for access as you fight with the rubber boot. Suggestions to the usual address please! I am wondering if (in following the general themes of corrosion) the drive splines are actually a bit rusted together and the circlip isnt the only problem. So have given the area a good dose of penetrating oil. On the other hand, the drive shaft was able to be removed from the bevel case with a little wedge encouragement so that FD is completely off; loads of oil drained as this was removed from the shaft tunnel/seal area (which should be dry), so there's my smoking gun at least. I will keep persisting with the little bastard circlip as I think I need to be able to push the drive shaft end back into the spline on the bevel case with a bit of encouragement, if not I will need to wedge the shaft to stop it sliding forwards when I remount the FD.
- Last week
-
Hello everyone. Back in June, I put a Kenda behind a half-used Bridgestone. Cornering grip and transitions very good. A couple of times I skated a pebble mid-corner, and the tire hooked up instantly. Even as I approached the wears bars, performance stayed consistent. I slow way down in the wet. I got 4000 miles, and it is done. Dennis Kirk had the KM1 set for $180 delivered, which I am mounting today. I ran 42/42 this summer. I had some feathering like in @DannoXYZ 's pic. I plan to tweak pressure to see if I can smooth it out. Did you ever run KM1's at the track? How did it go? Thx.
-
Some of it depends on your lid. Some like to be behind a screen some don't.
-
Bit of an update: Confirmed on a ride yesterday that my bike defo does not benefit having a lower screen vent to allow air under the screen. Violent turbulent air hammering my lid, started around 90ish & got progressively worse with speed, now more tolerable, it's far from perfect, but by stuffing a microfibre cloth in the vent, it moved lower edge of turbulent wind upwards several inches to upper lid area, feels much like any other screened bike at this speed, had a few blasts up to 130ish, which was impossible with vent open, it's now tolerable, still hate this feckin screen, its gotta go as soon as I can find an MRA that's not silly money. Dunno wtf Honda were thinking back in the day, , never had this issue on any bike, so folks, get stuffing if you're having turbulence problems.
-
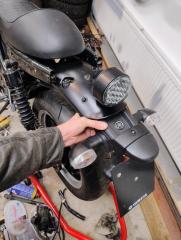
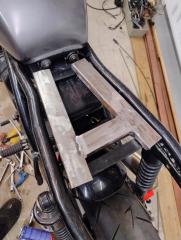
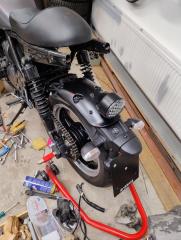
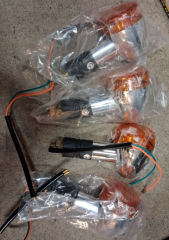
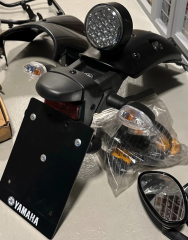
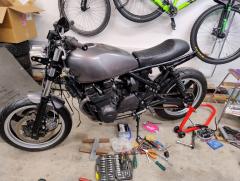
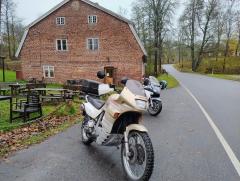
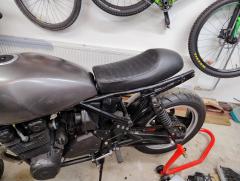
As I know the electric is sorted, it's time to think of rest of the bike. Like the tail. It's a bit of dilemma through. I'm building this more towards a Scrambler than a Cafe racer that it was as I bought it. Reason actually I like to have a motorcycle I like to ride longer distance than to local cafe in city (not the one I usually visit as post pictures from) whit some comfort. In a way I like the seat that came whit the bike separate that I fitted. It would look great when colored same color as tank (thro will not be silver or gray), and even has vision for mounting the small round taillight into it, as think it would look cool. The only back side is the seat is nothing you want to sit on longer than 5 minutes..... I actually bought a other seat for 20€, new from one that could not get is sitting good on its cafe build, perhaps better for a Scrambler?, that also feels more comfortable. It need heavy modifications for the frame tail section through. But I think I'm leaning towards the later. So I started whit some tails for the seat, need to get them welded together, the aluminum profile is there for support so I get all located right. For the rear section I ordered a loop. Found 4 new turn signals on local marketplace for 20€ Then also bought from local marketplace a Yamaha XSR 700 rear fender whit tail light as extender whit turn signals (that I don't need) I don't know if I will use more than the main fender as taillight, but for 30€ think it was ok Talking of price for parts. There are 3 OEM parts I need for my Zephyr, a neutral switch, a plug where the Koso engine temp sensor is and a tiny bracket on carbs that hold the chock cable. You would believe the neutral switch would be the most costly but nope I think I will make a bracket myself..... Yesterday, even end of October it was surprising warm for time of year, so of for a spin even road's wet from the night's rain, and to where, sure the favorite Cafe along the nice curvy road. Hopefully more rides this year still!
-
this one is fighting you tooth & nail, Terry. But I suspect you'll prevail.
-
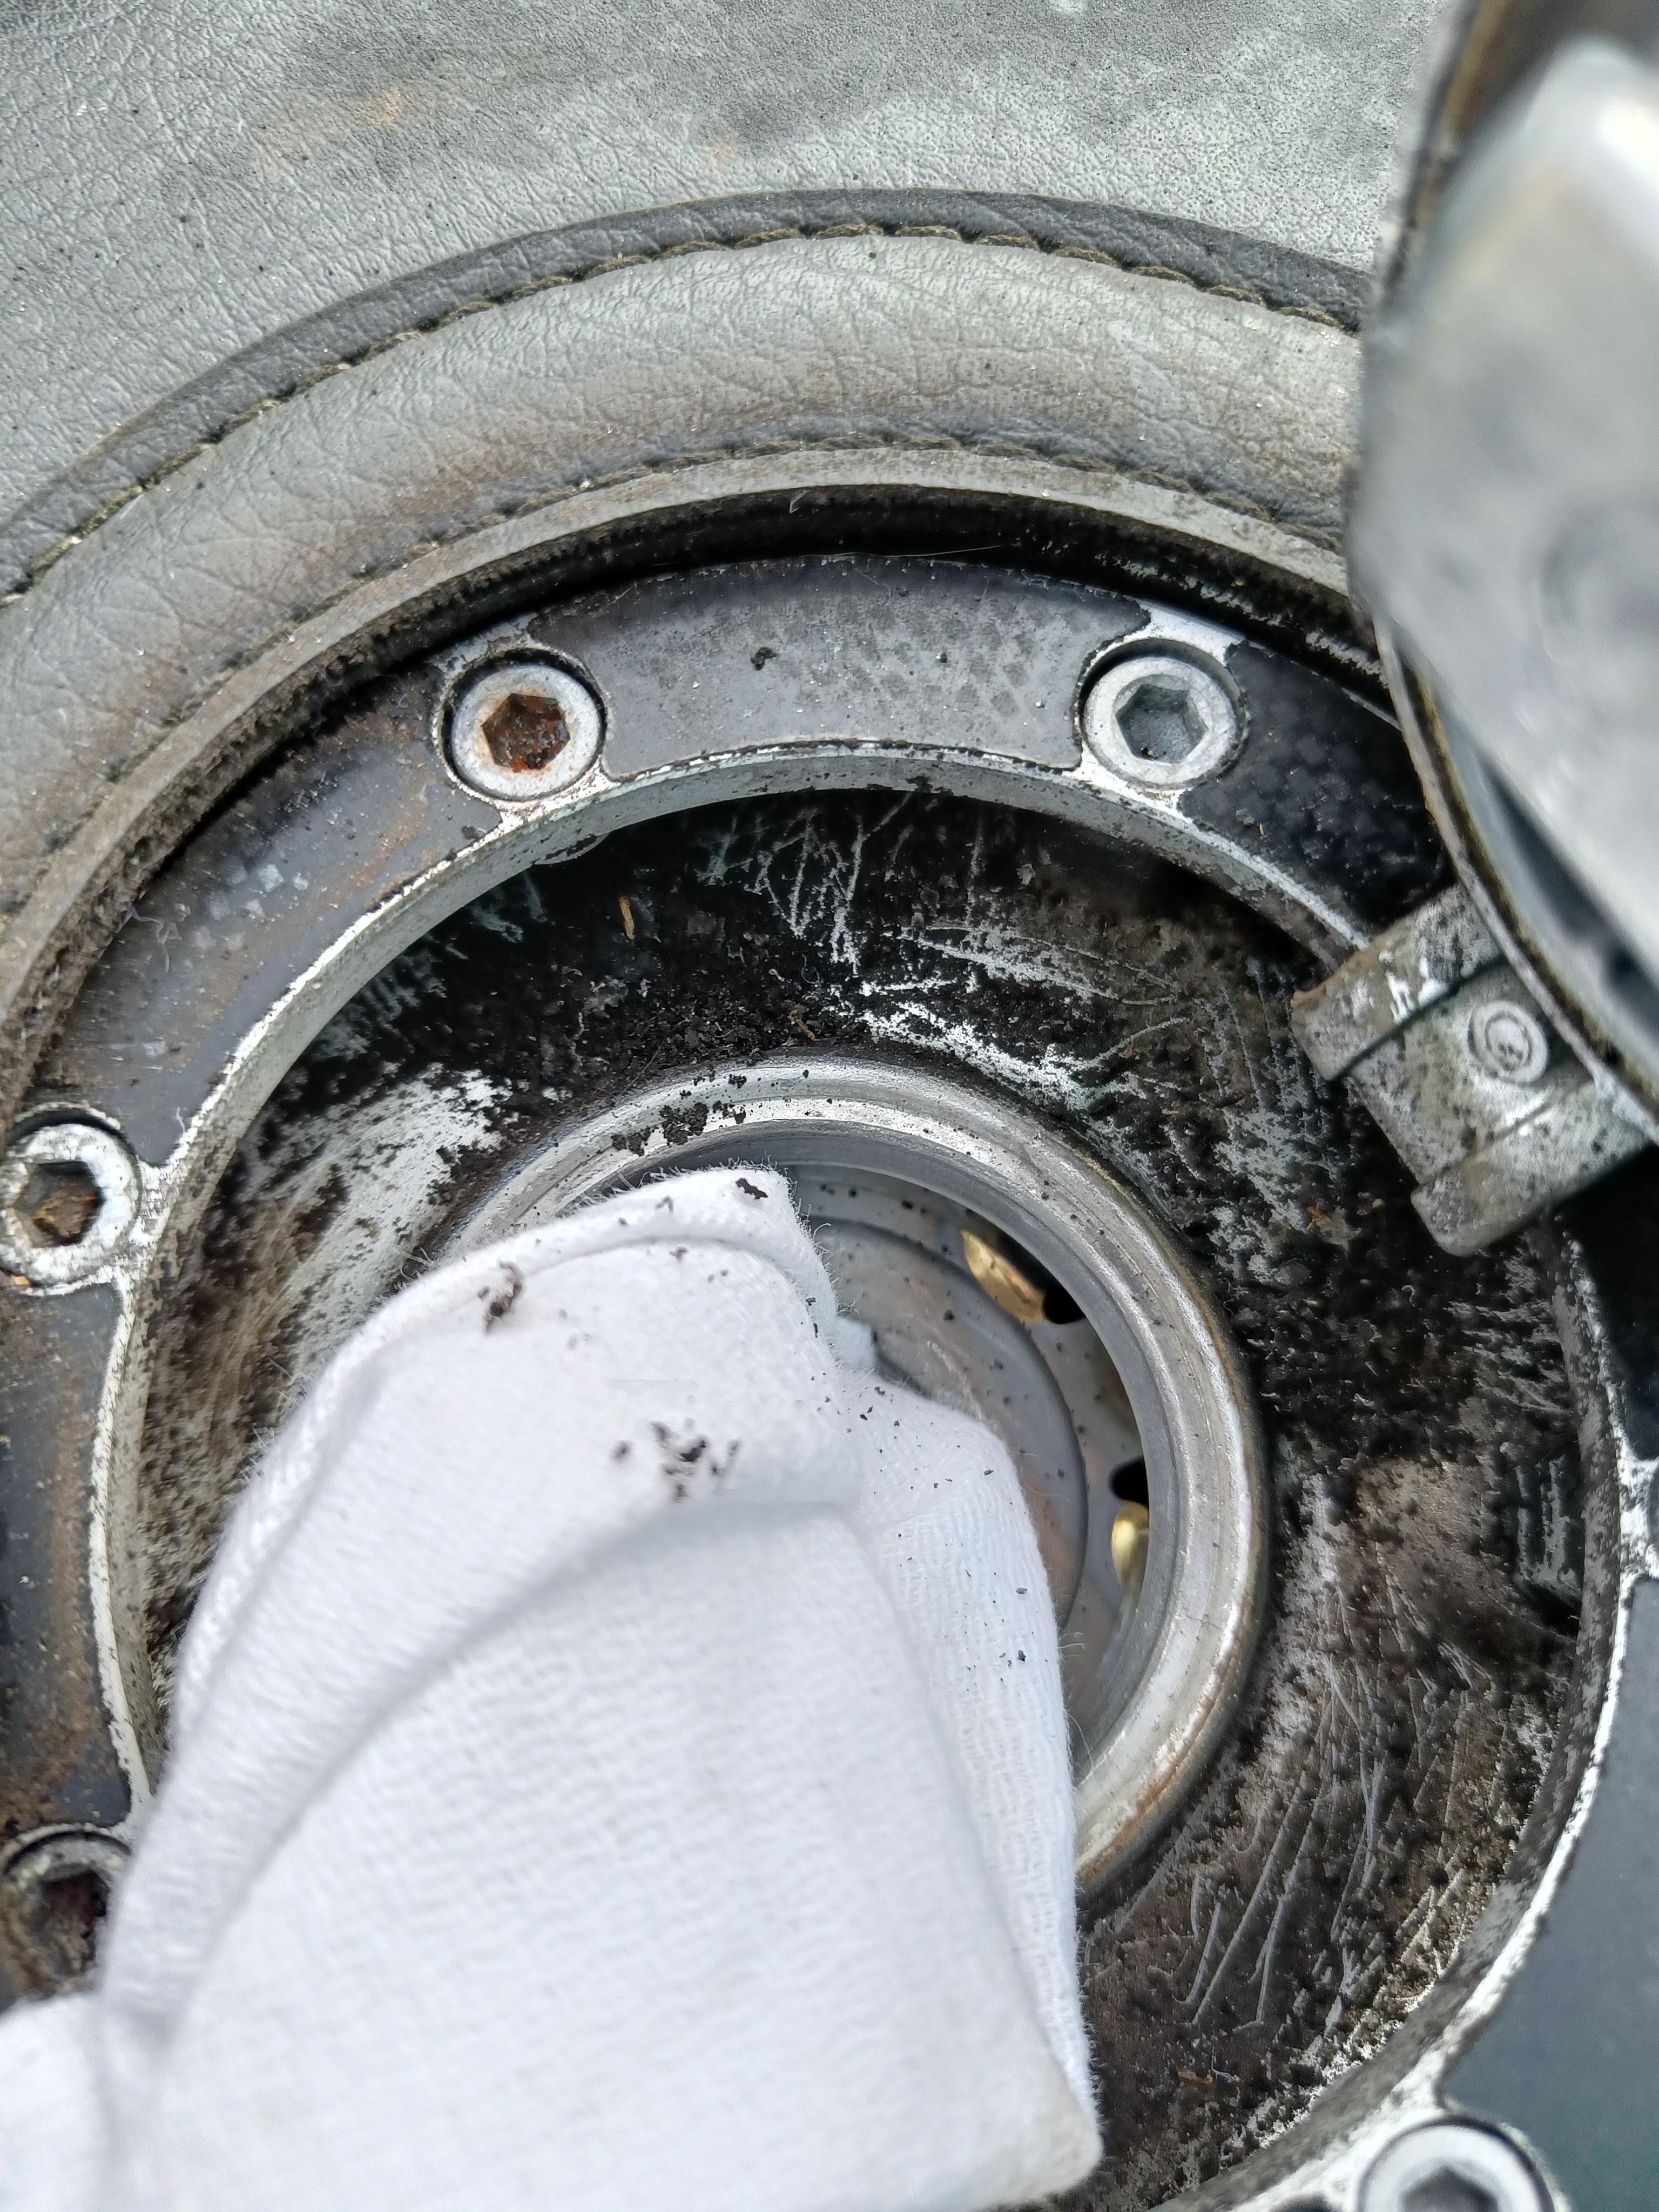
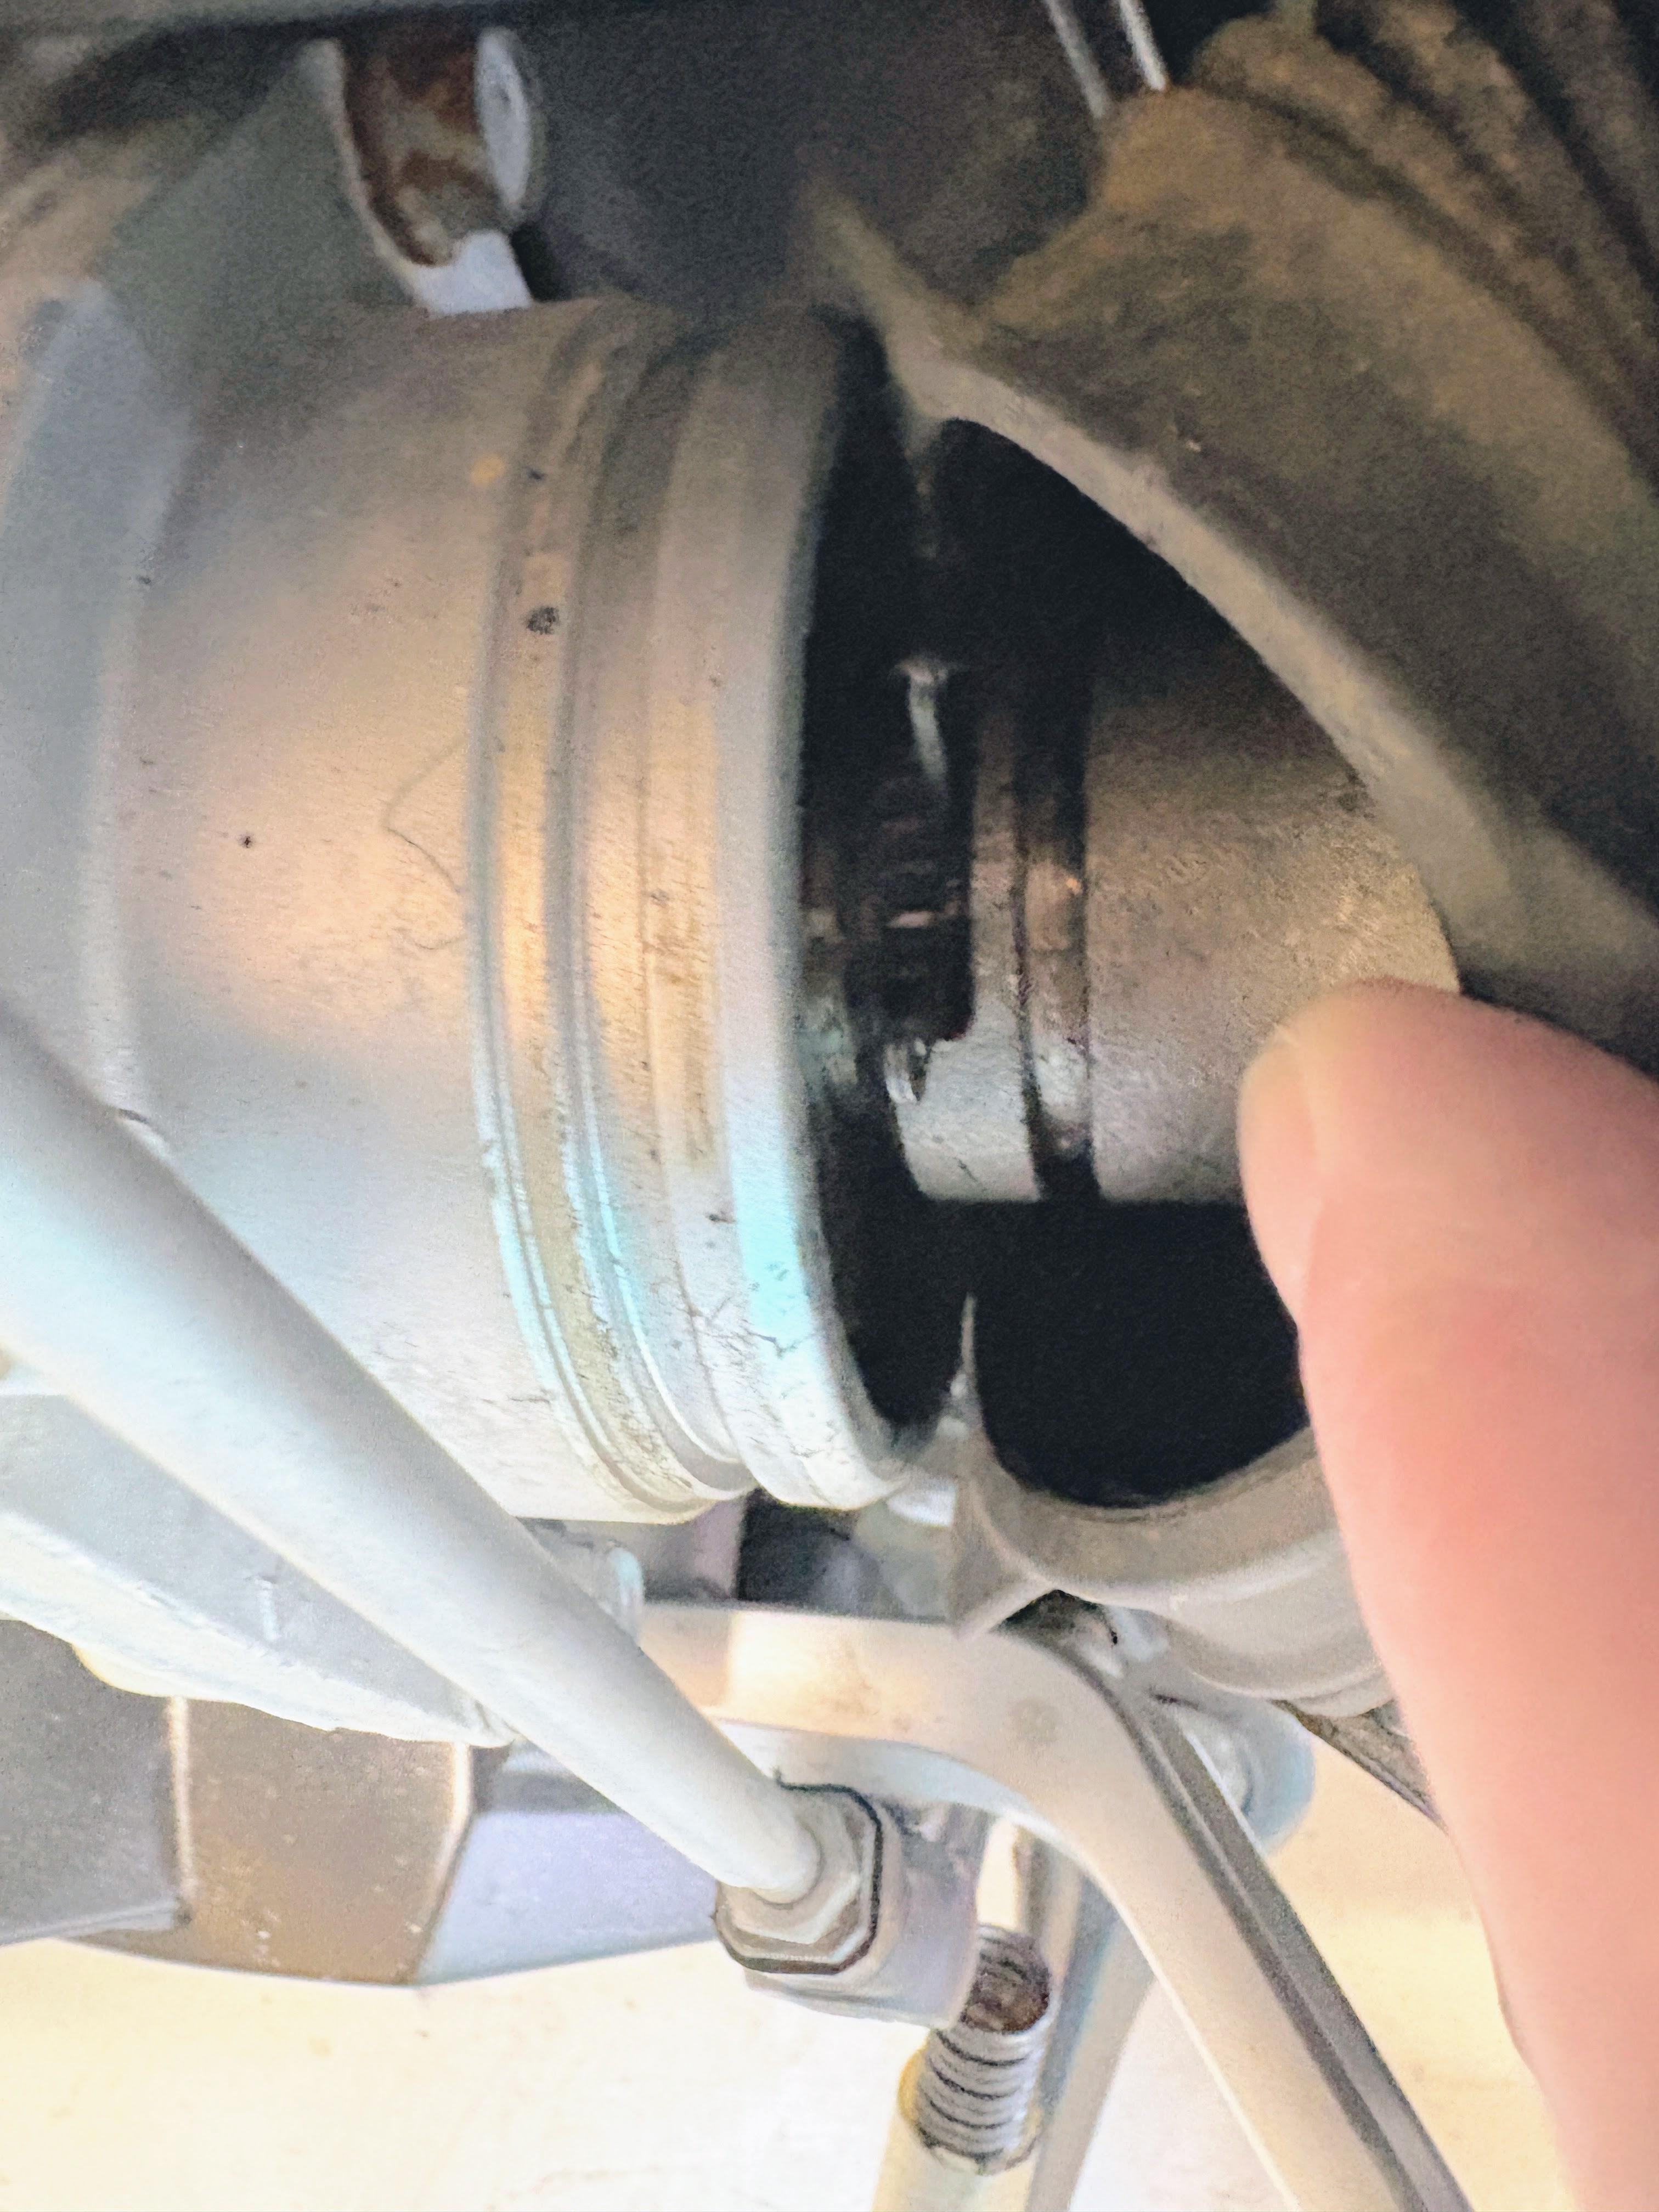
Or did I find the oil leak? Earl has been sitting quietly in the Mancave with the FD draining into a bucket, but there was also some fluid leakage on the floor, which had come from the joint between the bevel casing and the swing arm. There is of course another big oil seal in there (see handy photo), unfortunately this one will need more serious surgery as the shaft must be disconnected at the motor end and the bevel casing unbolted. Not completely new territory as I did something similar to my ST1100, but I hadn't expected to be solving a shaft oil leak on this one. The FD case shows witness marks on the retaining nuts and some pry marks too, so someone has been here before, probably from one of Earl's earlier crashes. Ho hum, more parts to order...
-
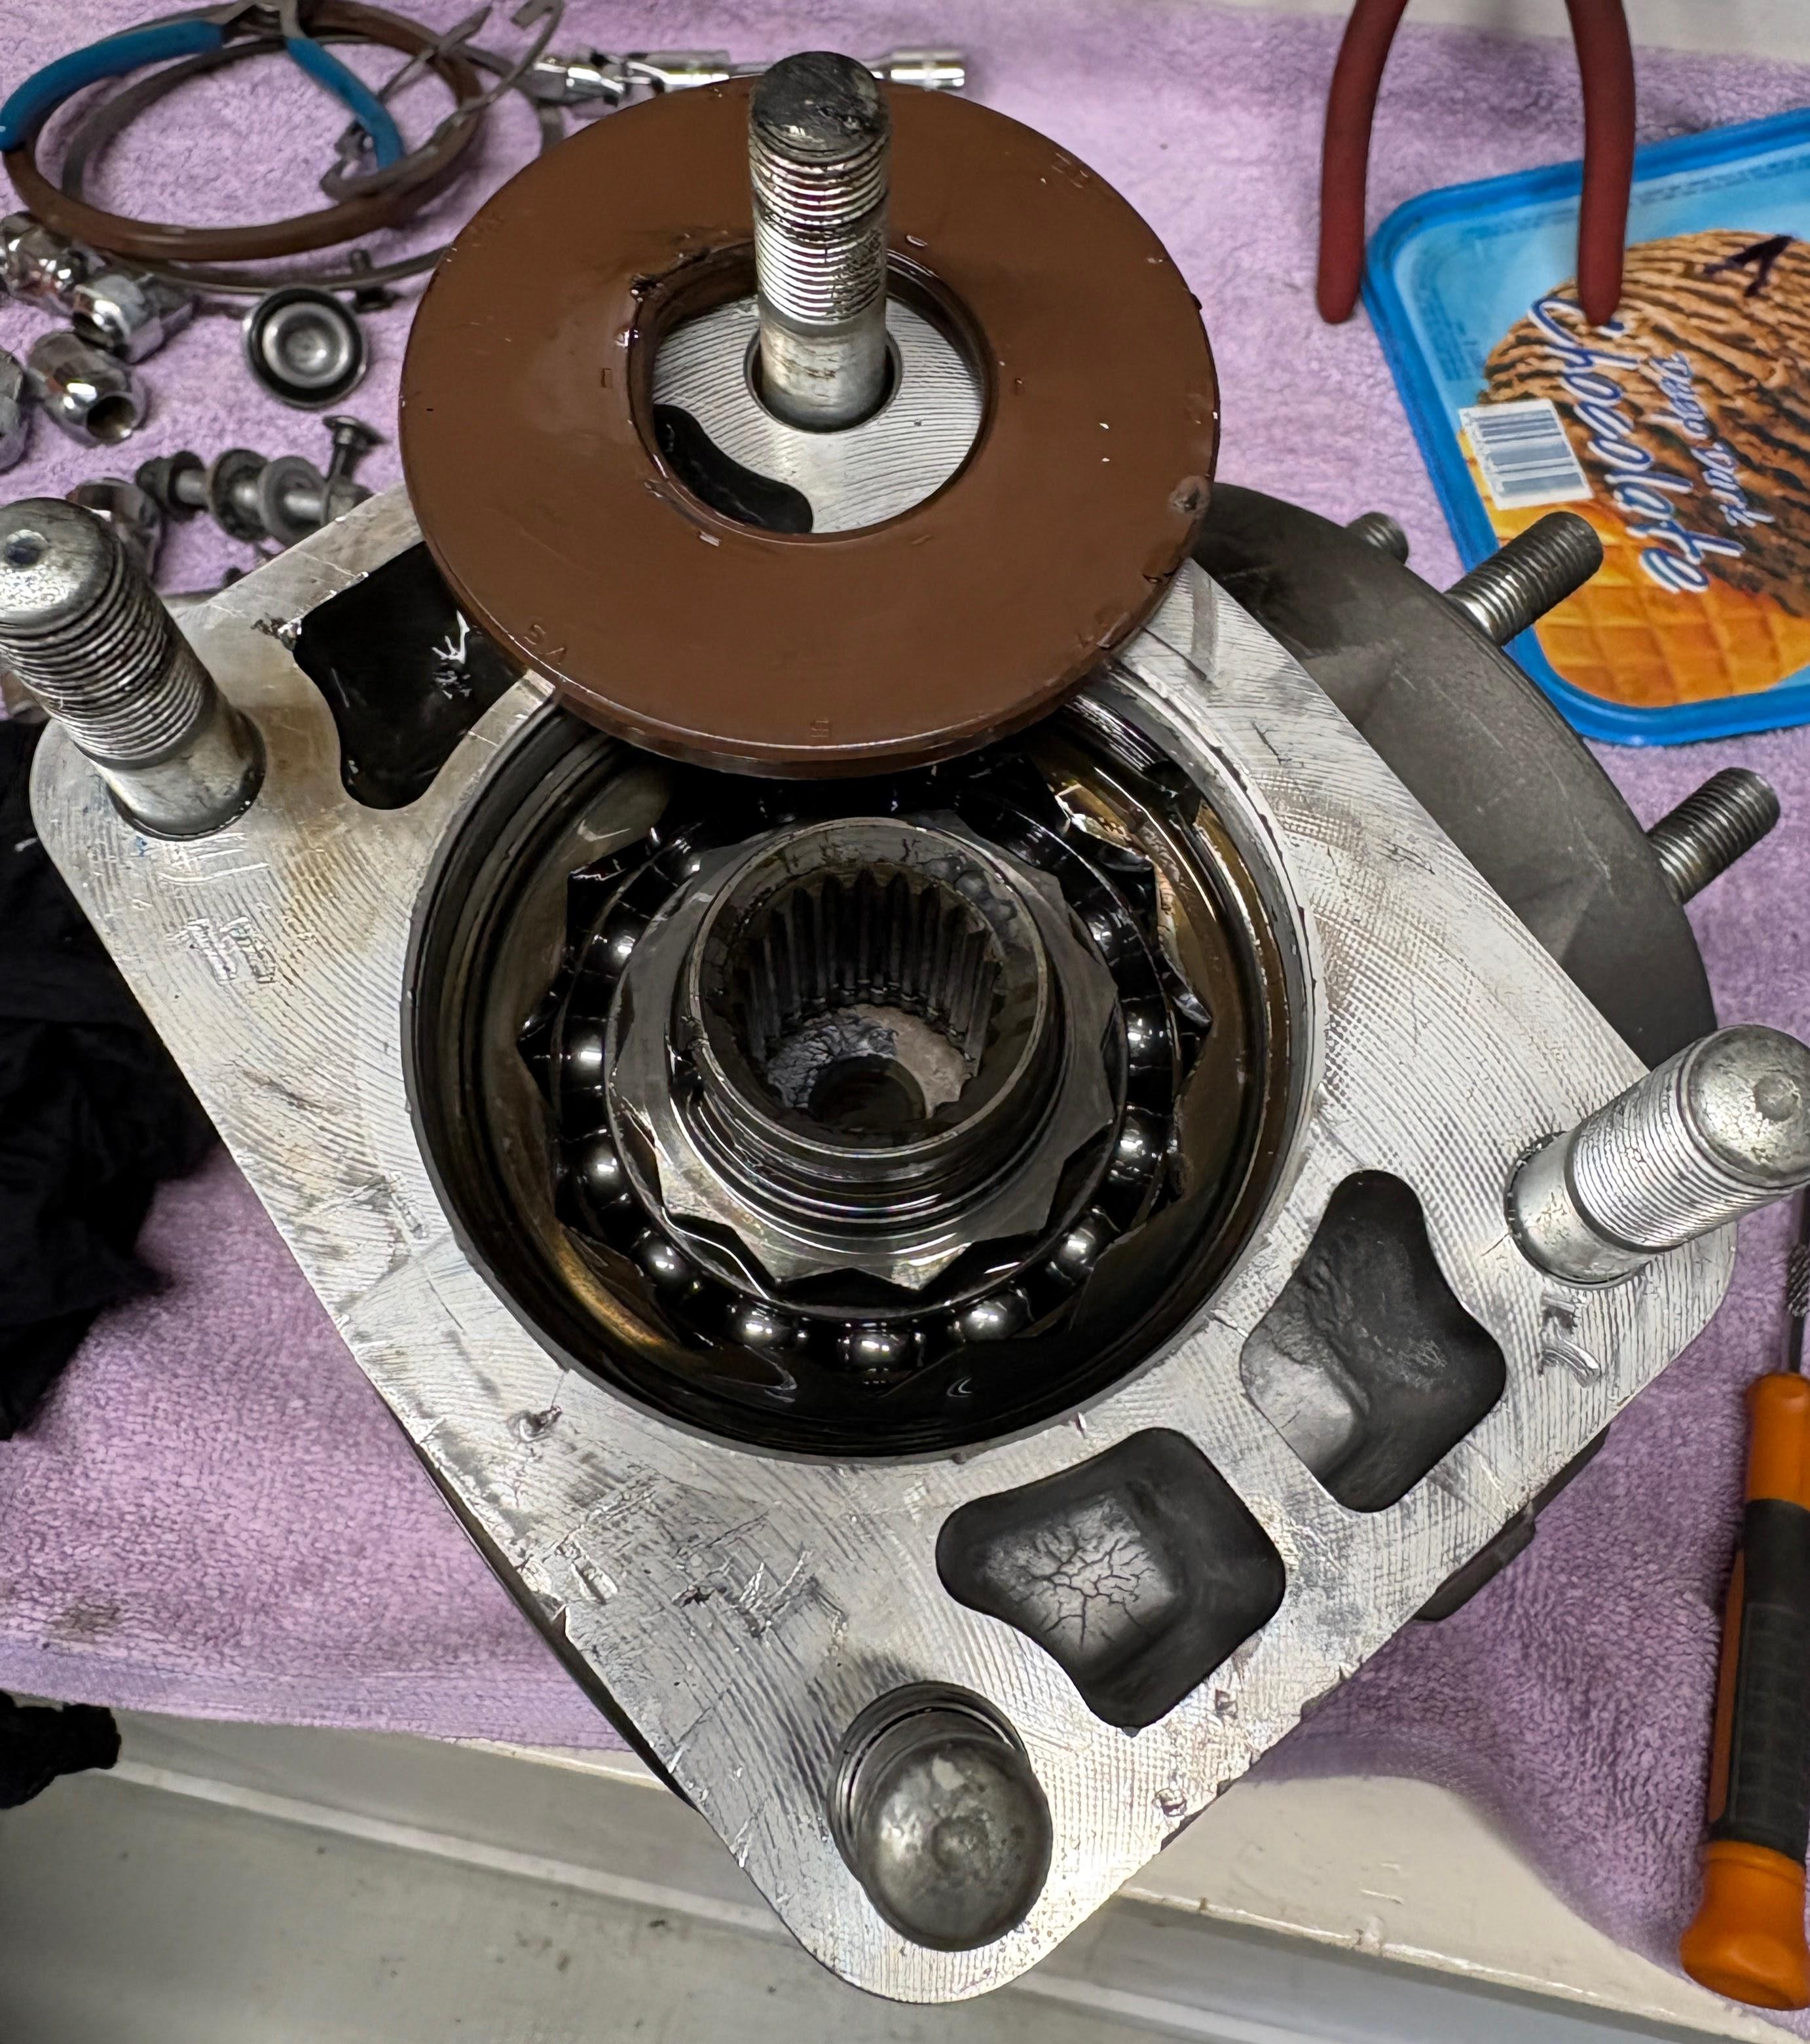
My leak came back so I pulled the rear hub down again and found the main oil seal on the wheel hub was slightly torn, at 12 o'clock so the area least likely to be oily during long term storage. Possibly just a result of sitting outdoors in salty air, then being moved? Anyway the seal was easy to pry out once the circlip was removed, no other FD disassembly was required. Hopefully a new seal puts this one to bed.
-

1992 750 fuel starvation
Gaz66 replied to flyintwowheeler's topic in Third and Fourth Generation VFR's
Looking at dealer parts screen, no tank vent is shown, so based on this, it'll likely vent thru the filler cap like all other carb'd Honda's. A quick way to confirm if tank vent's blocked is use a spare key, have filler cap unlocked, if bike runs ok, tank vent's defo blocked. If you've no spare key, cap can be unlocked & key removed by compressing the seal section upwards while turning key into the locked position, cap is effectively locked but still open. Other issues could be the cause of bike cutting out, but the above check will confirm if you have a venting issue or not. 👍


-
VFRD Mission Statement
For owners of the Honda Interceptor and related Honda V4 motorcycles, for the purpose of mutual help concerning safe riding, maintenance, and performance of their motorcycles.
Rules of the ride - No one goes to jail, and No one goes to the Hospital.
Contributions - VFRD is a member supported website with no commercial advertising.

-
Forum Statistics
-
Total Topics26.6k
-
Total Posts362.9k
-
-
Who's Online (See full list)
-
Member Statistics
-
Upcoming Events
No upcoming events found -
Latest Classifieds
-
-
Top Downloads
-
-
Popular Contributors
-
1

-
2
-
3

-
4

-
5
-
-
Blog Statistics
-
Total Blogs116
-
Total Entries345
-
-
Gallery Statistics
-
Blog Entries
-
-
Blog Comments
-

By vfrpilot28 · Posted
I enjoyed reading this and seeing your story. For the love of motorcycling! -

-
By interceptor69 · Posted
Oops. I do believe I know how to post YT videos or they wouldn't be on YT. However I may have screwed up copying the link to the playlist. Thanks for the helpful comment. -
I think that you might not know how to post videos. You're in your YT studio in these links. You need the link to the actual video.
-
-
-
Most Contributions
-