-
Featured Gallery Photo
 DSC_7455.JPG

All Activity
- Past hour
-
Thanks all to all have done this...
-
@SEBSPEED & @SteyrTMP : I have send Mike my draft conversion, so in case you don't want to burn your time. I work with FreeCAD and I warmly recommend it.

- Today
-
Ok Honda had to order the recalled harness… So I’m sure that will take 60 days or more. 😔 He said no one carries them in stock, they have to be ordered by VIN, not sure how true that is…
-

what have you done in the hope of increasing the powers
Timuli replied to Timuli's topic in Sixth Generation VFR's
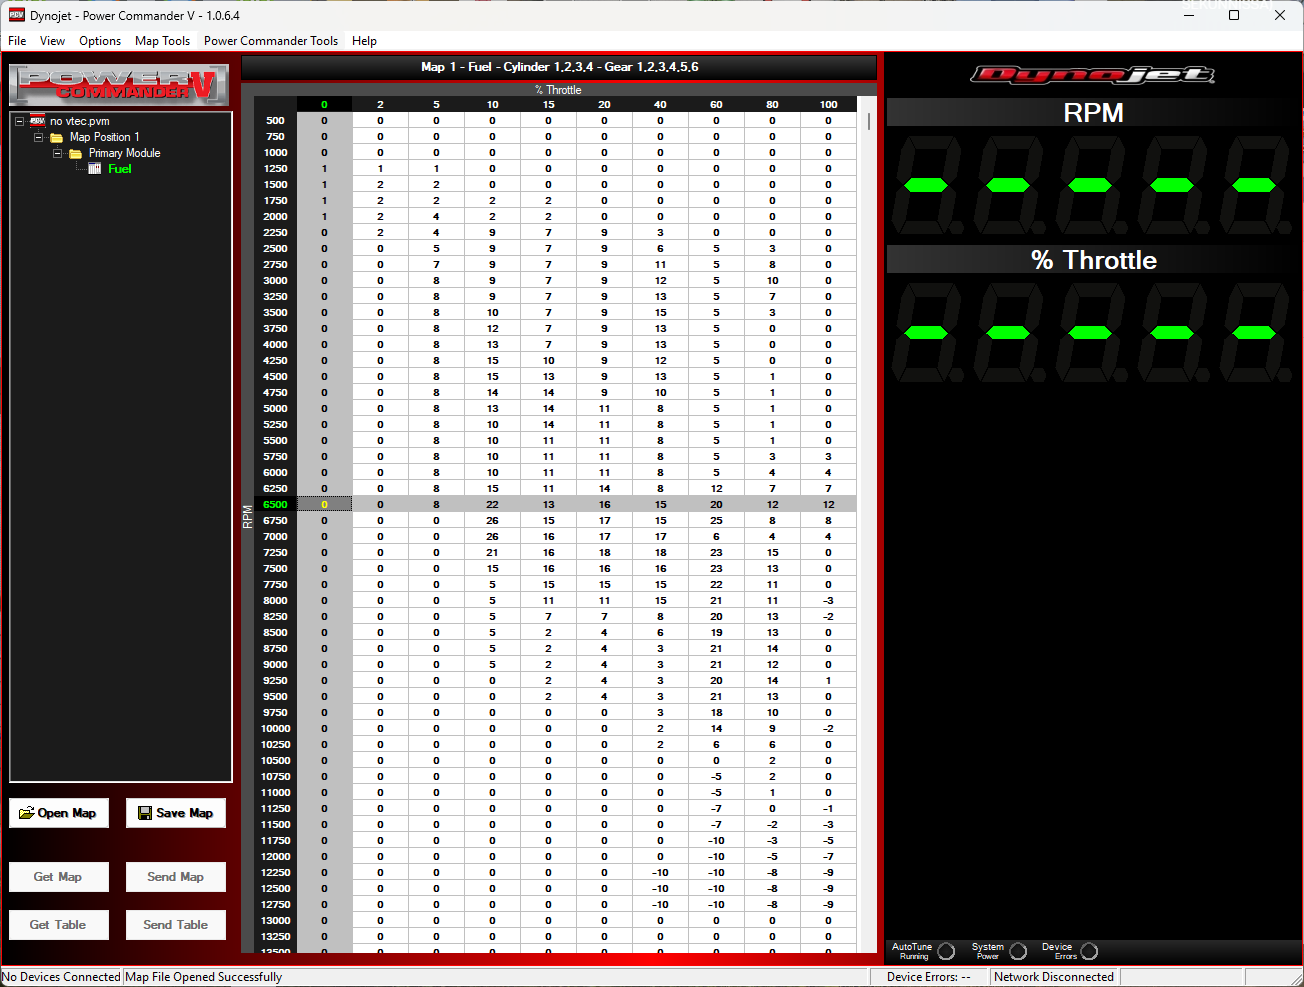
This is my fuel maps. First fuel map is originel setup 2023 Second map is originel pistons, deactive vtec, tunet cams and homemade exhaust 2024 and last map is 825cc, ported cylinder heads, deactive vtec, tunet cams and homemade exhaust 2025 The last map shows how much the fuel supply had to be increased.
-
You do realise this is a 15year old thread right !
-
 moaksip joined the community
 -
 KA2014VFR800 joined the community
 -
Rear Rack suggestions for a 2014 VFR
KA2014VFR800 replied to PACIFICMAN's topic in Eighth Generation VFR's
Hi, I have a 2014 VFR800 and I’m looking for a rear rack, most likely to mount a GIVI top box. I’ve come across a few options online that are listed as compatible with the 2014 VFR800, but some of the same items are also listed as fitting different specific models — which makes things a bit confusing. Could you please advise on the correct rack for my bike and, if possible, provide the item code? Thanks in advance! -
 MaxTJC joined the community
 -
 yariev joined the community
 -
Look in here
-
I'd be looking at the electrics. Check the connections on the ignition coils and check the resistance values of the coils and ht leads. The values are in the maintenance manual.
-
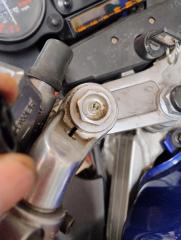
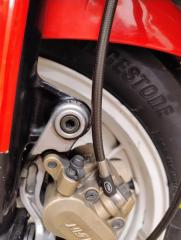
So this morning I decided to sort out the stiff front end as the front brake feel. The front end stiffness was easy to sort as former owner seems to have added quit a bit air pressure to the fork! Taking it out did make the forks feel normal! Guess it's a thing I should have checked, but guess I forgot as my other RC24 has billet caps whit out a air valve 🤷 Then to the front brake feel. Some former owner has put brained brake lines But only the 2 lower The upper from the M/C is still orginal. As I changed to 2 long on other RC24 instead of the original like 3 setup, I have a spare set, so just take the upper from that set It was quite straight forward to change whit some care to not spill brake fluid on other parts As you see I did take the rubber that protect the banjo bolt, looks better I think, especially now as the upper brake lines is silver color and the lower are black, so this way you have to look deeper to notice that. And believe it or not, just by playing whit the level having the M/C in position so air can move up, I managed to bleed the system! Next I also had the level off for cleaning as new grease on all contact points Now the level action is smooth and feel firmer. Only test ride remaining to see how it works. Saturday morning well spent.
-
Other VFR and other pics....
-
- Yesterday
-
 Earlybay455 joined the community
 -
Oof, that’s a serious chunk of change—but man, those carbs are next level. If performance is your thing and budget allows, it’s tempting. Definitely not for the faint-hearted (or light-walleted) though.
-
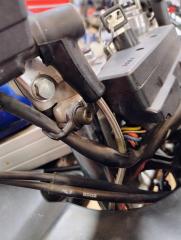
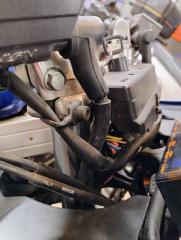
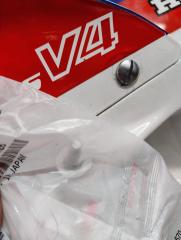
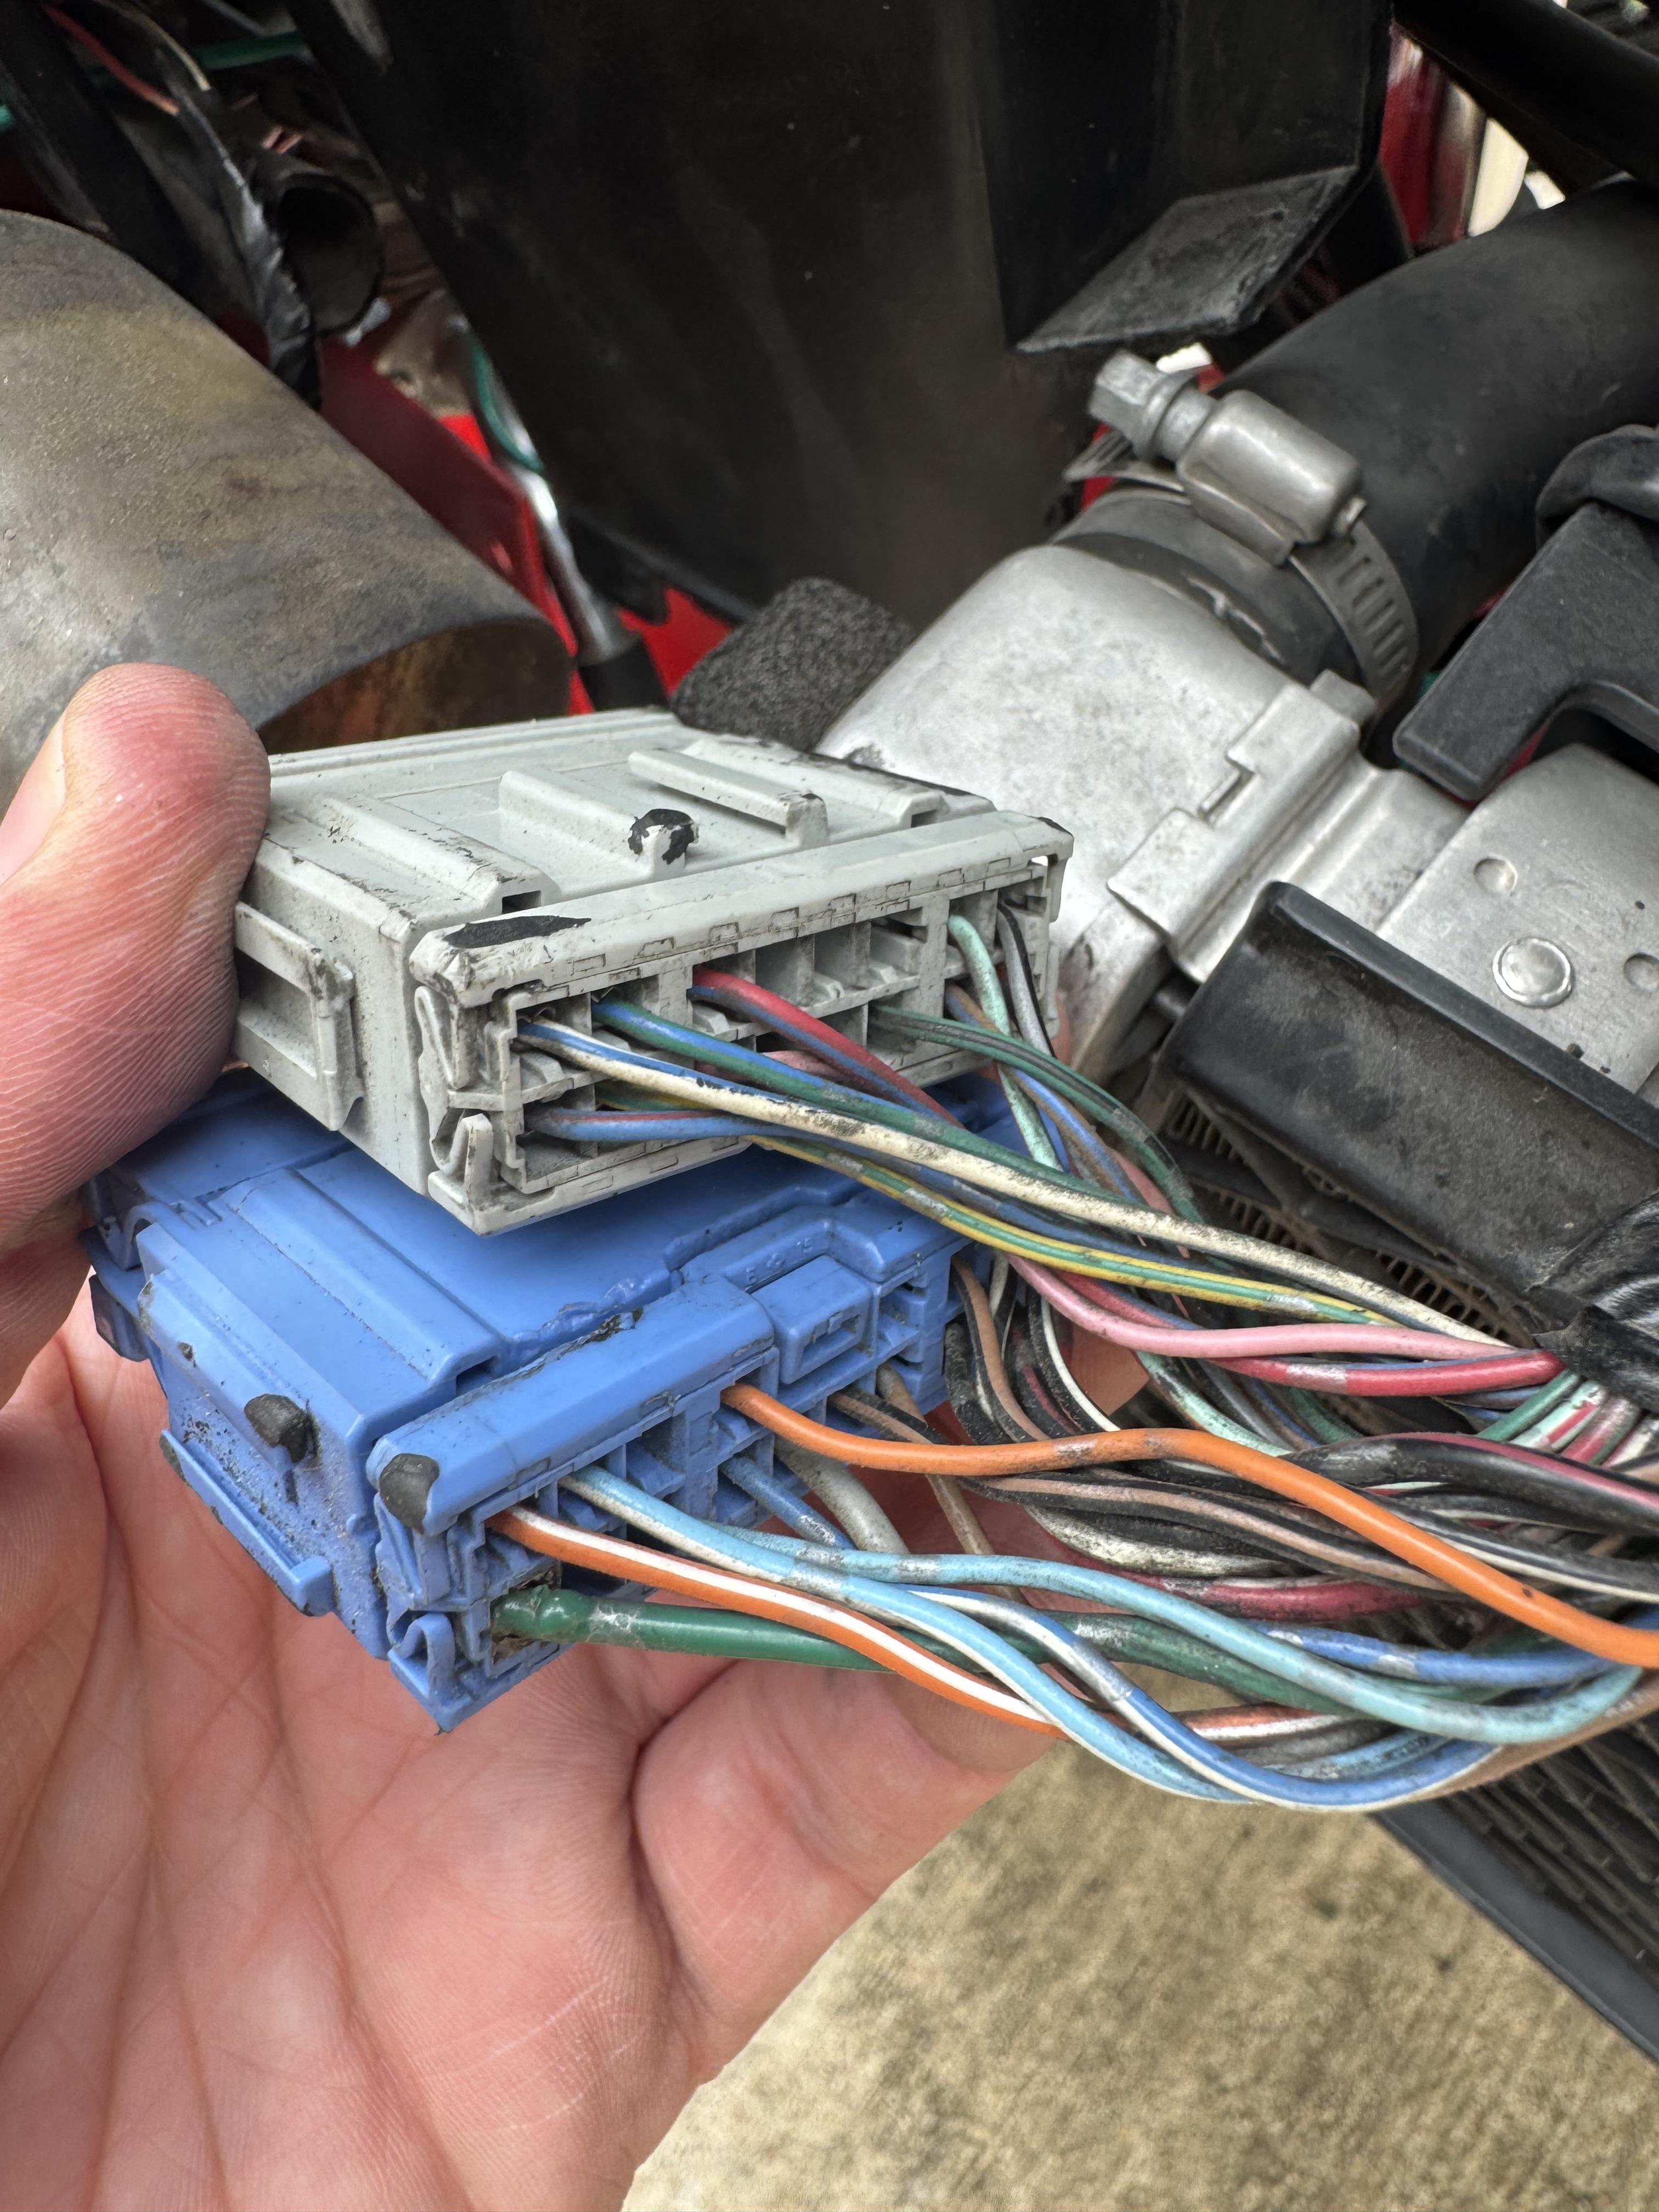
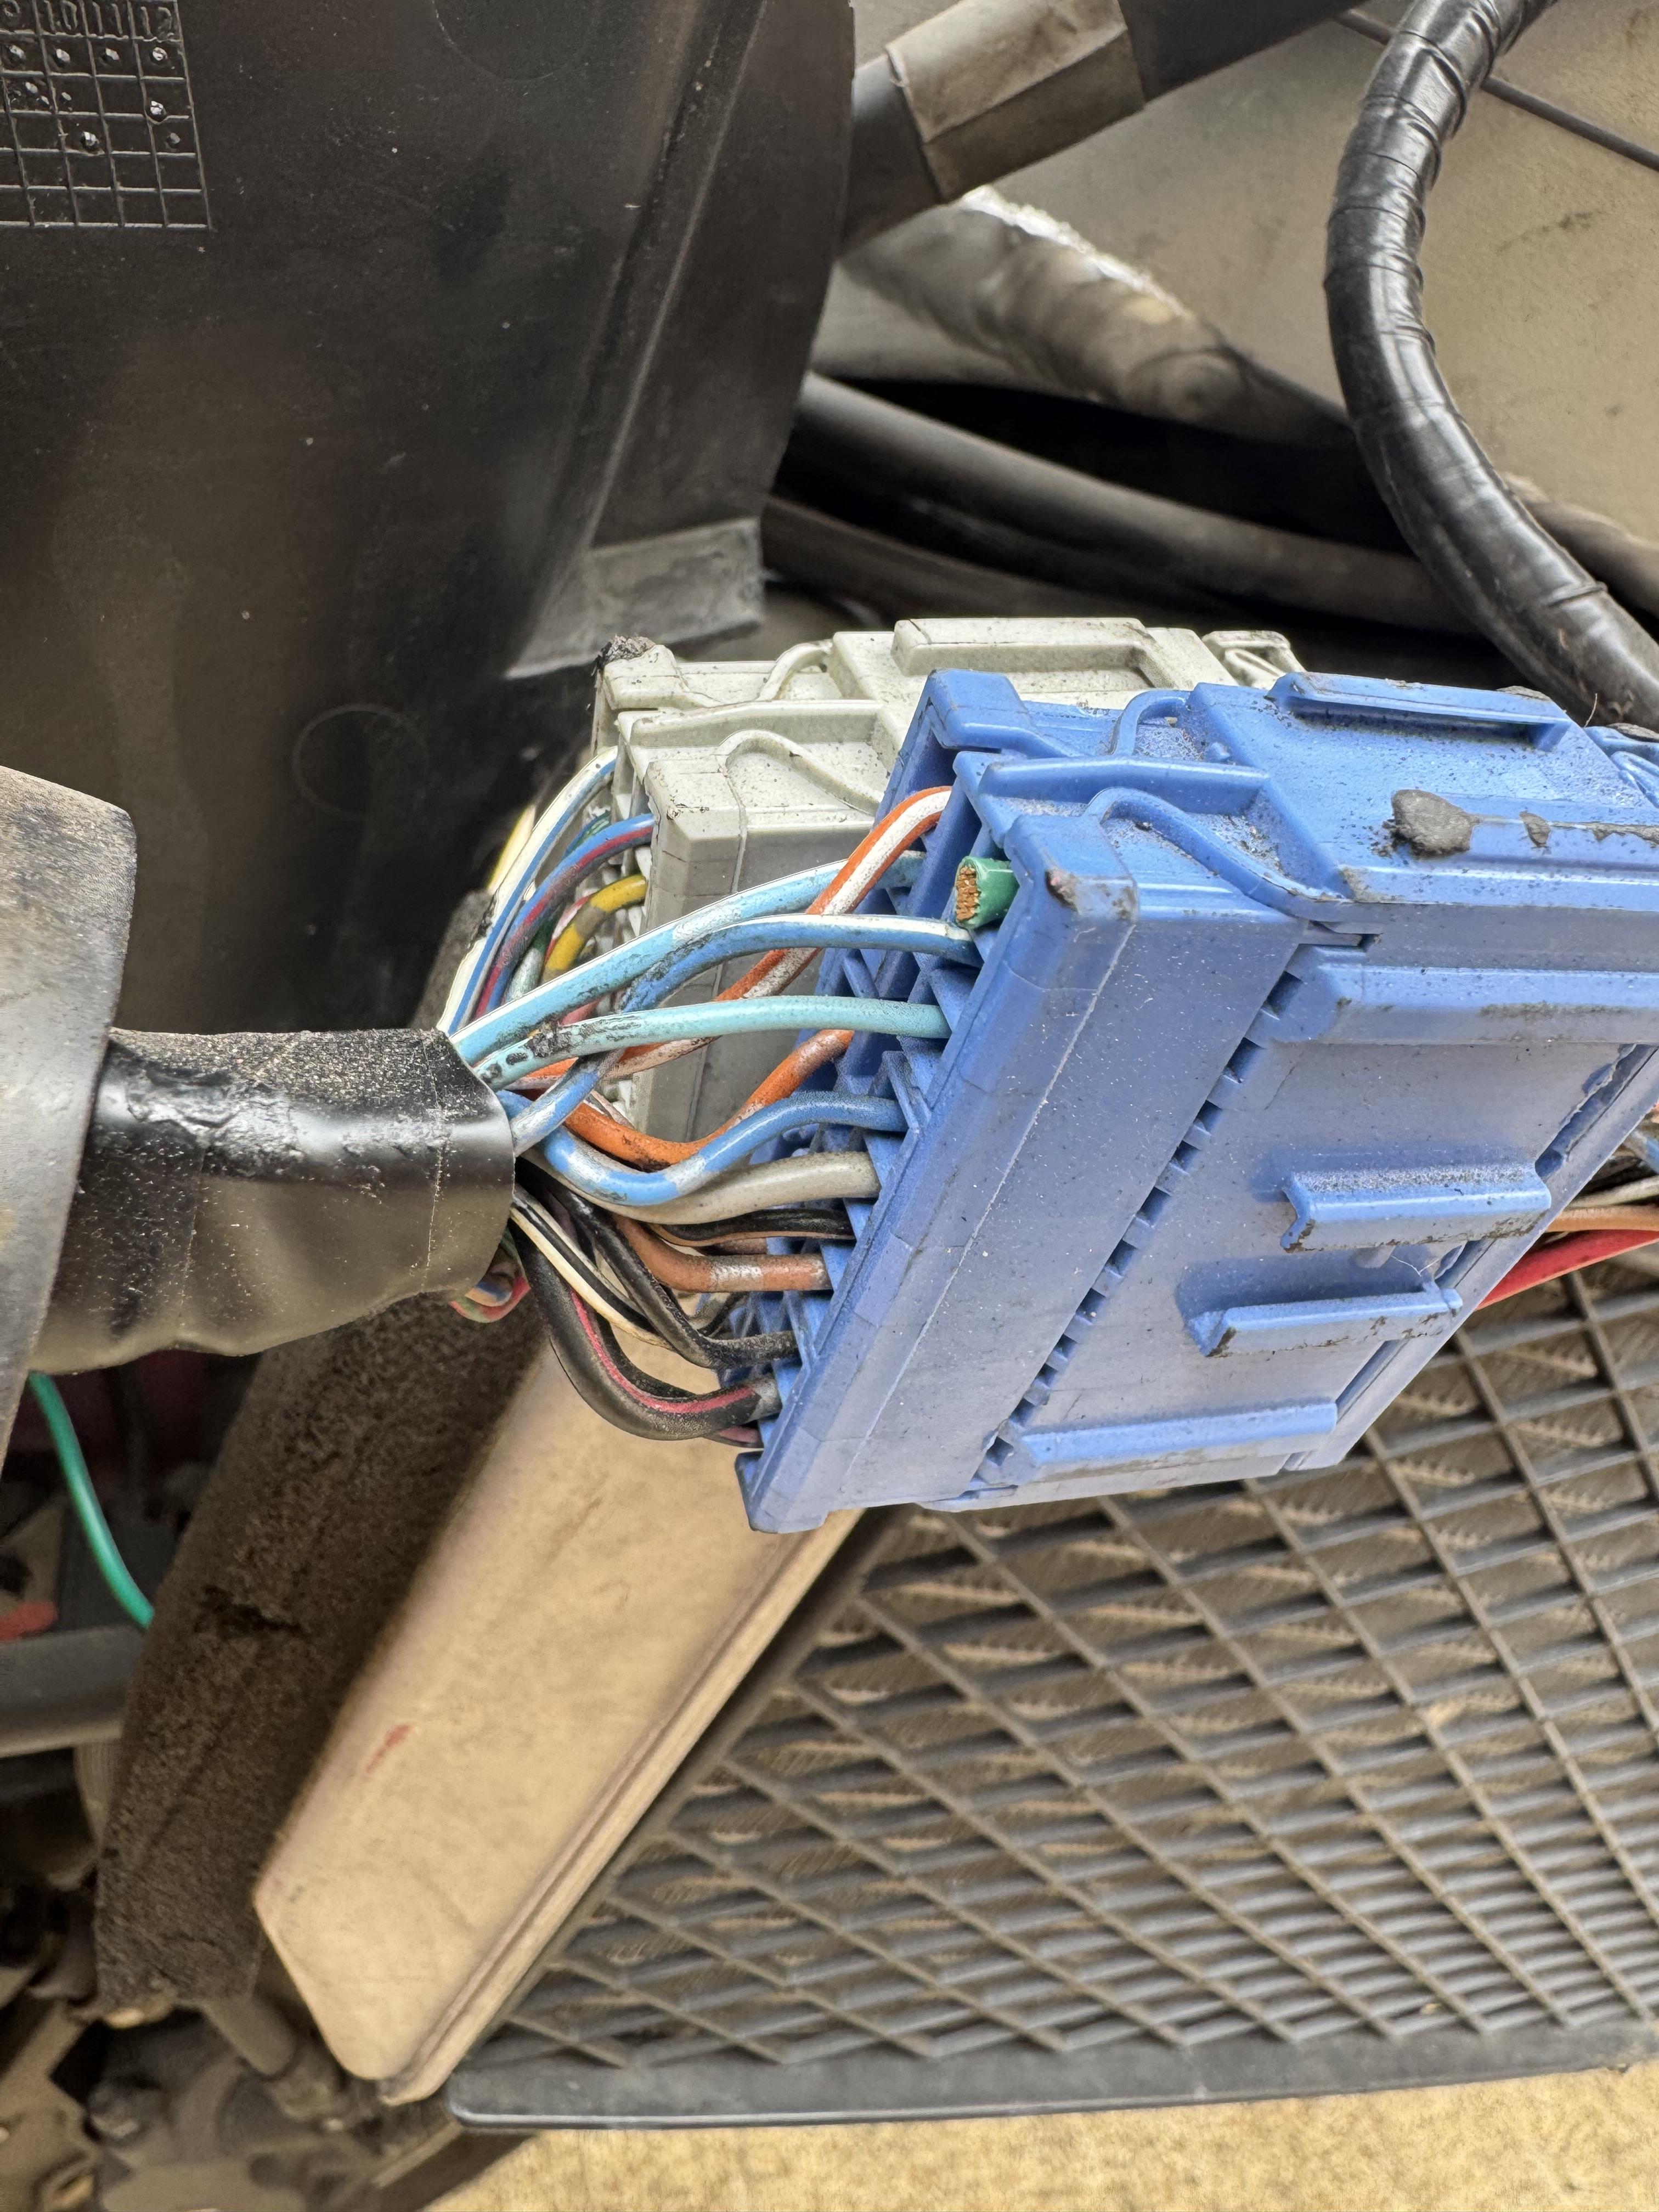
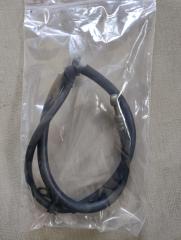
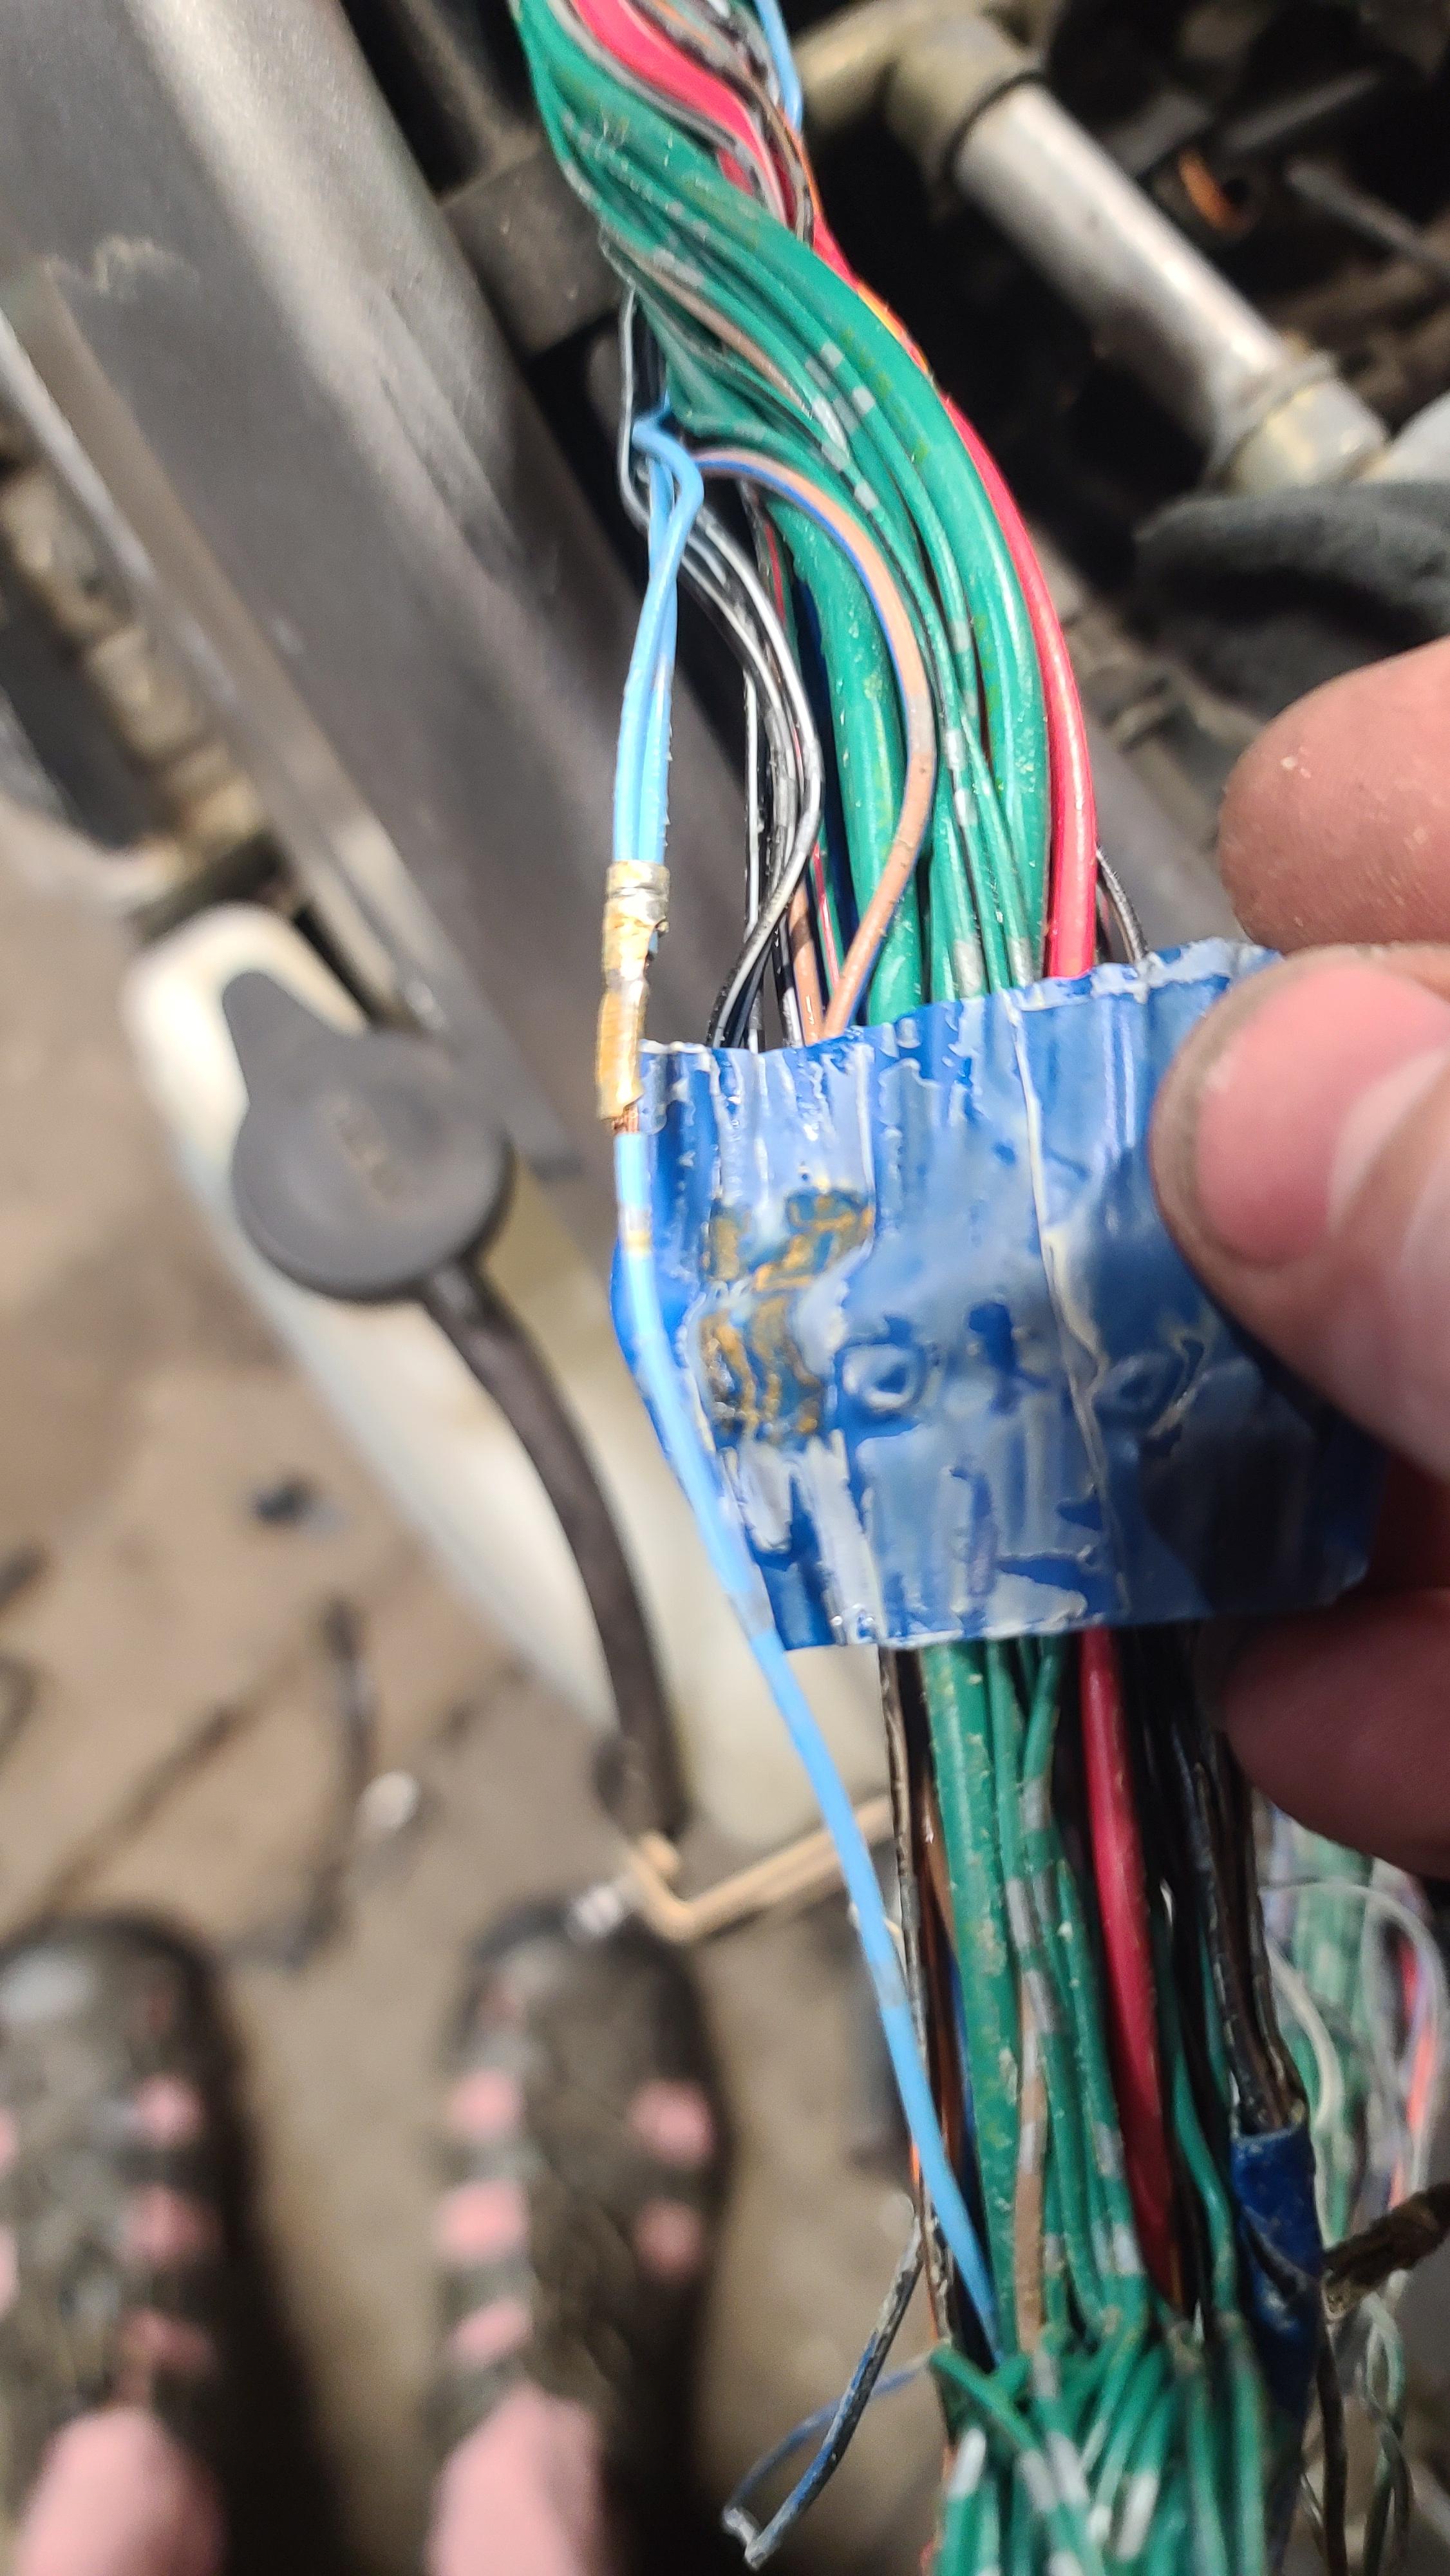
I checked and I do not have a punch mark on the VIN tag. Also found the recall online and see my VIN is within the range for my 2005. I’ll call my Honda dealer Monday and will have to tow it in. NP. I also spent time today pulling off the fairings today and inspecting all the connectors and harnesses. The wiring overall looks good, all wires are dry and no damage found on most connectors and loom is clean. NOW what I did find had me all kinds of excited, but 10 minutes later, disappointed… I found this blue connector & the ground has been tampered with. Only one side is ground to the frame, the other side, as you will see in the pics, remains intact on the connector . Should that side be ground? I need help to know if the previous owner wired this right, I don’t think it’s correct. What had me excited was the ground wire that goes from the loom to the frame was actually broken! So I thought “bam” I found the issue! So I re-did the connector, cleaned the ground area, screwed it back on and no joy. Bike is 100% same. No fuel pump engaged. Can anyone advise on this connector? Should both ends be ground or should I cut the other side and splice/solder it together and bypass the connector all together? Thanks! https://youtu.be/BI6JUAZ_6Og?si=jGGZ_wdi3RBhZbCj
-
No it does not
-
 kurksaopp joined the community
 -
Pics of my VFR and ride pics!
-
-
So my chain flew off and ripped the rear brake lines up so im trying to change them out and i can not figure out how the batterey box comes out.. cant find any video or anything online so wondering if anyone has and info on that..i can get my hands all around it and under it and cant feel any bolts or anything.
-
I got it back together after some trials, dimmer switch goes back first, then passing switch is threaded back into its' hole and both are secured by the same screw. It wasn't too bad even with my fat fingers 😄
-
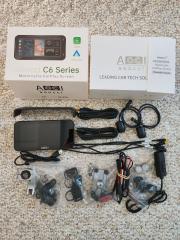
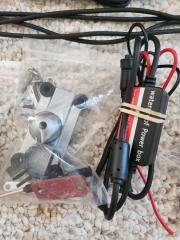
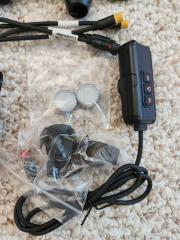
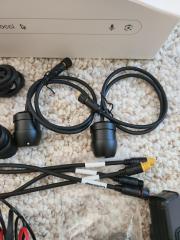
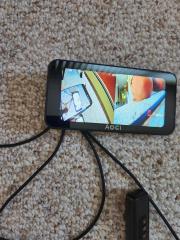
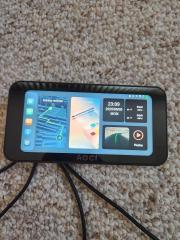
 For sale: Aoocci C6 Series C6 Pro – Motorcycle CarPlay/AndroidAuto Screen This system is pretty much new and works great. I mounted it and ran it for about 150 miles, and decided it was not quite what I was looking for, it certainly could have been, what I really wanted to be able to display was a particular speedo app. However, Android auto would not allow a non-approve app to install. I simply could not find a work around and gave up. Every other aspect of it works great, google maps, camaras, tire pressure monitor, music, etc. I did cut/splice the power cable to shorten it up a bit, it’s only two +/- wires and is easy to change. If you want, you can also run it off the included USB-C cable instead. Memory card has been installed. It was purchased direct NIB at Aoocci.com There are tons of YouTube videos on this model, and if you wish, more info is available at: www.aoocci.com/collections/motorcycle-dash-cam $135.00 price includes free shipping (only shipping to lower US 48) PayPal only. Any questions, DM or email: hoghead@gmx.com Thanks for looking, Knute
 -
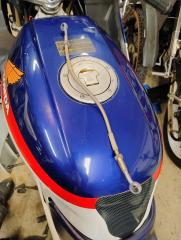
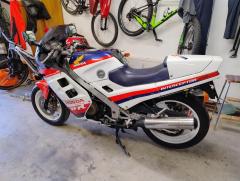
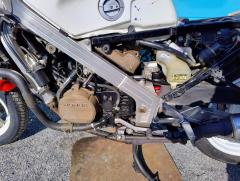
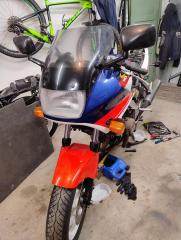
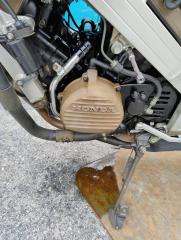
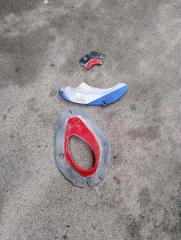
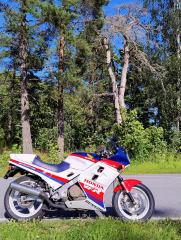
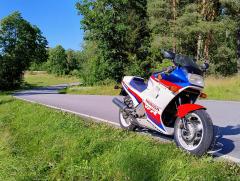
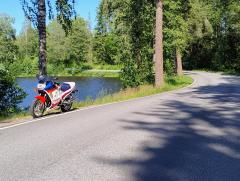
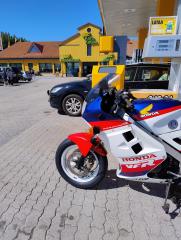
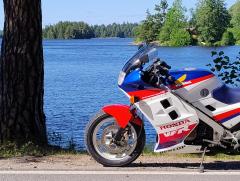
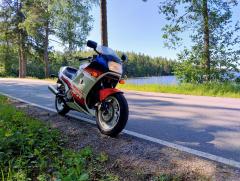
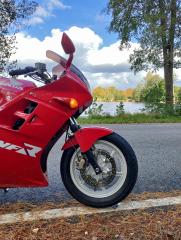
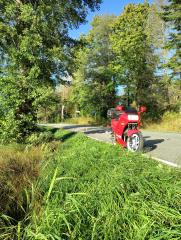
Well I must say luck was on my side No fuel pooring today, fuel has swollen the O-rings so no leak anymore, great! The oil leak at clutch cover was gasket that had slipped off So just to relocate as tight back. Then the fairings was mounted, you gotta love new bolt's for them Then only one thing left, switch the rear wheel between my RC24's after the plastic was on Then to get a insurance as take it in road use and ride to petrol station for fuel as check air pressure (forgot that at home) And then to nice road's As a nice cafe Really enjoy the bike, some things to sort like fork over damped and front brake feel not the best but otherwise running like a champ! Some pictures from ride home from Cafe Really love this motorcycle
-
 muid247 joined the community
 -
Misc stuff
-
-

2002 VFR 800 (US) Not Starting (No Spark/Electronics Issues)
airwalk replied to SteyrTMP's topic in Sixth Generation VFR's
Well done, wiring/electrical issues are the most frustrating to diagnose/correct -
 xibadeg722 joined the community
 -

2002 VFR 800 (US) Not Starting (No Spark/Electronics Issues)
RickD replied to SteyrTMP's topic in Sixth Generation VFR's
Some task that is good luck with it all, hope you have a victory soon -
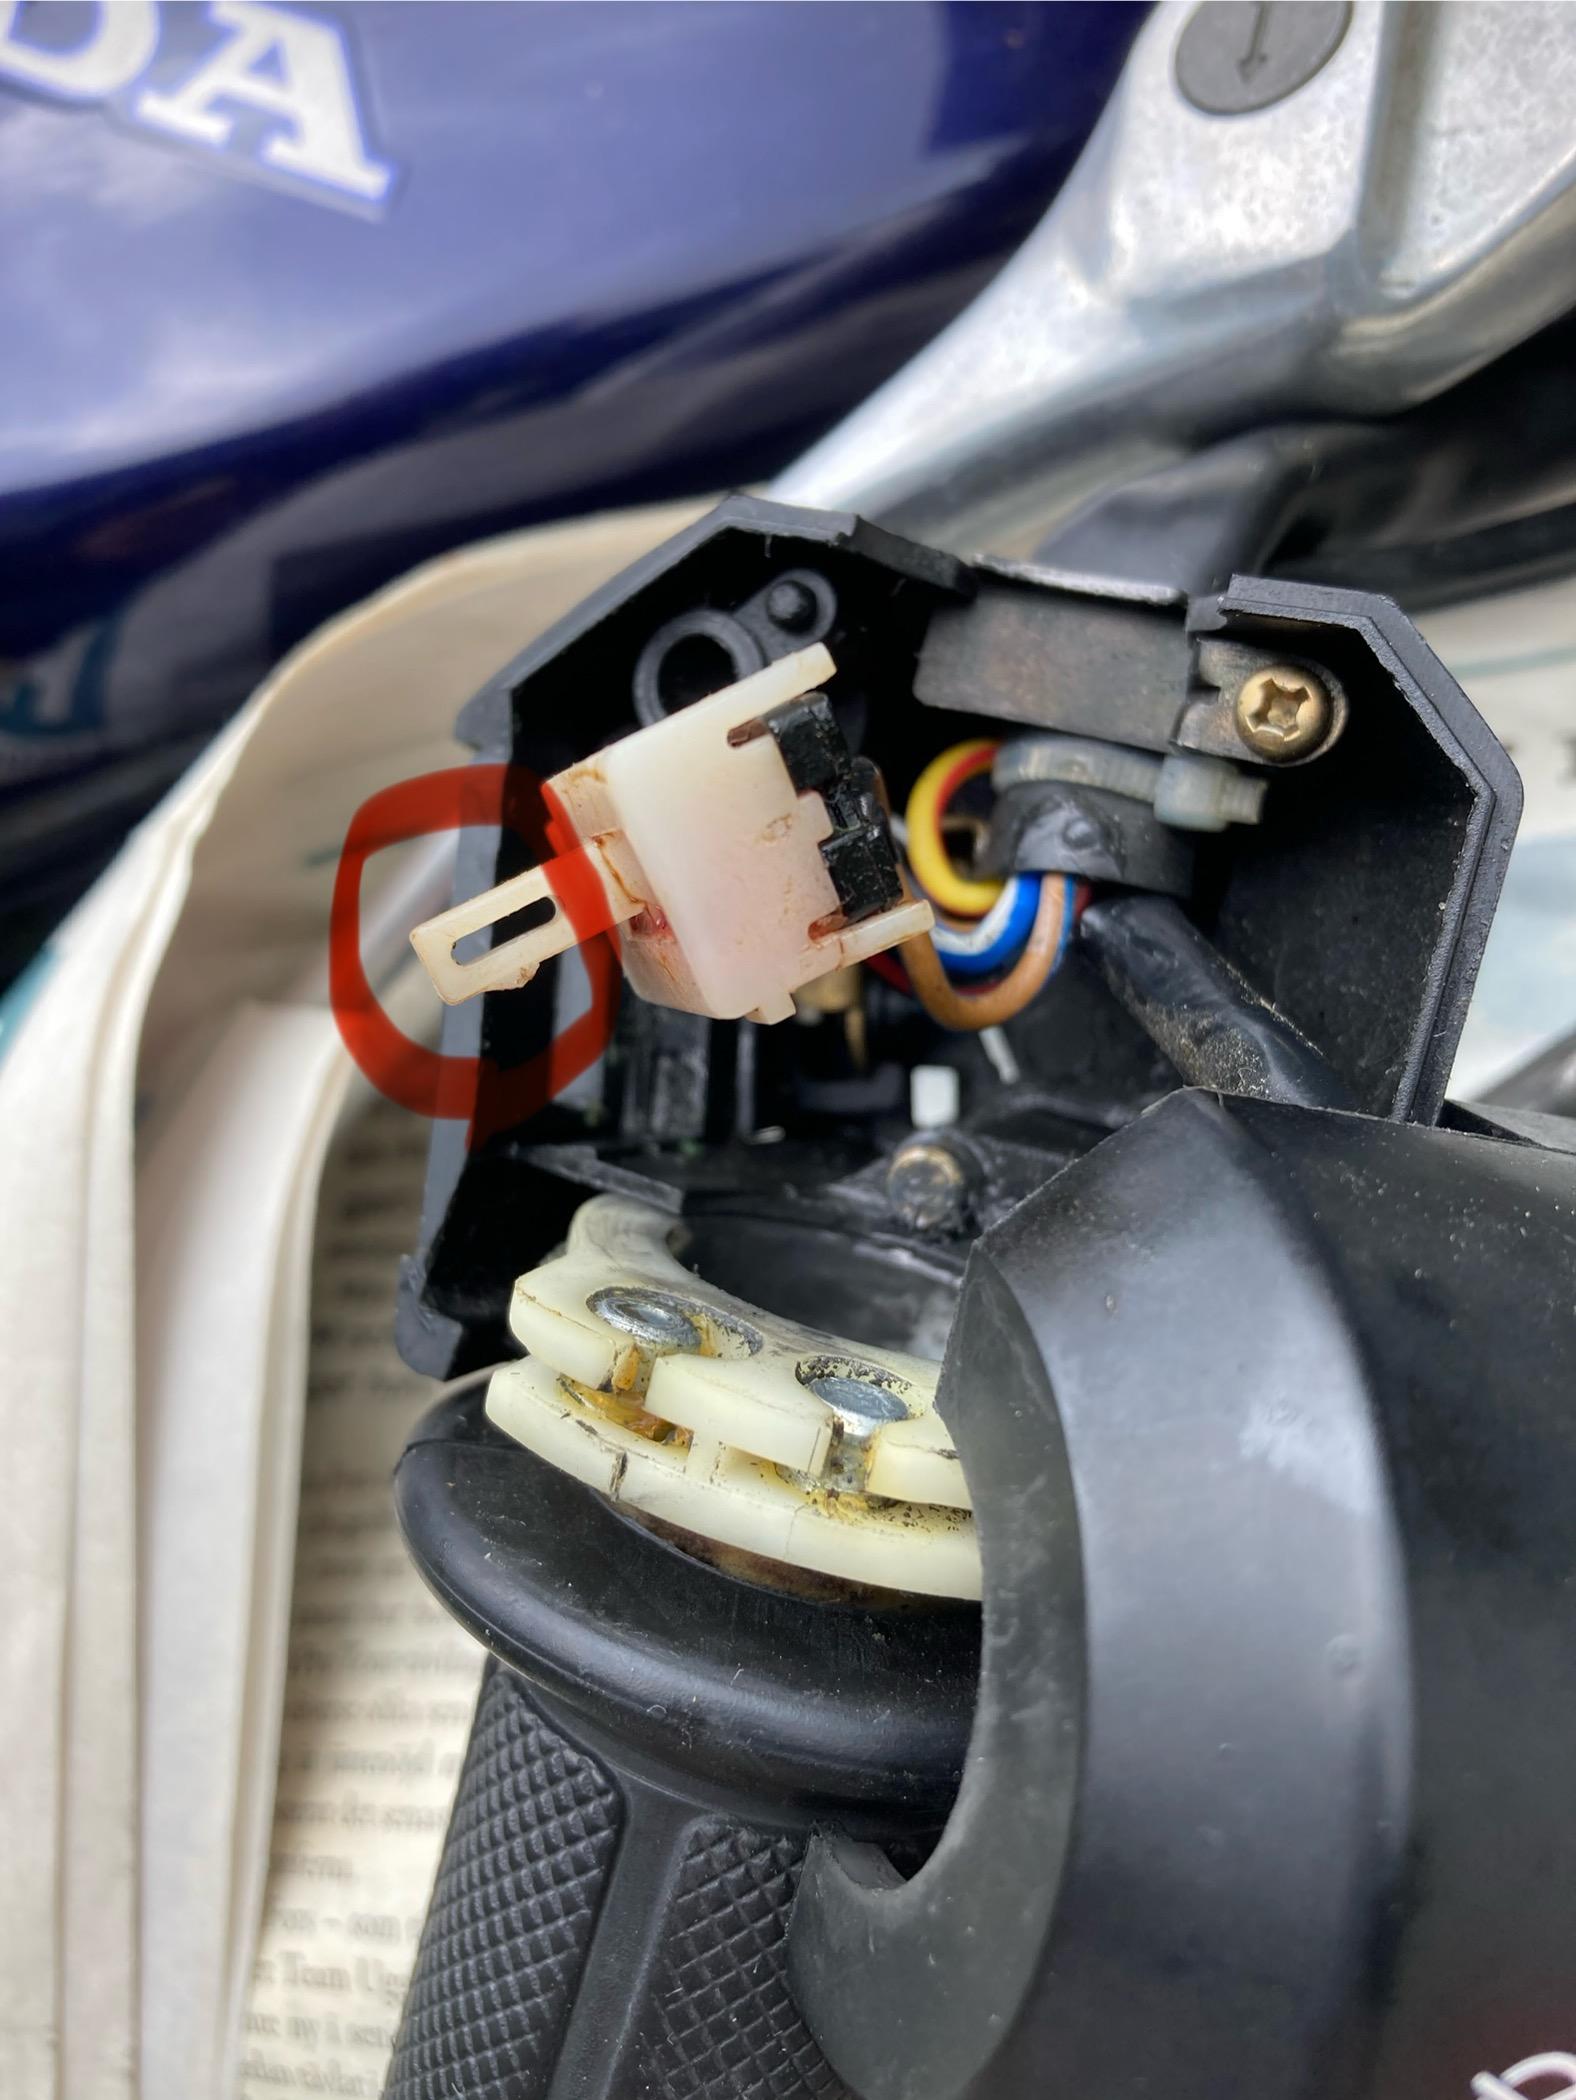
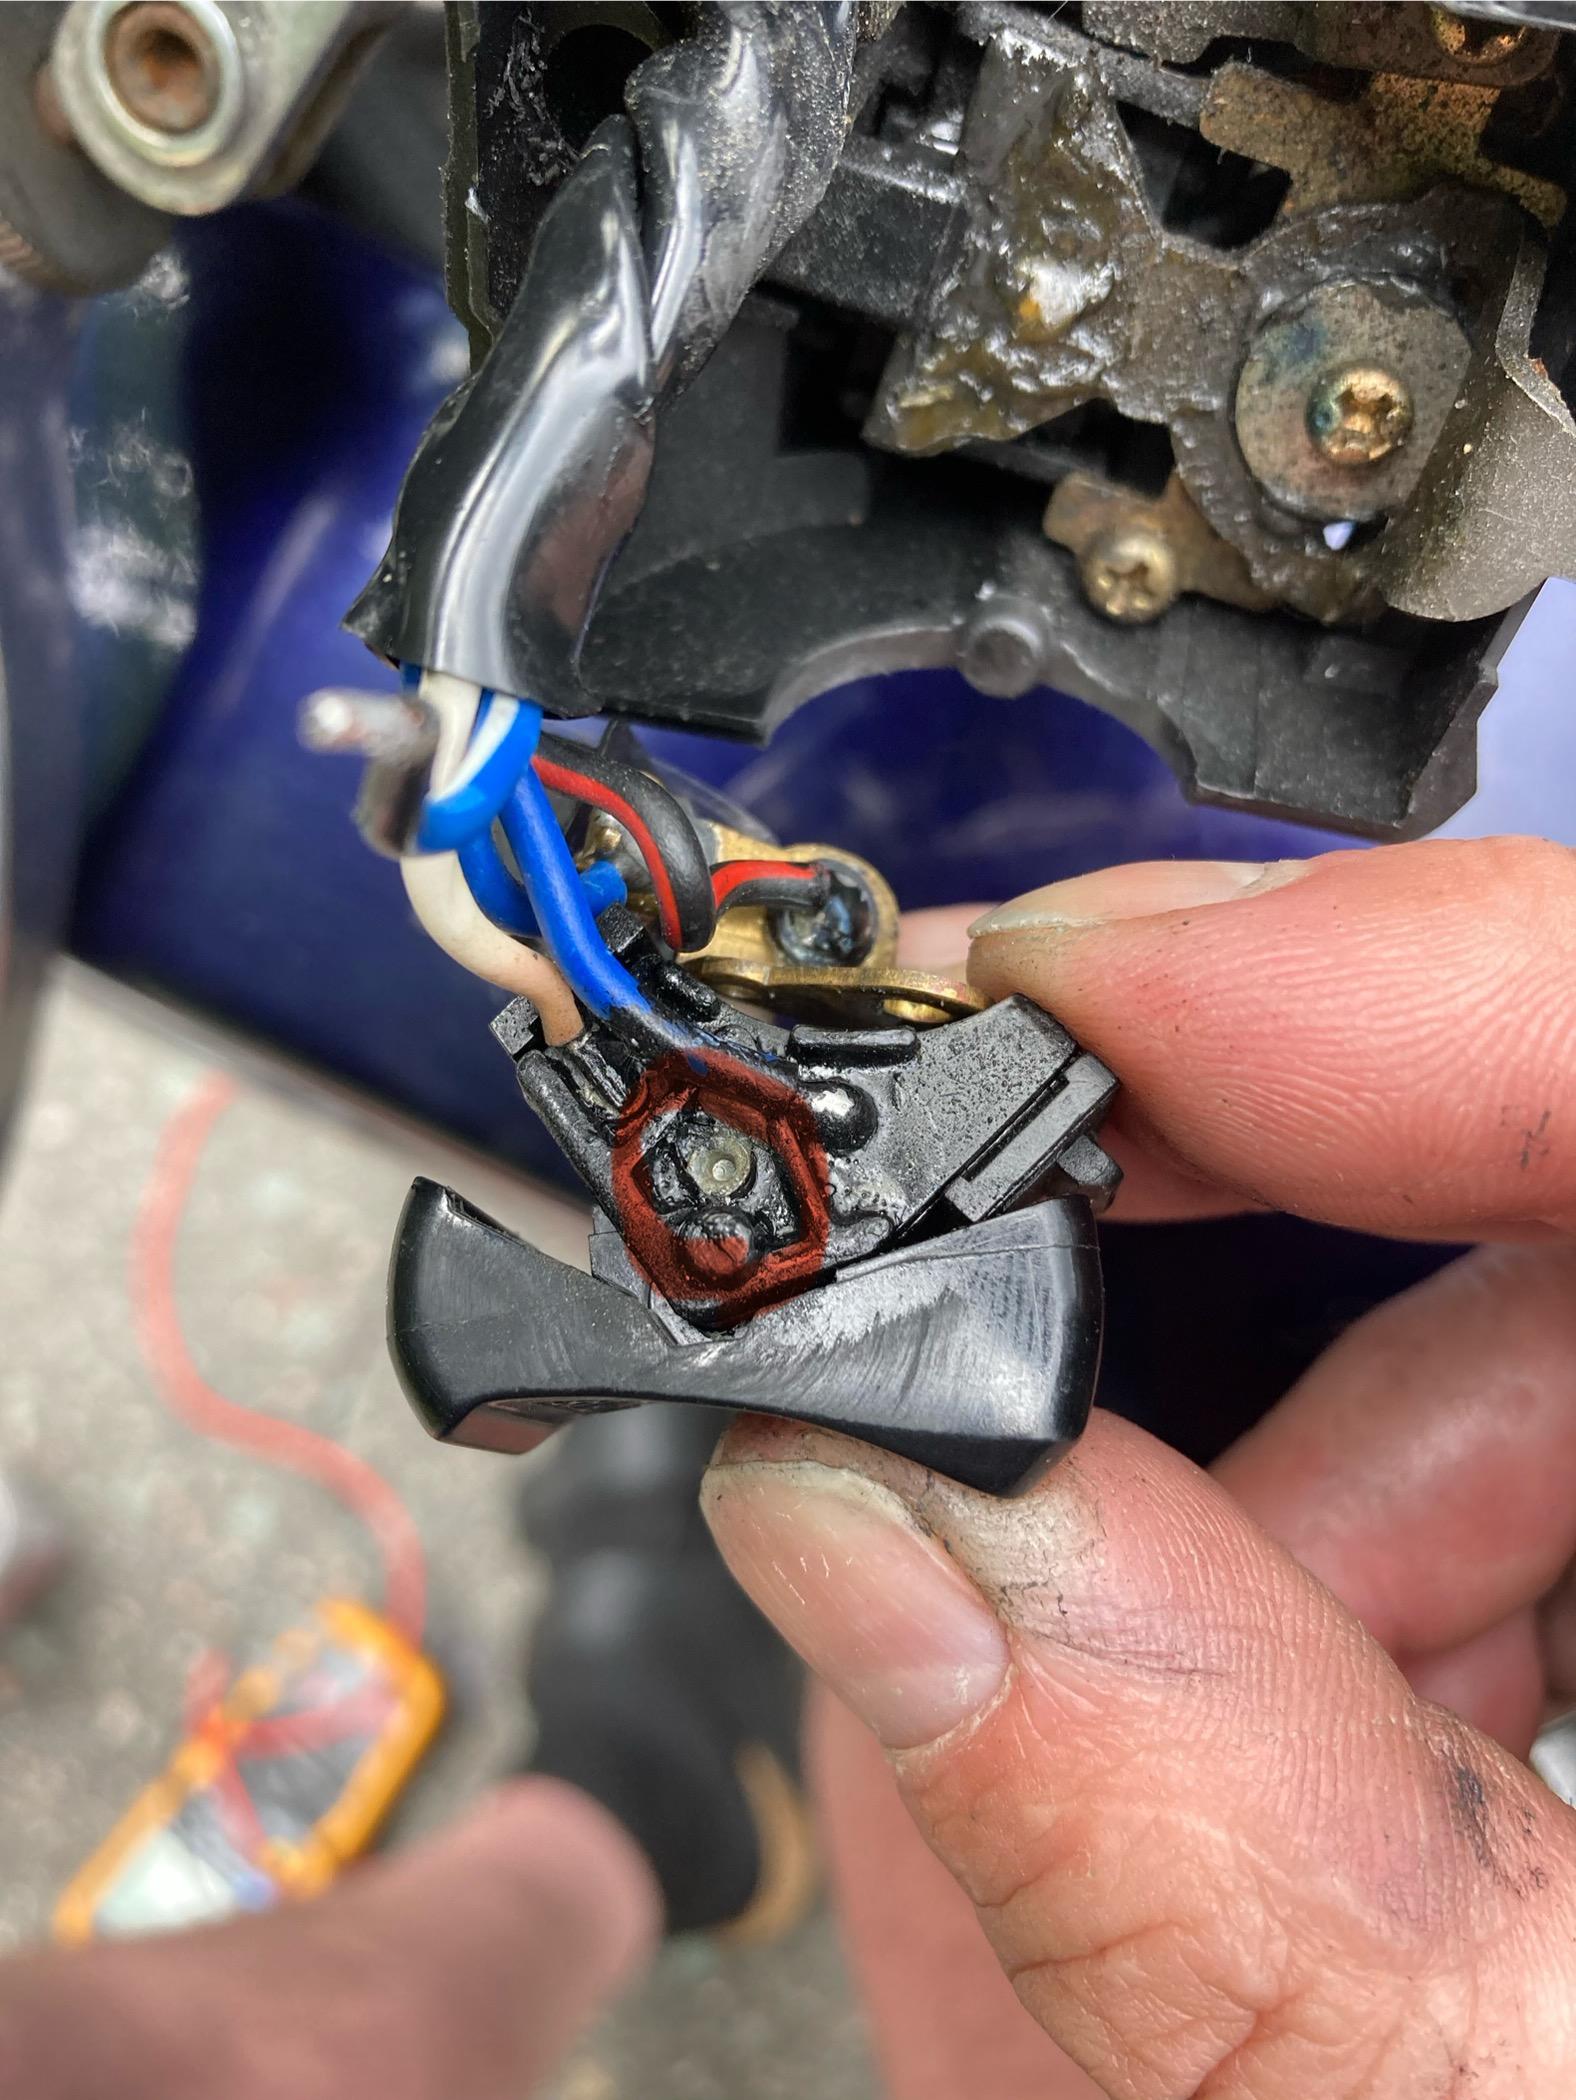
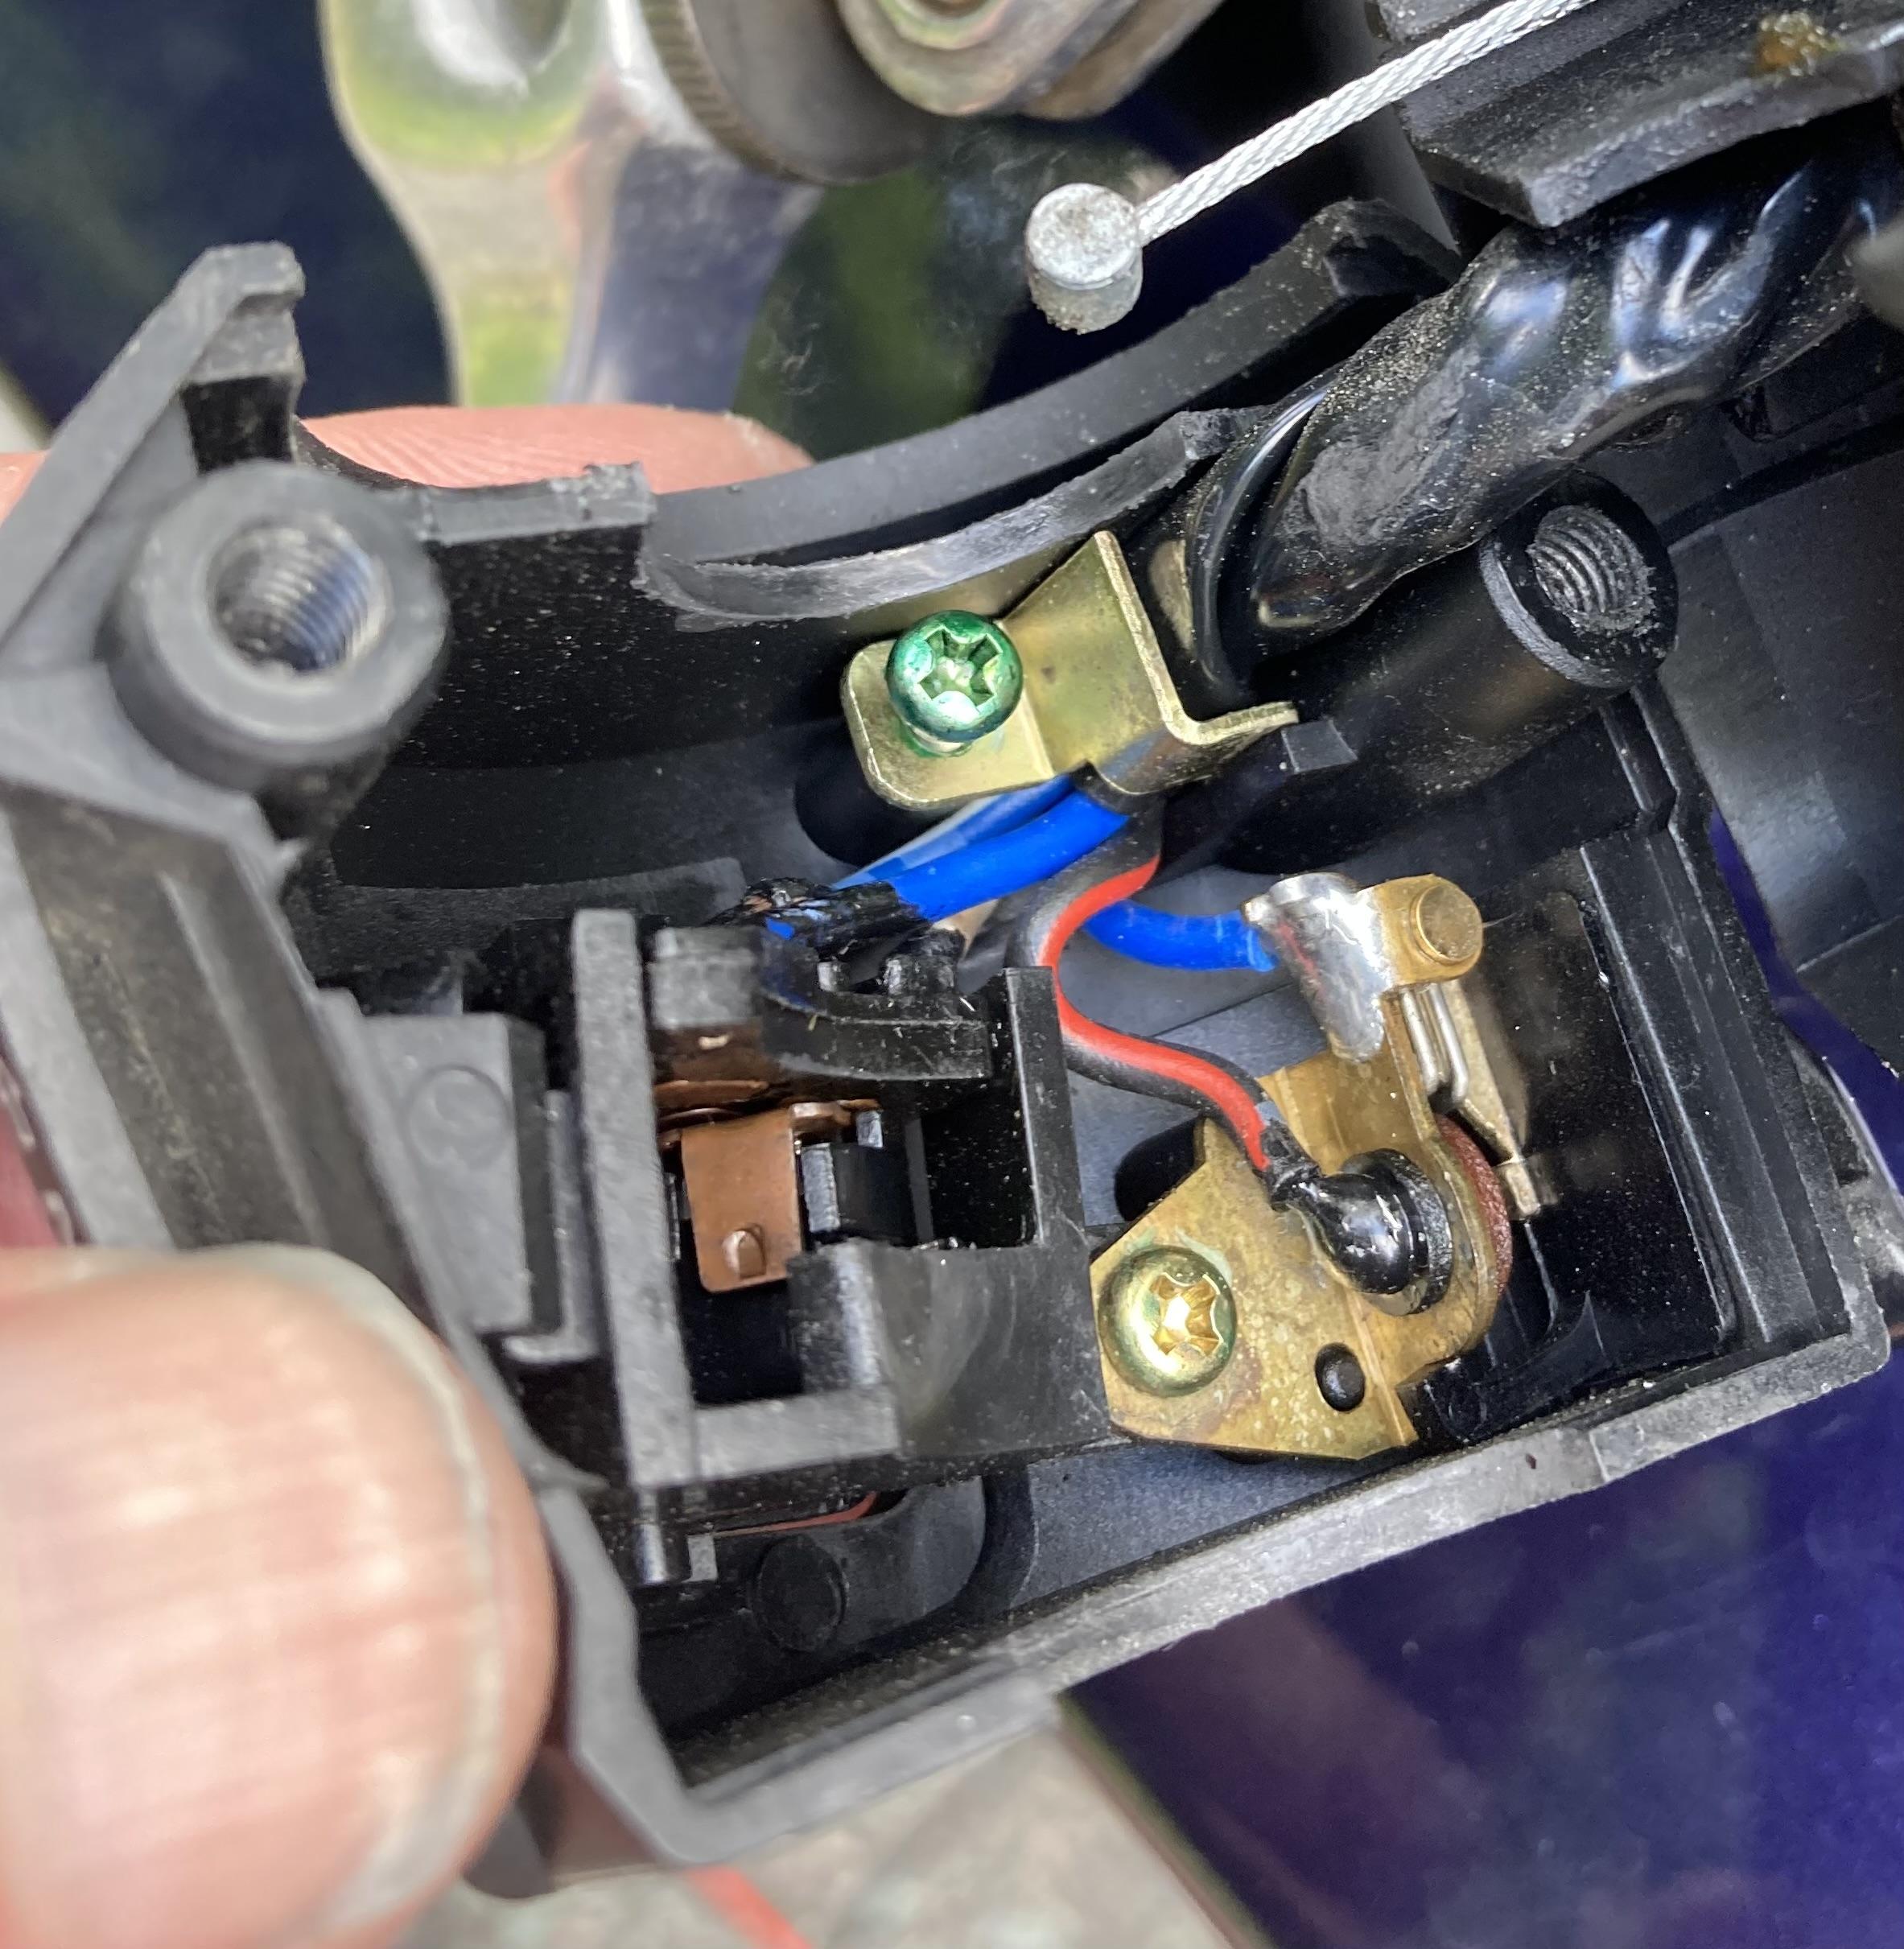
I found this video which describes the right hand switch disassembly and cleaning which could be needed if you have poor headlight connection. https://youtu.be/3_QMOKXJJmc?feature=shared I followed the video to be able to check the right switch assy. Some things weren't mentioned in the video: - to remove the switch assy from the bar i had to remove the brake lever. - i takes a large force to release the clipping feature that holds the right side light button on the switch body. You can see the why on the pic, snap feature is really stiff. Disassembly of the left side switch: Dimmer switch is just snapped in place and wasn't hard to get out after removing the cable strain relief and a fixation screw. you can see the soldering location for the blue/white feed wire which was broken off on my bike on below pic. This is what the left switch assy looked like before removing the dimmer switch: - i disassembled the passing button also to be able to remove the switch cover and gain better access for soldering. I struggled a bit during the removal so I am worried about getting it back together. Note: there's a spring and ball on the passing button for the tactile feel, this wants to escape and will be next to impossible to find if dropped. (Visible in lower right on pic)
-
 leventekiss01 joined the community
 -

2002 VFR 800 (US) Not Starting (No Spark/Electronics Issues)
SteyrTMP replied to SteyrTMP's topic in Sixth Generation VFR's
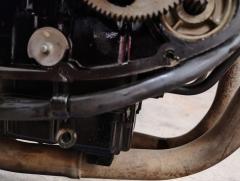
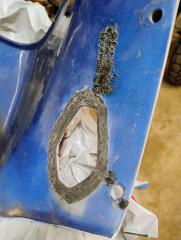
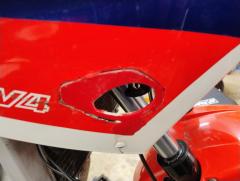
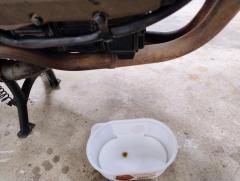
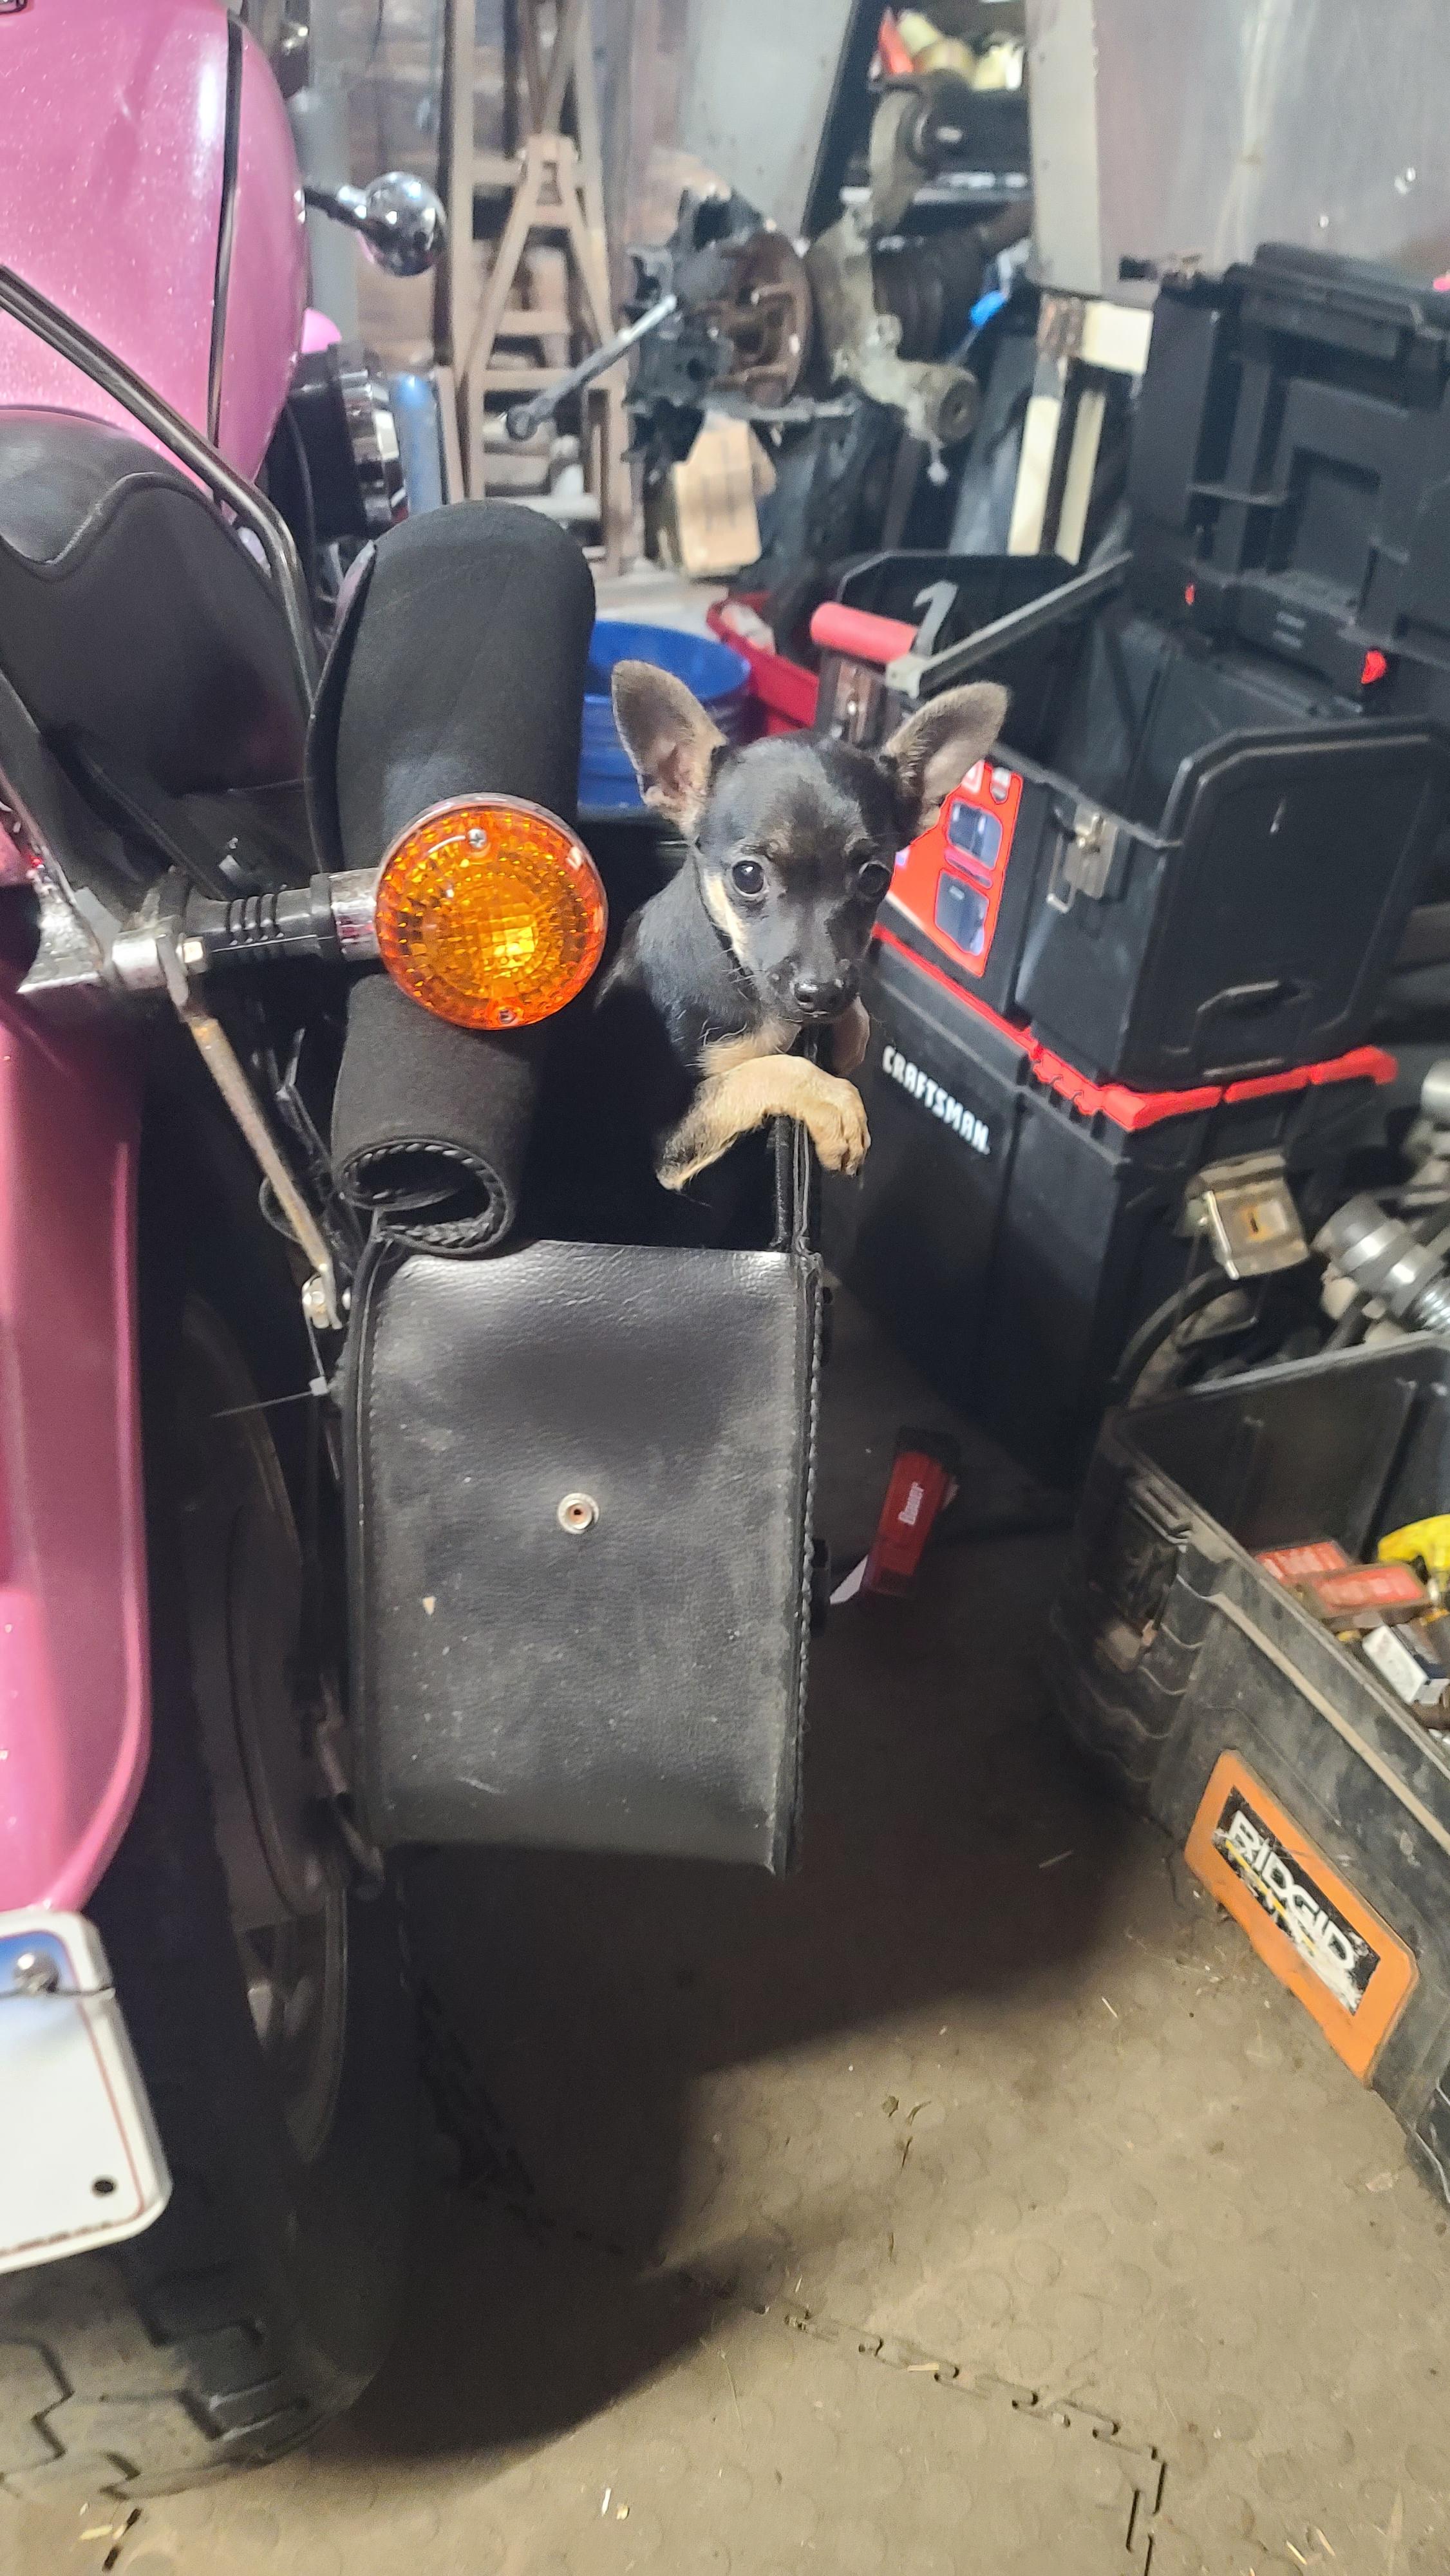
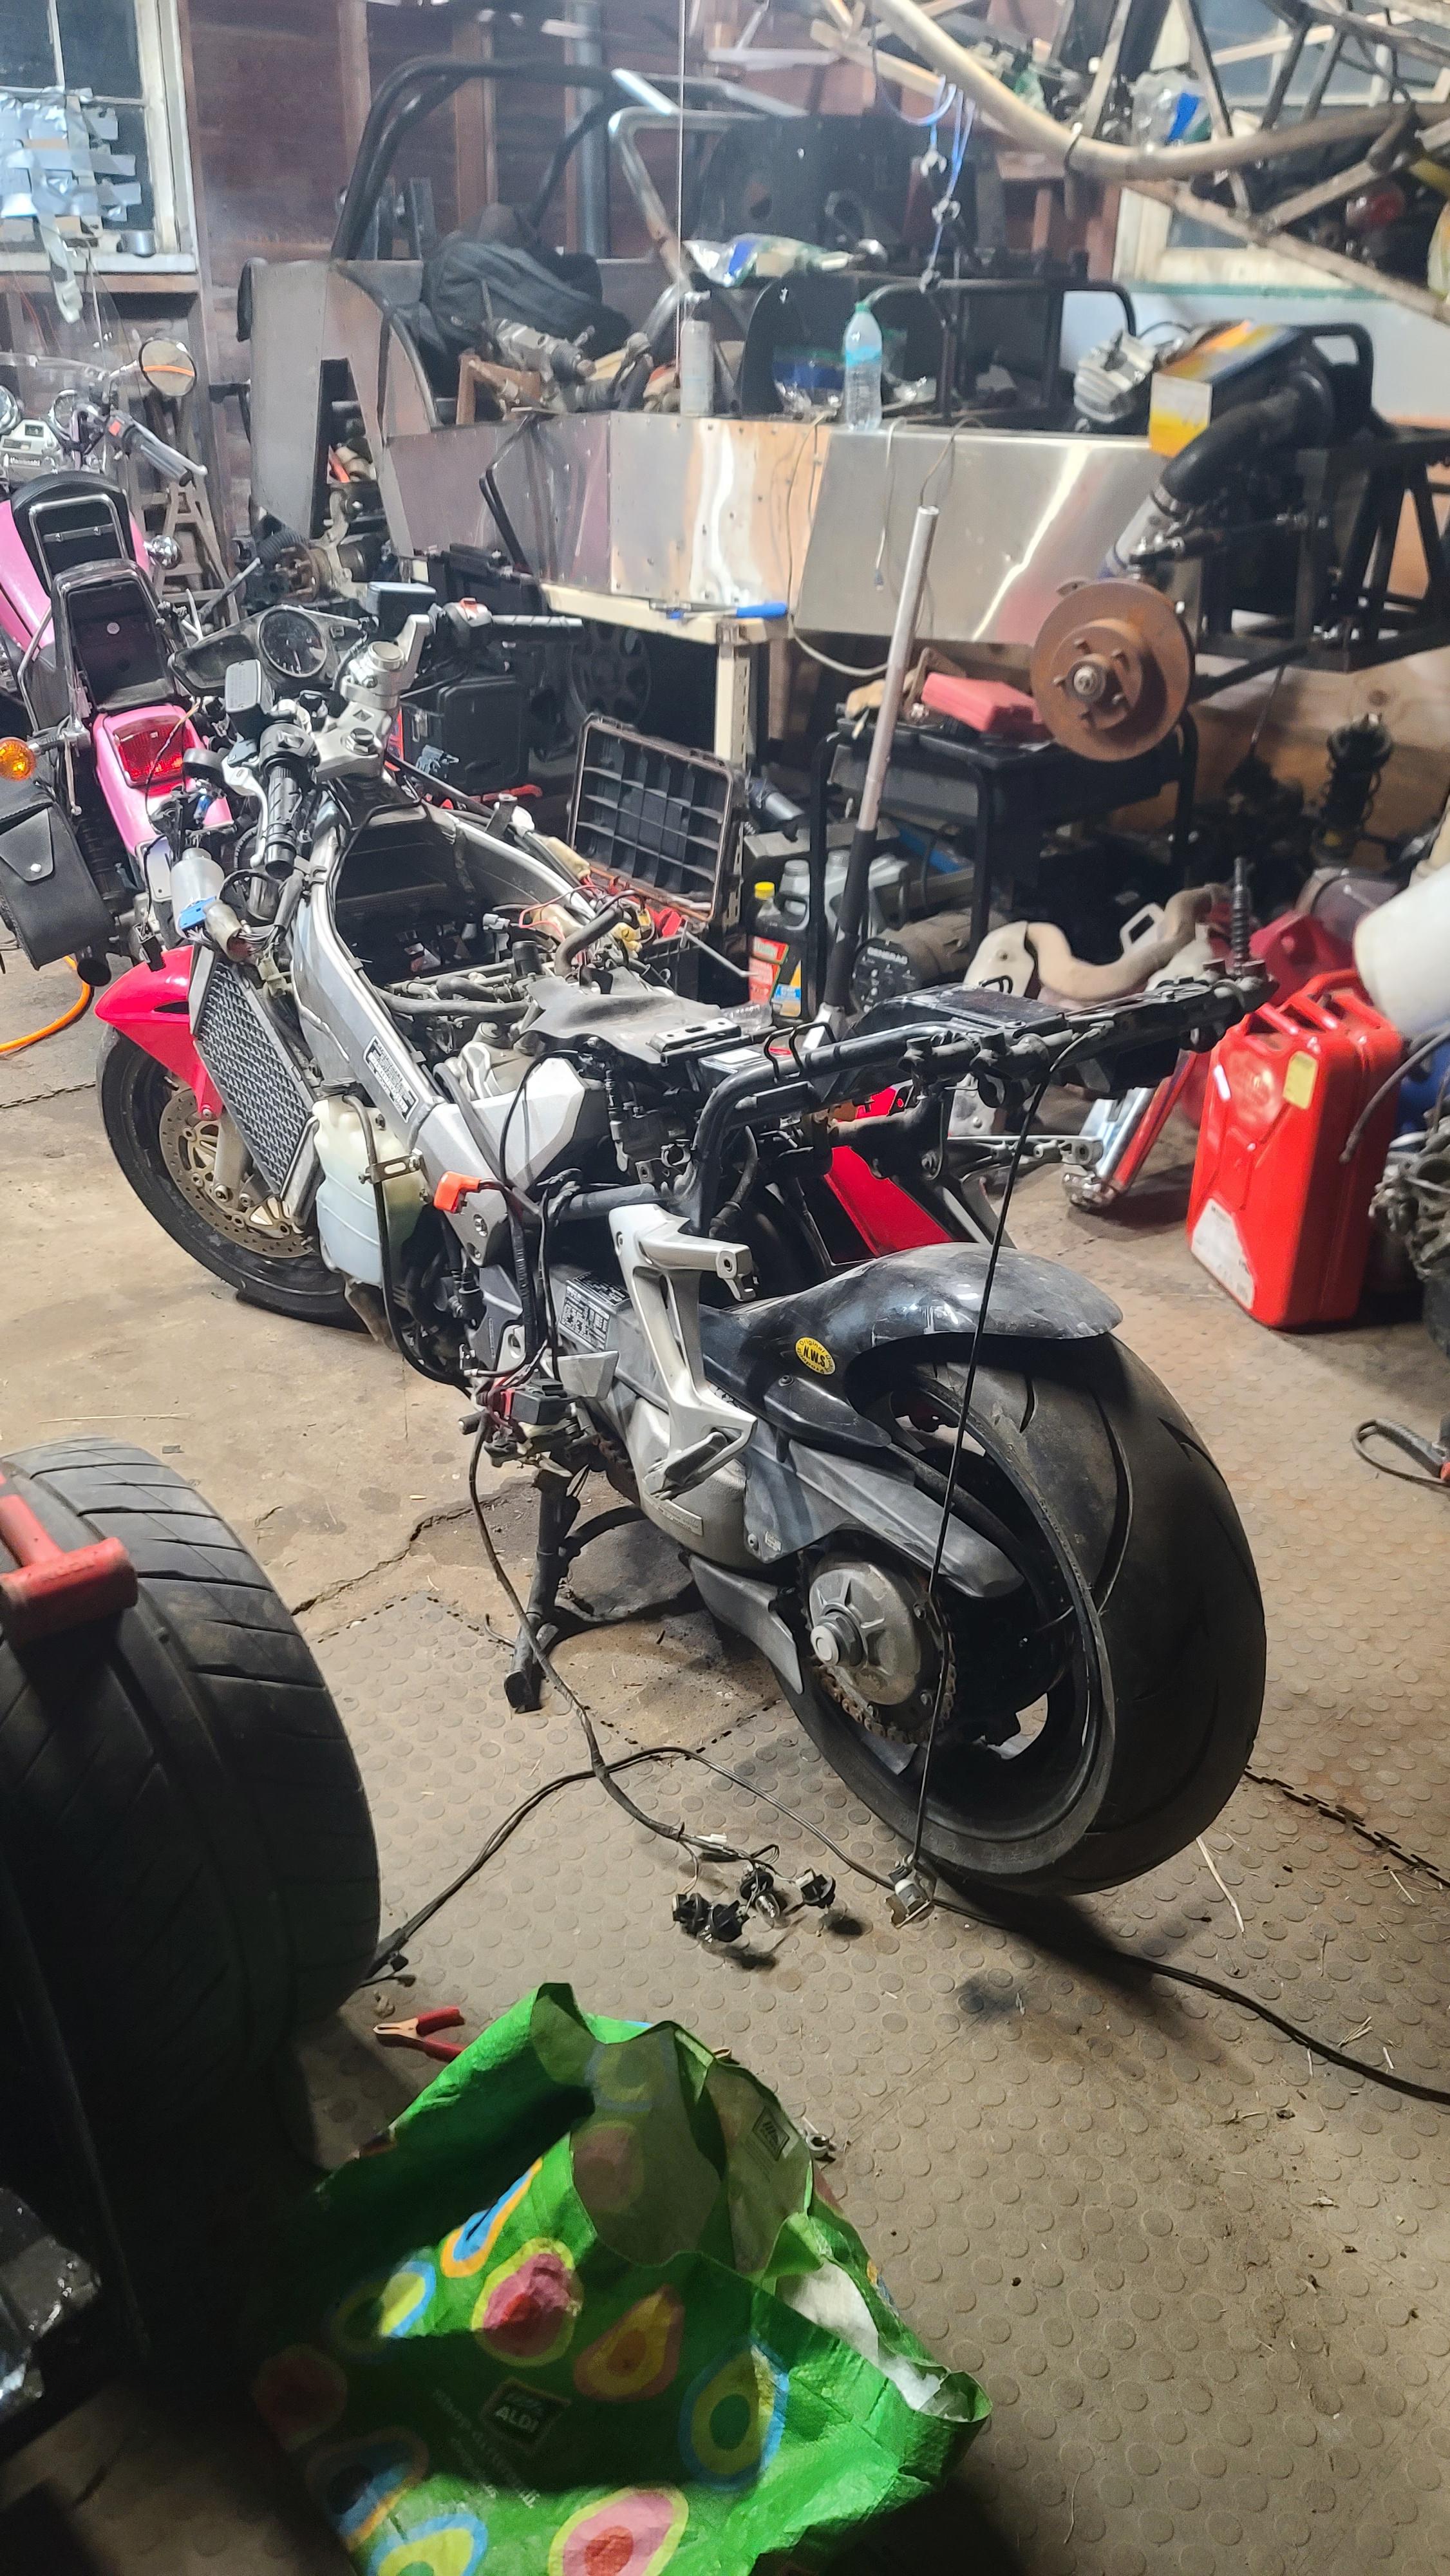
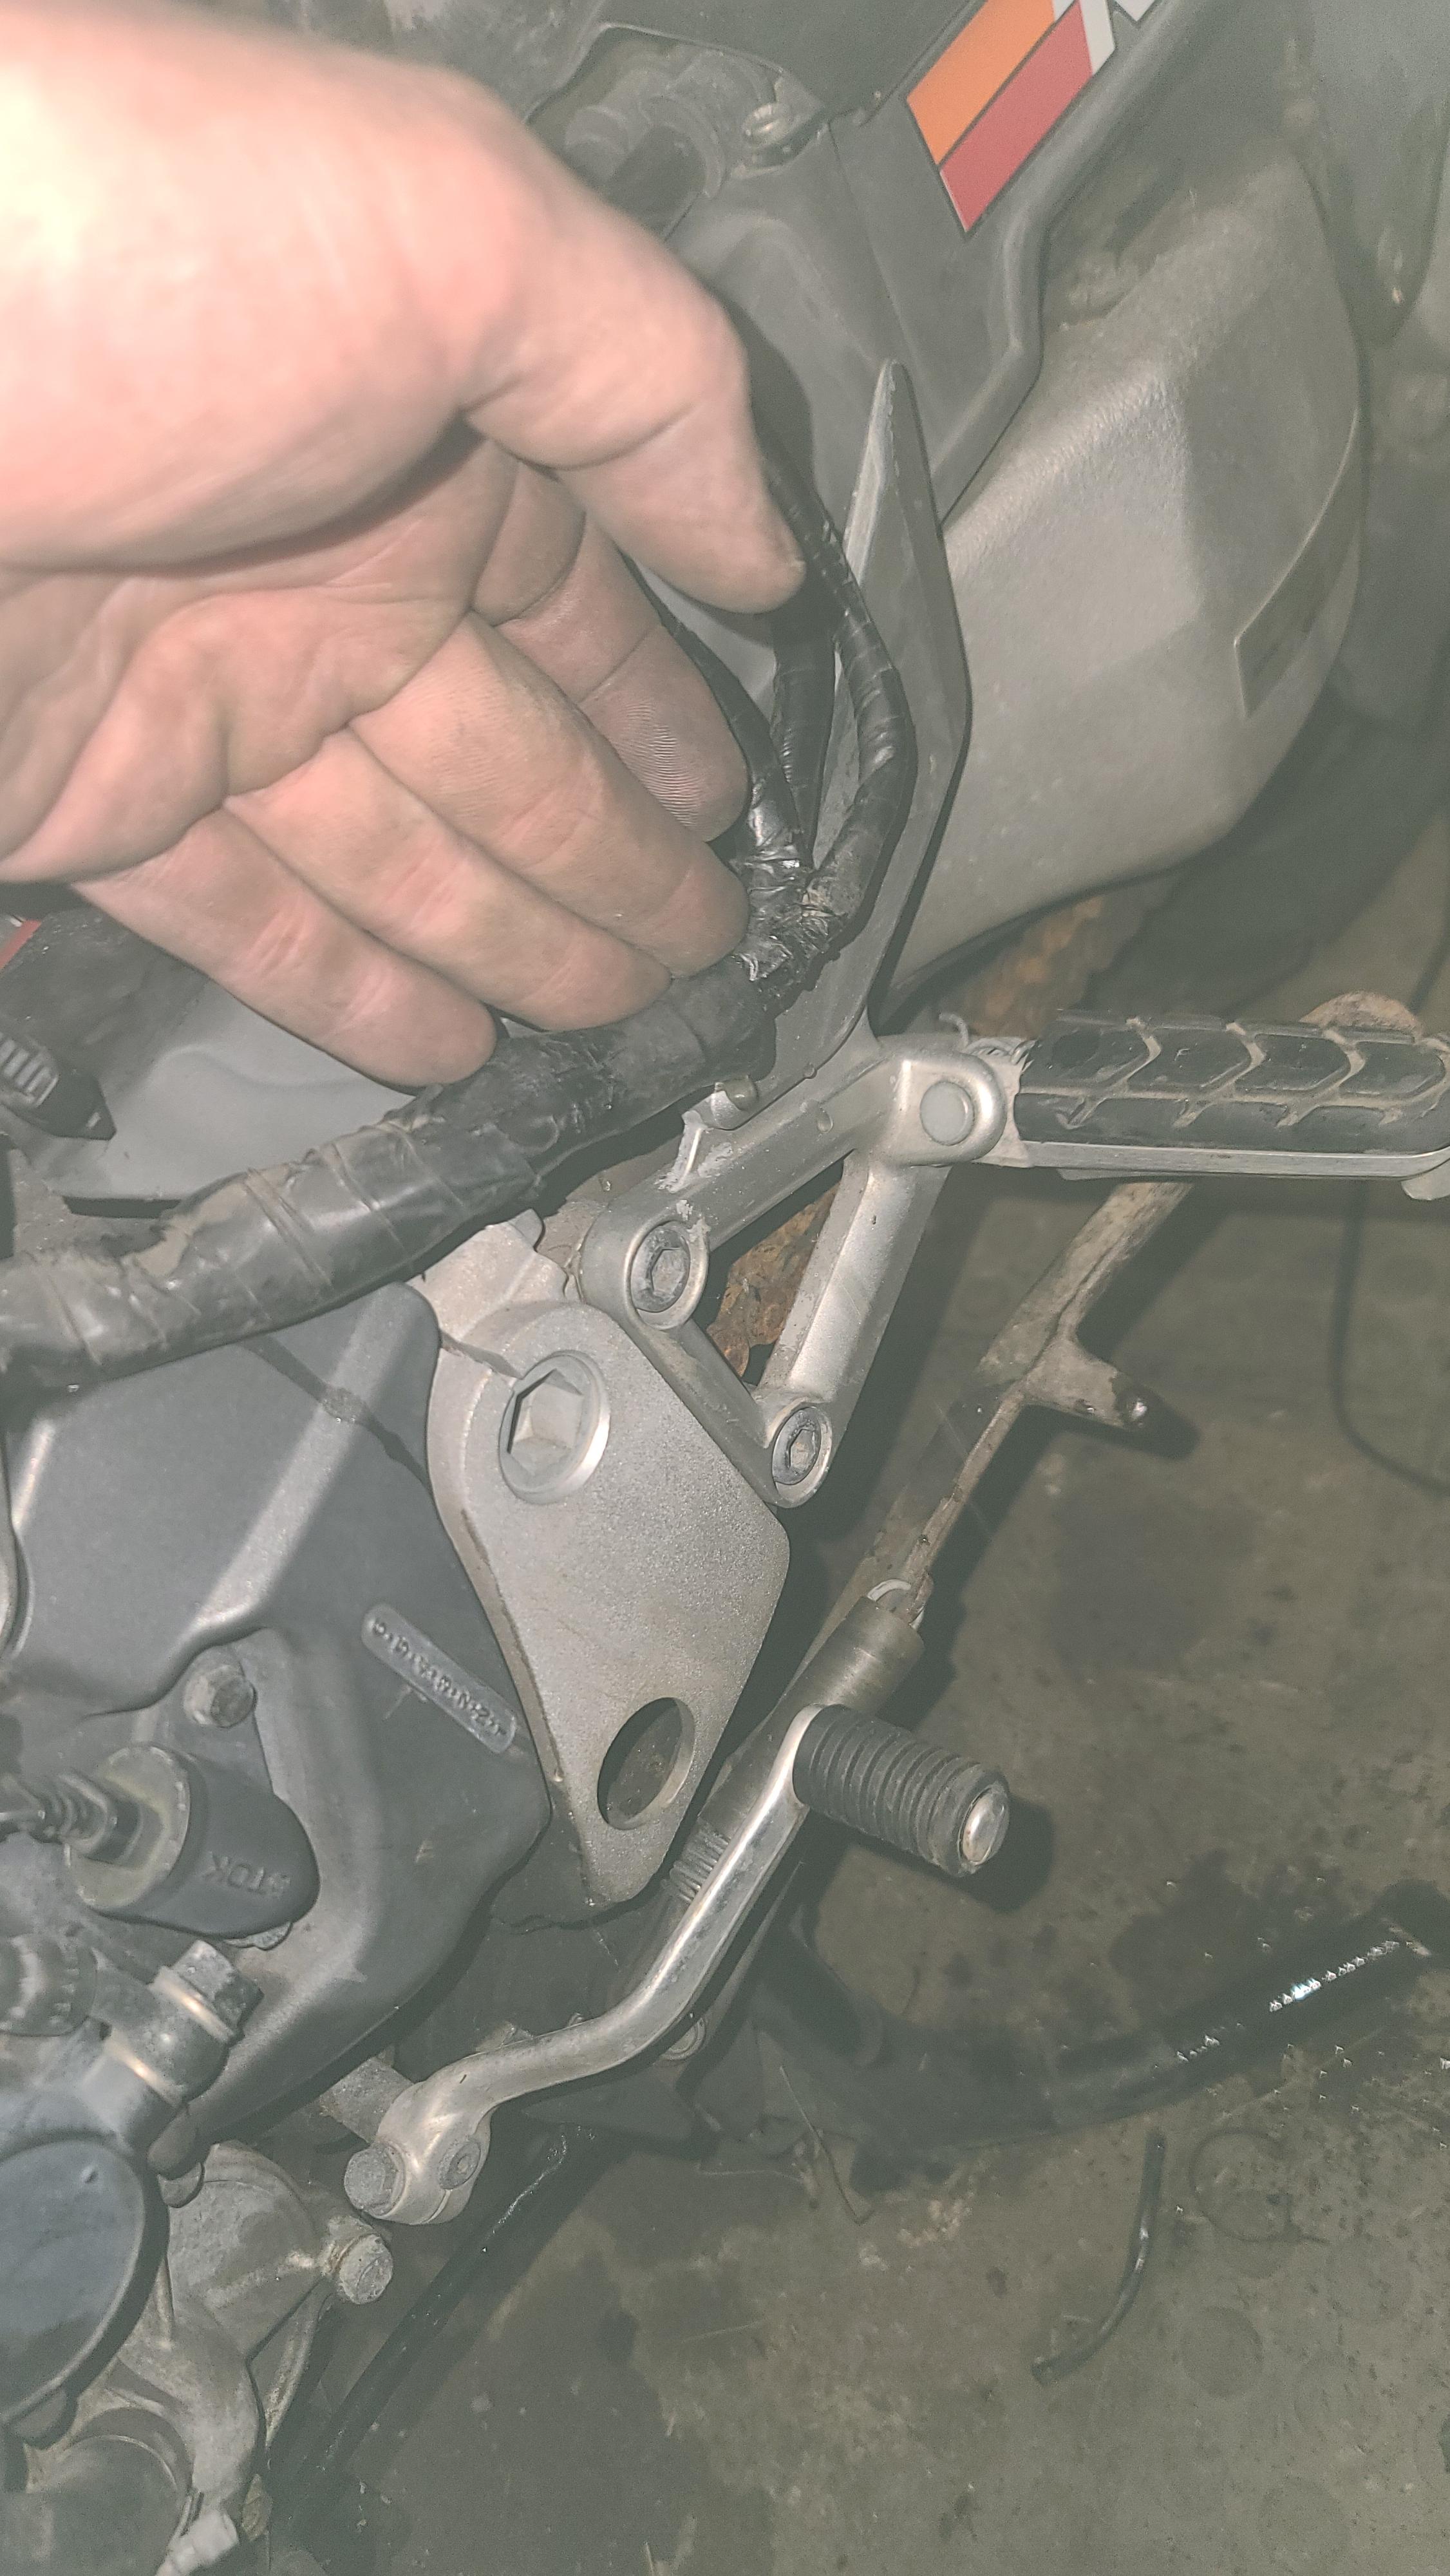
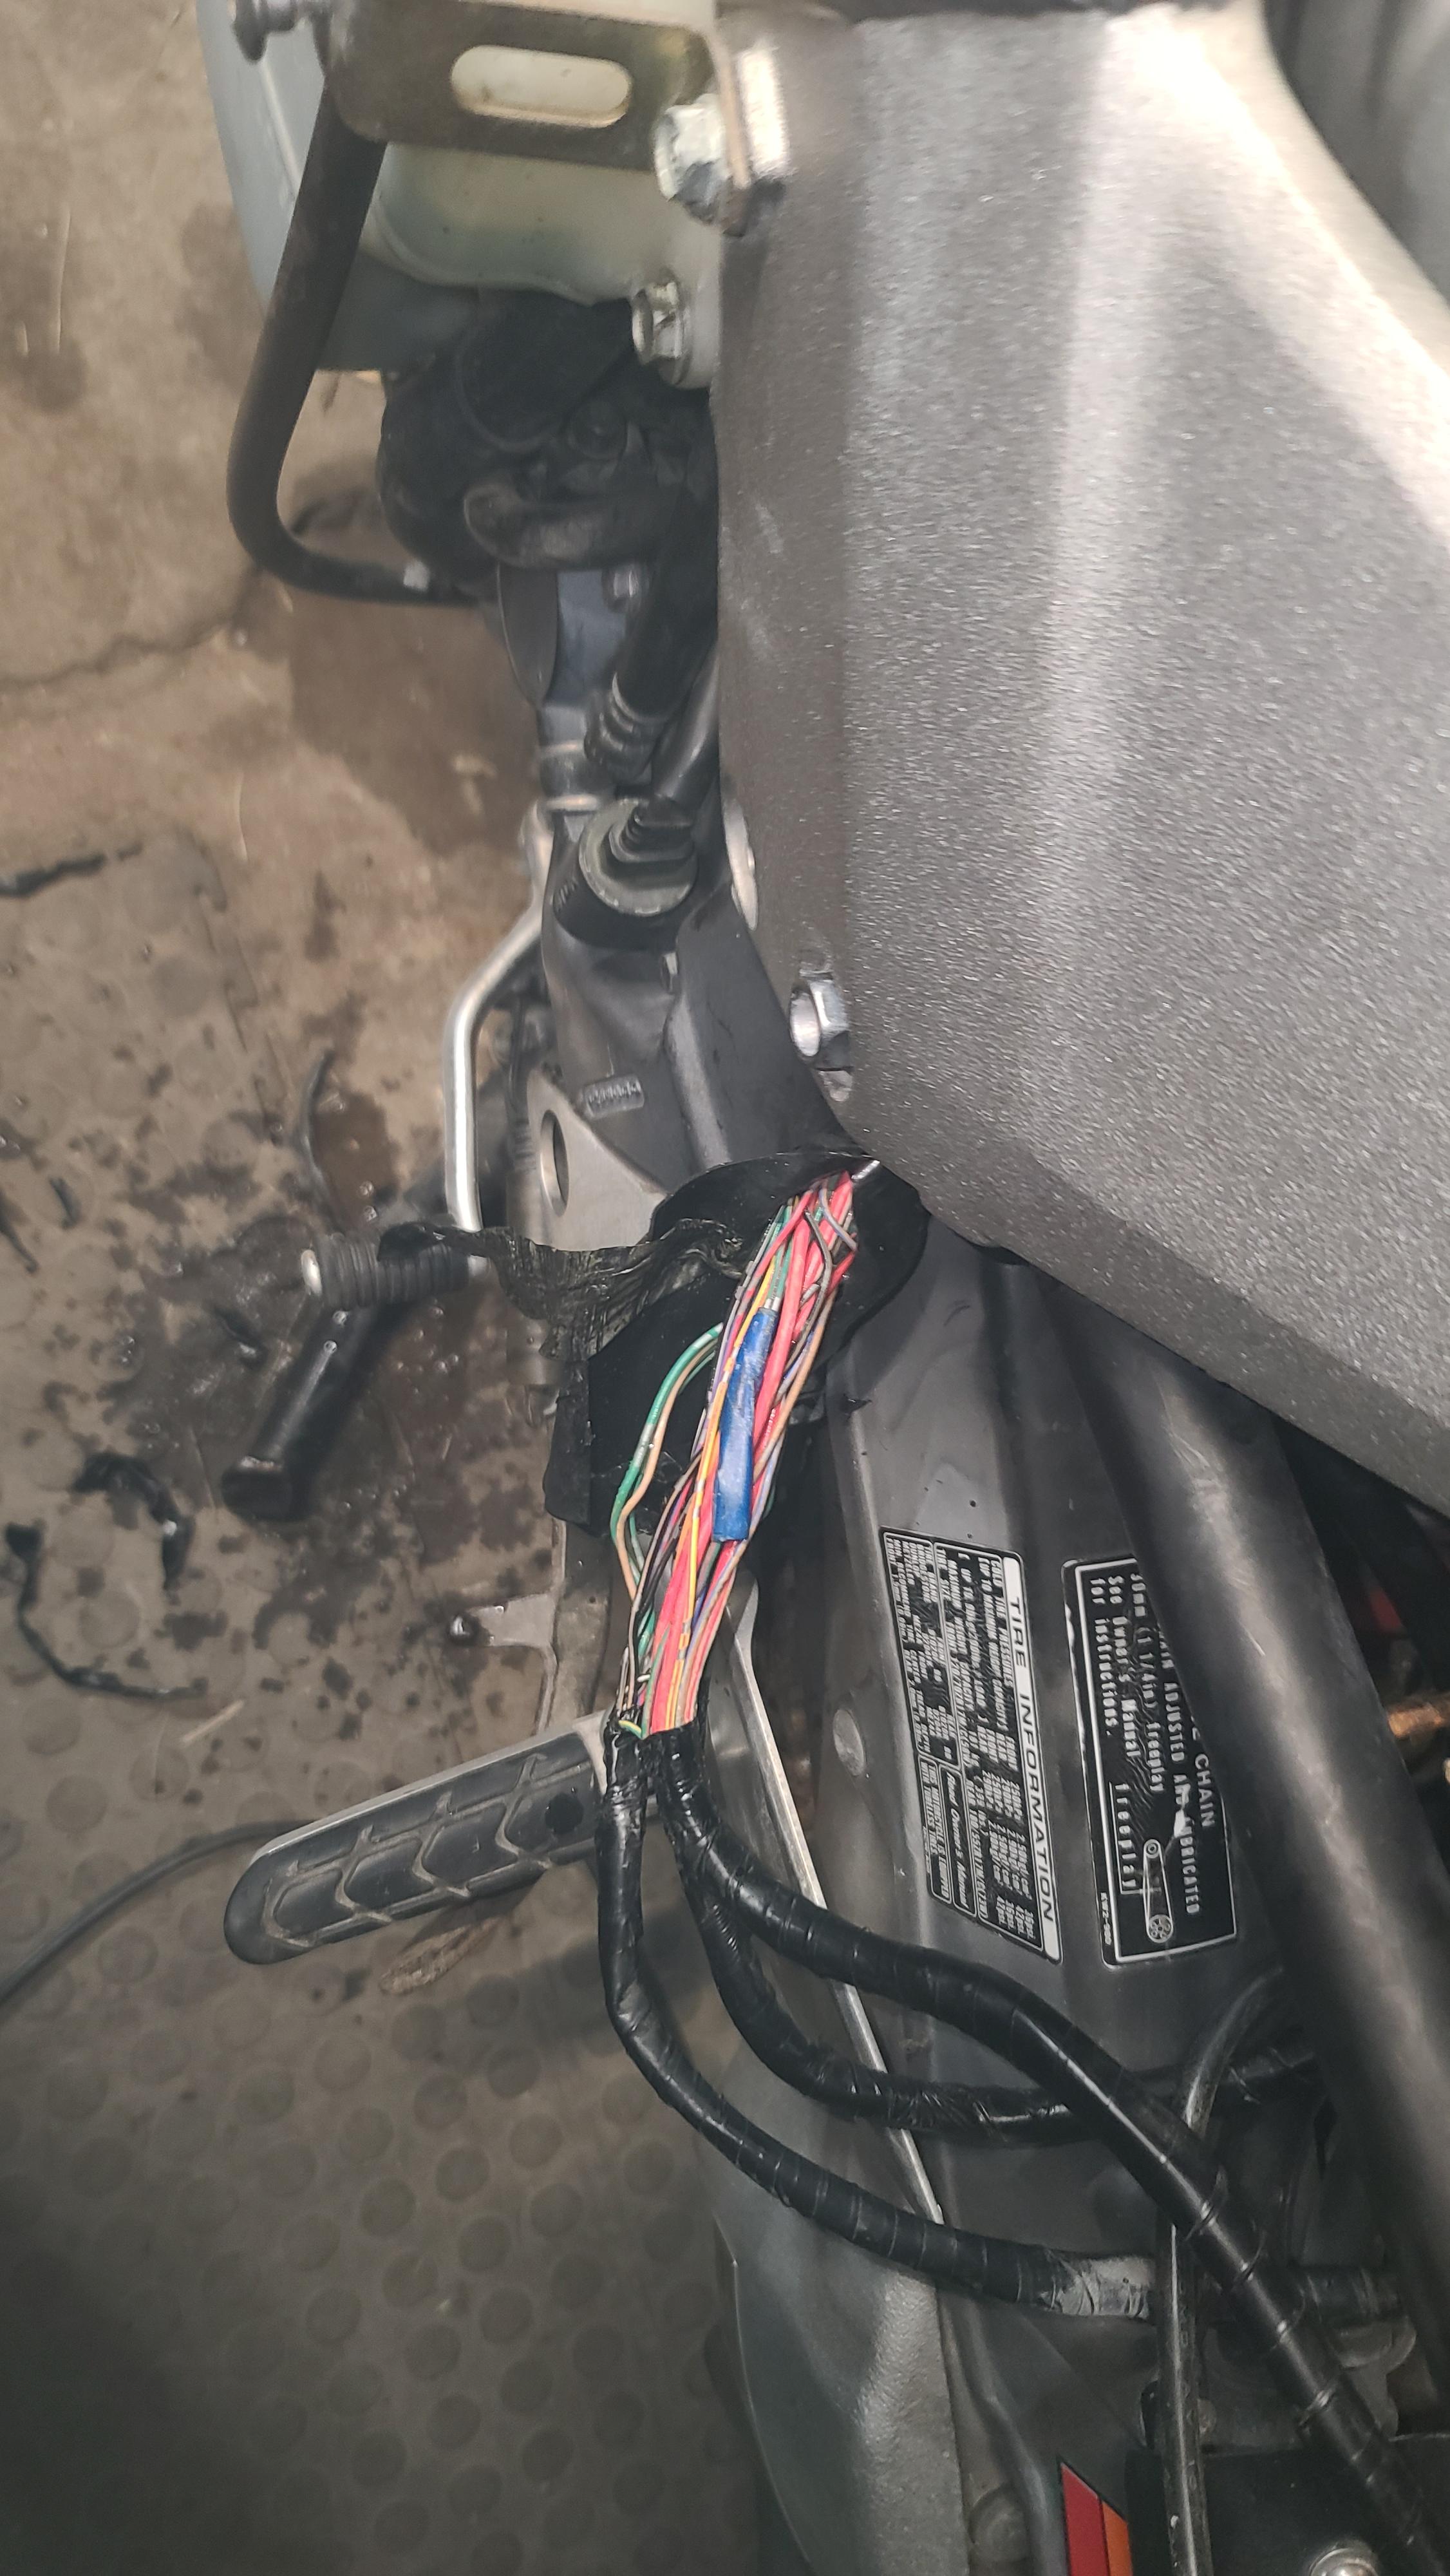
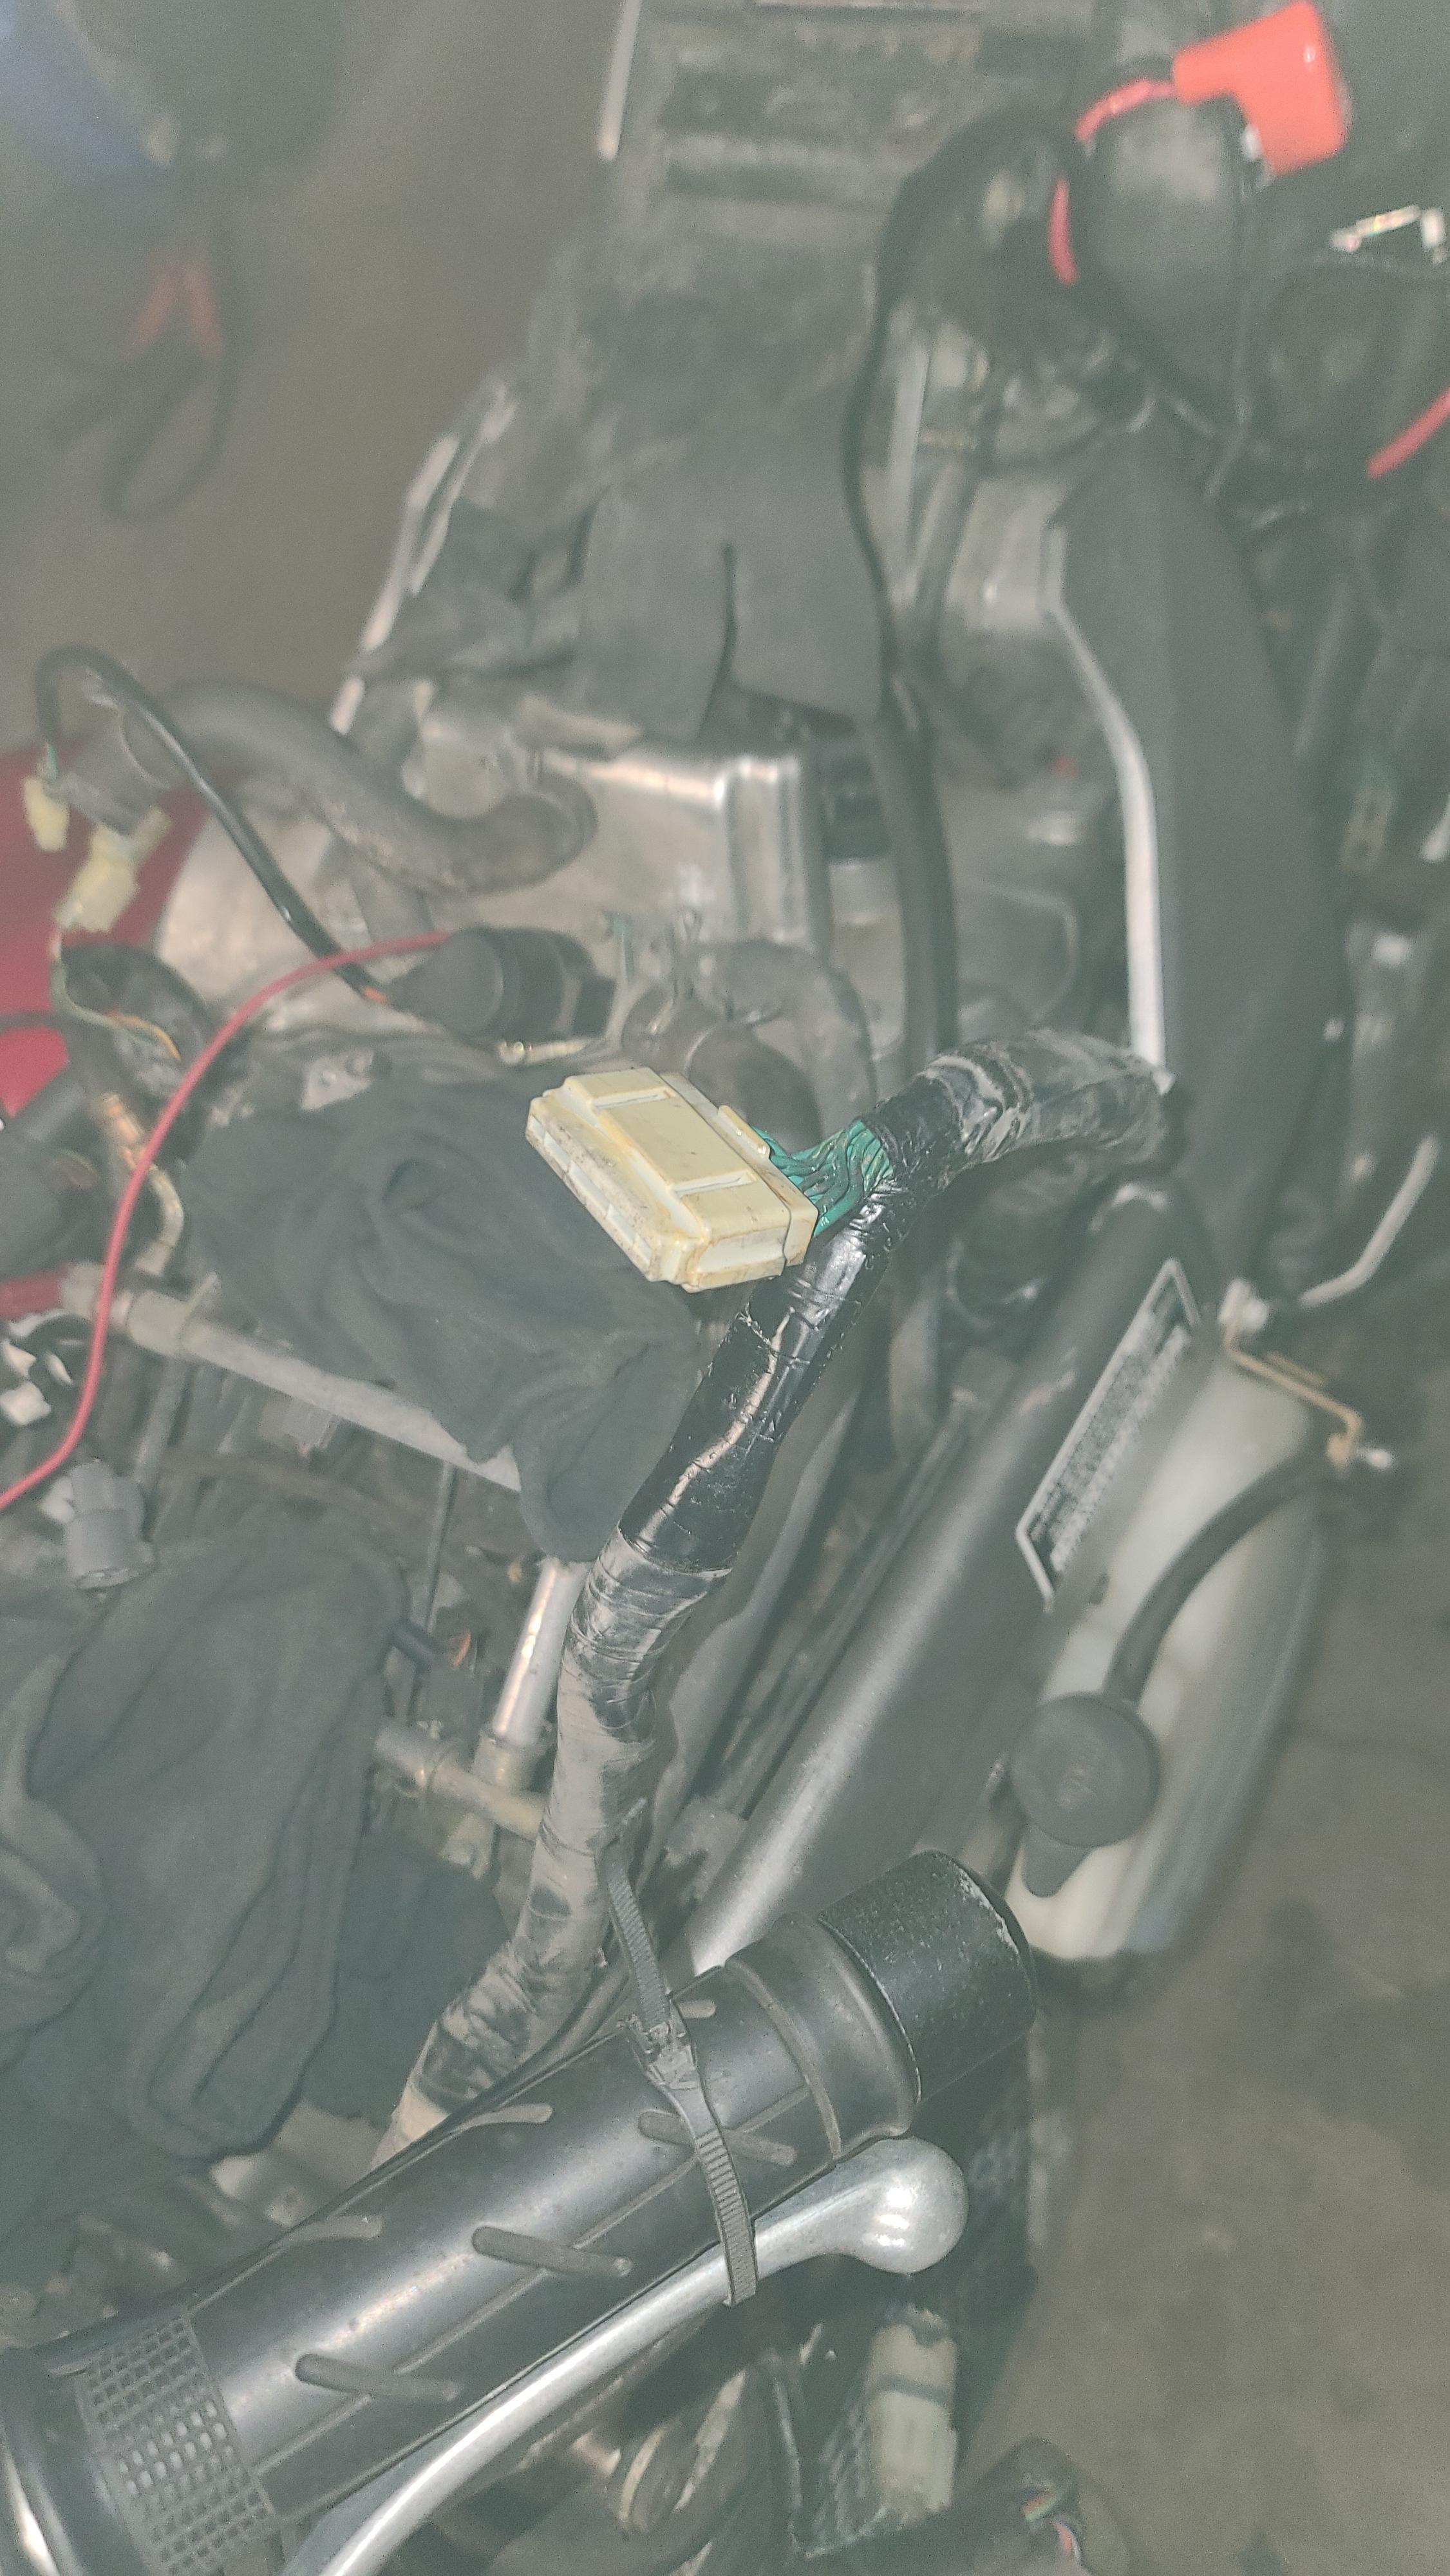
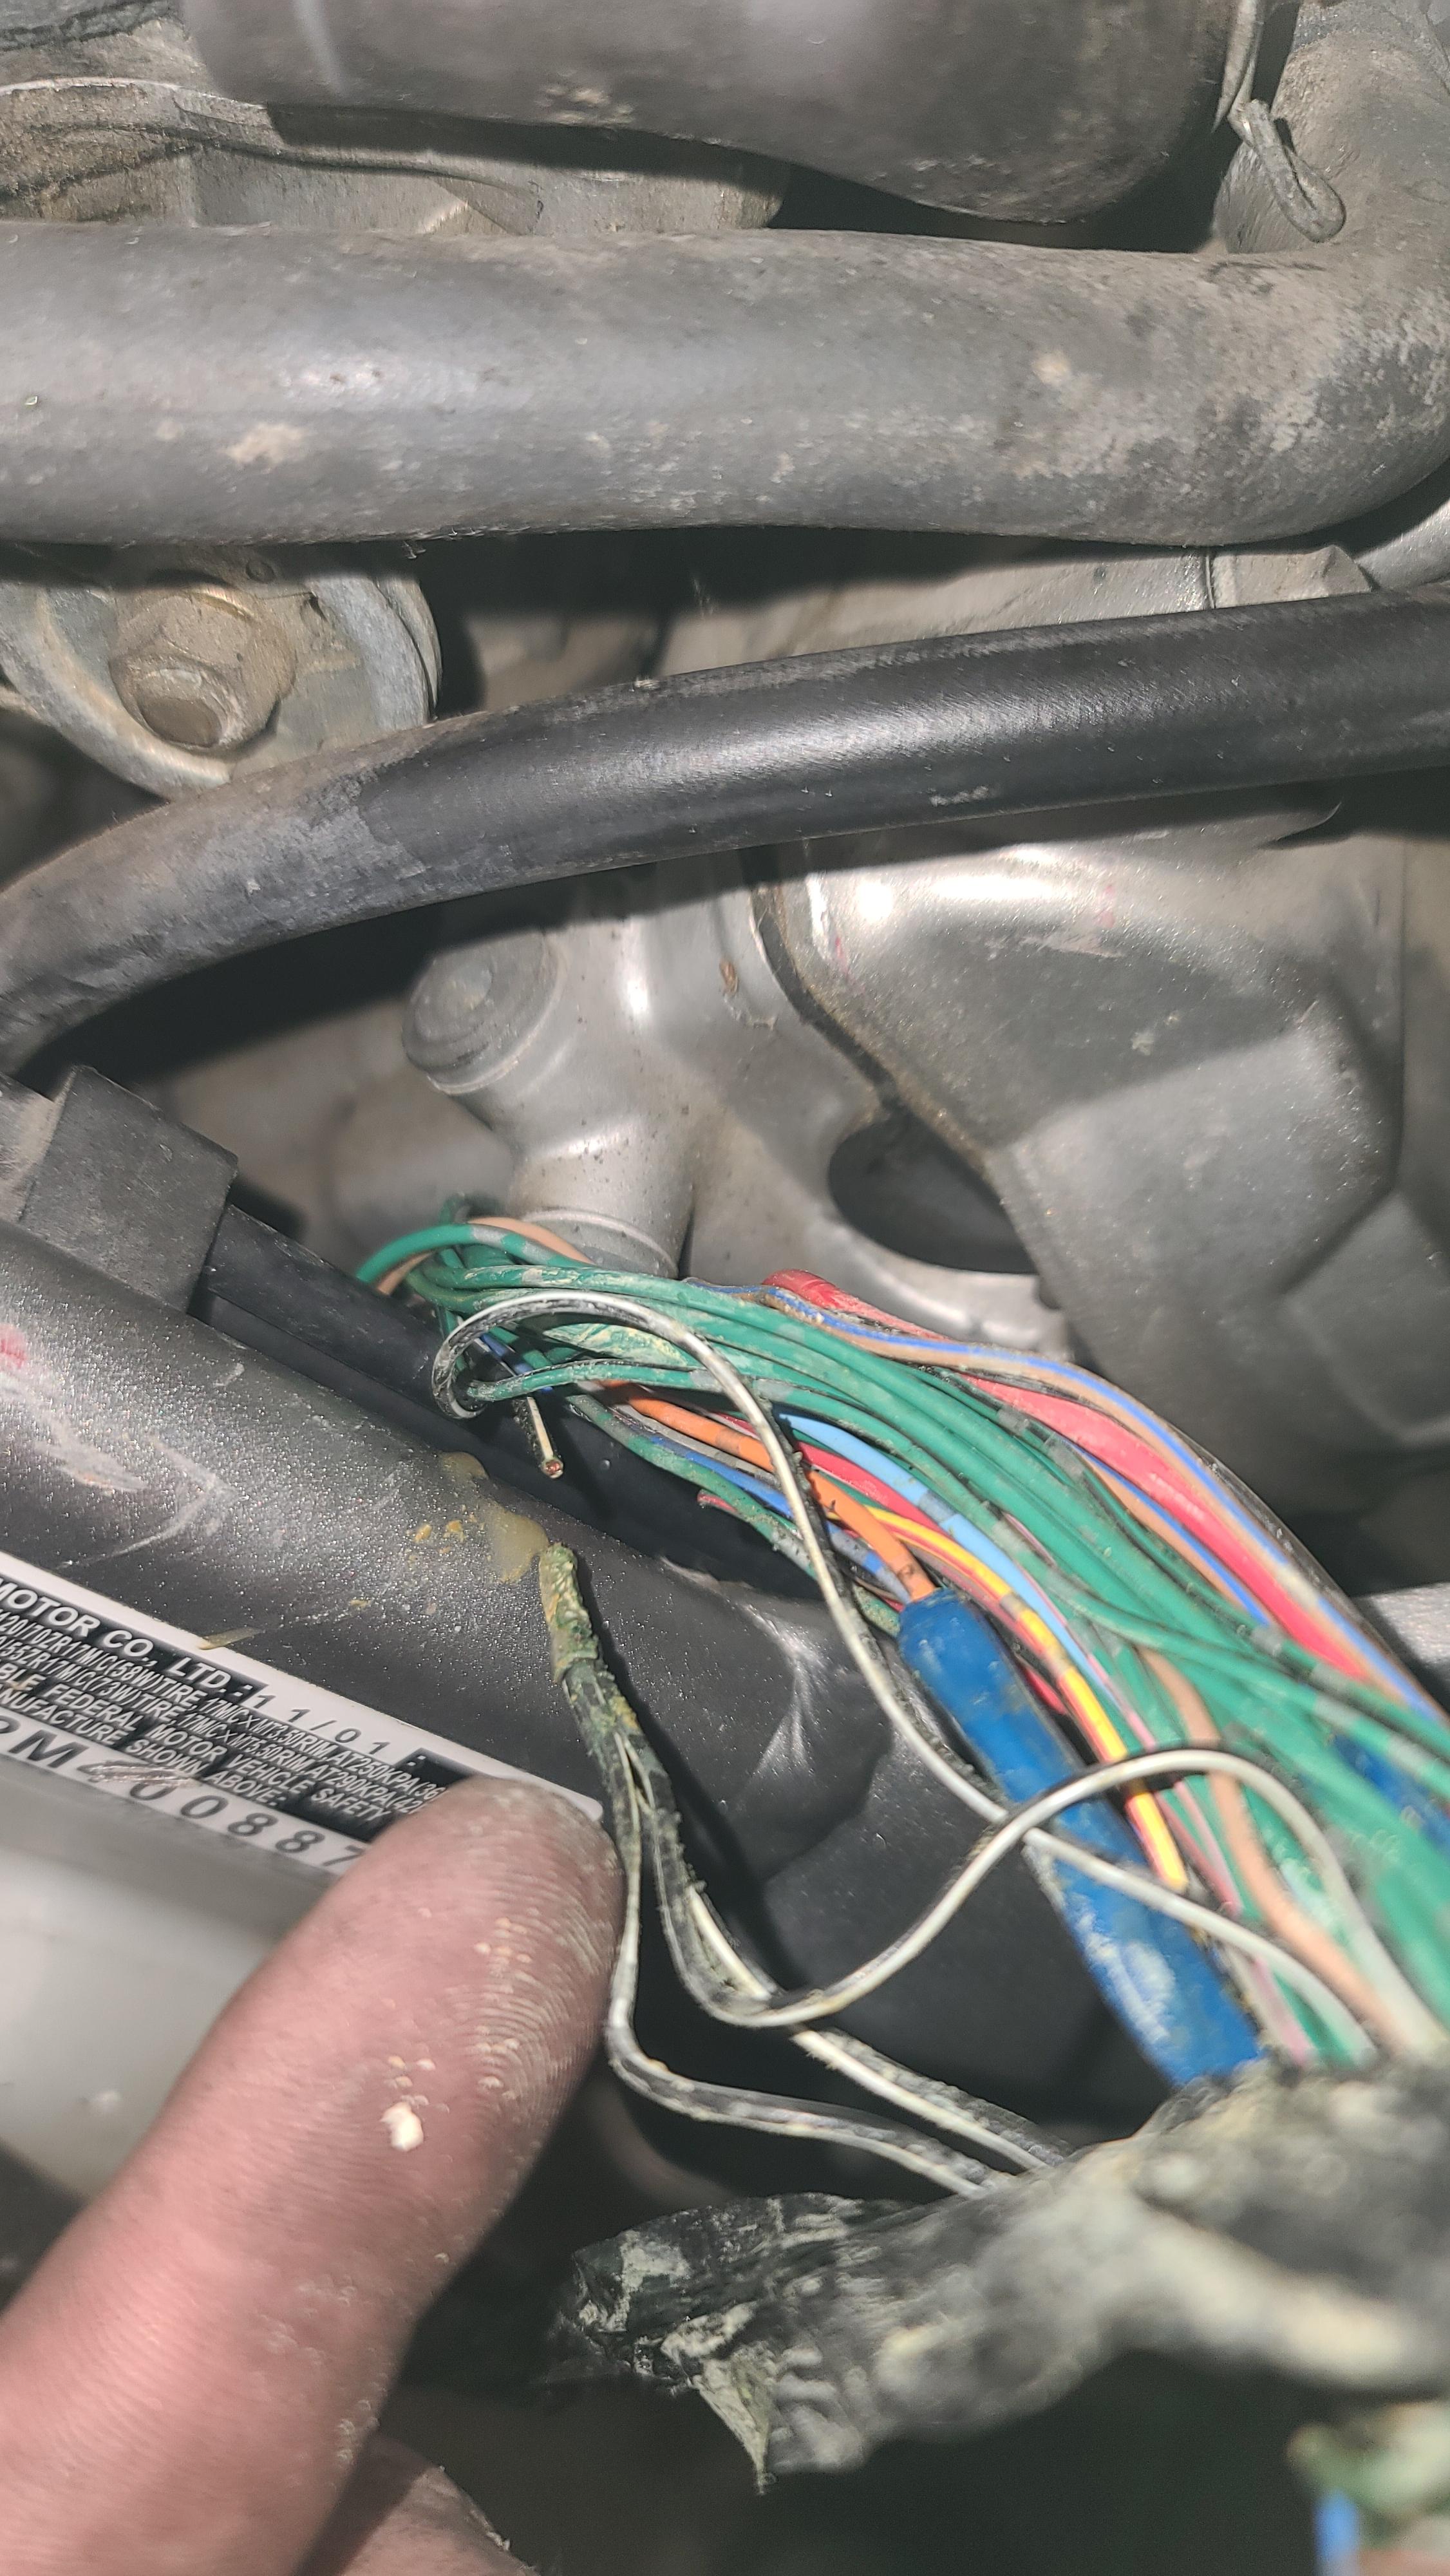
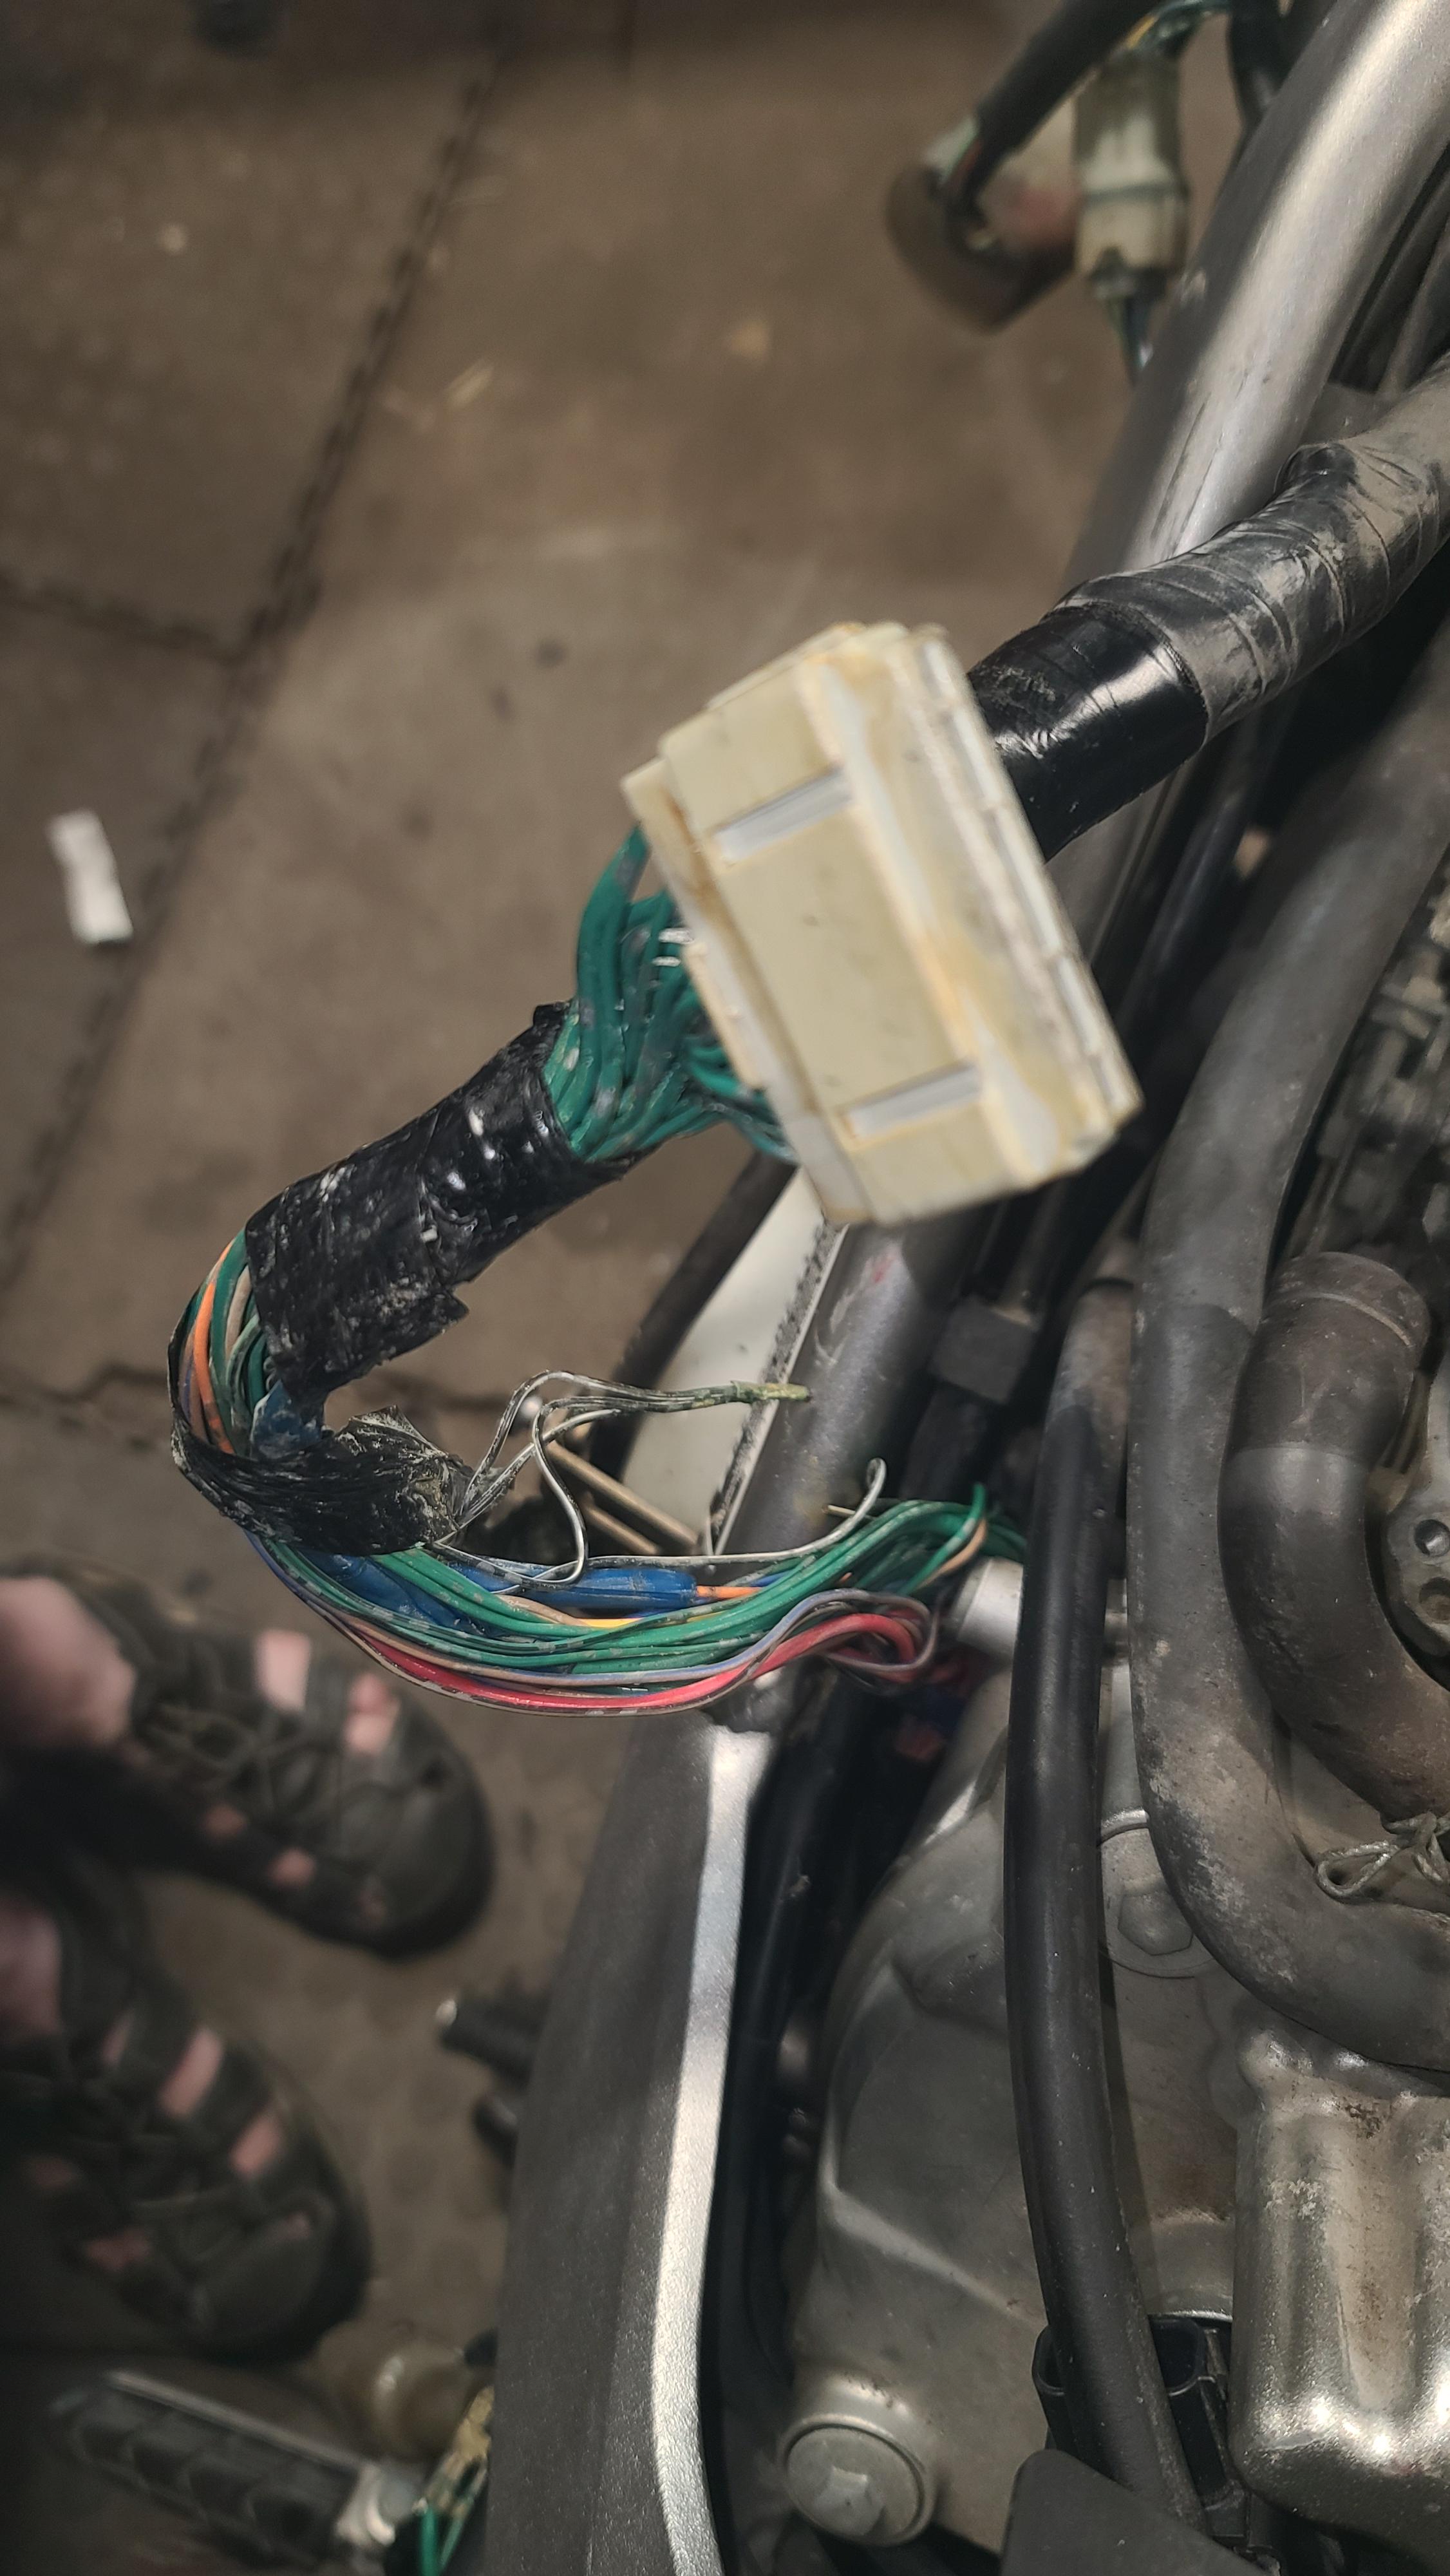
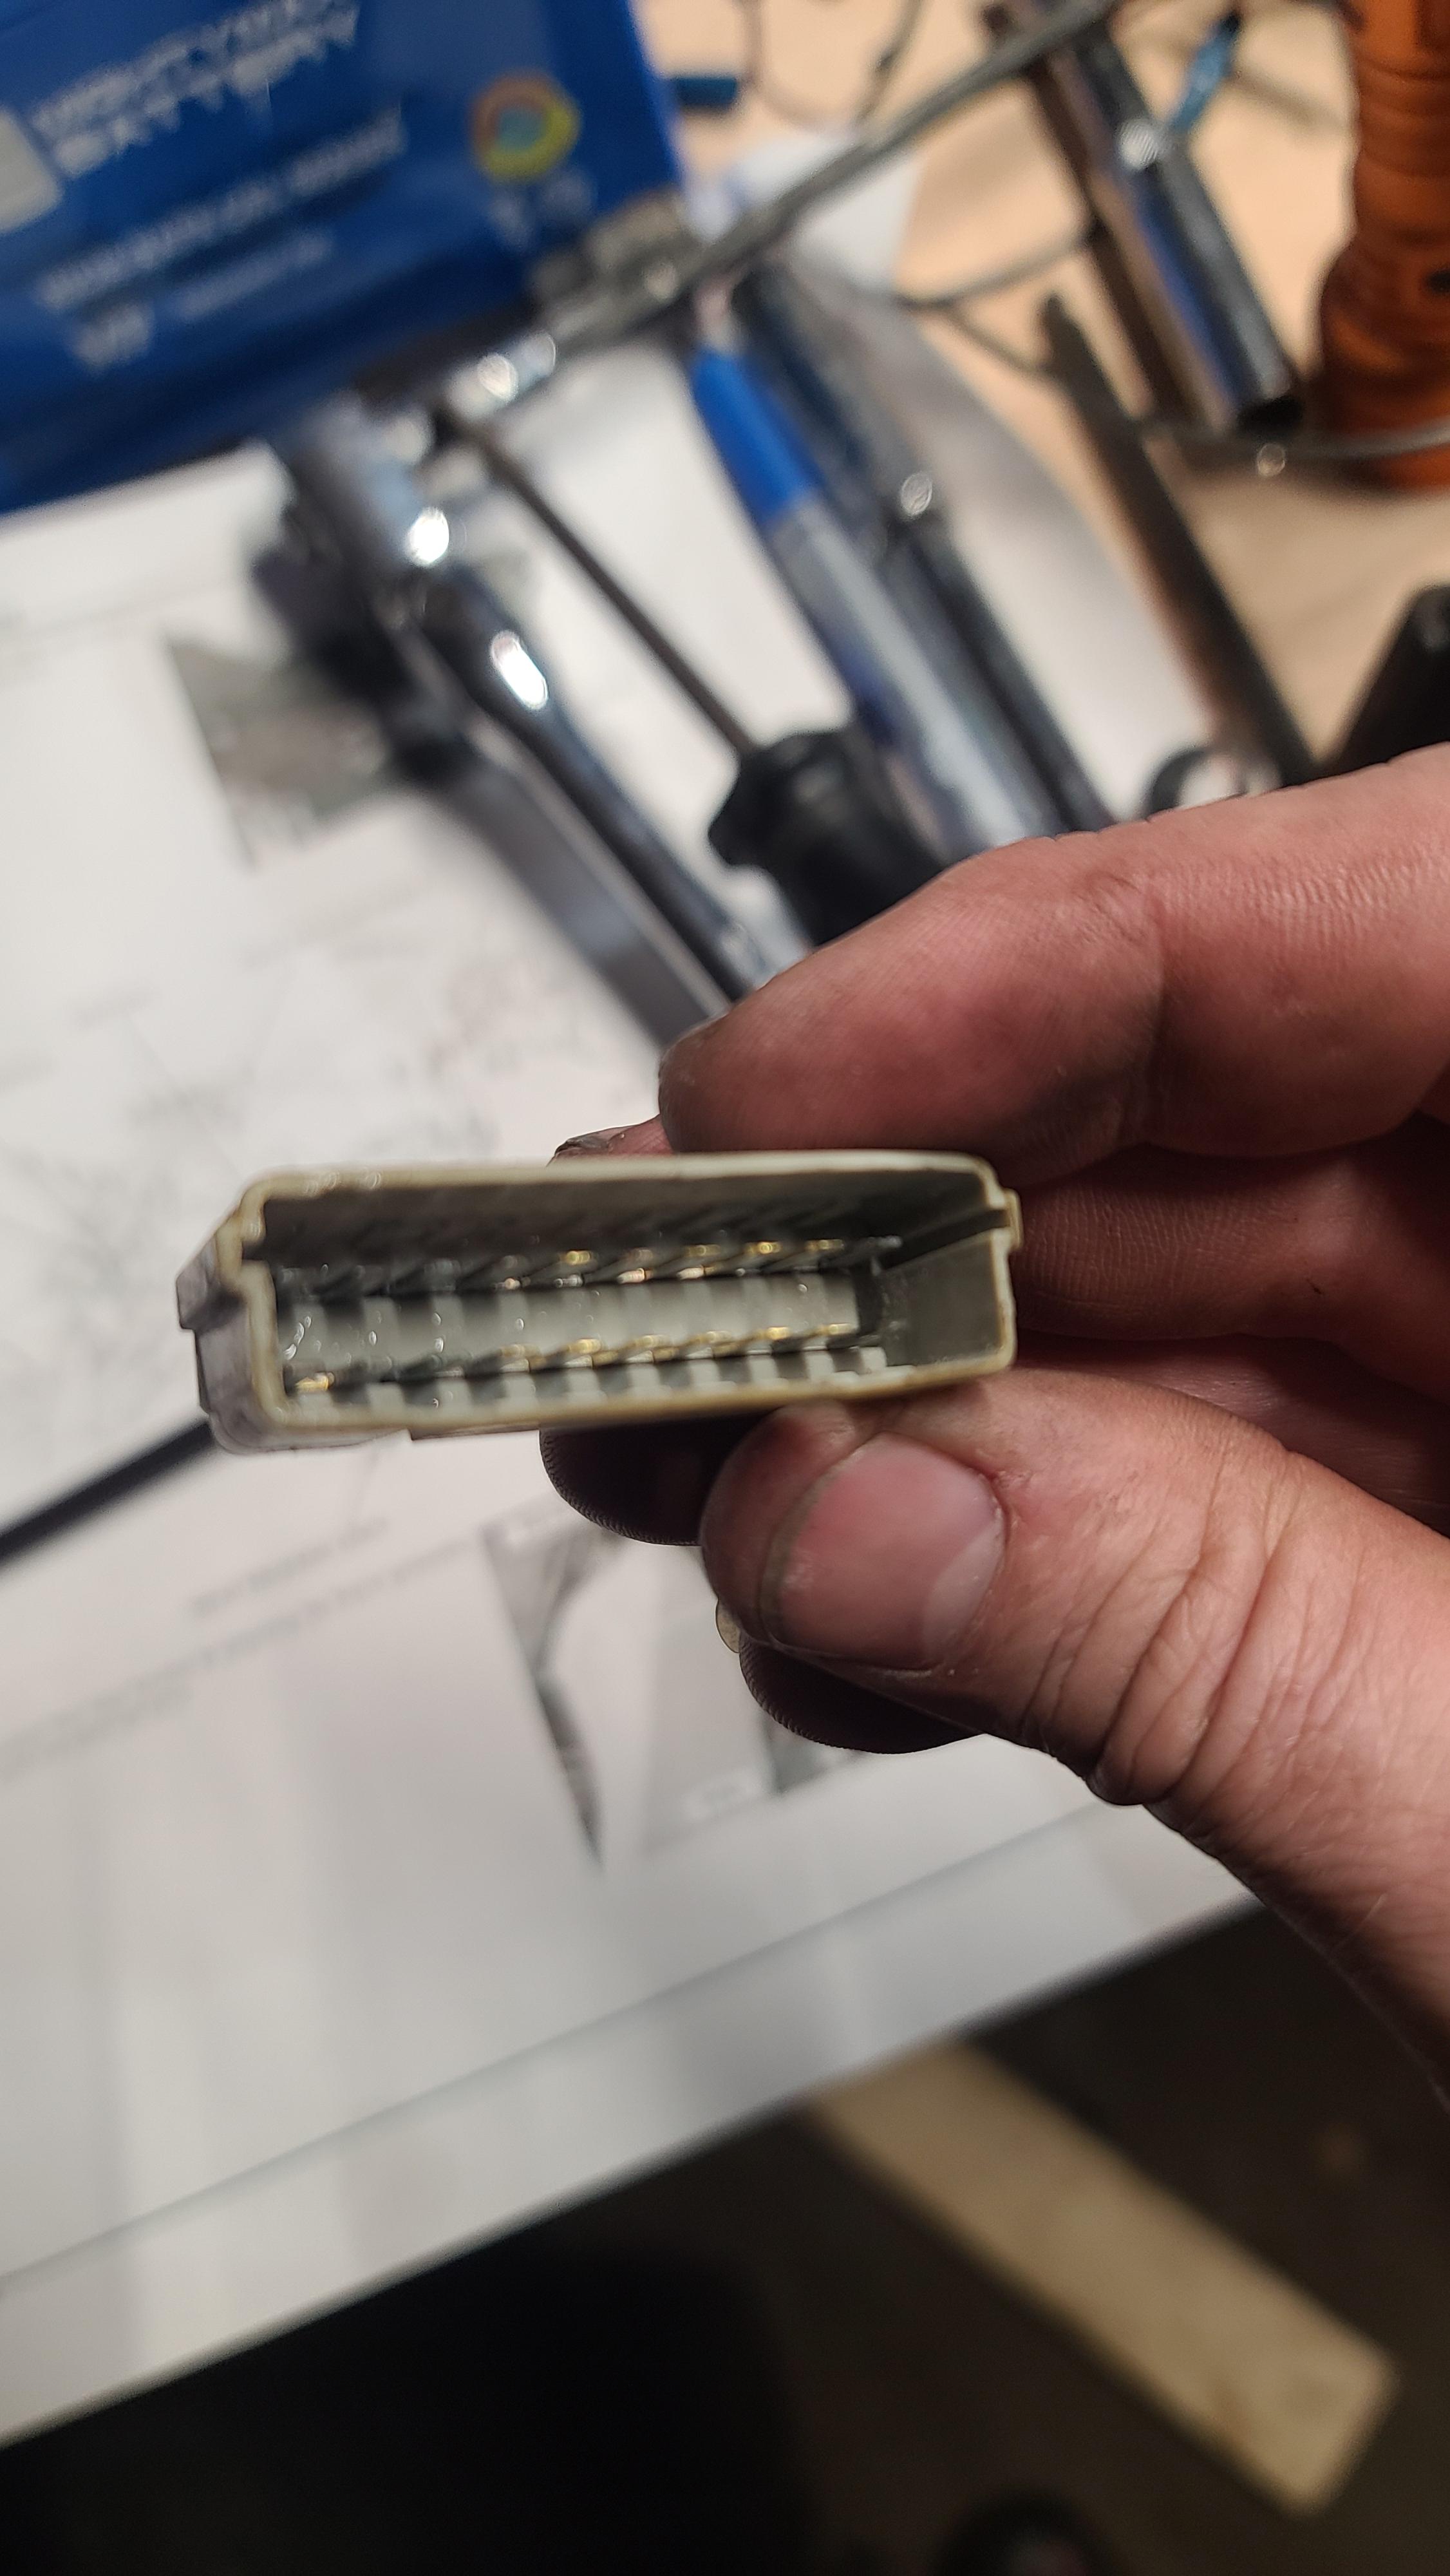
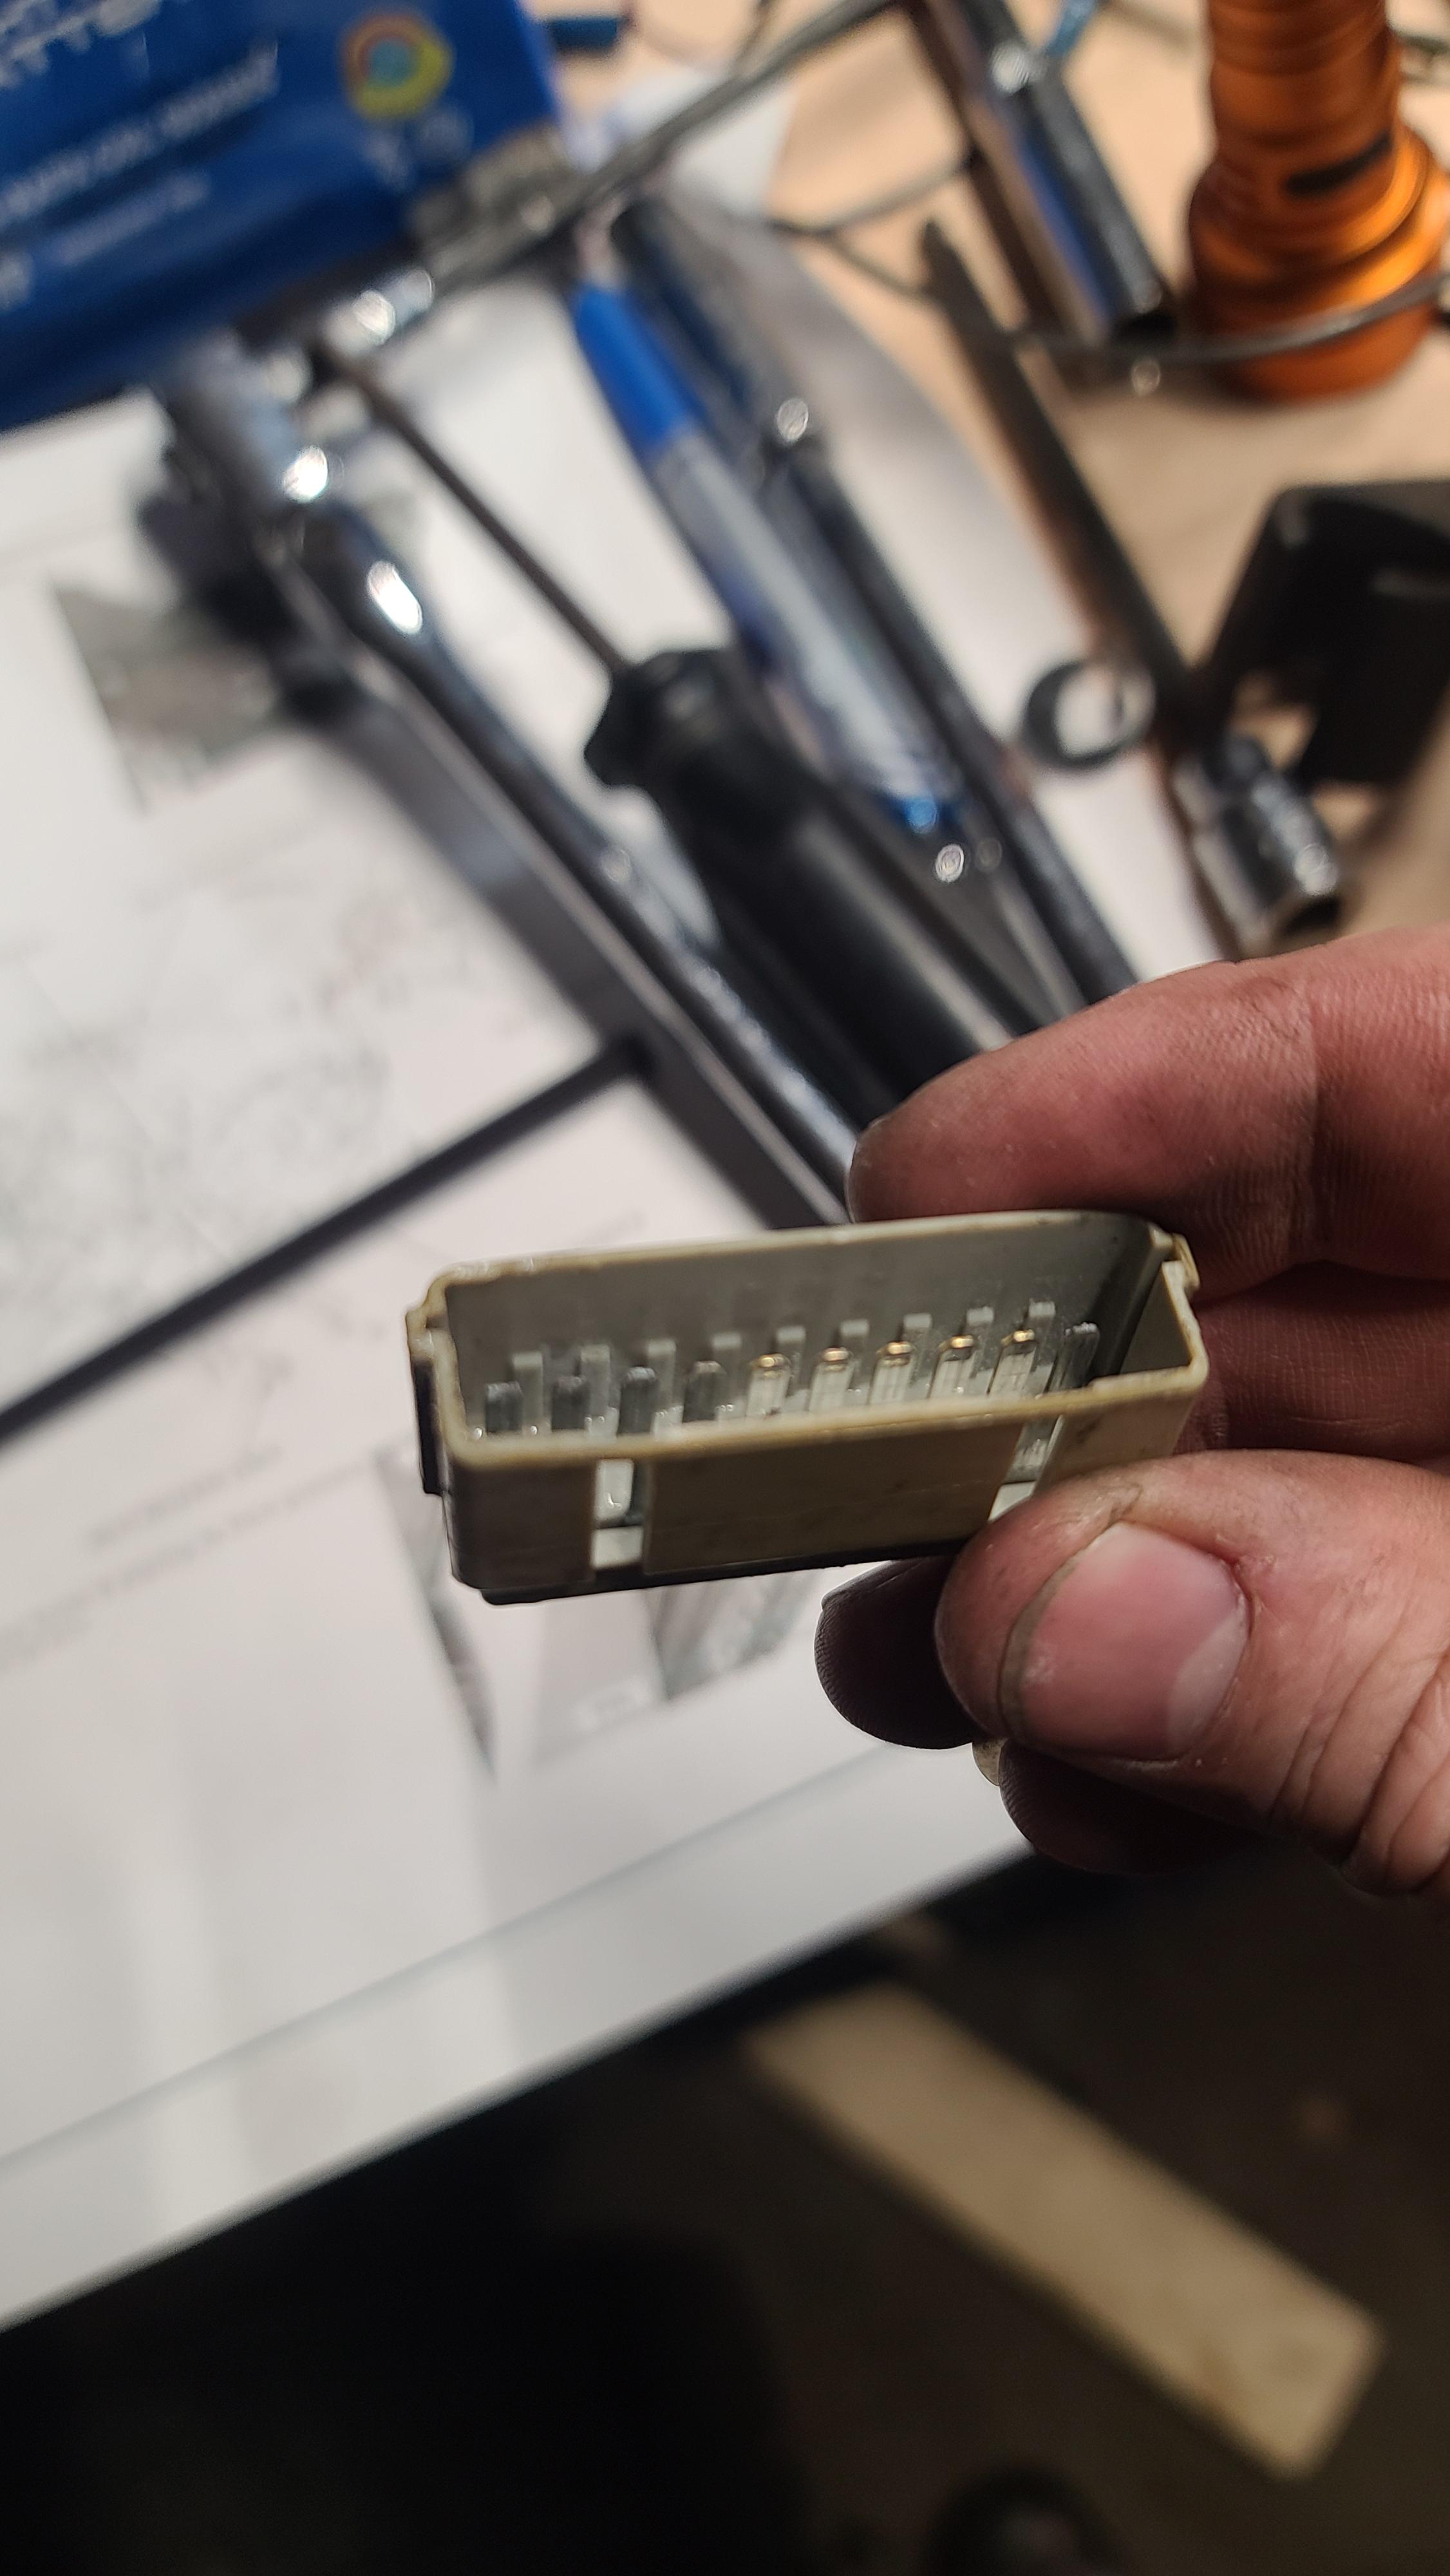
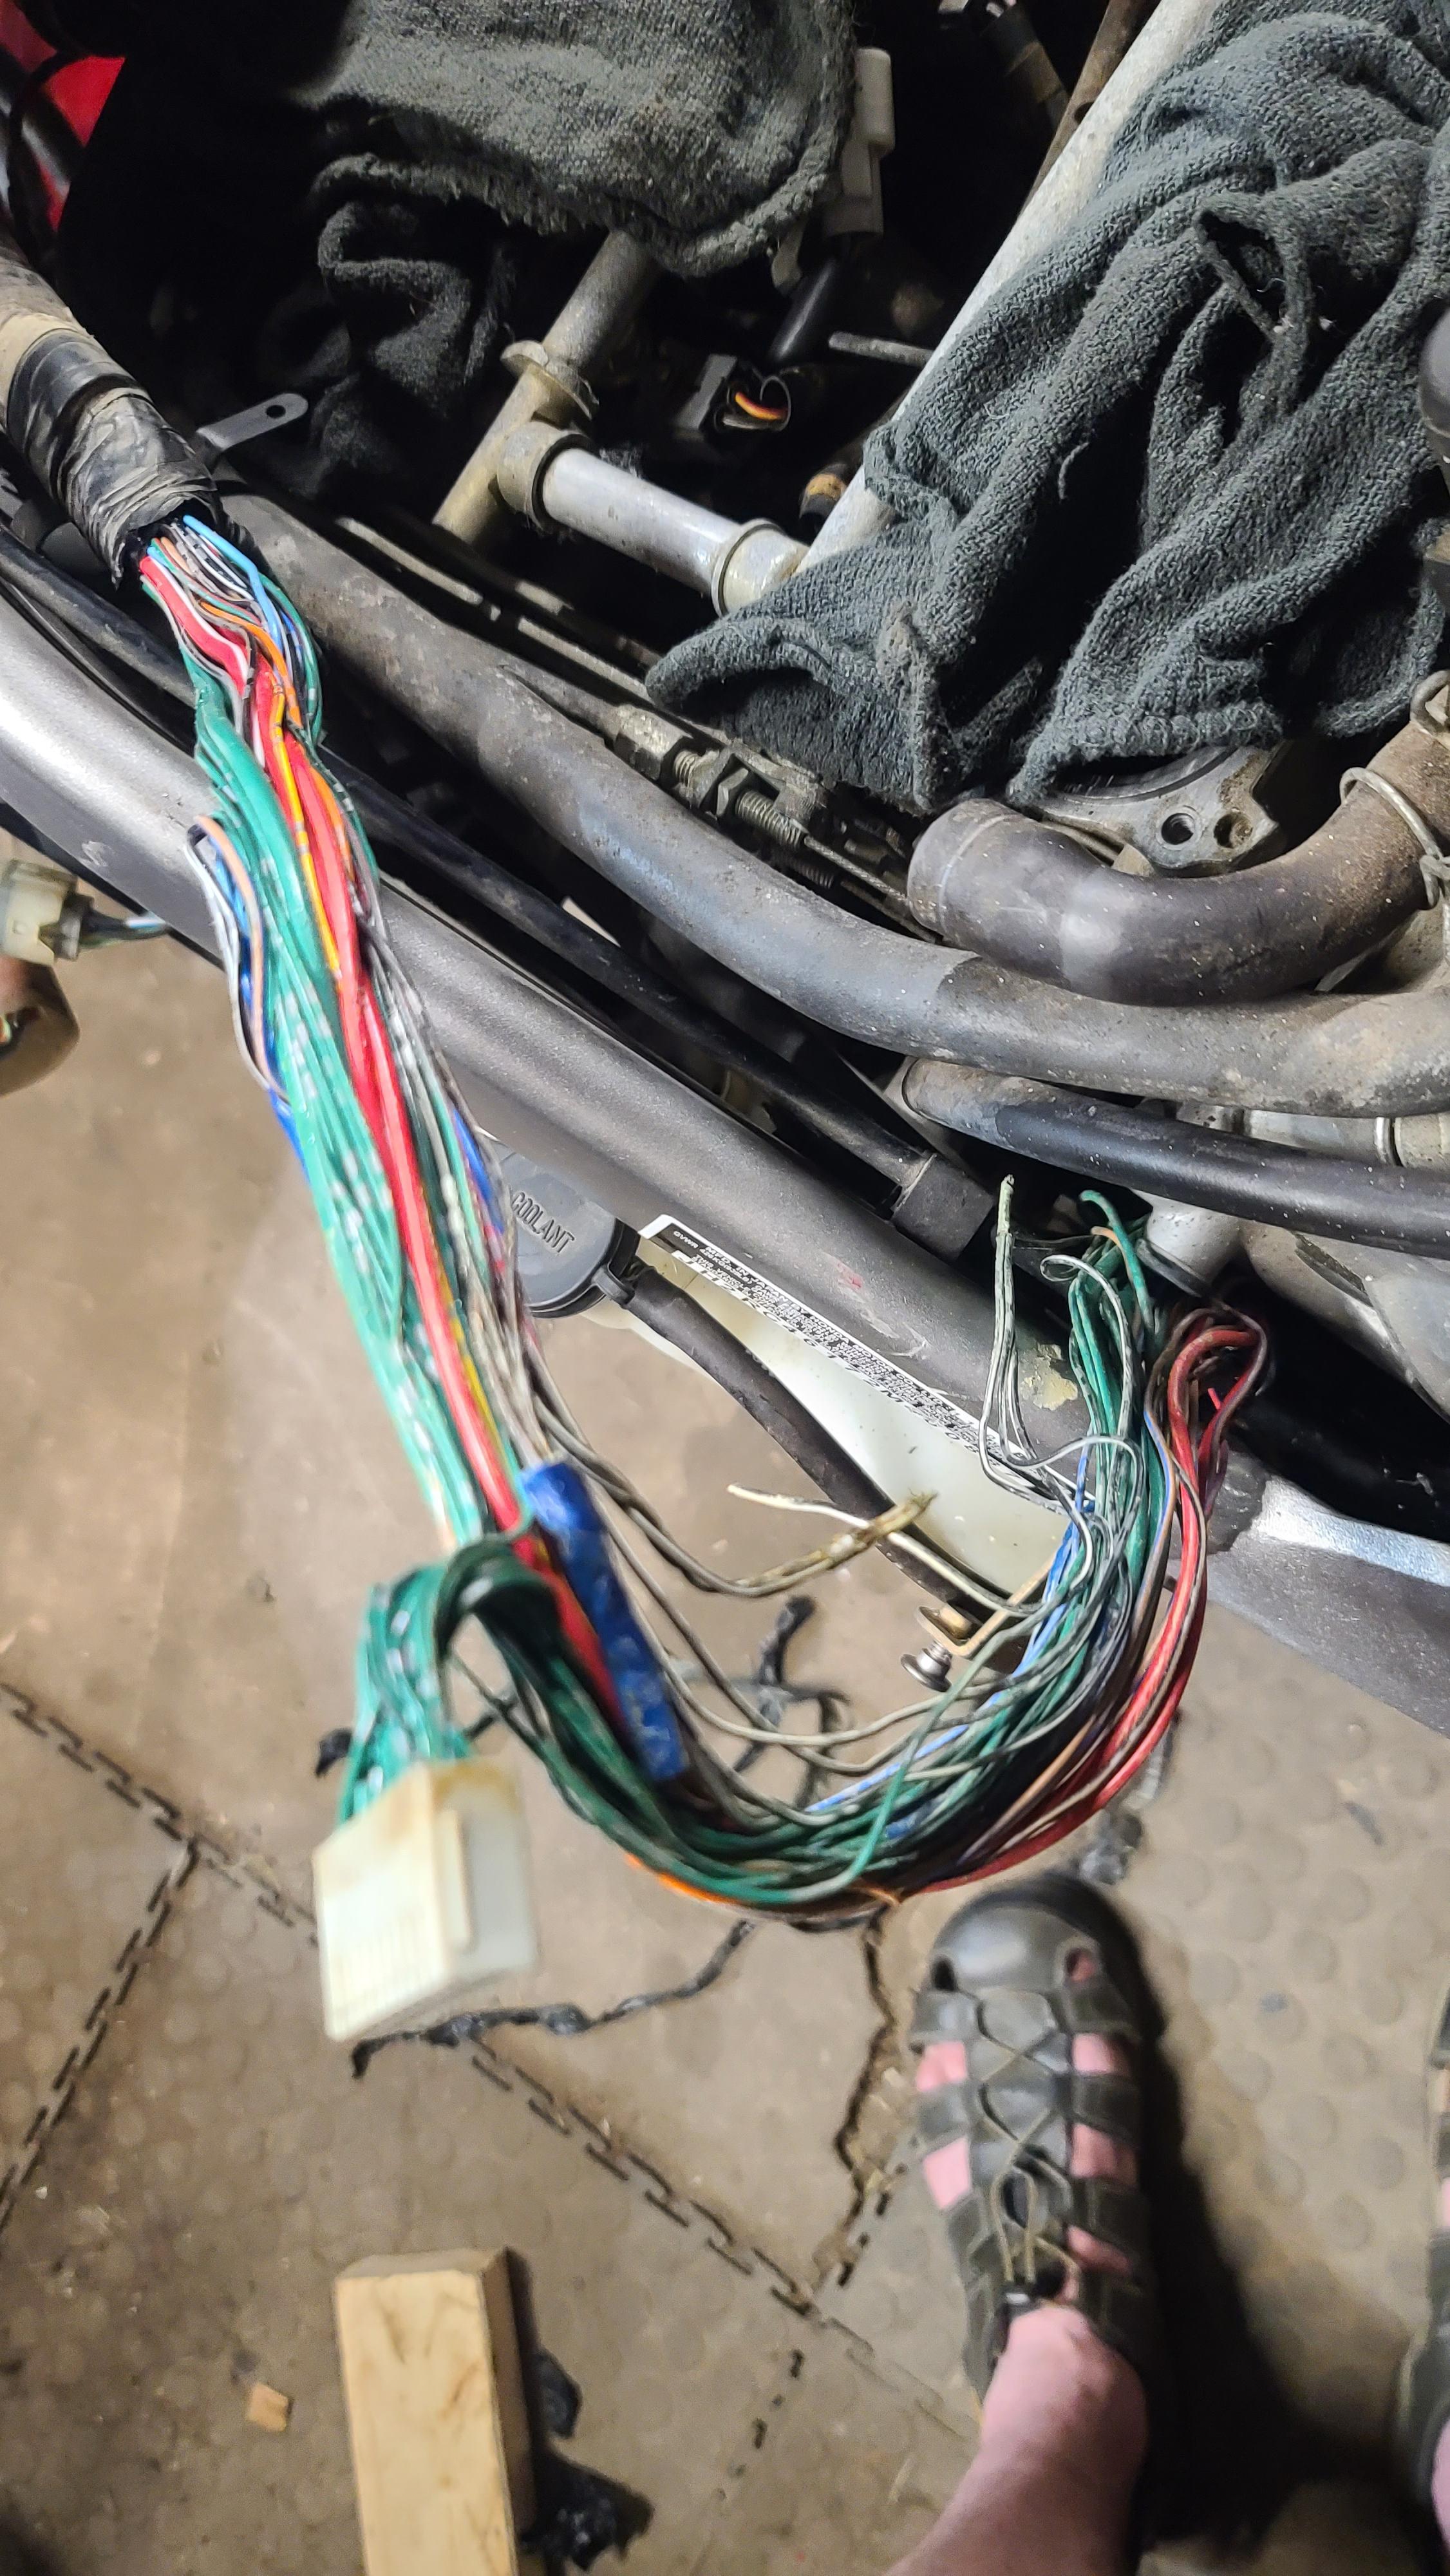
Found it. So, I started tearing the bike apart. To get to the wiring, correctly, at least, you have to remove the rear plastics. So I tore it down to the frame, trying my best to remember where everything goes. I took a lot of pictures. I also removed the exhaust, as I plan on not using it, but just putting a stainless tip on the "breadbasket" with an angled cut, and leave it. If it is too loud, I'll see what options are out there, but the stock exhaust is heavy, and I don't plan on putting it back on. Will probably have it for sale on the marketplace in the next few days, if everything works out. I had a helper for a little while. The wife's bike's saddlebag kept the puppy from getting into things he shouldn't be in. So I finally got the battery tray/rear "bodywork" off. I then carefully snaked the right side coilpack an fuel tank connectors over to the left side, and started untaping the harness, starting right beneath the three-way splice. I had felt moisture once while moving the harness around, and didn't really think much of it, sniffed to make sure it wasn't fuel, and then went on. But when I started opening up the tape, it literally started pouring water out of the harness. It's hard to see, but I'm angling it down, and water is pouring out of the harness. At least 1/4-1/2 cup of water came out of it. I then started untaping the harness in earnest. Everything was damp and wet, but being coated wiring, most of it seems to be fine. Everything looks like it was dragged around in the mud before being taped up. My hope of finding the 4-way splice right at the end was soon dashed, and I realized with the moisture, as well as having to find this splice, I'd most likely need to get to more of the harness. So I disconnected the O2 connectors and kickstand sensor connector/s, and that, as well as pulling the rear sections of the harness up toward the frame, allowed me to pull the main harness up 6 or so inches, so I could reach it and untape it. I unwrapped up to the earth ground, hoping that would be as far as I needed to go. I found it! I found a 3-into-1 black/white splice, wrapped in blue tape. I unwrapped the splice, and it fell apart in my hand. The water corroded the wiring underneath the splice, and seperated it, and the tape was holding it just enough to allow spark to jump sometimes, but not enough to get 12v. Well, that's unfortunate. I continued unwrapping, and I could see a few other taped splices. I was wondering how bad the earth ground would be. It took a lot of effort to take the damn thing apart, but it eventually came apart. My fears were not unfounded. I found corrosion and dampness in there. I was unable to take this one apart, as I was able to do the other one. I will think about weither or not I want to just solder all these into one, or something along that line. Otherwise, I will take a brush and scotch brite, and do what I can to clean up the corrosion on the first few pins. I left it out to dry overnight, and I'll get back to it in the morning. I kept unwrapping, and lo and behold, I found another black/white splice. I carefully unwrapped the tape, and this one fell apart, as well. You can see both breaks in this picture. I went further past the earth ground. The dampness was not as bad as further down, but there was still moisture. I very carefully unwrappe a light blue splice. It showed corrosion, but was not severed. That gives me some hope. My dad, who is far better at soldering than I am, is hopefully coming over tomorrow morning, and everywhere there is a splice in here, the wire will be cut, stripped, and soldered and heat shrunk, before I rewrap the entire harness. I am really hoping this harness is salvageable. I think it is, but I will probably go over it with the heat gun or hair dryer, if being out in the open overnight does not dry everything off. I will go through the entire harness up until I cannot access it anymore, then rewrap the entire thing. I suspect I will be able to get it to run tomorrow evening. I do have some vacuum hoses that I have no idea where they belong. One on the left side has a white connecting male-to-male fastener on it, but no hose after that. No idea what it is. I'll worry about that after I get the wiring fixed and most of the bike back together. I will try to make sure to keep updating, as I suspect someone else is going to come to this issue eventually.
-
As an engineer. No. Just....no. Do not put that much moment on your walls. They're not designed for that. Unistrut isn't really meant for doing what you want to do. That angle bracket especially. Its great for easy adjustments and quick builds. Not to hold motorcycles. Figure out how you want to 'tray' the bikes. Make suitable 4 post rack. Use unistrut if you want, but use pallet rack would be easier. Can still anchor it to the wall for safety. Figure your real loading is more like 4x. 2x is considered 'sudden loading' for objects already in contact with each other.
-
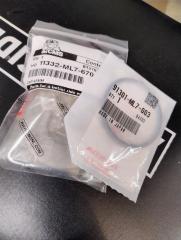
Pretty good memory mate! First one I saw on EBay was a FH027AA for a 2021, the next one was a FH020AA for the 2013/17. Thank You.


-
VFRD Mission Statement
For owners of the Honda Interceptor and related Honda V4 motorcycles, for the purpose of mutual help concerning safe riding, maintenance, and performance of their motorcycles.
Rules of the ride - No one goes to jail, and No one goes to the Hospital.
Contributions - VFRD is a member supported website with no commercial advertising.

-
Forum Statistics
-
Total Topics26.4k
-
Total Posts361.2k
-
-
Member Statistics
-
Upcoming Events
No upcoming events found -
Latest Classifieds
-
-
Top Downloads
-
-
Popular Contributors
-
Blog Statistics
-
Total Blogs116
-
Total Entries345
-
-
Gallery Statistics
-
Blog Entries
-
-
Blog Comments
-

By vfrpilot28 · Posted
I enjoyed reading this and seeing your story. For the love of motorcycling! -

-
By interceptor69 · Posted
Oops. I do believe I know how to post YT videos or they wouldn't be on YT. However I may have screwed up copying the link to the playlist. Thanks for the helpful comment. -
 I think that you might not know how to post videos. You're in your YT studio in these links. You need the link to the actual video.
 -
-
-
Most Contributions
-