-
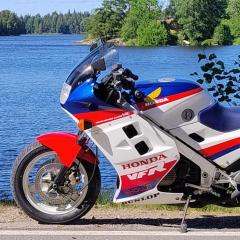
Featured Gallery Photo
 Foto 040

All Activity
- Past hour
-

4th gen fuel tank petcock assembly?
WGREGT replied to WGREGT's topic in Third and Fourth Generation VFR's
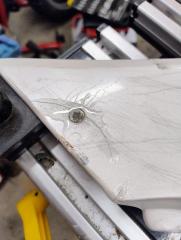
Well, that’s what my petcock looks like too. No brass tube. The filter has a round base with a small little tab on the bottom. The tab corresponds to the longer filter screen, and that tab drops down into the main hole. The shorter screen apparently is the reserve one that centers itself over the other area with the slope. I wish it were reversed, cause then I could just find a filter tube and snap it into that hole. It seems like there are many plastic ones made that would probably fit. -
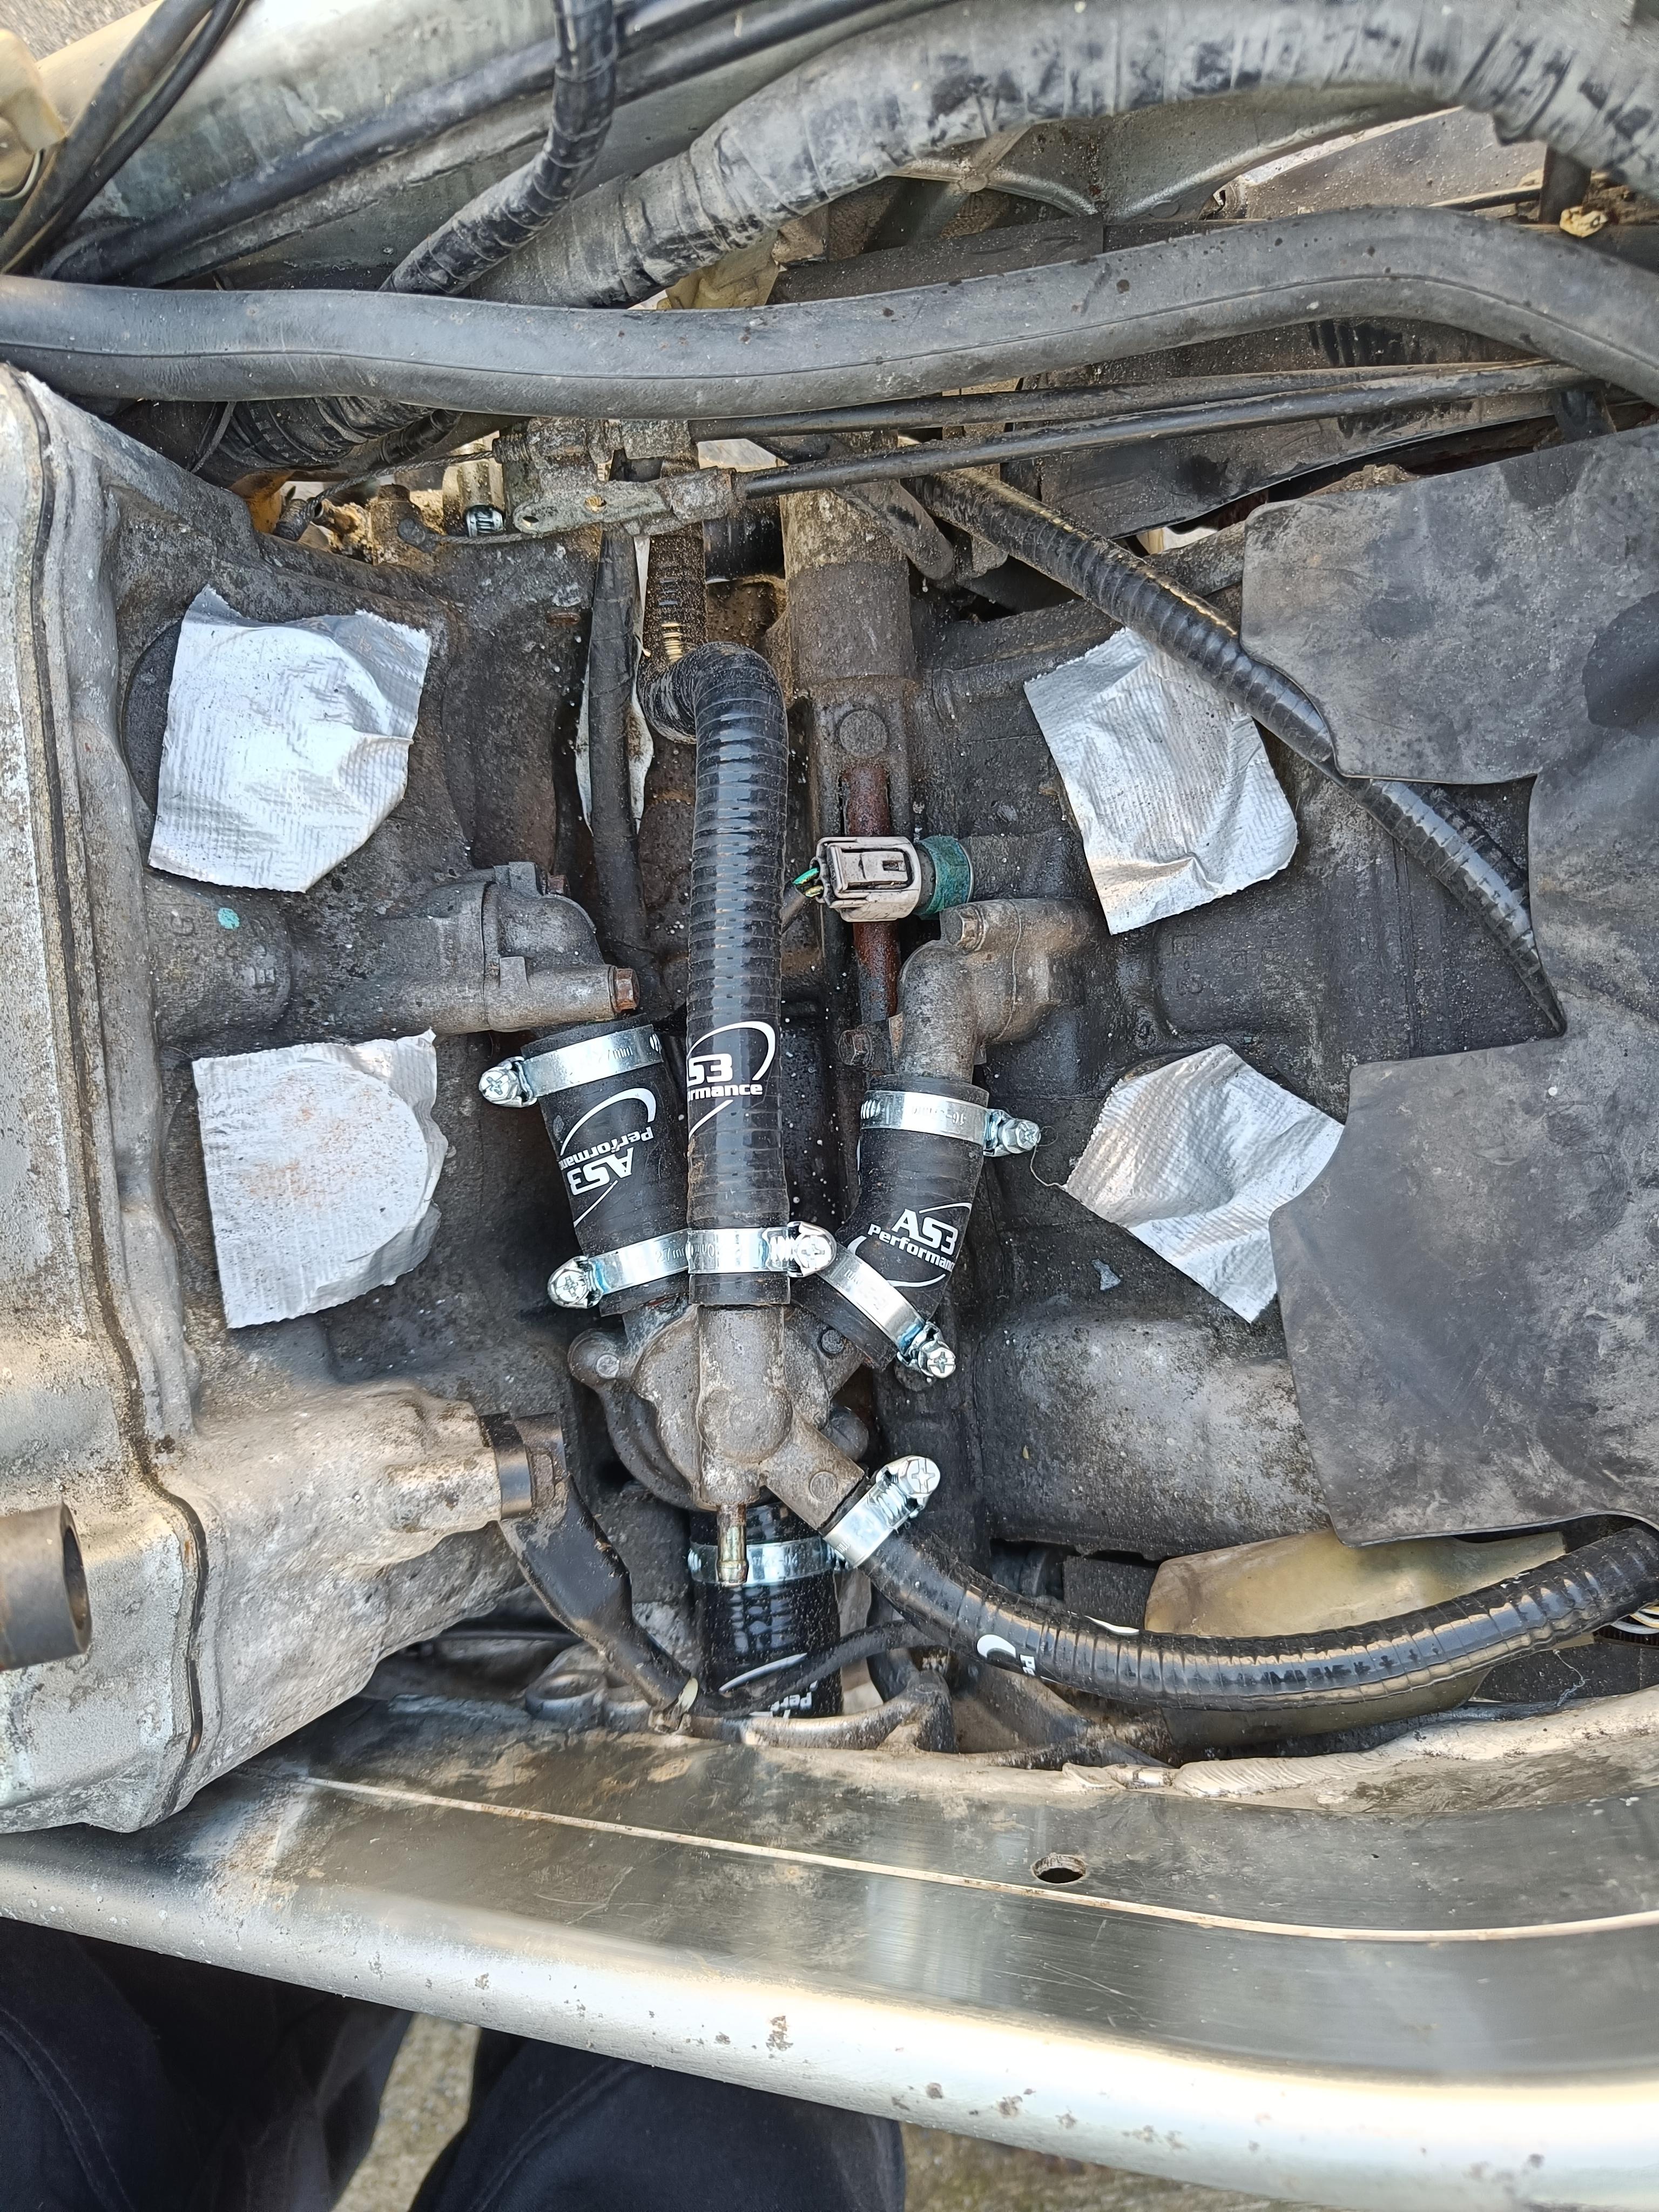
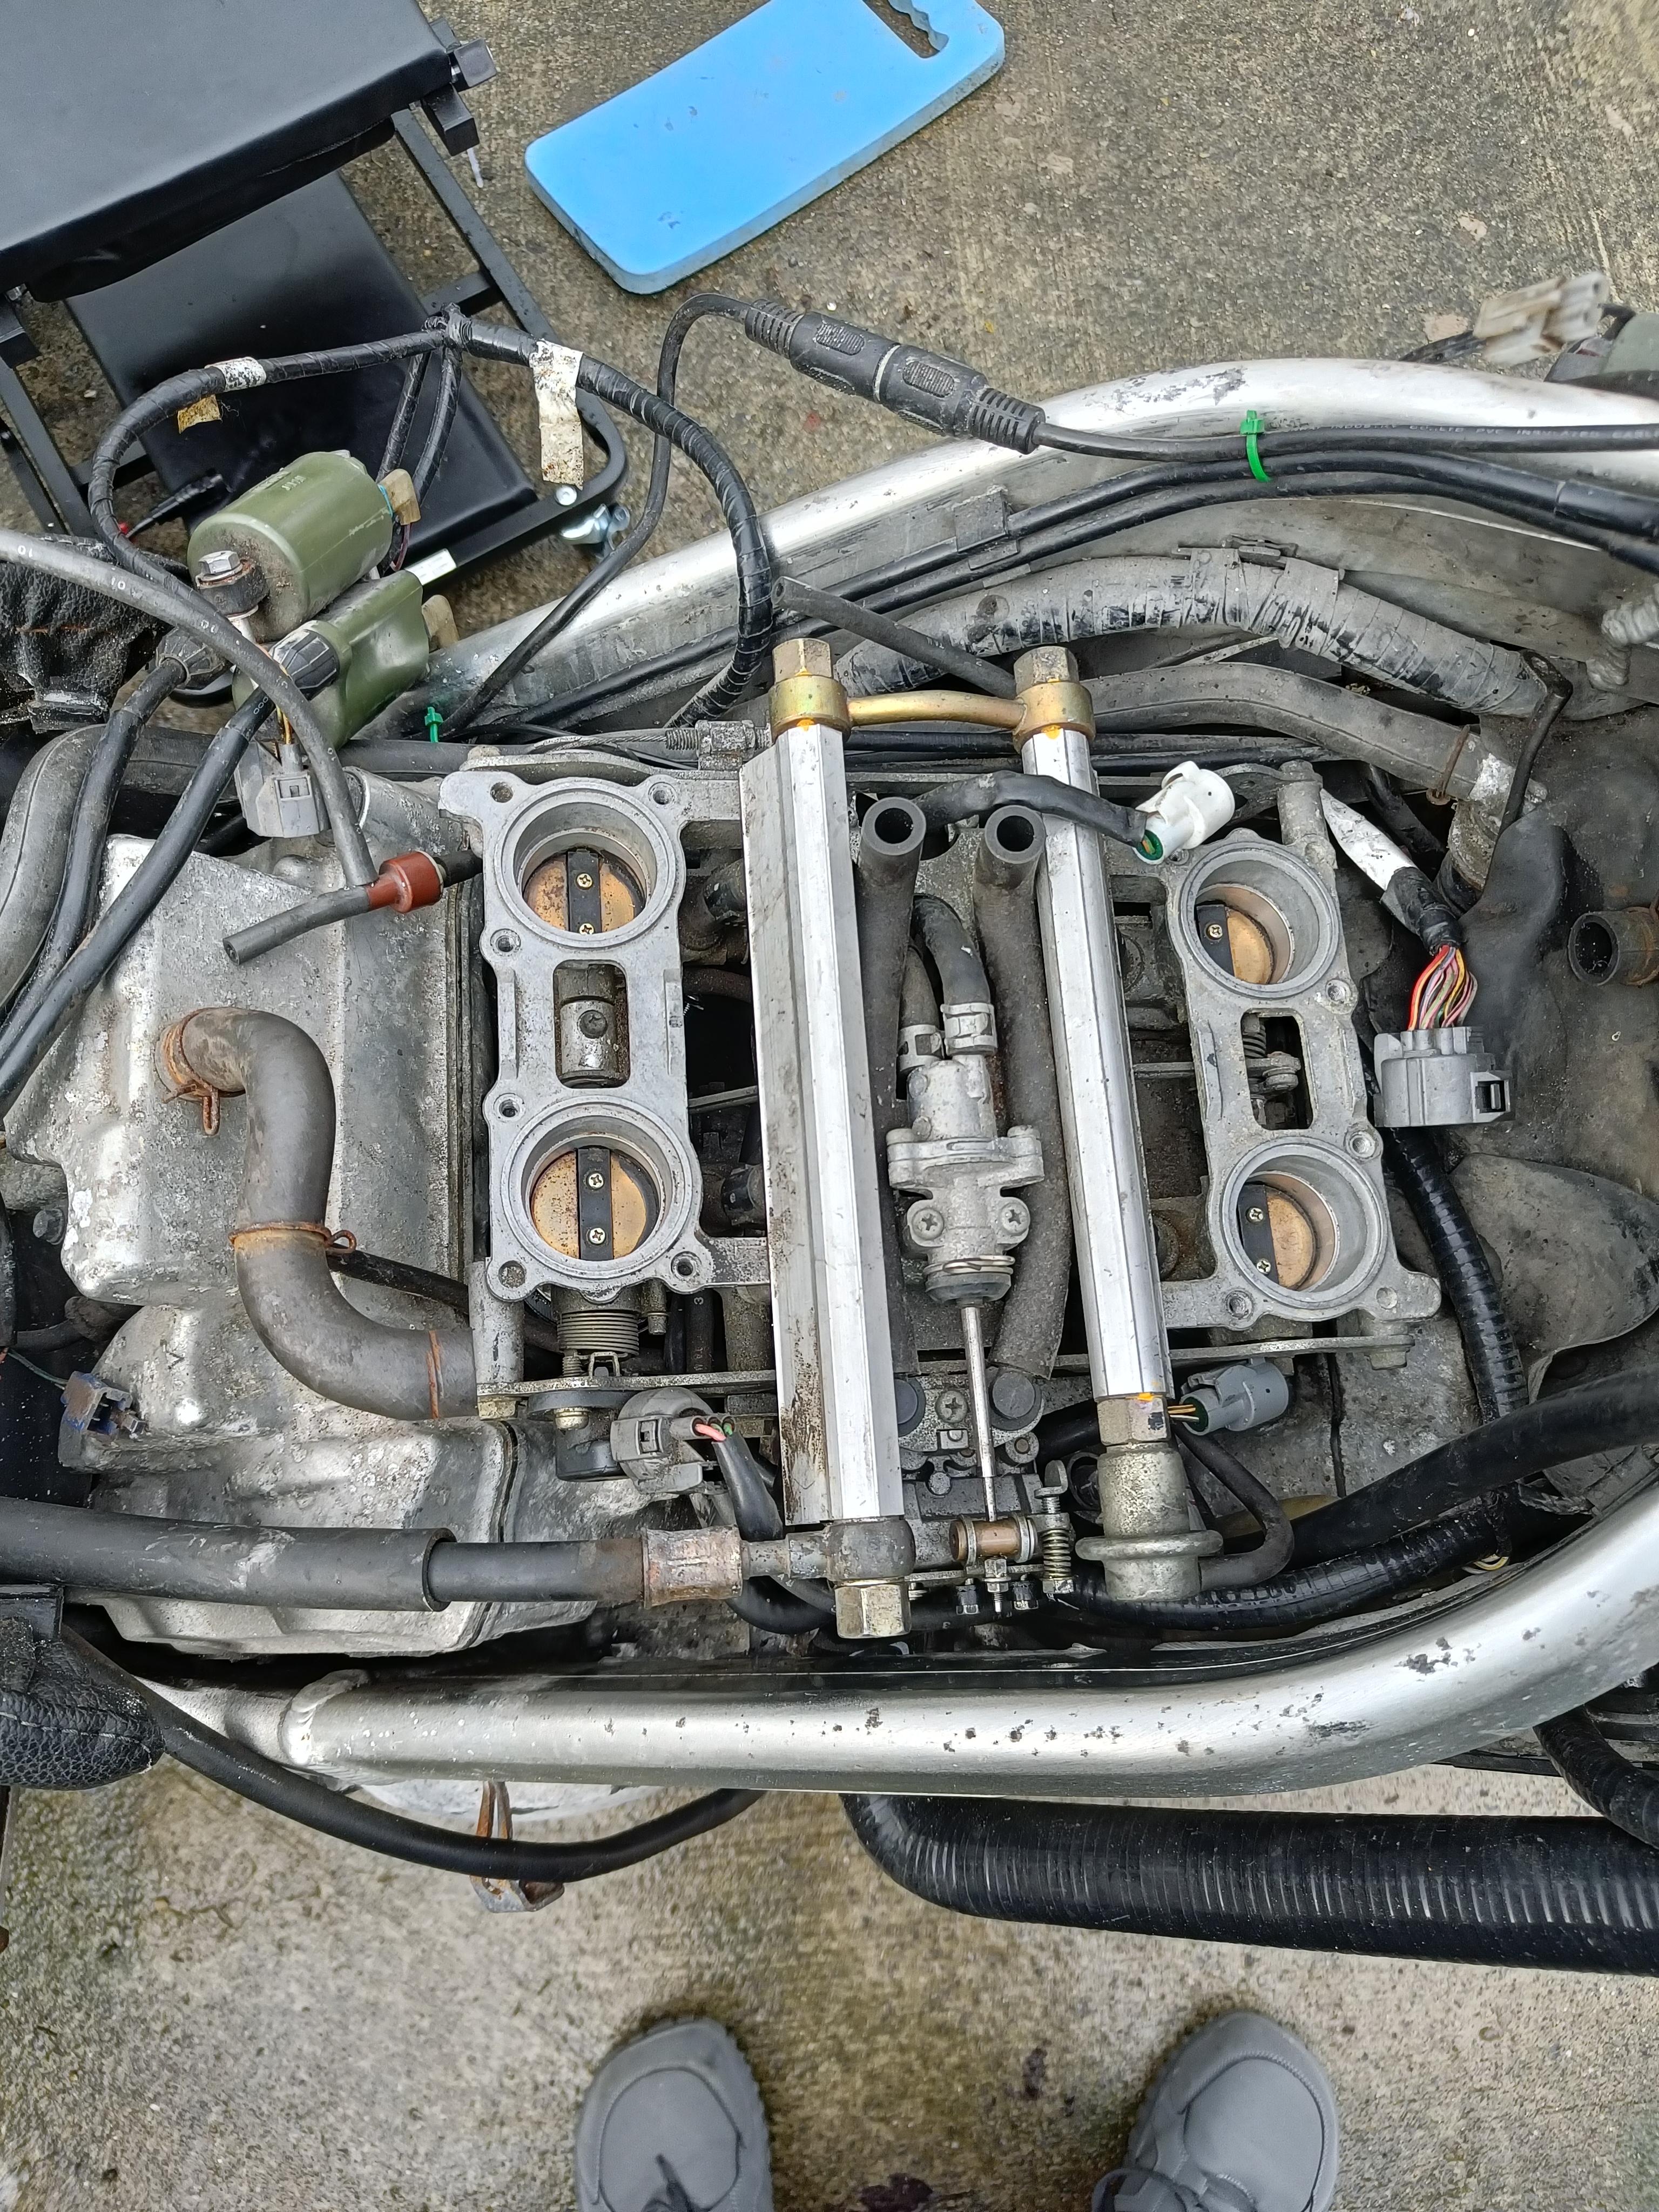
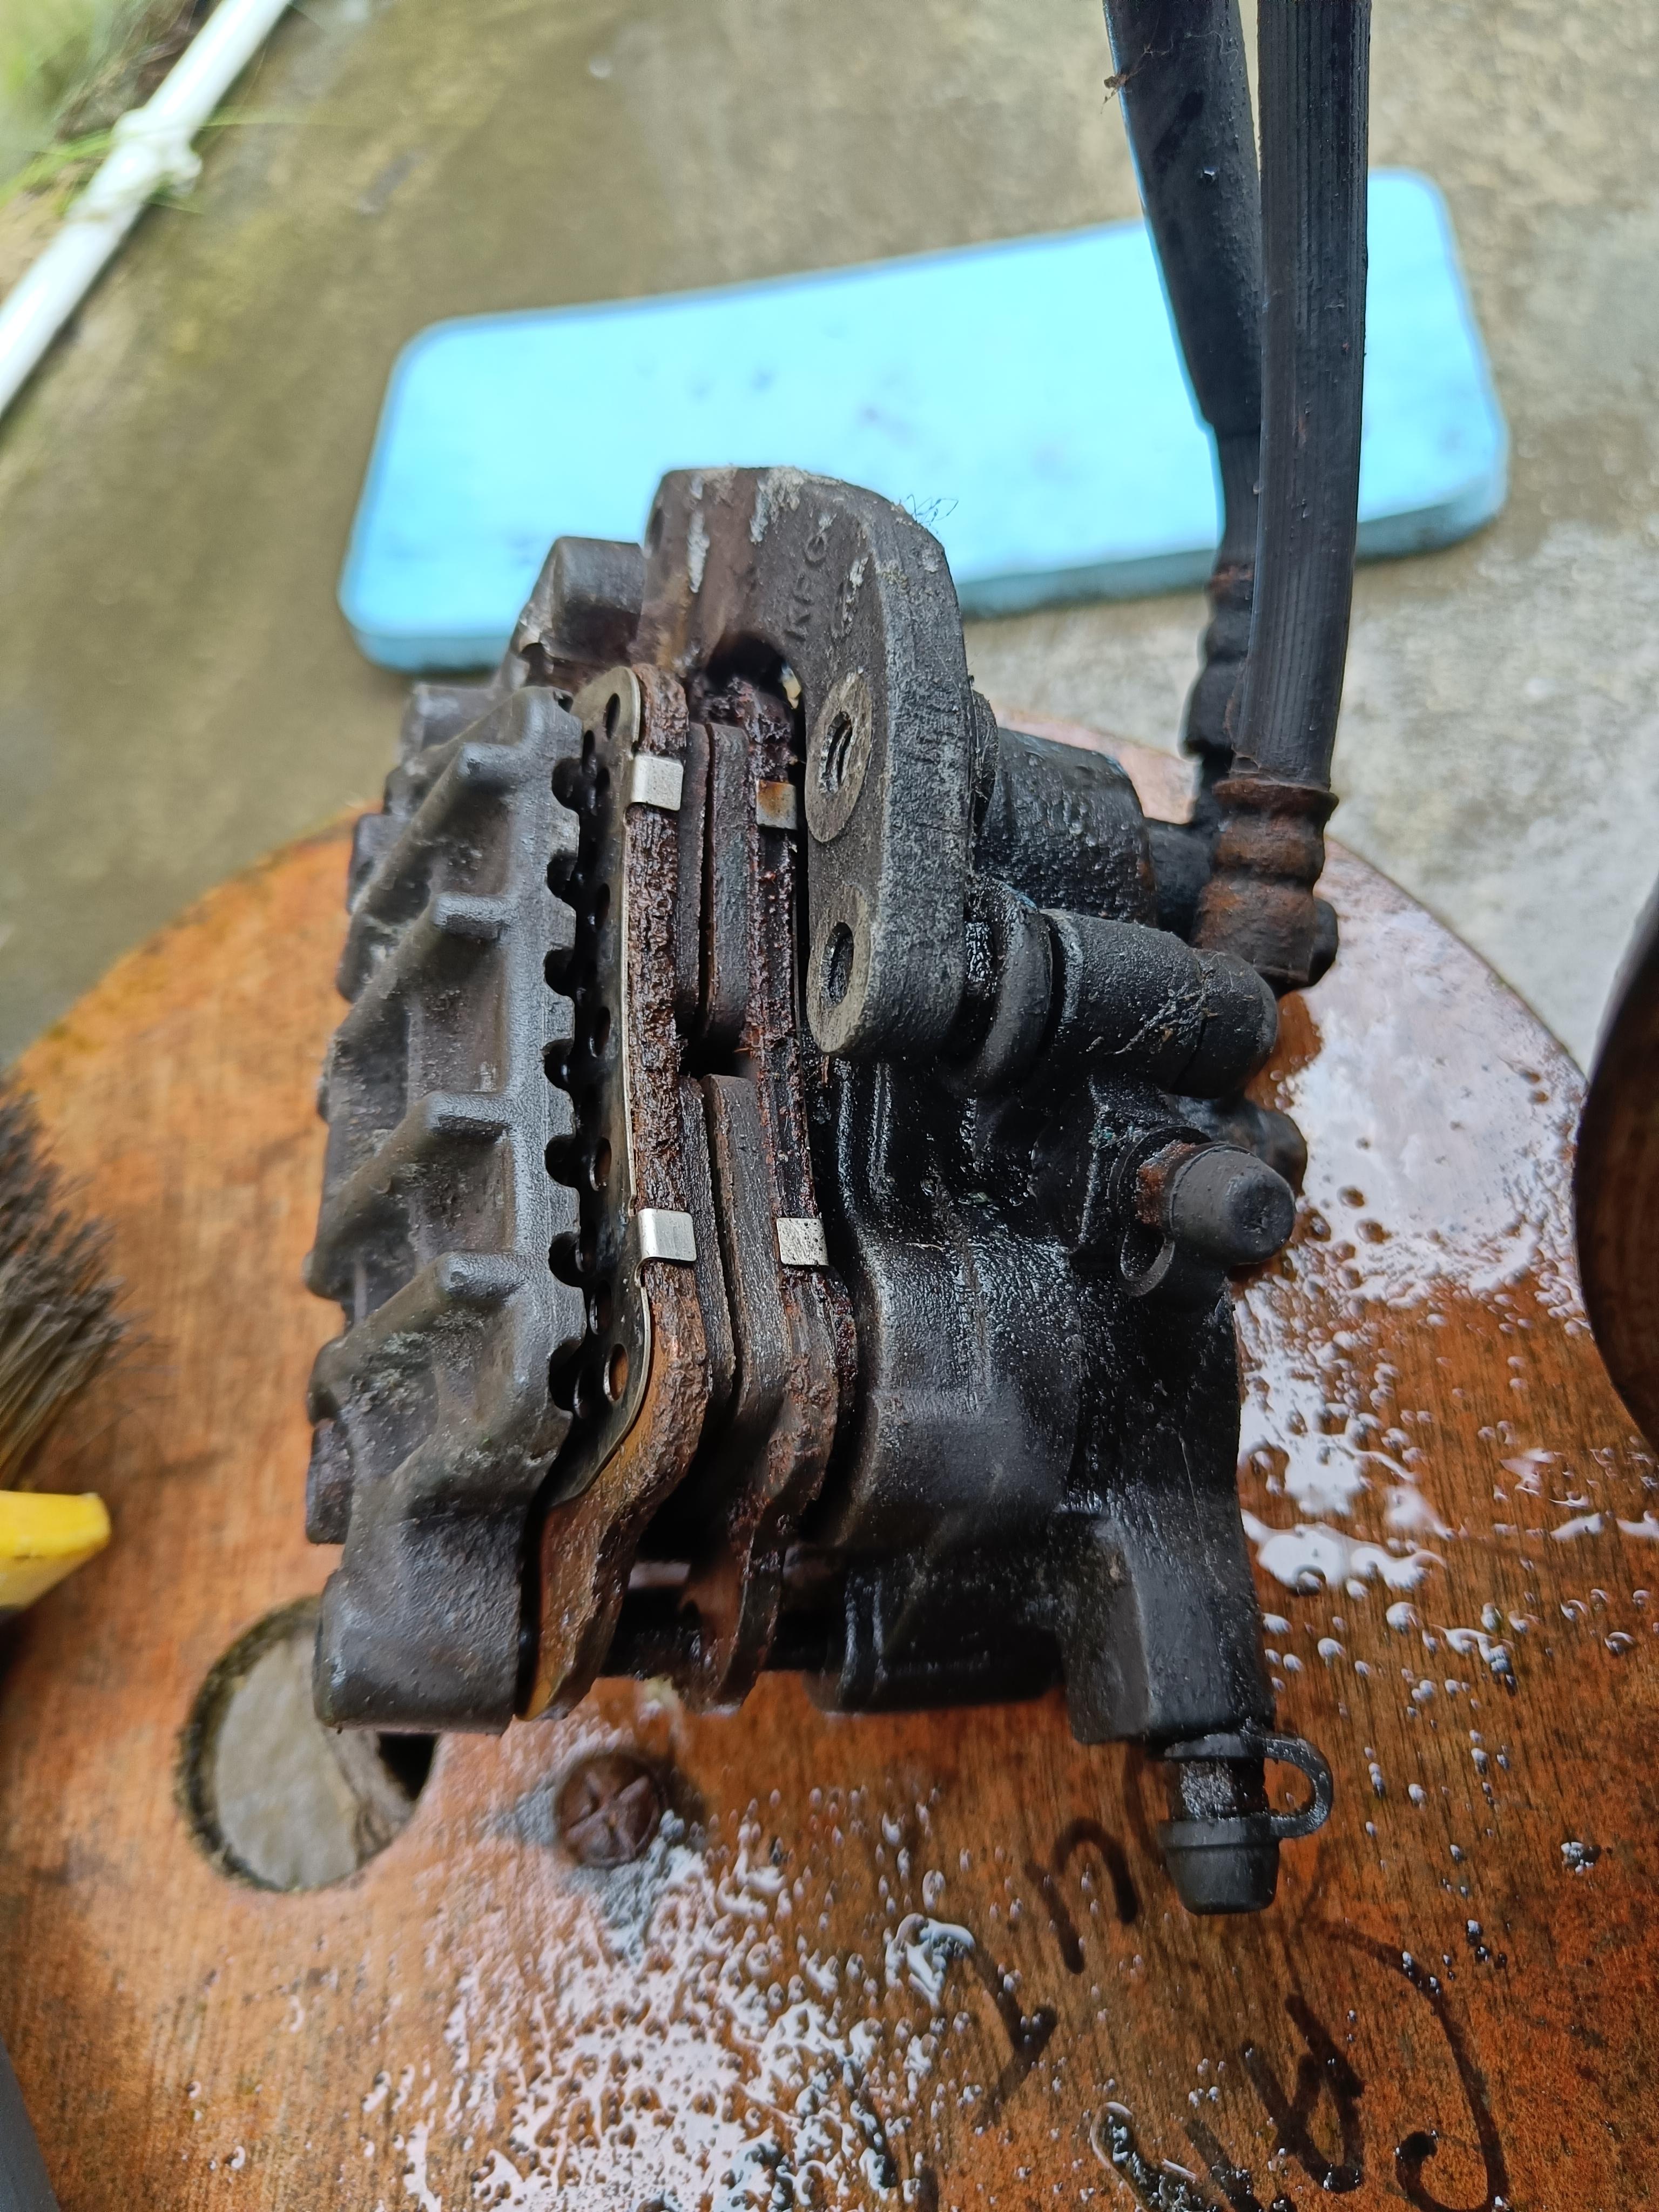
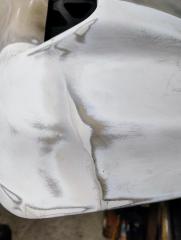
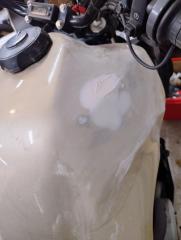
Thank you for the sympathies, I appreciate it. I had some time off work this week so was doing a bit on the bike. It has rained every day since Christmas here and considering I'm working outside, I was dodging the rain a bit which slowed things down. Anyway, I did make some decent progress. All new hoses fitted. New throttle body boots and insulator bands as mine were rock hard and the bands were falling apart. "New" Throttle body fitted which is in much better condition than mine. This came with injectors in place and considering the state of my throttle body, I figured I'd go with the "new" ones as they were likely better than mine. I know I could have taken them out and cleaned them but at this stage I need to see if the bike is worth putting more money into and see if this will solve the original problem. The vac hoses were in pretty good condition on the "new" throttle body. I ended up reusing one or 2 of the old better condition hoses to replace some of the really rotten ones. I would have replaced them all but I wasn't able to source any that was the same diameter... As an aside, I did buy some vac hose with a sightly larger internal diameter...would it make much difference? I dind't want to chance it this time around but I would like to put all new vacuum lines in at some point. I also found a very cracked connector for the scott oiler (which is going in the bin!) so that has been disconnected...so there was at least one leak in the system. I refit the airbox...holy hell what a frustrating job. You need tiny hands and routing all the hoses and stuff took serveral hours. I'm sure there is a better way to do it, but I got there in the end! I filled the coolant system as I wanted to check for leaks - all good. Tank on - I made a big mistake here. When I took the tank off, I stored it upside down on a flexible plastic bucket. It was nice and secure, but I didn't realise fuel leaked out into the bottom of the bucket so the tank has sat for several months like this and it appears to have affected the paint. I haven't looked closely at it yet as there is a tank cover on but there's a problem of my own doing I'll have to sort at some point. I've ordered a used fuel supply line as mine is nasty looking, but I hooked it up and she fired right up! That's a bit of a win. It started to rain again so I haven't been able to fully bleed the coolant system yet.....so I don't yet know if fan has a problem or it's just an airlock but that might need some investigation. Similarly, I don't know if coolant is getting to the wax idle unit. The bike is still idling a bit fast (around 3k). this is much better than it was, and I haven't synced the starter valves yet. New air filter went on today I moved onto the brakes today as I want to try a gentle test ride at the weekend. Rear brake was doing nothing at all and is fairly crusty looking. I cleaned it up a bit, mounted it on the disc and spent a bit of time bleeding (lots!) of air from the system. I know there is a specific bleed procedure which I will do, but I just wanted to get some fluid to the rear caliper to see if the pistons were free...it rained again before I could check! So! at the weekend, hopefully I'll sort the brakes which will have it in reasonaable enough condition to test ride it. The idle speed doesn't worry me too much, but the main problem was under any sort of load she was way down on power. Hopefully I've solved that, if not I might just set fire to it! At this stage, I'm probably 900 quid in to this bike. Reasonable examples can be had for 1500 so it has not been the wisest financial choice! It will definitely need an exhaust manifold soon so there's more cash, but I have the satisfaction of saving a bike that would probably just have been broken for spares.

-

4th gen fuel tank petcock assembly?
Captain 80s replied to WGREGT's topic in Third and Fourth Generation VFR's
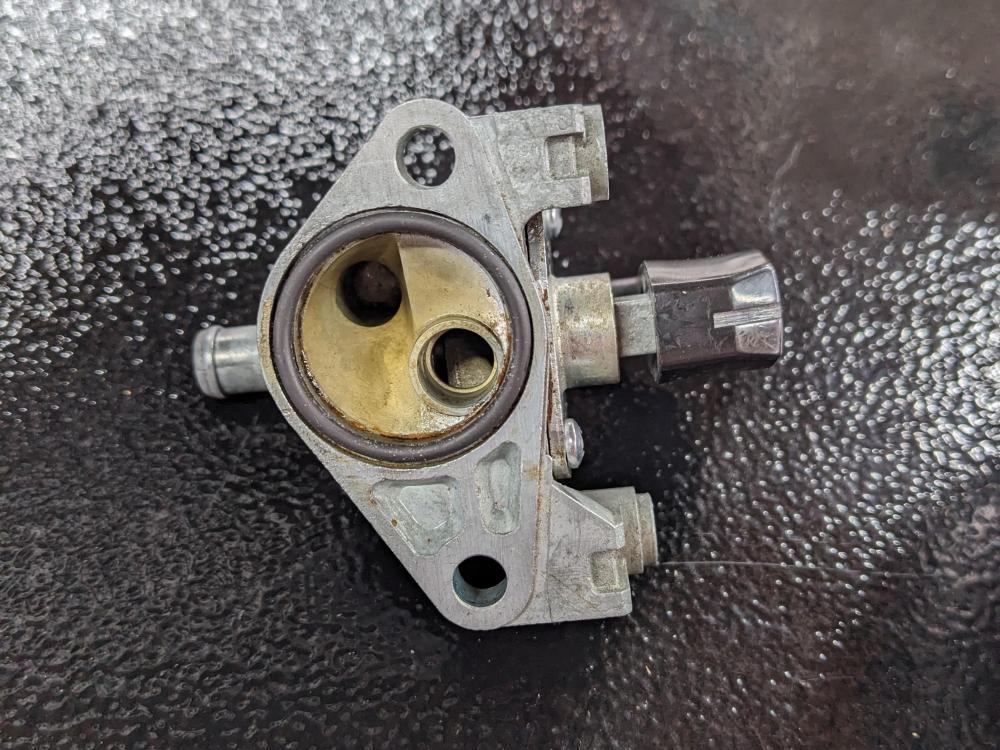
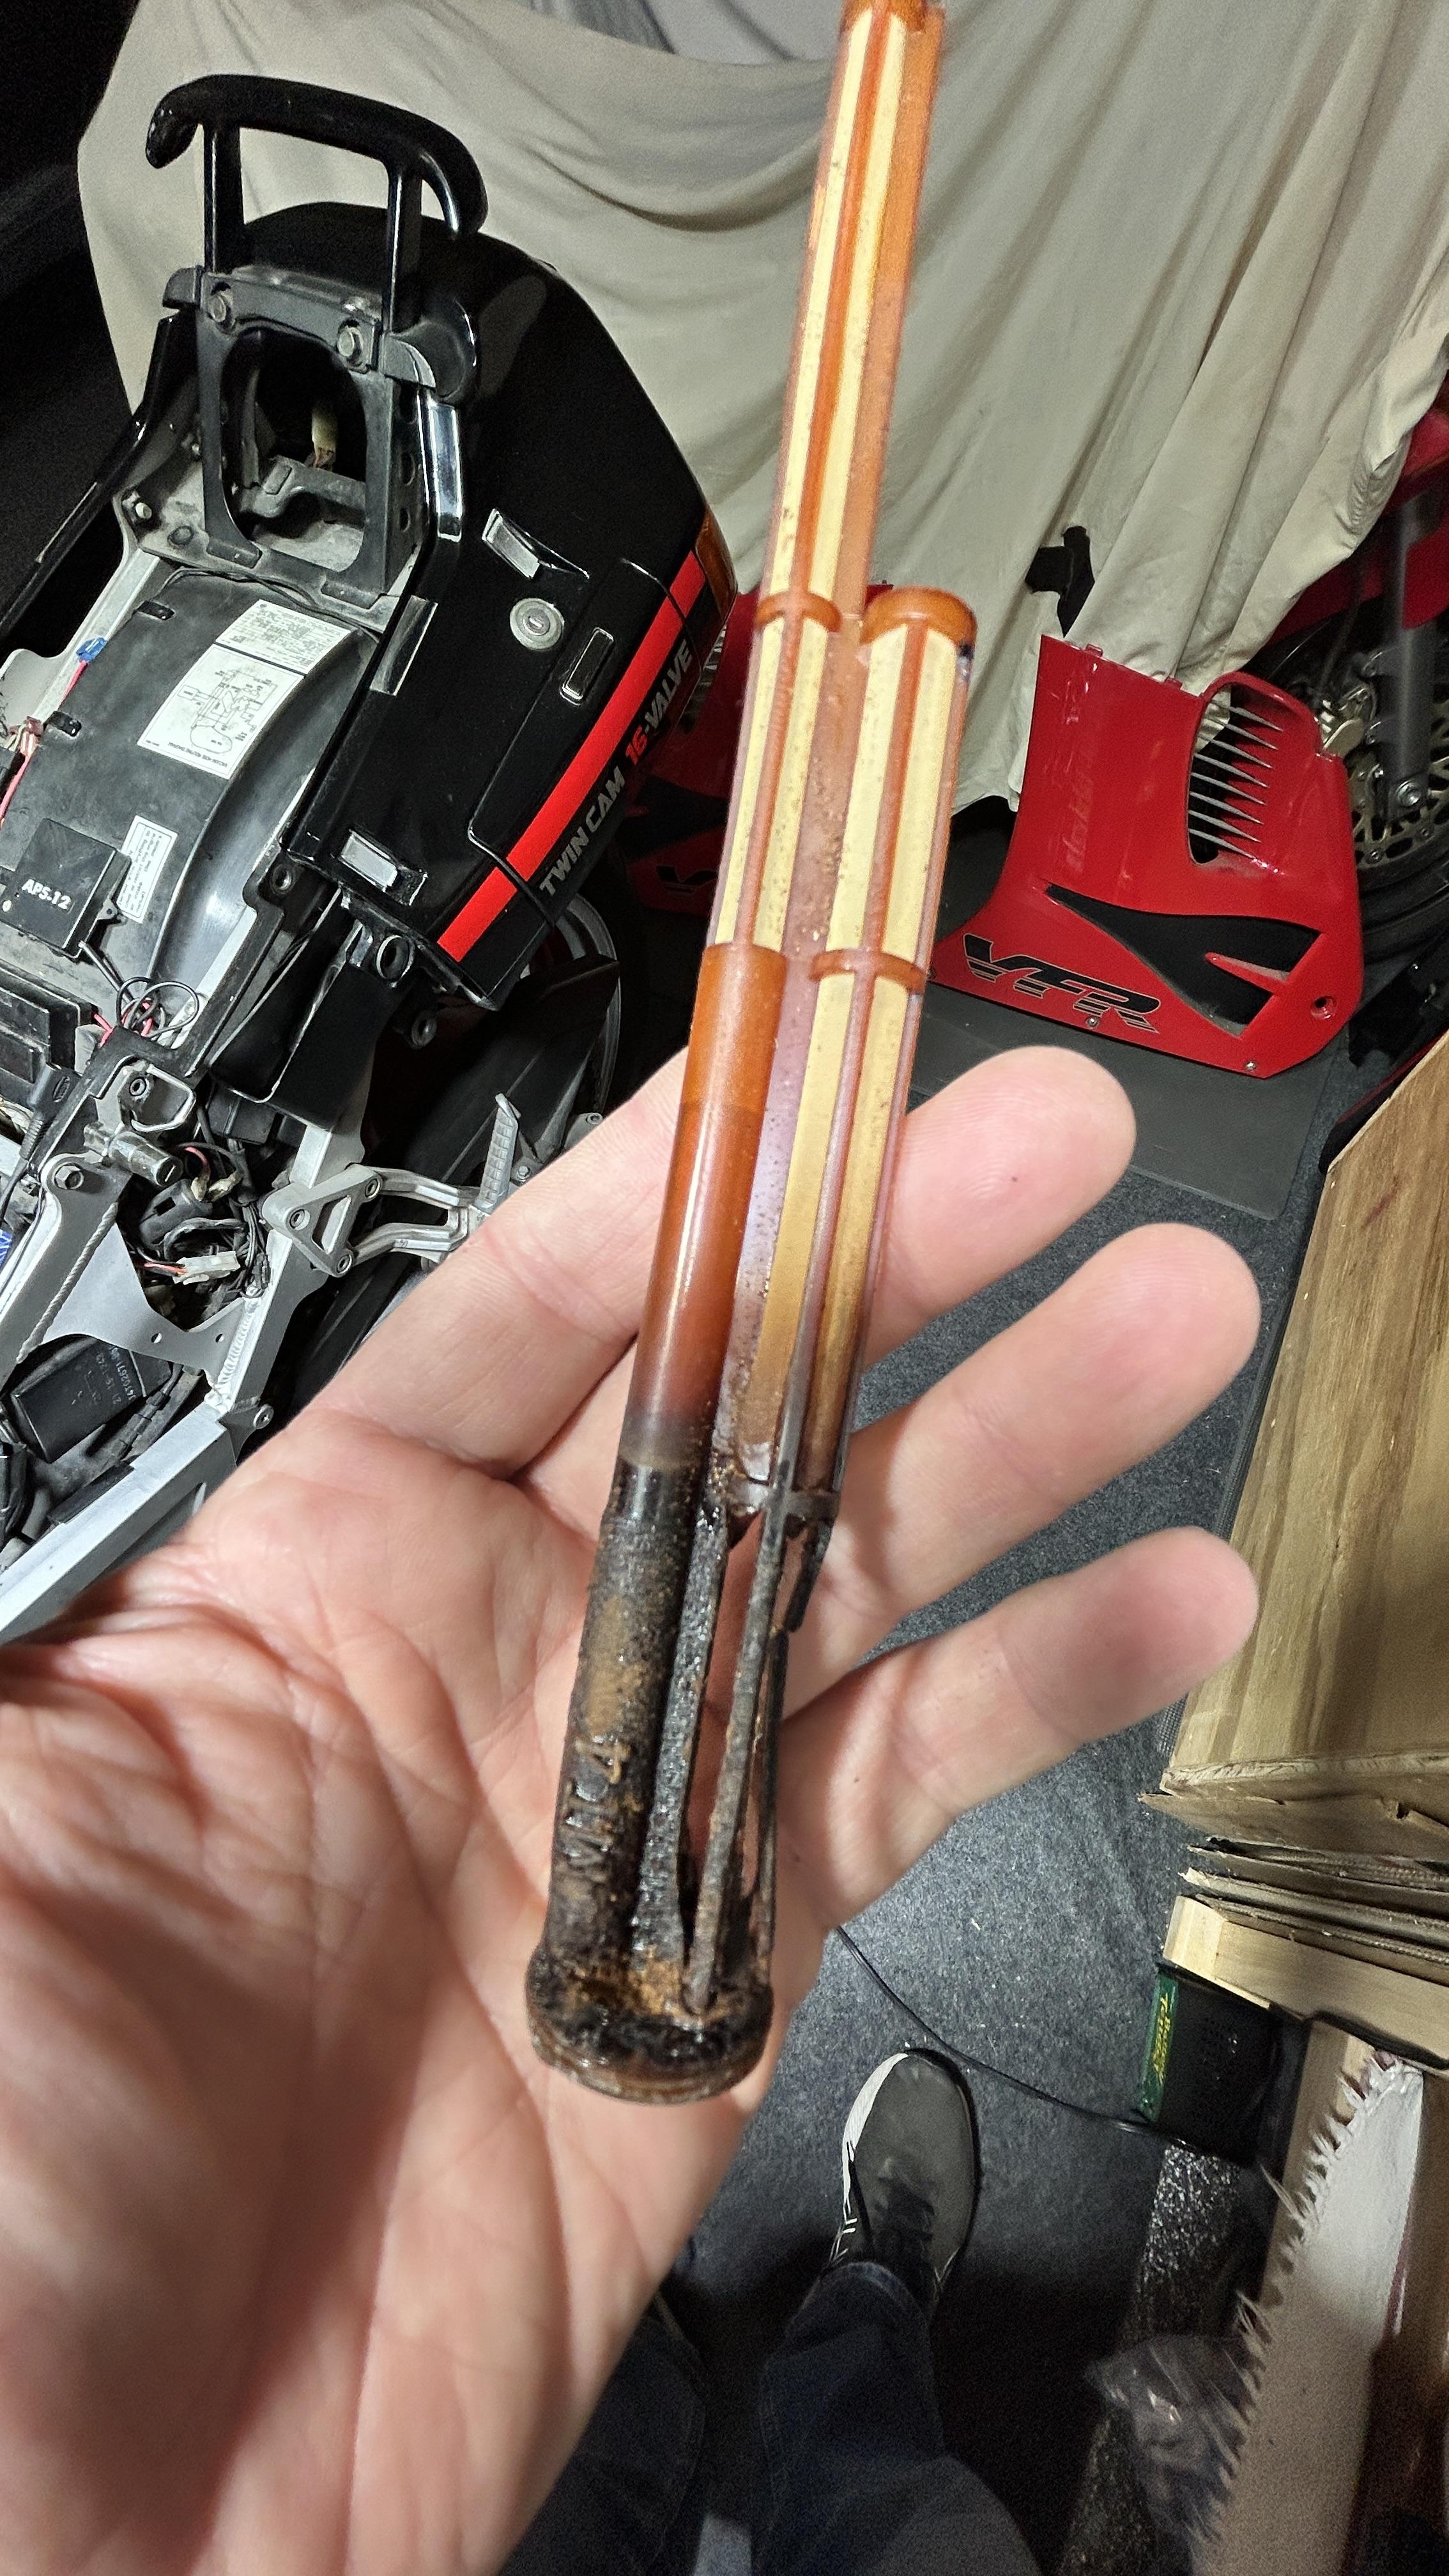
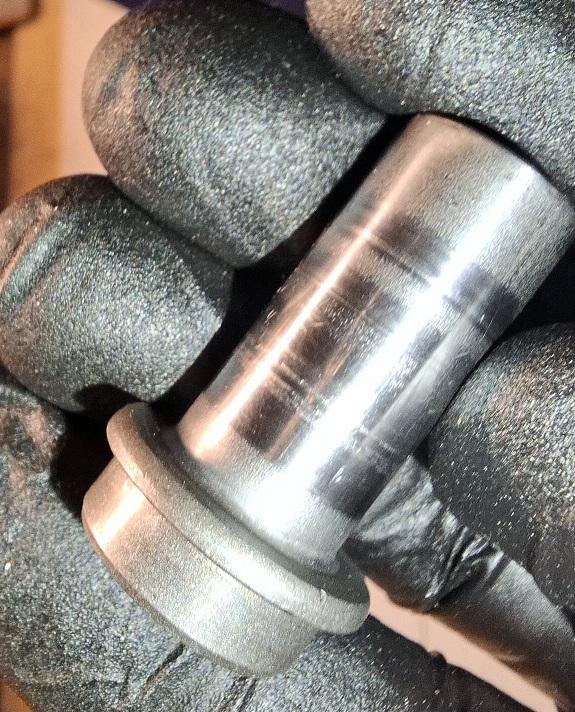
I should have pulled my RC36 box down to refresh my memory. Perhaps the US version doesn't have an "ON" brass tube that the plastic strainer would slide over. I may have failed to remember that. Does it look like this, or does it still have a brass tube? It would be in the hole on the right, closest to the selector knob.
- Today
-
4th gen fuel tank petcock assembly?
WGREGT replied to WGREGT's topic in Third and Fourth Generation VFR's
Which means I can’t get rid of the reserve tube completely or block the reserve hole in the petcock itself then. Have to have that hole open. Ok. -
4th gen fuel tank petcock assembly?
Captain 80s replied to WGREGT's topic in Third and Fourth Generation VFR's
I used the wrong words above regarding reserve. I had a margarita before tacos. Does not flow thru both. The design is from the 1990-1993 VFR where the rest of the world got a fuel select knob in the upper cowl. US did not, so they they modified the petcock selector plate and stops to be "ON" (which is actually RES) or OFF, drawing fuel thru the lowest portion only. -
4th gen fuel tank petcock assembly?
WGREGT replied to WGREGT's topic in Third and Fourth Generation VFR's
I guess what I’m trying to clarify is that I know there’s no reserve setting on the petcock which, if there was, would turn off the main tube and only let gas through the reserve tube. Since there’s no reserve setting, from the looks of the petcock, I thought fuel flows through both tubes all of the time. Anybody know for sure? If not, I could just cut off the reserve tube completely or plug it. But if that’s the case, then why have it at all? Just Honda parts laziness? -
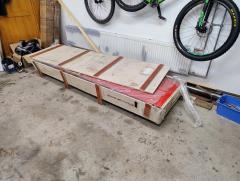
Working on my VFR's will get more ergonomic in a near future
-
Working on motorcycle's will get more ergonomic in a near future
-
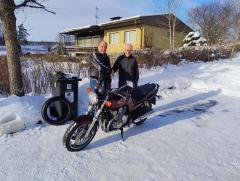
Other VFR and other pics....
-
-
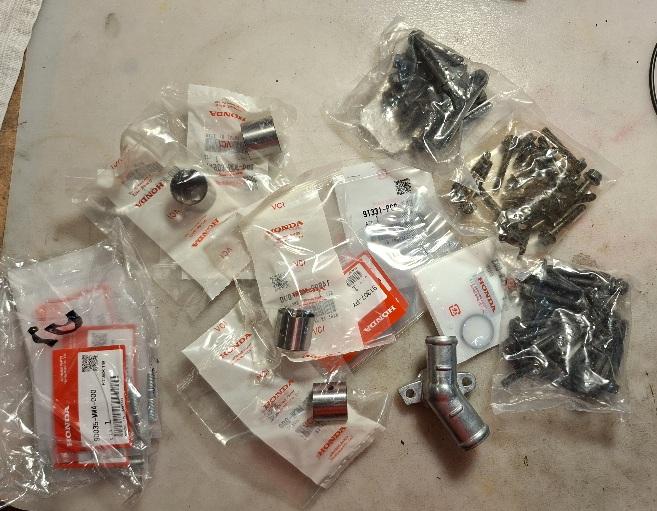
I did that but since i was ordering some parts from japan, i have ordered this pipe as well...11USD. Casting seems are the culprit....sand the out , polish it and will never happen again.
-
4th gen fuel tank petcock assembly?
WGREGT replied to WGREGT's topic in Third and Fourth Generation VFR's
OR...cut off the lower damaged part of BOTH tubes cleanly, and adhere to OEM base? -
4th gen fuel tank petcock assembly?
WGREGT replied to WGREGT's topic in Third and Fourth Generation VFR's
Yeah I still have the OEM in-line strainer on the 750 but I'll check it when I get back to that bike. Got it ready to pull carbs out but got sucked back into the ZX carb issues. Hope to clear the ZX this week if the mailman does his part. I sleep uneasy just thinking about the 750 carb bank after seeing the tank and petcock. -
4th gen fuel tank petcock assembly?
WGREGT replied to WGREGT's topic in Third and Fourth Generation VFR's
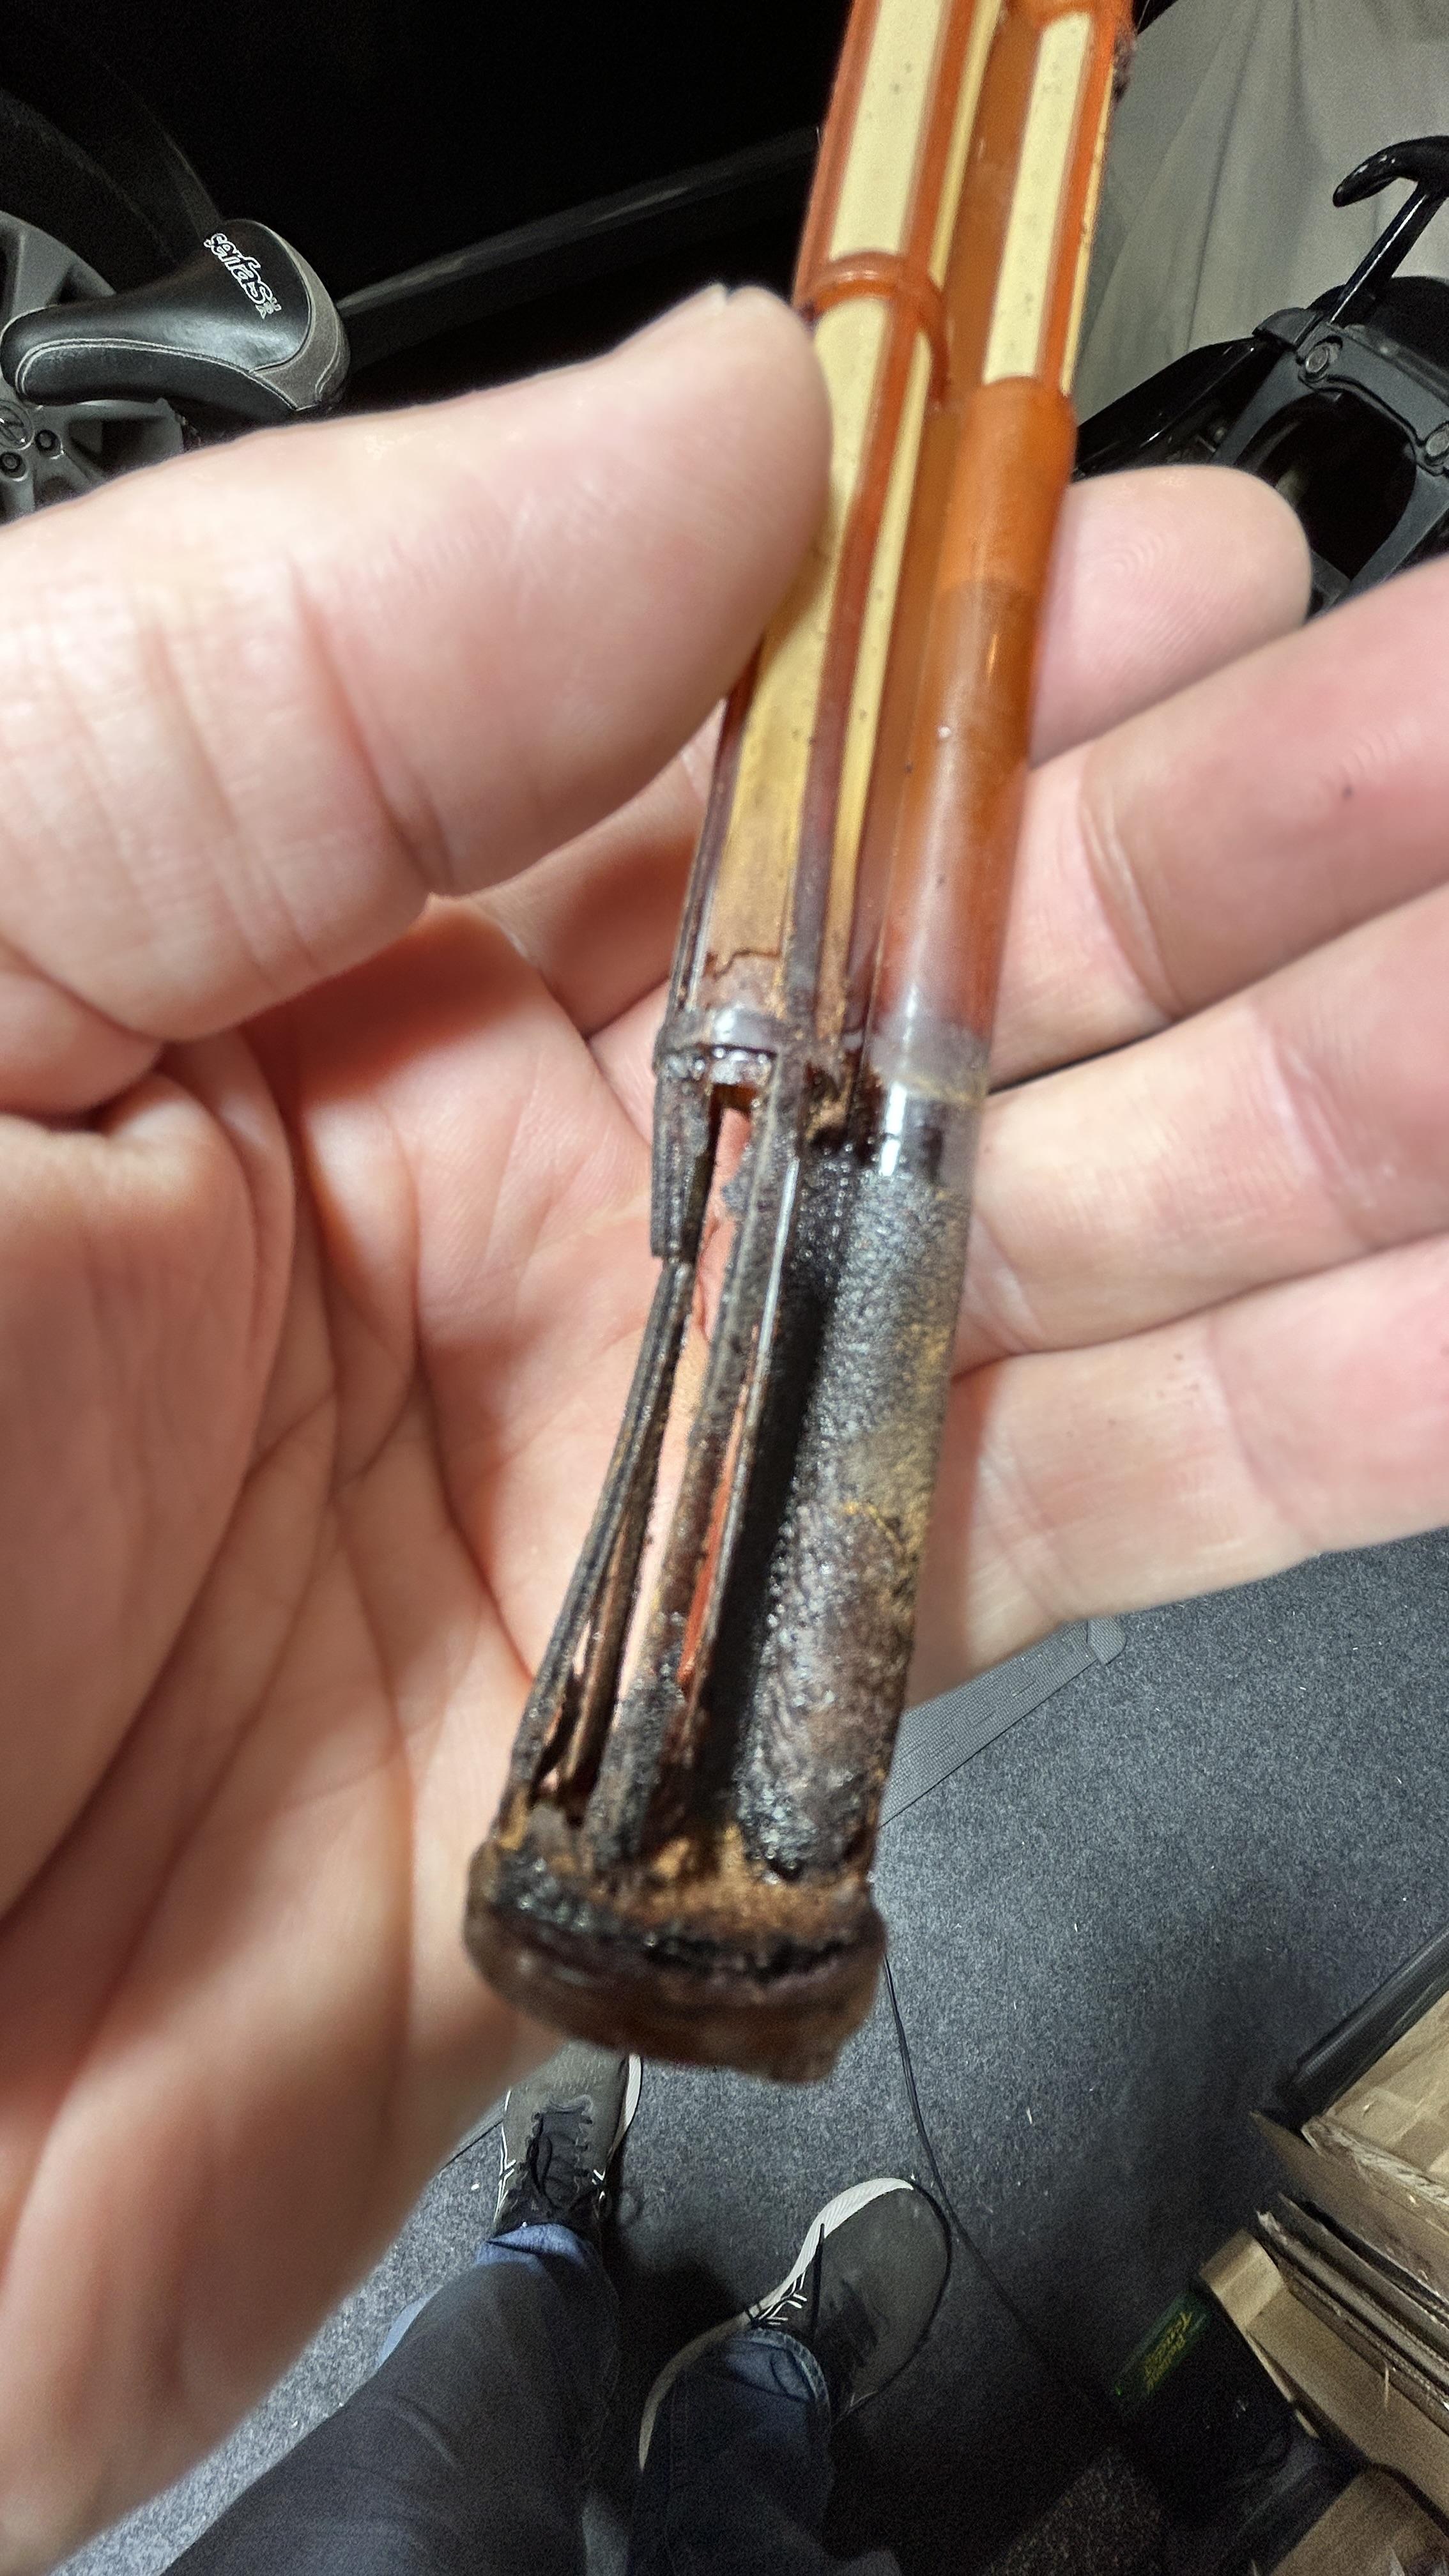
Yeah that pic was before it went thru the ultrasonic cleaner a few times. The base is clean and intact and will fit into the petcock nice and tight still. I've got a box of new orings and have many that fit the base to tank part. I think JBWeld 2 part epoxy is ok to be submerged in fuel but I'll double check that. You're thinking about wire mesh sheet, rolled into a tube, and epoxied around the failed strainer at the bottom? The oring set into the groove on the base fine and level with the strainer set in the base. I just need to either pretty-up this reserve tube or cut it off and either plug that hole entirely or put a small mesh screen over it. But no issue with plugging it and reducing fuel flow to the engine? I know there's no reserve tap but fuel still flows thru the reserve hole in the base and thru the petcock itself, right? -
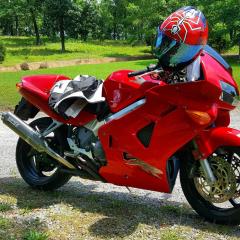
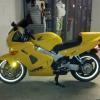
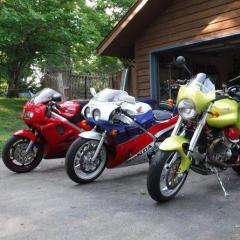
I'd add that with yellow 5th gens Honda struggled to match the different fairing panels. The side fairings on my yellow '99 were noticeably lighter than the the front cowl and the fuel tank. That is a lovely set of M68 wheels, just like the set on my '06 325Ci. Though mine look like the 'before' photo.
-
4th gen fuel tank petcock assembly?
Captain 80s replied to WGREGT's topic in Third and Fourth Generation VFR's
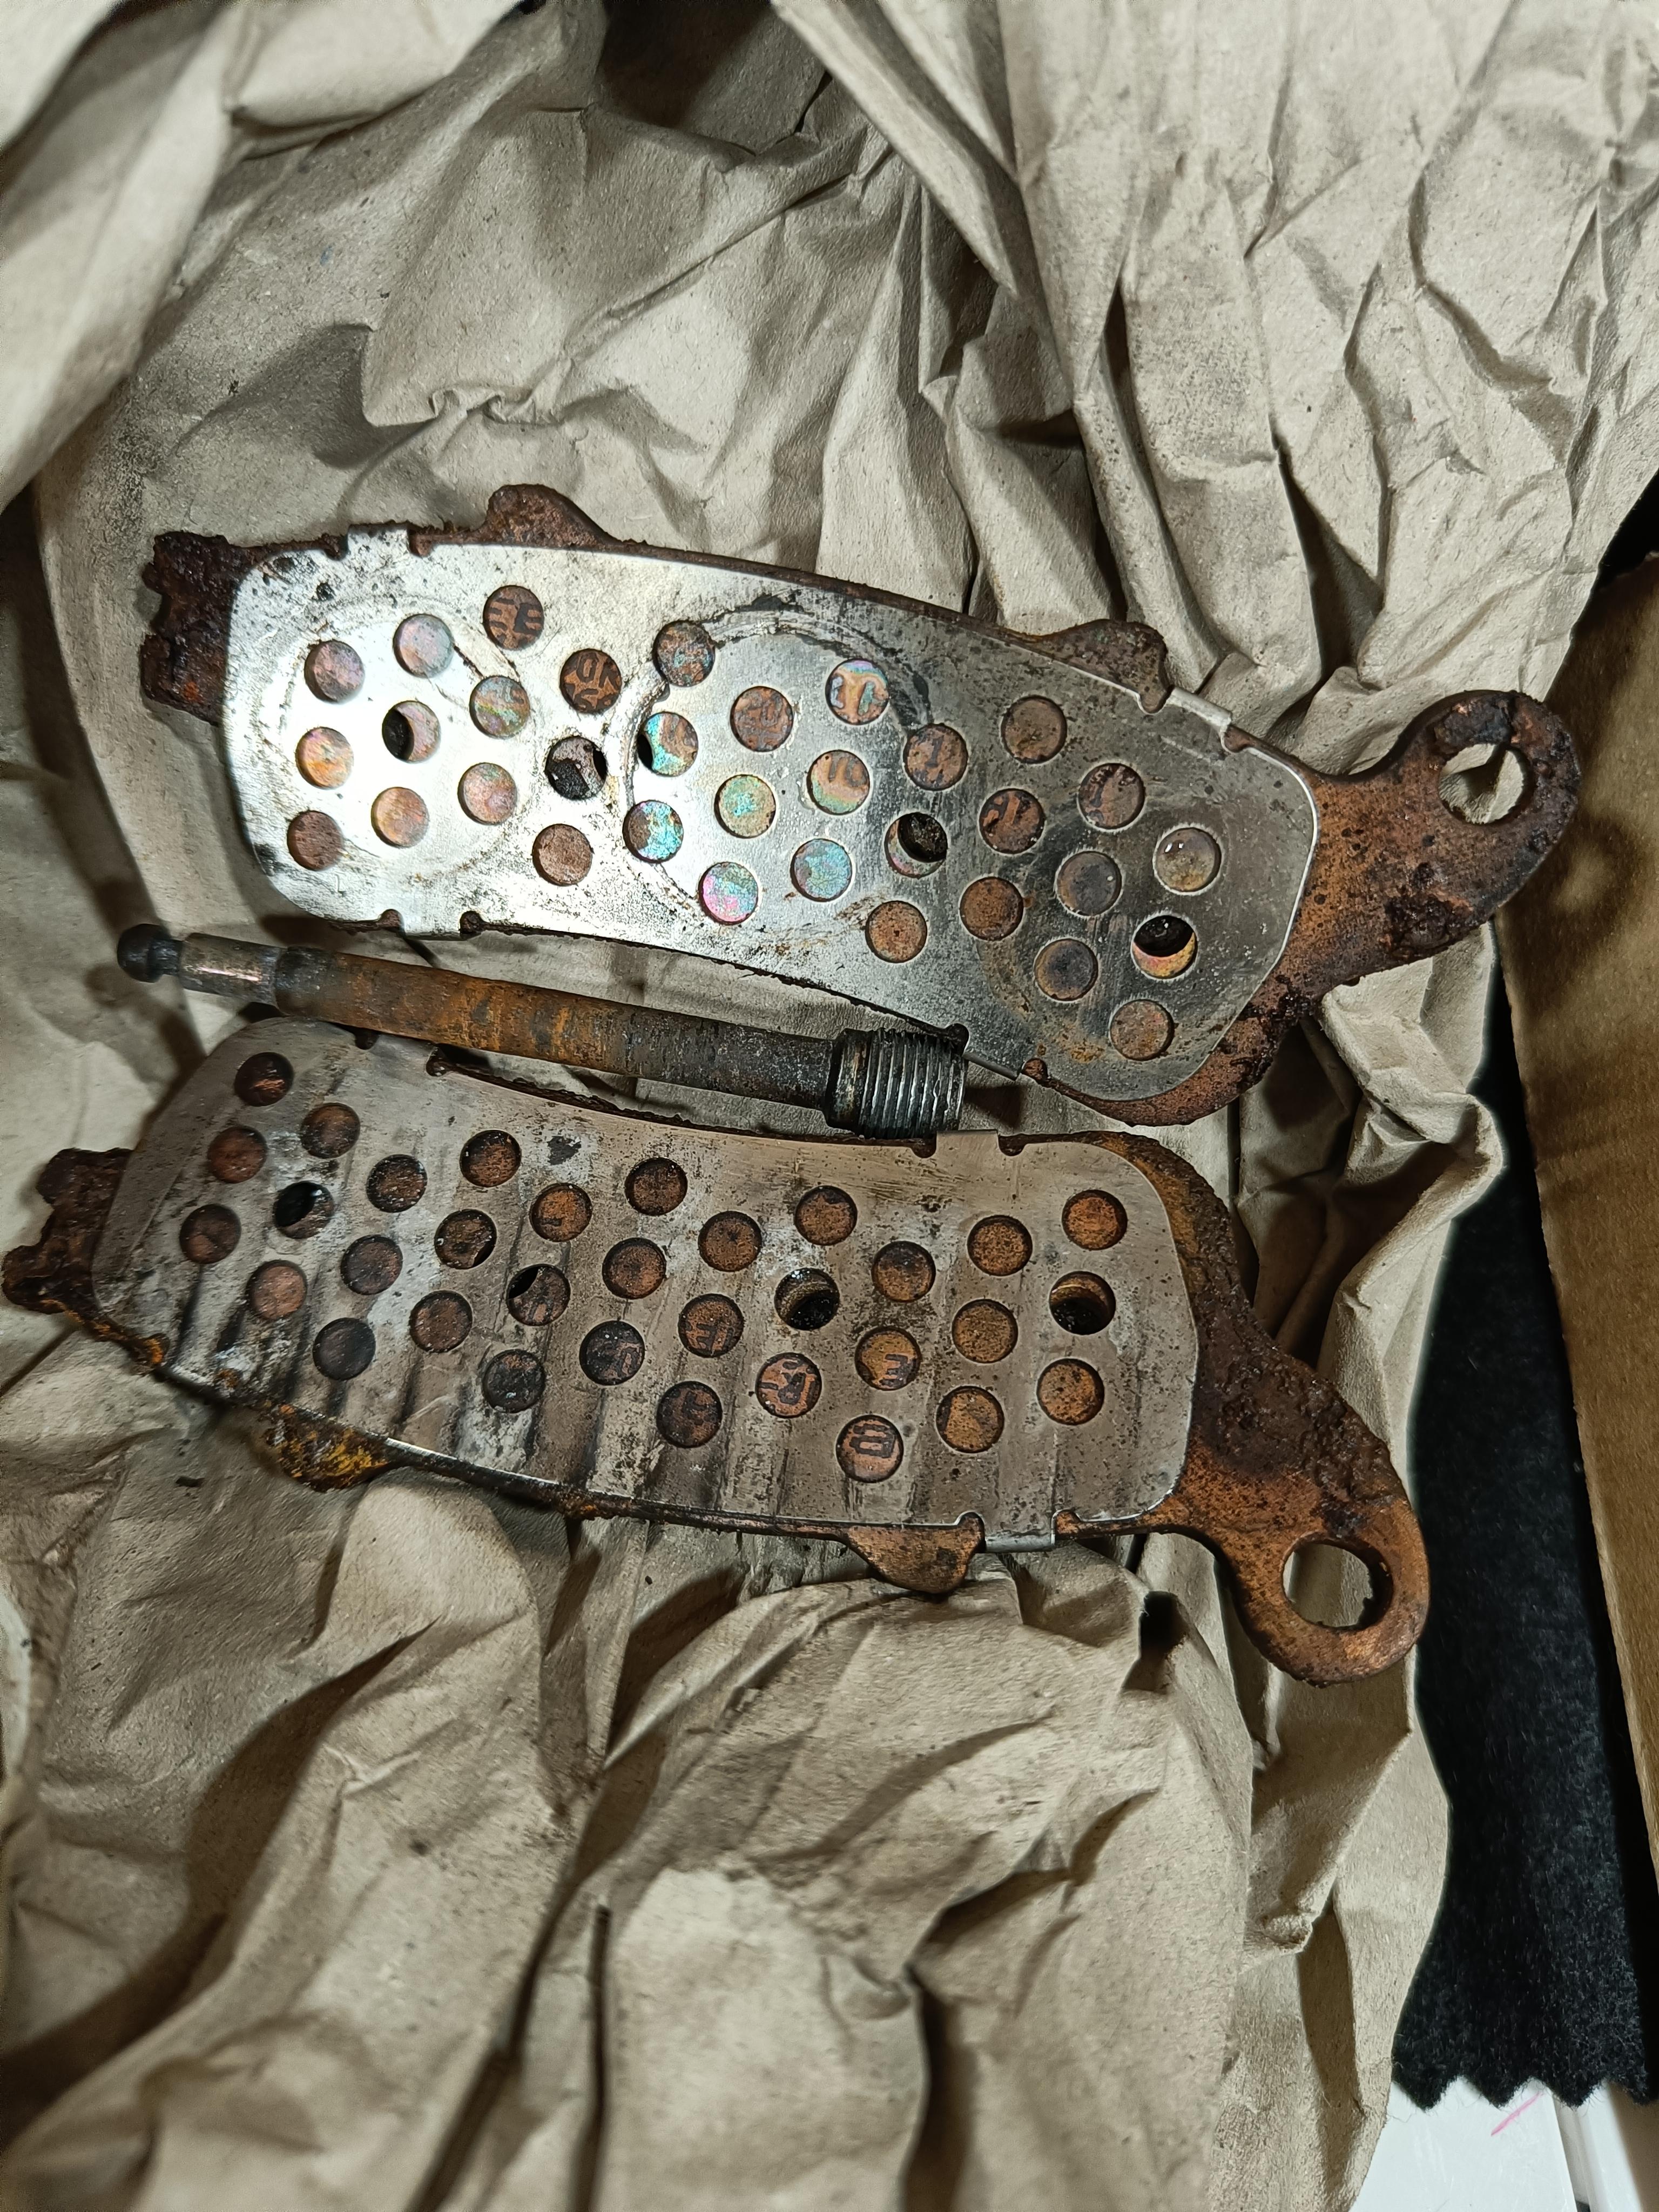
You don't need a reserve tube. You can't access it anyway. You just need some way to locate the o-ring around the base of the strainer piece for sealing. "fuel resistant" RTV is just that... resistant. It WILL FAIL. Pick a VERY GOOD 2-part epoxy if you need to hold a stainless short length ring that puts the o-ring in the right place to seal. Then run a pre-strainer as I posted before to catch any big stuff before the OEM filter if needed. Time to get creative but think about failure points. They will rear their ugly head. -
4th gen fuel tank petcock assembly?
WGREGT replied to WGREGT's topic in Third and Fourth Generation VFR's
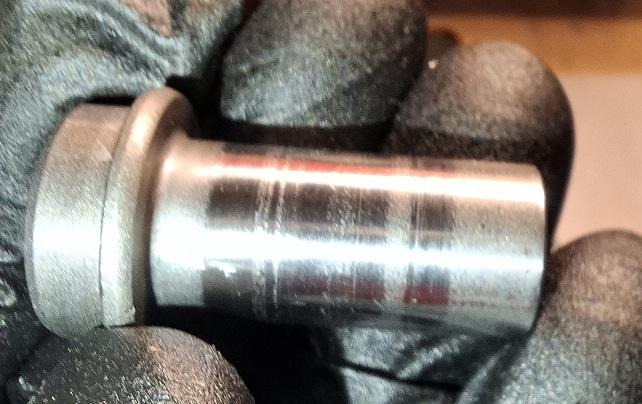
So...in the pic you can see that my shorter straw (the reserve) is shot to hell. But this bike doesn't have a reserve setting here in the US. So what would be the harm of just cutting the rest of that straw off and/or just plugging that hole under it with a small plate or RTV fuel-resistant gasket in a tube? Since I don't use that straw anyhow...would there be an issue with fuel rate cut in half/slower? Or maybe both straws pull all the time anyhow? IN that case I could always cut some strainer mesh and epoxy it to the backside of the base maybe?
-
The pits on those fitting can be filled with JB Weld if you can't find replacements.
-
As was mentioned already it's really all about the prep. That's why pro jobs cost so much. Many hours of sanding, and priming. The fairings on my ZX600A were badly broken, and "repaired" with fiberglass which has a different expansion rate than ABS so they began to crack again. I stripped all the glass off, and got some thin ABS sheet stock I used to make patches on the inside. Used common ABS pipe glue sometimes juiced up with bit of MEK. Lots of sanding. Did I mention lots of sanding? Eventually I ended up with this: That was done with Krylon Fusion. The actual painting I enjoy, but the prep work is a necessary PITA. Of course I chose black....
-
Damn! Those wheels turned out nice!
- Yesterday
-
Fuel petcock filter is trash. How to replace?
WGREGT replied to fastbroshi's topic in Third and Fourth Generation VFR's
Update: Well, I bought Honda OEM FUEL PETCOCK SET VTR1000 SUPER HAWK 16952-MBB-003 after getting the seller to measure the diameter of it. Looked real damn close (within a mm or so) of the 750 petcock base. Even came with an 0-ring. Win? Not so fast. Seller apparently has no idea how to use a digital caliper. It was waaaaay smaller in diameter. Like half an inch or more, so it won't come close to fitting the petcock. Undaunted, my search continues. I will now see if the part number for the Super Chicken is the same as for the Blackbird. -
In painting all is about preparing surface. You can watch this video it migh help If you have any question, just ask im a hobbyist painter 😛
-

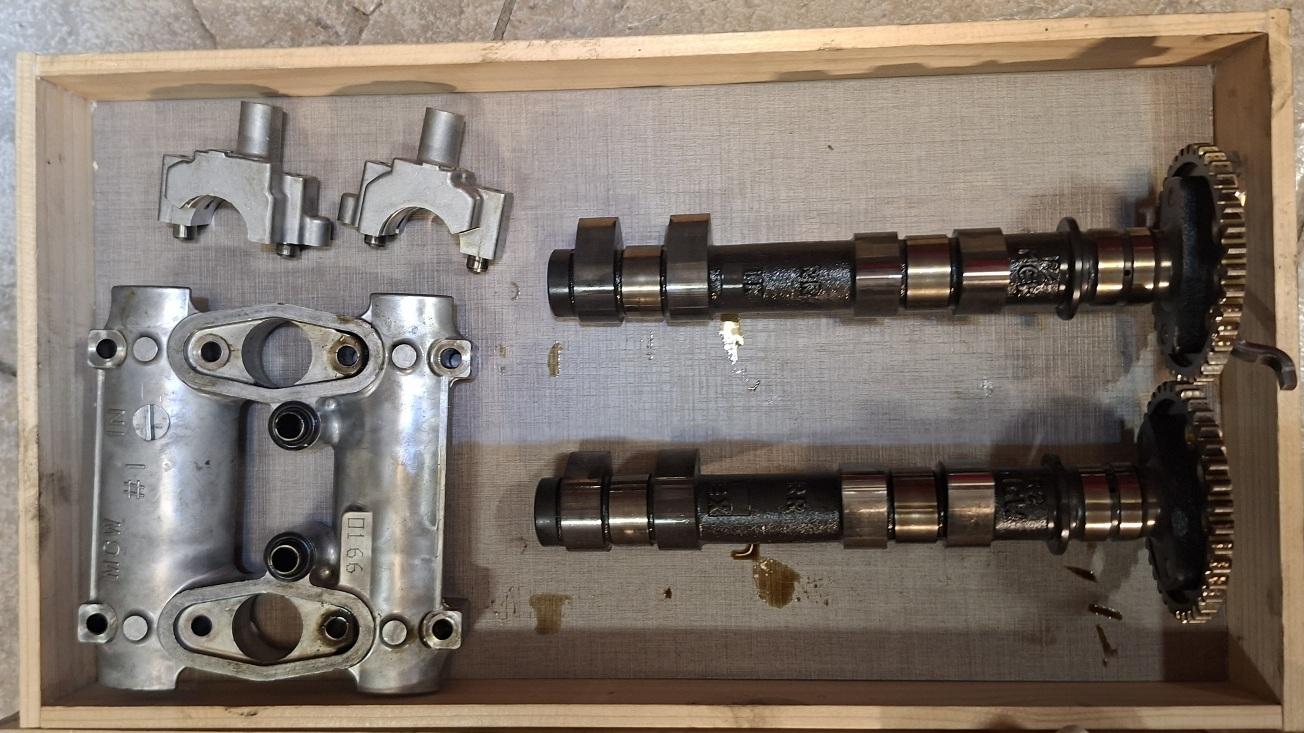
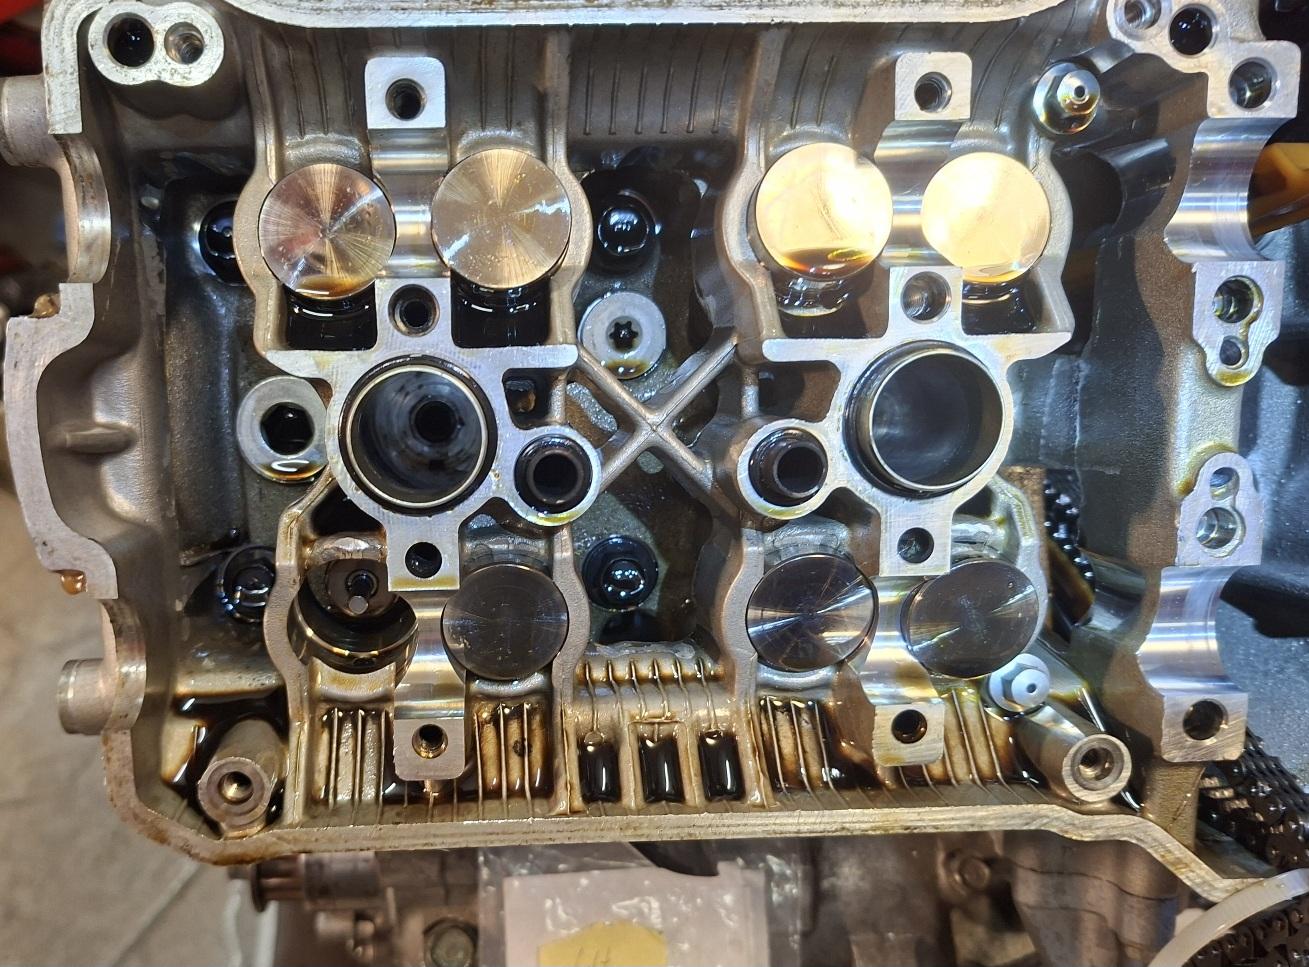
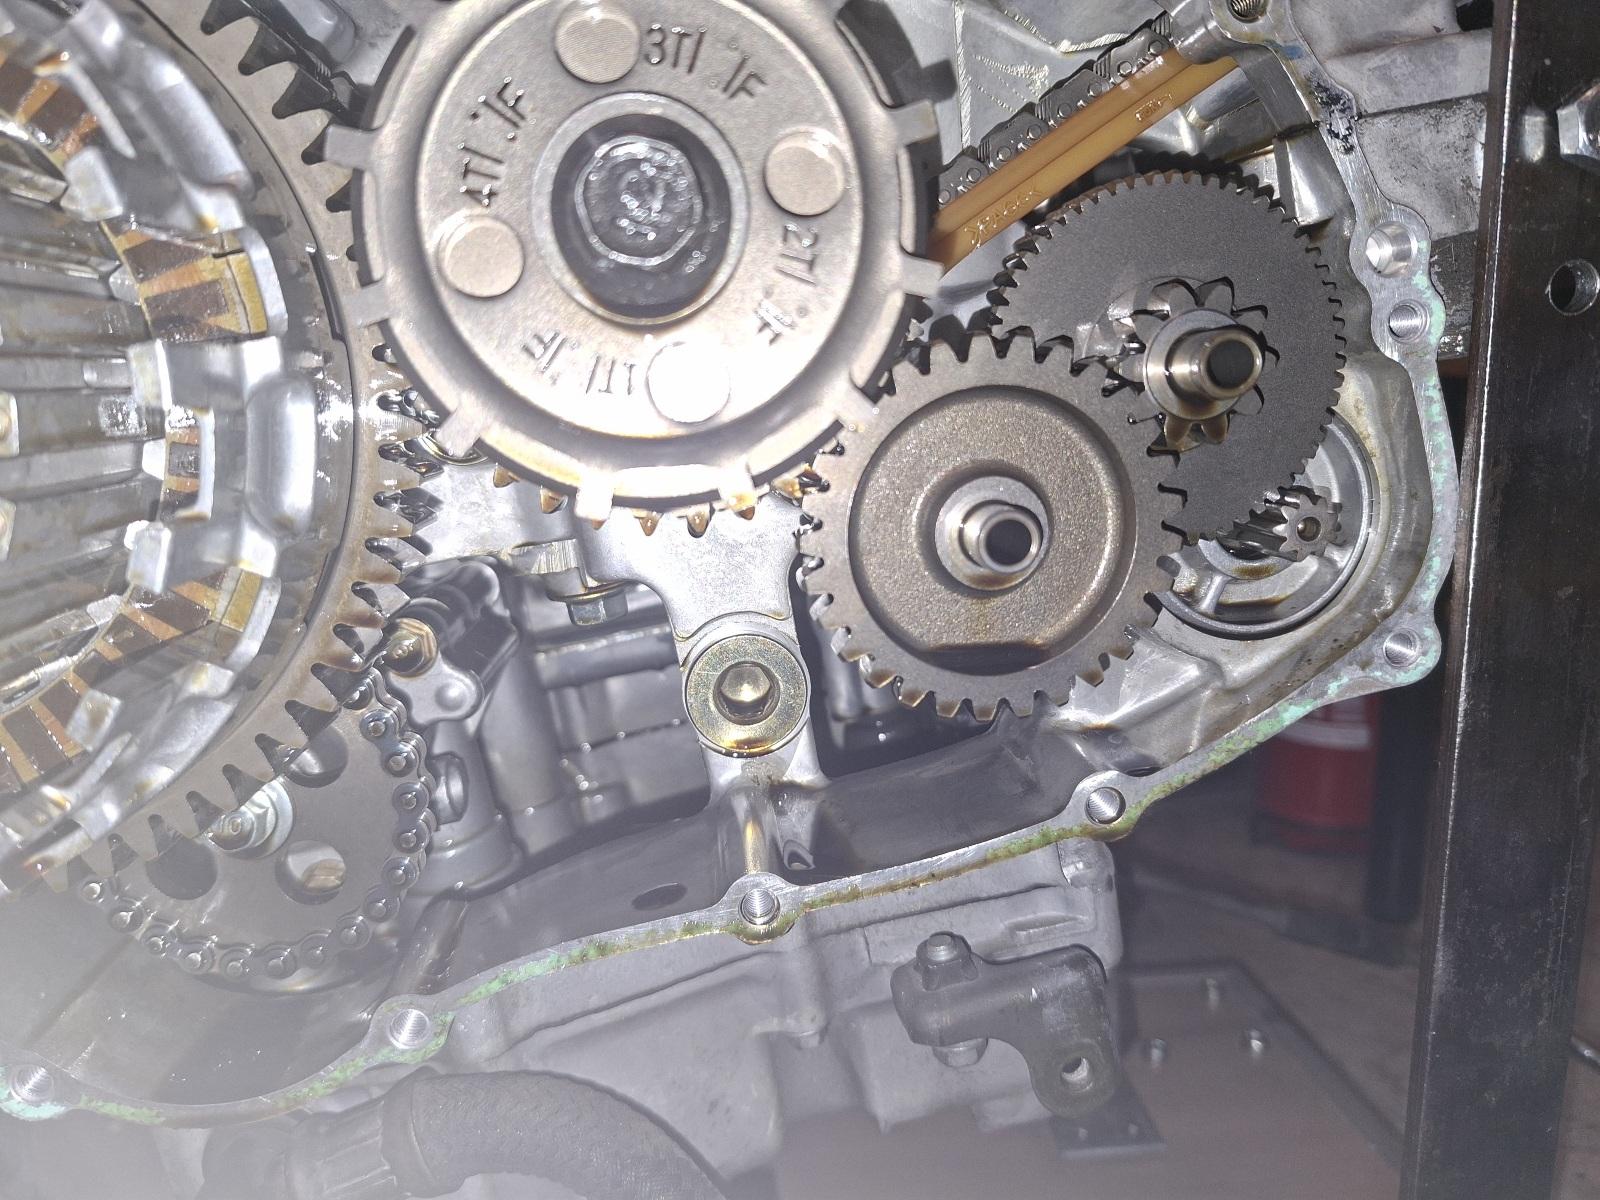
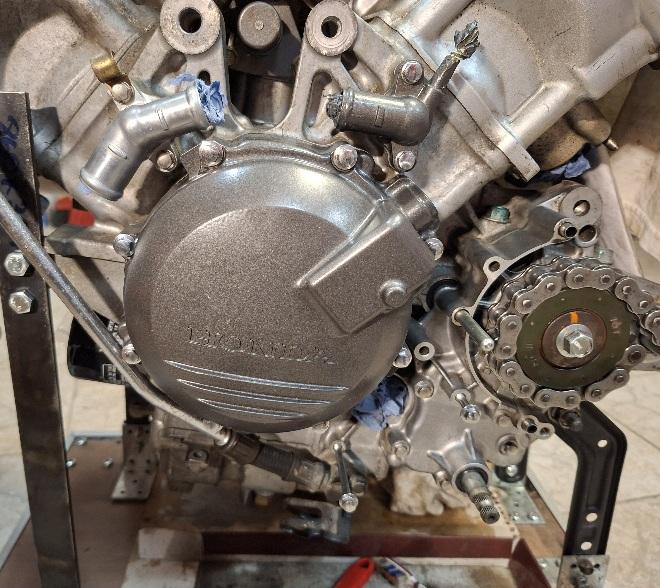
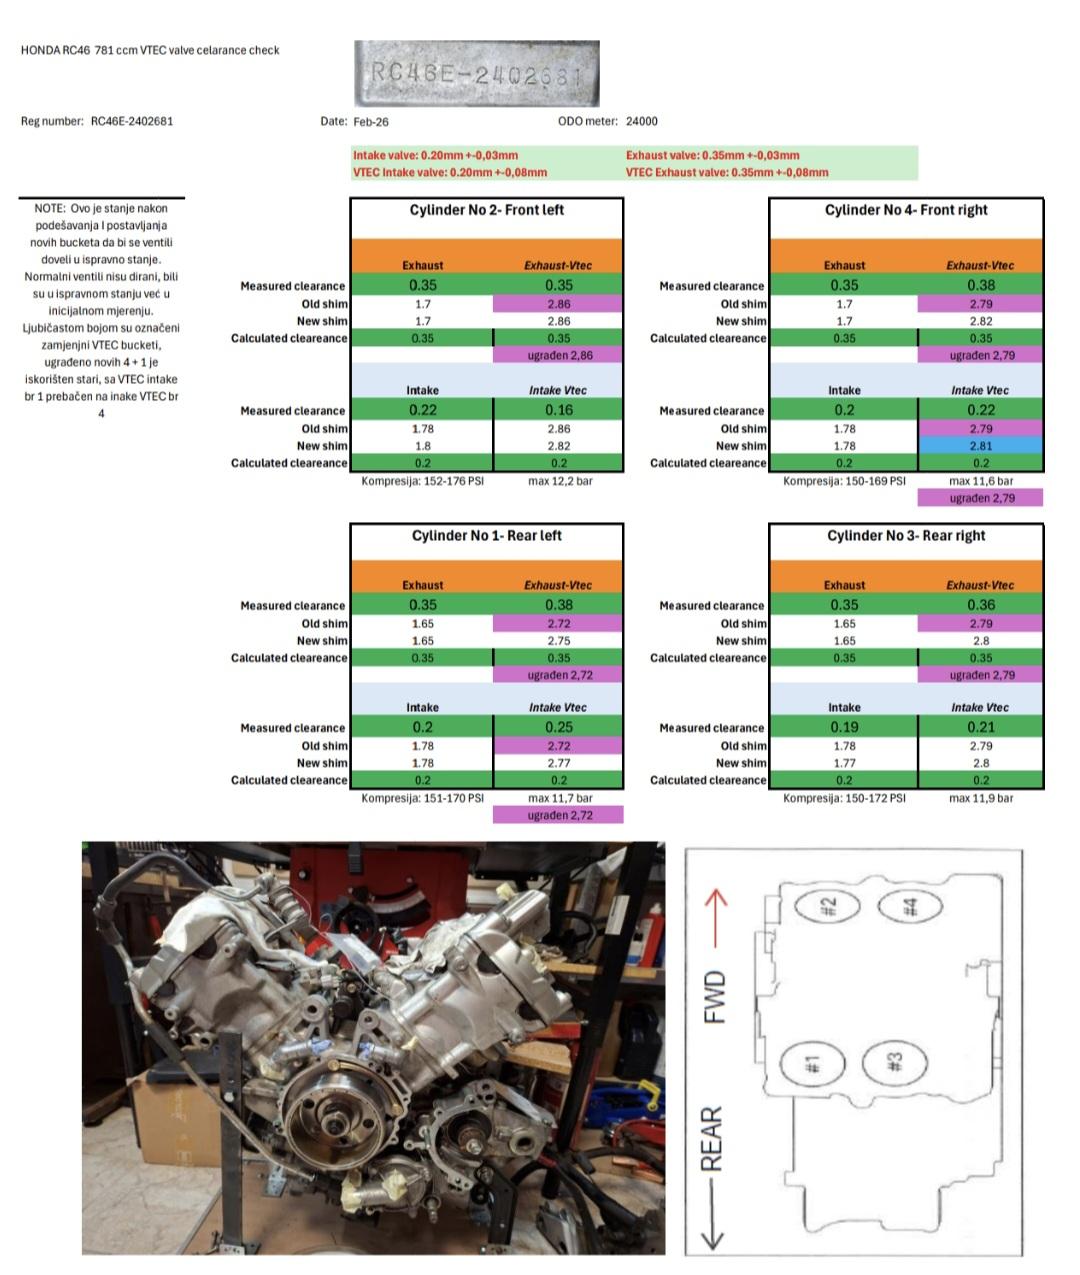
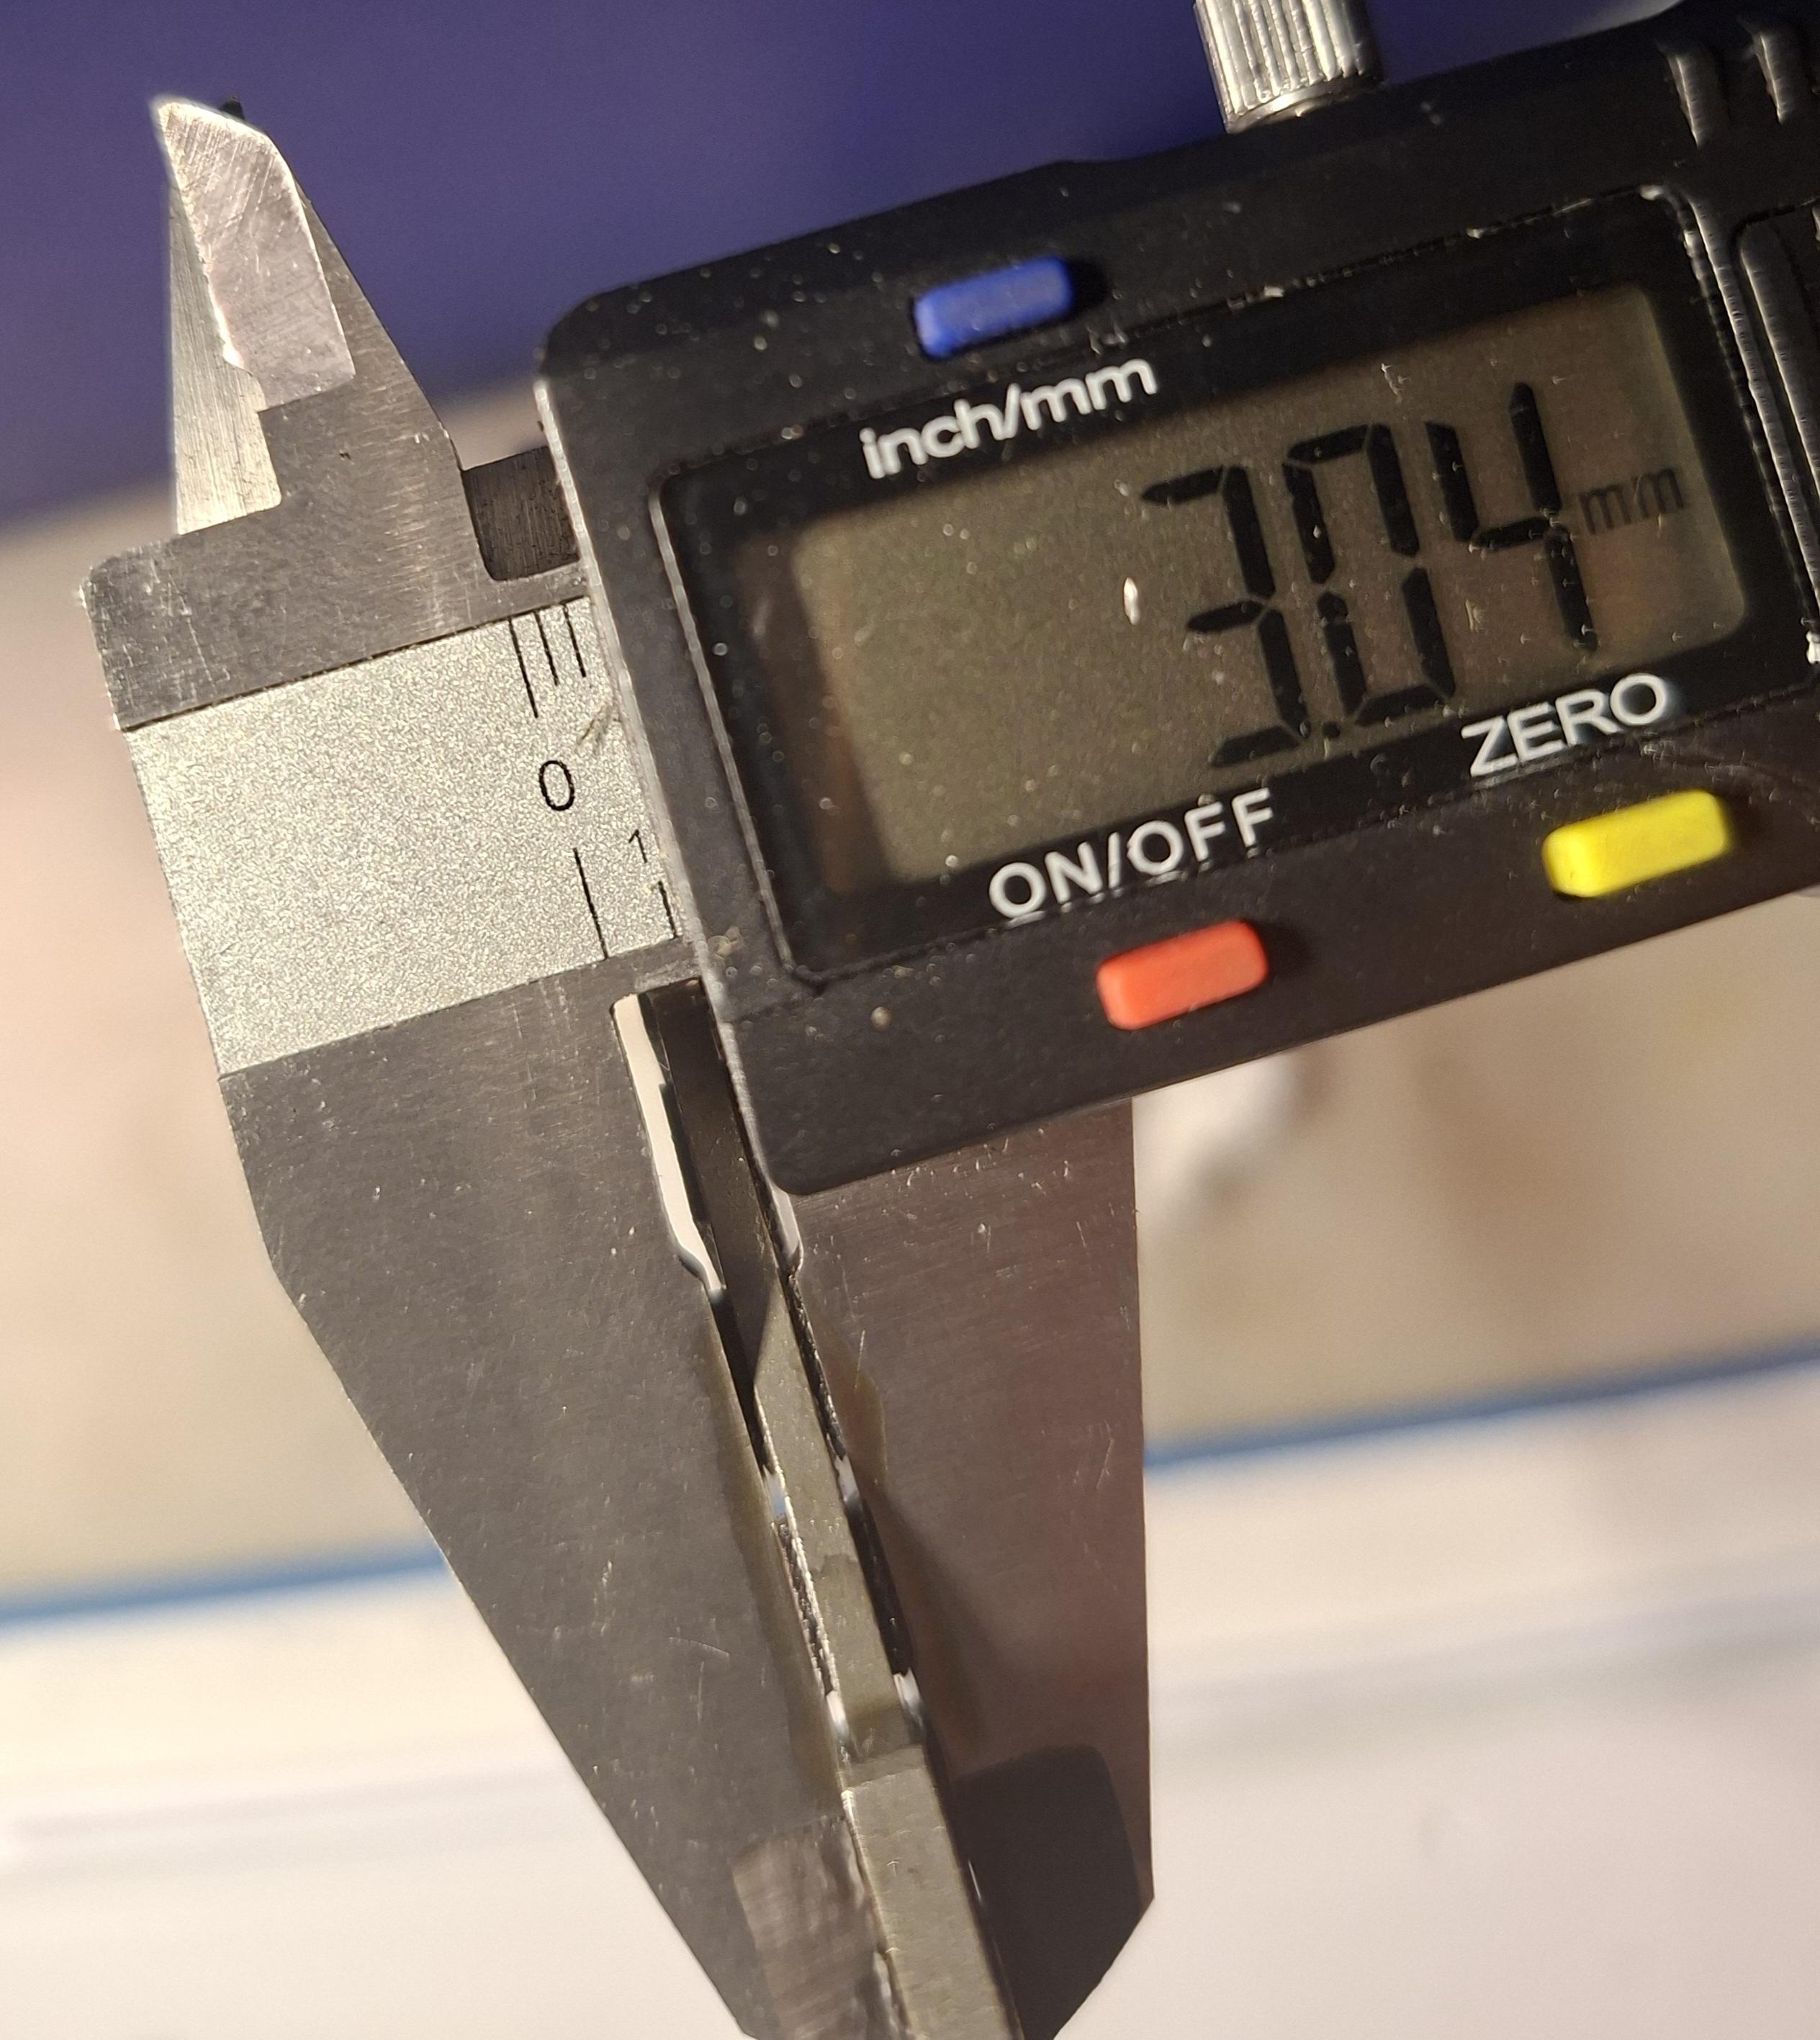
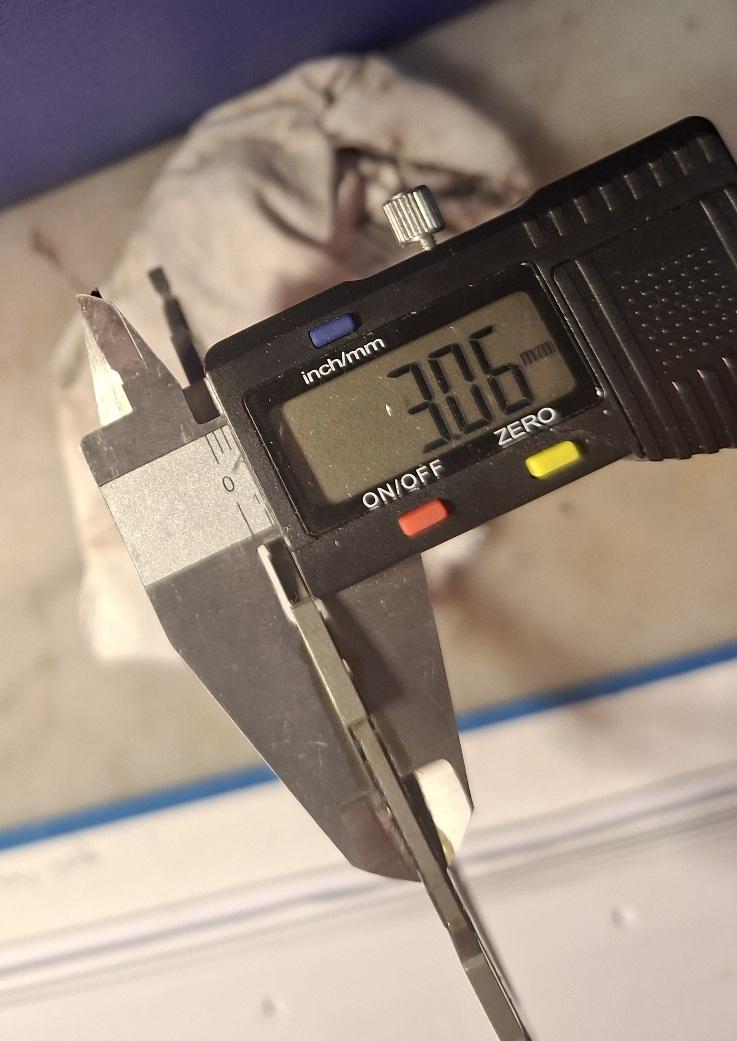
Inspection of Spare VFR800 VTEC engine- RC46
Lucca replied to Lucca's topic in Sixth Generation VFR's
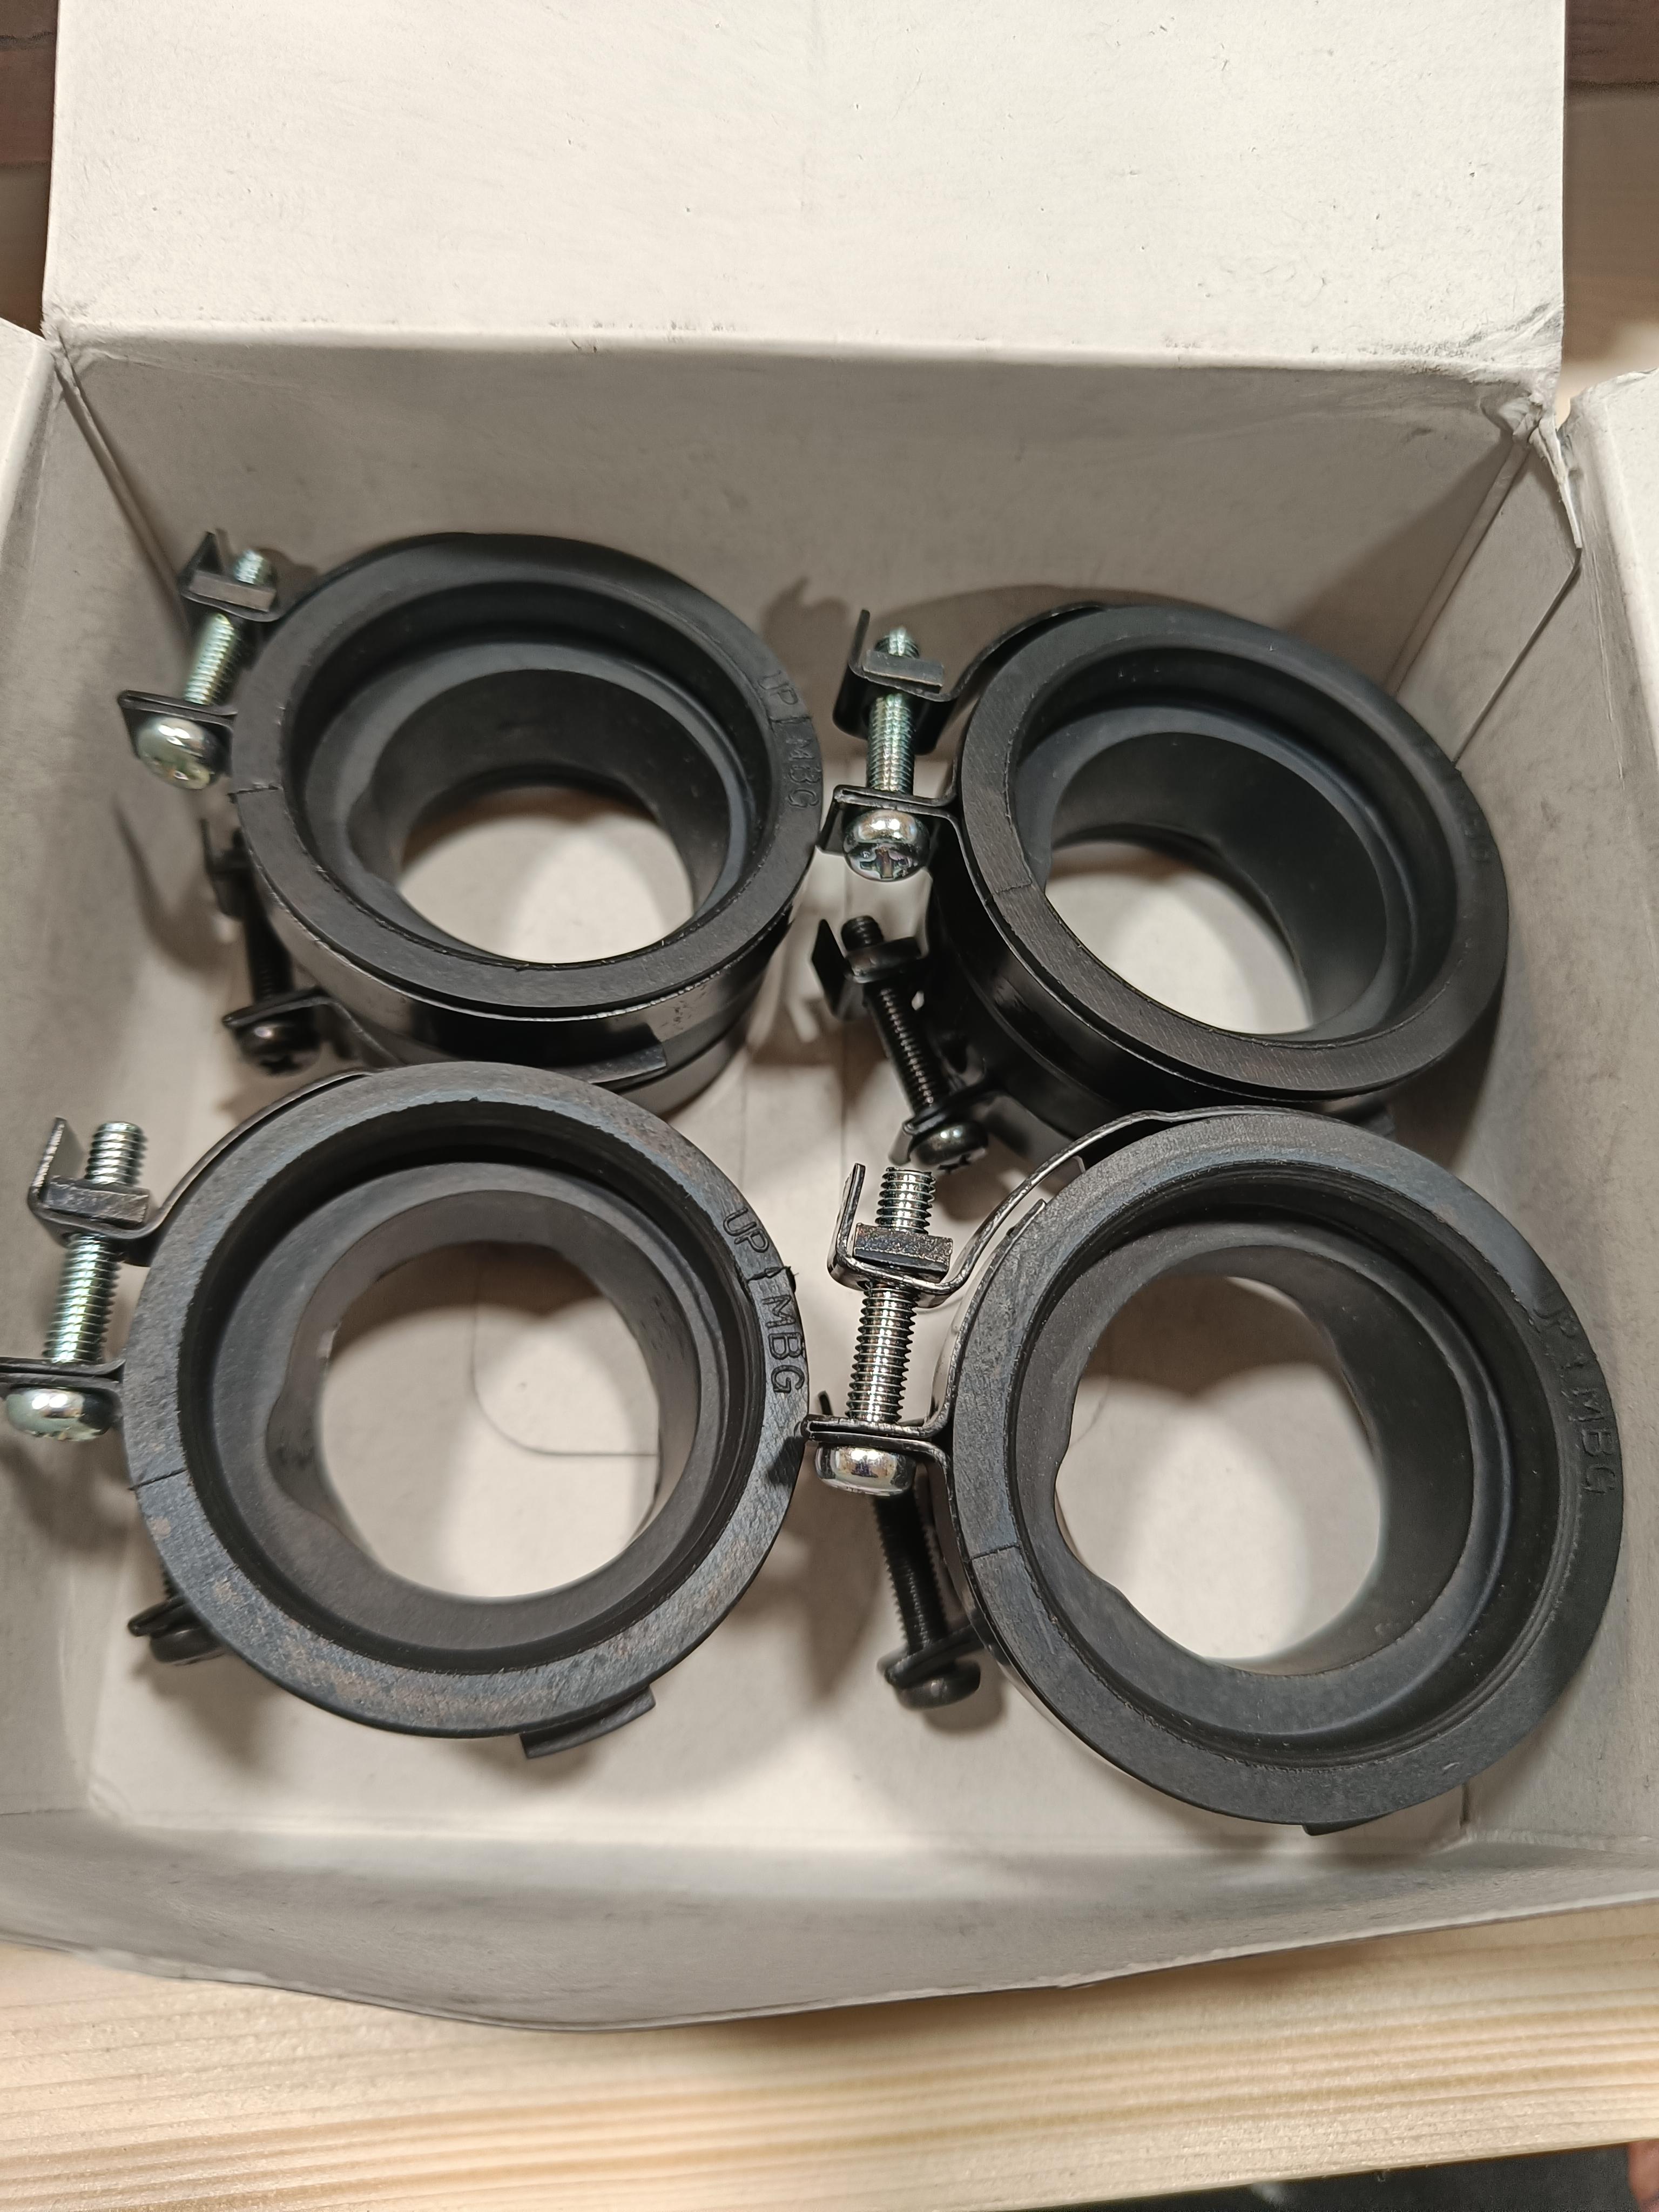
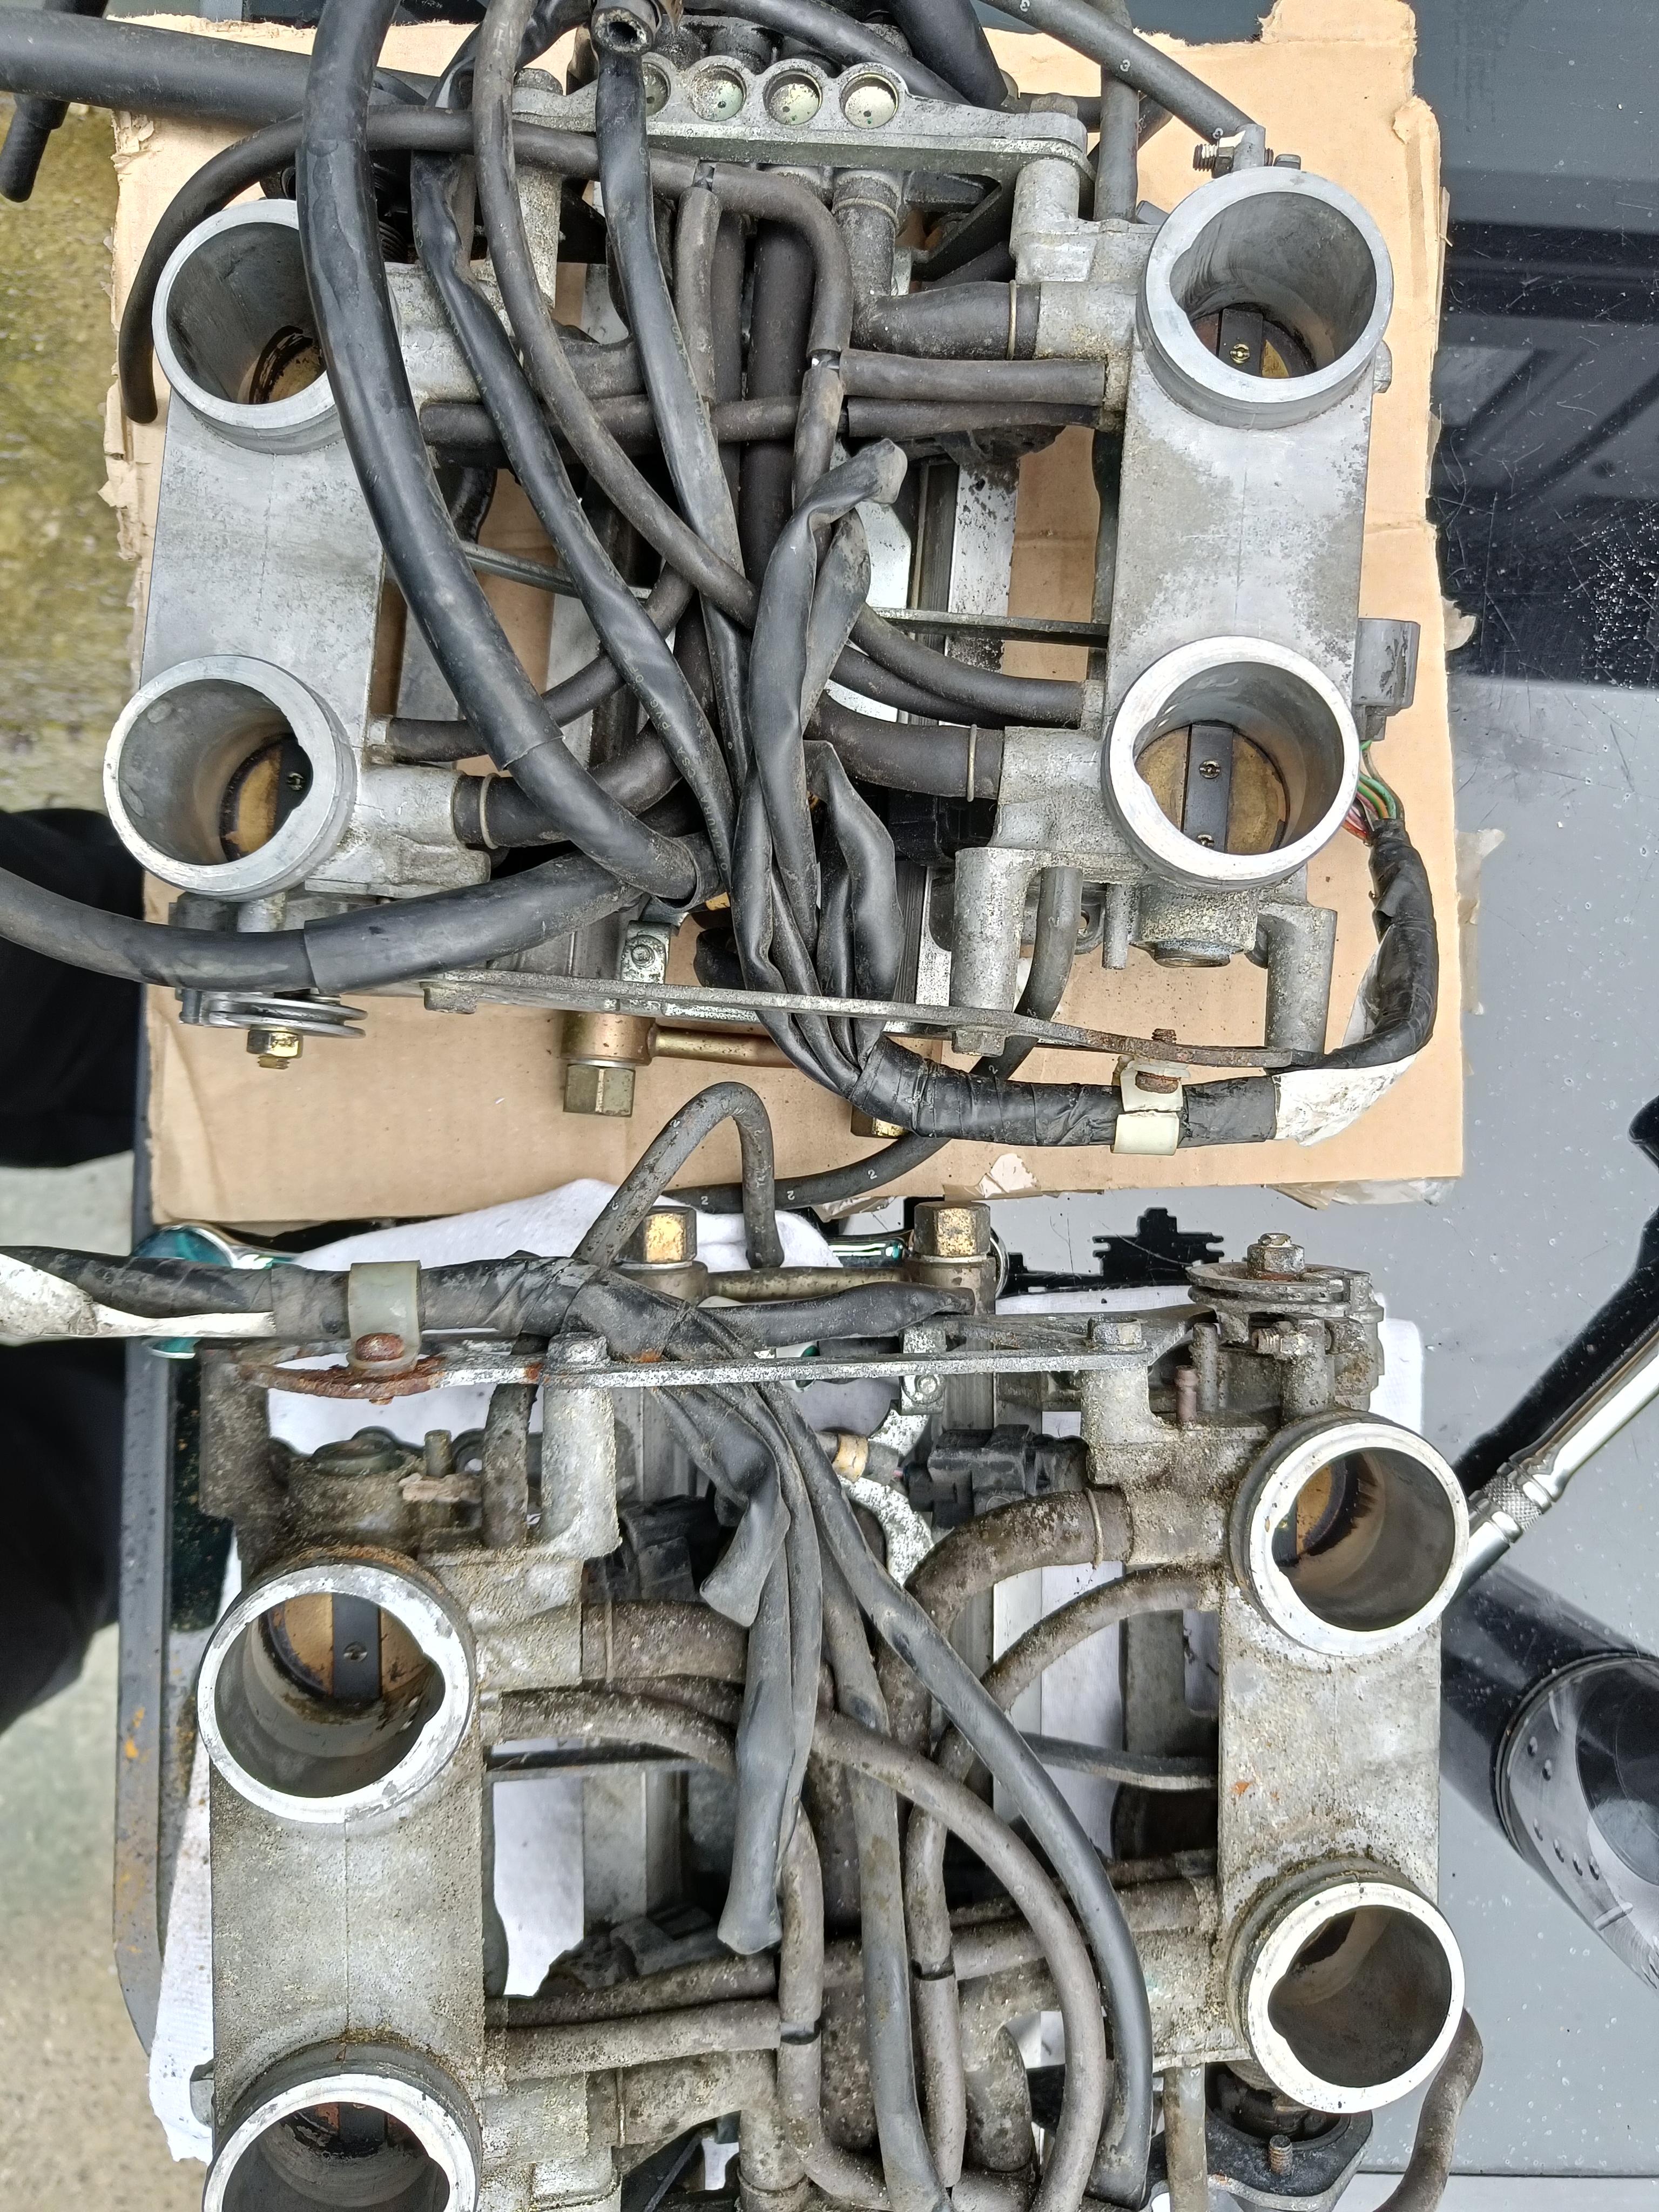
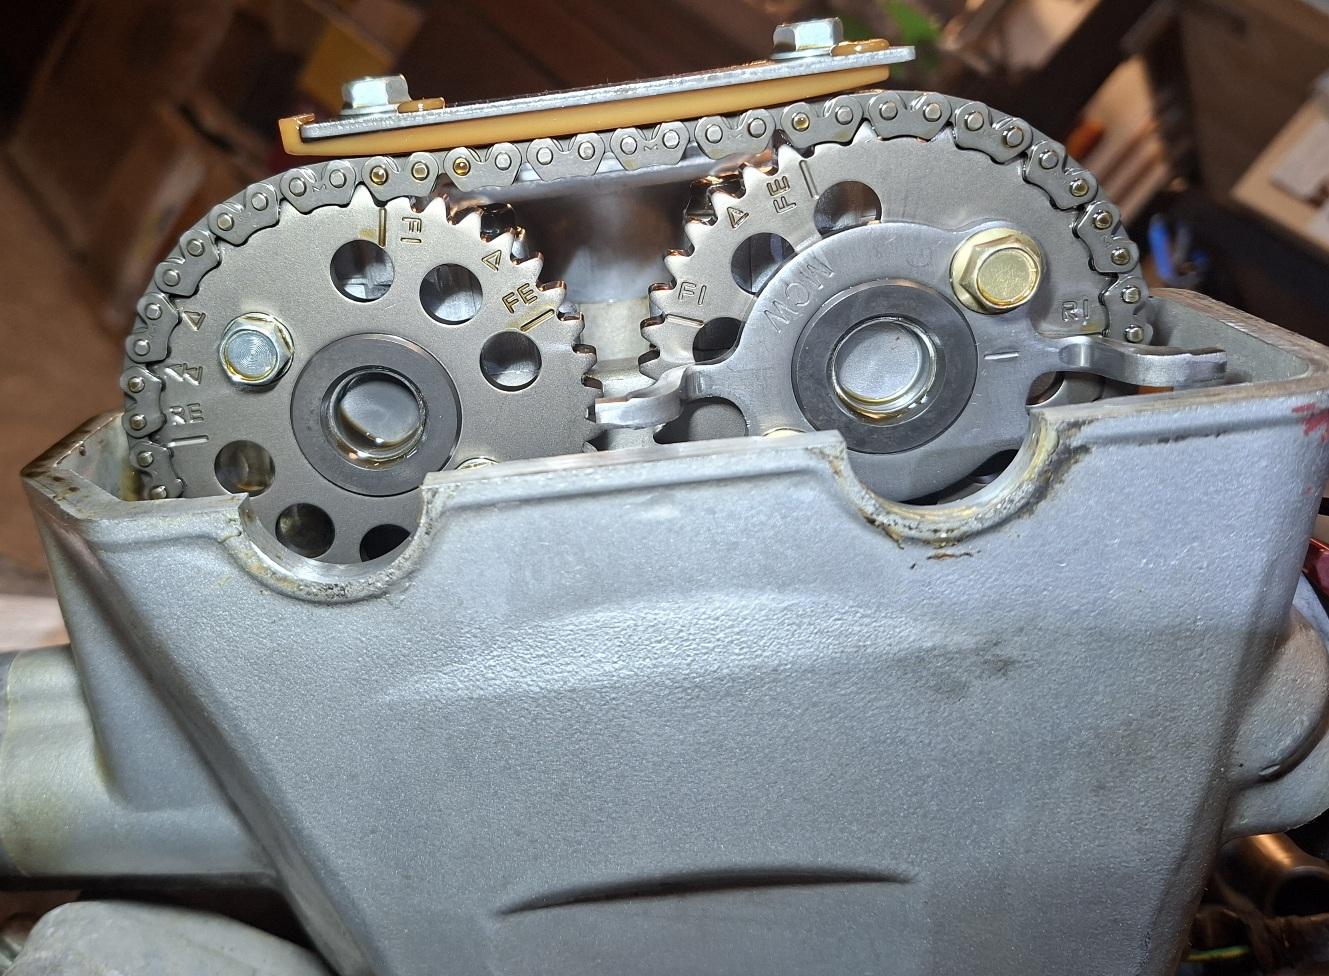
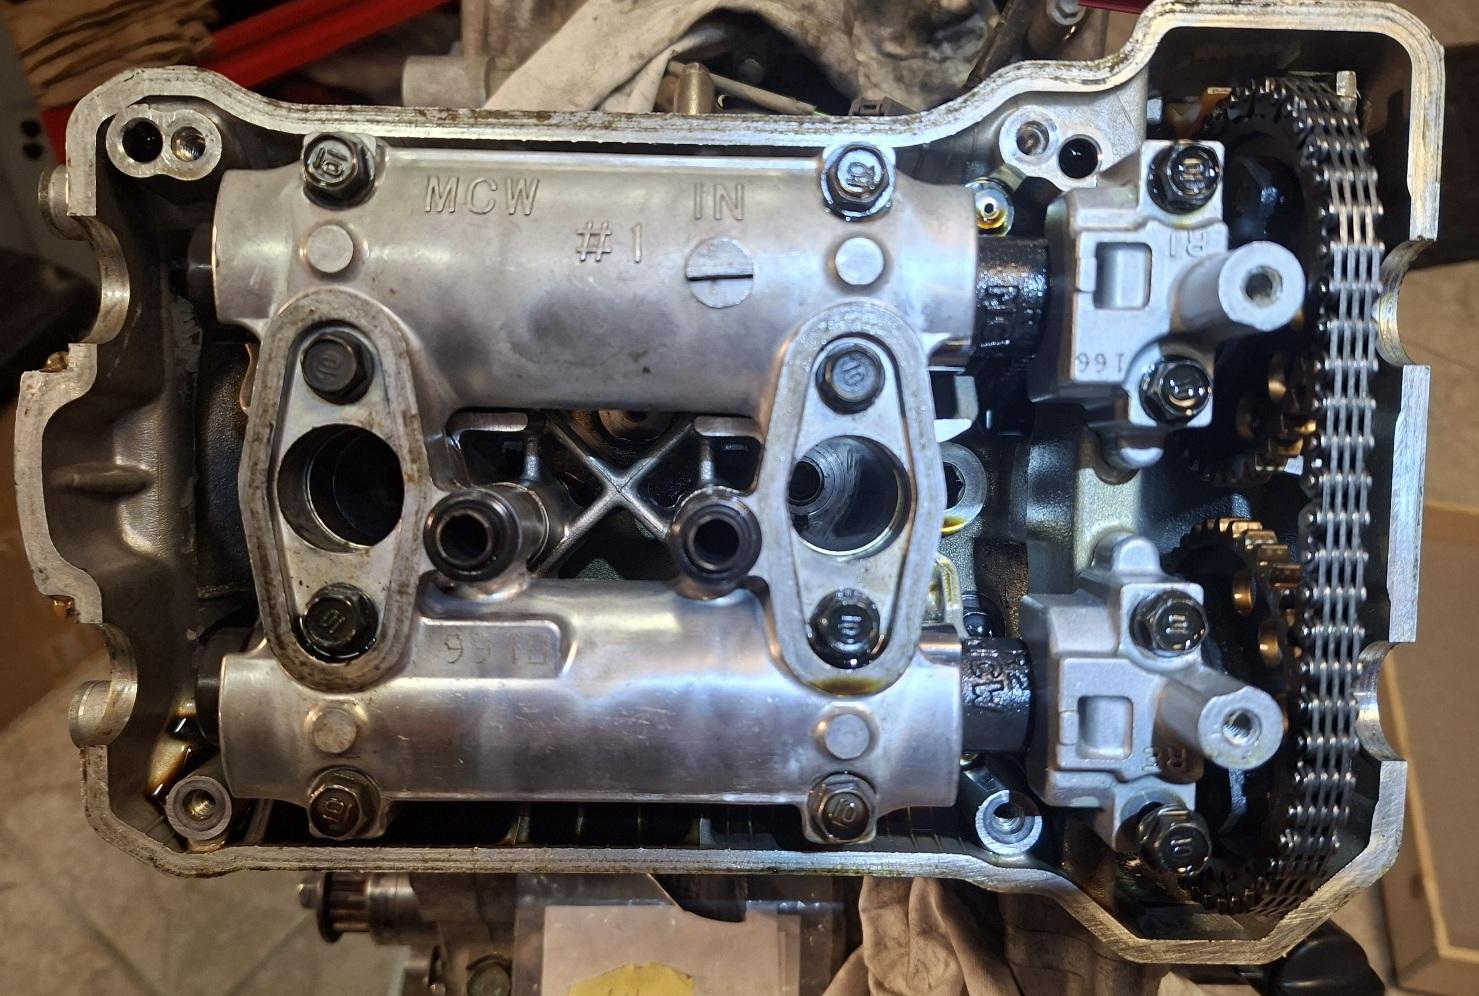
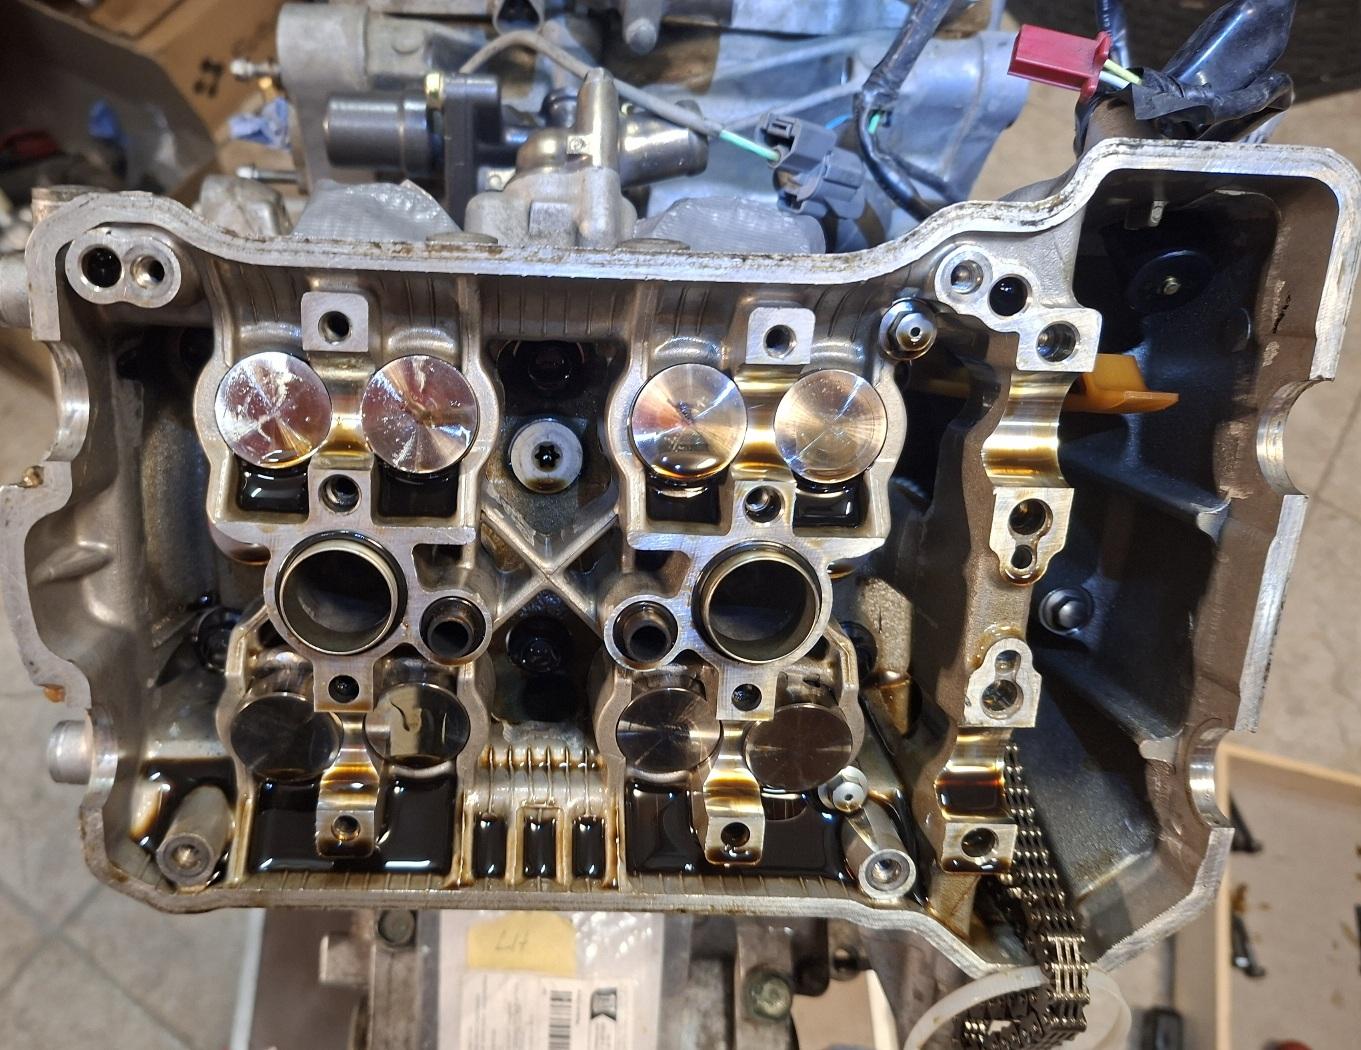
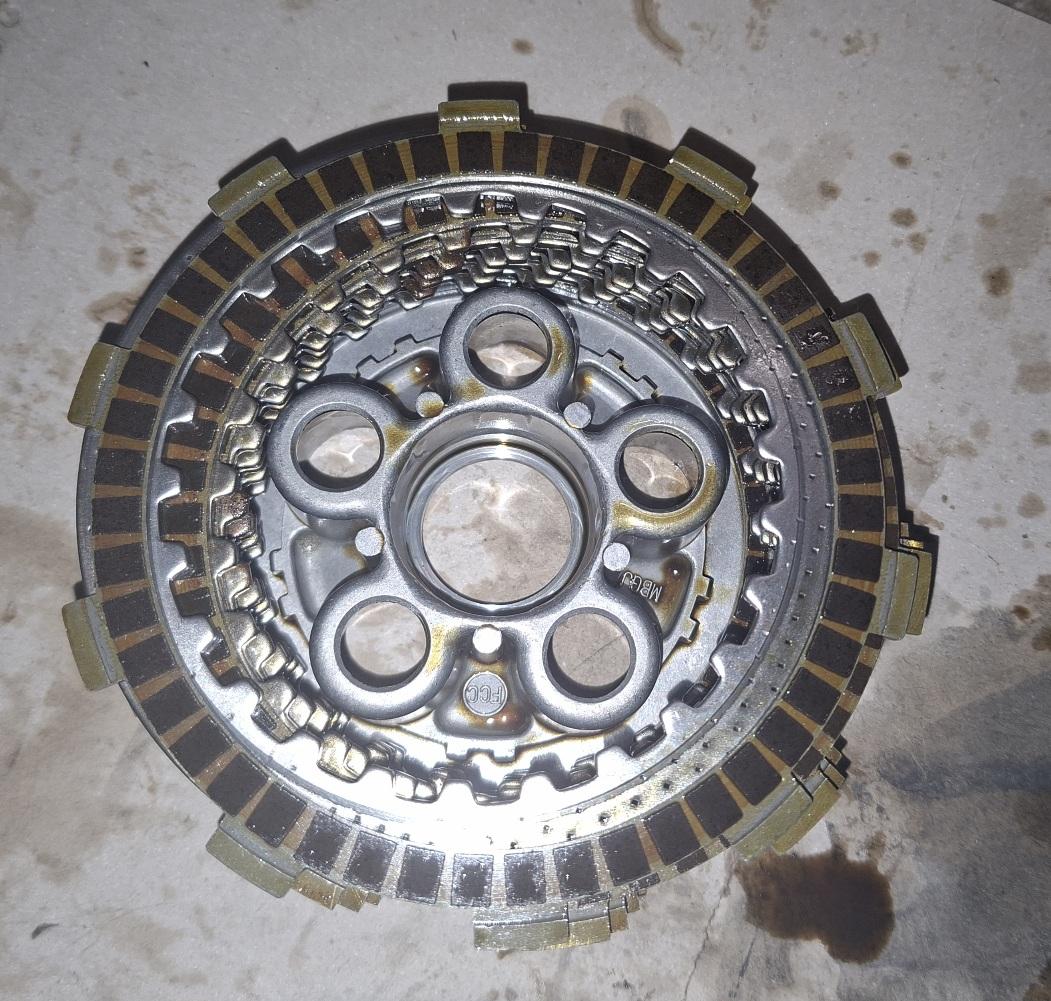
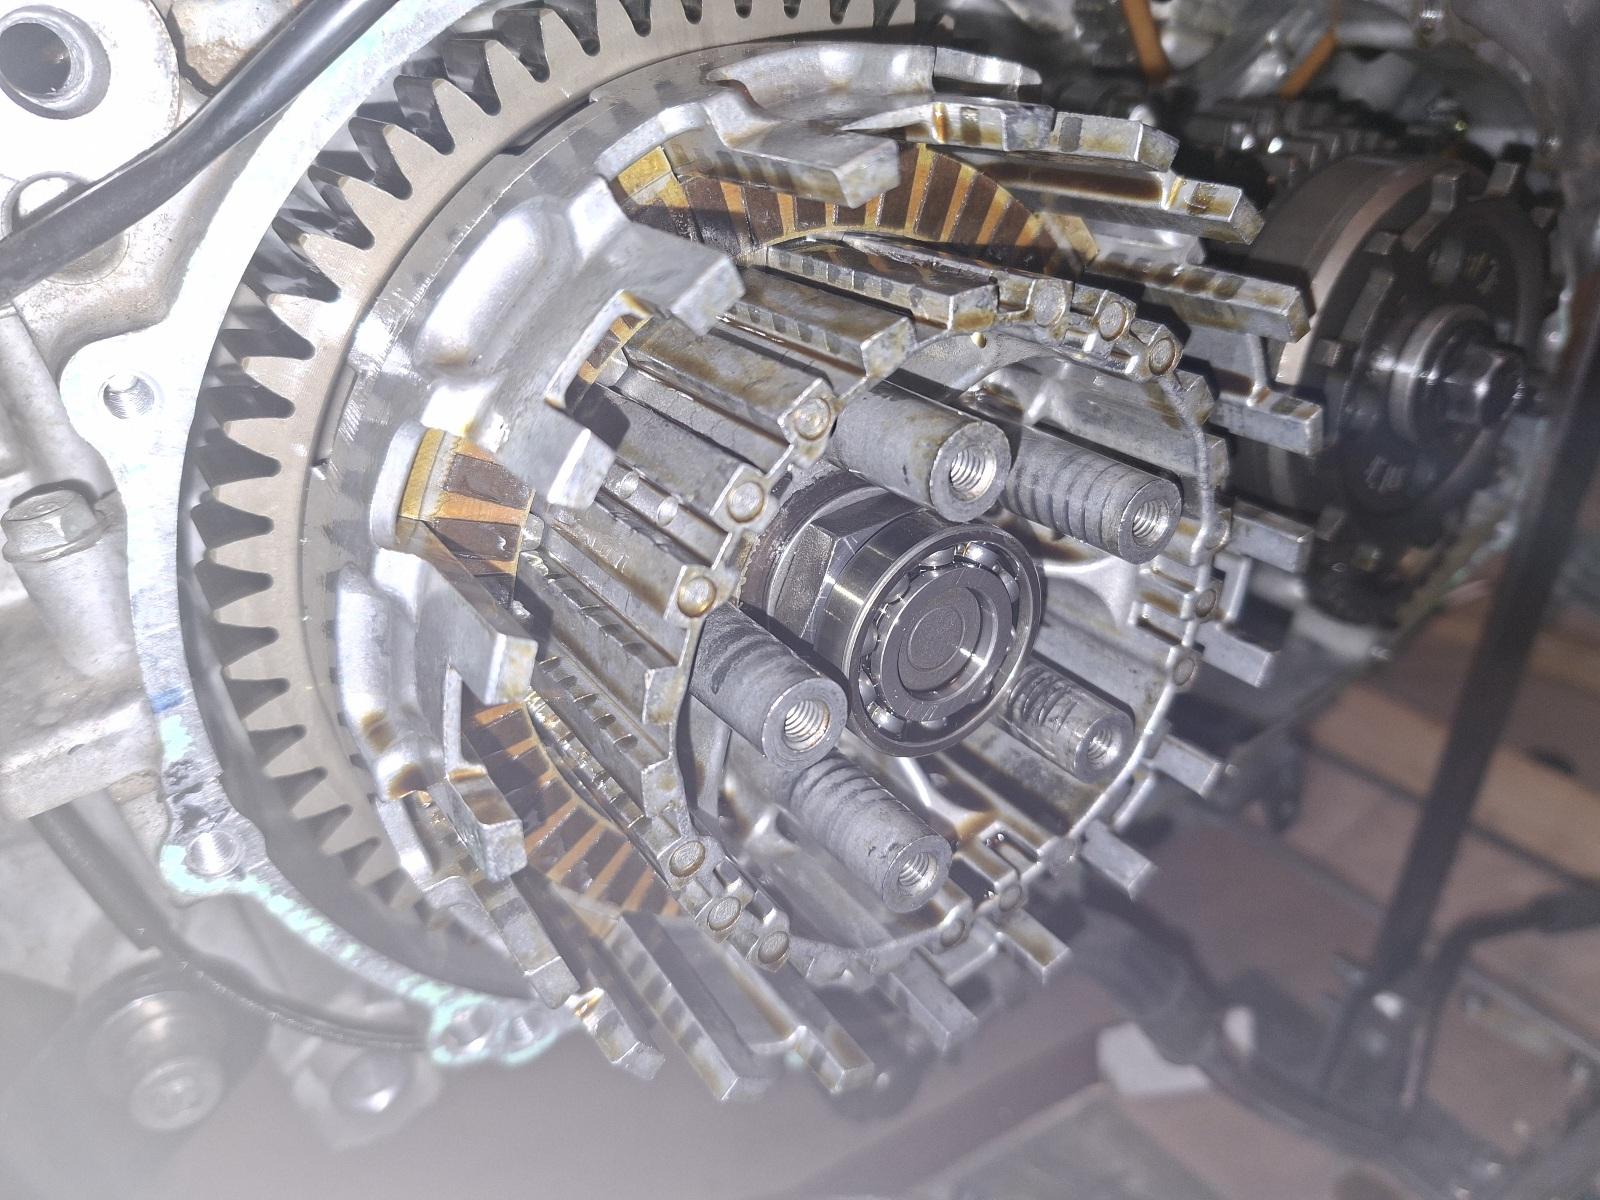
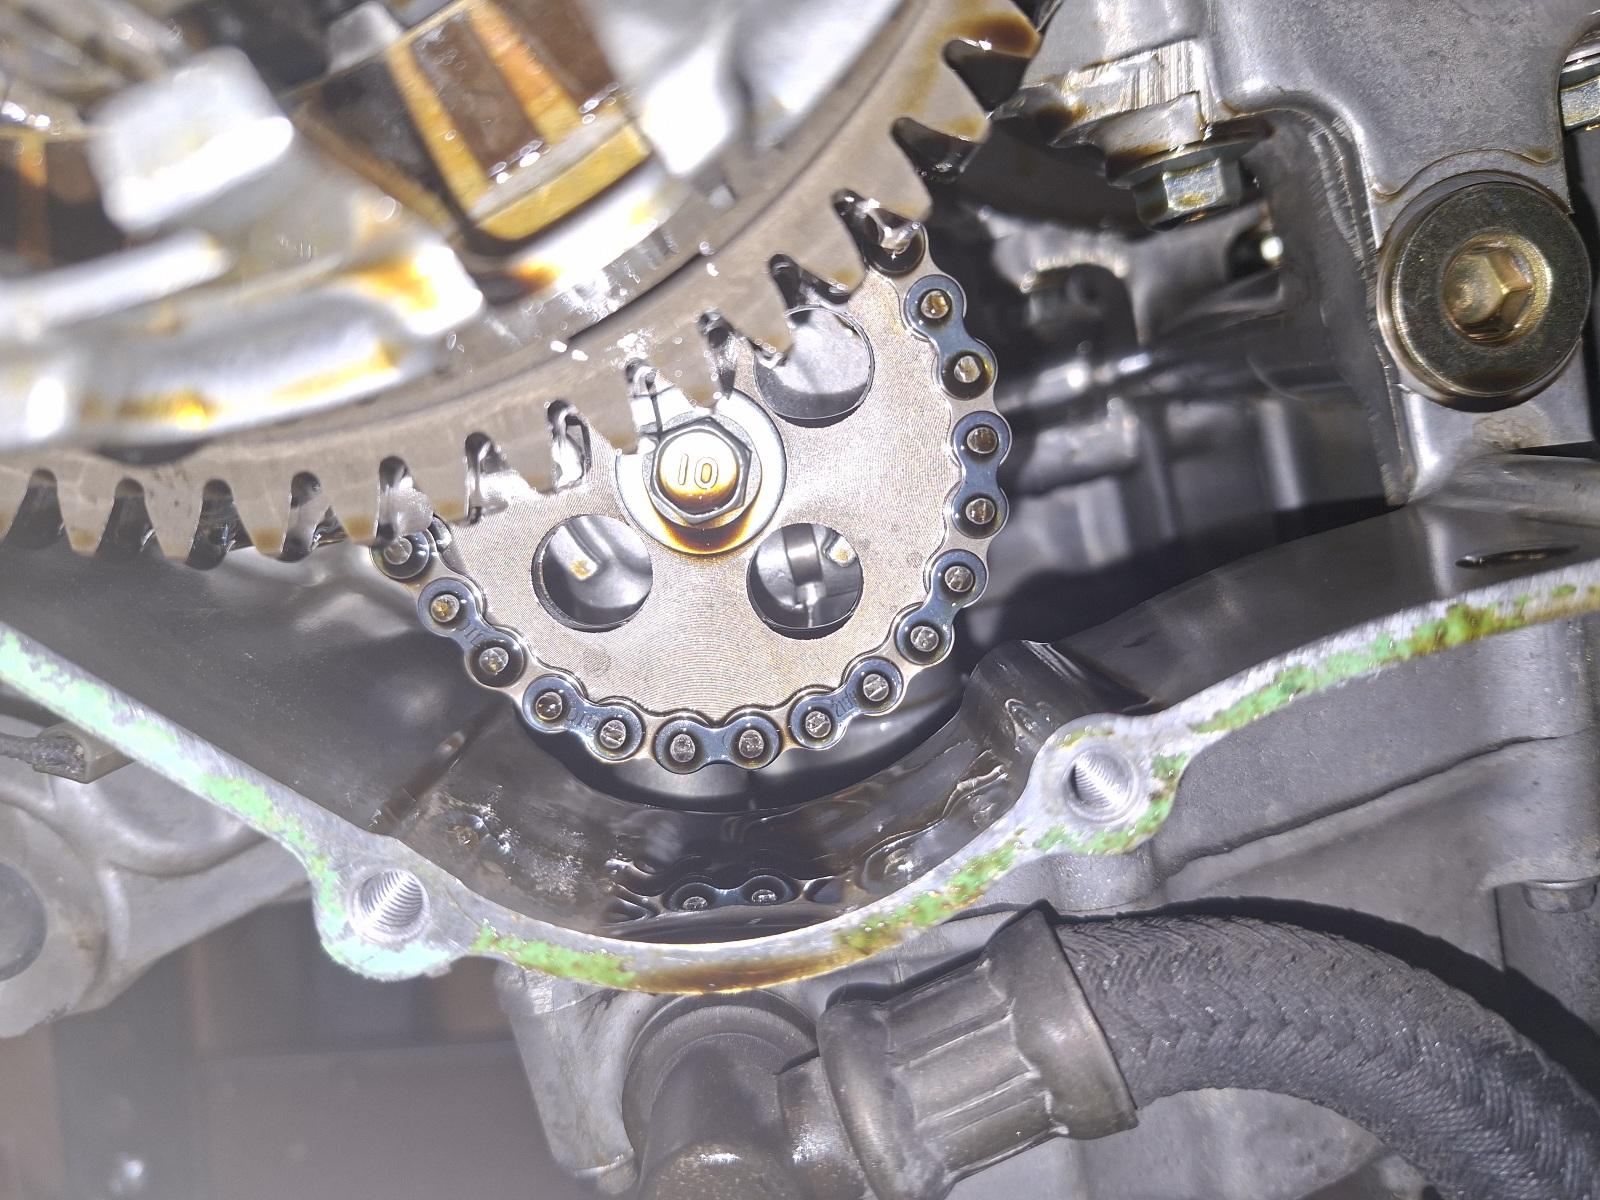
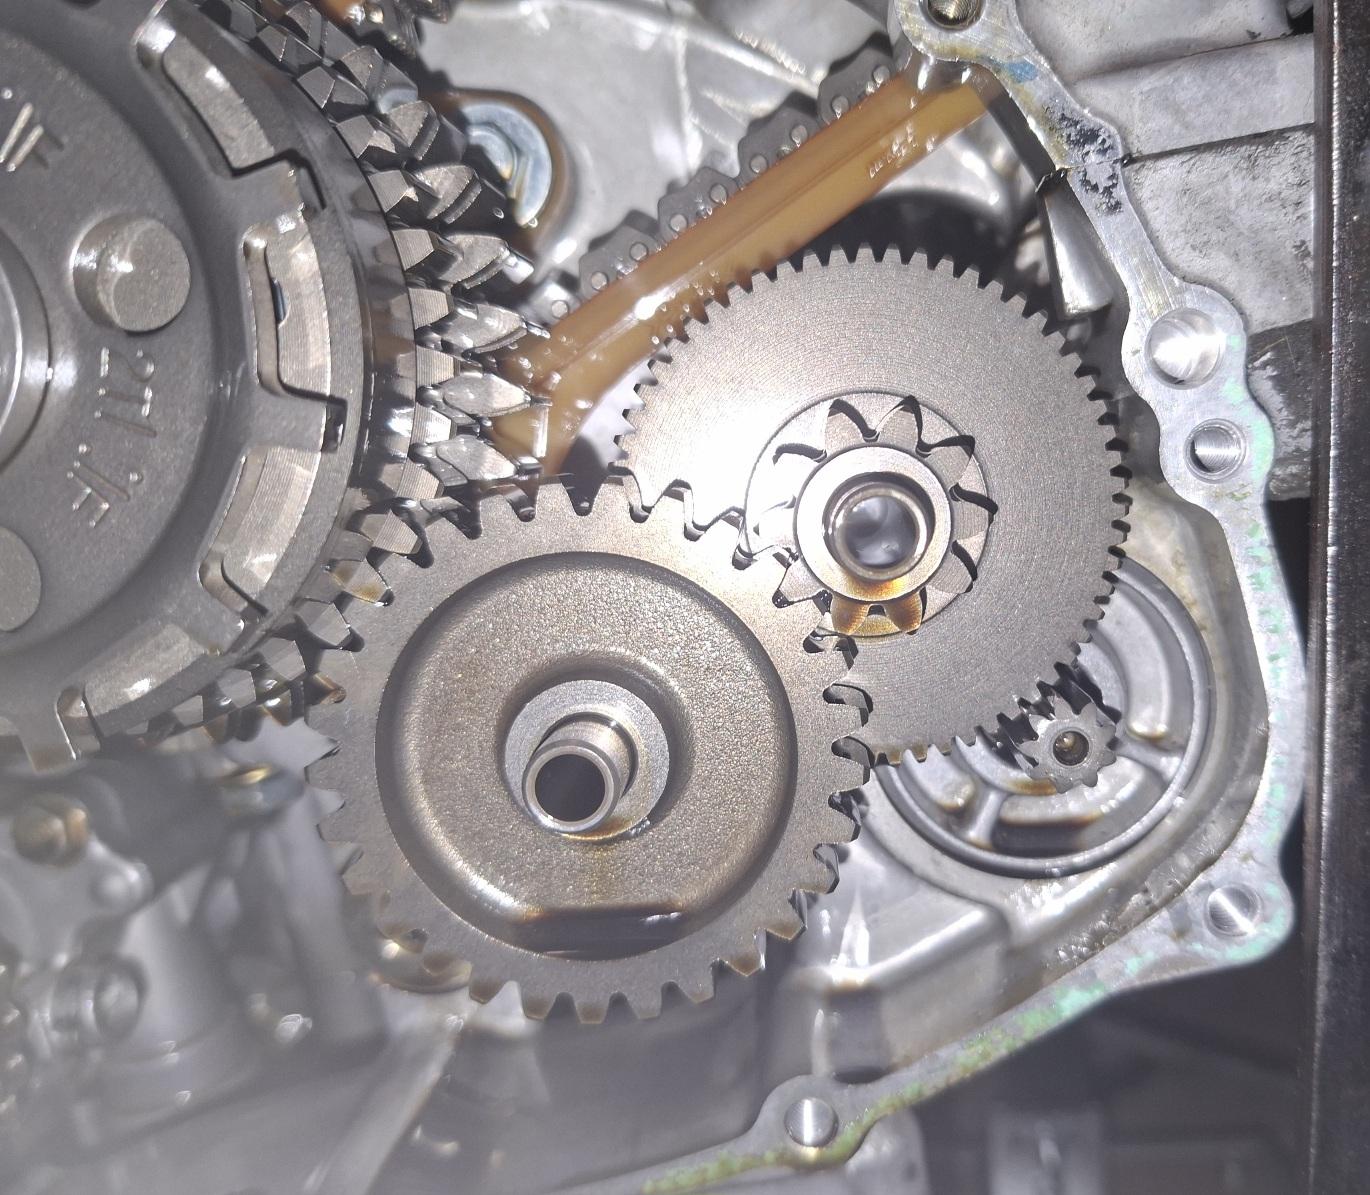
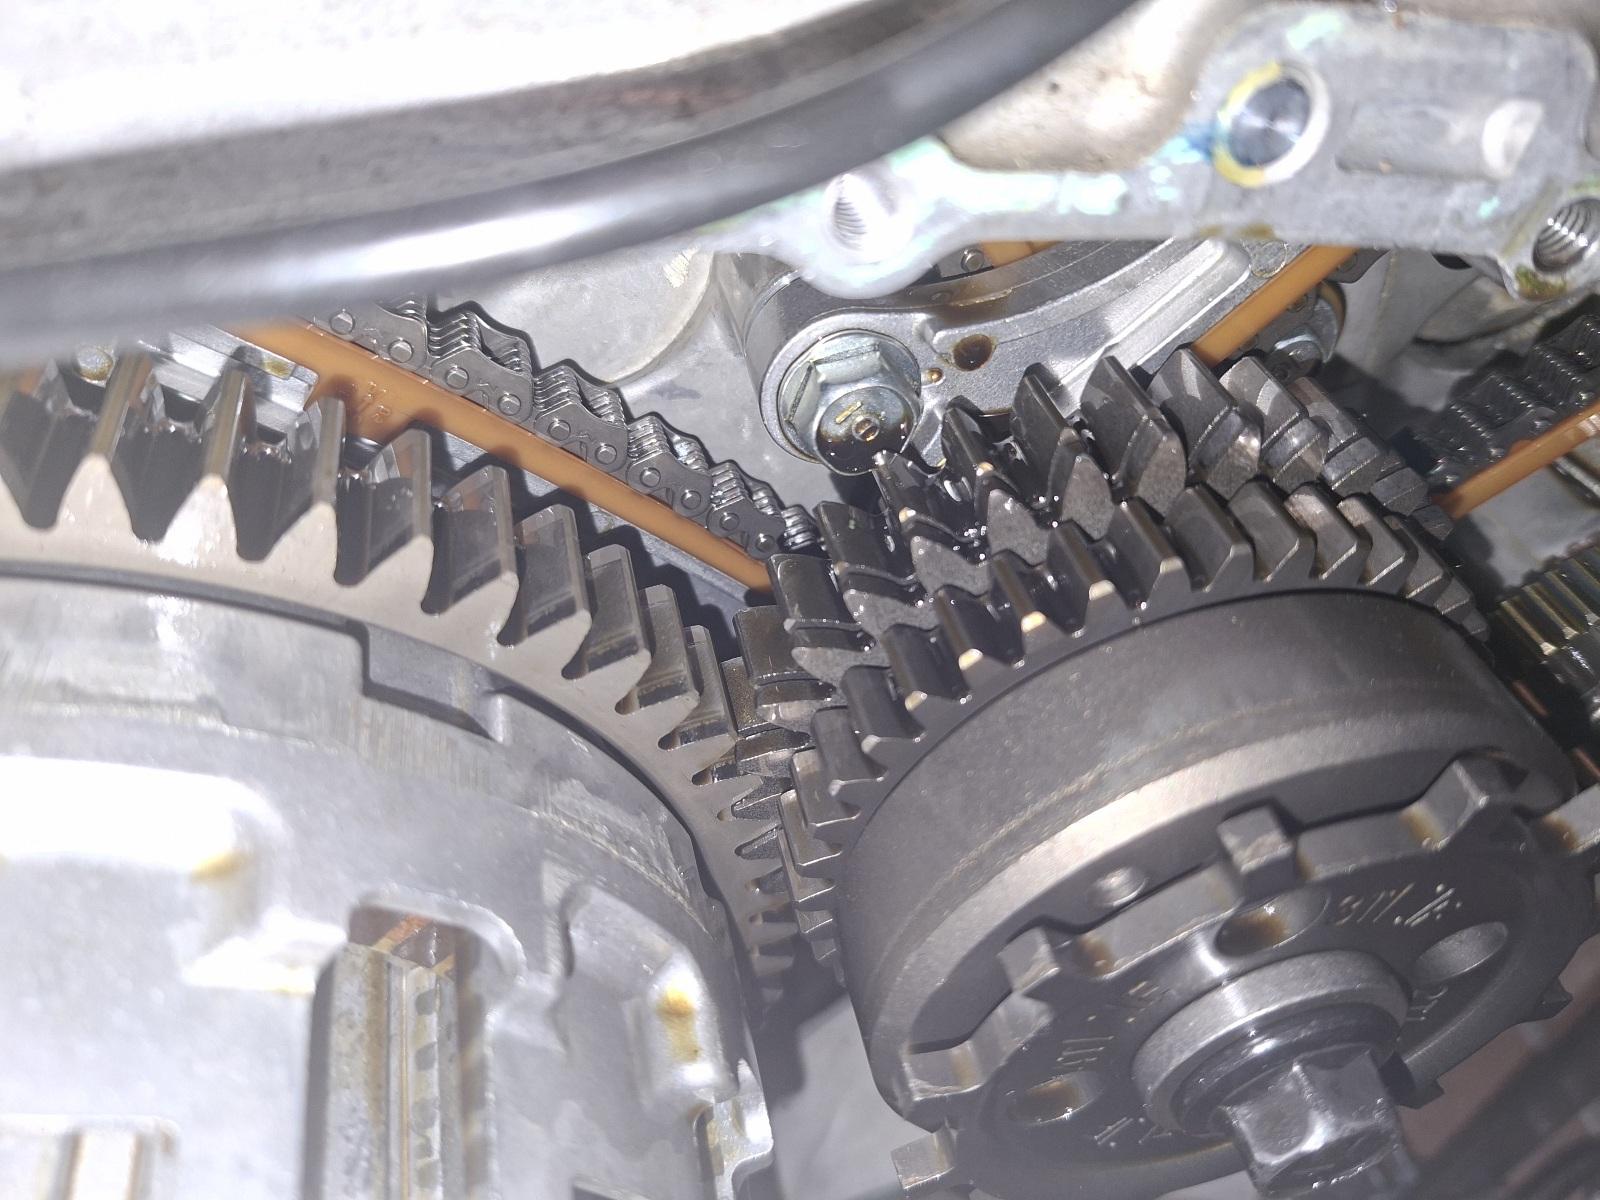
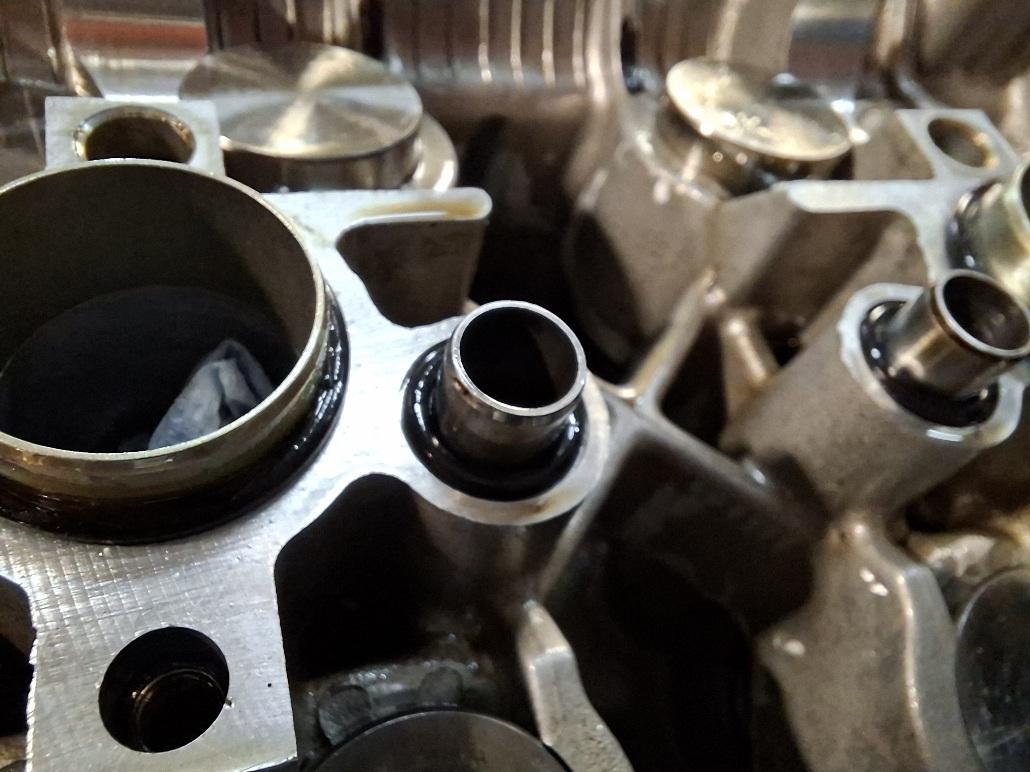
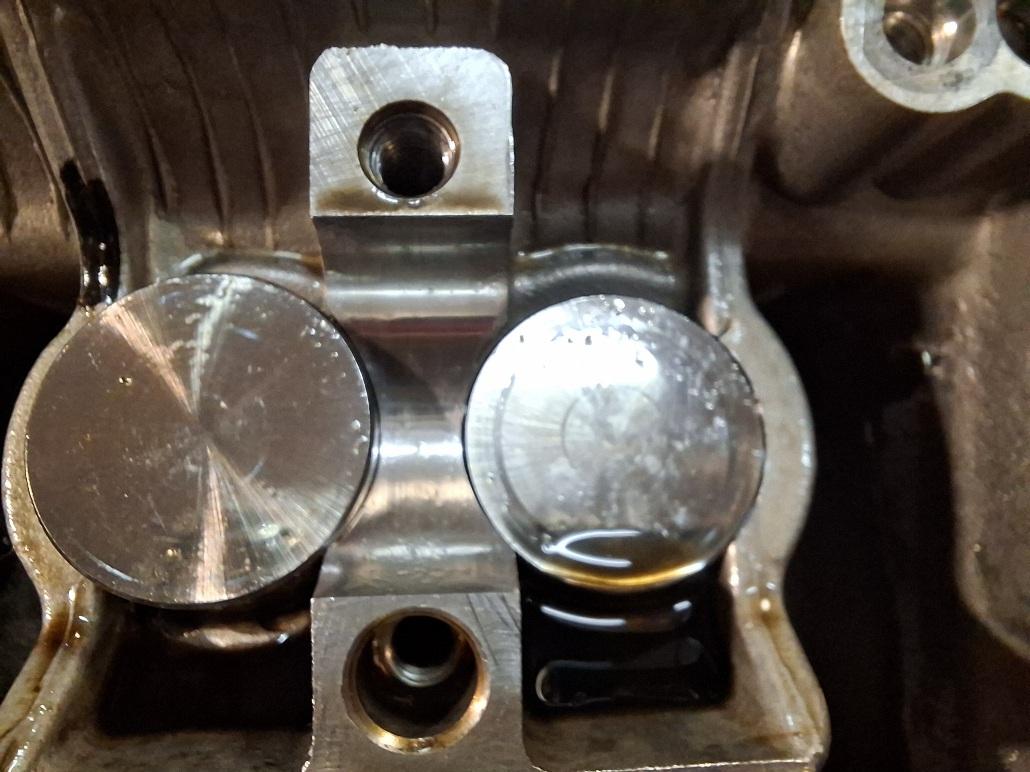
all job is done but some more of dismantling was done. I did the Valve check, new buckets were delivered from Japan so did all adjustment on VTEC valves, 4 buckets were changed , 1 reused. All parts are renewed and check in the head, PAIR valves and channels are cleaned, new orings and gaskets are in place. AS well, I drain the old oil and put mineral oil for engine preservation. I rechecked Clutch discs cause lot can be known of engine history from measuring clutch rings. Well, I was surprised that clutch was good as new. I have a TRW spare clutch discs and hey measure 3.0mm. These are thicker than new TRW. Honda states that new disc thickness is 3.09mm. These are well in specs. Min thickness is 2.5mm. No warpage on metal plates so there is a lot on this engine to go on. I rechecked old oil for metal particles as well as oil filter and that looks clean. Looks like a bullet prof machine. AS well, one coolant pipe that was previously found to have cavities on itself was replaced by new one. I could not fixed it. AS well, these coolant fittings have to be polished before installation due to bad seems during casting process....seems have to be polished du to fact that it will leak again. I filed the seems on all coolant fitting and polished them....looks very nice, and old ones were repainted with termo active silicone colour for protection. I near future, I will put coolant hoses on the engine, but i am very grateful that this engine is in this condition.
-
 I am far from a mechanic but have some understanding of the physics involved. The PAIR ports connect to the exhaust ports downstream of the exhaust valves and use the exhaust flow to create low pressure that sucks in extra air. The air injection can't directly change the combustion stochiometry but it does allow for additional burning of HC in the exhaust,and that can also change the O2 sensor readings, which are used to adjust the injection volume and thus can affect the fuel-air mixture. I do know that the reed valves in the PAIR chamber need to be kept clean to avoid blowback into the airbox, unless they have been removed and capped off. I speak only from my personal seat-of-the-pants experience on my 2009 VTEC; I have disabled PAIR on my 5th gens and my VTR1000F and never noticed a difference, but I do think the 6th gen responded positively to having the PAIR disabled.
 -
Doing this You are accomplishing nothing due to fact that PAIR valves are doing their job to prevent CAT over burn in lower throttle engine regime. As well, exhaust valves and engine head are cooled by that air as well. PAIR does not work under more revs cause there is much bigger pressure from exhaust so air is not injected into exhaust stream. Is does not make your mixture lean or similar....is just preventing CAT to over burn and mixes with unburned HC in lower RPM. When You need power in higher rpm....PAIR valves do not work so unpluging this thing does not do nothing to engine higher portion of output when you need one. If You don believe me, test it , open PAIR valves cover and start the engine...and rev it. As well...there is bigger problem if you don't clean these valves regularly cause exhaust fumes can come inside intake and that you have a lack of oxy in intake. It becomes similar shit like EGR. I mean, test it yourself if you don believe me.
-
I could not hear a tick on your sound bite. Grab a peice of wooden dowl or wood bit and put it on the area where the sound is coming from and the other end to your ear (or a stethoscope if you have one). You may be able to narrow the sound down or compair sides.


-
Blogs
-
- 122
entries - 565
comments - 301910
views
Recent Entries
 Latest Entry
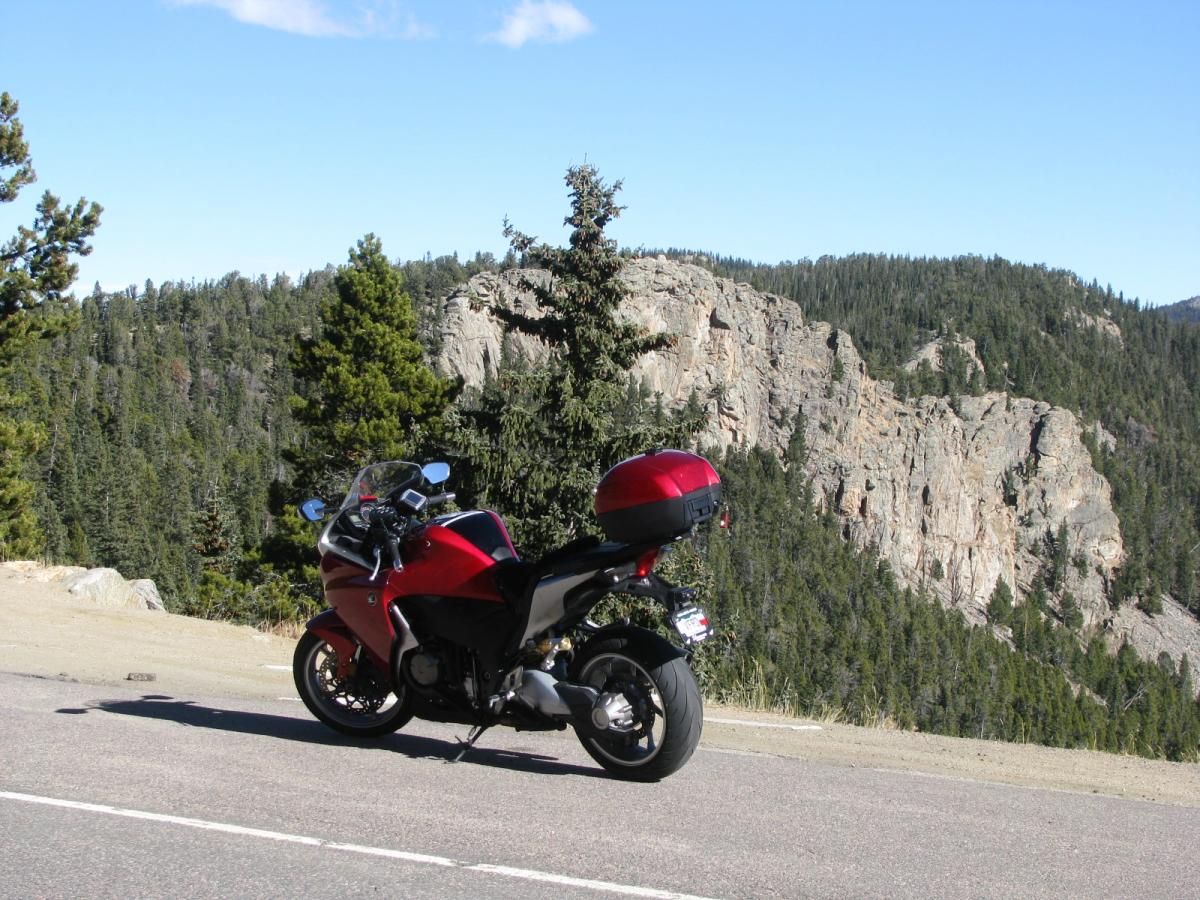
The Last Day Of Good Riding Weather
Juniper Pass
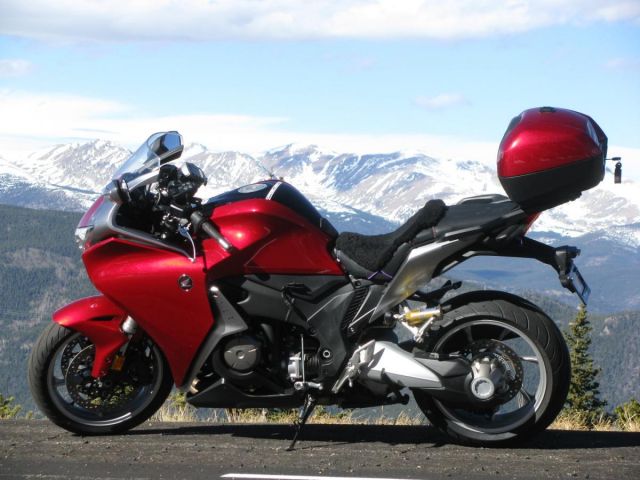
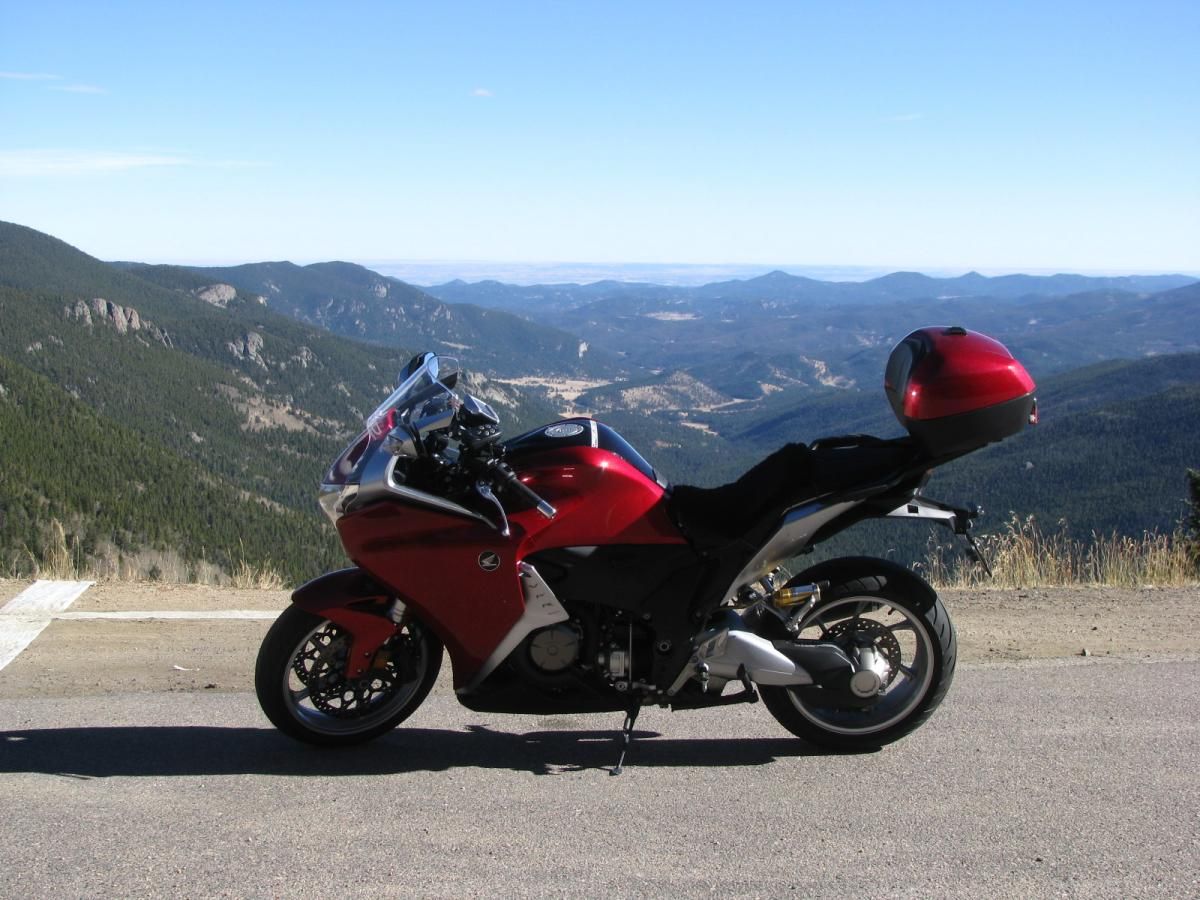
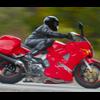
I took a day off from work and also from my bicycle training to take out the Veefalo one last time before the weather turns ugly, supposed to snow the rest of the week and possibly start sticking to the ground along the Colorado Front Range. I took a leisurely pace up hwy 105 toward Morrison and got reacquainted with the bike since its been over a month since I took any sort of twisties on it at all, hwy 105 is a scenic ride along the front range between Denver and Colorado Springs, its mostly easy fast sweepers and lite traffic so its a favorite road of mine when going north. Then I have to negotiate a bit of traffic near Highlands ranch and up hwy 470 into the mountains. I decided to take the Morrison Exit and try either Lookout Mountain or head up Golden Gate Canyon - this time it was Lookout Mountain, I was sort of making it up on the fly as I went along. Lookout Mountain is my old bicycling haunt from my days while I was working at Coors, its a killer ride and all uphill - I don't think I could do it today If I had to, not quite there yet! I saw a whole bunch of riders doing it though and wished I was in shape enough to be there doing it as well. 30 more lbs and I will be able to do it! On this day I would do it on the Veefalo instead.
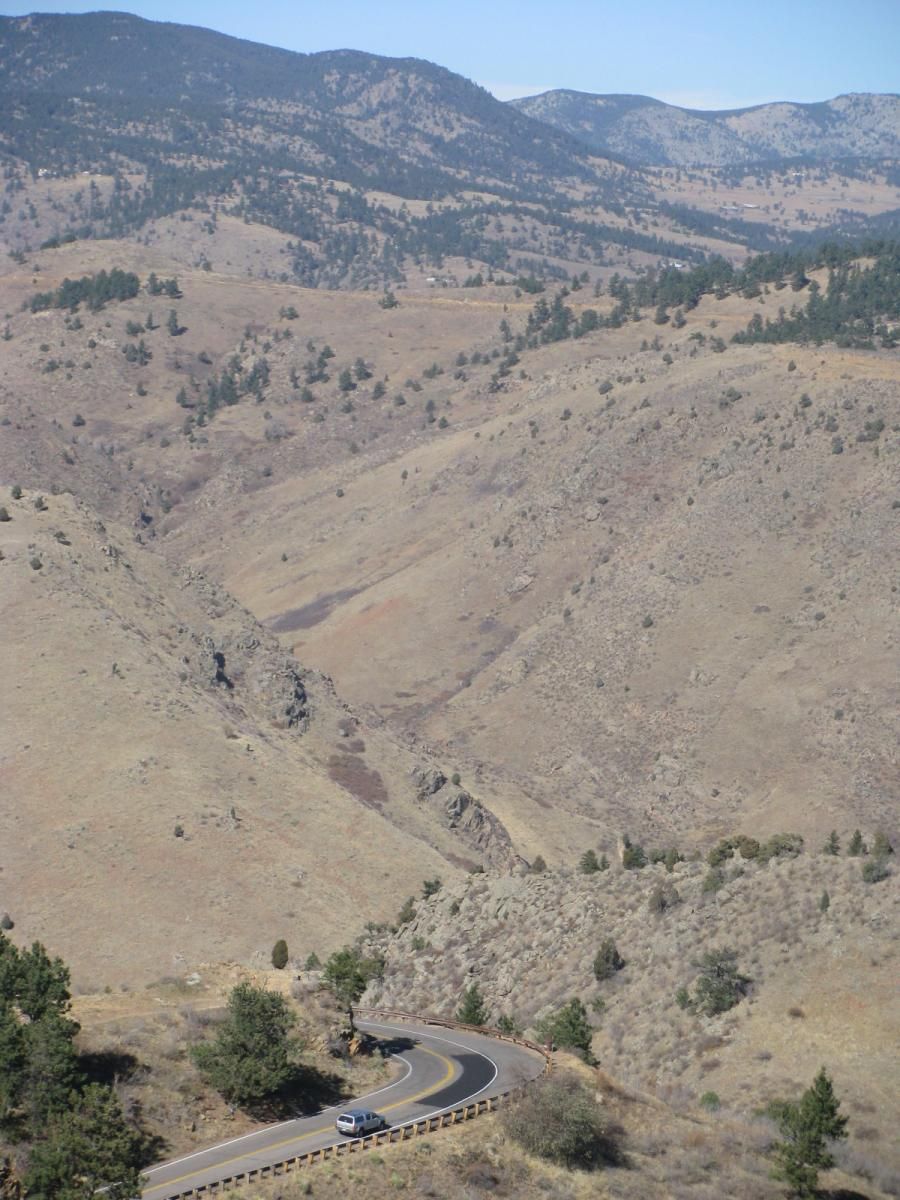
I took a video from the gateway to the top at the Lookout Mountain State Park, getting past riders, the guy in the green jacket actually pretty much astounded me with how far he had gotten in the short time it took me to set up my camera, some 3 miles at least and up to the gateway from the turn off at hwy 6! Amazing I thought. I took the first two turns slow then got more comfortable as I went up further, till I was doing well, I made some gearing mistakes and took the tight 15mph marked hairpins in the wrong gear so I lugged it a bit on one or two. Still enjoyed it though and then got off at the top and hiked over a rock outcropping for an overview of the road for the pictures below.
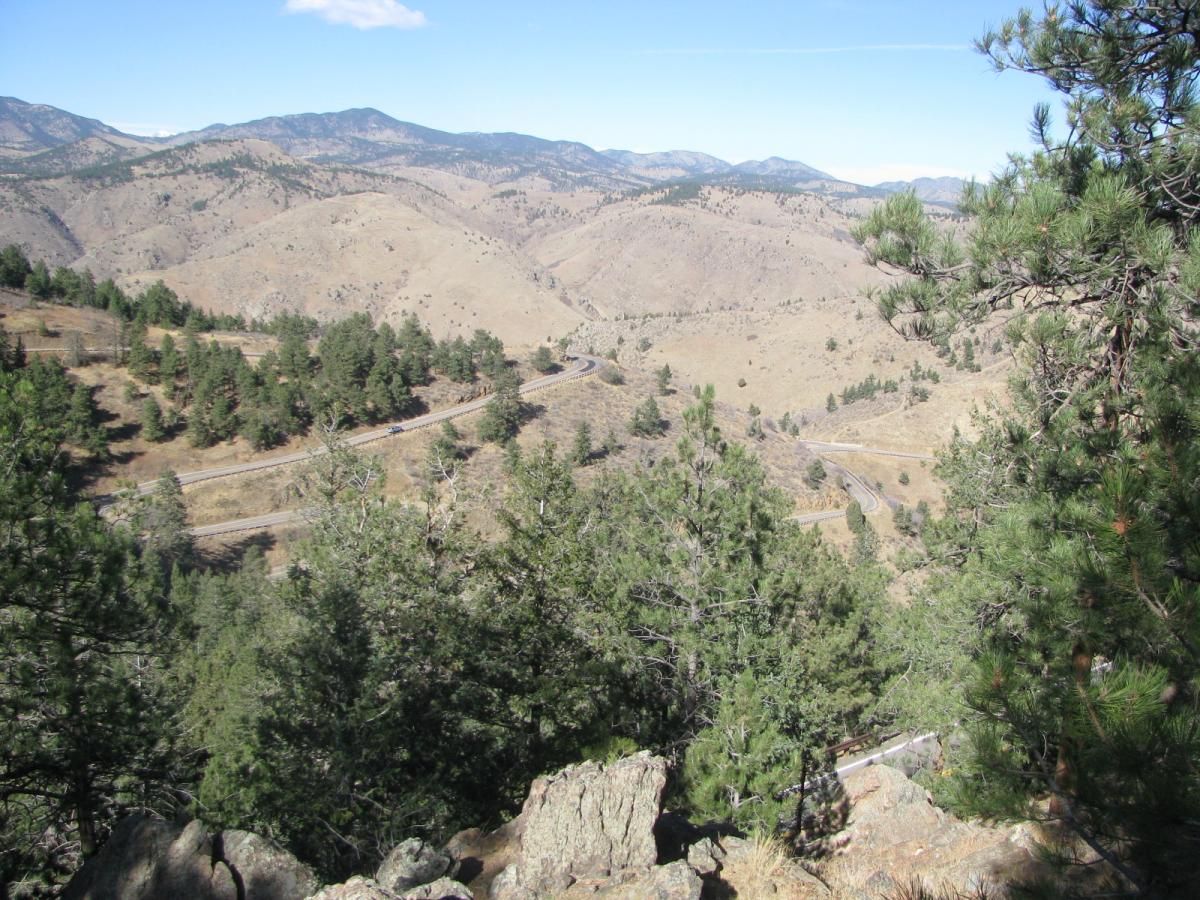
Lookout Mountain - Golden Colorado
Zoomed in
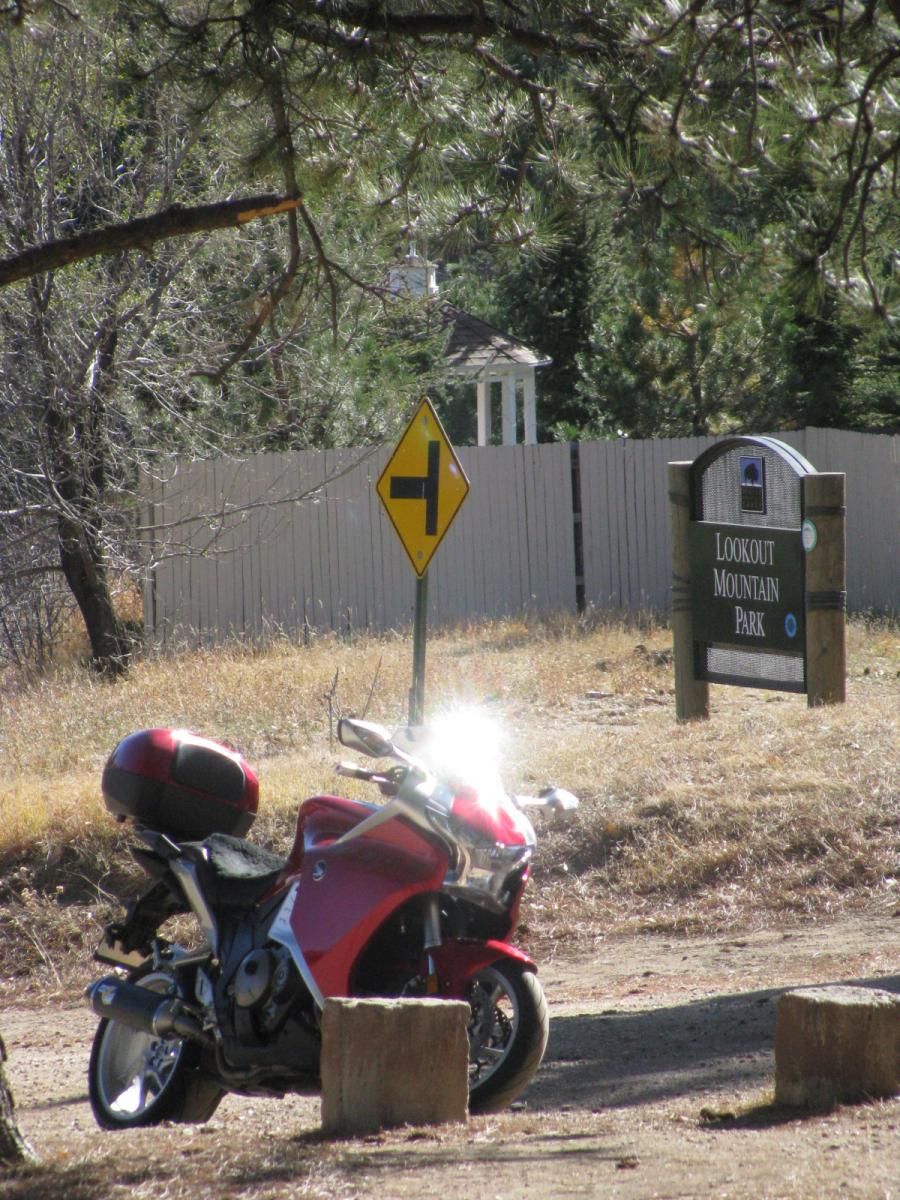
Lookout Mountain Park top of the mountain
From there I headed up interstate 70 to Idaho Springs for a beer at the Tommy-knockers brewery, I was the only customer in the joint - slow day for them so they treated me like a king! I got a nice tour of the place sort of impromptu, they made me a nice Pastrami sandwich on rye and with the brown ale it was fantastic. I must say the beer is much better there than in the bottles - its always good at the brewery. I am glad I stopped
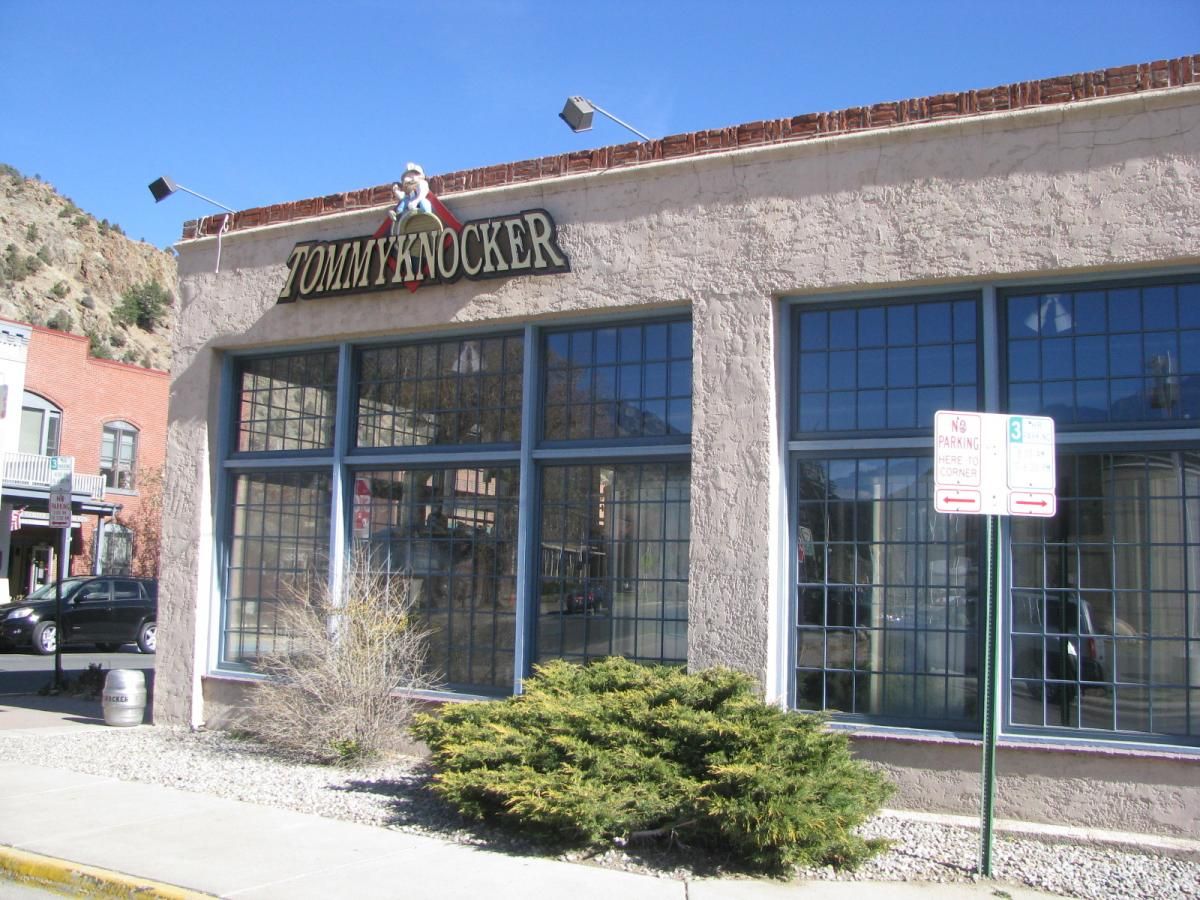
Tommy-knockers Brewpub Idaho Springs
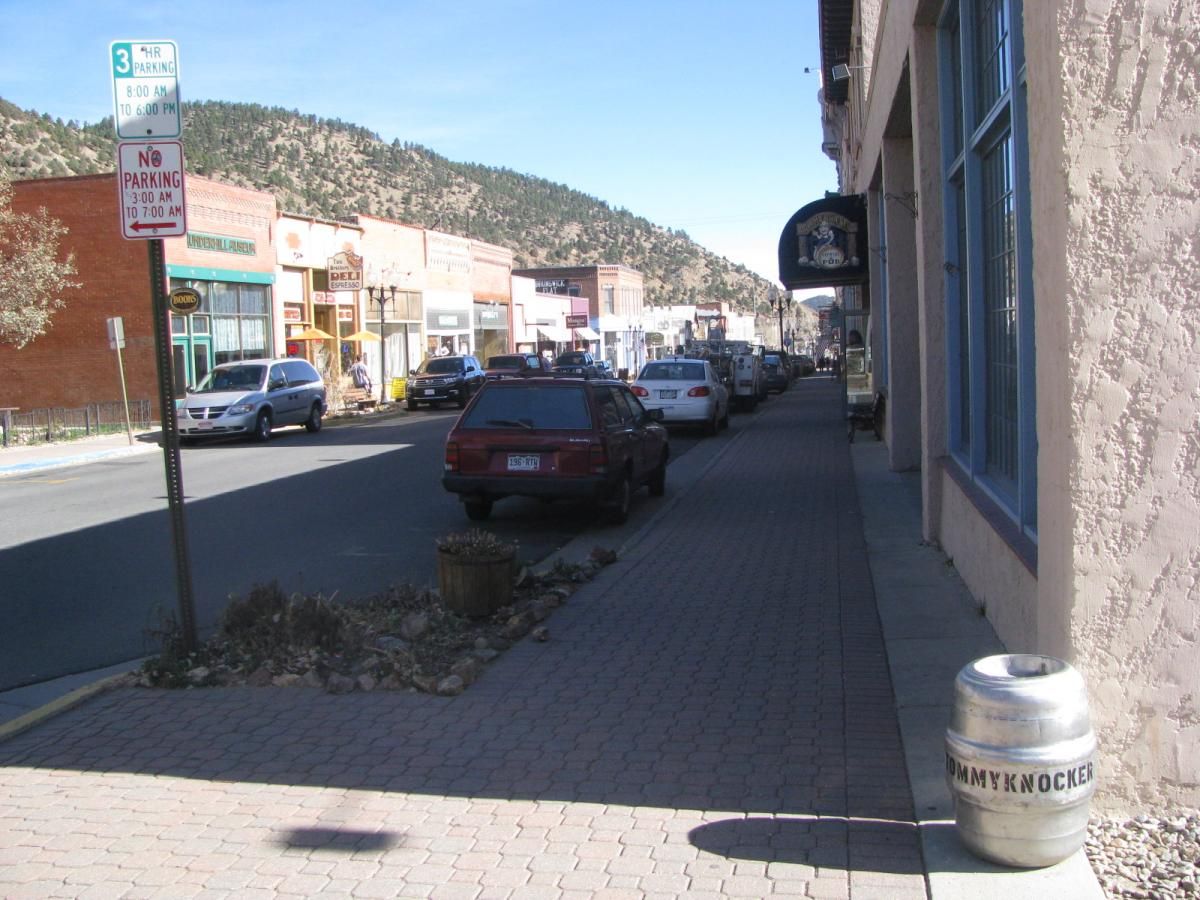
Idaho Springs Colorado
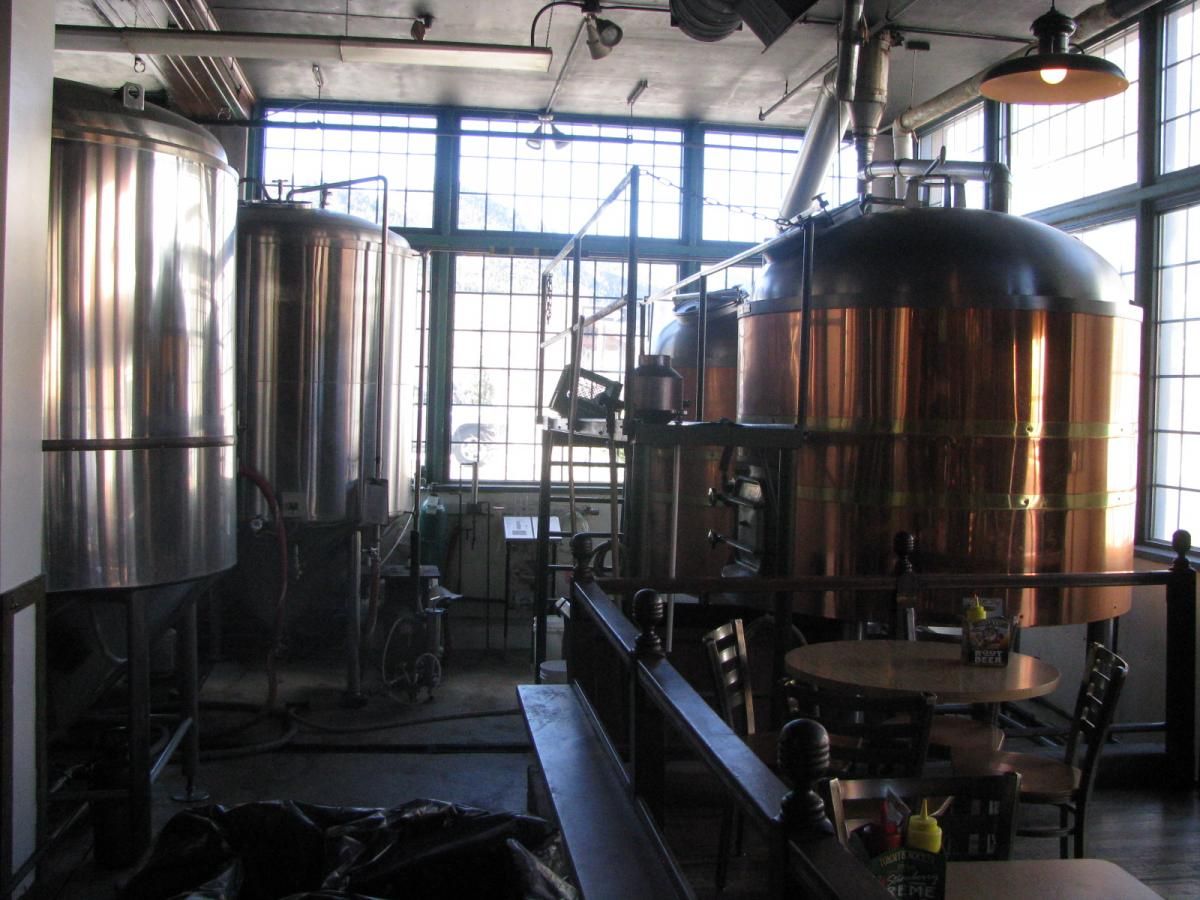
Mashtuns and fermenters
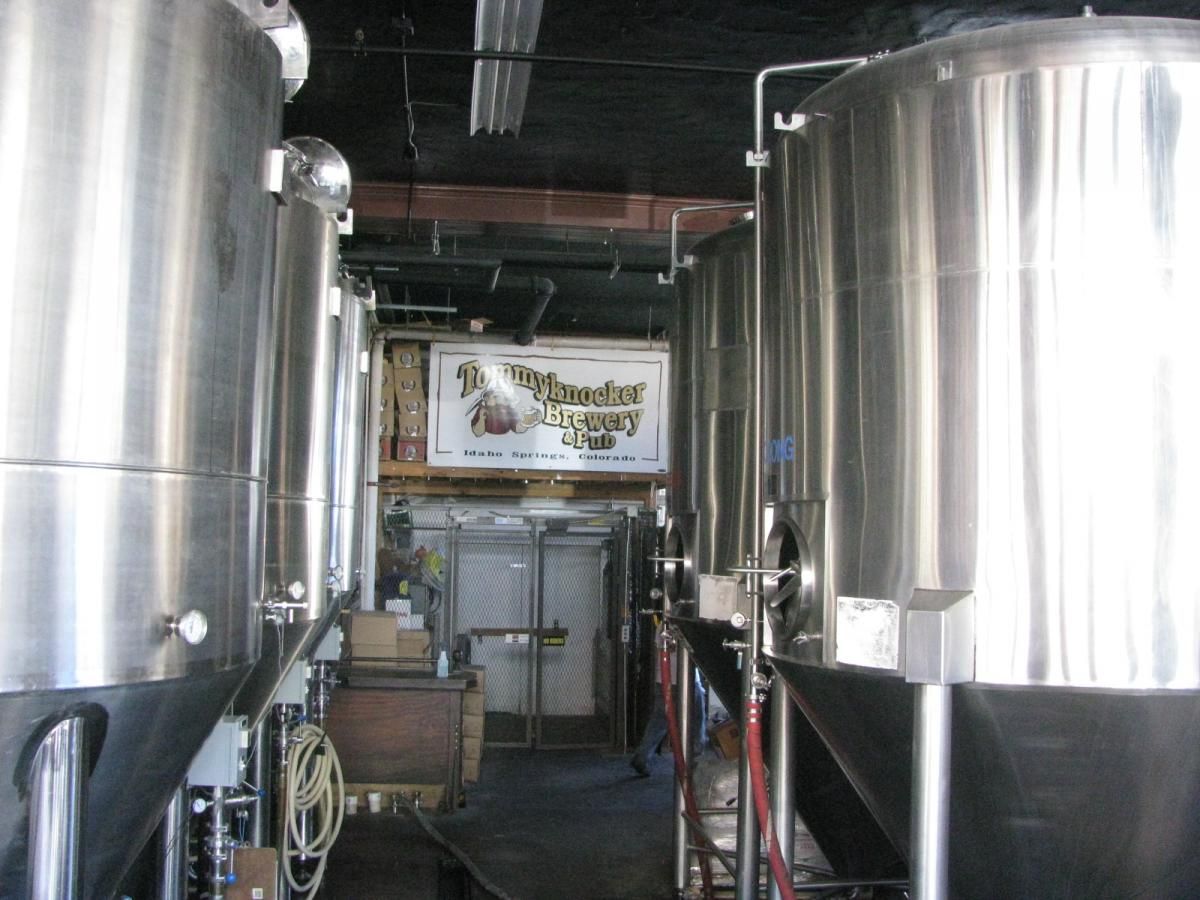
Rows of fermenters
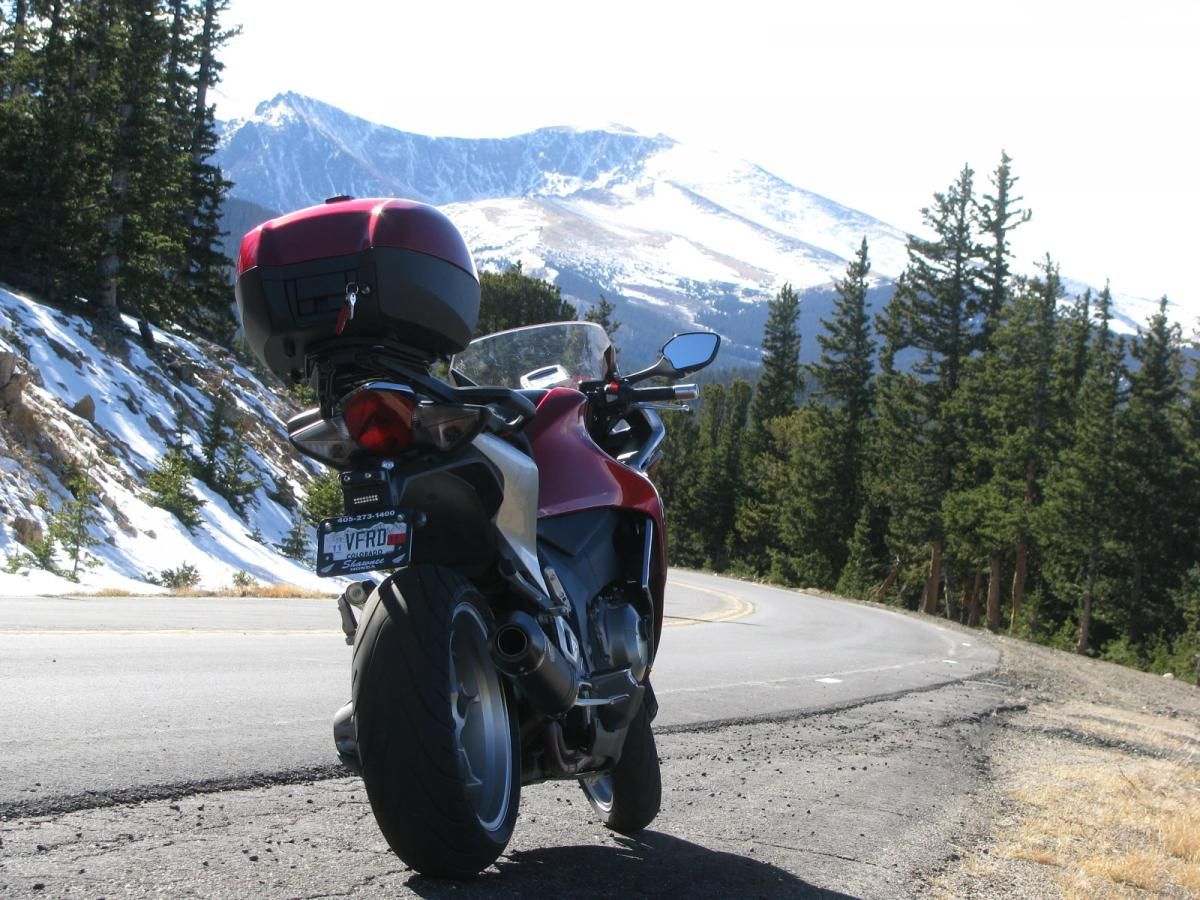
I finished my lunch and since the road to Mount Evans is right there I headed up Squaw pass hoping to get in some nice pictures I wasn't expecting what I found, ICE IN ALL THE SHADY PARTS
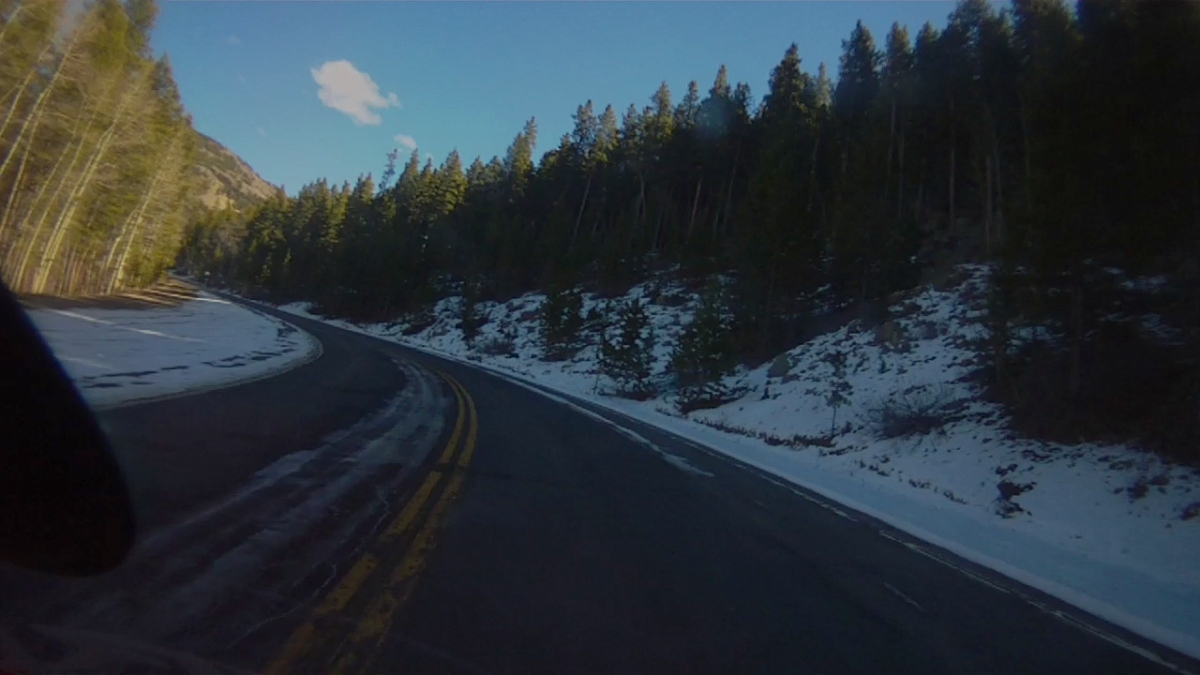
Icy patches on Squaw Pass definitely taking it easy on that road
There were some section where the ice covered the whole road for 300 yards or so I had to roll through it with my legs out to help keep the bike from sliding and falling over, I took it real slow. A Ford pickup was right behind me so I pulled over to let him pass but the guy was going slower then even I was so I pressed on - in places where I could see I just cut over to the oncoming lane and out of the ice where the sun was shining on the road more, but some places there was not alternative so I just had to go slow, good thing it wasn't slick but rather they tossed some gravel over the worst parts so I had some traction!
I did stop for pictures in all the best spots
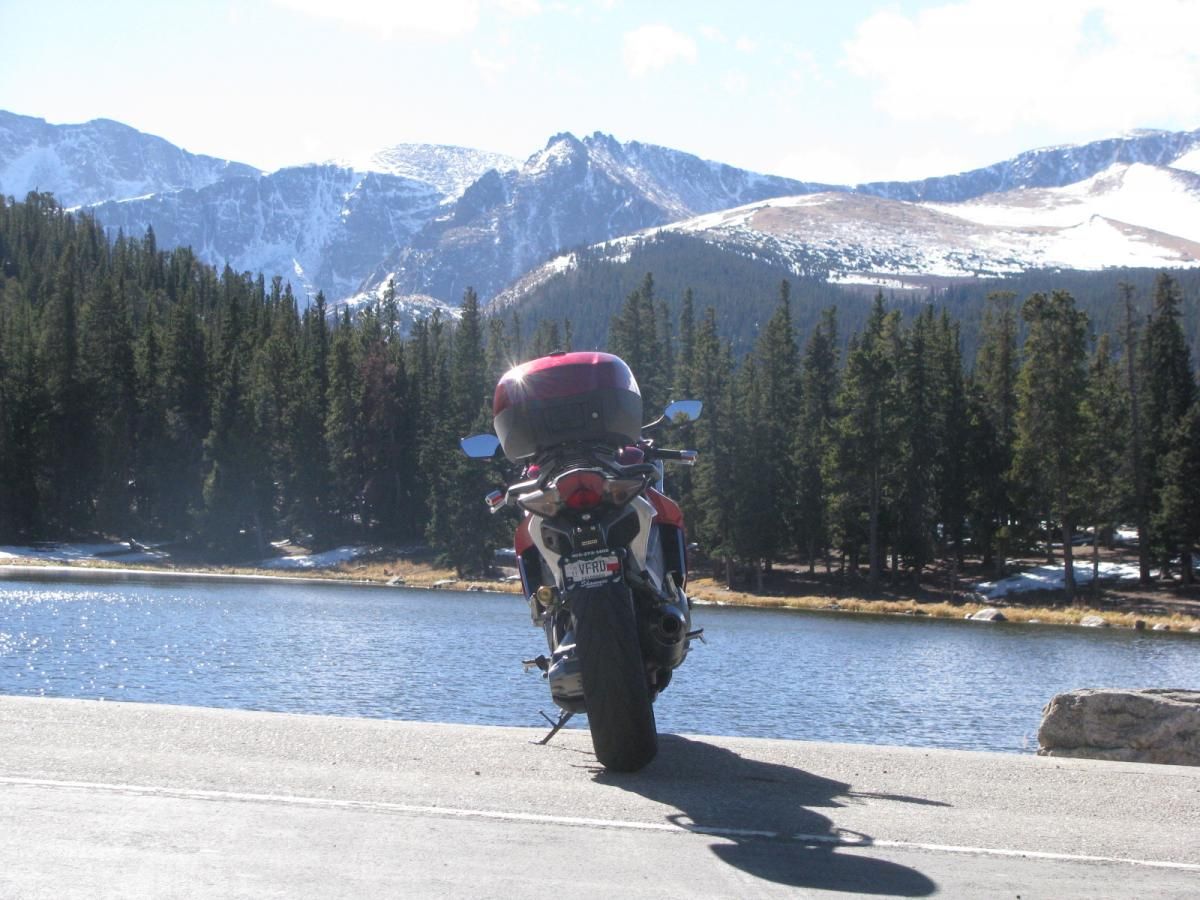
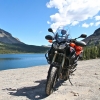
Echo Lake at Mount Evans showing off my new plate
Elephant Butte Park and Denver

Close up
Veefalo on Squaw Pass

Juniper Pass
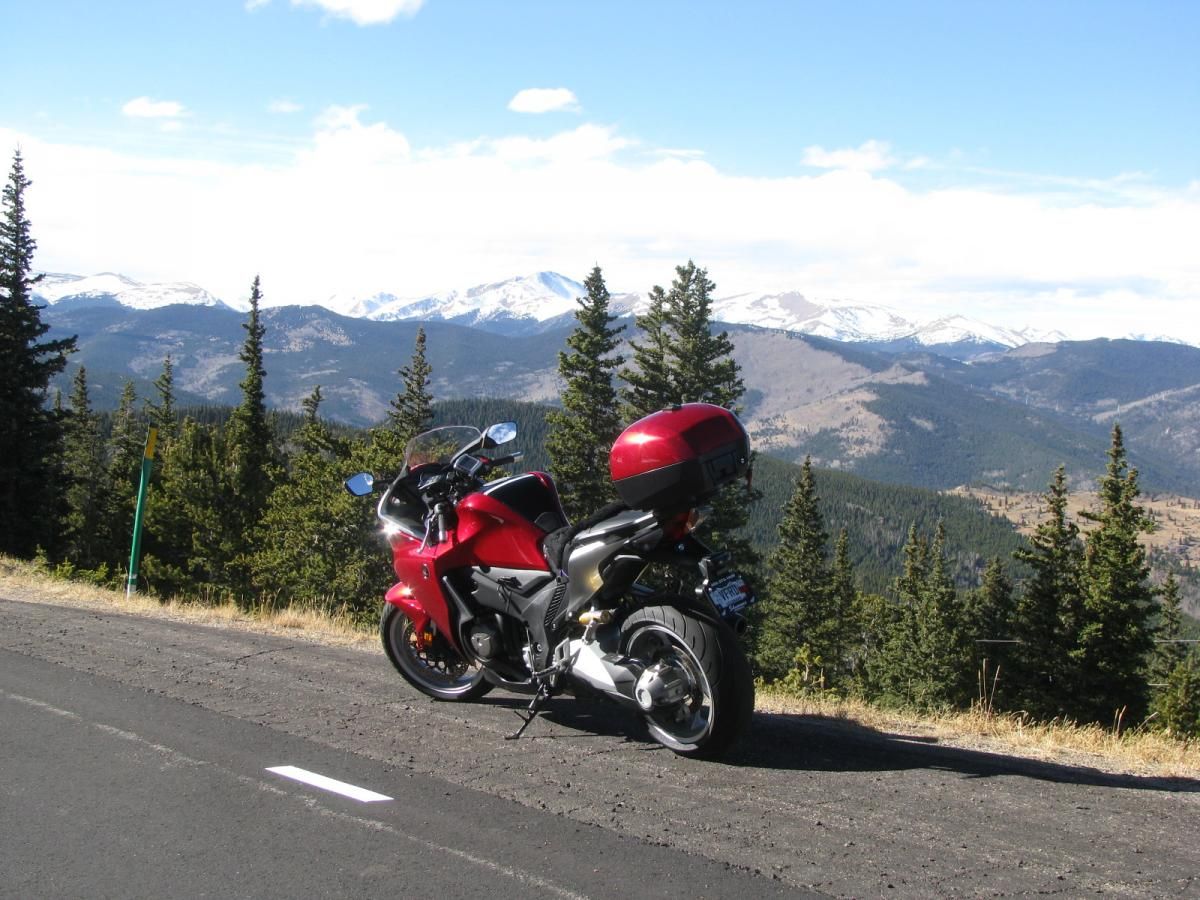
Juniper Pass
Mount Evans
My route A is home B is Tommy-knockers
- 122
-

- 8
entries - 77
comments - 36744
views
Recent Entries
 Latest Entry
I Am Back !

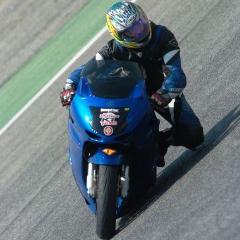
Not that it matters and not that I expect anyone had noticed, but to those who sent me "where are you?" I would like to say I am back. Not only that I am officially returning to VFRD after nearly 2 months break but I have also ridden my Hawk last weekend and had FUN! Let me restate that; I had major fun riding! Something I have almost given up on.
Most of you have been riding your whole adult lives and riding is not only a hobby to you, it is part of you. But I started riding three years ago and even though I have encounter some setbacks, till this spring I loved riding with whole my heart. However, I have always considered riding as my hobby. As a hobby which suppose to make my life better, more fun and more rich. Life is too short to do something which we don't fully love.
My love of riding received a first major scar this spring: I lost a friend on the racetrack. He was a total stranger who offered me his help after I lowsided at CMP track last year. I still remember hearing his "Hi, my name is Todd, do you need help?" while I was duct-taping my roadrash from ripped jacket. He helped me straighten up the shifter and we kept in touch. The next time we saw each other was the day he died.
With 9 months delay, I can say that Todd's death shook me more than I have realized. It rooted fear in me which was fueled by seeing and hearing about others getting hurt over and over again. If I was to summarize this year - it would be one big accident report. I became sensitive to every broken bone, every roadrash, every lowside. And even though I did 10 track days this year, I became slower and slower and slower. Suddenly, I have acquired this 'grandma' riding style on the road, frozen with fear that behind every corner there is car standing in my lane, or major sand trap or deer staring at me ... I was crippled with fear not only for me about also for my fellow rider.
So, at the end of this year, I rode more and more by myself. I could not bear the feelings of responsibility for others on the road and my lines were crippled by my own fears. It all culminated this fall at WDGAH. In a freaky accident Love2rideh82crash was taken down by a truck crossing into our lane. I was done. I finished the weekend, locked the VFR into a garage and took a break.
Until the last weekend, I pretended that motorcycles do not exists. As a last instance after 2 months break from riding, I decided to go to CMP track to see if I can still have fun. I also felt like I should go for the memory of Todd. I went and I had fun! I had much more fun than I expected and the most fun on track I can remember. Suddenly the whole track connected into an uninterupted line of turns and I felt one with the bike riding around! I was giggling like a little girl in my helmet and keep on giggling ever since

Granted I was not the fastest one and through out the weekend, I have never exceeded about 60% of my riding abilities, but I had no "oh-shit" nor 'blond' moments. I could have maybe go faster, I could have brake later for the turns and I could have lean further, but I am no Rossi nor Stoner. I decided to ride for fun and I had amazing blast riding well within my comfort zone.
I was proud of myself when, after bandaging Ricks arm, I was able to distance myself and go back to riding without the year-long fear. I did feel bad for him but the feelings were not crippling my lines nor my mind. And when a total stranger came to me and said "Hi, my name is Todd", my heart stopped for a minute though but I suddenly knew that my life went a full circle. I probably will never win MotoGP :idea3: , but I am back! :wheel:
- 8
-
-
VFRD Mission Statement
For owners of the Honda Interceptor and related Honda V4 motorcycles, for the purpose of mutual help concerning safe riding, maintenance, and performance of their motorcycles.
Rules of the ride - No one goes to jail, and No one goes to the Hospital.
Contributions - VFRD is a member supported website with no commercial advertising.

-
Forum Statistics
-
Total Topics26.7k
-
Total Posts364.4k
-
-
Who's Online (See full list)
-
Member Statistics
-
Upcoming Events
-
Latest Classifieds
-
-
Top Downloads
-
-
Popular Contributors
-
1

-
2
-
3
-
4
-
5
-
-
Blog Statistics
-
Total Blogs116
-
Total Entries345
-
-
Gallery Statistics
-
Blog Entries
-
-
Blog Comments
-

-

By vfrpilot28 · Posted
I enjoyed reading this and seeing your story. For the love of motorcycling! -
-
By interceptor69 · Posted
Oops. I do believe I know how to post YT videos or they wouldn't be on YT. However I may have screwed up copying the link to the playlist. Thanks for the helpful comment. -
 I think that you might not know how to post videos. You're in your YT studio in these links. You need the link to the actual video.
-
-
Most Contributions
-


.thumb.jpg.6b9488d9849fb7037caa4c17228db2ab.jpg)