
-
Featured Gallery Photo
 Tim A carving through Smuggler's Notch

VT-108 at Smuggler's Notch. Unbelievable curves!
Credit
Photo by Kirk A.Copyright
© 2018 Kirk A.
All Activity
- Today
-
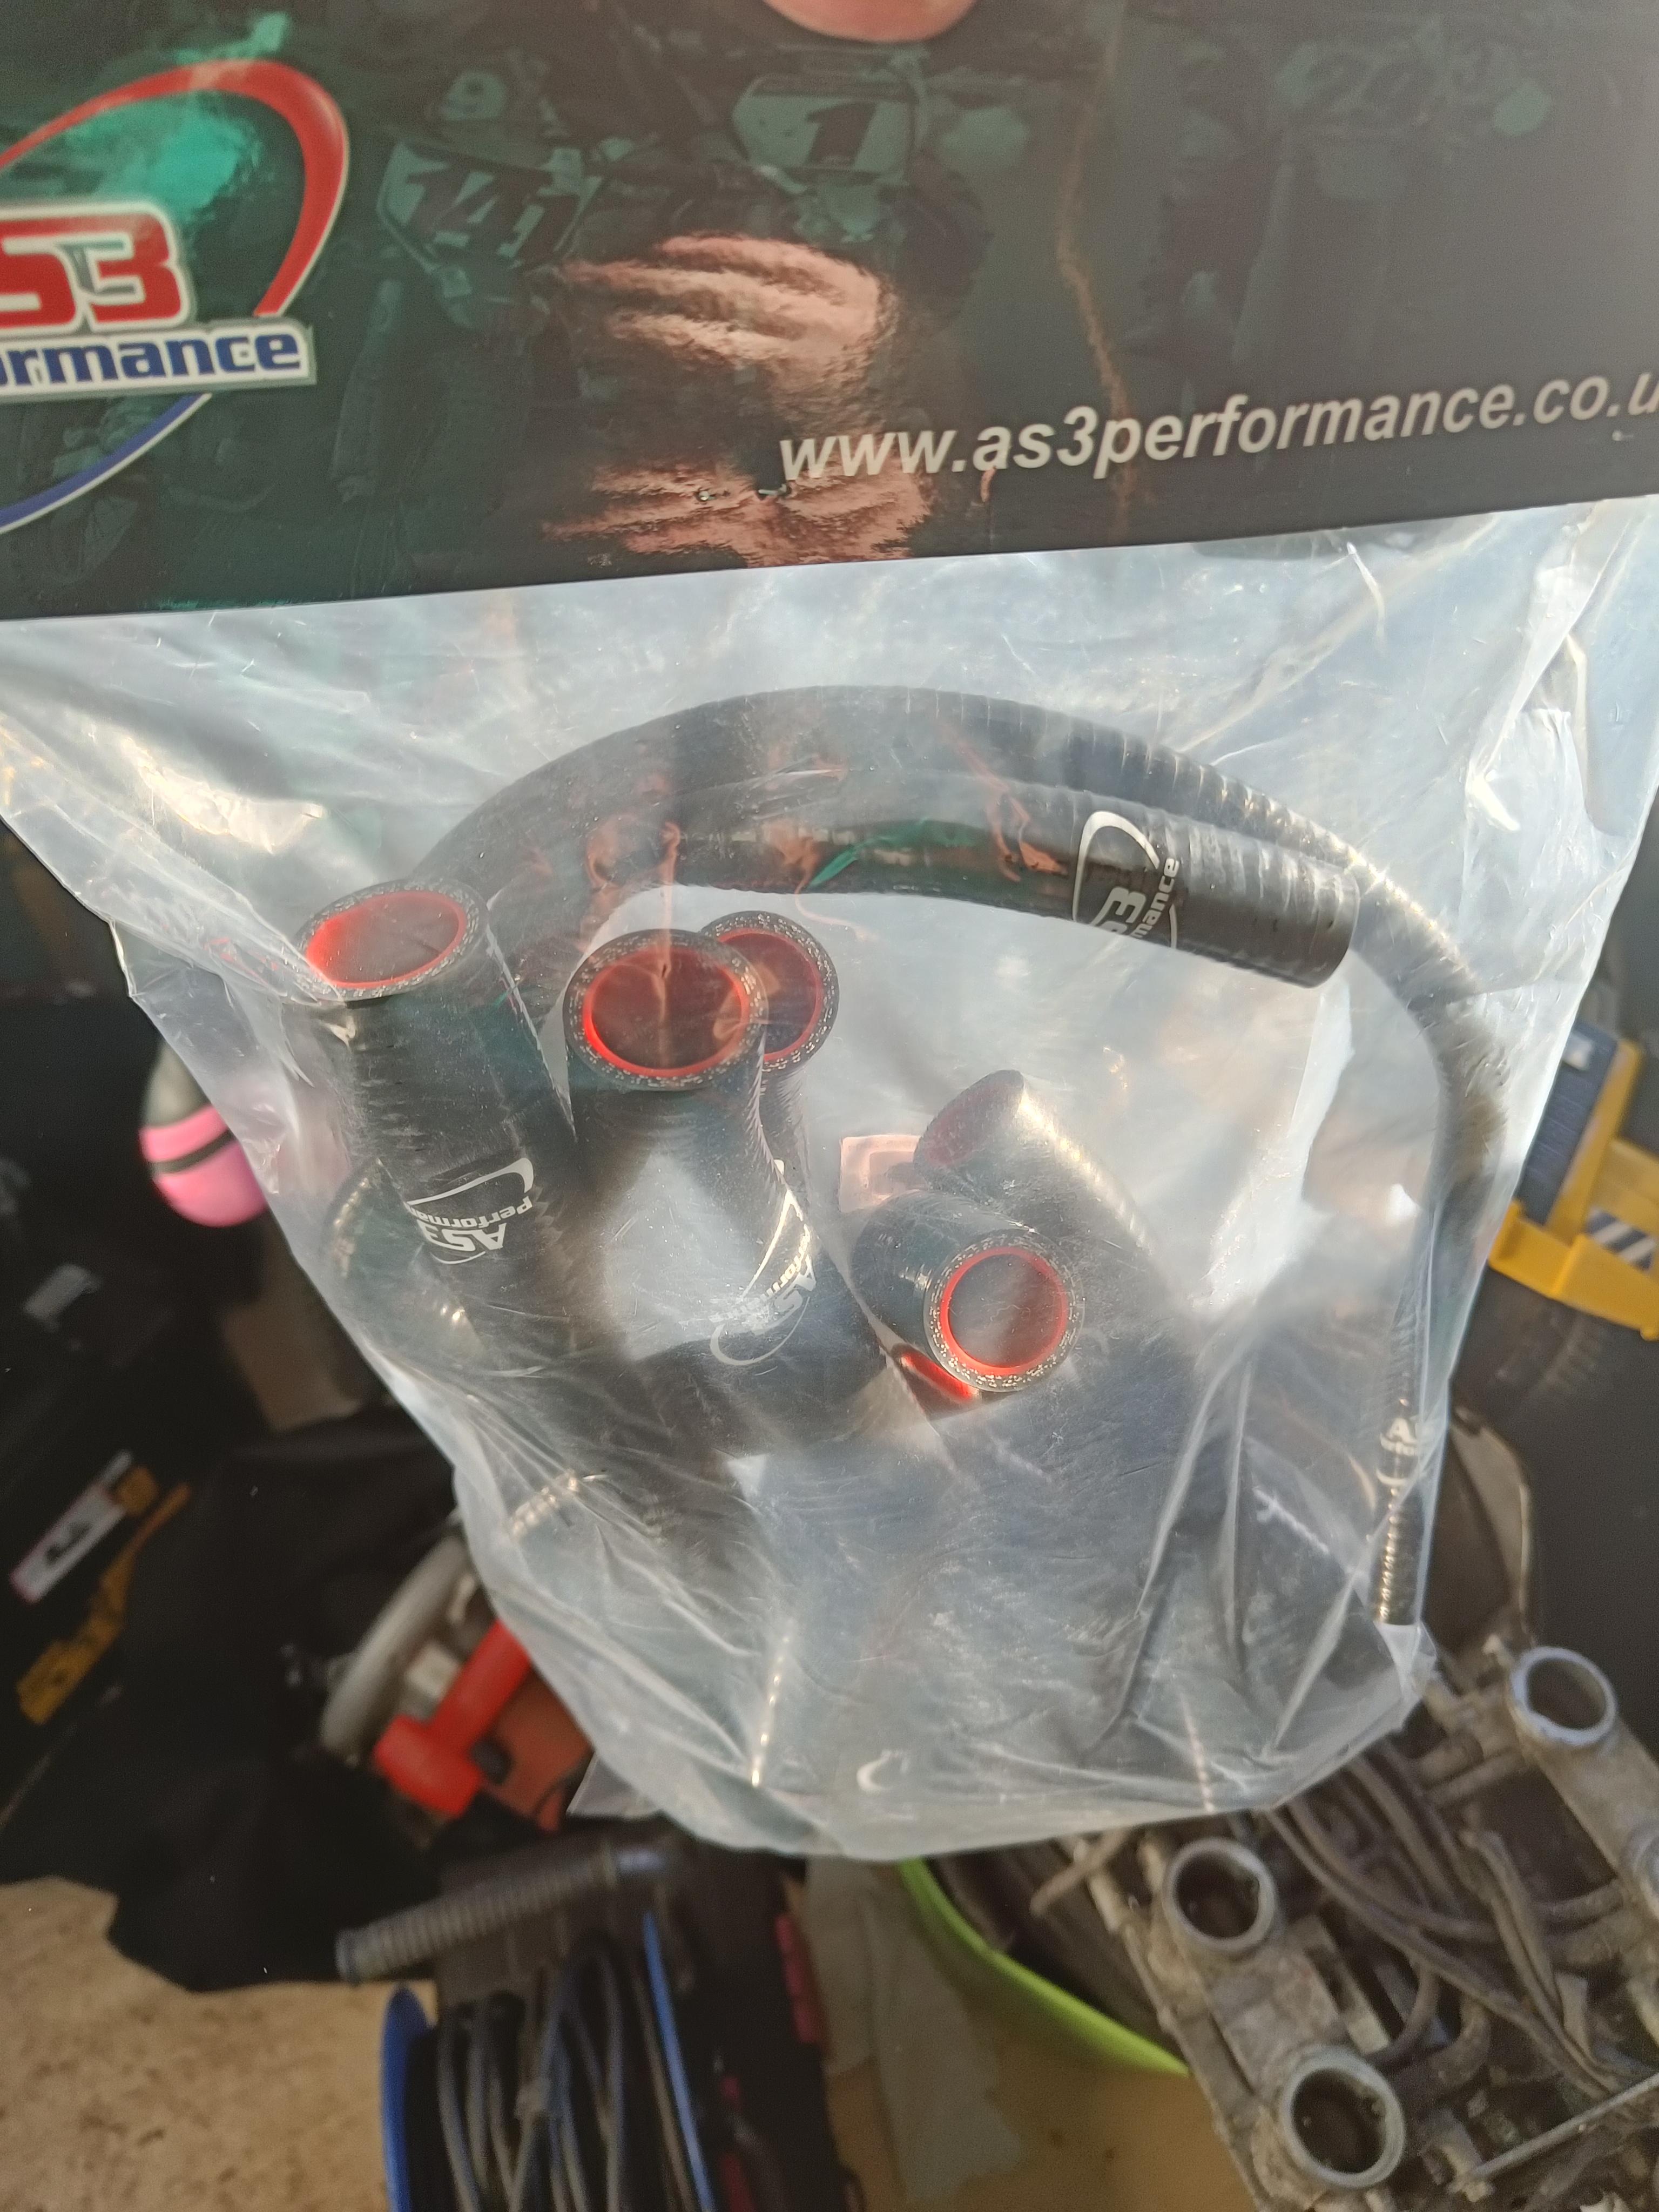
Progress has slowed a bit. I had ordered a bunch of parts which have now arrived - gaskets/seals, new hoses and clips and a few other assorted odds and ends. I think I have everything I need now to start the rebuild. The only progress I've made was the throttle body intake boots - They were filthy so I've cleaned them up and put them soaking with some silicon spray to see if they will soften a bit. They aren't in terrible condition so I'm hoping they can be reused. I have some building work going on this week so I'm unlikely to get near it again for a week or two

-
-
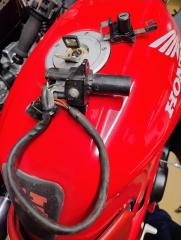
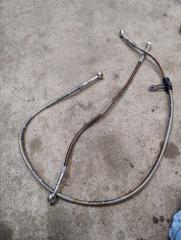
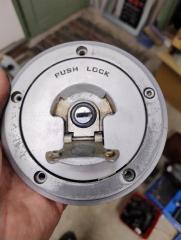
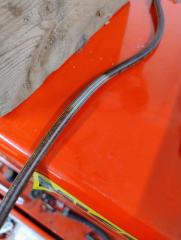
Well as I was not so good health wise I ordered a few bites to the red RC24 from a nearby breaker. This morning I was fit to look thro the bit's Some where nice but there where a few disappointments The good was a look kit whit one orginal key. So no more flat screwdriver in pocket to gas station, as old fuel cap had a broken key in it as was a but worn looking like you see in next picture Other nice bit was a rear brake pedal as current is cracked Then there was a brained clutch as rear brake line The rear brake line looked just dirty but actually it's the brained steel that has started to corrode So nothing you can do about.... Bummer Then there was a central stand whit spring Well it looked ok even missing the tube it attach to frame whit.... I did a note of that the attachment tube was missing, as I have ordered quit a bit of parts from that breaker during the years and been ok parts so far, he responded he will look if he finds it, well eventually he will not, as closer inspection tell her has grinded the central stand off as the tube is still stuck inside Bummer Then he had a front fairing stay that looked straight even it had a crack near where one of the mounting bolts for frame, but now testing it it's about 3mm twist in the front part And the faster to frame has several cracks repair by welding as other side close to current crack has been cut as reweld to compensate the twist. I have given the seller a email, let's see how he responds
-
-
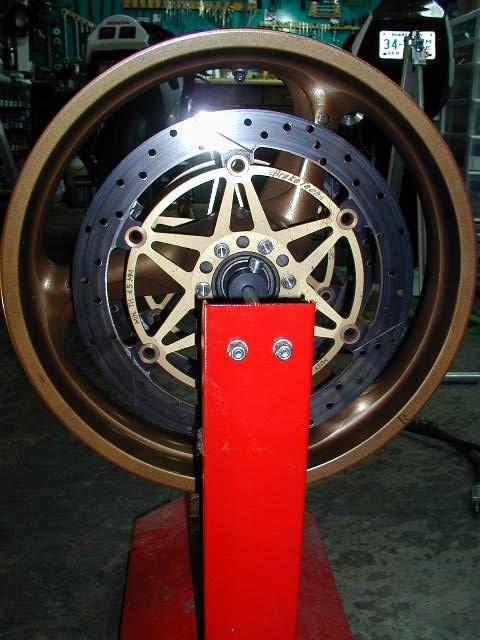
Balance Beads are a silly thing...
- Yesterday
-
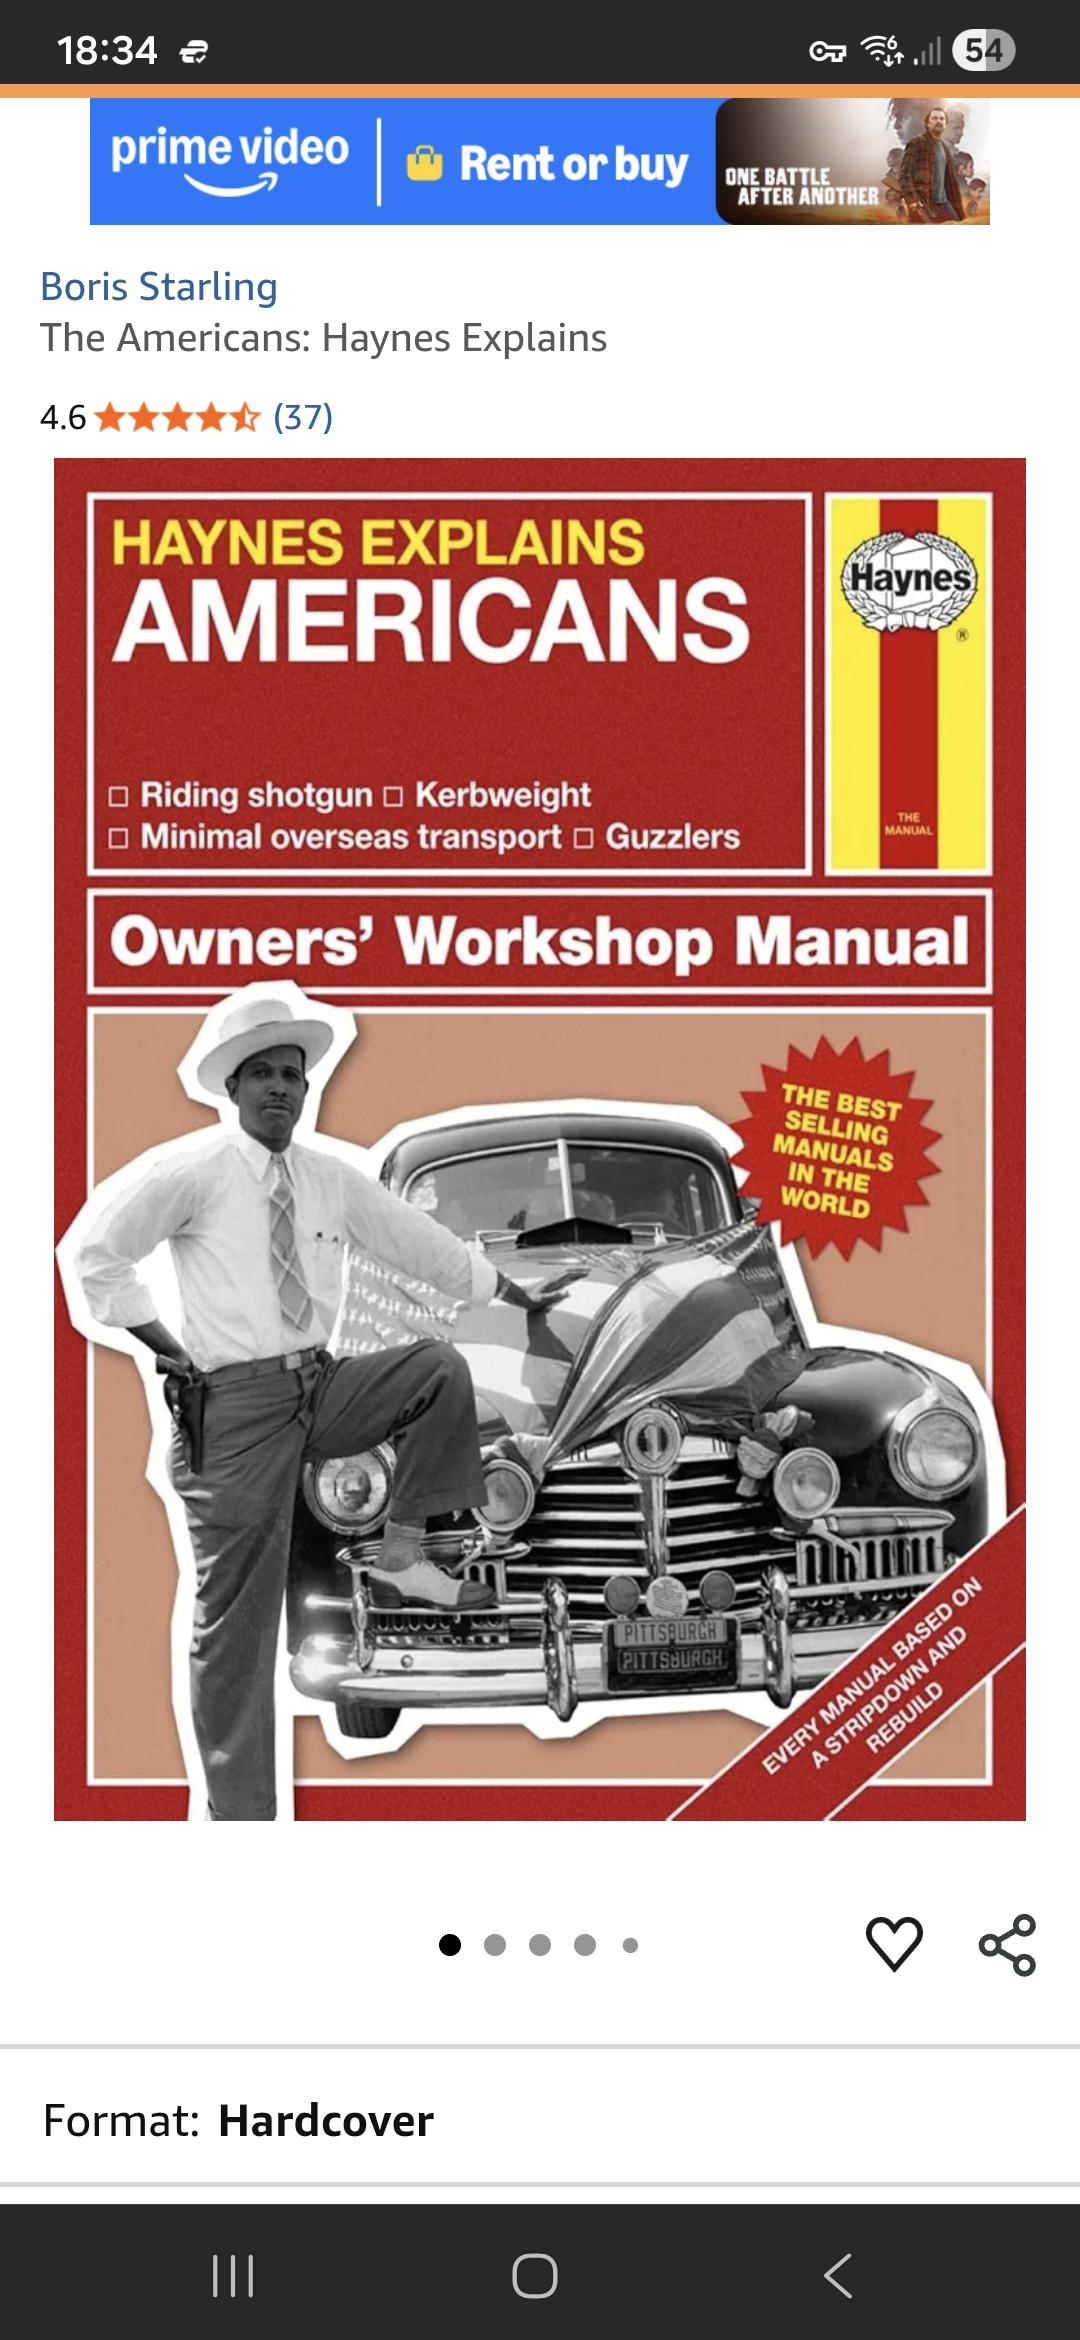
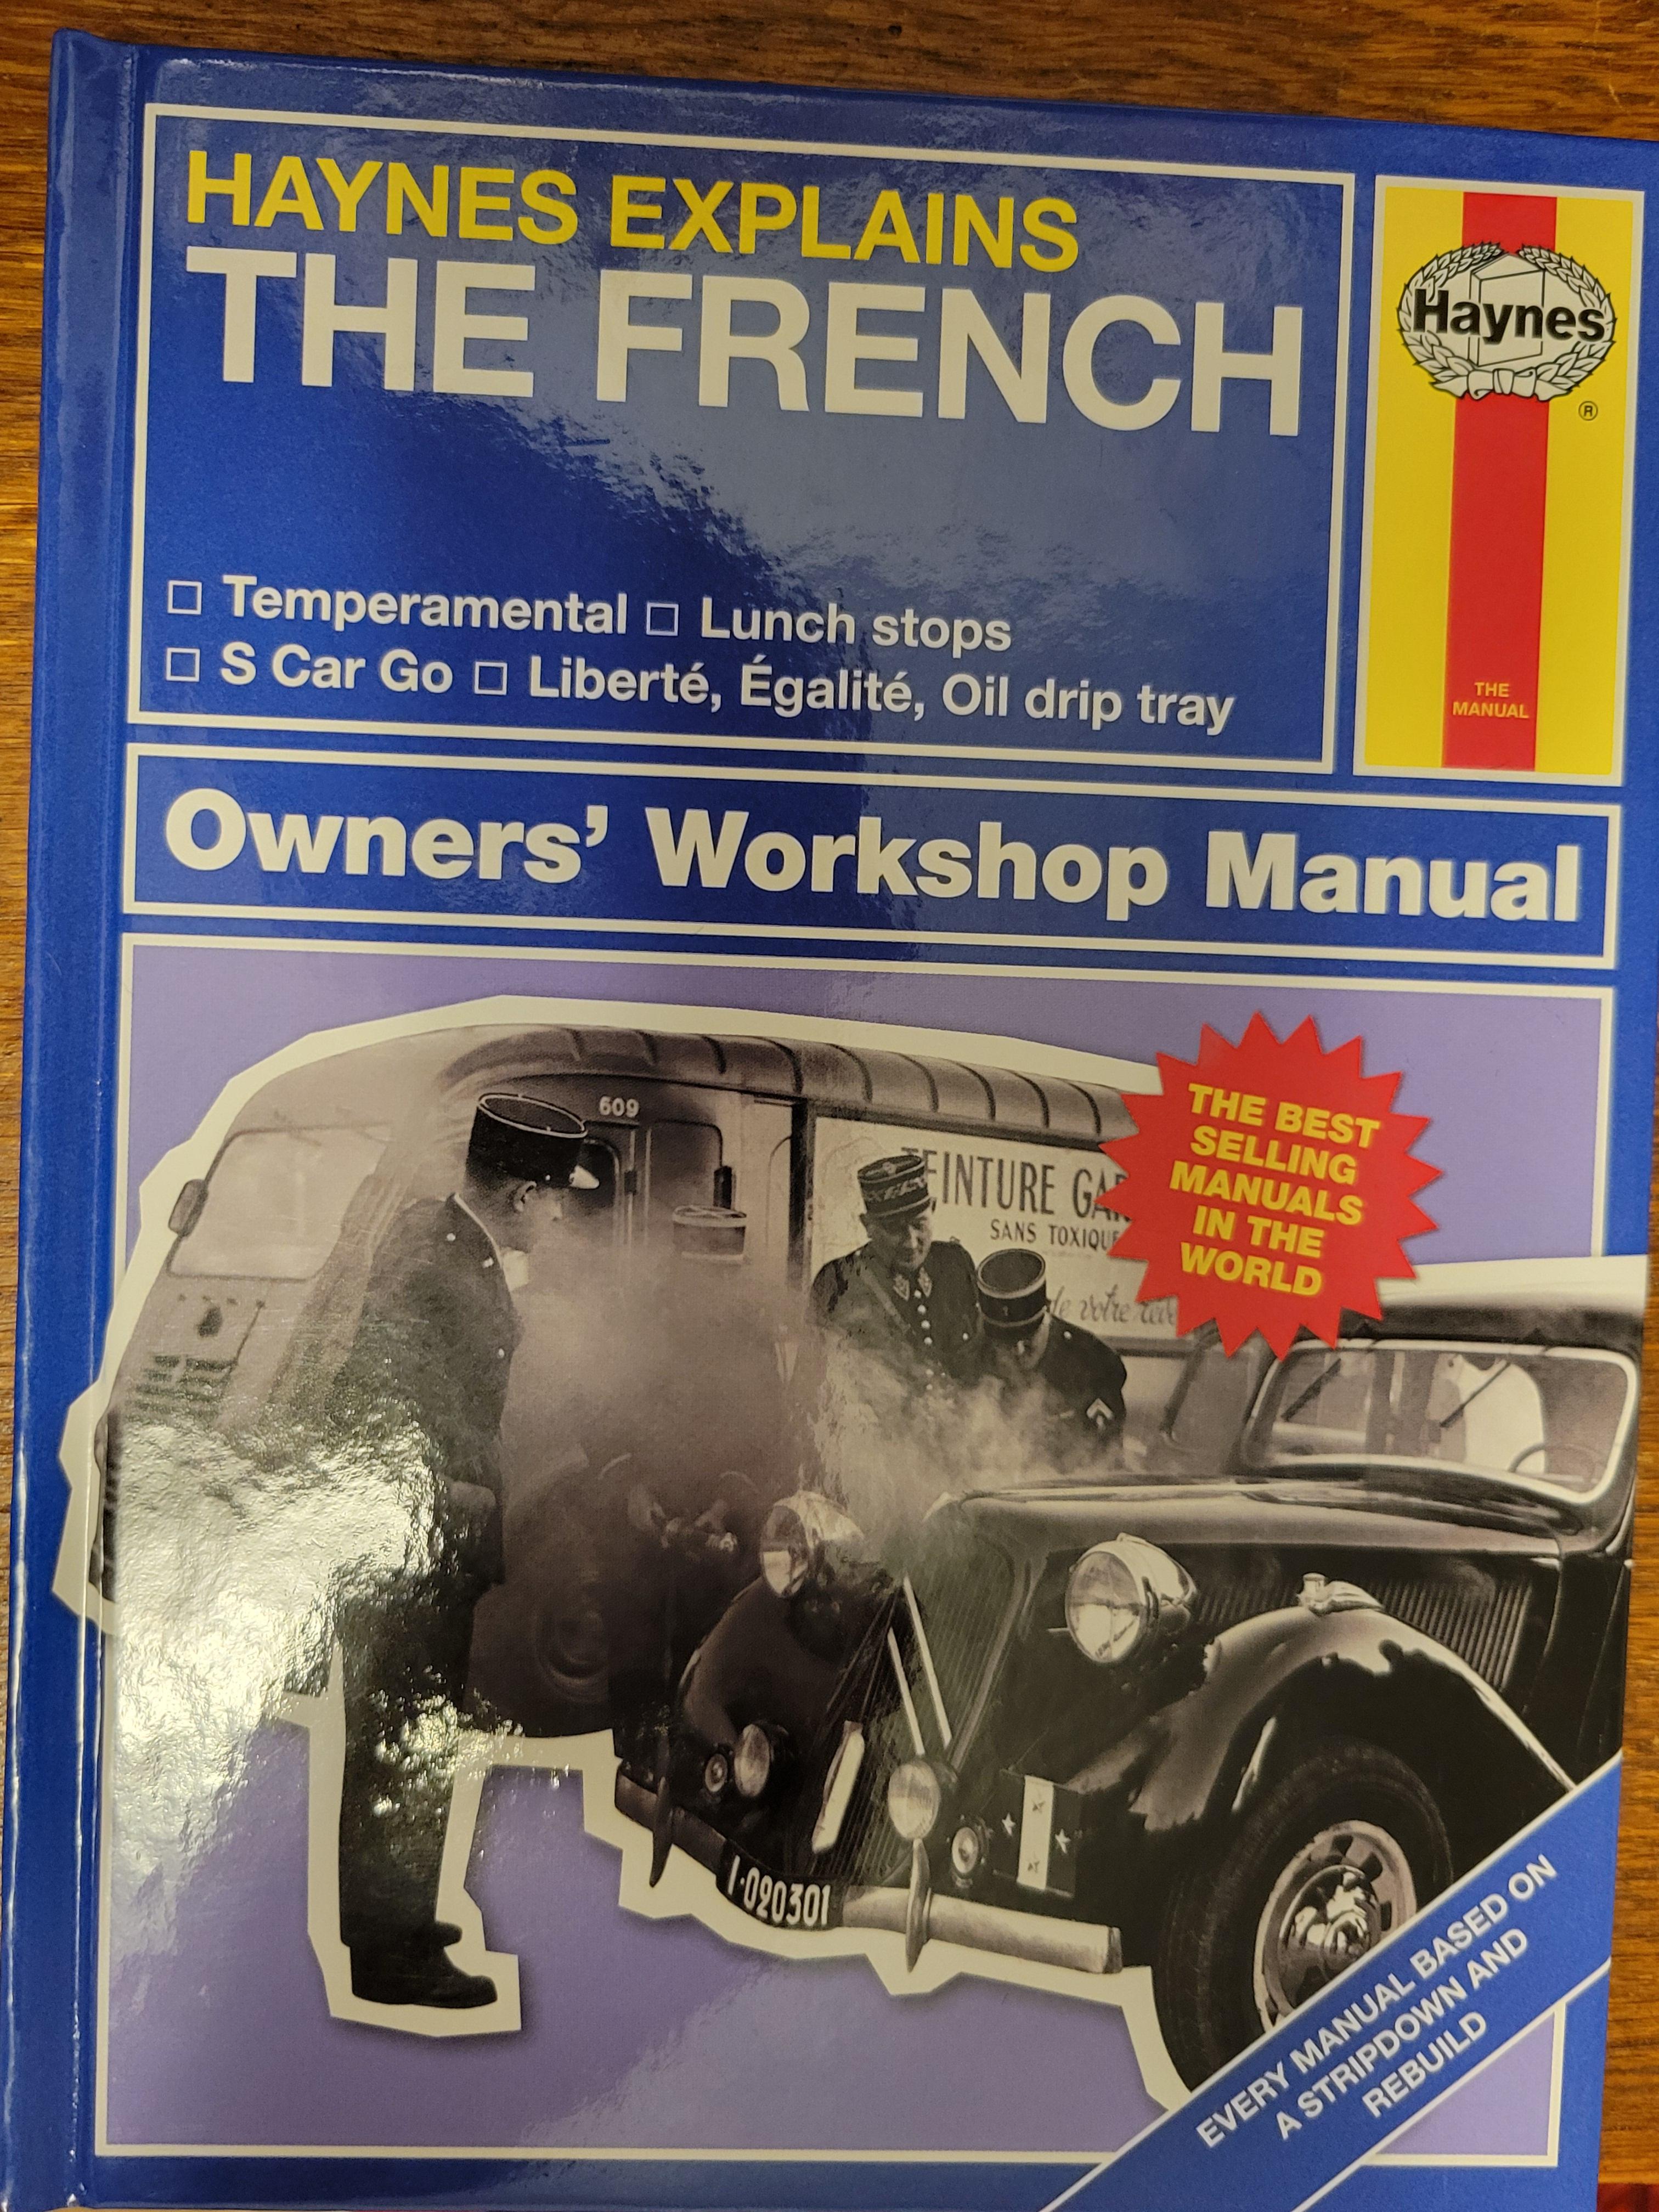
Ordered. 😀 From a UK bookseller.
-

Might need some help putting my '01 back together again.
davenay67 replied to davenay67's topic in Fifth Generation VFR's
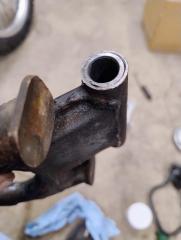
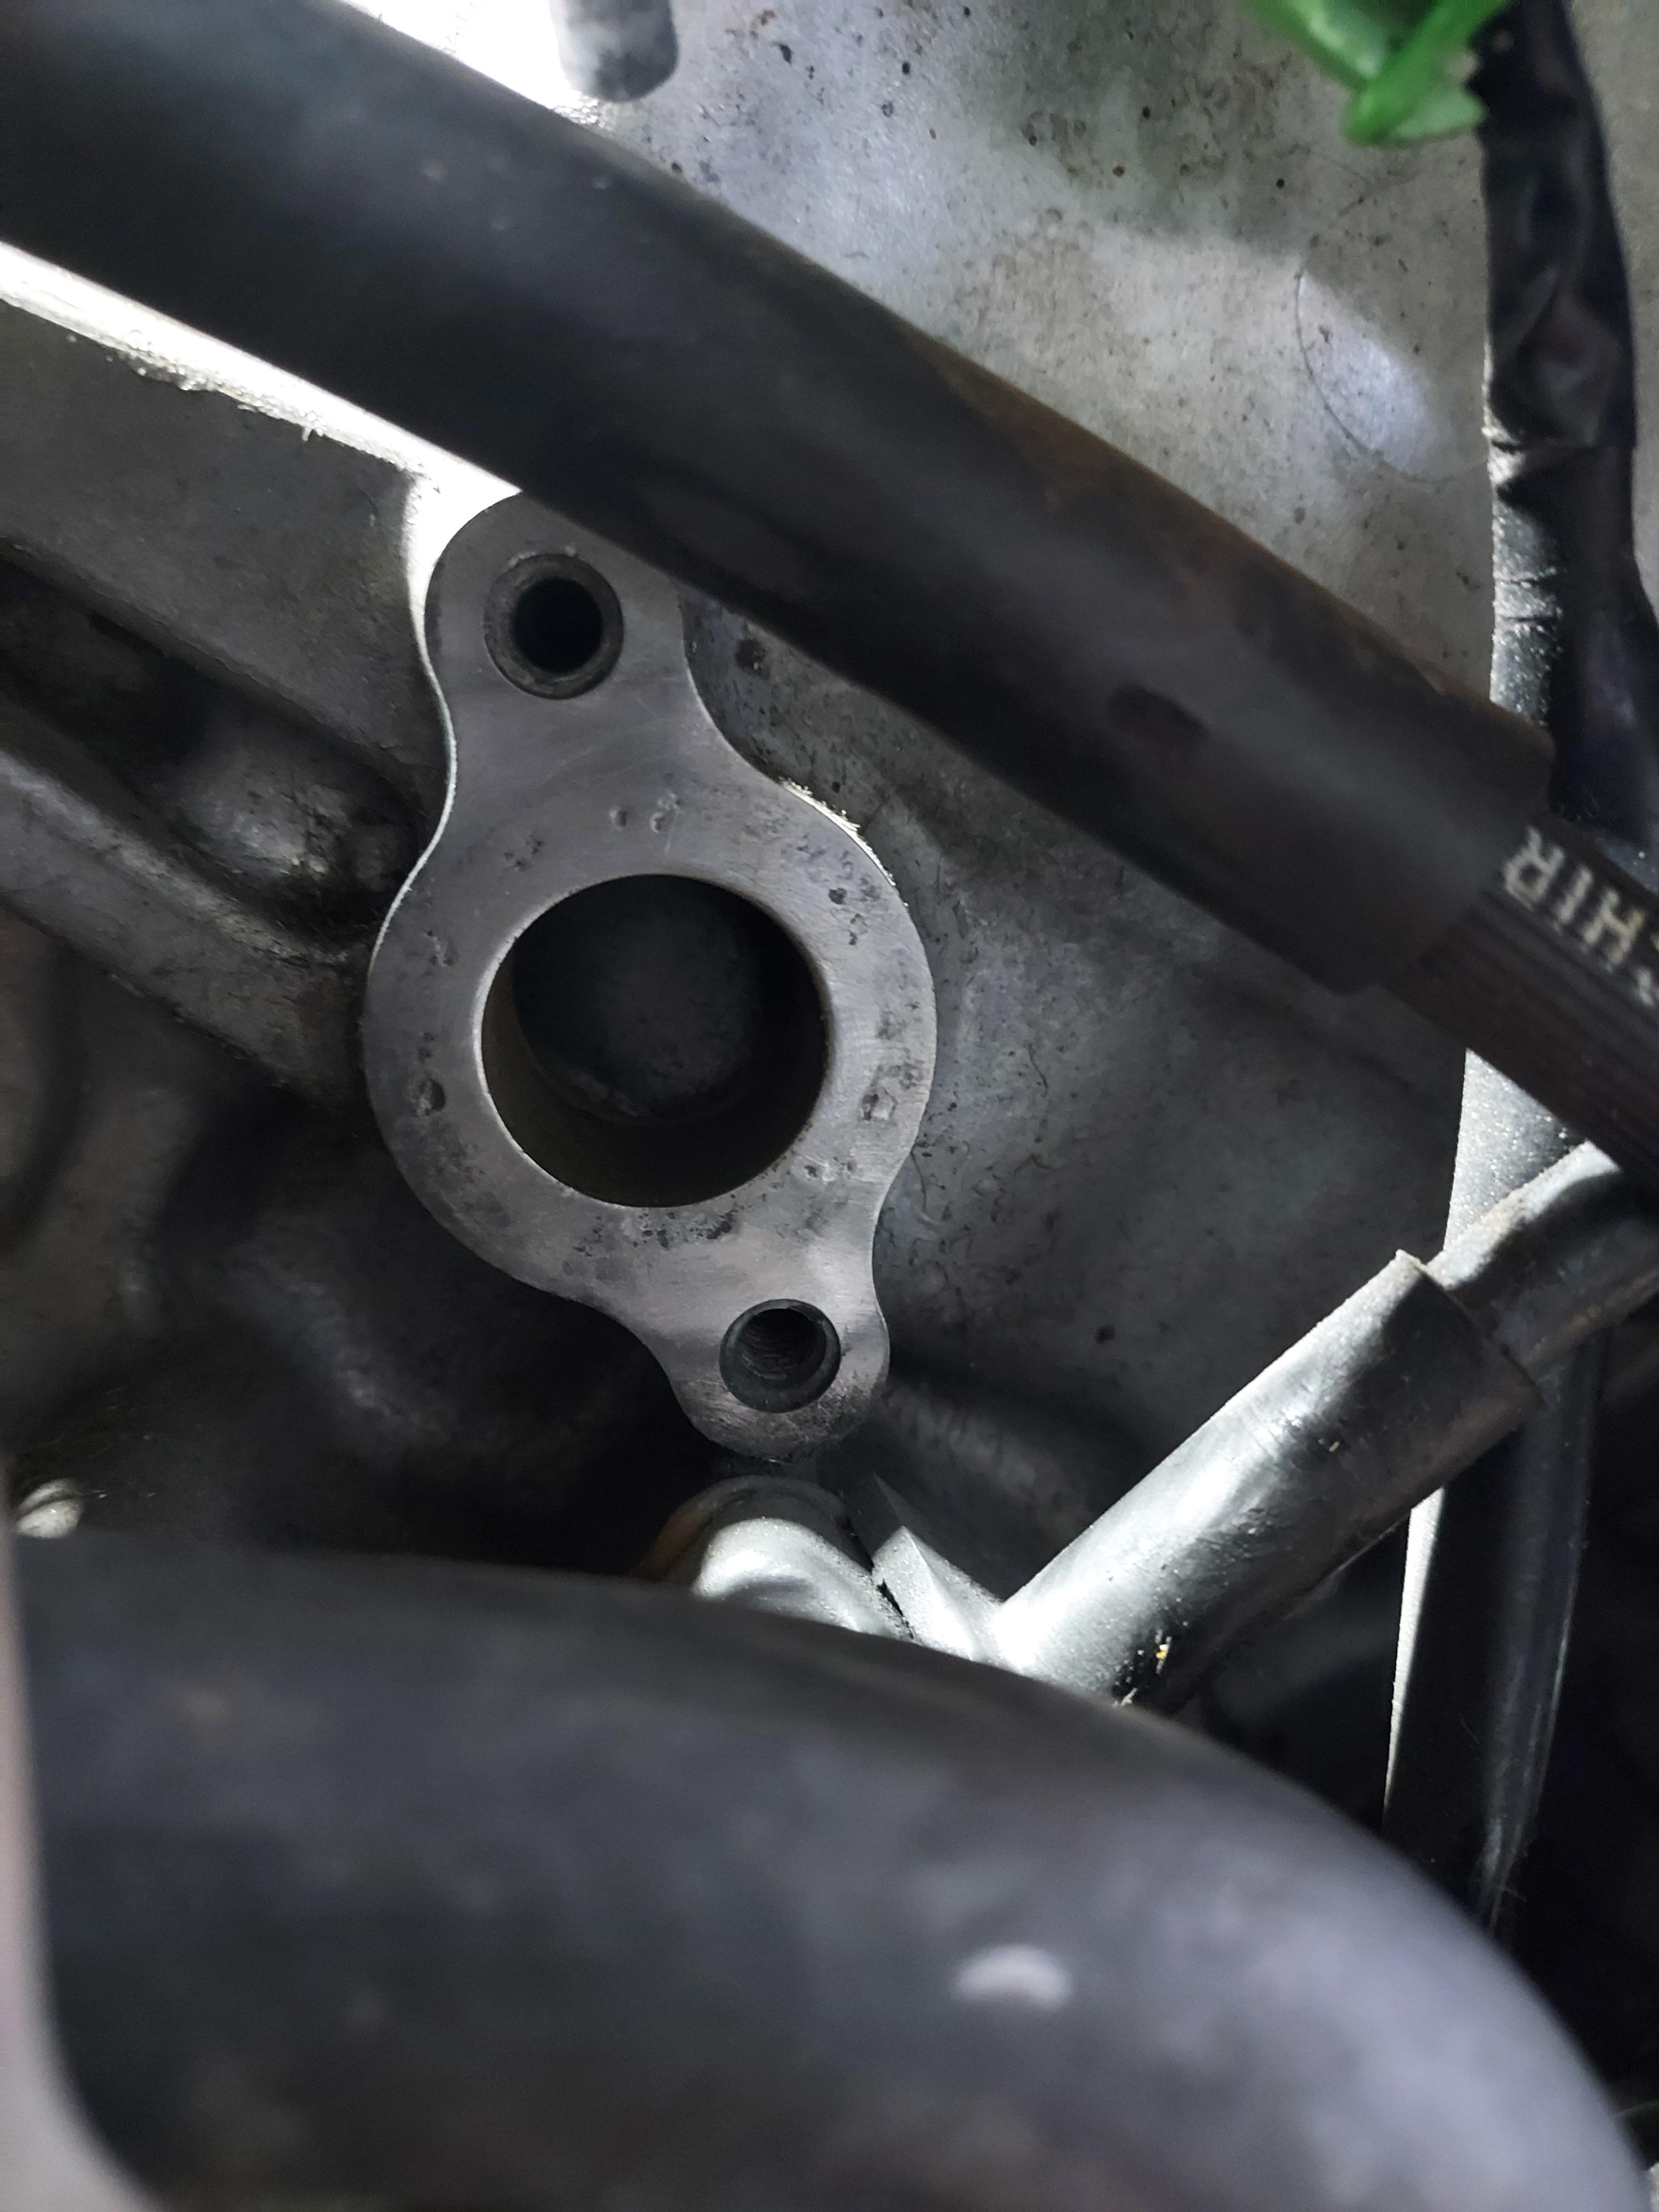
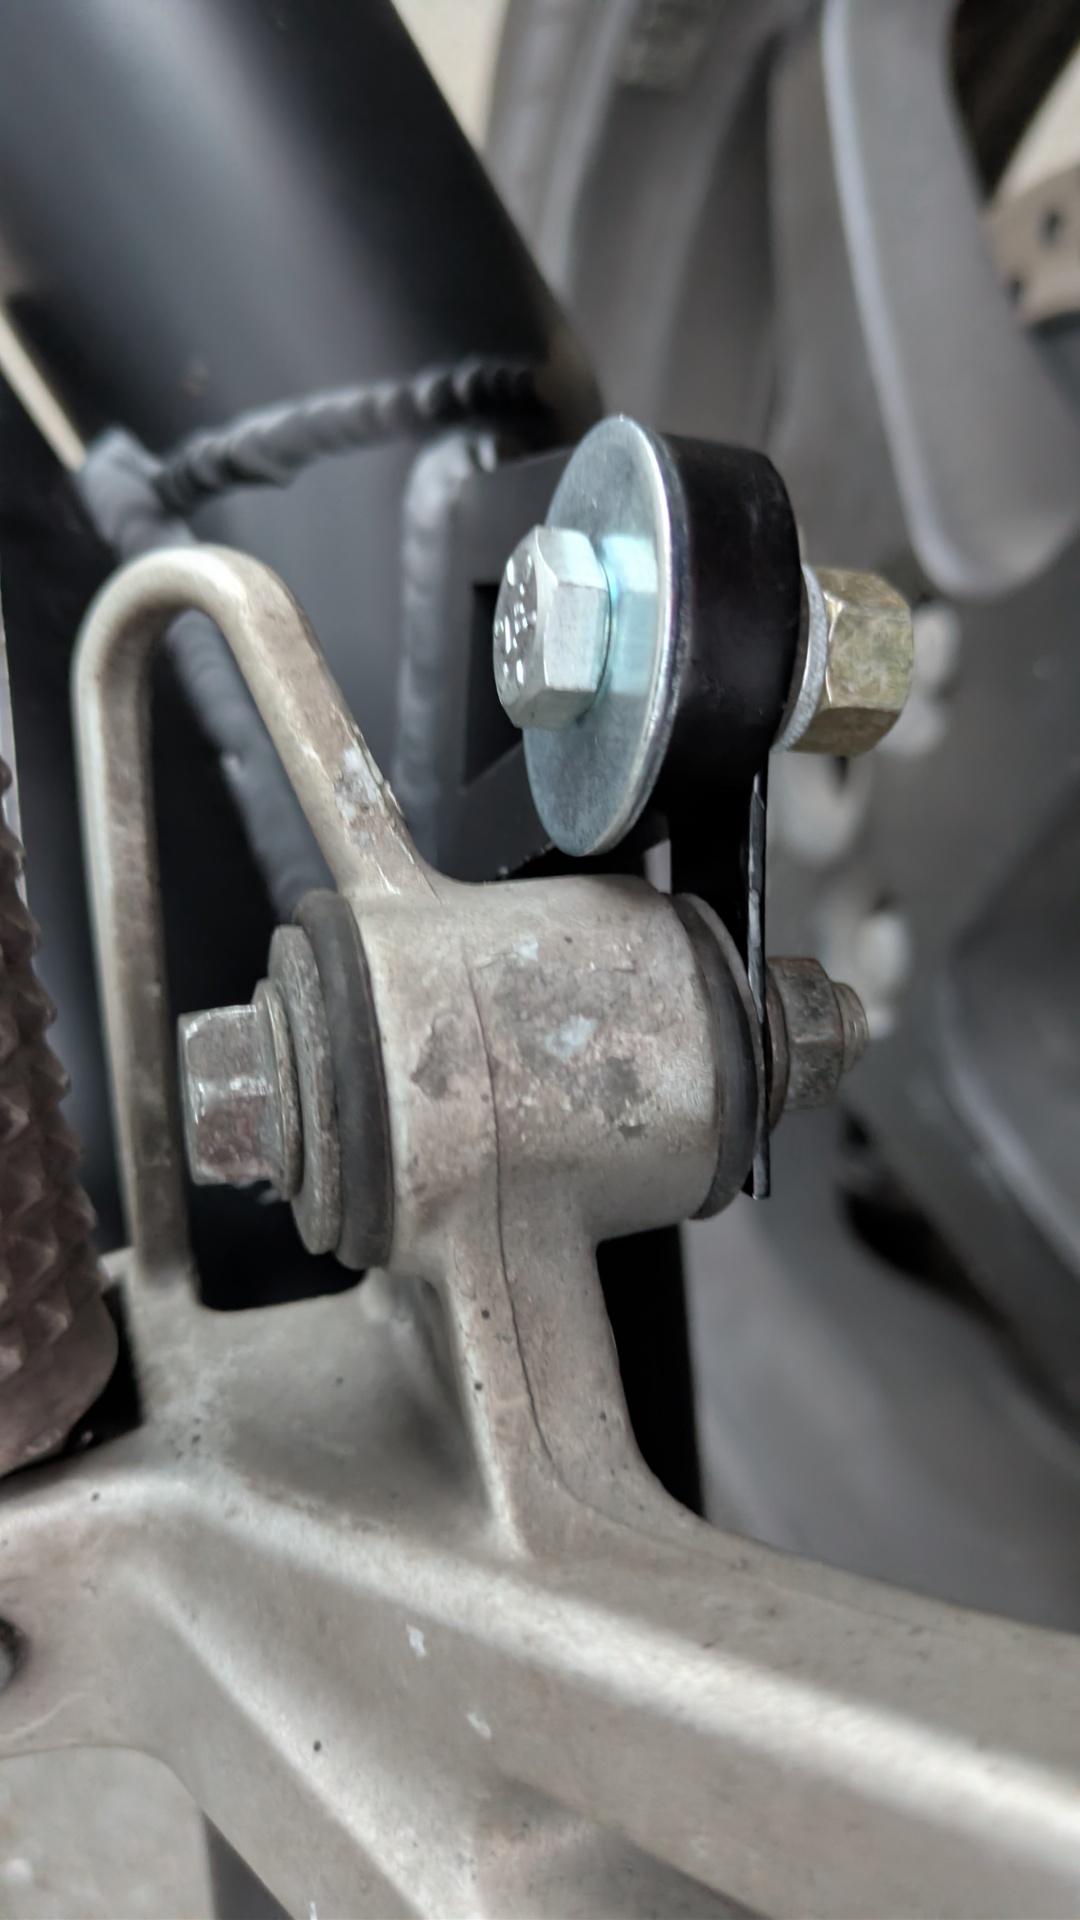
Next question! 🙂 Getting ready to replace the O rings on the water plumbing on the left hand side of the engine. Both ports were junked with old gasket and when I rubbed them with wire wool I see pitting on the surface. Both are like the one below. Do you think they will be water tight, or do I need to do something about the pitting?
-
There's a whole library of them on the UK Amazon site - Amazon.co.uk
-
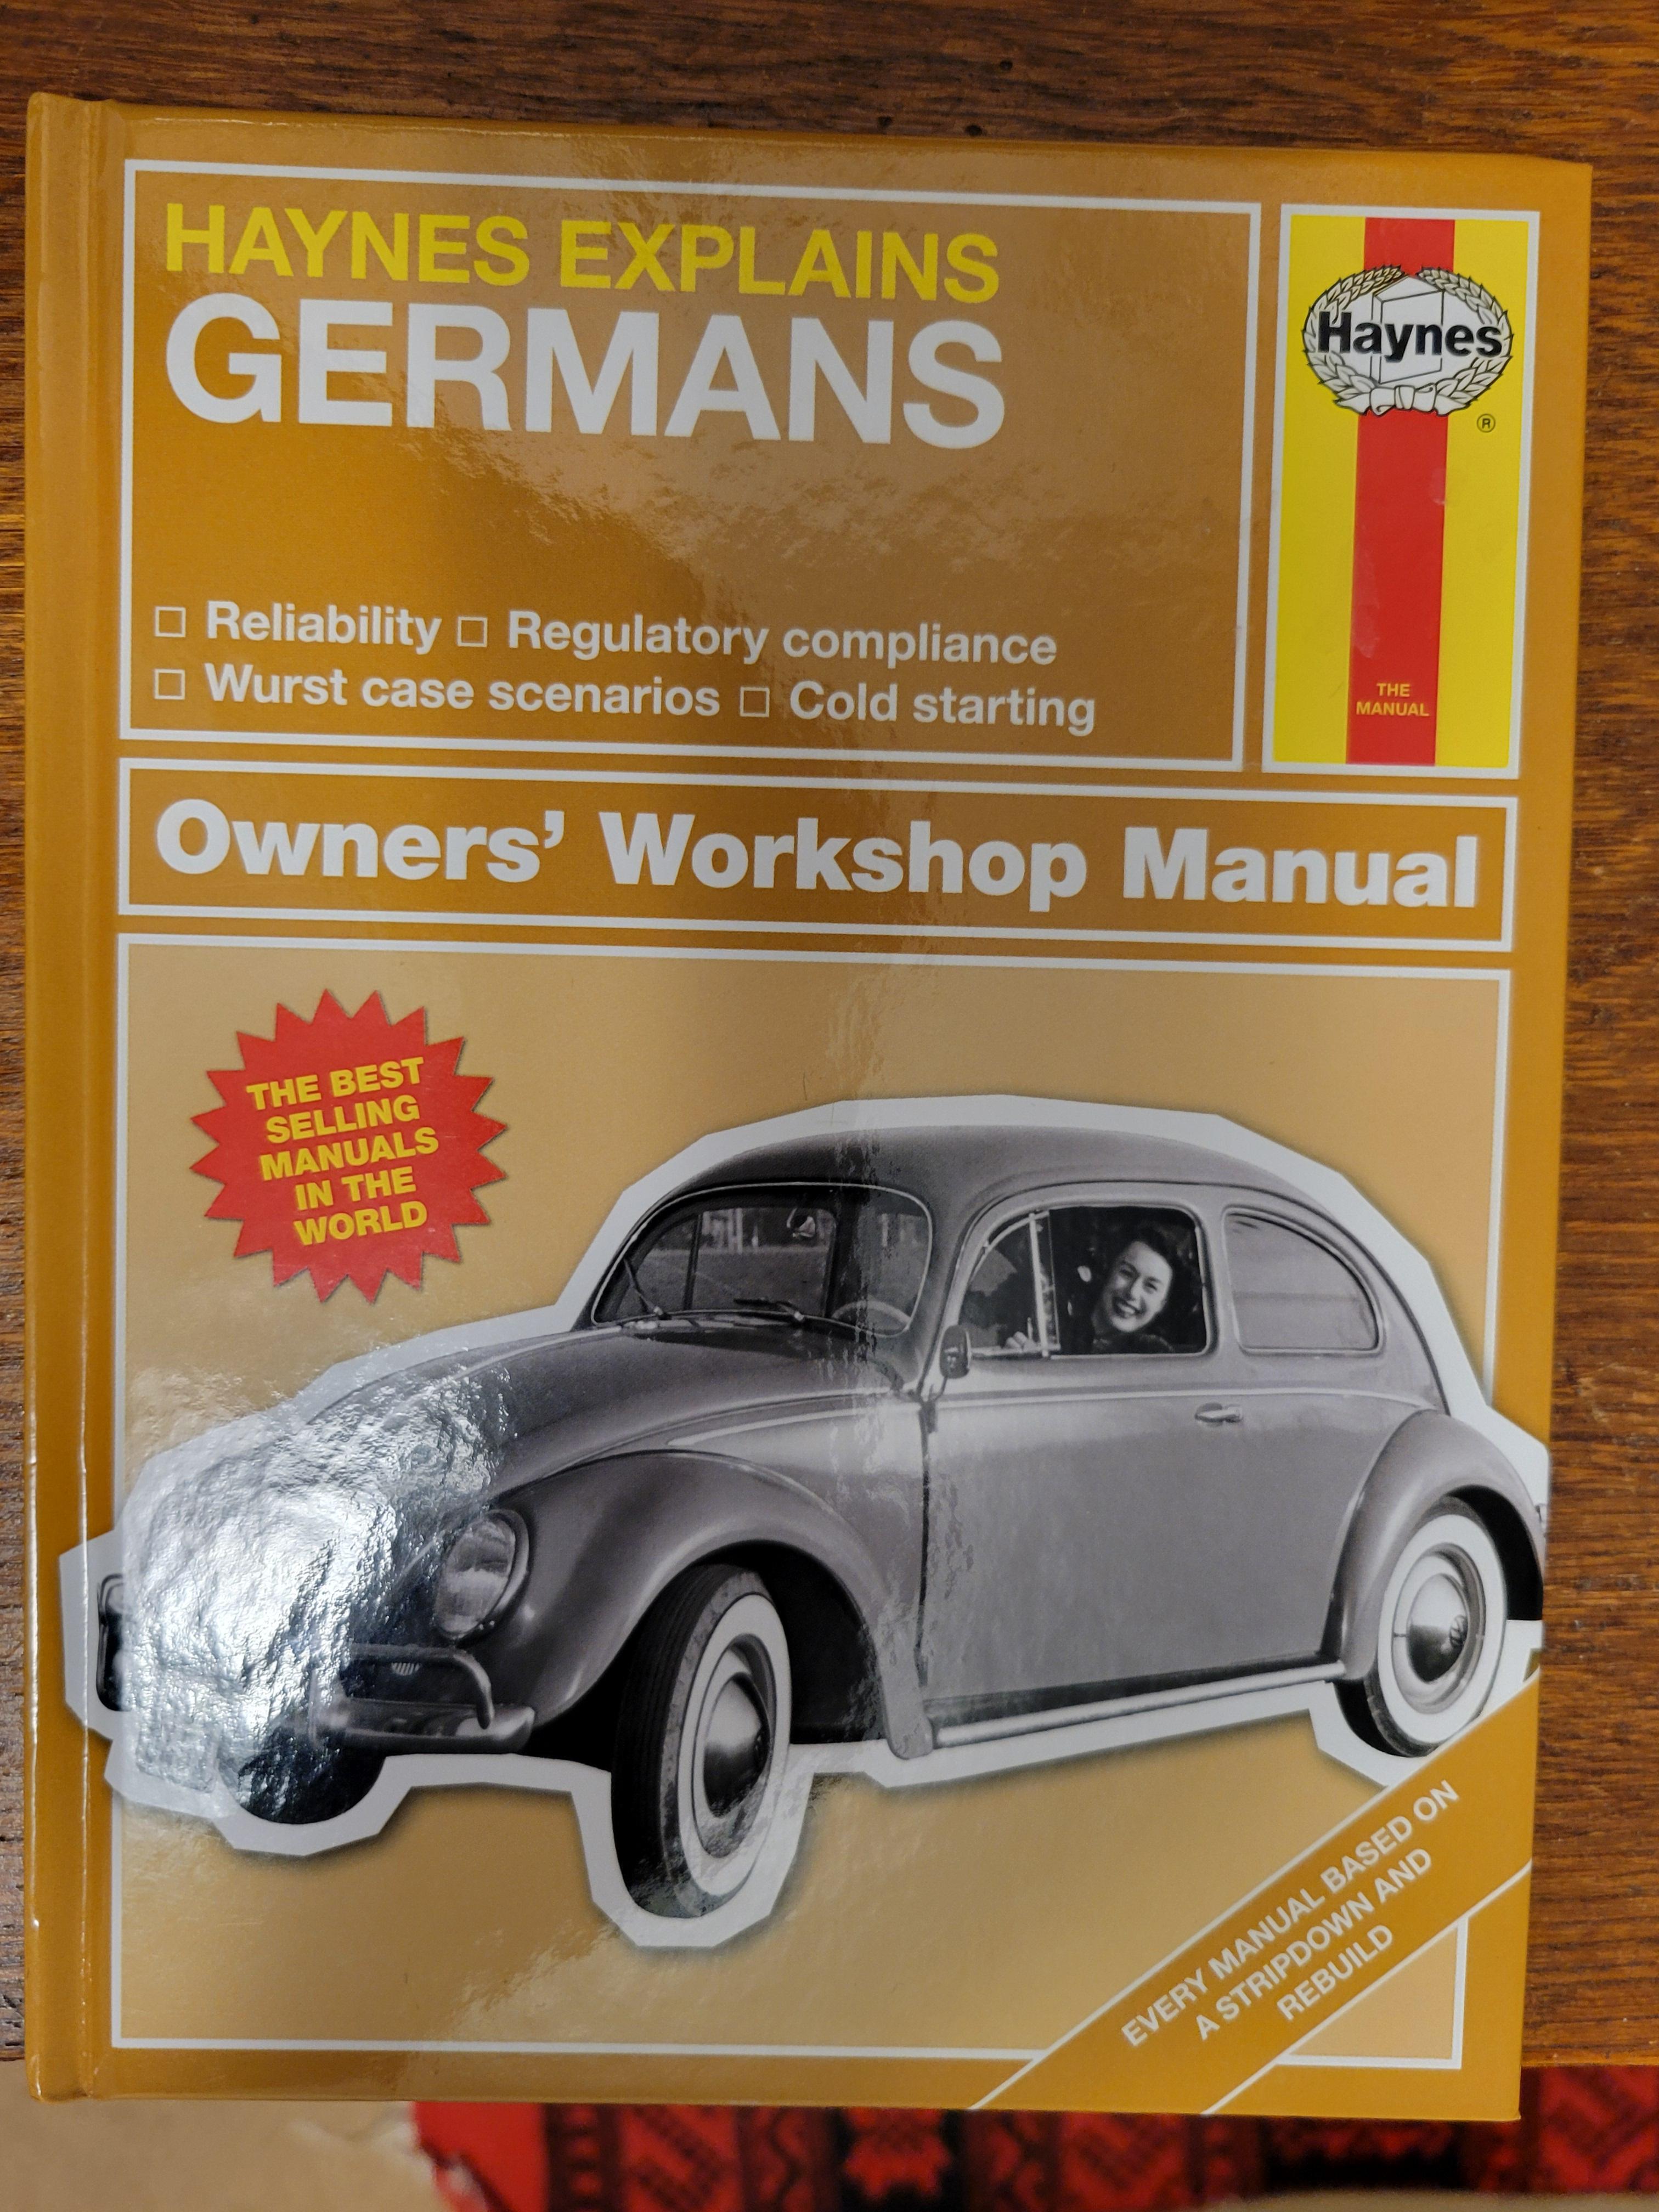
No explanation needed. 😁 Yes, they are real, Haynes really did publish them in 2017. Yes they are hilarious. Gift from my brother. I worked in Germany for about a year, also in France for a bit less in shipyards, building or hauling out for work. Apparently, there is a volume on Americans also.😁
-
Just to follow up on this thread, I sprayed some of that molykote on the throttle body bores and butterflies, was just enough to stop any daylight getting through, whether it makes a blind bit of difference, who knows? Vacuum hoses all replaced, I'm pretty sure that was the problem tbf. I was planning on leaving flapper in place but I broke part of the solenoid getting a hose back off to reroute it so it's all been removed and port blanked off at the throttle body. It's a lot tidier and the air box is much easier to fit now, so that's a definite bonus! Will order some pair valve blanks soon too. I did spend many hours trying to work out why it wouldn't run properly and backfiring after I put it back together, had 3 and 4 injectors round the wrong way! Balanced the idle air control valves, looking forward to riding it now, feels much smoother straight away.
-
until
That has to be some kind of mistake. I'll try to check on it this week. Glad to know you are looking, its been a minute. - Last week
-

Help needed with linked brake bleeding on a 5th gen.
Terry replied to Terry's topic in Fifth Generation VFR's
As you open the PCV bleed, you should be able to push the SMC fully through its stroke and hold it there. Then shut the PCV bleed. You should now be able to pump the rear pedal and that will force the PCV back out to full extension. All I'm suggesting is that you don't just allow the SMC to spring back and pull air back in from the PCV line, that you refill it fully from the brake pedal. . -
The motorcycling collective kinda goes and I agree with my experience....In big cruisers and touring bikes, they are useful and work ok.. (I am running them in the Valkyrie, they do the job there,.... the thing has big heavy wheels) But in the more sport orientied bikes... dirt/standards/sport bikes and of course the VFR, a normal style balance weight is prefered... I tried balance beads on my VFR once and in the triple digit territory, they arent balance beads any more! (imbalance beads?)
-
Balance Beads are not my thing, but they do have utility. I have used them twice when I had to swap a rear tire when about 2,000 miles from my garage. First time was in Wisconsin coming back from a cross country. Had a tire sent to a buddy who did not have a garage or tools. I managed to get the tire off and the new one on with my tire irons, but having no real option to balance properly I just used beads. I.knew this ahead of time so ordered them with the tire. Second time was when I bought my 4th Gen from a fellow in Iowa. I was headed to Colorado from there, so sent a rear tire and beads ahead as I flew in to pick it up. Again I knew ahead of time he lacked much in the way of tools. In fact I used a 2×4, hammer, and a door frame to break the bead cave man style. Then borrowed a neighbor's pancake compressor that surprisingly managed to set the bead. I have done a few other tire swaps on the road, but it was in really well equipped garages, so I used a static balancer and weights as I do here in Maine.
-
So I spent a couple of hours looking at this today. Taking apart the tape and tie-wraps, I disconnected the all the bullet connectors and measured 2.2 Ohms for each of the heater elements. I good wiggle of the wires did not show any open circuits. I then connected them in series through the loom and got 4.4 Ohms. No amount of wiggling or turning the bars could change the reading. So my problem must be in the wiring under the fairing or the controller module. Using the installations instructions to put all the wiring back on the handle bars, I noticed that the right hand heated grip wiring is supposed to be tie-wrapped to the electrical loom but mine was tied to the upper throttle cable. Can someone with honda heated grips post a picture of the right (throttle) side so I can decide how to reinstall the wiring? Many thanks John
-
Translation: Balance Beads should not be a thing.
-
In English?
-

Help needed with linked brake bleeding on a 5th gen.
VicSev93 replied to Terry's topic in Fifth Generation VFR's
Hello! I'm sorry to being back this dead thread but I'm doing this now and your help would really help me get back on the road! For the sequence for the PCV. 1) My helper pumps the rear brake pedal 2) while he is holding the rear brake pedal. I squeeze the SMC. 3) he cracks open the PCV and hopefully fluid comes out. 4) he closes the PCV bleed nipple. I release the SMC and he lets go of the brake pedal. Is this correct? When does one let go of the brake pedal? This is my biggest confusion. Once again. Sorry and thank you for helping! -
Hello all! Long story long, I ordered Spiegler brake lines. I fitted them on the bike. I "bled" the system. And rode for two months. It has come to by attention that my front brake was not engaging the rear brake. So when I was rolling forward to a stop light and squeezed the front lever the bike would stop like a bike with no Linked brakes. (When engaging the rear. The bike would engage both front and rear in typical VFR fashion that we know and love) I THEN found out that one of my lines is pinched. Probably from my crappy install. This line runs from the left caliper into the hard line on the left side of the frame (which I believe goes to the PCV valve) Since it looked pinched, I contacted Spiegler and bought another line. I installed it today but did not bleed anything yet. I've read A LOT of bleeding into on the forums, reddit and the manual. And everyone has different opinions. It's minor but it's different. I come here to pick your brains once more since other threads or similar topic are dead. 1) bleed right side outer nipple 2) bleed left side outer nipple 3) bleed left side middle nipple (fluid sucked from rear reservoir) Take off left caliper and tilt it (15 or 45 degrees?) compress the SMC and have a friend undo the PCV valve under tank. Once he sees fluid coming out, he closes the PCV and I release the SMC after. (I guess this bleeds the PCV) Fluid used from rear reservoir. 4) bleed middle nipple of rear caliper 5) bleed outer nipple of rear caliper. (Helps to have the caliper lifted up so air escapes) This is how I did it the first time and am planning to do so again. Am I going wrong anywhere here? Any tips will be appreciated. THANK YOU!
-
Lol, I did try recording a few seconds of it but the mic or phone brains (I don't know how this stuff works) did some auto EQ thing that has it appear the cam whine is about as loud as the exhaust. It's most definitely not. If you want to hear what this sounds like just go pull off your VFR's muffler.
-
All this and no recording? Wtf? 😜
-
until
Must of filled up quick. Hotel website and 5 other booking sites show rooms from $249 to $359 for Friday the 14th of May. I stayed here in May of 2023, perfectly fine motel at their normal $79/$89 per night. To say the rates quoted for this May are an over reach would be an understatement. I checked random dates midweek for other weeks and got the same pricing. Hope its a glitch. -
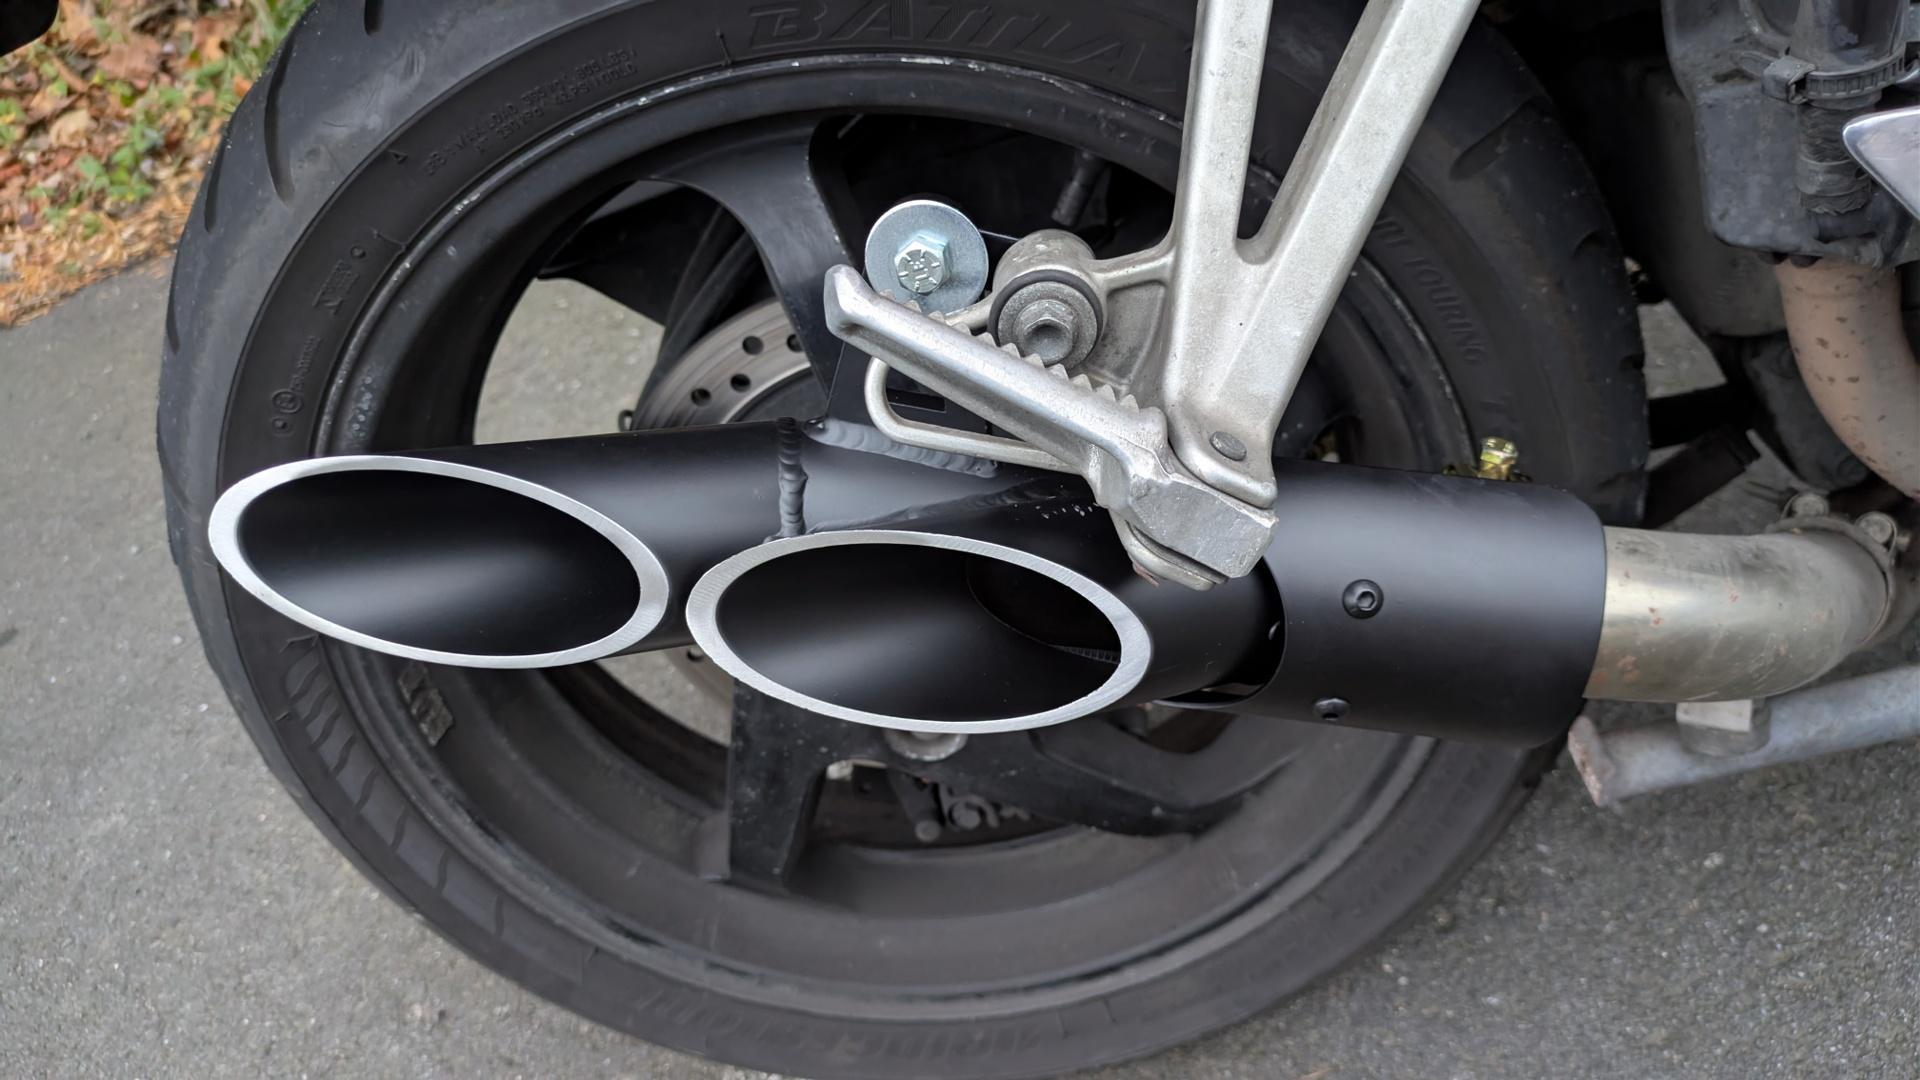
Speaking of Delkevics and 5th gens. Anyone else rocking a standard height mount? If so, and you want an easy laugh. FYI their link pipe OD is 2" meaning muffler ID is the same. This $40 hot garbage from Amazon also has a 2" ID. This ain't a muffler, just dresses a open header and installs in a minute. This thing is just welded aluminum pipe with a terrible paint job.. but ..The sound is otherworldly on a 1998 or 1999. 😁I tossed their staggered bracket it came with and just slapped on a 2" brace from Home Depot. Yeah.. I'll be putting the Tri-Oval Delkevic right back on. An hour of this was fun enough, but is a little loud. I'll keep it around though. Probably toss it on for a coffee meet or something who knows, straight pipe Harleys can't have all the fun. I'll bring the Delkevic can with me of course so I can swap back. 2000 and 2001 owners with the catalytic headers might be able to get away with running this all the time since the cat is it's own silencer.
-
Citeam despre Balance Beads și mi-am dat seama că după o zi lungă în garaj sau cu hobby-urile tehnice, e plăcut să te relaxezi puțin online. Eu mă joc pe chicken road game, optimizat pentru jucătorii din România, și jocurile rapide și bonusurile locale fac timpul liber mai distractiv. E o metodă excelentă de a te deconecta și de a te relaxa după orele petrecute cu motoarele sau alte proiecte.


-
VFRD Mission Statement
For owners of the Honda Interceptor and related Honda V4 motorcycles, for the purpose of mutual help concerning safe riding, maintenance, and performance of their motorcycles.
Rules of the ride - No one goes to jail, and No one goes to the Hospital.
Contributions - VFRD is a member supported website with no commercial advertising.

-
Forum Statistics
-
Total Topics26.6k
-
Total Posts363.2k
-
-
Who's Online (See full list)
-
Member Statistics
-
Upcoming Events
-
Latest Classifieds
-
-
Top Downloads
-
-
Popular Contributors
-
Blog Statistics
-
Total Blogs116
-
Total Entries345
-
-
Gallery Statistics
-
Blog Entries
-
-
Blog Comments
-

-

By vfrpilot28 · Posted
I enjoyed reading this and seeing your story. For the love of motorcycling! -
-
By interceptor69 · Posted
Oops. I do believe I know how to post YT videos or they wouldn't be on YT. However I may have screwed up copying the link to the playlist. Thanks for the helpful comment. -
 I think that you might not know how to post videos. You're in your YT studio in these links. You need the link to the actual video.
-
-
Most Contributions
-


.thumb.jpg.6b9488d9849fb7037caa4c17228db2ab.jpg)

until