-
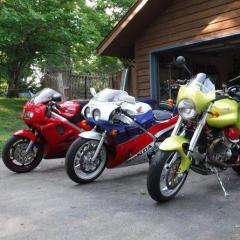
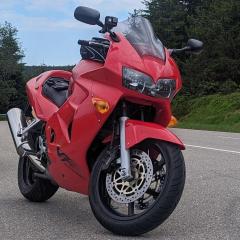
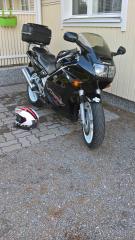
Featured Gallery Photo
.jpg.b2396f33682c314125f1e3ae3adf33de.jpg "20250601_113449(1).jpg") 20250601_113449(1).jpg
20250601_113449(1).jpg

All Activity
- Today
-
Looking for something else I found this post of mine in the ancient history file (thank you Miguel). It's twisting around in my brain, and I will update soon... July 2017: Last week I bought a time machine at Costco, so this morning I set the dial to five years in the past so I could talk to my 2012 self: Me: Hey, good news. You’re going to own two bikes. And at the same time! 2012 Me: Wow, that’s great! I guess that means I’m going to be divorced, huh? Me: No, but the bathroom will be significally better looking. 2012 Me: Whew! So, what kinda bikes? Me: Well, they’re both v-twins. 2012 Me: Damn, that sucks. I guess now you’re going to tell me that I’ll trailer them to Sturgis wearing my licensed orange and black lifestyle outfit. Excuse me, I have to go jump off a bridge. Me: No, no wait! It’s not that bad. But you will finally jump onto the ADV bandwagon. A Multistrada. 2012 Me: But why? The last year I didn’t own a VFR was 1985! Me: Well, Honda will detune the 1200 to make an ADV. And they will bring back the 800 as a really sweet-looking 8th gen. But over the next few years Honda falls way, way behind the Europeans in electronic rider aids. After almost 50,000 great miles your decision will be to invest a lot of time and money to upgrade the 7th gen, or trade it. And the new KTM SD GT will just be too damn ugly. 2012 Me: OK, I guess I get it. At least I don’t become one of those geeks that wears an Aerostitch suit all the time. Me: No comment. 2012 Me: What else happens in the future? A Honda V4 superbike? Me: Nope. But be careful what you wish for, that’s divorce court for sure. 2012 Me: And I guess Buell goes under again? Me: Of course. 2012 Me: Any more advice from the future? Me: Well, if you park the VFR in Calistoga in 2015 try to keep the bike upright, OK? Just minor plastic damage but a tipover will really make you feel like an idiot. And paying up front for a Fusar might not be the best decision. Any advice for me from 2012? 2012 Me: Umm…no offense intended but you might want to hit the treadmill a little more often. Me: Hey, you’re me, deal with it. Anything else? 2012 Me: Well, you’ve never owned a 5th gen…

-
Wow, that's some nice work!
-
RS3s would be a good choice then
-
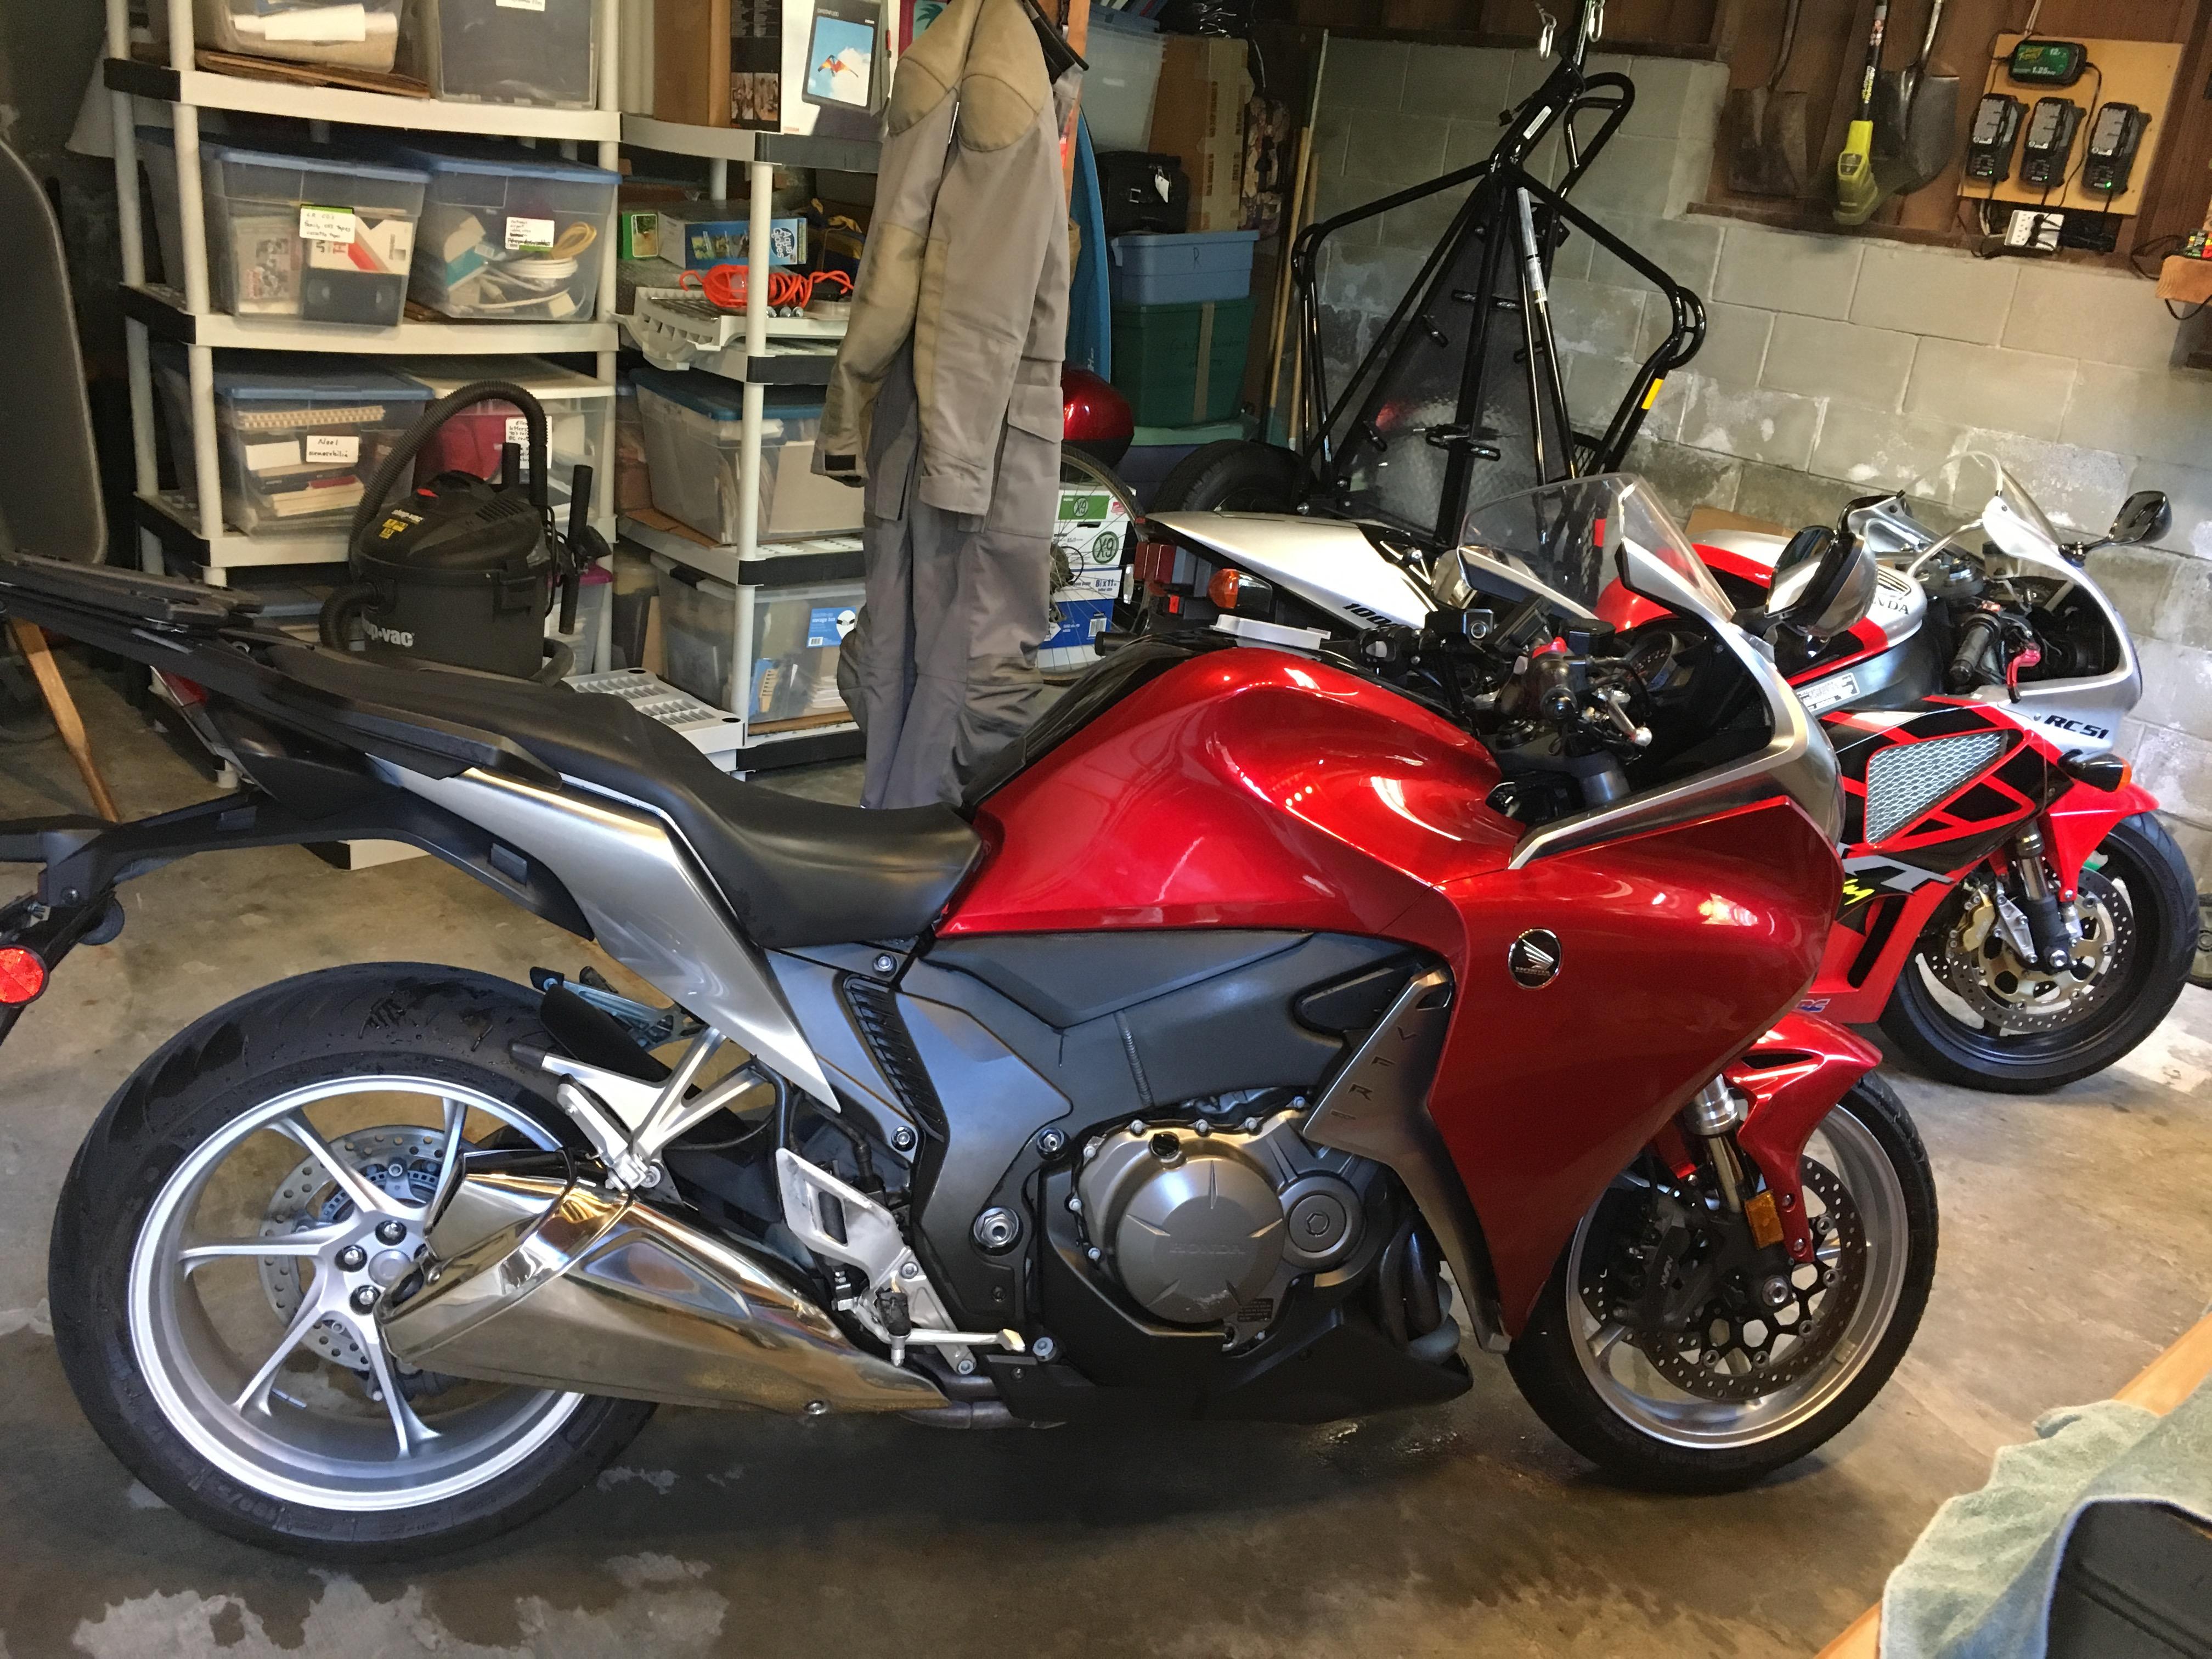
Scooched the VFR over to give me more room for a VTX fork seal/bushings replacement.
- Yesterday
-
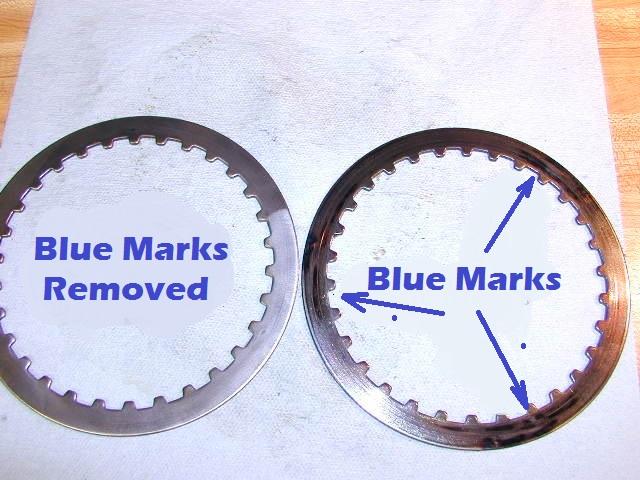
If you wish high mileage clutch life then you have to invest is some good old sweat equity... because at the first sign of slip it doesn't automatically mean your clutch is tired and worn out or that your clutch plates are wore too thin because you can Mic them to determine serviceability and within the factory specifications... Under scrutiny you'll find that your slip was due to normal glazing and contaminates... Start with inspecting and measuring the friction plates to make sure you have plenty of material to work with... your shop manual should state minimal clutch thickness in thousands of an inch or mm... Next remove oily contaminants with Acetone... Bust the glaze with a sheet of 600 grit black dry emery paper resting on a hard surface... rotate the clutch plate in a circle motion... go easy... you're just busting the surface glaze... don't get carried away remove too much material... You should end up with a friction plate looks dull like a new one as opposed to a shinny glazed one... recheck thickness... Finally check the steel plates for bluing caused by localized heat... check for warpage... consult the manual for ranger of thickness... flush away the contaminants with Acetone and wire wheel the surface to erase the blue marks and also to generally scuff up the surface... all in all aim for a dull surface free of Blue marks... Bike on its side is a simple way to shift the oil level to an angle in order to remove the clutch cover without spillage...
-
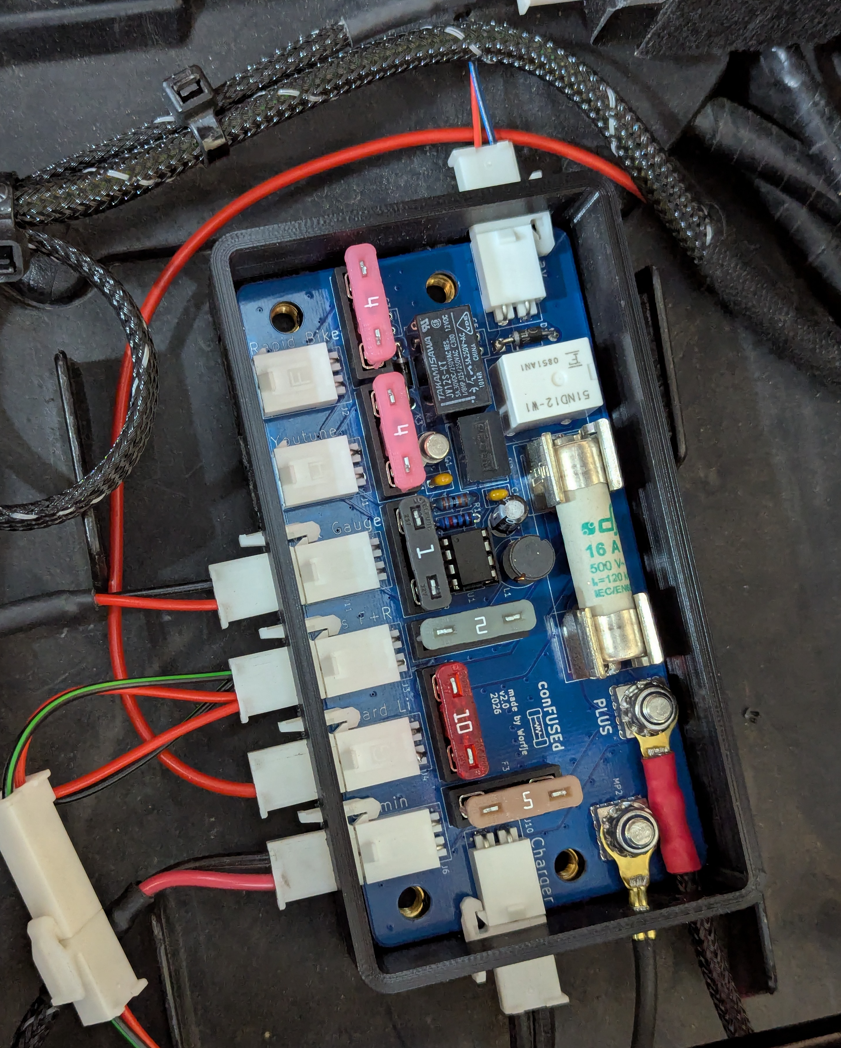
Assembled the custom fuse box and tried it on the bike. Some minor things that I like to improve, but overall it tested well. The Rapid Bike My Tuning O2 sensor is powering up after 2 minutes after the rest has been turned on (which is switched by rear tail light).
-
Understood. My 5th gen water pump does indeed have a Yamada logo. Next to the "MV9" PCN, which is also present on the casting, which tells us that Honda first contracted with Yamada Manufacturing to provide this design of water pump for the 1992 CBR600F. Interesting! Ciao, JZH
-
Thanks, didn't think about that, I'll have a look at the gasket before i disassemble cover and will locate my scraper before i start 🙂 I'm considering if i'll just order the metal plates too since i've had the clutch slipping, they're only 35EUR for a set and the bike is already a long distance runner.
-
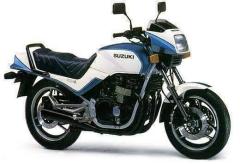
Ok, lets remember back a litte for a change.... I did go thro old pictures today, found many I belived where gone for good.... Back in time I did get a bike for my former wife, it was cheap and beaten but did tecnichally run, a 1985 Suzuki GSX550E There was also a half faired GSX550ES as full faired GSX550EF for sale, they look batter than the E that has a thruly ugly top fairing, it had to go, paint was tired so it got painted, seat cover changed, exhaus was rotten so found a Micron 4-1 nos exhaust system. Result: It was ridden a few years, then did just stand, pictures taken for the add, it had a old Yuasa battery that was flat as low on water after 4 years of sitting, added water as charged it and it started the bike a week later still! It was actually quit a fun bike to trash, I did ride it quit much myself actually. I guess the engine is what became the Bandit engine later, it was actually 572cc even model name say 550. A other bike I recall, that I never owned but was close to buy / trade the VF500F2 for was this: A 1993 Honda CBR900RR, I did pass becorce it had a running issue, a few marks from a fall as ride position was not so comfortable, but it would have been wise to do the trade as keep it, there value are just going up.... Instead I traded the VF500F2 for this (trad so I got a bit money in pocket as well) 1991 VFR750F, sadly it had a issue, the engine knocked on lower rpm, sounded like a con road bearing, probarly reason for it was former had put in thin synthetic oil in it beliving he gave it the best but it just cleaned the engine and stuck the oil flood it seems, well it moved one, but it was one of the best motorcycle I owned, not the fastest, but enjoyable to ride as good looking even would have looked better in red!
-
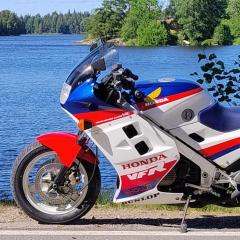
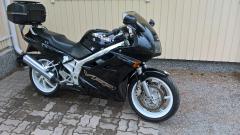
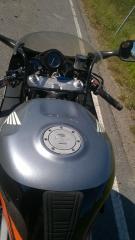
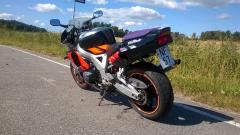
Other VFR and other pics....
-
-
Hardest part will be scraping gaskets. If not replacing metals, scuff them radially then clean them real good. Soak the new fibers overnight in some oil.
-
My -97 VFR750 clutch has started to slip at full throttle, it's got 80k kms / 50k miles on the meter, clutch is easy to maneuver and operation is smooth so I guess the hydraulics are ok and my plan is to replace the clutch discs. I bought a kit with new gasket, springs and friction plates, downloaded the service manual from here, (thanks a lot for that!). The job seems pretty straight forward, but i haven't tried it before, are there difficulties that might occur or special tools needed? Do you have any tips and pointers for doing the swap? Clutch center has a special locknut tool but it seems that normally it wouldn't need to be disassembled in order to change the discs.
-
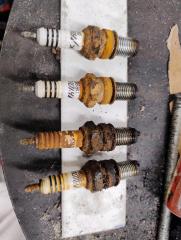
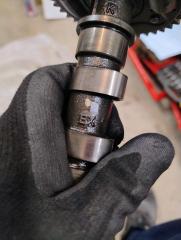
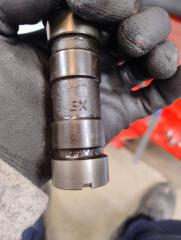
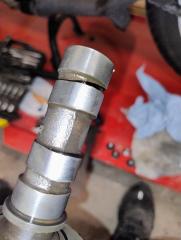
While waiting for spacers to Zephyr rear wheel as a right camshaft for the RC24 (the one I bought turned out to be wrong, more info in my other topic), I decided to look into the friends FZ750, a 1986 edition, whit running issues. I had already checked the pickup coli's as slightly out of spec, but better go through it properly so did take sparkplugs out, not looking good! Before taking them out I cleaned the drain holes that have a indicator of what to come as cleaned the holes where sparkplug is as good as I could whit air pressure. Also one sparkplug caps was loose.....
-
VFR clutch reverse bleed basics: bike on center stand. clutch master lid off, handlebars set so master level as possible. might want to strap front wheel/handlebars in place so they don't pivot. rags down on tank and body work. definitely wear safety glasses for this. take your cheap 100ml syringe (plunger removed) and secure tubing to end of syringe. push other end of tubing over slave bleeder. draw down tiny zip tie around tubing and just below bleeder's "bulge" to secure. hold syringe upright and slowly pour in brake fluid. a slow pour will allow fluid to displace air in tubing and fill the syringe. there should be a solid column of fluid from bleeder all the way up tubing into the syringe. install plunger. crack slave bleeder open and push down on plunger. fluid should go into slave and up clutch line to master. master will fill from the bottom up. suggestion, have a second cheap syringe to suck out any crud that appears in the master. keep pushing plunger until clean fluid is at operating level in master. close slave bleeder. at this point you are probably good to go. give a careful lever pull or two and verify you feel pressure. (!!don't wobble handlebars with master lid off!!) if you want to be super sure, switch to a conventional bleed. pull in and hold lever, crack slave bleeder 1-2 seconds and look for bubbles in the attached tubing. immediately close bleeder then release lever. if you do this a few times, watch level in master and top off as needed. don't let level drop down to the center port at bottom of master. install master lid. pinch off syringe tubing and carefully remove. clean up and go ride. some extra tips: it will take some pressure on the plunger to work, but within reason. if it feels like you're going to blow the tubing off .. STOP. I've had old bikes with bleeders on clutch or brake sometimes are plugged with gunk from time. I've had to remove bleeder and try to clear. sometimes they can be saved. I've used an o-ring pick, or a bit of stainless lock wire to push in and clear passage.
-
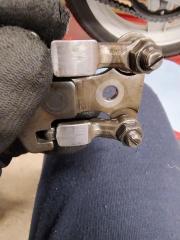
These are the calipers original to the bike. I have a much better condition set I bought on ebay 6 months ago, but the smc on the "new" set started leaking. The picture above is the old smc, I'm taking it apart purely as learning but also to see how it is under all the crud! I live less than a mile from the sea, but most of the damage was done before it came to me. It was left uncovered for an unknown amount of time in a seaside town. It'll never really make a nice example , or at least to get it there would cost more than a nice one does! I'm just focussed on getting it running well and then I'll see what happens with it. It'll need an exhaust manifold in the not too distant future as well
-
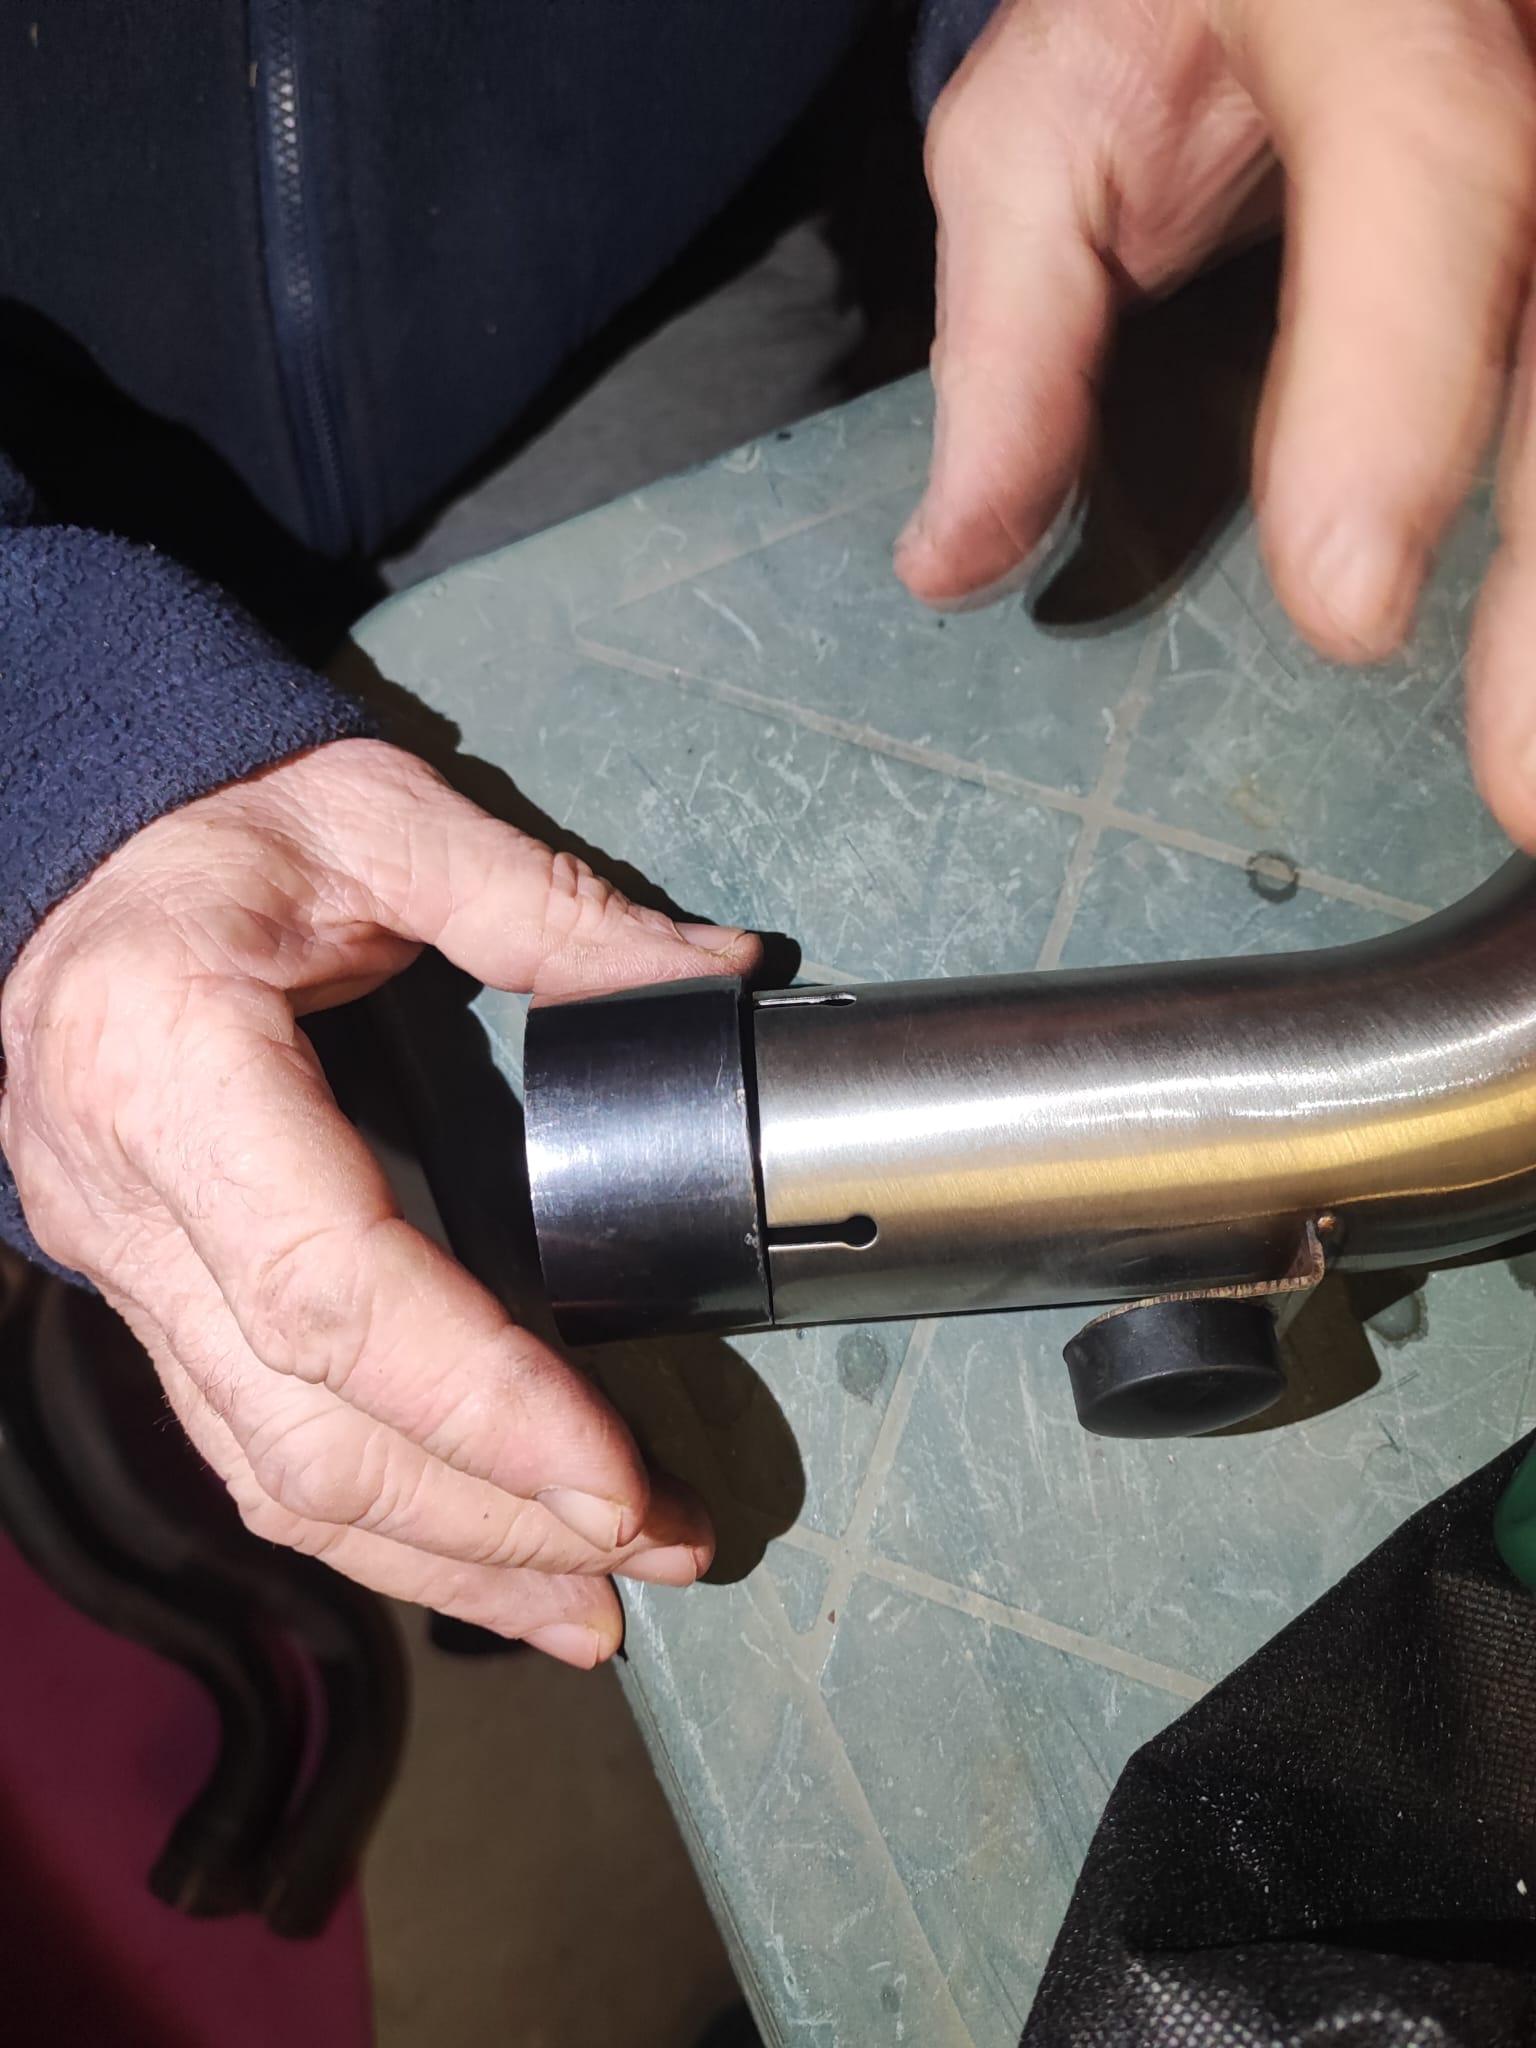
 Different system but I just fitted a DAM end can and they are a dry fit, no gasket required.
 -
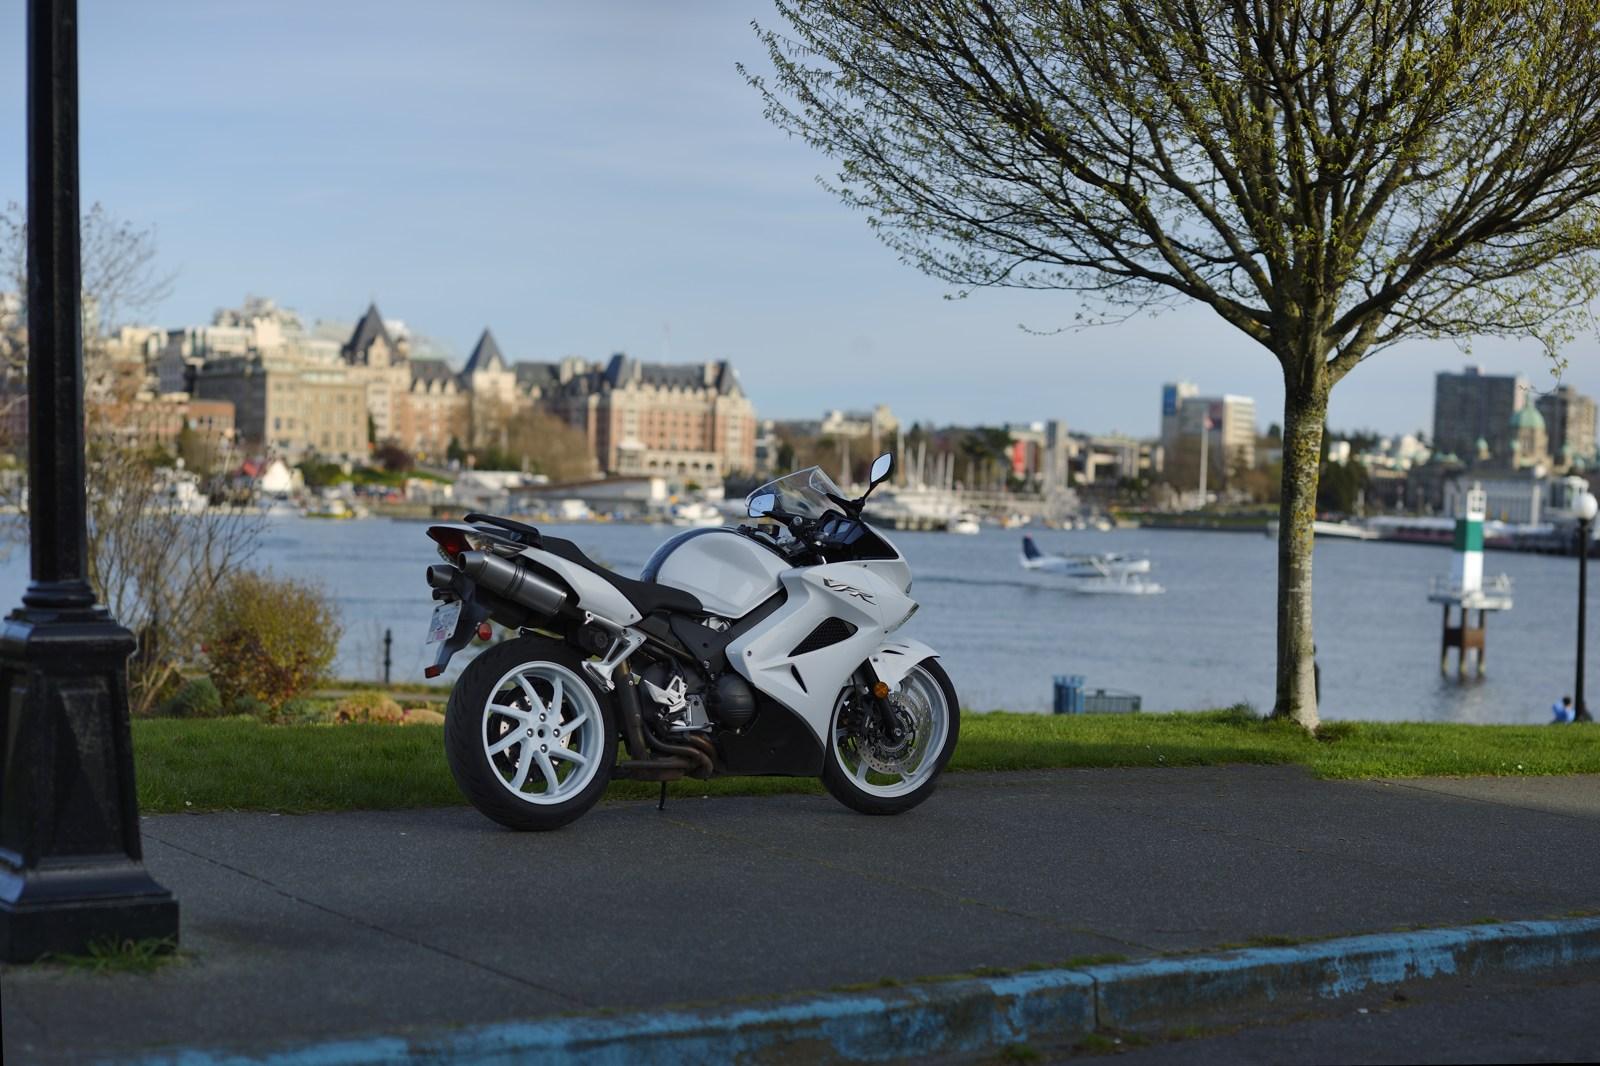
This afternoon I tackled the job of replacing all the vacuum lines - well, most of 'em at least. It is a fiddly job but not particularly difficult. Keeping track of where all the hoses, lines, and electrical connectors belong is the tricky bit. Dropping something down an intake runner is best avoided. I don't think there were any leaks, but they looked pretty crusty last year when I was changing the cam tensioners. After finishing the VFR seems to run just fine so I took a spin around the waterfront.
- Last week
-
 This is the system I ordered. https://www.blackwidowexhausts.co.uk/vfr800-97-03-rc46-high-level-exhaust-system-300mm-tri-oval-stainless-carbon-tip-silencer-25430-p.asp
 -
Ooh. Was that dredged up from Titanic. I'm thinking unrecoverable......
-
I replaced soft parts in my 99's clutch master last year. I did a reverse bleed with a $10 syringe from Amazon. Super easy and no fighting air bubbles.
-

VF500F2 Aka MBD Incubation Period At Least 52 Years
Presson replied to Dutchy's topic in Earlier VFRs
Both of those are the GT version without underwing stores or fuel. Fingers crossed for the downed WSO -
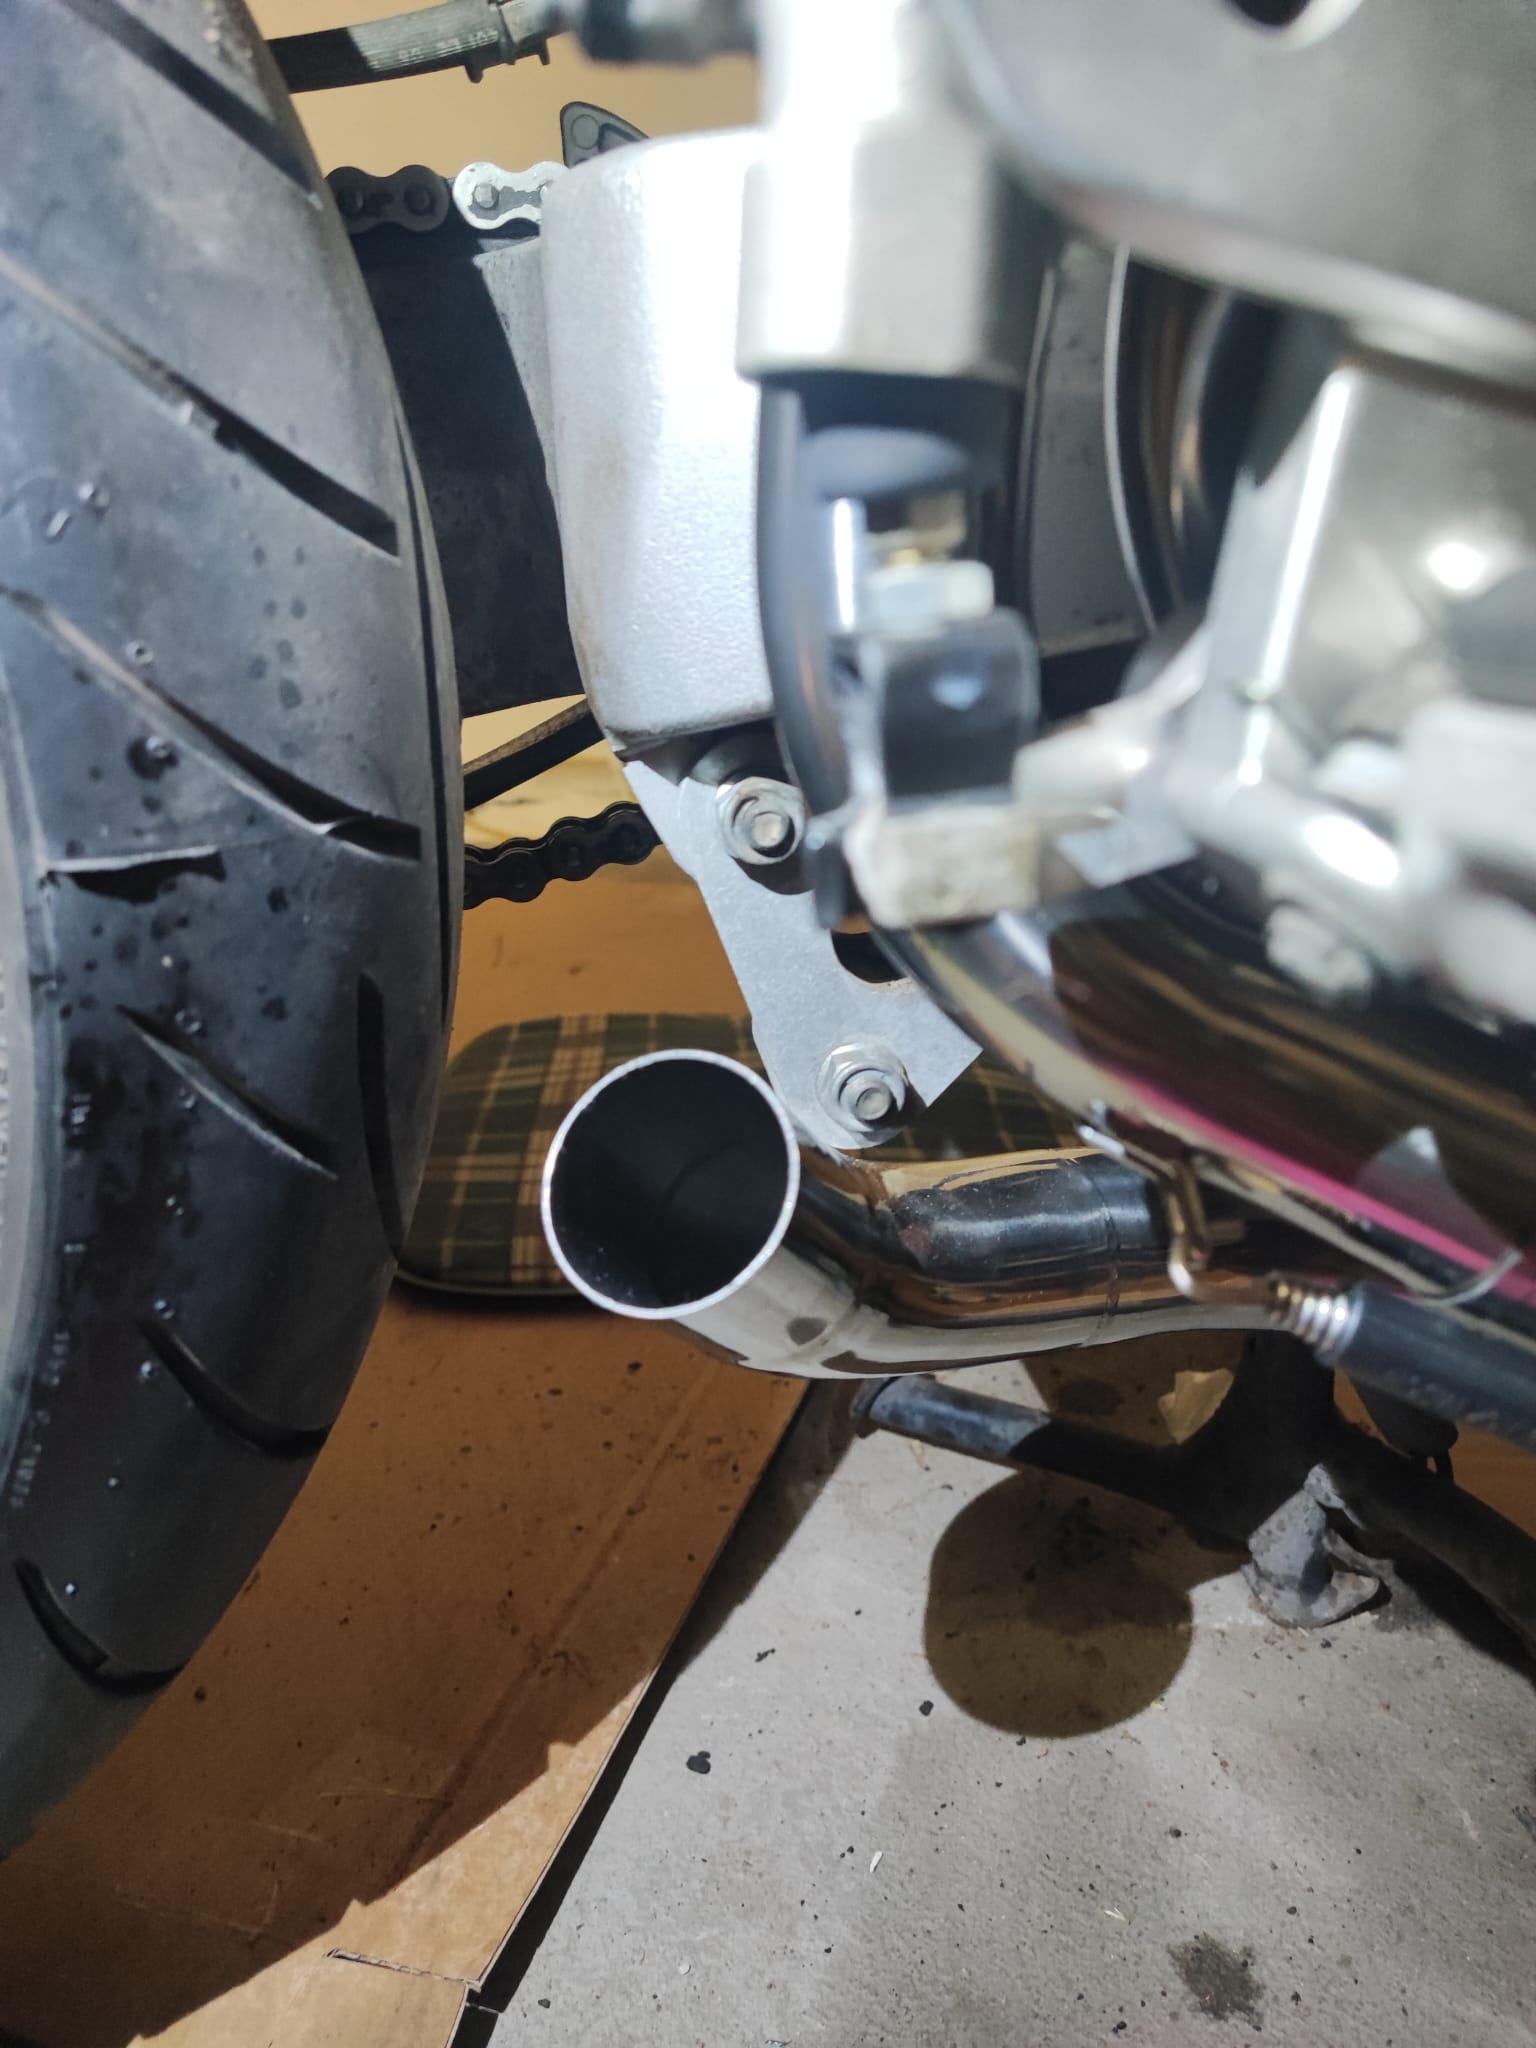
Hi guys, I’ve run into a bit of a headache while installing a new Black Widow full system with the high mount pipe on my VFR800. The issue is with the connection between the high mount link pipe and the collector. The graphite gasket provided was already shoved onto the end of the link pipe in the packaging, but it seems way too thick. Also, the link pipe doesn't have a flared end or a "stopper" to hold the gasket in place. If I try to fit it like that, it just won’t go onto the collector. However, the link pipe itself fits directly onto the collector perfectly without the gasket—but I'm worried about leaks if I don't use anything. Has anyone else dealt with this? Am I supposed to ditch the graphite gasket and just use exhaust sealant paste, or am I missing something here? Attached a couple of photos of the parts. Any advice would be appreciated!
-
ye probably not 😄 If I were you, I'd look for new brake calipers. You have the opportunity to do cbs delink or some mods/swaps.
-
That might buff out Or not....
-
.thumb.jpg.6b9488d9849fb7037caa4c17228db2ab.jpg)
VF500F2 Aka MBD Incubation Period At Least 52 Years
Dutchy replied to Dutchy's topic in Earlier VFRs


-
VFRD Mission Statement
For owners of the Honda Interceptor and related Honda V4 motorcycles, for the purpose of mutual help concerning safe riding, maintenance, and performance of their motorcycles.
Rules of the ride - No one goes to jail, and No one goes to the Hospital.
Contributions - VFRD is a member supported website with no commercial advertising.

-
Forum Statistics
-
Total Topics26.8k
-
Total Posts365.1k
-
-
Who's Online (See full list)
-
Member Statistics
-
Upcoming Events
-
Latest Classifieds
-
-
Top Downloads
-
-
Popular Contributors
-
Blog Statistics
-
Total Blogs116
-
Total Entries345
-
-
Gallery Statistics
-
Blog Entries
-
-
Blog Comments
-

-

By vfrpilot28 · Posted
I enjoyed reading this and seeing your story. For the love of motorcycling! -
-
By interceptor69 · Posted
Oops. I do believe I know how to post YT videos or they wouldn't be on YT. However I may have screwed up copying the link to the playlist. Thanks for the helpful comment. -
 I think that you might not know how to post videos. You're in your YT studio in these links. You need the link to the actual video.
-
-
Most Contributions
-