-
Featured Gallery Photo
 DSC_7455.JPG

All Activity
- Past hour
-
 arnie3020 joined the community
 -
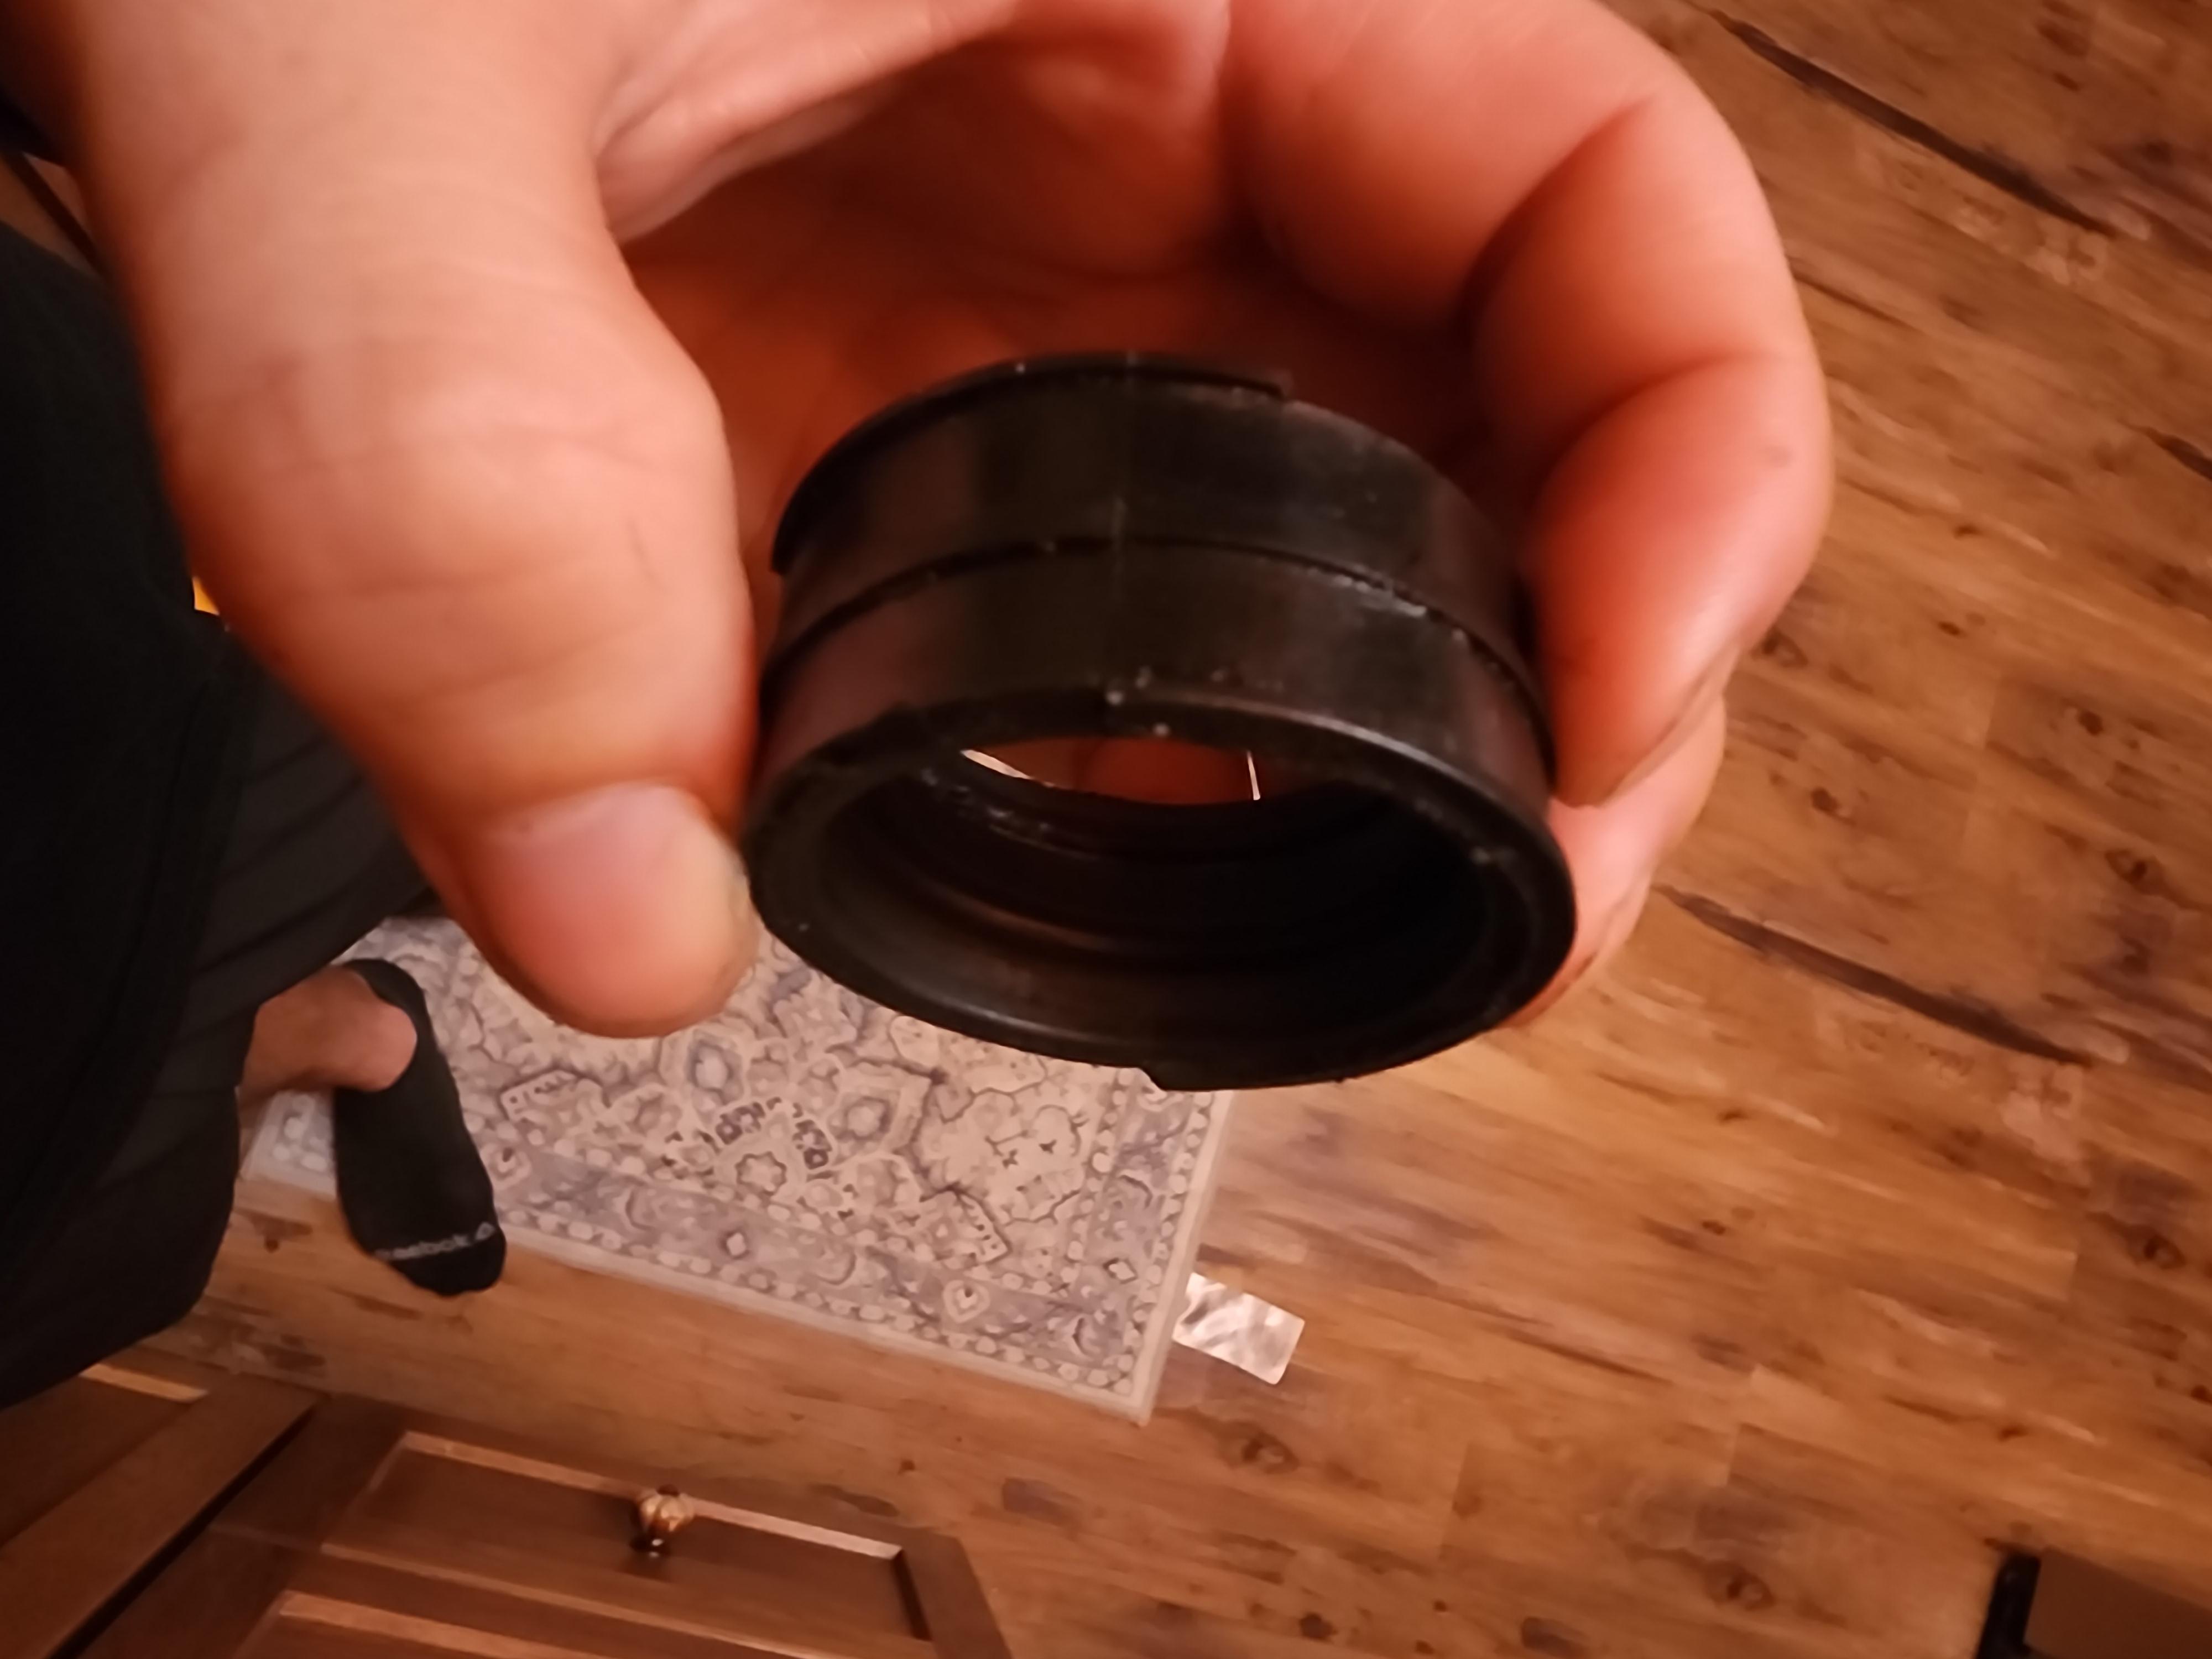
 Thank you I appreciate that and yes that is the issue 2 of them ripped and I dont feel like $90 is an appropriate price for 4 rubber boots that can't cost over $10 to make.
 - Today
-

VF500F2 Aka MBD Incubation Period At Least 52 Years
Dutchy replied to Dutchy's topic in Earlier VFRs
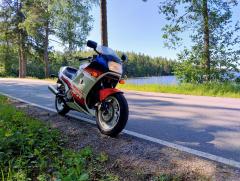
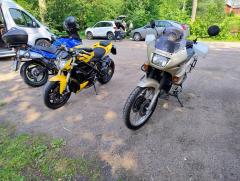
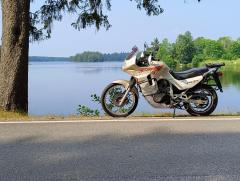
Bikes Beer BBQ weekend with like-minded indiviuals... all in all some 600km bike riding fun.... Back to the grind tomorrow...
-
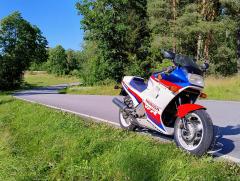
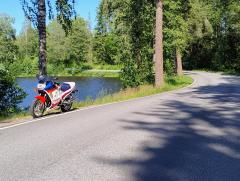
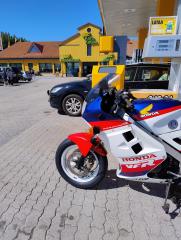
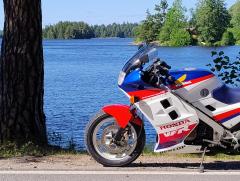
Pics of my VFR and ride pics!
-
-
 Nikolca joined the community
 -

2008 daily driver getting hard to start... sometimes
Scott45 replied to Scott45's topic in Sixth Generation VFR's
Thanks for the feedback Terry. So your issue was just a dirty connection on the starter solenoid? Also, what (or who) is "Grum"? -
 ezret333 joined the community
 -
 flyintwowheeler changed their profile photo
 -
 xctreker joined the community
 -
The manual says to fill on the sidestand, then start and blip the throttle a bit to cough out the bubbles. Then top off and fit the cap.
- 1 reply
-
- 1
-

-
 Flipped joined the community
 -

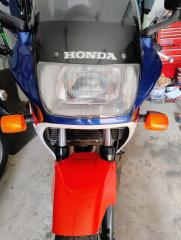
1987 Honda VFR700F Interceptor Intake boot part number?
FromMaine replied to Manofsteeeeel's topic in Maintenance Questions
CMSNL over in Holland lists the same part number as you mentioned. Scroll down to the list of models and you'll see yours, so it looks like the right number. INSULATOR,CARB. for Honda - order at CMSNL Just a FYI, unless yours are ripped, you can recondition hard rubber with Wintergreen oil and Alcohol or other solvent to get them pliable again. I have done this on my 85 VF1100 Sabre, 83 750 Interceptor, and one of my VF1000R's. There are many videos and recipes out there on Youtube, just look up Restoring rubber with Wintergreen oil. I'm including this link just because the guy is doing it to Honda CB750's boots. How To: Restoring Rubber with Wintergreen Oil (No Heat!) Good luck. I had an 87 VFR 700 for about 5 years, great bike. Have an 86 750 in the garage now, but haven't put it on the road. -
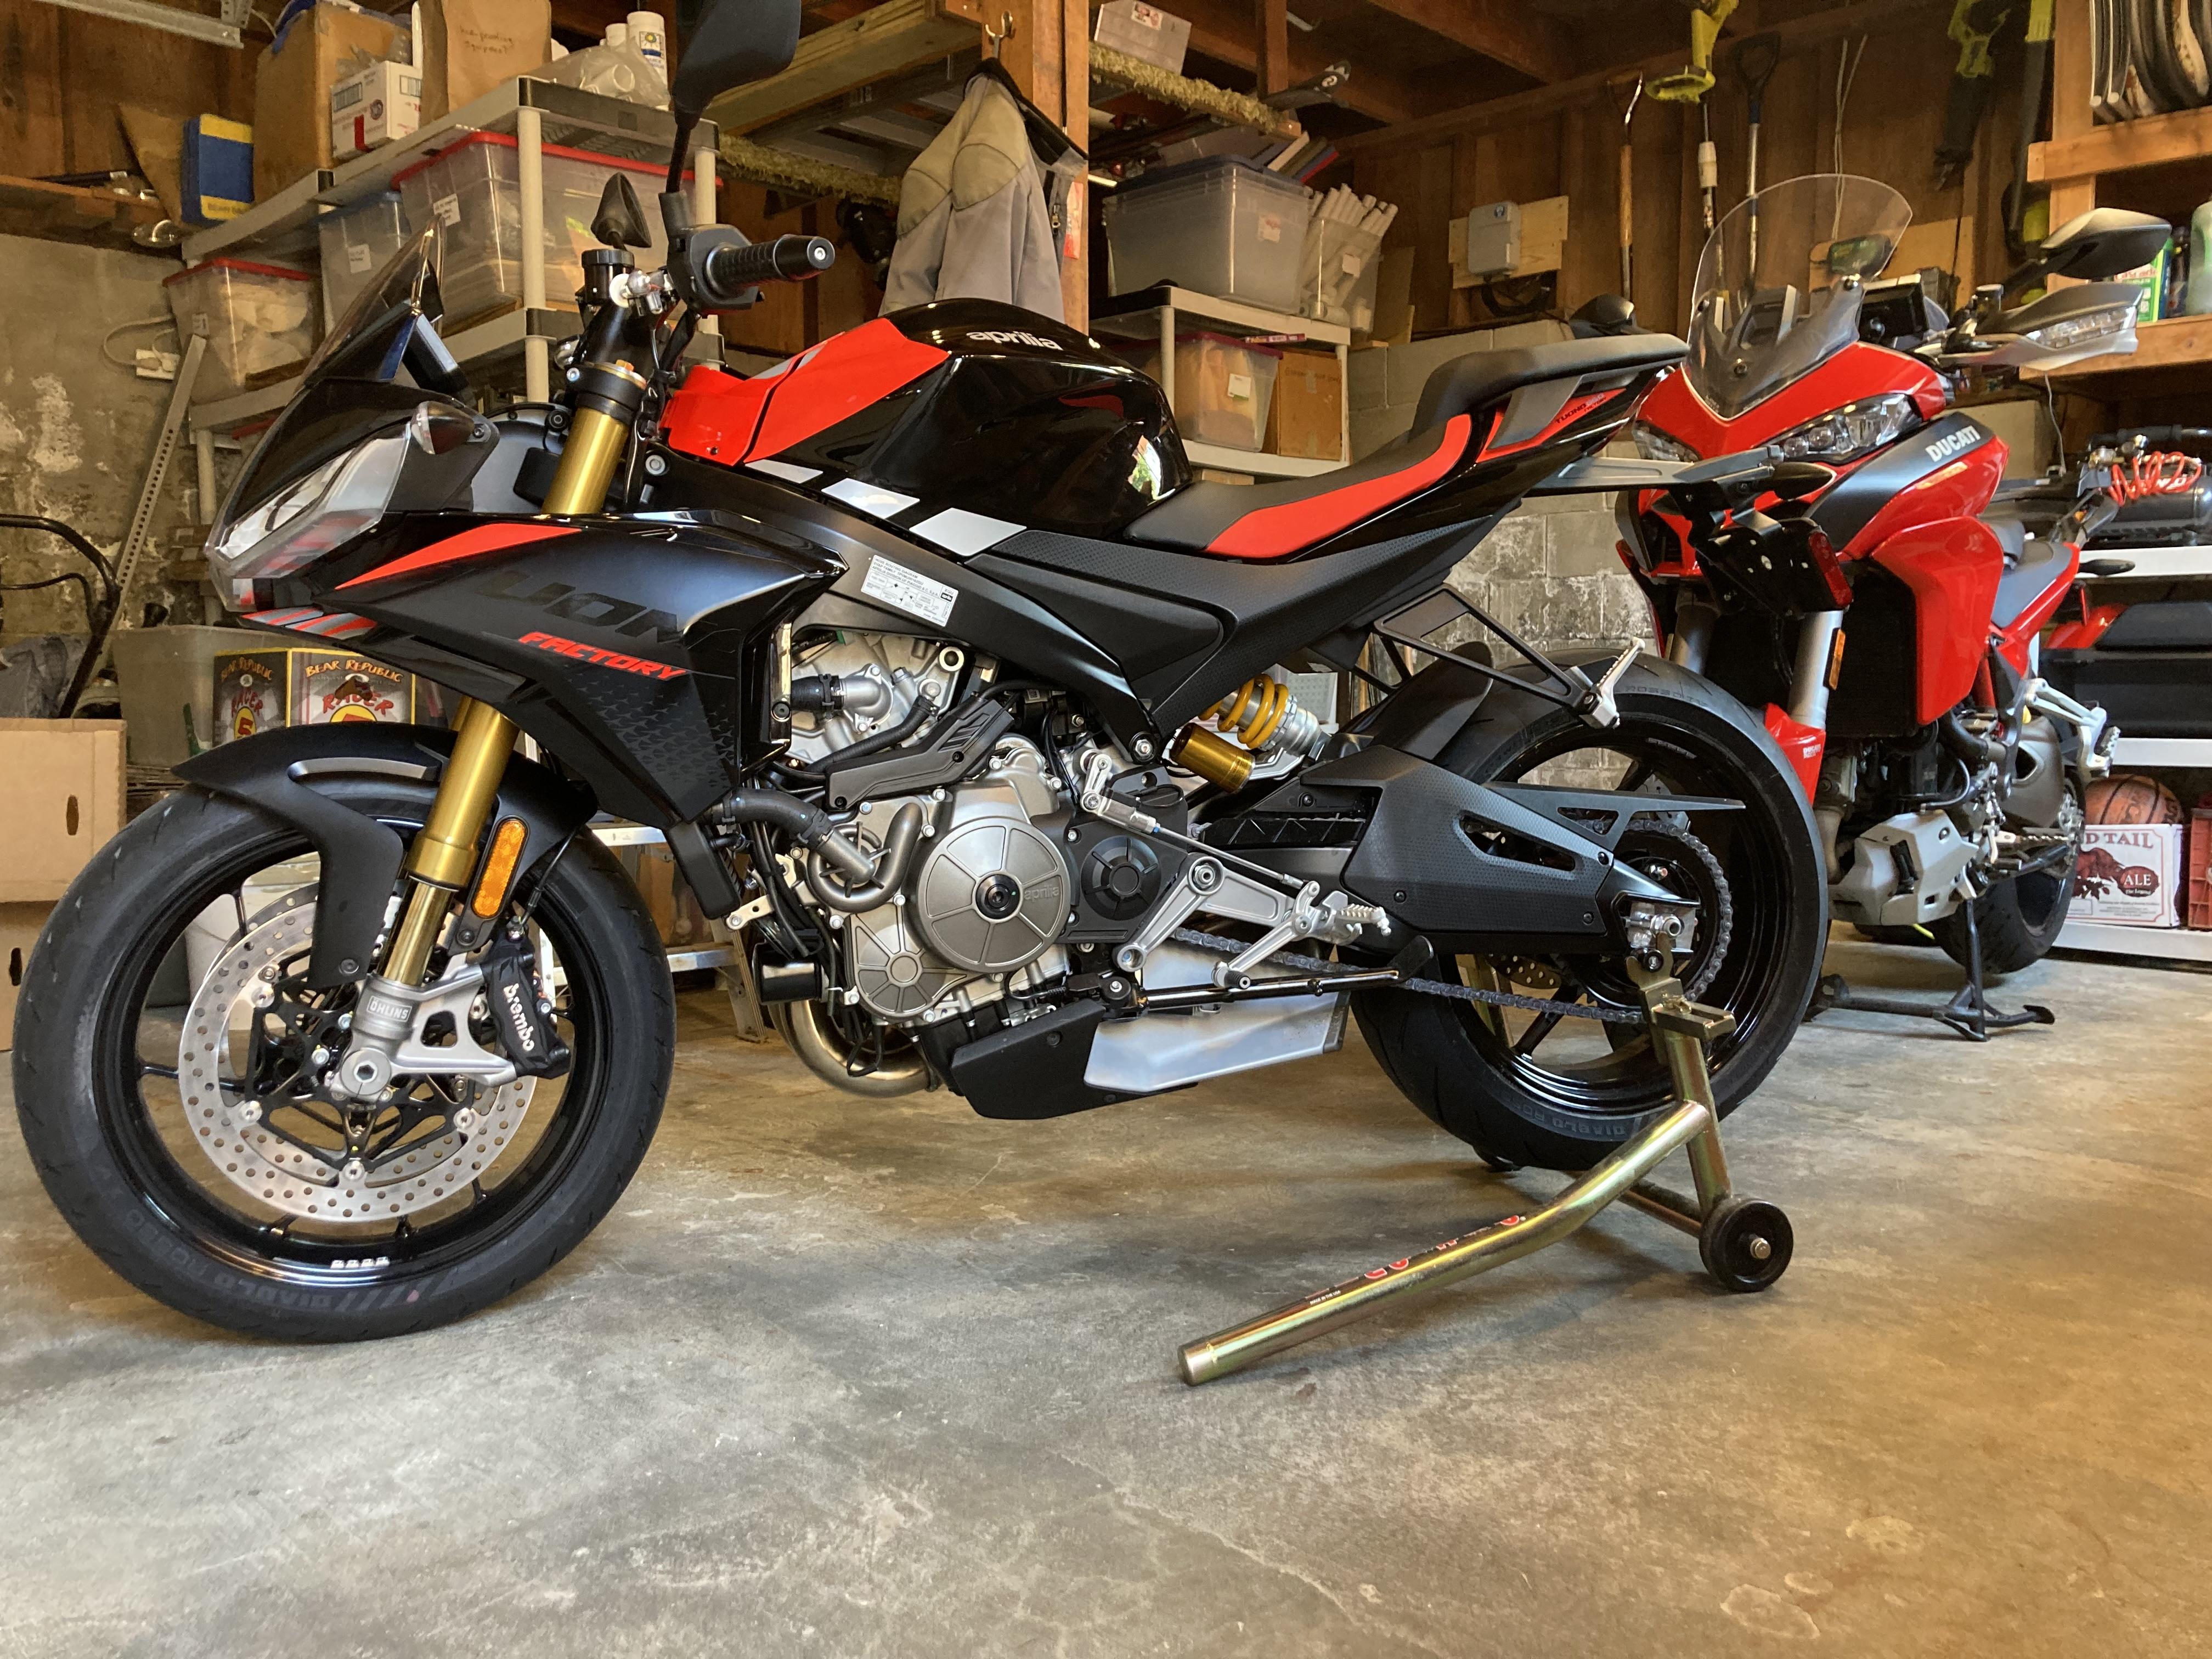
Yep, you chugged it alright. Then asked for seconds..............🍾😄 Congratulations, looks like a fun ride!
-
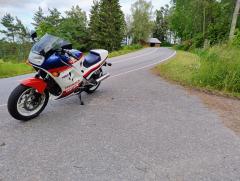
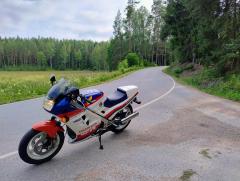
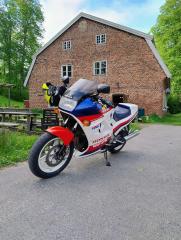
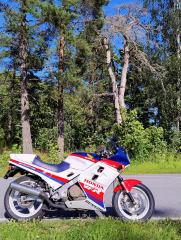
That is a lot of bike for that price! Congrats.
-
Can anyone please tell me the part number or plug me with a website or link for the carb intake boot/insulators for a 1987 Honda VFR700F2 Interceptor? I found 16211-ML7-000 but when I put my bike in it says it doesn't fit and also the dimensions are pretty far off but they look identical. Thanks so much
-
Well, I guess I have chugged the Italian Koolaid. Based on a 40 mile ride home today, starting in Dogpatch, all the way through urban SF to the GG bridge, and then home, I really like this bike. More to follow...of course.
-
Me and Mr.RC45 always have a wheelie nice day...
- Yesterday
-
 OMK joined the community
 -
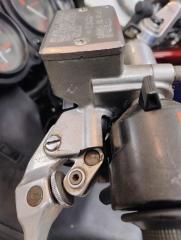
Hi Guys, I'm putting the bike back together after a valve check (I'll do a little Lessons Learned on that later) and I'm refilling the radiators. Anything special I need to know, or is it just a matter of "Fill it up, let it run, top it off?"
- 1 reply
-
- 1
-
-
Not totally familiar with this setup, but a vacuum petcock, needs vacuum to operate, and yours is blocked, which in turn wouldn't allow gas to flow to the carburetors...... My Valkyrie has one and it's.....no vacuum, no gas. Captain80s is expert on these bikes and I'm sure he'll be along shortly...
-
 ellzak joined the community
 -
recently acquired a 1984 Honda vf500 Interceptor. Going through the carbs, cleaning out the tank. Noticed the tank petcock vacuum assembly 2 ports are plugged off with a sealer of some sort and the rubber diaphram is torn, missing spring. How would this affect the bikes performance? I figure I need to get this working right.
-
 wyorider joined the community
 -
 Gurd joined the community
 -
 AHeb joined the community
 -
I actually did something similar after getting tired of my savings just sitting there
-
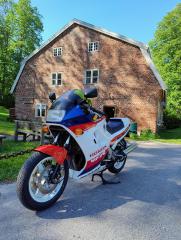
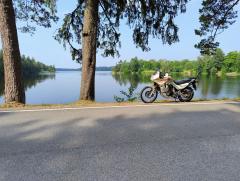
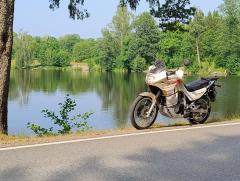
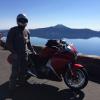
Out testing the front tire I had to do Quit a different feeling bike now the Transalp! Faster steering as much more giving feedback in corners, I really like it. Ice cream because it's+27C° today, warmest this summer! And yes I would not mind to test ride that Ducati!
-
-
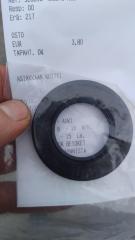
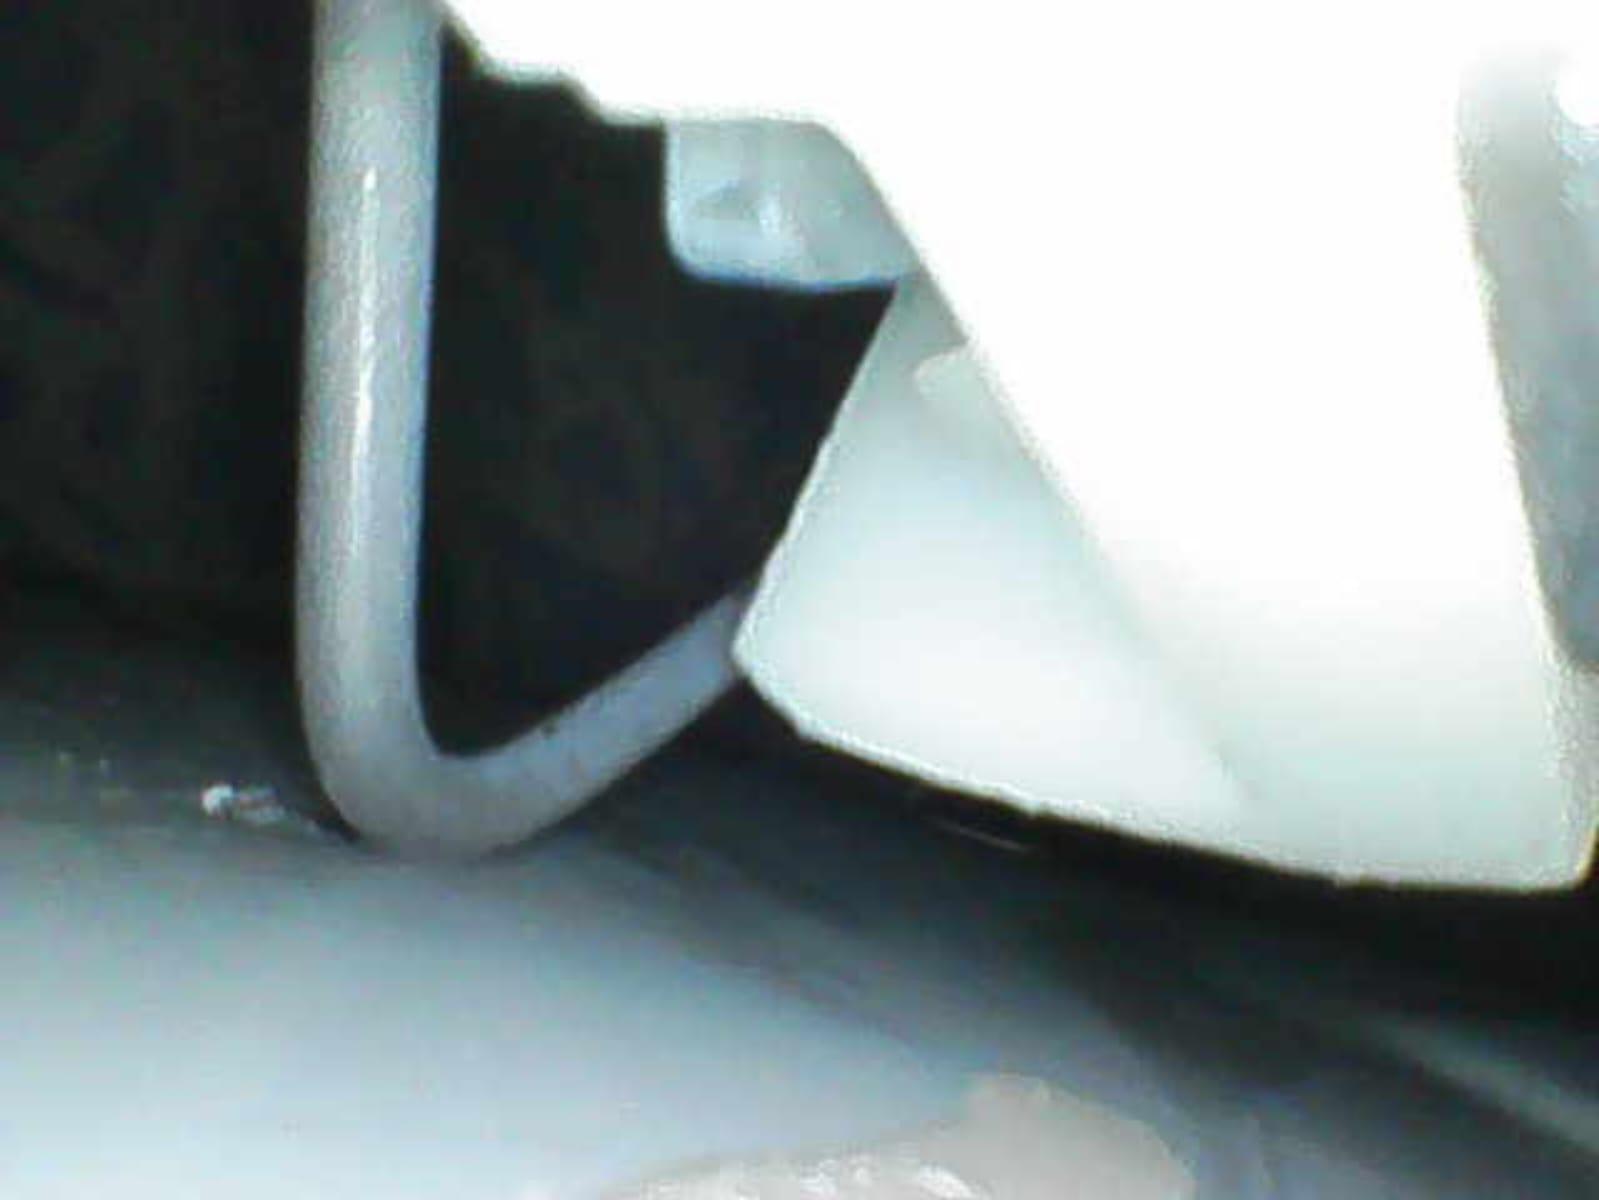
I really enjoy this motorcycle. And it's amazing how big a difference in price if you get a OEM wheel seal or a identical from a Automobile parts store It's actually the brake disc side seal even picture show the sprocket side, but yes €3,80 vs €16,94! That's a huge difference!
-
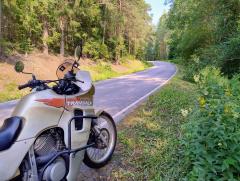
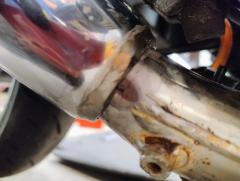
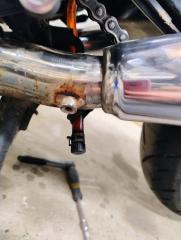
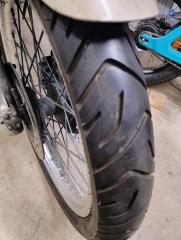
The CB SevenFifty exhaust is on awaiting to be welded Then inspected closer the reason Transalp handlebar wobble a little, it started after after I changed the front tire, so it suspected the head bearing, more that the tire was not seated properly and usually on the inner tube spoke rims it seat's as you use the bike, but this didn't disappear. As you stod up and looked on the tire riding slowly it looked rolling even but as I had front wheel off and rolled it slowly it has a dip 1000049201.mp4 So even I have had 2 of these same Duro front tire's whiteout issues this is faulty ☹️ Found a cheap Bridgestone A41 to temporarily replace it whit More a street tire but will do for now, hopefully no off-road riding plans by my gravel roads pals in near future... I have contacted the seller of this Duro tire and let's see what his response is. It's a cheap tire but still I would like a refund as tire is crap. If I get refund (or not)I have to start consider what to get, if I get a new Duro then 🤞 it's a good one..
-
1992 750 fuel starvation
flyintwowheeler replied to flyintwowheeler's topic in Third and Fourth Generation VFR's
Update Well,I've bypassed the relay so the pump is getting power all the time and the problem has disappeared. I did initially fit a new relay and also didn't cure the problem so in my opinion,it's the pulse coils causing the fault. Absolutely no issues after relay by pass -
Roll the bike up to 20-25 mph in first,shut it right off to compress the forks then gas it full up quickly and it will lift the front easily without clutching it
-

2008 daily driver getting hard to start... sometimes
Terry replied to Scott45's topic in Sixth Generation VFR's
Not saying this is a sure fire fix but my 2005 ST1300 was doing something similar. Eventually the starter solenoid decided not to click over and I knew it was an electrical fault, and Grum helped me track that one down to the diode, which we thought may be faulty but tested out just fine. The thing that made a difference was cleaning up the connectors on the neutral diode. They weren't obviously dirty but the issue just went away. - Last week
-
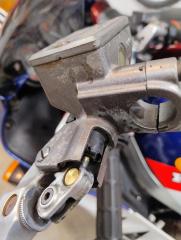
New lever time bro, ya can't buy individual lever parts, only pivot bolts, which i'd also replace with a new lever, pattern parts are just as good as OEM & half the price, OEM levers aren't that pricey to be fair. Bolts likely come adrift due to being bone dry & friction on bolt applying lever has worked it loose, also could av been over tightened & stripped out the thread. I'd pull new lever apart & grease all moving parts with high load grease before install, I strip/clean/lube both levers every year when I flush the brake n clutch fluid. (Dave Silvers Honda) stocks pattern & OEM levers, virtually identical.
-

Fuel Indicator stops at half full 2015
ChrisThorners replied to ThornersUK's topic in Eighth Generation VFR's
I finally got round to sorting this. After 5 hours of removing and reinstalling the bastard pump unit, I managed to get the endoscope camera on the float arm. Looks like the tank is a bit contorted, probably from the notorious breather pipe issues I've read about, so the arm was touching the bottom of the tank, so it wasn't lowering fully. I changed the angle on the float arm, reinstalled and bobs your uncle, it now works. Pretty sure the breather pipe was trapped when I got it, sorted that ages ago. Happy days, chuffed.
-
JZH - Thanks for linking your thread on this topic - you got some good photos of the job to look at.. I'm going to do mine, I have a spare rear I am going to use as a "practice" run... then do the caliper that I am going to use... Already have a 14mm rear master cylinder on the bike... did that long ago. Getting rid of this bridge loop thingy... it has performed well but since I am doing the caliper rebuild, I'm in the "why not" mode. My bike refresh has gone frustratingly too long... I am waiting for some parts on backorder..(dammit) Kinda in the mode of what kind of "while I'm at its" can I do in the mean time.... Its bye bye bridge line....


-
VFRD Mission Statement
For owners of the Honda Interceptor and related Honda V4 motorcycles, for the purpose of mutual help concerning safe riding, maintenance, and performance of their motorcycles.
Rules of the ride - No one goes to jail, and No one goes to the Hospital.
Contributions - VFRD is a member supported website with no commercial advertising.

-
Forum Statistics
-
Total Topics26.4k
-
Total Posts361.3k
-
-
Who's Online (See full list)
-
Member Statistics
-
Upcoming Events
No upcoming events found -
Latest Classifieds
-
-
Top Downloads
-
-
Popular Contributors
-
1
-
2

-
3

-
4
-
5
-
-
Blog Statistics
-
Total Blogs116
-
Total Entries345
-
-
Gallery Statistics
-
Blog Entries
-
-
Blog Comments
-

By vfrpilot28 · Posted
I enjoyed reading this and seeing your story. For the love of motorcycling! -

-
By interceptor69 · Posted
Oops. I do believe I know how to post YT videos or they wouldn't be on YT. However I may have screwed up copying the link to the playlist. Thanks for the helpful comment. -
 I think that you might not know how to post videos. You're in your YT studio in these links. You need the link to the actual video.
 -
-
-
Most Contributions
-