-
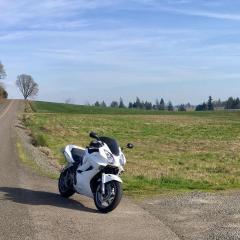
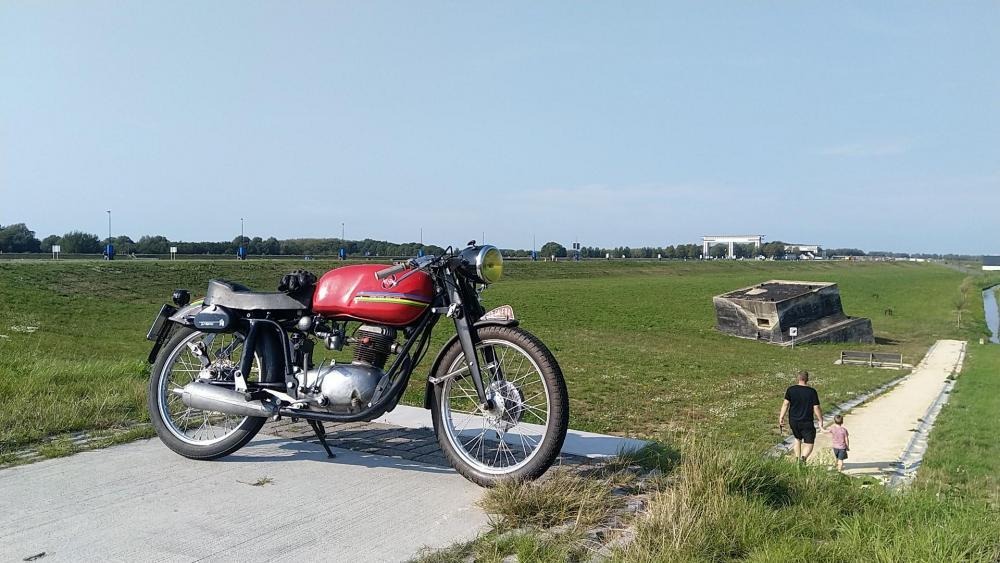
Featured Gallery Photo
 IMG_20260412_132837819_AE.jpg

Copyright
© @keny
All Activity
- Today
-
Awesome, Thx for the pictures. It looks like I have the correct plug that patch it in with. It's nice to clear up doubt when you are dealing with wiring.
-
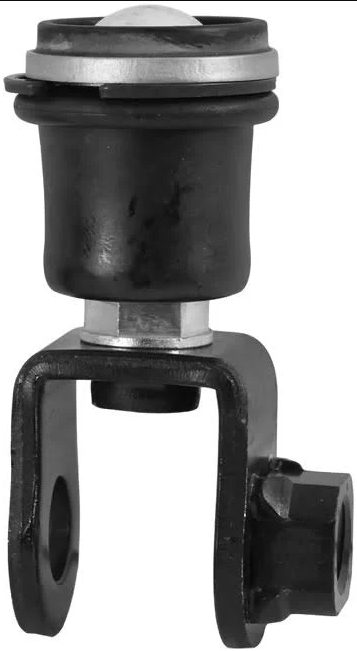
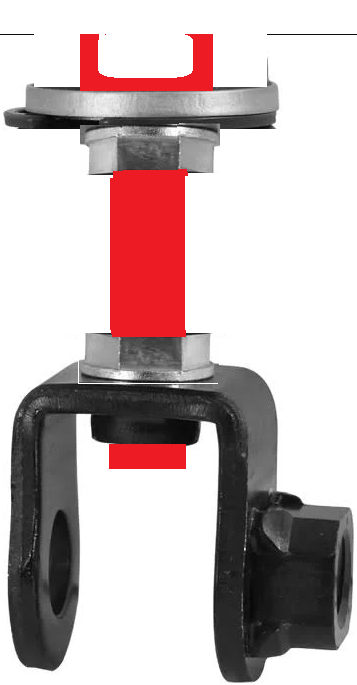
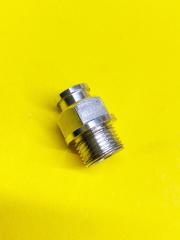
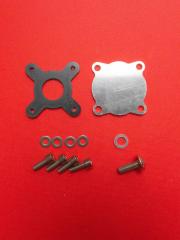
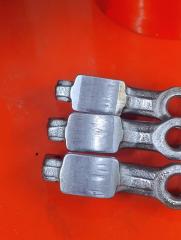
I can't find a picture of my solution, but if you look at the clevis, it has an threaded adjustable plunger, that passes through a retainer plate. Just replace the plunger with a socket head bolt I think it's an M6 IIRC. To assemble, slide the retainer plate over the bolt. Add a Nyloc lock nut to retain it & tighten the plate onto bolt head. Add a second locknut, can be ordinary or a Nyloc added in reverse. Thread on the clevis. Fit the retainer plate in the Secondary master cylinder as per stock disassembly, such that the bolt head is inside where the plunger would be, retaining it with the stock circlip. Connect the clevis to the fork leg loosely check pad alignment on the disc, adjust bolt length as needed until you are happy, snug up second lock nut & clevis cross bolt. Go ride it 🙂 Stock Clevis Modified with Cap Head Bolt Clevis, the Red represents the Cap Head Bolt ! Trim bolt to length where is passes through the clevis. I used an alloy cap head bolt, its more than strong enough as it only sees compression loads, you may need to reduce the cap head outer diameter to fit inside the master cylinder hole. I cut away all the surplus bracket where the hoses mounted & drilled some lightening holes. Happy modding 🙂

-
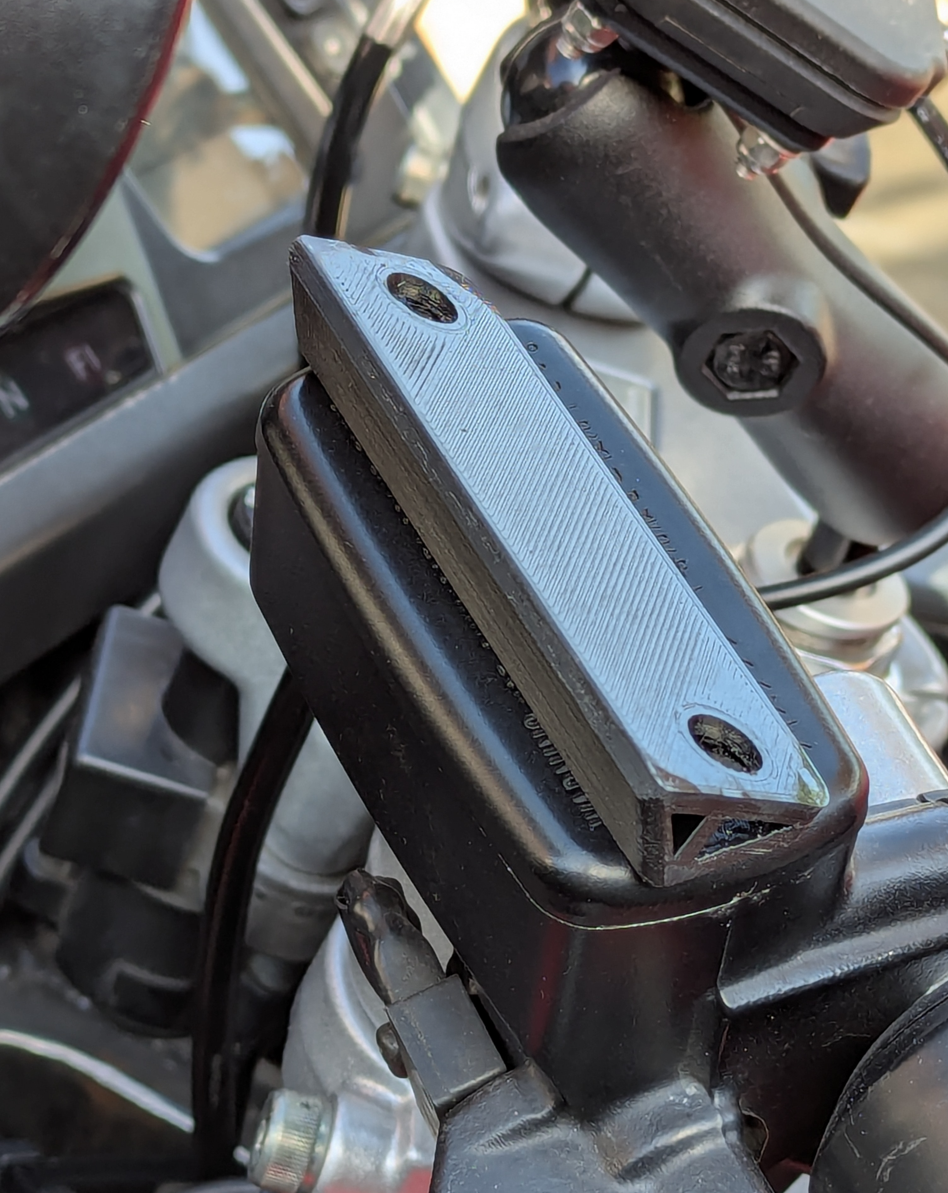
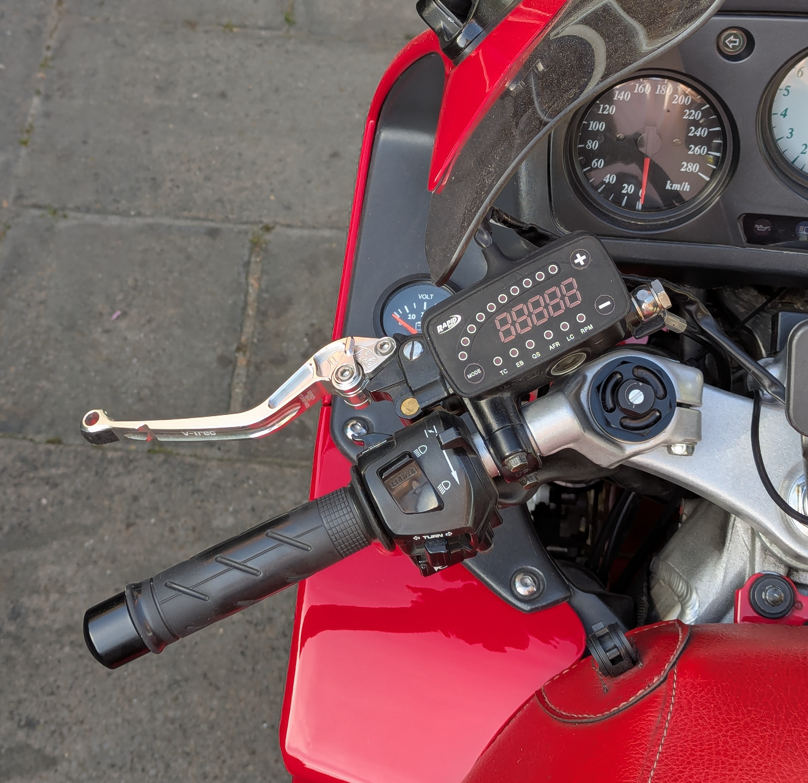
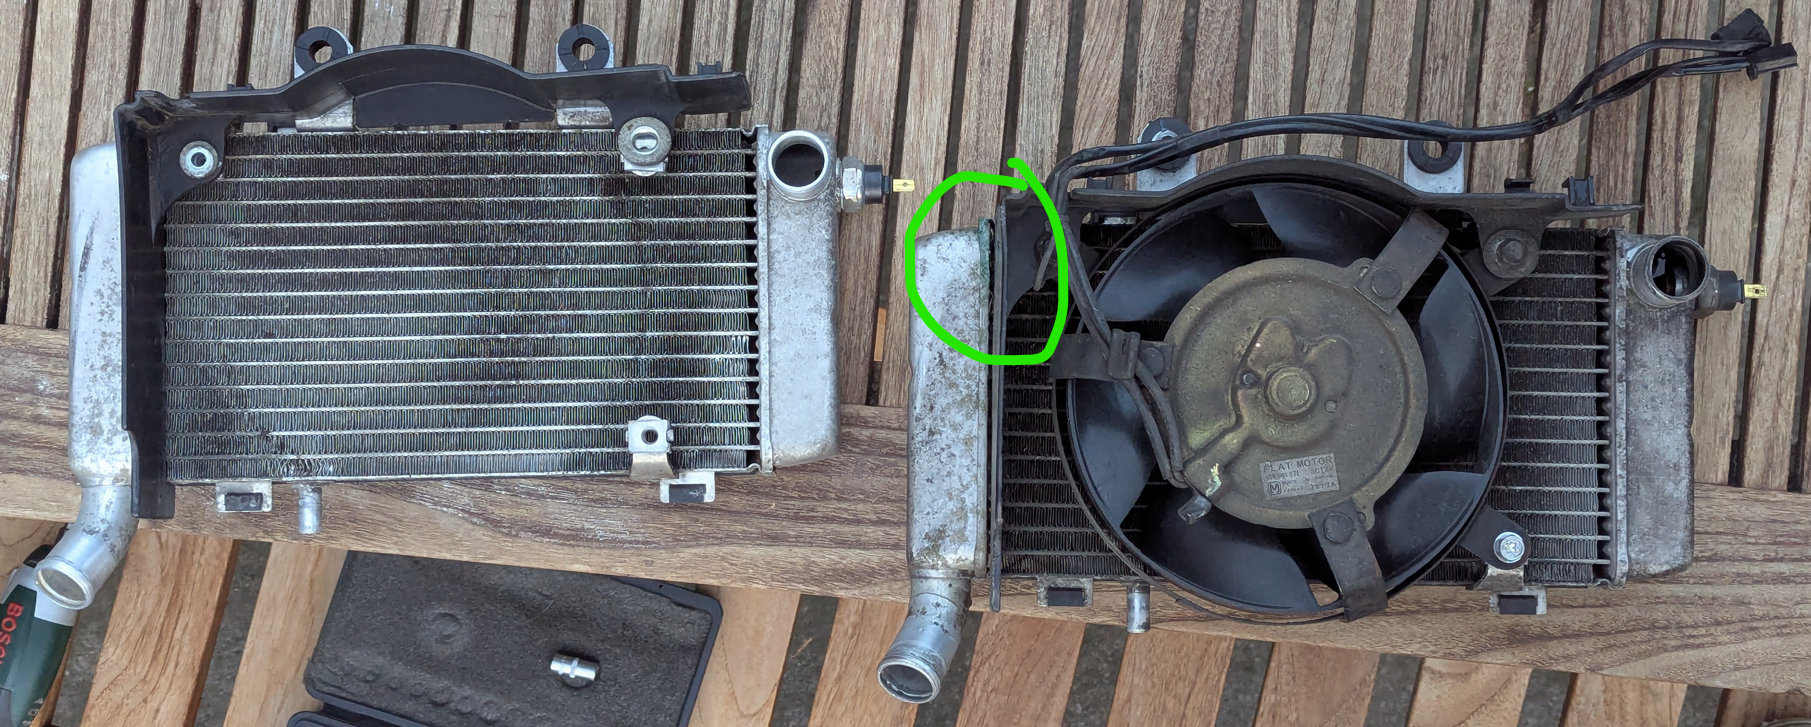
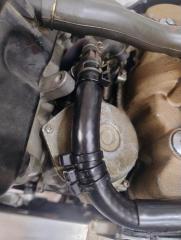
Designed/printed/placed a bracket for the RapidBike YouTune display to be placed on top of the clutch fluid reservoir: Routed the cable back to the battery area. Ready for soldering / connecting to the 'conFUSEd'. Also finished the bracket for allowing to move forward the fuel cut relay and barometric pressure sensor. Last, but not least: replaced the left radiator (by a second hand) since it showed (greenish) signs of minor leaking:
-
ah, got it
-
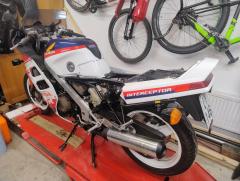
thats a strange VFR!!! 😄
-

Just a curiosity.. oddball questions..
VTCAL replied to mello dude's topic in Fifth Generation VFR's
arrows on tires are not oriented "front or back", but rather in the direction of normal rotation during travel. I know such concepts can be difficult, but give yourself a moment in consideration. -
 MarkyMark750 changed their profile photo
 -
MarkyMark750 joined the community
- Yesterday
-
off topic: I have a hunch where you shot this picture 🤫
-
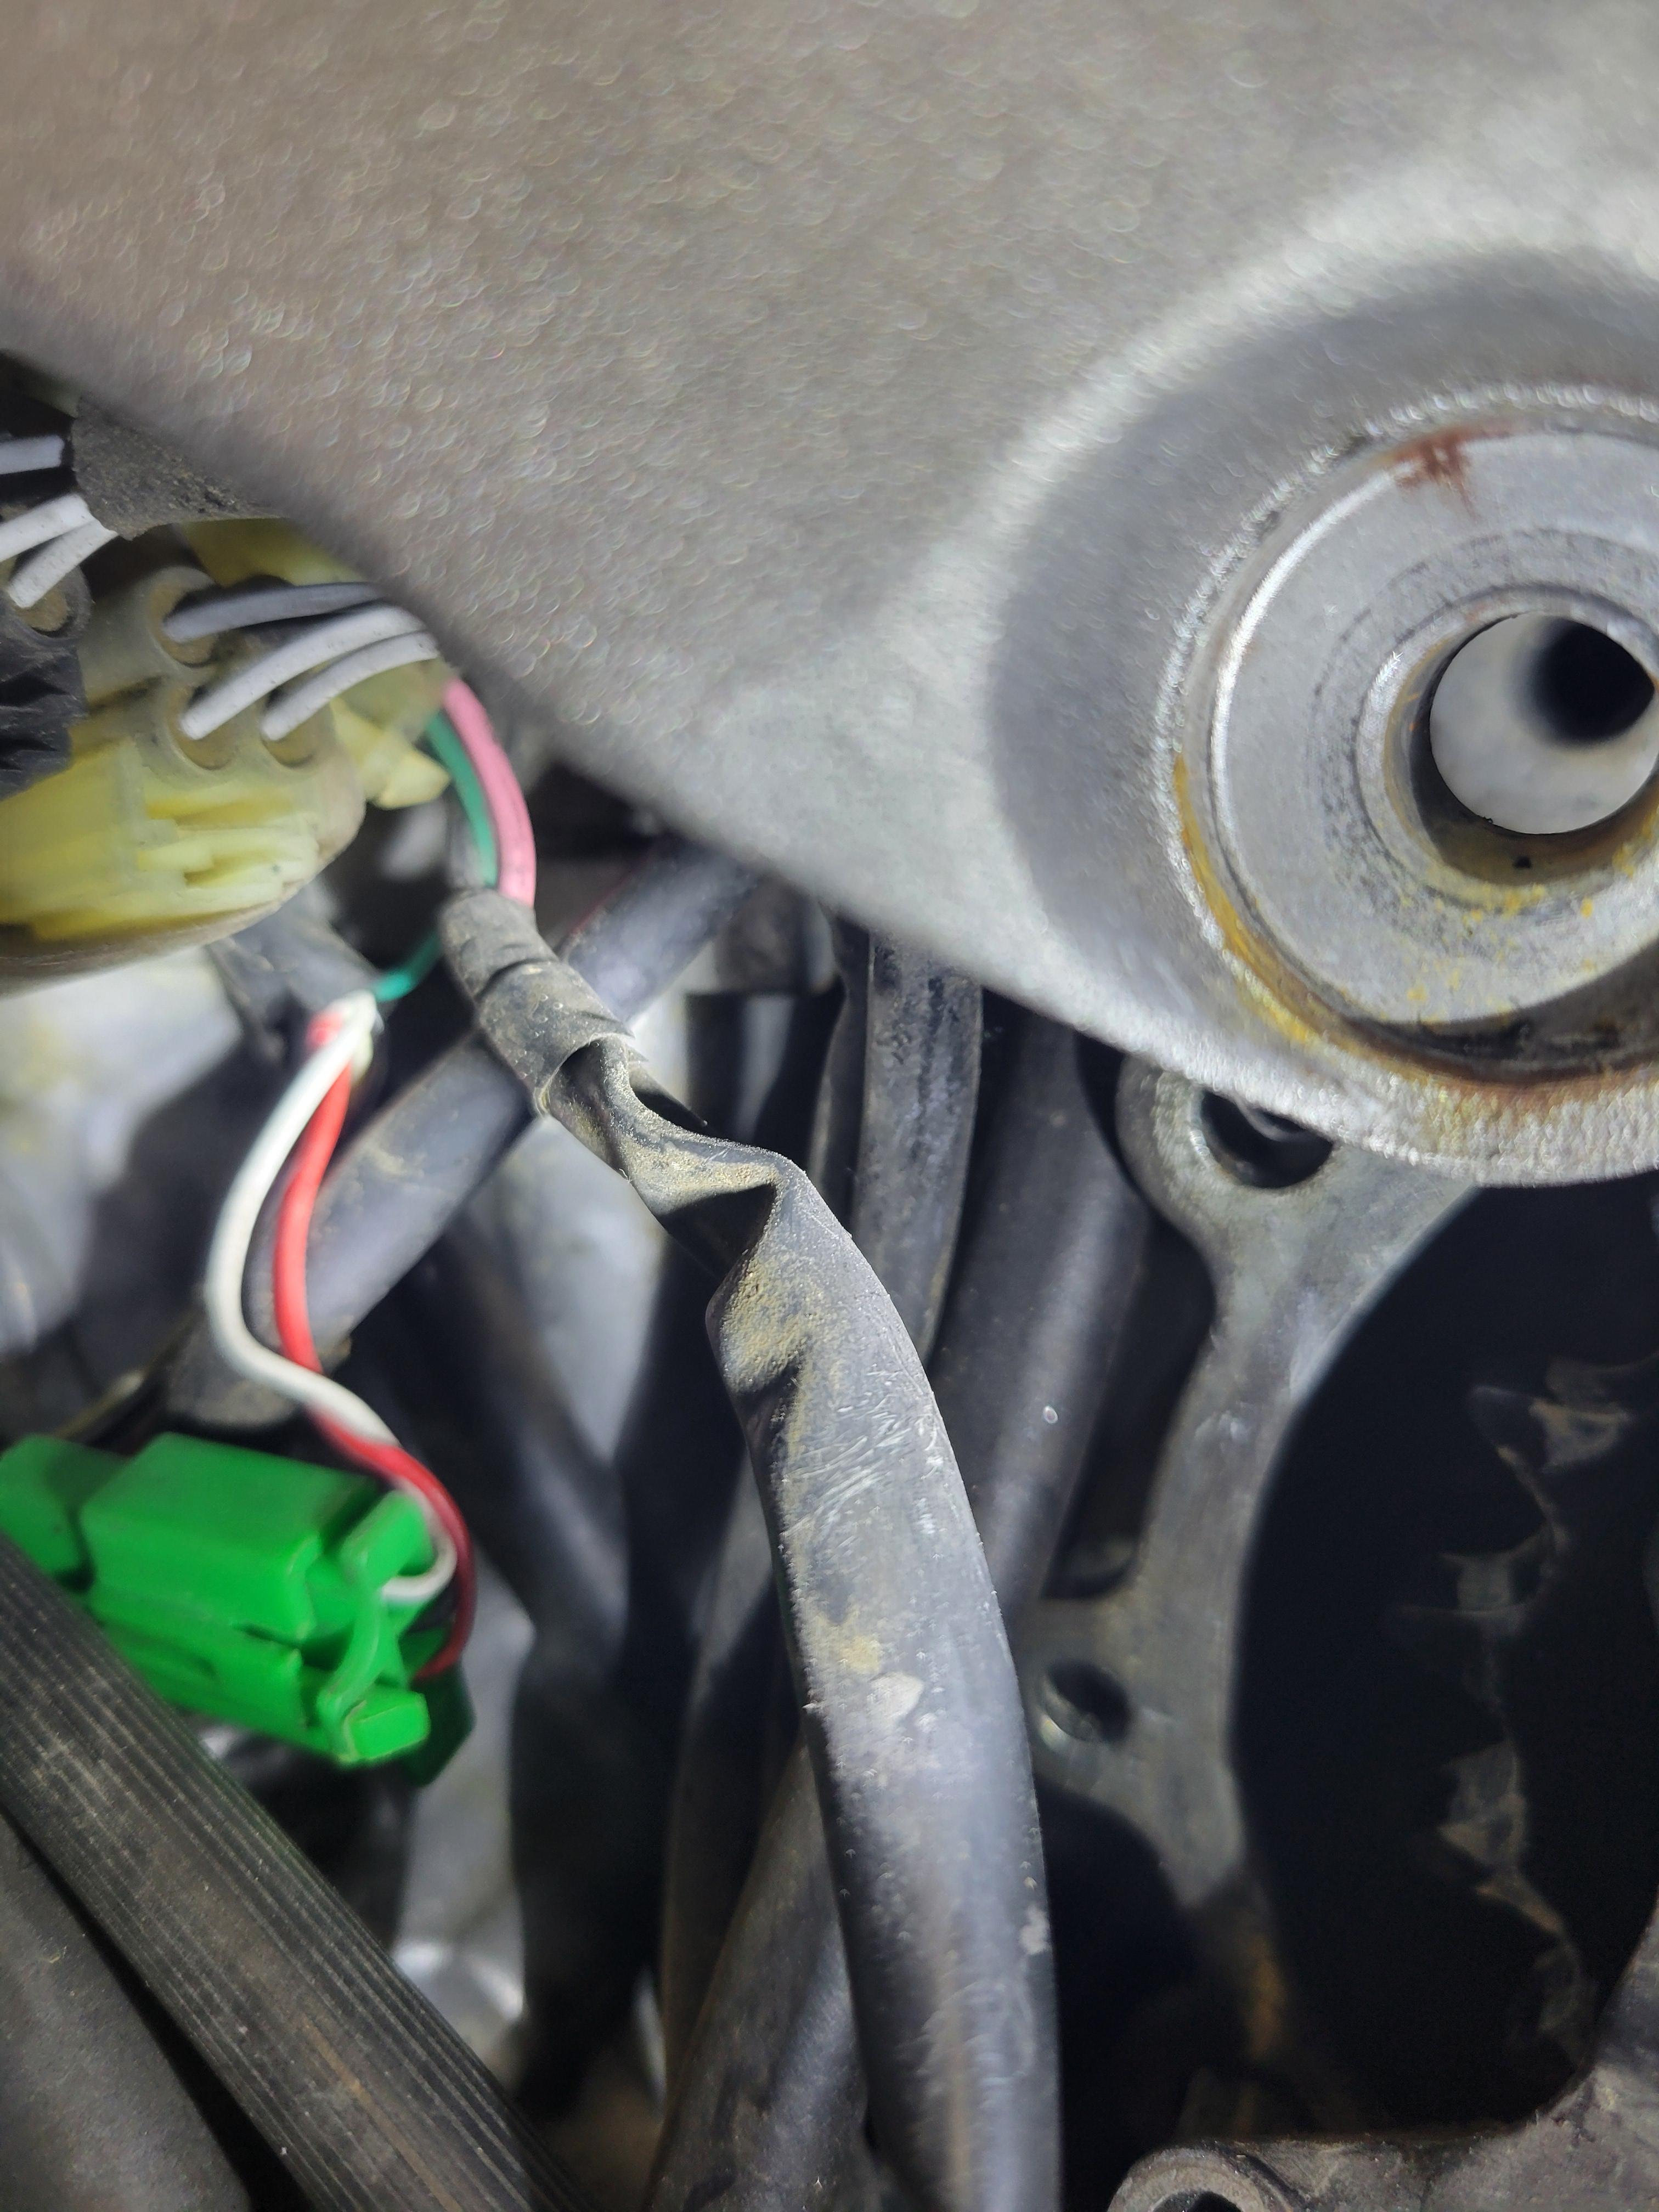
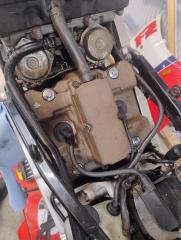
JZH got it. My wiring is a bit different as it has pink, green, and black going to the connector. The green connectors in the picture is the connectors for my gear indicator I have yet to finish.
-
I could "delink" this front brake completely..... Cos it was crap when it left the factory in 1952 to begin with... 🙂 Sorry, could not resist...
-

Interesting YouTube video on high mileage 5th gen
Skids replied to keny's topic in Fifth Generation VFR's
I'd disagree re the brakes. I upgraded the brake lines on my 01 800 to braided ss and it made a noticeable difference imo. -
 Brambo joined the community
 -
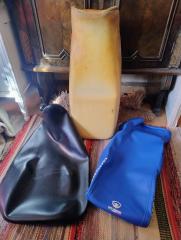
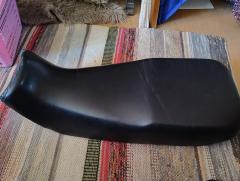
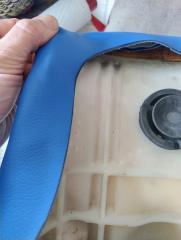
Today's work, the seat cover The foam needed to be glued to the base in the front Sadly the fit was not perfect up front of the cover, it's a bit to wide So to get it really smooth turned out to be a bit to demanding But even not perfect I'm happy whit it
-
Other VFR and other pics....
-
-

Interesting YouTube video on high mileage 5th gen
airwalk replied to keny's topic in Fifth Generation VFR's
I’ve changed 2 sets recently, 1 40yrs old & the other 30, both working fine. Improvements in “feel” barely noticeable, I suspect somewhat a form of wishful thinking to justify the effort/ expense invested! -

Interesting YouTube video on high mileage 5th gen
RossR replied to keny's topic in Fifth Generation VFR's
I watched both those videos last year. If I recollect, John McGuiness, after riding the bike pretty hard on the track, said that there were absolutely no problem with the brakes at that high mileage, with the original brake lines. Perhaps we fuss too much about changing OEM lines! I still have the original brake lines on my 2003 Toyota Matrix XRS (which incidentally has a superb engine built by Yamaha) at about 350,000km. A few years ago, I bought new brake lines, but when I saw that attempting to remove them may have caused more problems due to rusted fasteners and the hoses were in good condition, I left them in place. The brakes still perform as good as new. I am not suggesting that one shold leave OEM brake lines on a motorcycle for such high mileage as we are just on two wheels, but my point is that Japanese brake hoses seem to be extremely durable and high quality. The recommendations in the manual to change them at low mileage are probably a 'Cover My Ass and avoid liability' recommendation by the manufacturers. -
Interesting YouTube video on high mileage 5th gen
RossR replied to keny's topic in Fifth Generation VFR's
-
 PovilasStramaitis joined the community
 -
I don't intend for commercial exploitation, but I do see the certification required for commercial use as a requirement for releasing the design to others.
-
ahh got it, didnt know you intended it for commercial use, sorry!
-
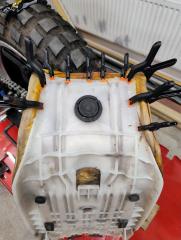
If only one of the yellow wires is getting hot, that could indicate a bad "leg" on the stator. Have you had a look at it? It will probably look dark above the "oil line", but it shouldn't look "crispy" anywhere. Ciao, JZH
-
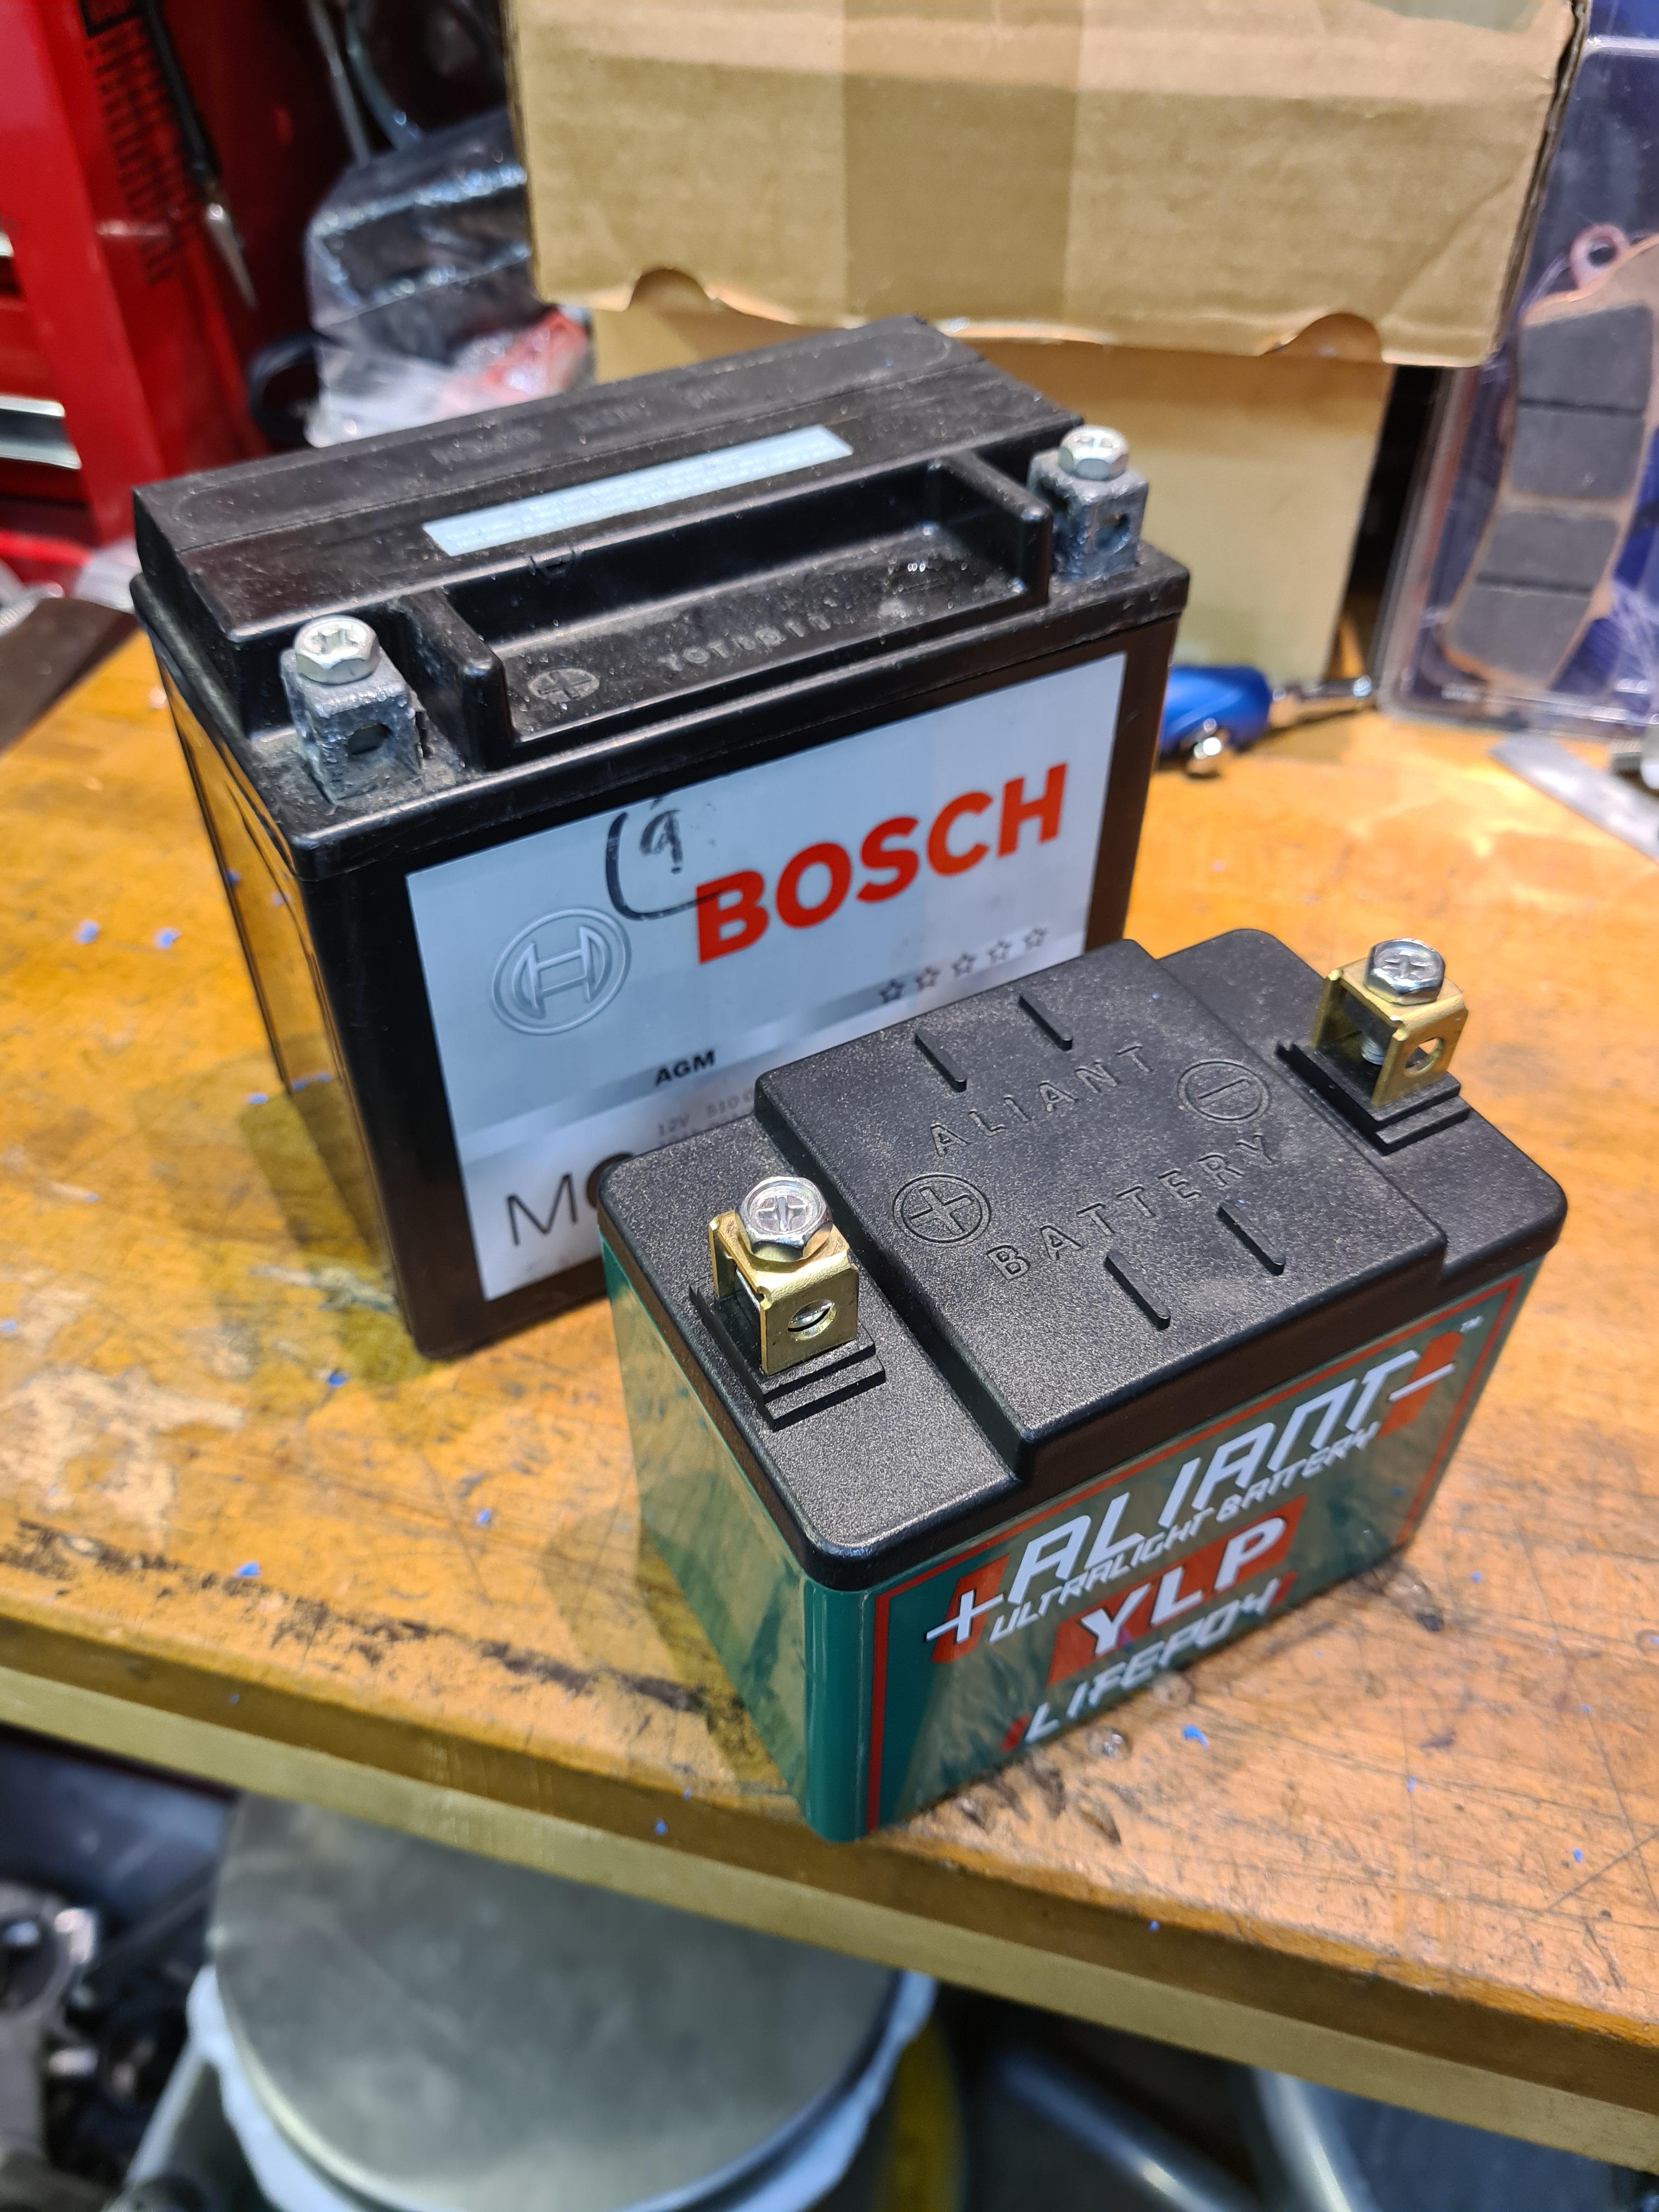
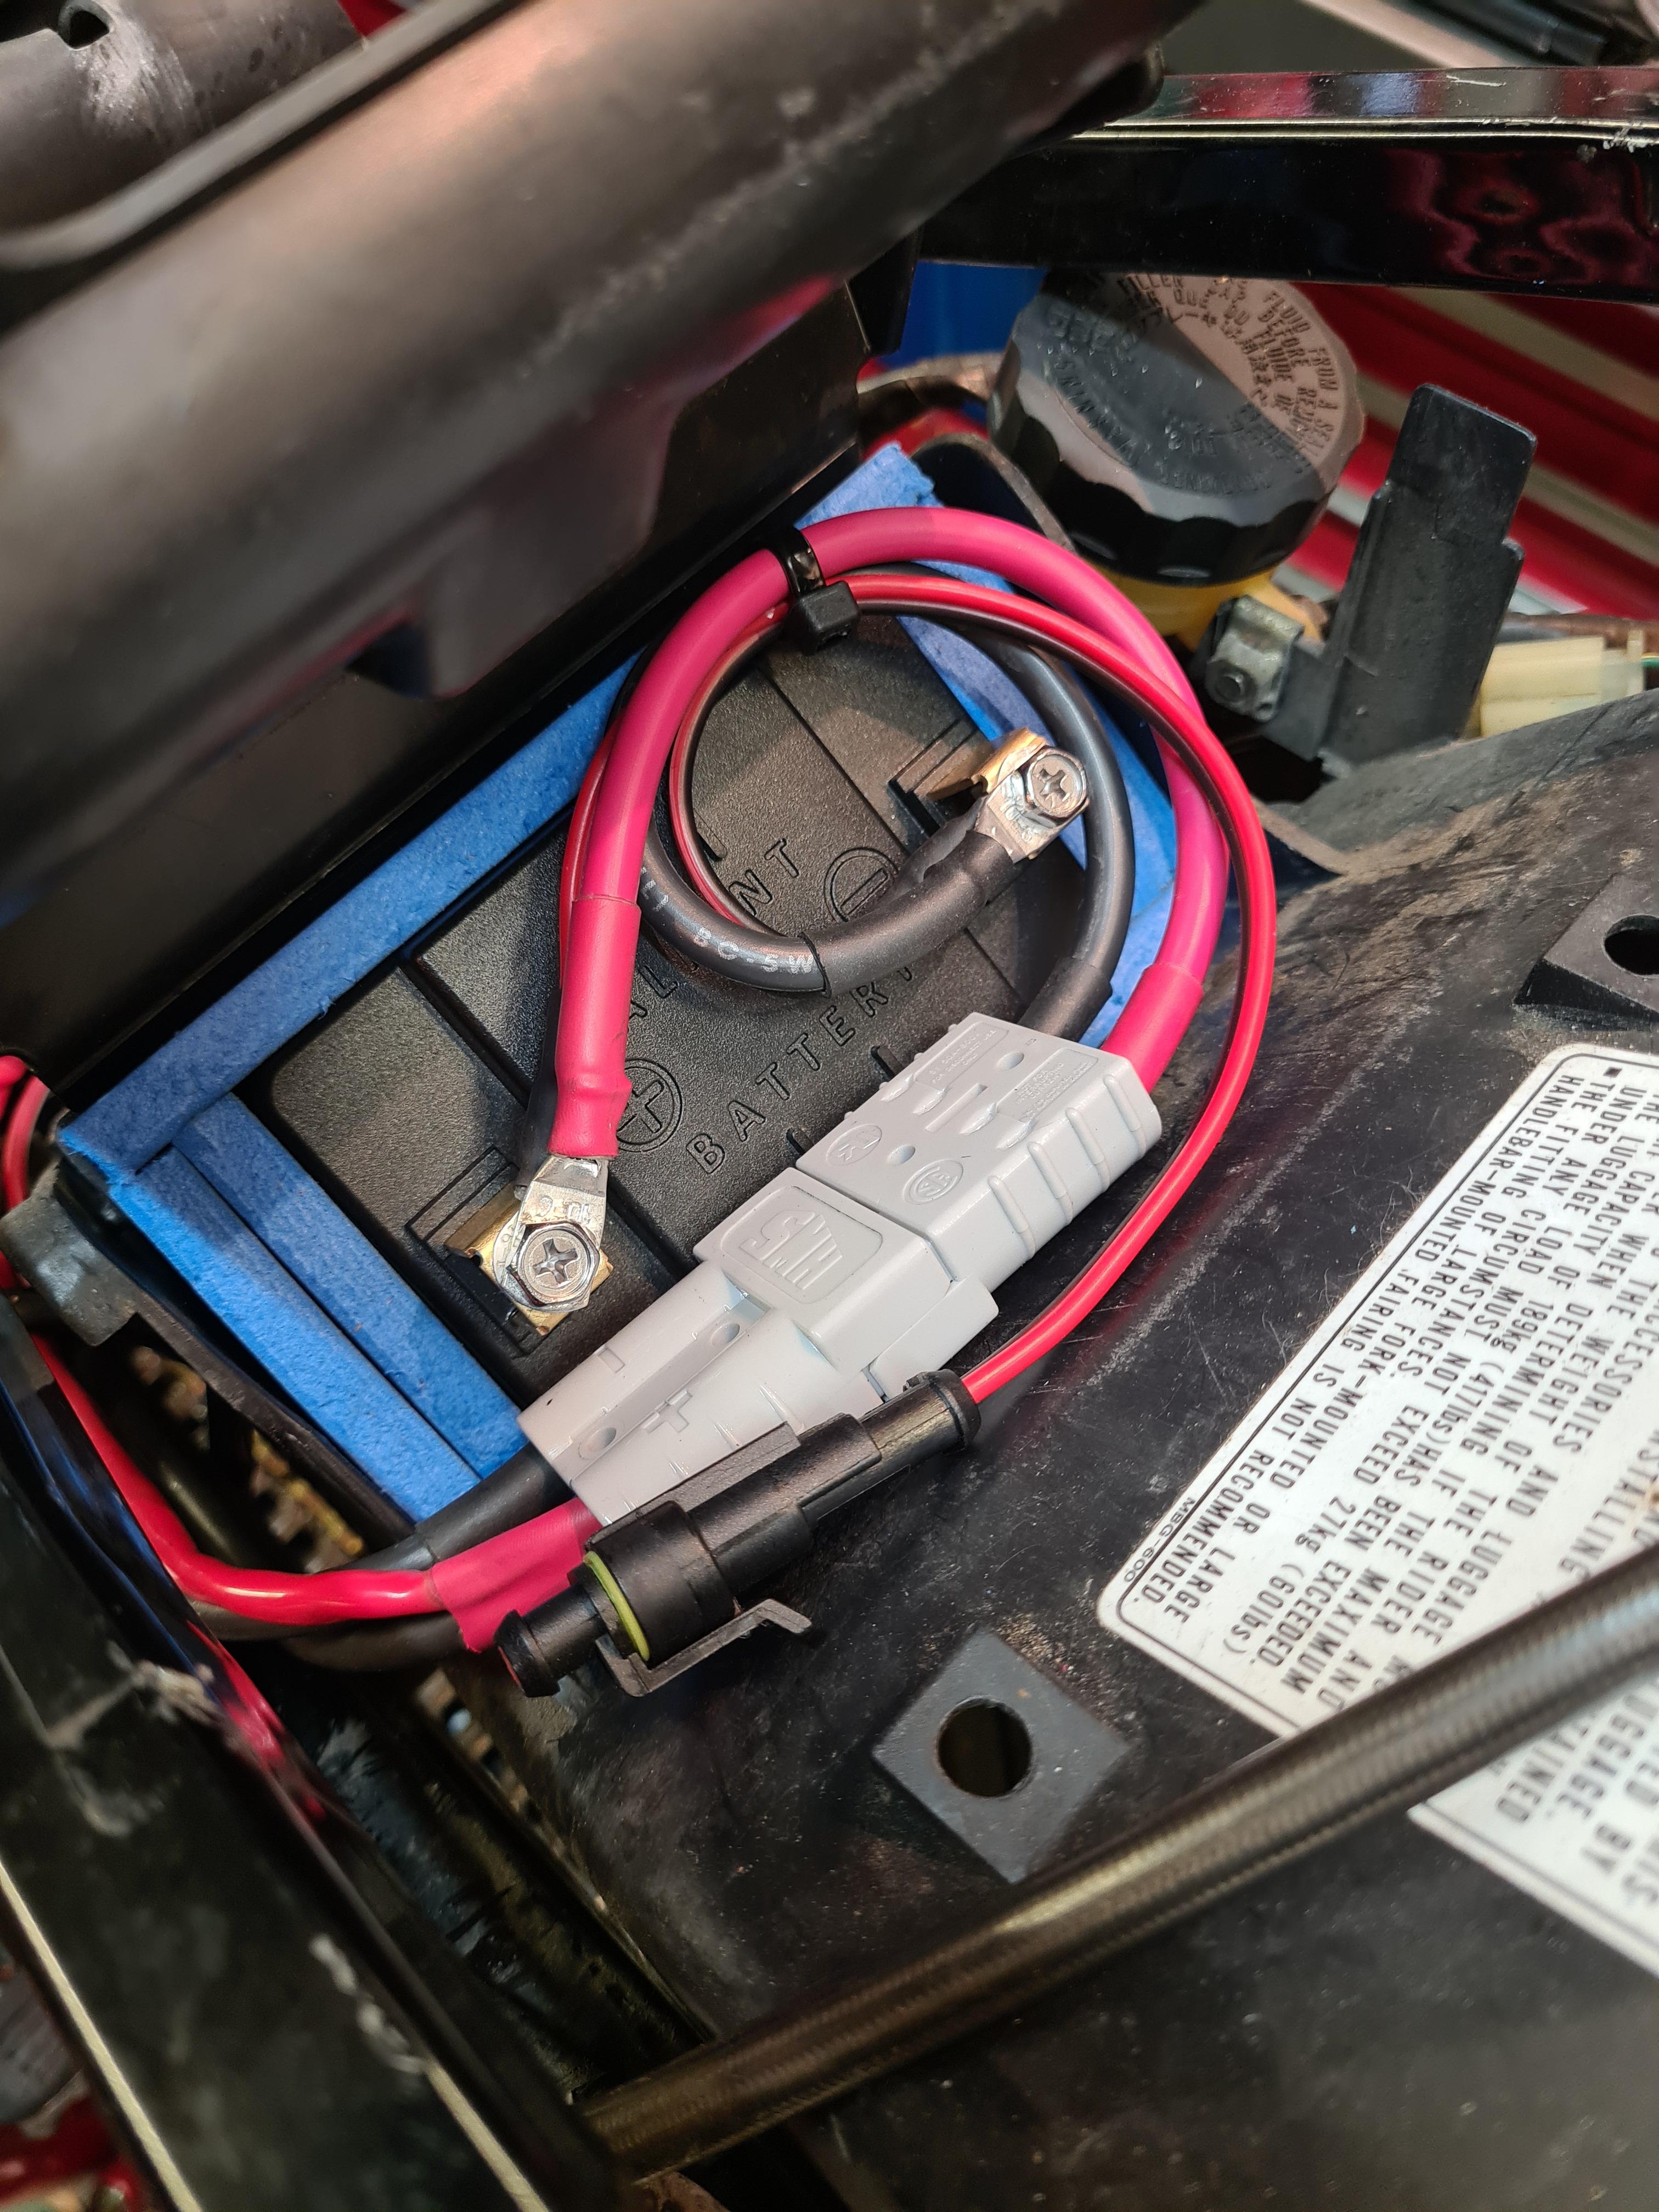
The lithium cells themselves take up much less room than a standard AGM battery. I took advantage of this when I chose my LiFePo4 battery--it physically fits into all of my bikes, from RS250 to ST1300, and I can connect it with a standard Anderson-type SB50: After all, I can only ride one bike at a time... Ciao, JZH
-
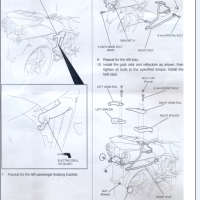
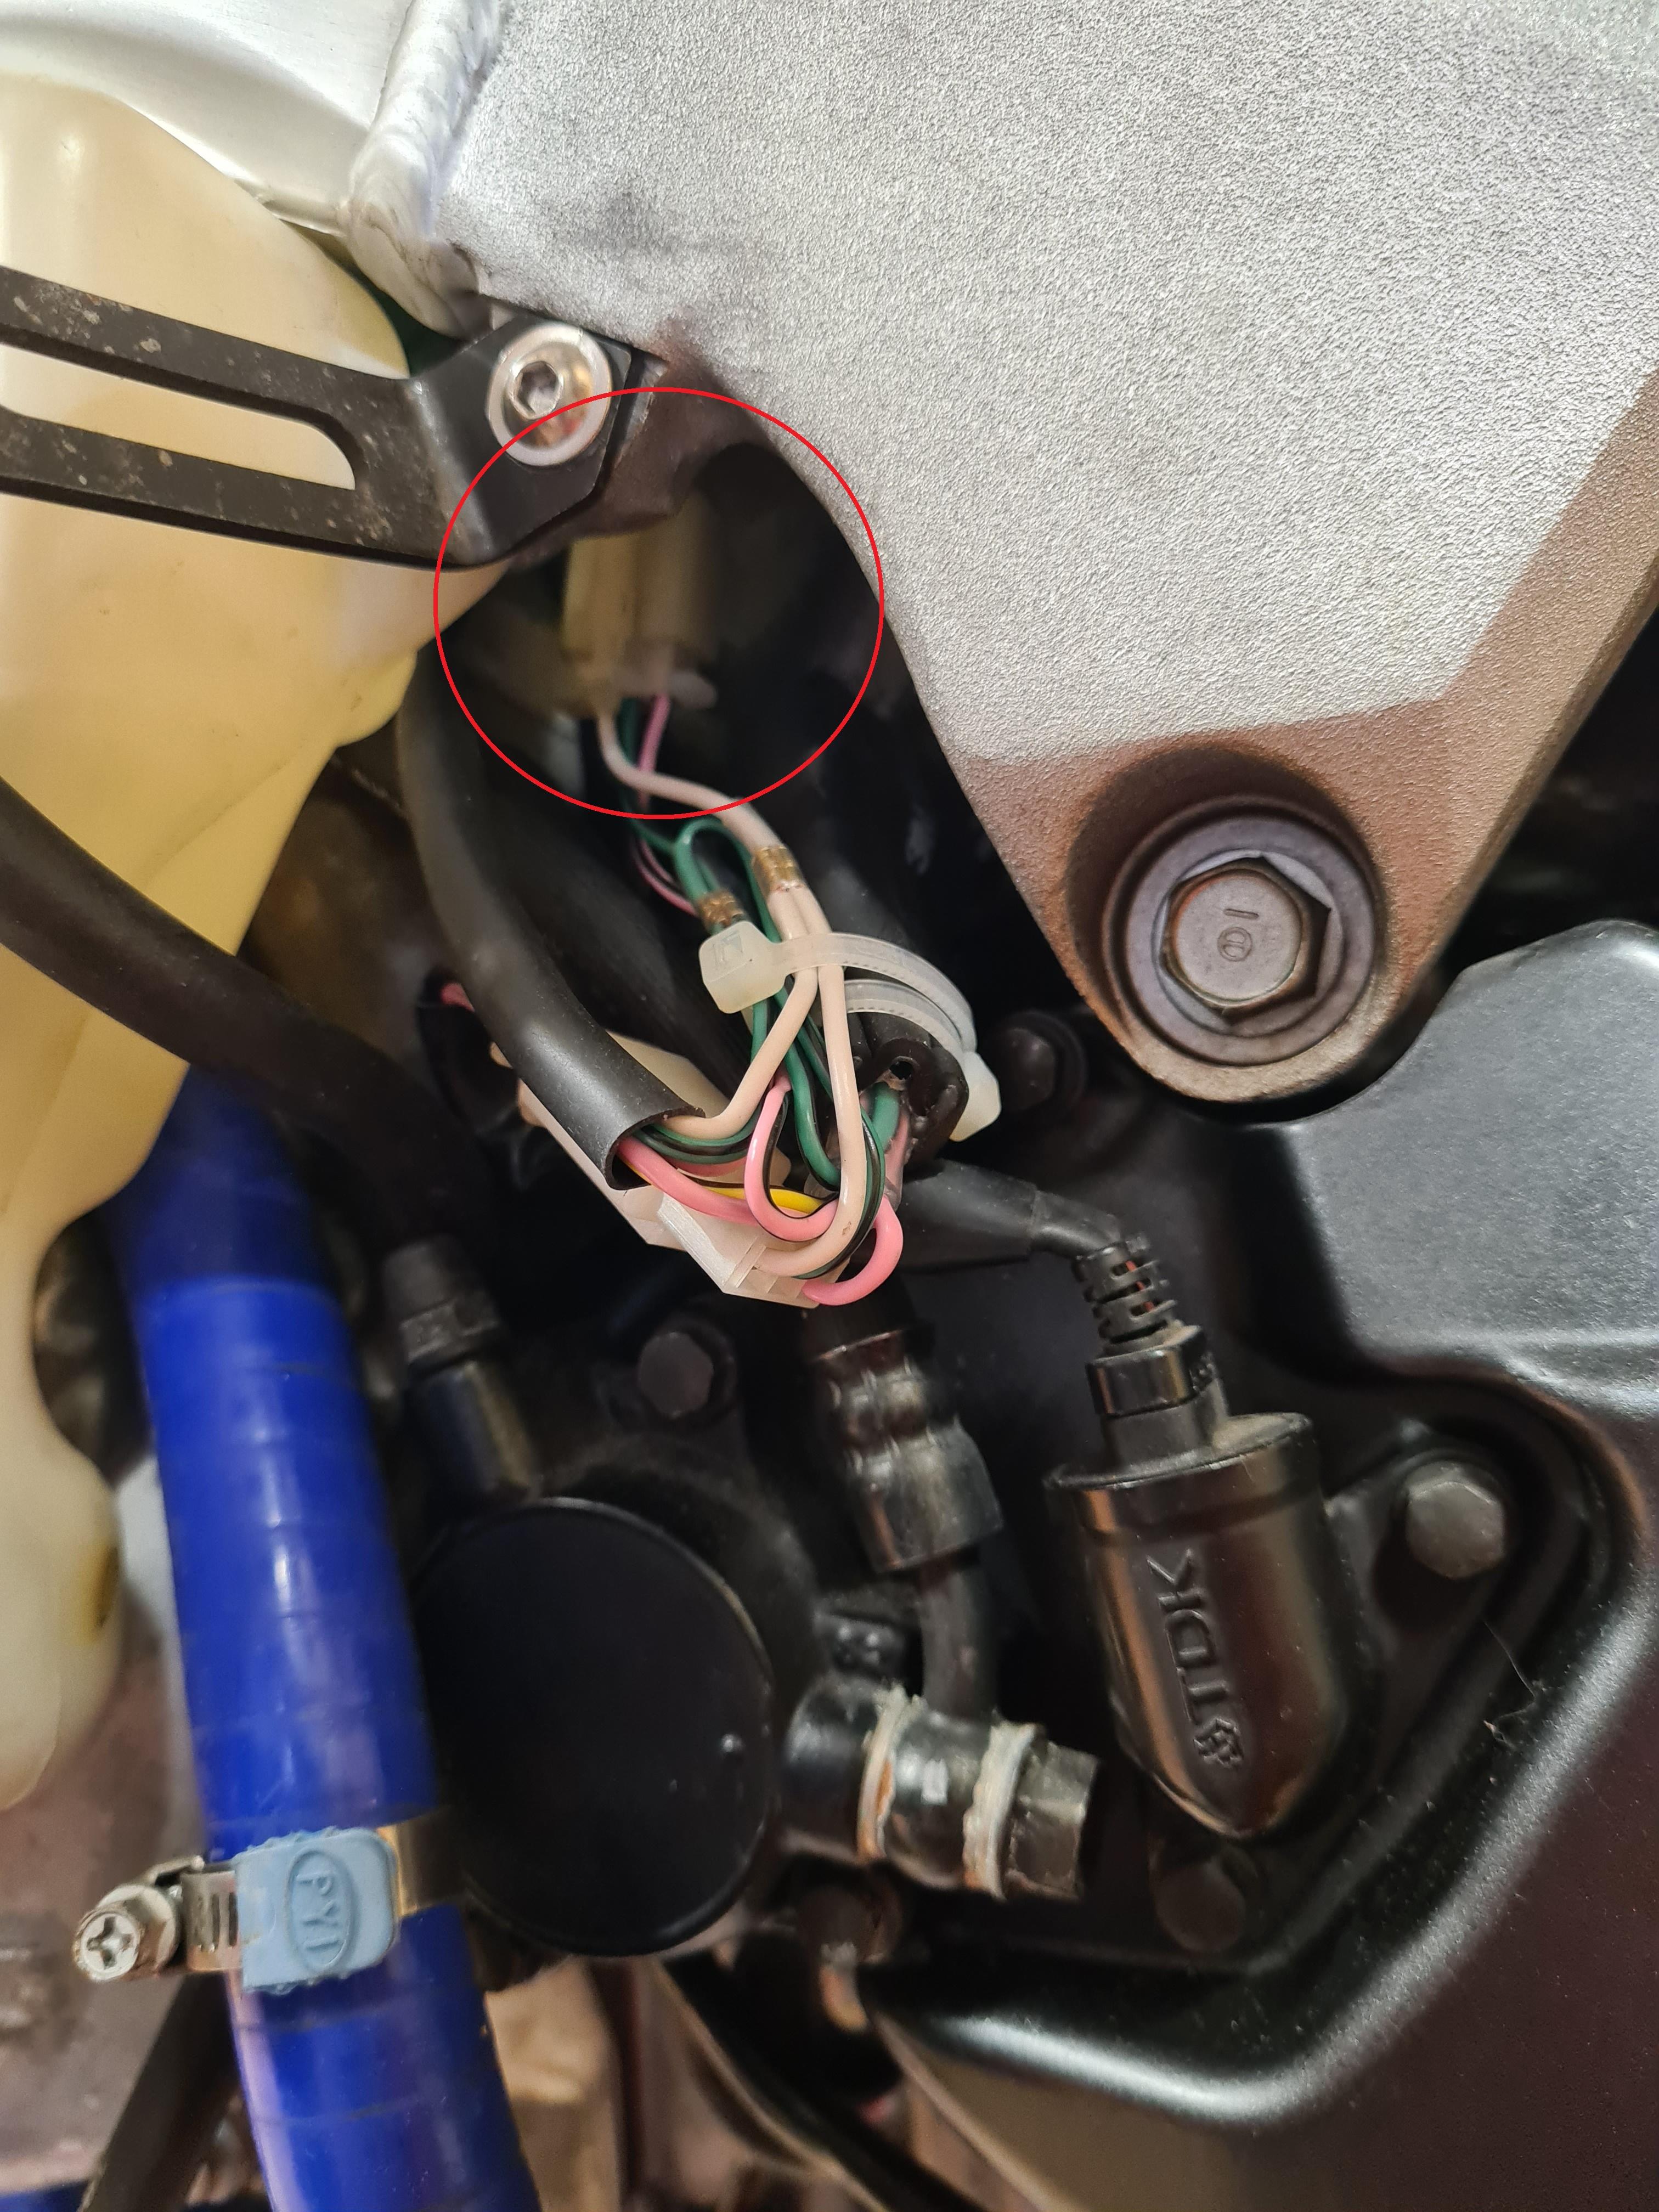
The 3-pin connector is the only one plugged into the "TDK" speedo sensor unit. Not easy to see in this picture because I've got my custom GI-Pro harness plugged into it, but maybe you can still see where it is. Ciao, JZH
-
This is an old post and the pictures don't seem to be linked anymore.... bummer. I am looking for where the plug in connector is located that I can plug in the healtech gear indicator. I did find a 3 prong plug near the gear label on a cover that is near the gear shifter, but I want to make sure it is the correct one. Does anyone have pictures to share? It seems there is nothing out there for our gen bikes.
-
 JFIB joined the community
 -
I ended up taking one of the 3 spacers off the bottom, which made the battery sit lower in the box. It gave me more space to utilize the other terminals without trying to cram the cover closed.
-

Just a curiosity.. oddball questions..
mello dude replied to mello dude's topic in Fifth Generation VFR's
^^^^Damn hilarious....I should have went to that! 🤪Lol! -
 dharlacher5 joined the community
 - Last week
-

Just a curiosity.. oddball questions..
Captain 80s replied to mello dude's topic in Fifth Generation VFR's
There's overthinking it. And then whatever that is called.
-
WTB red luggage for 2010 VFR1200F
FretlessJazz posted a topic in Classifieds *use private messenger*
Just bought the bike and I'm looking for side cases and top box with mounting hardware.


.thumb.jpg.6b9488d9849fb7037caa4c17228db2ab.jpg)


-
VFRD Mission Statement
For owners of the Honda Interceptor and related Honda V4 motorcycles, for the purpose of mutual help concerning safe riding, maintenance, and performance of their motorcycles.
Rules of the ride - No one goes to jail, and No one goes to the Hospital.
Contributions - VFRD is a member supported website with no commercial advertising.

-
Forum Statistics
-
Total Topics26.8k
-
Total Posts365.4k
-
-
Who's Online (See full list)
-
Member Statistics
-
Upcoming Events
-
Latest Classifieds
-
-
Top Downloads
-
-
Popular Contributors
-
Blog Statistics
-
Total Blogs116
-
Total Entries345
-
-
Gallery Statistics
-
Blog Entries
-
-
Blog Comments
-

-

By vfrpilot28 · Posted
I enjoyed reading this and seeing your story. For the love of motorcycling! -

-
By interceptor69 · Posted
Oops. I do believe I know how to post YT videos or they wouldn't be on YT. However I may have screwed up copying the link to the playlist. Thanks for the helpful comment. -
 I think that you might not know how to post videos. You're in your YT studio in these links. You need the link to the actual video.
-
-
Most Contributions
-