All Activity
- Past hour
-

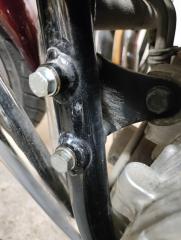
another brake delinking (approach for the front)
DrErgal replied to Worfje's topic in Fifth Generation VFR's
Yes, yes, yes! Increasing the MASTER PISTON AREA will lead to a smaller lever's travel to move the oil needed for SLAVE PISTONS action. I prefer this option because makes the lever more responsive and reactive (less action on lever = more action on calipers). Also, it creates more pressure into the system, giving the pads more force to squeeze the disk. The "con" is a more consistent lever feeling, but I undoubtedly prefer a higher fatigue on my hand (because the lever is harder to be moved) in exchange for a more immediate and stronger action of the calipers. Personal taste, of course - Today
-

another brake delinking (approach for the front)
JZH replied to Worfje's topic in Fifth Generation VFR's
Intuition is not always right... The main problem with changing the master : slave ratio in the "wrong" direction arises when the theory collides with the practice; specifically, when the front brake lever hits the bar (or traps your fingers). For various reasons, this situation is liable to occur at very inconvenient moments, such as when you're panic braking or otherwise at the bike's limits. On a practical level, if you increase the piston area of the slave (caliper) cylinders, such as when you plumb all three pistons in an LBS/DCBS rear caliper into the same brake circuit, but do not also increase the piston area of the master cylinder, you will increase the ratio, which results in: (a) increased lever travel, (b) easier/more powerful braking and (c) less "feel" over what the caliper is doing. That is why I recommend increasing from a 12.7mm rear master cylinder to a 14mm rear master cylinder when this is done as part of the de-linking modification. The 5th and 6th gen rear calipers have slightly different piston areas, and I found that the 5th-gen caliper combined with a 14mm rear master cylinder (CBR600F4i, etc.) results in a ratio almost identical to that of the 3rd/4th gen VFRs. Yes, within a certain range, brake "feel" is a matter of personal preference, but the brakes still need to work correctly, or you risk eventually hitting an object harder than your own body. Ciao, JZH -
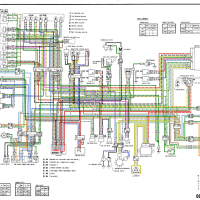
 ElectroSport Fault Finding Guide View File ElectroSport Fault Finding Guide Submitter vfrcapn Submitted 05/04/2025 Category Owners Manuals and other
 -
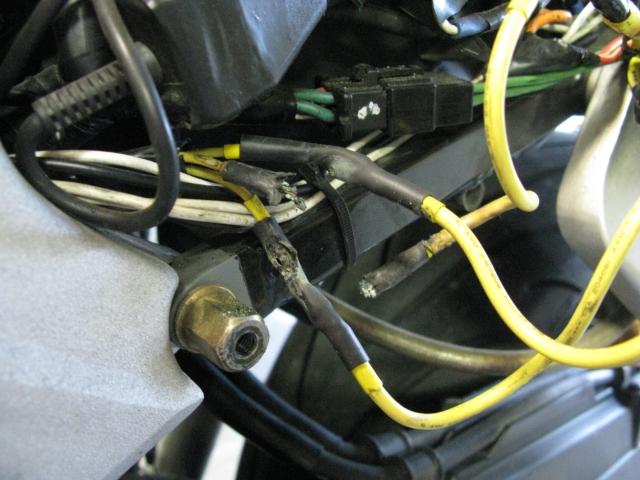
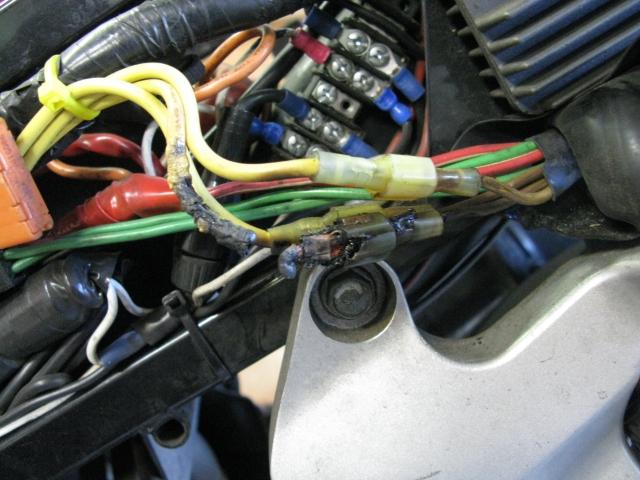
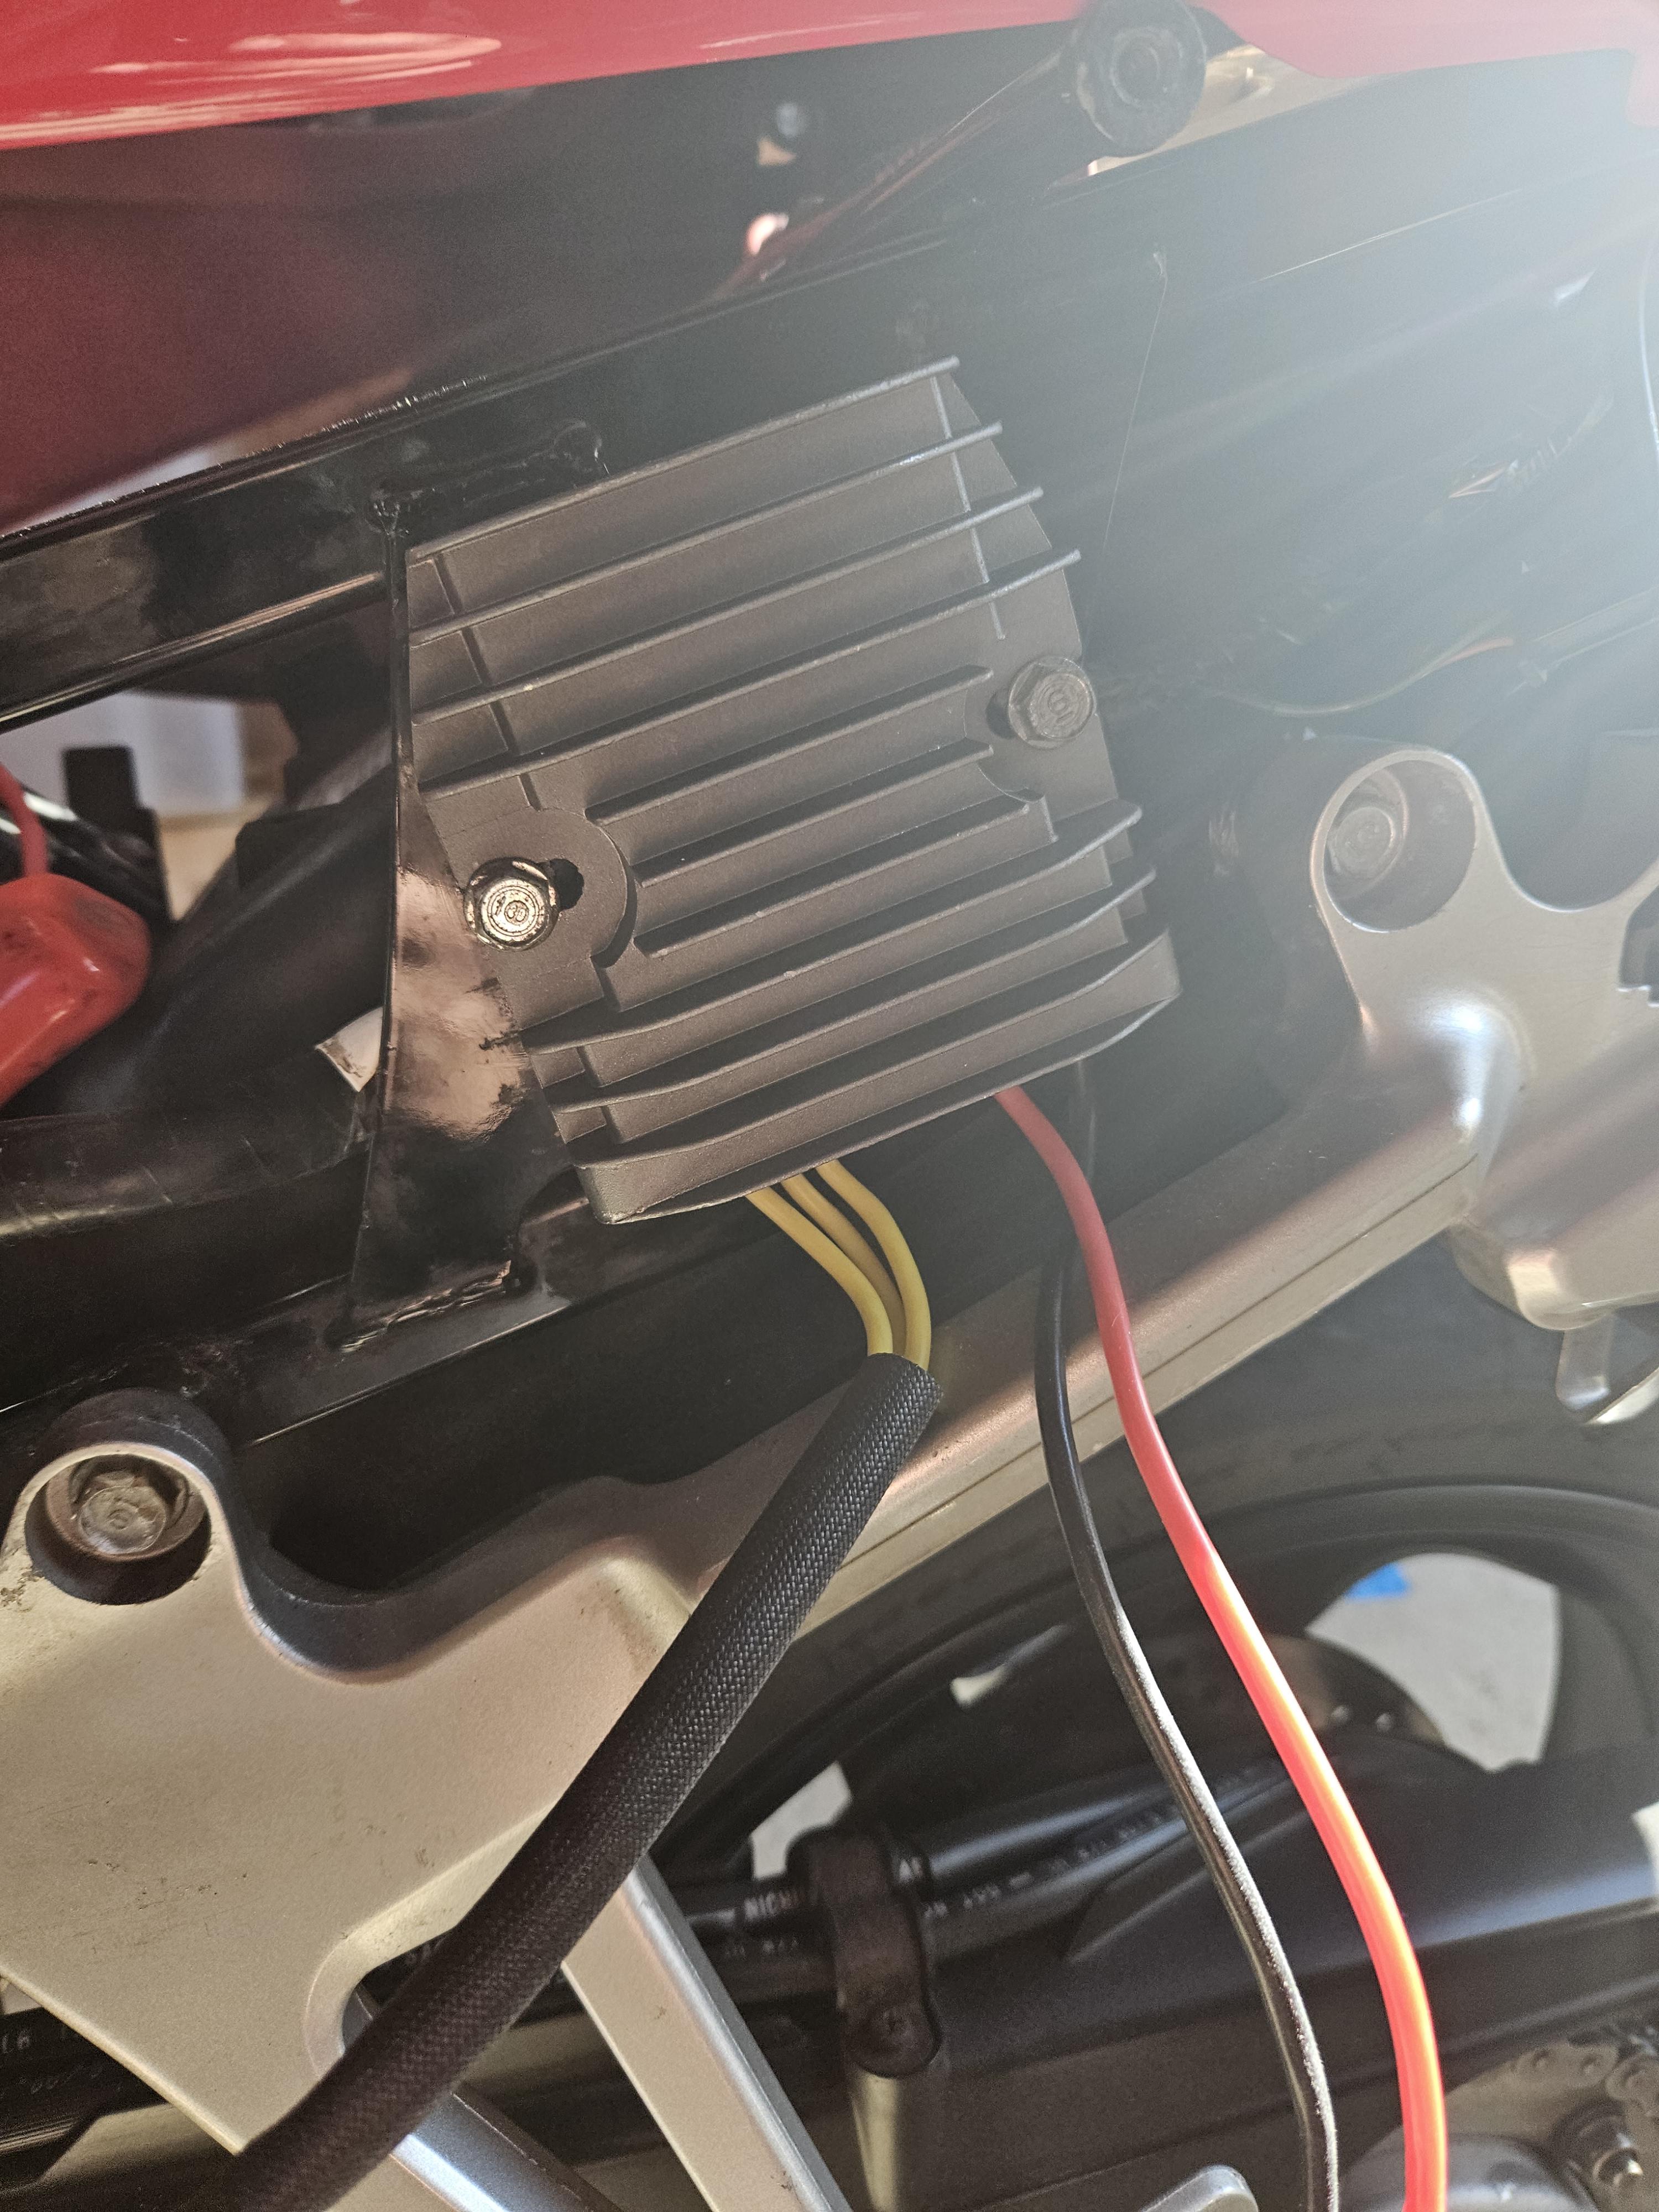
And on the other side that connector looks like this, previous pic was my bike ~20 yrs ago. You can use cheap blade connectors and end up with the same problem, as I did. And try to solder stator wires still with bad connectors and a bad r/r: I finally got it fixed by eliminating connectors altogether and a new r/r. Sounds like you got it sorted out with a new r/r, 14.7 looks good. Just add the 30a fuse as mello suggested. Follow this flow chart to double check the stator and r/r output: https://cdn.shopify.com/s/files/1/1091/5694/files/fault-finding-diagram.pdf?235929069374954073

-
- Yesterday
-
 Efancher joined the community
 -

1200 Engine blown at 32000 miles???
swimmer replied to 1996 Beeper's topic in Seventh Generation VFR's
OP still hasn't confirmed that there is actually mechanical problem with his engine from what I have read. -
I would practice on some loose wires first before you do the real thing... HInt, hint... Also there is lots of good tips on soldering/heat shrink on YouTube.. I prefer to use adhesive heat shrink tube on stuff. (Dependant on wire size.) Examples... https://www.delcity.net/store/4:1-Adhesive-Lined-Tubing/p_820002.h_820003 I have found Cycleterminal and DelCity to be good vendors. Do a good job on your rework and you will be ok. Craftmanship counts. Cheerz
-
I'll get some heat shrink, and do that as well. Can't wait to be out on her again!
-
You got it, its best to seal up that connector to avoid water getting in... Good on you for soldering the stator wires, can you heat schink seal the wires?
-
-
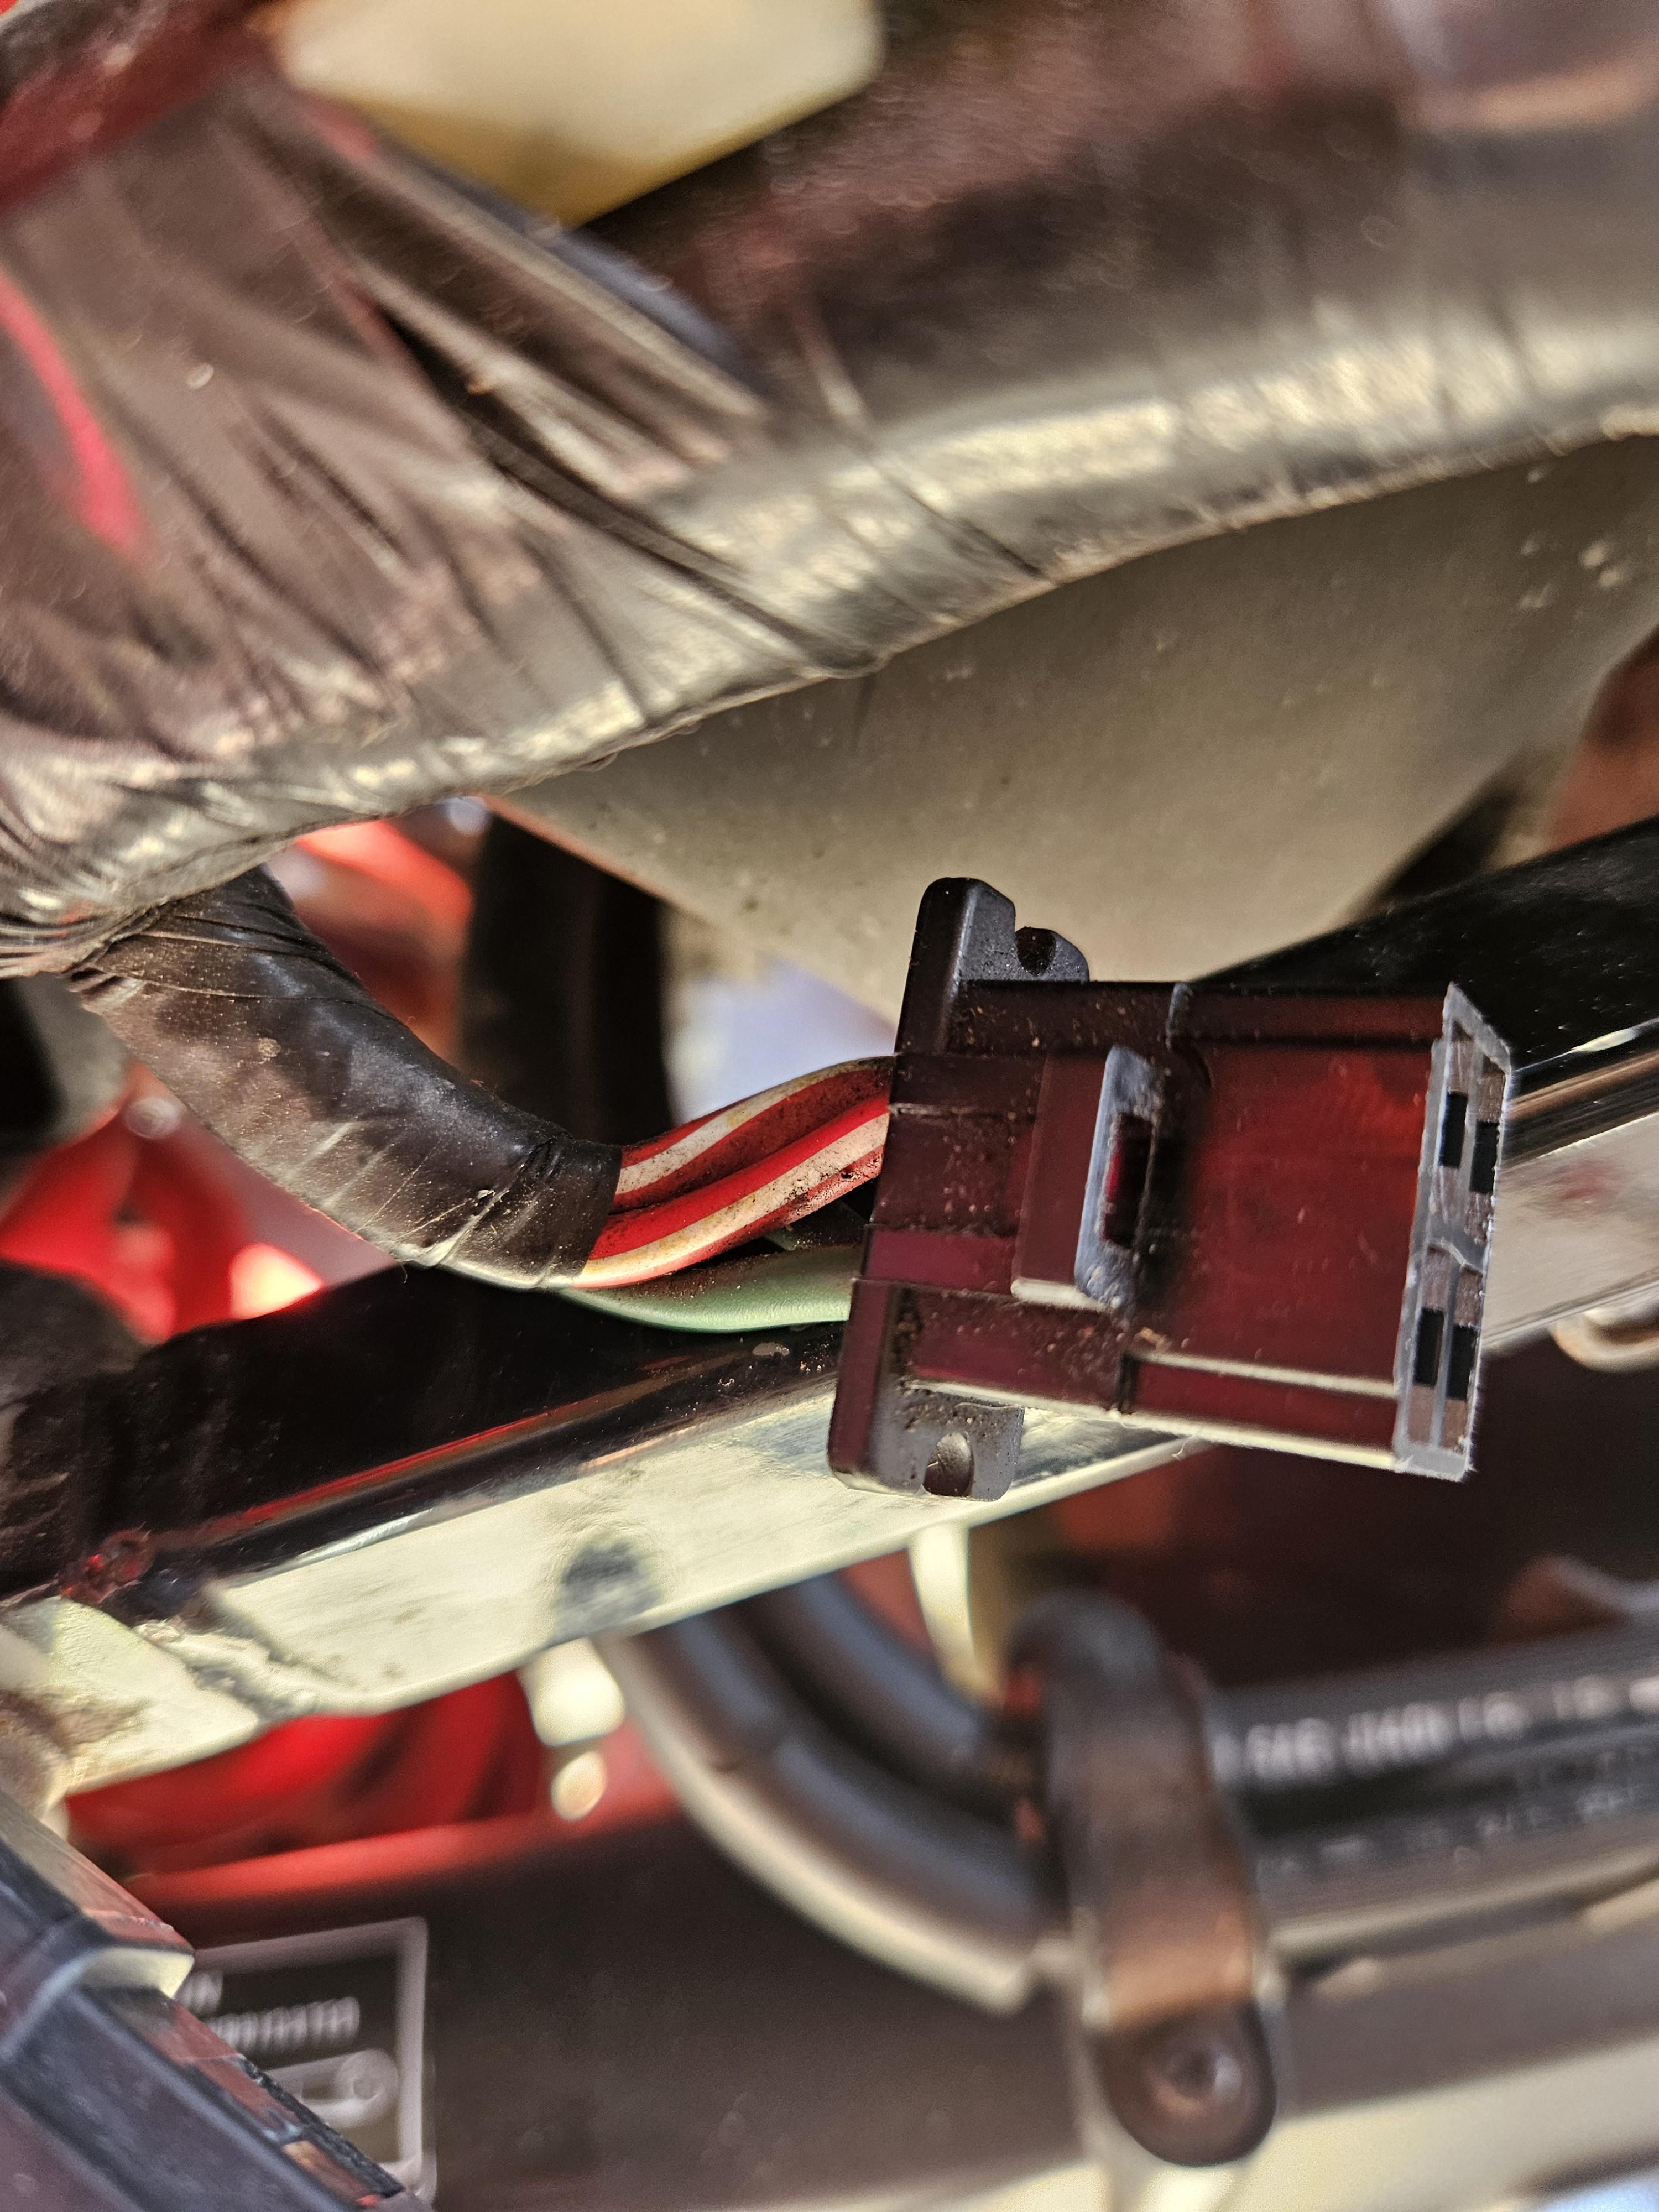
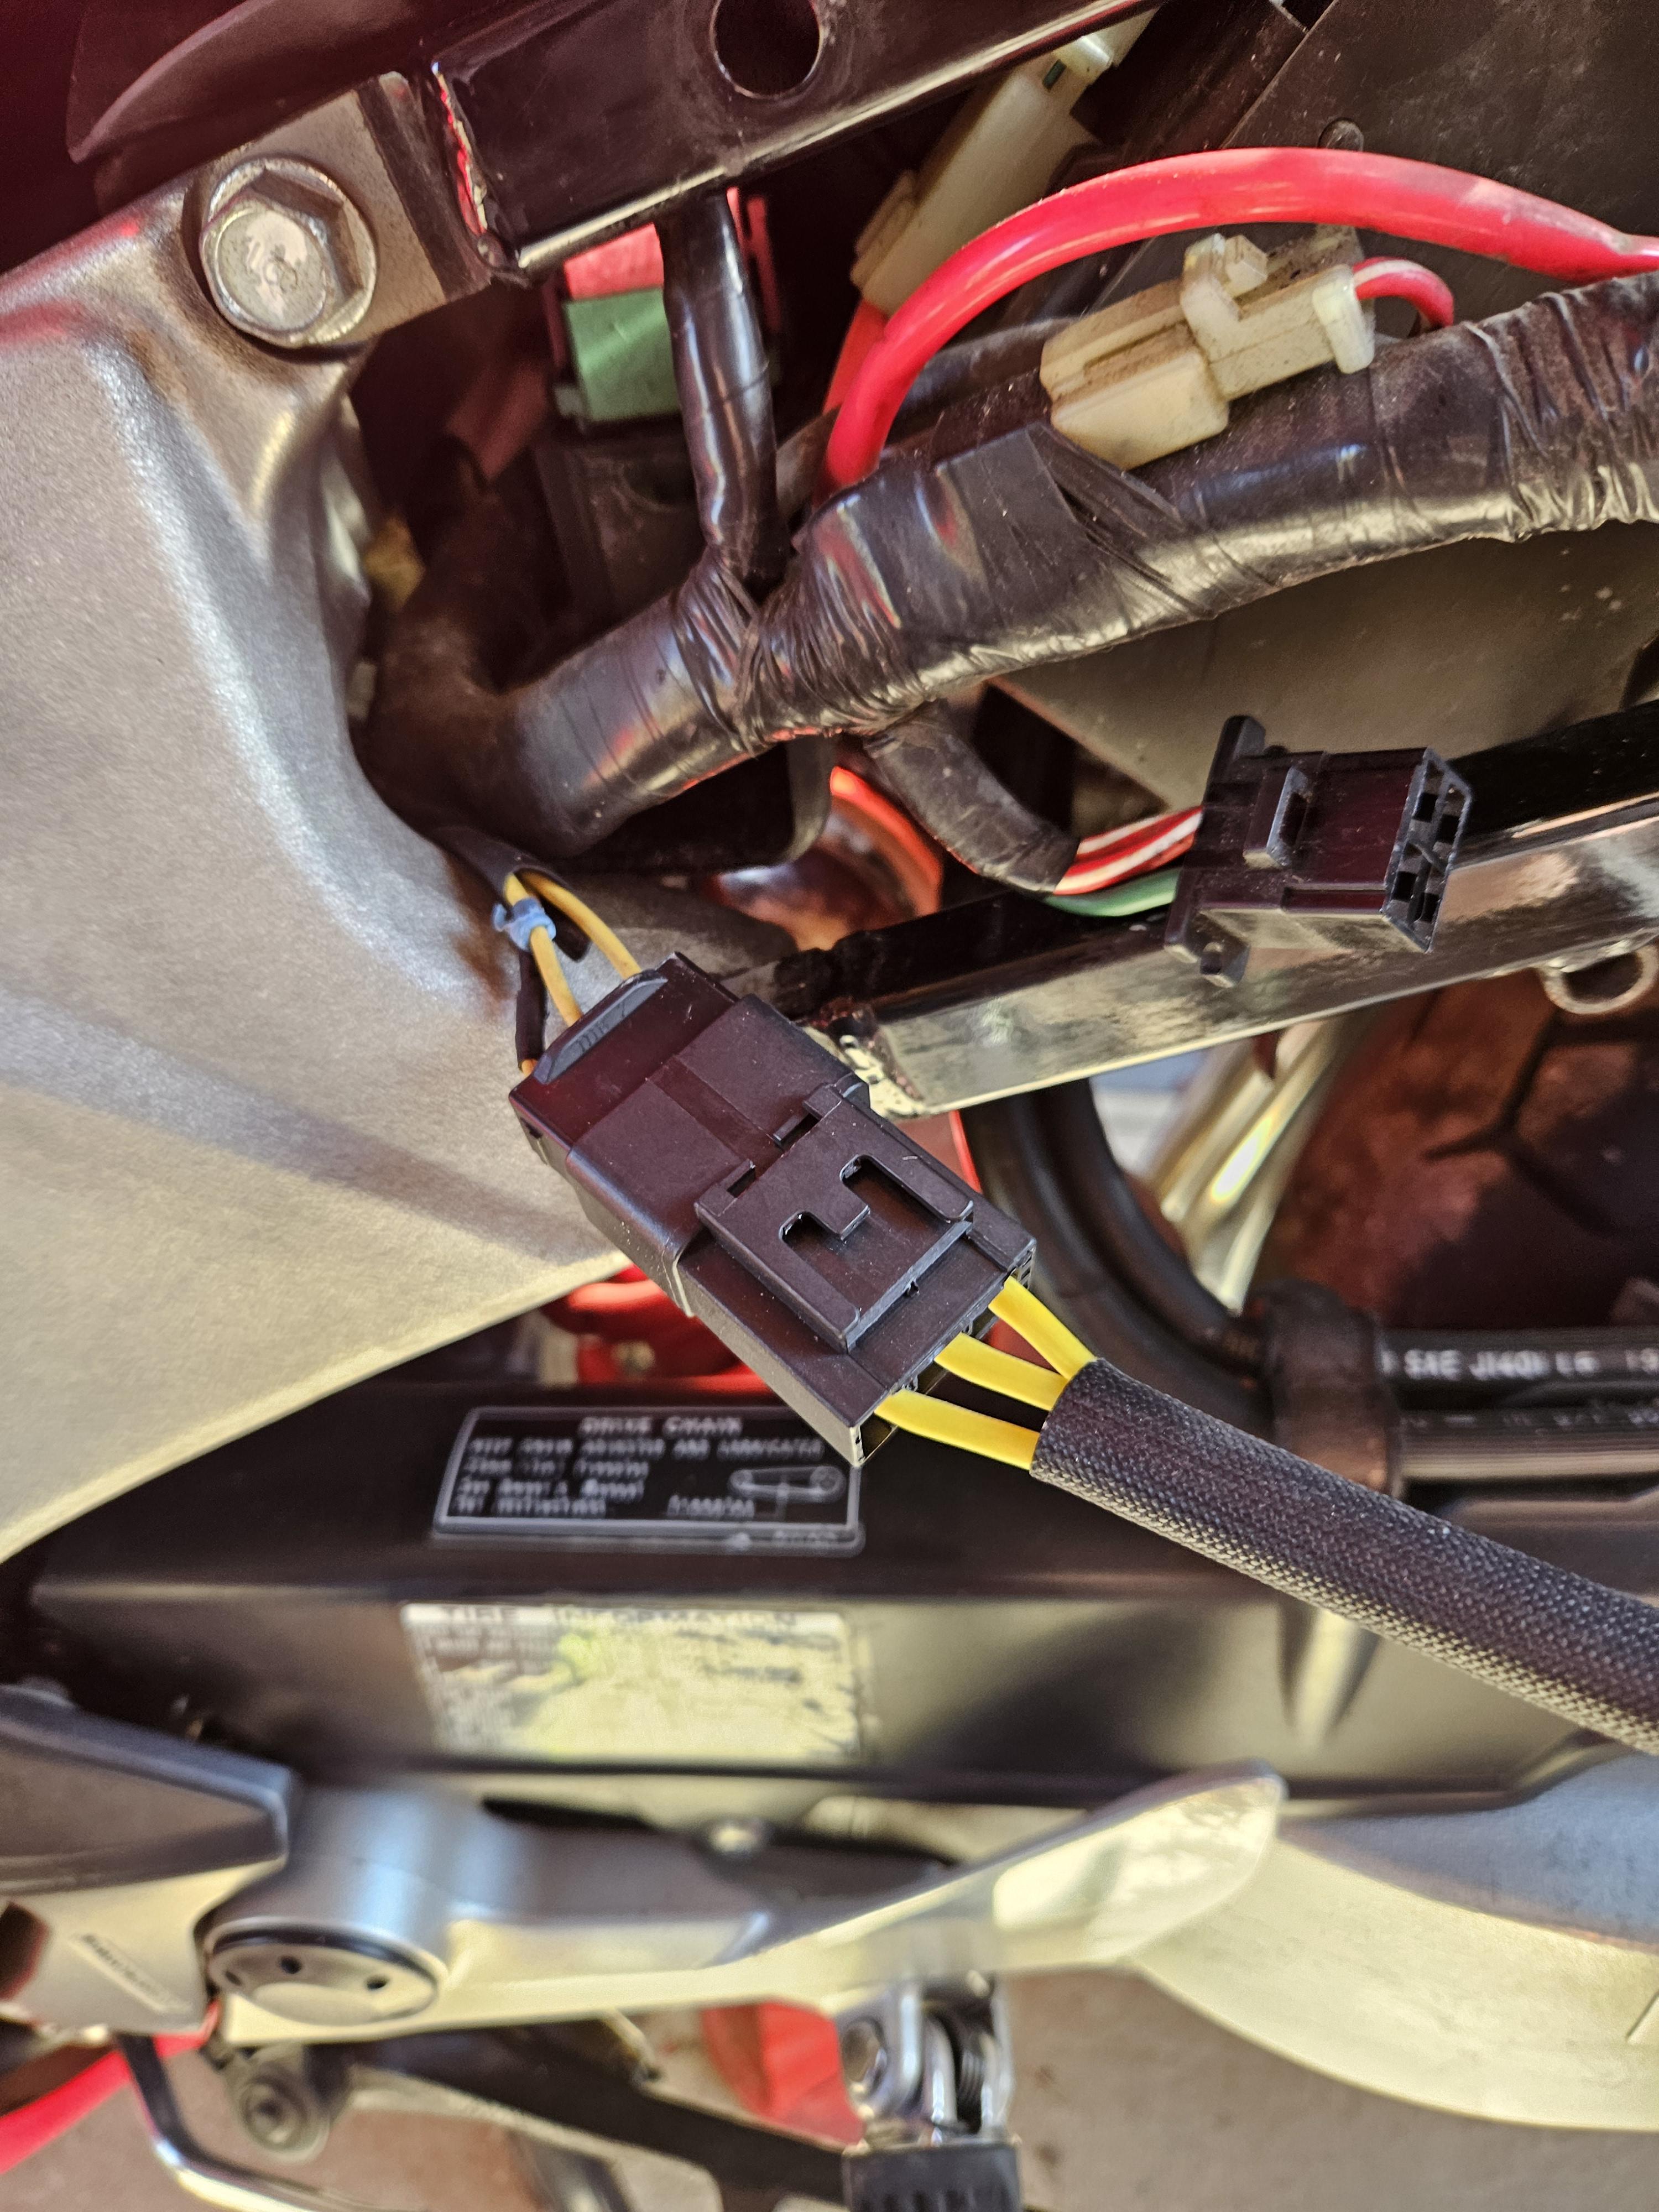
I mean the plug with the 2 red and green wires? As that's not got anything going to it now, but I think from your last post that's the one I want to tape up out of the way? I was thinking of soldering the plug coming from the regulator to the stator to get rid of the plug.
-
I assume you are talking about the stator plug? Ok to just get going, long term the solder connection is best. or I have done a heavy duty butt connector with double over lap... (no preference by me) Its the number one problem with the charging system, if you dont watch it, it can look like this.. And then you could get this... FIRE Also the quality of the workmanship to put it together counts big time. I have seen set up good parts, but sloppy work... and.... it died anyway... Best of luck on your stuff...
-

3Rd Gen Vfr750F Ninja Zx14R Rear Shock Swap
Captain 80s replied to Nifty7Fifty's topic in Third and Fourth Generation VFR's
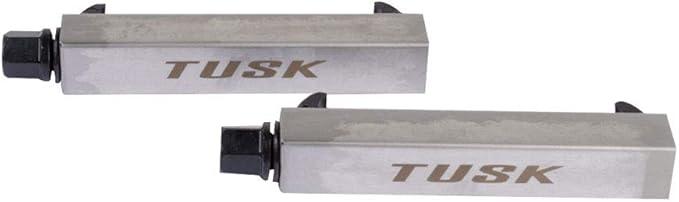
The Tusk units are not up to the task of a VFR spring. They will gall / strip before getting close. I tried them on a Fox Shock for a 86 VFR to restore the spring prior to a rebuild. For some reason there wasn't enough room to take the preload out and release the lower split ring to release the holder. The upper hose wrench flats were already rounding and I didn't want to make an enemy of the rebuilder even though I had a new, longer hose. I just needed a little more room, and I got to the point I was nervous. I did apply anti-seize to the threads prior. Fuck it. Spring was nice enough as is for the application. That other contraption doesn't instill any more confidence looking at the size of the threaded struts. -
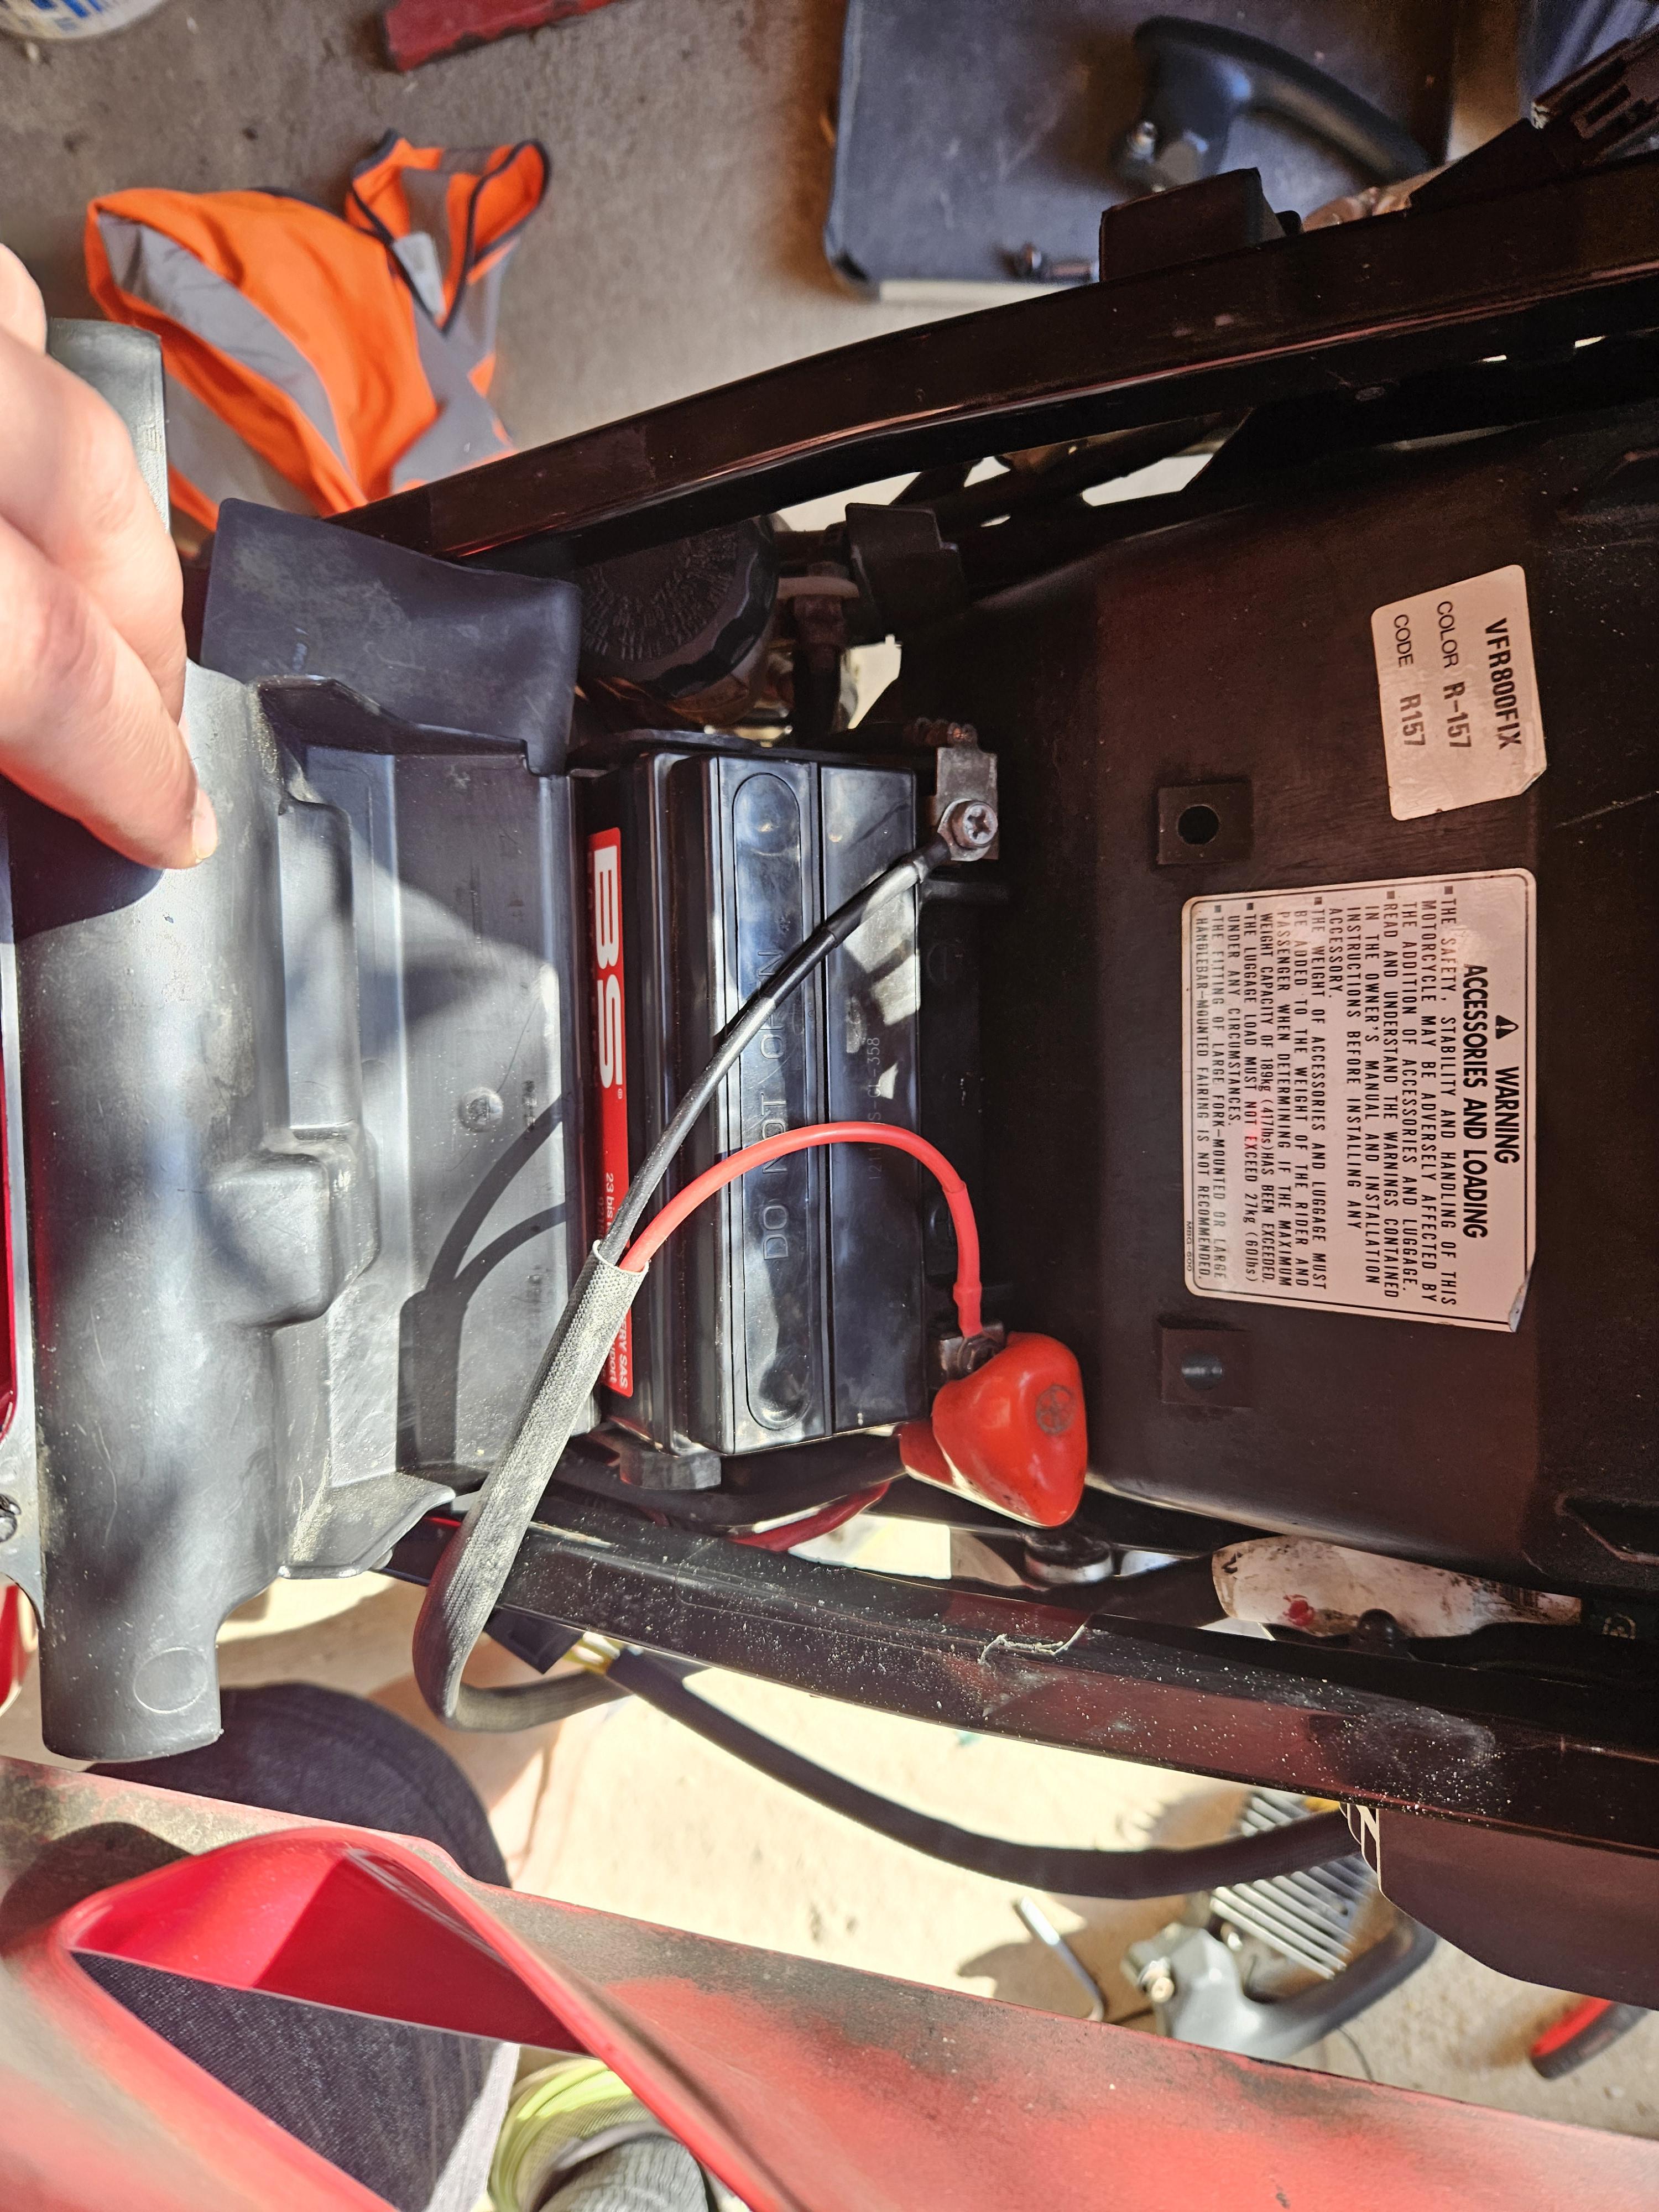
I can't thank you enough for all your help. I spent alot extra and went to motoelectrical so I hope its genuine as I spent more, thinking I didn't want a knockoff. I'll get a fuse holder and volt meter for the old girl before running her. But when I do that it's fine to not use the old plug? Again thankyou for your help
-
You need to put a heavy duty fuse holder on the positive wire. 30amp... I wouldnt run the bike without... Examples... MetricPack 630 --- look about half way down the page... https://www.cycleterminal.com/fuse-boxes.html Other vendors https://www.delcity.net/store/Weatherproof-Fuse-Holder/p_800399.h_800400 https://www.delcity.net/catalogdetails?item=78330 Amazon https://www.amazon.com/dp/B0D4YSDXJZ/ref=sspa_dk_detail_5?pd_rd_i=B0D4YSDXJZ&pd_rd_w=yFjE6&content-id=amzn1.sym.8c2f9165-8e93-42a1-8313-73d3809141a2&pf_rd_p=8c2f9165-8e93-42a1-8313-73d3809141a2&pf_rd_r=VGK7W3RRR9KHF56QWMDE&pd_rd_wg=7dtqy&pd_rd_r=f8c48f1b-4bcc-45b7-9a5a-53d222c2dc0a&s=automotive&sp_csd=d2lkZ2V0TmFtZT1zcF9kZXRhaWw&th=1 Generally the upgraded circuit should look like... --- Tape up that loose connector out of the way, better yet seal it with heat shrink material to keep water out. I did mine like... -If your new R/R is an aftermarket off Ebay or other....probably a Chinese knockoff... typically those dont last that long.... watch it... ---->>>>Highly recommend you add a voltmeter to the front to watch what it going on... 14.7 is ok, but its on the higher side, makes me nervous. I did mine.. looks like..
-
Hello again, The connector looks okay inside, not burned or corroded. The red wire is linked in to the 3 stator wires. However, I've gone and got a mosfet regulator and fitted it and the battery seems to be charging around 13.80volts at idle and rising to 14.7 when reved upto 5k. I've cut the red wires out which joined the 3 stator wires. And put a supplied plug on them, although I will probably solder these if recommend? However the regulator I've got only has one red and one black wire with ring clamps. I've attached these to the battery, therefore the original plug isn't being used. Is this okay to do?
-
1200 Engine blown at 32000 miles???
RC1237V replied to 1996 Beeper's topic in Seventh Generation VFR's
Wow, sorry to hear about your bike. My first thought was put a used engine in it, but those are $2K~3K and if you pay someone to do it, that may cost the same. If you have the room, maybe dismantle and part out the stuff people buy, wheels, fairings, seats, pipes, windscreens, forks, brakes, etc. All the smaller parts put on ebay for half what everyone else is asking and stuff will move quickly. You can use that money to go towards a replacement, since they are around $6K ~ $8K with similar mileage, even for the 2012's and 2013's. Or if you didn't love the bike, just move on with at least some money in your pocket... I ride mine like I stole it, and it has never skipped a beat. Aside from a rock through the radiator, and hitting a deer (both well documented on this forum 😎), there have been no issues. Seems like it was just the 0.5% that was destined for failure from the day it left the factory, would be my guess. -
3Rd Gen Vfr750F Ninja Zx14R Rear Shock Swap
RC1237V replied to Nifty7Fifty's topic in Third and Fourth Generation VFR's
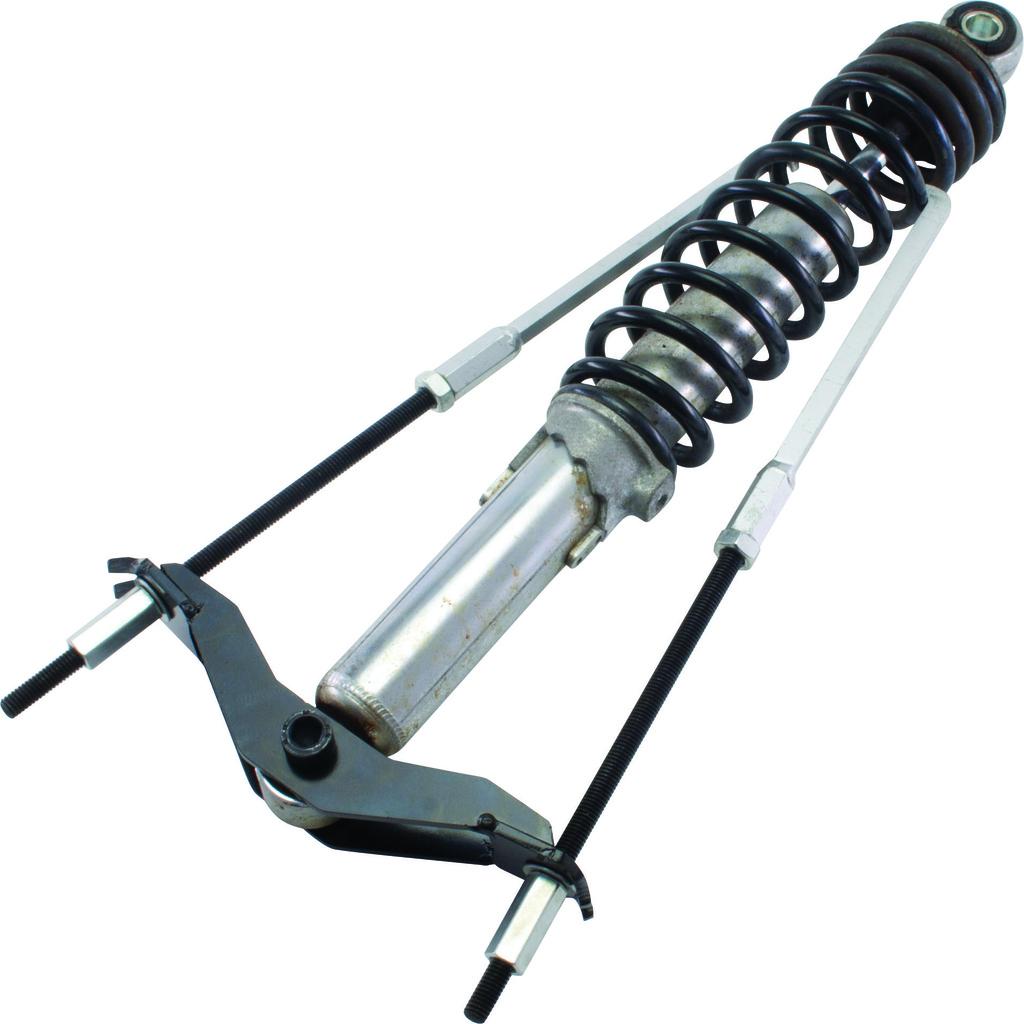
There are versions as cheap as ~$24 that are way safer than ratchet straps. Also remember, compress the spring, remove it and release the tension. Re compress to install - DO NOT LEAVE SPRING COMPRESSED resting in the spring compressor, it is a ticking time bomb...
-
another brake delinking (approach for the front)
Ughandi replied to Worfje's topic in Fifth Generation VFR's
Agreed. This does tap into the realm of personal preference. -
 bdl joined the community
 -
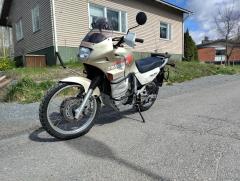
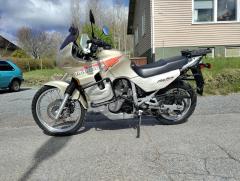
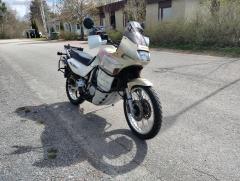
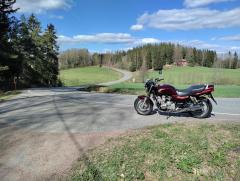
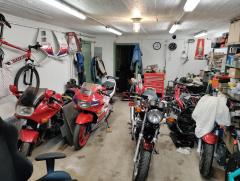
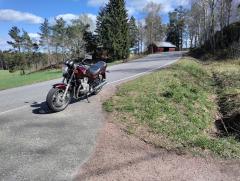
The SevenFifty is ready for a new test ride but weather turned cold so not made yet. But guess what happens if you find something interesting whit a good service history and a friend borrows a van... Yes, it follows you home 1997 Honda Transalp 600, the one I bought it from has had it the last 11 year's and been peaky on service, chain & sprockets are new from 6k kms ago and it has a scottoiler. Rear tire is new, front half worn but a new came along. Carburetor inlet rubbers are new 2 years ago as rear brake caliper rebuild, front calipers are rebuild 4 years ago. It's first year the Transalp has 2 brake disc front so it actually has good brakes.it has some nice extras like top bag, hard side cases as racks, central stand, crash bars, volt meter, power outtake for charging phone or navigatör as hearted grips. But most important the front sprocket axle splines are in good condition. Ist picture nice but some former owner before the one I bought it from has made patina look whit not so great success, so I will probably repaint it next winter, and have a idea what will be the color scheme.... It's a bit more camped in my garage again, one needs to go I think. And one more thing, the seller is a Italian motorcycle friend, his garage had 2 of them, one in party's as ongoing project as other looked like this His other 8 bikes he store somewhere else an incline a CBX1000 (6 cylinder) as a Benelli 6 cylinder one... Shame I could not see them...
-
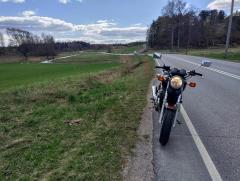
Other VFR and other pics....
-
-
another brake delinking (approach for the front)
Worfje replied to Worfje's topic in Fifth Generation VFR's
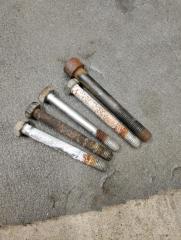
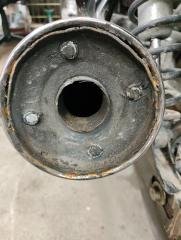
Just for archiving, here are the brake discs that are/seem compatible with 5th gen VFR800: TRW MSW236 Brembo 78B40825 EBC MD1014XC EBC MD1014X Nissin SD-505 -
another brake delinking (approach for the front)
DrErgal replied to Worfje's topic in Fifth Generation VFR's
You're right!! Better right this kind of thread without being in rush 😅 Btw, mistake apart, the meaning is clear, I hope -
That relay will probably work but look out for one with a short lead and 2-pin plug. Like this: https://www.trademe.co.nz/a/motors/motorbikes/parts-for-sale/lights/listing/5294498843?bof=6u6fPWkp That should plug straight into the OEM connector without any wire cutting. Corrosion in connectors are the weak spots; any connector can cause an issue so the propensity for water to enter/sit is important. Pull connectors apart and hope for shiny brass but any dull/green is a sign for concern. You can buy small files for cleaning terminals and a spray like Deoxit is a great investment. Corrosion causes resistance, resistance causes heat, heat causes melting....
-

another brake delinking (approach for the front)
Terry replied to Worfje's topic in Fifth Generation VFR's
I completely agree; there is no "perfect" ratio, just some compromises are better than others. I have changed brakes a few times (VTR1000F and VFR800Fi) and determined that the best mix for me was the CBR954 setup; just the right mix of master and slave pistons to generate a lovely feel and controllable power.


-
VFRD Mission Statement
For owners of the Honda Interceptor and related Honda V4 motorcycles, for the purpose of mutual help concerning safe riding, maintenance, and performance of their motorcycles.
Contributions - VFRD is a member supported website with no commercial advertising

-
Forum Statistics
-
Total Topics26.2k
-
Total Posts360.3k
-
-
Who's Online (See full list)
-
Member Statistics
-
Upcoming Events
-
Latest Classifieds
-
-
Top Downloads
-
-
Popular Contributors
-
Blog Statistics
-
Total Blogs116
-
Total Entries345
-
-
Gallery Statistics
-
Blog Entries
-
-
Blog Comments
-

By vfrpilot28 · Posted
I enjoyed reading this and seeing your story. For the love of motorcycling! -
-
By interceptor69 · Posted
Oops. I do believe I know how to post YT videos or they wouldn't be on YT. However I may have screwed up copying the link to the playlist. Thanks for the helpful comment. -
 I think that you might not know how to post videos. You're in your YT studio in these links. You need the link to the actual video.
 -
-
-
Most Contributions
-