-
Featured Gallery Photo
 1B887D46-CA99-4C93-A7B0-3F0BA48D8C00.jpeg

All Activity
- Yesterday
-

Air box lid flapper , this is sort of funny
mello dude replied to VTCAL's topic in Fifth Generation VFR's
Nice idea....I have plastic sheet stock....tons of rivets too. Probably 8 or 10 ways to do it.... -

Air box lid flapper , this is sort of funny
boOZZIE replied to VTCAL's topic in Fifth Generation VFR's
Use the plastic flap for the patch and plastic weld it in place. That's what I did but forgot take pics. Next time ⏲️ ...... iirc someone used some mesh over the openings to keep out 🐁 -
I'm curious, do you mean lengthen the pipe? or expand the diameter to fit?
-
 Hi all, I’m currently searching for a Staintune exhaust can/muffler to complete my bike setup. If you have one available or know someone who does, please get in touch! Reasonable offers welcome. Willing to pay fair market price depending on condition and model. Thanks in advance!
 -
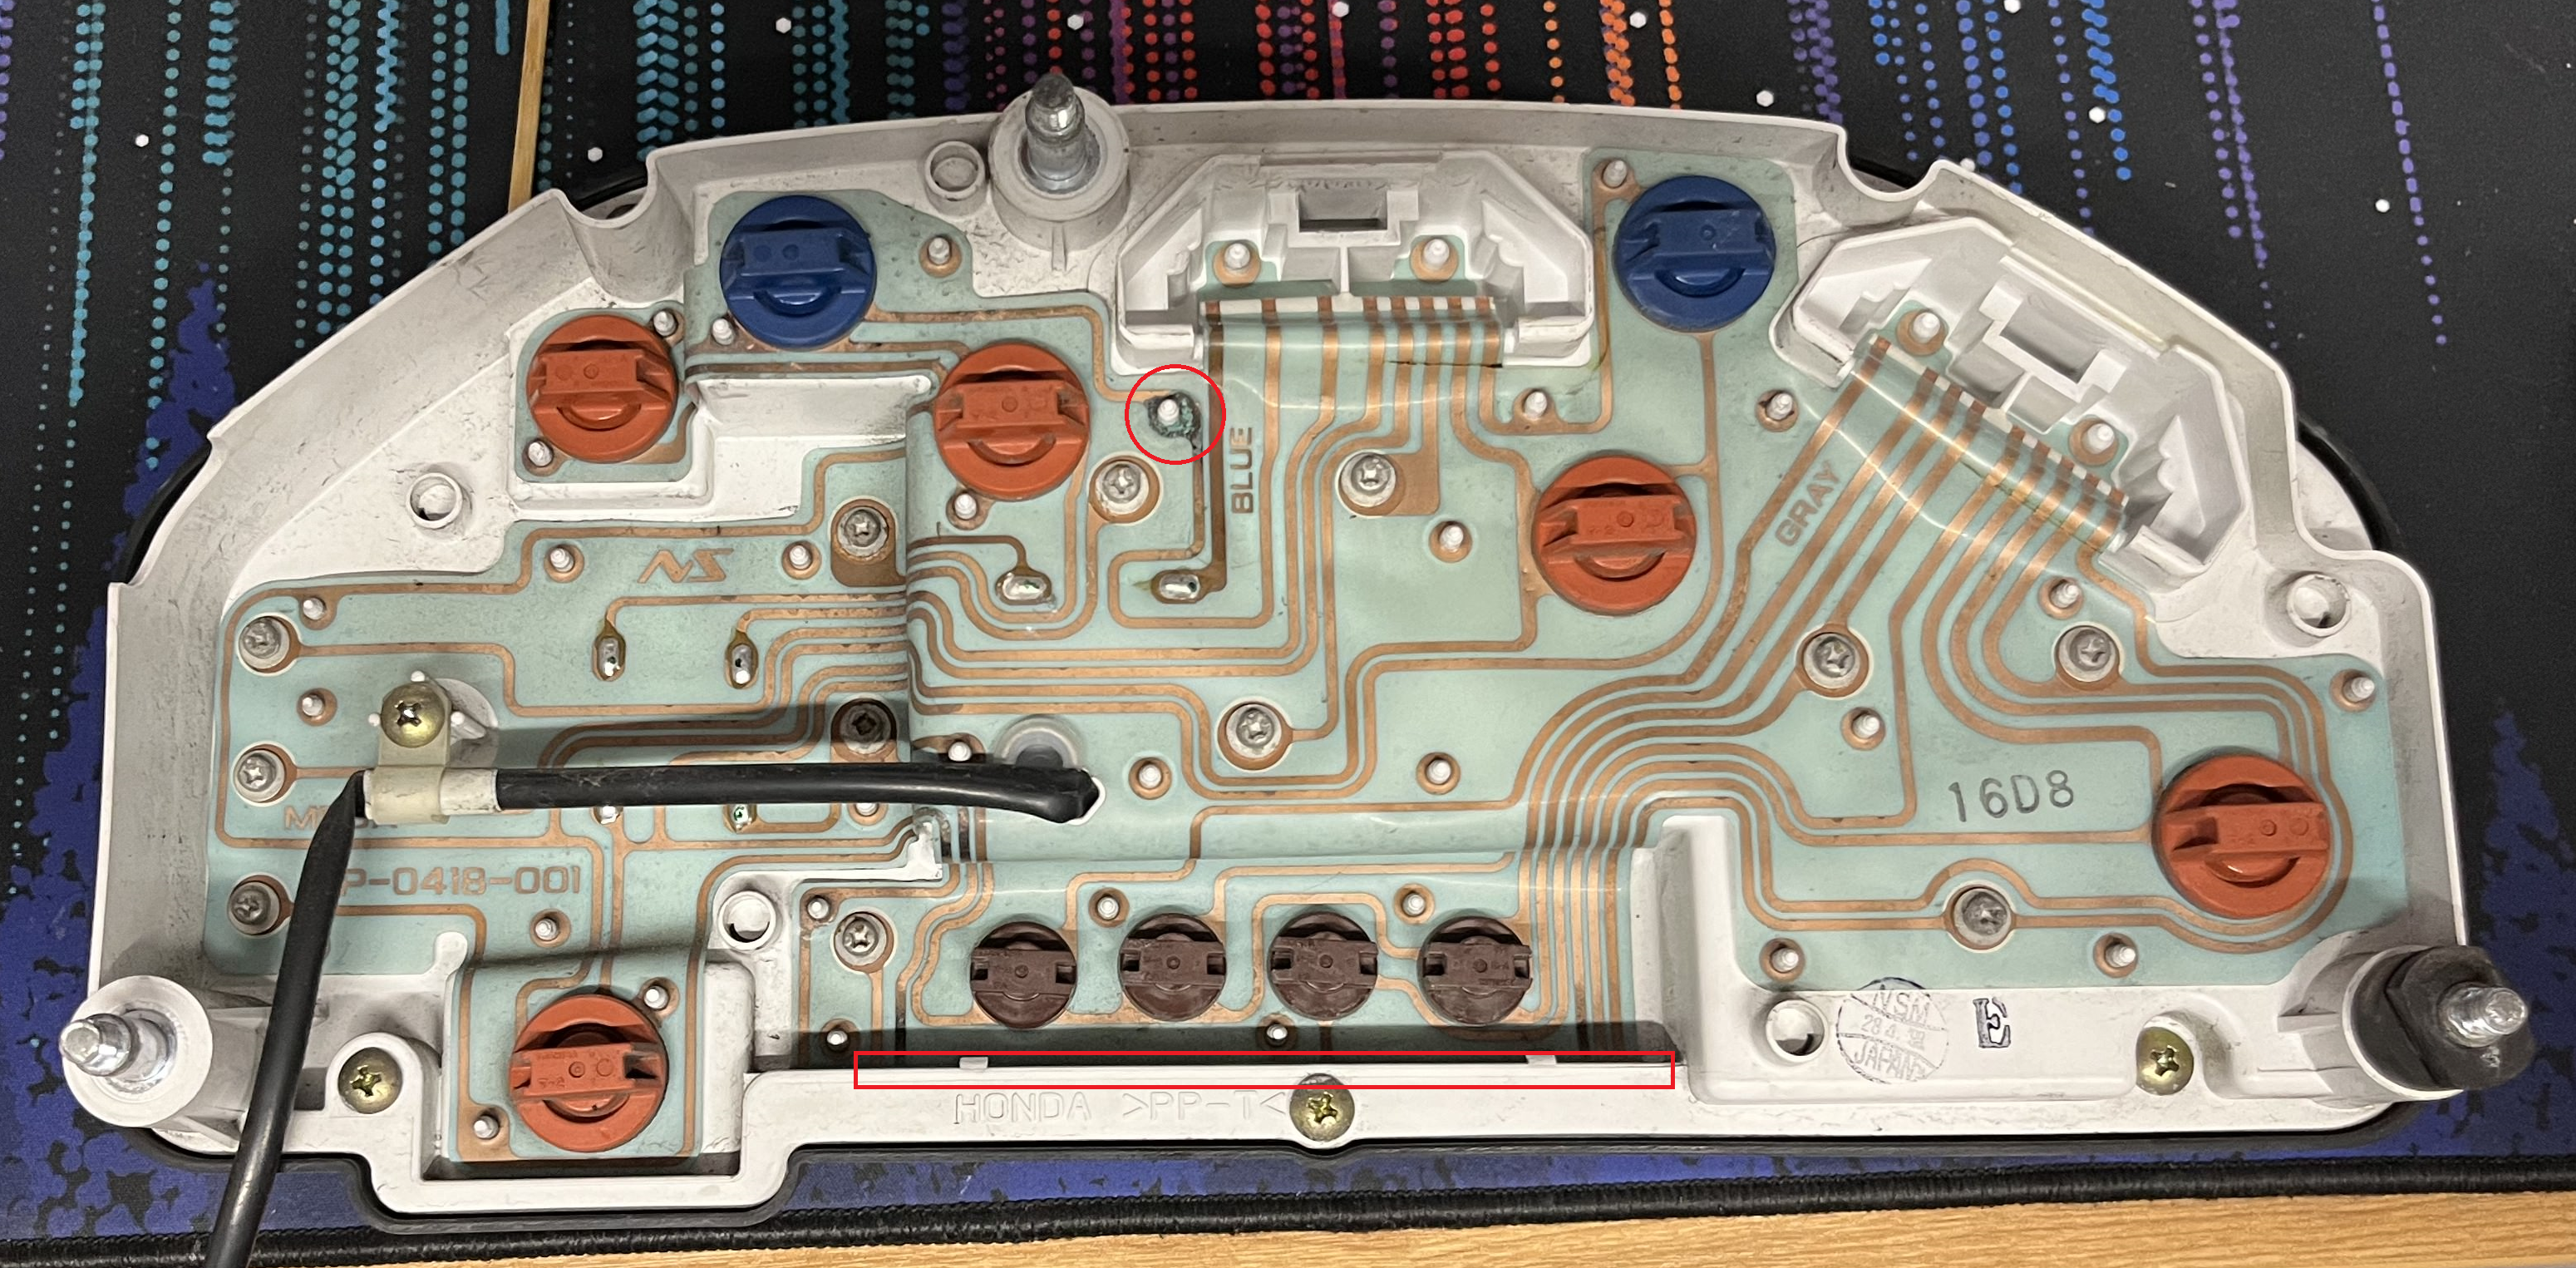
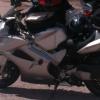
Hi all, I was thinking about the flexible dashboard PCB that the 5th gen VFR has (not sure about other gens?) Out of curiosity, does anyone know other bikes/vehicles that use this sort of thing? I have a vague idea that maybe some models of Hilux do, but haven't got any concrete info Pic attached for anyone that hasn't seen the back of the 5th gen dashboard before (ignore the red drawings)

-
New pads and rotor won't need much bedding in as both surfaces should be machined flat. That's a bit different to putting new pads onto an old and dished rotor, where it takes a little time to get the pad to match the contour of the disc. I agree with the previous posters, just ride it.
-
 TTommy5thGen joined the community
 -
As V4 Rosso said. You won't get anywhere near the load you're expecting and I bet you'll end up stopping the wheel. I'd just ride it
-
Marvelous!!
-
 Meravix joined the community
 -
Doesn' t come close. Or you would have to give it a fair amount of throttle at the same time.
-
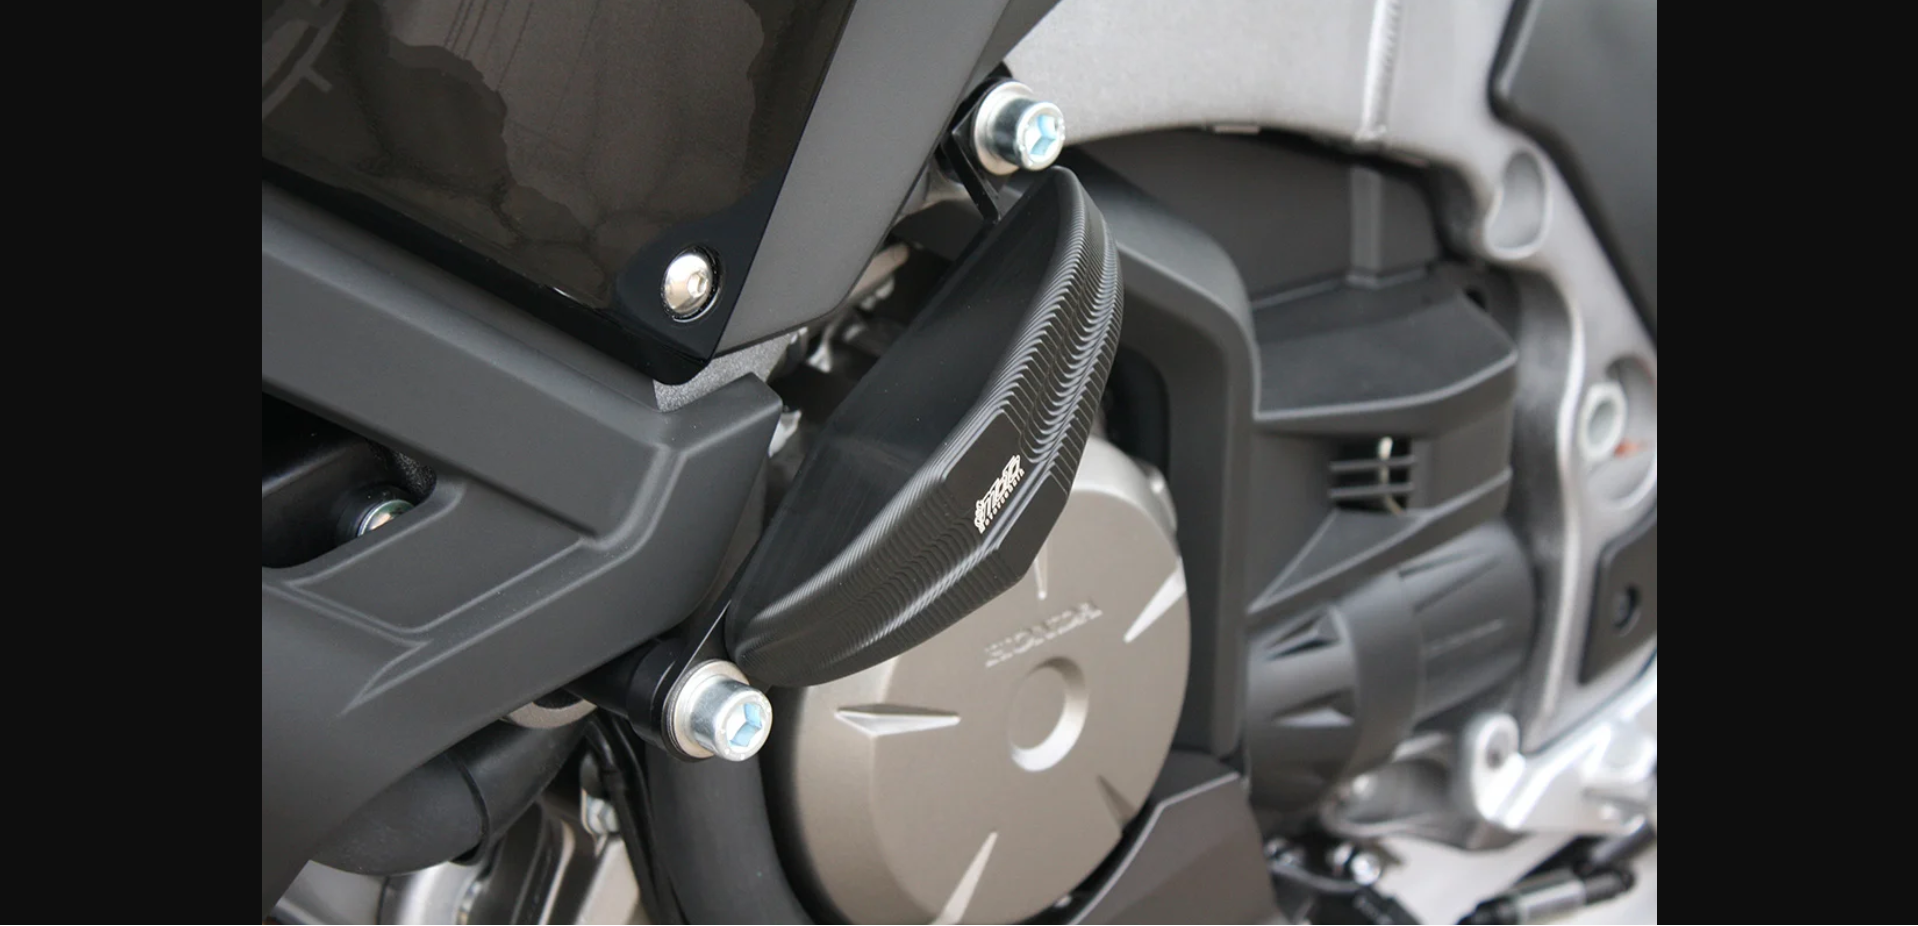
Has anyone tried these https://gsg-mototechnik.de/en/gsg-sturzpad-satz-streetline-fuer-honda-vfr-1200-crosstourer-2012/ I have a different version on my 1200F but wondered if anyone had tried this type?
-
 mullyjnr joined the community
 -

I'm getting so many awards and stuff, I don't know what to do
adkfinn replied to VTCAL's topic in Fifth Generation VFR's
Ok ROOKIE, where in VT are you? I am right outside of Montpelier.... let's ride some time! -

I'm getting so many awards and stuff, I don't know what to do
Skids replied to VTCAL's topic in Fifth Generation VFR's
The Force is strong in this one. -
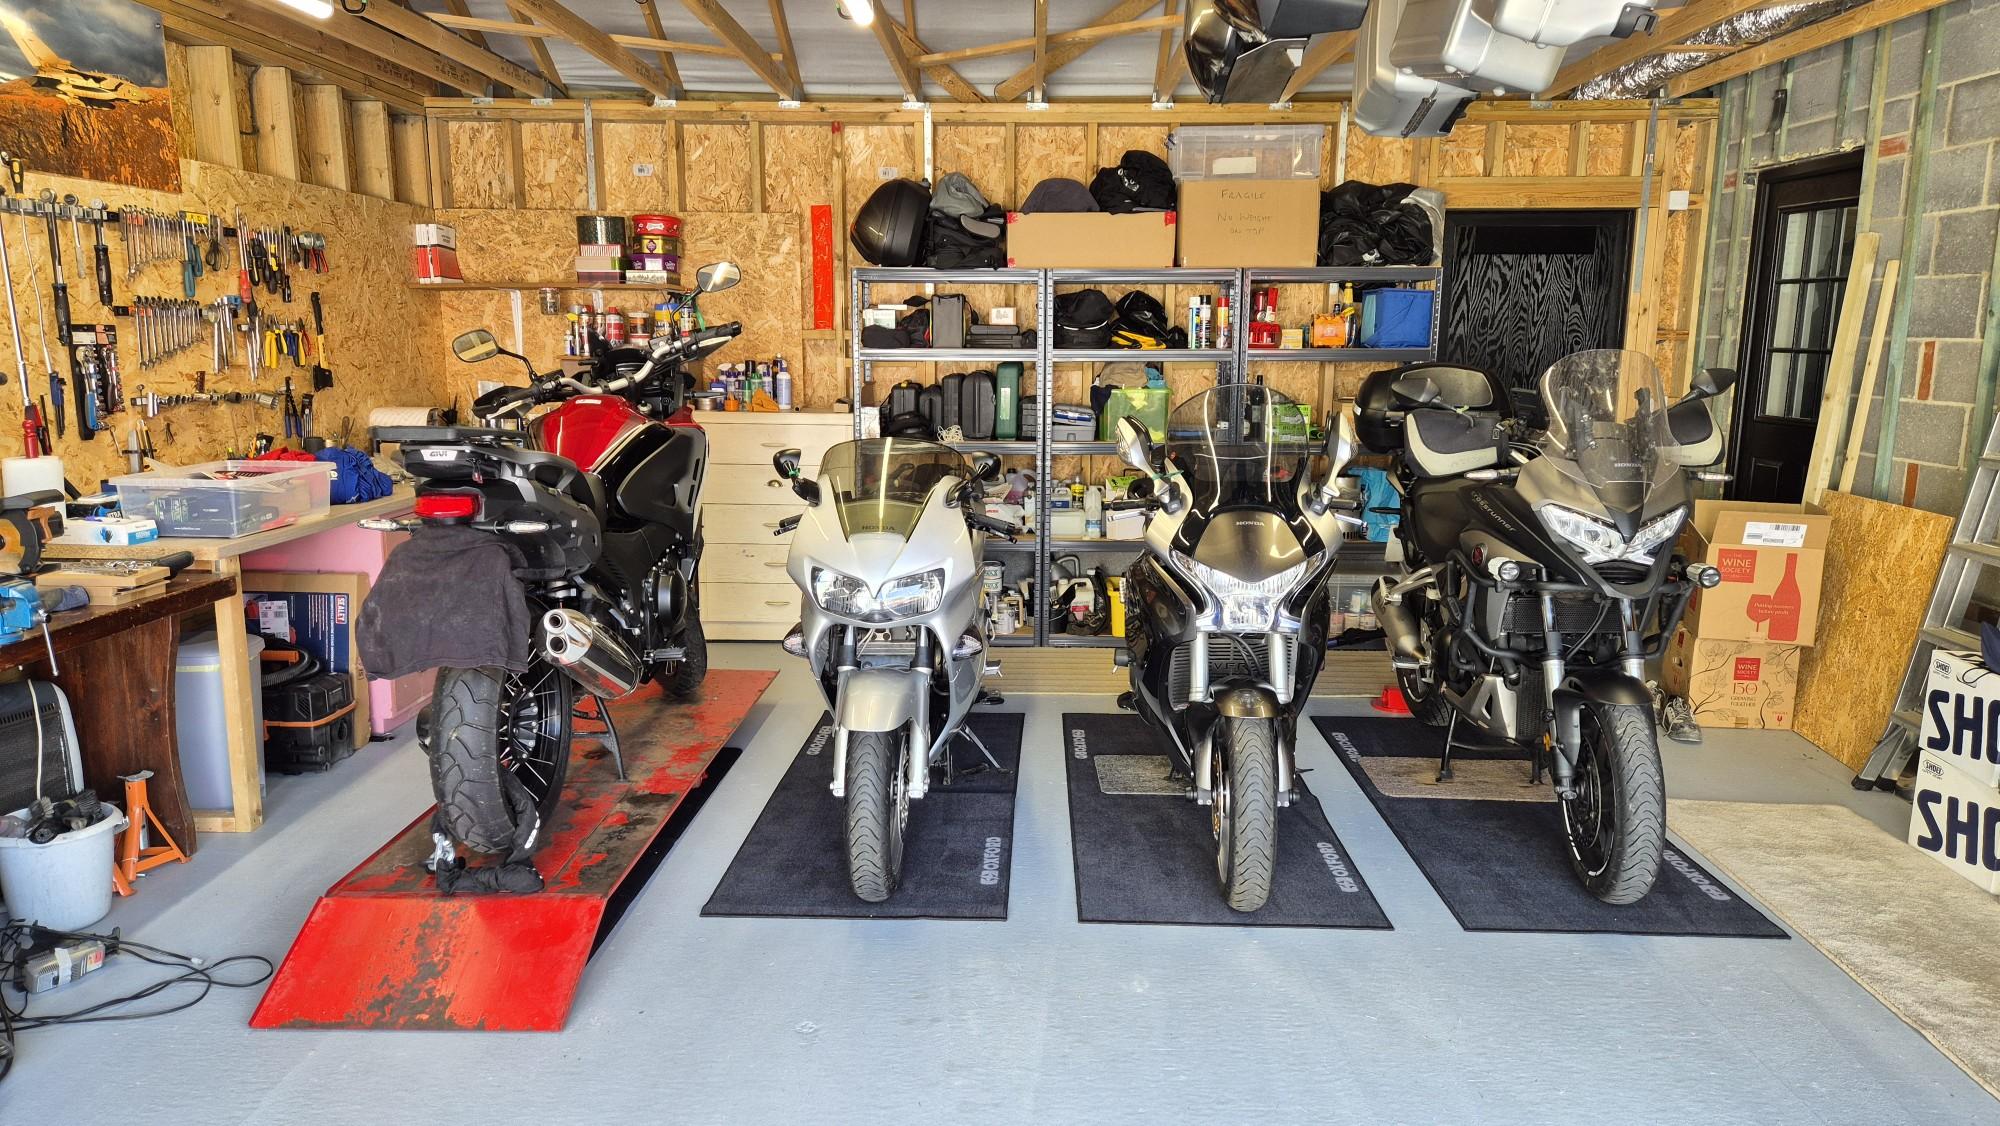
New garage is taking shape, still lots to sort out the correct place for and need to wire in the battery tenders. CT on the ramp ready for me to start work on her over the next few months. Not intending to ride her any more this year.
-
If the problem isn't too severe, you might be able to re-route the cables to make them work better. Taking them out of the metal cable guides, for example. Alternatively, longer cables can usually be sourced from "bigger bikes", e.g., ST1100 or the like. Ciao, JZH
-

I'm getting so many awards and stuff, I don't know what to do
Dutchy replied to VTCAL's topic in Fifth Generation VFR's
The one to aim for... -
My 2c. Put on your your gear and ride that thing. What is there to "bed in"? It is a Honda with parts designed for it.
-
Any joy with the Bandit mirrors? can't find any info about mounting hole spacings, if these are 50mm like 5th Gen, they look like they'll fit, not many 50mm mount mirror about with the right kinda stalk angle that'll suit 5th Gen fairing angle of the dangle.
-
I installed a new Honda rear rotor on my 2006 non abs VFR. I am using new Brembo HH pads and want to bed them in. Since it is the rear wheel, I was wondering if putting the bike on the center or my pitbull rear stand and doing the ten 30, 40 and 50 mph with no full stops would be equal to doing it on the road. Since the goal is to heat up the pad/rotor surfaces so material transfers and there be no full stop in the process, seems like duplicating the process with the wheel elevated should give the same results. Any thoughts?
-

I'm getting so many awards and stuff, I don't know what to do
VTCAL replied to VTCAL's topic in Fifth Generation VFR's
Whoa! Due to this very post, I have just achieved ROOKIE status. You all can not believe how hound oured I feel! -
dedication awards because I posted three days in a row! That I have participated in the forum more than 47% of all members I'm overwhelmed! It's like grade school soccer all over again!
-
 flyingpurpleasseater joined the community
 - Last week
-
Air box lid flapper , this is sort of funny
VTCAL replied to VTCAL's topic in Fifth Generation VFR's
I would have used gaffer's tape. -
OK, It's been a long time and I've tried numerous things, but I still can't figure out this bike. I checked with my temp gun today the exhaust temps at the headers, after running for a few minutes, and wow. The left front cylinder was 550 degrees, right front 140, left rear 248 and right rear 160. I have no idea what is going on.
-
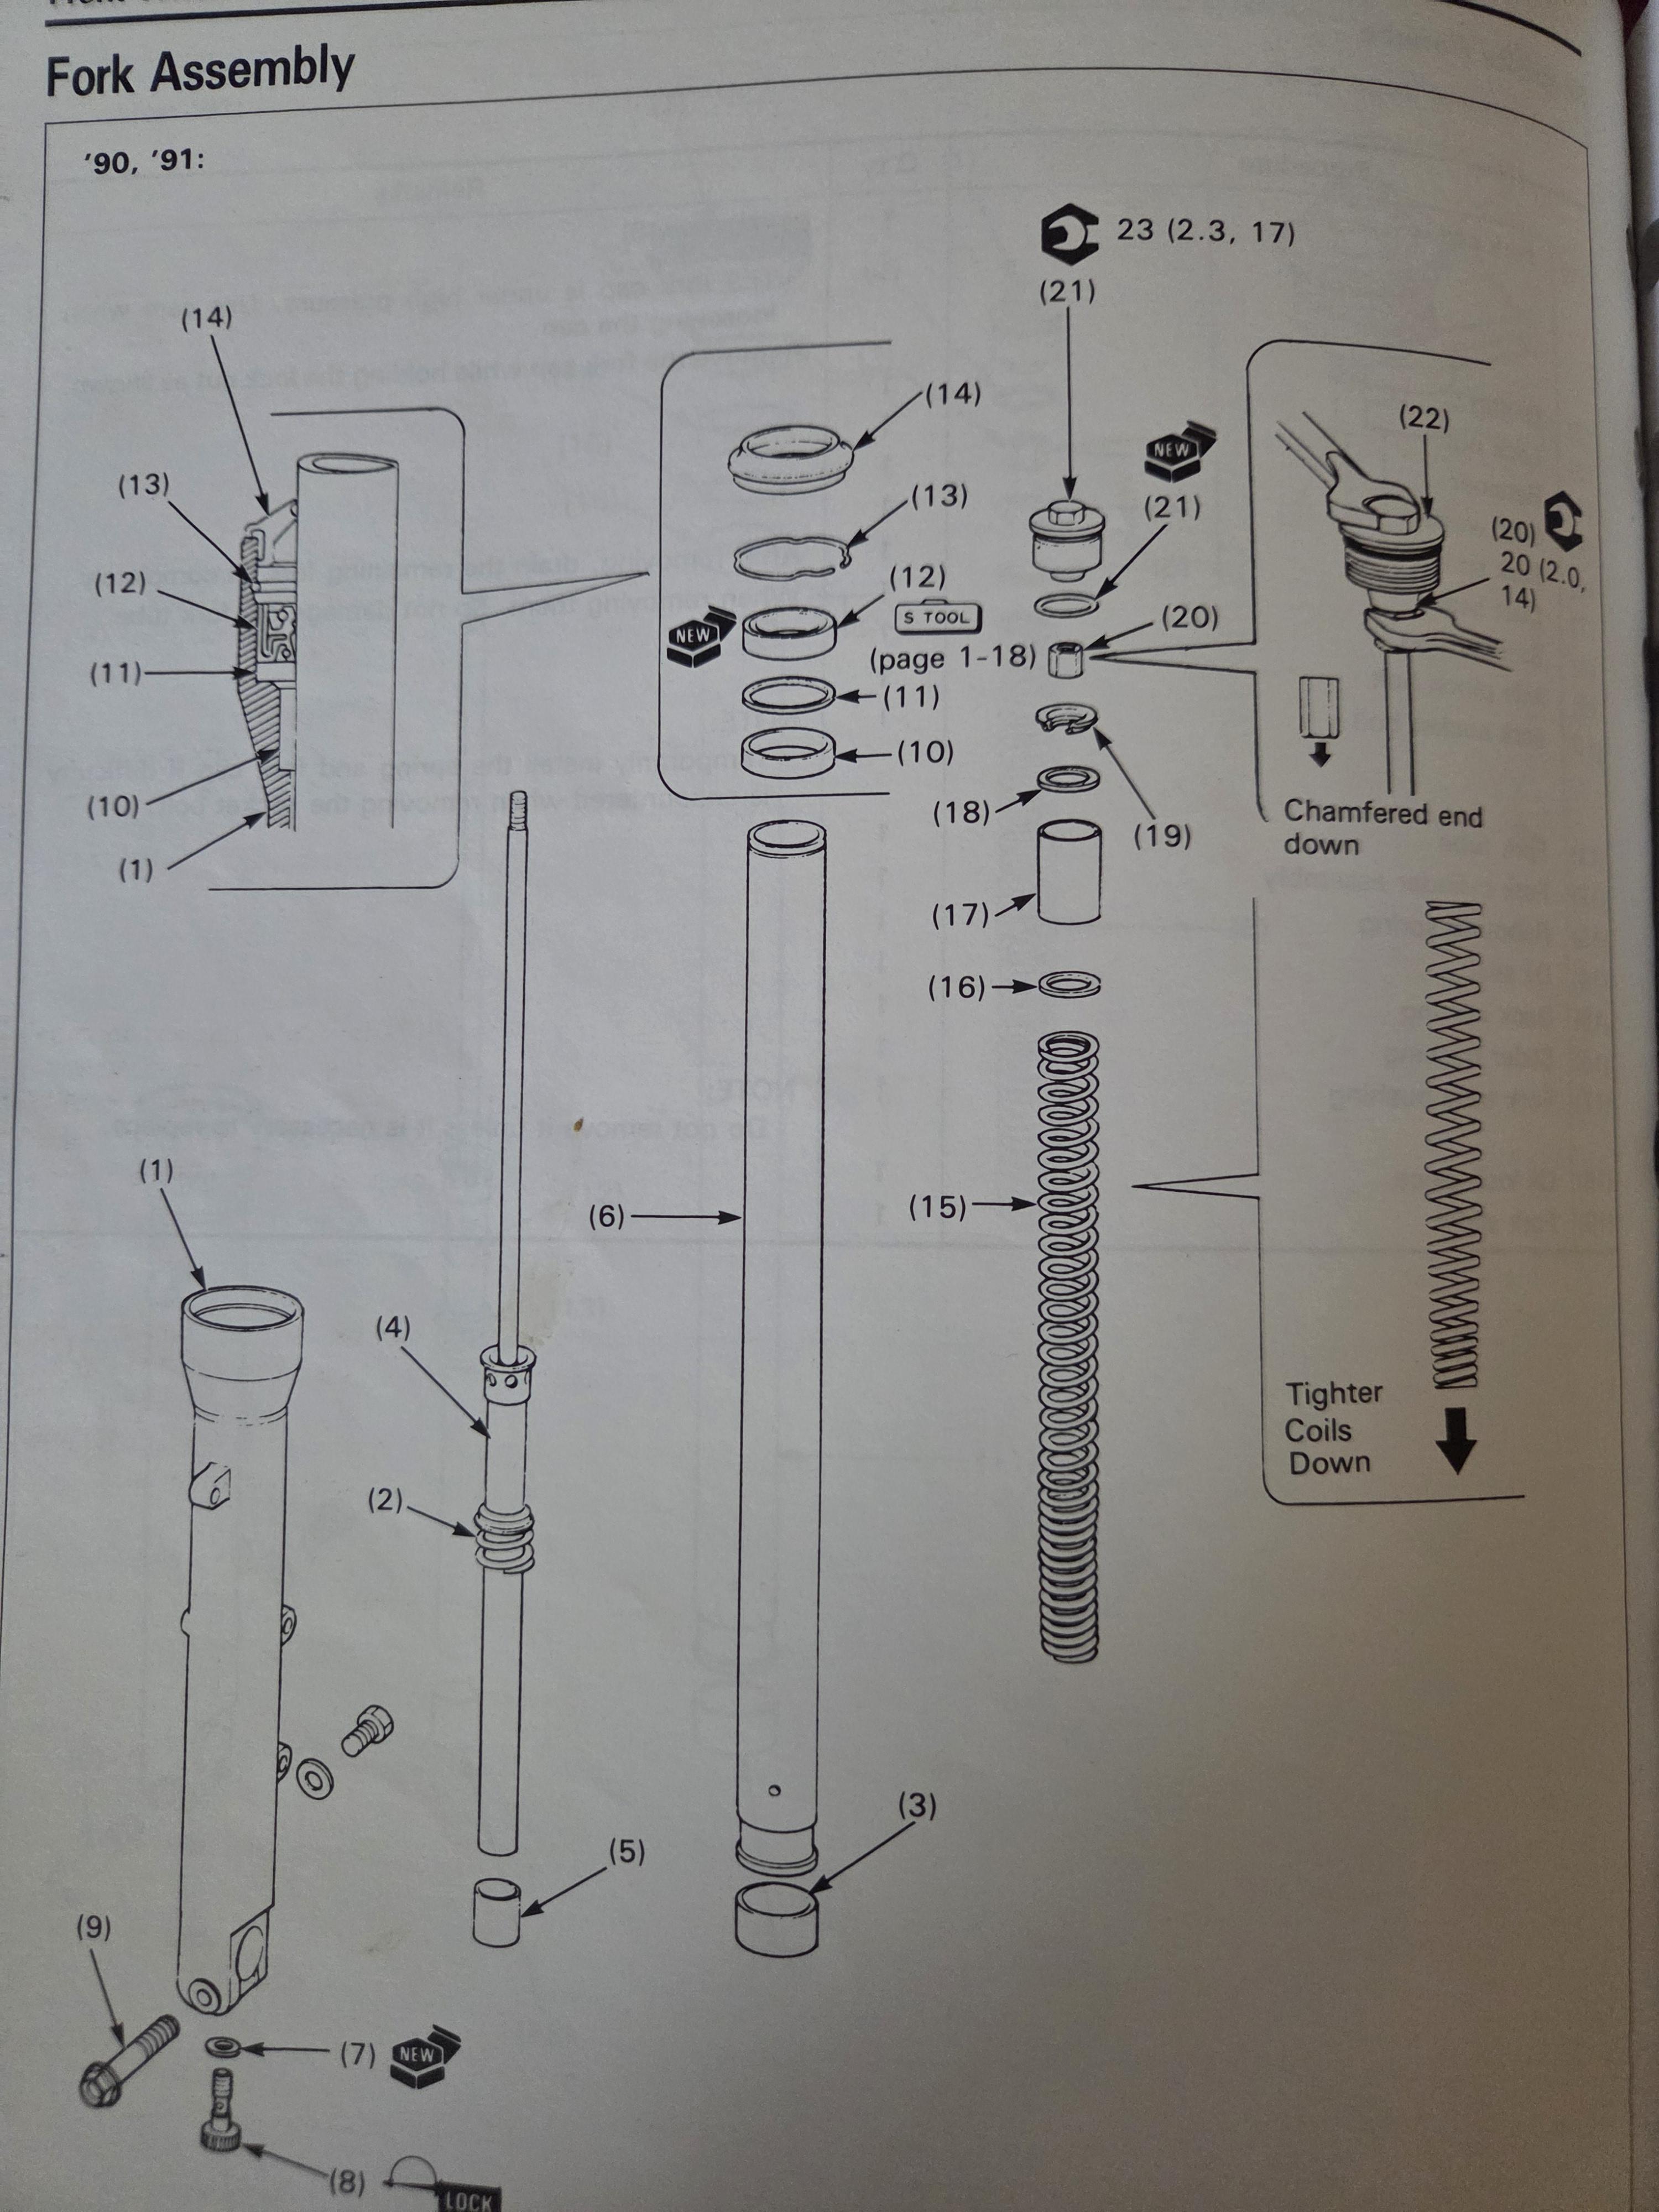
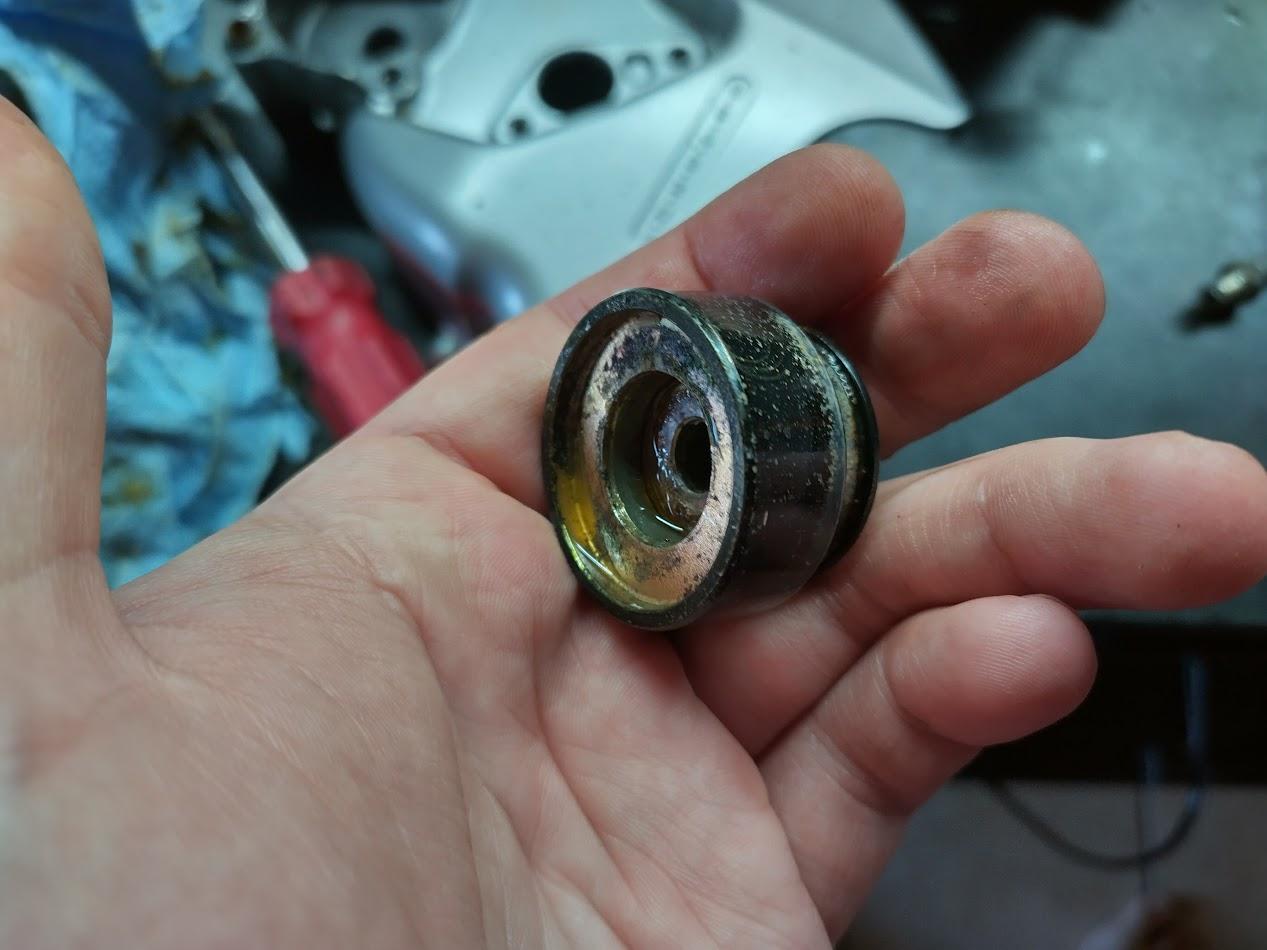
Here is the image from the 90~91 shop manual, note #20 has the chamfered edge pointing down. Also no preload adjuster, as the spacer is your preload adjuster. The missing washer is important, so that the end of the spacer tube is protected ( at both ends ) - being plastic it can easily distort against a metal surface, or if the spacer is metal, it would have a sharp edge as they are usually ground parallel to keep seated properly. The spring height difference is not enough to worry about, they might be aftermarket. Some are so long that you need to remove the spacer, and put a short one in supplied with the springs. If they were causing too much preload, you would feel the fork topping out over bumps...
-
Depends on condition and if any kit specific hardware is present. But surely they would have some value.
-
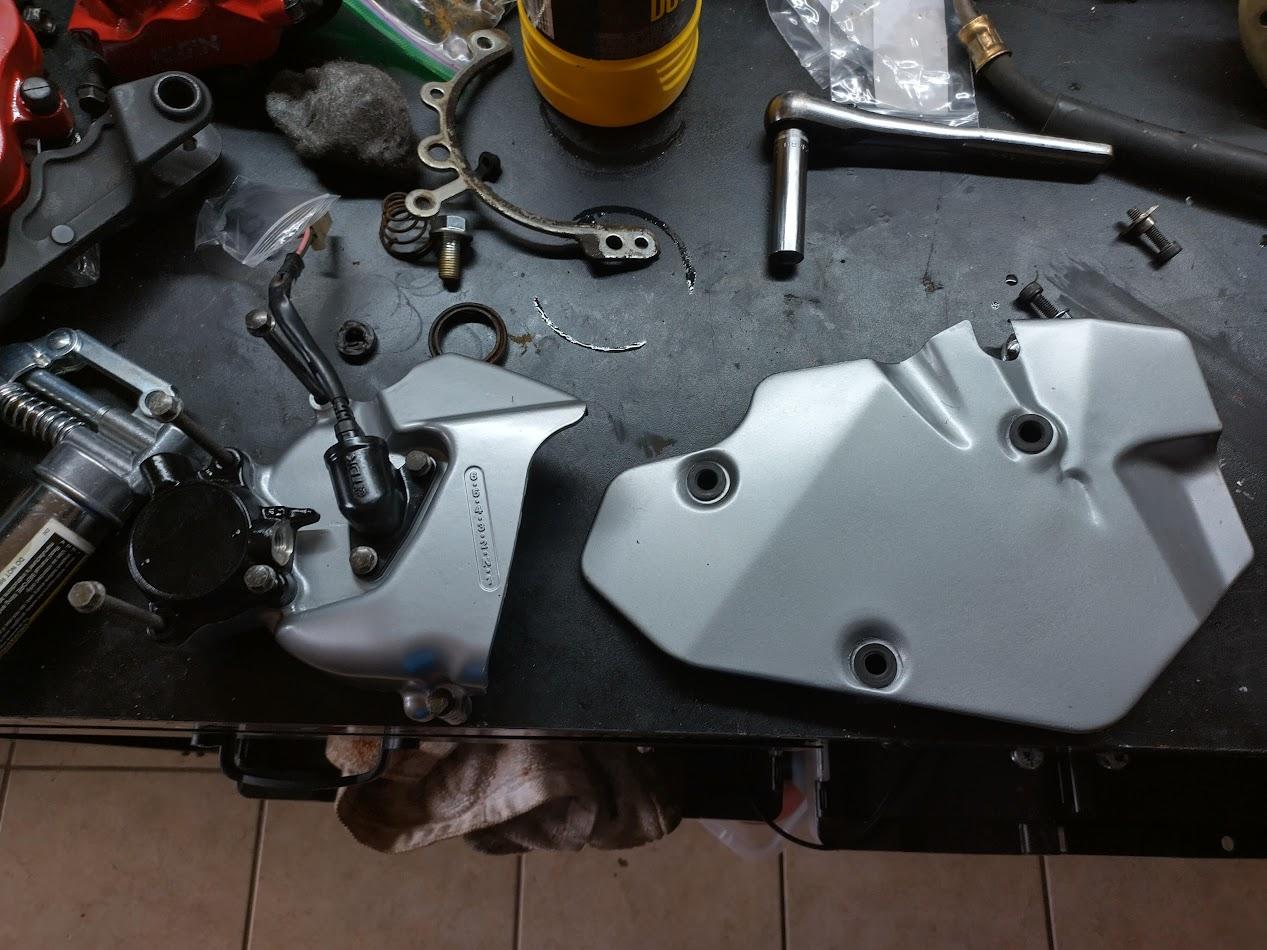
WORD TO THE WISE WHEN APPLYING AIR PRESSURE TO FREE A STUCK CLUTCH SLAVE CYLINDER MAKE SURE THE STUPID THING ISN'T POINTED AT YOUR STUPID FACE thanks for coming to my ted talk. anyway, more freshly painted parts + rebuilt clutch slave


-
VFRD Mission Statement
For owners of the Honda Interceptor and related Honda V4 motorcycles, for the purpose of mutual help concerning safe riding, maintenance, and performance of their motorcycles.
Rules of the ride - No one goes to jail, and No one goes to the Hospital.
Contributions - VFRD is a member supported website with no commercial advertising.

-
Forum Statistics
-
Total Topics26.5k
-
Total Posts361.7k
-
-
Who's Online (See full list)
-
Member Statistics
-
Upcoming Events
No upcoming events found -
Latest Classifieds
-
-
Top Downloads
-
-
Popular Contributors
-
Blog Statistics
-
Total Blogs116
-
Total Entries345
-
-
Gallery Statistics
-
Blog Entries
-
-
Blog Comments
-

By vfrpilot28 · Posted
I enjoyed reading this and seeing your story. For the love of motorcycling! -

-
By interceptor69 · Posted
Oops. I do believe I know how to post YT videos or they wouldn't be on YT. However I may have screwed up copying the link to the playlist. Thanks for the helpful comment. -
 I think that you might not know how to post videos. You're in your YT studio in these links. You need the link to the actual video.
 -
-
-
Most Contributions
-