-
Featured Gallery Photo
.jpg.4c4019245327e7fe4b3cb07f3060fe48.jpg "Turkeys 2025 (135).jpg") Turkeys 2025 (135).jpg
Turkeys 2025 (135).jpg

All Activity
- Today
-
Thanks. Yeah, this is the one I'm ordering. Seems to be the best of both worlds.
-
Yeah, exactly this for me. 60mph+ is really hard work. At 70, it feels like the aero causes the airflow to converge at my throat. Going higher and my lid is trying to remove my head by force😂 My lid has always been awesome, so it surprised me. I wear plugs, but going full tuck then causes the flow to smash into the sides of my head. I'm going to try the Powerbronze. It's only £78,so nothing ventured.
-
 you're more than welcome 😊
 -
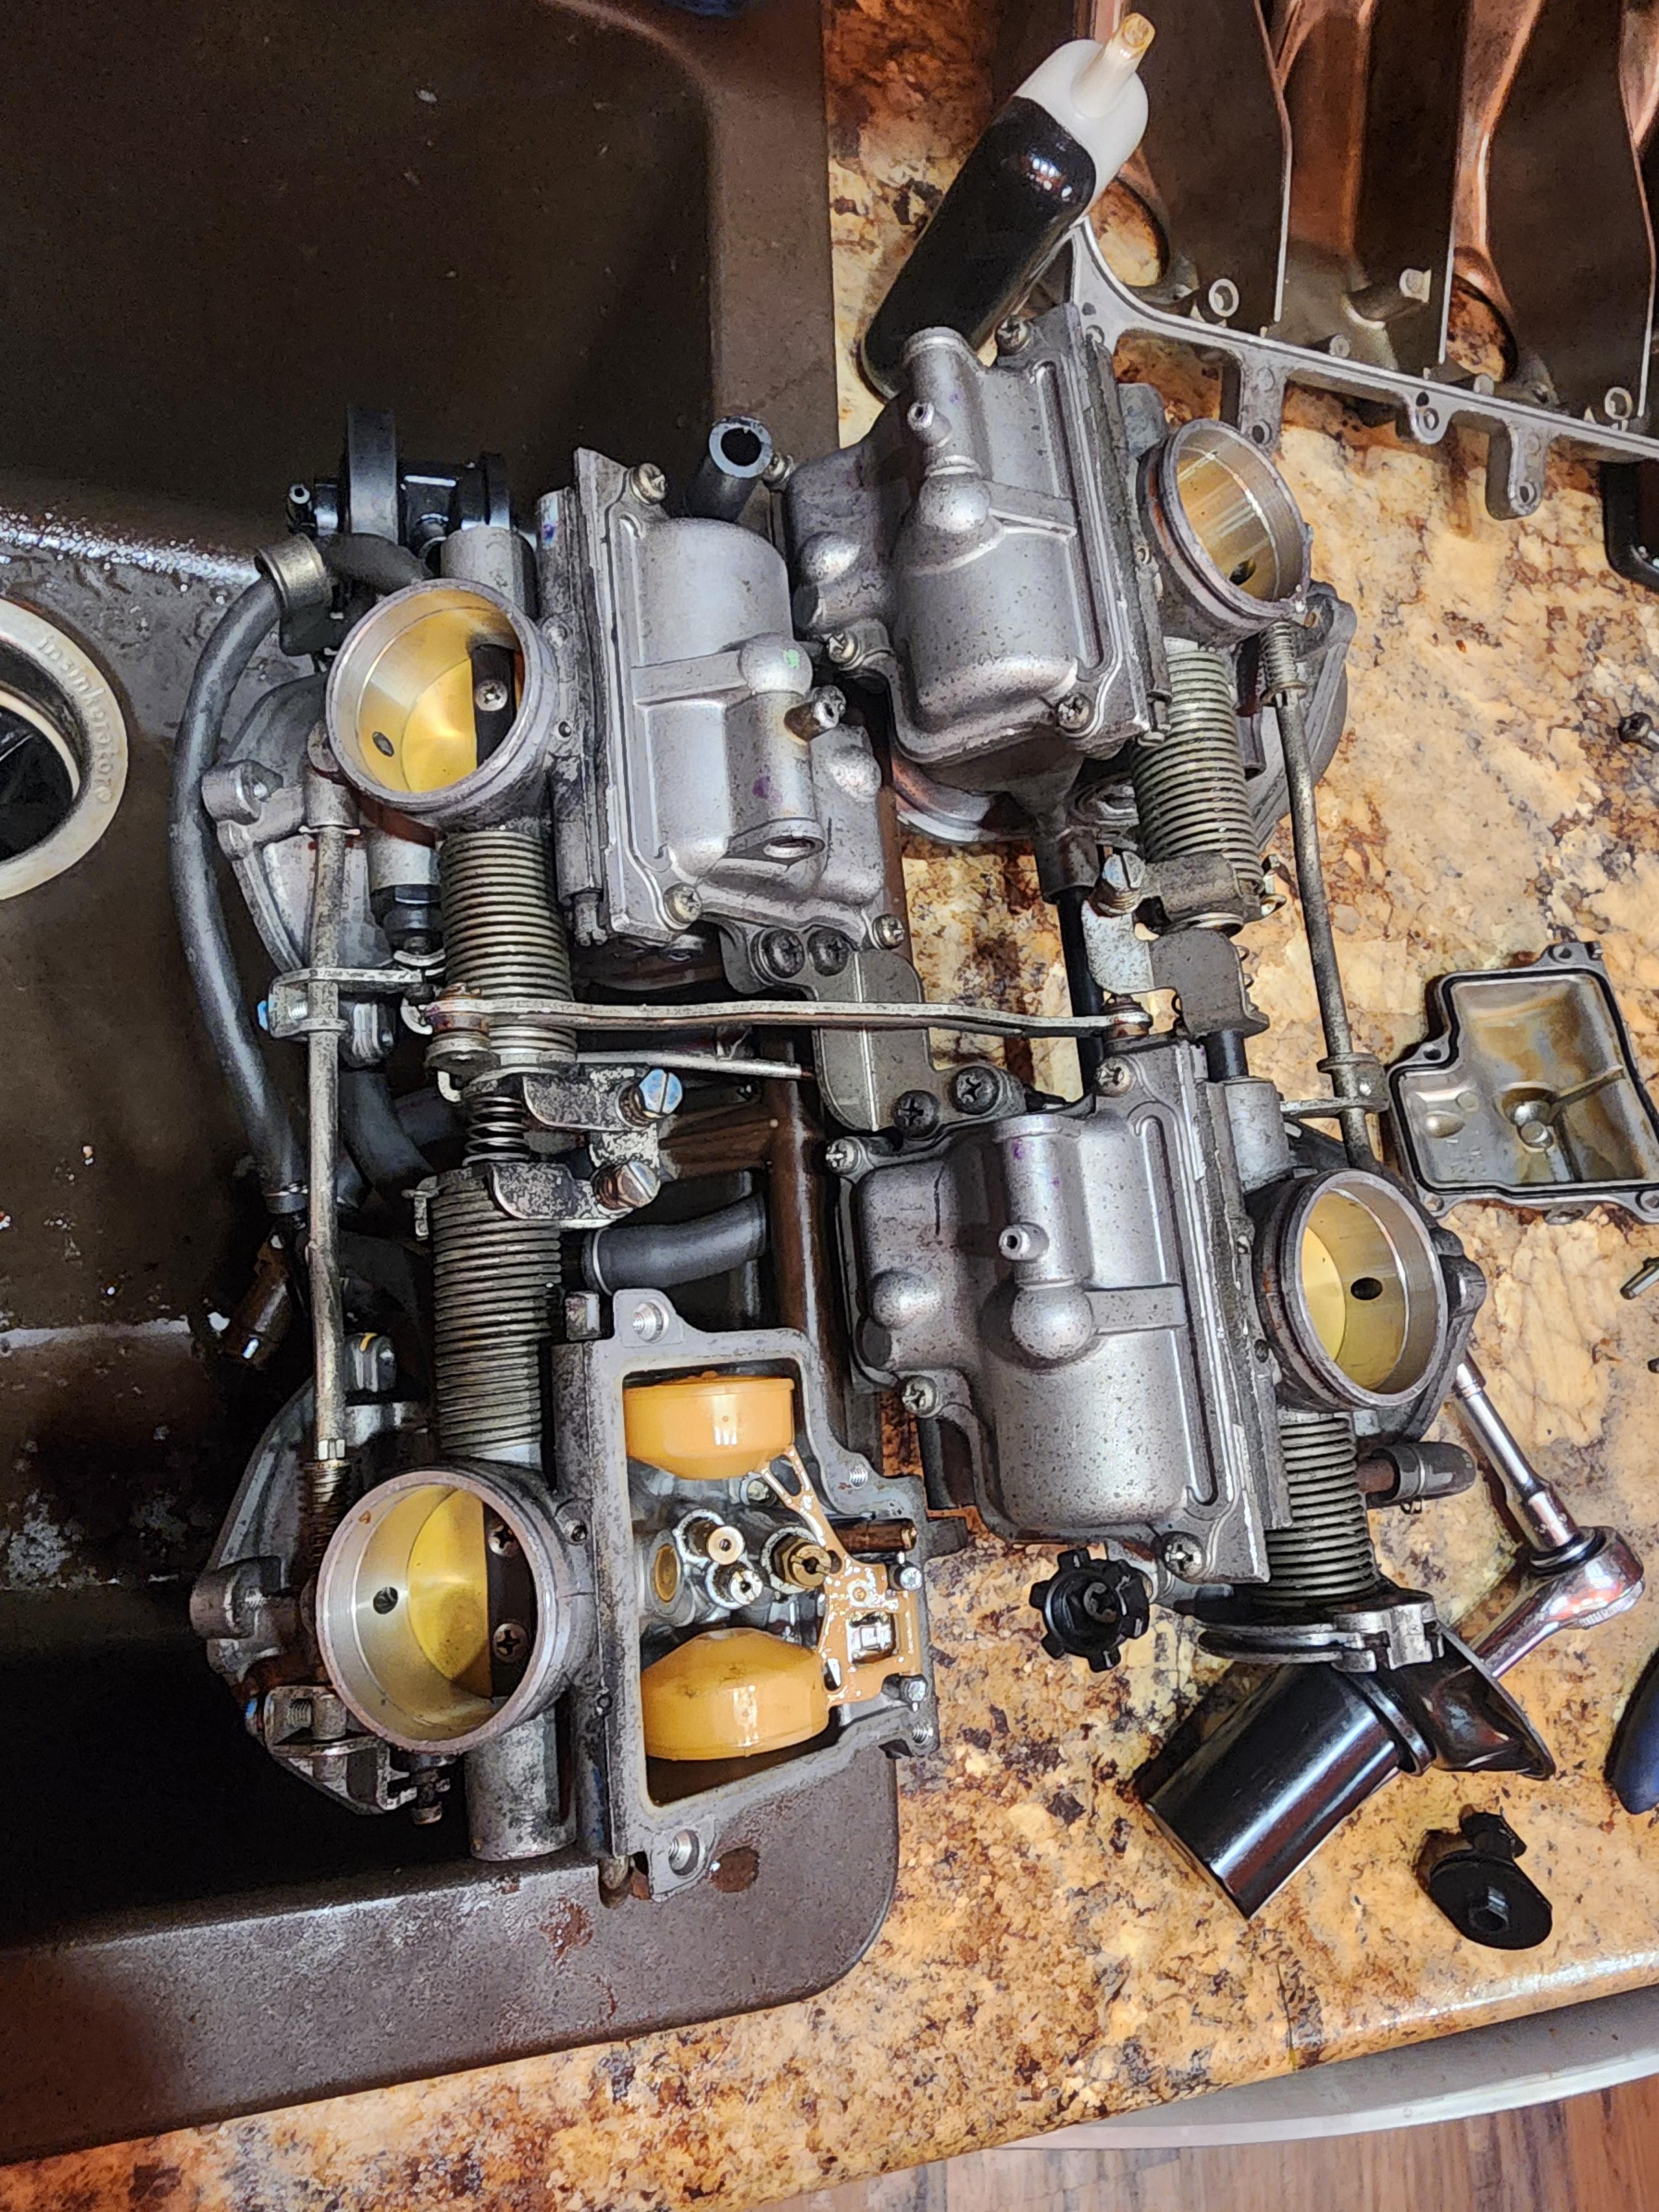
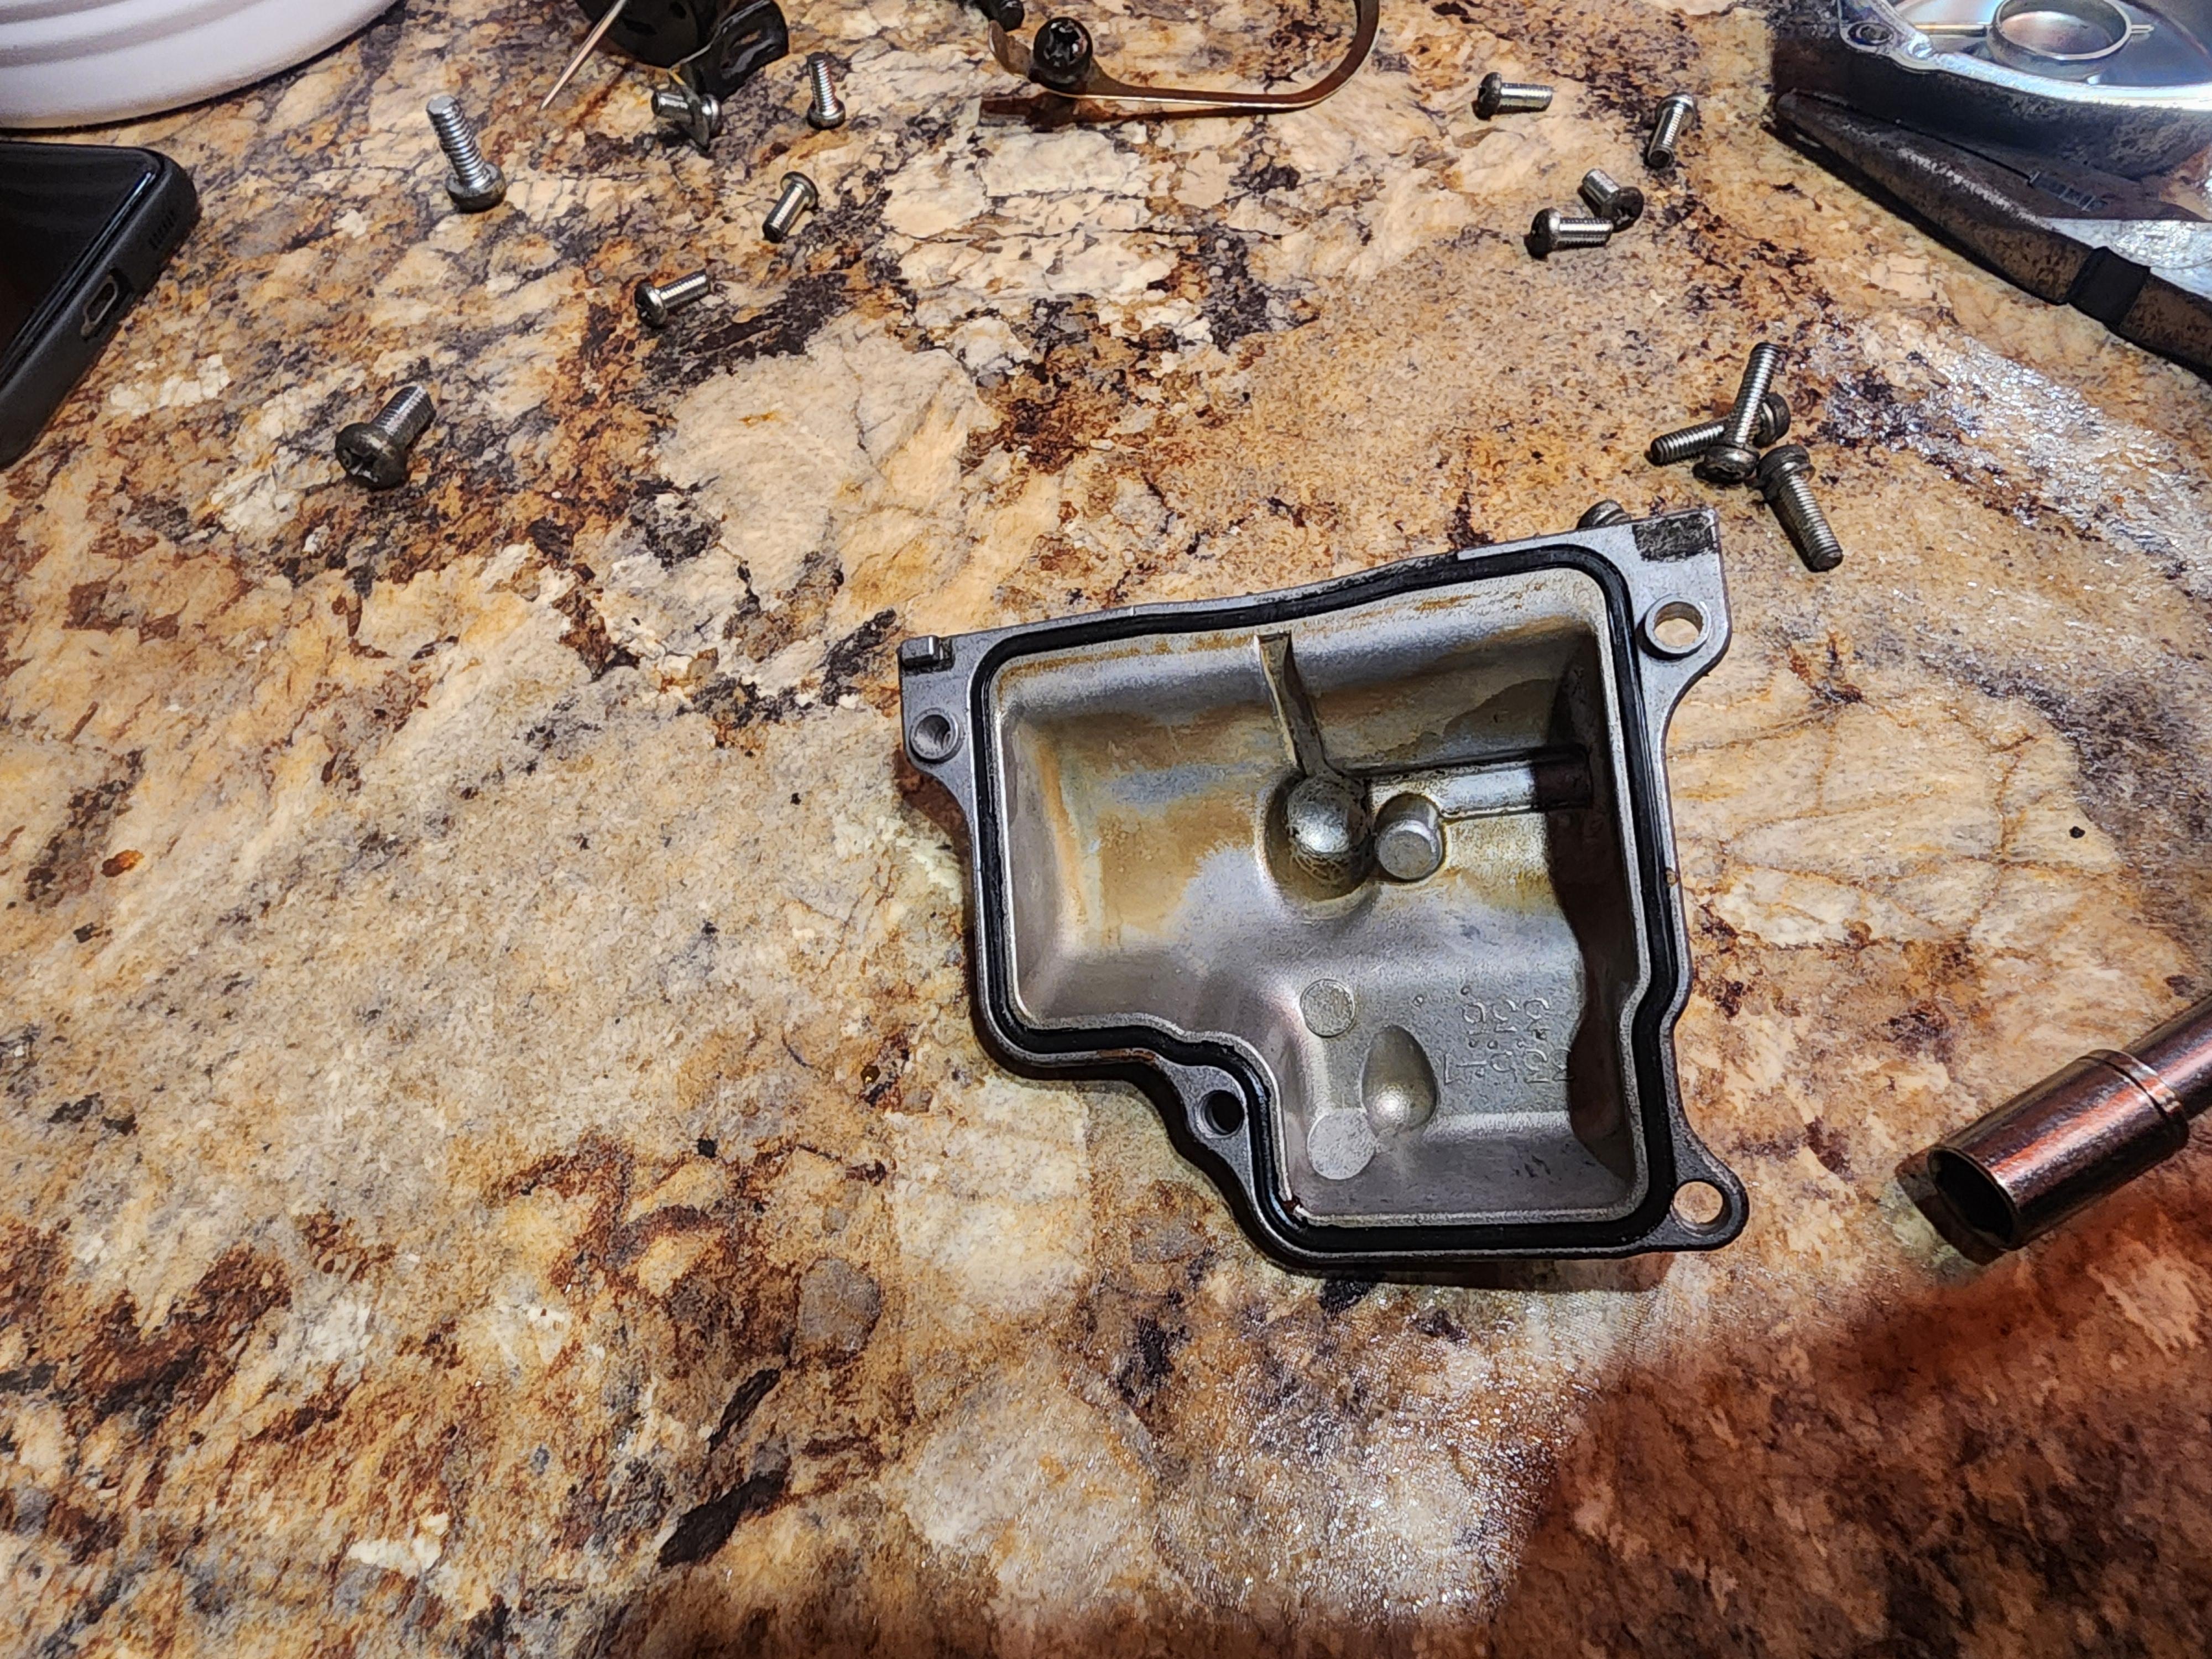
 Set the airbox base down on the TBs take a look and figure how I want to go about things.... Sat down a minute to ponder and grabbed a piece of chocolates I have been munching on, the wrappers have odball notes and the one I just picked says... Got a bit of a chuckle out of it.... Moi? Overthink? I never do that.... --------------------------------- Once in a while in the overzealous persuit of upgrading, sometimes that bites you in the ass.... Case in point was the silicone hoses made the job waaaaay more of a fiddlely fight, Stuff doesnt like the tighter bends and it ends up coming across more "sharp" edges in the TBs. What a PIA...... In retrospect, if there is a next time, just use new OEM. Another one, I found this silcone plug on Amazon to replace the cracked rubber one on the inlet on the front side of the airbox base for the pair valve hose..... Thing is... when trying to install the airbox base the plug hits the frame and that prevents the base from sitting on the TBs seats... grrrr. Effe that, hacksawed the nozzle piece off and did my Permatex and Bolt thing to seal up the hole. Red loctite on the nut... Its not coming apart... And airbox base is on... venturis installed. Longtime habit... since I dont claim to have a memory, mark the hooey out of everything.... color code every connector and where hoses go... Paint pens are your friend...
 -
check that all slides rise equally with more throttle. if one lags behind or rises only a little that diaphragm is probably not installed correctly.
-
I got it to start and the throttle works! Thanks so much. I can't quite give it the whole throttle or itll cut out
- Yesterday
-
ok here we go................😆
-
Ive got it back together and now im having trouble getting it to start
-
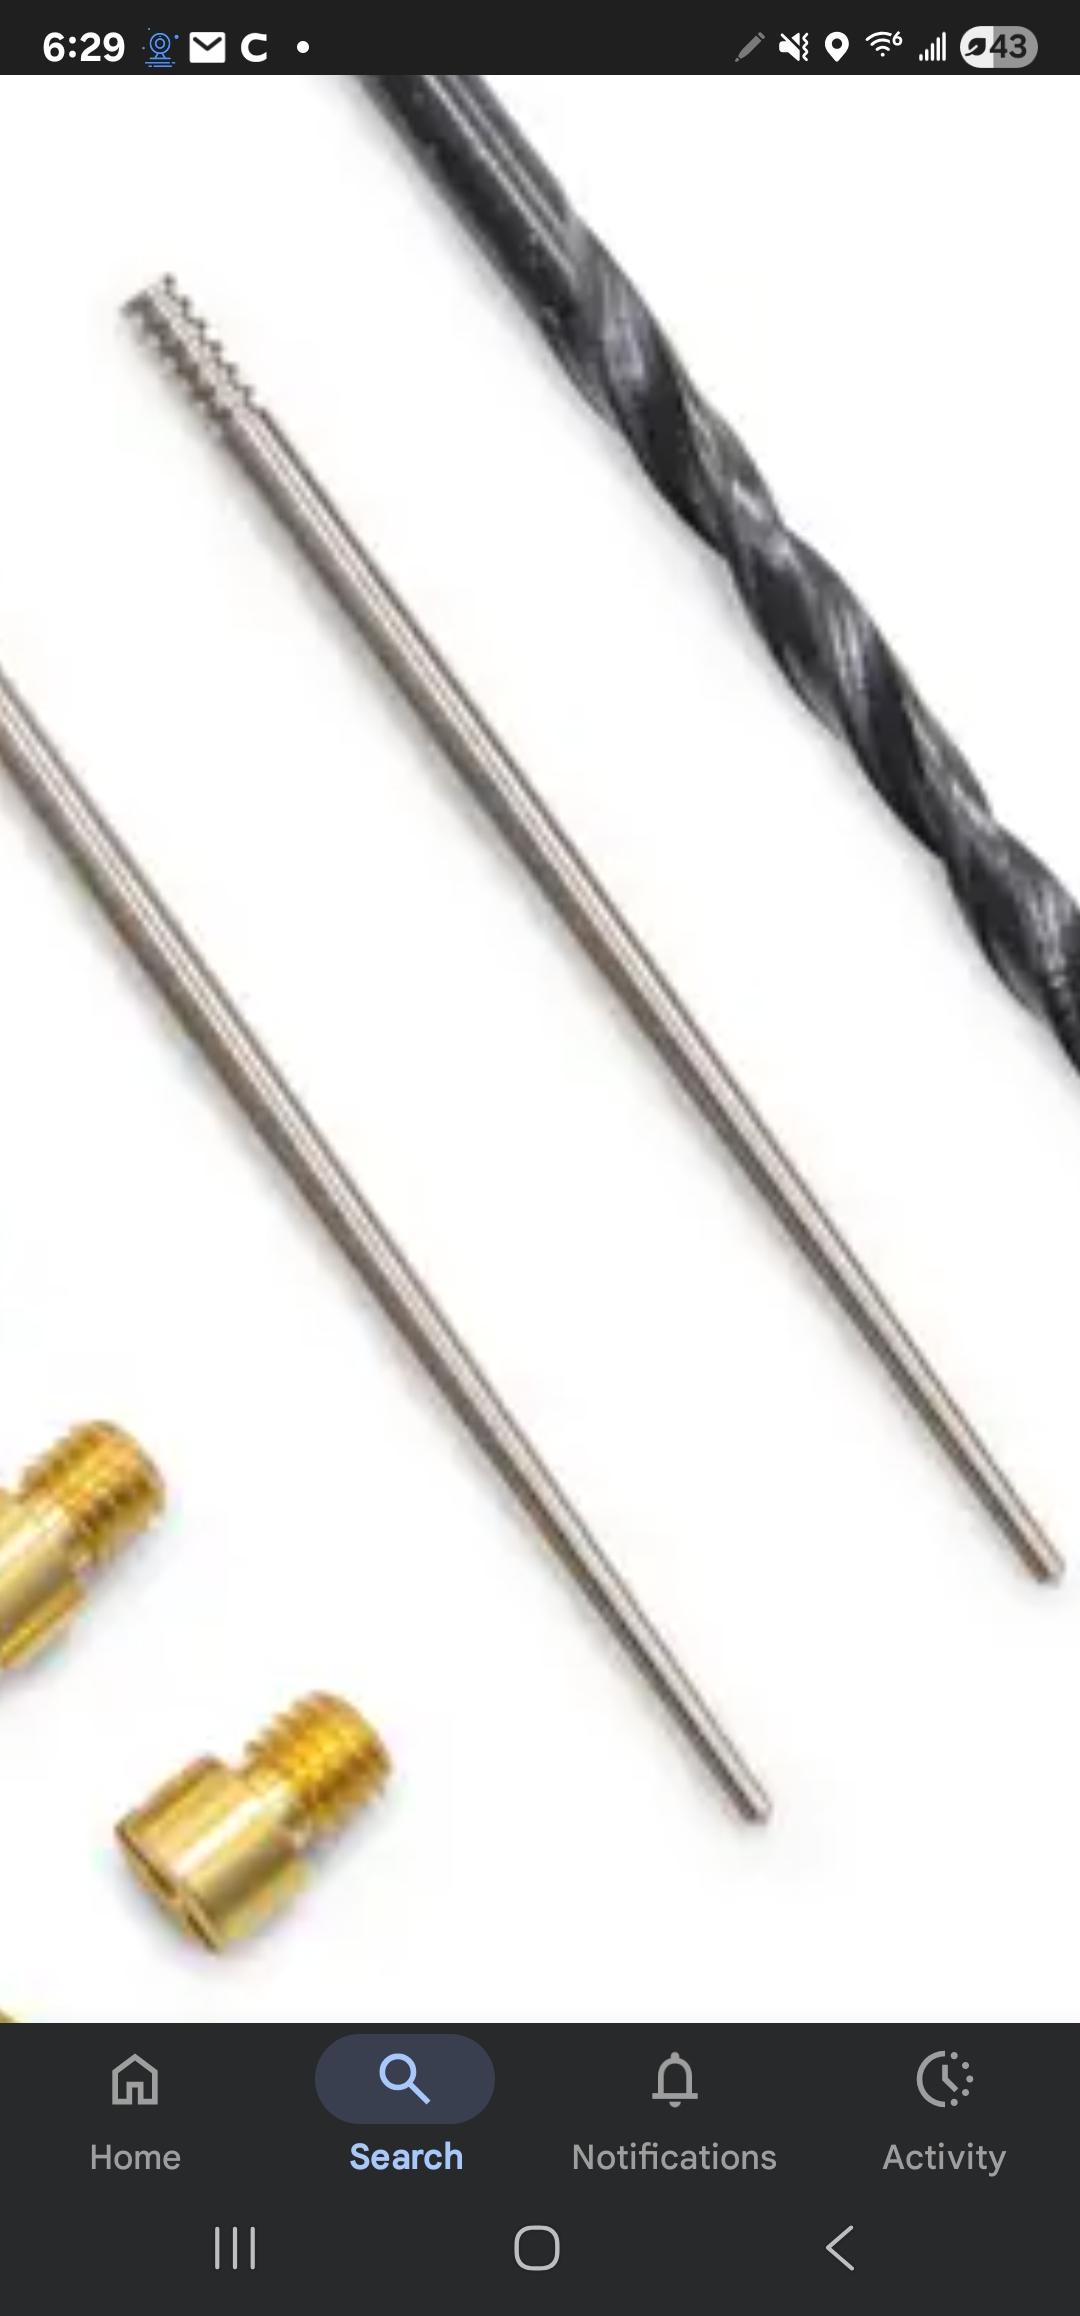
No I didnt separate them to take out the carbs. The jet needle is this

-
Welcome!
-
How are you removing the carbs? Hopefully that's actually, how WERE you removing the carbs? You never separate them for removal.. They come out as a unit and then split if needed (like replacing the o-rings). A proper carb clean can be accomplished with the carbs as a unit. They are installed as a unit. Have you removed the pilot screws to ensure that circuit is clean? Are those what you are calling "jet needle"?
-
@Captain 80s Yes i replaced the Orings because I broke one of the plastic lines the first time I removed the carbs. That was a pain in the ass to find. I was talking about the tiny washer that goes inbetween the jet needle and spring. Im almost home from work now so I'll be putting that piece together then putting them back on the bike.
-

USB with system voltage display, Where to tap in?
VTCAL replied to VTCAL's topic in Fifth Generation VFR's
Thanks for your comments! Much appreciated. -
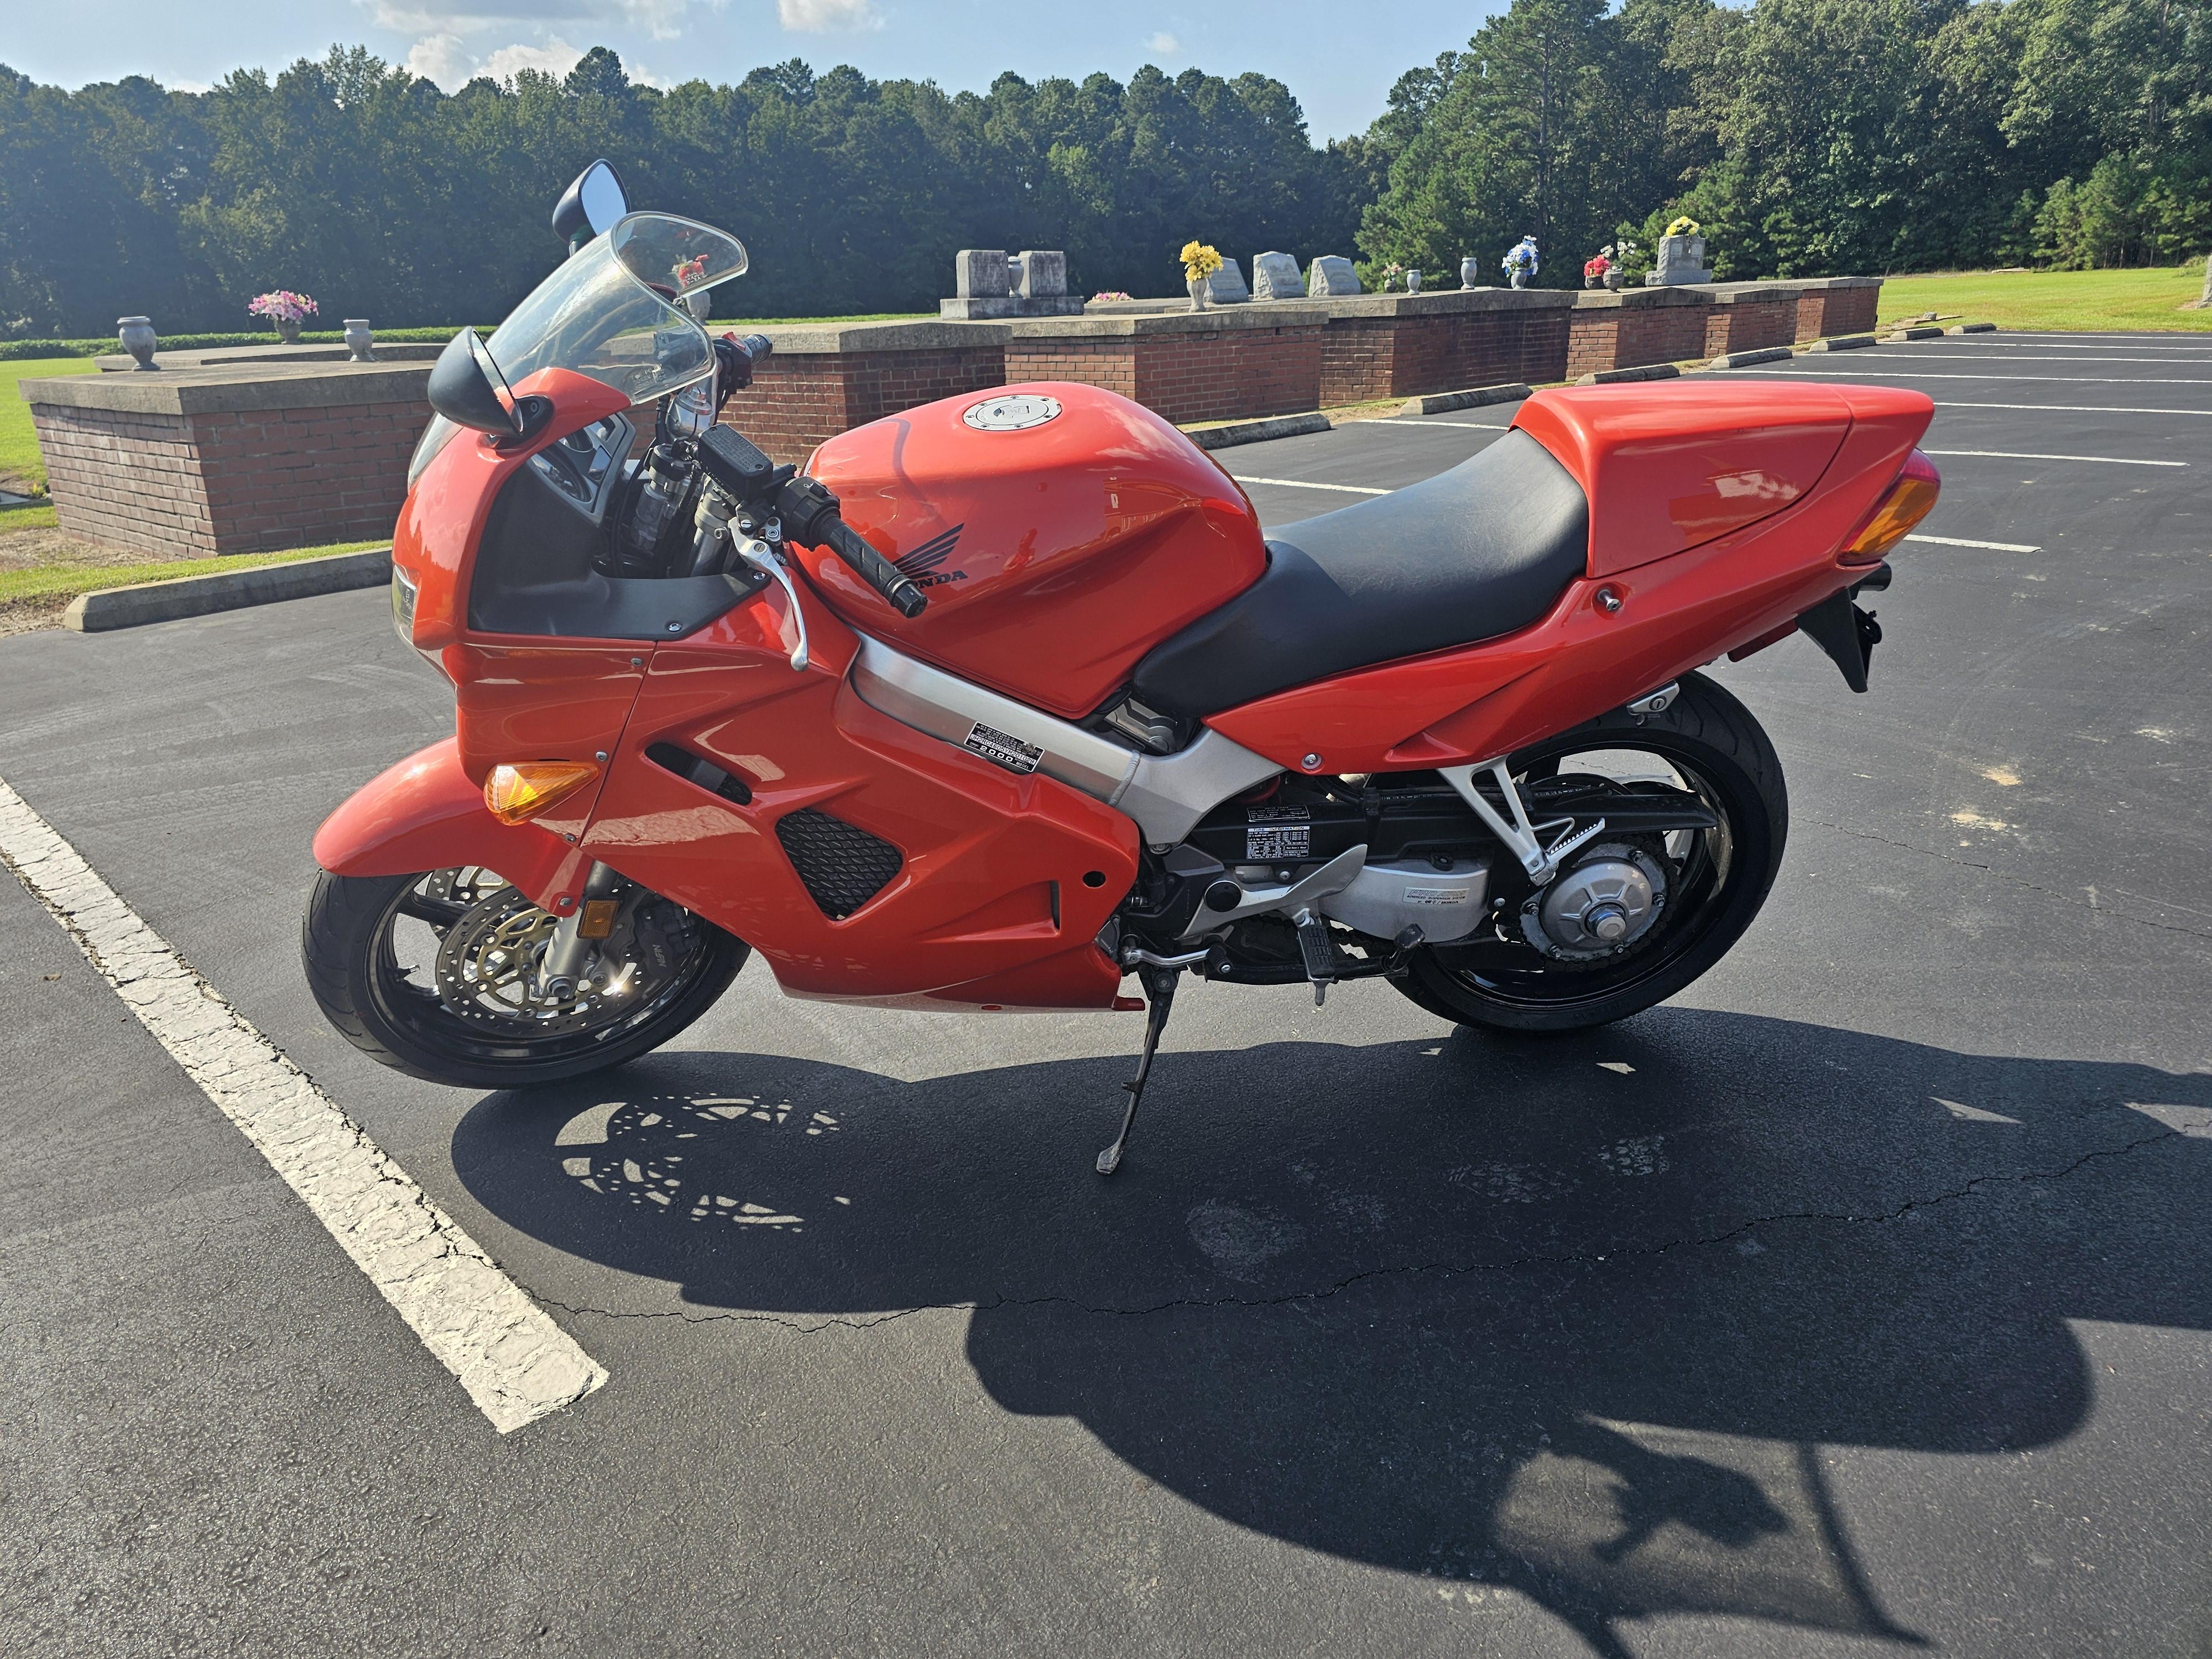
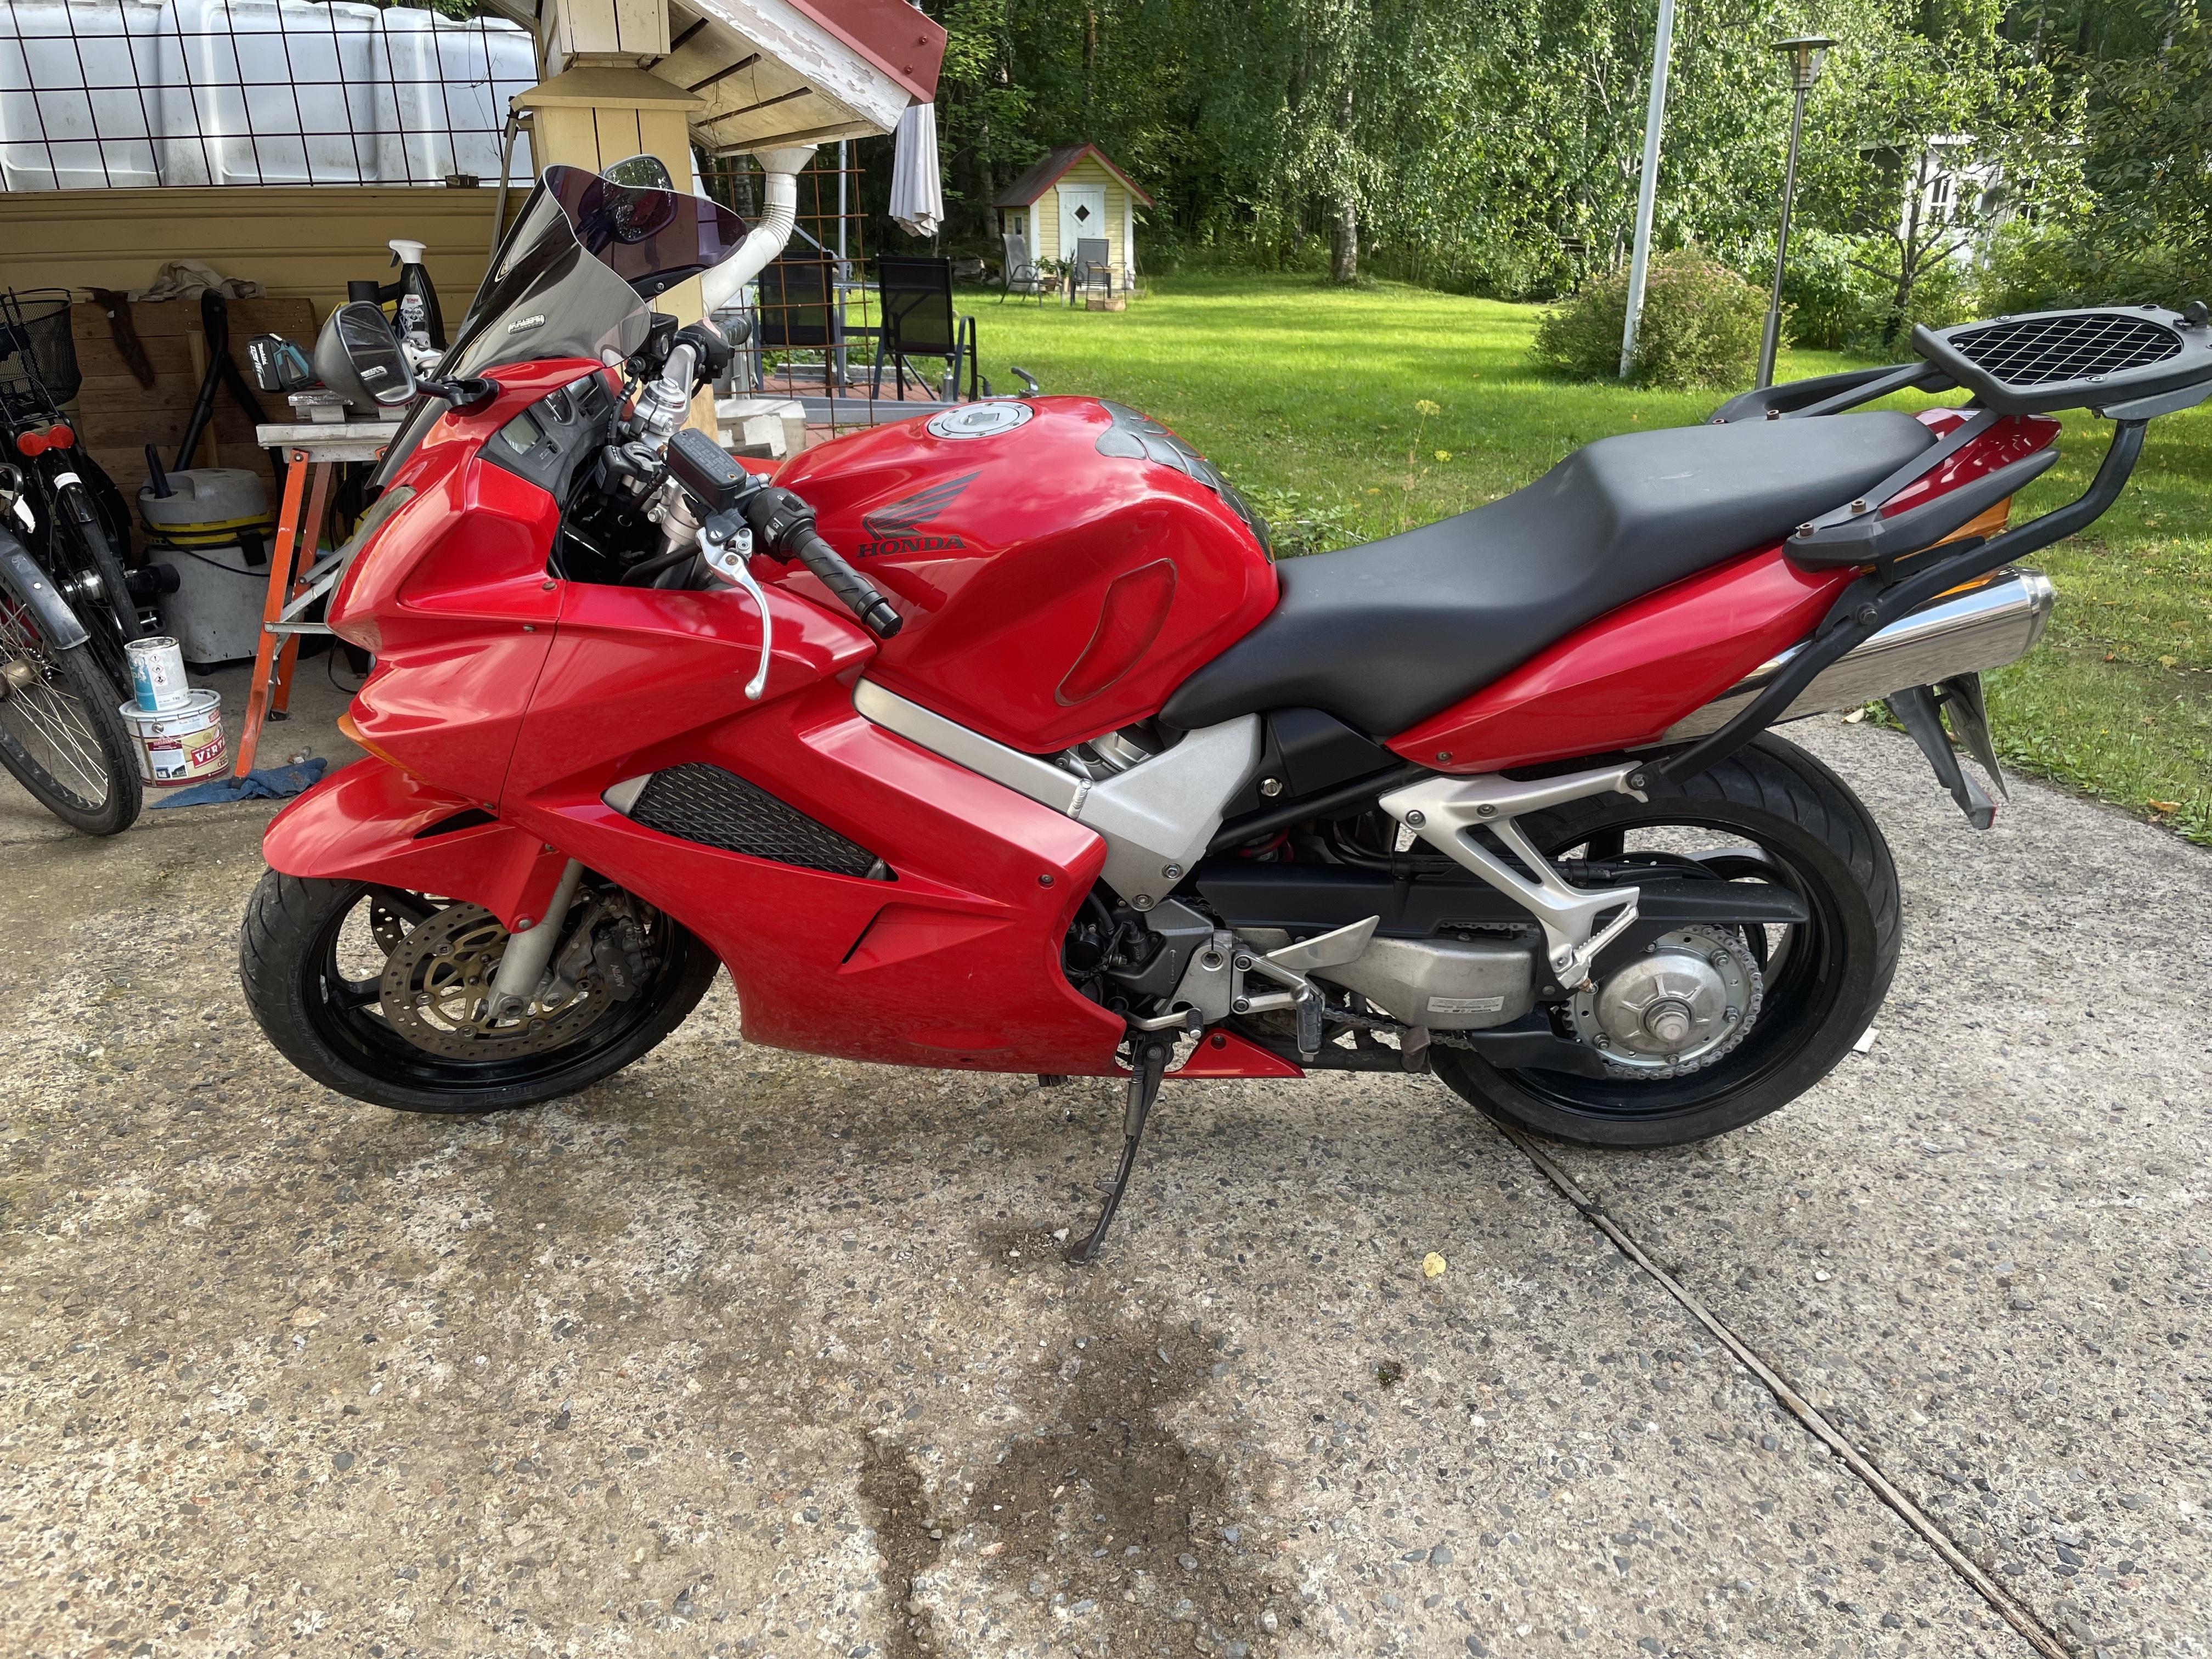
What is the opinion on using a power commander. What does it change and do you get better fuel mileage? Here is a couple of updated pics of the bike
-
Other VFR and other pics....
-
-
It appears you have removed them from the plenum. Hopefully because your plan was to replace the fuel cross-over tube o-rings. Is that correct? You have definitely added a layer of complexity, but I always advocate for performing that preventative operation if you have the carbs out. If you are referring to one of the tiny washers for the pilot screws, Joe @ V4Dreams can help you out. Actually he has a lot of products that you can use right now. How do the diaphragms look? Be sure to keep them away from any carb clean or similarly harsh chemicals.
-
One of the washers was missing besides that everything was there thankfully @Captain 80s
-
Well it's 19 years since I last rode a VFR, but it feels as good as ever 🙂 Hello all !
- 1 reply
-
- 3
-

-

USB with system voltage display, Where to tap in?
Captain 80s replied to VTCAL's topic in Fifth Generation VFR's
For your Volt Meter, a feed directly from the battery is the most accurate. That's why you would use the switched 12V to energize a relay. If you use the same source that is powering other things, it will likely read low. Just did an experiment the other day to see what is displayed with only a similar charger and a Volt Meter on a switched 12V (a headlight running light lead as mentioned above), and it wasn't even close. -
USB with system voltage display, Where to tap in?
Captain 80s replied to VTCAL's topic in Fifth Generation VFR's
That is my favorite switched 12V source. Especially on bikes where I have eliminated the extra license plate light Honda likes to bolt to fenders. A now available factory Brown/Green combo that can be plugged right into. Many US bikes have (had) a solid panel in the taillight that is clear in all of the other markets to illuminate the plate. I either source a non-US taillight or mod the panel for a clear cover. Some US Hondas also have (had in the 80s/90s is probably more accurate) an extra Brown/Green combo plug in the front for markets that have a little running light in the headlight. -
 Haha of course you're right, lazy of me, although I still should dig up that lira... I remember visiting Invercargill 10 years ago and noting how incredibly far south I was, the furthest south I've ever been on the planet. apologies to DrErgal for this hijack of his thread
-
USB with system voltage display, Where to tap in?
VTCAL replied to VTCAL's topic in Fifth Generation VFR's
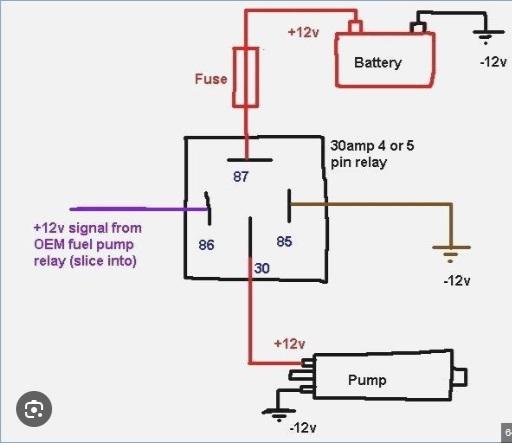
Under the fuel tank wiring.... seems OK, I'll look/ I can not imagine needing to add a relay to power a 2 amp 5V load however. Less than an amp at 12V. Seems like//////,..... Overkill.... -
The funny is many seems to like this color on the SevenFifty, but I actually not that much, I would actually like to respray it in Japanese market 2004-2008 colors Of witch I like the blue white better thro red white is ok good looking actually better looking if whit gold wheels But I actually prefer the orginal exhaust design over a 4-1 whit a normal race silencer
-

USB with system voltage display, Where to tap in?
Terry replied to VTCAL's topic in Fifth Generation VFR's
I use the switched feed from the either the rear brake or tail light as a trigger for a relay. Then the voltmeter can be wired to the battery via the relay and fuse i.e. more or less directly. The relay switches on/off with the ignition key. I found the diagram below on the 'net, substitute the "12v to pump" for your USB/voltmeter and the "12v from the OEM fuel pump" to the live wire to either the tail light (Brown/blue) or rear brake switch (Black/brown). You can buy 12v relays with integrated fuses, and also a 5-pin socket to wire to.
-
Do we get to vote? I say we get to vote. 😁 2001. We have a winner.


.jpg.c5f724c9862a8cd1123e5fc141fcdf58.jpg)


-
VFRD Mission Statement
For owners of the Honda Interceptor and related Honda V4 motorcycles, for the purpose of mutual help concerning safe riding, maintenance, and performance of their motorcycles.
Rules of the ride - No one goes to jail, and No one goes to the Hospital.
Contributions - VFRD is a member supported website with no commercial advertising.

-
Forum Statistics
-
Total Topics26.5k
-
Total Posts362k
-
-
Who's Online (See full list)
-
Member Statistics
-
Upcoming Events
No upcoming events found -
Latest Classifieds
-
-
Top Downloads
-
-
Popular Contributors
-
1
-
2

-
3
-
4

-
5
-
-
Blog Statistics
-
Total Blogs116
-
Total Entries345
-
-
Gallery Statistics
-
Blog Entries
-
-
Blog Comments
-

By vfrpilot28 · Posted
I enjoyed reading this and seeing your story. For the love of motorcycling! -

-
By interceptor69 · Posted
Oops. I do believe I know how to post YT videos or they wouldn't be on YT. However I may have screwed up copying the link to the playlist. Thanks for the helpful comment. -
 I think that you might not know how to post videos. You're in your YT studio in these links. You need the link to the actual video.
 -
-
-
Most Contributions
-