Leaderboard

Popular Content
Showing content with the highest reputation since 04/19/2024 in all areas
-
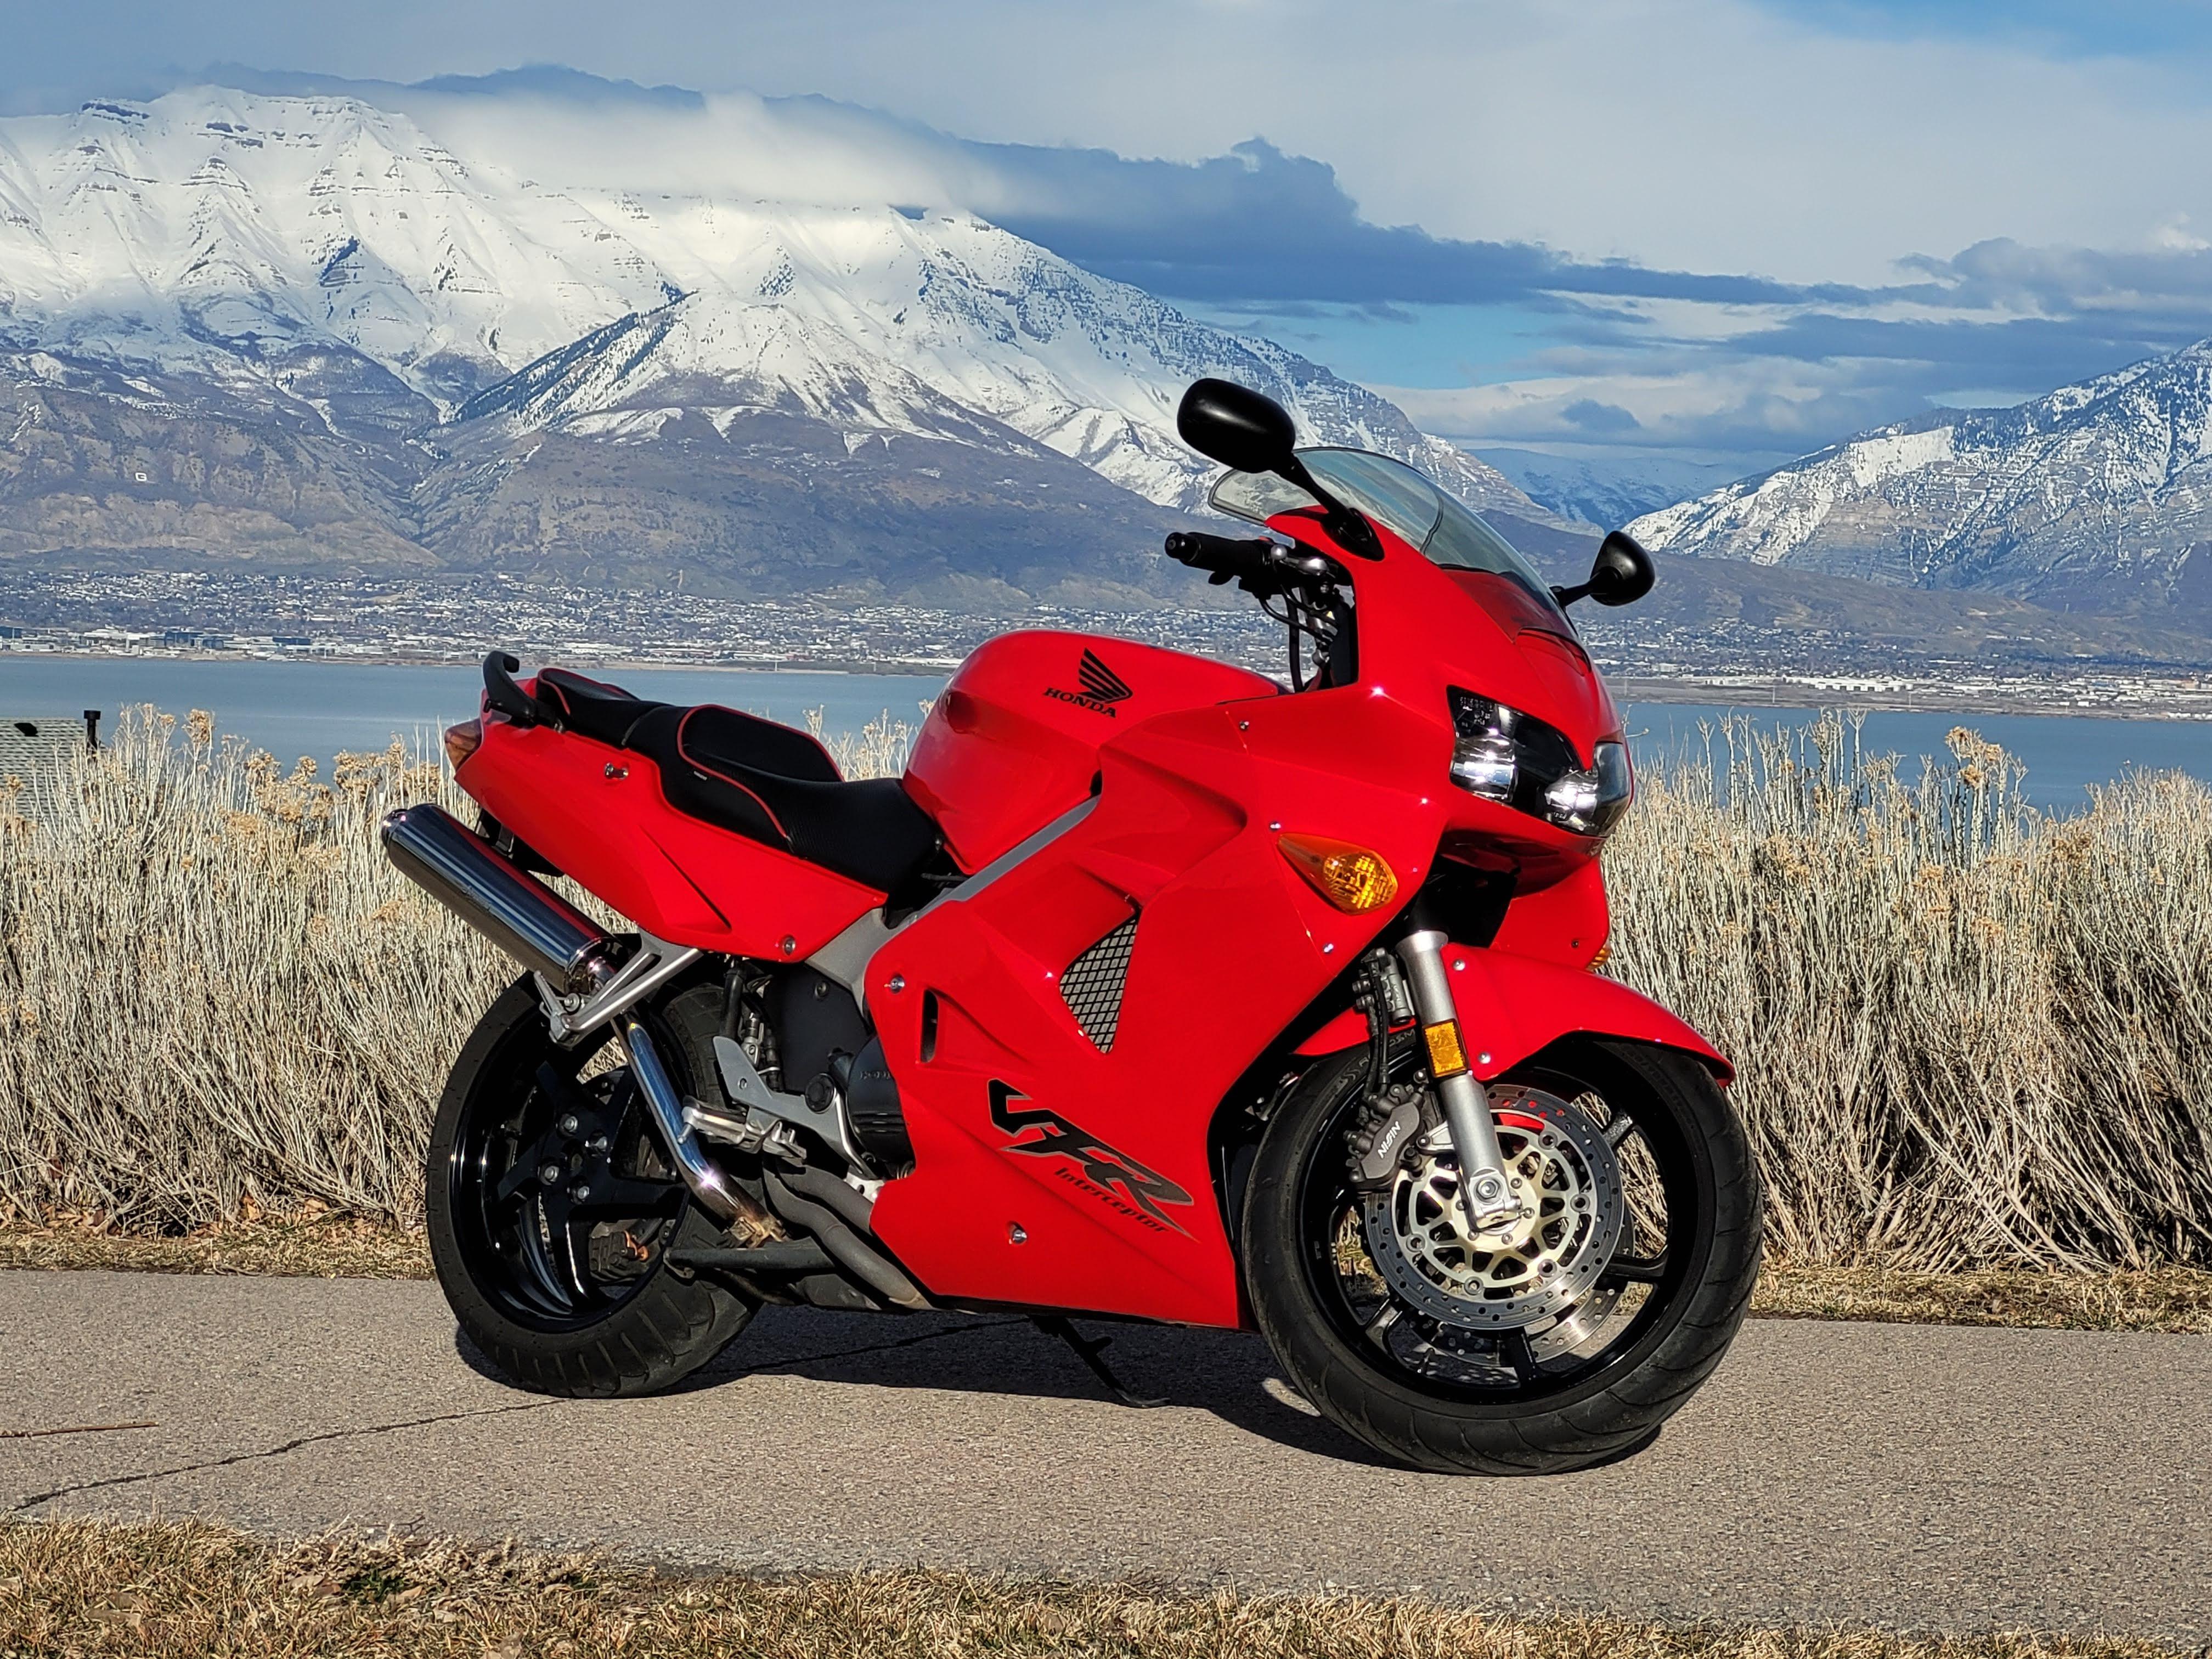
I just said goodbye to my Ol'Heavy. It was not easy but I'm happy because the young man who took her will be good to her and will most likely be joining VFRD soon. I will be much happier seeing her ridden. Looking back for a pic, I found this one. Appropriate because it was the beginning of the end. I loaned Andy my CB500x to join us on the PreRide. I ended up riding it one day and loved it in the mountains. The next year, Covid struck and I rode it while Rob rode Ol'Heavy. I became a much better rider on a bike that was 100lbs lighter and about half the horse power. It was really hard trying to get my old body back on the VFR. The other reason that the pic is appropriate is that it reminds me of the good times and great friends that have come from VFR ownership and membership here going back to '05. I will still be here for years to come, I hope, to continue enjoying the friendships.
 9 points
 -
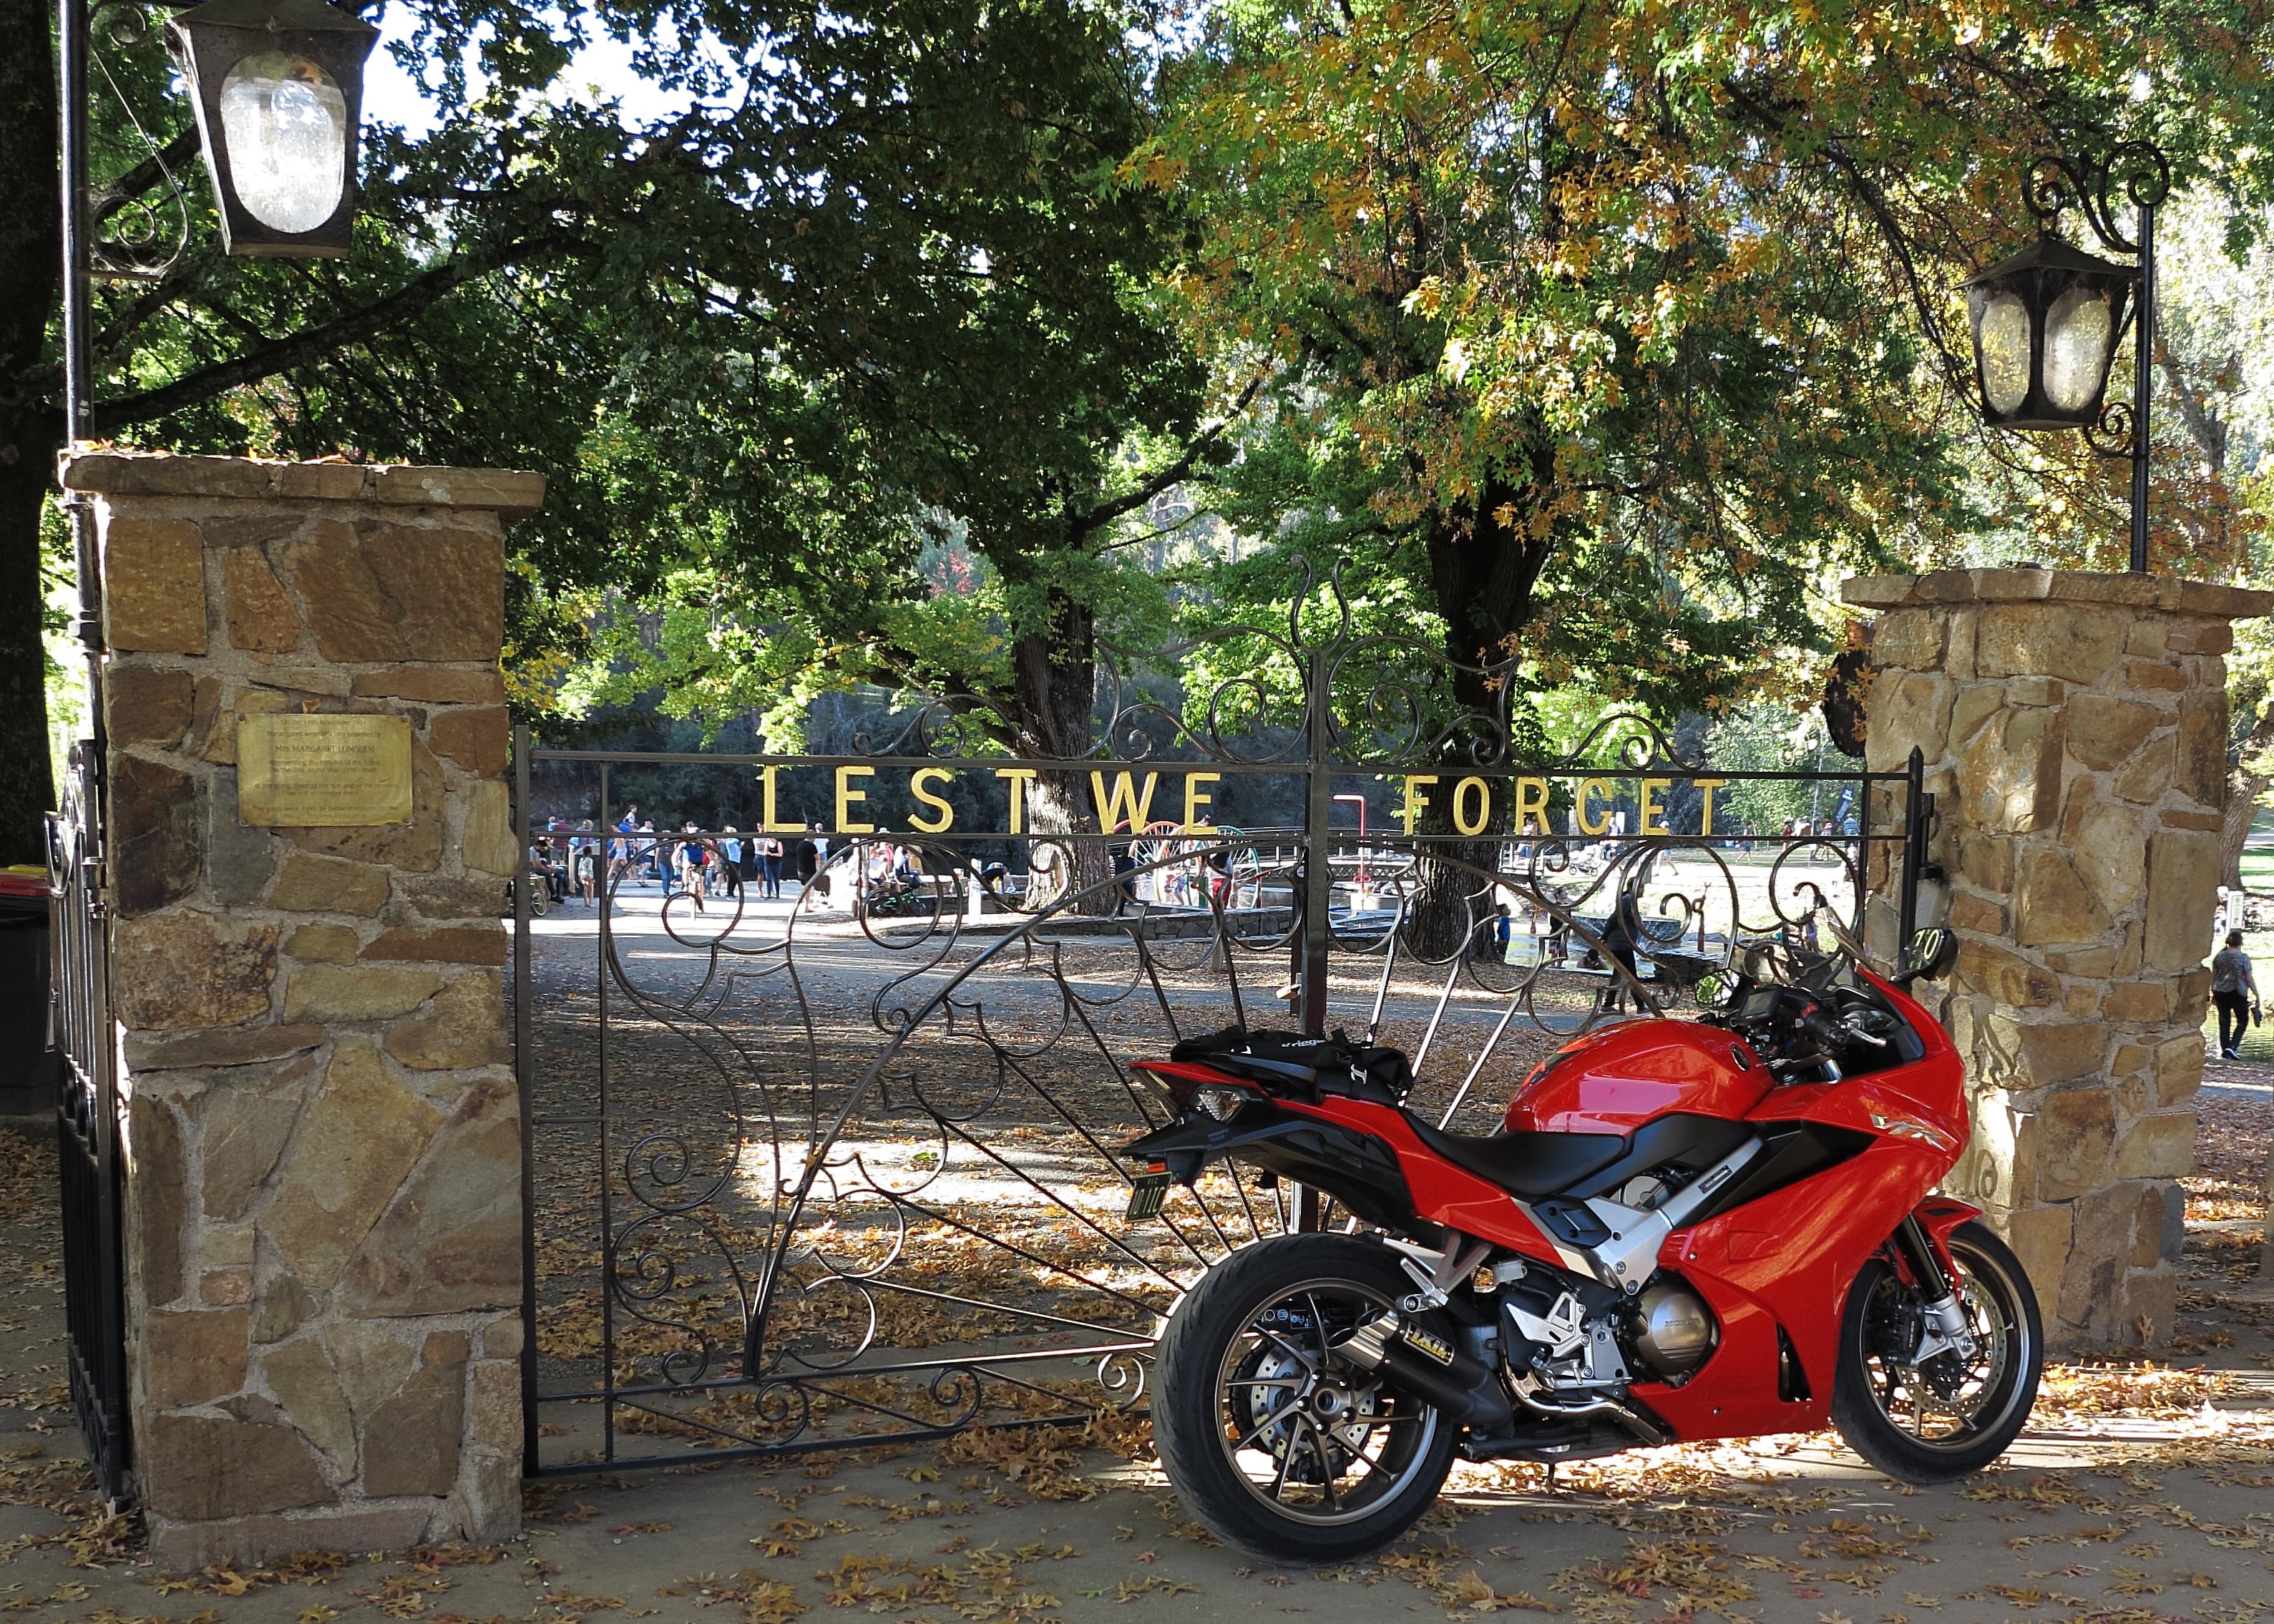
To our New Zealand and Aussie members. The celebration of ANZAC day is special in our hearts as we celebrate, honour, and remember those who gave their lives for the freedoms we have. Lest We Forget.
8 points
-
Out of Winterization, installed a battery, primed the fuel system and checked the tire pressures... and rode the 95 for it's Spring opener. Nice rip in the Snohomish Valley after work and stopped for a beverage and some sweet potato fries at one of my favorites places, Duvall Grill and Tap Room. EDIT: WRONG FORUM!!! Sorry. I'm still leaving this here.
8 points
-
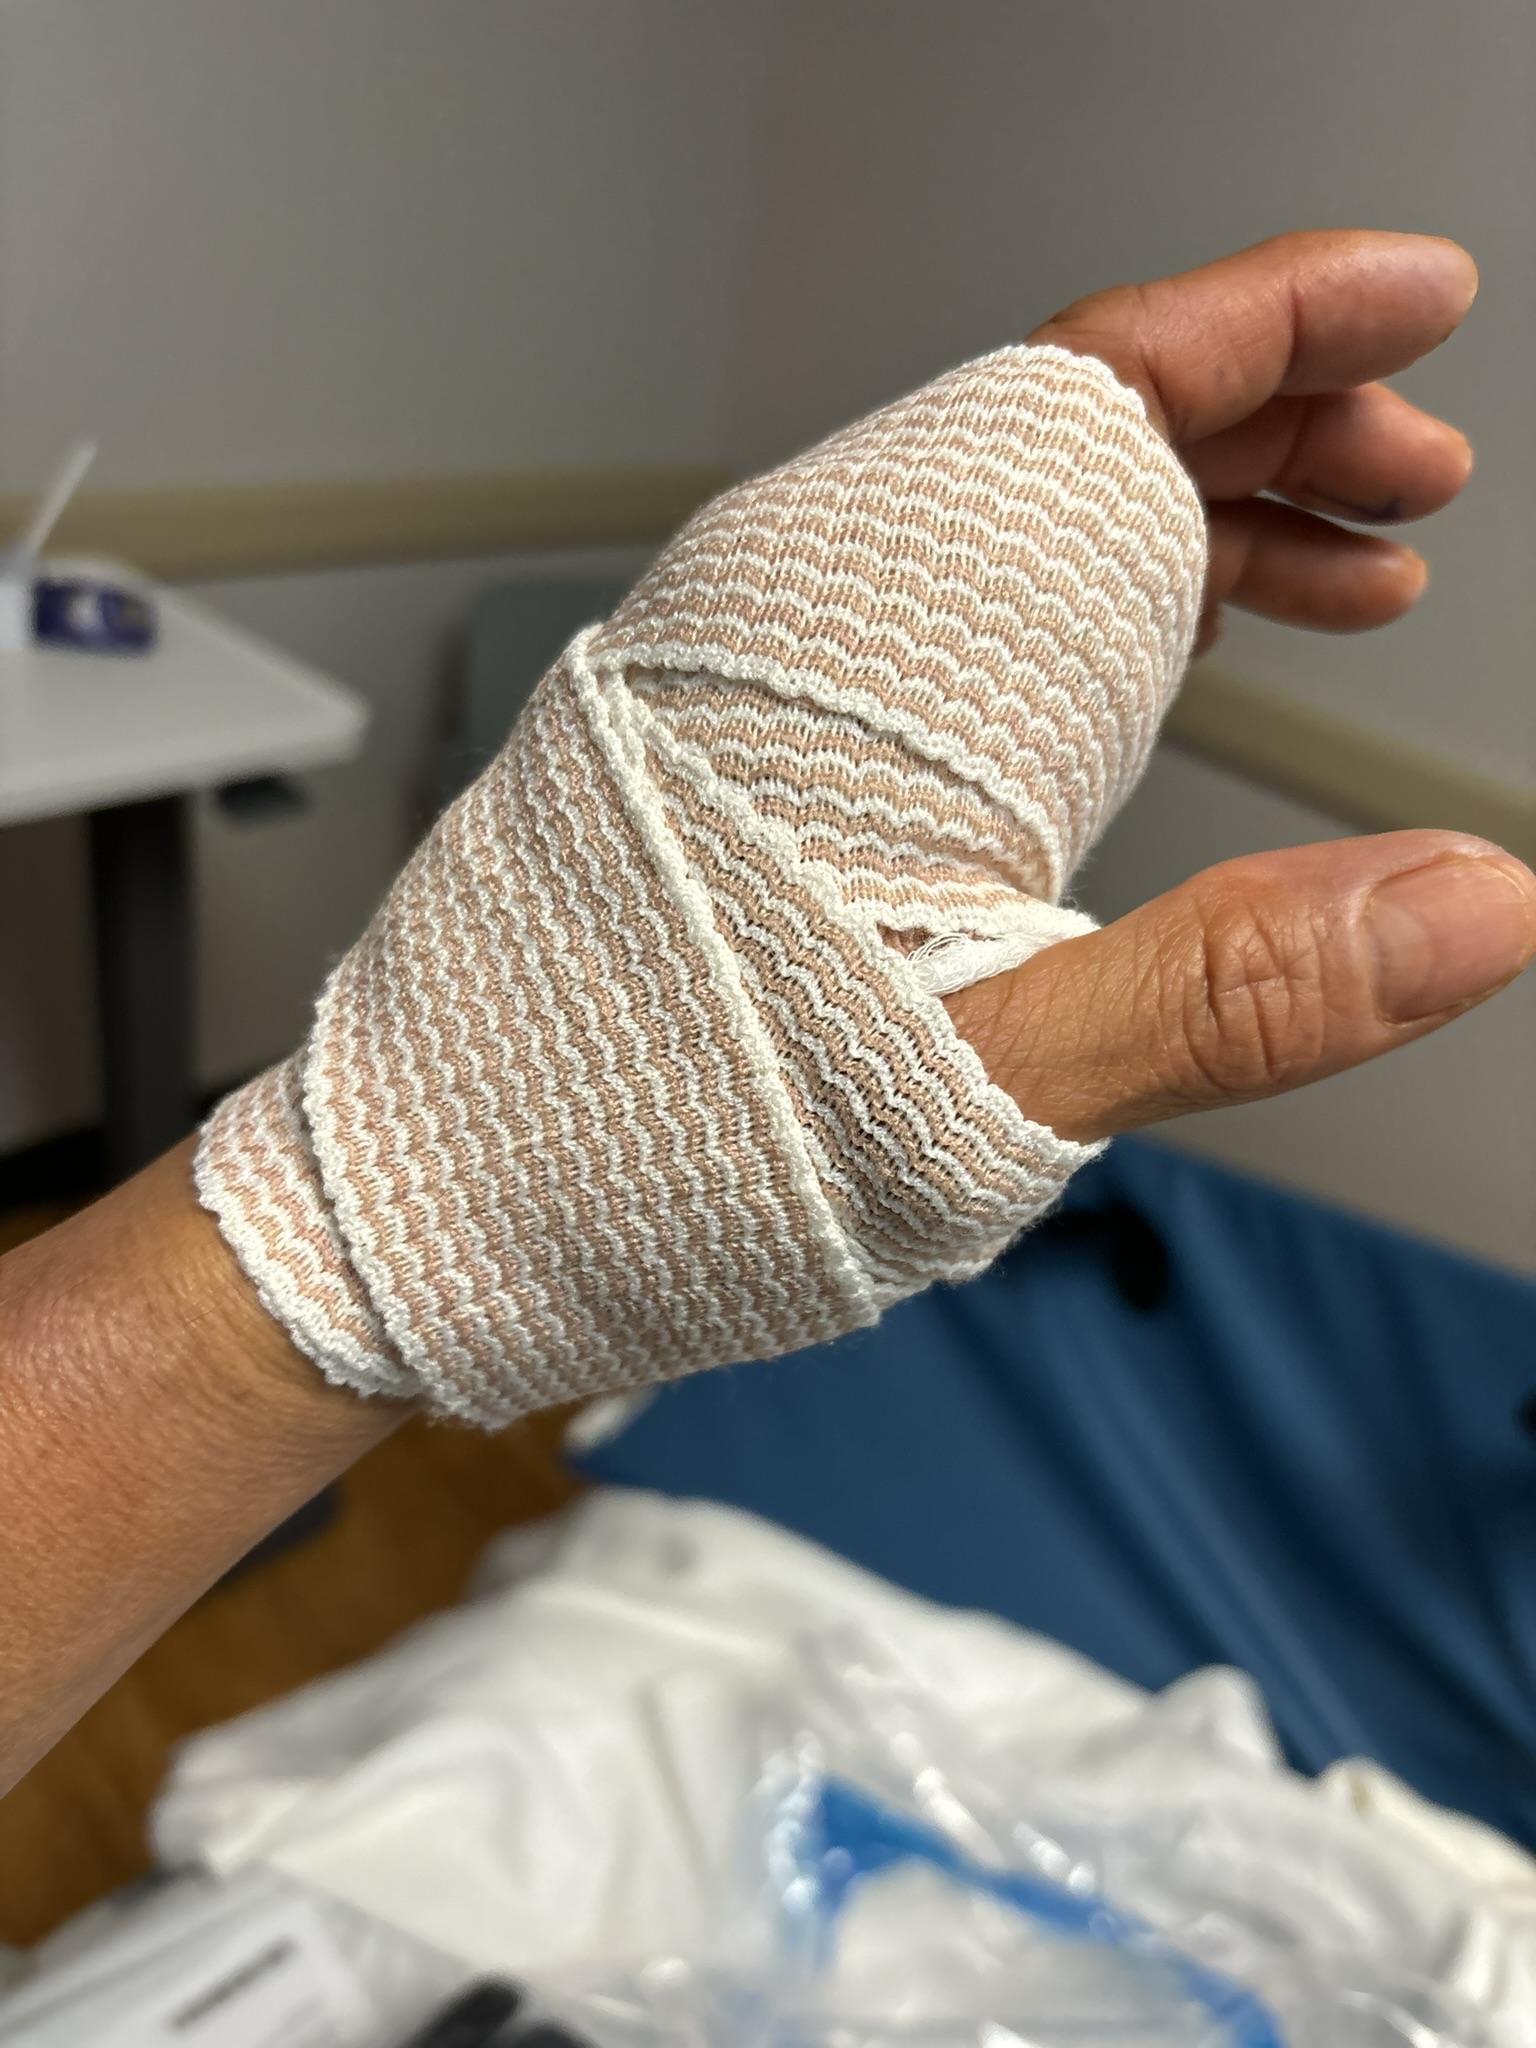
Well, after roughly six months of being able to ride again, primarily commuting, no "real" ride yet, but hey, at least I'm able to ride...or am I? Had another little hurdle thrown at me, hand surgery. Seems my left hand suffered from "trigger finger". For the most part, my hand worked like normal except when I used it in a fist for grabbing something. Essentially, it would "lock up" on me, and it was difficult to straighten my hand back out. Ironically, riding a bike and working the clutch didn't seem to be affected by this, so that was the good part. So last Tuesday I had it operated on. Figured it wasn't going to get better on it;s own, so I went forward with the surgery. I had two options, option 1, full anesthesia, option 2, local numbing and be wide awake. Well, after my "other" operation, I felt fully comfortable being awake for this one, especially since that was an option. So that's the route I took, numb the hand, and operate away. Much like my other surgery, the afterward was uneventful and believe it or not no pain! None, not even a little ache. There is some discomfort when making a fist, which is encouraged, well, at least to move my hand like normal as much as possible. That to me was expected, as the affected area was a bit swollen and I did have a sutured wound. Although I technically still ride in this current state, I am encourage to not ride until at least 2 weeks from the surgery date, so not a 9 month wait like the last one. So with dealing with a bunch of "life" stuff and work, I at least have stuff to occupy my time, and it's already been a week, so this time things seem to be moving faster at least. On another positive note, I helped a friend of a friend acquire a 98 5 Gen for $2,900.00! It was listed and was located about 10 miles from me so I went to check it out and if he didn't want it, I was going to buy it! Well, he ended up buying it and I helped him get it freshened up, as it had been sitting for a few months. There was few little pieces that needed attention, that I was able to fix/resolve for him and while he and I were talking, he tells me that not only is he a ski and snow board instructor, he also does motorcycle training. Well, needless to say, we became fast friends! I agreed to help out on a few other things and he said he would give me some one on one rider training, so I took him up on that the Saturday before my surgery. Let's just say, although my street skills are good, I can definitely use some "training" time, I am a little bit rusty after not riding for a while. Oh yeah, prior that Saturday morning we went to the 'Cars and Coffee' at the American Honda HQ in Torrance, CA. Anyway, good to be alive folks! IMG_3358.MOV.mp4
8 points
-
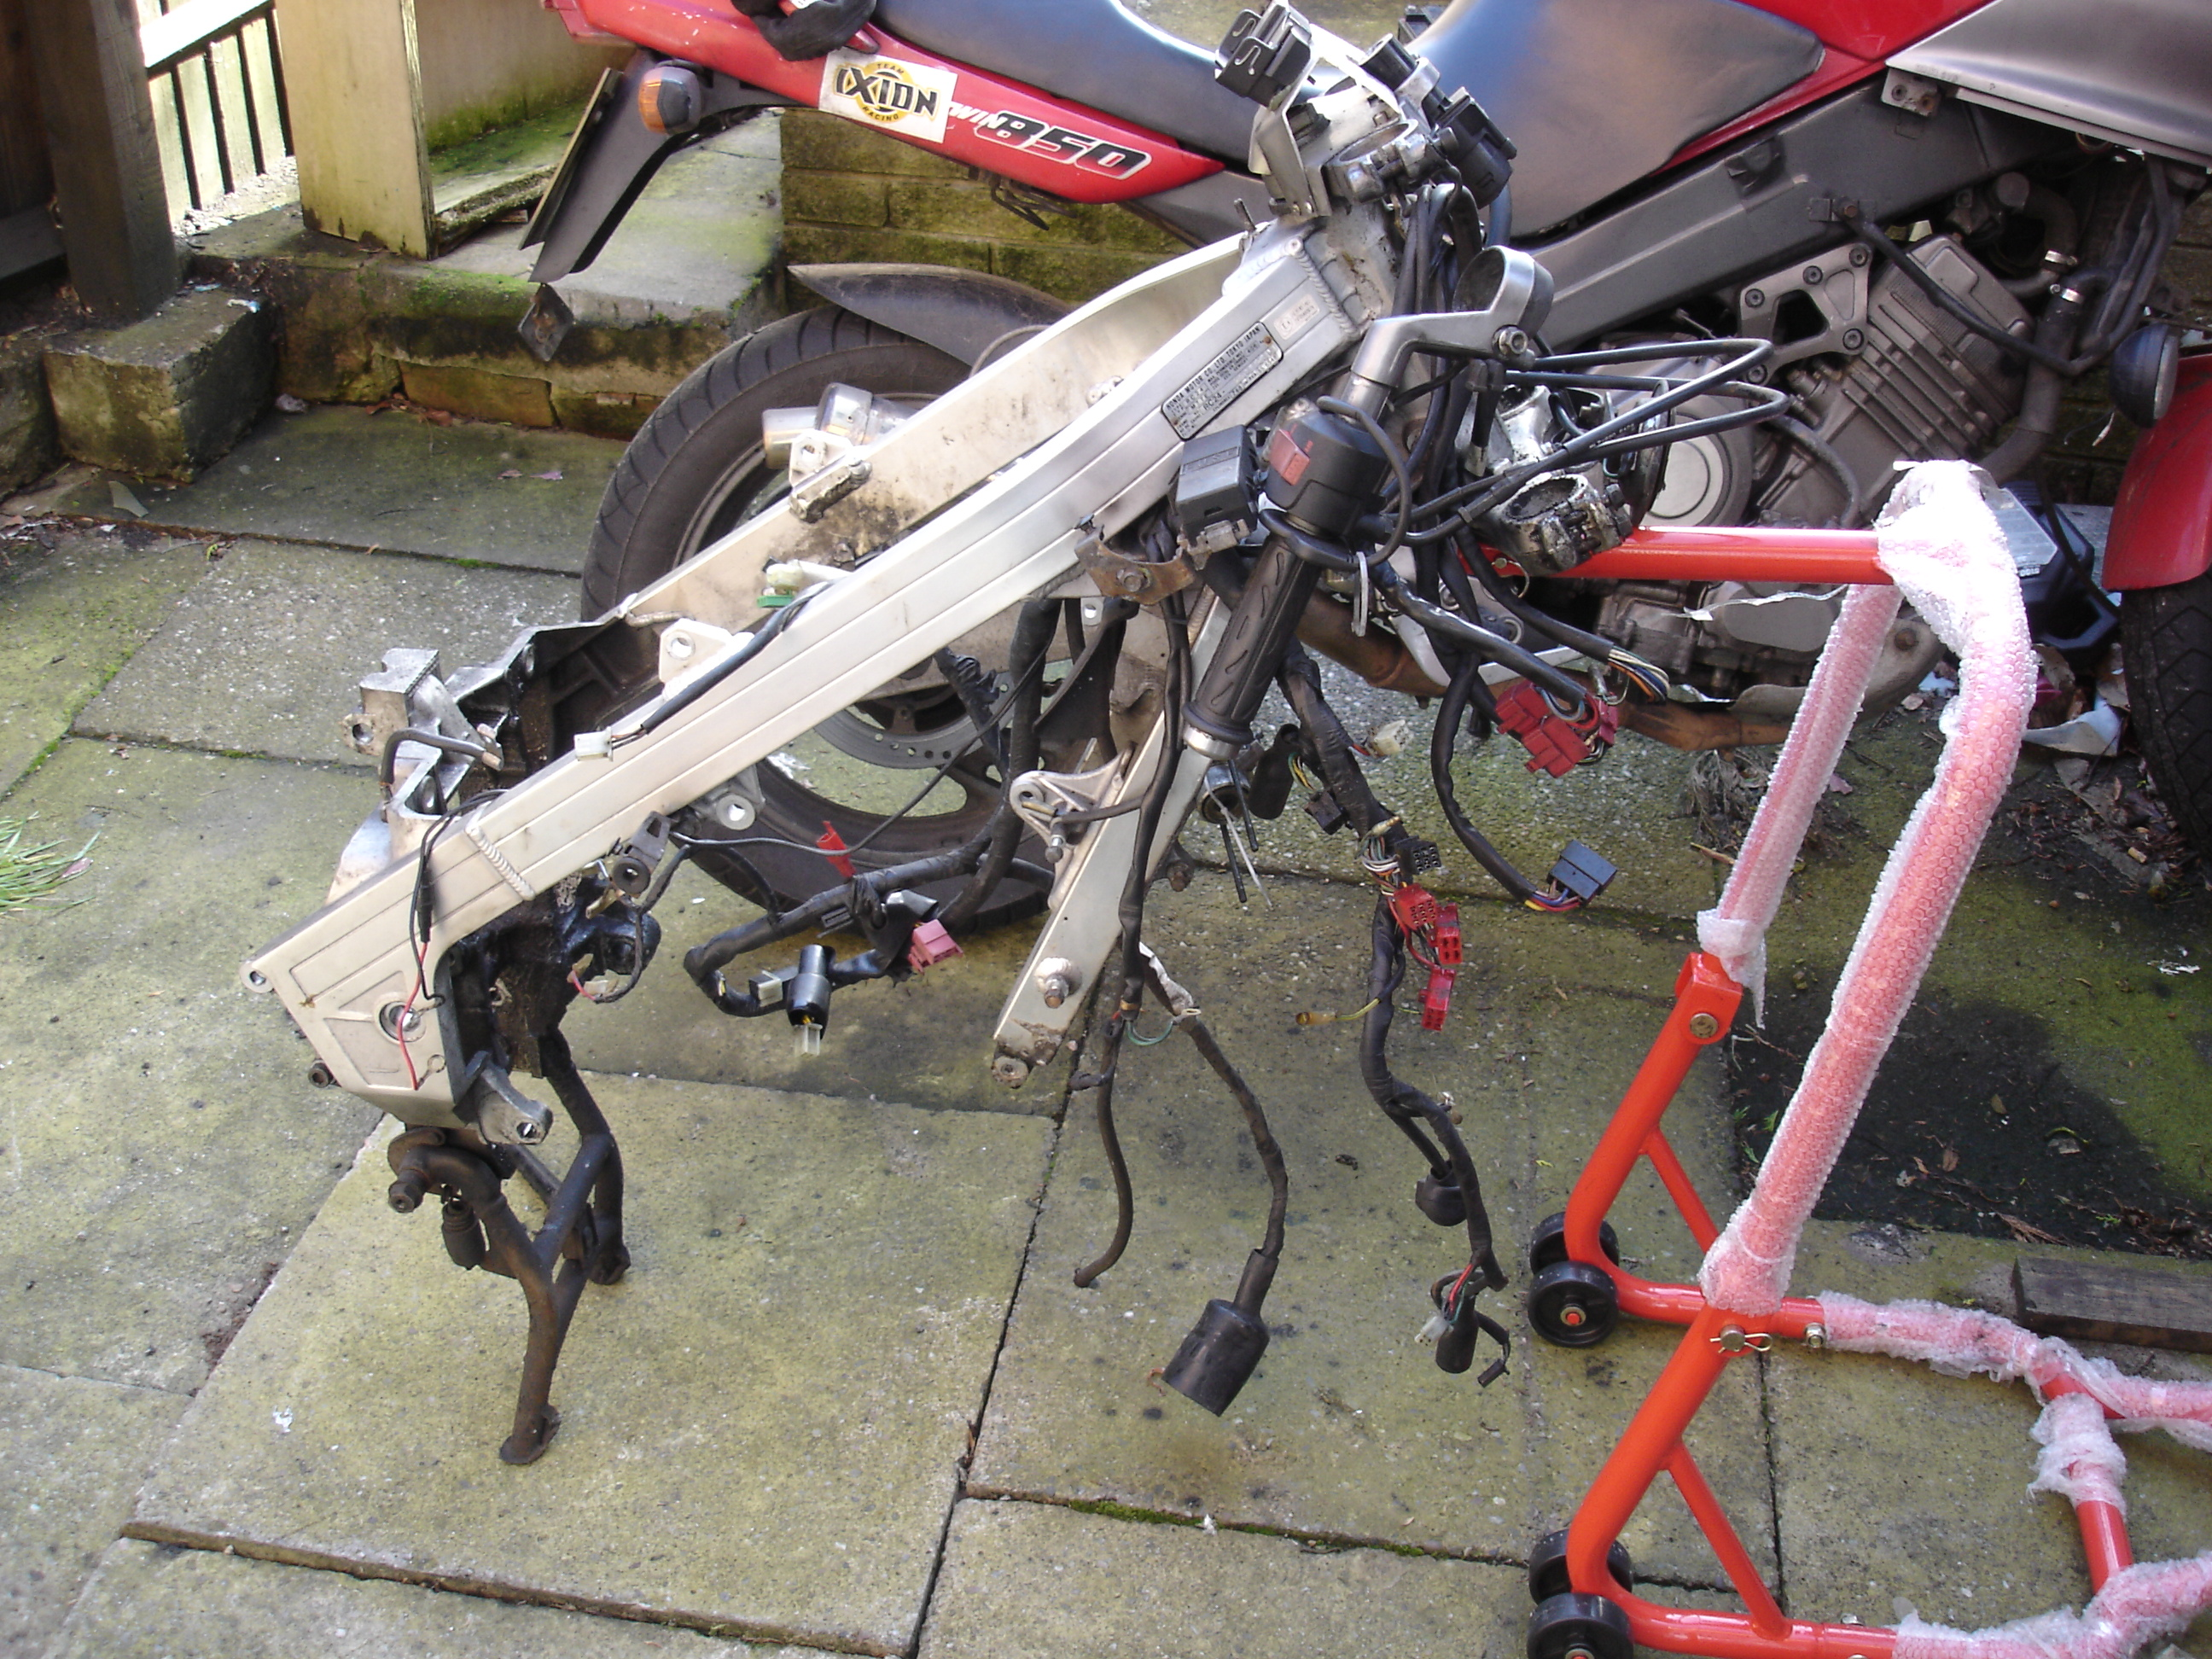
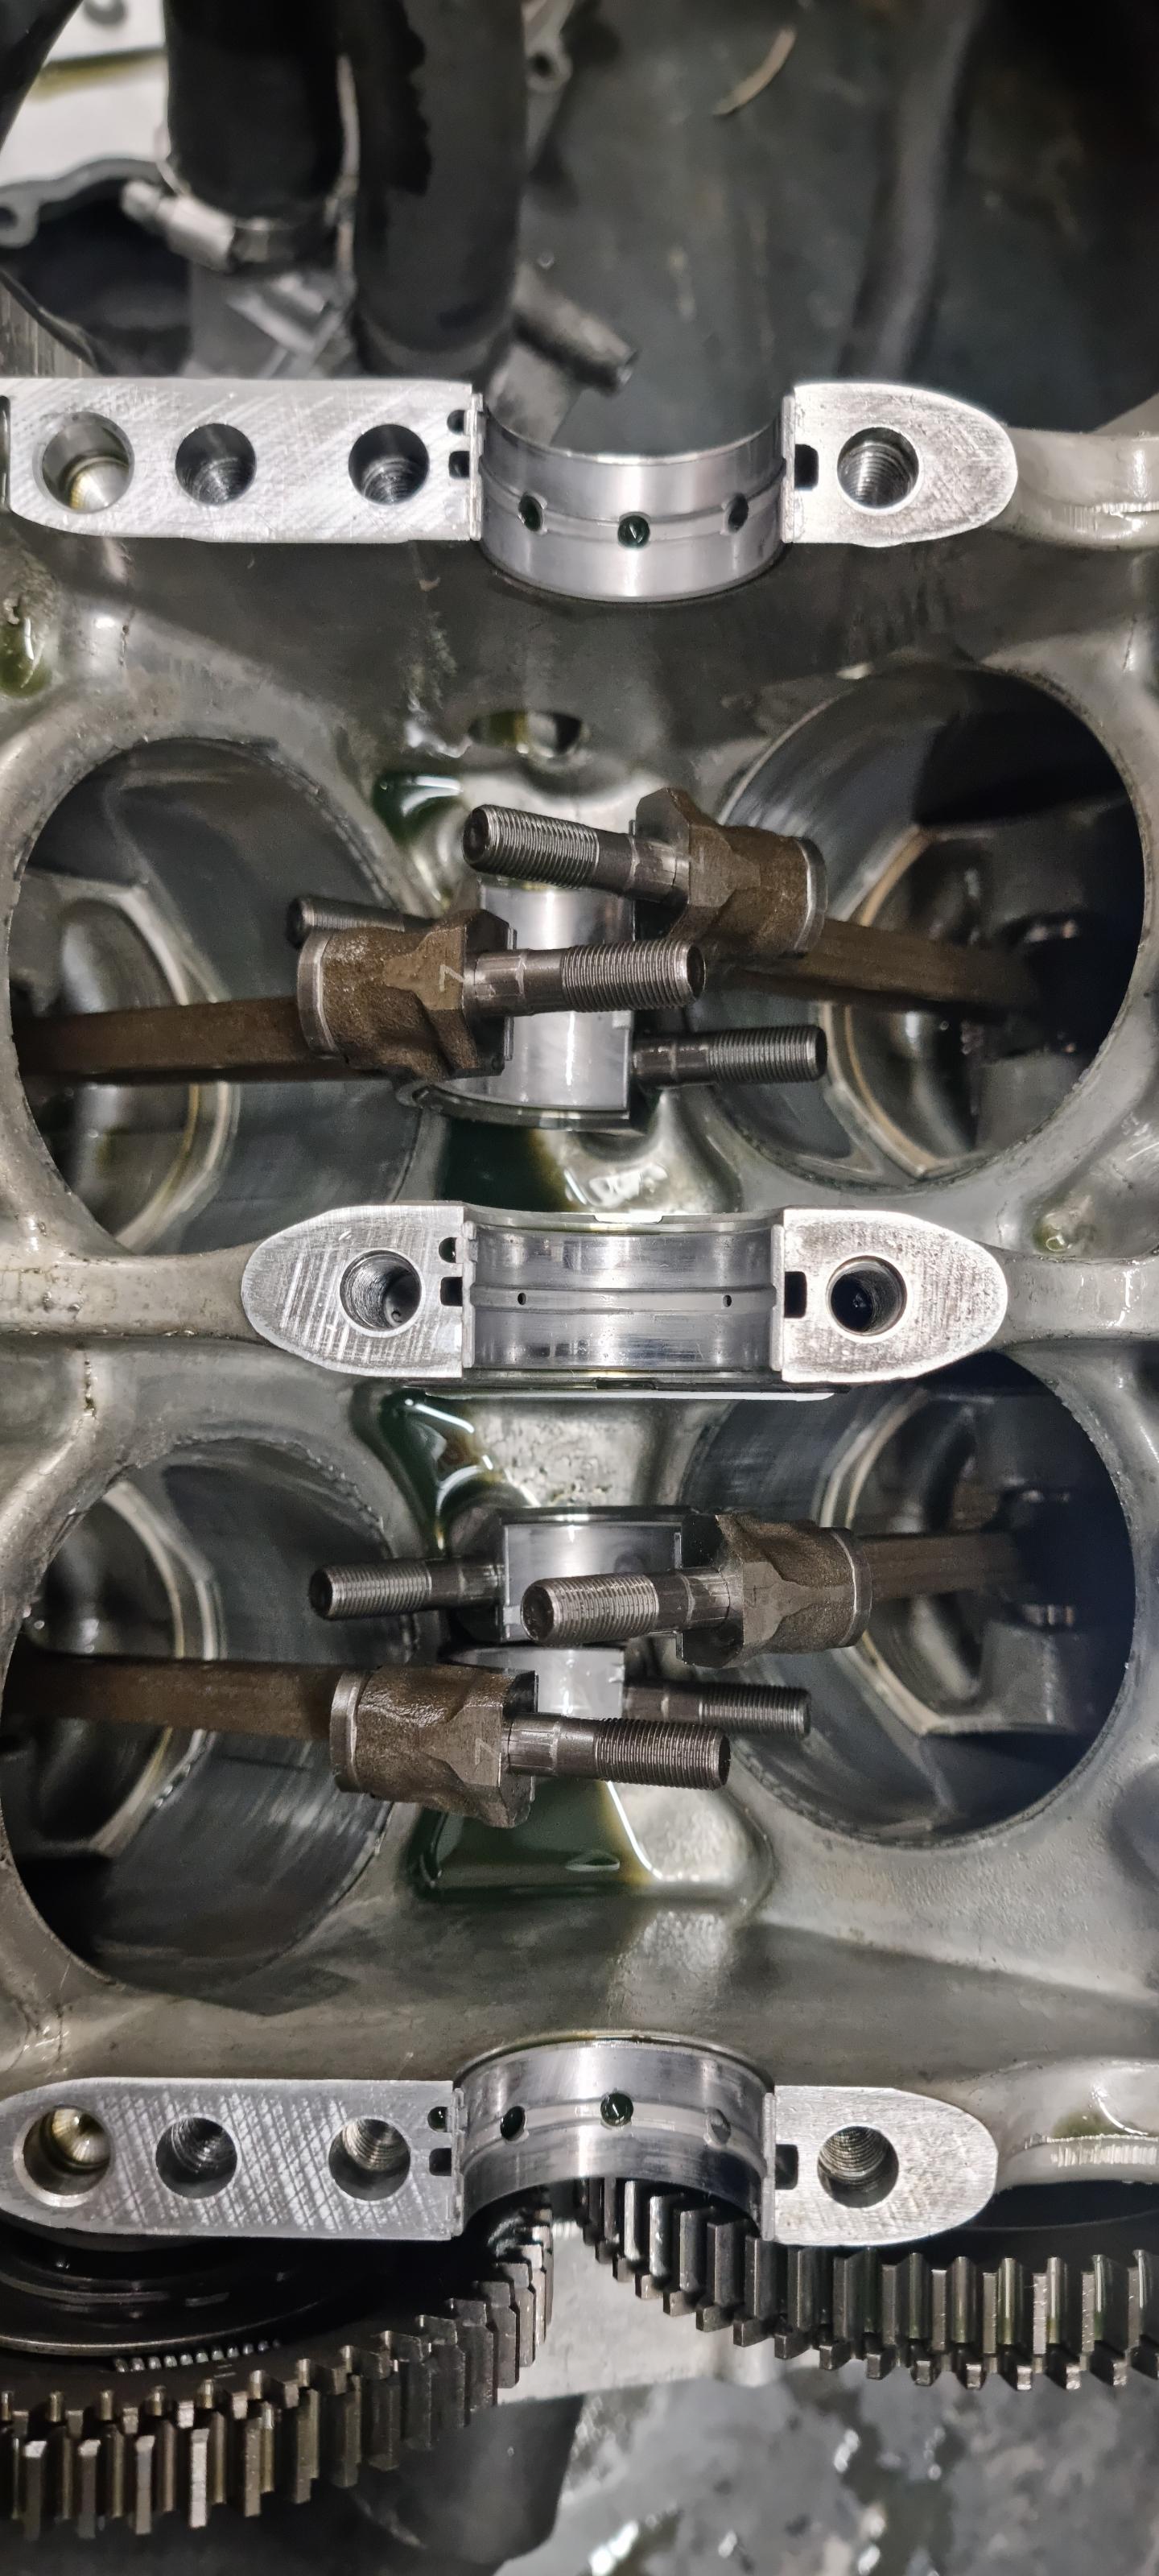
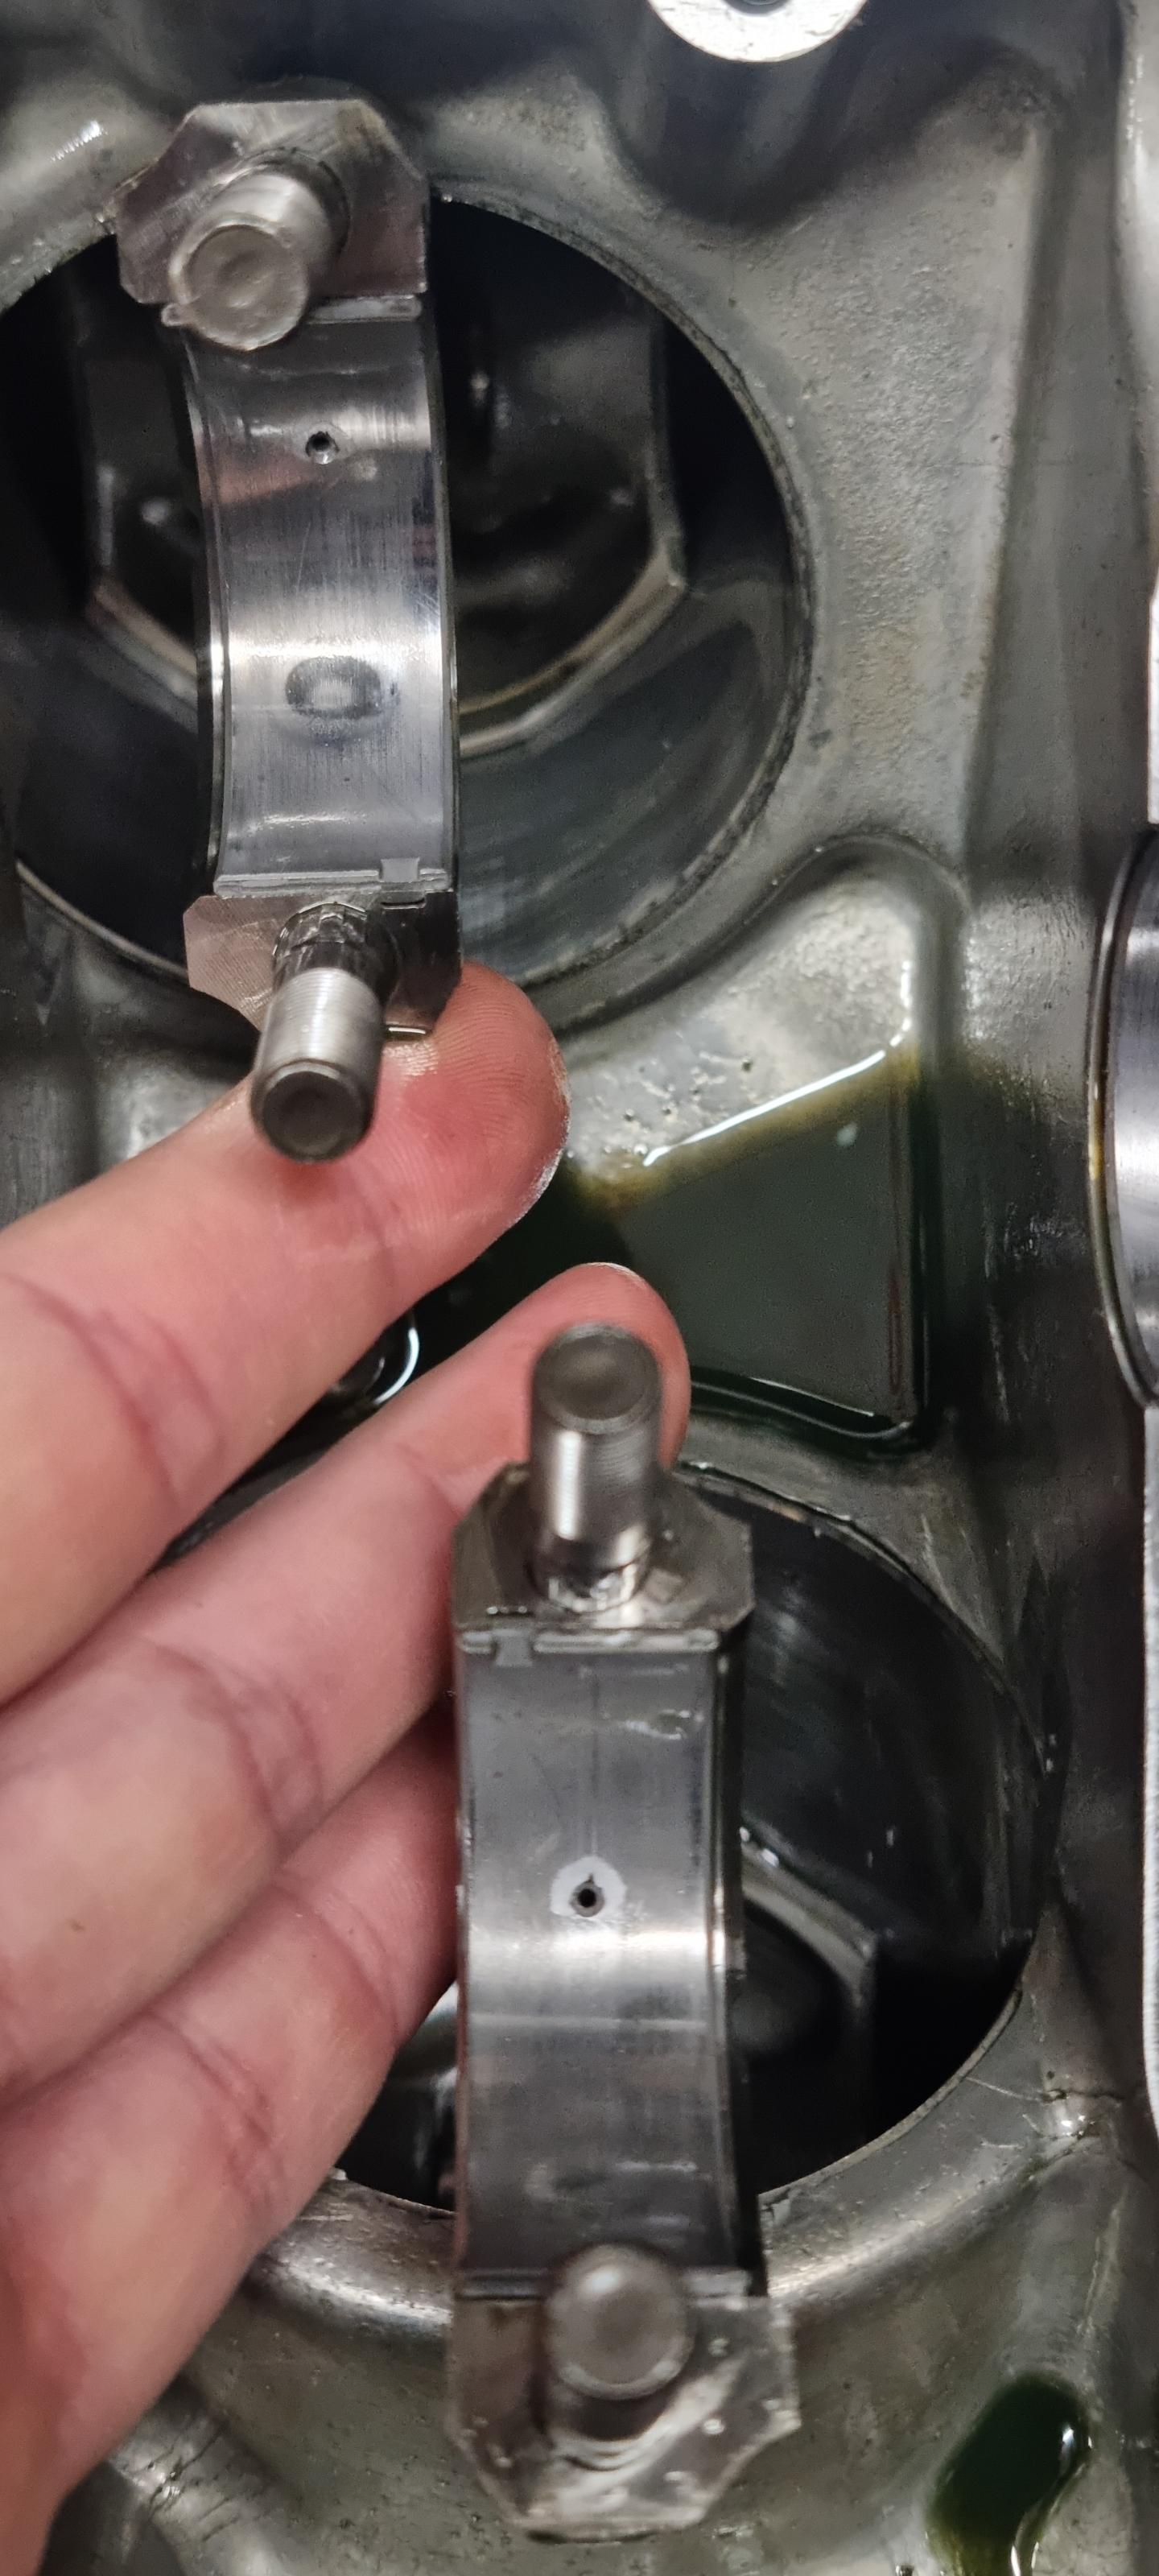
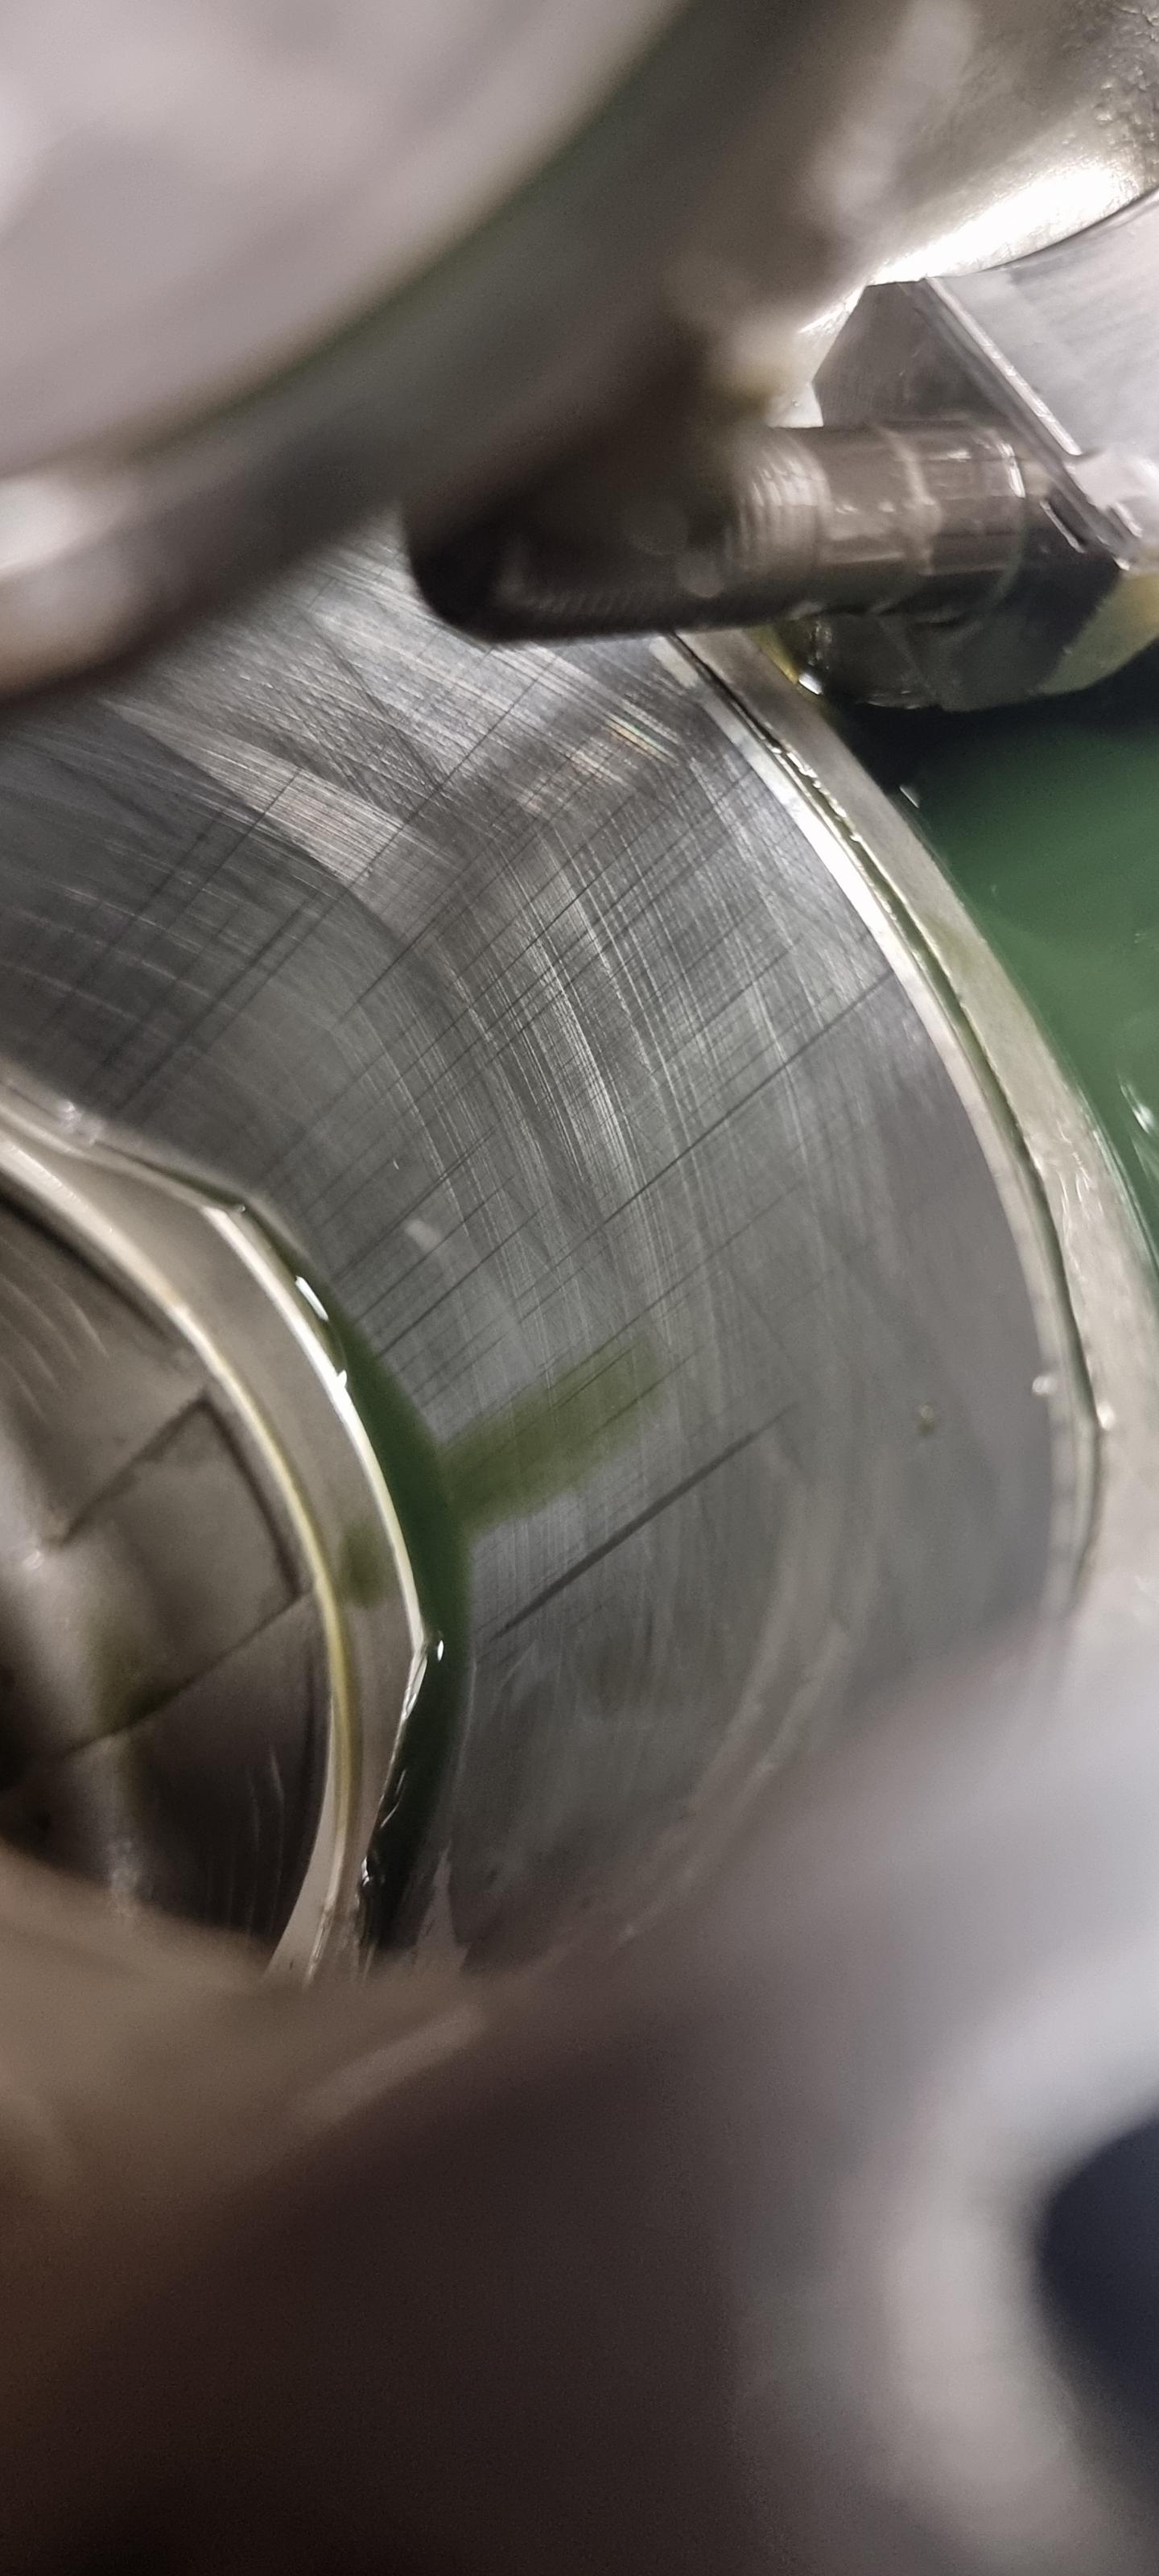
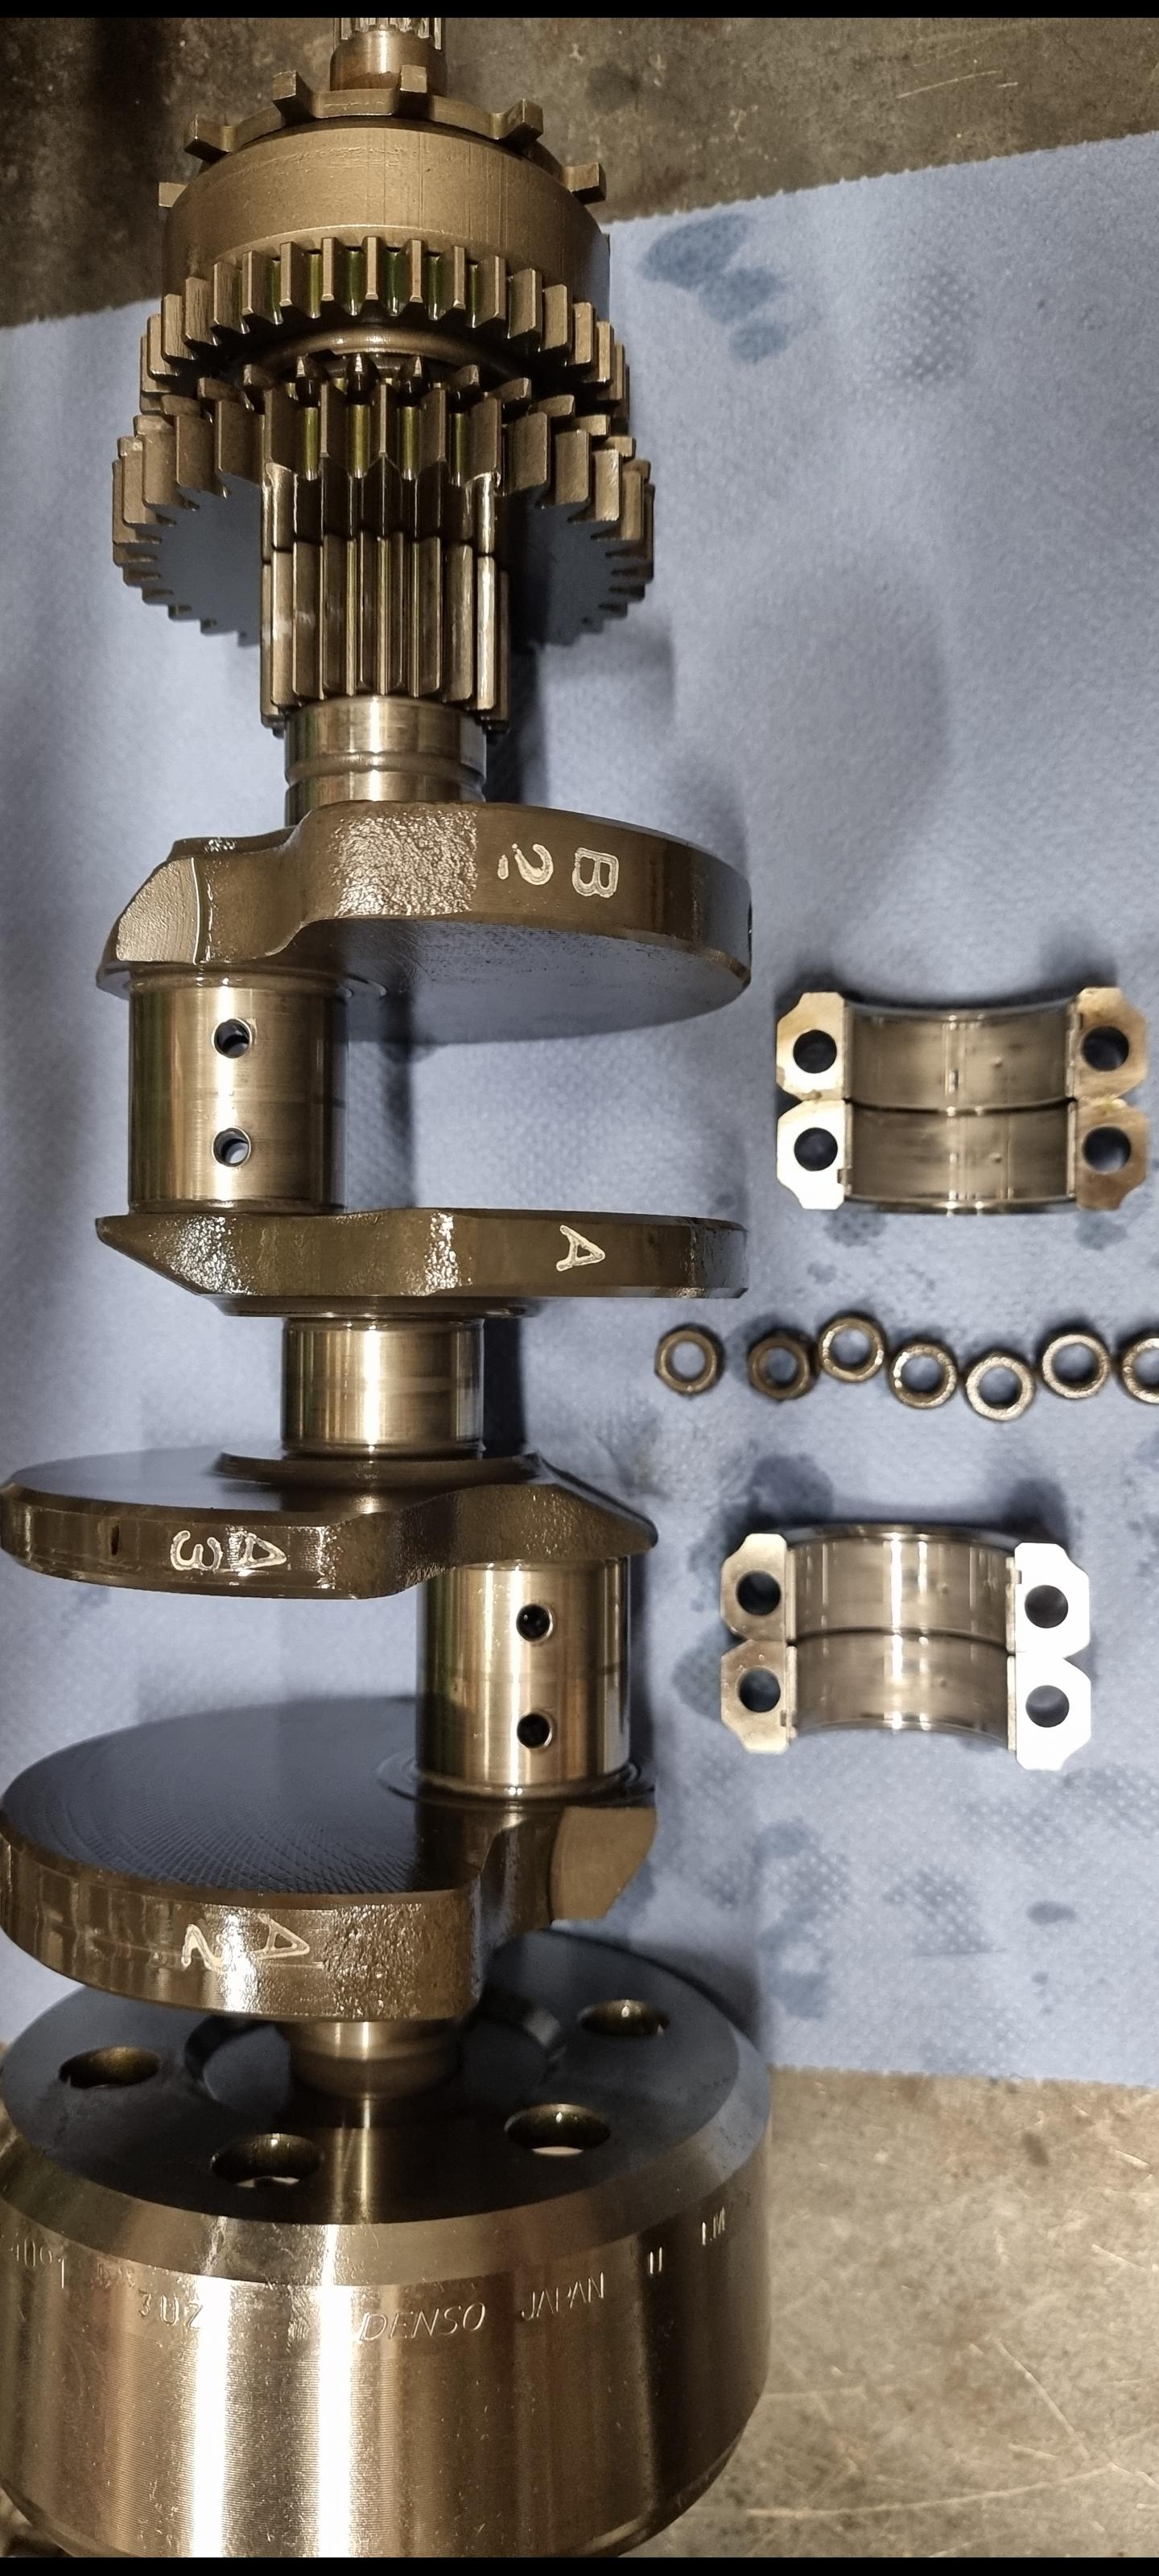
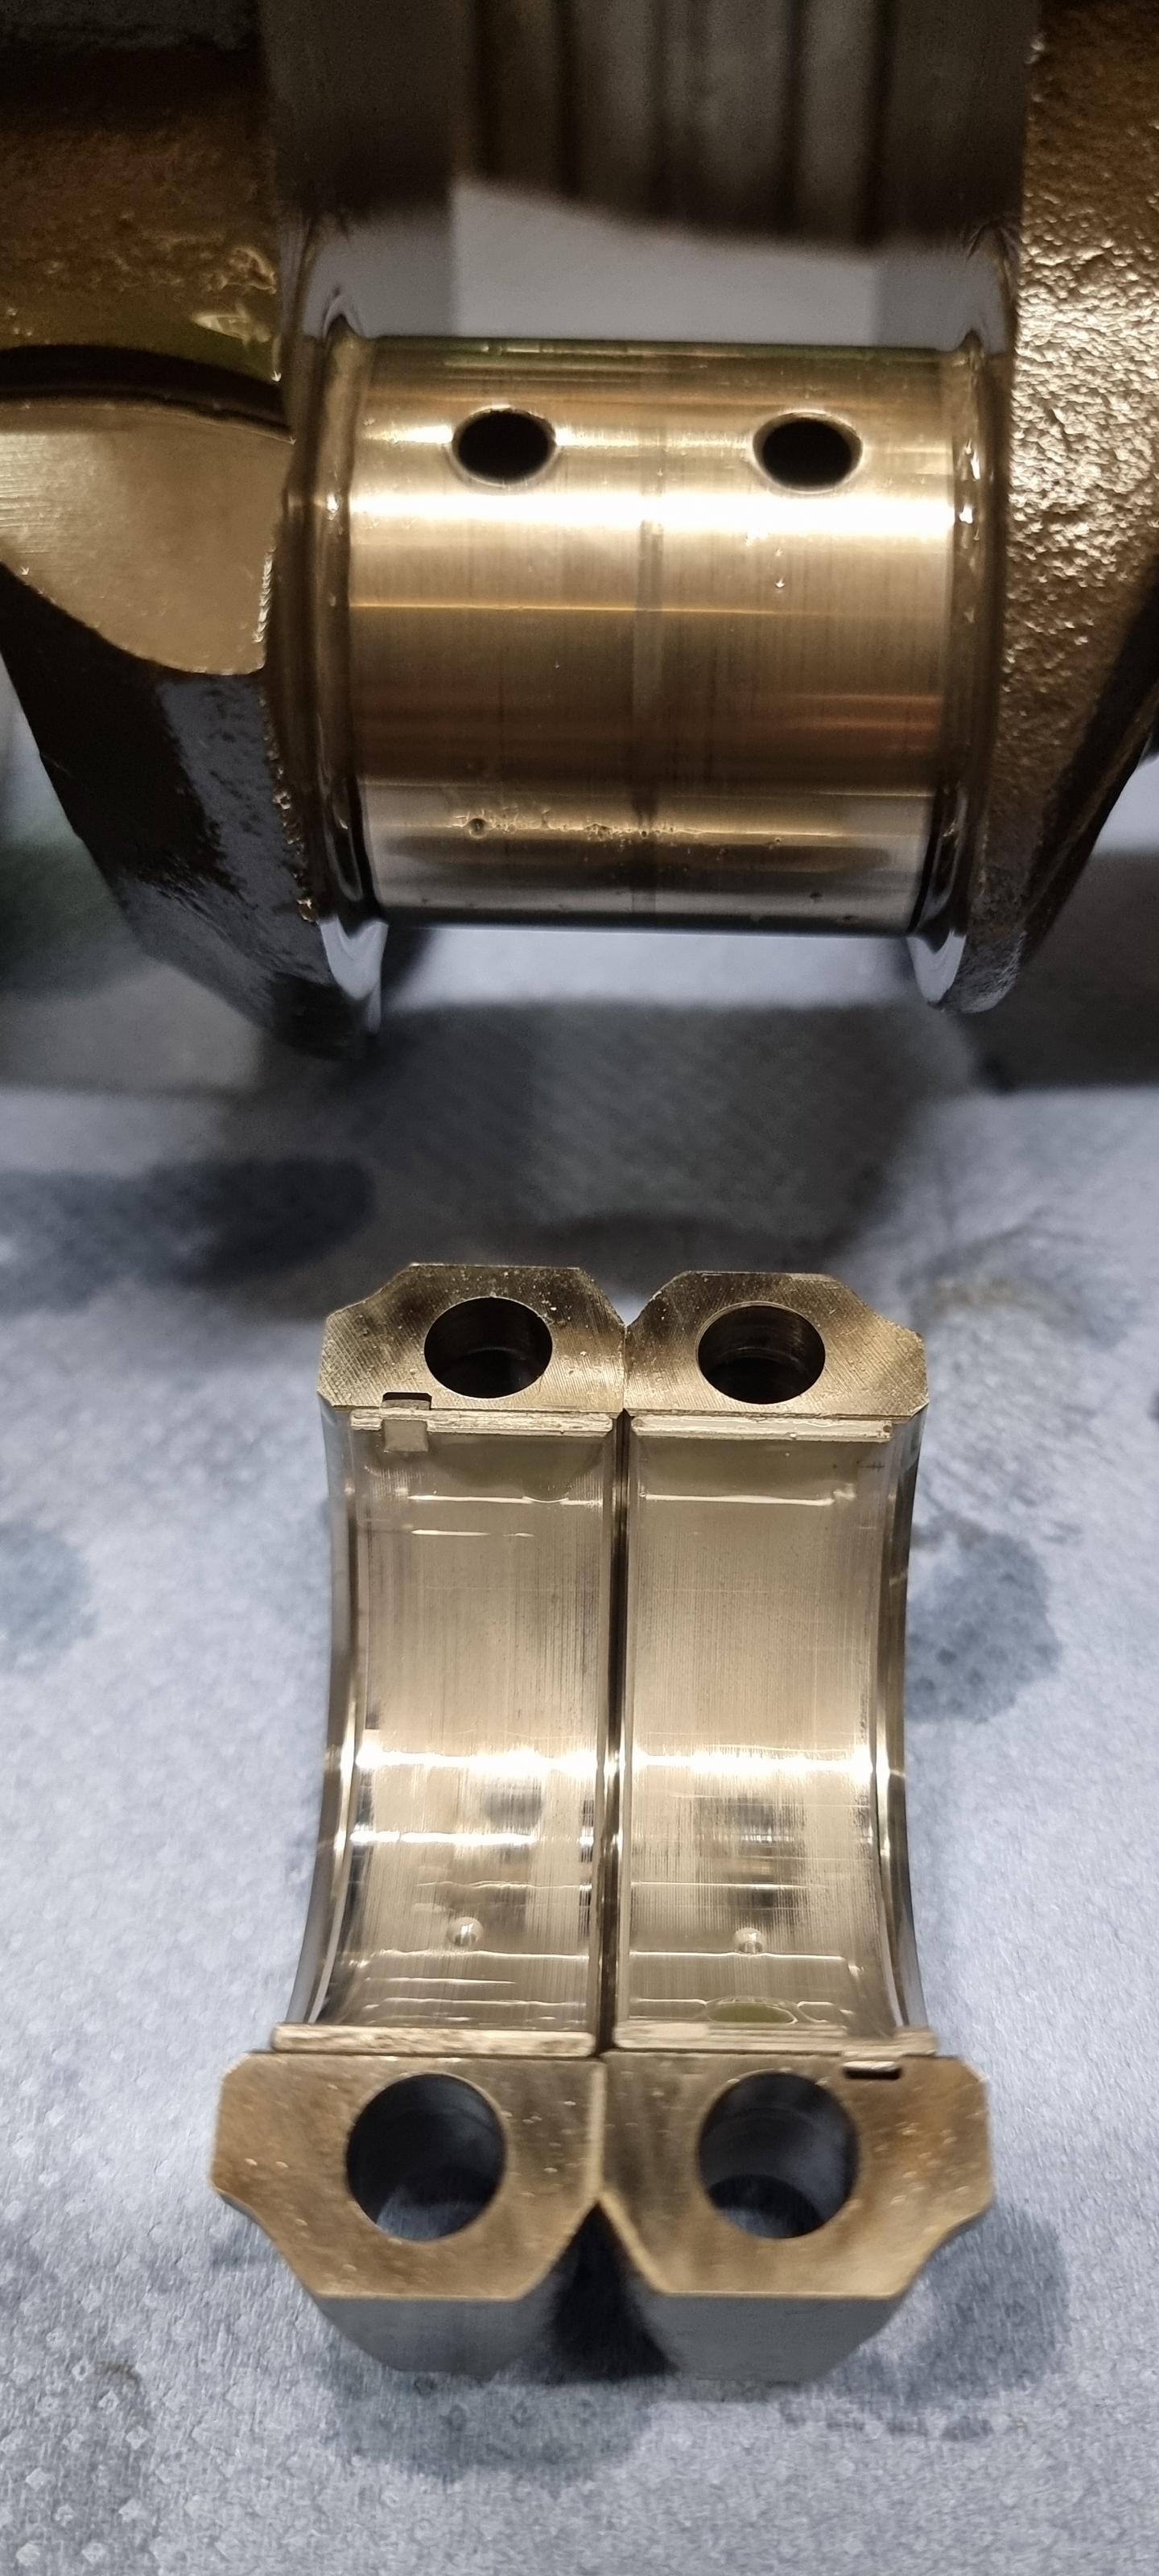
We have all wondered how a vfr engine with forced induction takes this abuse right? Well at least I have! So to all those who have told me over the years that this is not going to last, the vfr can not handle this - you are wrong! No measurements have been done, I have just glanced over everything - season has started. This engine will be shelved waiting parts and getting ready for the next stage. A 17000km engine will be put in it's place. I don't have more time this week to tell the story but it will come 🙂 Have a good one guys - ride hard but mind your 3rd gear 😅
8 points
-
Very few bikes look cool without some cash and talent. More cash requires less talent while more talent requires less cash. Seb's naked bikes look like MONEY but we know how they got there.5 points
-
Yeah eventually I am going to buy all of the plastic for mine or try to repair the ones that are still savable. I was just wondering if there are cheaper alternatives. I like the stock look but at this very moment to put it back on the road I'll probably just throw on the damaged fairings so I can ride it until I can afford to put new plastic on. My brother knows how to paint and offered to help me once I have all of the parts.. I have owned my Honda Magna for 7-8 months and really like the V4 in that bike so I went out and bought this one. It might take some time and money but I think this bike deserves a second chance. Thanks for the advice guys I appreciate it.4 points
-
Great news Duc. Speedy recovery. I fully understand the frustration from post operative blues of not being able to ride for lengthy periods. Nice partnership with your mate, rider training in exchange for bike help. I find it one of the joys of motorcycling, always learning and refining technique and smoothness, whether or not I achieve my goal is debatable! Great motorcycle porn shots! Guess you'd never want a faulty "trigger finger" with a six shooter in your hand! Take care and best regards.4 points
-
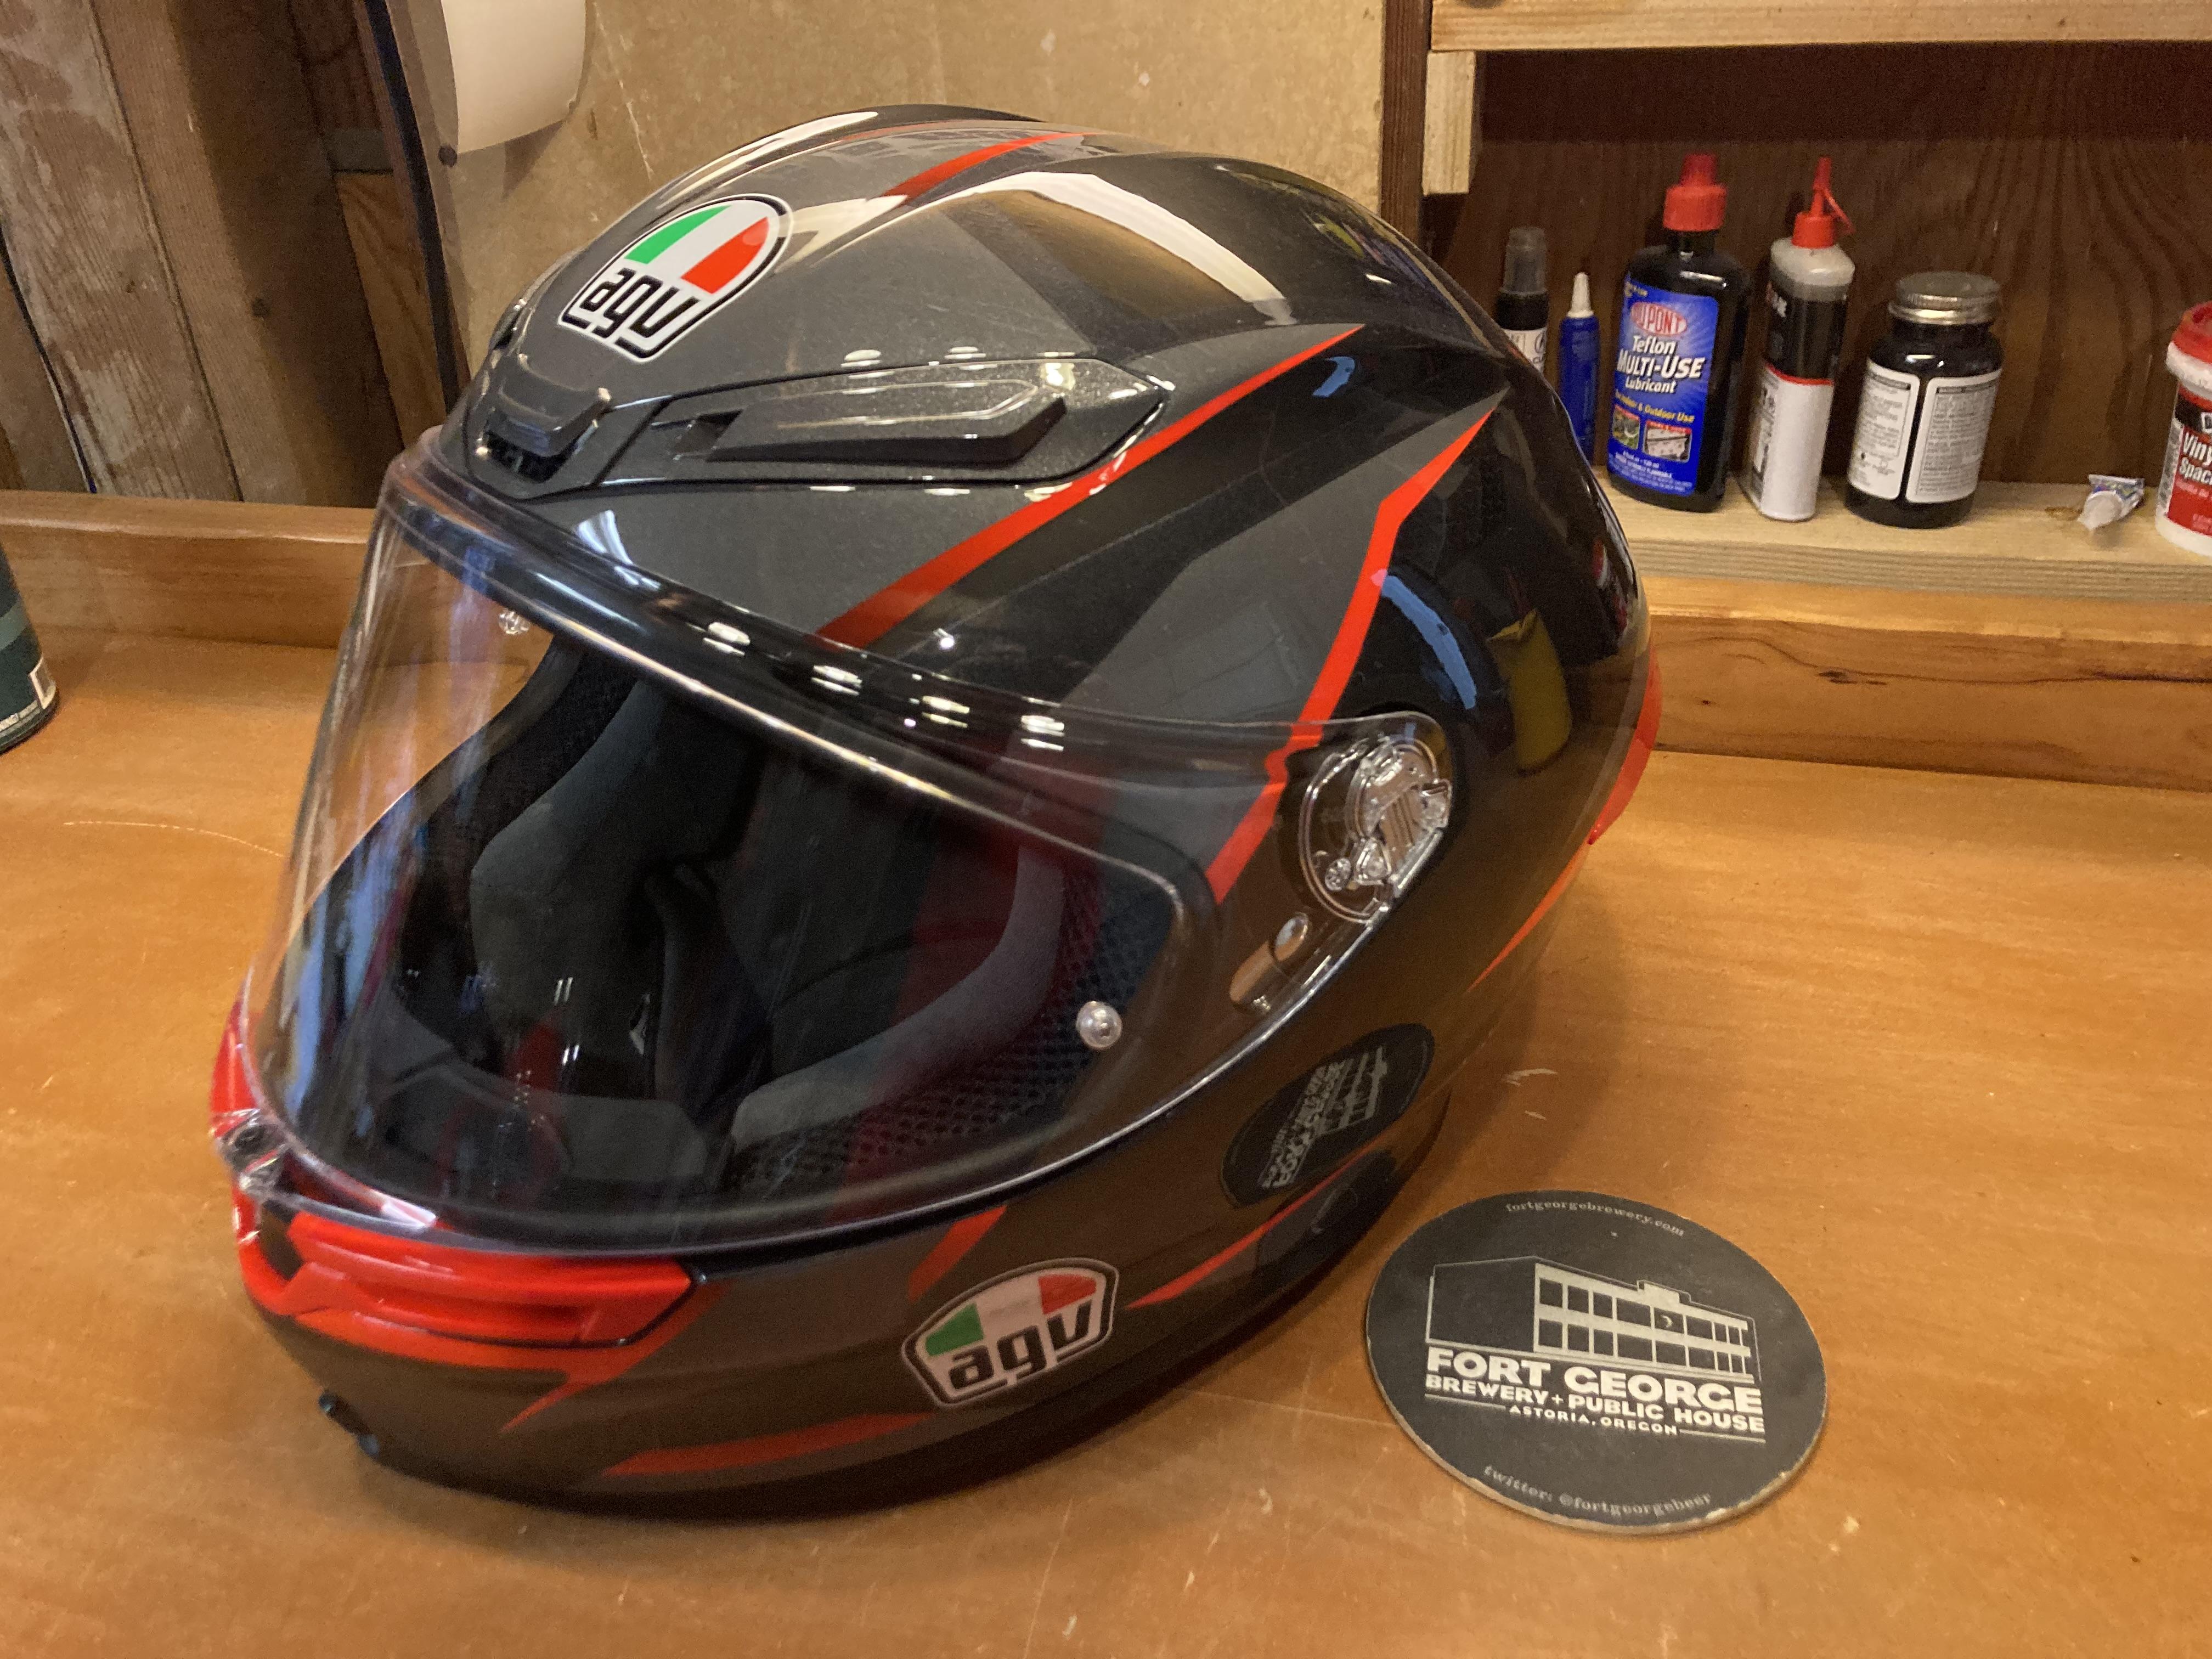
Yes. I always expect a new helmet to be tight. It will adjust to your head and cheekbones, and you will adjust to how it feels. Far better than a lid that starts too loose. In the worst case you can change pads. And...I bought an AGV K6 S last year, and posted a review here on VFRD. I'll try to find it for you but the short answer is I love it so far. Light weight, field of vision and build quality.
3 points
-
Judging by the phrases used in his post and the general description of the starting point, I don't think either one of those options is in the budget. You could just buy a pretty nice 94 thru 97 for less money. Naked maybe. But if you want it to not look like ass, then usually any "budget" naked build is out too (imo).3 points
-
Here's a 2001 with 17k miles listed locally for $6k. It's high but the seller is probably not in a rush and can lower the price as needed. https://classifieds.ksl.com/listing/75107544 I say list yours at 5-6 and see what happens. You can always lower it. That said, I offer the following for reference: I bought a 2001 in 2021 with 20k miles for $3,000. Pretty clean overall just needed some refreshing. I considered this one a pretty good deal. I bought another 2001 6 months ago with 39k miles for $2500. Not as clean, needed more refreshing. This one was more of an ok/fair deal for what it was. Last year there was a 2001 on cycletrader with only 1200 miles listed at $6500. Very sensible price given the miles. It was super clean too. It would be rare to find another one with miles that low or lower. Things that help get top dollar: -bike should be detailed, waxed and exceptionally clean. If we're claiming near showroom it should look like it. -new(er) tires, recent fluids, etc, especially brake fluid for anyone that knows the annoyance of properly bleeding linked brakes. -any and all documented service history available, receipts if you have any in a folder. Both keys if you have them. -all mods documented in the ad, stock parts included if you have them still. -should include OEM grab handles, rear upper cowl (that covers the seat), OEM windscreen, owner's manual and tool kit -any issues or defects documented/photographed. Pointing out a few small scratches is a good thing if that's literally all there is to point out. It emphasizes that the rest of the bike is in great shape and no surprises for potential buyers. -Several GOOD pictures in sunlight (It's amazing how many sellers don't take the time to clean up a vehicle or take good pics.) -a short but well written for sale ad, bullet points not paragraphs -priced reasonably given current market. These bikes live between $2k and about $6k with most falling in the $3500-$4500 range. Several factors determine what it will ultimately sell for. There's a price that will have it sold in minutes, another that will have it sold in a day, and another that will take weeks, and another where it won't sell at all. Decide what you would be happy with, add a little wiggle room and see how it goes. I have sold many vehicles to the first person who came to look at them by having them clean, sorted, well presented and fairly priced. Most of my vehicles have sold quickly. Some too quickly. Some took longer, some I had to lower the price a little more until the right buyer appeared. Just gotta get the right combination of factors to get it done. This is one that I recently spent some time refreshing and cleaning up over the winter. It's not worth $6k, but would probably sell quickly at a reasonable ask. Not for sale though. 😉 Cheers, Justin (click for better resolution)
3 points
-
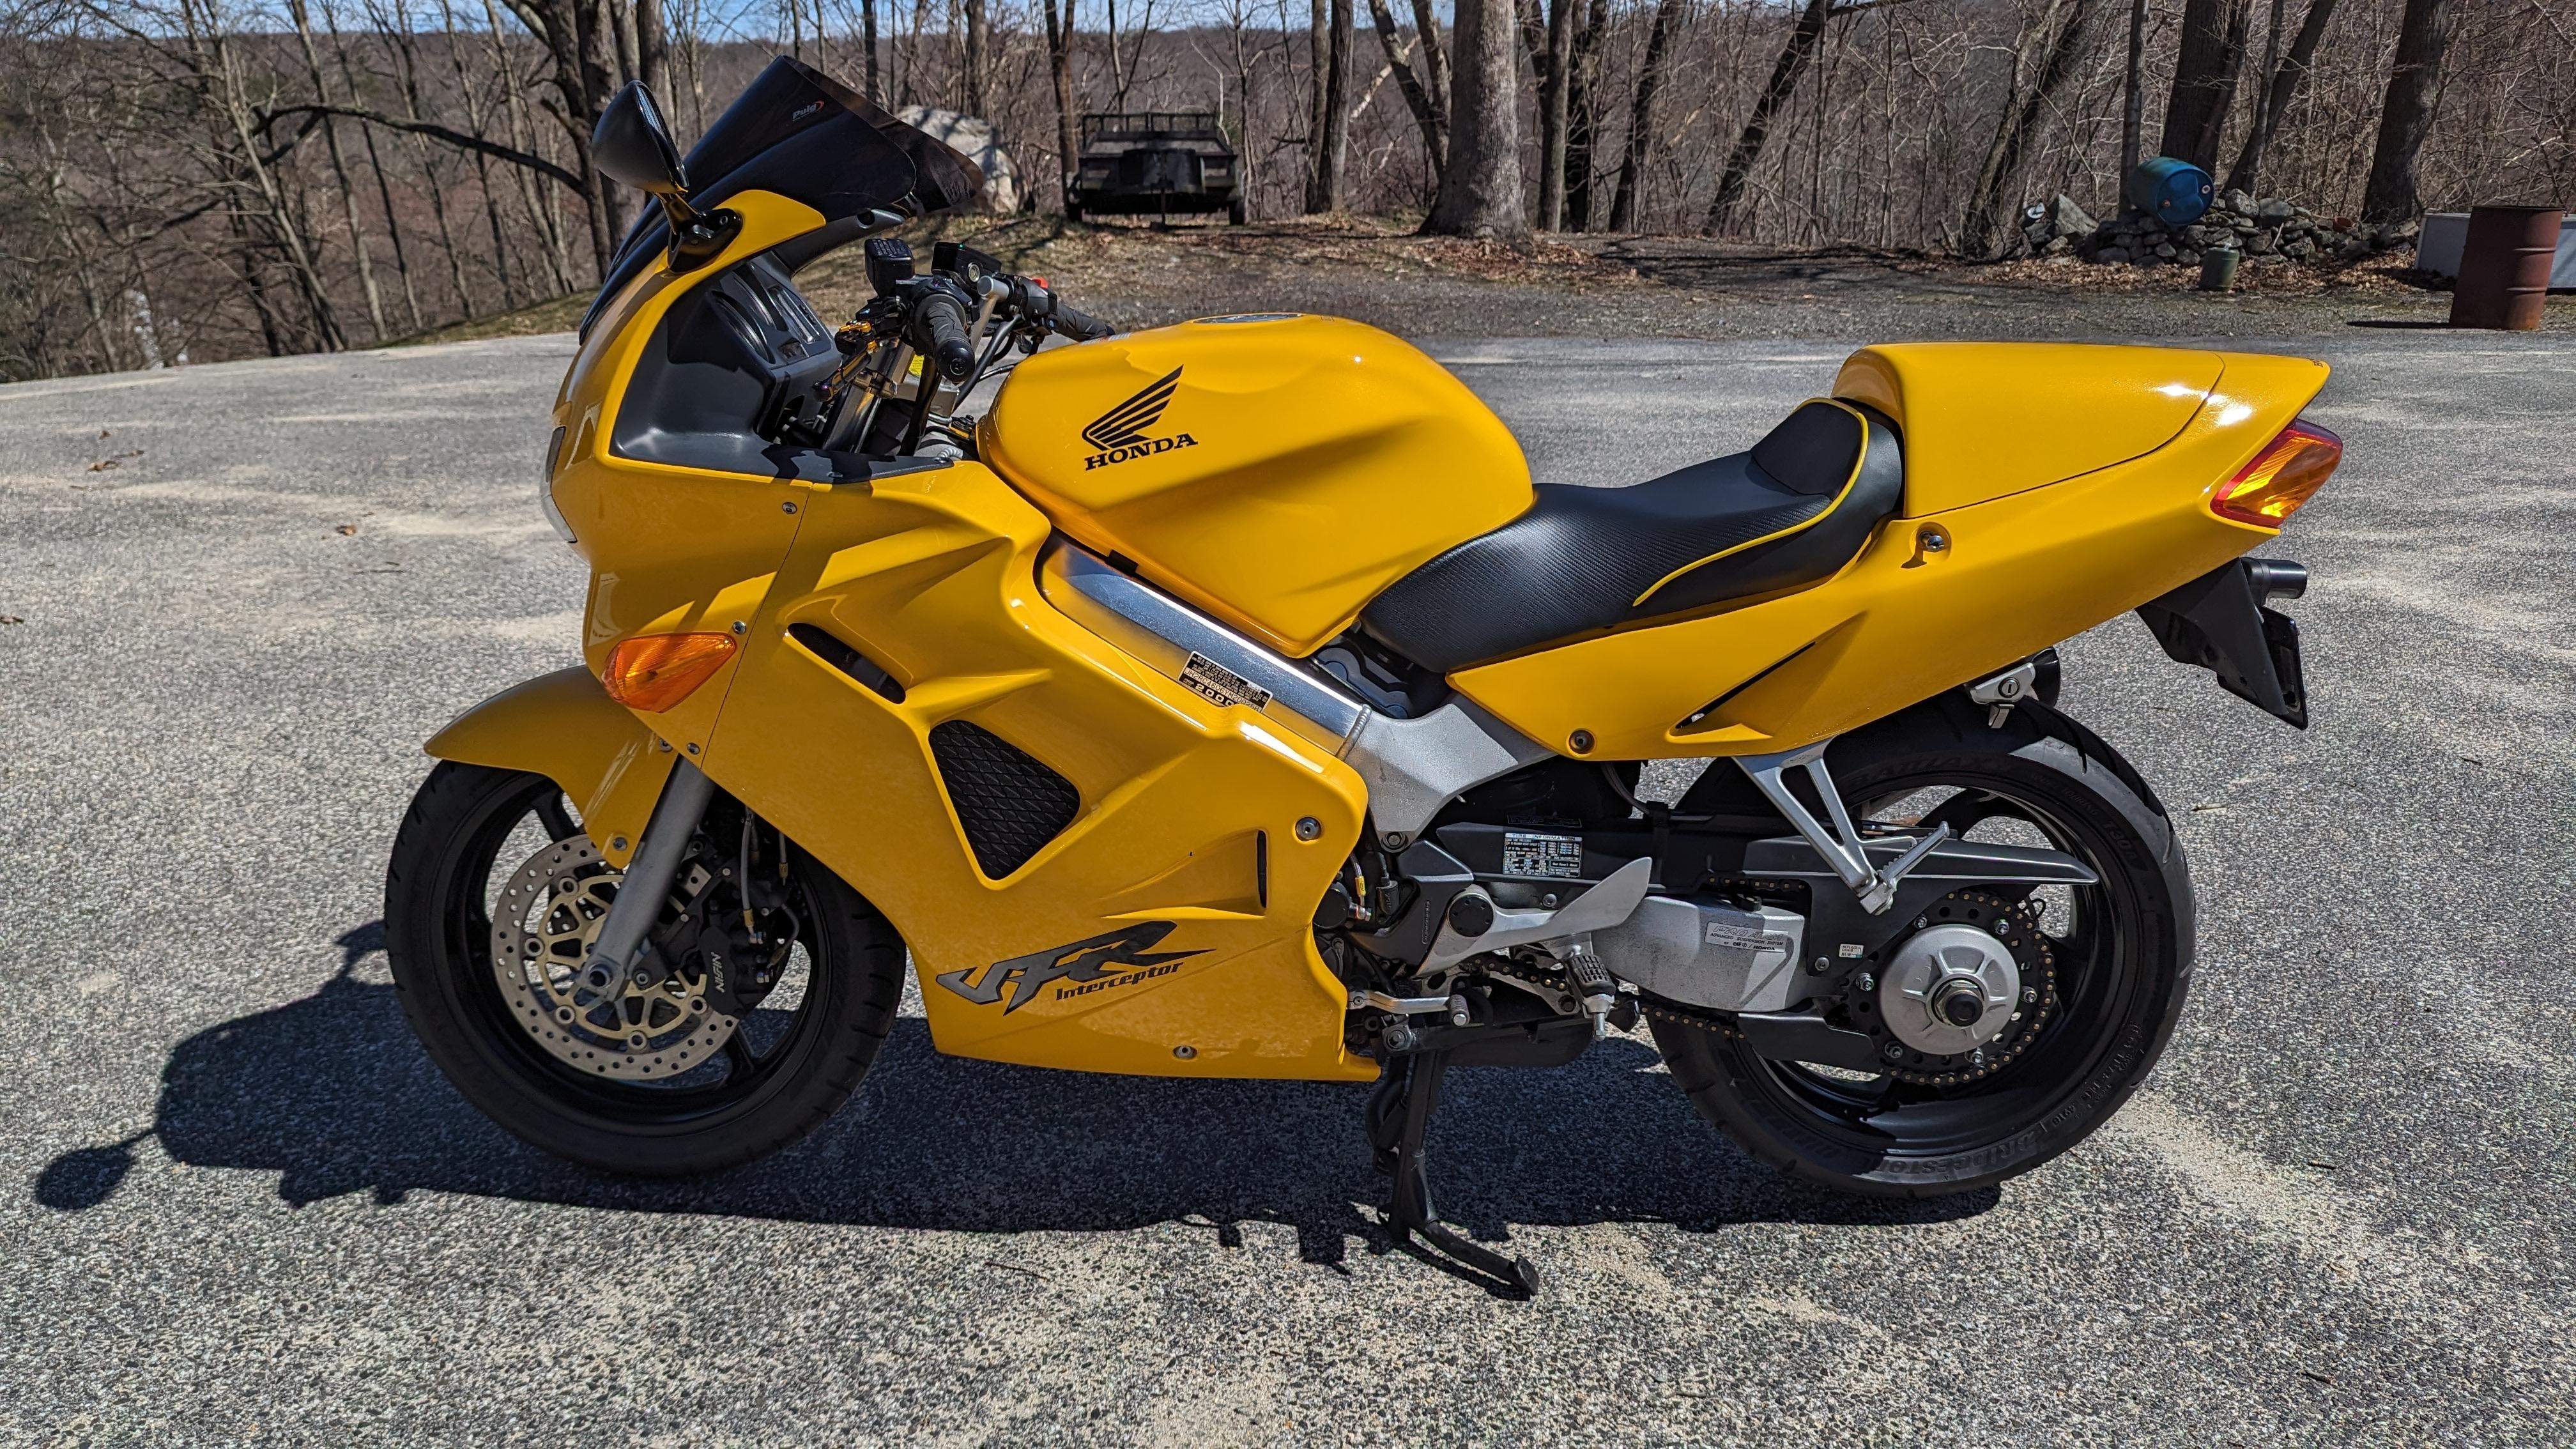
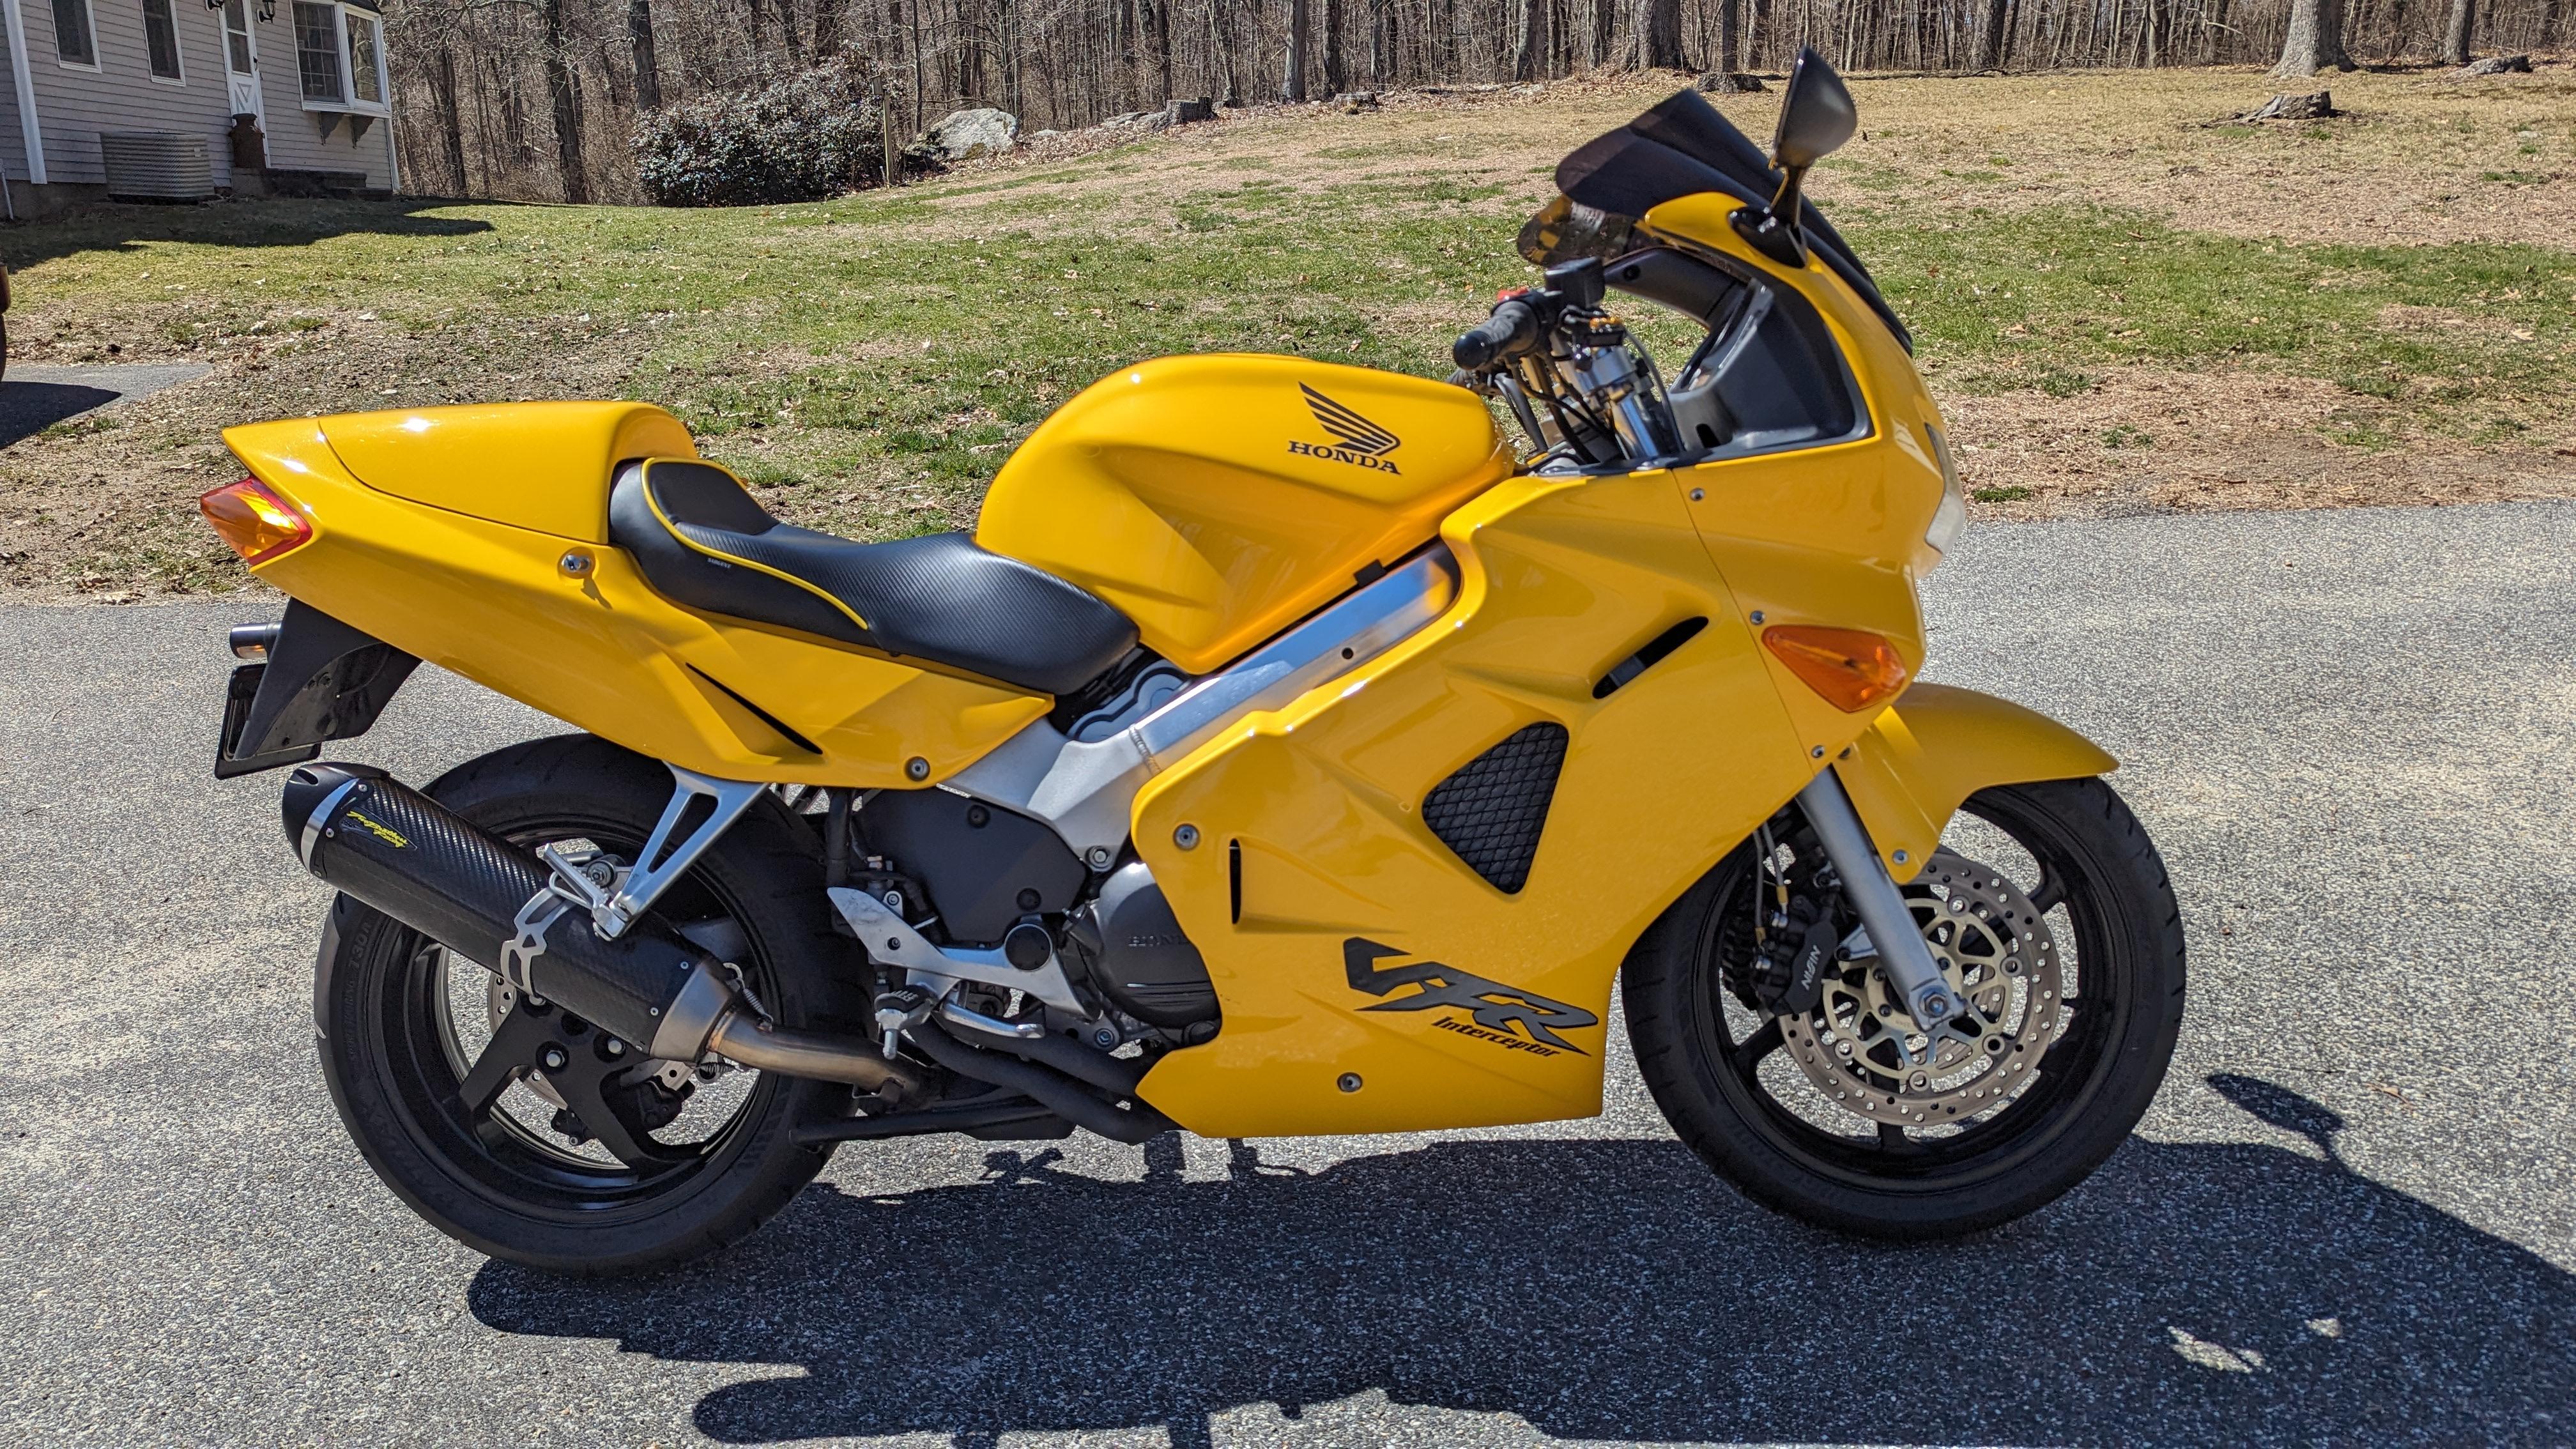
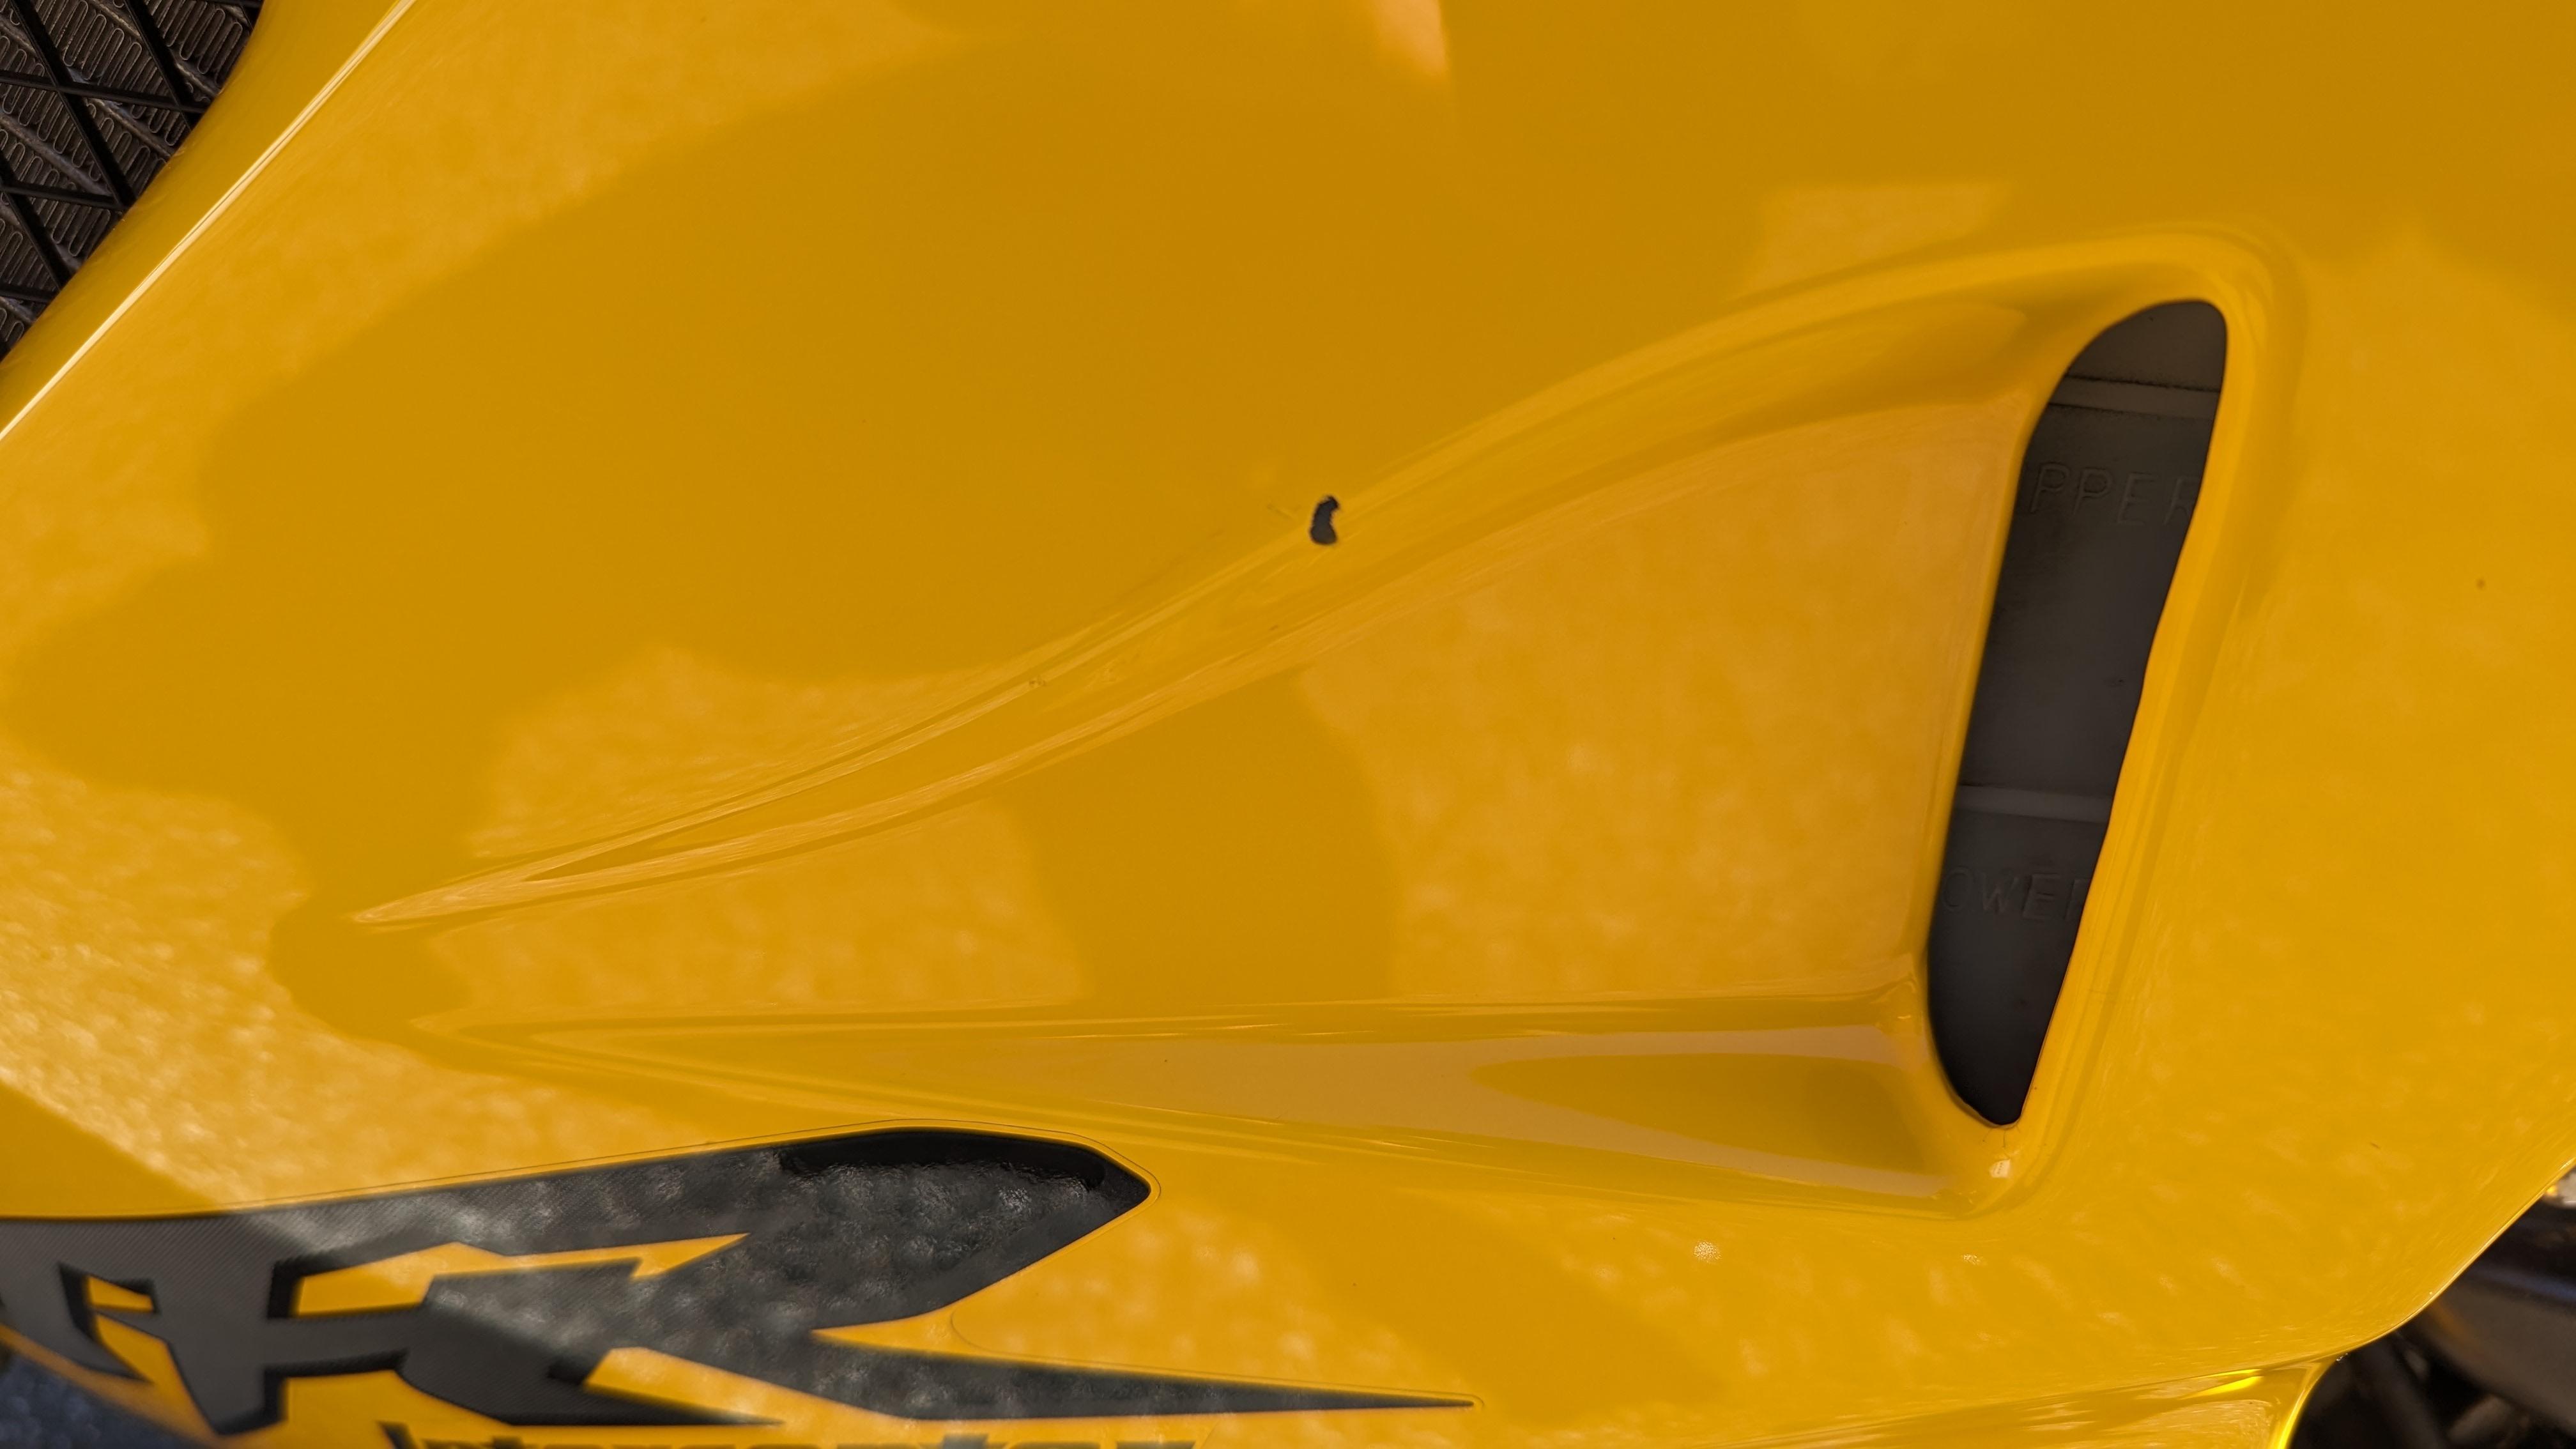
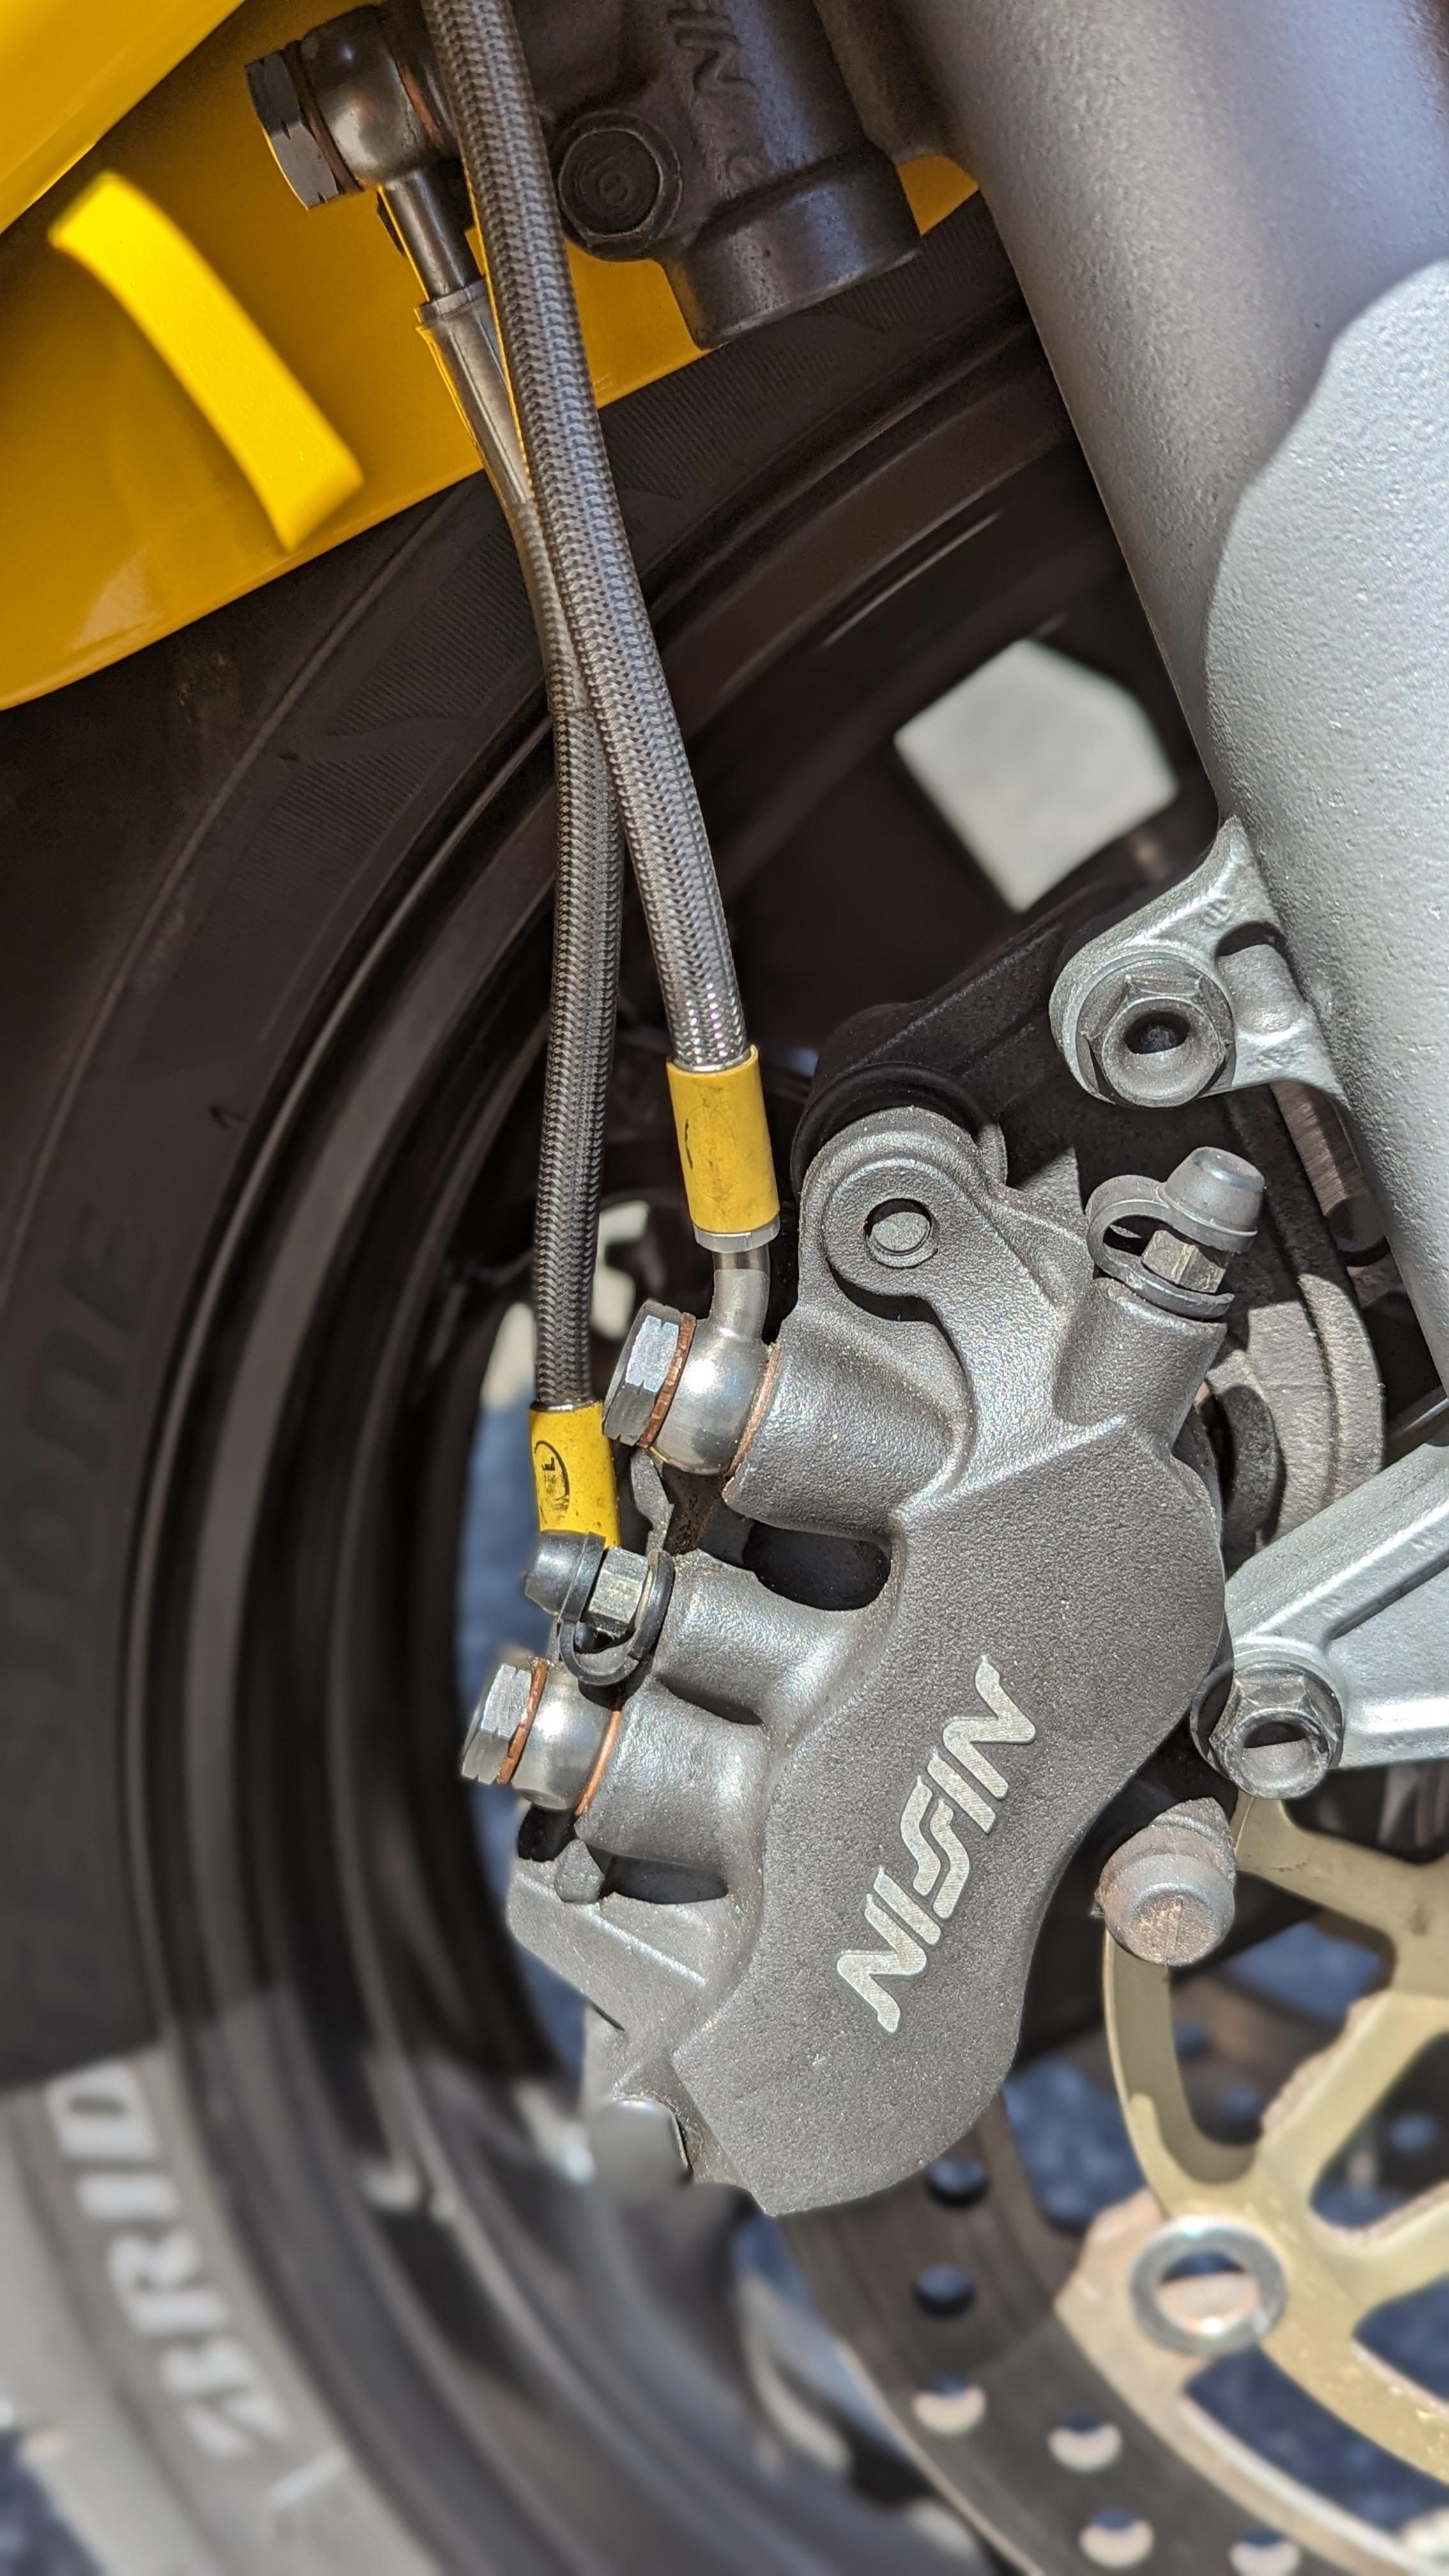
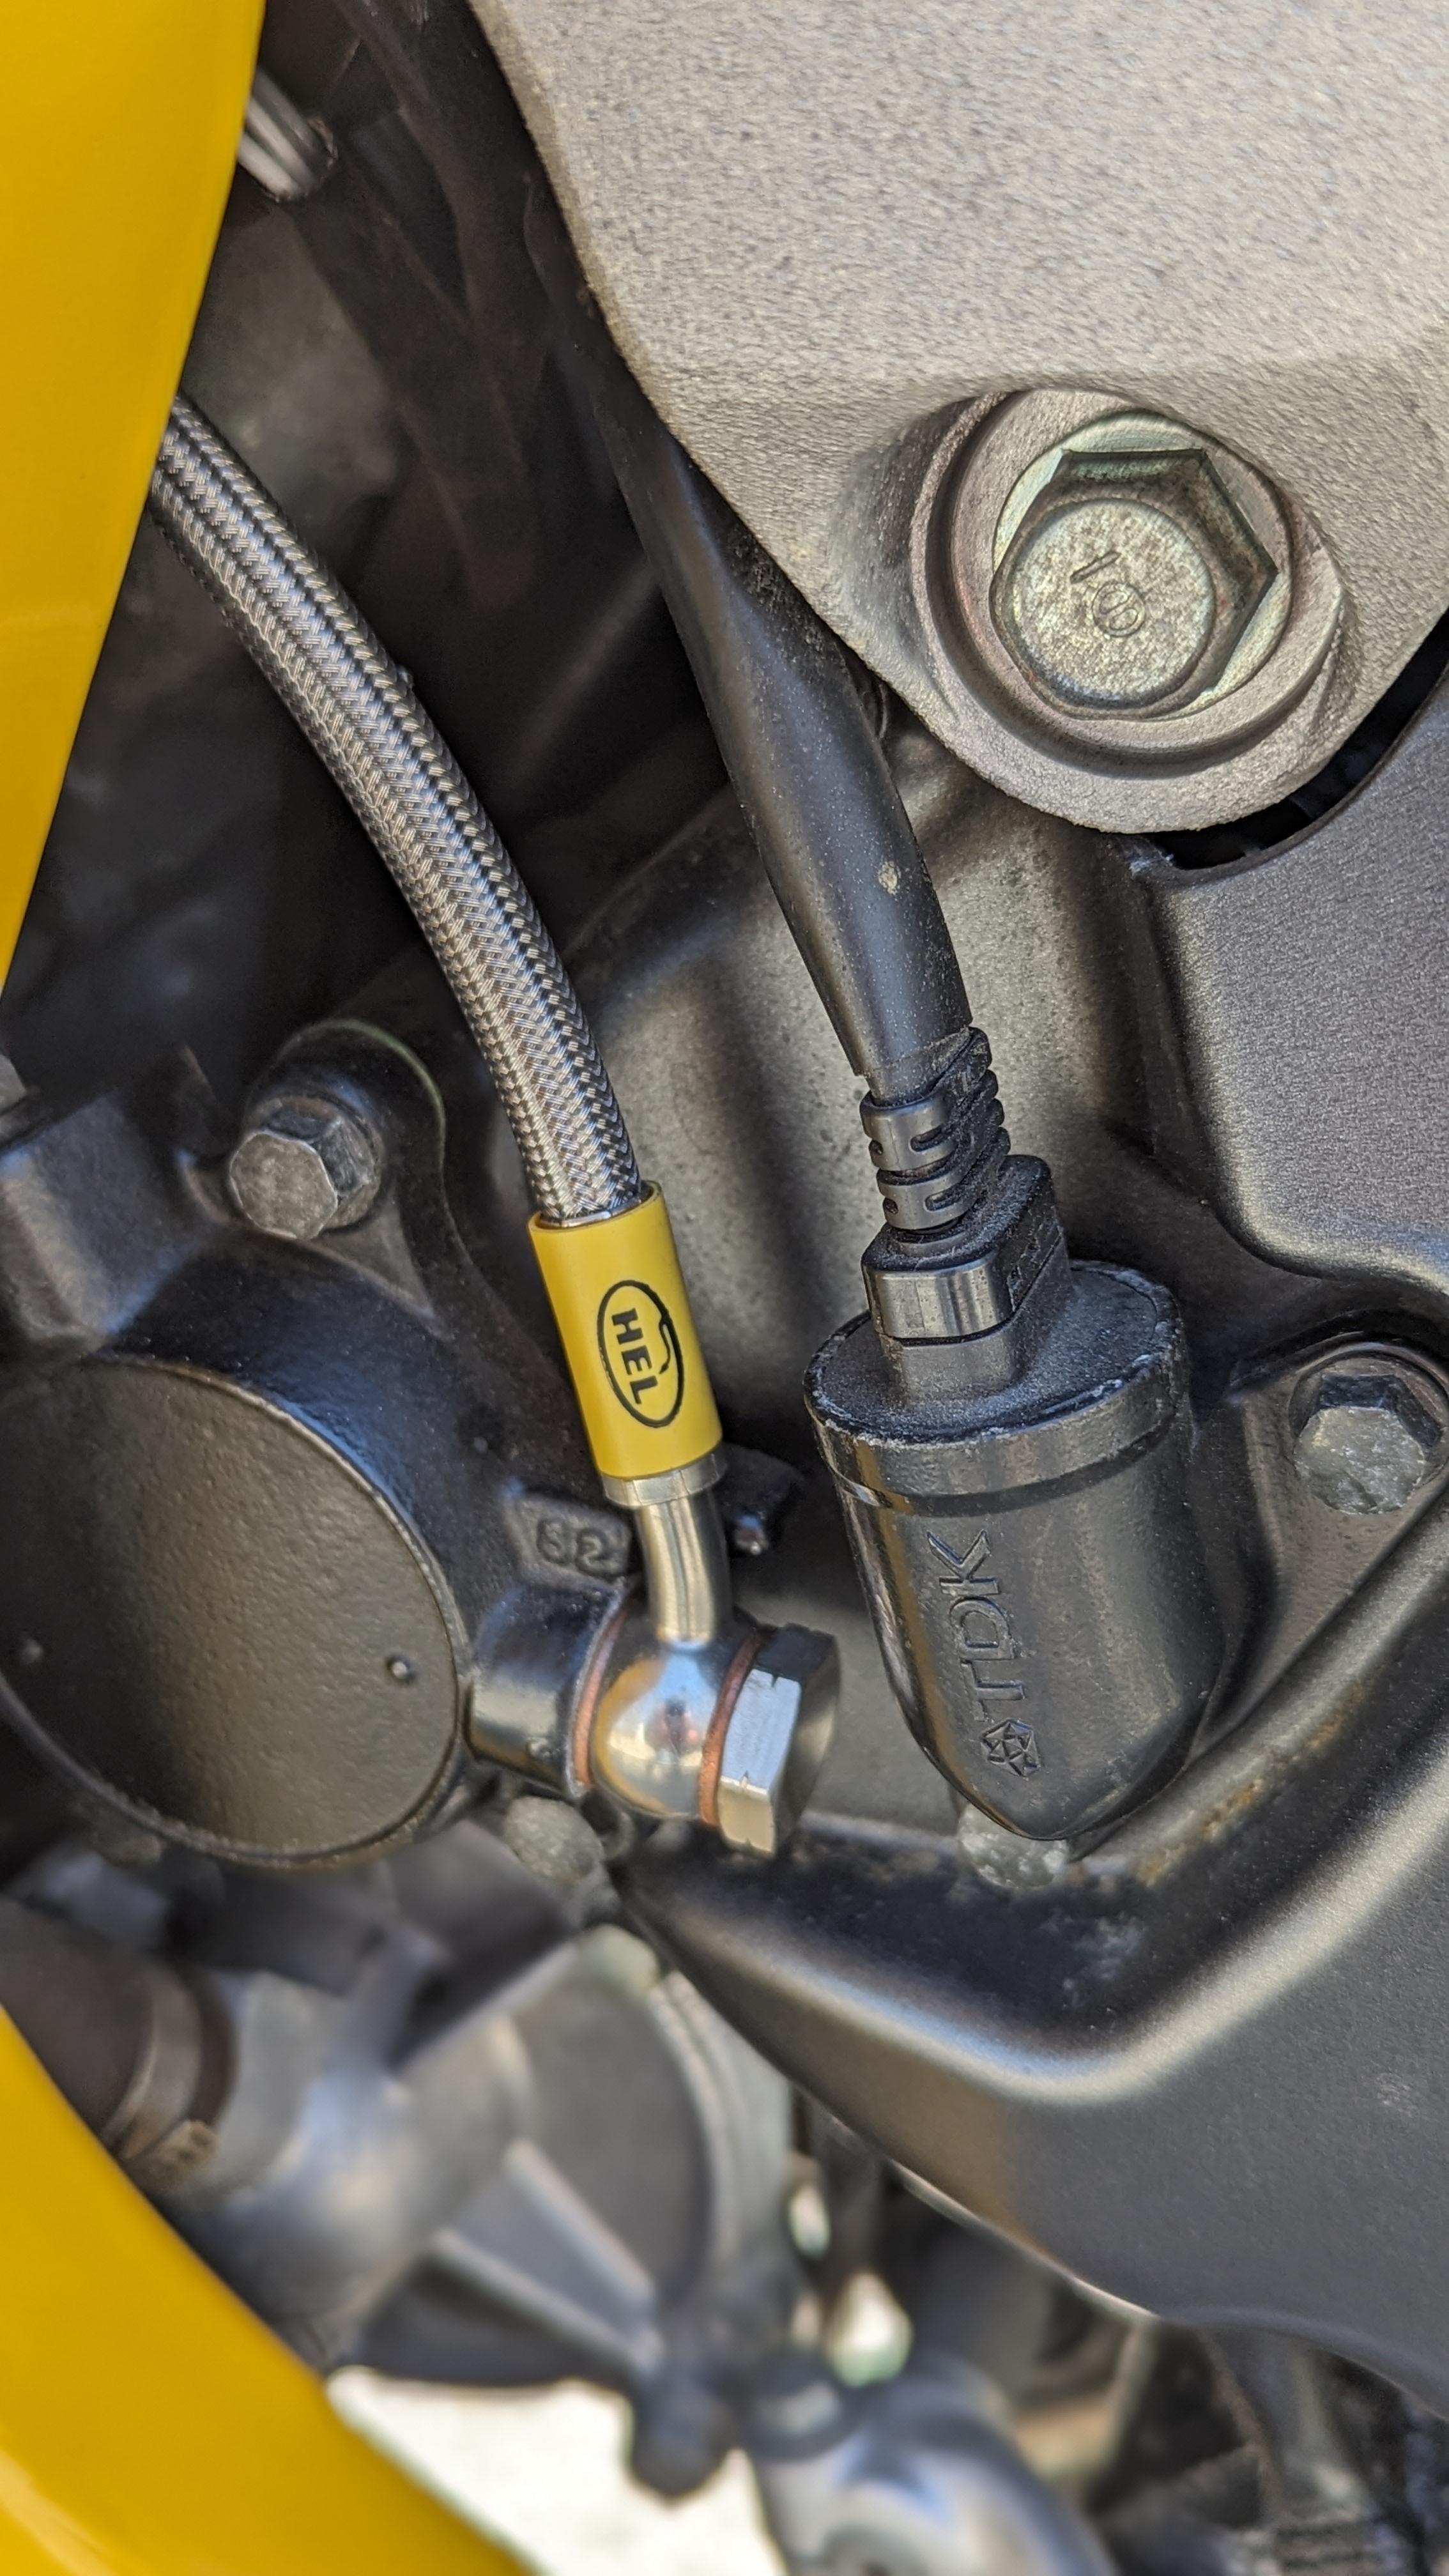
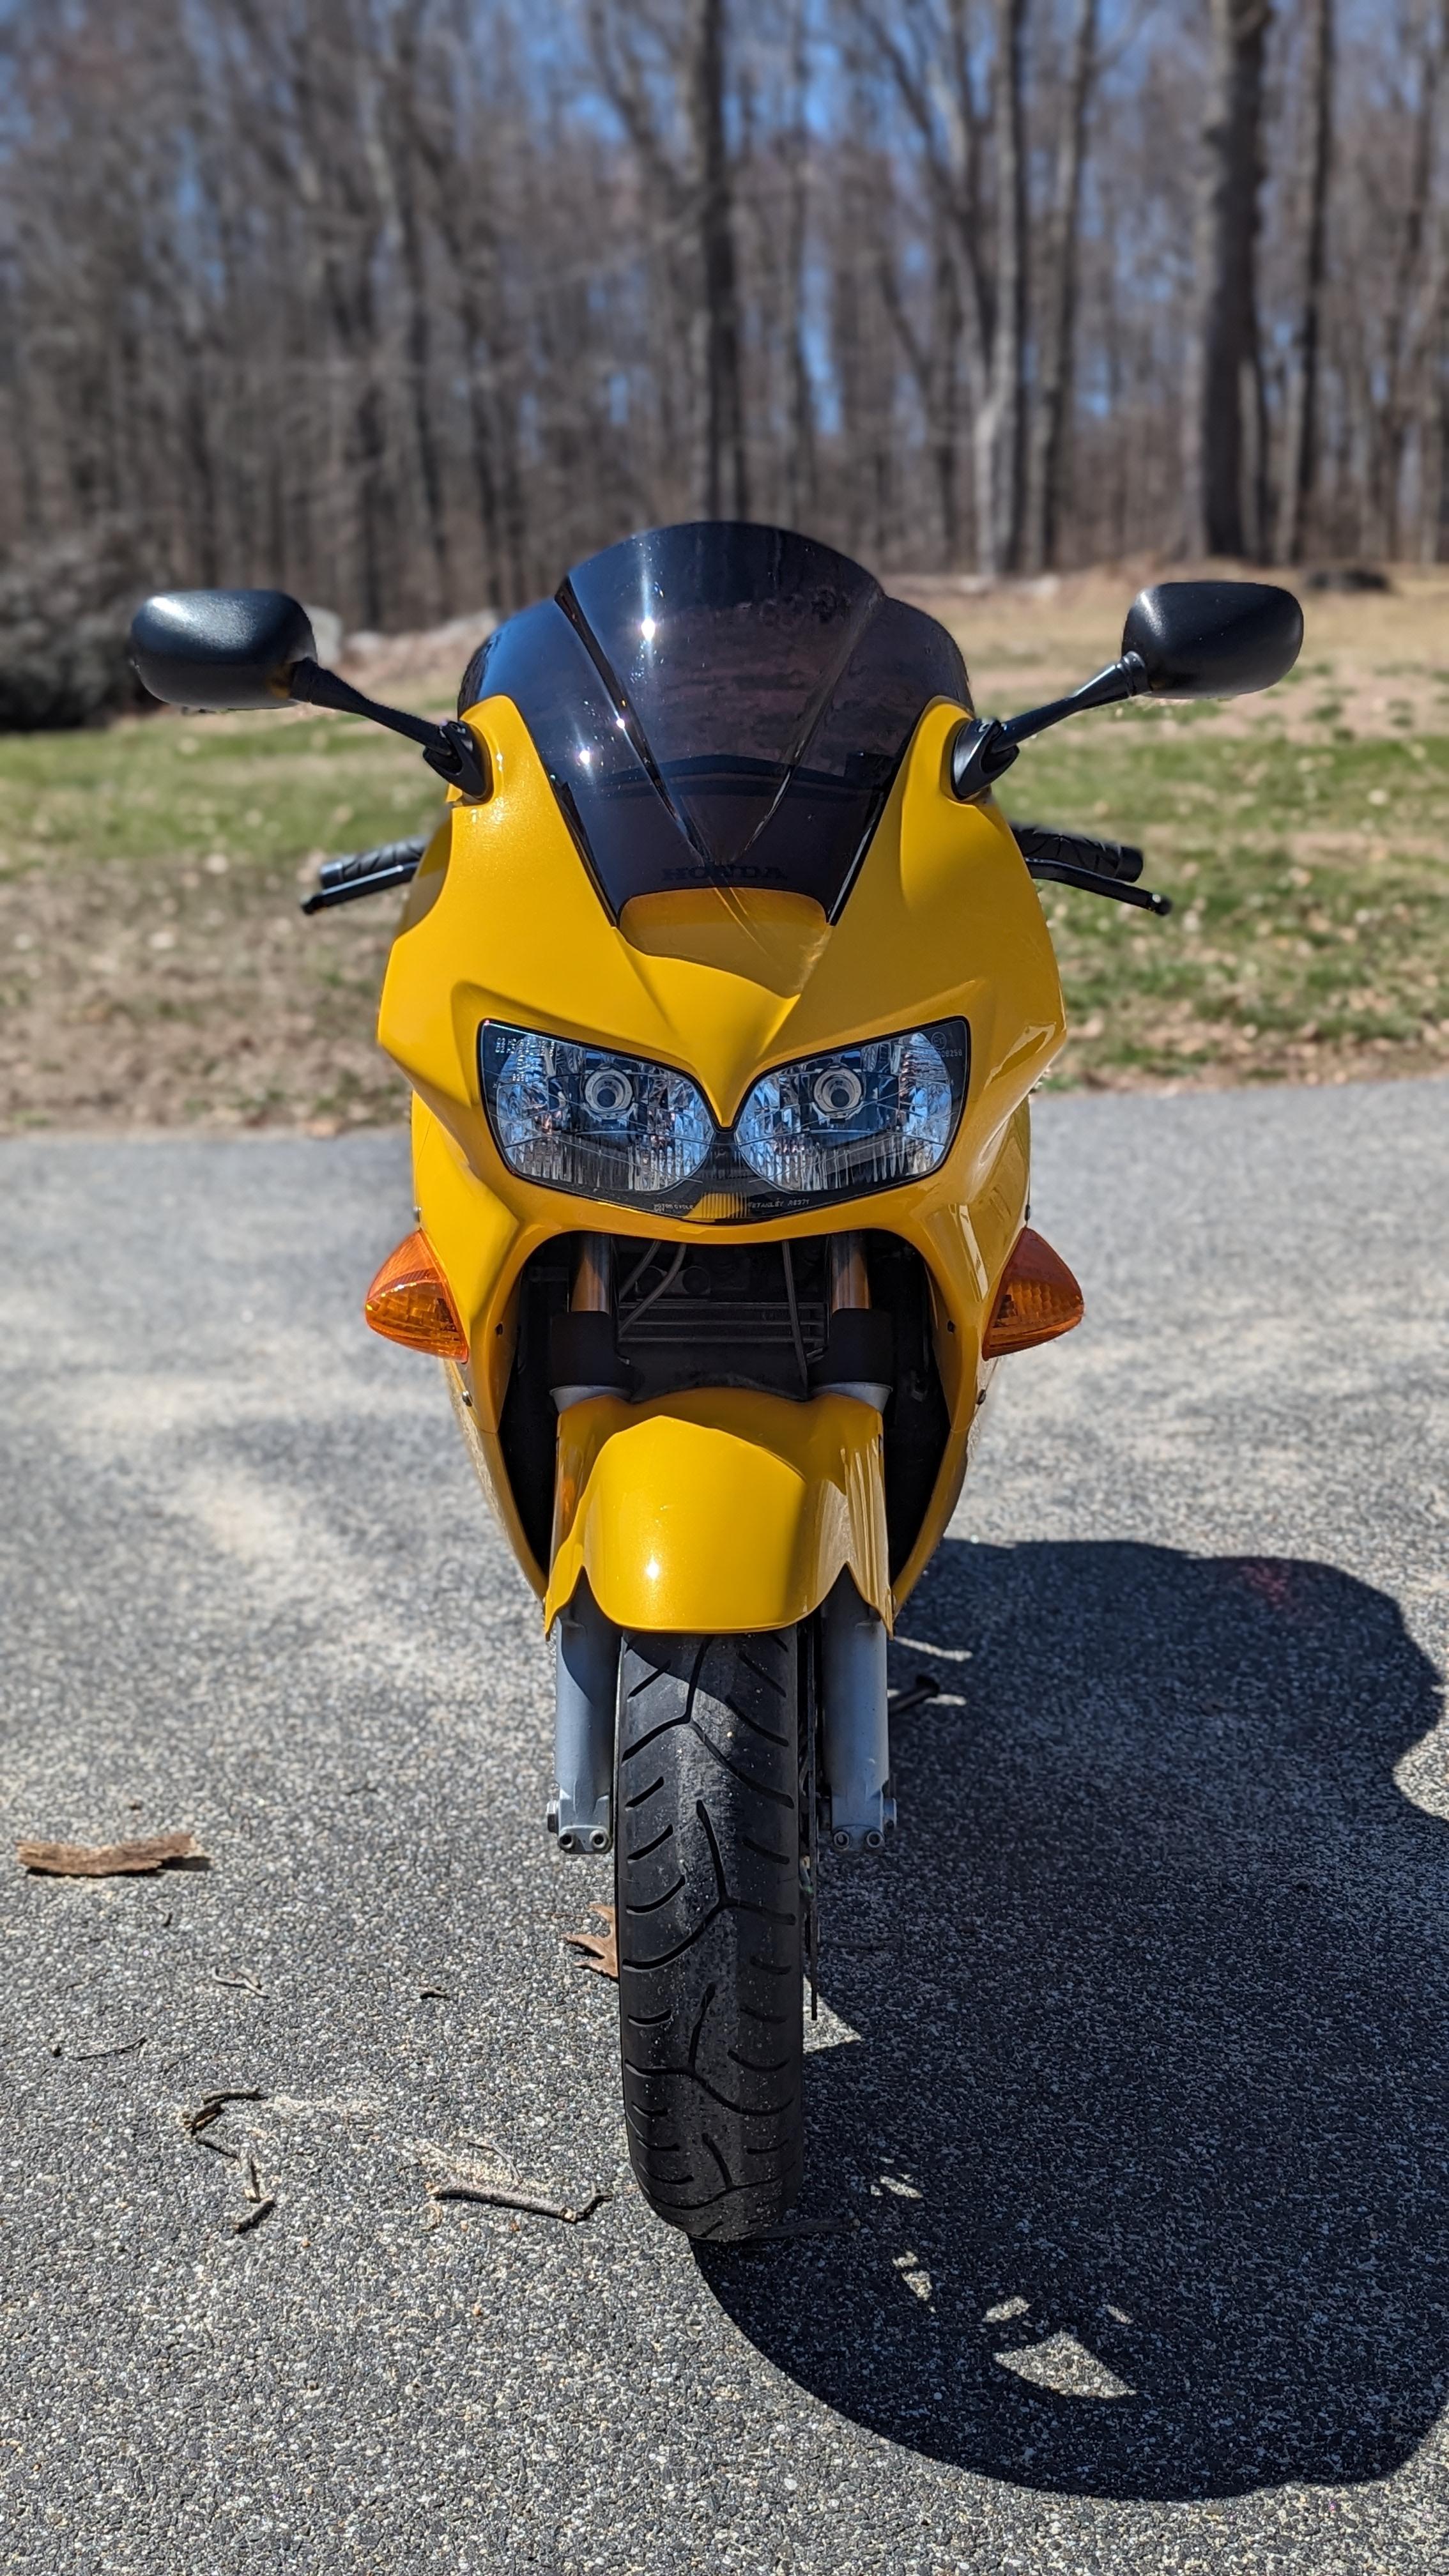
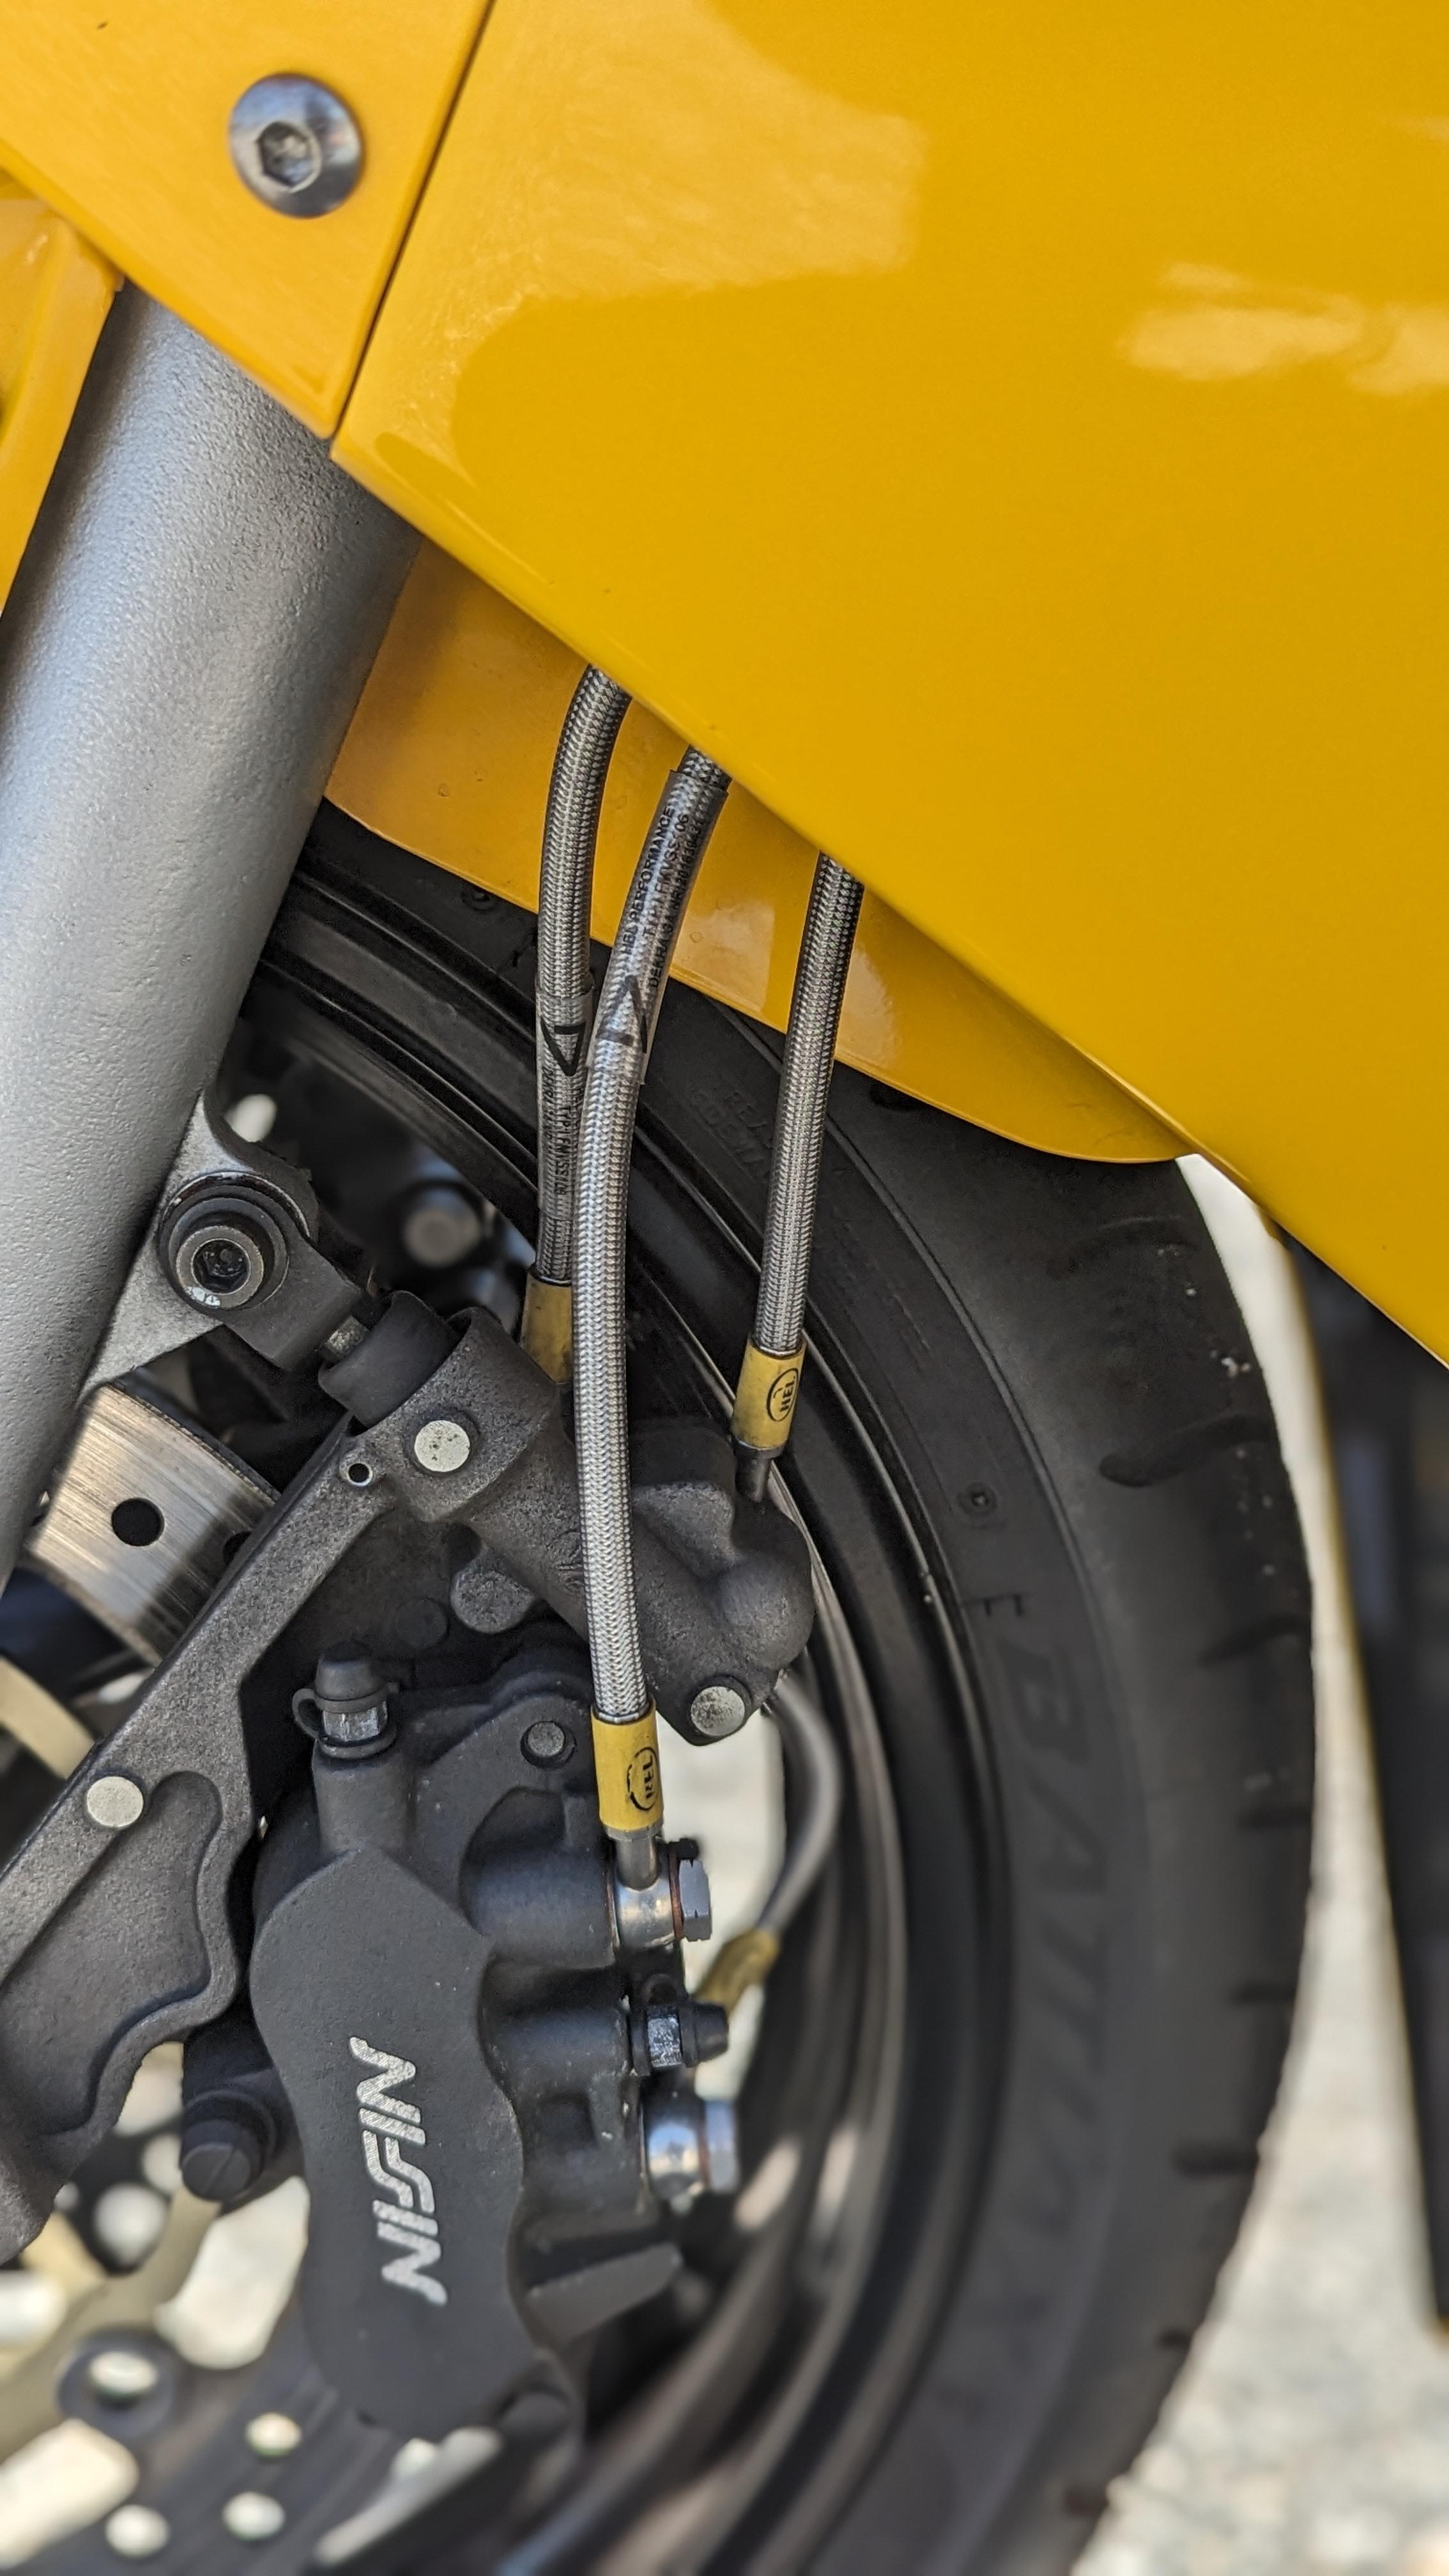
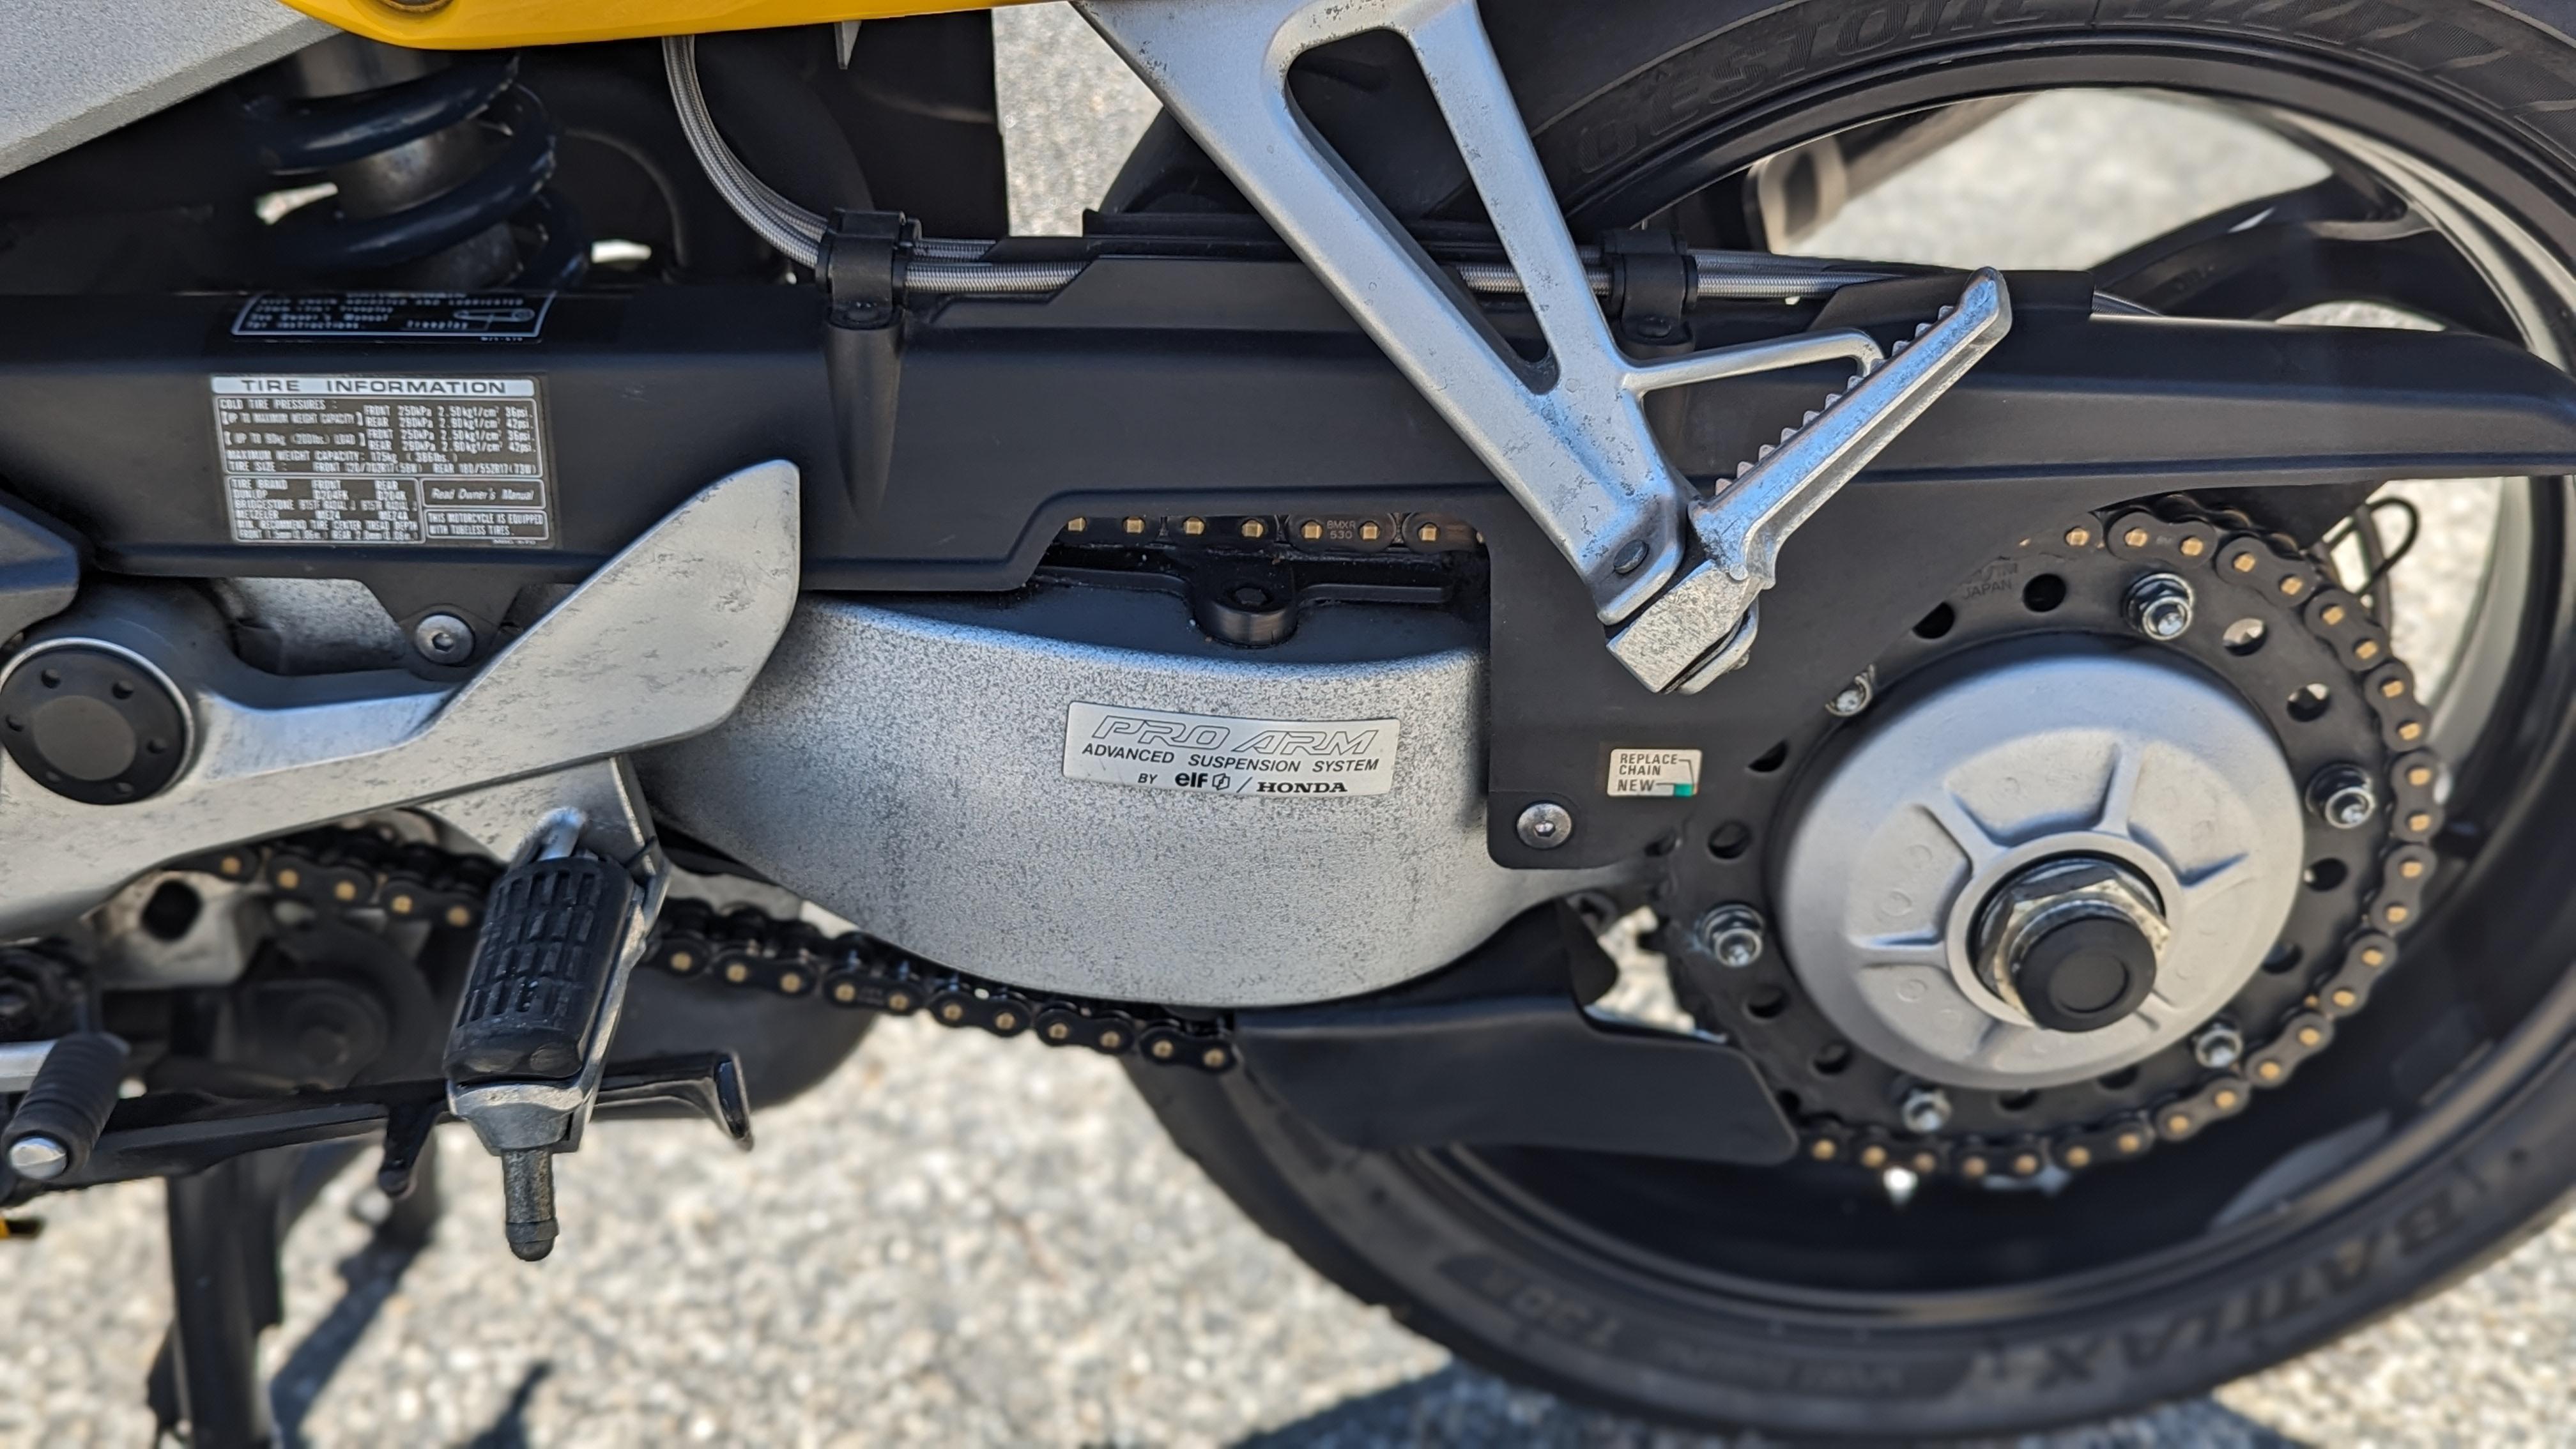
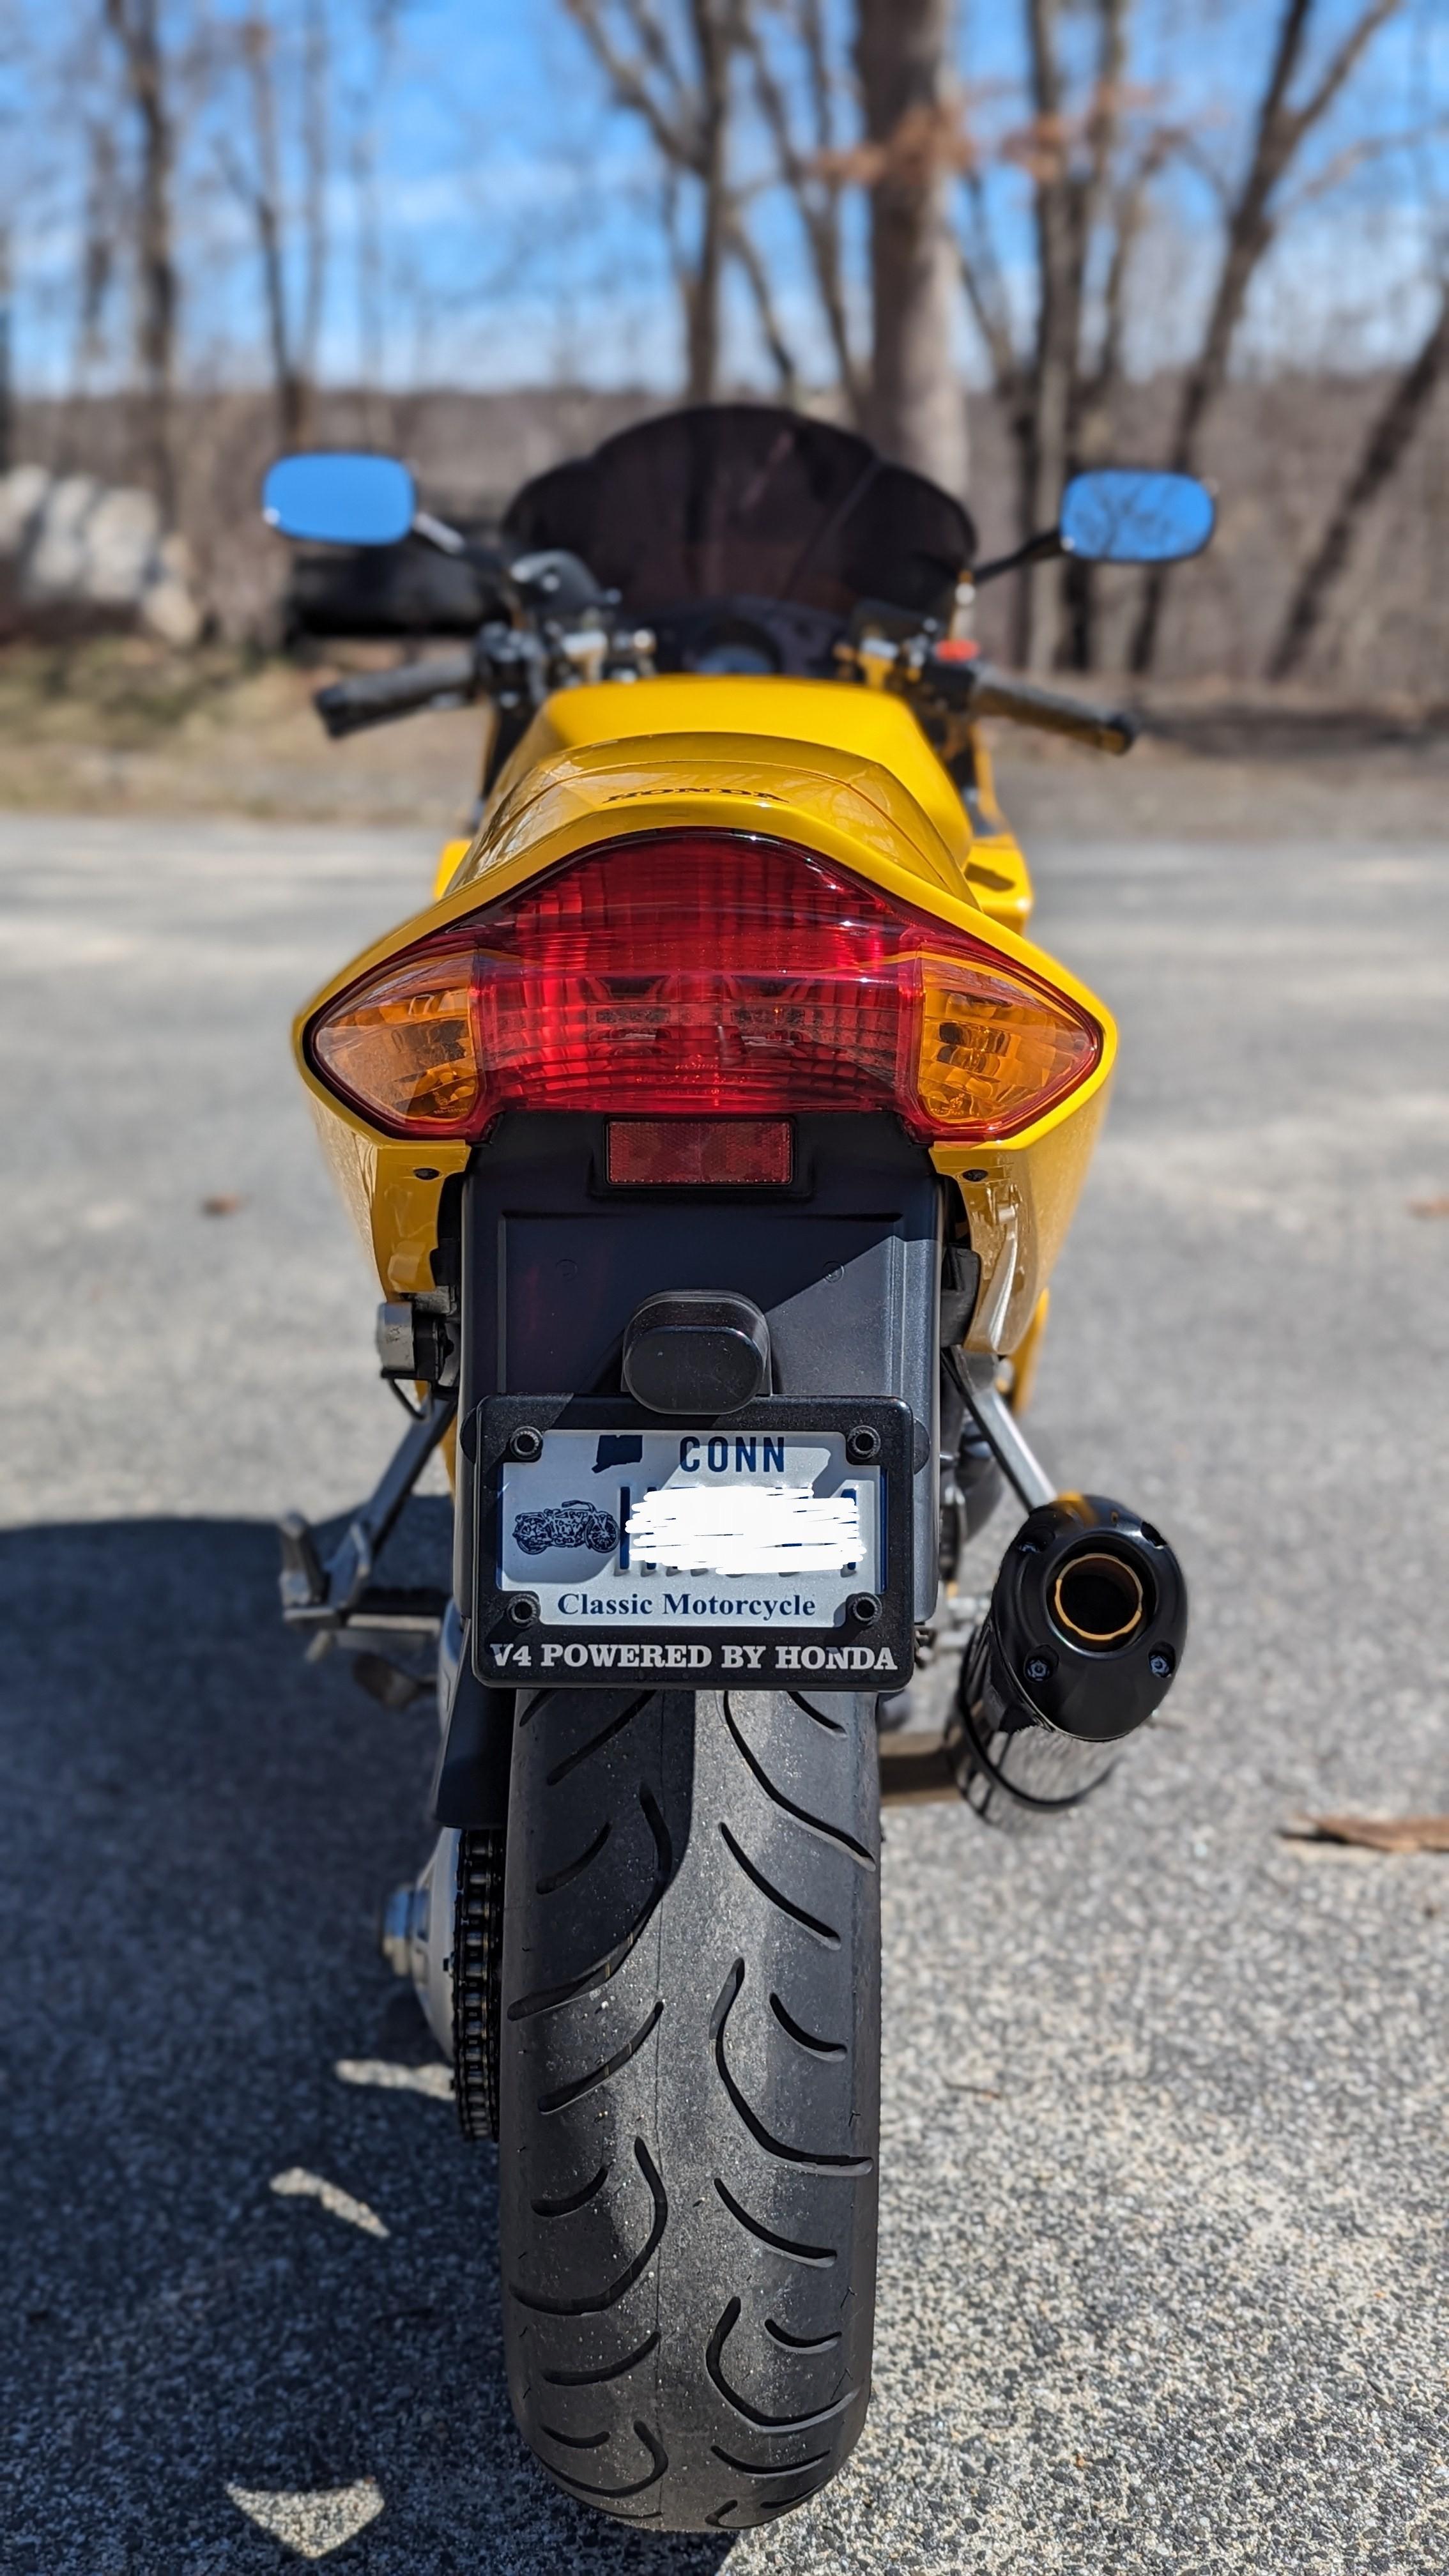
Up for sale is my gorgeous VFR 800. I bought it late of 2020 with only 2800 miles on it. It was bone stock. Over the last few years I've made some tasteful modifications. Pazzo levers, Heli-bars, Puig screen, Two Bros. can, EBC-HH pads, Sargent seat, black and gold RK chain and sprocket. Changed out the 23 year old brake and clutch hoses for HEL lines. (Don't even ask what they cost). Had DMr re-valve and respring the rear shock for a 200 lb rider. Front forks were serviced, re-sealed and re-sprung accordingly. Replaced the fork tubes due to some minor pitting. Every fluid on the bike has been flushed at least once. Bridgestone Battleax's have plenty of life left. Replaced the plugs and air cleaner out of boredom, and the Yuasa battery is one season old. Always garaged and on a tender. All the fasteners, bolts and push pins are OEM correct and in place. I have the stock muffler, hoses, complete tool kit with spanners, both keys, rear spring, grab handles and hardware. I should have the stock clip-ons somewhere. Small rock chip on left fairing, and a couple hardly visible scratches on the lower right fairing. Asking $6000.
3 points
-
Never been an issue with all 4 VFR800's I've owned with after market exhausts fitted, 1200 shouldn't be any different. O2 sensors means ECU runs in closed loop, so air to fuel ratio is continuously optimized. Think you're worrying about nothing. I'd probably go back to the OEM type airfilter if it was mine! Good Luck with the bike, take it for a good test ride. Check it's maintenance history. Coolant change, brake and clutch fluid replacement - should have had a few of those! Oil and filter, etc. P.s. I'm sure there was a rear wheel drive unit issue recall for the early 1200's. Make sure this has been done.3 points
-
The RC46 crank case & major assemblies are taken directly from the RC45 which in final race trim was putting out 195rwhp @ 14K/rpm. The only major parts difference was the pistons & Ti conrods & the crank+cams being timed differently. The big bang RC45 crank is timed at 0 degrees, such that it acts like a pair of V-twins joined together. And the 2mm shorter stroke allowed for the higher race RPM. That setup creates huge loads, the VFR's 180 degree crank is much kinder to the cases & bearings. Due to the total lack of RC45 crank case spares, race teams use 5th gen crank cases with the swingarm pivot ground off. They then bolt straight in to RC45 frame and all RC45 innards just drop in.3 points
-
Maybe this will help
2 points
-
Arai actually has three shapes in their line up, depending on model. Round-oval (Quantum, and it's derivatives), intermediate-oval (Renegade family?), long-oval (Signet).2 points
-
This is the exact same thing as I did. Thanks2 points
-
Just my two cents worth, I hope others with more experience in this area might chime in. Interesting question. SV synch is fundamental to good even idle, and smoothness in the small throttle opening zone, a mechanical setting, adjusted at normal operating temp, without the influence of the fast idle Wax Unit, and butterflies closed. Stands to reason this should be carried out first along with correct warm idle adjustment of 1200rpm. Assuming badly balanced SV's, and especially during the cold start enrichment phase, a slight touch of the throttle opening and the added air might cause a stall. I know of a similar effect (possibly in both hot and cold modes) on a 5gen. a faulty signal from the TPS at low throttle was measured, but not bad enough to force an Fi DTC. The whole throttle body was replaced and problem solved. All warm engine ops are normal according to Shane the OP. Perhaps signals from MAP and/or ECT are marginal at cold temps and might need checking. Watching the Wax unit action on the Starter Valves, and if the movement is smooth and gradual from cold fast idle to the warm Idle, you can then discount the Wax Unit causing any problems.2 points
-
4 years later.. just weighed this afternoon when changing tires, using a postal scale. Marchesini forged wheel from a 1098 Duc - 7 lb 14oz VFR 5g-6g oem 5-spoke - 13lb 4 oz2 points
-
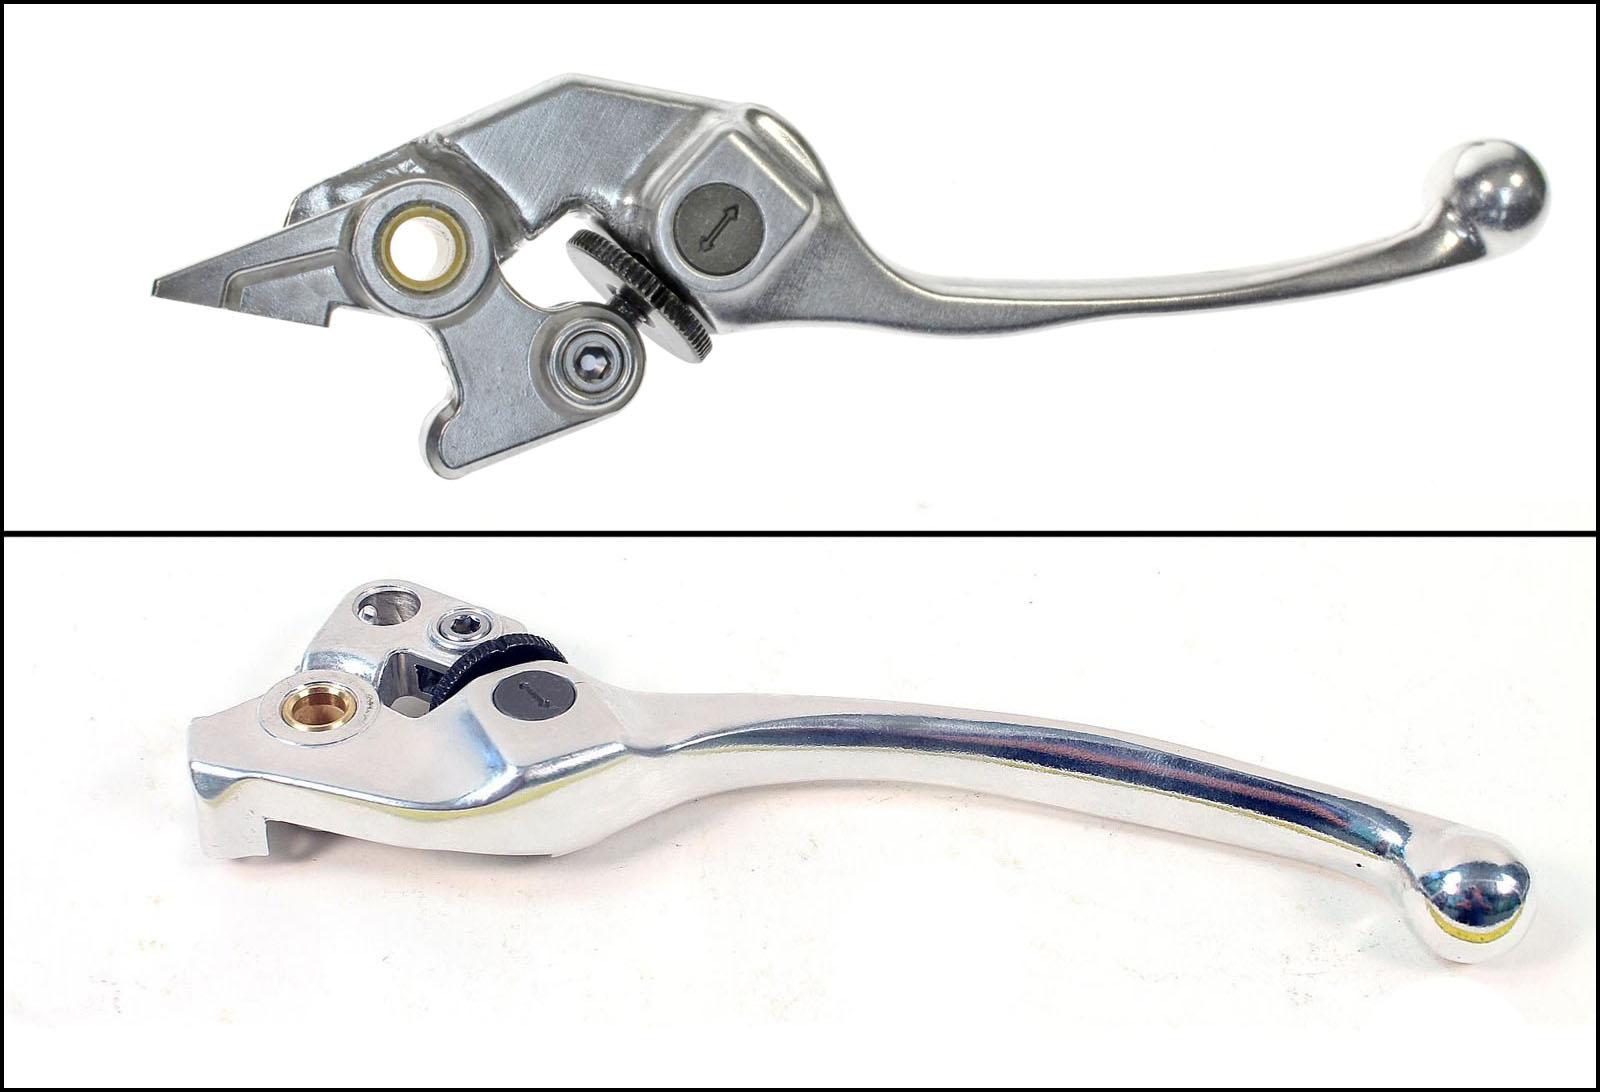
On the topic of hand controls, by coincidence did the same for my 6th gen's clutch & brake levers (similar to the 3rd thru 8th gens). The old grease becomes sticky over time and I've found that spritzing WD40 or similar on them in place doesn't do all that good a job of cleaning. When removed the levers can be dismantled, a tricky but not impossible task for those too inclined. That also gives access to clean the master cylinder pivot which ensures the smoothest possible response to input.
2 points
-
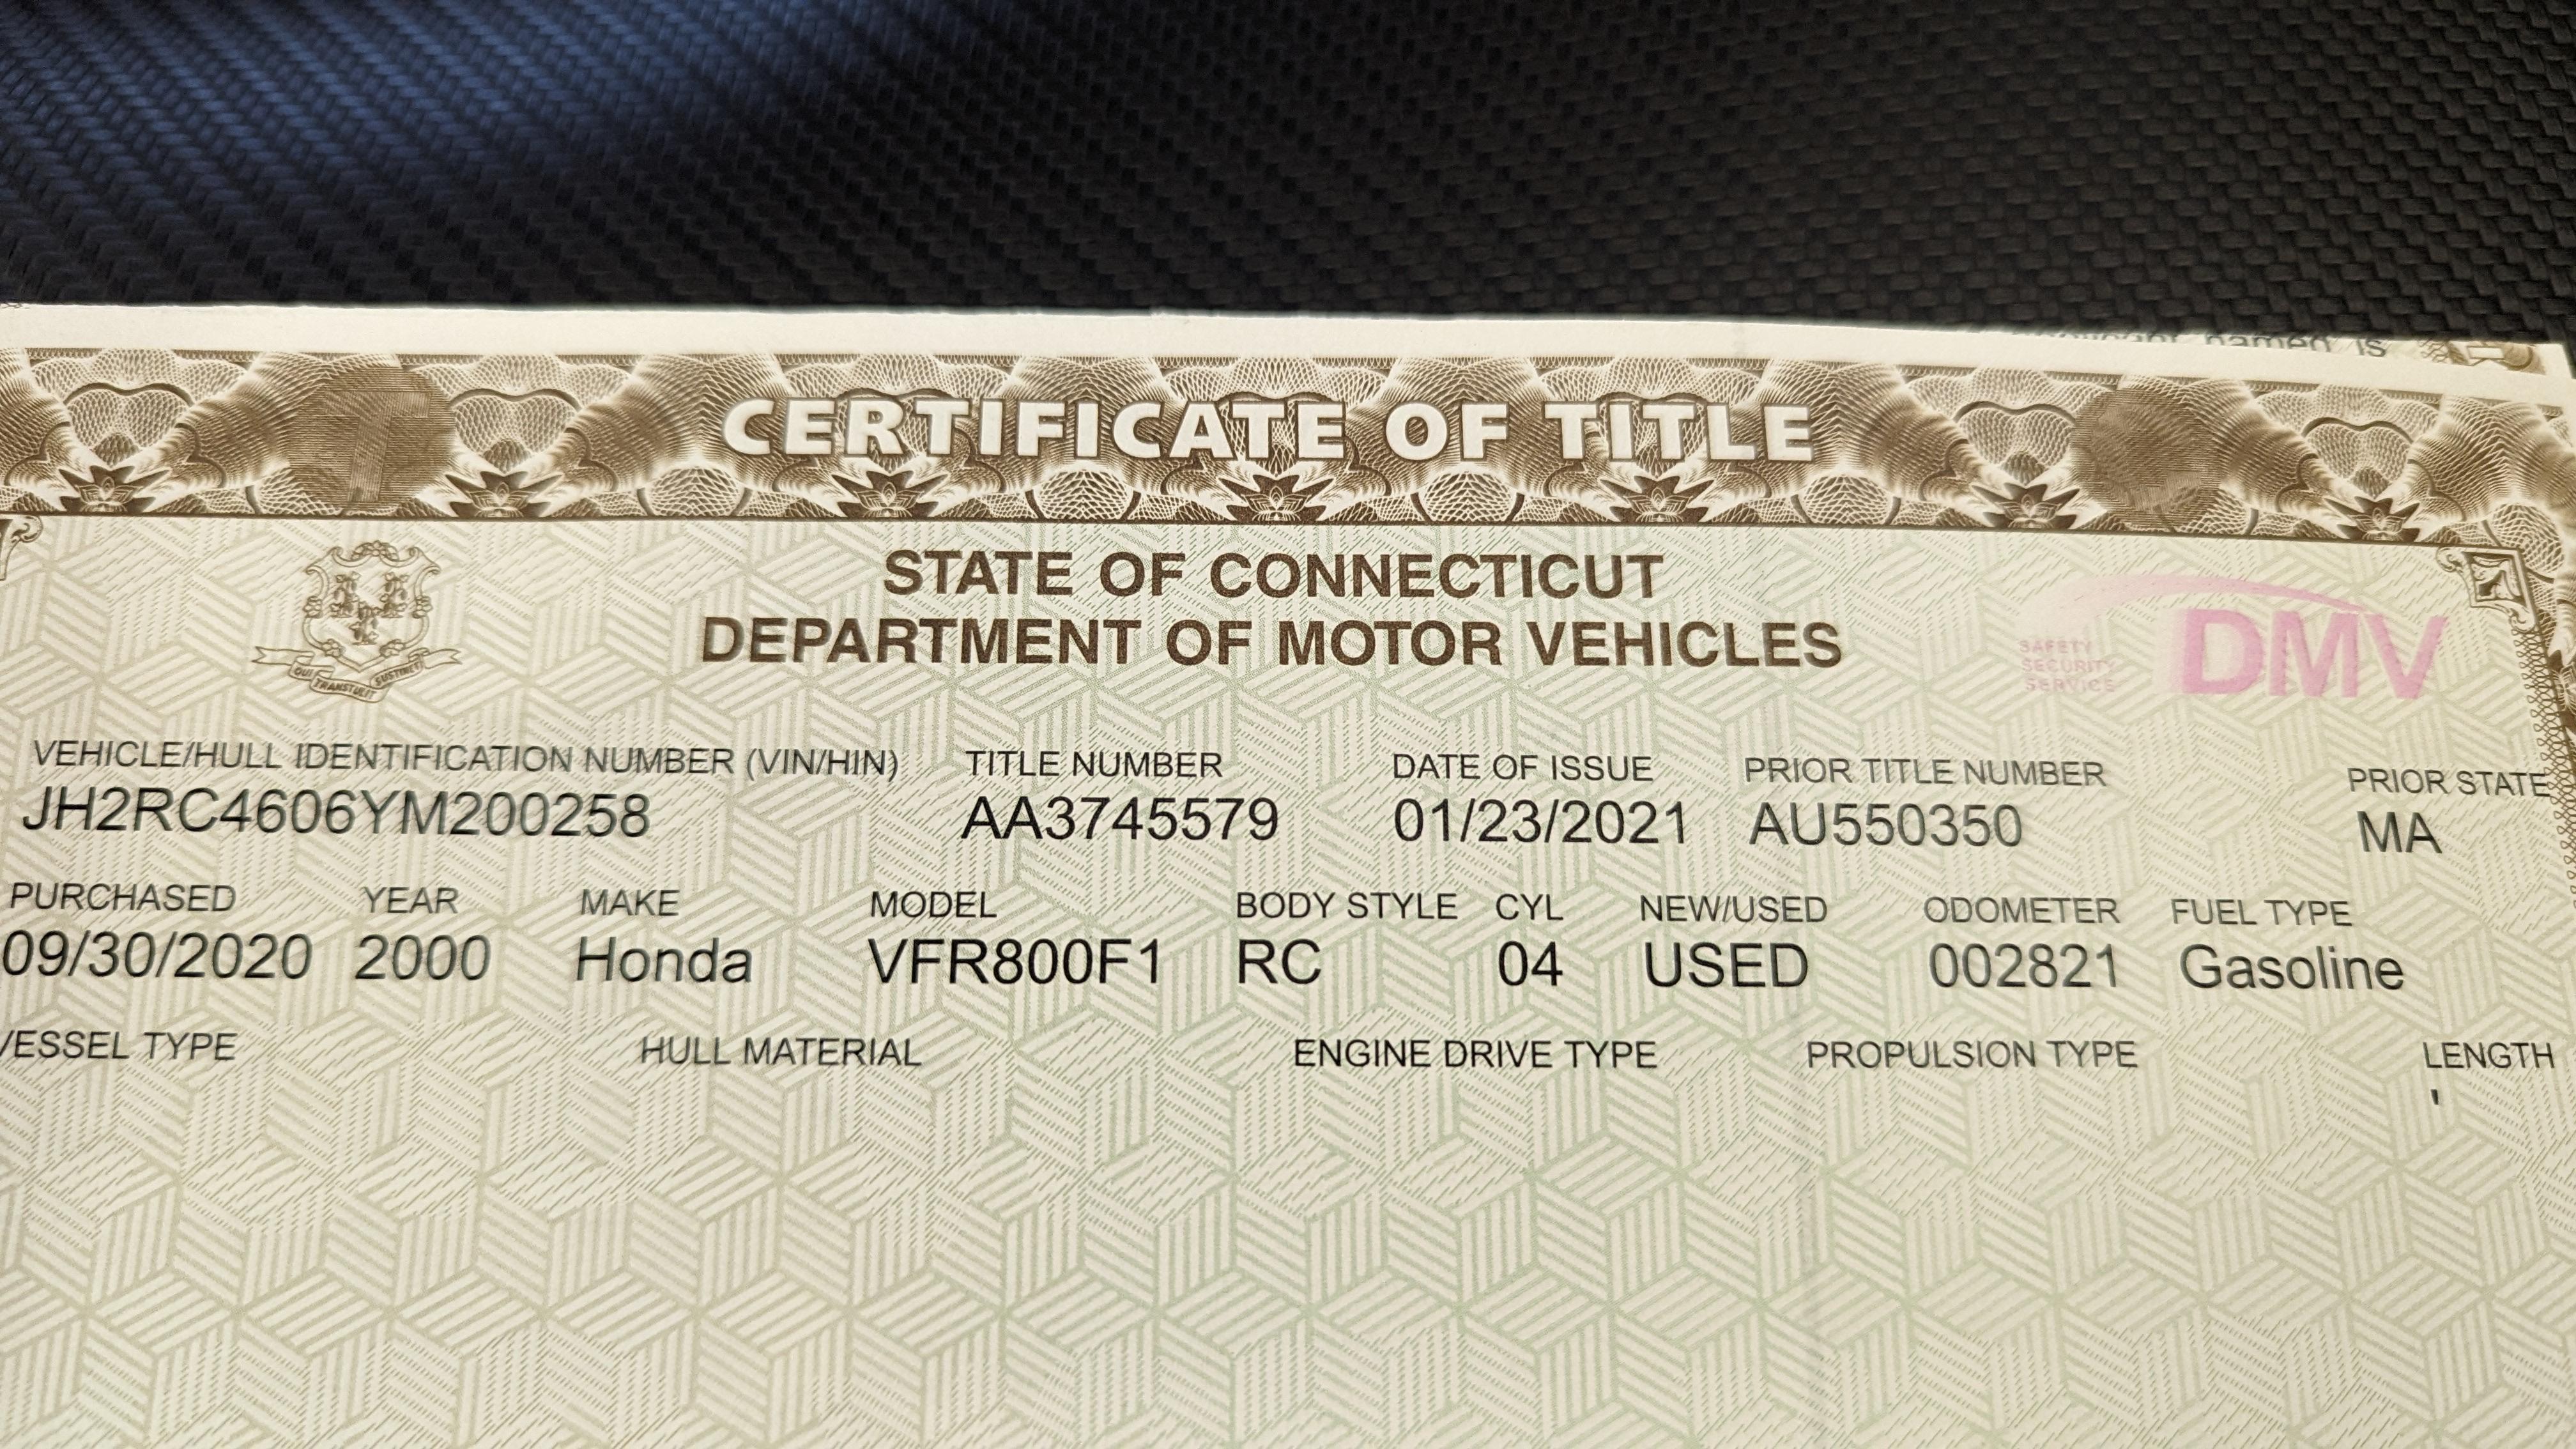
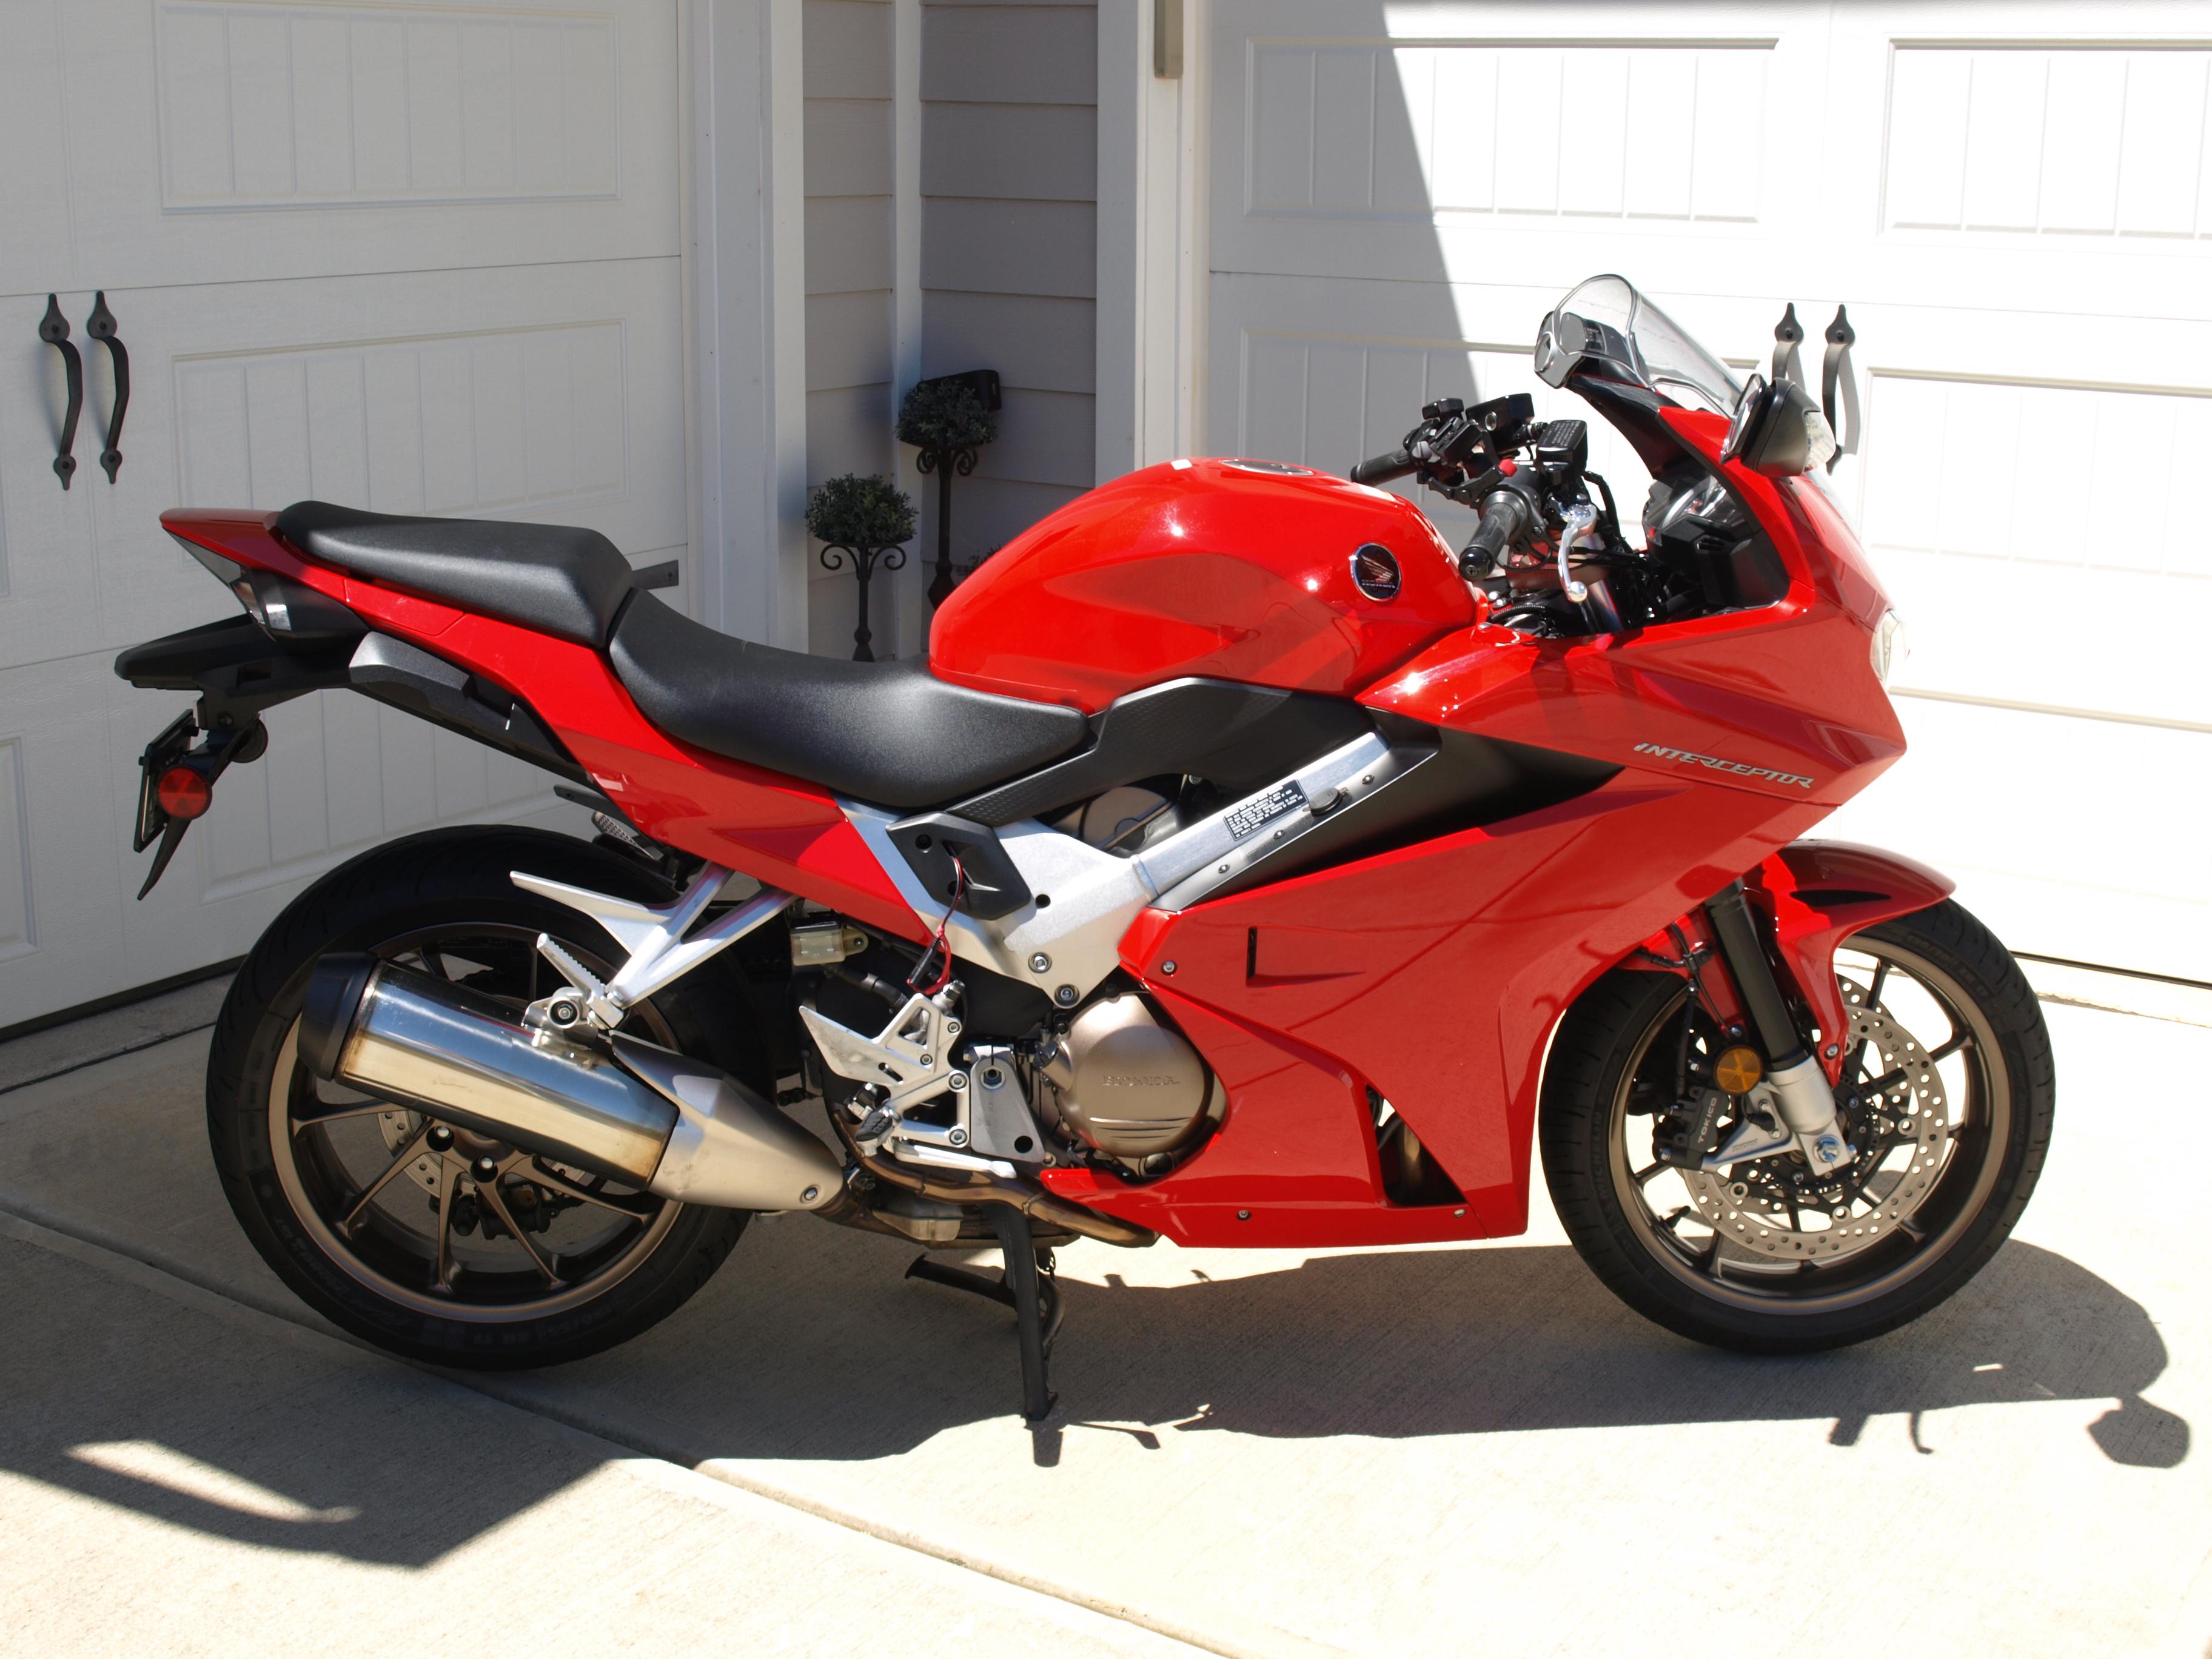
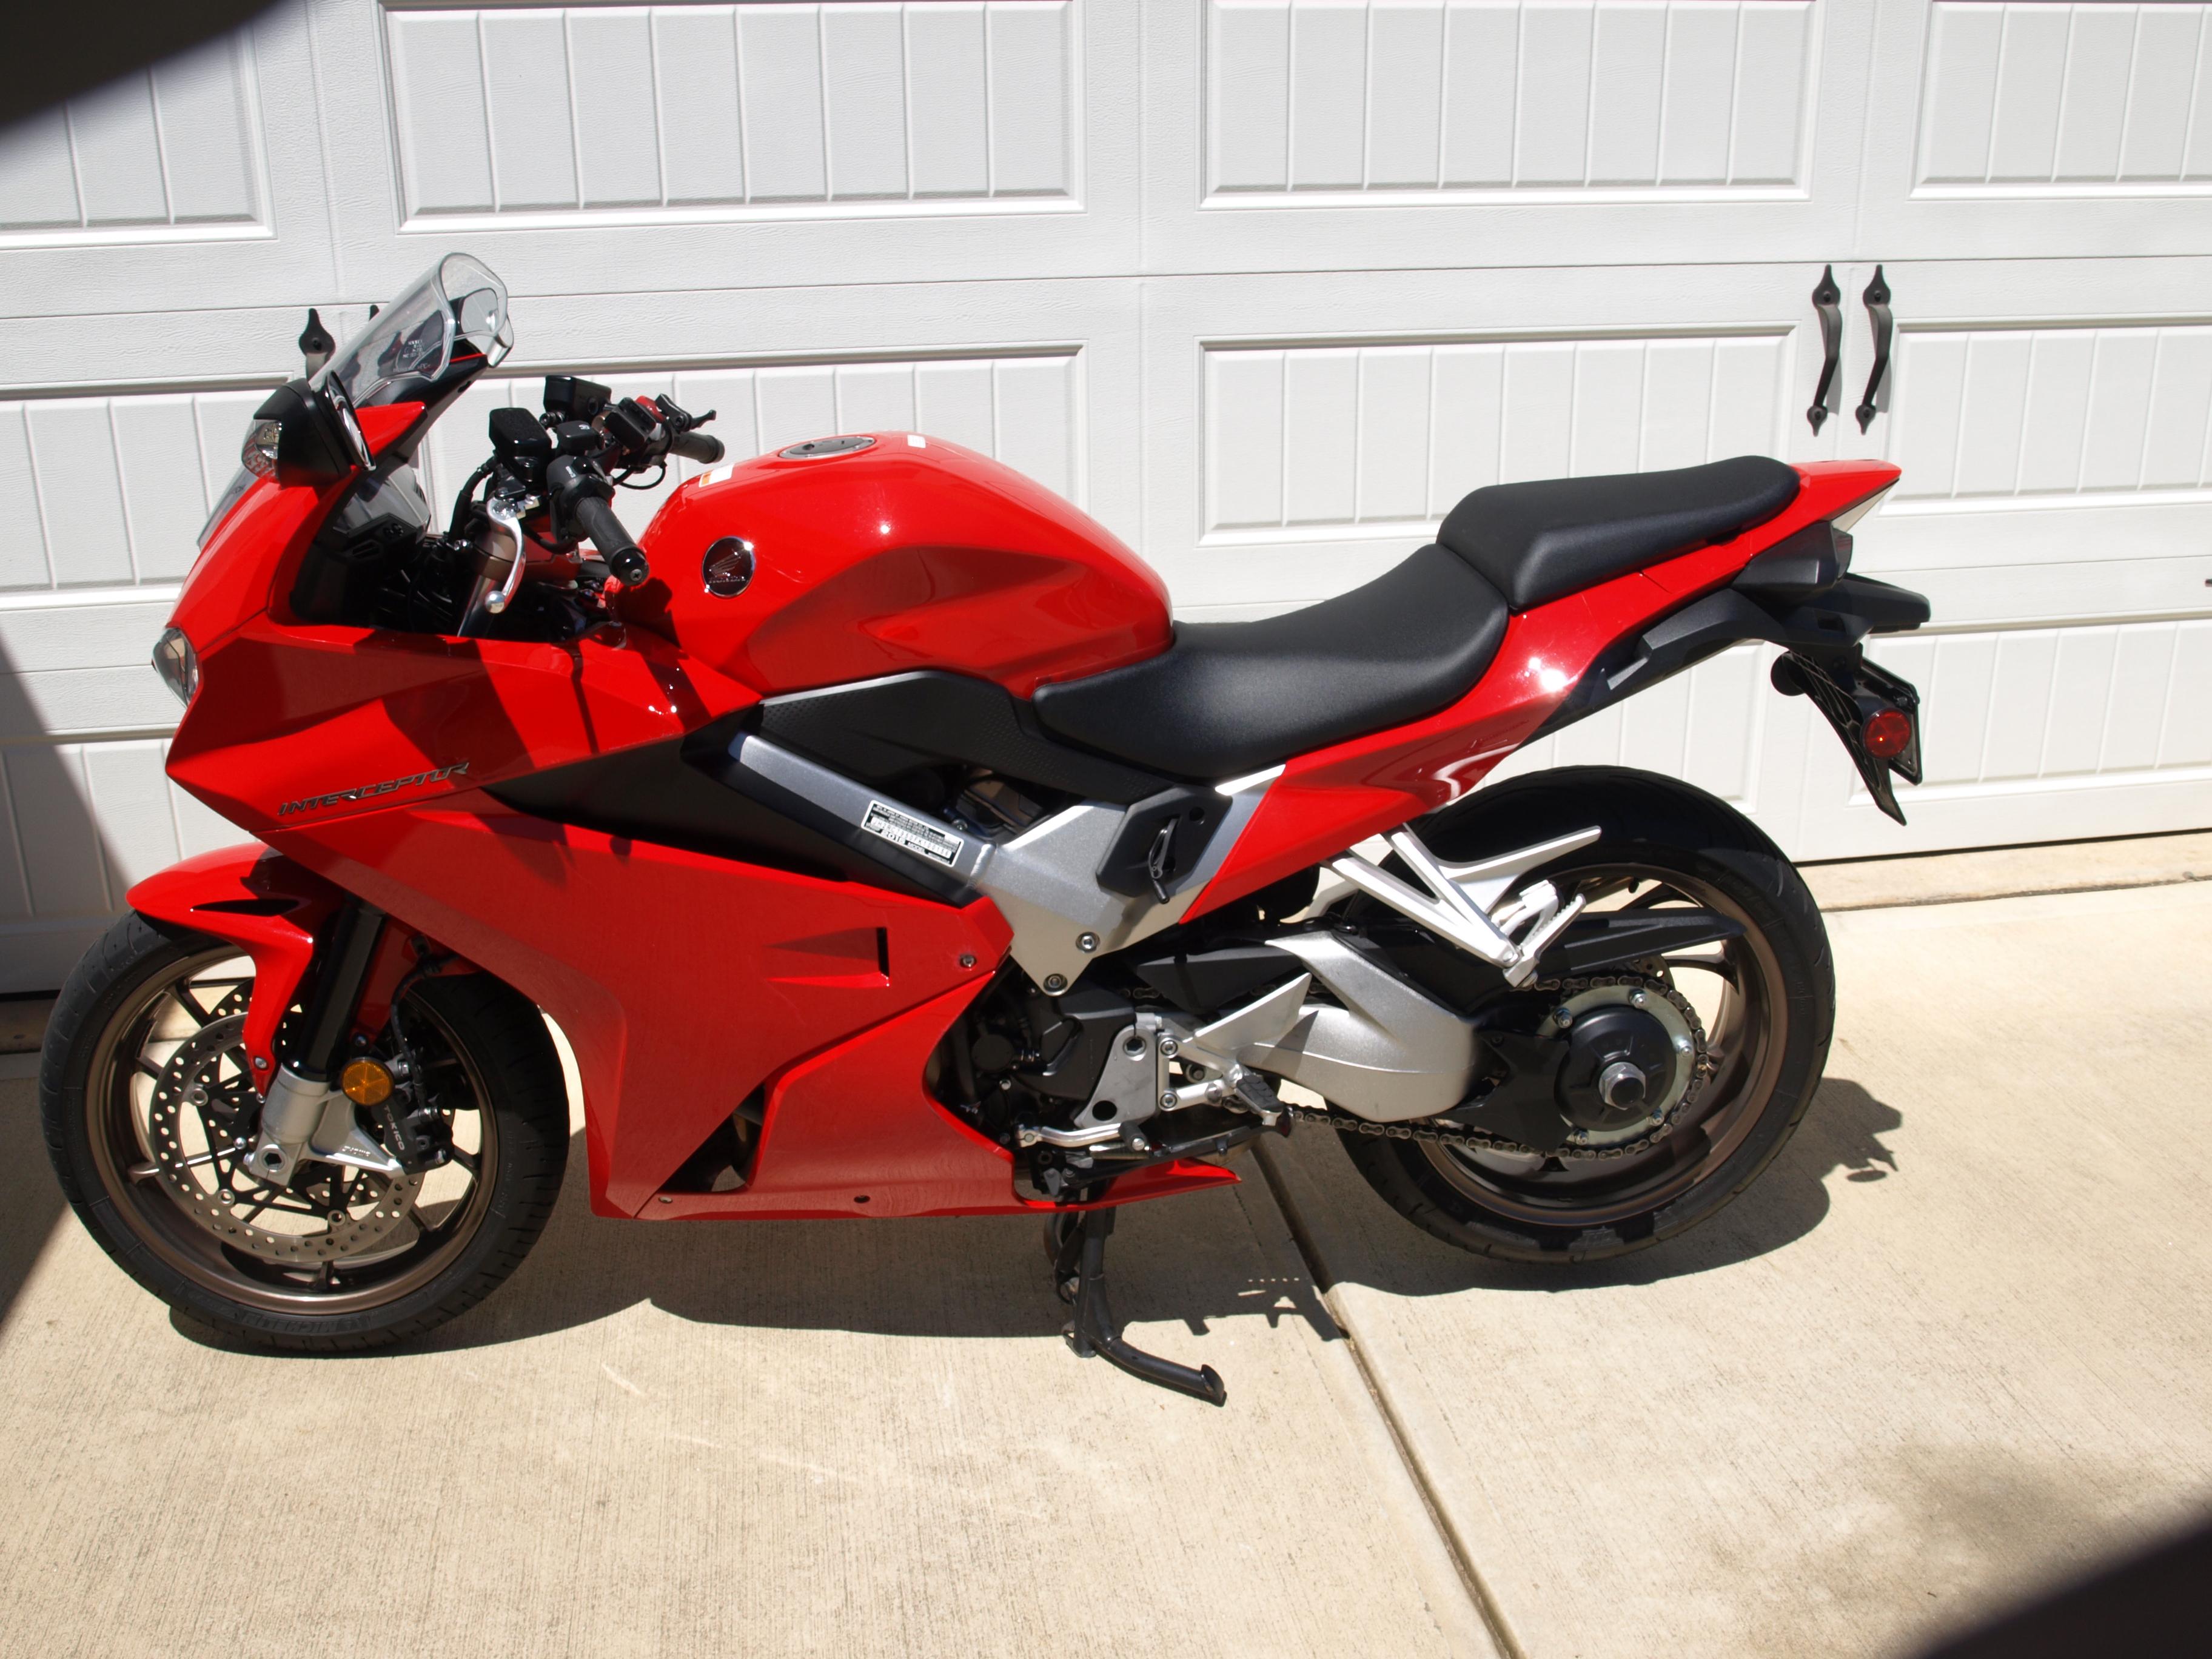
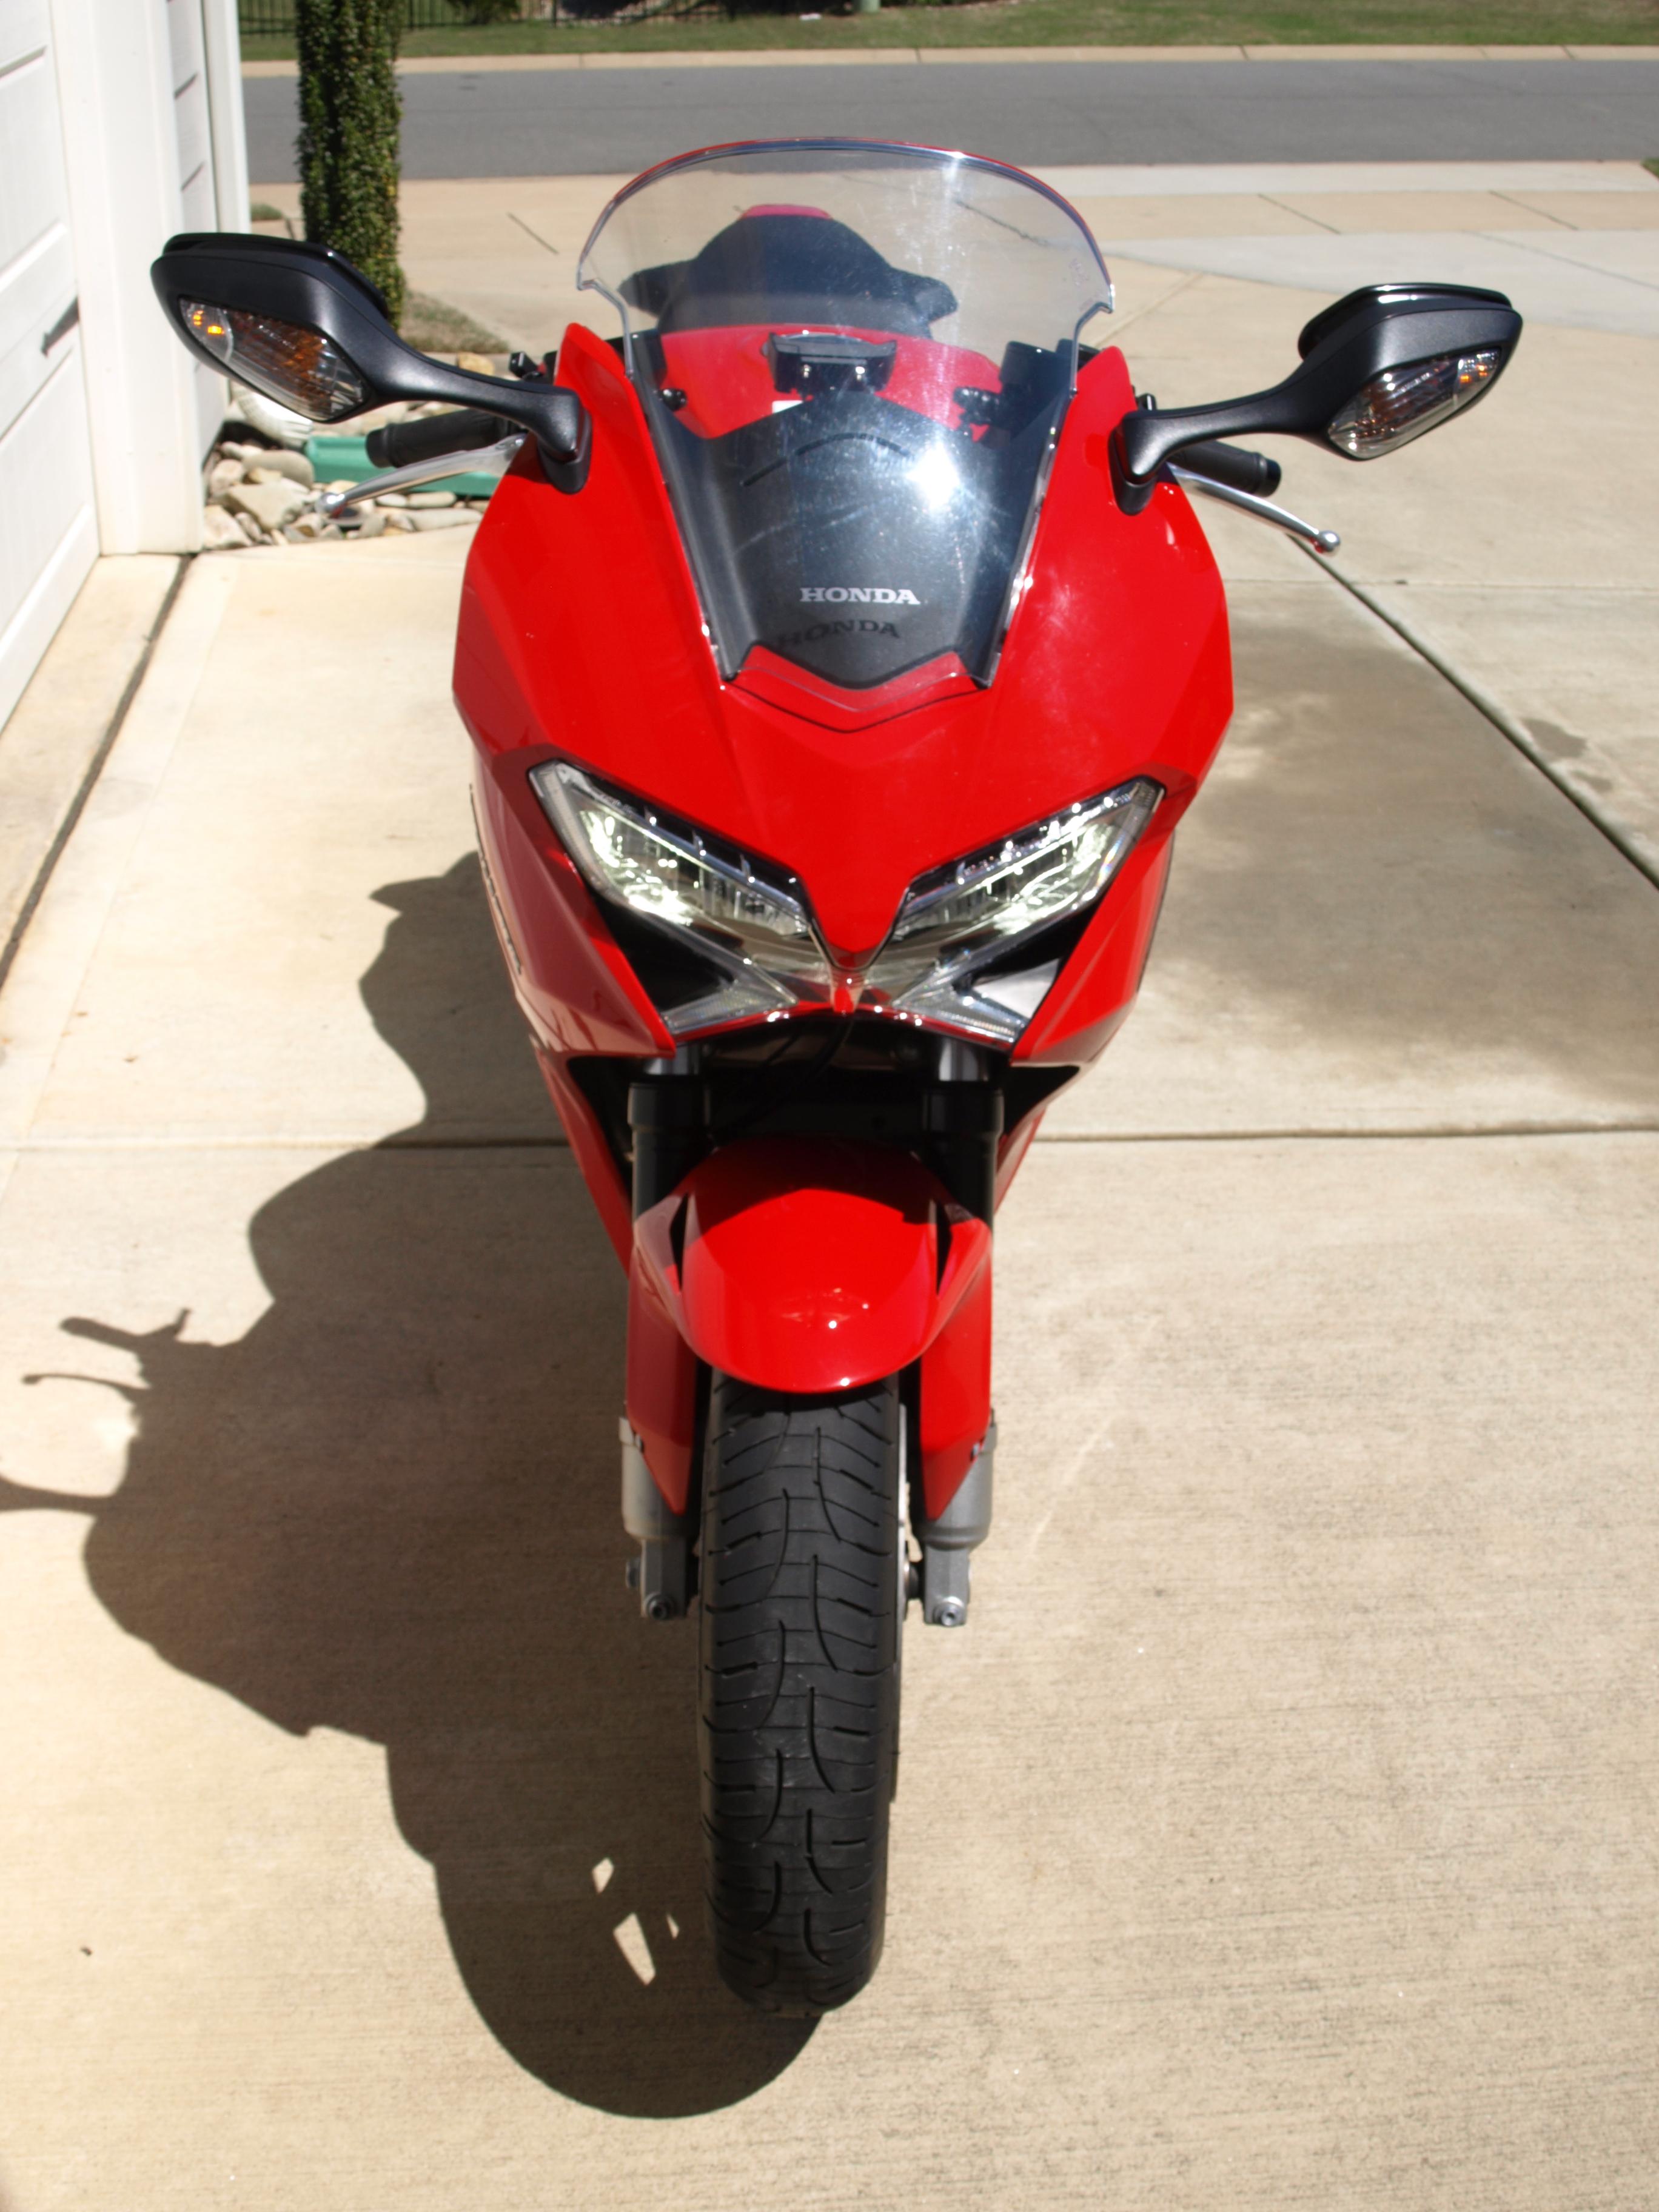
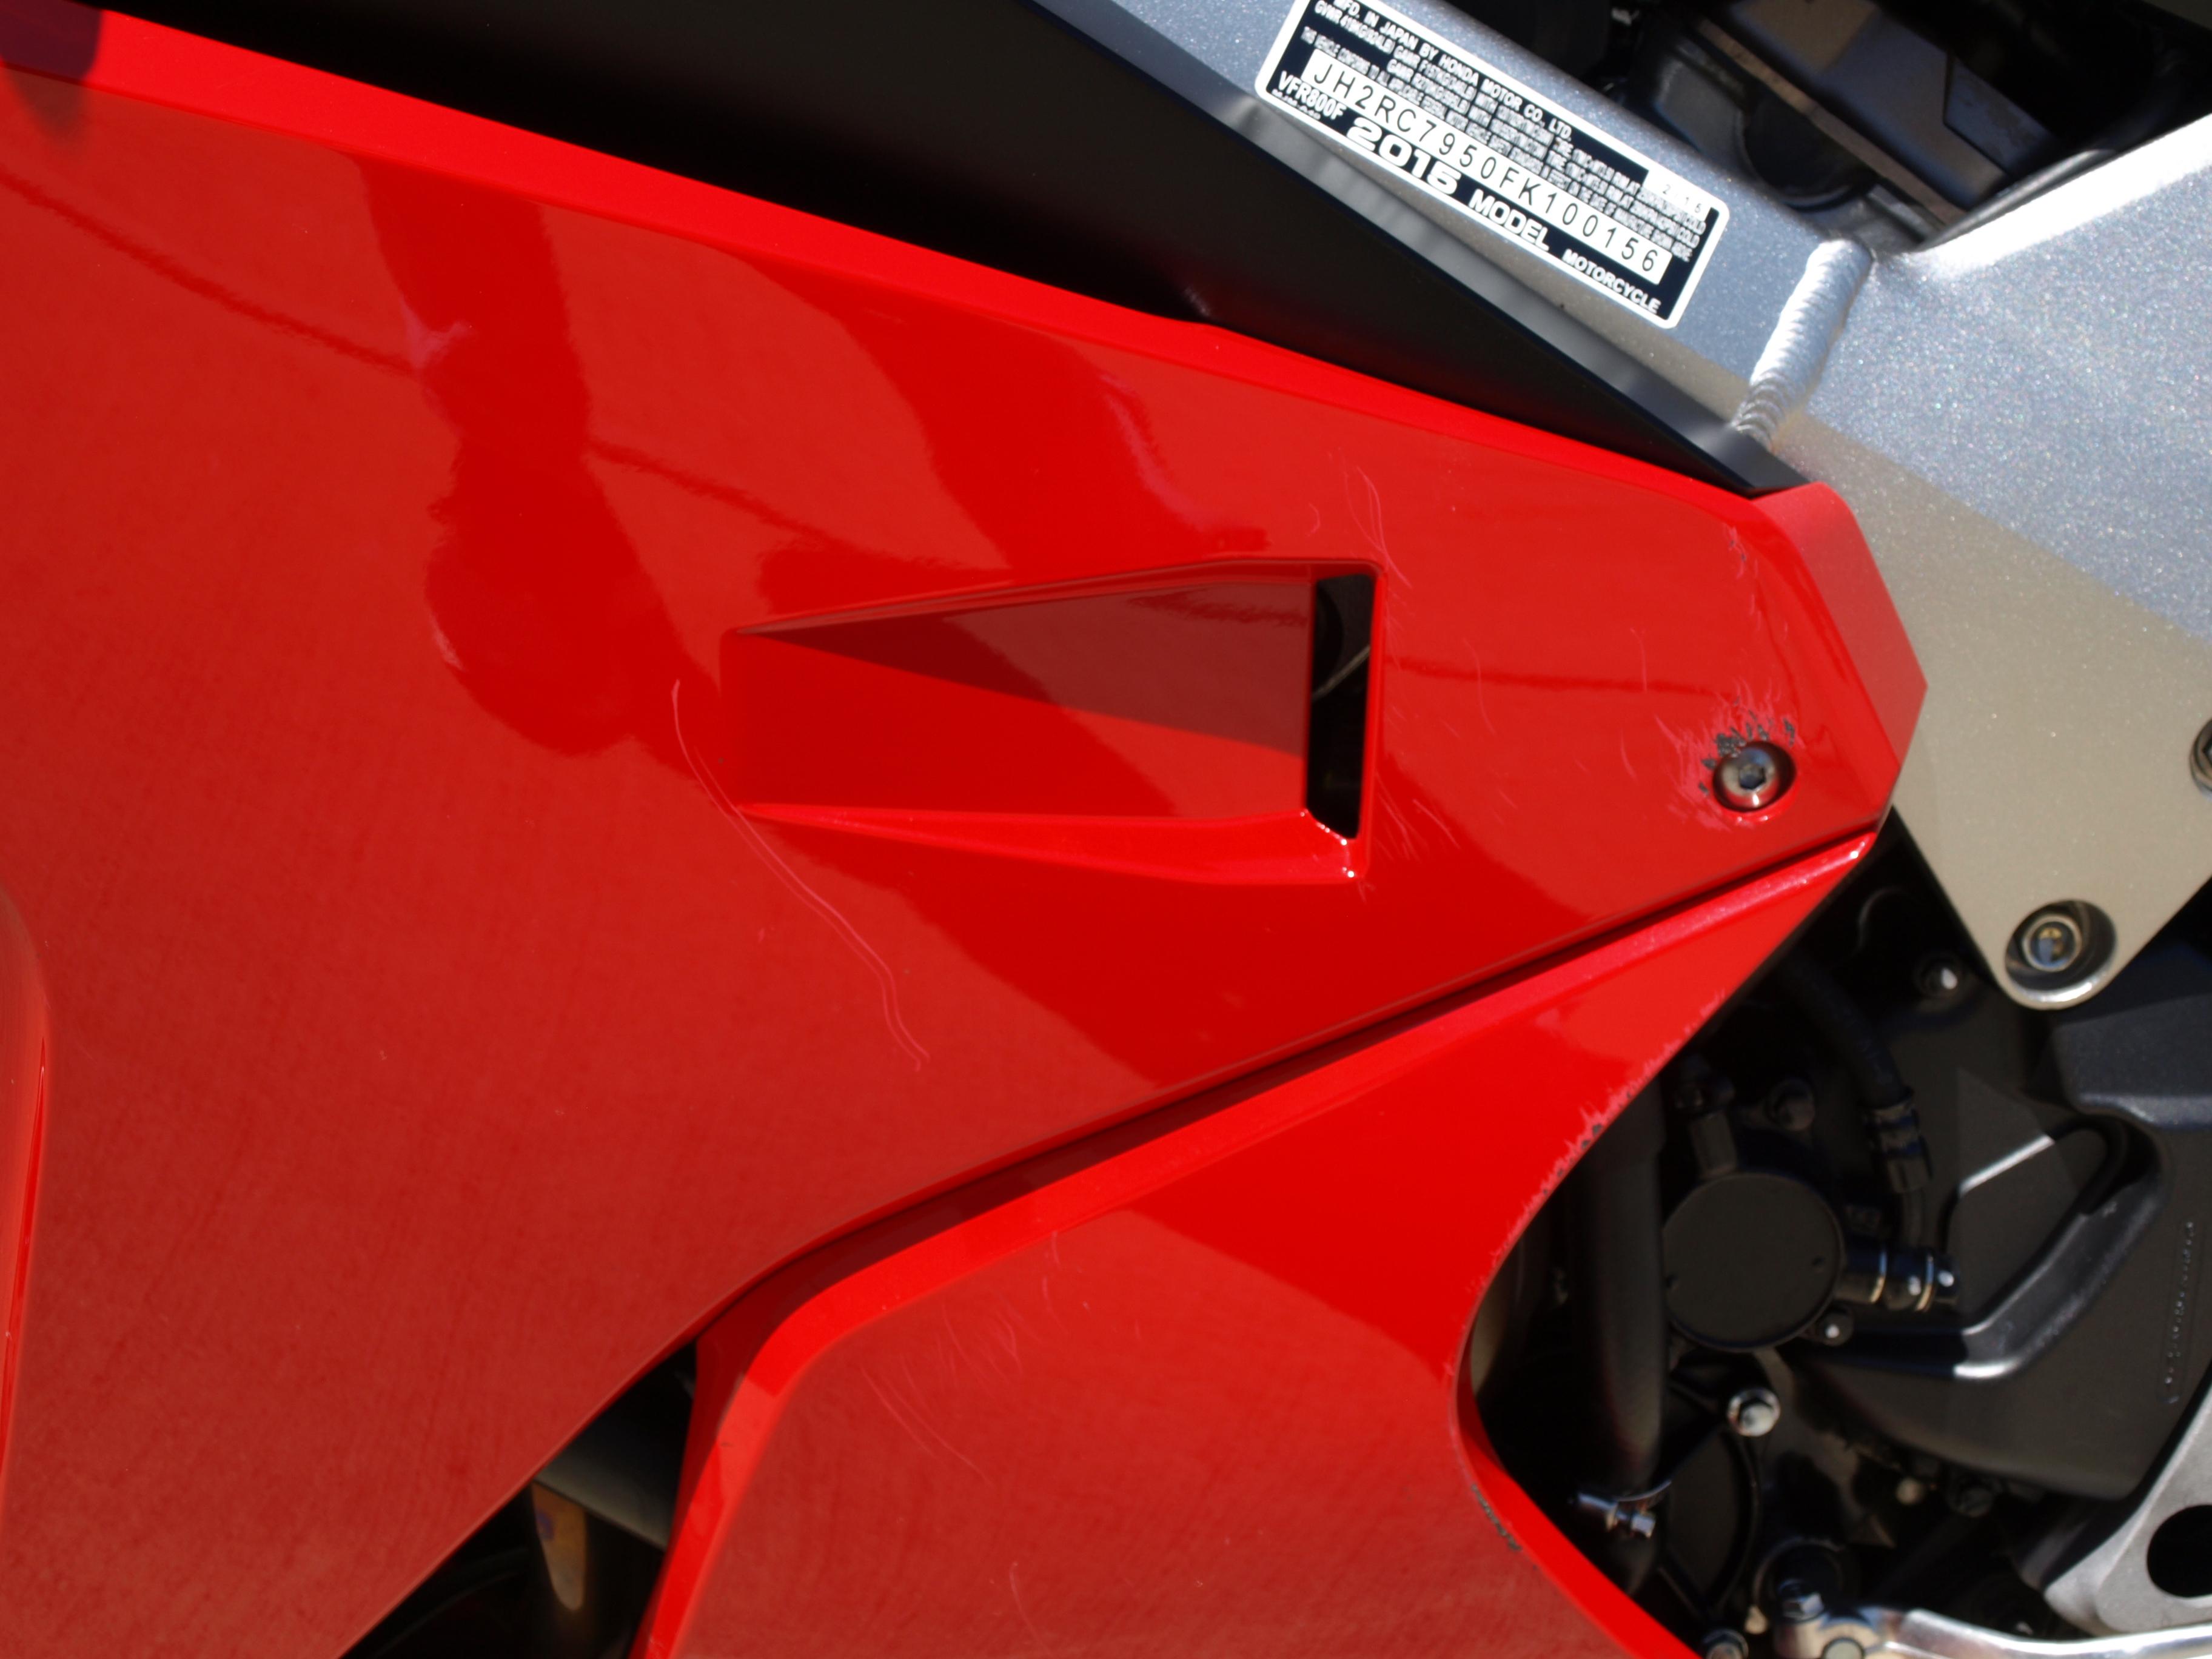
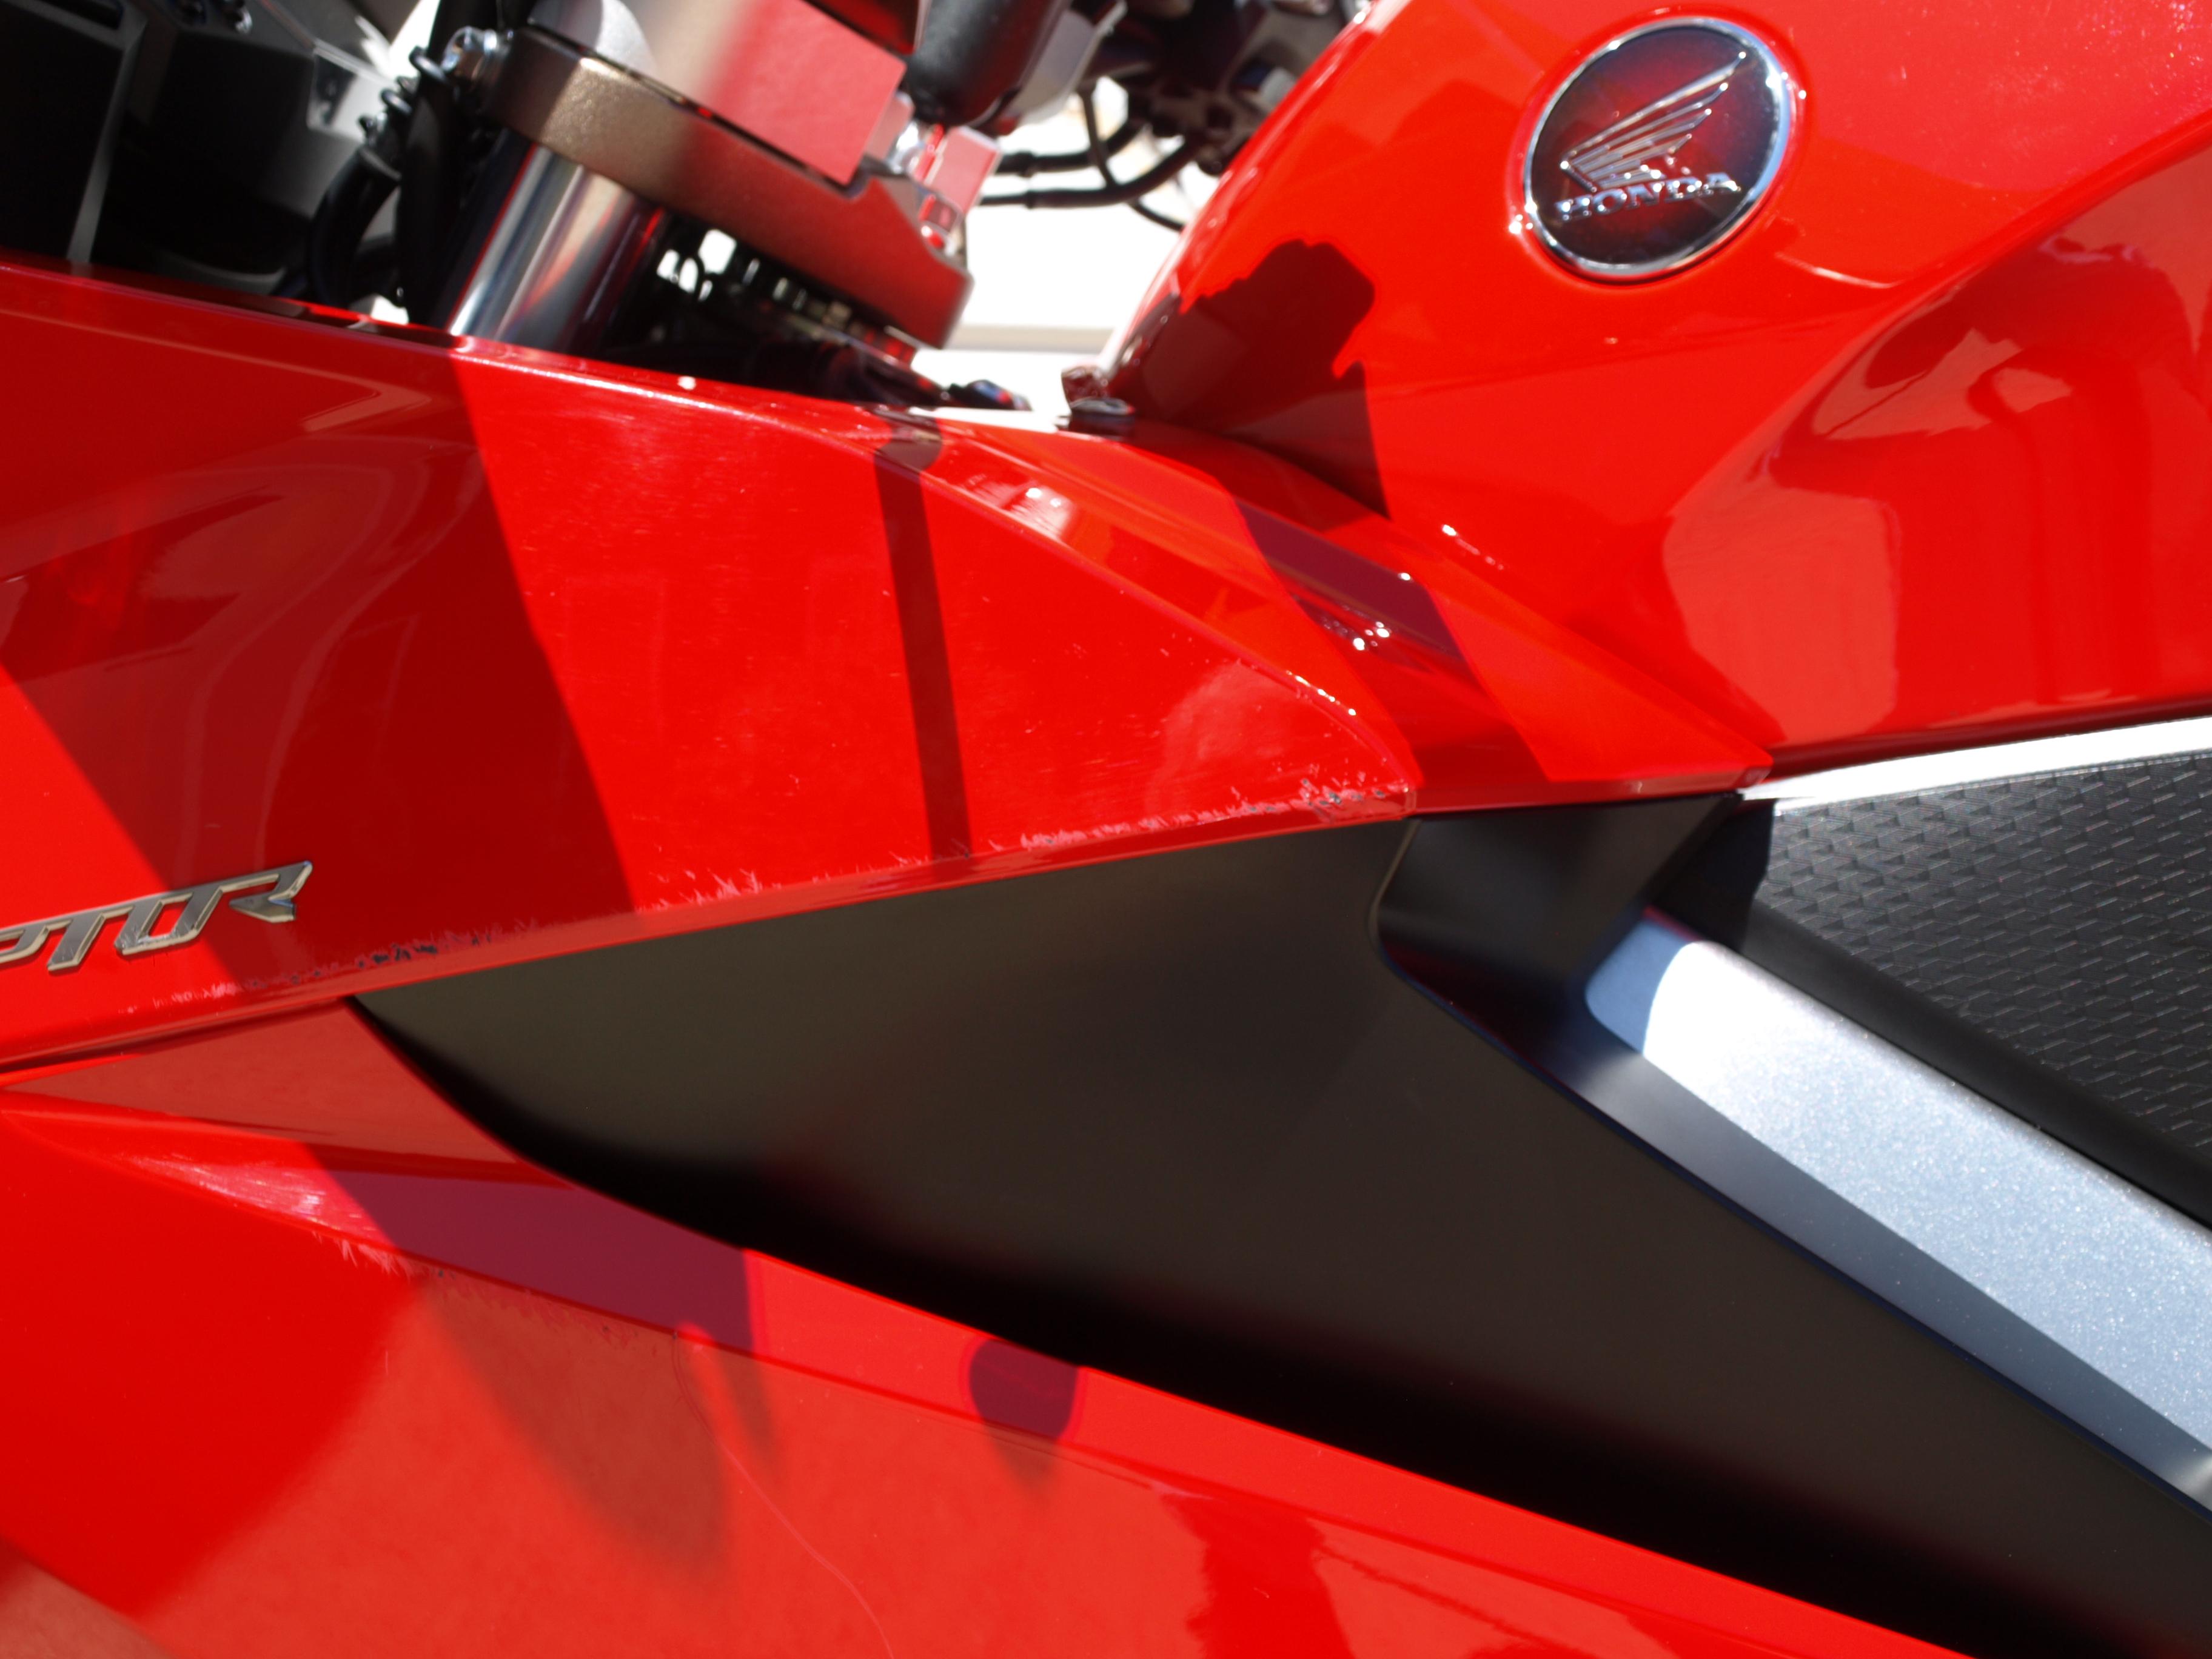
2015 Honda VFR Intercepter Deluxe- One senior owner. My wife bought this bike for me for my 70th birthday and it has been garaged since new. Health issues require that I give up riding. The Deluxe model of the 2015 Intercepter includes Traction Control, Anti-skid Braking, Self-canceling Turn Signals, Heated Grips, and a Center-stand- items which are not included on the standard model. Mileage is 24,218. Bike is in like new condition with the exception of very minor plastic damage on left side. I dropped the bike at 0 mph while attempting a u-turn on a narrow dead-end street (don’t always rely on your GPS). Rear seat cowl and rear passenger grab handles have never been mounted but are included. Equipped with Michelin Pilot Road 4GT tires with just under 2000 miles of use. Dual port USB charger and voltmeter installed as well as 1 inch handlebar risers. Located in Denver, NC (just north of Charlotte) post id: 7737270774 posted: 6 days ago
2 points
-
In addition to Skids' excellent suggestions... I added Heli bars, the Honda OEM center stand, and Honda OEM heated grips, and was very happy with all three improvements. The 2010 stock seat was significantly improved in later years (2012 and later?), you might want to look into that. Also, did your bike get the drive shaft recall done? I do miss that bike! But I guess I've said that about almost every one I've owned...
2 points
-
The only time I'd spend 20k on a motorcycle it would be this one. VID-20240406-WA0049.mp4
2 points
-
I payed mid $3K for all of mine. They have more than that in suspension components alone. It's not about the money.2 points
-
Best not to dismantle the wax unit. Clean it up with wd40 and a brush - an old toothbrush perhaps. Clean the linkages on both intake banks.2 points
-
Oooo I have one of those - my VFR is the daily and 954 my canyon carver on the weekends. I think it's a very good two-bike garage!2 points
-
My dad would always tell me my car was worth whatever one person was willing pay on any given day. As to your low mileage example, the mileage will be a big plus but if the services all need to be performed, it's considerable these days and will bring that value down. There's a '00 5th gen in my area that is listed for $6500. My '07 with every farkle you can put on one is listed for $5700. I listed it here on VFRD for almost a year at a lower price and got zero replies. VFR guys are cheap sob's. I can say that because I'm one of you. I will gladly lower the price when someone shows some real interest. Unmolested 5th gens are harder and harder to find so you should get some interest. Start high and just be patient. Could I interest you in a 6th gen?😆2 points
-
Shit loads to anyone who knows their motorcycles2 points
-
The issue of the centre piston on the rear caliper not relieving is now resolved. This would only happen when actuating from the rear brake (that cylinder feeds the rears outer two pistons directly, and feeds centre piston via the front second master cylinder, though the green check and relief valve you see above. I think what was happening is fluid was entering the system through the ball check valve, but could not escape though the tiny relief hole which had blocked after been stood 12 years. The brake initially stuck after cleaning it out as above, it wasn't jammed on, but it wasnt right which was very worrying, I again began the process of confirming and chasing the pressure lock from the caliper back towards the front second master cylinder, but after confirming the pressure released at the rear middle piston banjo, subsequently releasing the rear wheel, I moved on to the PCV under the back right of the fuel tank, only to find I couldn't get it to lock again!? Maybe I just had an air bubble right at the back of the system and I let it out? I did a quick manual bleed over all the points, pumping the front second cylinder by hand, no vacuum/power or check valve hoses, just an 8/10mm spanner and a bit of pipe on all the points, my favourite method to be honest! - The levers are nice and firm now, and after a good blast out, the front brakes are really keen even with light pressure, the back when actuated from the rear still drags for 1/2 second or so but its getting quicker and smoother at releasing, I dont notice it when pulling up at lights any more, the bike free wheels forward back when rocked. Happy, just been out for an hour, great bike, good find.2 points
-
Errrrr......thanks. Everyone is entitled to their opinion and I'm not going to challenge yours 😆2 points
-
Dainese own AGV. I have an old Dainese helmet, which was made for them by AGV. AFAIK they only sold Dainese branded helmets for a couple of years. I used to use AGV as they had a ML size that fitted my head well. They stopped doing ML but Dainese still did them 👍 Looking at the latest AGV size chart the current Large is 58-59cm which is the old ML size !1 point
-
Nine years ago my wife and I visited the ANZAC war memorial in Auckland. It was a pretty neat place. What we were particularly impressed by, if I remember correctly, was that it wasn't just about NZ soldiers who served--they had specific and detailed sections for the men and women from every country who fought. Nice bike Grum!1 point
-
A quick and easy way to check correct fit of a prospective helmet is to begin with a large size and work your way down to a snug fit... and that is after you get it on your head and without buckling the chin strap, snap your head side to side in quick movements... if the helmet stays snug and follows your head then the size is probably correct... if it moves about then it is too large... try next smaller size... what you'll end up with is knowing what is too large and what is a snug fit without going too tight... in other words the correct skid lid for your cranial...1 point
-
We sold Acerbis shirts at the Honda Shop. It said "Ah" had a chair and the some bees. Underneath it said, "Say it right, dammit!"
1 point
-
Typically I'm a Shoei wearer (Currently a GT-Air2) but over the past few years I ventured out to other makes. Schuberth was my first step into both another make but also into a modular helmet. I bought the C3, then the C3 Pro, I skipped the C4 and C5 and went with the AGV Tour Modular. In between that, I also bought the Schuberth SR1, and found a screaming deal on the SR2, so I bought that model too. These two were my track day helmets and the SR1 proved to be a great helmet but ultimately sacrificed itself for me in a high speed crash at the track. I actually came out pretty unscathed, other than a dislocated pinky and torn up gear, I came away walking upright and no limping. Along this time frame, I saw and fell in love with an AGV K5S and bought it on the spot. I know, I know, get to the point D! Other than the first C3, which had a little "hot spot" in the forehead area, which broke in after a few weeks of riding in it almost daily, all of the helmets had a very snug fit. They still do, but they're slowly getting more "wiggle" room but not enough to feel unsafe. My daily helmet is the AGV Tour Modular and the street/sport helmet is the K5S, and off and on I'll go back to the Shoei. But if I'm being honest, I really prefer the AGV helmets over the Shoei now. For some of the same reasons mentioned above, light weight and great field of view. If/when a helmet feels a but too tight, I'll wear it around the house for a while and see if I start to feel fatigued or if I stop noticing the feeling. One of my Shoei helmets, which I bought online, was like that. I was at that time, was in between sizes, so I went with the smaller size but immediately new I went in the wrong direction. I wore the helmet in the house for about 15 minutes and new by that time, it was the incorrect size. Returned it and got the next size up. Still snug but not overly tight. Anyway, I hope this was helpful.1 point
-
Webike is legit Japanese seller, I've bought from them a few times.1 point
-
Airtech makes some but it's going to be a lot of work to mount and paint. https://www.airtech-streamlining.com/honda-fairings-seats-fenders-parts/VFR7501994-97.htm Or just make it a naked bike!
1 point
-
You may Sir........ Copied this info from the 8gen. posting "Vent System - Update" from 2021. Assume the VFR800X has the same filler cap and vent system. Beware the tank vent hose! Pressure Relief - The common noise we all have heard, and as one member puts it "sounds like the Fuel Pump is priming with power off" or just a few second buzz, fluttering or gurgling sound. This is coming from the Pressure Relief Valve in the filler cap as the tank pressure builds and overcomes the spring tension on its valve. This process will continue to repeat any time slight positive pressure builds in the tank. As you stop a warm engine the heat transfer to the tank causes this to happen more frequently and if you open the filler cap in between the venting you'll always get a very slight pressure relief. Vacuum Relief - Negative Pressure relief also has to overcome slight valve spring pressure as the fuel level drops while riding. On cold days when topping up your tank you may notice very slight suction as you open the tank cap. So depending on temperatures and riding conditions it is Normal to have either slight Vacuum OR slight Pressure as you open the cap. The emphases being SLIGHT. Blocked, Kinked or crushed Breather Hose = DANGER! The problem with the 8gen is the first 12 inches or so of small diameter breather hose. When the Fuel Tank is raised to the maintenance position, the hose is pulled up through a lot of piping and general clutter in this area. If this hose is not manually pulled outwards at the small to large hose coupling taking up the slack as the tank is lowered, you run the chance of a blocked kinked breather hose. The nasty effects of a blocked breather cannot be overstated on these bikes! - Strong Vacuum, can make it impossible to open your filler cap. The Fuel Pump has enough strength in increasing the vacuum while riding to physically damaging your tank, bending the sides inwards. - Whilst having the bike in the sun strong positive pressure can distort the underneath of the tank deforming it outwards. Or virtually blasting the filler cap open as you unlock it. Any signs of strong pressures, negative or positive when opening the filler cap is a warning to check the breather hose.1 point
-
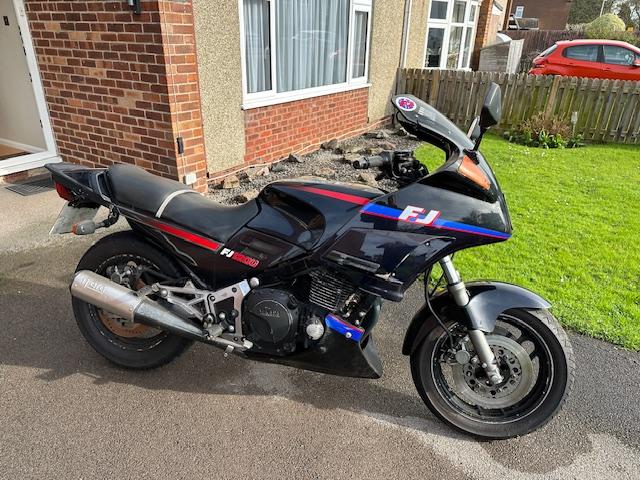
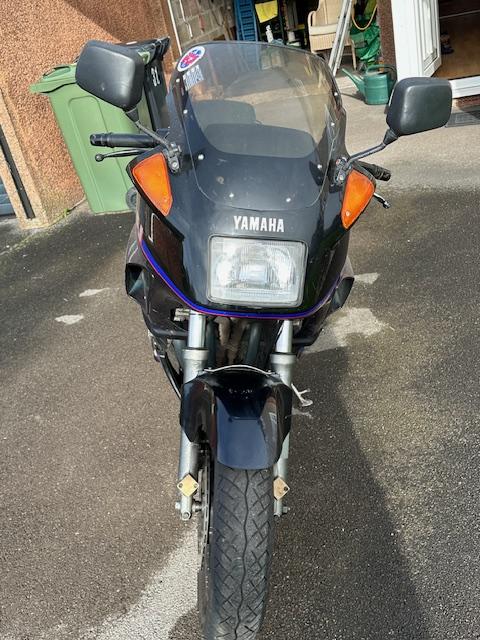
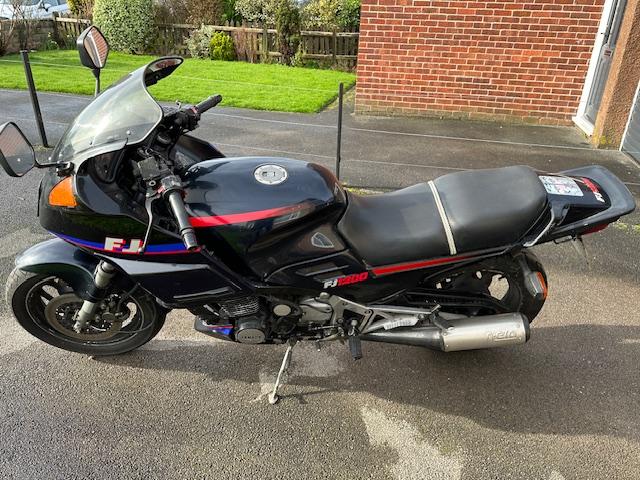
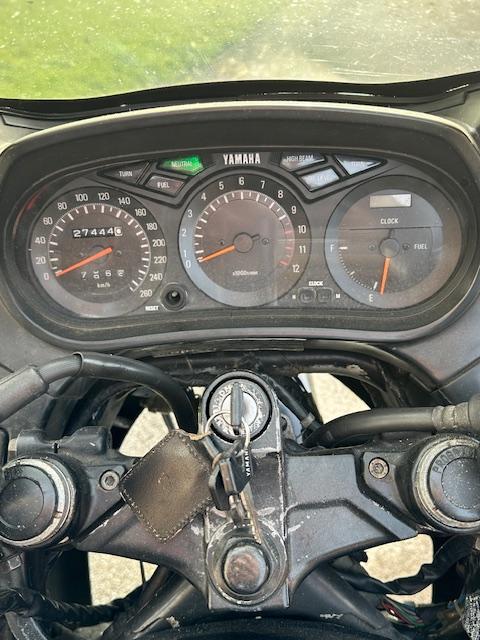
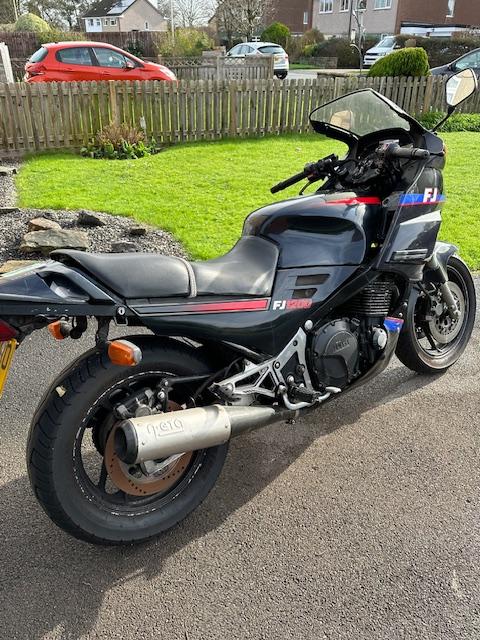
A mate is selling his FJ1200 currently not running having sat for the last couple of years unused. £600 ono. Ping me if you want his number for a chat. Info from him below;- "Yamaha FJ1200 First registered 20/03/1988
1 point
-
Congrats on the sale, but I'm sure it was bittersweet. I felt the same when I sold my 6th gen. a few years ago, but I have many treasured memories of the years with my VFR!1 point
-
Somehow I missed Lance's request for info here. Full details available here. R.I.P Lance1 point
-
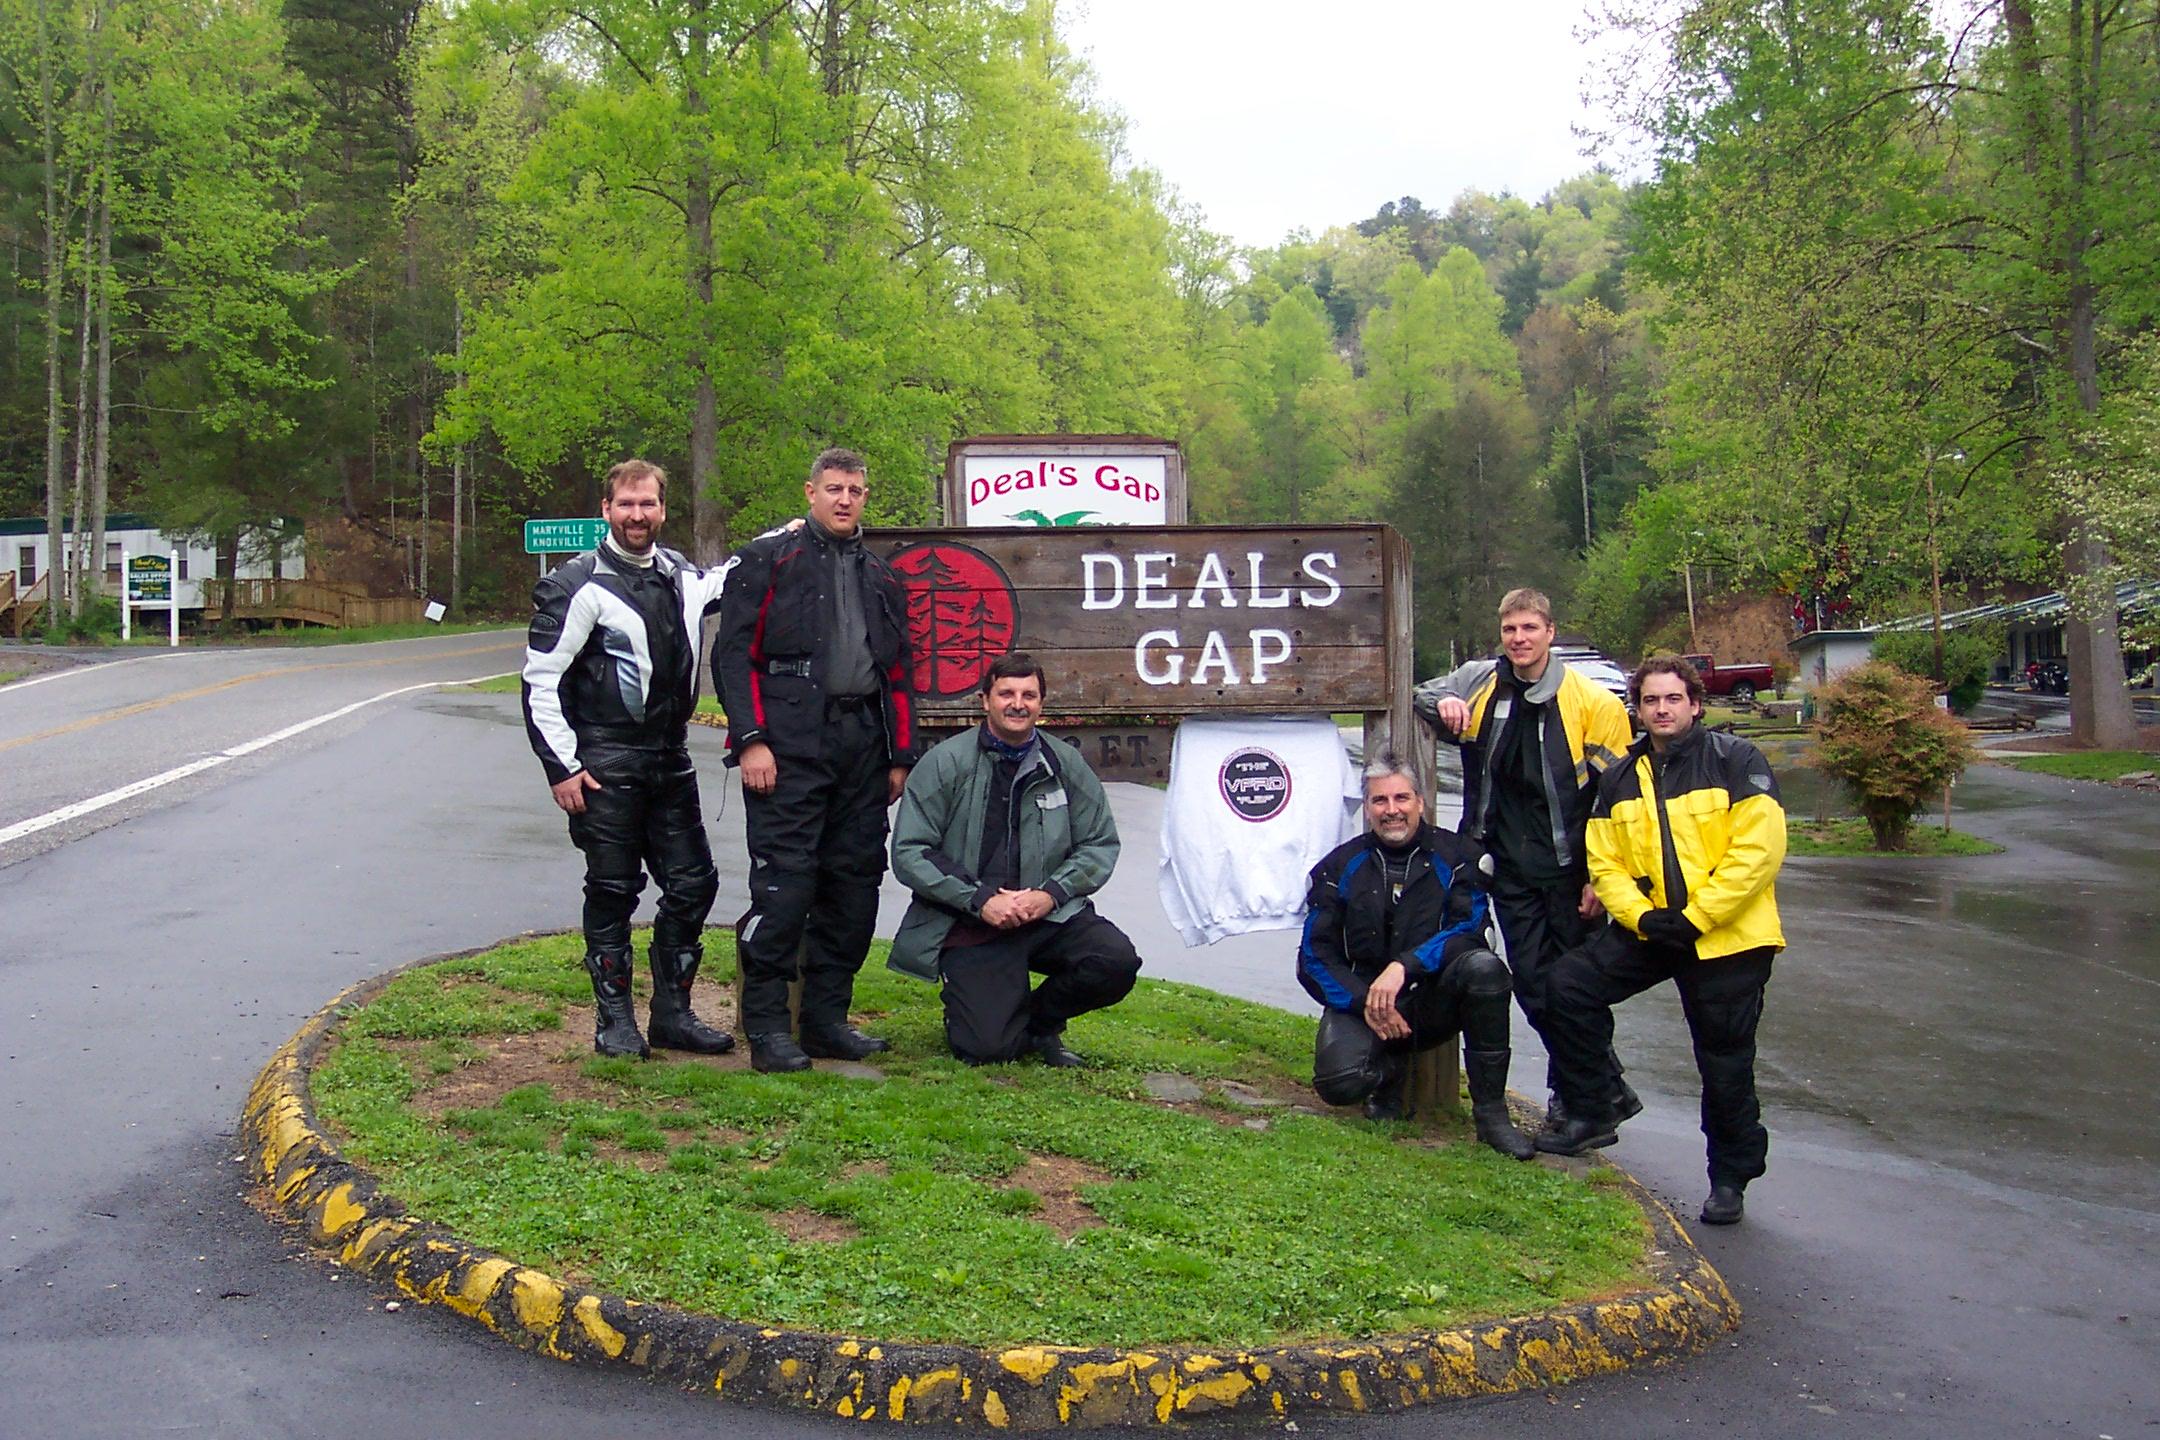
Trailering this time. I’m coming solo with my Triumph, and maybe the 03 VFR. Photo is the crowd from T-Mac 2005….
1 point
-
Don't mean to rain on the parade, but I bought a pristine '98 with 14K miles for $2000 a few years ago. That was a good deal, but I don't think any 5th gen is worth $6K.1 point
-
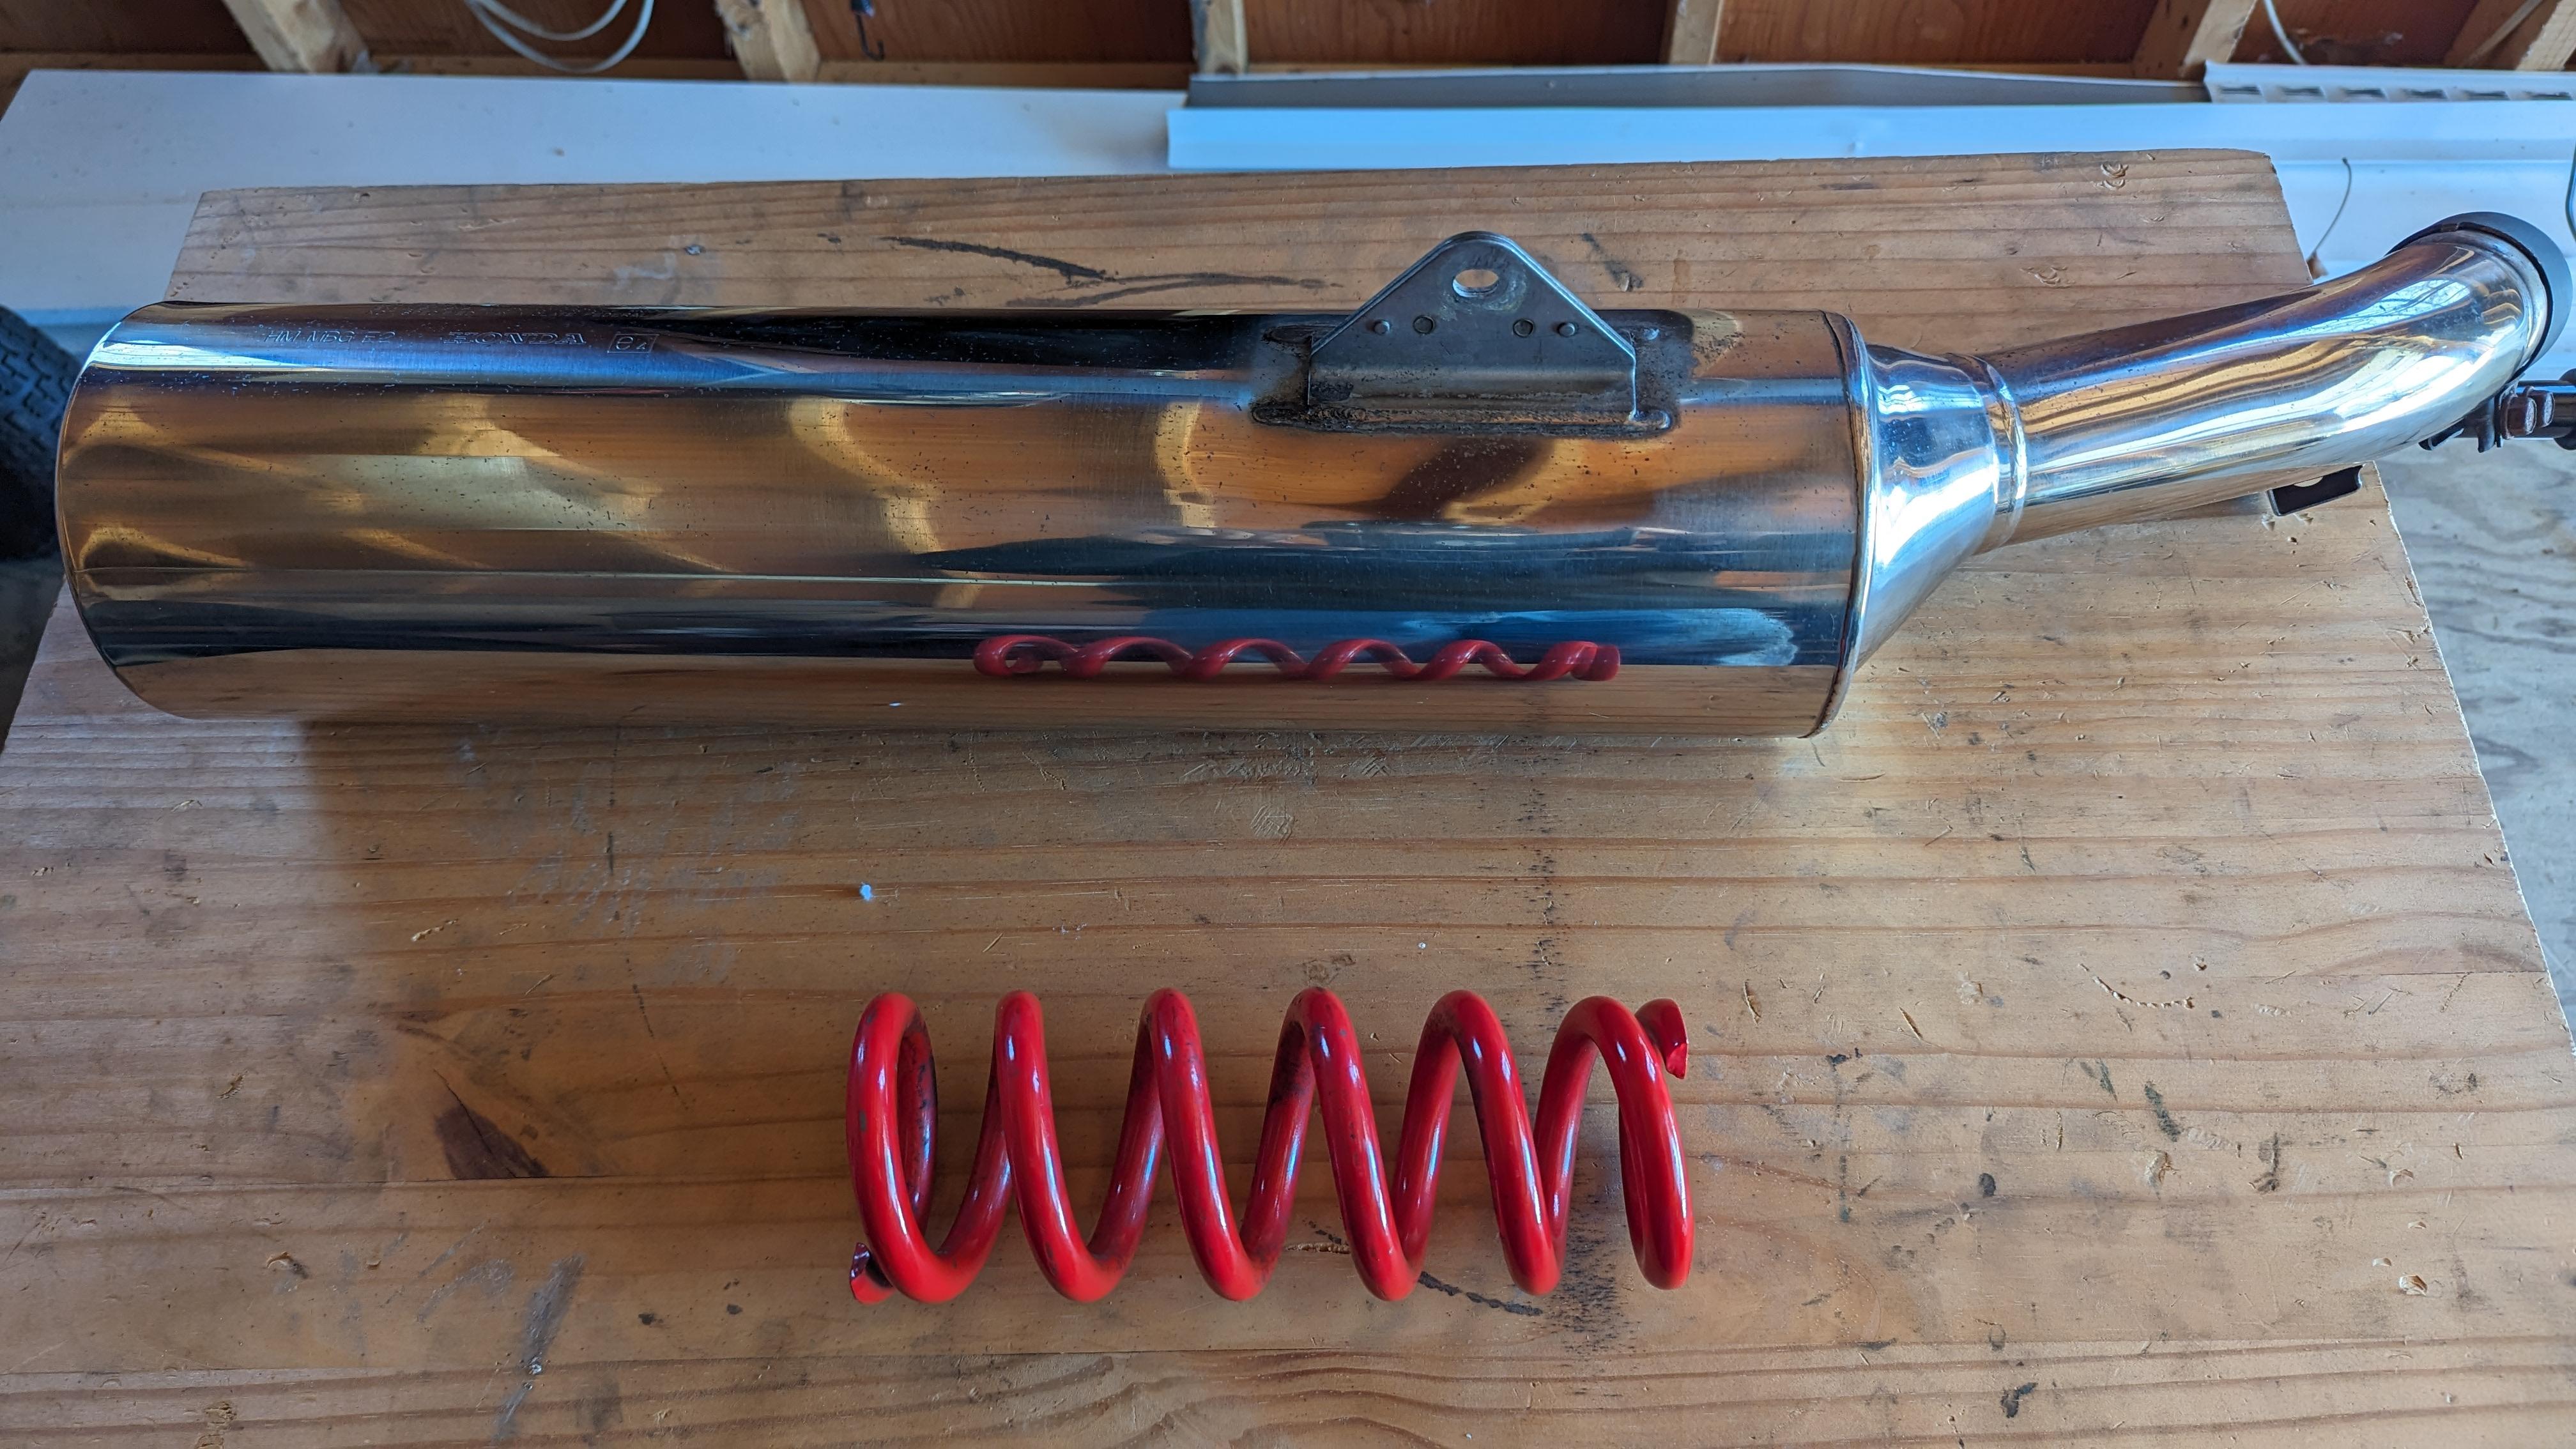
Pull a plug and check for white spots? I ran a free flowing exhaust for some 150,000 miles on my VFR750's and RC51 so far. None of them went BOOM and made me crash, burn and die.... 🙂1 point
-
That makes me uncomfortable in my chair every time...1 point
-
Just so you know, the two posts above are from two of the more knowledgeable members of the forum. Welcome to VFRD.1 point
-
The Harbor Freight unit works well enough, I used it for years, but can scratch rims up unless you're very careful. Upgraded to the No-mar unit a few years ago. They aren't cheap but paying those prices, driving 45 minutes to the nearest shop for me, waiting around, still getting my rims scratched by the new kid, it pays for itself after a couple of years.1 point
-
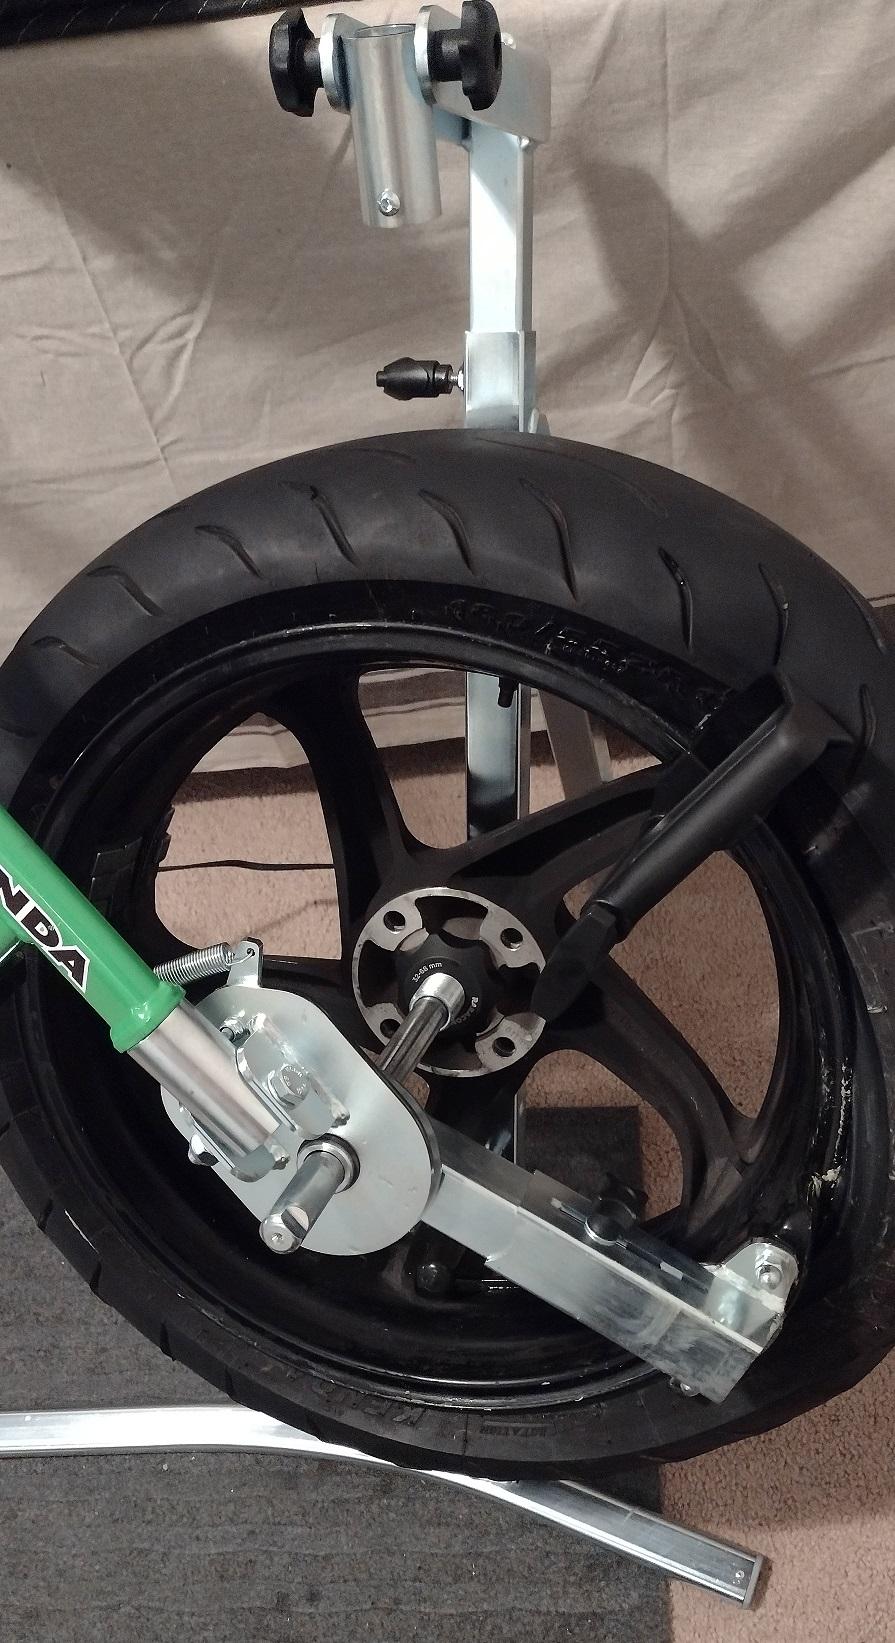
I've finally graduated from fighting with tire irons. 🥳 I'm sure some of you have seen this thing, but for those that haven't it's a portable tire changer. It comes with a duffel bag so those of you doing track days can toss it in the vehicle or trailer with the bike. It's not cheap, but it's priced competitively with another manual changer that's been on the market much longer. Unlike the No-Mar, this doesn't need to be bolted to your garage floor. I'm about 75% of the way being proficient with this. I can have a tire ripped off the rim quickly, and the first bead install goes fast with assistance from the duck head. The last bead and managing the drop center is what I need practice with. I popped my spare VFR rim on it and played around with install and removal of that last bead. The last attempt took under a minute with no struggling. The key is managing the drop center and making sure the tire stays oriented on the duck head correctly. The Rabaconda comes with a stepped hub adapter that fits nicely in the 5th gen rear rim, but I had their universal big hub adapter on order with the changer. It sandwhiches the rim from both sides and stays in place when manipulating the wheel. I'll keep using it for rear wheel tire changes.
1 point
-
I'm coming buddy! If your bike is a low mileage garage queen that has never seen the rain this may be easier for you. So, first off ignore the HBoL where it says you need to remove the engine. You don't and with the age of these it's a risk. Particularly the rear lower bolt which has a far too small hex in it and runs through a U in the bottom of the engine so corrodes in place. I've had to cut two off in the past but you could get replacement bolts then! Next up, be utterly prepared to deal with snapping exhaust studs. They're piddly little M6 ones. If you plan on doing it this winter then start spraying them with penetrating now! 🤣 Ignoring the parts that are NLA, my personal minimum shopping list for this would be 18291-MN5-650 (exhaust gasket) x4 90304-438-000 (front nuts) x4 Unfortunately when I did mine I believed the HBoL so took the engine out...🤣 After the event I realised this wasn't needed. It's still a massive pig of a job though even without taking the engine out. So, here is how I would do it if I was to do it over again. -1) Get the bike properly hot and then spray all the exhaust bolts/nuts with proper penetrating fluid (ie not WD40) at least a week before. Keep spraying them every day until you're ready. The exhaust studs particularly the fronts where they get sprayed by water from the front wheel will snap for fun so everything you can do to prevent that helps. 0) Put the bike on the main stand on a 2x4 or similar (and the same under the front wheel) to give some extra height. 1) Remove seat, tank, side fairing panels, belly pan and all rear plastics (inc tail light), unbolt and remove the silencers and the collector. Undo the front to rear header clamps. 2) Remove battery, disconnect wiring from ECU, reg/rec, pickups, starter solenoid, fuel pump relay and rear coils (note which way they're connected)...but if you forgot then bottom connector on bottom coil is black/white, next one is red/blue, bottom connector on top coil is black/white then top is blue/black. Remove the rear coils. Remove the pipe to the rad from the coolant tank. Disconnect the hose from the carbs to the fuel pump. 3) Remove the loom from the subframe up until where it meets the frame, remove the top bolt for the rear brake master cylinder, remove the rearsets and remove the subframe. 4) Remove the rear wheel. 5) Unbolt the top shock mount, the remote adjuster, the linkage bolt (the one to the frame) and the two special bolts either side of the swingarm and remove the swingarm with the shock, move the chain over it so you don't need to remove that. 6) Remove the remains of the shock heat shield (it's inevitably a rusty hole by now). 7) Loosen (don't remove) the rear engine bolts (the ones that go into the back of the rear head) and then remove the heatshield plate they hold on. Spray all the exhaust nuts again with penetrating fluid. At this point it's time to actually tackle removing the exhausts. Now personally I would be very tempted to go straight for cutting the front nuts off. two slits either side with a Dremel or similar then split them. It massively de-risks the chances of snapping a stud. If you decide not to then I would go *straight* for lots of heat on them, get them hot and hope they either unscrew from the head or unscrew. If they don't and snap....well you're now going to have to drill out and re-tap the remains. Once you've got the fronts out then you can remove the front downpipes from the rears. Next up is the rears, you should be able to get an 10mm socket on to the end of the nuts using a massively long extension going through the back of the frame. Once they're undone you should be able to wiggle the rear exhausts out, it can be done but it can take some wiggling and having extra ground clearance helps (hence why starting off with the bike raised). Remove the exhaust gaskets (they're particularly hard to see in the rear ports), stick the new ones in the ports with a blob of grease to hold them in place, wrangle the newer ones in, fit the front downpipes and then tighten the nuts on them. Make sure you don't get the left and right front downpipes mixed up (DAMHIK!) In classic HBoL fashion, assembly is the reverse of disassembly... 1) Refit the heatshield plate between frame and engine, tighten the rear engine bolts (the ones that go into the back of the rear head) to sec. 2) Refit the heatshield plate between exhausts and shock. You may want to consider making a new one as it's nothing special but rusts away and does protect the shock from heat. 3) Refit the swing arm, don't forget to loop the chain through first! Bolt the linkage and shock in. 4) Refit the rear wheel 5) Refit the subframe (and rearsets) and fit the loom to it. 6) Refit the rear coils, connect everything you disconnected back up again. Refit the battery. 7) Refit the tank, connect up the fuel pump to the tank and to the carbs. 8 ) Refit the collector. 9) Refit the exhausts. 10) Refit bellypan, side fairings, seat plastics/tail light and seat. Start her up.
1 point
-
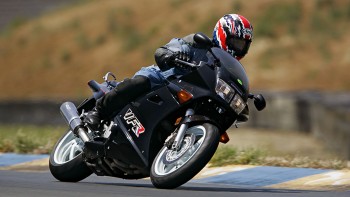
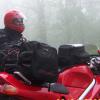
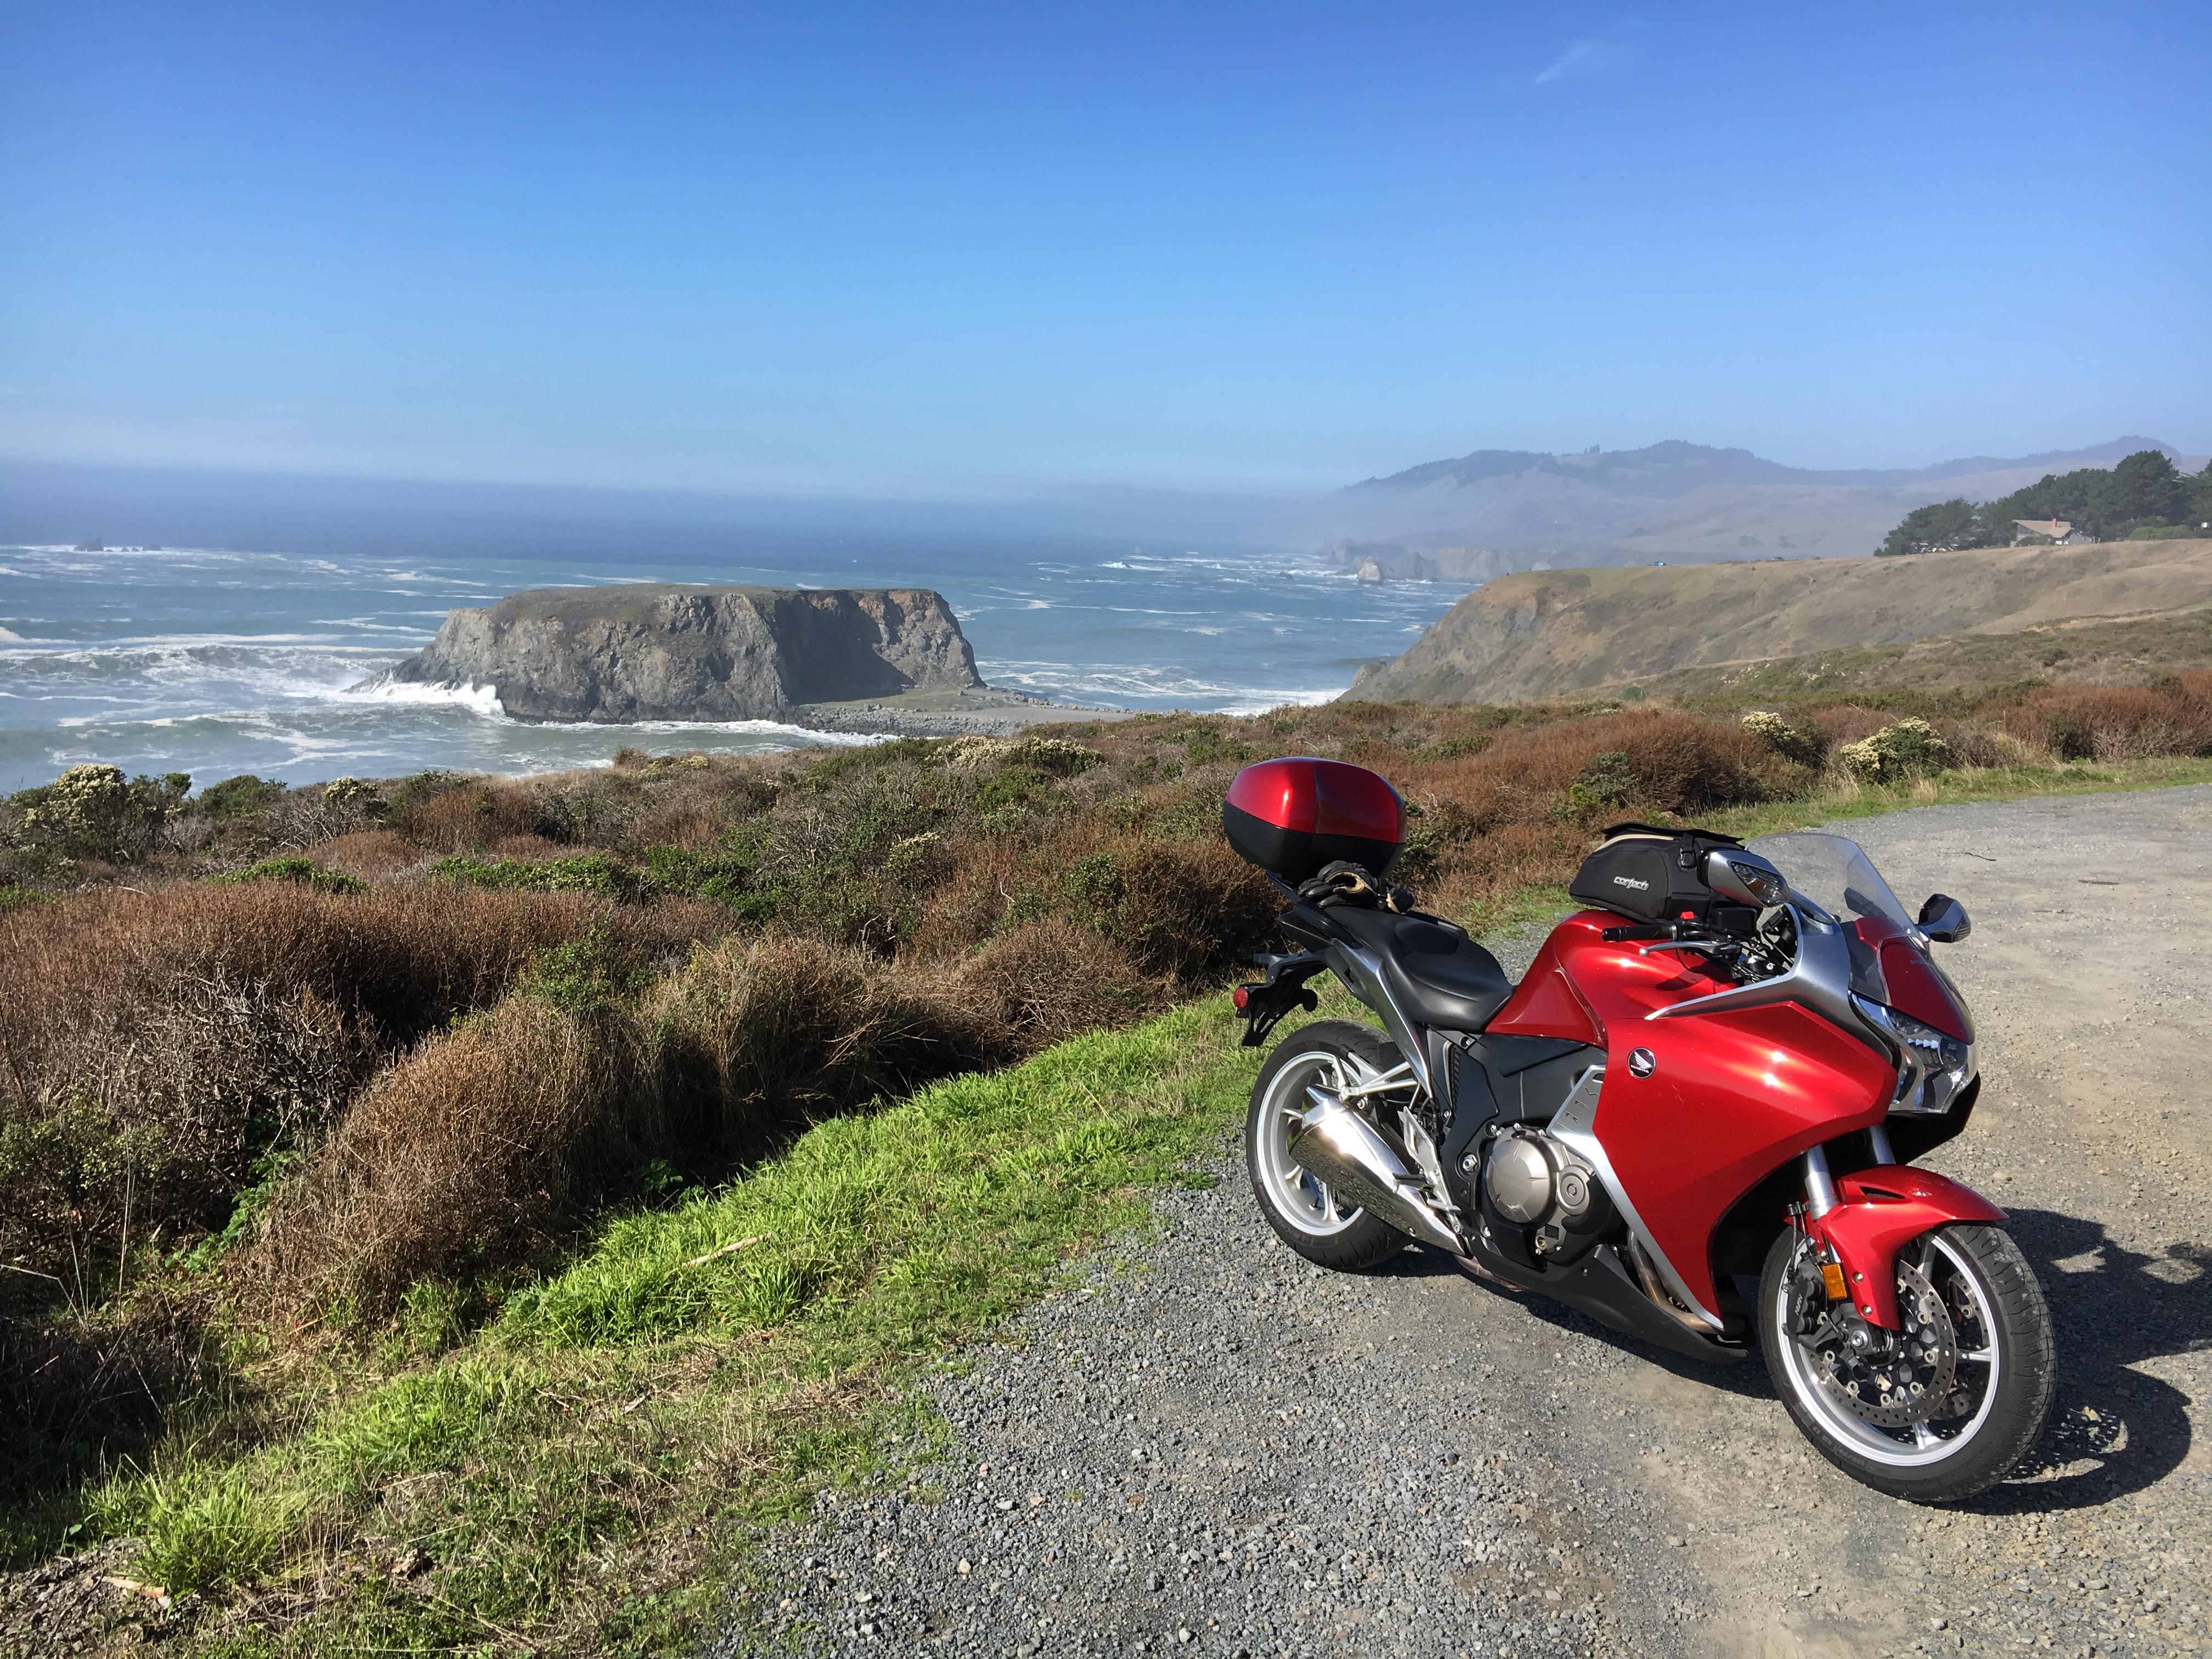
From the album: my trips
In 2007 I attended one of Reg Pridmore's CLASS days at Infineon and it was a blast. A sunny mid-May track day in NorCal is damn hard to beat. photo used with permission, credit: Ian Donald - http://iandonald.com/© Ian Donald
1 point


-X3.jpg.618ef516f97353f0a57df7d8da214551.jpg)