jroberts427
-
Posts
87 -
Joined
-
Last visited
-
Days Won
13
Recent Profile Visitors
2,504 profile views


jroberts427's Achievements
")


-
Welcome! The bike looks to be pretty complete and as far as the fuel pump, we've seen much worse! Hopefully it won't take much to get it going again. Justin
-
I am seeing 205mm.
-
 Thanks very much. I've added about 600 miles since March and it's running great. Justin
 -
Hi there. It is a 2012 Honda Odyssey. Thanks, Justin
-
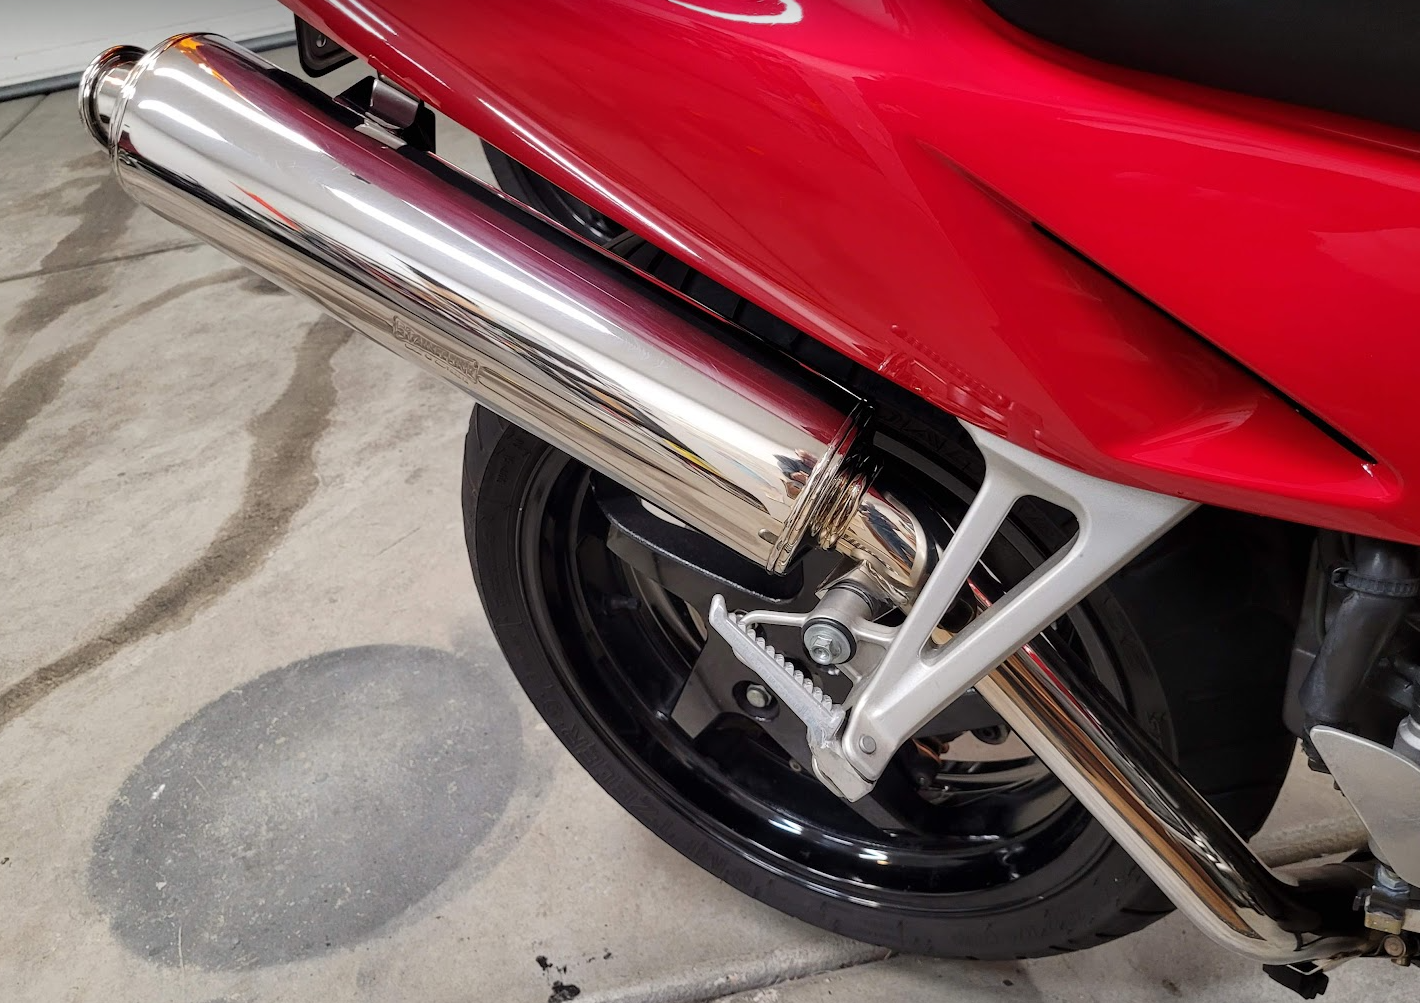
Ahhh...I see you have the correct exhaust pipe. Tell me you have removed the db killer? This allows for appropriate tonal quality.
-
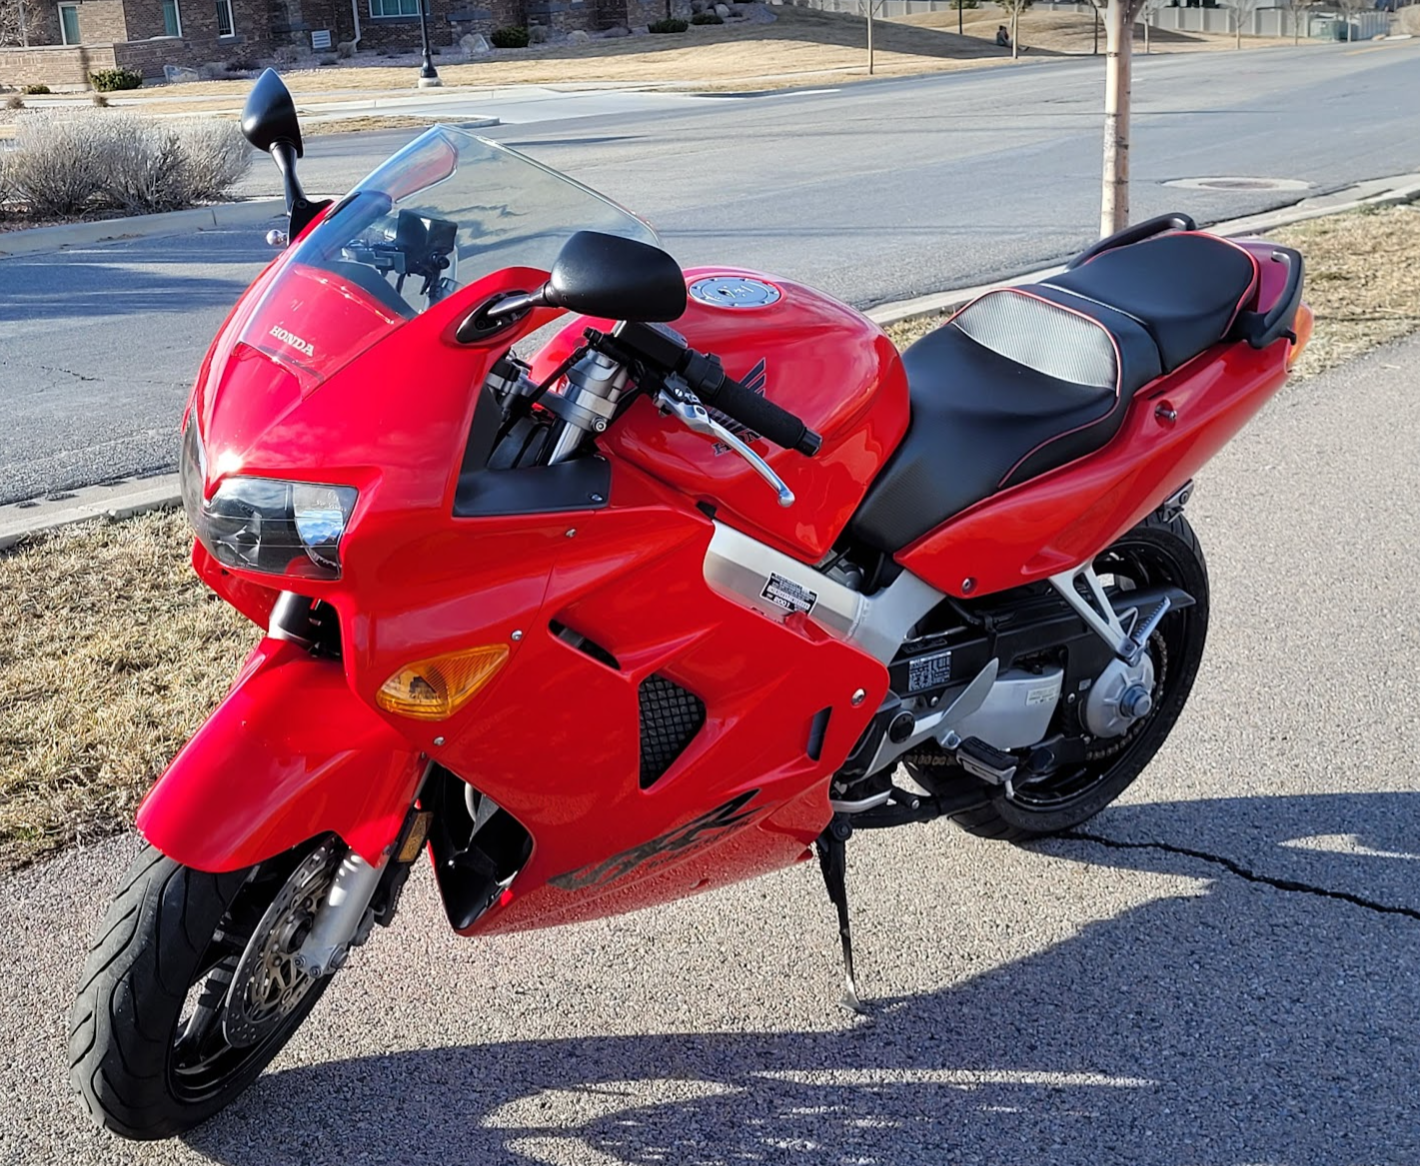
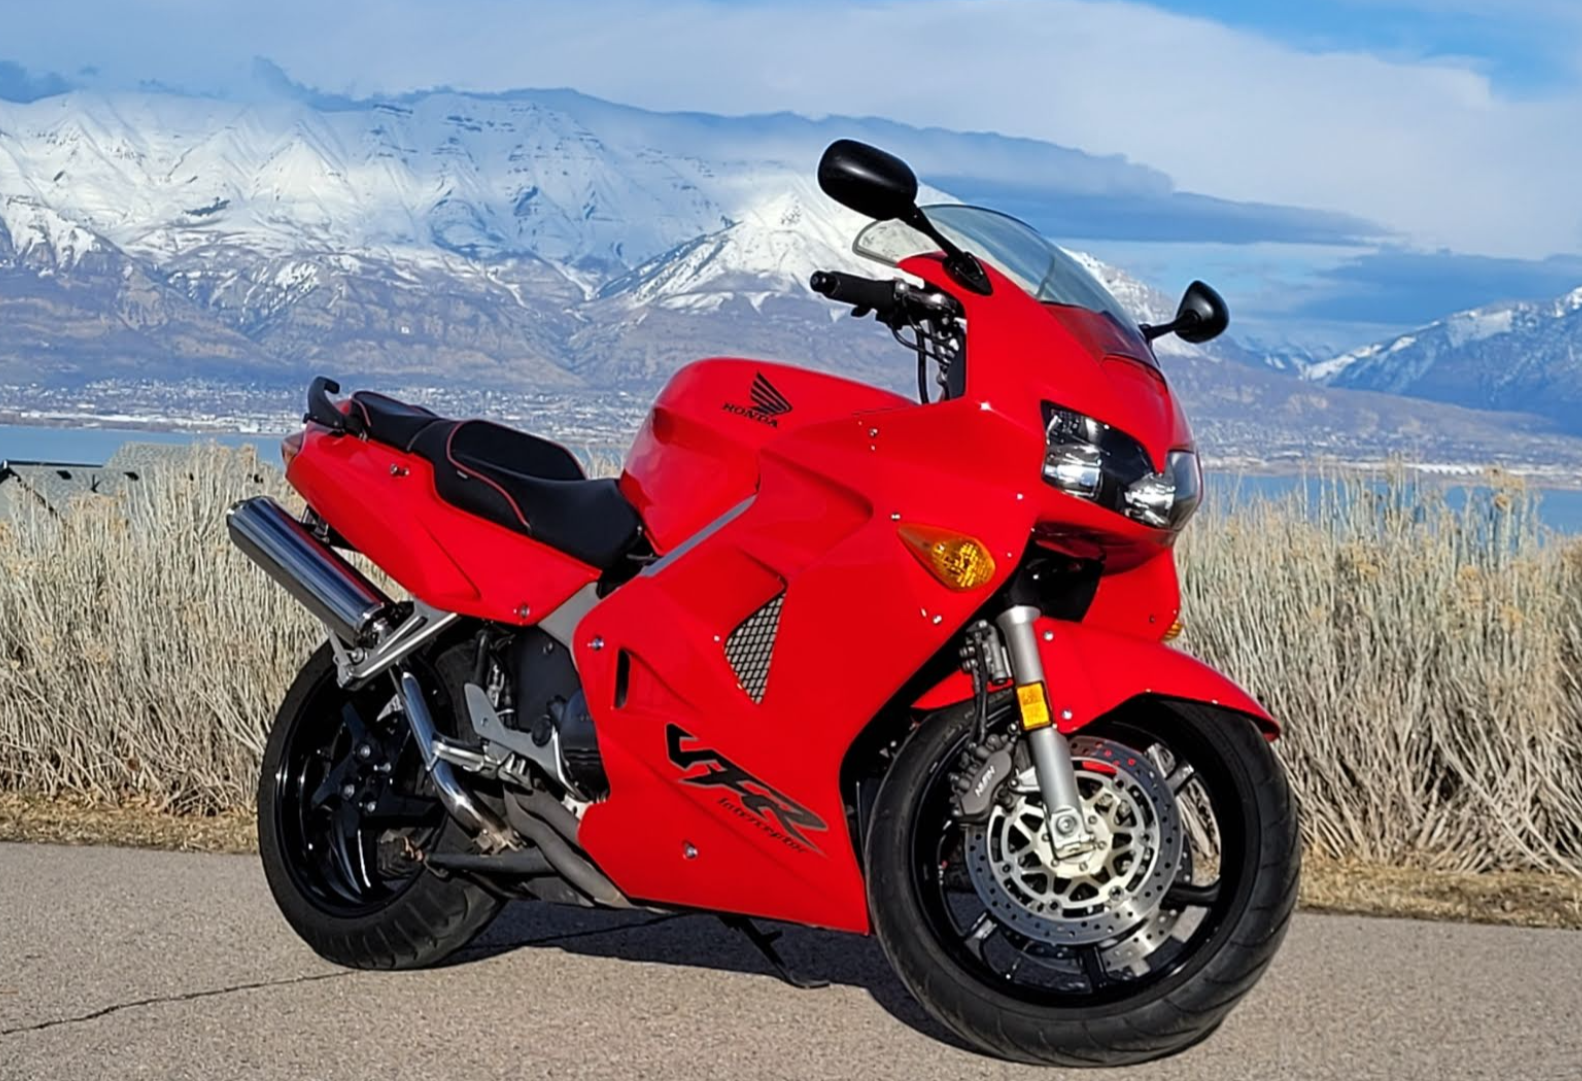
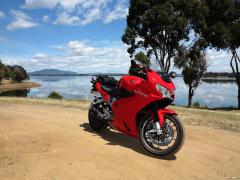
Here's a 2001 with 17k miles listed locally for $6k. It's high but the seller is probably not in a rush and can lower the price as needed. https://classifieds.ksl.com/listing/75107544 I say list yours at 5-6 and see what happens. You can always lower it. That said, I offer the following for reference: I bought a 2001 in 2021 with 20k miles for $3,000. Pretty clean overall just needed some refreshing. I considered this one a pretty good deal. I bought another 2001 6 months ago with 39k miles for $2500. Not as clean, needed more refreshing. This one was more of an ok/fair deal for what it was. Last year there was a 2001 on cycletrader with only 1200 miles listed at $6500. Very sensible price given the miles. It was super clean too. It would be rare to find another one with miles that low or lower. Things that help get top dollar: -bike should be detailed, waxed and exceptionally clean. If we're claiming near showroom it should look like it. -new(er) tires, recent fluids, etc, especially brake fluid for anyone that knows the annoyance of properly bleeding linked brakes. -any and all documented service history available, receipts if you have any in a folder. Both keys if you have them. -all mods documented in the ad, stock parts included if you have them still. -should include OEM grab handles, rear upper cowl (that covers the seat), OEM windscreen, owner's manual and tool kit -any issues or defects documented/photographed. Pointing out a few small scratches is a good thing if that's literally all there is to point out. It emphasizes that the rest of the bike is in great shape and no surprises for potential buyers. -Several GOOD pictures in sunlight (It's amazing how many sellers don't take the time to clean up a vehicle or take good pics.) -a short but well written for sale ad, bullet points not paragraphs -priced reasonably given current market. These bikes live between $2k and about $6k with most falling in the $3500-$4500 range. Several factors determine what it will ultimately sell for. There's a price that will have it sold in minutes, another that will have it sold in a day, and another that will take weeks, and another where it won't sell at all. Decide what you would be happy with, add a little wiggle room and see how it goes. I have sold many vehicles to the first person who came to look at them by having them clean, sorted, well presented and fairly priced. Most of my vehicles have sold quickly. Some too quickly. Some took longer, some I had to lower the price a little more until the right buyer appeared. Just gotta get the right combination of factors to get it done. This is one that I recently spent some time refreshing and cleaning up over the winter. It's not worth $6k, but would probably sell quickly at a reasonable ask. Not for sale though. 😉 Cheers, Justin (click for better resolution)

-
Have you ever had a clogged brake lines?
jroberts427 replied to n3n3's topic in Fifth Generation VFR's
Good chance the SMC (secondary master cylinder) at the front wheel is also blocked. Need to go through the whole system to make sure everything is clear. Great opportunity to ditch the linked braking system all together. Justin -
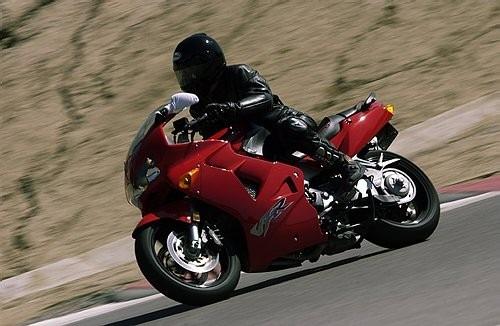
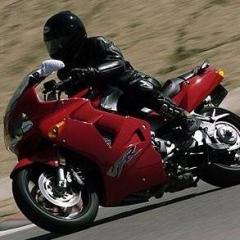
Thanks guys, and I appreciate the tips along the way. Now to get it registered and insured so I can do a real shakedown run. The weather is warming up and it's time to go riding, and look for the next project! (There is a CBR954RR for sale locally that looks interesting.) Take care, Justin
-
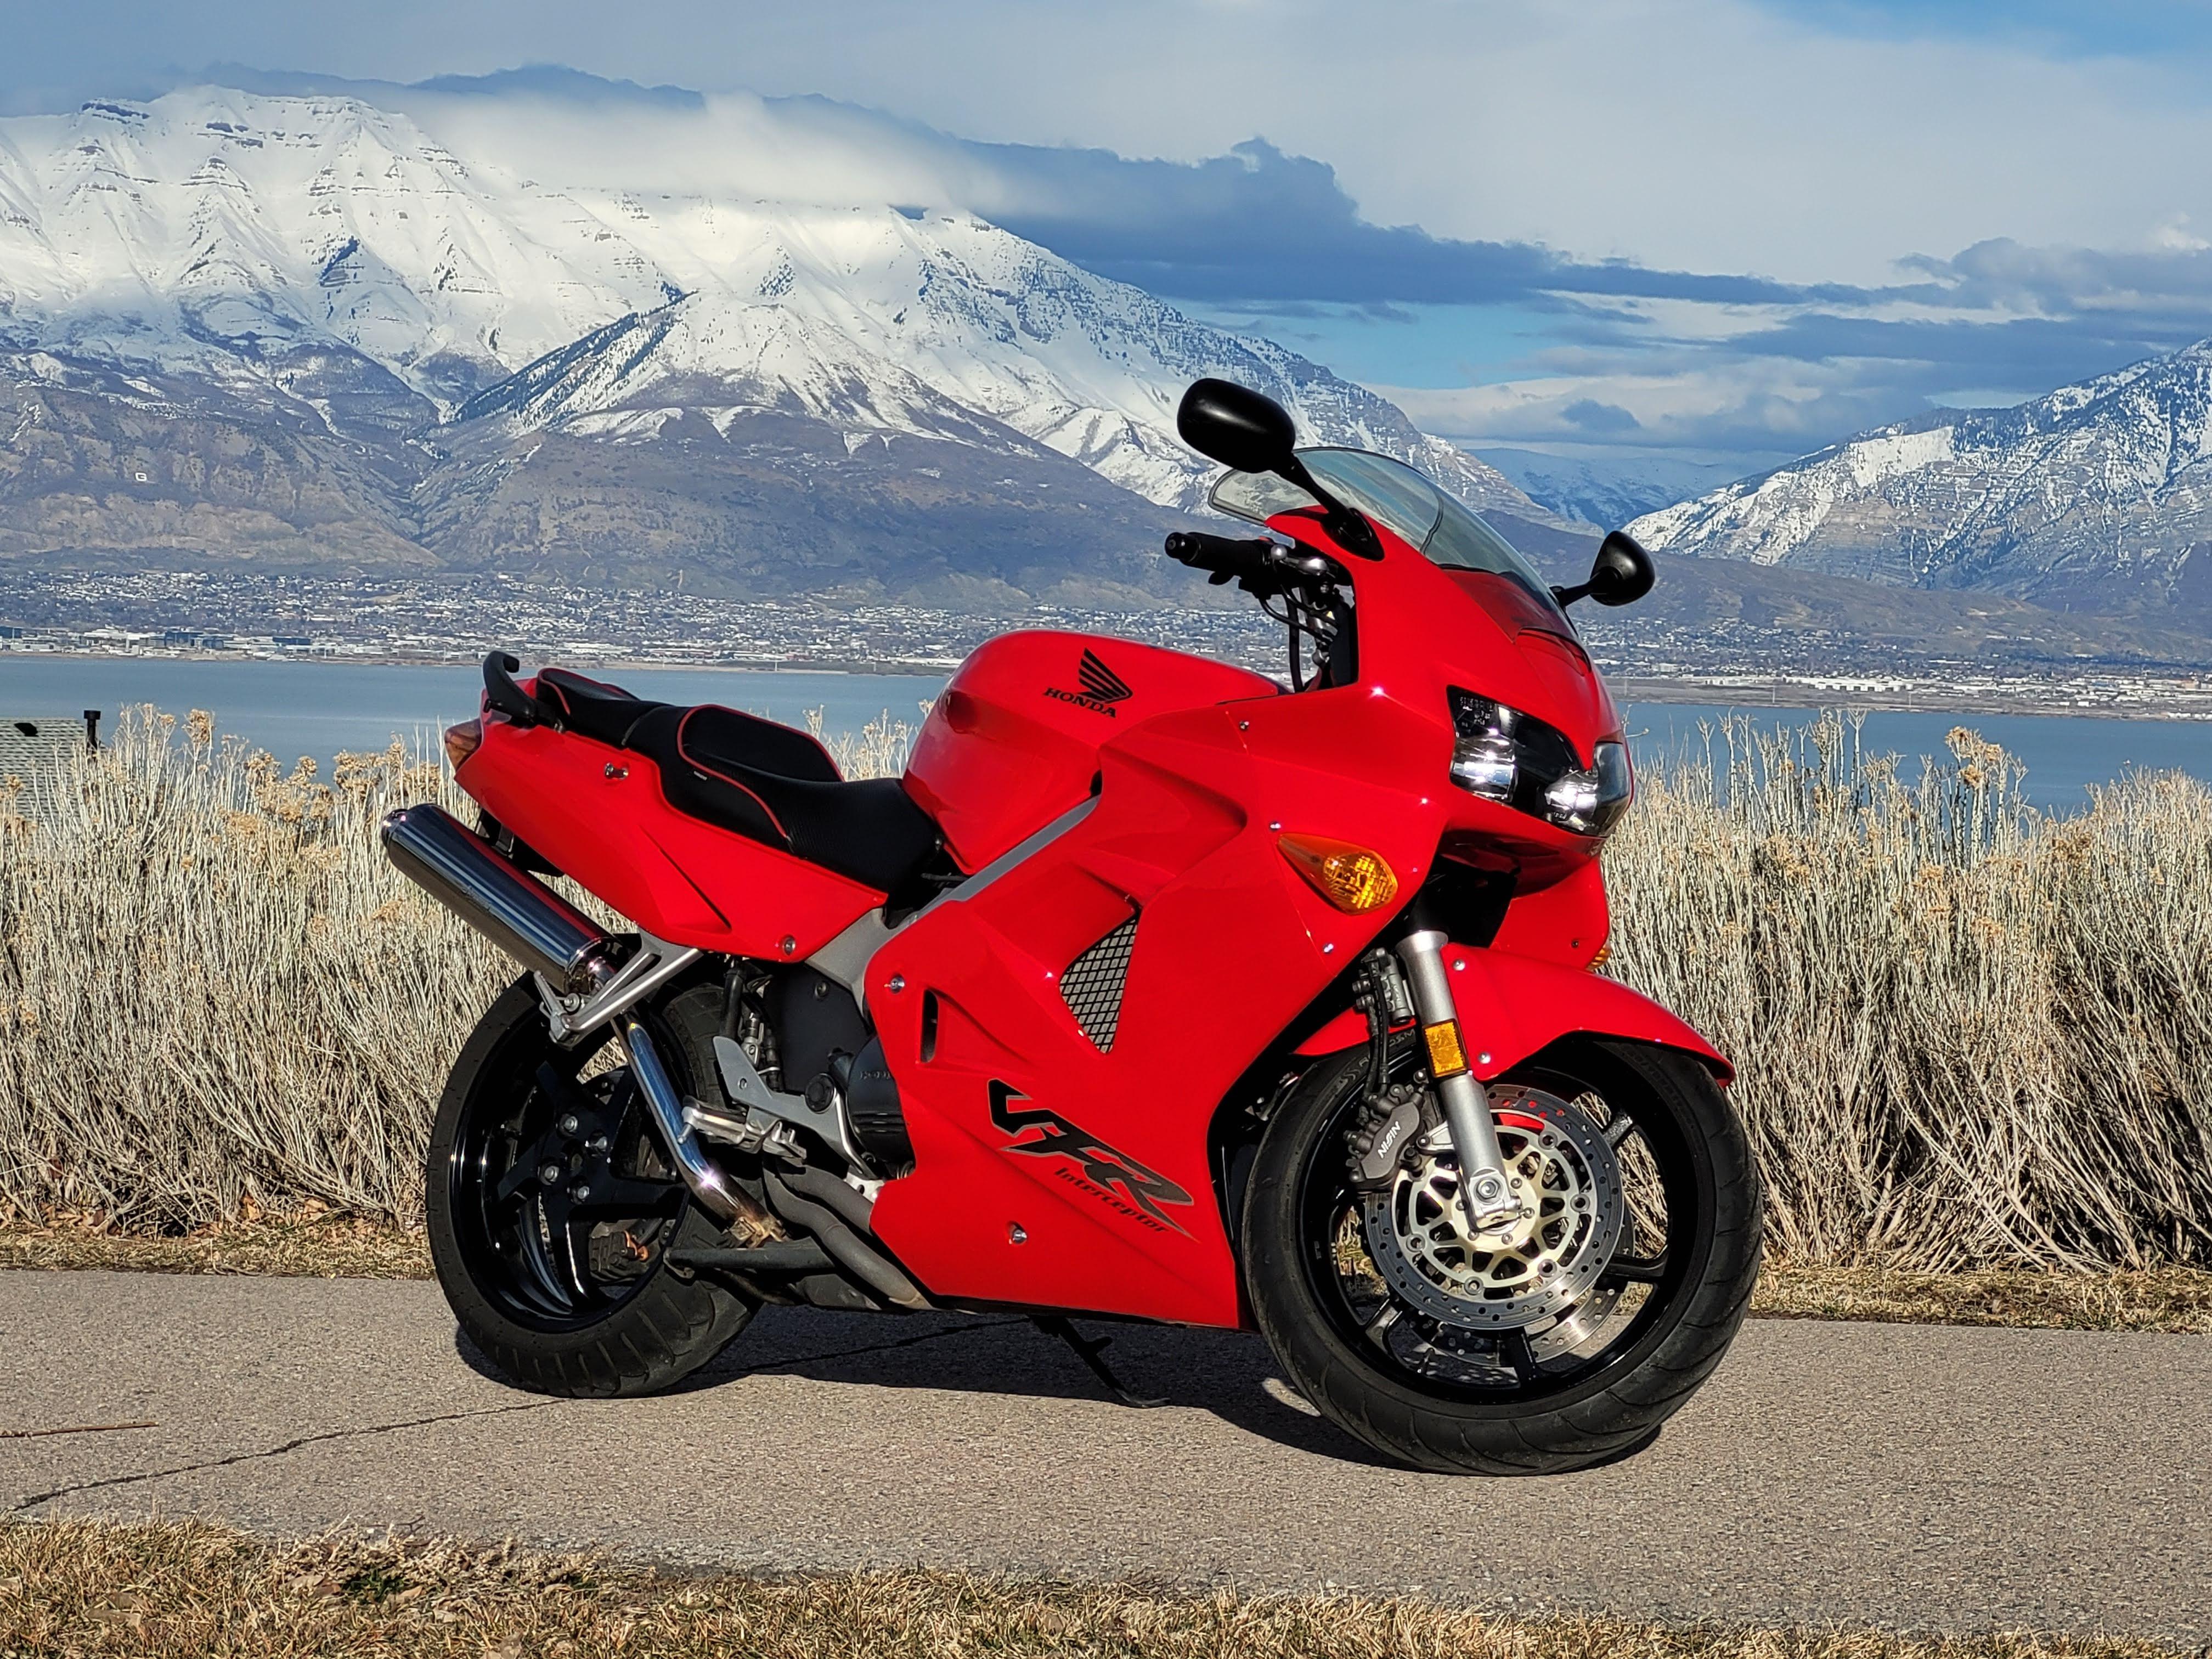
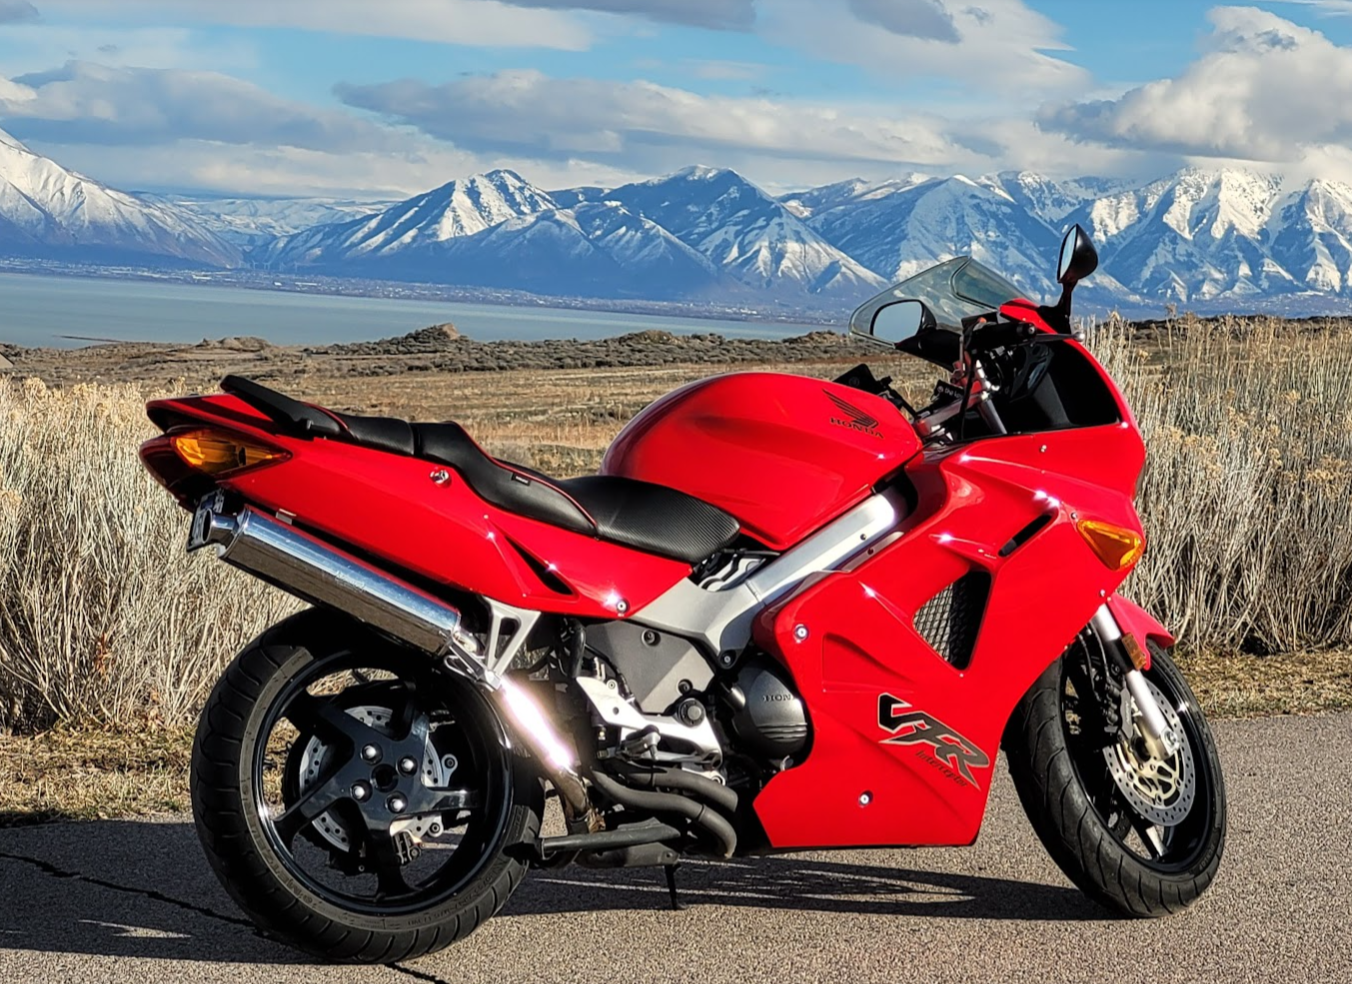
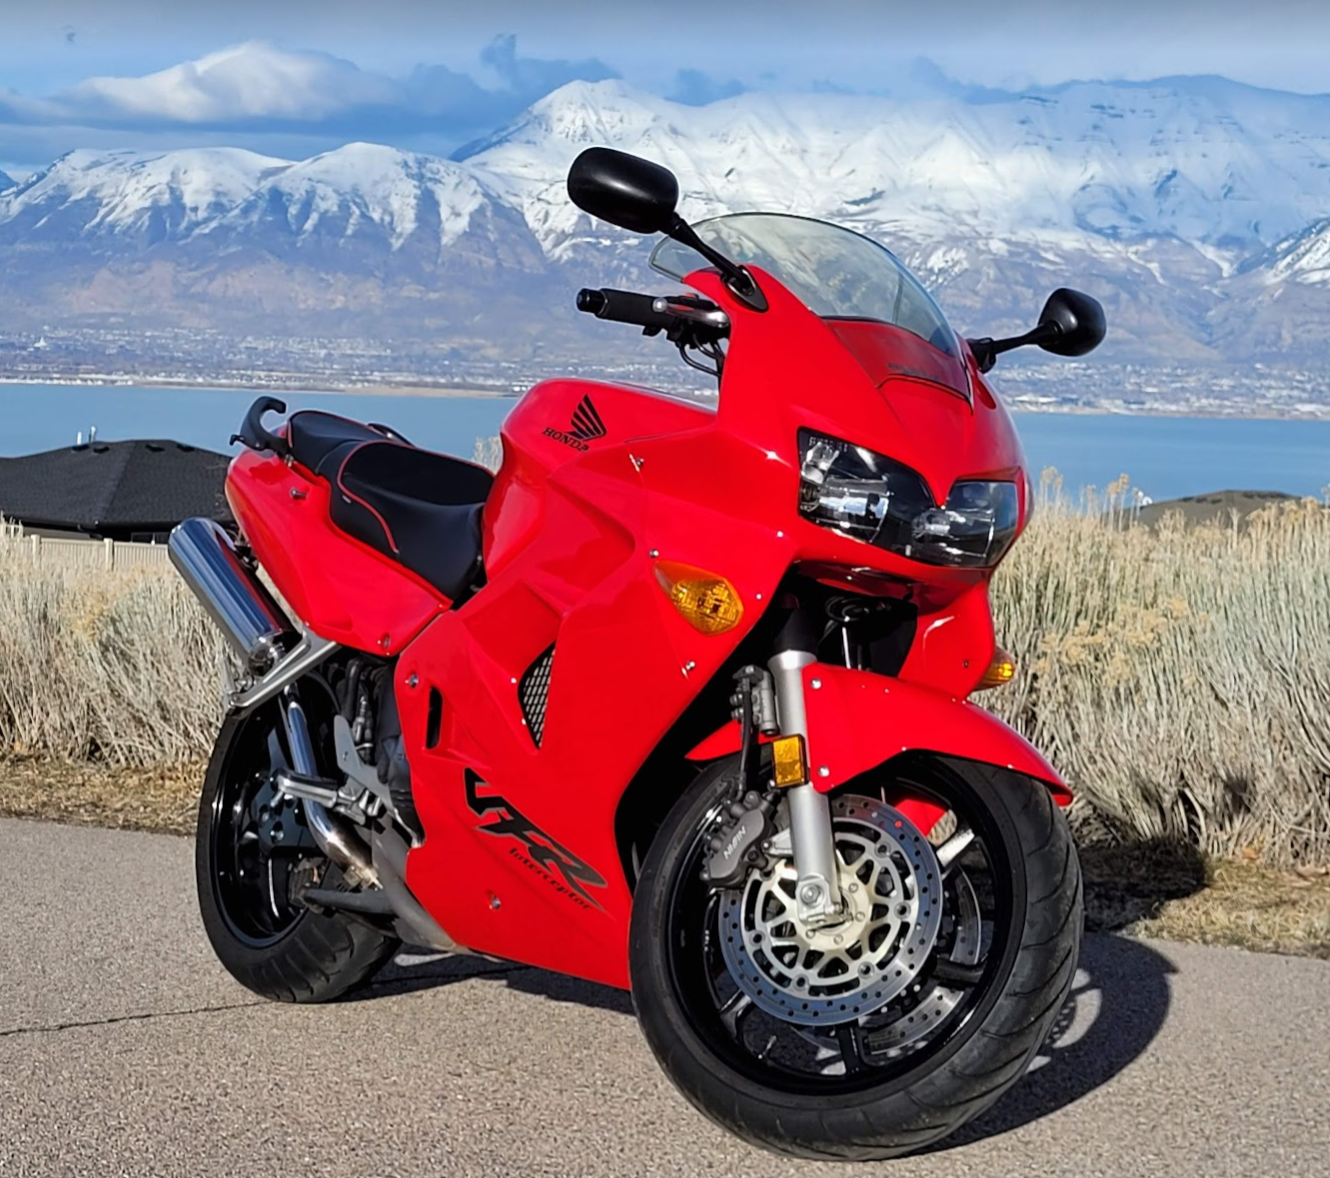
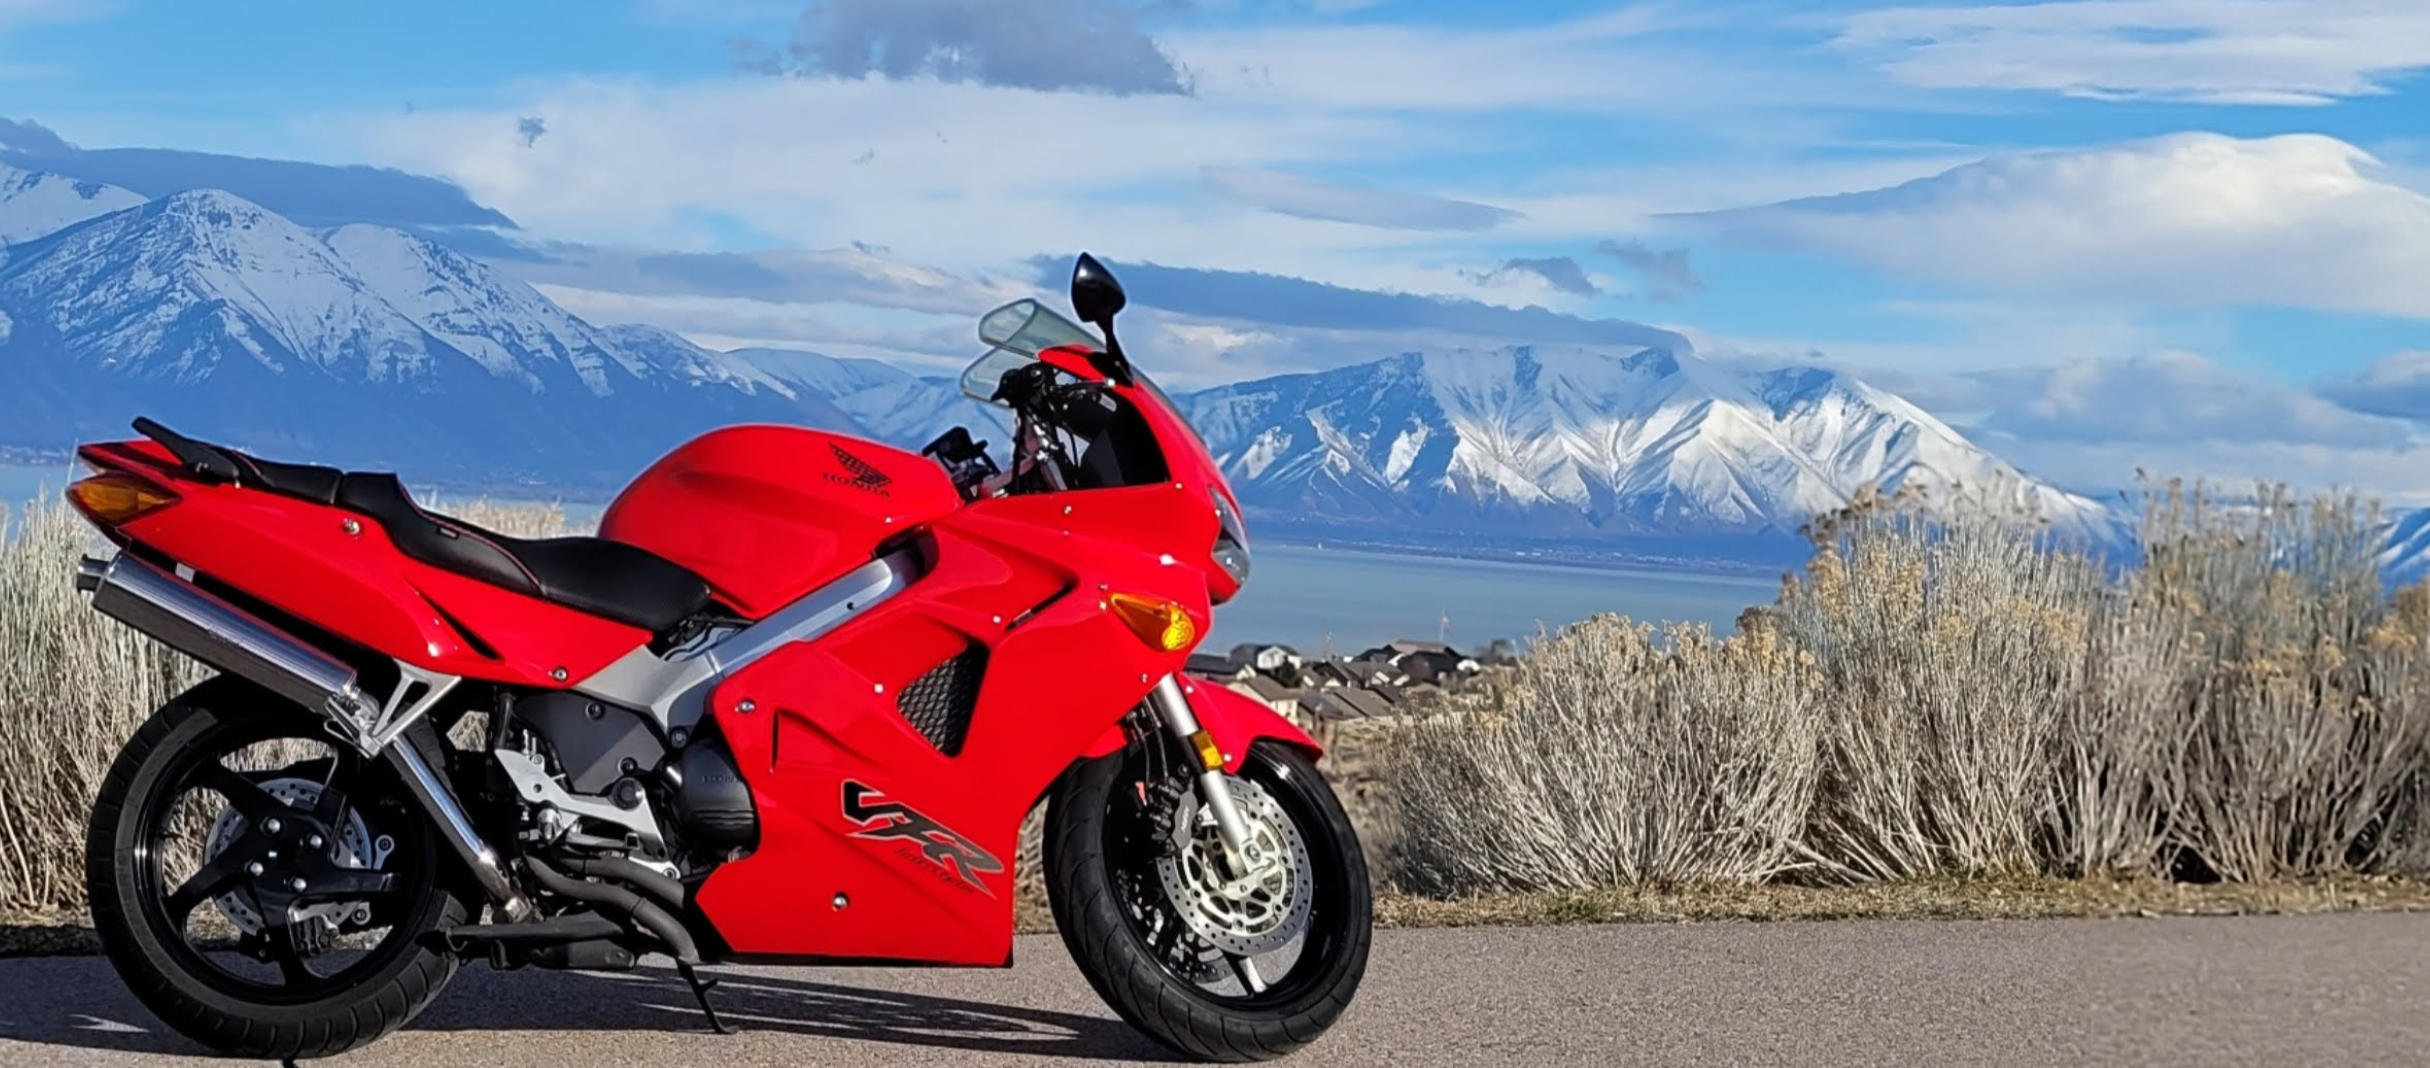
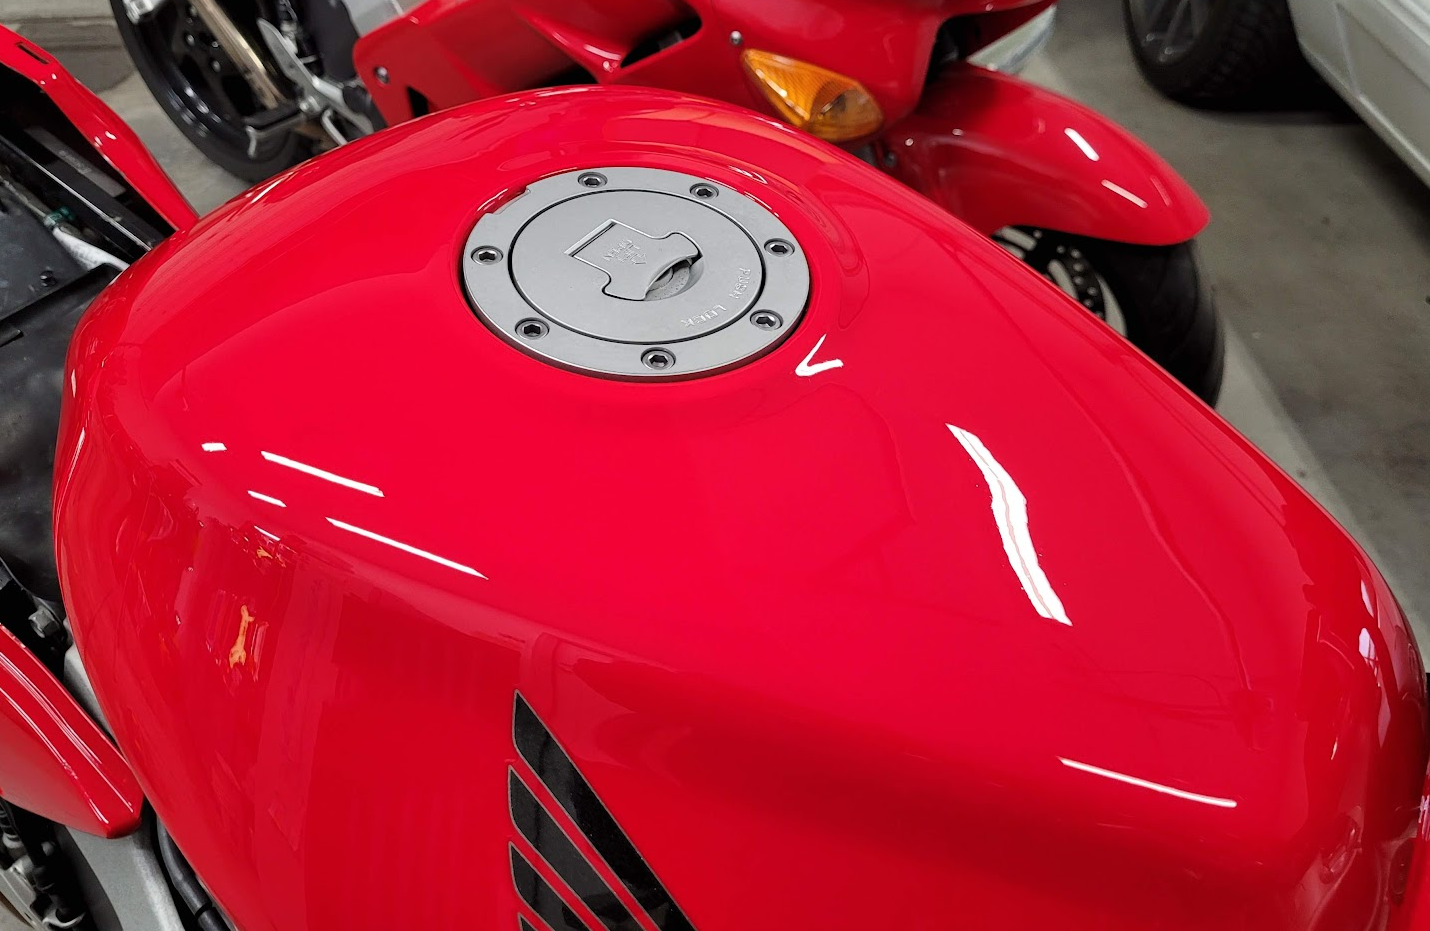
Gentlemen, I give you VIN# 00089. Looking nearly as good as the day I brought her home from the dealer back in May 2001. She's not perfect, but I'd say the time spent in the garage has paid off nicely. Cheers, Justin
- 34 replies
-
- 12
-

-

-
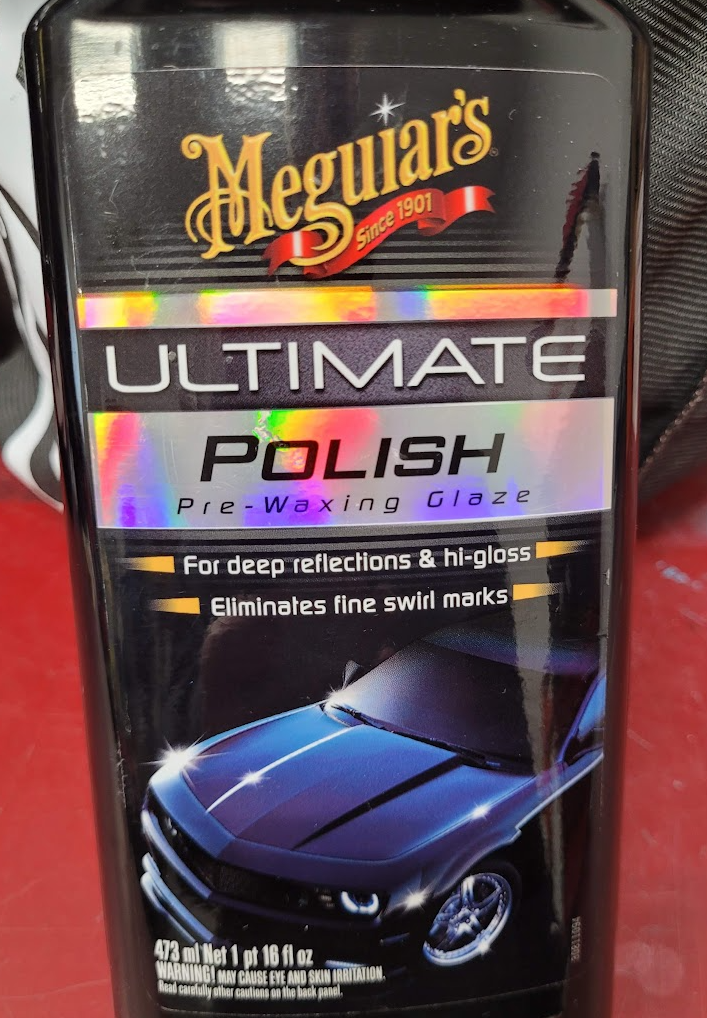
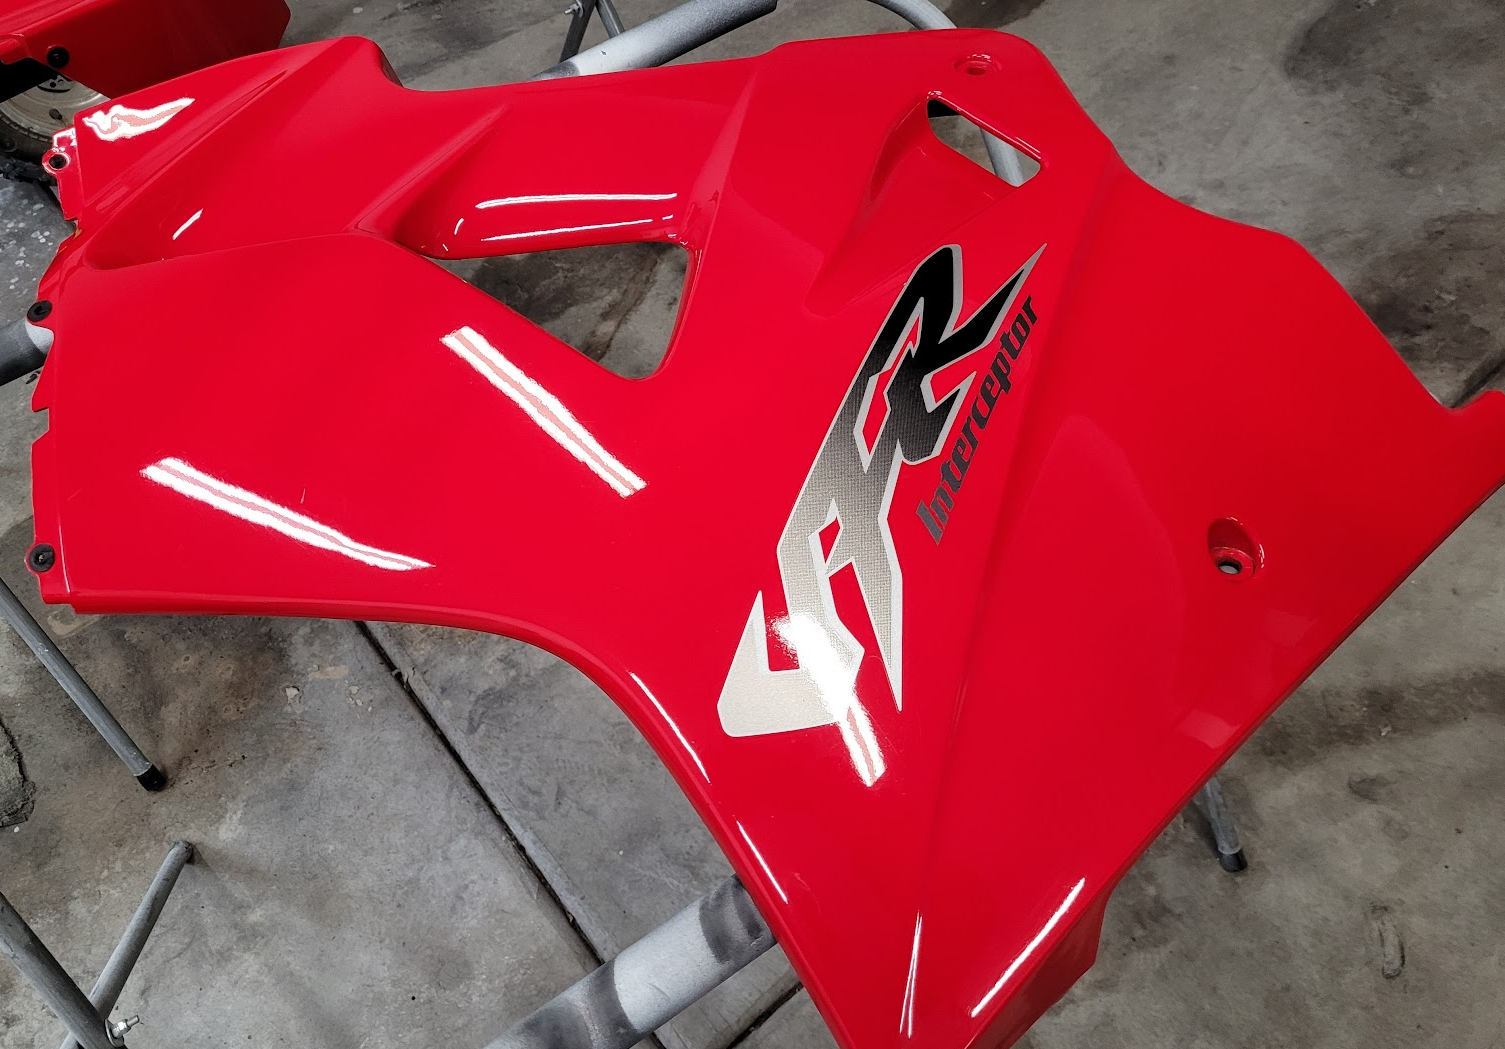
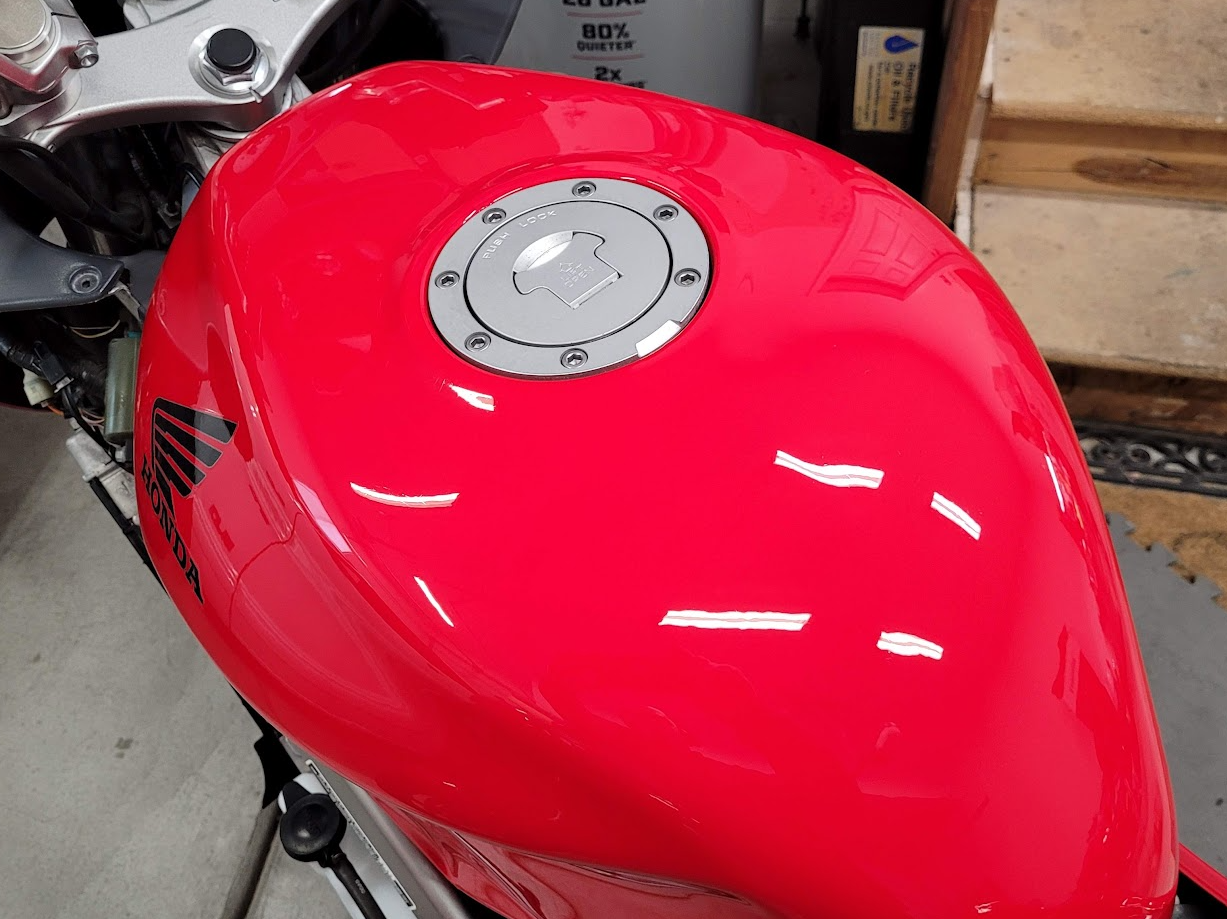
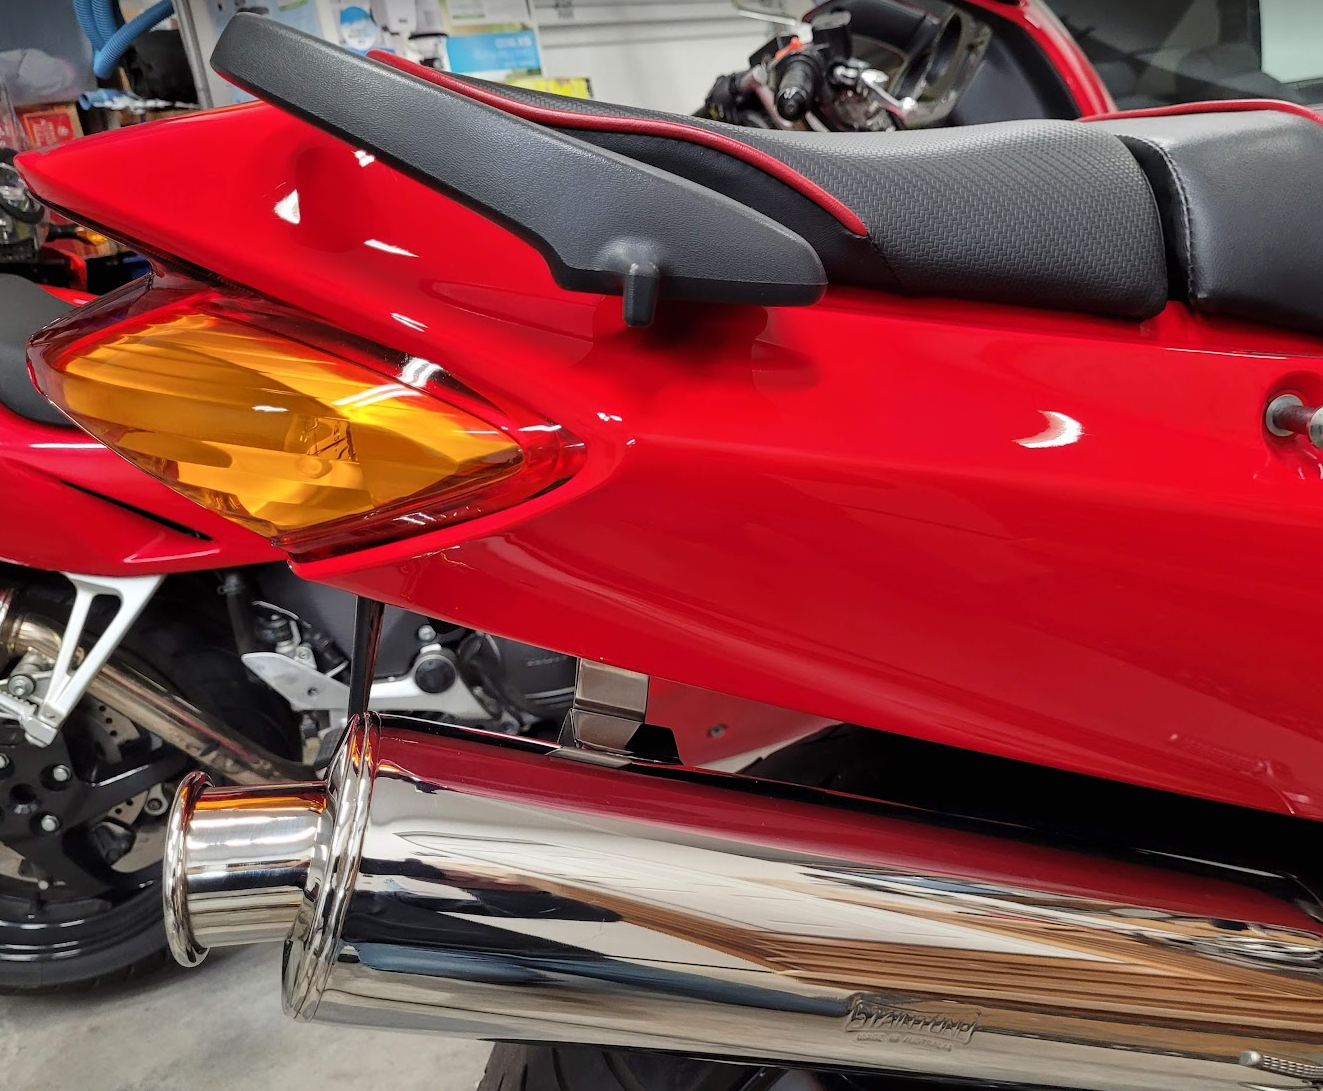
I used a little MAF cleaner that I had on the shelf. Didn't take much. I suspect carb cleaner would have worked as well. Just a few light, quick sprays to remove the old lube that was on the contacts. I then added a little brake lube that was out since I did the rear brakes. Worked great. On the turn signals (and all of the plastics) I used Meguiar's Ultimate polish on a white foam pad with my dual action polisher. For small pieces like the turn signals it can be done by hand if you don't have a DA. Just clean the part, add a bit of polish to a clean microfiber, use circular motion with light pressure for maybe a minute. Wipe off when done to reveal the shine, repeat as needed. If you want to polish the tank and fairings, a machine polisher is the way to go. I was a bit surprised to find that the plastics on the bike are single stage paint (got some red paint transfer on the pad) and only the tank has clear coat. They did polish up nicely though. @Grum I tried some Autosol metal polish on the pipe and it worked very well. Thanks for the tip! The bike is basically put back together at this point. Just waiting for some clear weather for a shake down run and some outside pics. Cheers, Justin
-
That yellow and white looks great.
-
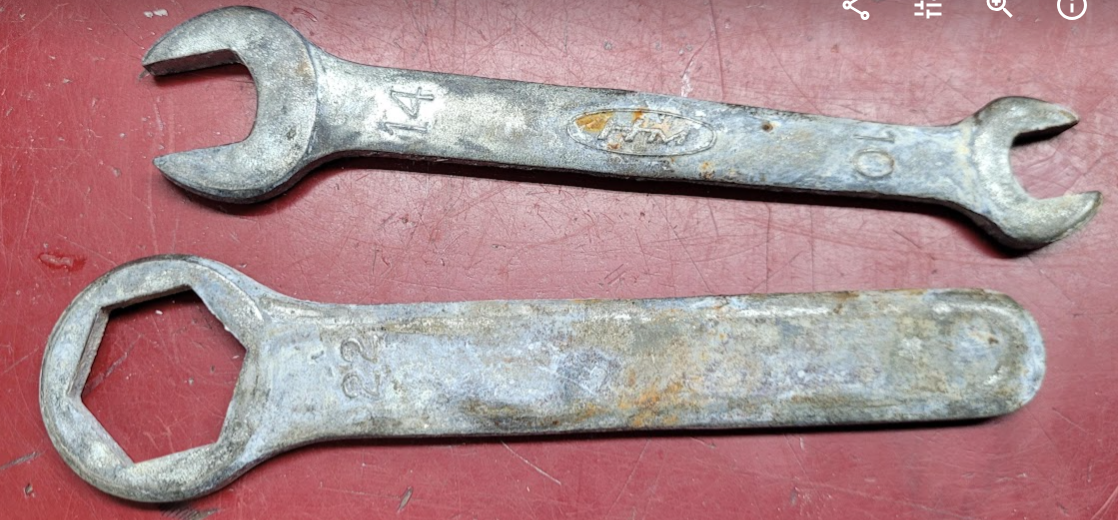
Yeah I'm not too worried about these, as you state, they may never be used. More of a curiosity while I'm in the groove of polishing things.👍
-
So, are the tools galvanized or plated? Wondering if there is a way to clean up the corrosion on the tool kit or if re-plating would be required.
-
Thanks. PM sent.
-
That looks fantastic, I'll look into that. Will it cause any type of running issue with the bike to run catless?