-
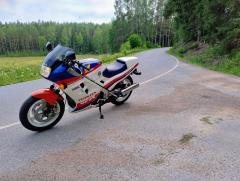
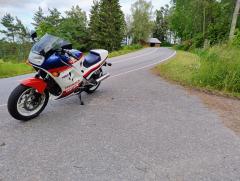
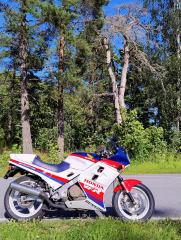
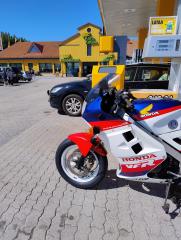
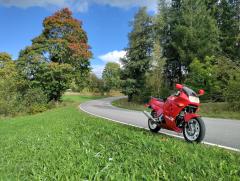
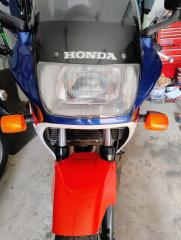
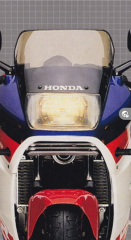
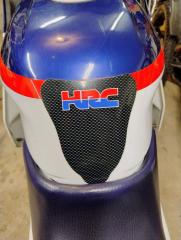
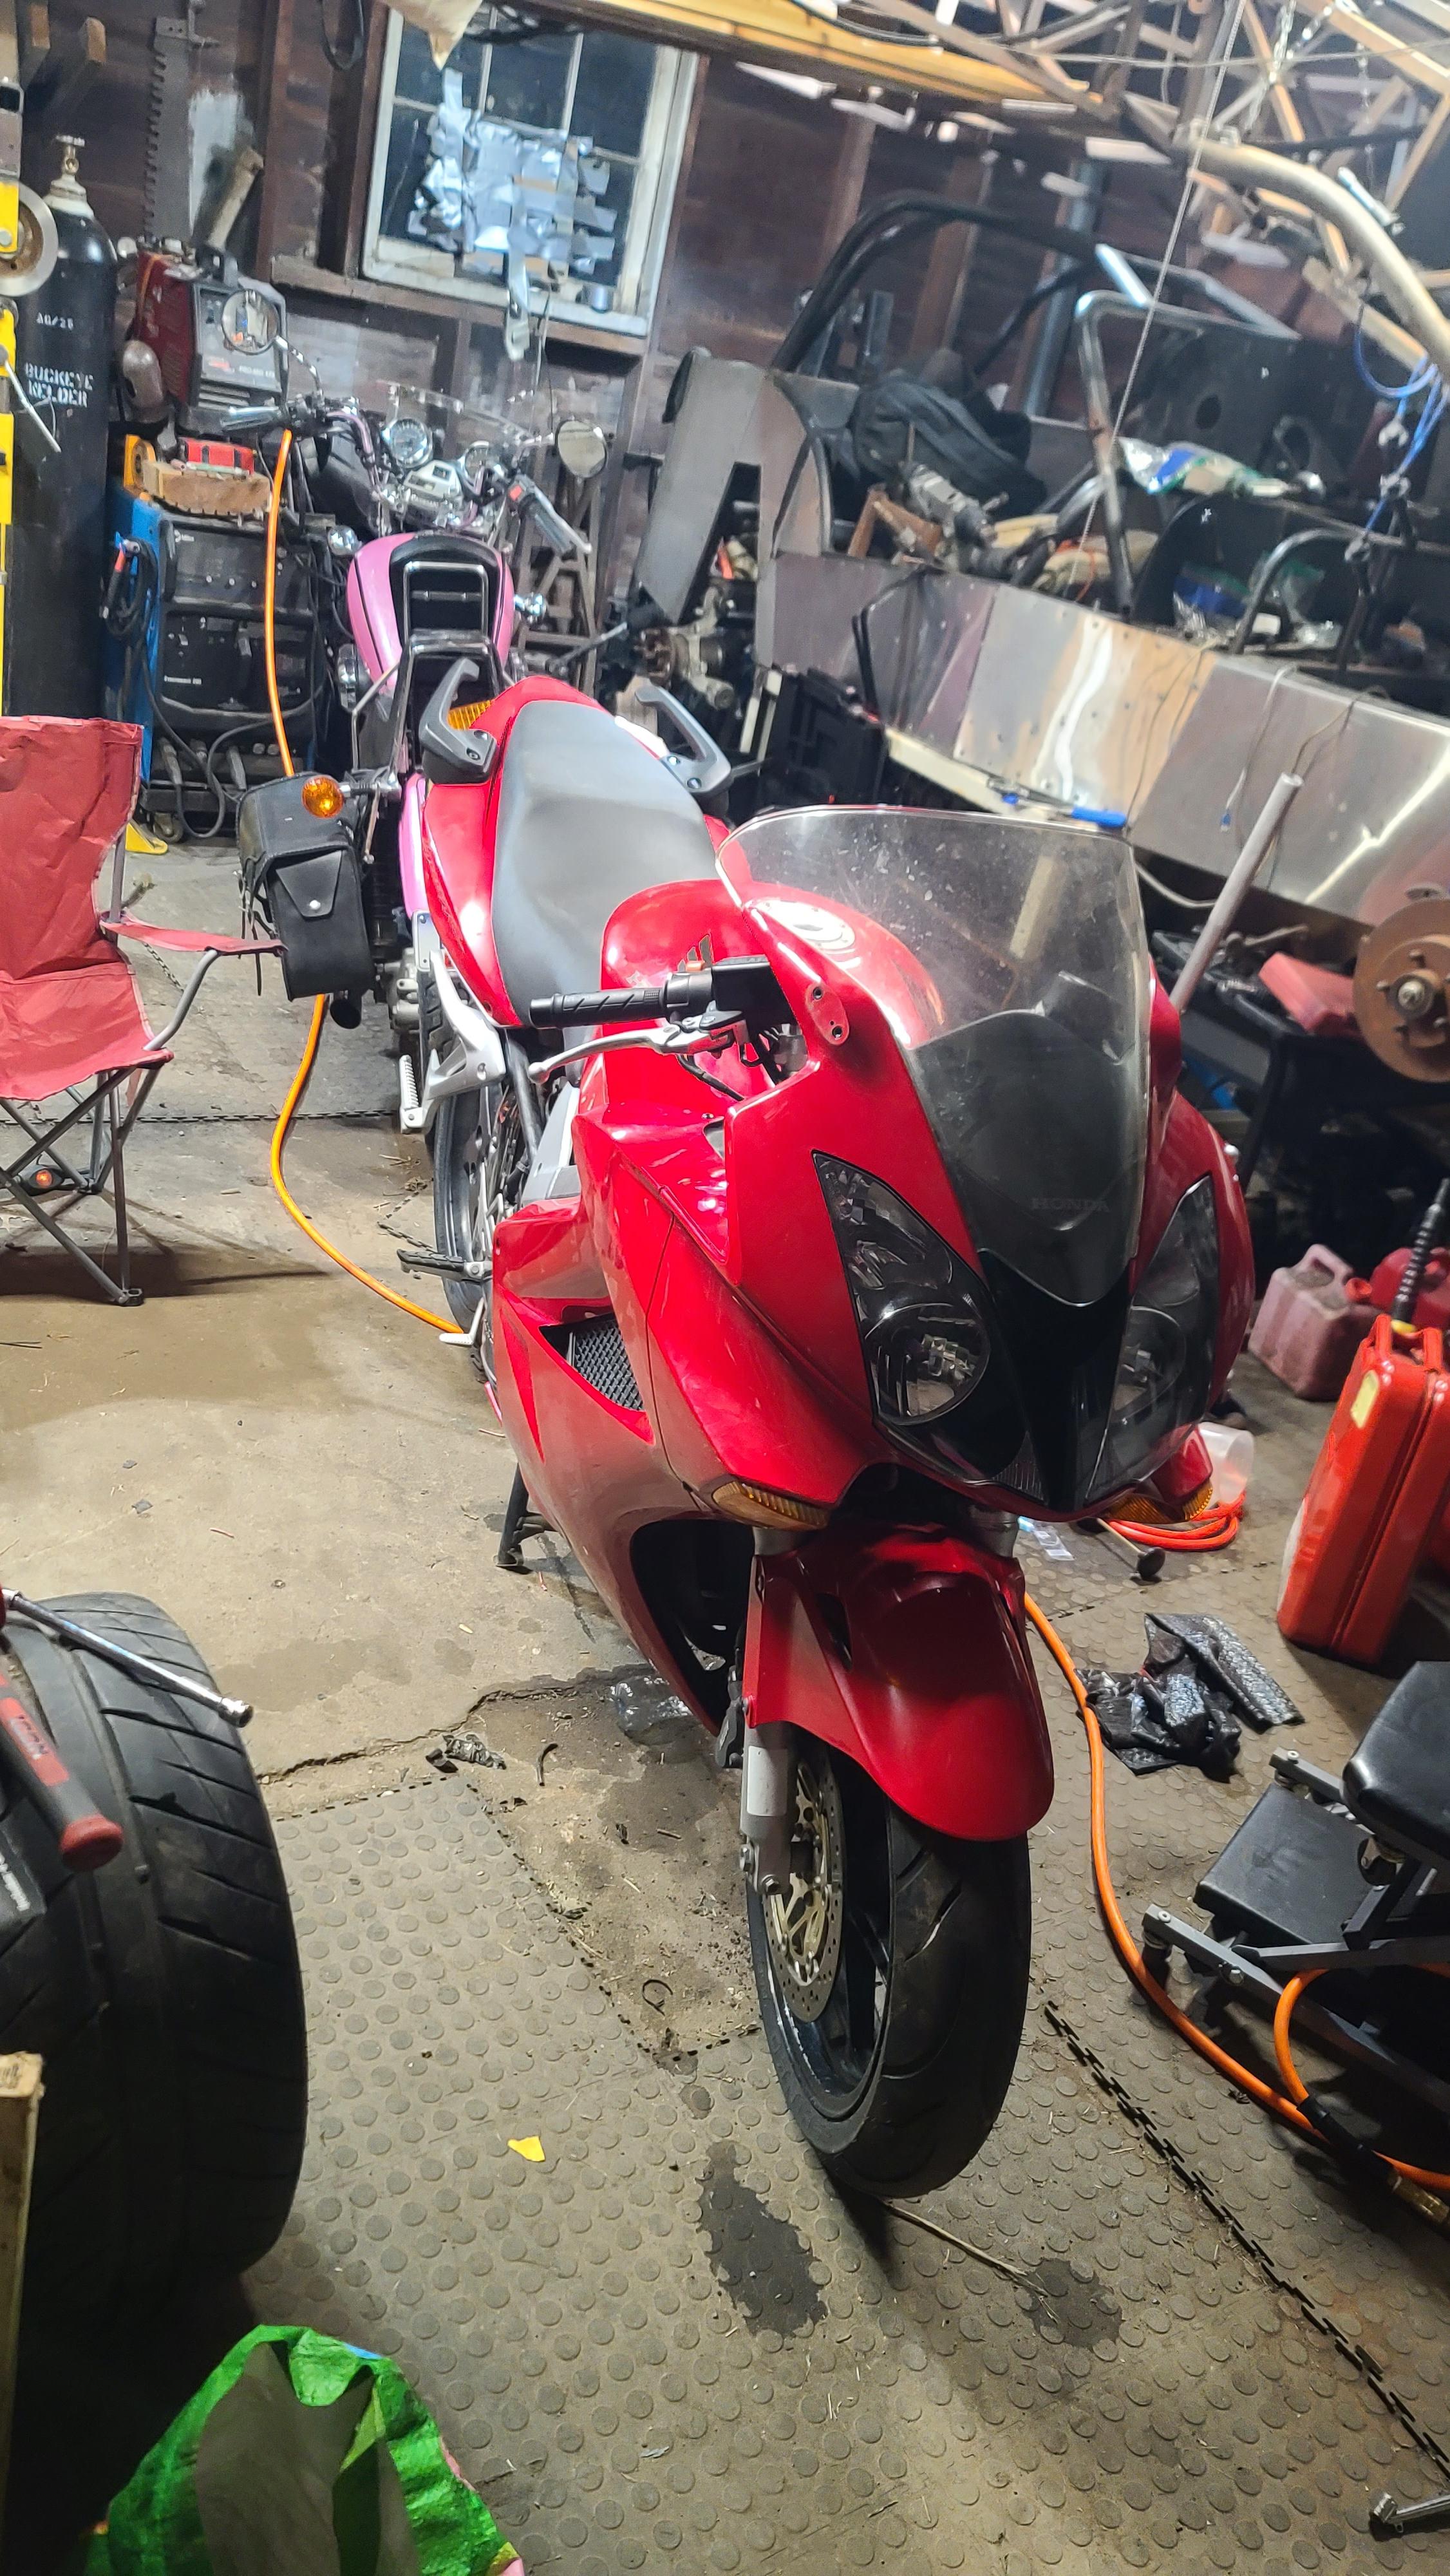
Featured Gallery Photo
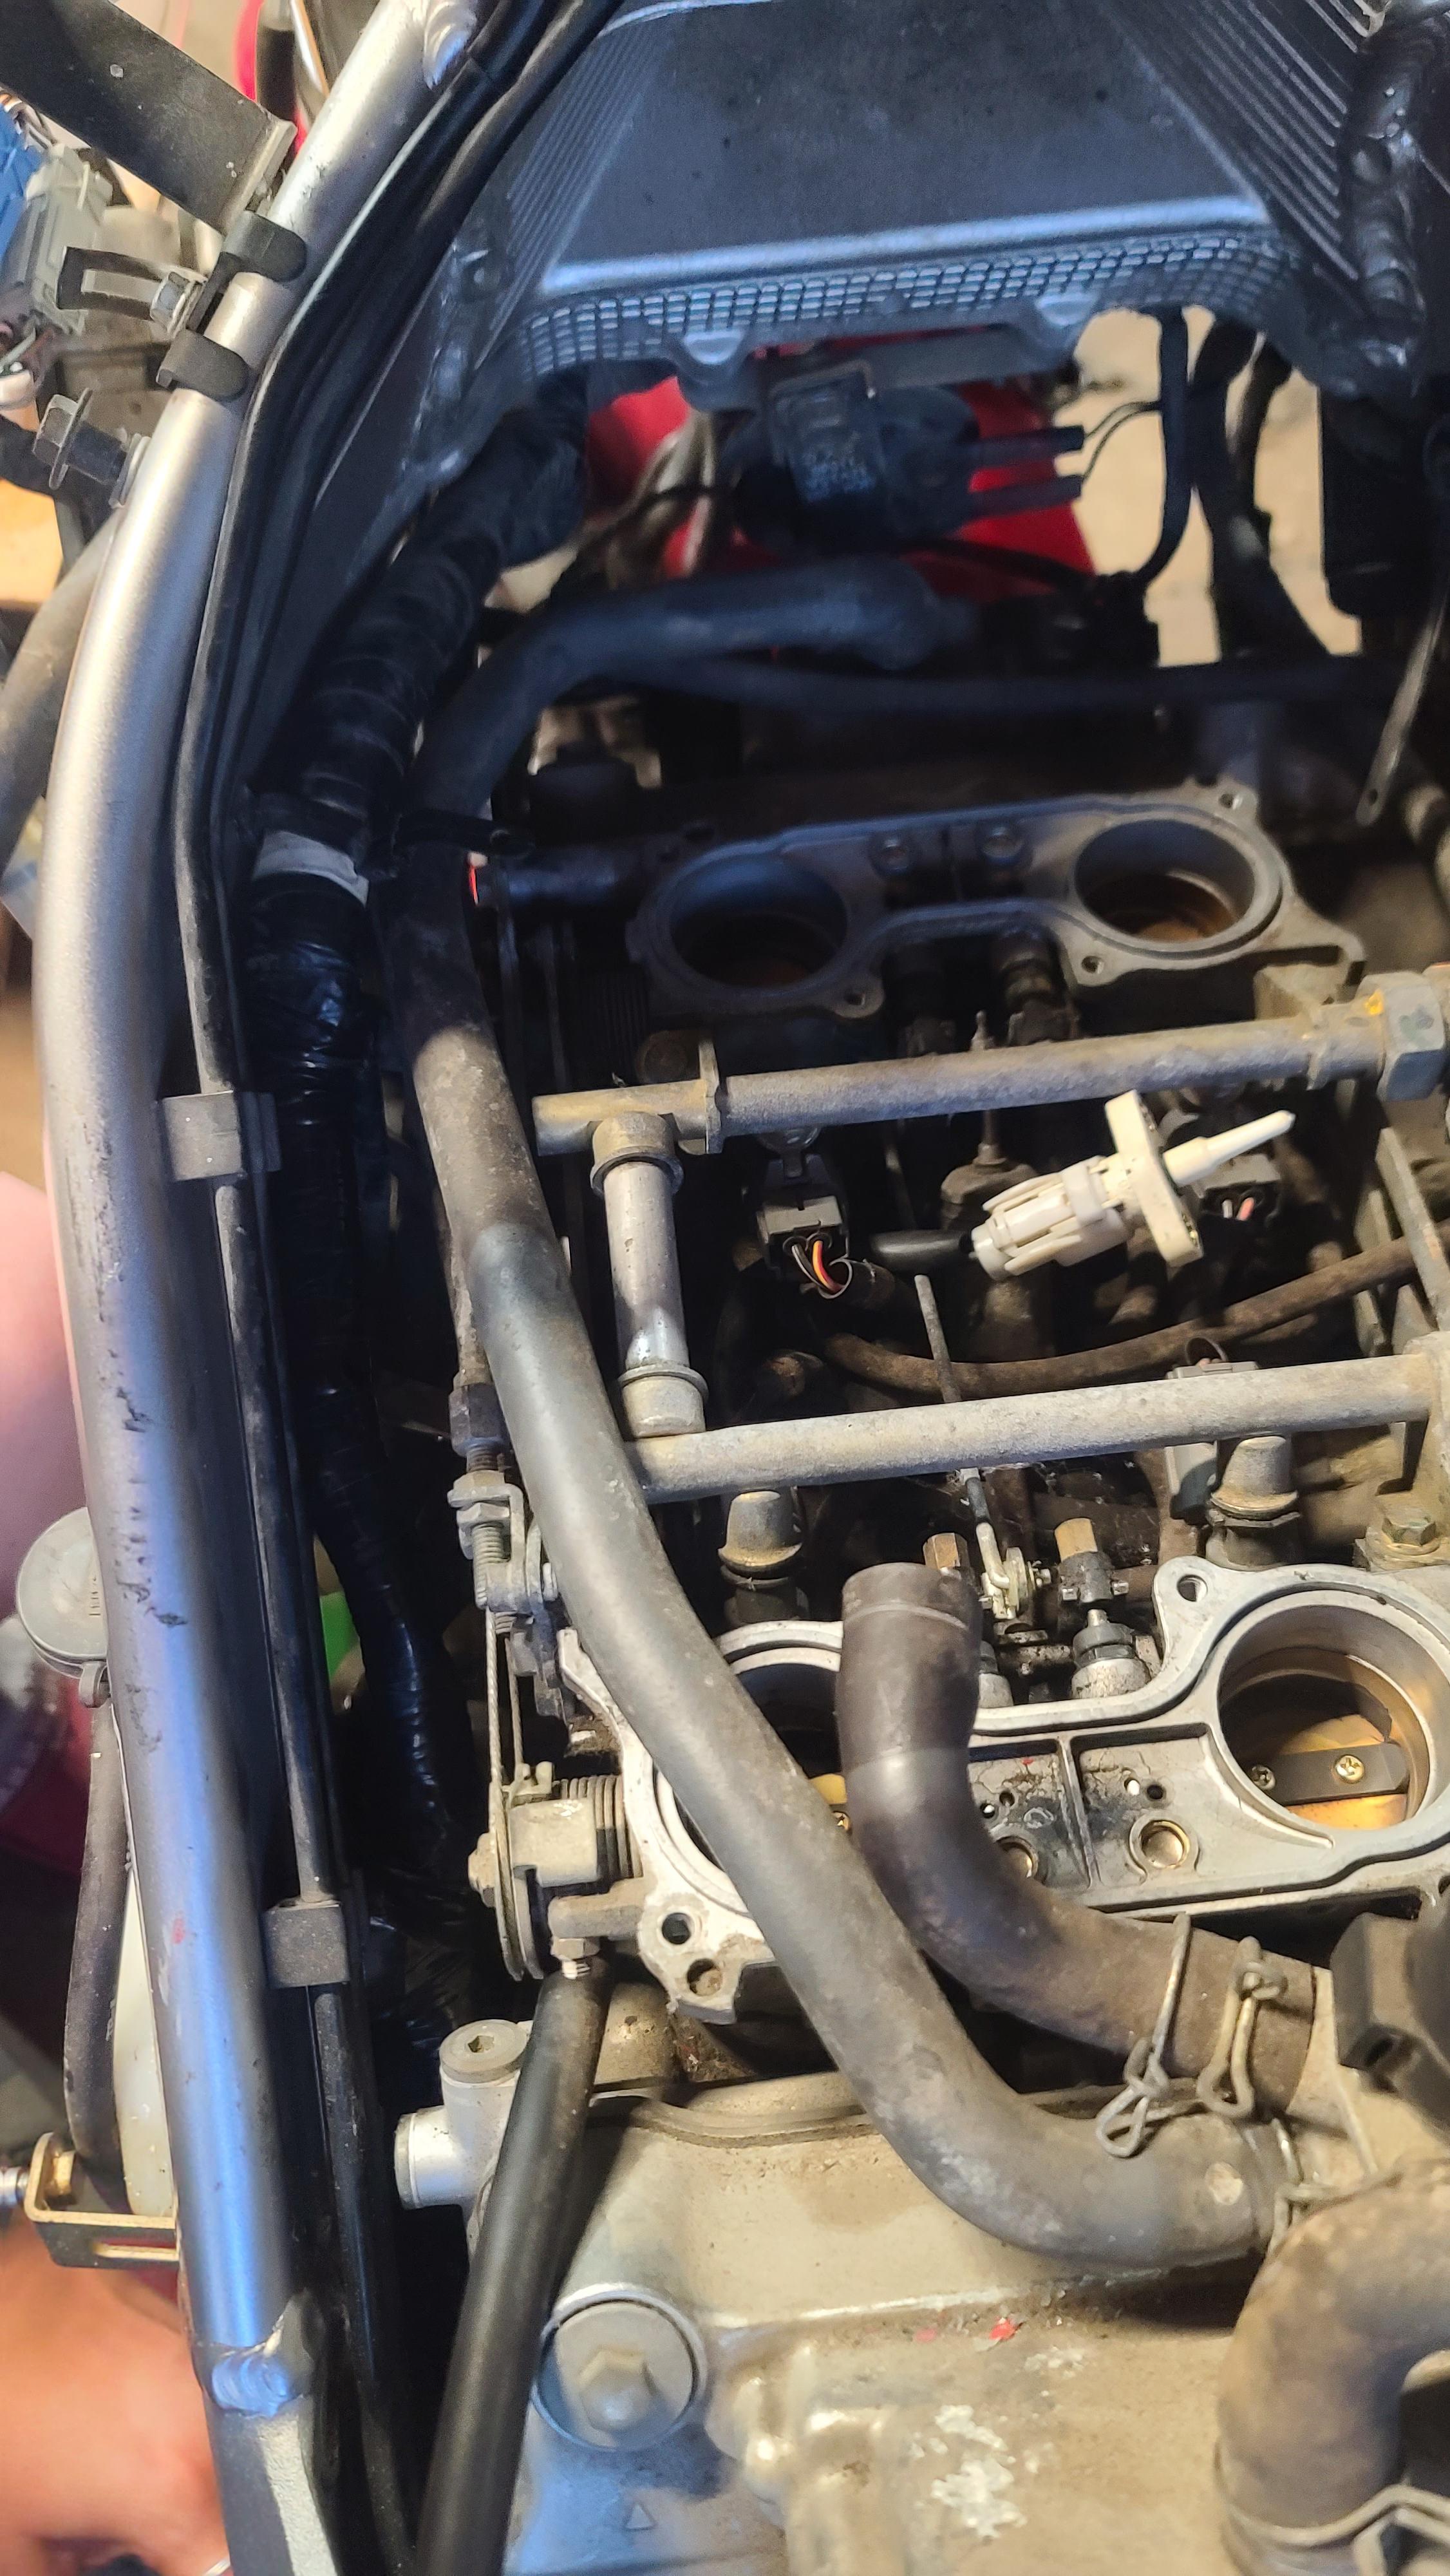
 DSC_7455.JPG

All Activity
- Past hour
-

2008 daily driver getting hard to start... sometimes
Terry replied to Scott45's topic in Sixth Generation VFR's
Not saying this is a sure fire fix but my 2005 ST1300 was doing something similar. Eventually the starter solenoid decided not to click over and I knew it was an electrical fault, and Grum helped me track that one down to the diode, which we thought may be faulty but tested out just fine. The thing that made a difference was cleaning up the connectors on the neutral diode. They weren't obviously dirty but the issue just went away. -
 JDC joined the community
 - Today
-
 Putdatcookidown joined the community
 - Yesterday
-
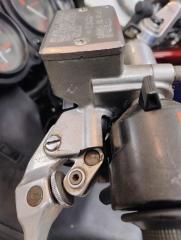
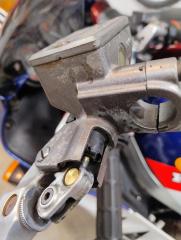
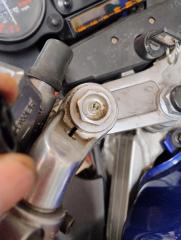
New lever time bro, ya can't buy individual lever parts, only pivot bolts, which i'd also replace with a new lever, pattern parts are just as good as OEM & half the price, OEM levers aren't that pricey to be fair. Bolts likely come adrift due to being bone dry & friction on bolt applying lever has worked it loose, also could av been over tightened & stripped out the thread. I'd pull new lever apart & grease all moving parts with high load grease before install, I strip/clean/lube both levers every year when I flush the brake n clutch fluid. (Dave Silvers Honda) stocks pattern & OEM levers, virtually identical.
-
 omni joined the community
 -

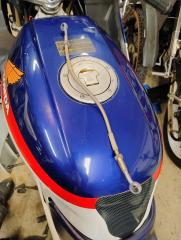
Fuel Indicator stops at half full 2015
ChrisThorners replied to ThornersUK's topic in Eighth Generation VFR's
I finally got round to sorting this. After 5 hours of removing and reinstalling the bastard pump unit, I managed to get the endoscope camera on the float arm. Looks like the tank is a bit contorted, probably from the notorious breather pipe issues I've read about, so the arm was touching the bottom of the tank, so it wasn't lowering fully. I changed the angle on the float arm, reinstalled and bobs your uncle, it now works. Pretty sure the breather pipe was trapped when I got it, sorted that ages ago. Happy days, chuffed.
-
 Wipper101 joined the community
 -
 StanislawSzymanski joined the community
 -
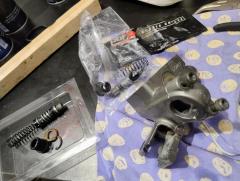
JZH - Thanks for linking your thread on this topic - you got some good photos of the job to look at.. I'm going to do mine, I have a spare rear I am going to use as a "practice" run... then do the caliper that I am going to use... Already have a 14mm rear master cylinder on the bike... did that long ago. Getting rid of this bridge loop thingy... it has performed well but since I am doing the caliper rebuild, I'm in the "why not" mode. My bike refresh has gone frustratingly too long... I am waiting for some parts on backorder..(dammit) Kinda in the mode of what kind of "while I'm at its" can I do in the mean time.... Its bye bye bridge line....
-
Had to look that one up! Measuring is good: I have loads more to do. I also have to re-design the carrier (again), because I forgot about my SXV550... First world problems! Unfortunately, it is longer and taller than the other bikes, which throws off some of my calculations. Better to know now than later... Ciao, JZH
-
That video is pretty much exactly how I did mine last year. Easy peasy, provided you're prepared to rebuild the caliper (and don't mind one-way mods). The only other caveat is that this requires a 14mm rear master cylinder to achieve a comparable hydraulic ratio. Ciao, JZH
-
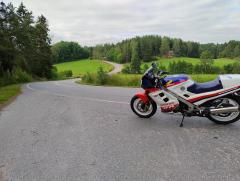
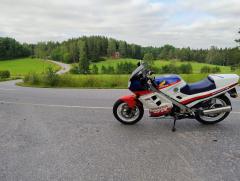
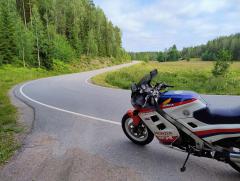
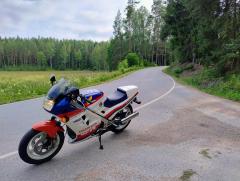
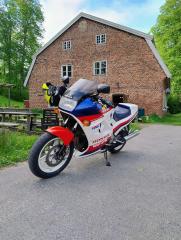
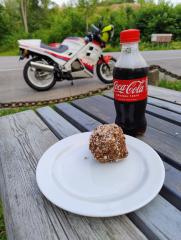
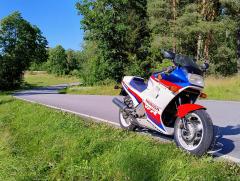
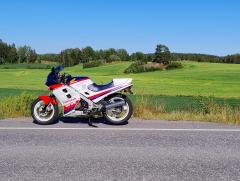
Pics of my VFR and ride pics!
-
-
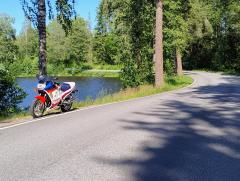
Other VFR and other pics....
-
-
https://www.vfrdiscussion.com/index.php?/files/category/1-power-commander-maps/
-
Yeah, I was thinking that drilling had to come in at some angle...glad I was wrong!
-

2002 VFR 800 (US) Not Starting (No Spark/Electronics Issues)
mello dude replied to SteyrTMP's topic in Sixth Generation VFR's
Wow, great job, you have far more patience than what I would have dealt with. A tip...the CBR500R uses the FH020AA R/R...Mofset...mbe find one off ebay.... Watch out for Chinese copies.. -
Way different than what I was expecting or thought I read about. What a great tip. I swear I've seen photos of drilling at angle or something.
-
Jeez, that looks easy, shit yeah... Thanks!
-
Street Triple? Yes. If you asked me a couple of years ago what my next bike would be, the Daytona or almost any Triumph w that great three cylinder engine would have been my answer. Brutale, well, not seriously considered but maybe I should have looked at it more closely. Don't worry, I'll go on and on about the new bike ad nauseam once I actually ride it, but for $11.5 new it's got a lot. More to follow.
-
Clearance for the forks will be at a premium, my Vtec's ground clearance is only 125mm per the manual. Every time I think of an idea to try I end up looking was puzzled as Nathan Fillion. Good luck, John.
-
Good choice, and a much prettier bike than the KTM 890. More serious than the Trident 660 - was a Street Triple R ever in the cards? Or perhaps a Brutale RR?
-

2002 VFR 800 (US) Not Starting (No Spark/Electronics Issues)
SteyrTMP replied to SteyrTMP's topic in Sixth Generation VFR's
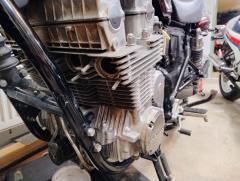
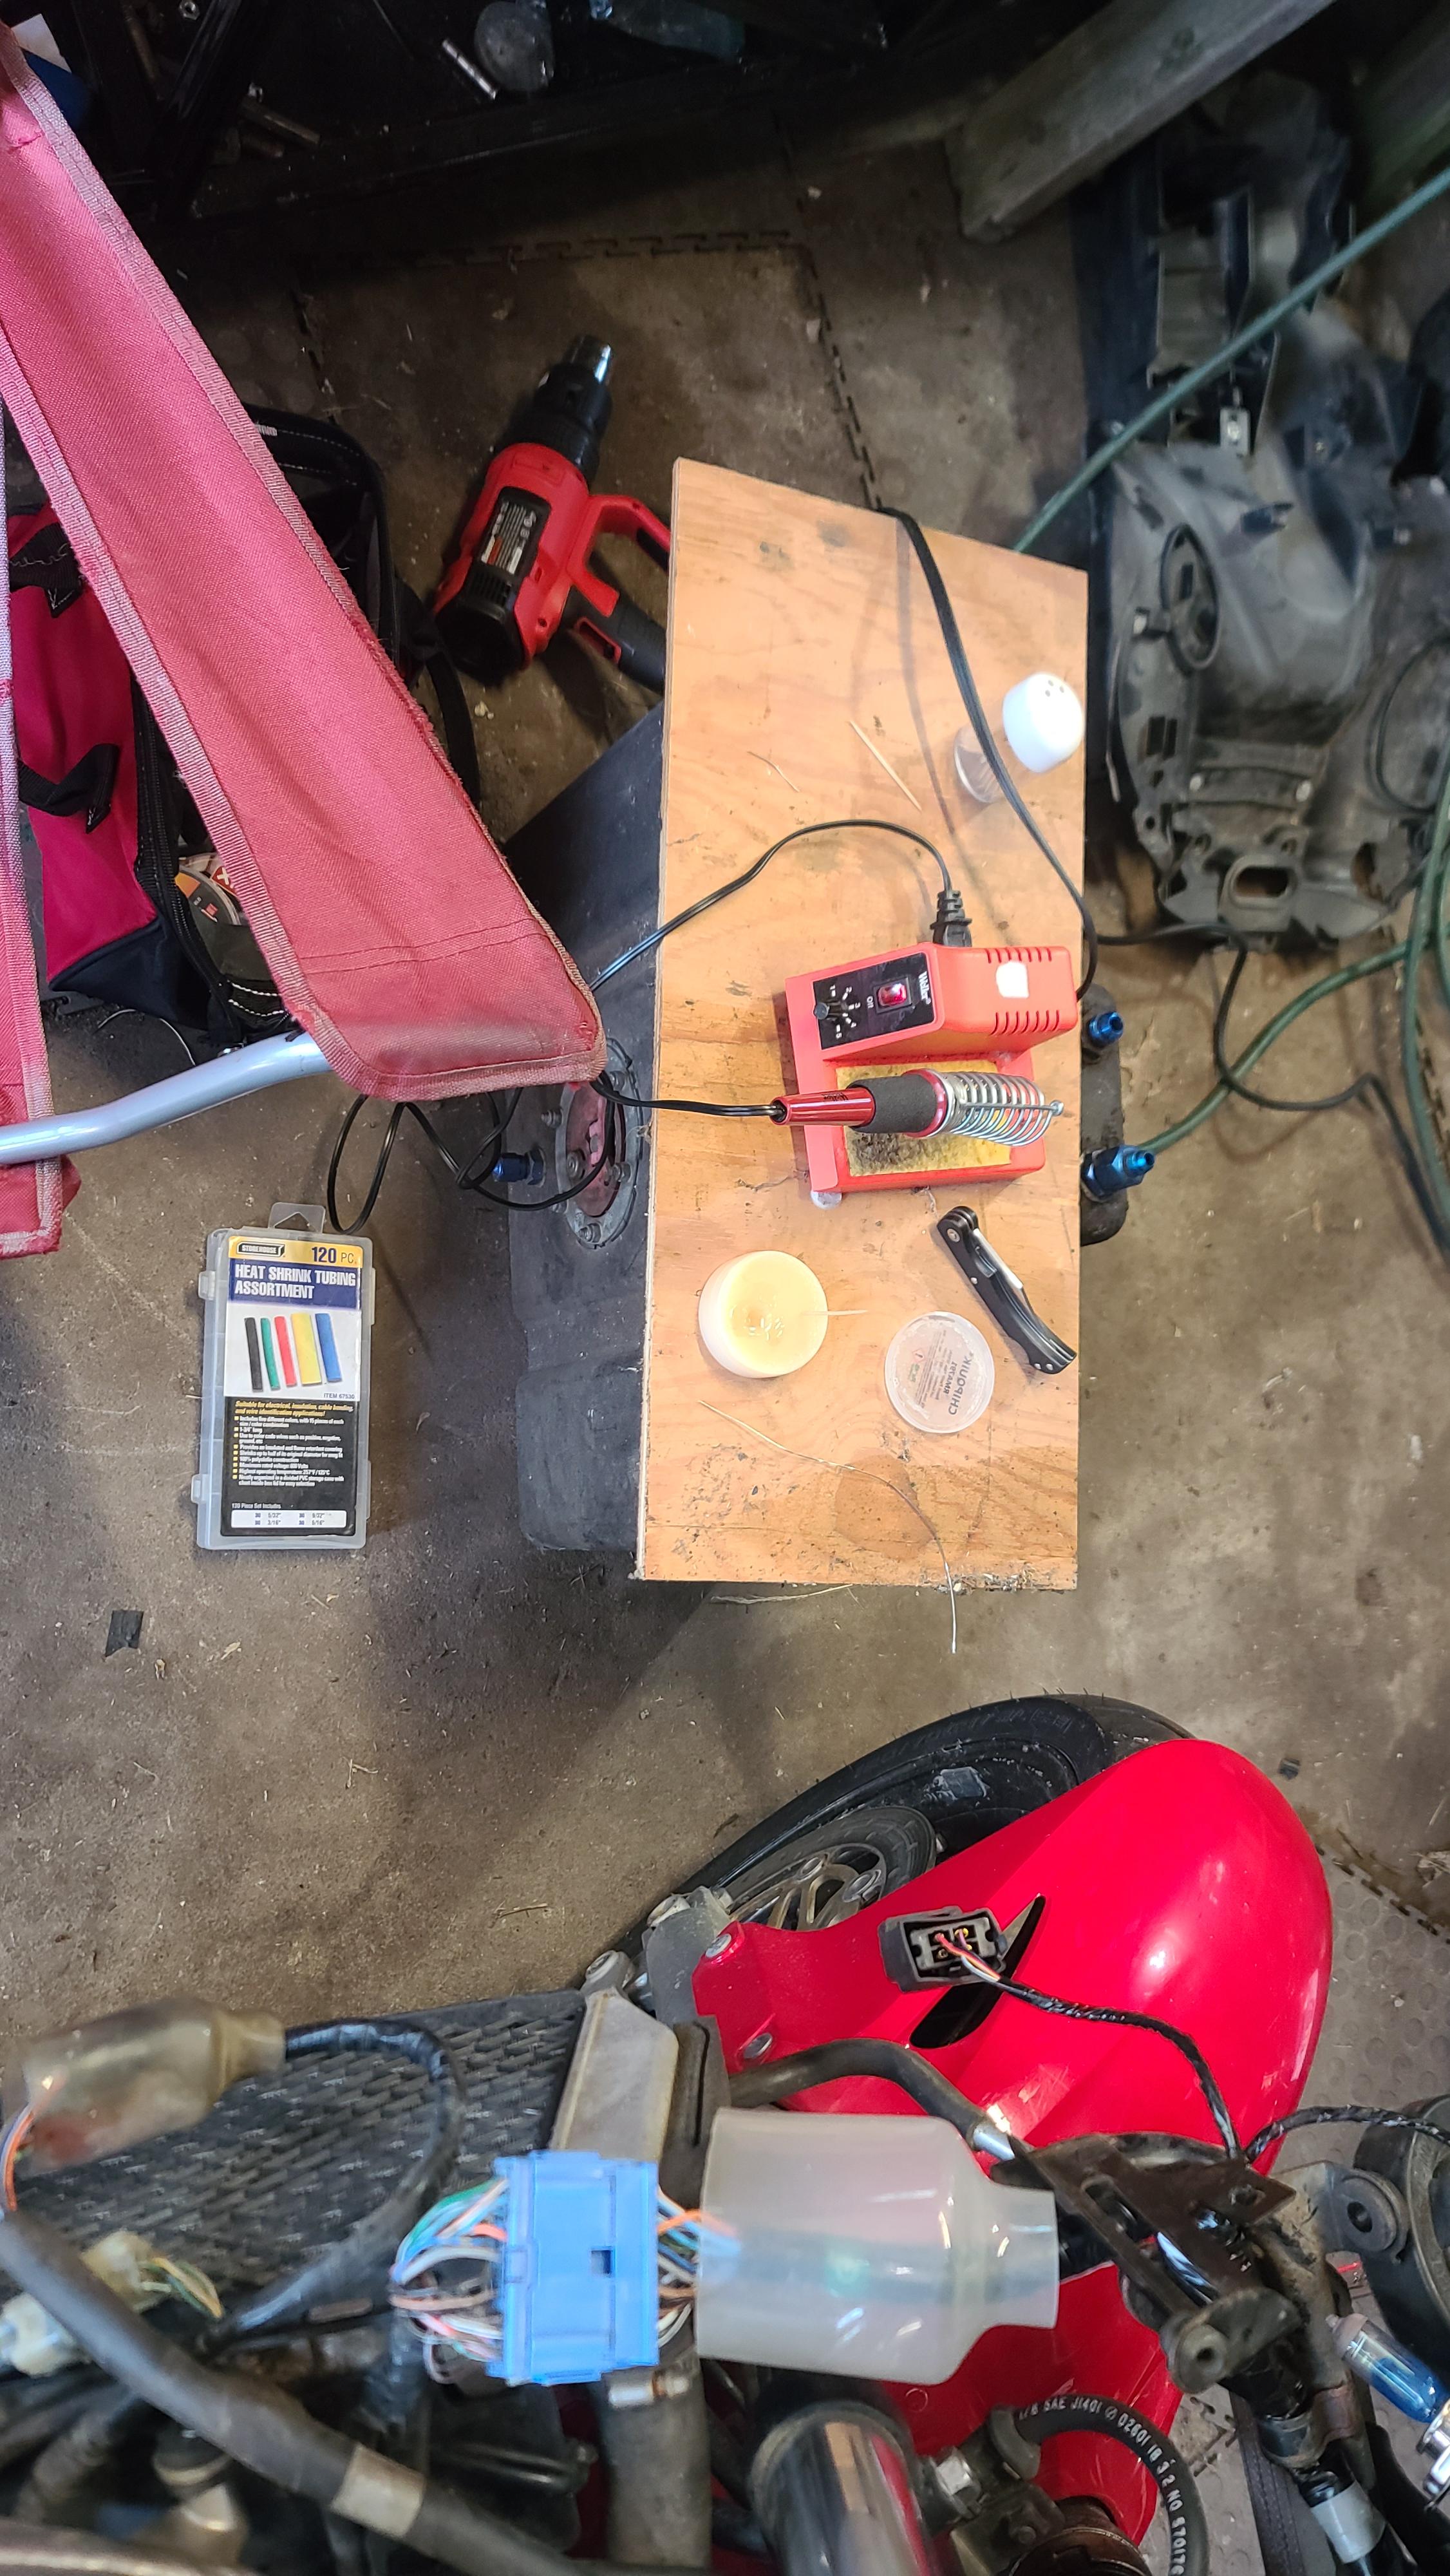
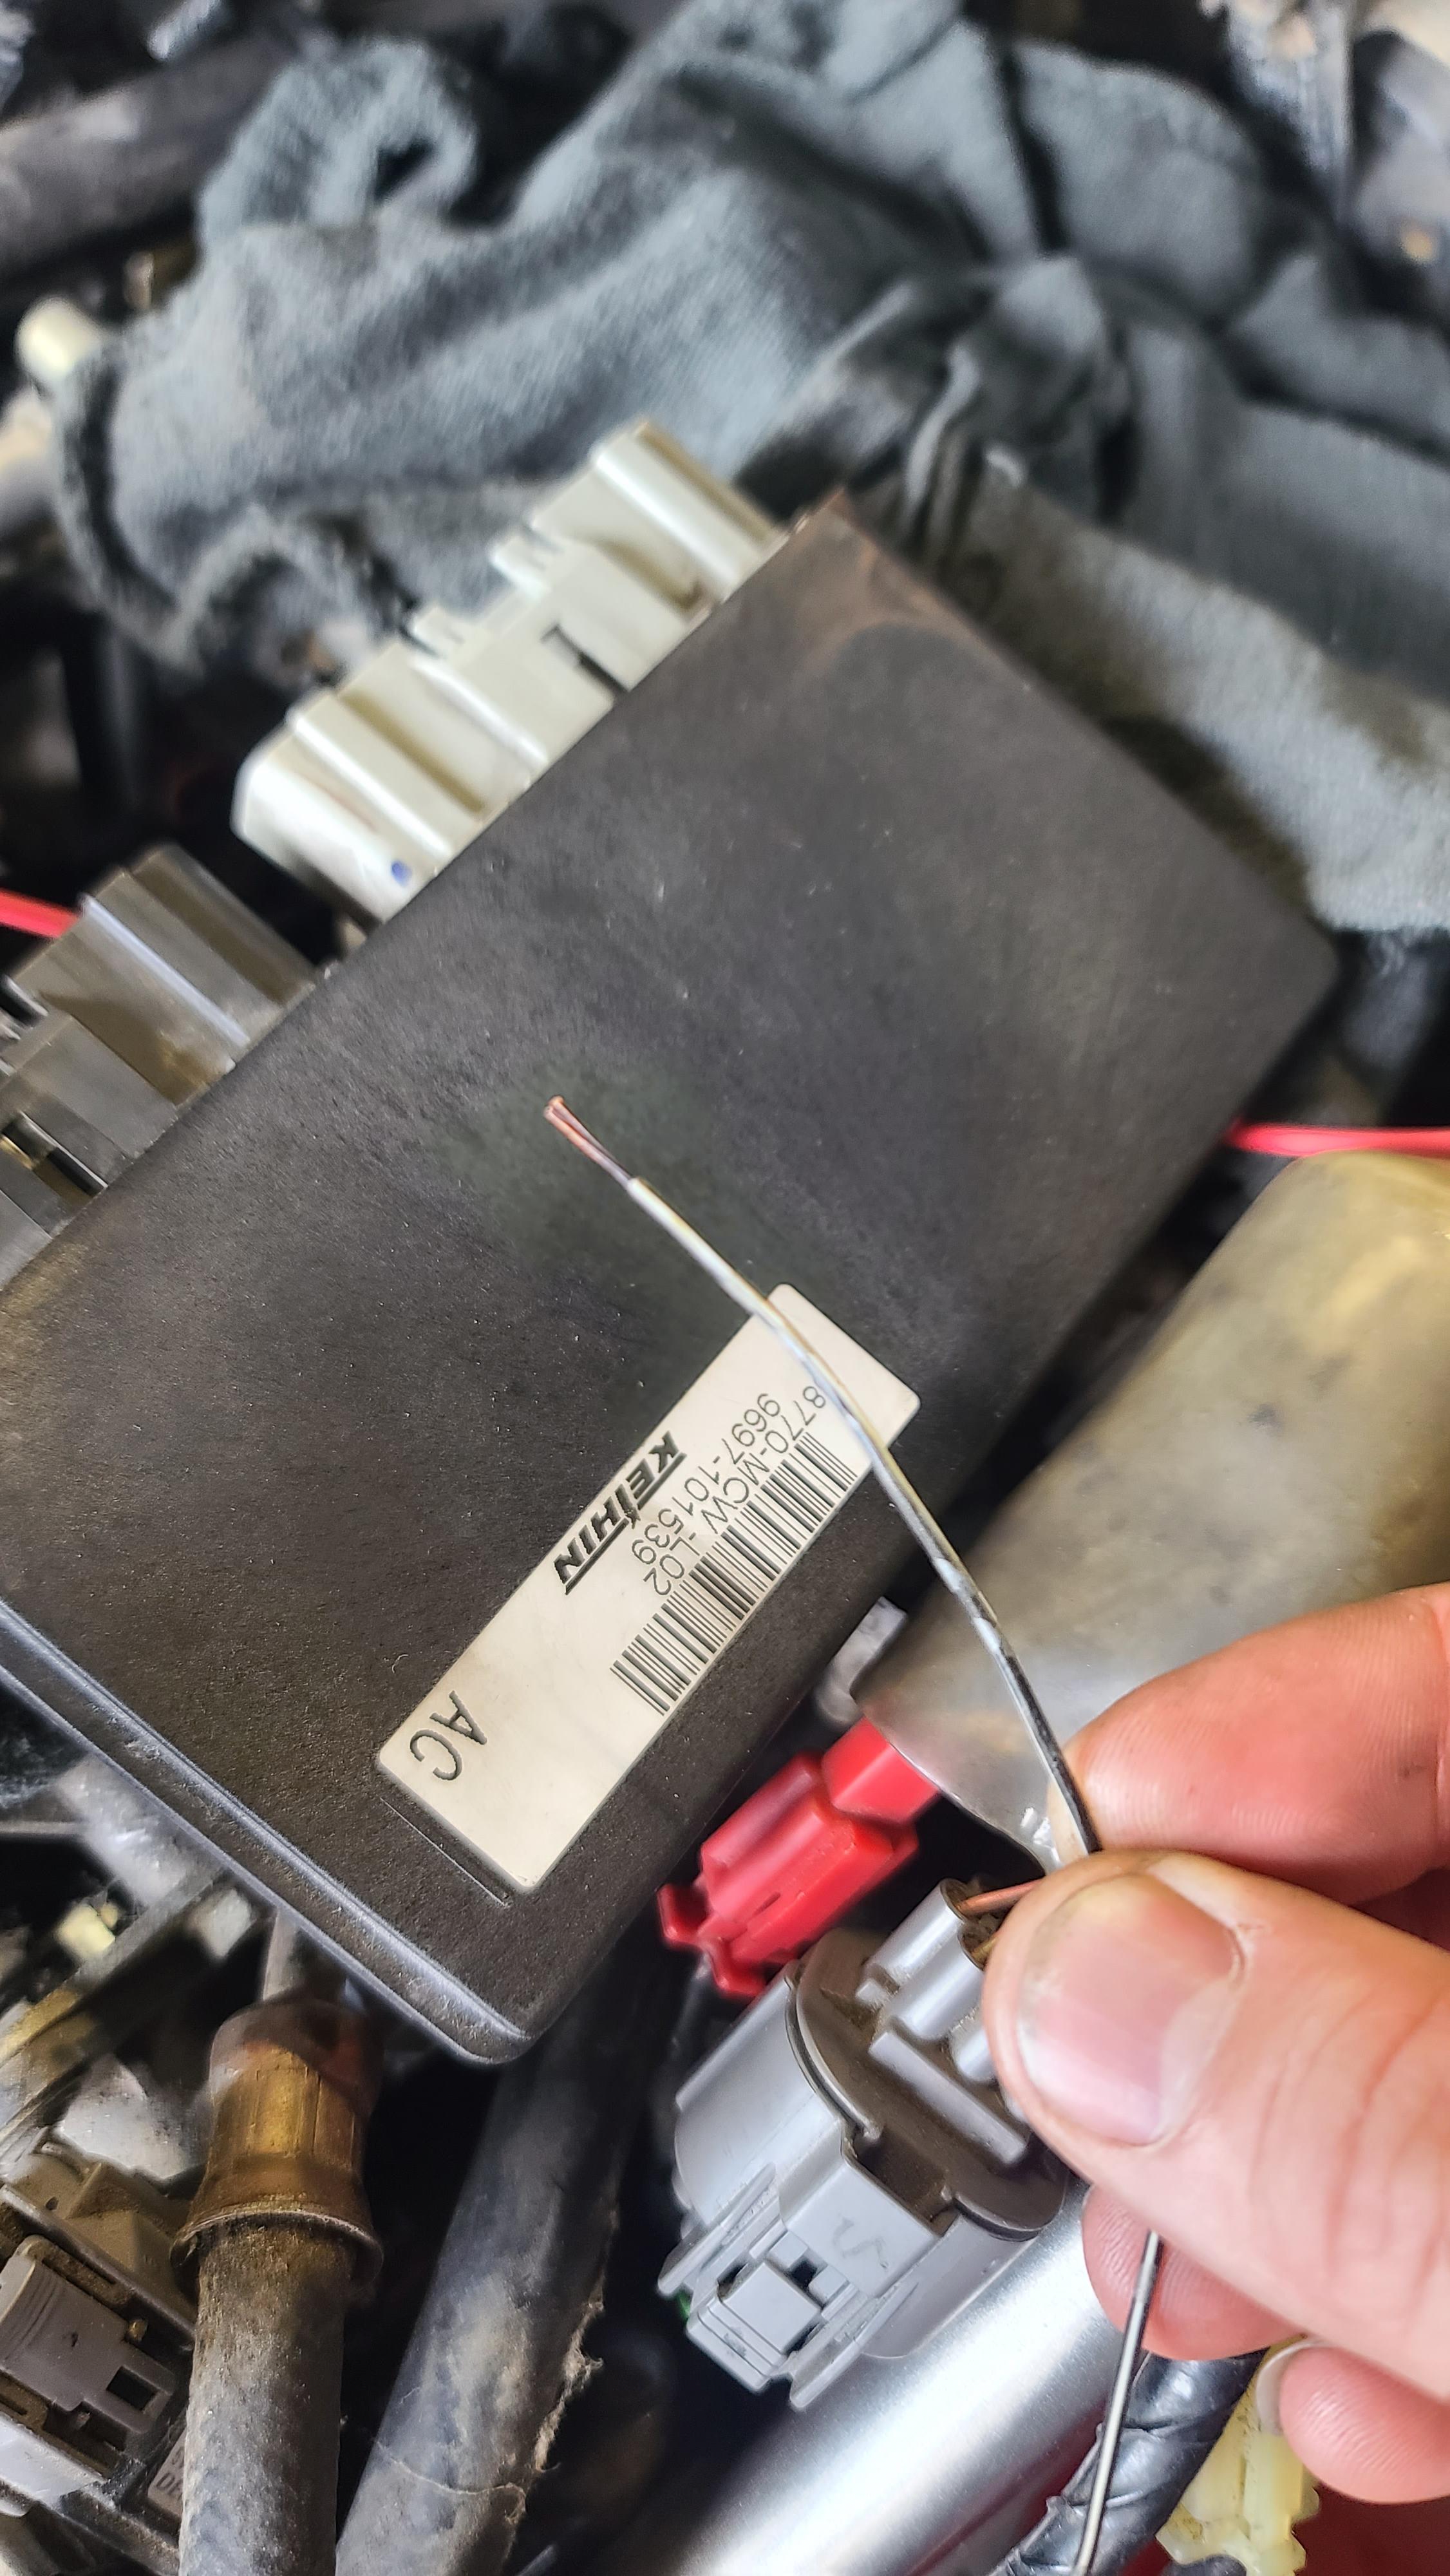
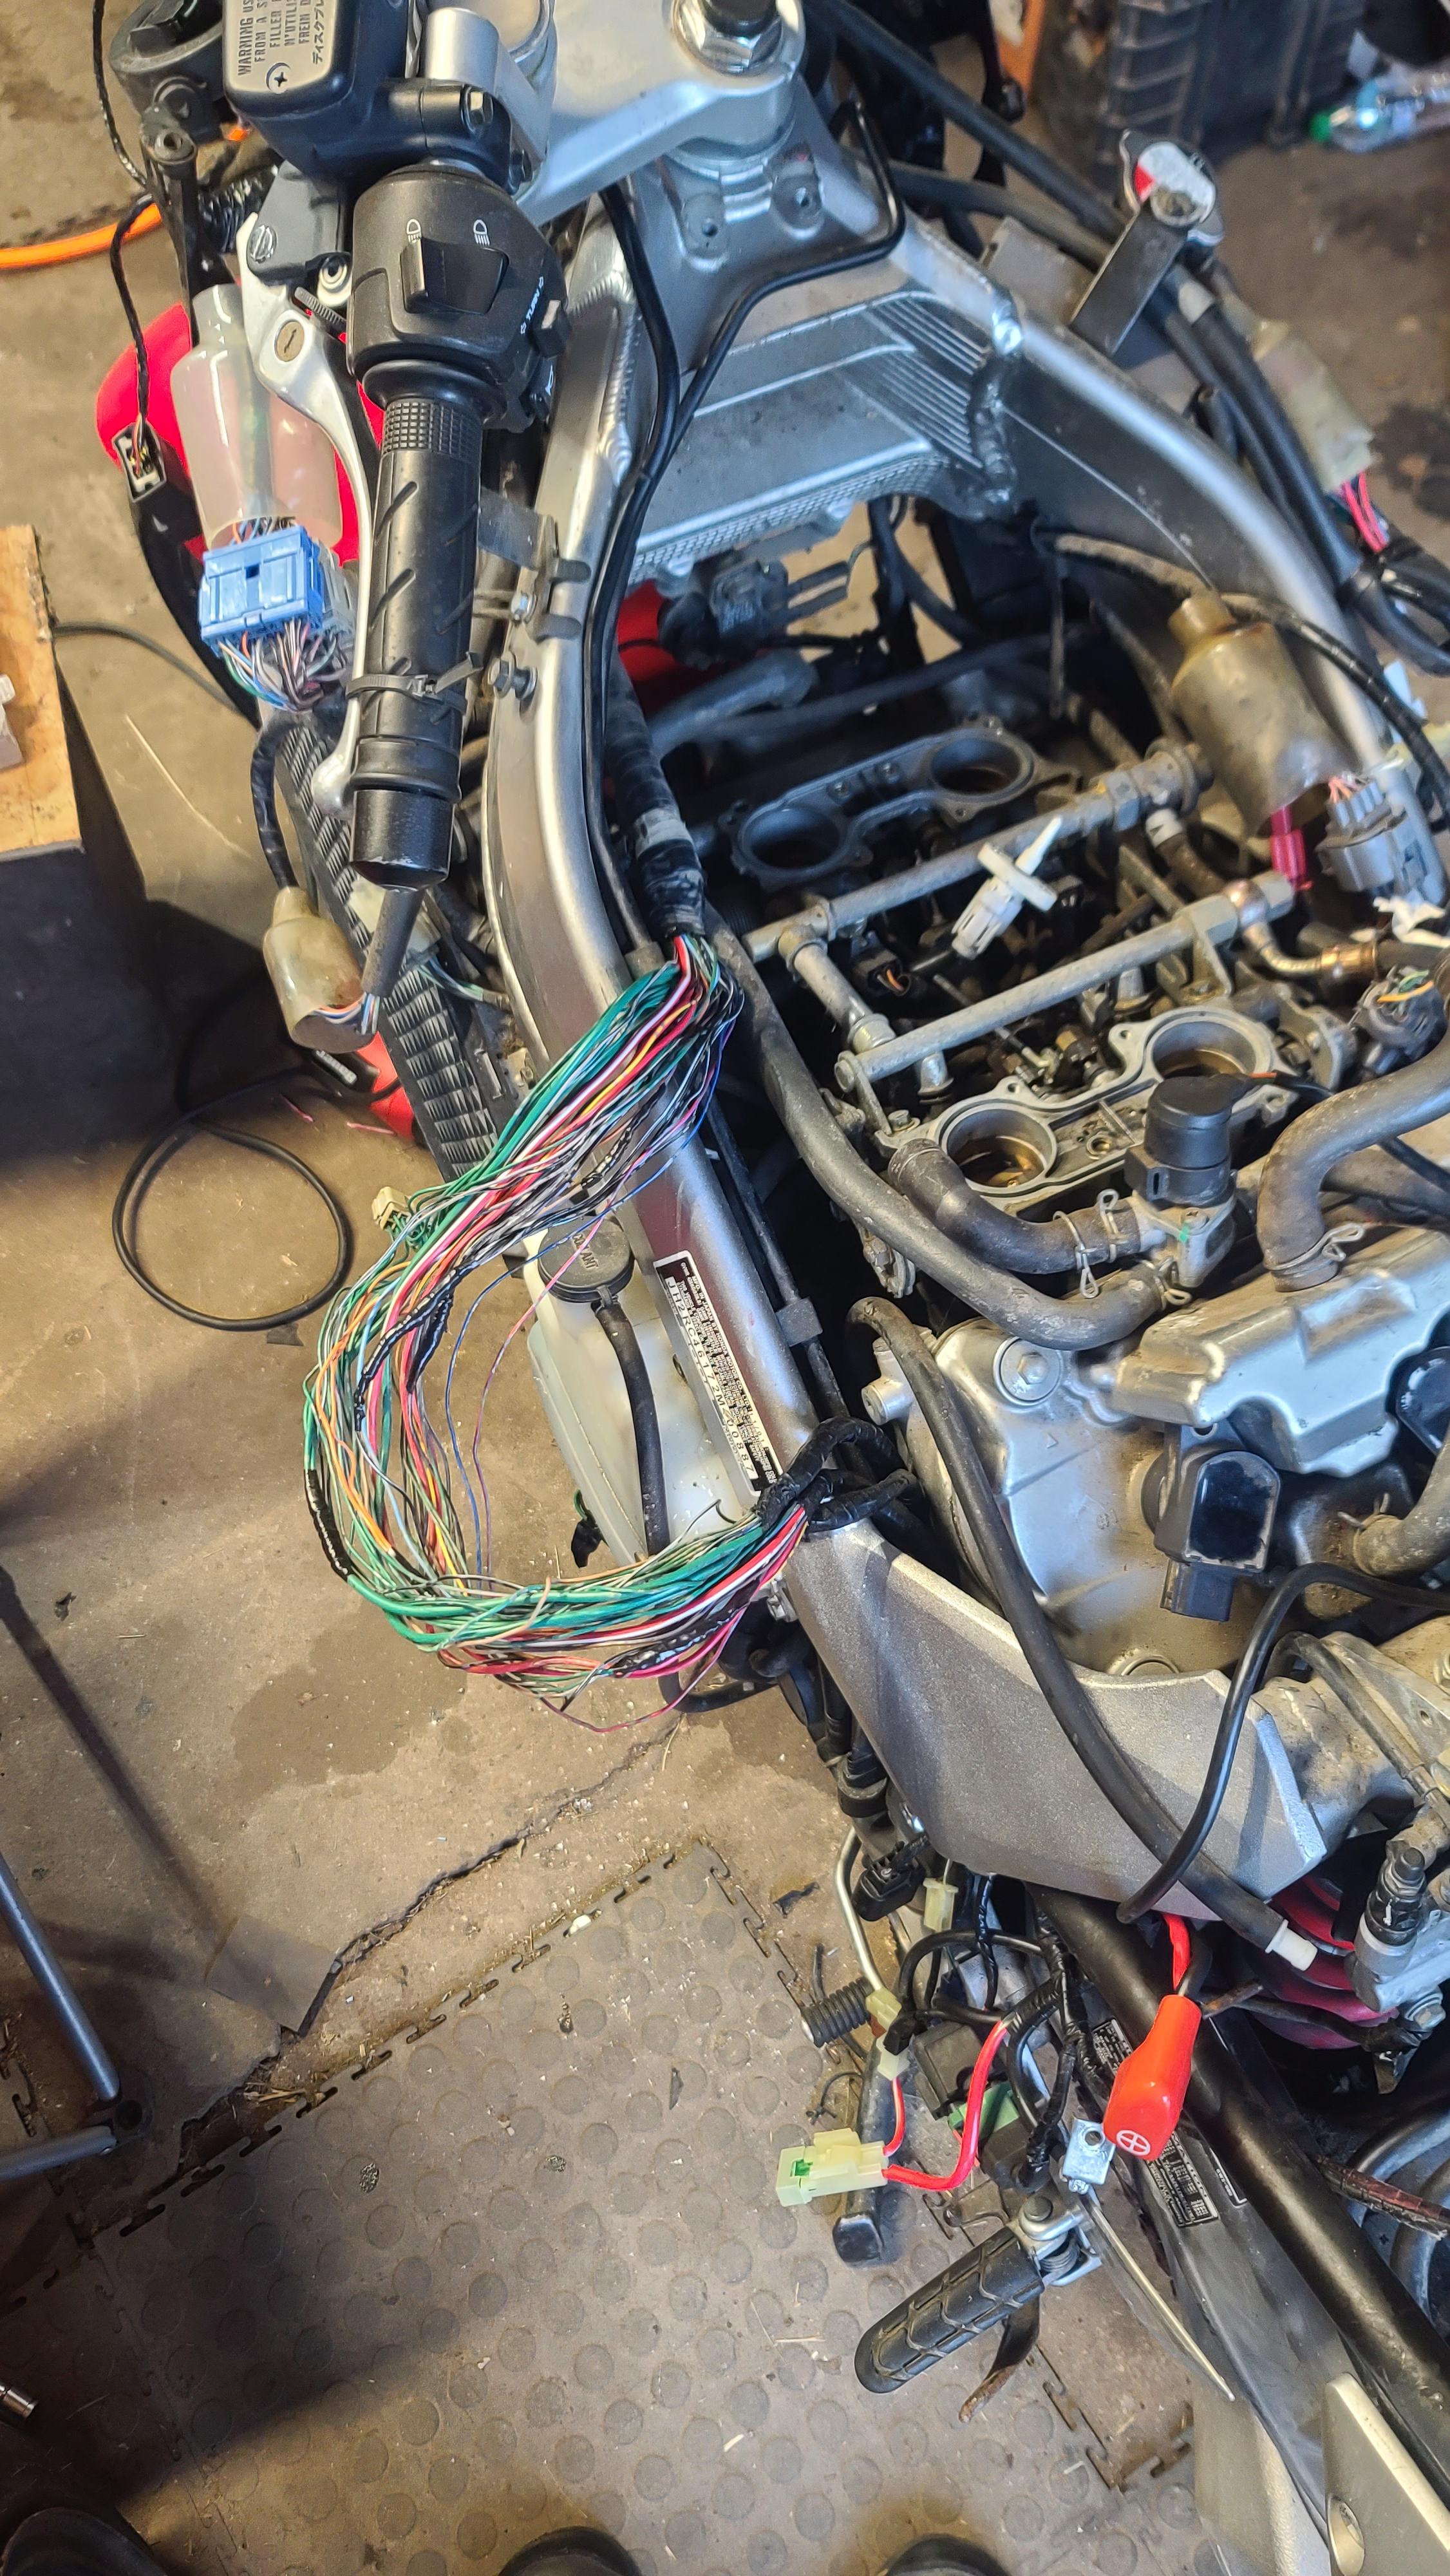
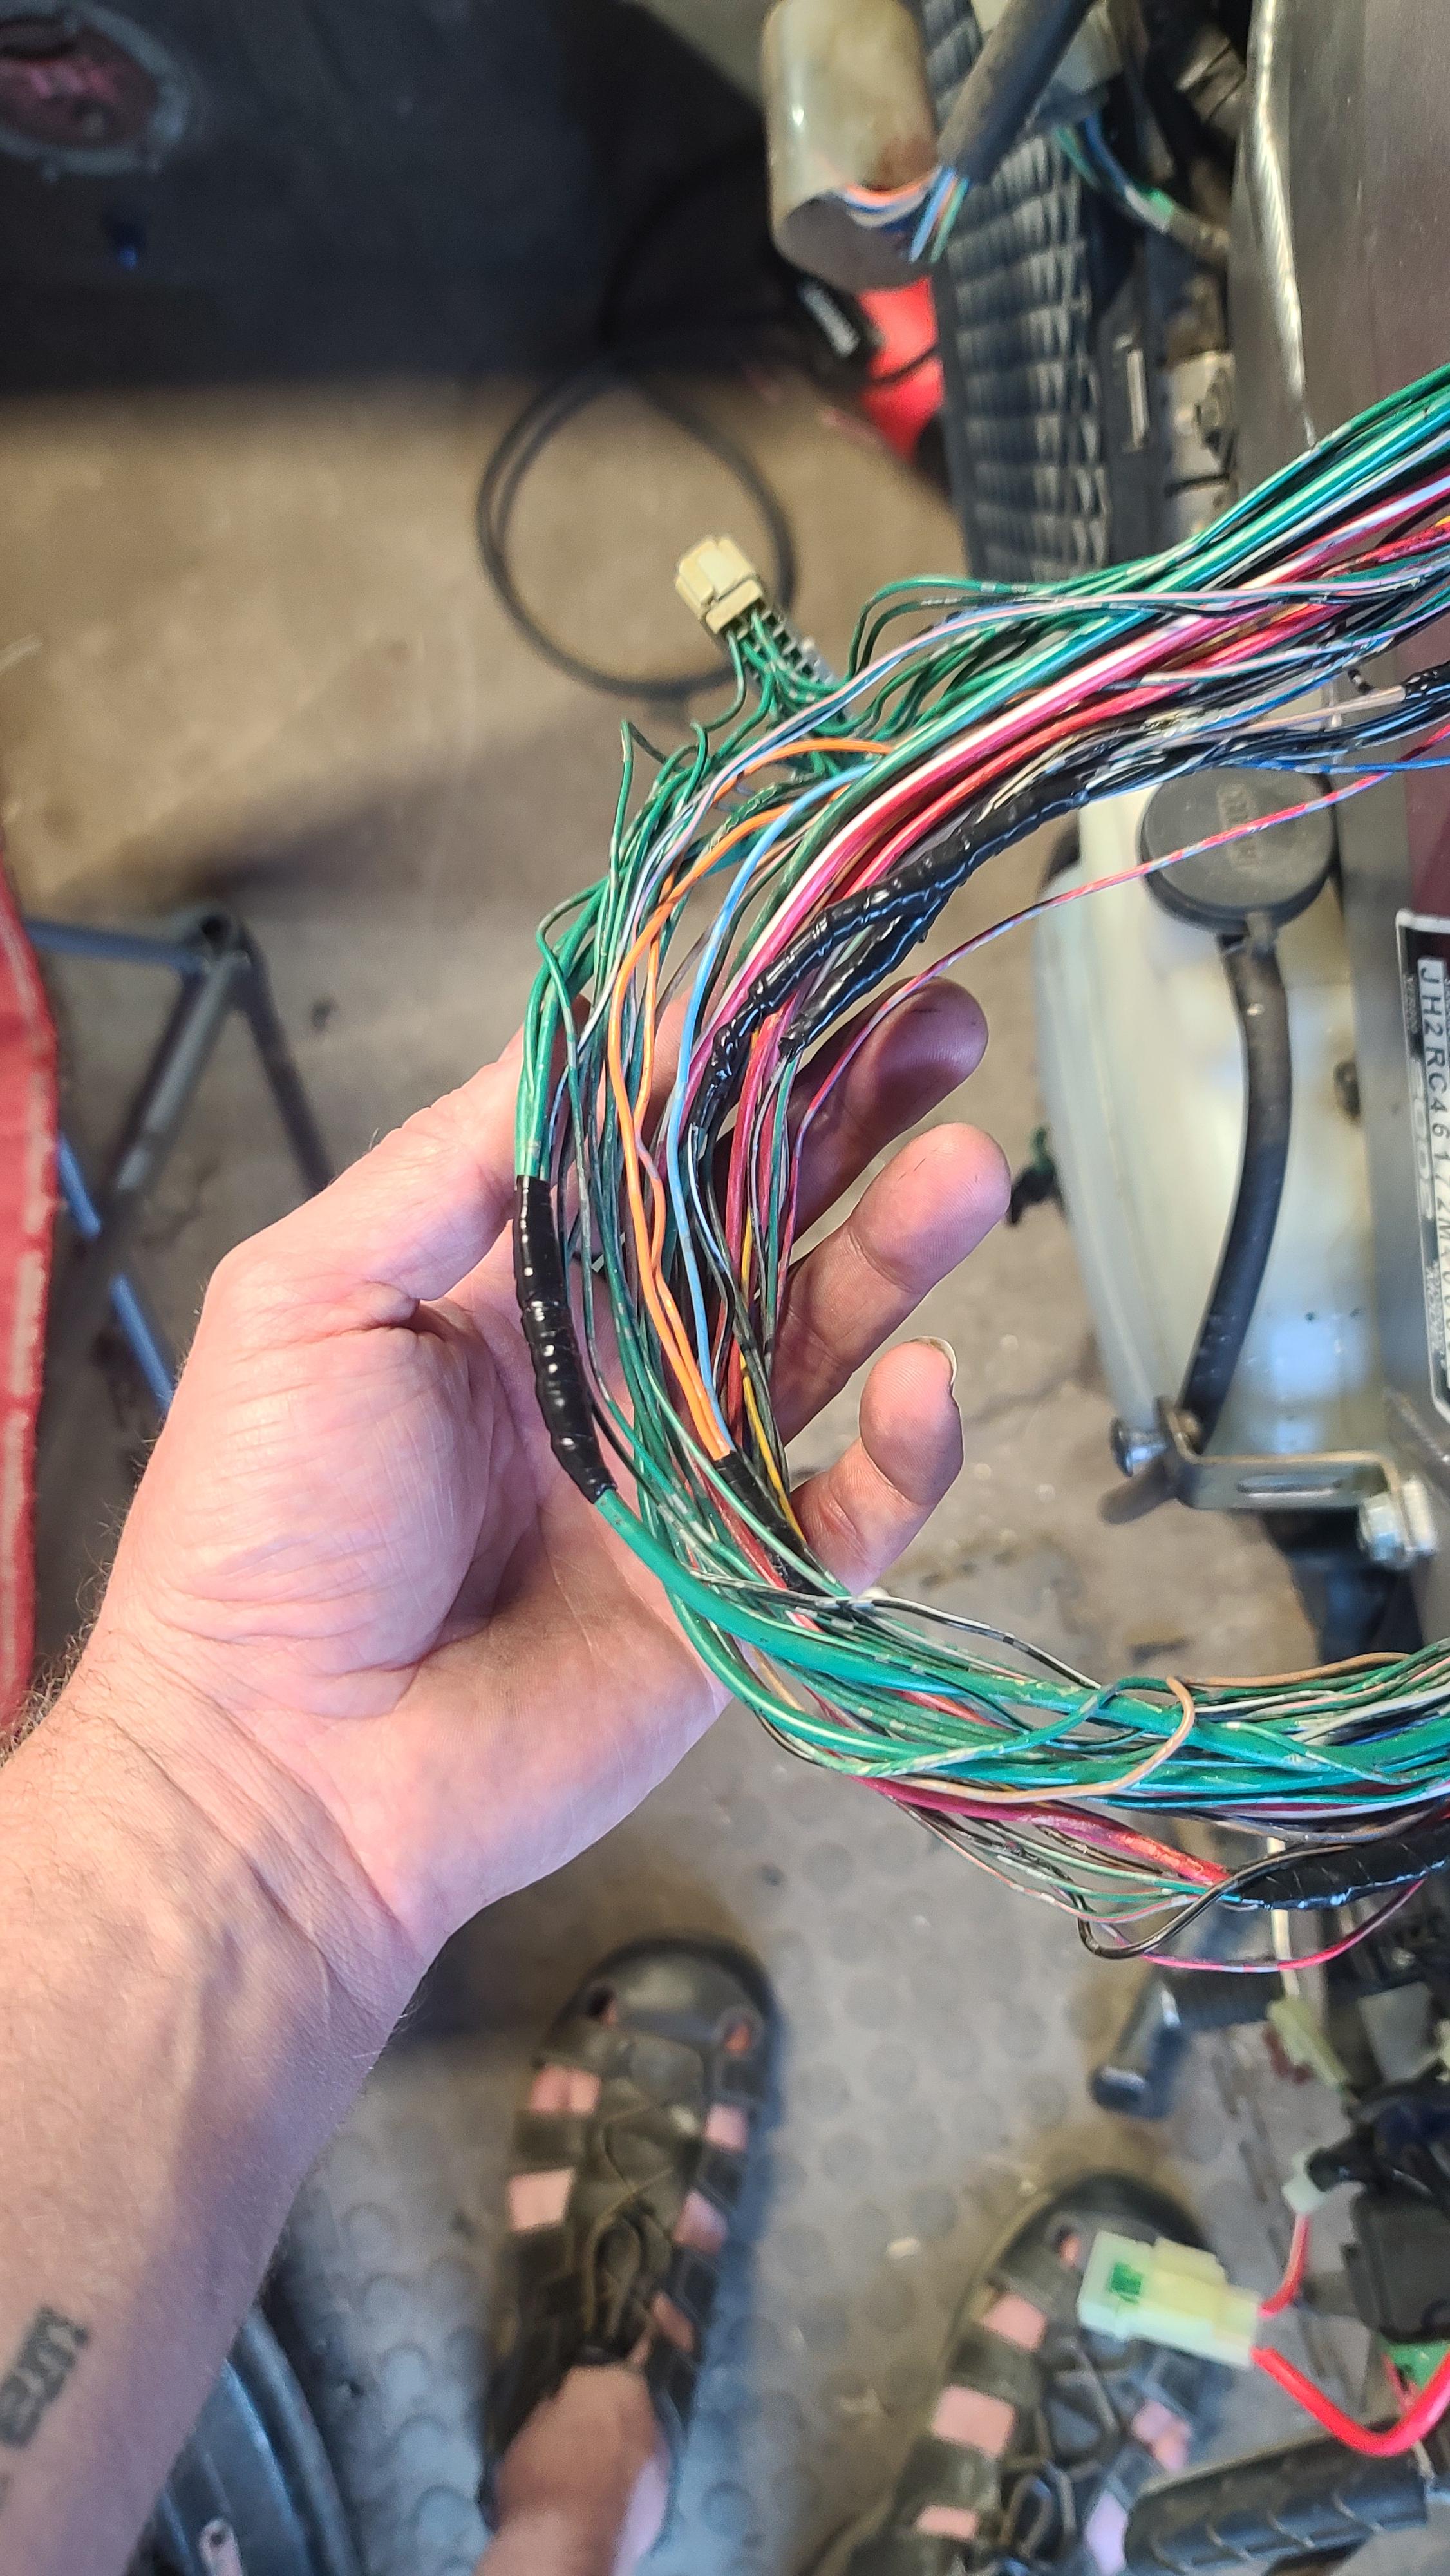
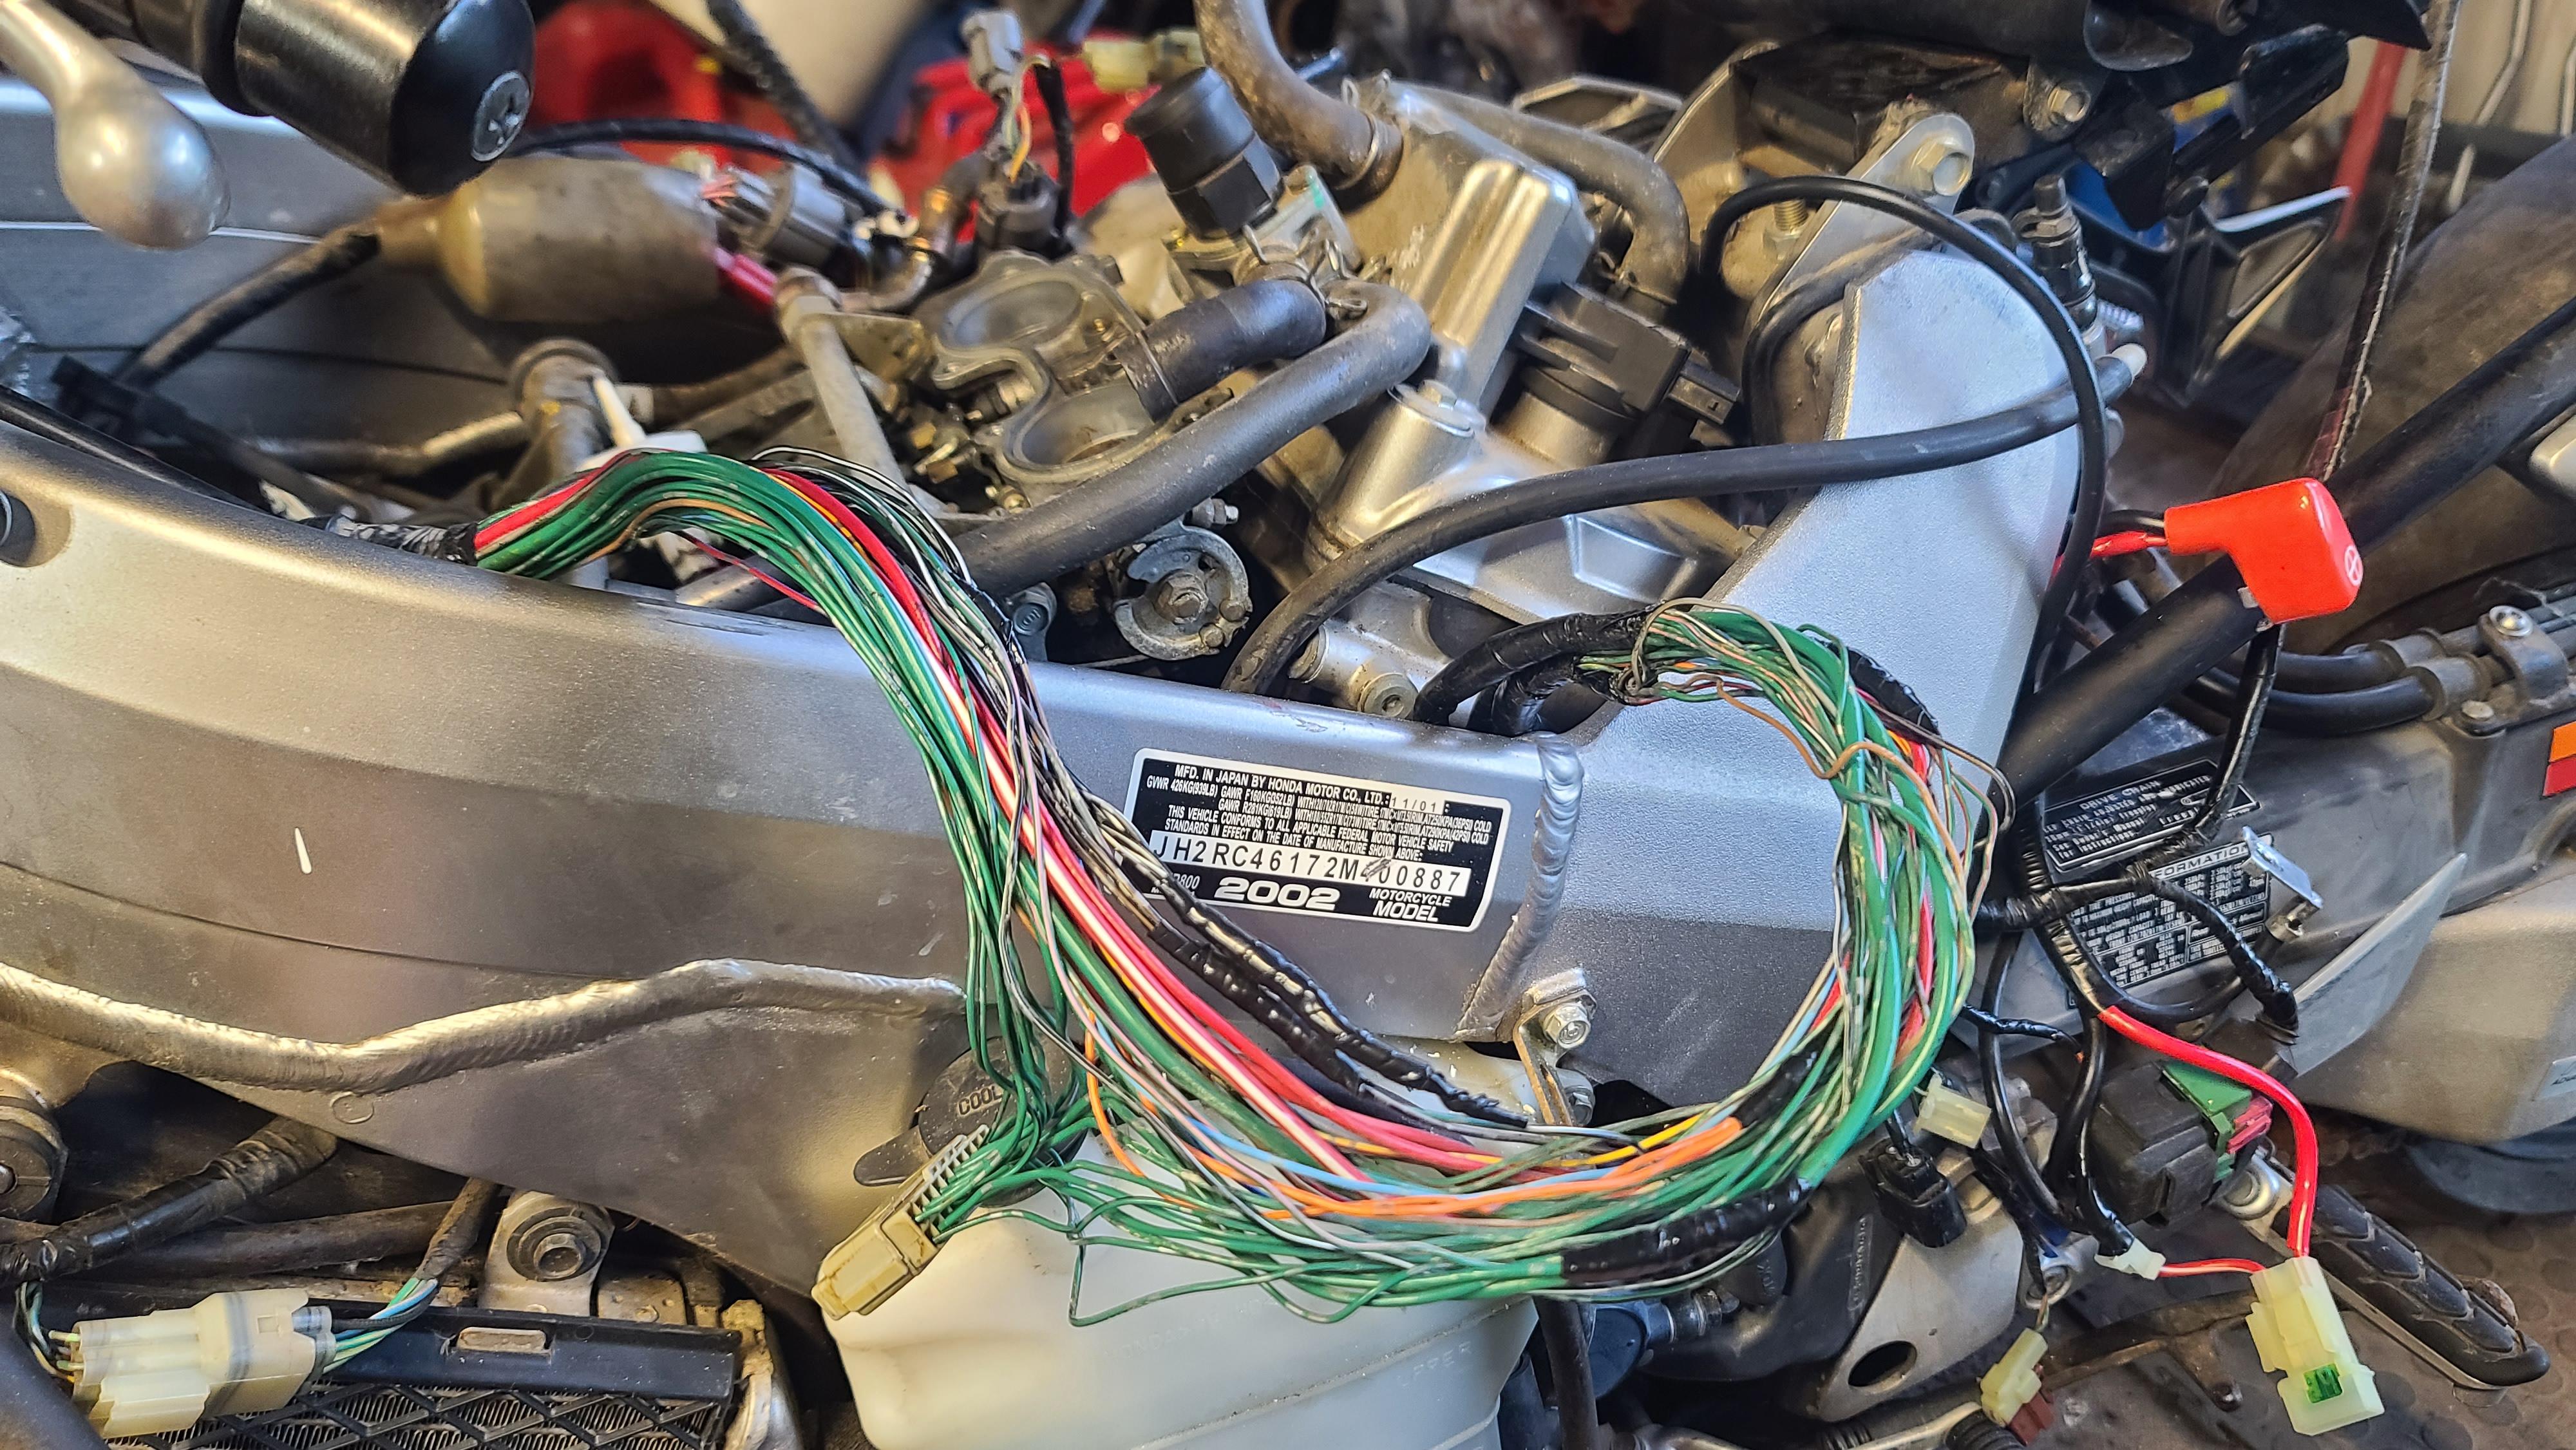
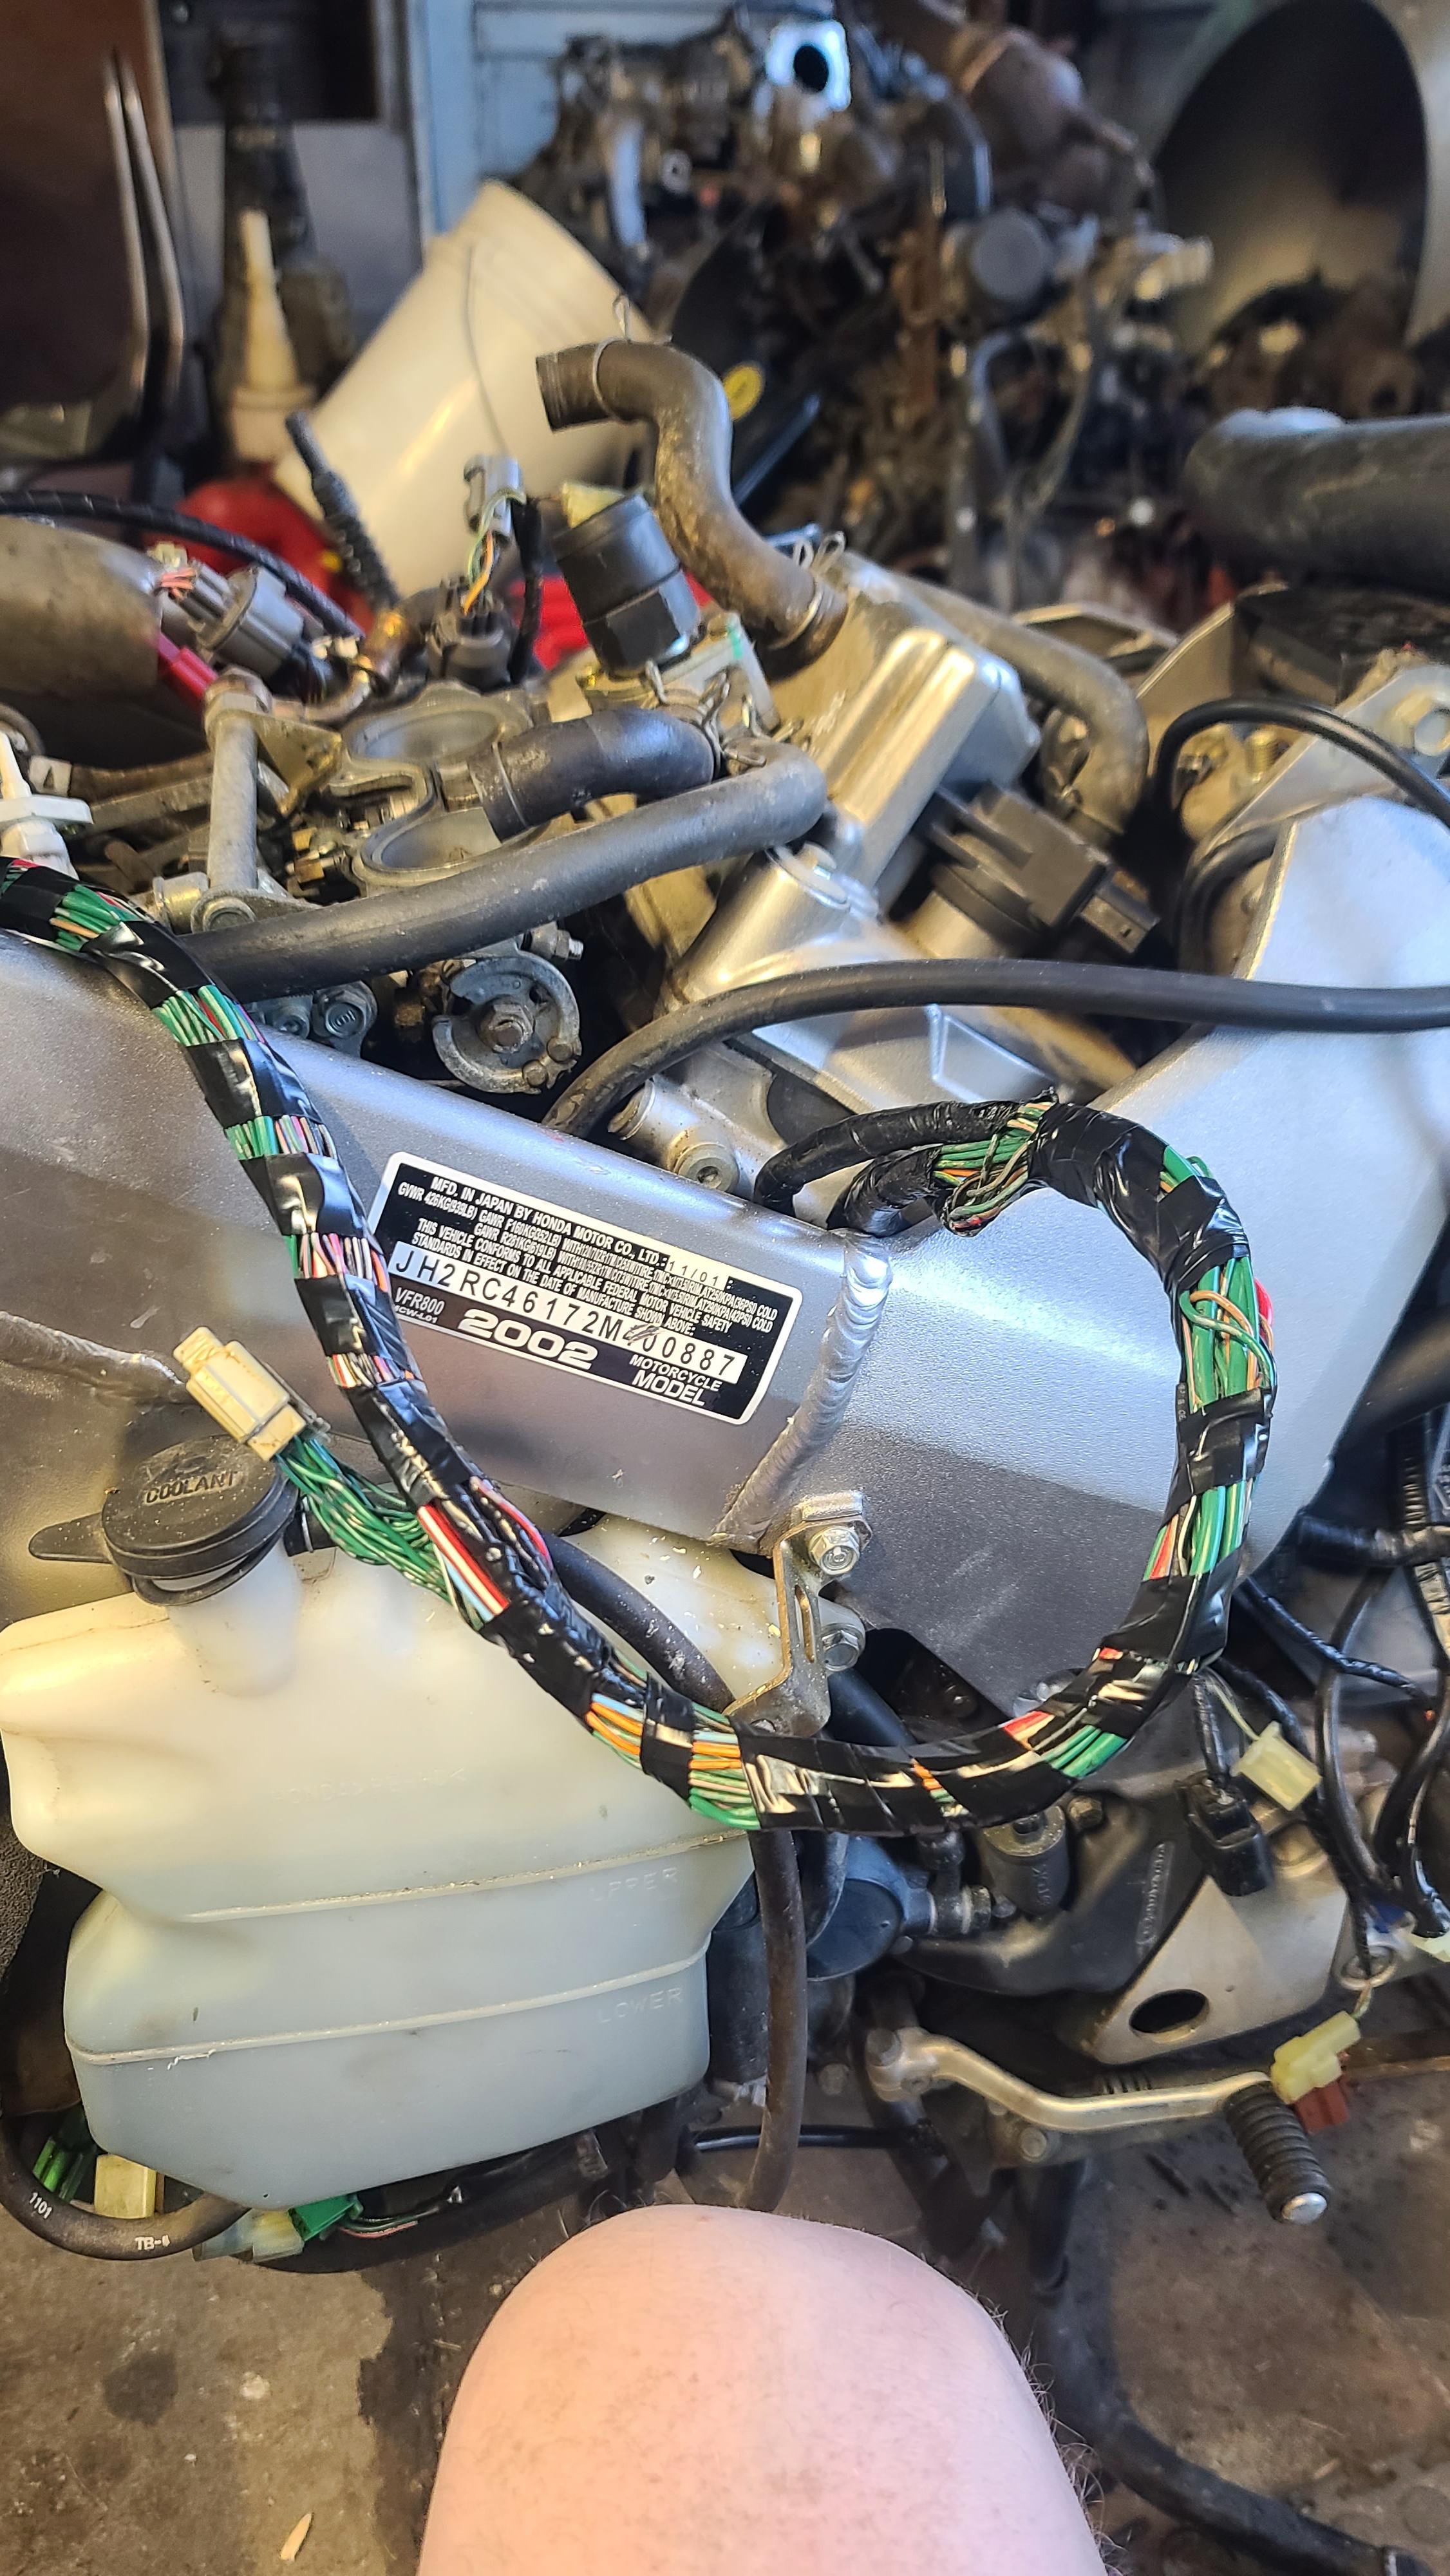
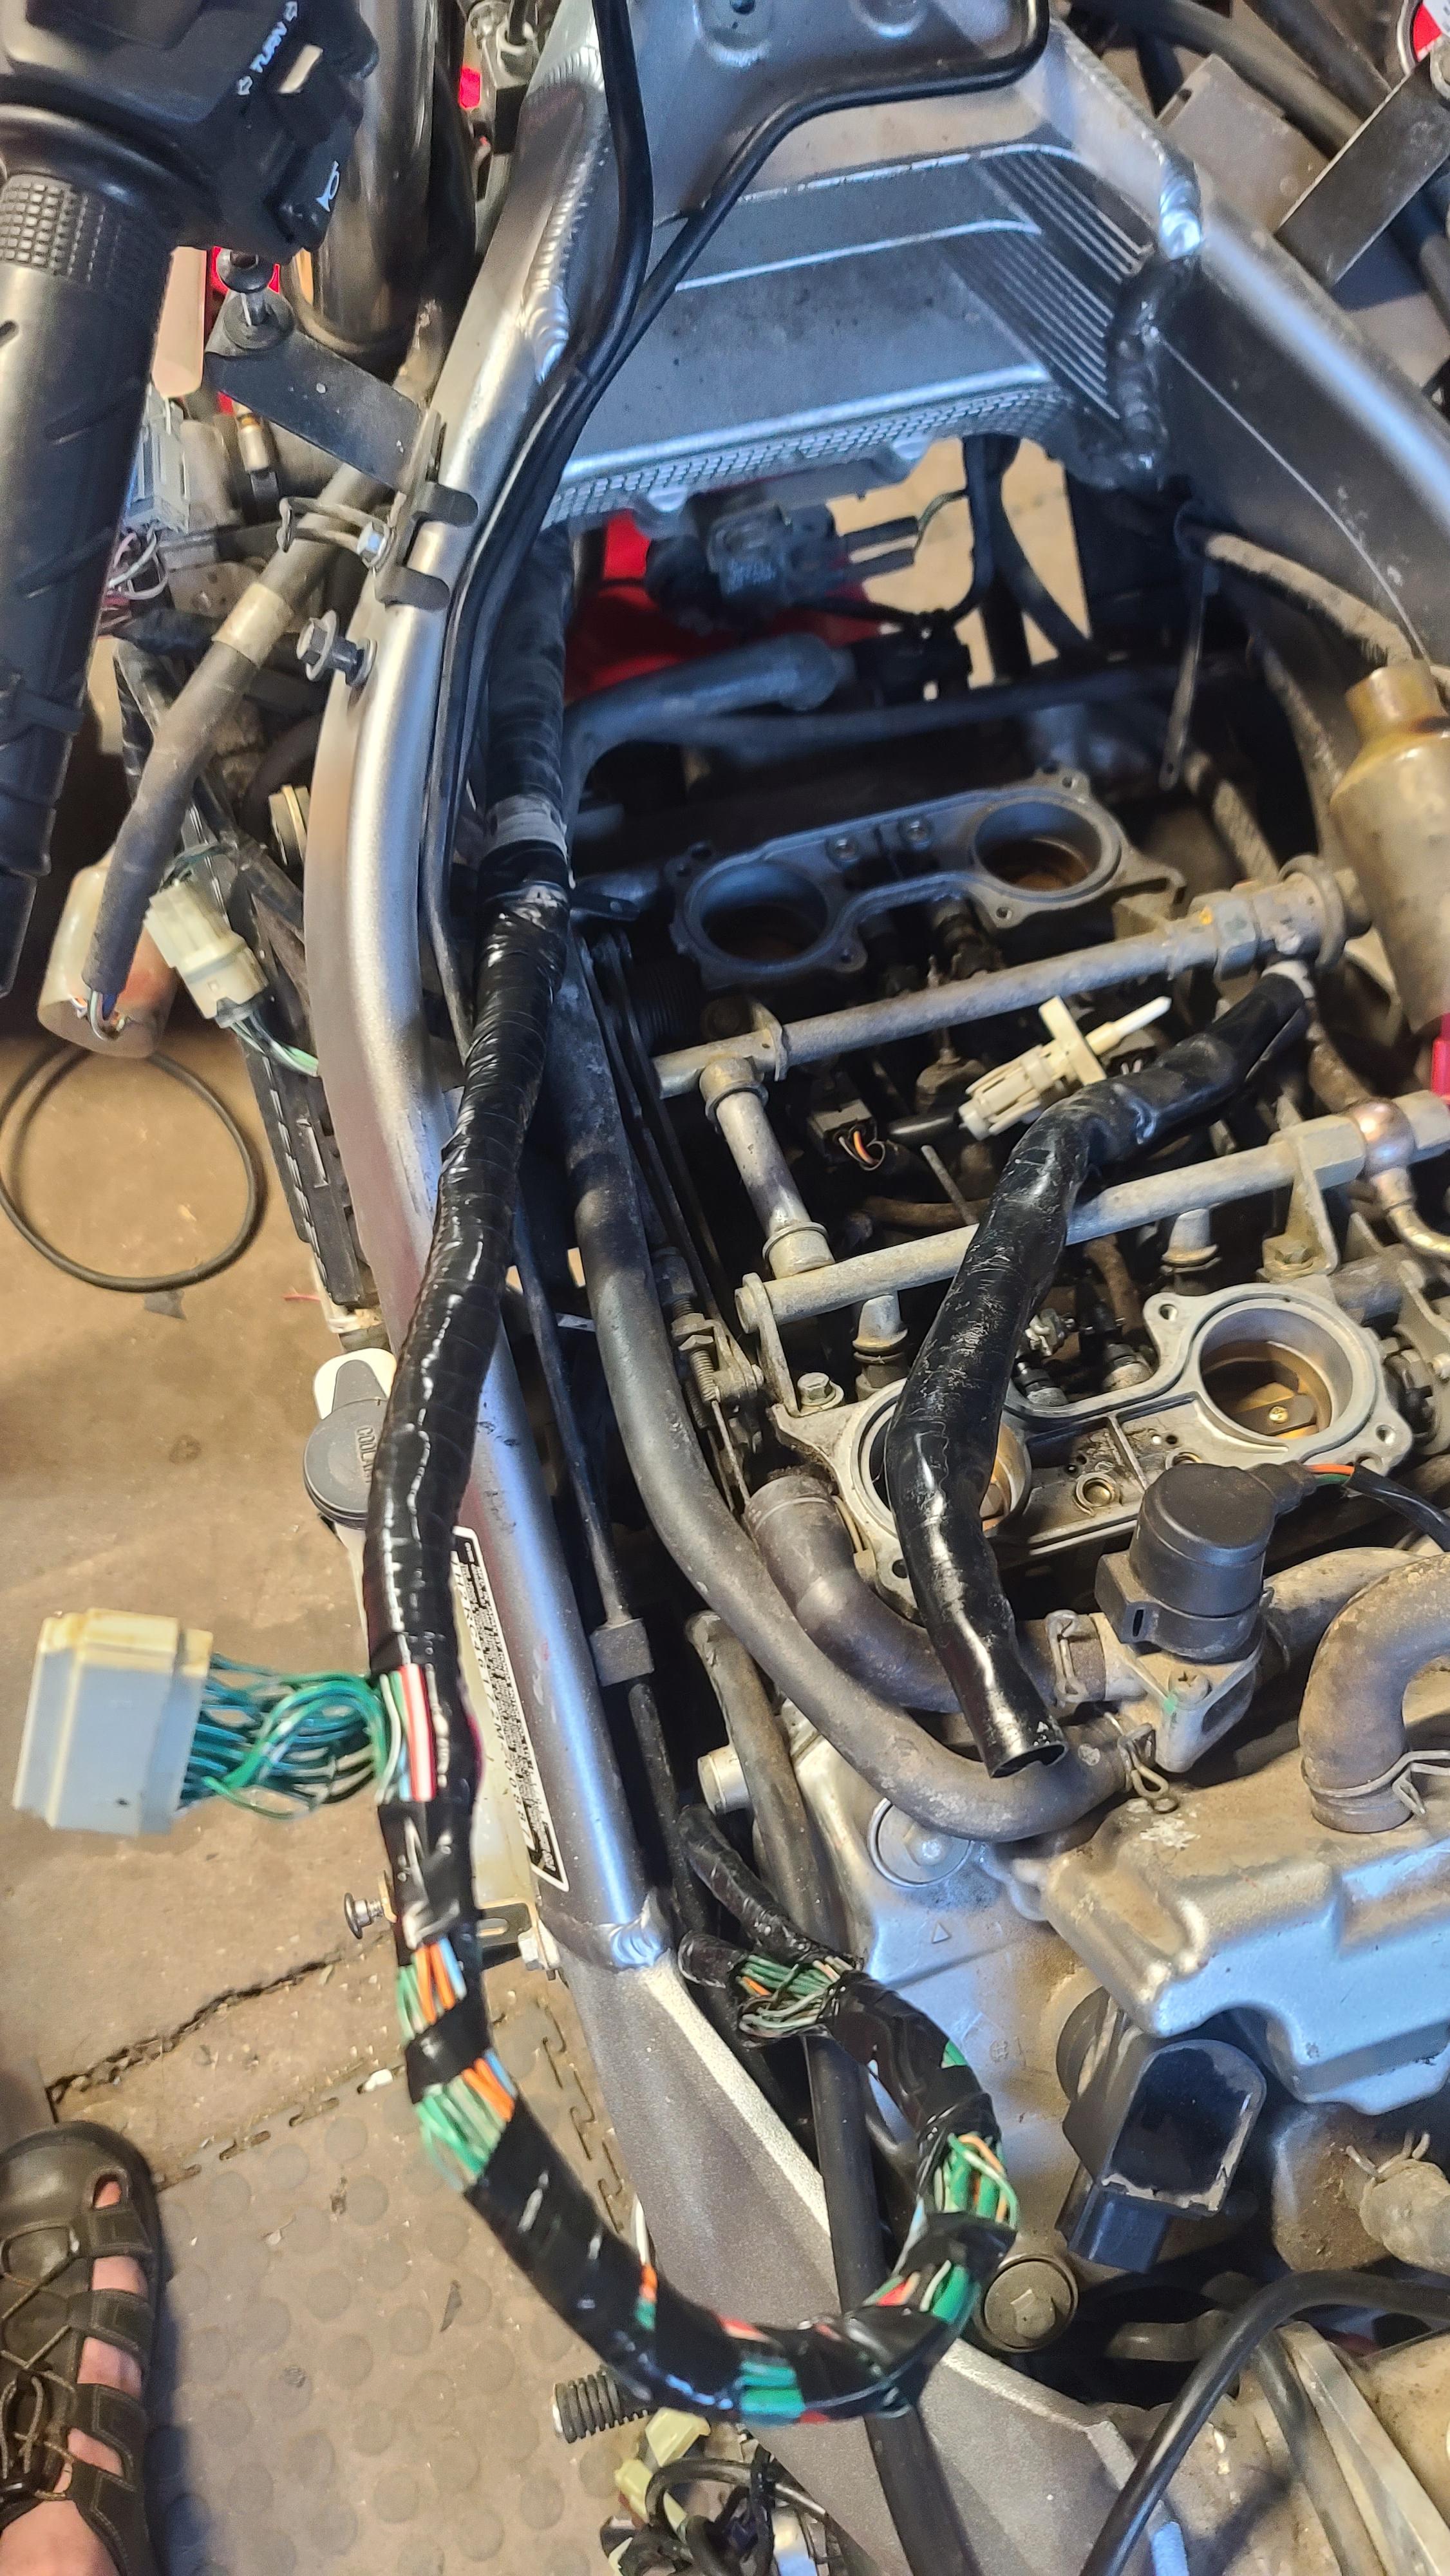
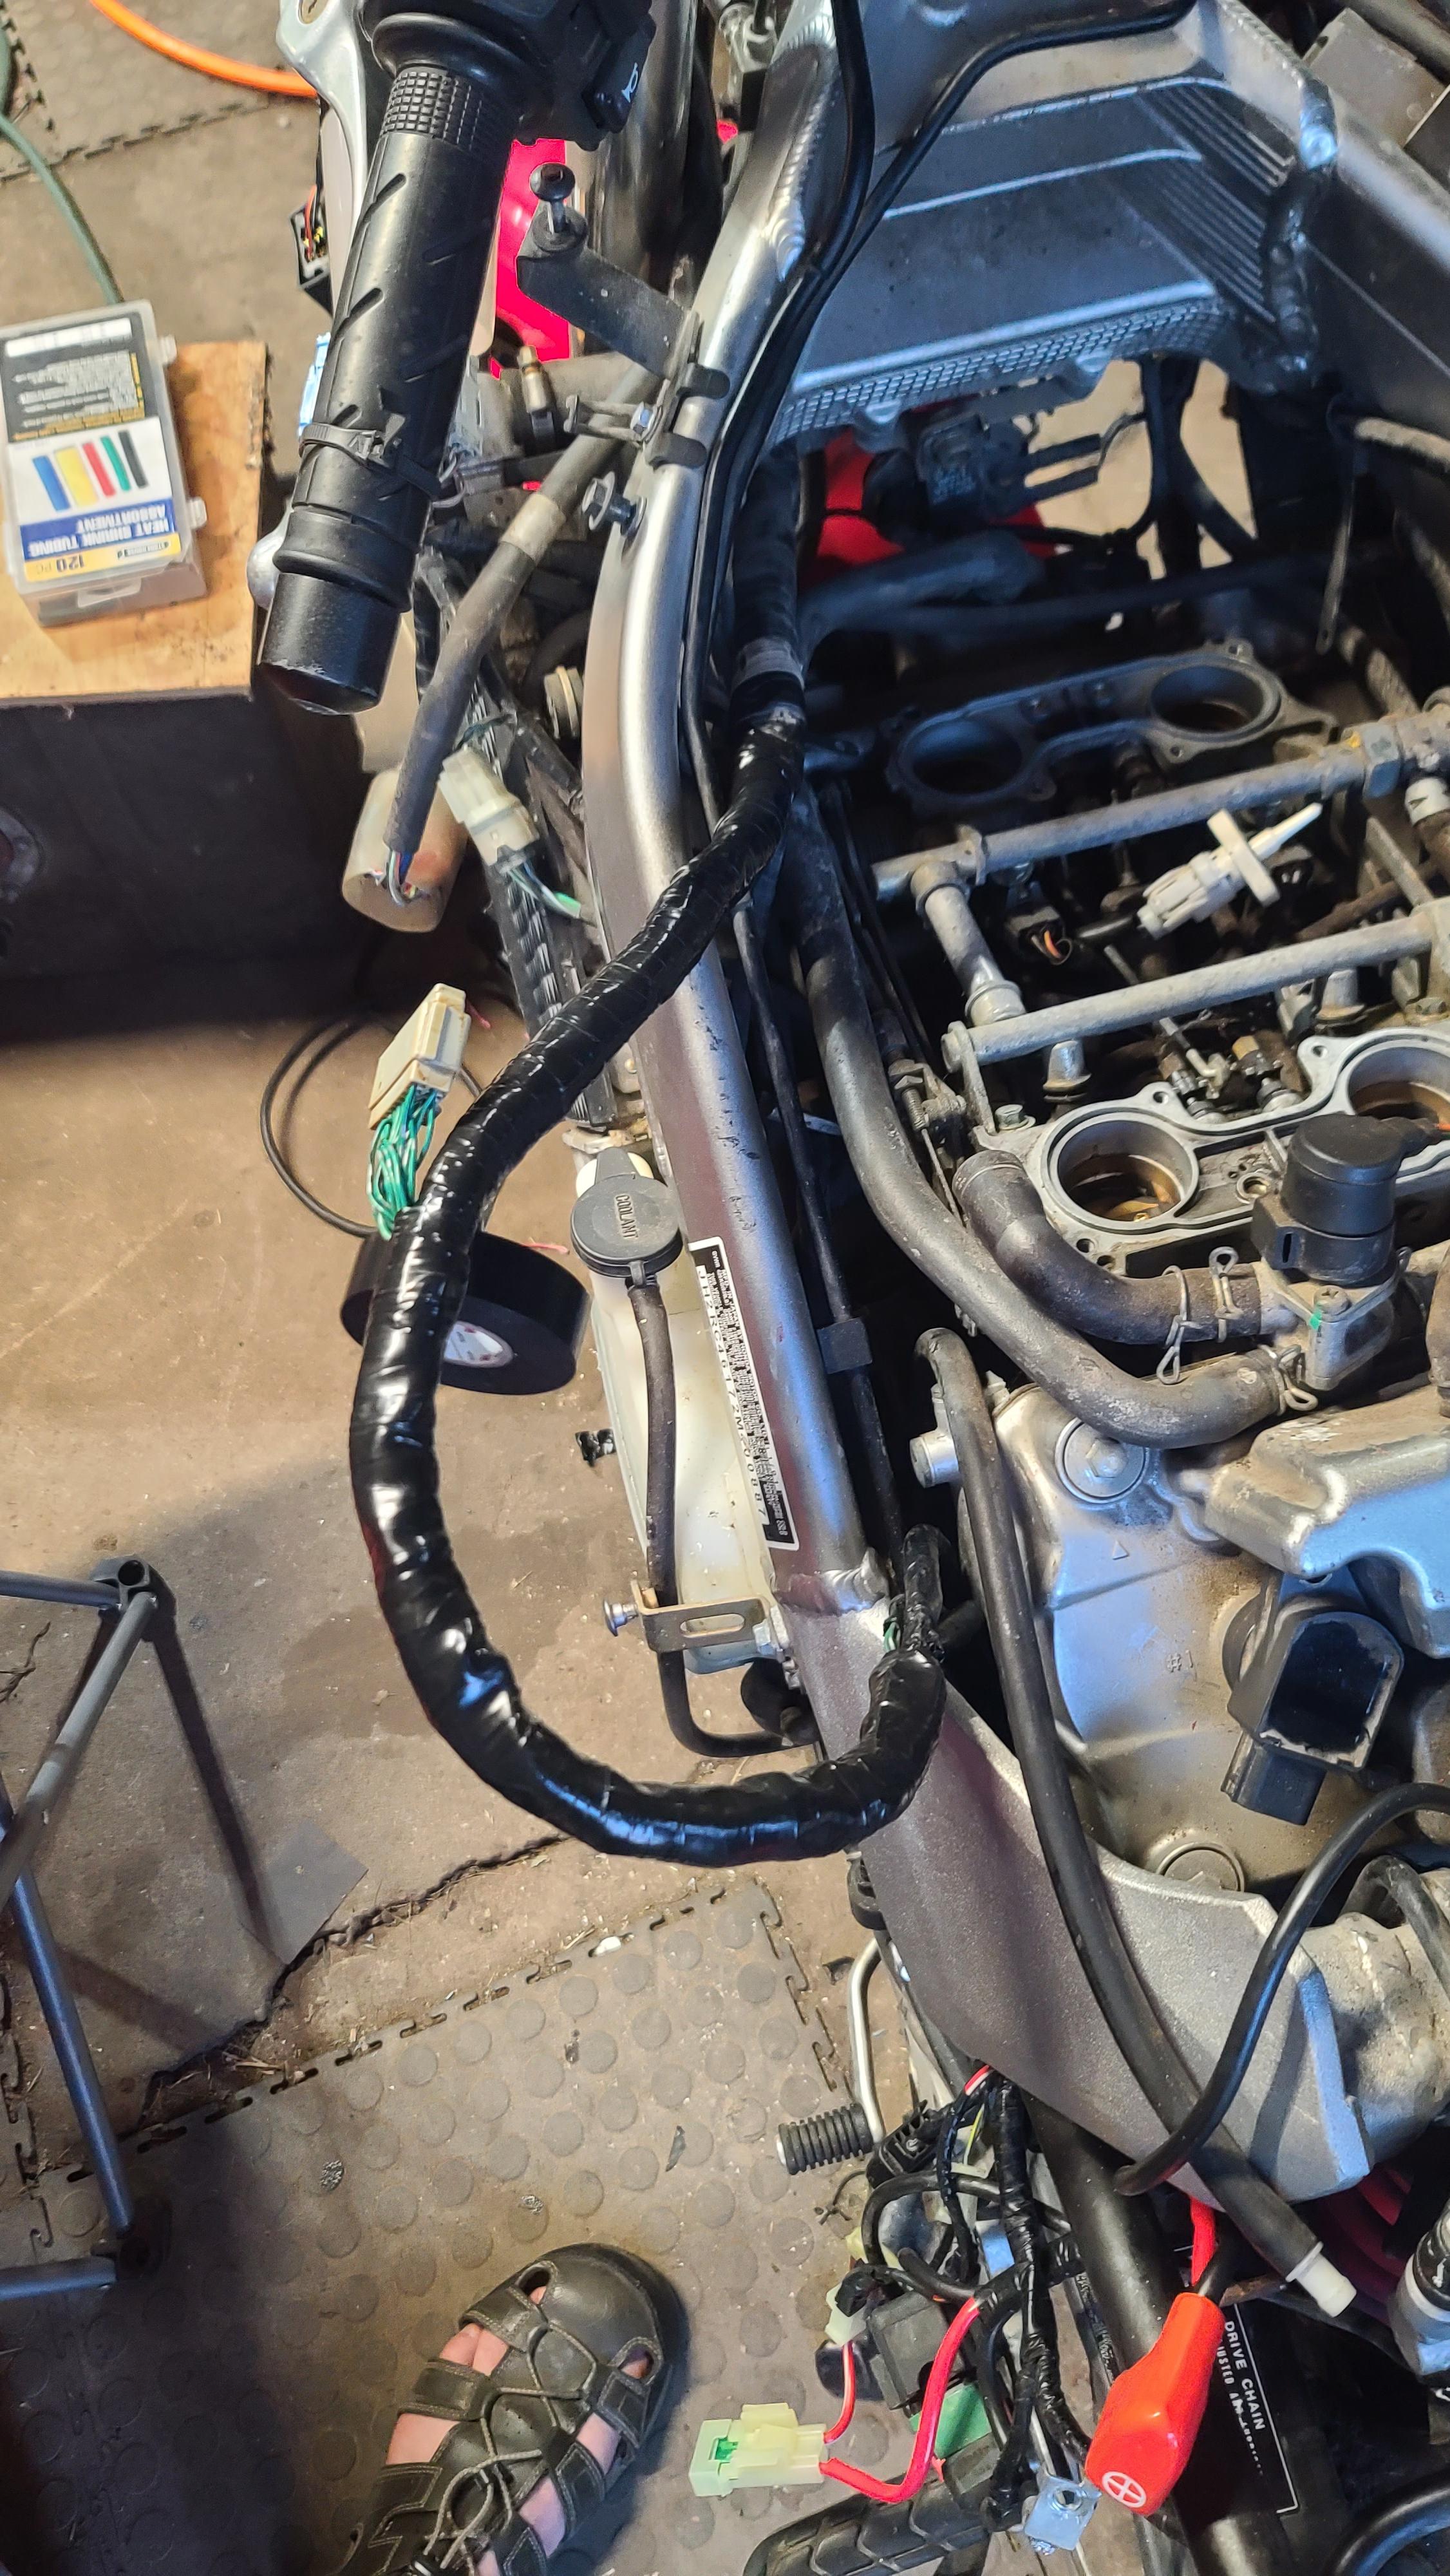
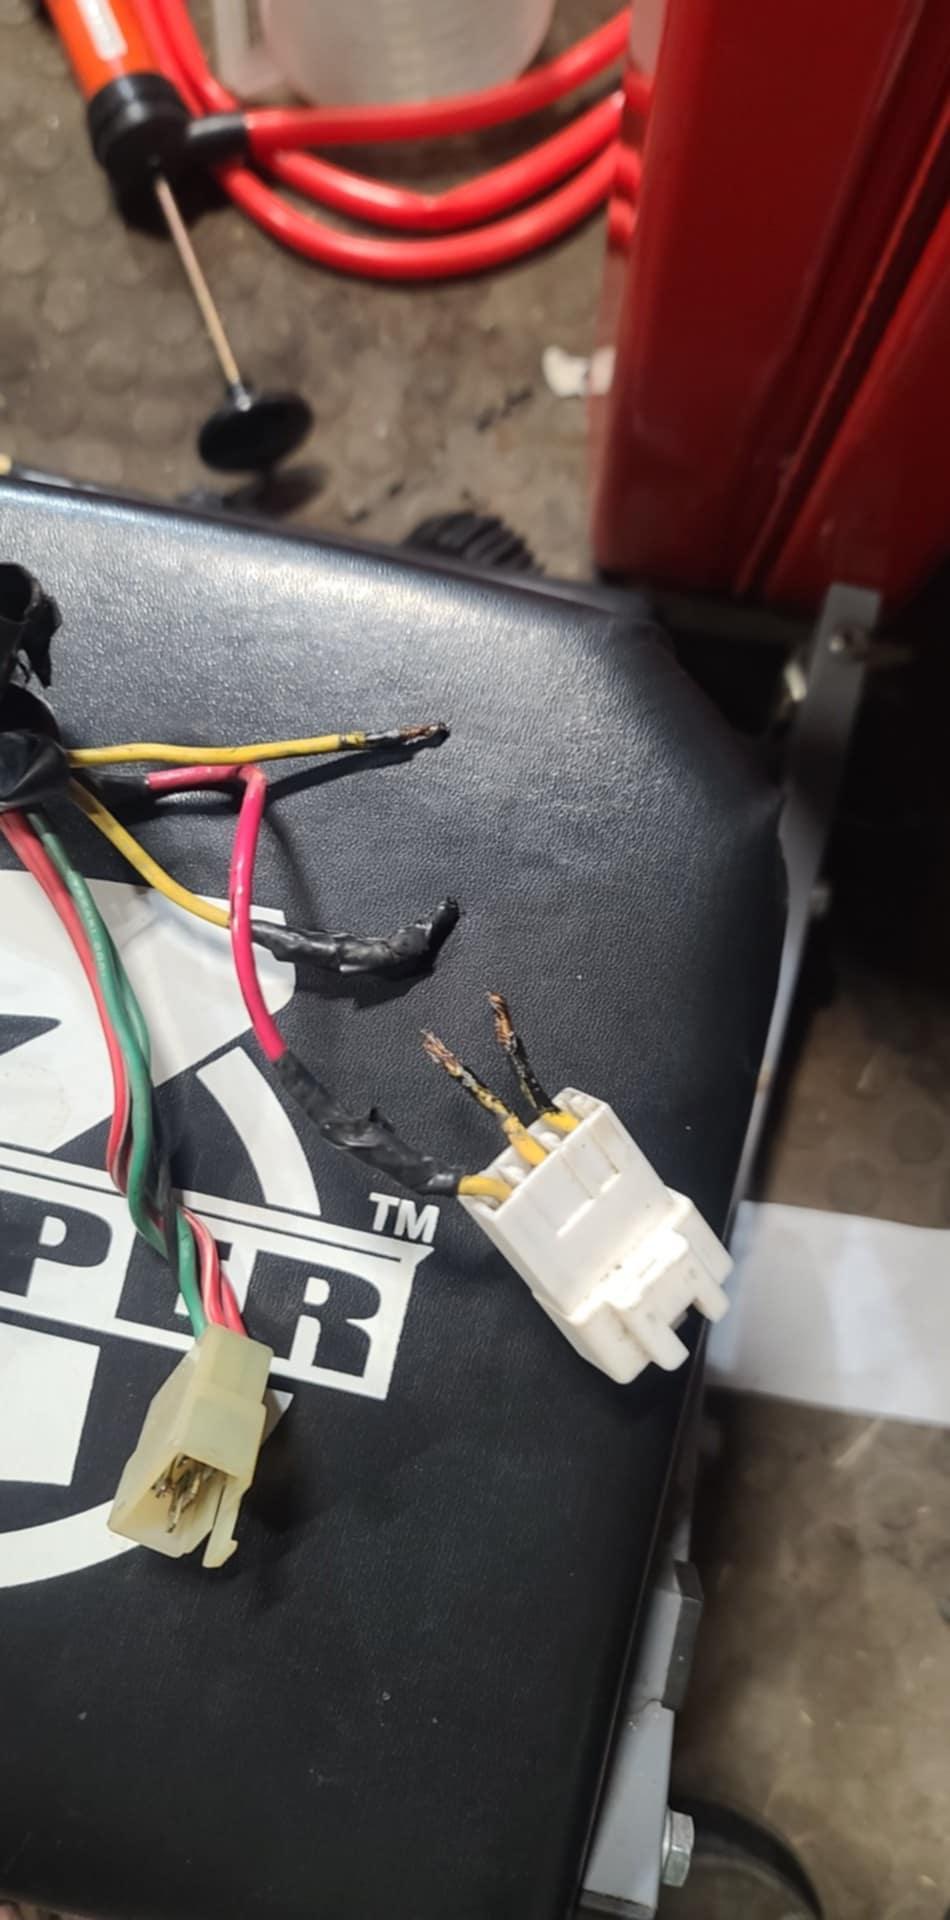
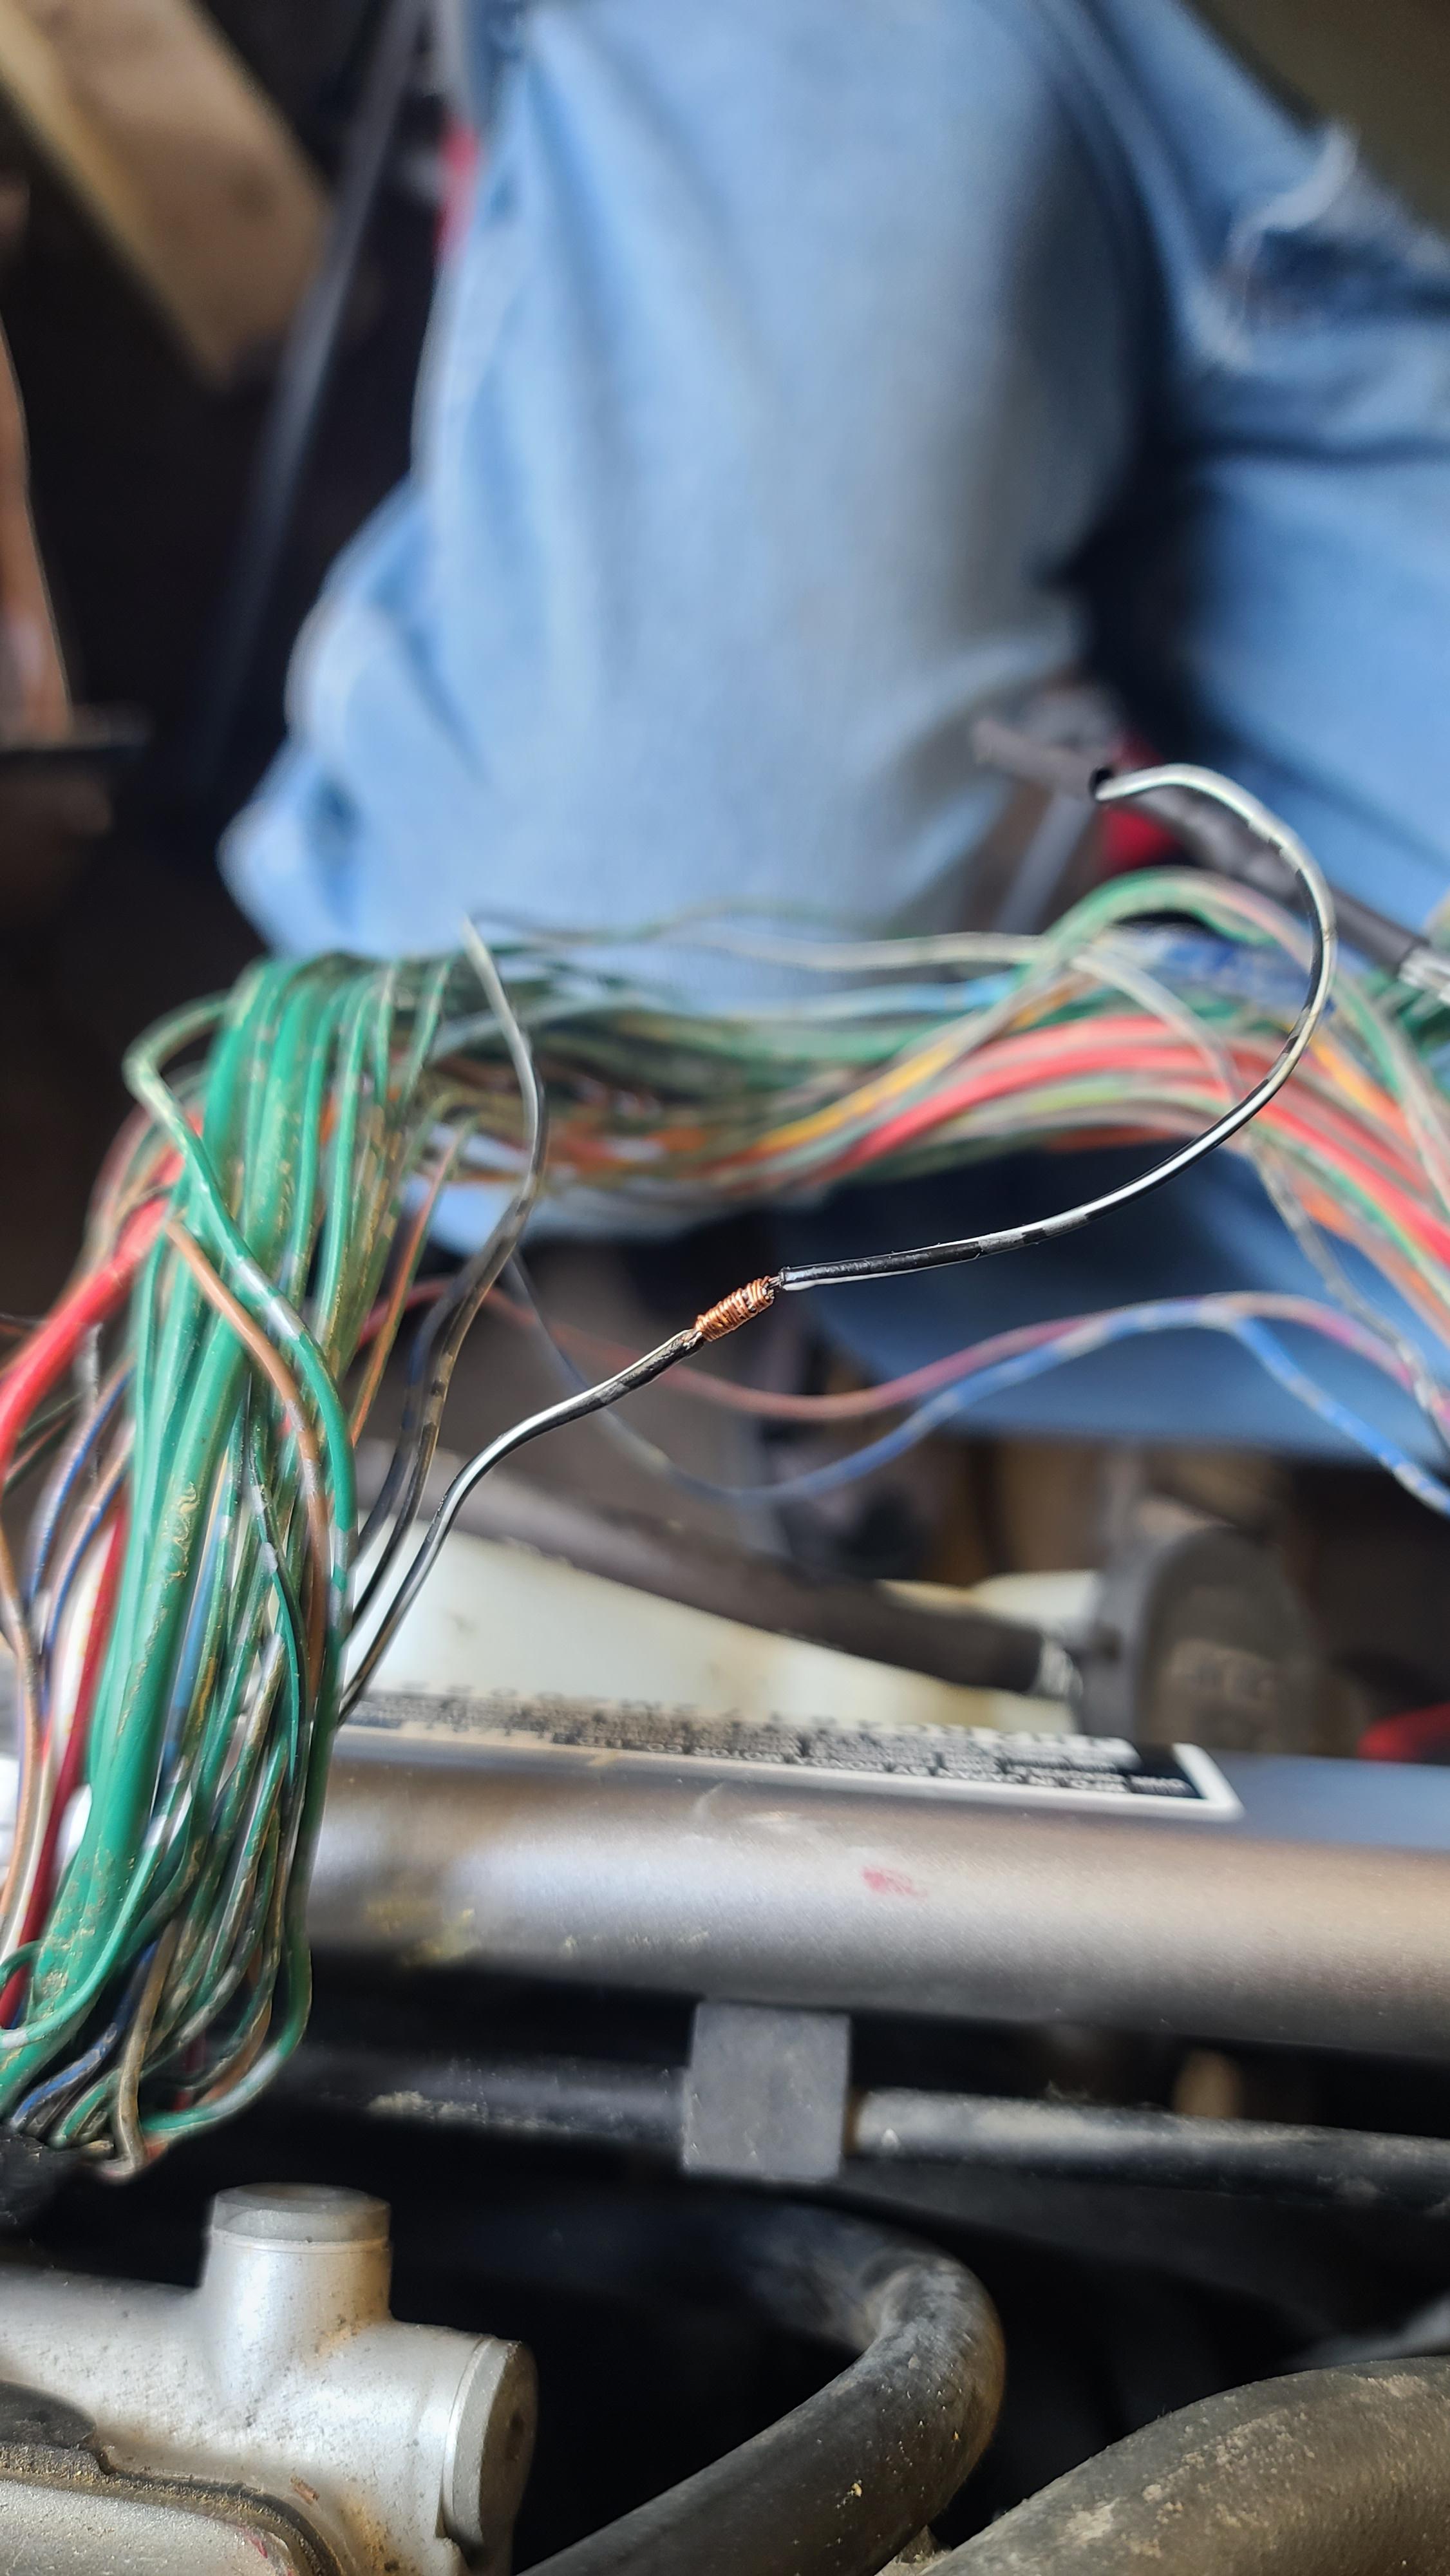
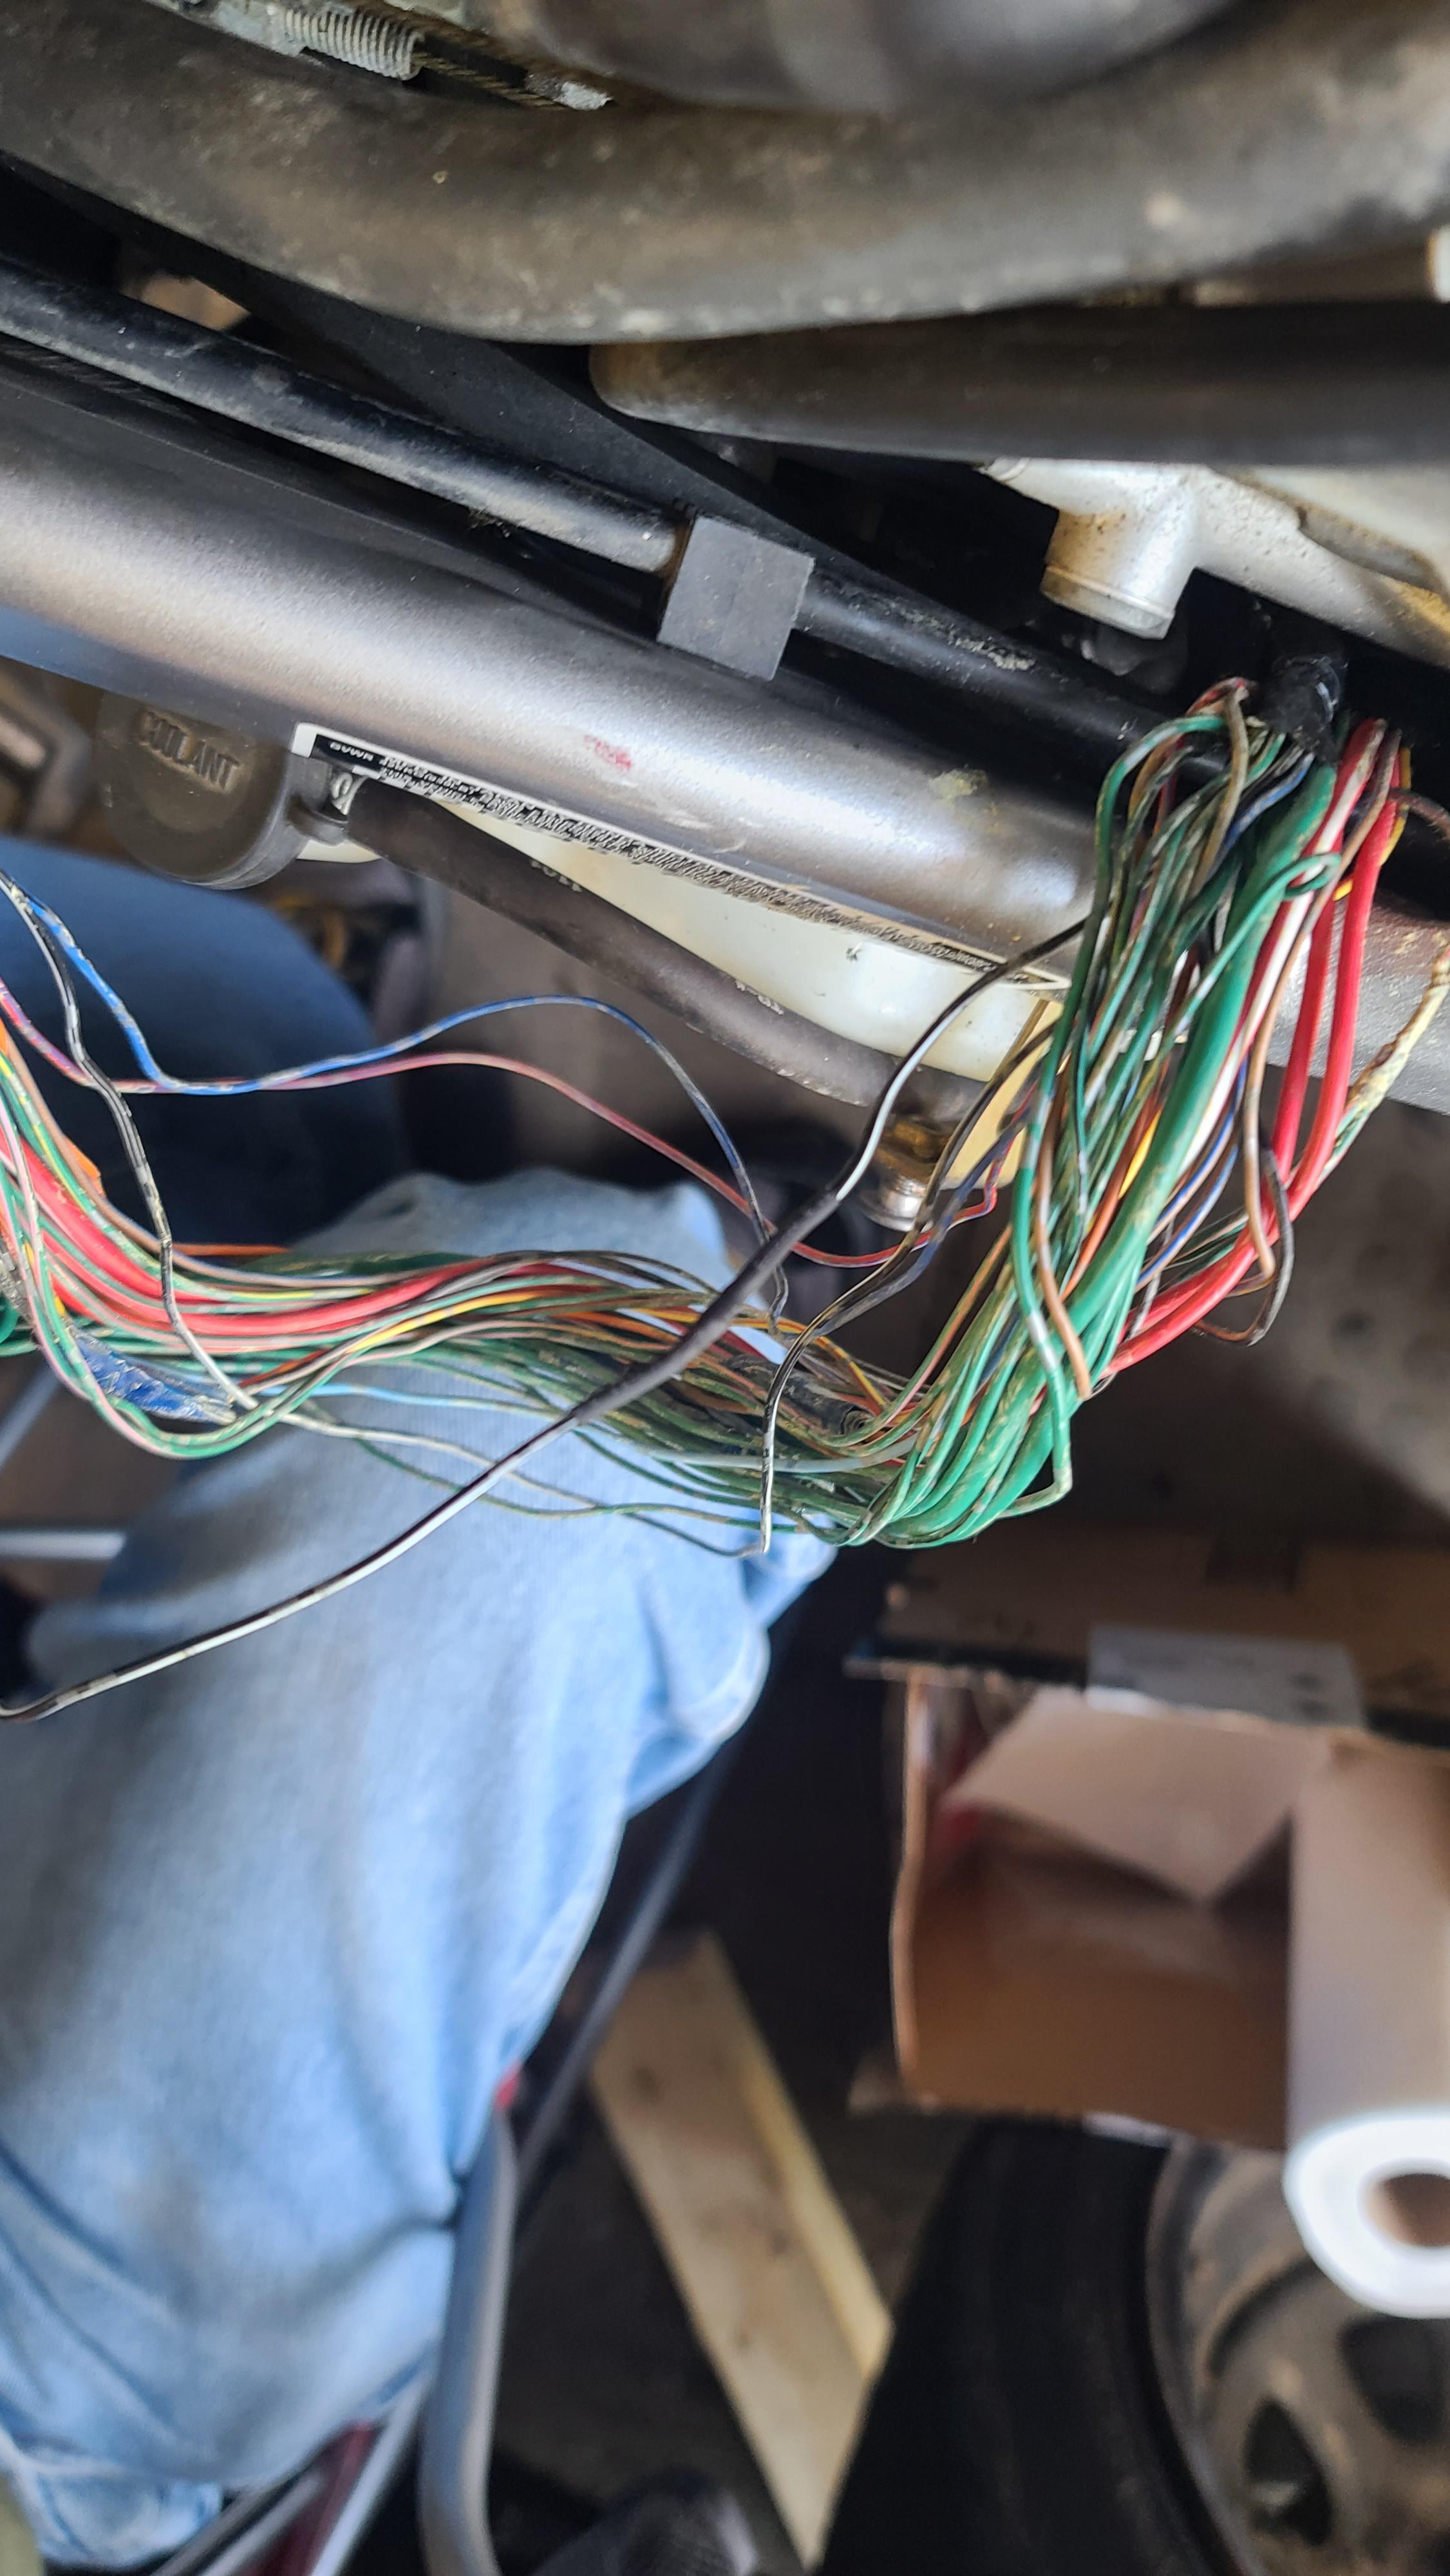
It has been a few days, and I finally got around to updating. Problem(s) solved. \ Saturday, my dad came over. I pointed out the areas that needed to be soldered, and he got started. Surprisingly, only two main areas had to be soldered--the two black/white splices. As they are in tandem, both 3-into-1, he ended up trimming them all into one single solder, with a lead to bring them to the right length. The biggest issue was the oxidation of all the wiring. Because of the water that had been in the harness, there was heavy oxidation throughout the wiring. This is a piece that was removed and used for the lead--the section pictured was 8 inches into the harness from the exposed section. He had to use fine sandpaper, splay out the individual threads of the wire, brush off the oxidation, then twist them, and hope for the best. The oxidation is very resistant of soldering. It took several tries, with several different methods, to be able to get them to hold. He ended up using individual filaments from a different piece of wire I had, to tightly wind the ends together, and then solder the ends and the winding to make a more secure solder. His quote was something along the line of "The heat shrink is just there to hide the solder, as these aren't some of my best solders". Looks pretty good to me, although for someone that usually solders under a microscope, with clean parts, I guess it would be. The rest of the crimps, as we unwrapped each one in the main harness, all the others showed oxidation, but after being brushed thoroughly, they were all in good enough shape to be re-wrapped instead of having to be cut and resoldered. I used the majority of a roll of 3M 88 to wrap everything back up, and securely bind the harness back together. I then began the painstaking procedure of putting everything back together. Before putting everthing back together, I plugged everything in, put the battery in, and sprayed some starter fluid. Turned it on, and it fired to life for a few seconds. Success!... or so I thought. I proceeded to reassemble everything. I rerouted some of the wiring from what I recall it being, but it fits better now. At this point, I was going to try to start it and run it. It'd start on starter fluid, but would not run at all on gas. Bother. My buddy came over, and looked around (he has a bike shop). He asked how old the gas was--I had dumped what I thought was all the gas out previously, and put in some gas from a can in the garage (unknown). Started draining the gas into a bucket, and it was visible that it was a good 60/40 gas/water. Joy. So we took the tank off, drained it completely dry, and removed the pump. Everything got cleaned up, and put back on, and we went to get fresh gas, put it in, and it ran! Initially, I tried it with the exhaust removed, and it sounded good. 20250705_170503.mp4 However, I was a little concerned on driving it to work like that, with the title not transferred yet (although it's insured, and transerring plates has a 30 day grace period), so I put the exhaust back on. 20250705_182418.mp4 I then began the procedure of reassembling everything. Most of the fasteners were missing from the previous owner, so I had ordered "all the parts required" on Ebay. (lies) I was able to get most of it back together, and grabbed another 8 or so fasteners from my buddy's, and was able to get it back together. \ Finally. I had it back together, and rode it a few times (it was midnight, but I didn't care. I'd been waiting for this for months). Rode good, and the 17" front tire was much more responsive than the 19" on the V-Strom. I put it back, and the next day, I fired it up, but it wouldn't start, as if the battery was dead. Funny, as it is a new battery. So I charged it, and the next day, I rode to my buddy's to take the rear tire off and put it back on, as it was leaking. Turned out, while the front tire still has the nipples, and was made in 2021, the rear tire was made in 2010... I think it's time. I'm ordering a new rear tire. Anyway, when I went to head home, it wouldn't start. We charged it for a bit, but I went home with homework; to test the stator and regulator. I knew that the stator was new-ish, as I had taken the cover off when I first got it, to make sure it wasn't fried and that had something to do with the no-start issue. As for the regulator, it's filthy, oxidized aluminum, and looks like it was original. So I went to remove the rectifier to make it easier to check, and the wires fell apart. Yes, you heard me. The moron that replaced the stator, had cut the connectors, and had literally taped them back together. One of them had shrinkwrap, but the others were just electrical tape. not even twisted together, just laid across each other, and taped like that. So I figured this would fix it, right? I bought quality crimps, as I don't have a soldering pencil, and crimped, heat shrinked, and wrapped everything back together. It ran, and seemed ok, but after riding it around a bit, it was still dropping voltage from the battery. So I tested from the stator, and at 5000rpm, I was getting 90-100VAC from either pairs of wires, so the stator is not the issue. Testing from the rectifier/regulator side, I was only getting 11.58V. I ordered a cheap one from Amazon, as I've spent as much as I can right now on the bike, and, as much as I want a MOSFET R/R, it's not in the budget right now. As it is, the harness is a stop-gap; this winter, I expect to have to replace the main harness. At that point, I am hoping to buy a decent R/R as well as a N.O.S. harness. I am supposed to have the R/R in by Monday, so hopefully, I'll be riding to work next week on this bike, rather than my V-Strom. Might end up selling it, as the VFR is almost 30hp more.
-
Hi OneIda31, Thank you for your donation of 25.00 USD. We look forward to improving the forums with your donation. Thanks VFRDiscussion
-
- 1
-

-
 I have a bone stock 2008 VFR800 that, in the last few months, has been experiencing periodic hard starts. Sometimes, maybe one or twice a week, I'll hold down the starter for 3-4 seconds with zero coughs or sputters. I'll reprime (while leaving the key in the run position), try again and nothing. I'll try giving it some throttle - doesn't seem to make a difference. After a couple tries and sometimes after more than a few tries she'll start up and run beautifully. Sometimes if I just hold the starter for half a second she'll catch and start that way. I don't recall her ever having trouble with a warm start - breath on the starter and away she goes. The battery is new. I replaced the plugs and found the rear two coil bolts flopping loose from back in March, 2024 when I had the valves done. Thanks local shop. Everything tightened down to spec there. I put in a fuel pump rebuild kit with new pump, in-tank filter, and fuel intake filter. I thought there may be water in the lines so I added a bit of HEET a couple weeks ago. Unrelated I guess but I also recently replaced the cooling fan sensor and did a coolant flush due to the sensor failing and the bike boiling off more than a little coolant. That issue happened after the hard starting began and is fixed now. I ride almost daily, year round, in western NC so the bike never sits unless a do a work trip for usually not more than a week. Any thoughts on what could be going wrong on this thing to cause the periodic hard starts? Like most, I'd prefer not to throw parts, time, and money at this without really knowing what the issue is. Thanks!
 - Last week
-
Ride the new bike home Saturday!
-
Here's a YouTube video. De-Link Drill
-
That gear has long been trashed on mine... I was referring to guys that have drilled out the internal circuit the rear caliper.
-
Yes if the vacuum hose is off, the flapper is held open all rge time by the spring in the diaphragm chamber. I would make sure the vacuum hose that would normally connect to the flapper is properly sealed as you will otherwise have an uncontrolled vacuum leak and that might cause some surging. I'm not sure what else might cause a surge or noise; there are relays but they are located on the front left of the bike.
-
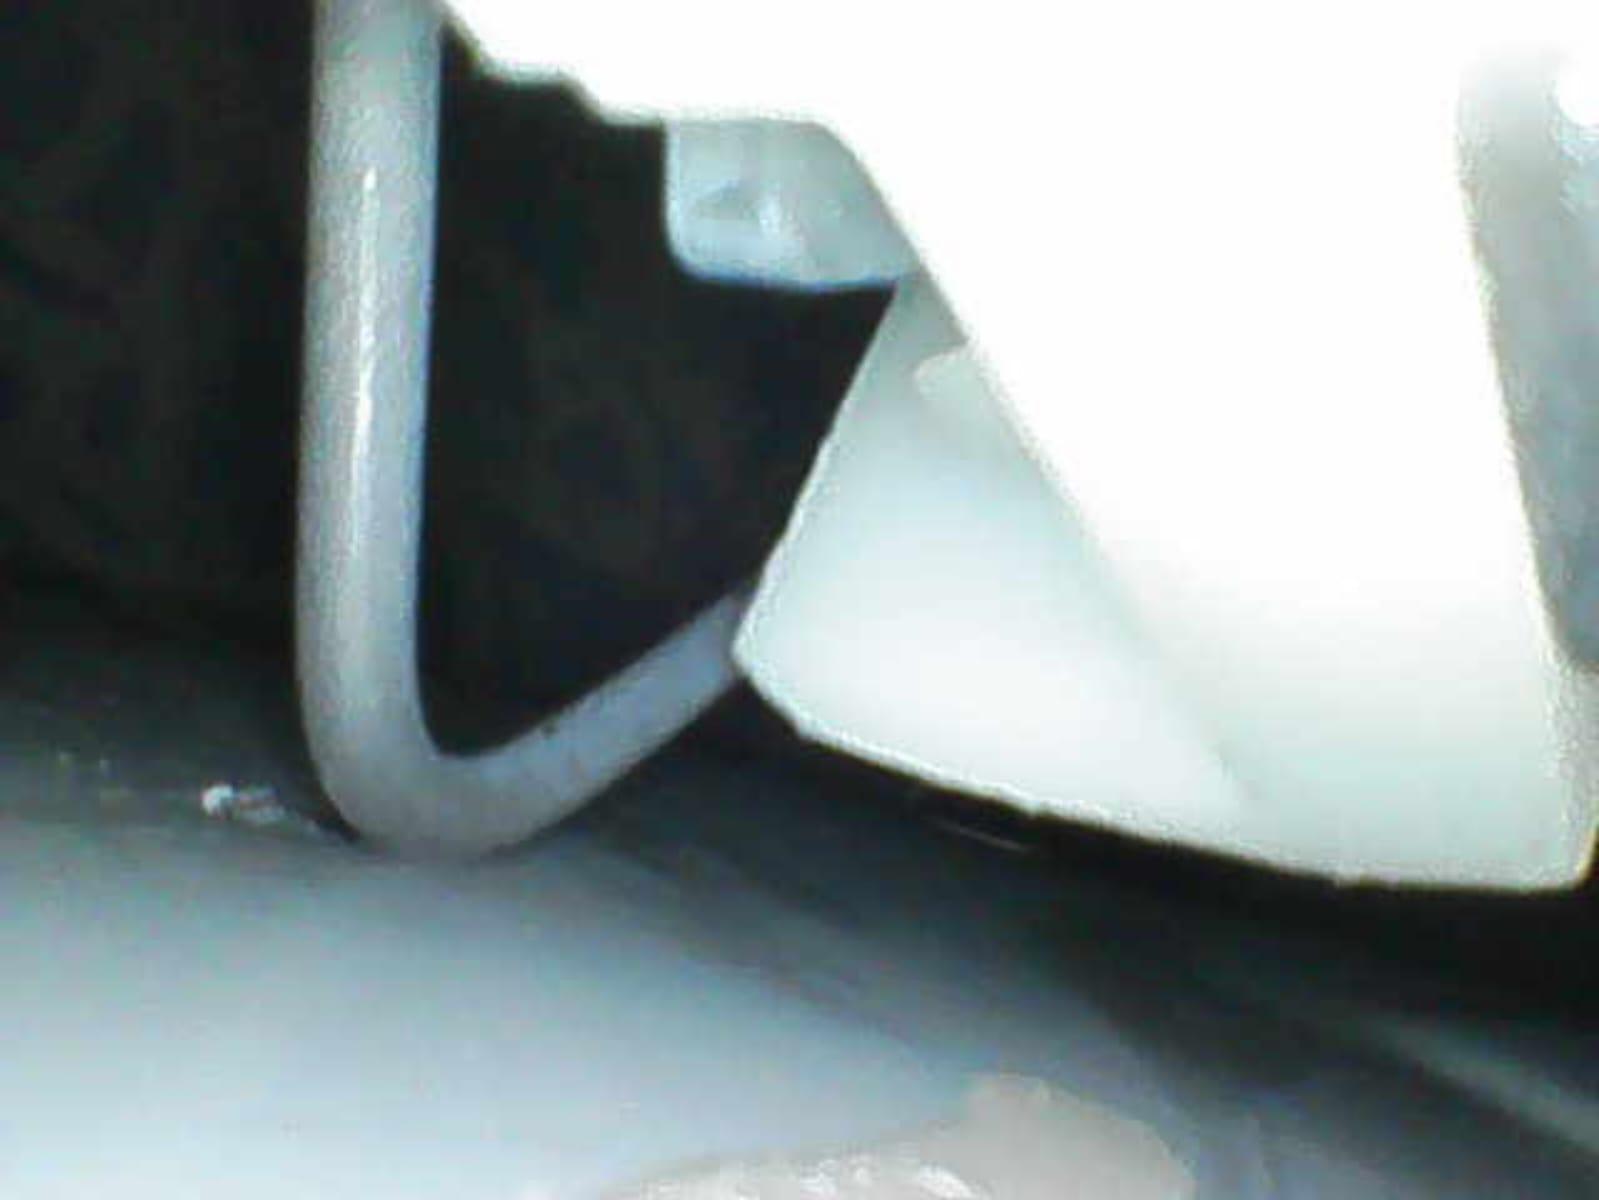
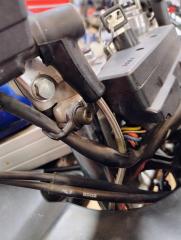
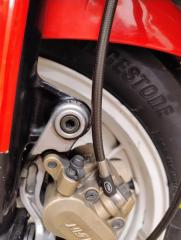
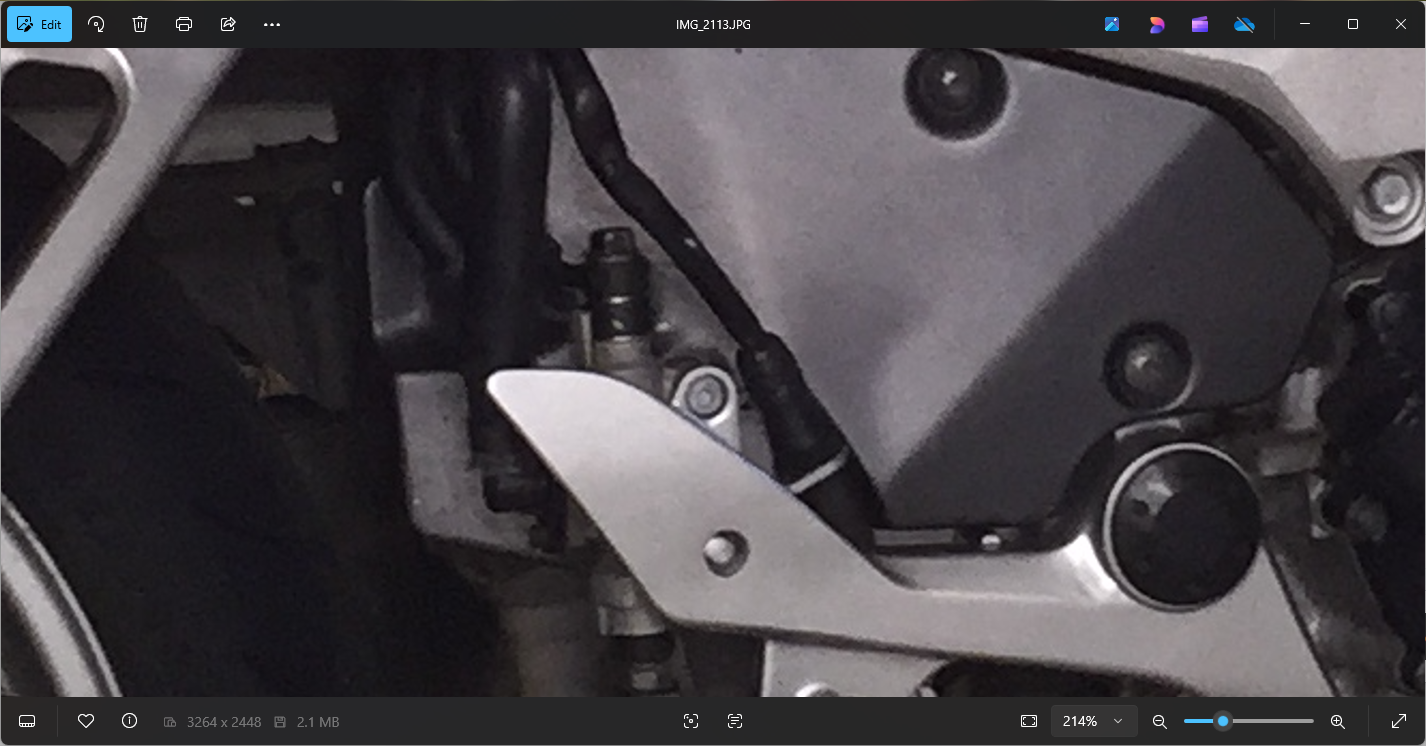
I took the easy way out; don't touch the rear calliper or hose connections. When you unbolt the linking hose from the PCV, you will find that the hose can now be rerouted smoothly and end up at the rear master just like it was designed to go there; the end fitting is even at the right angle. There is/was a double banjo bolt on the PCV as well, so I just bolted both hoses on to the new master and called it done. Not a great picture as it was zoomed in a long way, but gives you the idea.
-
 Boab joined the community
 -
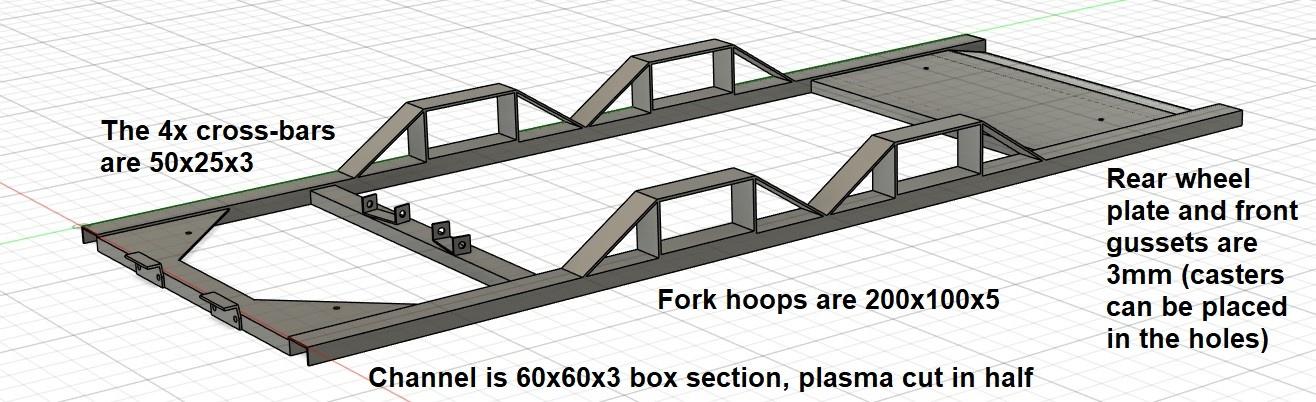
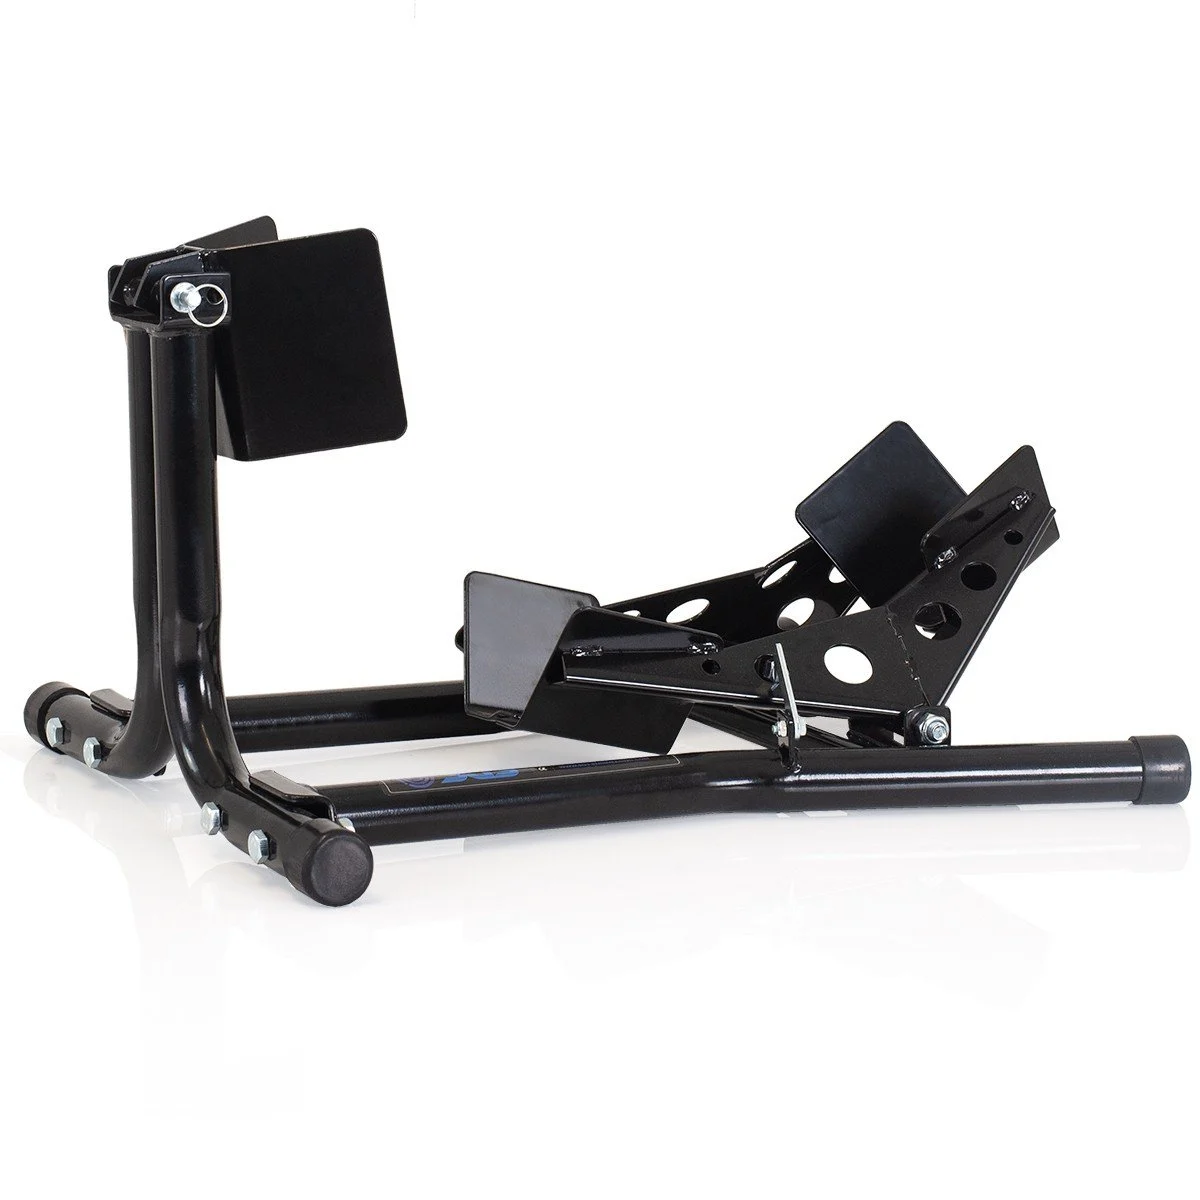
Nice "shed"... It's about twice the size of mine, but I saw some good ideas I think I might borrow! Regarding the racking, I think I will be able to use the lower beams on the back sides, as Yoshi suggested, as well as bolting the feet to the floor and bolting the tops of the frames to the walls. That should be that. As for what goes onto the racks, I think I've got a solution: I went through a couple of designs, trying to minimise the expense of the materials as well as the cutting and welding operations I will need to do. There's still a lot of steps to manufacture one of these, and I still have to do it 6-7 times... The wheel chock parts (not drawn, because I'm not making them) come from this kind of Baxley knock-off: In laying out my motorbike carriers, since I have 6-7 of these wheel chocks already, I've measured and duplicated the locations where the M10 and M12 bolts go. My bikes' wheelbases range from 1,440mm (the 5th gens) to 1,335mm (the NC35), and all the bikes' rear tyres sit basically in the middle of the steel plate at the back. It's pretty secure, but I will probably also strap each bike wheel to the front vertical to make sure it can't go anywhere. I was also thinking about welding some steel angle onto the plate at the rear, maybe 160mm apart, to help locate the rear tyres, but my bikes all have different sizes of tires, so one size won't fit all (in the same way). Not sure it is necessary, anyway. The fork hoops look huge, but the forks on the pallet stacker are quite large (ca. 170x70), and I don't really want a tight fit. I haven't actually measured the clearance between the bikes' bellypans/stands/exhausts and the forks that need to stick through, which I will do before I finalise this design. I decided to use the 60x60 c-channel, rather than the angle iron I had first used, mainly because of strength. I will have to plasma cut them, but I can set up a jig to make that do-able. This way, the channel just sits on top of the 50mm horizontal beams of the racks, and it will be very obvious when it has dropped into place. I've provided for the fitting of 100kg casters, which should make these carriers more useful when down on the ground. I wonder if I can make some sort of (removable) lifting device using the swing arm pivots, a la an ABBA Stand? That would make them even more useful for chain adjustment, etc. And I'd only need to make one, which I could pop into each carrier only when needed. Any thoughts on my bike carrier frame design? Cheers, JZH


-
VFRD Mission Statement
For owners of the Honda Interceptor and related Honda V4 motorcycles, for the purpose of mutual help concerning safe riding, maintenance, and performance of their motorcycles.
Rules of the ride - No one goes to jail, and No one goes to the Hospital.
Contributions - VFRD is a member supported website with no commercial advertising.

-
Forum Statistics
-
Total Topics26.4k
-
Total Posts361.3k
-
-
Who's Online (See full list)
-
Member Statistics
-
Upcoming Events
No upcoming events found -
Latest Classifieds
-
-
Top Downloads
-
-
Popular Contributors
-
1
-
2

-
3

-
4

-
5
-
-
Blog Statistics
-
Total Blogs116
-
Total Entries345
-
-
Gallery Statistics
-
Blog Entries
-
-
Blog Comments
-

By vfrpilot28 · Posted
I enjoyed reading this and seeing your story. For the love of motorcycling! -
-
By interceptor69 · Posted
Oops. I do believe I know how to post YT videos or they wouldn't be on YT. However I may have screwed up copying the link to the playlist. Thanks for the helpful comment. -
 I think that you might not know how to post videos. You're in your YT studio in these links. You need the link to the actual video.
 -
-