Cogswell
-
Posts
4,453 -
Joined
-
Days Won
122
Content Type
Forums
Profiles
Gallery
Blogs
Downloads
Events
Everything posted by Cogswell
-
 Have a look at this and see what you think of it. https://m.youtube.com/watch?v=3IiCrvMTDr8
 -
That is interesting. Obviously the alignment on the splined shaft can only go in one position. If you didn't move the crank whilst apart that should be good. The bumps could change the wave form or duration of the signal generated but that would seem to be more of an issue on computer controlled engines. Is it possible to remove the guts from the new clutch and use them to rebuild the case with the long bumps?
-
Some photos of the process mite be helpful.
-
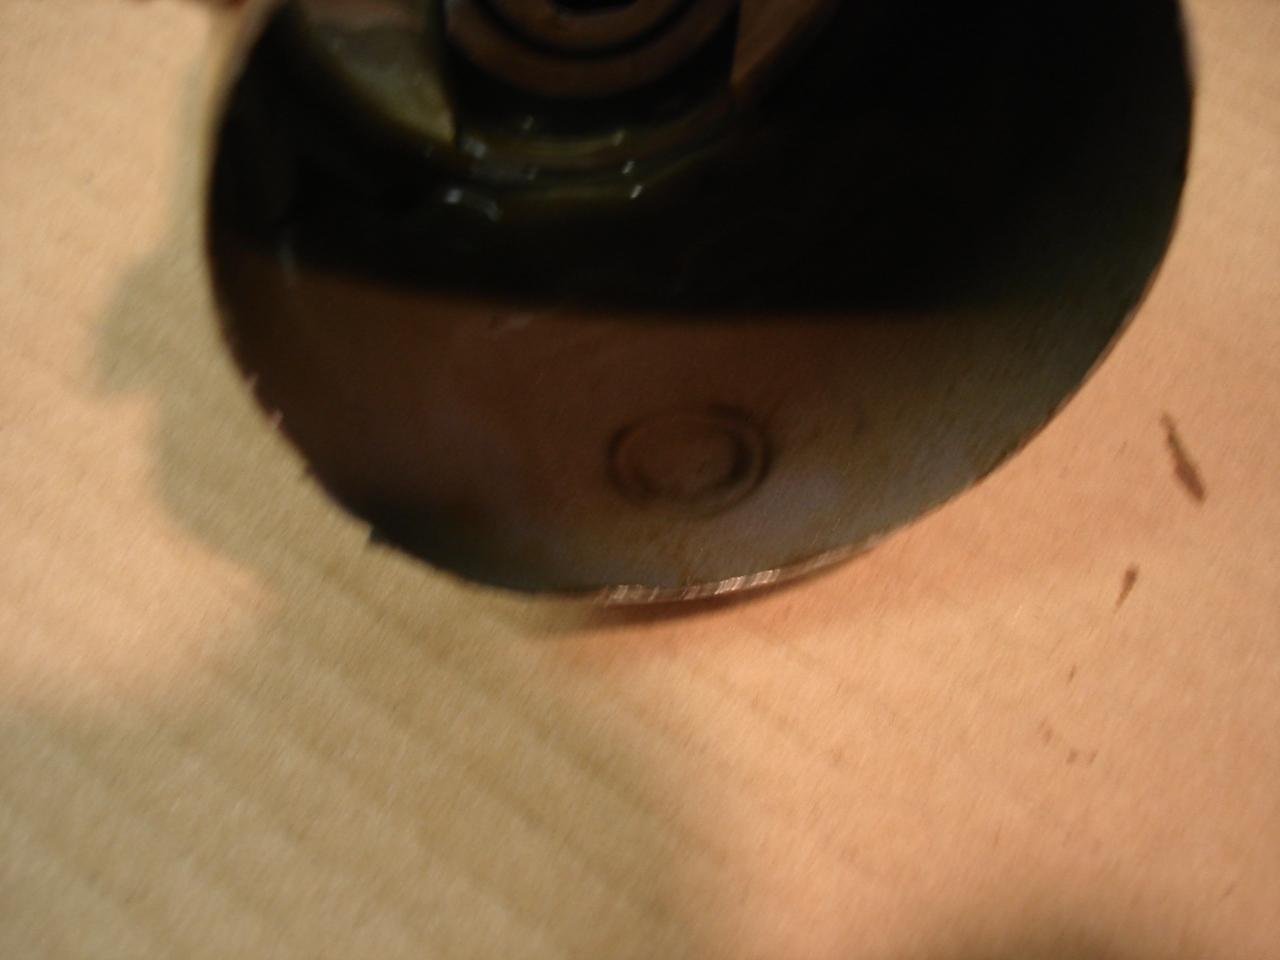
The photo is a bit blurry, but you can see where one of the 3 magnets was on the outside of the can. The other 2 were similar. Not nearly as much accumulation as on the drain plug, but then the plug gets 1st shot at anything magnetic before it's picked up and run through the pump. But it does show that some ferrous material is circulating through pressurized portion of the system. For my $.02 I'd like to capture as much as possible. Oddly, the most ferrous-free engine I have is my 250,000 mile Camry. It is amazing - even at 7,500 mile intervals there is hardly anything on the plug.

-
It's not a fun job, but definitely one a determined DIY'er can do. Used spool valves can be had on ebay for about $25, so it can be done economically if desired. They're so reliable I'd be comfortable getting a used unit. And while at it, I'd change the water neck O-rings, hoses and put in a new thermostat.
-
There are some threads here if you search on changing to coil on plug setup. Reduces some clutter and weight while you're at it. IIRC a GSXR 750 coil was the unit of choice.
-
Retrace your steps - you likely unplugged or removed something that over the course of 7+ weeks was forgotten about. We've all done something similar one time or another.
-
The magnet holds it to the filter - nothing else required. The can is ferrous metal. They never move, even the slightest - so no worries there.
-
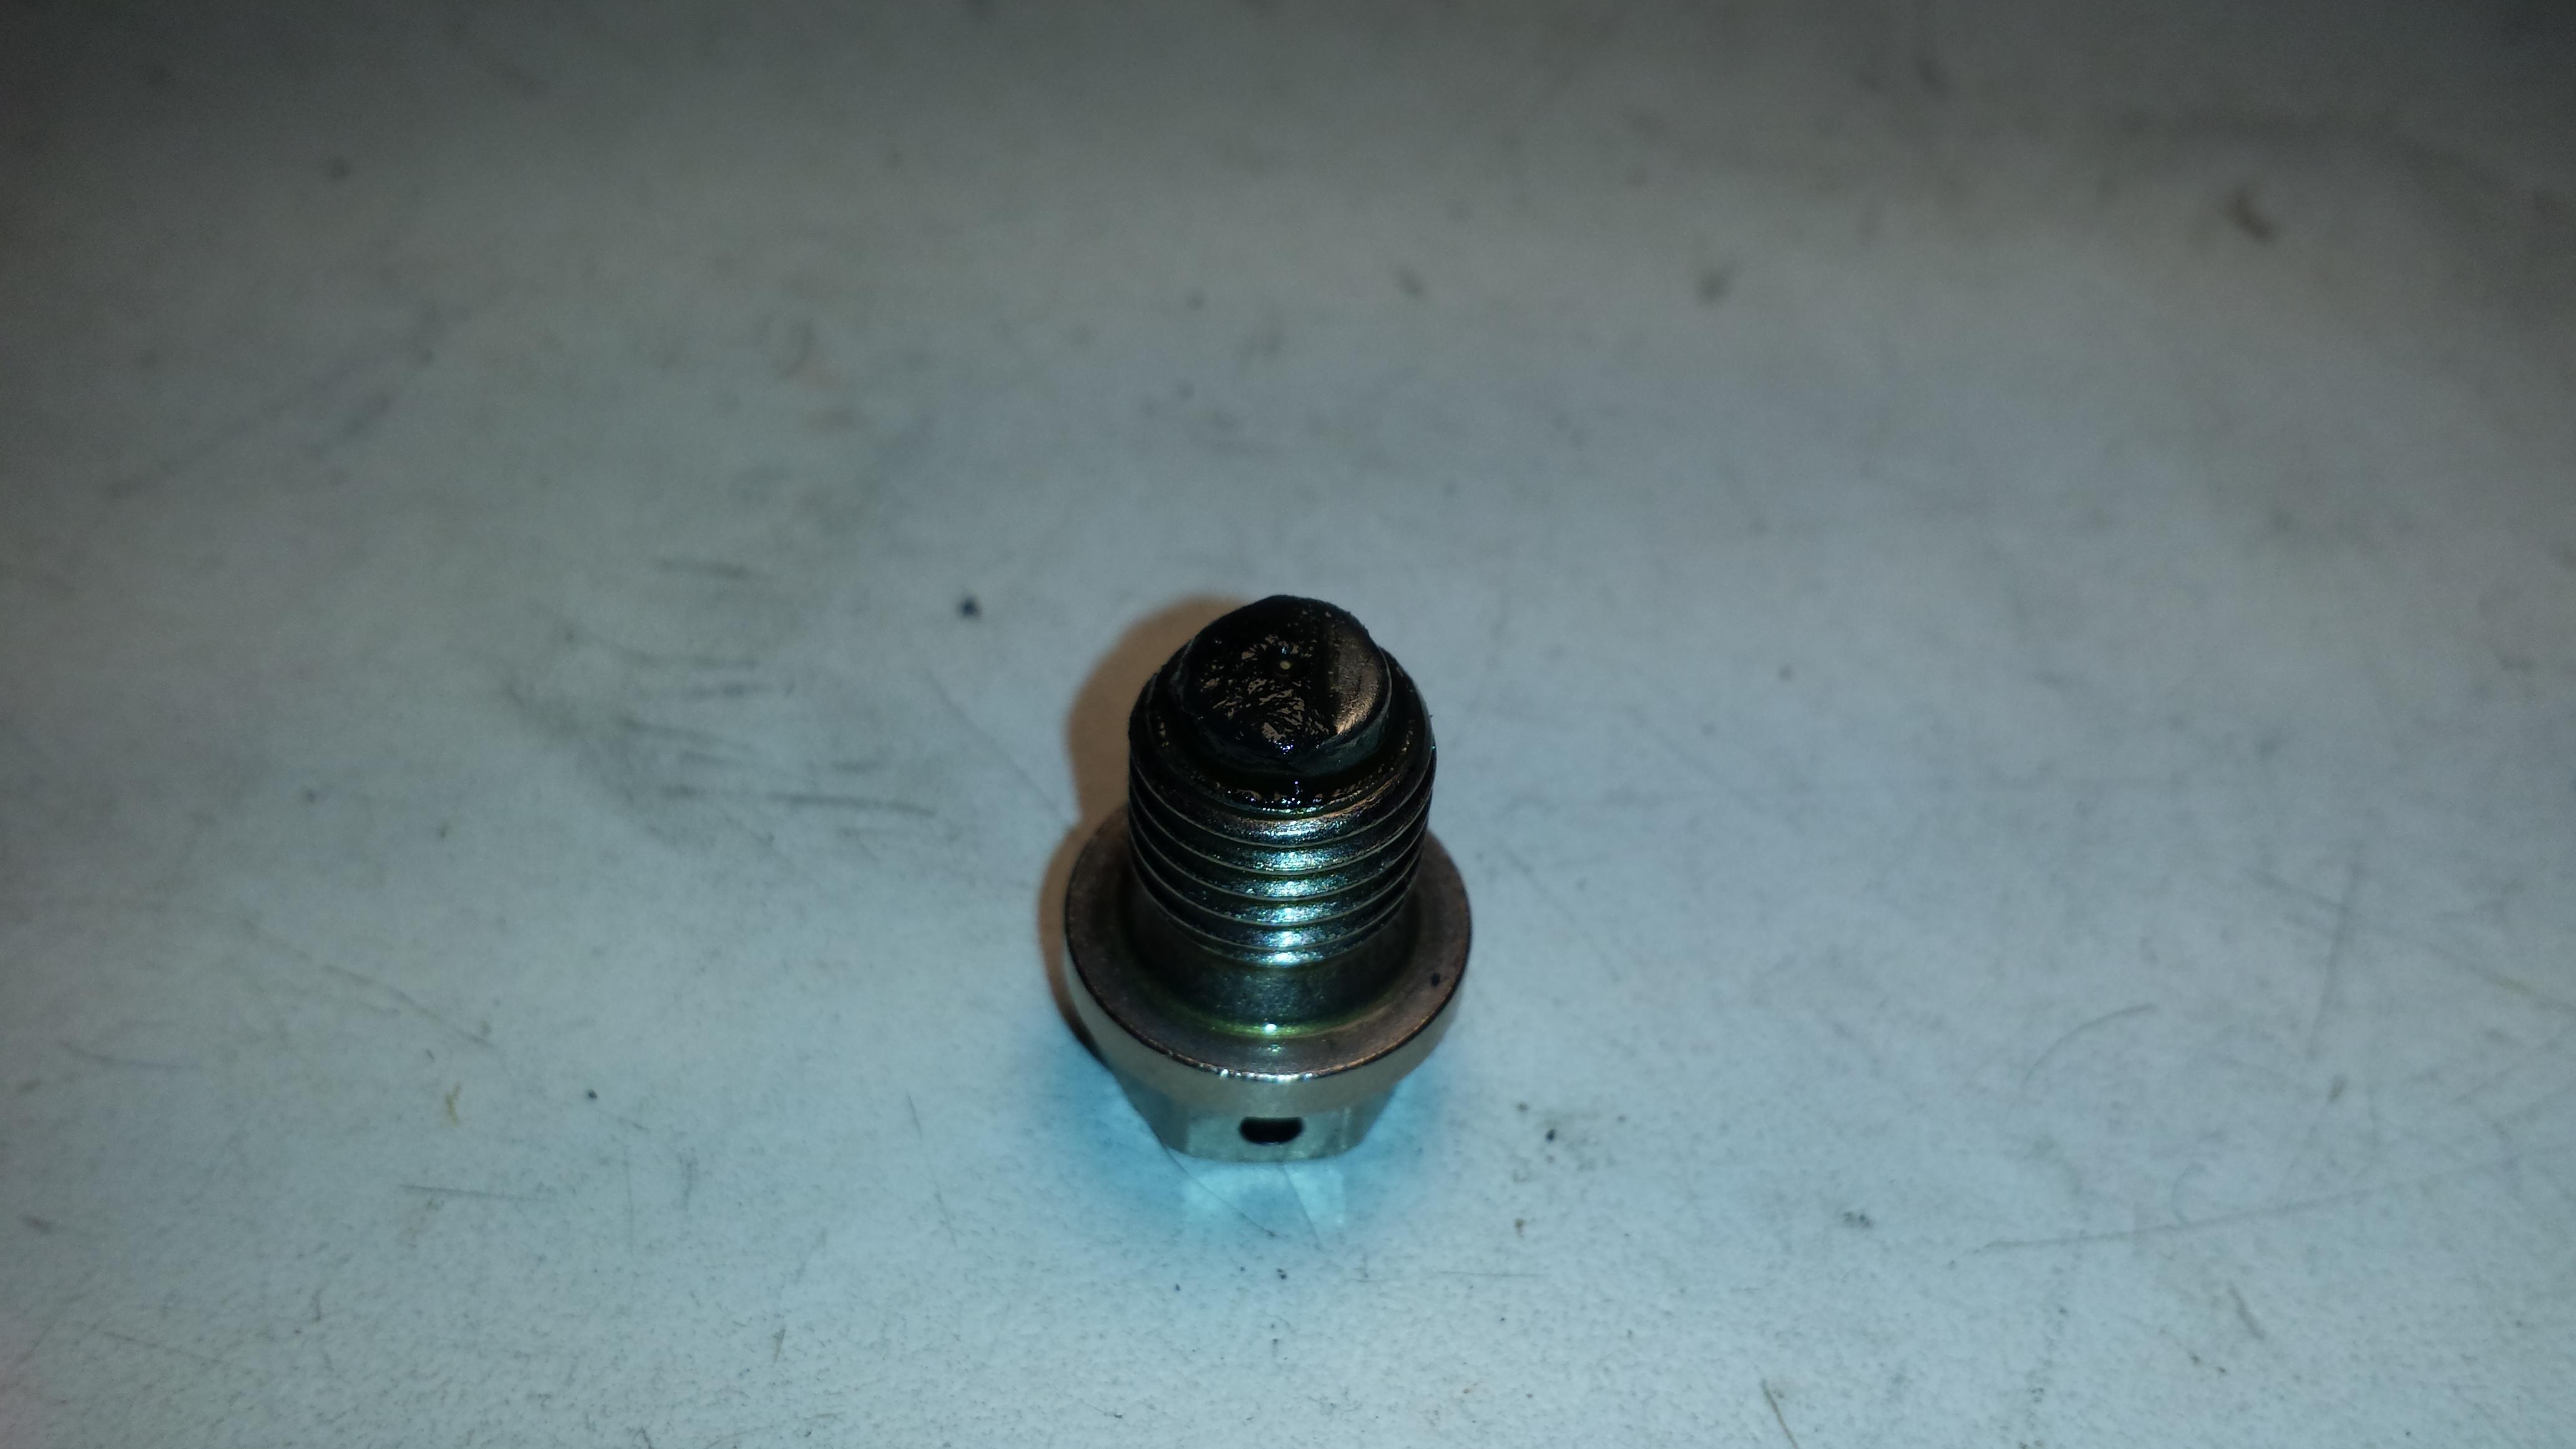
I run one in just about everything 4 stroke. I get them from Dimple Magnets - he calls them "Black Hole" magnets - they are very strong for their size. If you don't want to run a magnetic plug there are also external magnets that can be placed on the oil filter. The Viffer gets both. When cutting the filter open there is always a ring of swarf where the magnet was on the outside. In the photo a portion of the swarf on the plug was wiped away. To satisfy myself that it was indeed magnetic and not just typical crud, I wiped the rest off with a piece of clear sandwich wrap and then used the magnet underneath to pull the swarf around on the plastic wrap, which indeed it did. So it's definitely magnetic material that's being captured. Also, when I had my clutch cover off I could see in bottom of the pan and it looked nothing like that, so I was satisfied that this was matter being captured by the magnet. That was after about 4,000 mile service interval. Note that the plug comes pre-drilled for safety wire if you want to do that. If you go that route get plenty of extra crush washers either from him or on ebay or similar - saves time running around realizing you have to source one at each oil change.
-
The sidestand point is a very good one. If the stand is down, is DCT reaction function to not go in to gear and leave engine running or will it stop the motor as with manual shift bike? While DCT is interesting technology and can be appealing, it does introduce added complexity. Its failures surprise me coming from Honda. I've also seen it on their quad side by sides, so is becoming more common. BTW, so no hope of repairing the original crankshaft?
-
My Favorite Motovlogger – Itchy Boots
Cogswell replied to Kbear's topic in OTHER Motorcycle Talk (non vfr)
I've seen her before, but not for a while. My first exposure to ADV riding was prior to commonplace internet access - a book by Jim Rogers titled "Investment Biker" (he was and still is an investment guy). Anyway, he and his then girlfriend rode around the world over several years on their BMW's. For my blood, border crossings in many of those countries can be a sketchy experience. As he found out, you must know the expectations when approaching a border. In some places it's expected that you will know the correct bribe to offer and one can find themselves in significant trouble and delay if not handled properly. Then even once inside it's possible to run afoul of local LEO that really doesn't much care what the border guards did or authorized - they can run their own shakedowns. But somehow it does seem to work out. Just not for me! Anyway, she is interesting and takes things in stride. There is an ADVRider thread titled something like the "Ed-Venture" where he rides all over the world through nearly 100 countries for IIRC between 2 and 3 years. Gets in to some unbelievable places. -
Best way to get debris out of fuel tank?
Cogswell replied to moroseduck's topic in Maintenance Questions
Any reason to not use kerosene or diesel as a solvent / flushing agent vs using water? -
She's a looker!
-
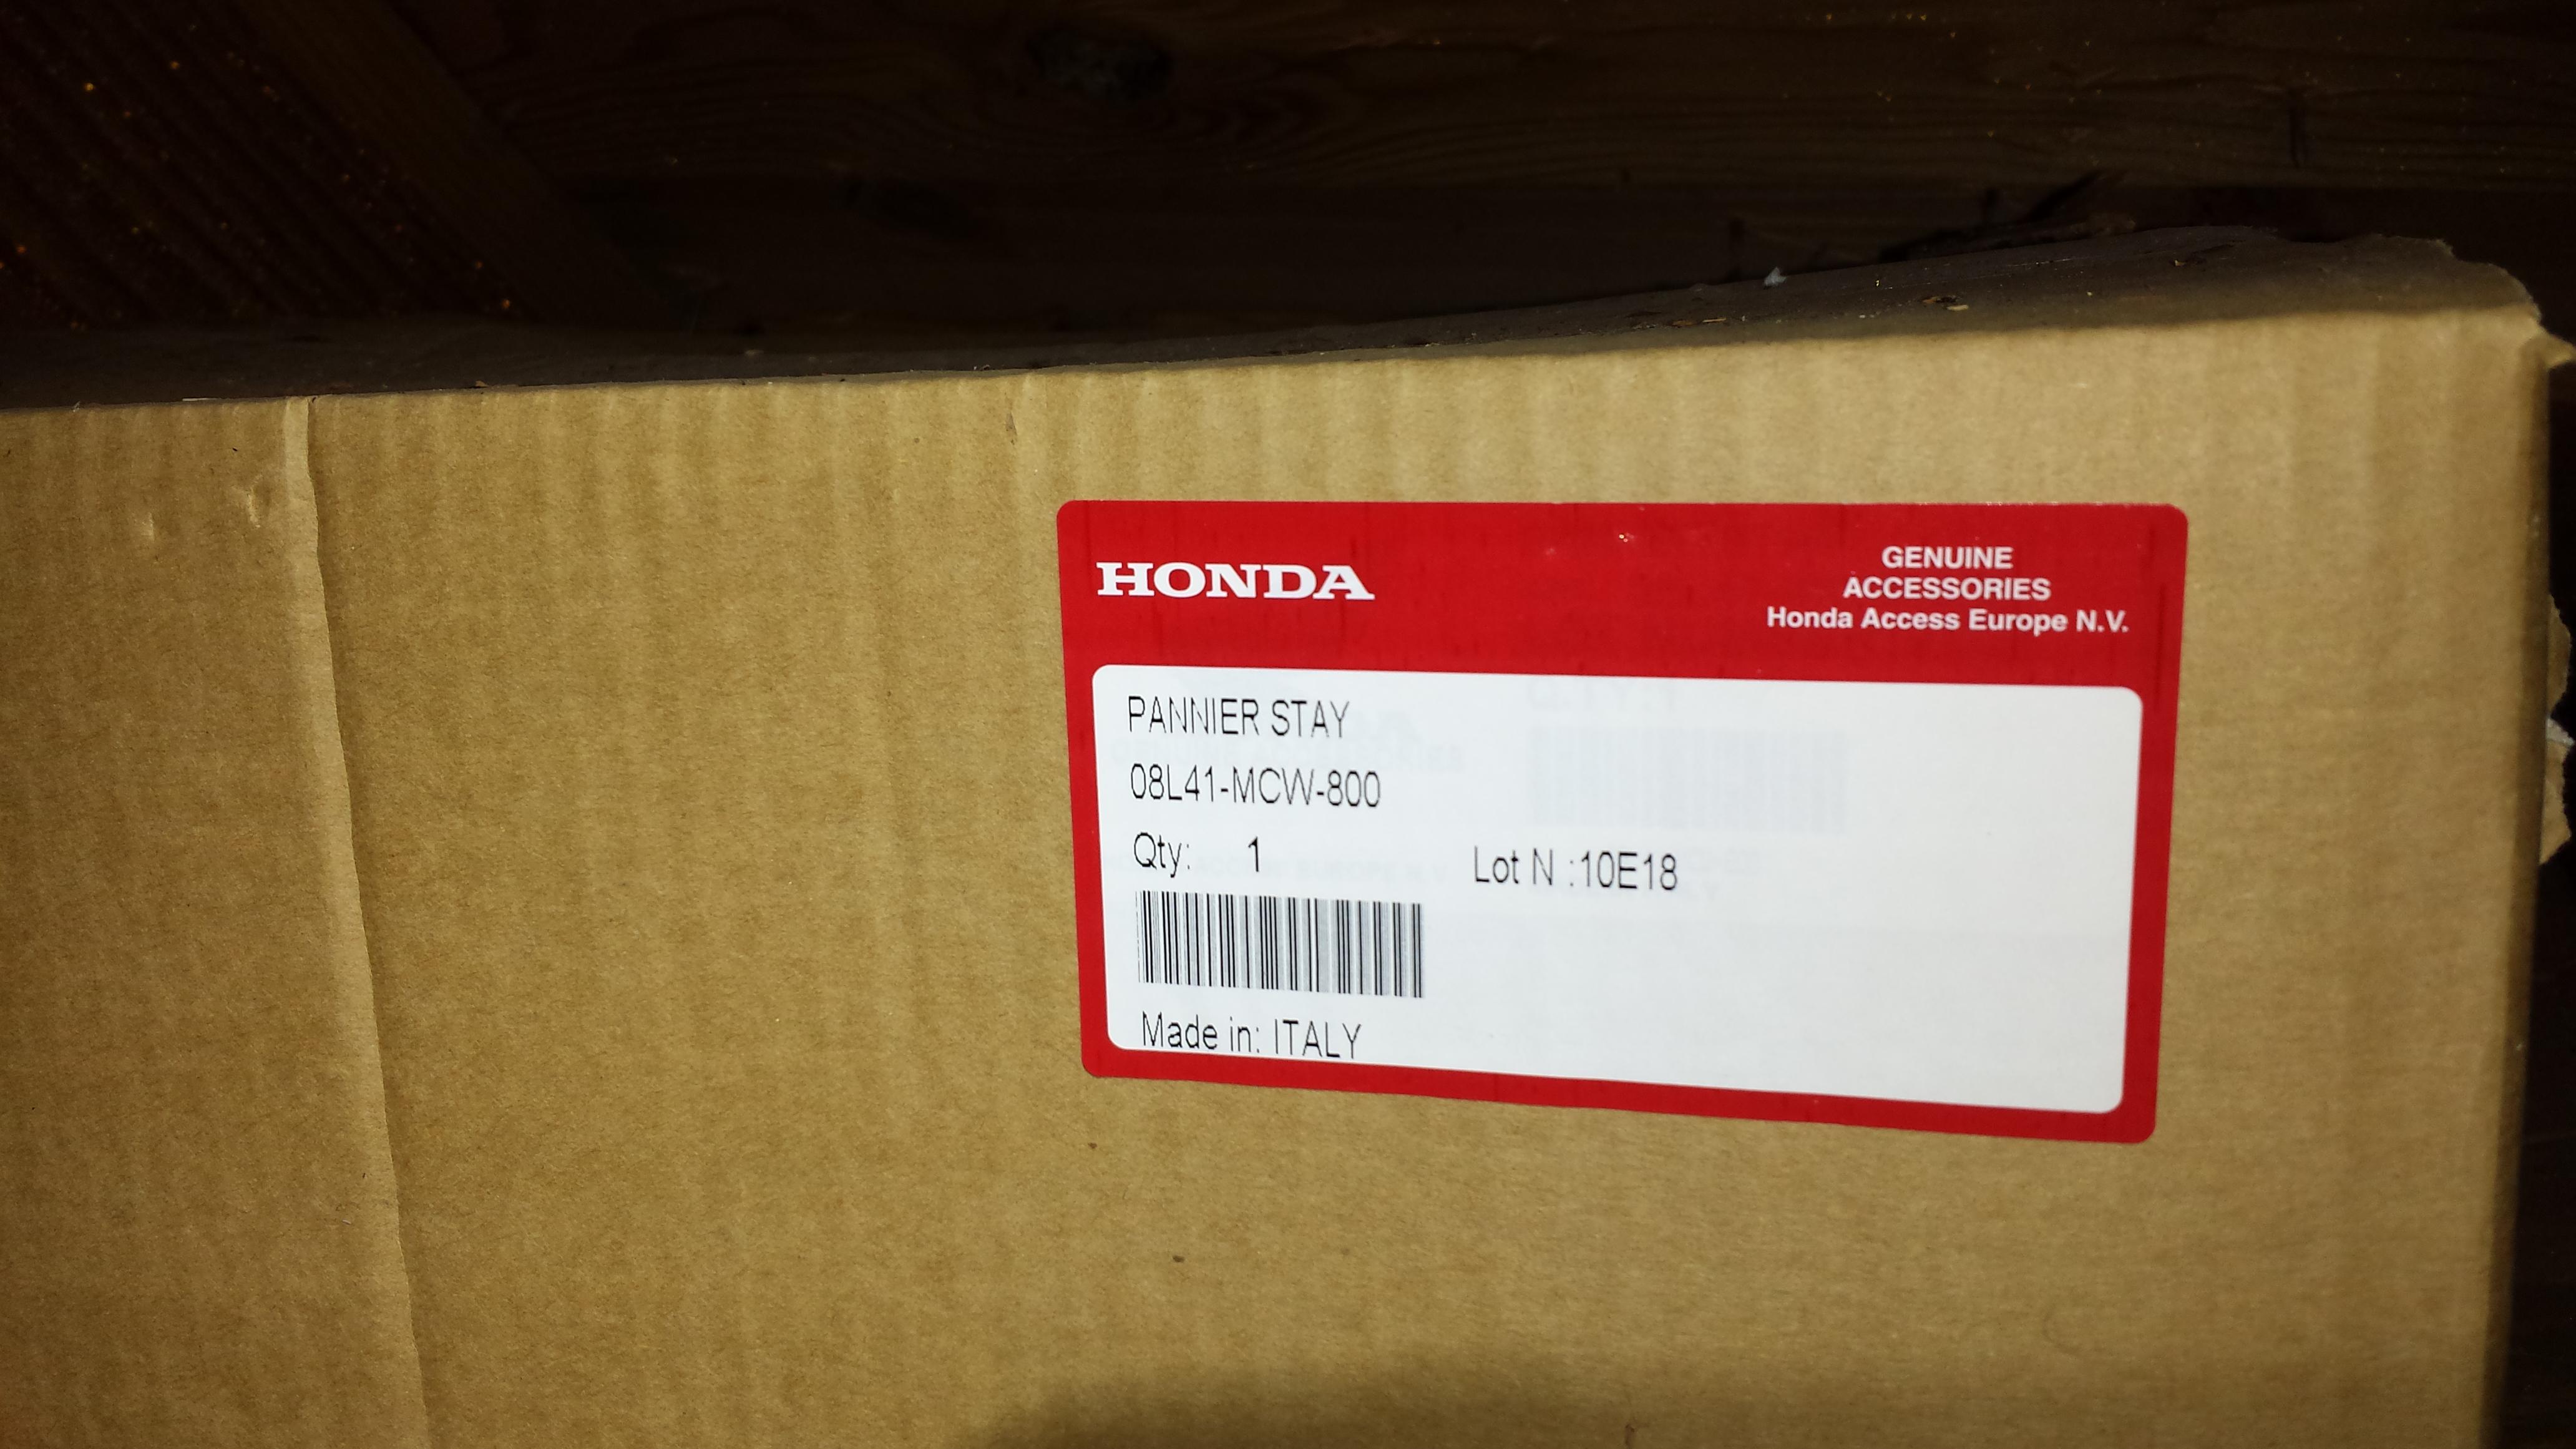
Wow - NOS 6g RWB bags? AFAIK those went unobtanium a decade ago. I thought I recalled that the hardware came boxed separately from the bags. A little rumaging around in the attic turned up the box and confirmed that. It has its own part number. Mine came with the set as offered by the seller, but whether what you're looking at will is anyone's guess. I would provide them with the part number and see what they say.
-
I'd guess that the design reviews never considered that these bikes would still be going down the road nearly a quarter century later. A unique lot us VFR owners are.
-
2002 VFR, 46k miles, running very poorly when hot.
Cogswell replied to Nelso90's topic in Sixth Generation VFR's
FWIW, Honda coilpacks are made by Denso and are of high quality. Failures are rare. If replacing though, those used on the VTEC engine are the same ones used on many Honda / Acura automobiles - CRV, Civic, RSX and others. Find the Denso part number and do a search - you'll tons of them on ebay or elsewhere - you do not need to buy them from Honda Powersports. Just curious - why has your flapper valve been deactivated? -
The part numbers are different due to color. 6th gens 02 through 09 in the US share the same tank and fitment, just the color differs.
-
Progressive IMS Motorcycle Show
Cogswell replied to St. Stephen's topic in OTHER Motorcycle Talk (non vfr)
There is tremendous pressure on corporate boards to adopt this garbage . . . I wonder if it's for "public perception", but in reality they know it's all as described above, and nothing will materially change. In other words, it's all more "show" for perception than anything real. Tell the media crowd what they want to hear so they stay off their backs, but in the end what's being advocated and pressured for does not work and furthermore does nothing. But, they don't want to hear that, so give them sound bites. As one of my college roommates would say "don't confuse me with the facts!" Ah well. For any interest, there is a movie on youtube (unless it's been deemed "mis-information" and removed) now that goes in to the solar and wind turbine industries and just what is wrong with them - by no other than, wait for it - Micheal Moore - "Planet of the Humans". Whoda' thunk it . . . -
Progressive IMS Motorcycle Show
Cogswell replied to St. Stephen's topic in OTHER Motorcycle Talk (non vfr)
Yes, I have the exact translation . . .
-
If you're headed for Central Oregon
Cogswell replied to Cogswell's topic in OTHER Motorcycle Talk (non vfr)
Agh . . . I screwed up. I should have said the 20 miles of US 26 east of Prineville . . . not west. Brain fade . . . -
Ah - rereading this, I see you're planning on the Rapid Bike. Once installed it should clear up most of your complaints except top end power. Evo or Racing are fine - however racing allows for timing adjustment, more possibilities. Since you did the clutch fluid you'll also want to stay on to of the brake fluid. Sticky calipers are one thing, gunked up ABS modules entirely another. There is an excellent brake bleeding guide pinned in the maintenance forum. In or near the last post I added detail about bleeding the secondary master cylinder and proprtioning control valve. As for losing weight, if there's ever another batch of headers made here, that and a set of aftetmarket cans should drop about 12 pounds (the stock exhaust cans are surprisingly heavy), and a lithium battery some more. Don't forget a workout program - rider weight counts, too!
-
If you're planning a ride through central Oregon soon, there are a couple of things to be aware of. One is that firefighting services have pre positioned a lot of personnel in the Prineville area - hotel rooms are virtually impossible to come by. Call ahead, even in Bend and Redmond. The other is that US 26 west of Prineville is not in very good condition - it looks like the 20 miles just west are being readied for paving. There is a strip of new (and oily) asphalt down the center. The lanes have been patched numerous times and show their age. Further east of Prineville they've patched sections of the lanes again with the same oily overlay, sometimes in curves. I found the tires hunting for traction on several occasions. If they do the lane paving closer to Prineville, there will likely be long delays. Also, there is a bridge being replaced about 2 miles west of Mitchell, which has alternating one lane traffic. That looks to be there at least through the summer. Not a big deal on a weekday, weekends could be different. An alternate to John Day is to take 380 from Prinveville to 395 then north. Gas up at the Unocal at 380 start in Prineville - except for Paulina, there's no gas until John Day. Gas at Paulina was $5/gal. It is though a good place to stop for ice cream. Thats how I would go to get to Kimberly, Spray, Fossil, etc. US 26 east of John Day is in superb condition and is a good ride. FWIW.
- 1 reply
-
- 2
-

-
You also have ABS. Nice find. Do a search for the dyno graph for a stock 6th gen. It's not a straight line pre VTEC engagement, and like most engines, the rate of increase in power drops off before redline much like a jet's rate of increase in altitude drops off as it nears cruise. That doesn't mean there's anything wrong with it, it just doesn't give you a lot more bang for the buck beyond 10,000 rpm. It gives some more power, but smaller amounts per thousand rpm and eventually tails off. Which Rapid Bike module did you get, Evo or Racing? They have a good tune out of the box, I'm surprised its giving you problems.
-
Do you have the tensioner set? You won't be able to tell for sure until rotating it 360 degs. If so congrats, looks much better.
-
It looks to like you're in time - wear has made it less precise. See my reply, above.