Leaderboard


Popular Content
Showing content with the highest reputation on 04/13/2024 in all areas
-
I wish the video had a skinny guy try to use it...2 points
-
You can indeed just change the fronts and leave the rear with the original rubber lines. In fact getting at the connectors under the seat area for the rear brake lines on the 8 Gen is a royal pain in the arse. I did post about changing the fronts a little while back. I will try to find it for you.2 points
-
I am no expert when it comes to electrical stuff but going back to first principles and from what I understand from Grum's detailed and patient advice: 1. There is one relevant wire that goes from the ECT to the instrument panel. It's shown as G/Bu in the diagrams. But the colour may have altered with heat/age. 2. A broken circuit in this wire or a faulty relevant track in the instrument panel will show up as a permanently flashing 270 temp reading. 3. Use of a non OEM or faulty ECT sensor could also cause the permanent 270 flashing reading. Based on the understanding in 1-3 above my approach would be: 4. Confirm which wire runs from the ECT through to the instrument panel relevant pin and check continuity throughout the run including cleaning any relevant intermediate connections. If colours have faded or changed this will need patient methodical checking and I'd recommend a written note of what you find at each connection. If continuity in this wire is good the problem will either be a faulty sensor or a corroded or dirty track in the instrument panel. 5. There is a fault finding test in the manual for the ECT - run that to confirm or eliminate a problem with the sensor 6. If it's not the sensor you will need to check the tracks inside the instrument panel - there are posts on this site of how to do that I hope I've understood this right. As a disclaimer, I have no experience of a 5th Gen and I have not read the 5 Gen manual- this is taken from the advice you've been offered. Good luck.2 points
-
Hi Skids. That's a real bummer m8. I feel your pain! Yep that horrible point of no return, trying desperately to recover it or at least lay it down gracefully. I remember years ago doing damage to my leg femoral nerve by saving a topple over, the bike back upright without hitting the deck, but bloody hell, the resulting nerve damage was painful for weeks. You're definitely No "Muppet" m8, shit happens!. Given my weight at the moment I feel a little bit Miss Piggy ish! Hope you and the bike are mended ASAP. Take Care. Cheers.2 points
-
No shop anywhere near me would mount tires not bought from them, so they turned customers into DIY's. About 18 years ago I bought a Black Widow paddock tire changer and a HF balancer. The convenience factor became apparent immediately. I averaged 4-6 tires a year for myself and 6-12 for guys in the same position as me. I don't charge for it as motorcycles are my hobby, not a business. Also, it turned our to be a good way to meet the few sport/sport touring guys here in Mid Coast Maine.2 points
-
I thought my experience in obtaining OEM hard luggage might be informative/useful for others, because things have apparently changed over the years since the bags were in production. When I bought my '07 Anniversary Interceptor a little over a month ago, I knew I wanted hard bags. I was unsuccessful in locating an Anniversary RWB bike with OEM Honda bags, so once I got it home, I started researching. I pretty quickly decided that I wanted the OEM Honda bags... even though they are basically Givi bags, the mounting brackets tuck them in better, and shape integrates better with the bike. Option #1 was to look for used bags (eBay, etc), but I couldn't find anything, so I started researching part numbers. I was able to find the part numbers for the brackets and bags pretty easily, and discovered that there were originally two separate part numbers for the brackets (side mounts and center brace) and additional part numbers for the bags. I was able to track down the center brace on eBay, and found what I believe to be the last set of side brackets in the US at a dealership in Ohio. I was also able to order the bags new from Honda, and was told at the time I got one of seven sets of blue bags left in the US. Side brackets: 08L41-MCW-1000W Center brace: 08L41-MCW-800B (number no longer in Honda's system) Blue bags: 08L41-MCW-1E0 To my great surprise, the bags purchased under the part number above included all the mounting brackets! None of my research had indicated that would be the case, but then again, almost all the threads I found on the subject were at least 10 years old... All in, it's not a bad deal, and only about $200 more than buying the current production bags and brackets from GIVI (not including my extra brackets... LOL). TLDR: there are still some OEM bags out there, and the blue ones, at least, come with the mounting brackets. On to the rest of the story... When I started installing the mounting brackets it was immediately apparent that they were not going to fit with my Delkevic exhaust. The mounting arm that bolts to the center bracket behind the license plate is angled to match the triangular OEM muffler and wouldn't clear the oval aftermarket muffler. I am fortunate enough to have the ability and tools to do some fabrication, so I cut off the offending mounting arm, and modified the center brace so the stay would be horizontal instead of angled, and thus clear the muffler. Then I welded everything back together. The rest of the mounting procedure was easy bolt-up, per the instructions.1 point
-
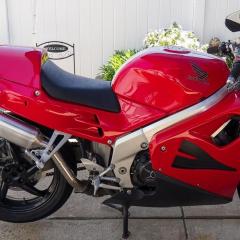
Even better with a coat of pearl white on the wheels 😉1 point
-
I am the muttonhead in this (what should be) finale in the VFR saga. Looking at shock length and not bike ride height caused me many hours of headaches. Even I can't believe it. The next time that each shock is out I will measure to compare. For now, they both stay bolted in and as they are. Yellow VFR00 hot sag numbers came in perfect after some adjusting. Front is 24/34 and rear is 10/30. This is after a few changes to get rear ride height very close to VFR98, which I love. The yellow bike front forks are a touch (1.5mm) higher in the triples (front of bike is lower) and the rear is a touch higher (w/in 1.5mm) measured up from the axle...but close enough for a lackey. Simply everything feels better with the geometry changed. Braking. Seating. Pressure on arms. Mid corner direction changes. Everything. Patience paid off. I was ready to light it on fire...like I am with the ABS FJ1200 wheels/brakes that cost the earth. I rode both VFRs back to back today to verify/set hot sag. While they feel different because the components are different, they are both pretty excellent. Absolutely adequate for any kind of riding. I planned to be zippy in the mountains tomorrow, but all 7 buddies bailed, so I'll likely just roll around the lakes here, which is a 4-5 hour ride.1 point
-
I have these on my 600 Hornet. I did not have to use them, but the previous owner did with no damage to the bike . I guess they passed the test.1 point
-
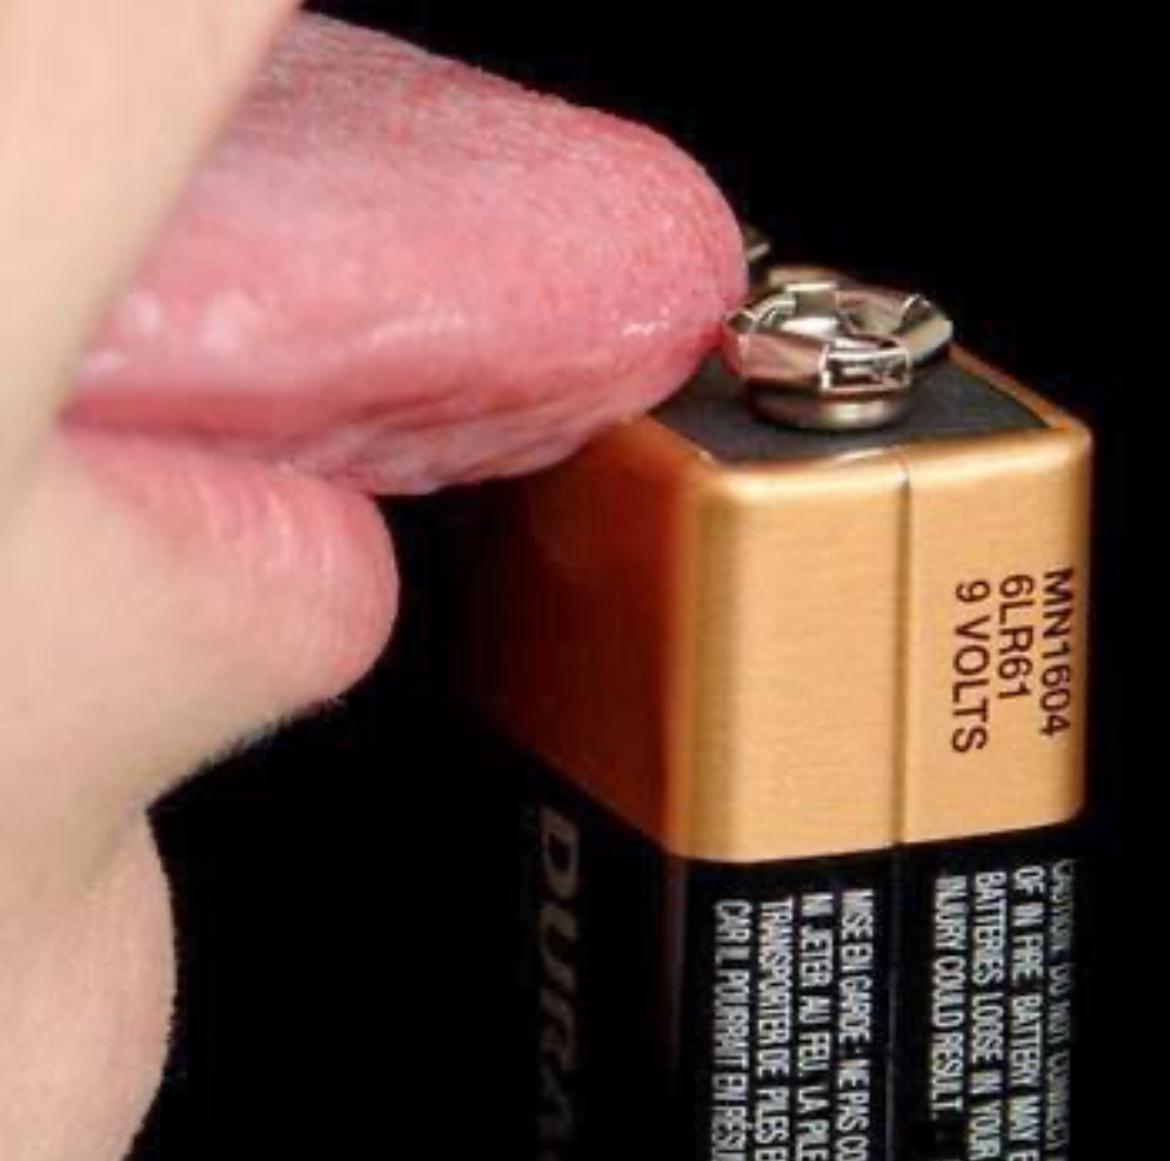
How I used to test a 9 volt battery
 1 point
 -
Well well. A Green/Blue wire! The wiring diagrams Are Correct. And you wonder why you've made me a "Grumpy Grum"......Should be as obvious as the correct Green/Blue wire I'm seeing for Temperature Input Not a "blue with gray dashes" and that it took three requests for you check it. As for those gray dashes you mention I have no idea what they are for. And why only now, you're admitting to having ordered a replacement ECT sometime back, after you stated on the other post (2000 VFR800 fuel pump no power) that you did the Service Manual tests and suspected it was faulty back then? 30.1 Ohms is Miles out of tolerance. You could have saved us all a hell of a lot of time wasting, sounds like another wild goose chase per the ECM saga, I'm convinced you knew about the blown ECM all along. And this - "BLUE 10P wire is blue with gray dashes good continuity." Question asked, continuity to What? You were looking at the Lb wire Light Blue - For the R/H Turn Indicator Light! And this - "item 8 You are incorrect the wire is not green/blue it is blue with gray dashes" Sorry not so! But correct if chasing a Turn Light fault. Seriously, trying to sort out your problems via a keybord 14,000km away is near impossible (well for me anyway) when your feedback has been confusing, with very little clear info, jumping off track, or not answering questions, it just makes the whole interaction messy, difficult to follow, and time wasting. As for the insult - "Grumpy Grum says he truly is the expert." I've never said that in my 67 years existence, I don't hold back or hide info from people and enjoy passing whatever helpful info I may have to help others, even You! I've worked with people who kept important, helpful info from others, a job security issue perhaps, that ain't me. But frankly I couldn't care less mate! Enough said, good luck with it all, guess you don't believe this, but I hope you get that bike up and running ASAP. This time I'm definitely done. Cheers1 point
-
Electrical fault finding can be very frustrating particularly if ( like me) one is not that experienced at it. That's why many of us use the experts on this site. However, it is really important to follow the steps of advice exactly and report back findings on those steps as requested. That's also the better way to learn because the approach has logical structure. Missing out bits, giving half answers or introducing new stuff makes having the conversation frustrating or downright infuriating. We're all human and everyone offering help on here is genuinely interested in getting a fellow biker back on the road. But being frustrated by half answers will test anyone's patience eventually. I do hope you get this sorted. Cheers!1 point
-
Refit the ECT Sensor plug. Measure at the 10P Blue connector between the pin you've located as going to the ECT and the Green/Black (Ground ) wire pin also on the Blue 10P connector. WHAT RESISTANCE VALUE DO YOU MEASURE.? And just for a third time - care to give an answer to what was previously Asked? ......1 point
-
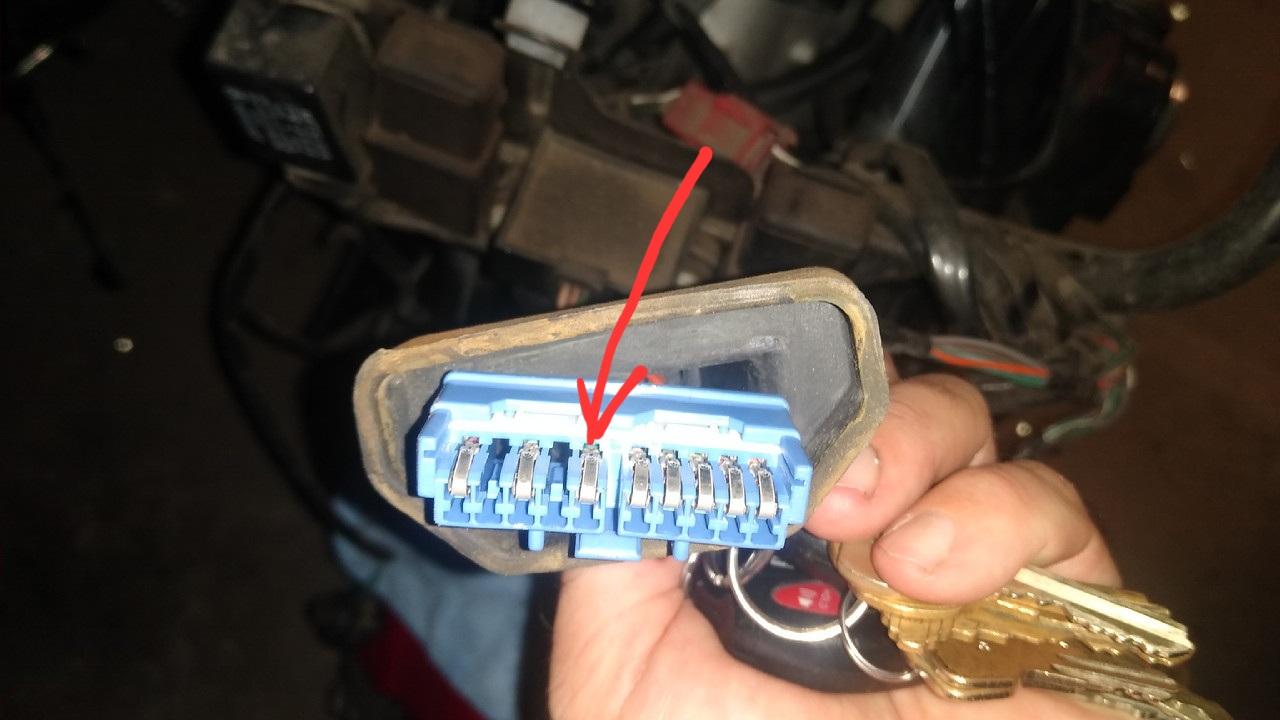
What is the colour of the wire at the back of this pin (Red arrow) of the 10P Blue Instrument Panel Plug? This is the Temperature input from the ECT sensor. But wait there's more! Incase you need to check further........... Mapped out the PCB tracks and connection point for LCD Temperature Display. Just follow the Yellow Brick Road highlighting, (ignore red arrows and comments lower part of picture.)
1 point
-
Well I can't seem to find my post about the job. Nevertheless, from memory: Make sure you have the correct 10mm flare nut spanner for the hard line connectors. A flexible end spanner makes getting at the joints near the steering head easier. On no account try to use a standard or adjustable spanner as the nuts will just round off. Look inside the new connectors to check there's no swarf left from manufacture. There was in mine and would have really messed things up if I'd not cleaned it out. The braided lines are very stiff so you need to assemble everything loosely and turn the handlebars a couple of times to get everything set before you tighten up. The run over the mudguard to the LH caliper created a high spot that can make bleeding the circuit difficult. I got around this by taking the LH caliper off and holding it up on the RH side of the bike to bleed that bit of the run. You may need to get inventive for the line mount on the RHS of the mudguard of you want the line to stand proud of the guard and not wear through the paint. I'll take photo of what I did and post it here in a while. You might want to consider whether a good clean of the calipers, pistons and replacement seals are worth it while you've got everything apart. Stainless steel bleed nipples are a good idea as well- either standard or speed bleeder type.1 point
-
How does (or does it?) this work with the rear wheel from a SSSA? From the videos I've seen it appears to need the wheel bearings to keep it positioned. I've been using a Mojo lever and Marc Parnes balancer with good success. I've changed tires for friends - not too bad a job with the right equipment - a minor nightmare without. If there are any tutorials on using that tool on a SSSA rear wheel, would love to have a look at it.1 point
-
Glad to hear it wasn't a more serious injury. Even better that you'll have the Texas MotoGP to distract you.1 point
-
I hope you got your off out of the way now and glad that it was minor.1 point
-
No local places will mount spoked wheels anymore. I ordered tires for my Sled from CycleGear 30 miles away with the plan of having them mount them. Two weeks for them to come in. I take the wheels off and show up to "the tire machine is down until at least next week." The kid gives me a card for a place another thirty minutes up the road. I call and then head that way thinking that I'll just get this over with. When I go to pick them up, I ask How much?. The kid looks at his partner who stumbles and then says $110. I pay them and head home. After fighting to get the rear on, I go to check the pressure and discover it is flat. I'm dropping the money for a Rabaconda. It's not just the money to be saved, it's also the hassle of people.1 point
-
Since I also have an Interceptor with GIVI bags in the garage at the moment*, here's a comparison back to back.... The Honda bags are about 6" narrower overall. OEM Honda: GIVI: * My BIL was shopping VFRs at the same time I was, and after a couple deals fell through, I put him onto a bike here in AZ that was my back-up plan if the deal on the one I bought fell through. He ended up making the deal, so I picked up the bike for him and am storing it until he can do a fly-ride or have it transported back to WI. So for now, I have double parked VFRs in the shop...1 point
-
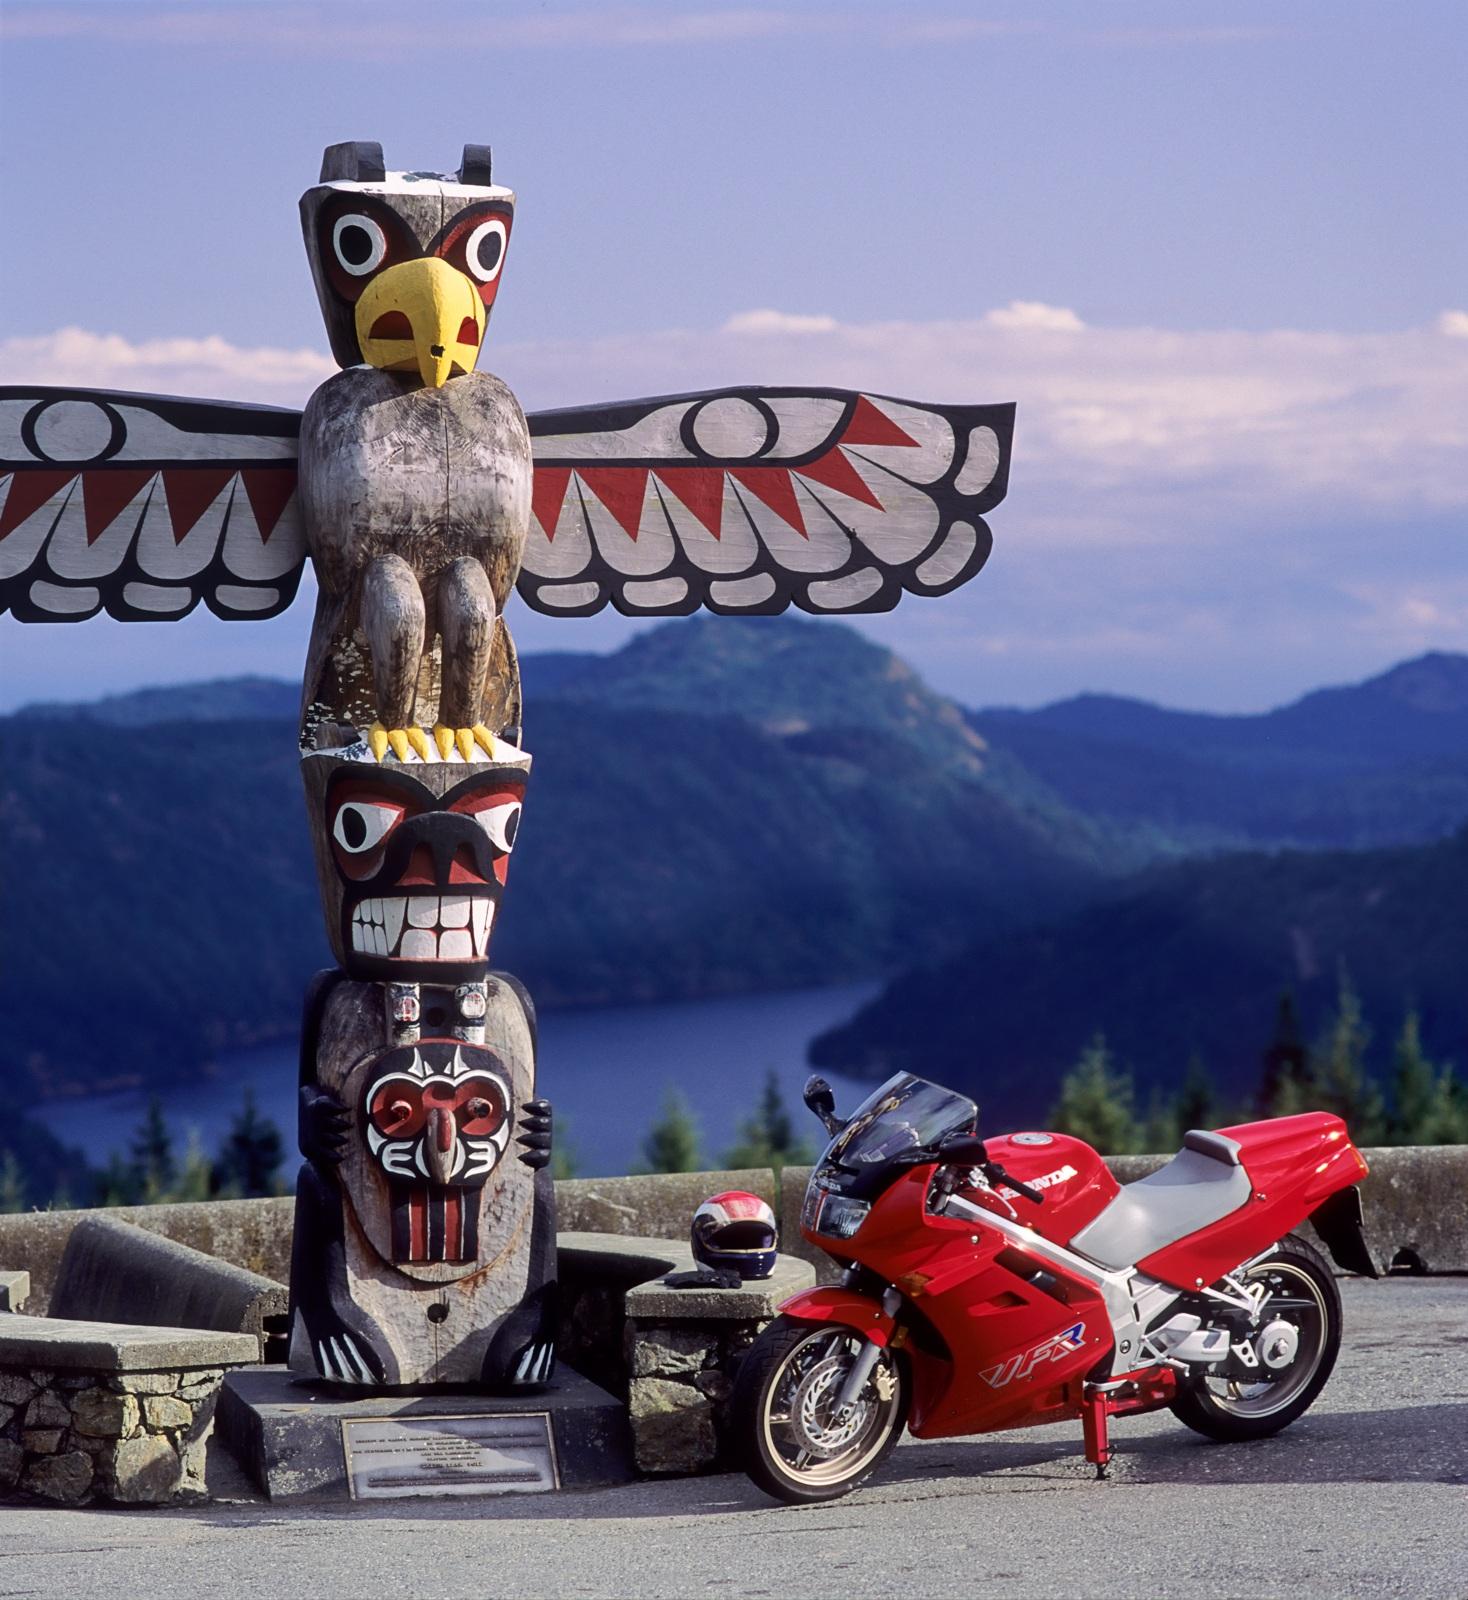
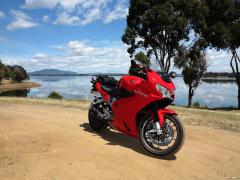
Spring of 1993 and I'd only had my '91 VFR for a couple months when I snapped this photo by Salish Bear totem atop Malahat Drive. Compared to many of the mountain passes I've crossed by VFR this is one of the lowest, but it is close by and offers a good view of Finlayson Arm - and, on a much clearer day, even the Olympic Range in Washington state to the south. Eagle-eyed viewers will notice the Bubba Shobert-replica Bell helmet. It looked cool, but my next helmet, a Shoei X7, was a huge improvement.
1 point
-
Me too but it does highlight just how good even an ageing VFR can be.1 point
-
Great half an answer! And what was mentioned in Bold print, seems like you didn't read it.0 points
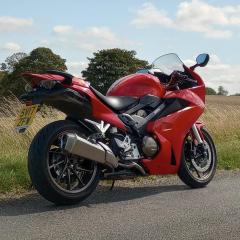
-
What a muppet! Pulling out of a t-junction on the Crossrunner this morning, no traffic around, bike just starting to move and I clearly didn't feed her enough revs and she stalls. Was already steering right so big judder as bike stops and over she goes. I stuck my leg out to try and stop her but no chance. Minor damage, the Givi crash bars saved £000's of damage, scratches on the bars, top box and mirror. A m8 came and rode her home so she's in my garage. Meanwhile I was in an ambulance with a torn hamstring. Could be worse, Moto GP and European Champions Cup rugby quarter finals this weekend and the doc said I have to take it easy, keep my leg elevated! What a muppet though!0 points


.JPG.e854512fe5c890a30f6f19befeb1f2b4.JPG)