rhoderage
-
Posts
398 -
Joined
-
Last visited


rhoderage's Achievements
")


-

My 1997 750 is back on the road
rhoderage replied to fabio222's topic in Third and Fourth Generation VFR's
Great refresh and summary presentation -
could always go by your local honda dealer and see what they say... i would assume they can look it up, perhaps if you're lucky they have experience replacing ignition and actually know what you're talking about
-
Agreeing with the thought that they are probably not necessary... can you just match the thread and buy standard bolts instead of the security ones?
-
Haven't done my 5g yet, but on my 6g I had Heli's... bike got hit and knocked over and one bent. I found a member selling used Gen-Mar risers, which are equivalent to Moto-CNC. I think they are great and not far off the Heli's... and MUCH less expensive. Glad I never ditched the OEM bars when I originally put the Heli's on...
-
I bought a car with some miles so this has perhaps become more of a spring / summer project. Just a slight delay 😀
-
Noise after cam chain tensioner replacement
rhoderage replied to gropula's topic in Sixth Generation VFR's
I also have an 02... my clutch rattles at idle. Pull the lever a little, it gets quiet. Possible you were hearing that as well -
Thank you and agreed this forum is top notch
-
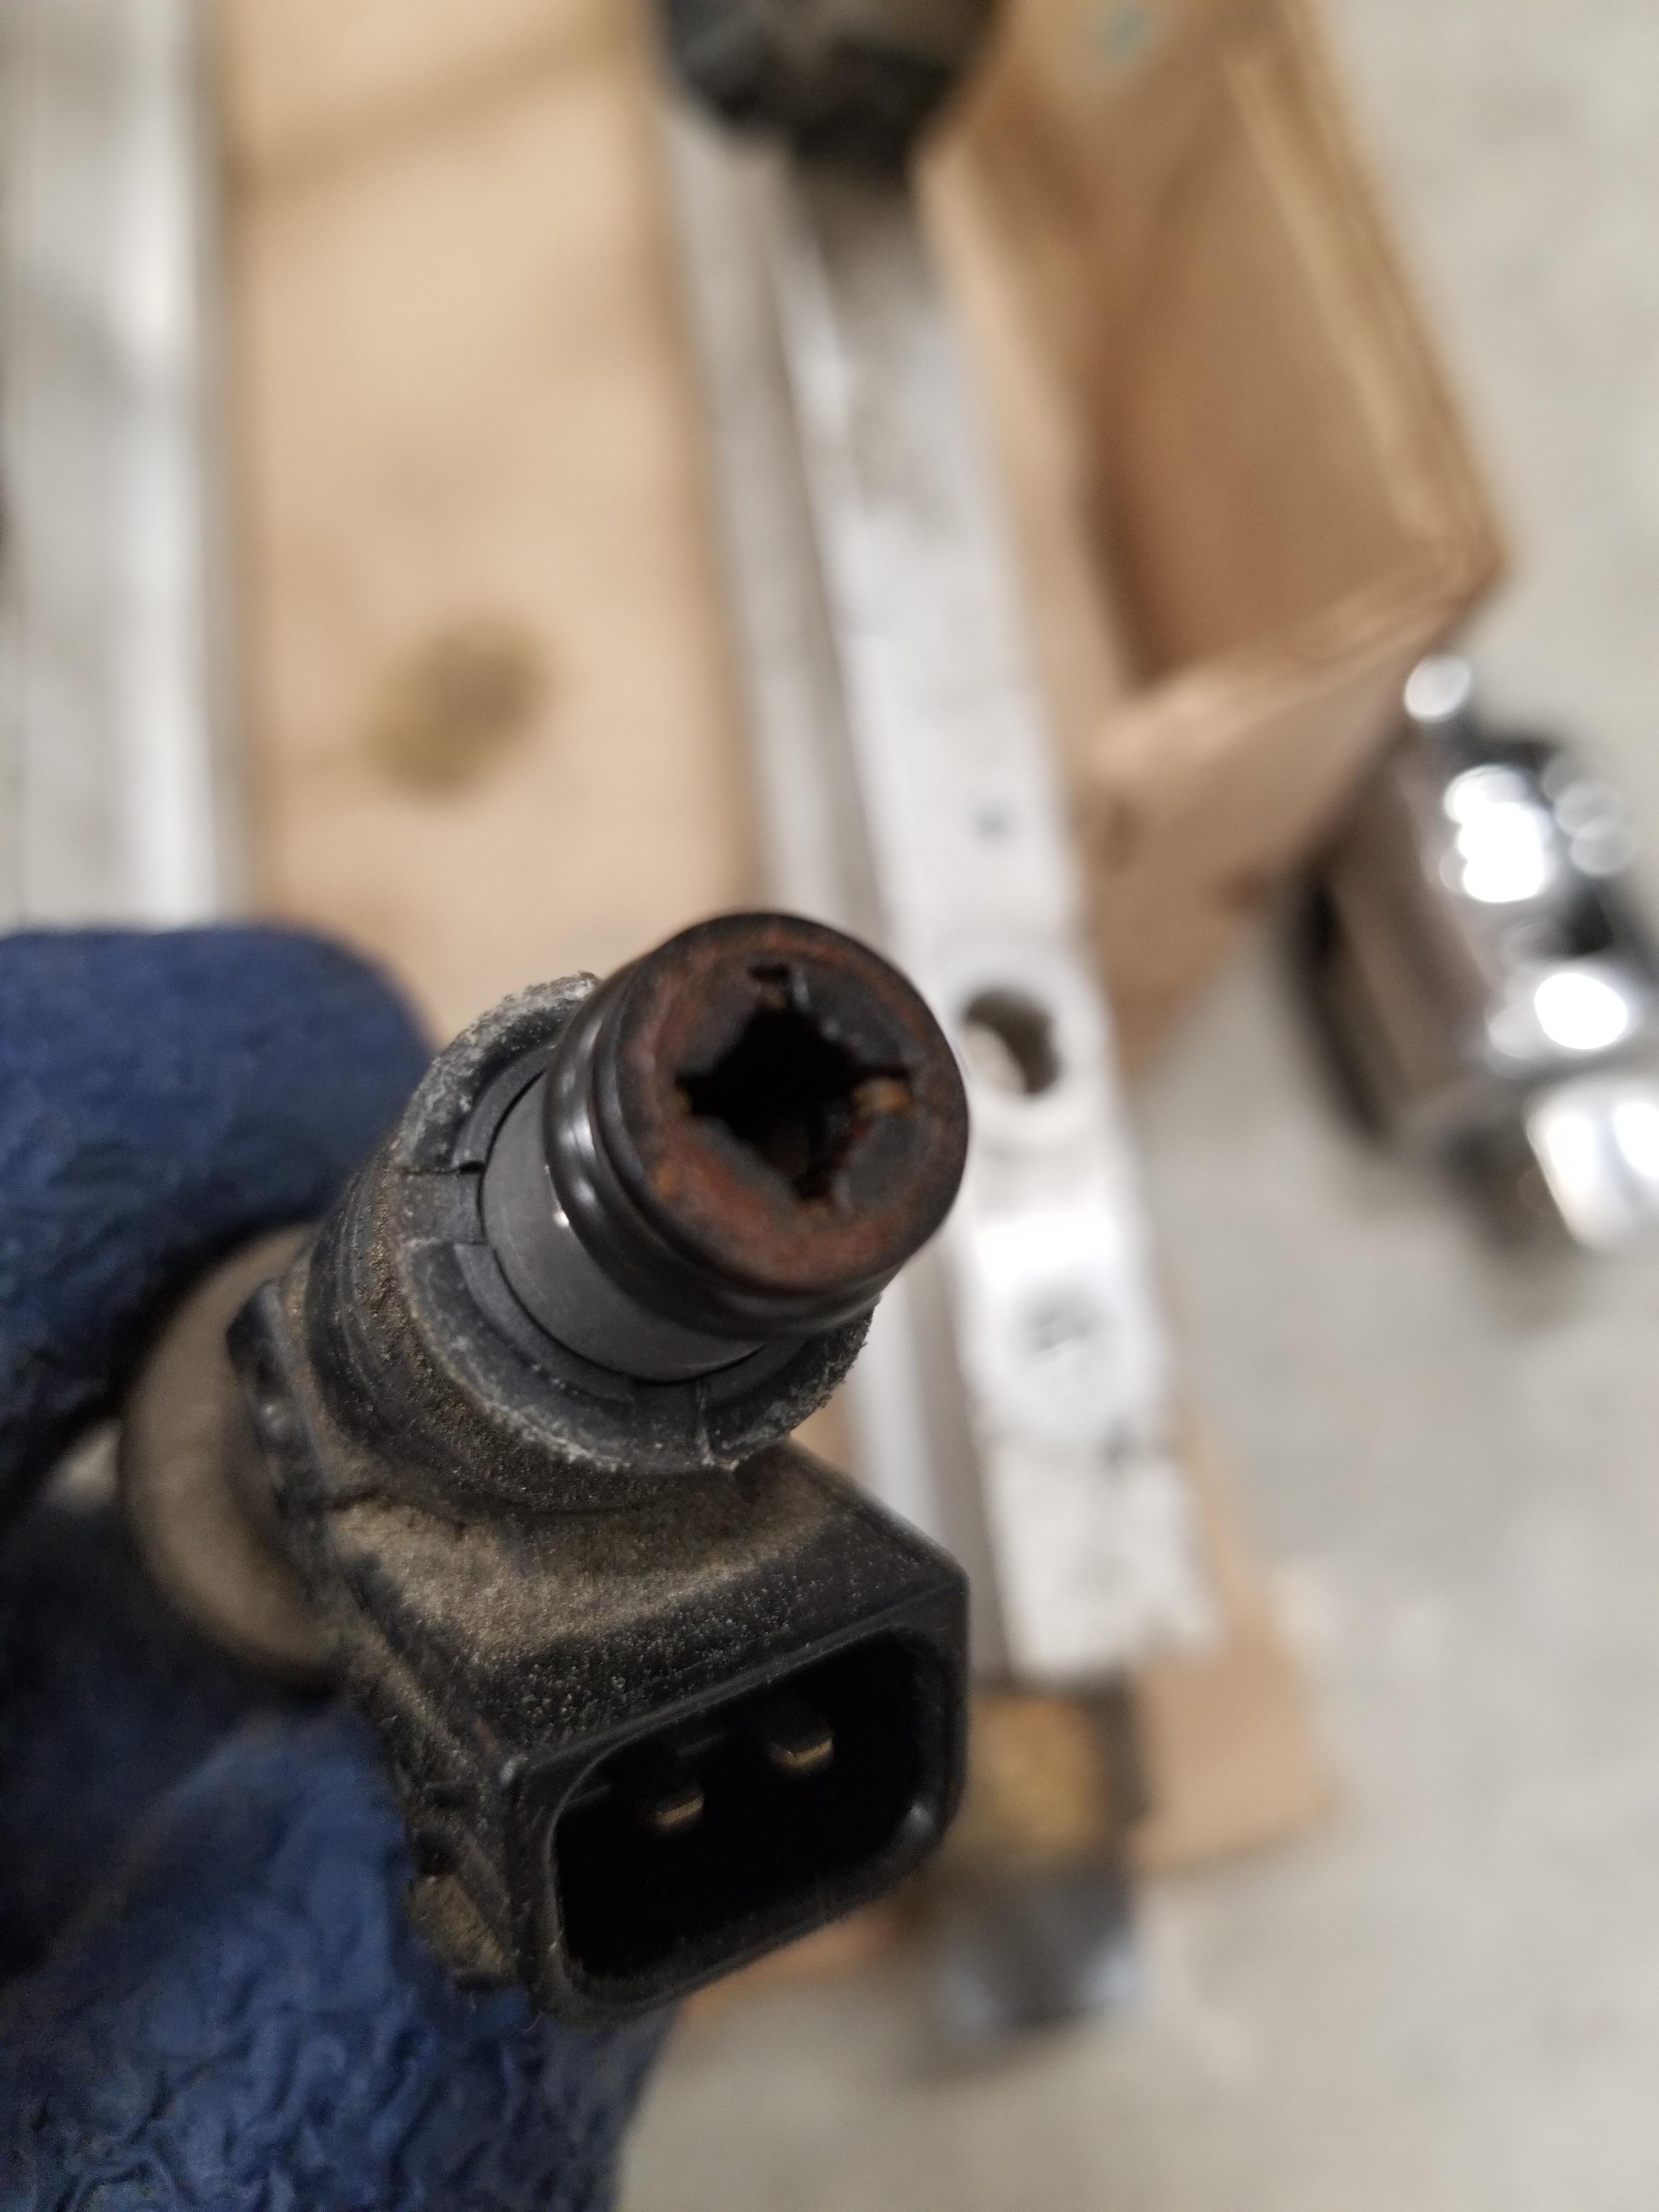
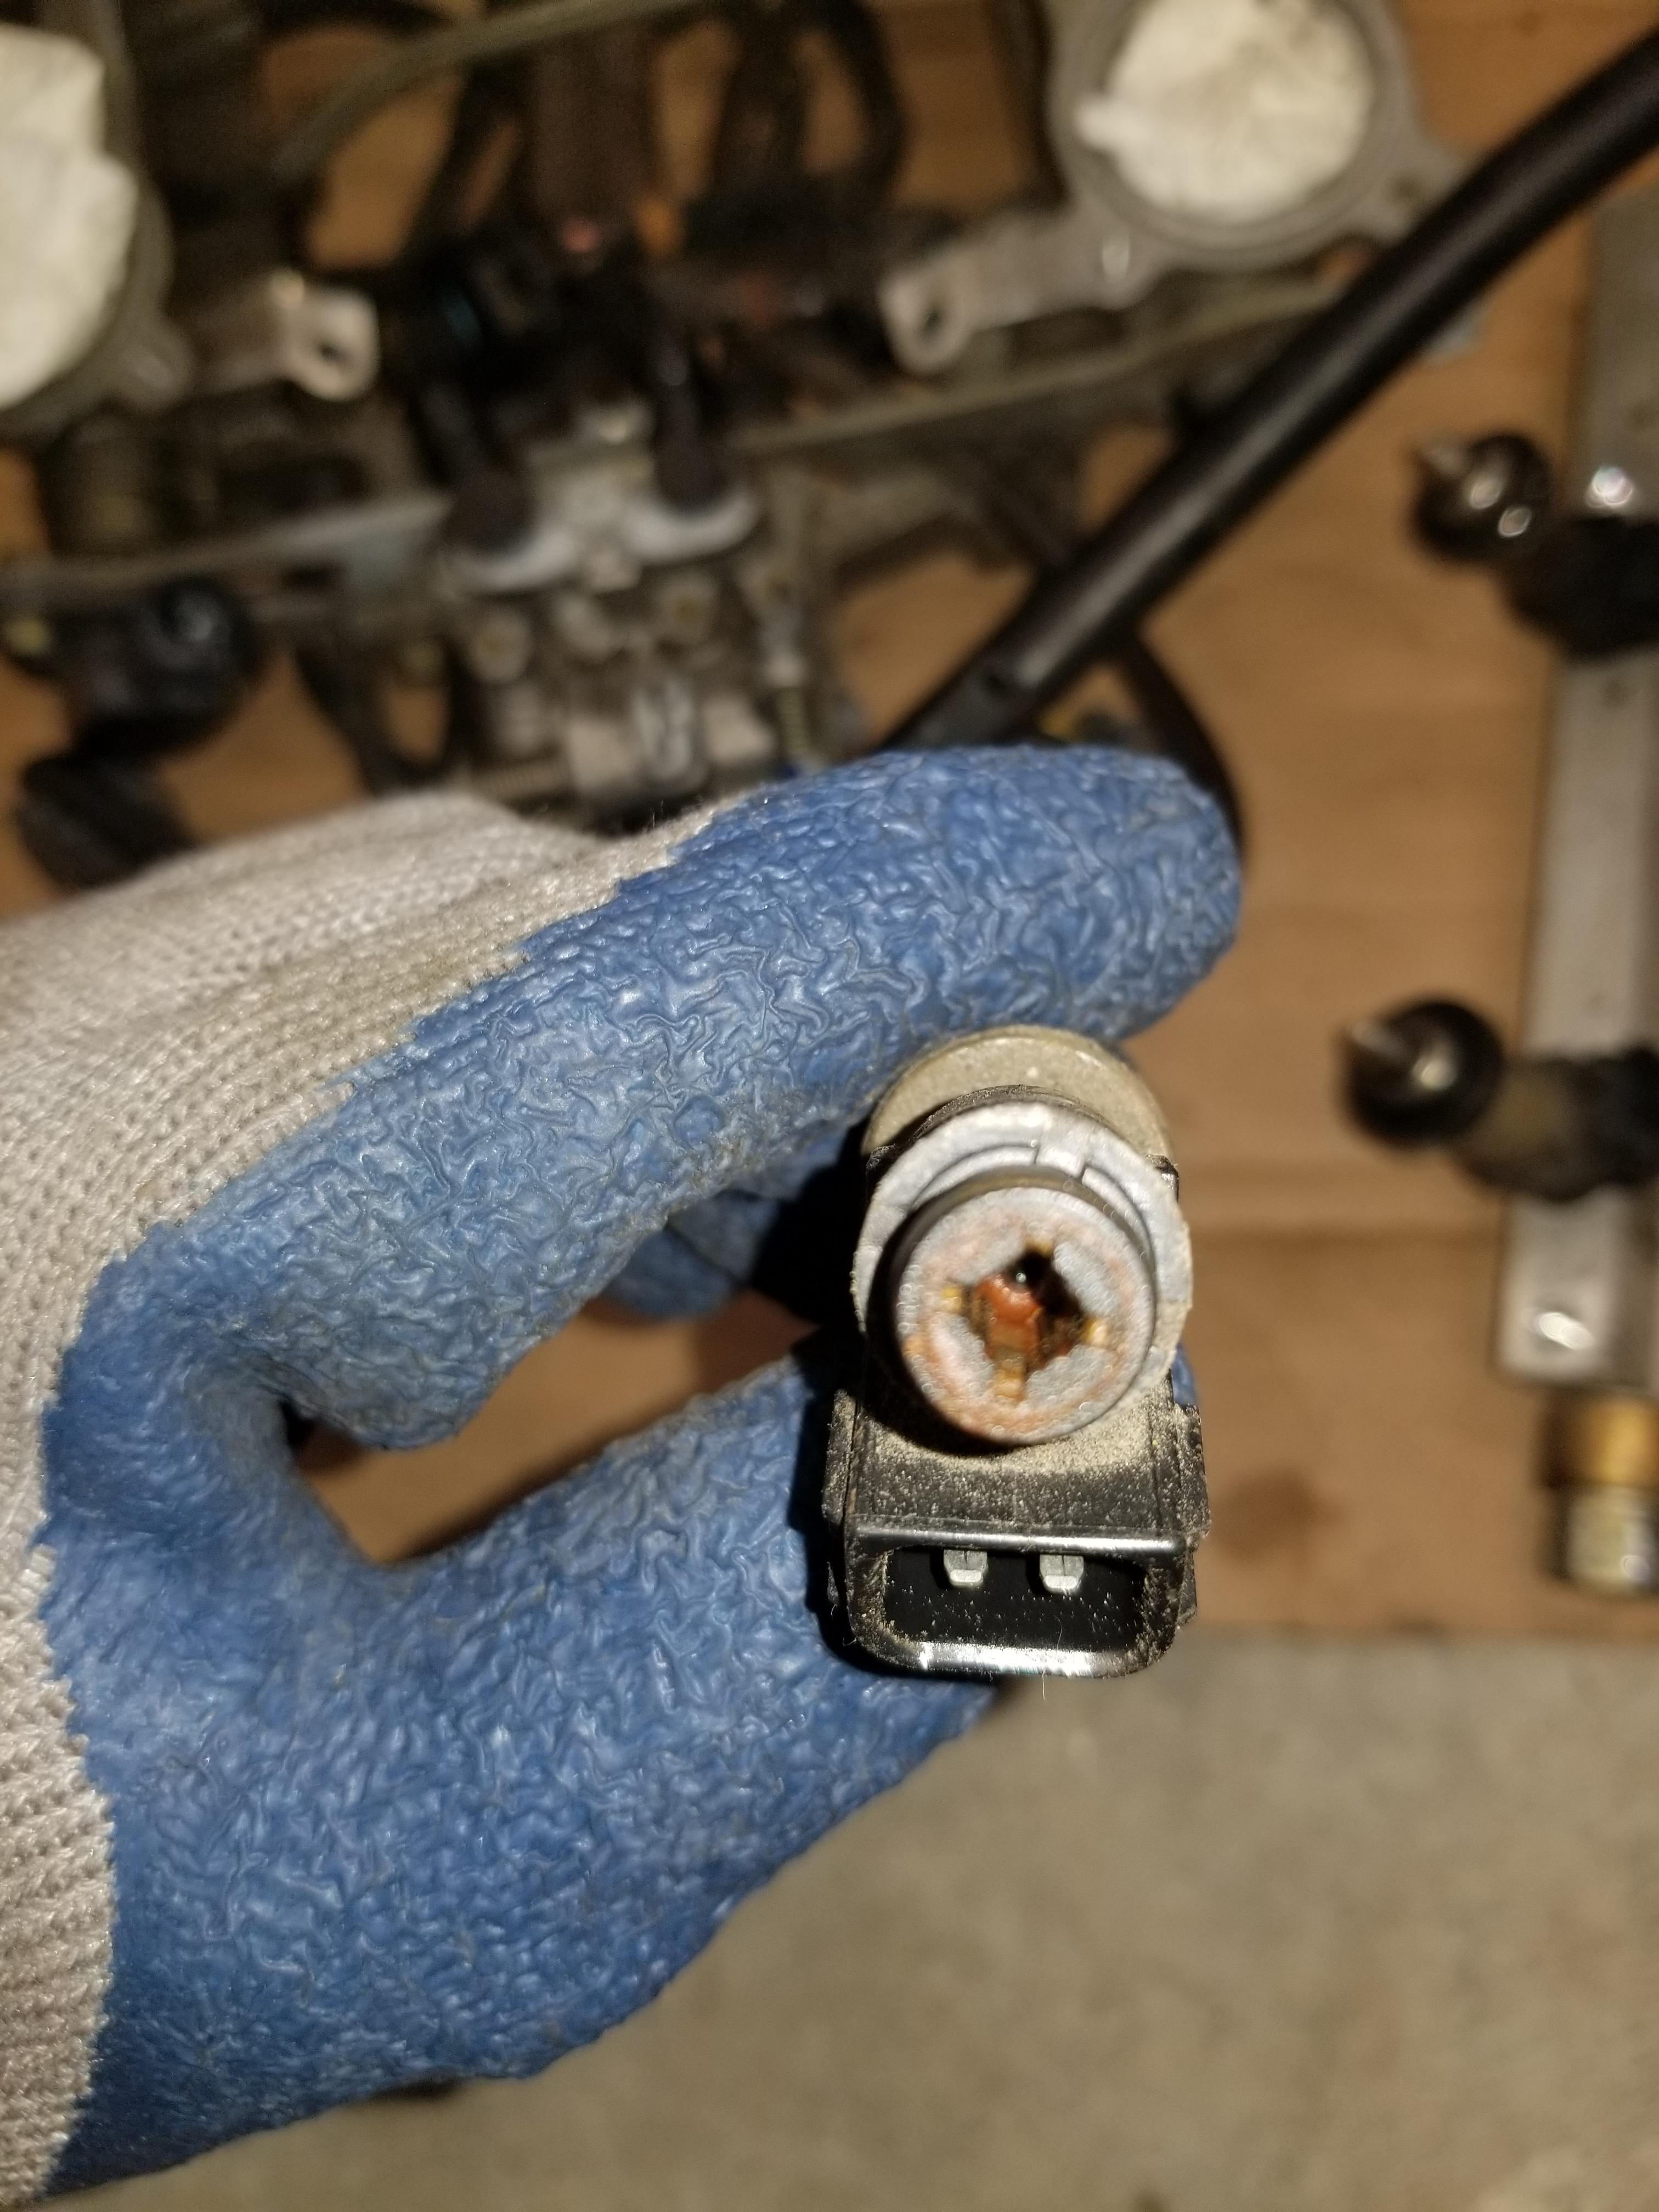
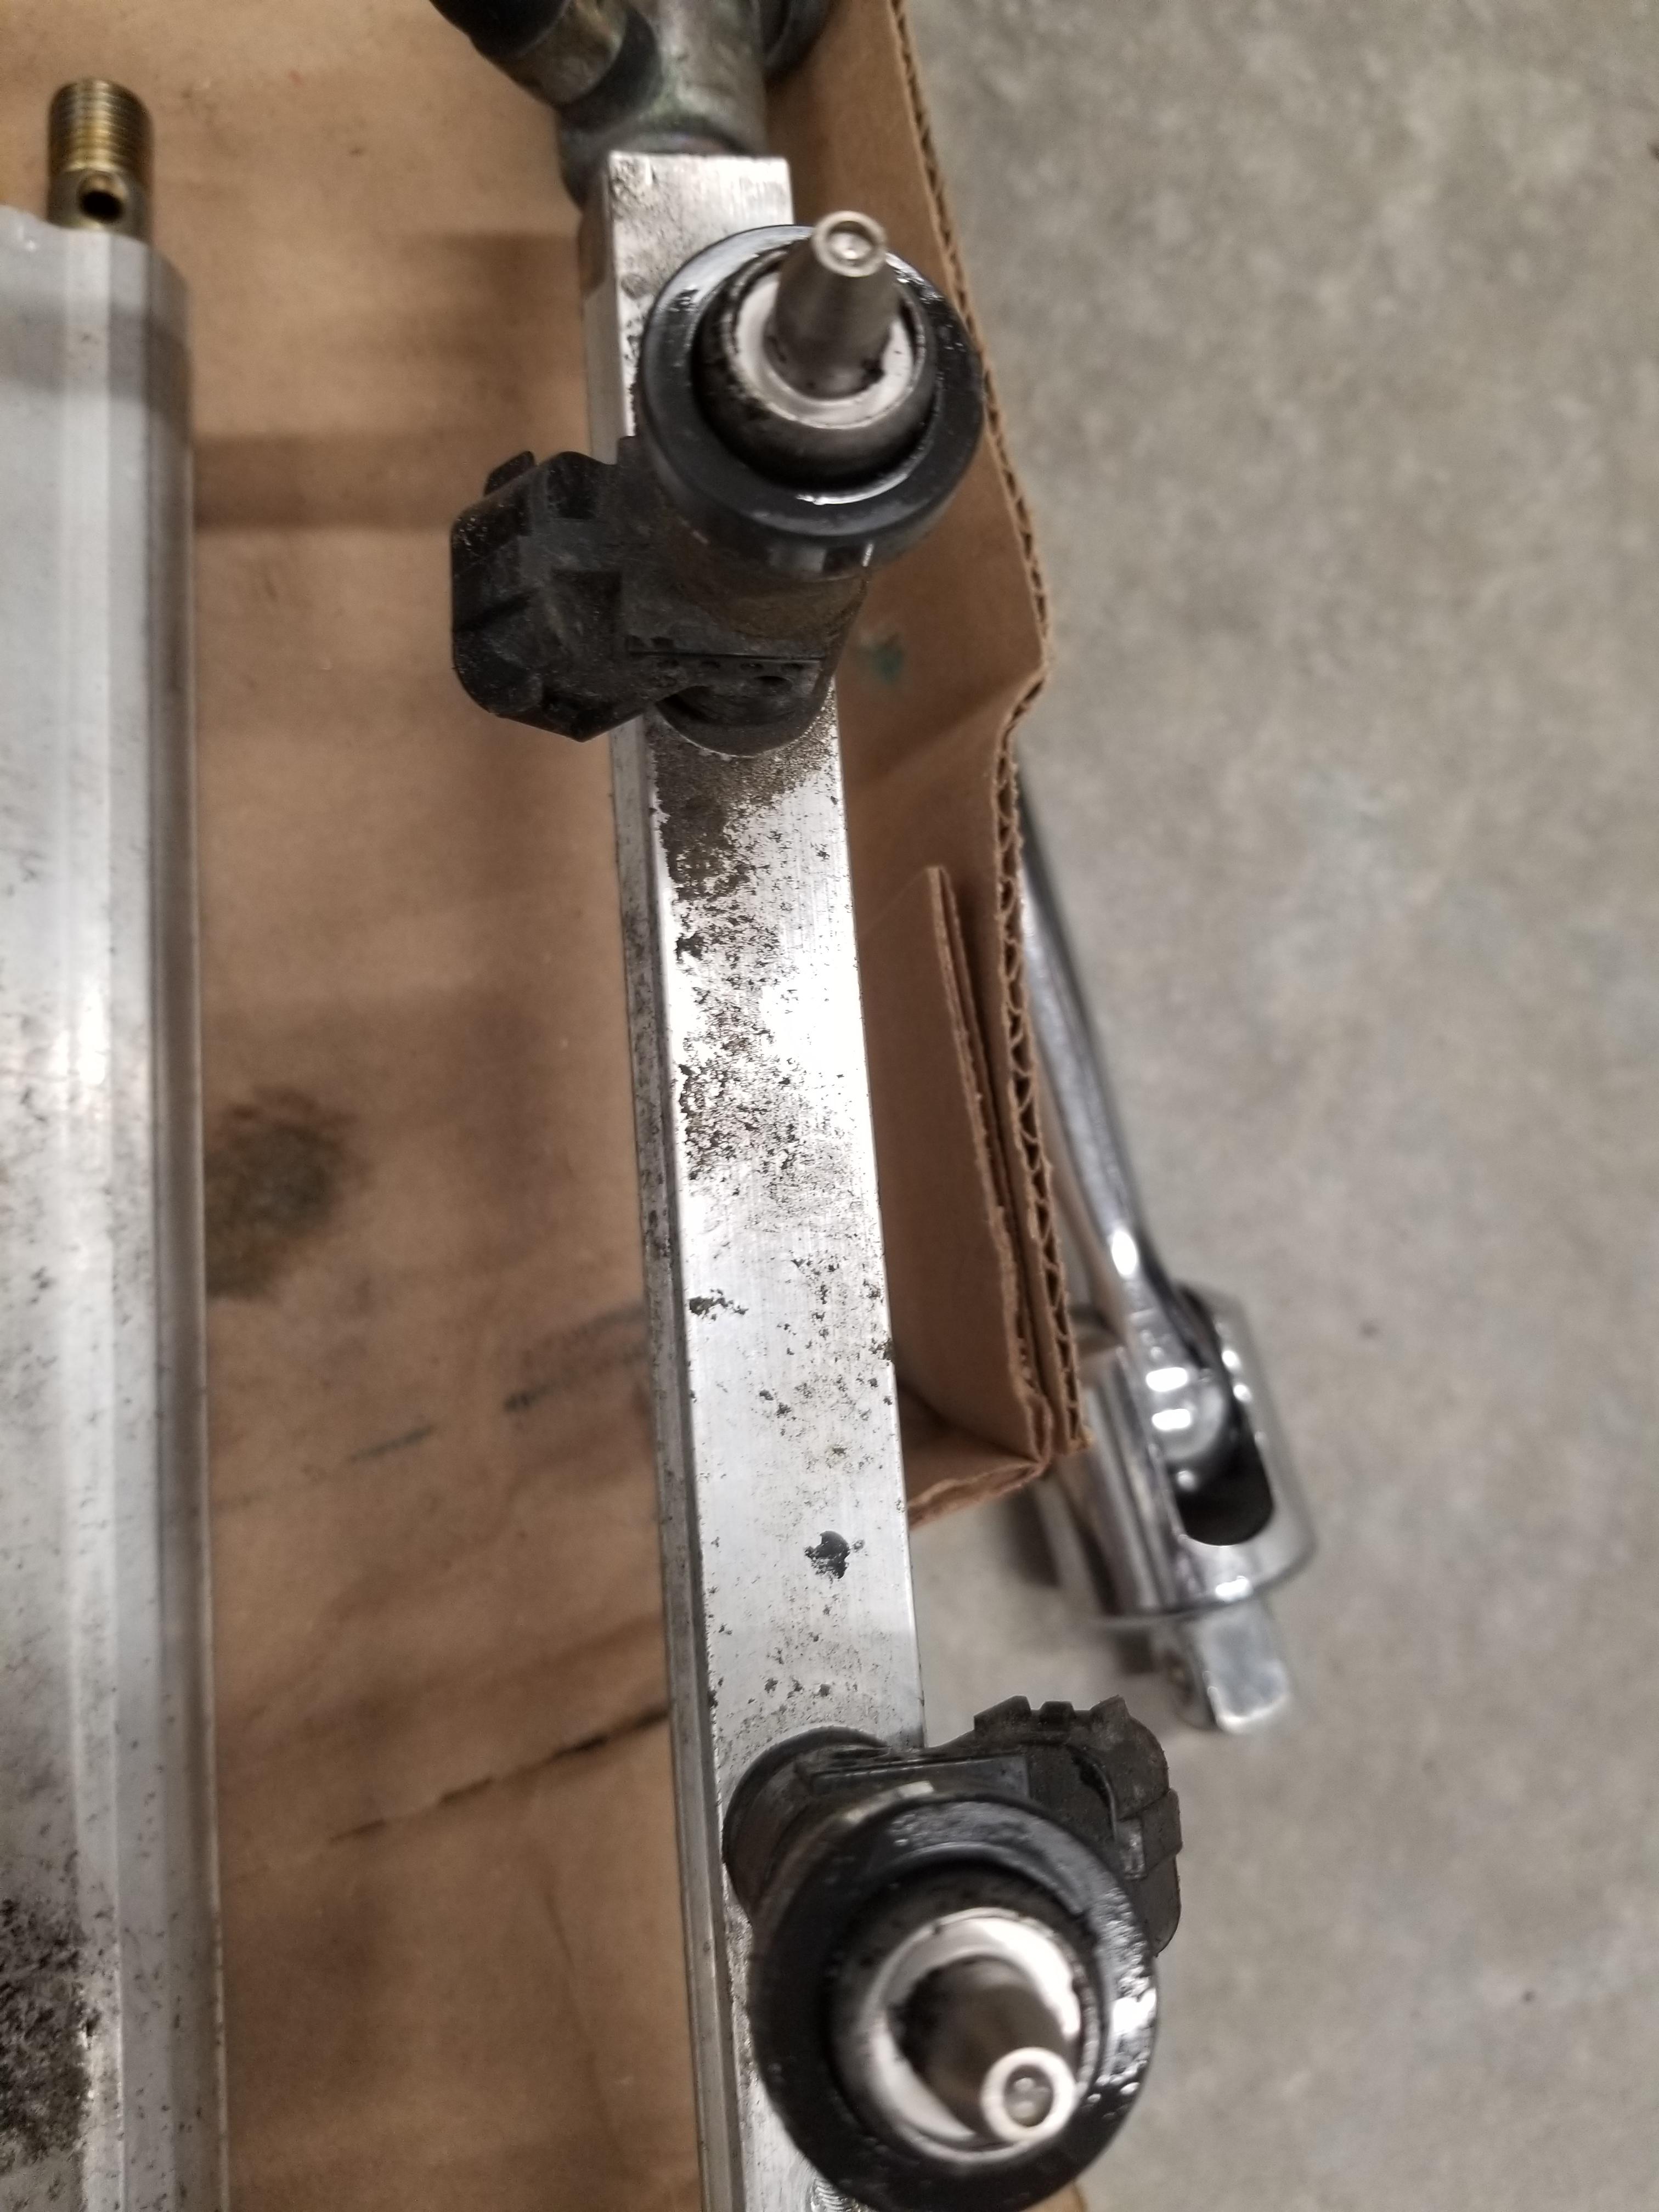
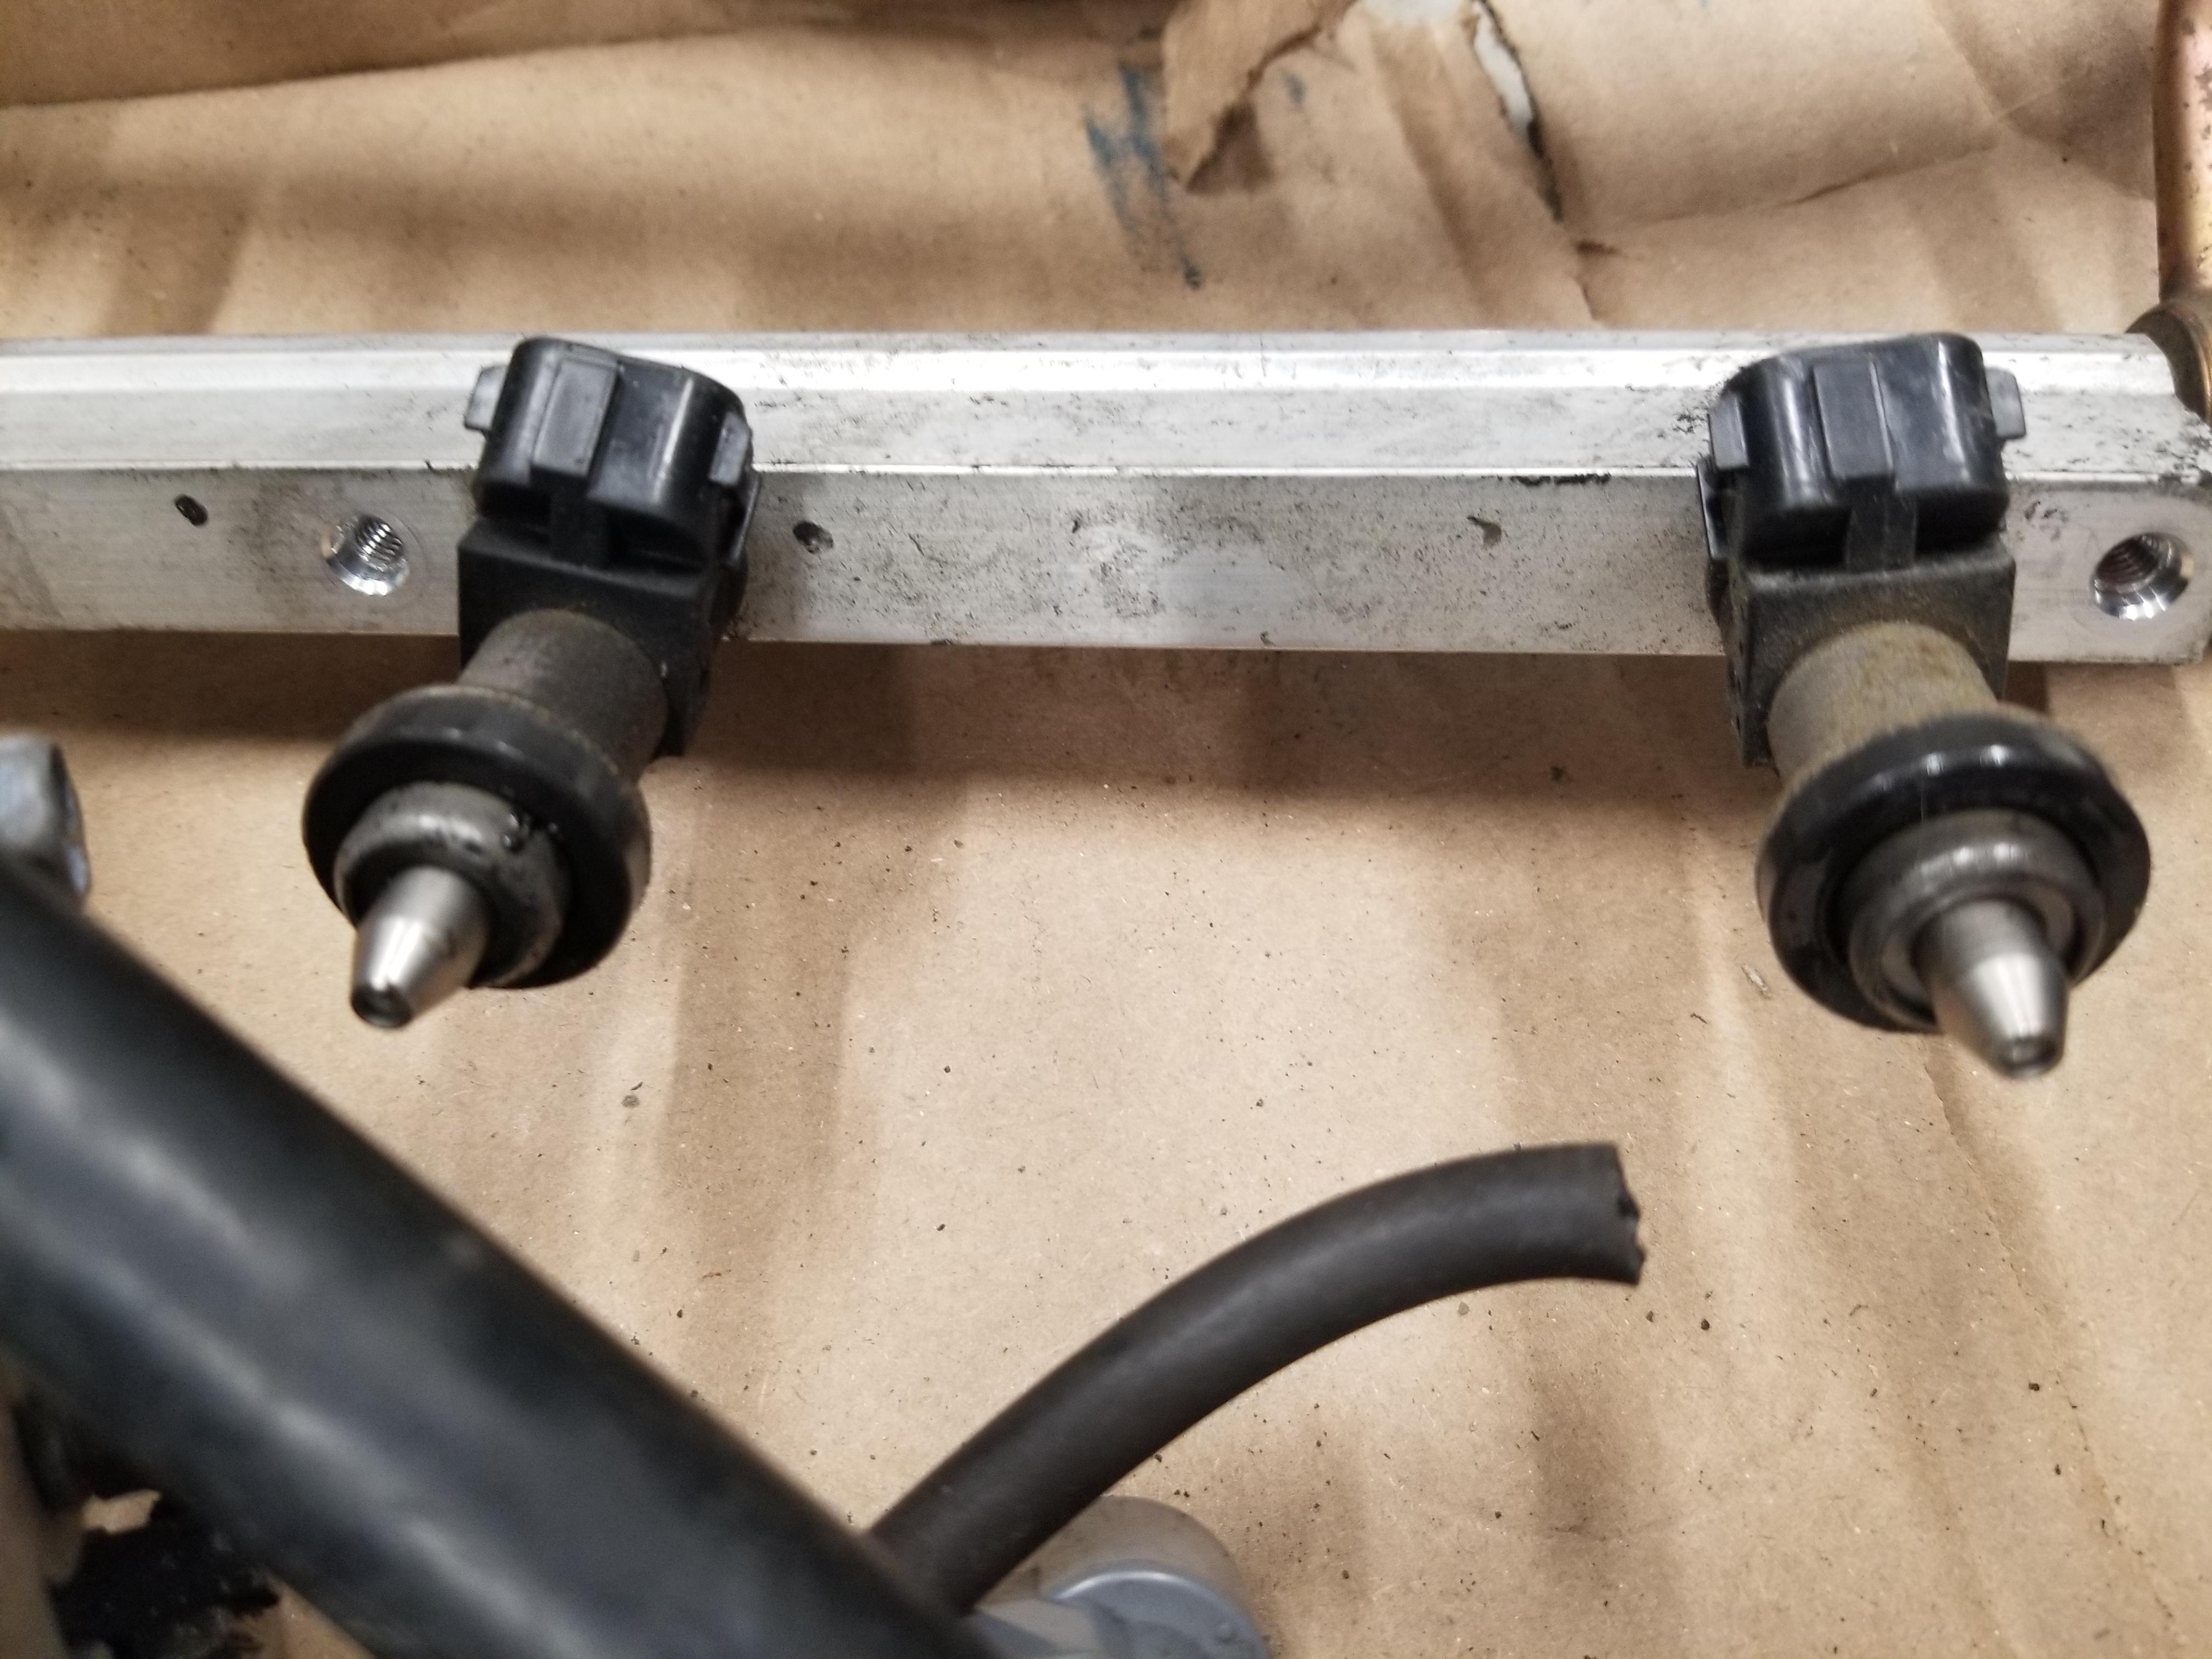
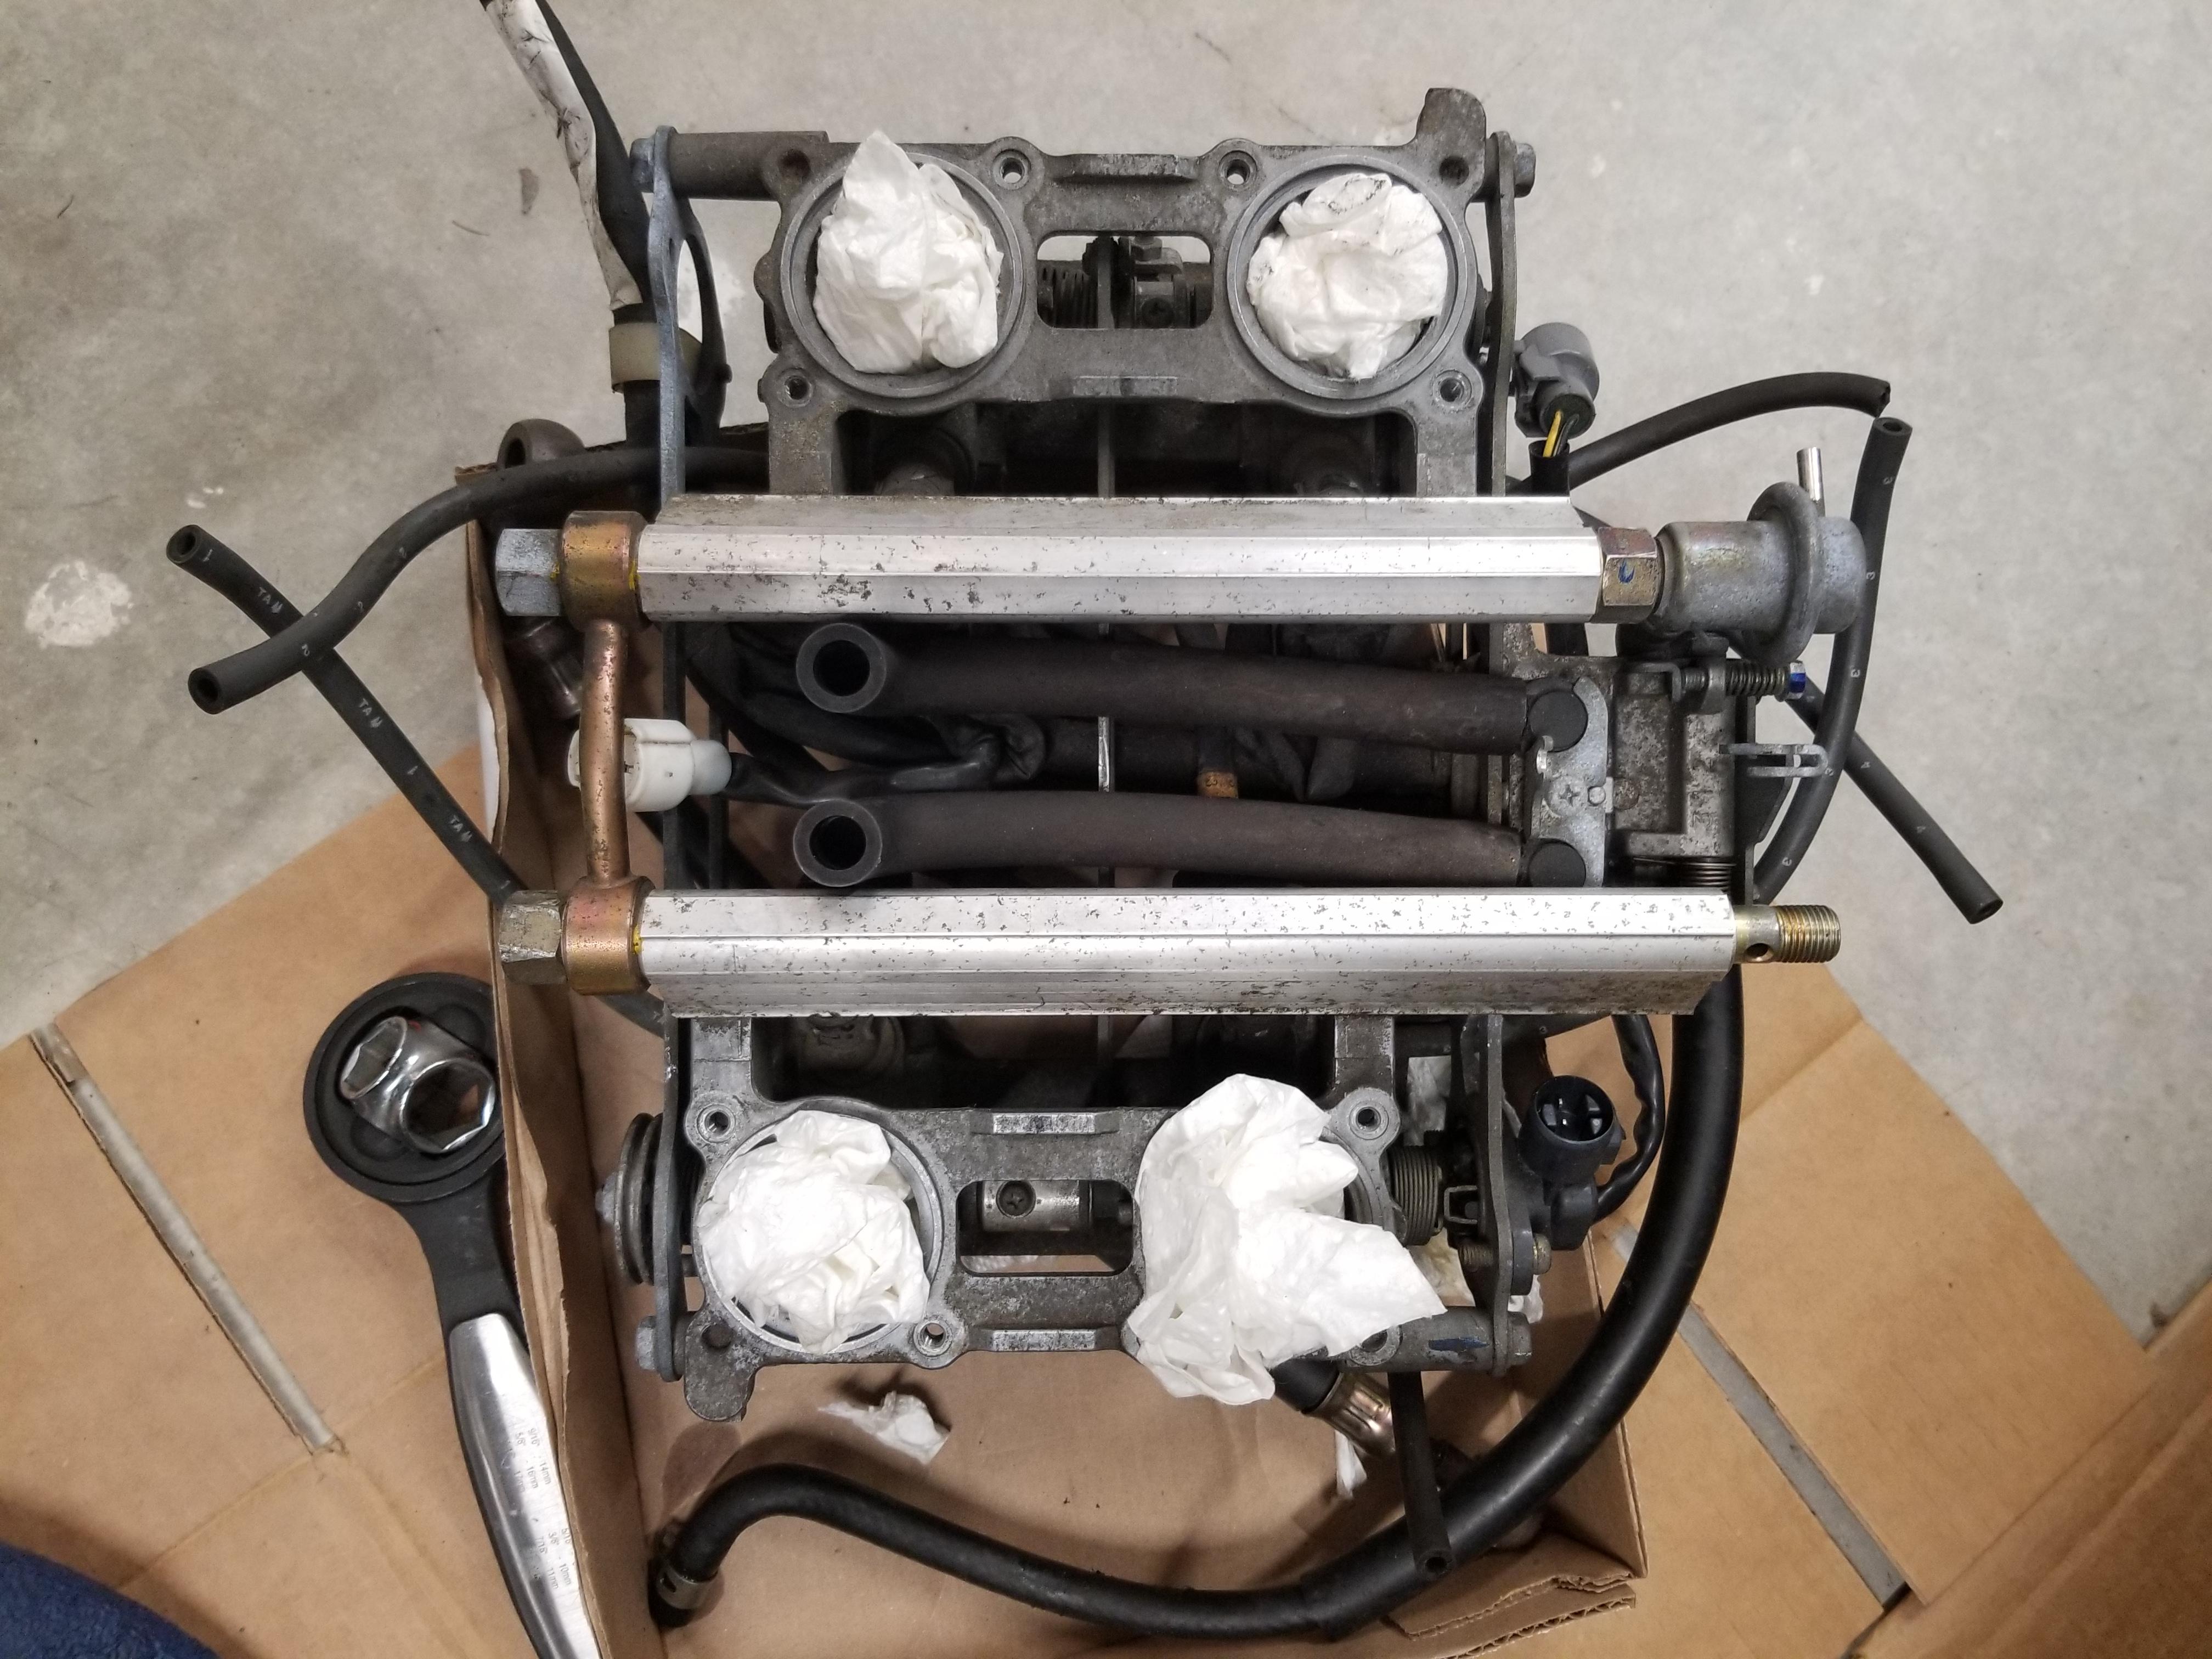
So we pulled the injectors... plenty of rust crap on top and in the inlet. And some rust remnants on the rail output I guess at the moment the goal is to try to flush them with carb cleaner and do the 9v battery trick... will see what happens and go from there. If I can get a reasonable spray, hopefully these are salvageable... we have a good local company who does injector cleaning, had my 02 injectors done a few years back. If they aren't salvageable I can replace them. More than anything I just want to get to a 'good enough' state FIRST so that I can put everything back together and test fire the bike. I knew all about the rusted out tank and the crud dragged through the fuel system. What I don't know is if the PO was being forthright... ie is the engine snafu'd? Really want that answer before I start paying for parts. I'm really enjoying this bike so far... and the wife thinks I'm nuts, so win/win 🙂

-
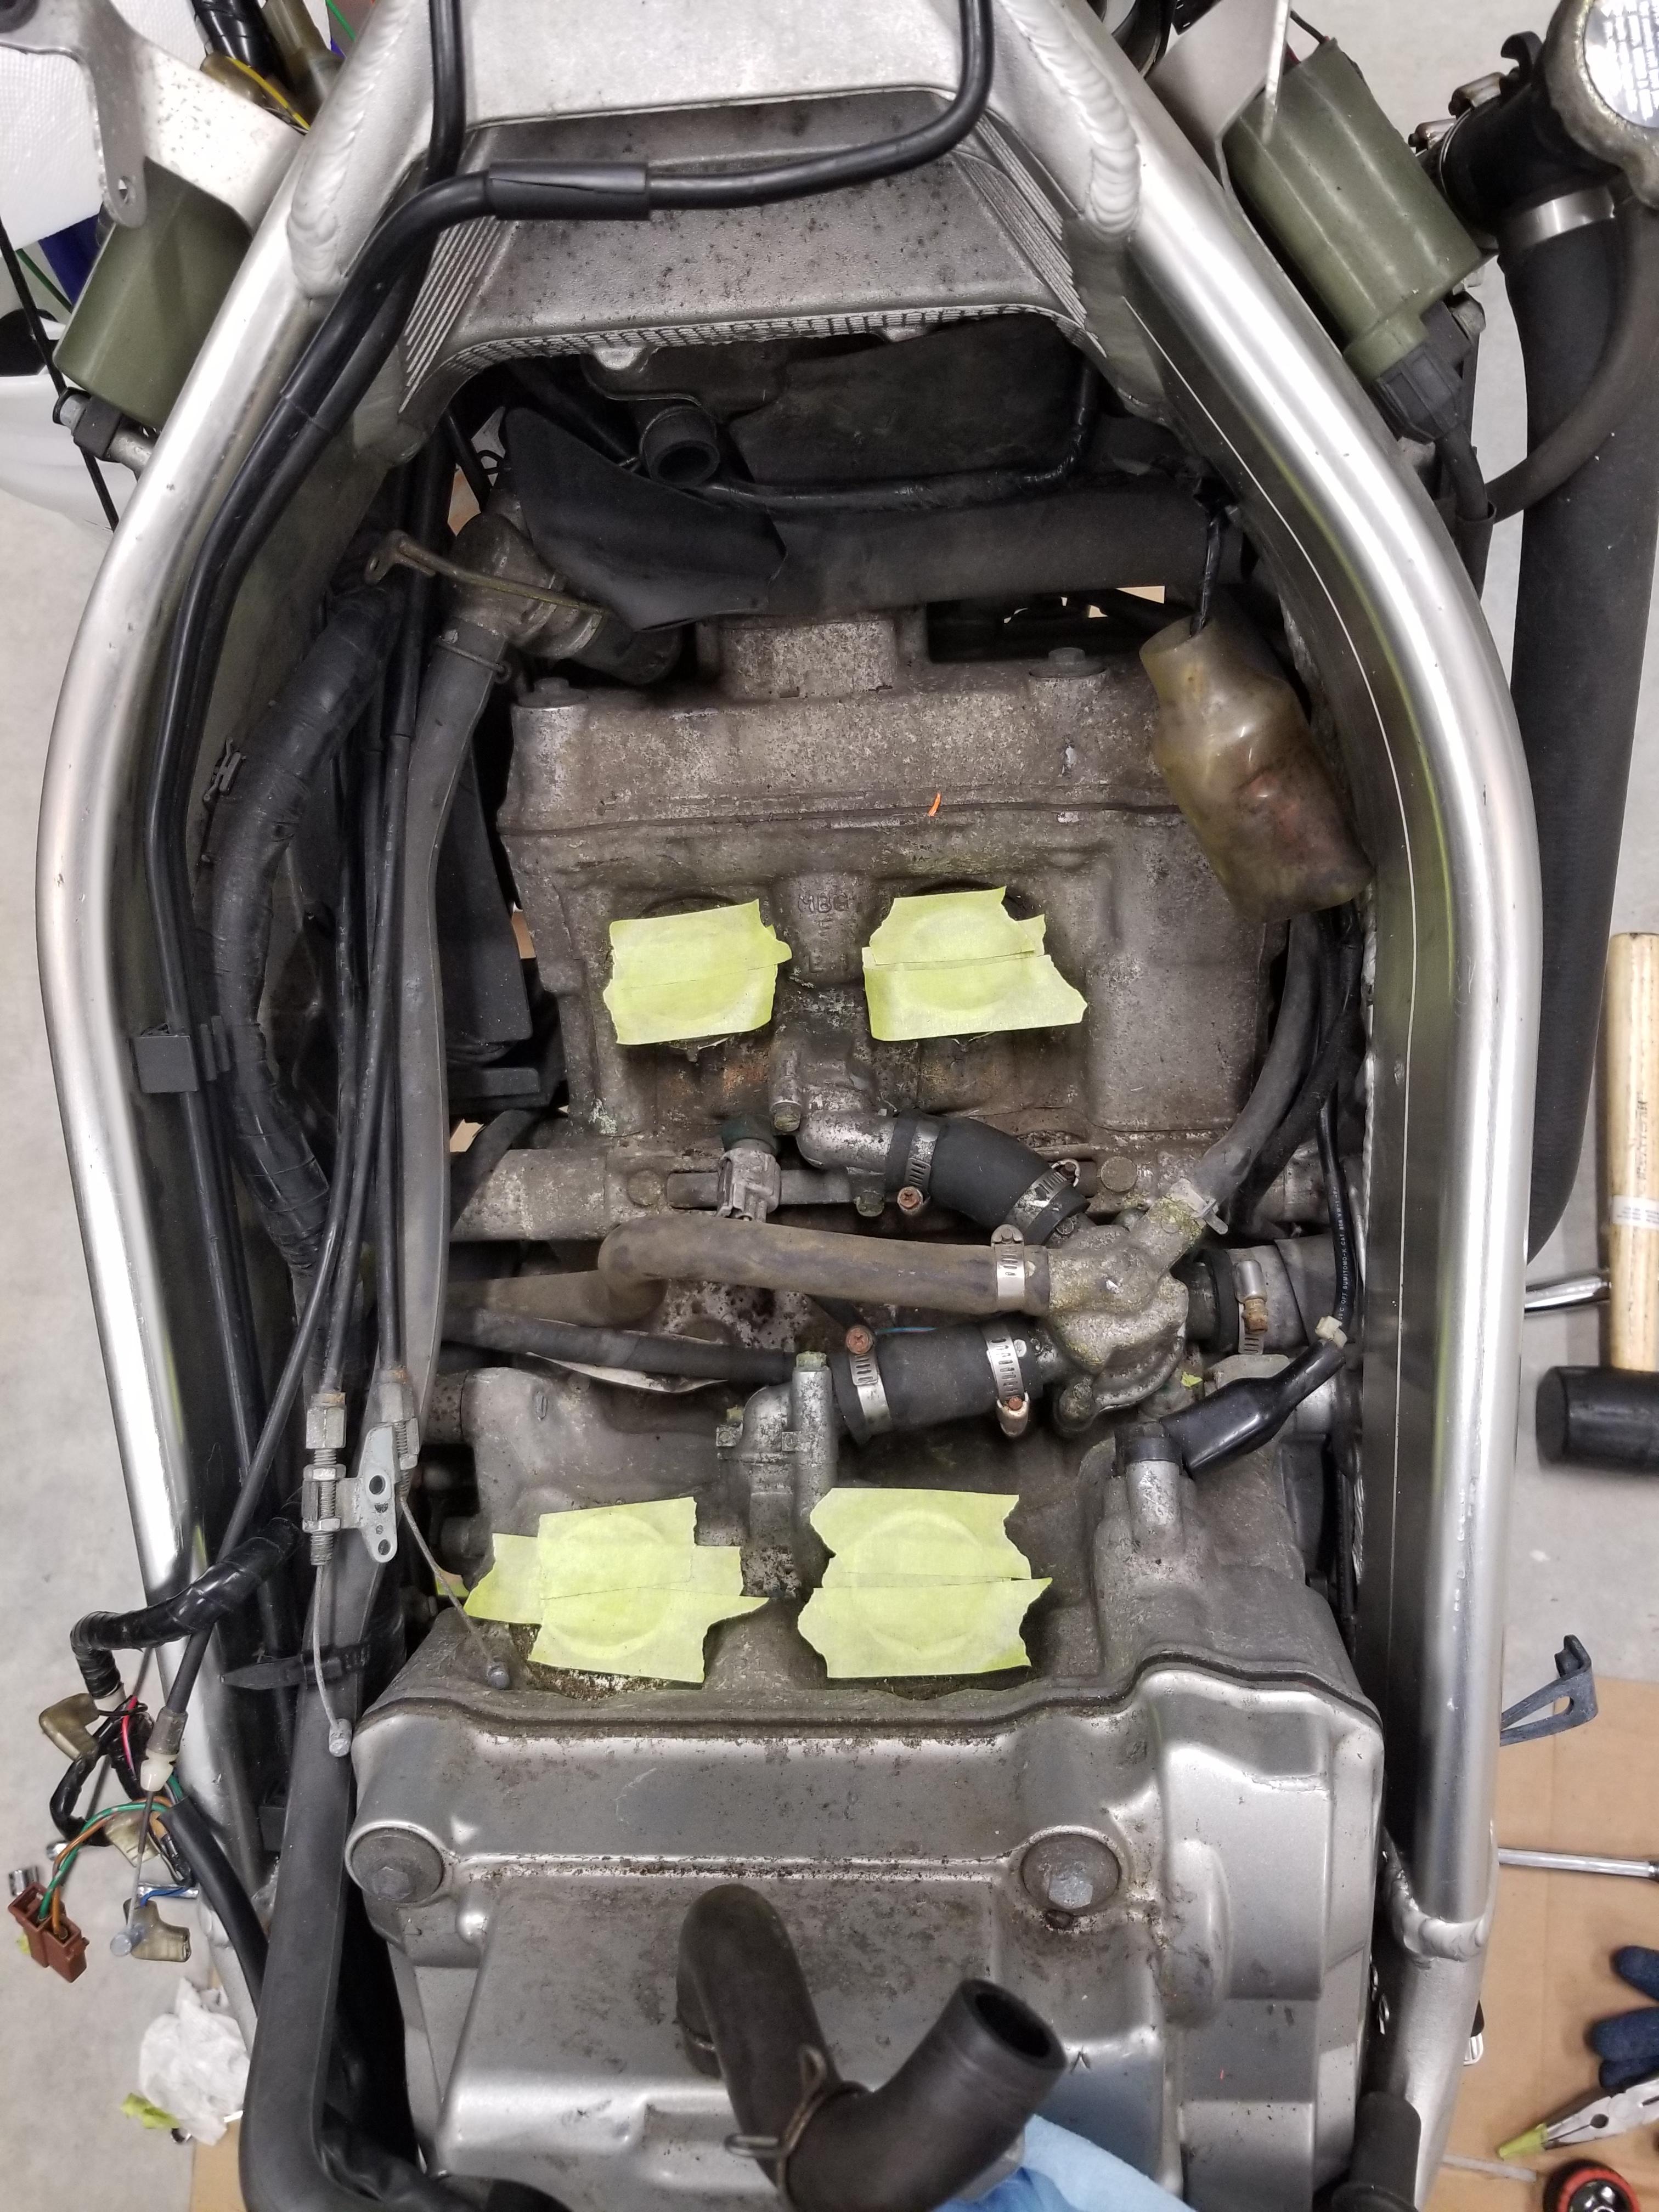
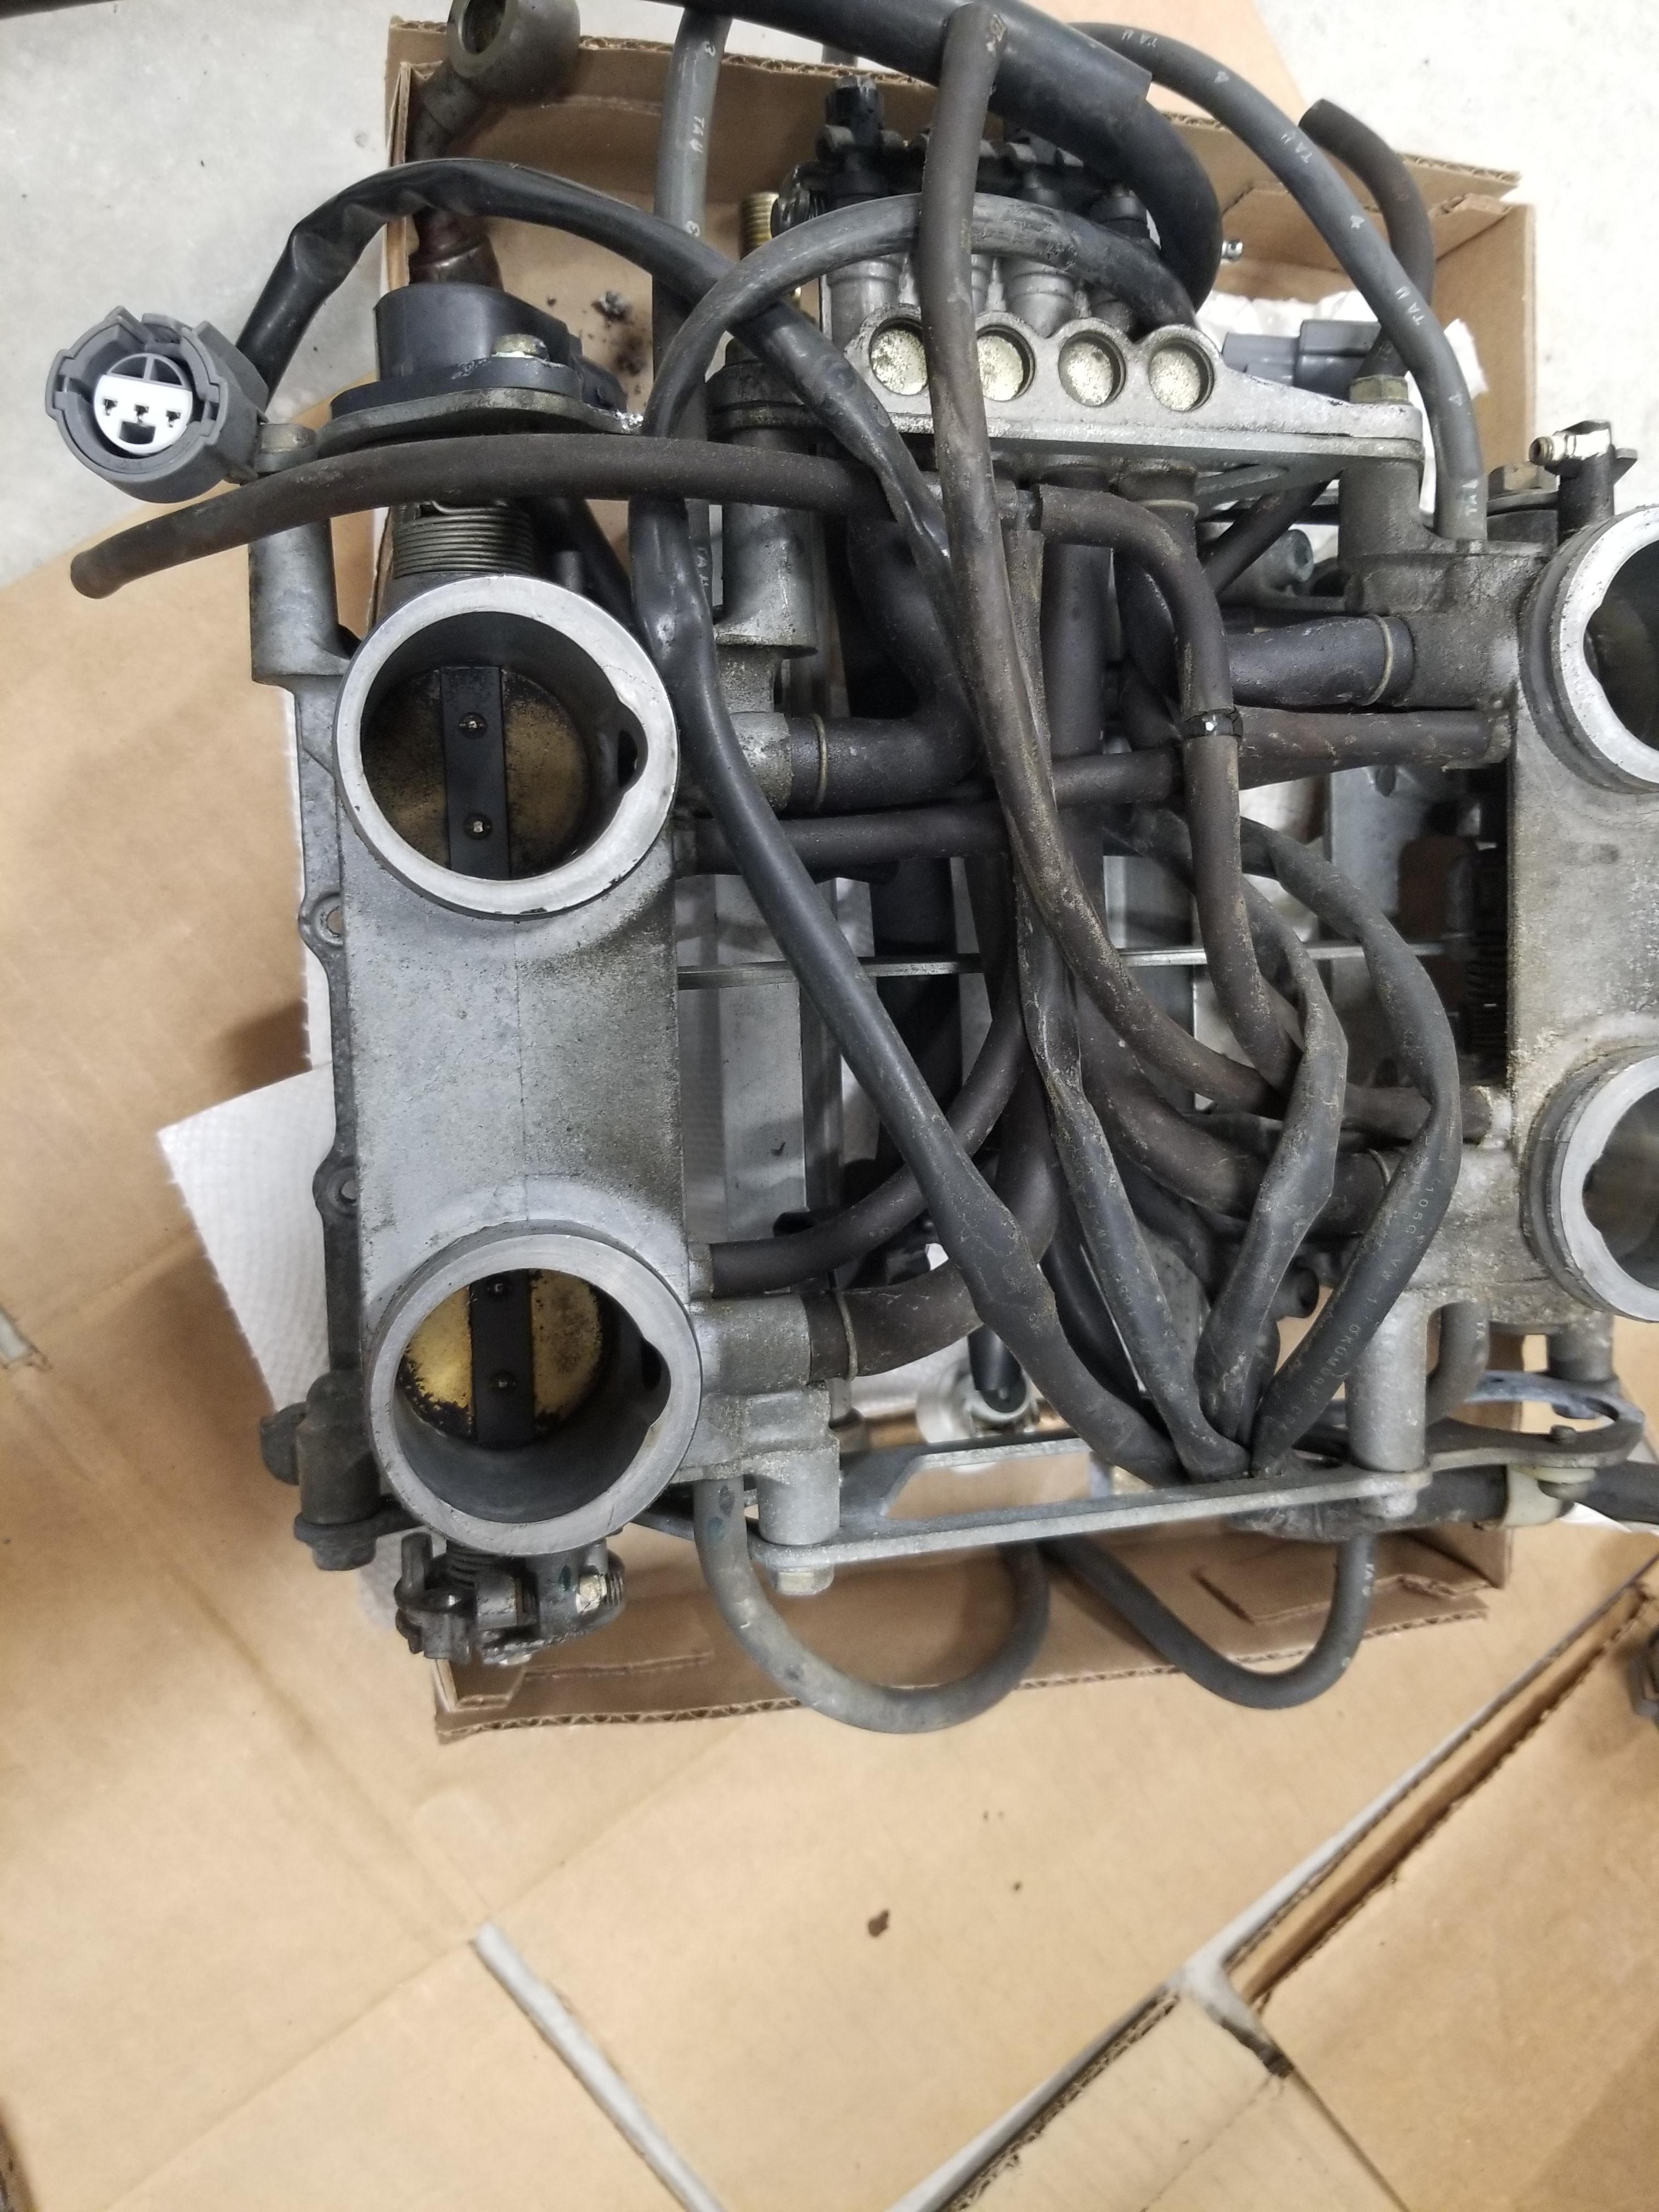
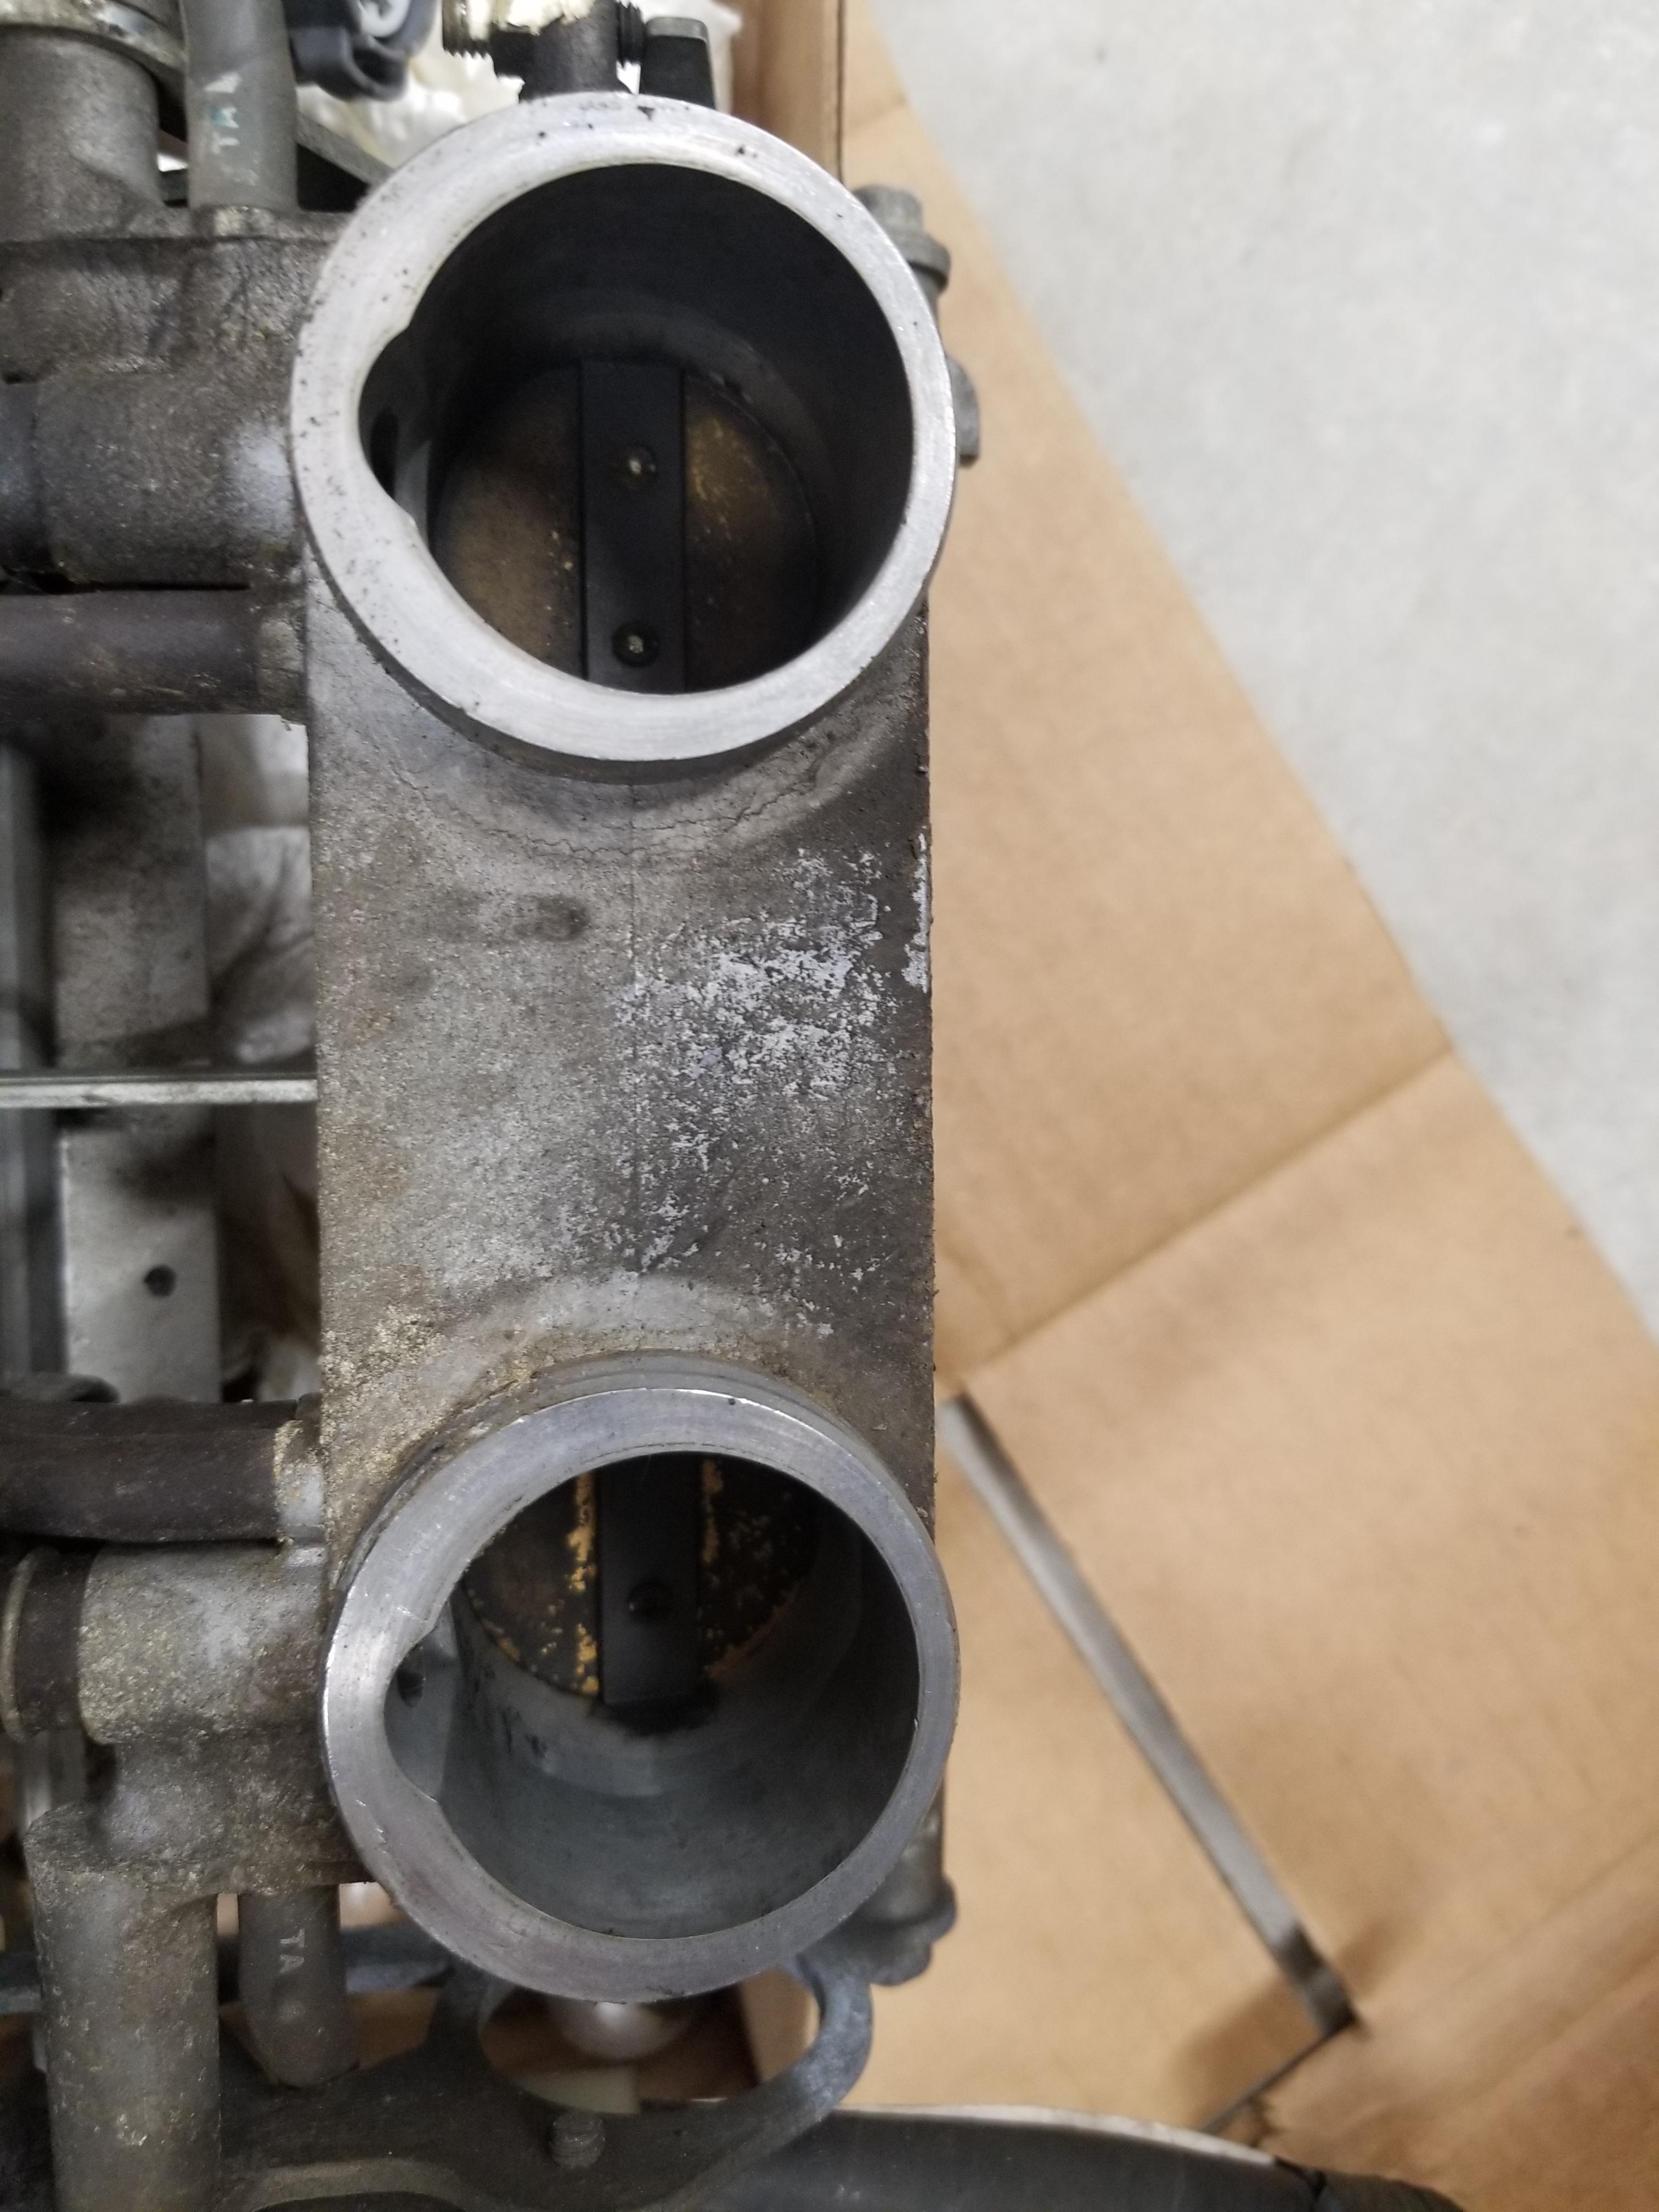
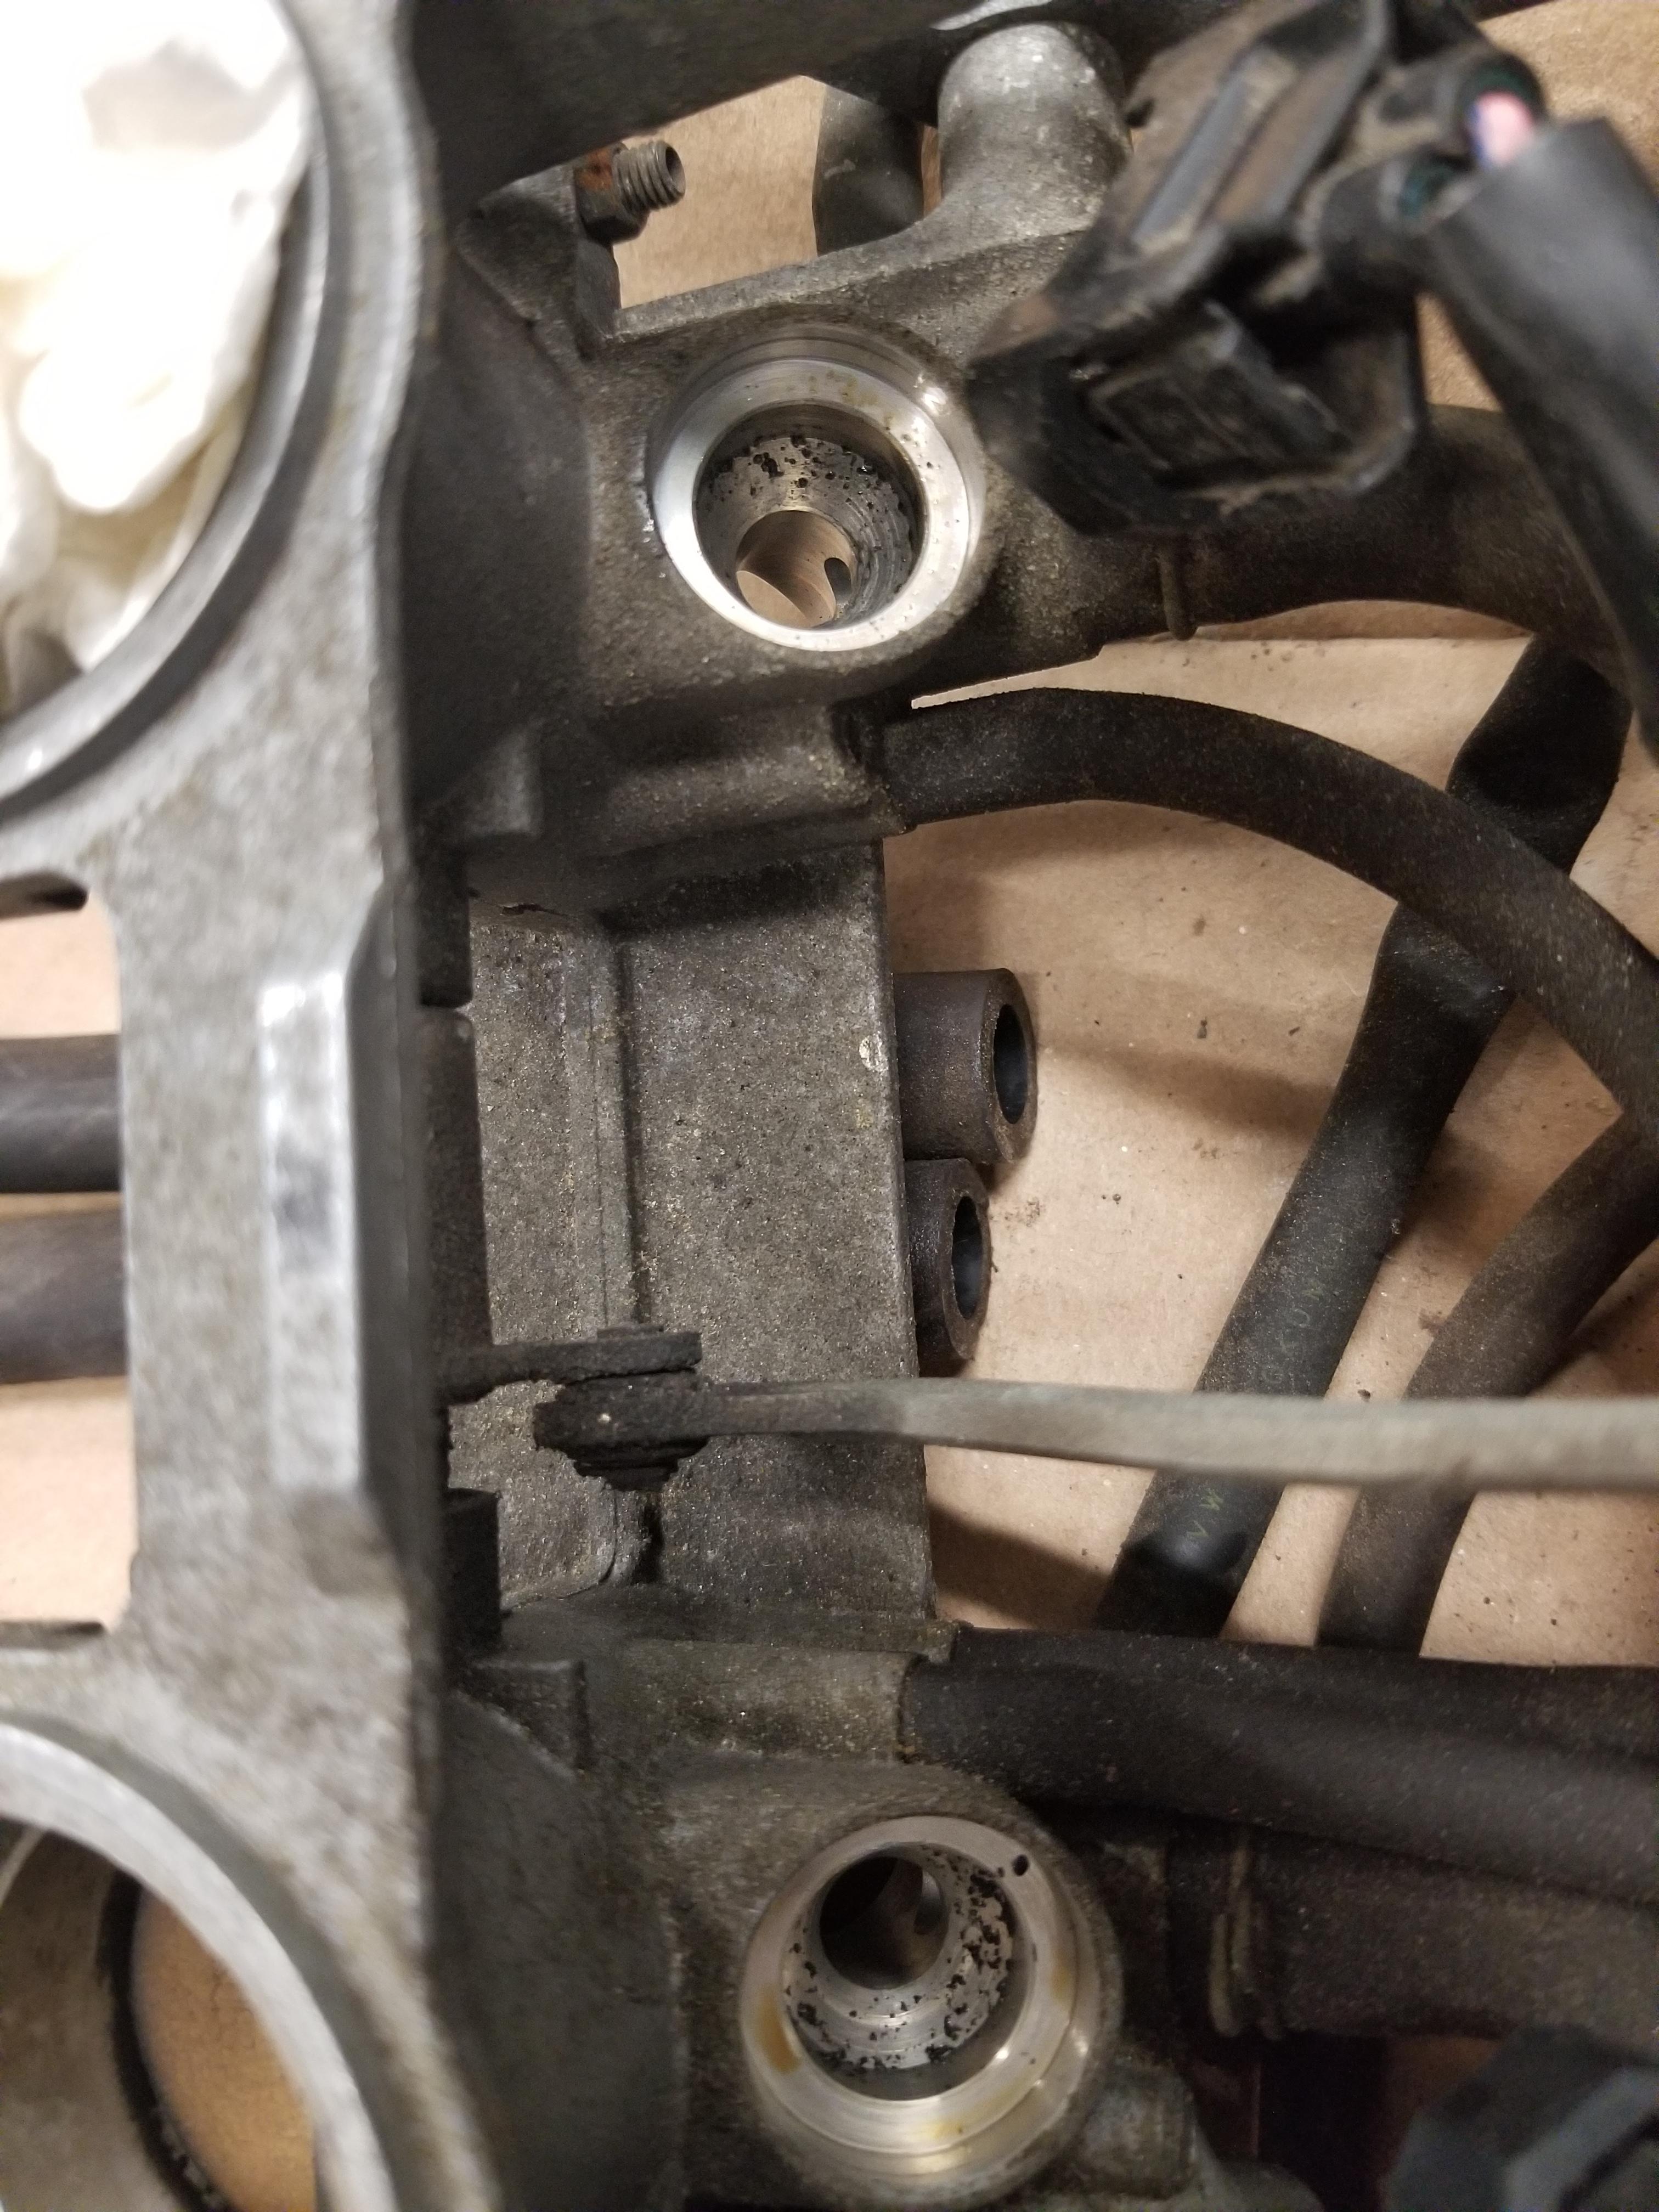
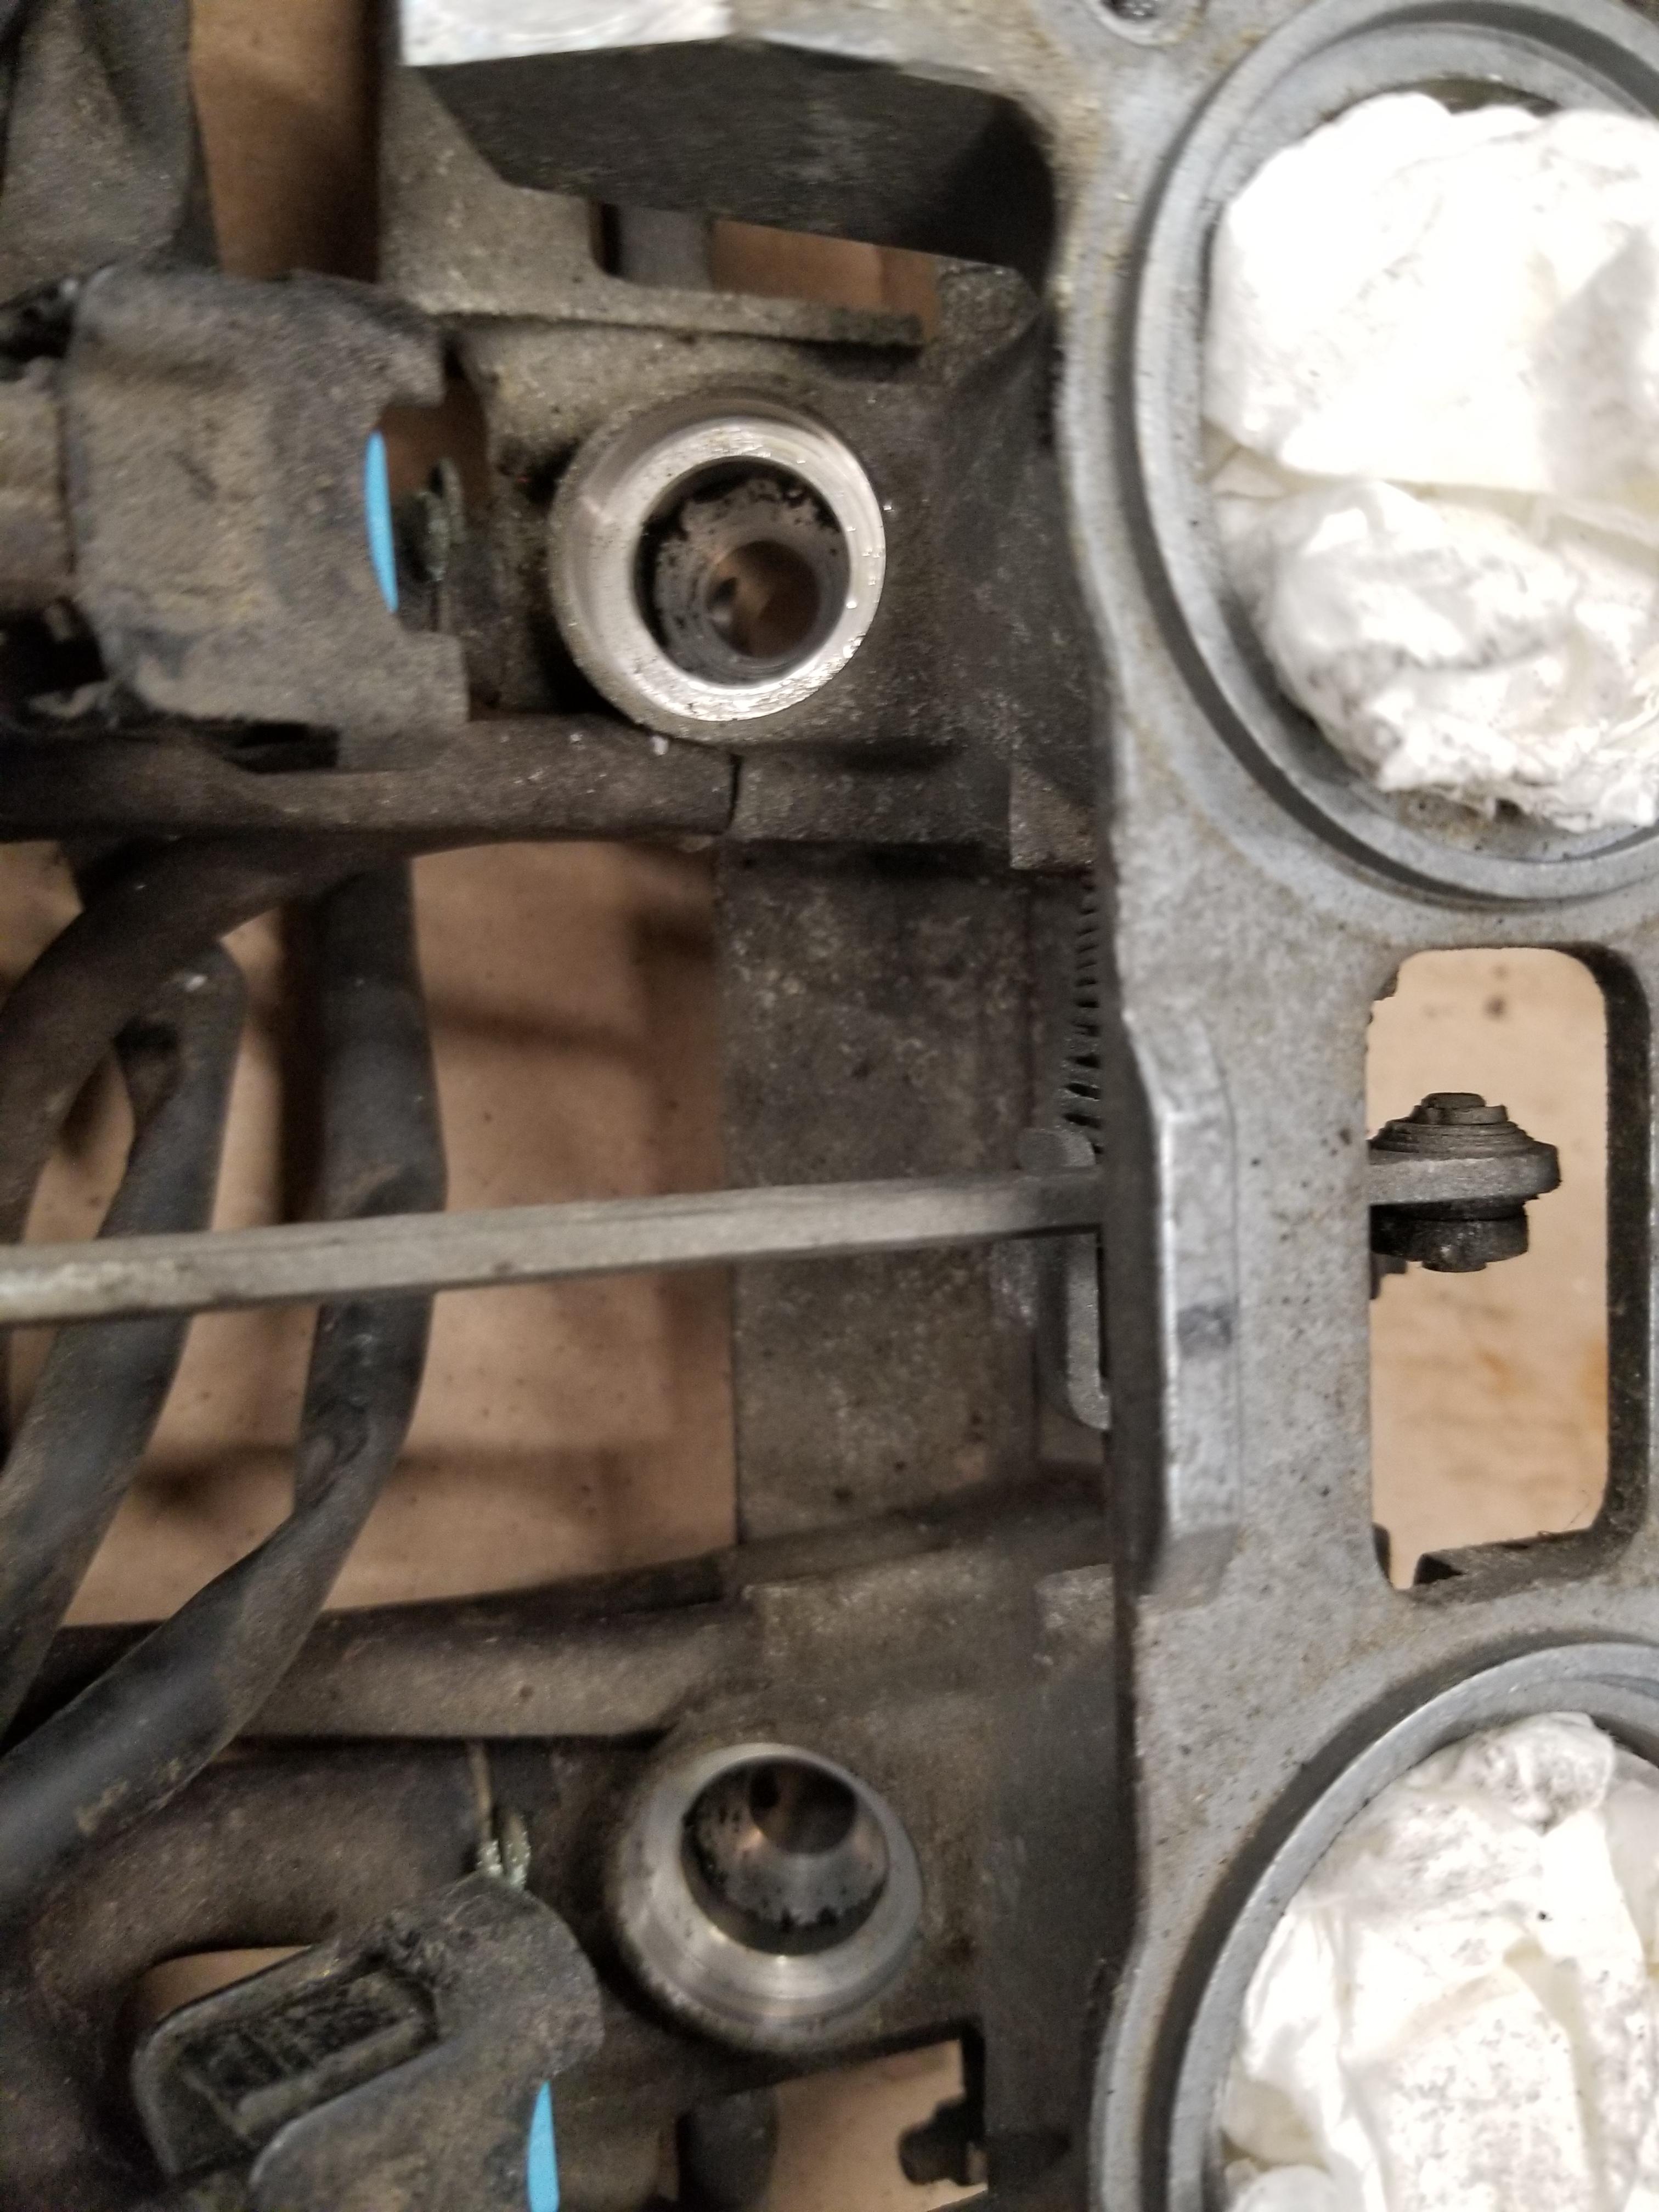
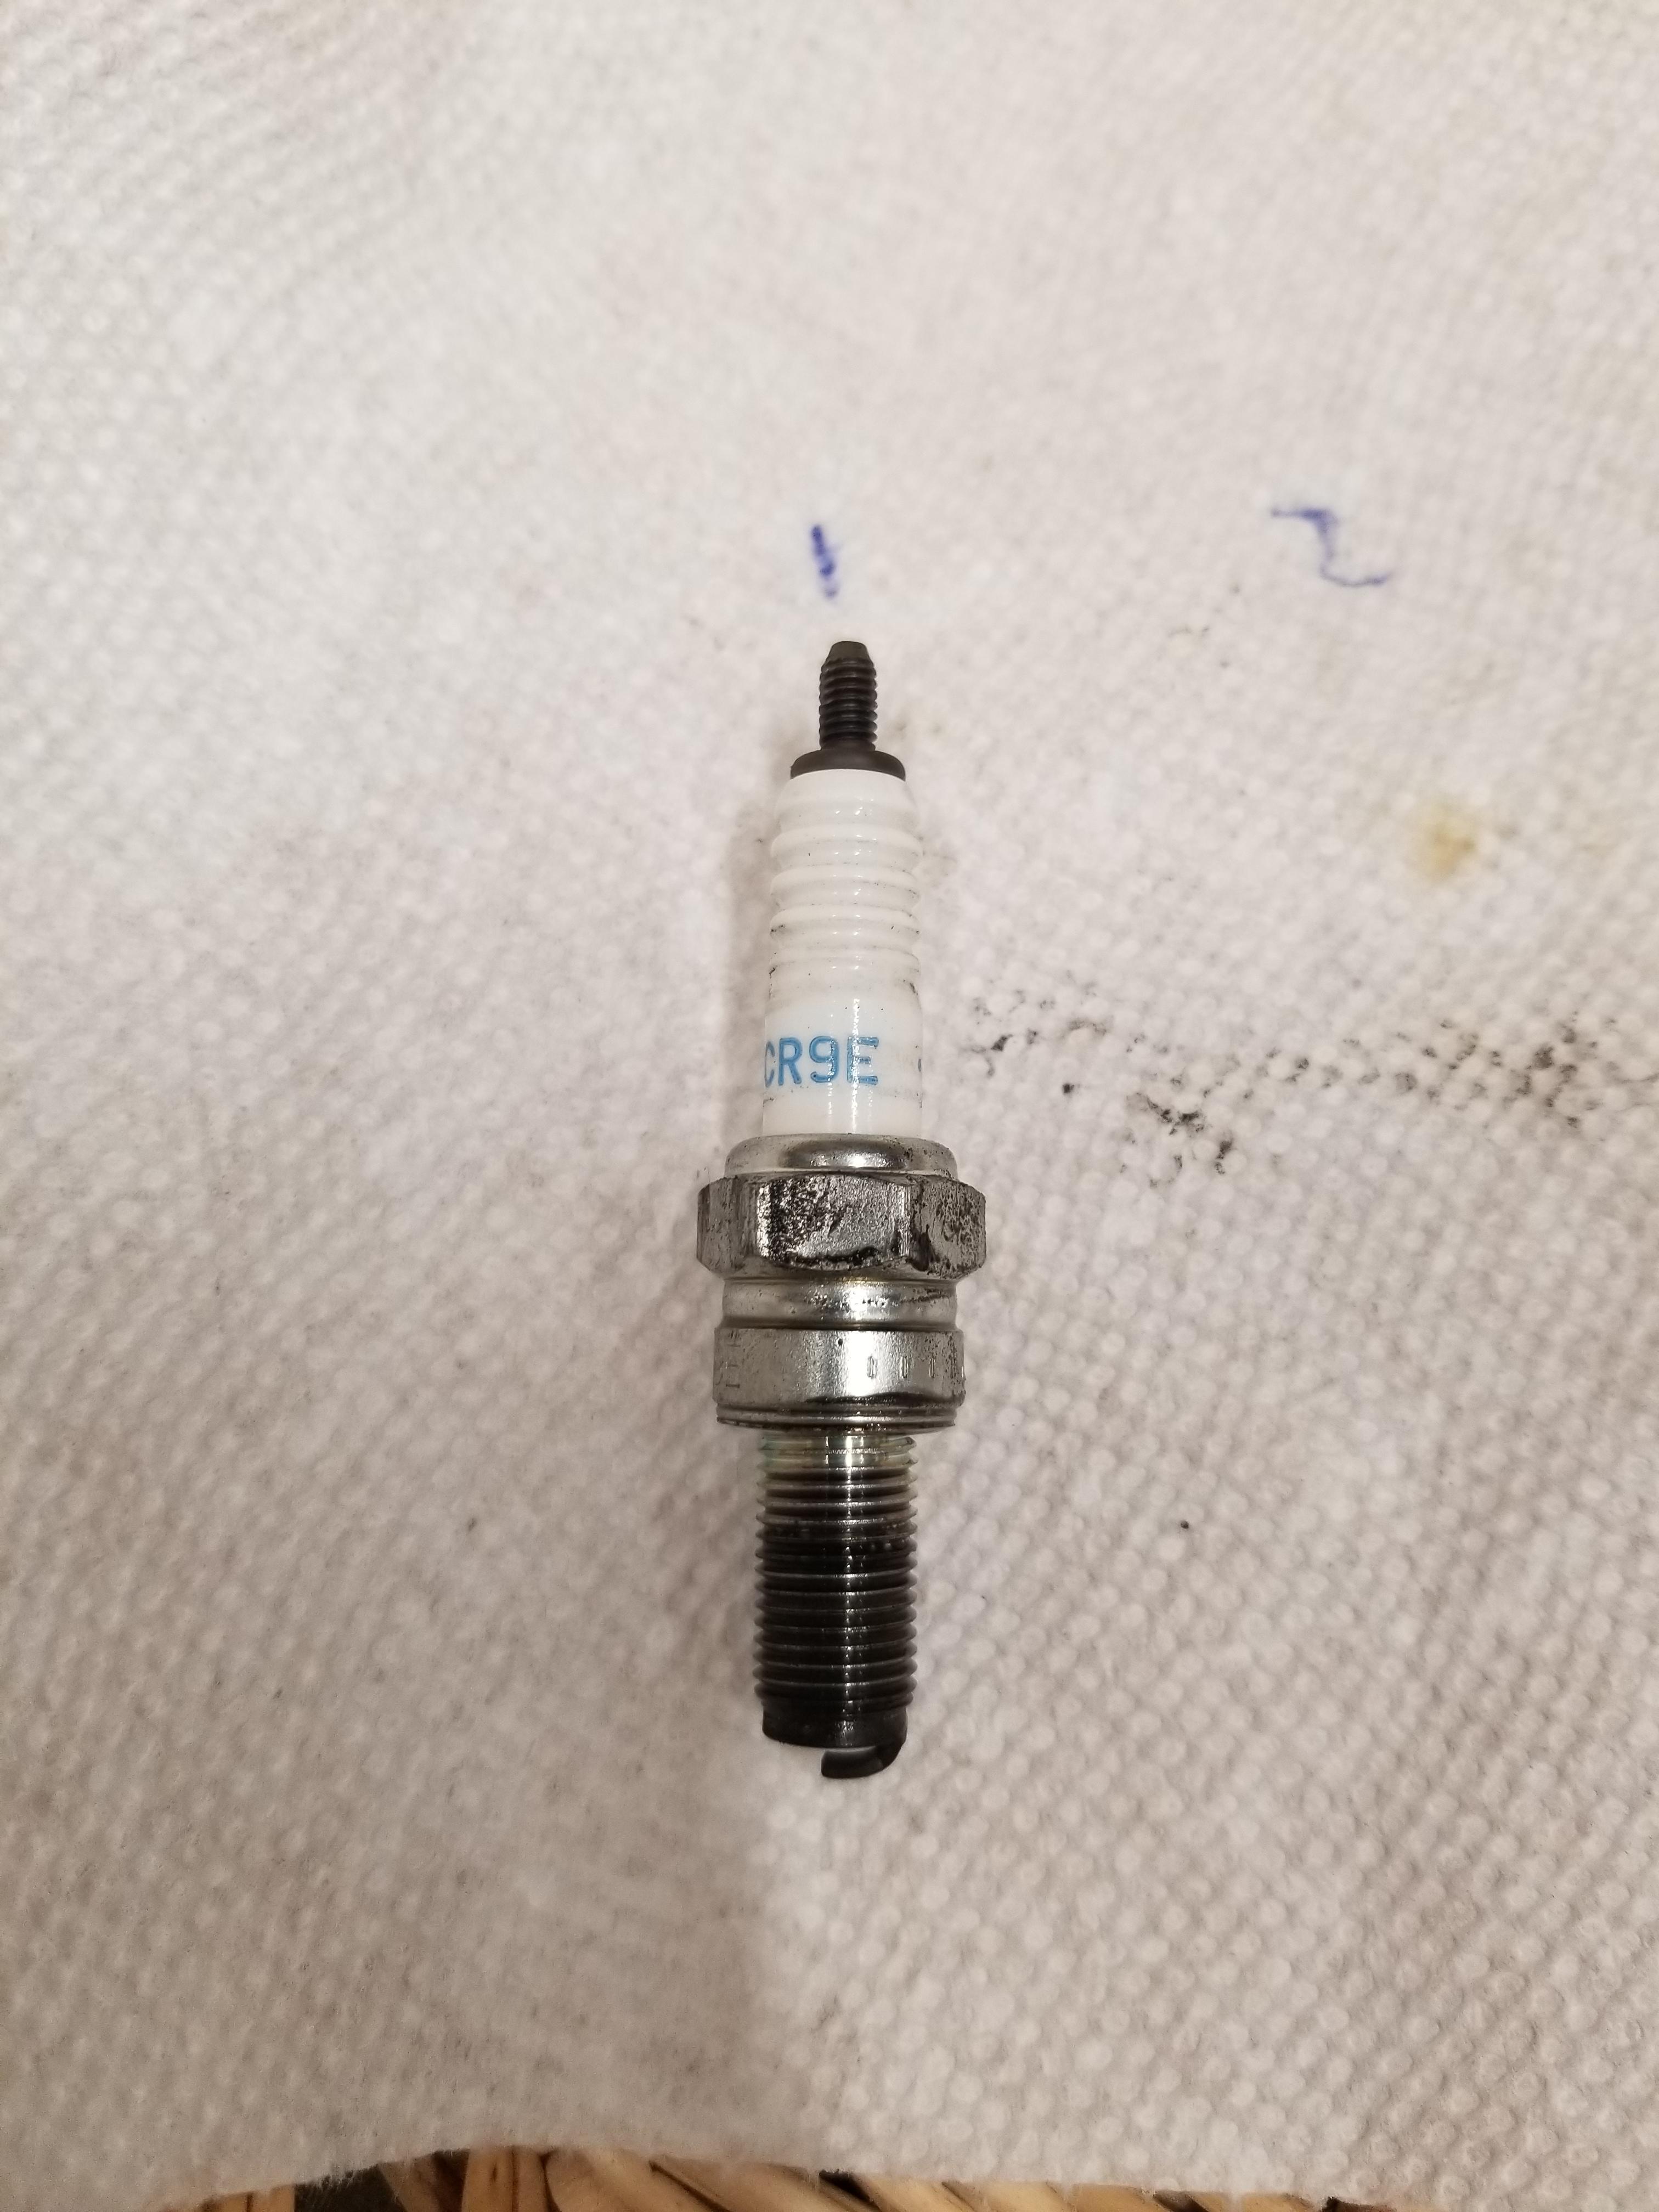
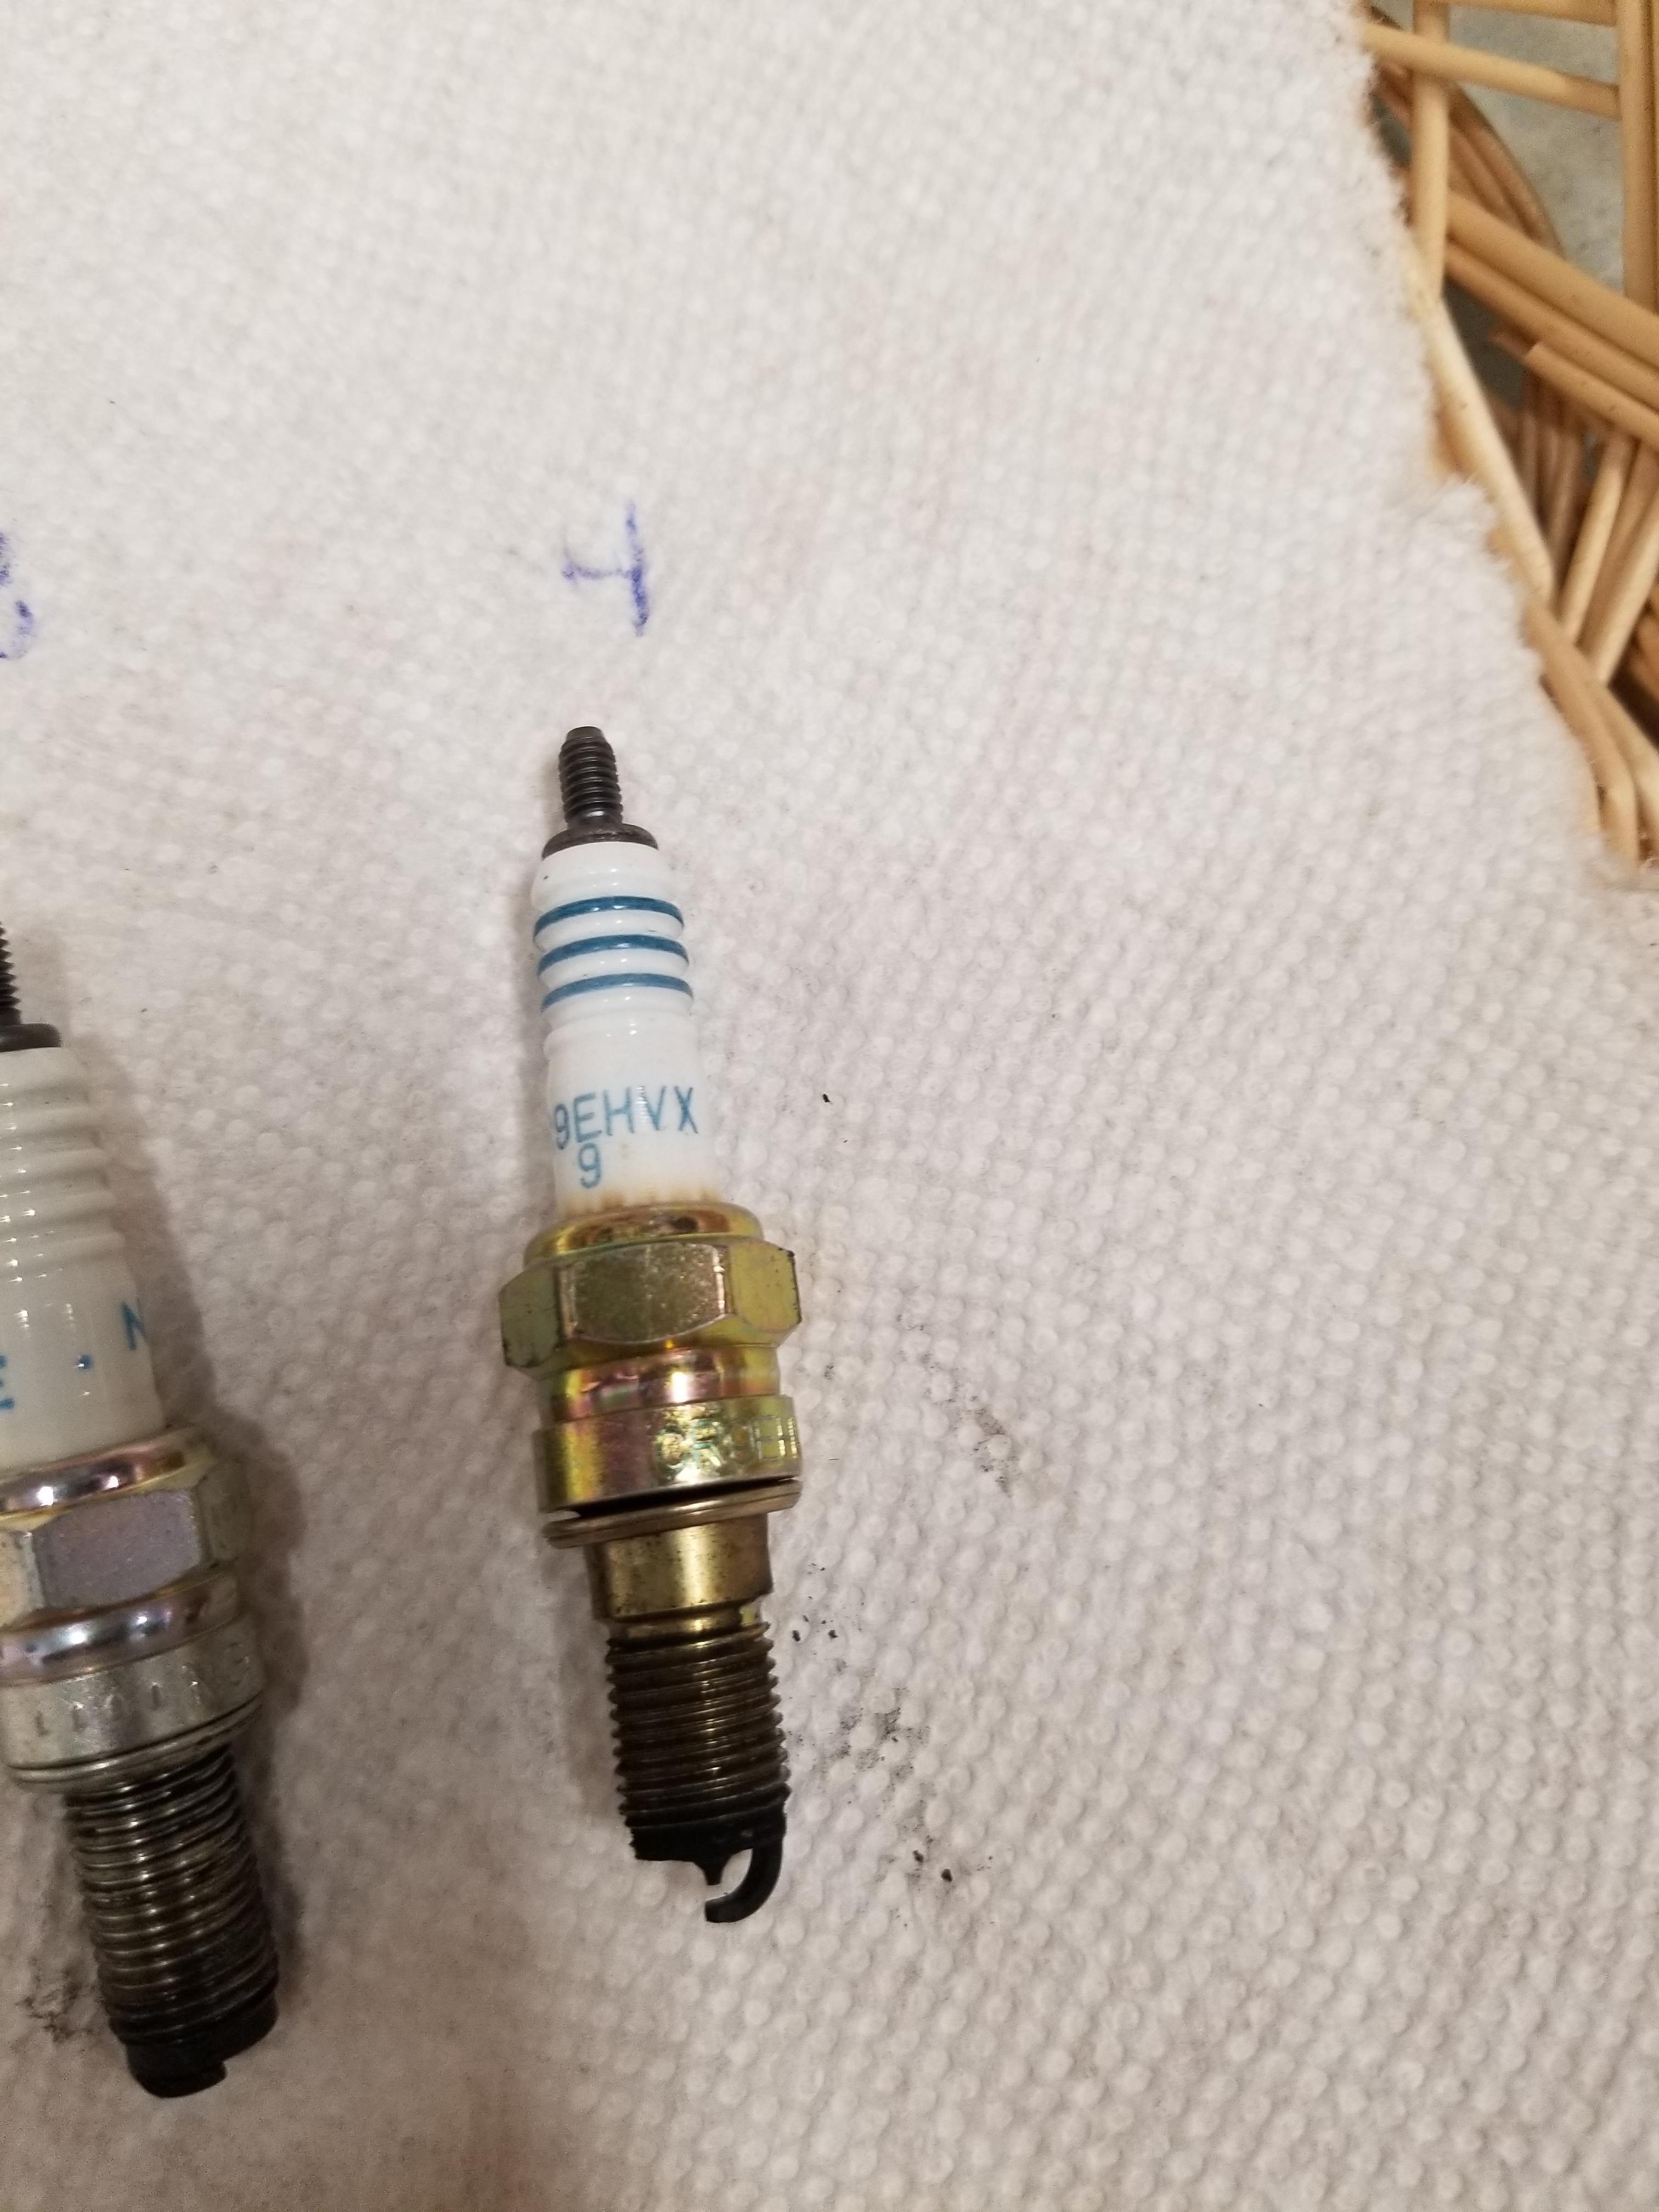
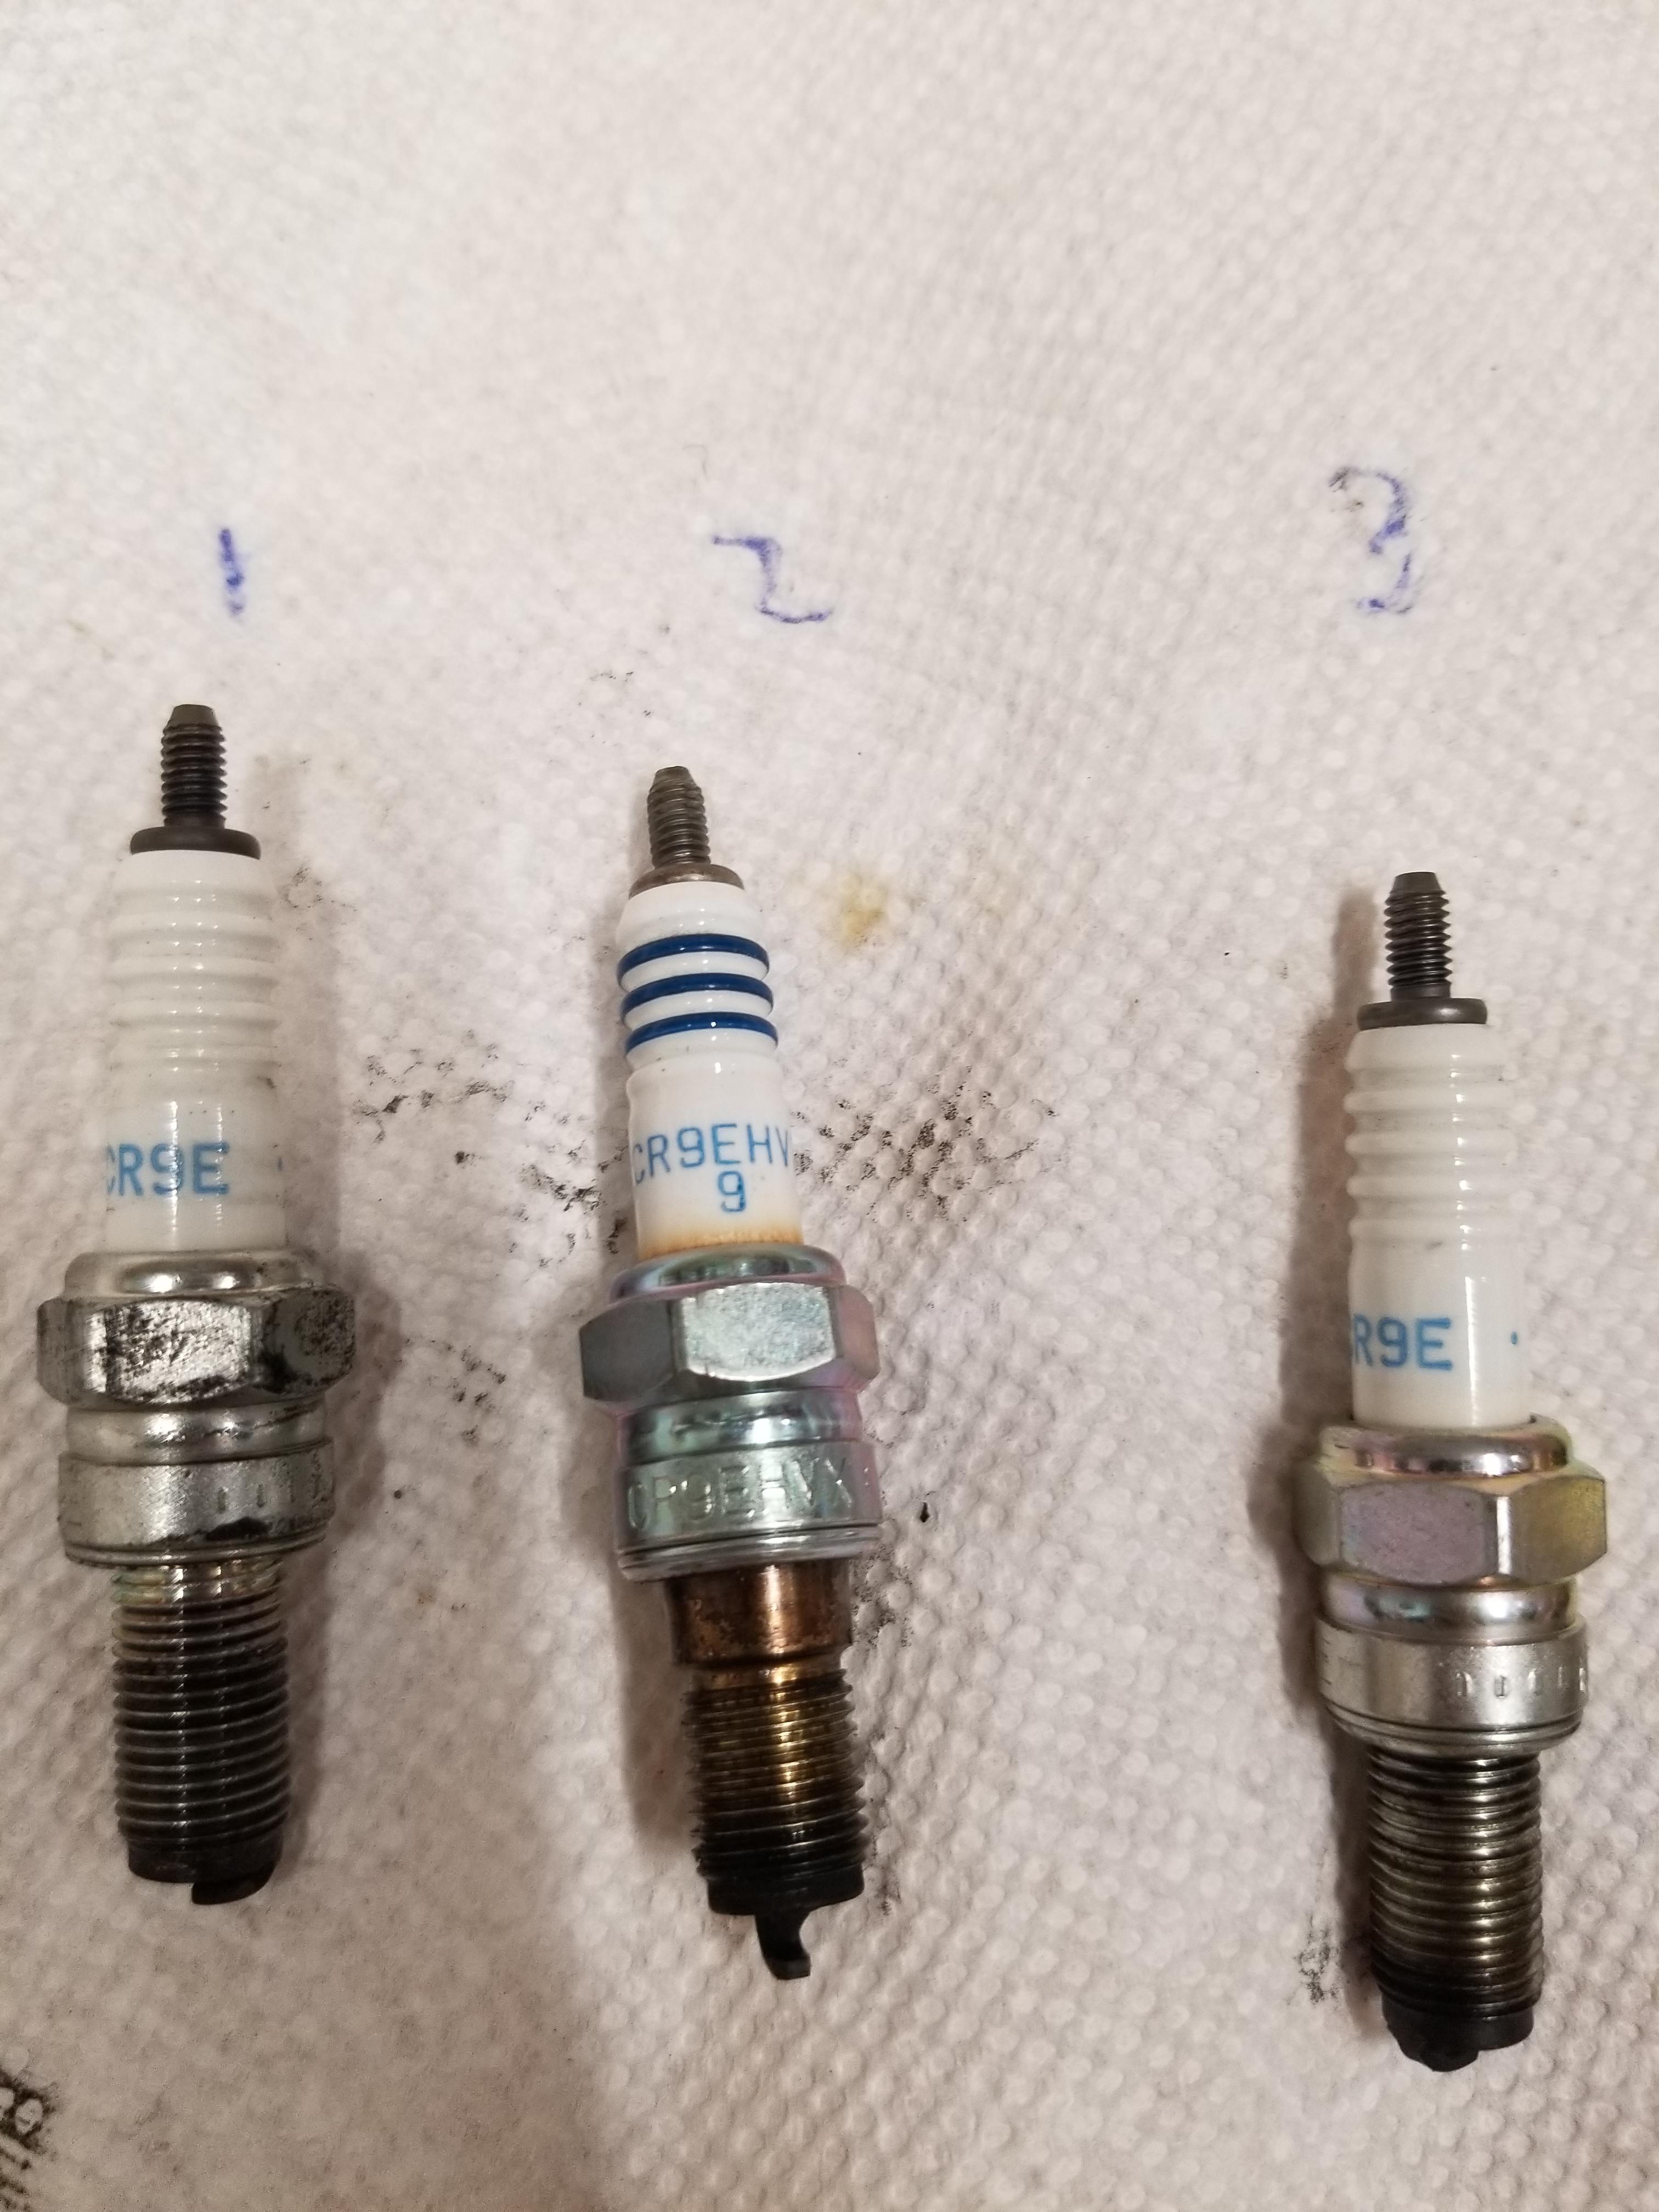
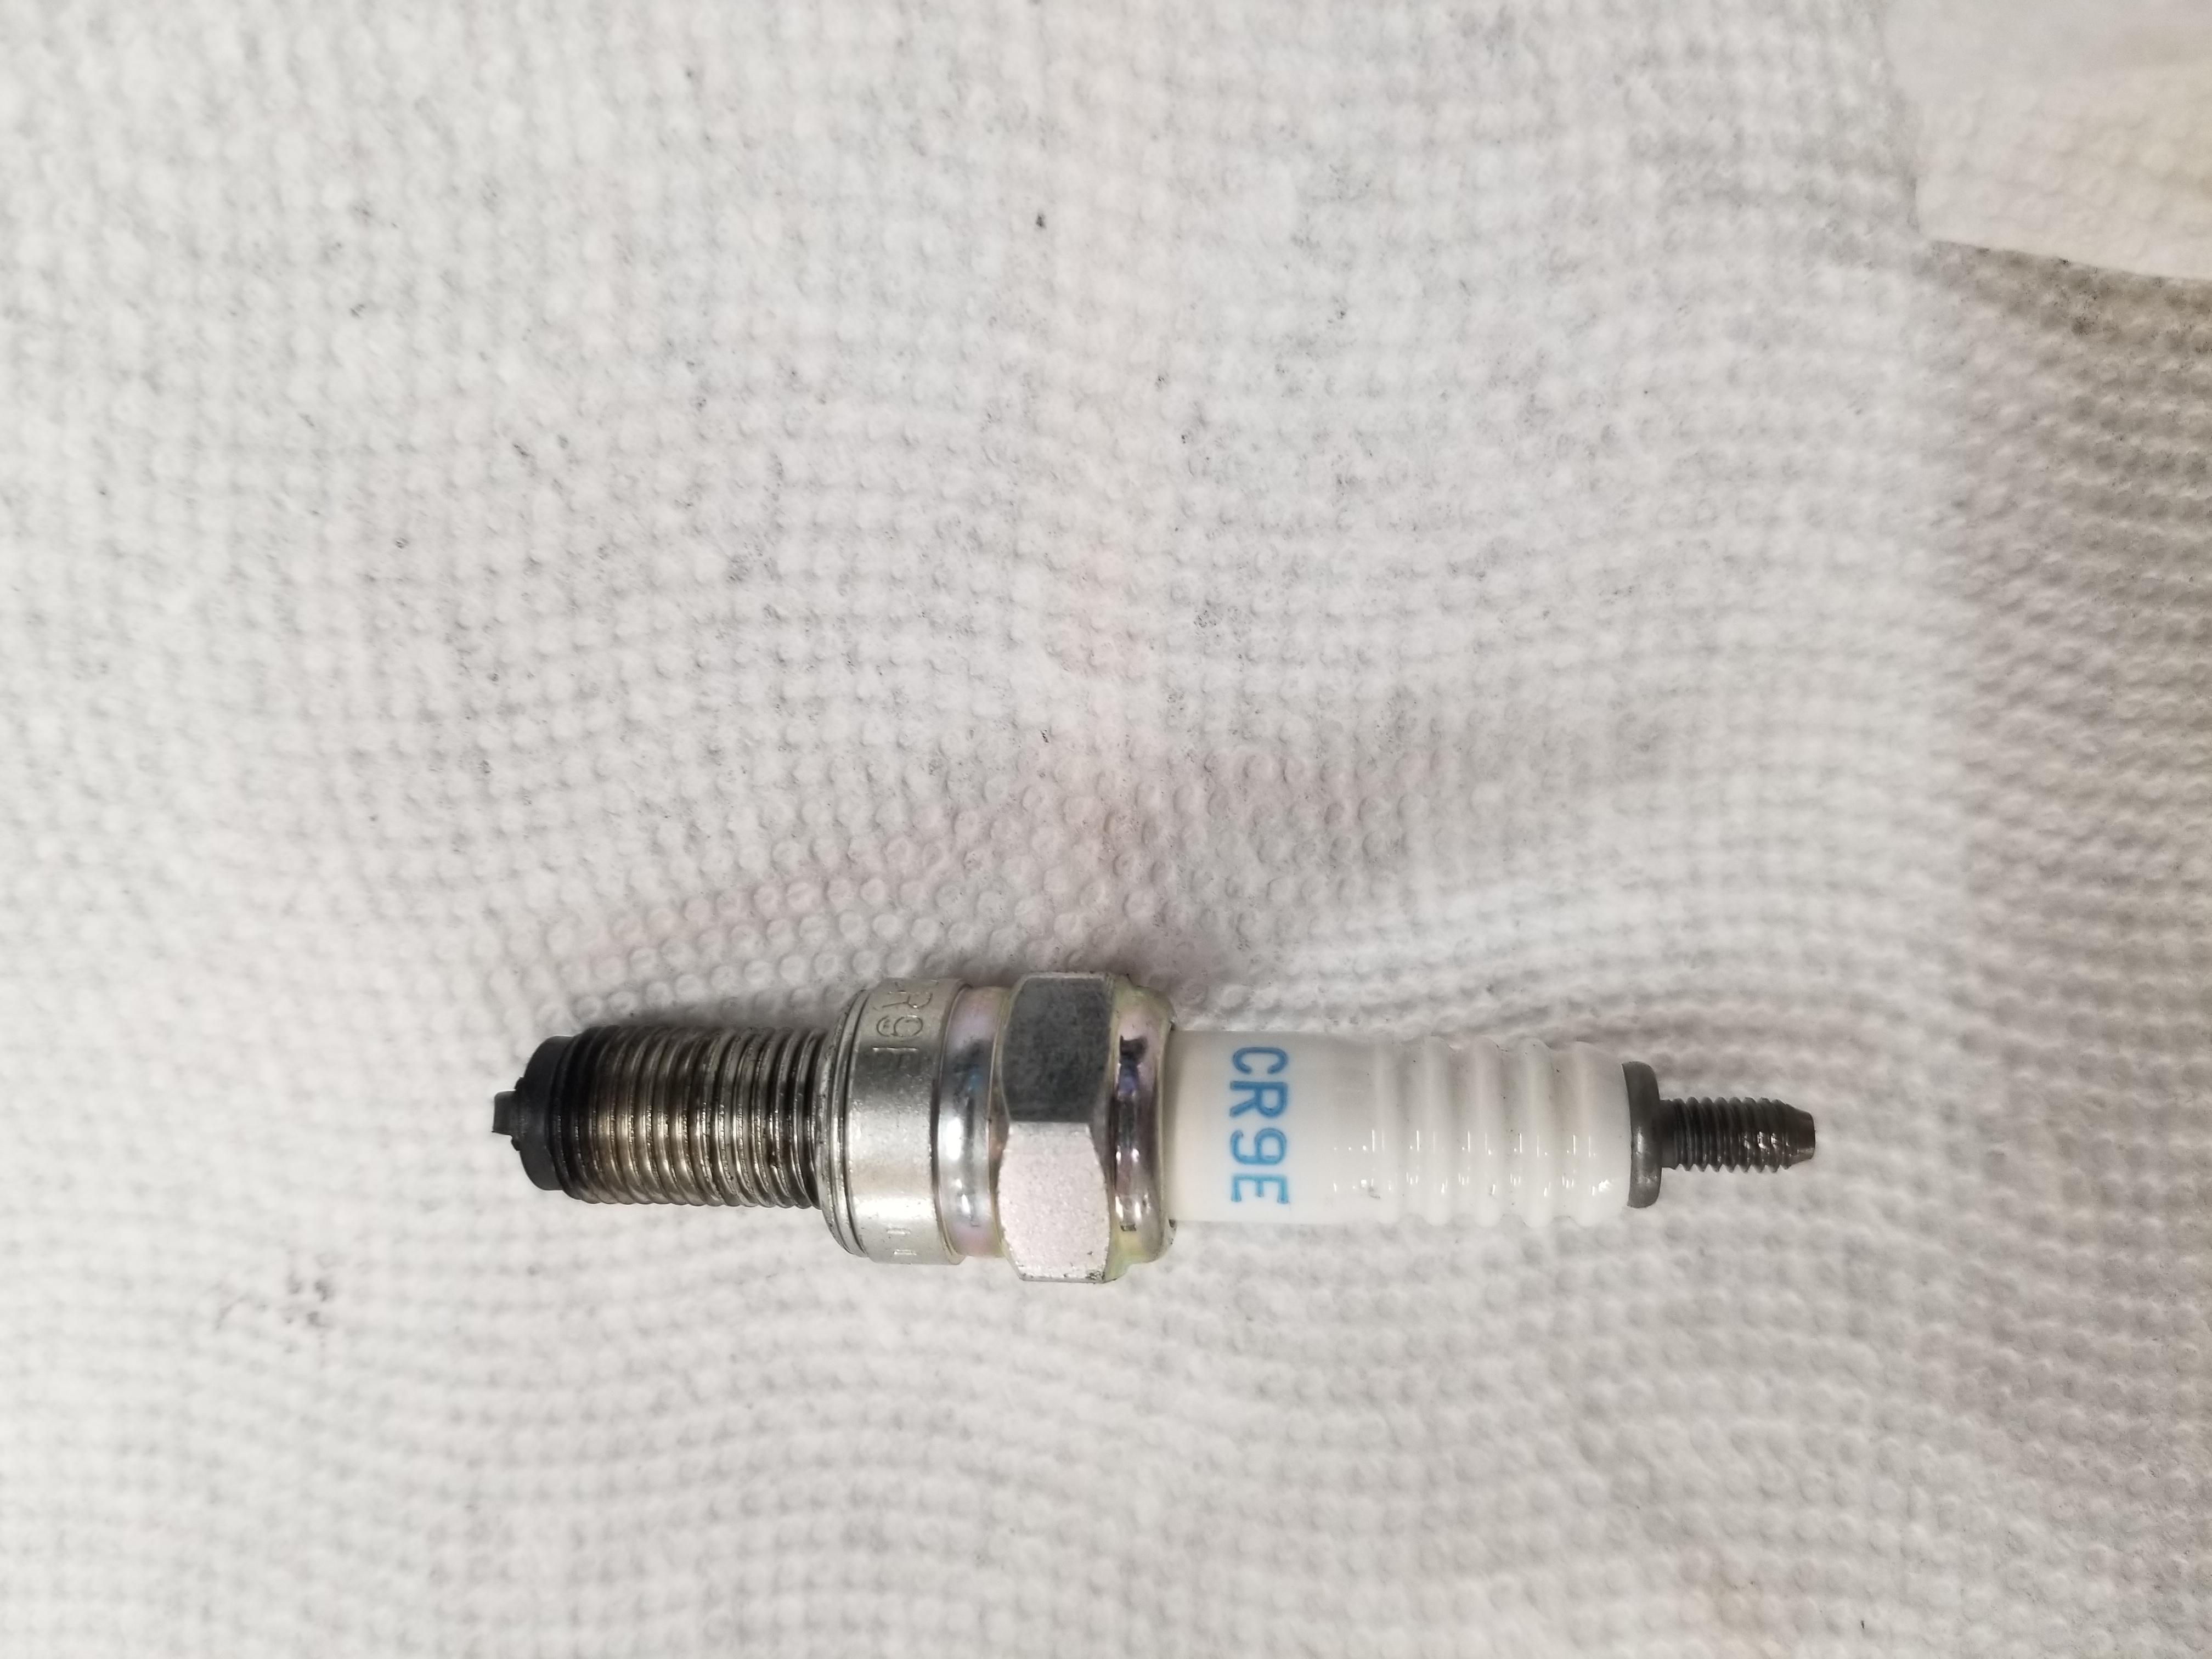
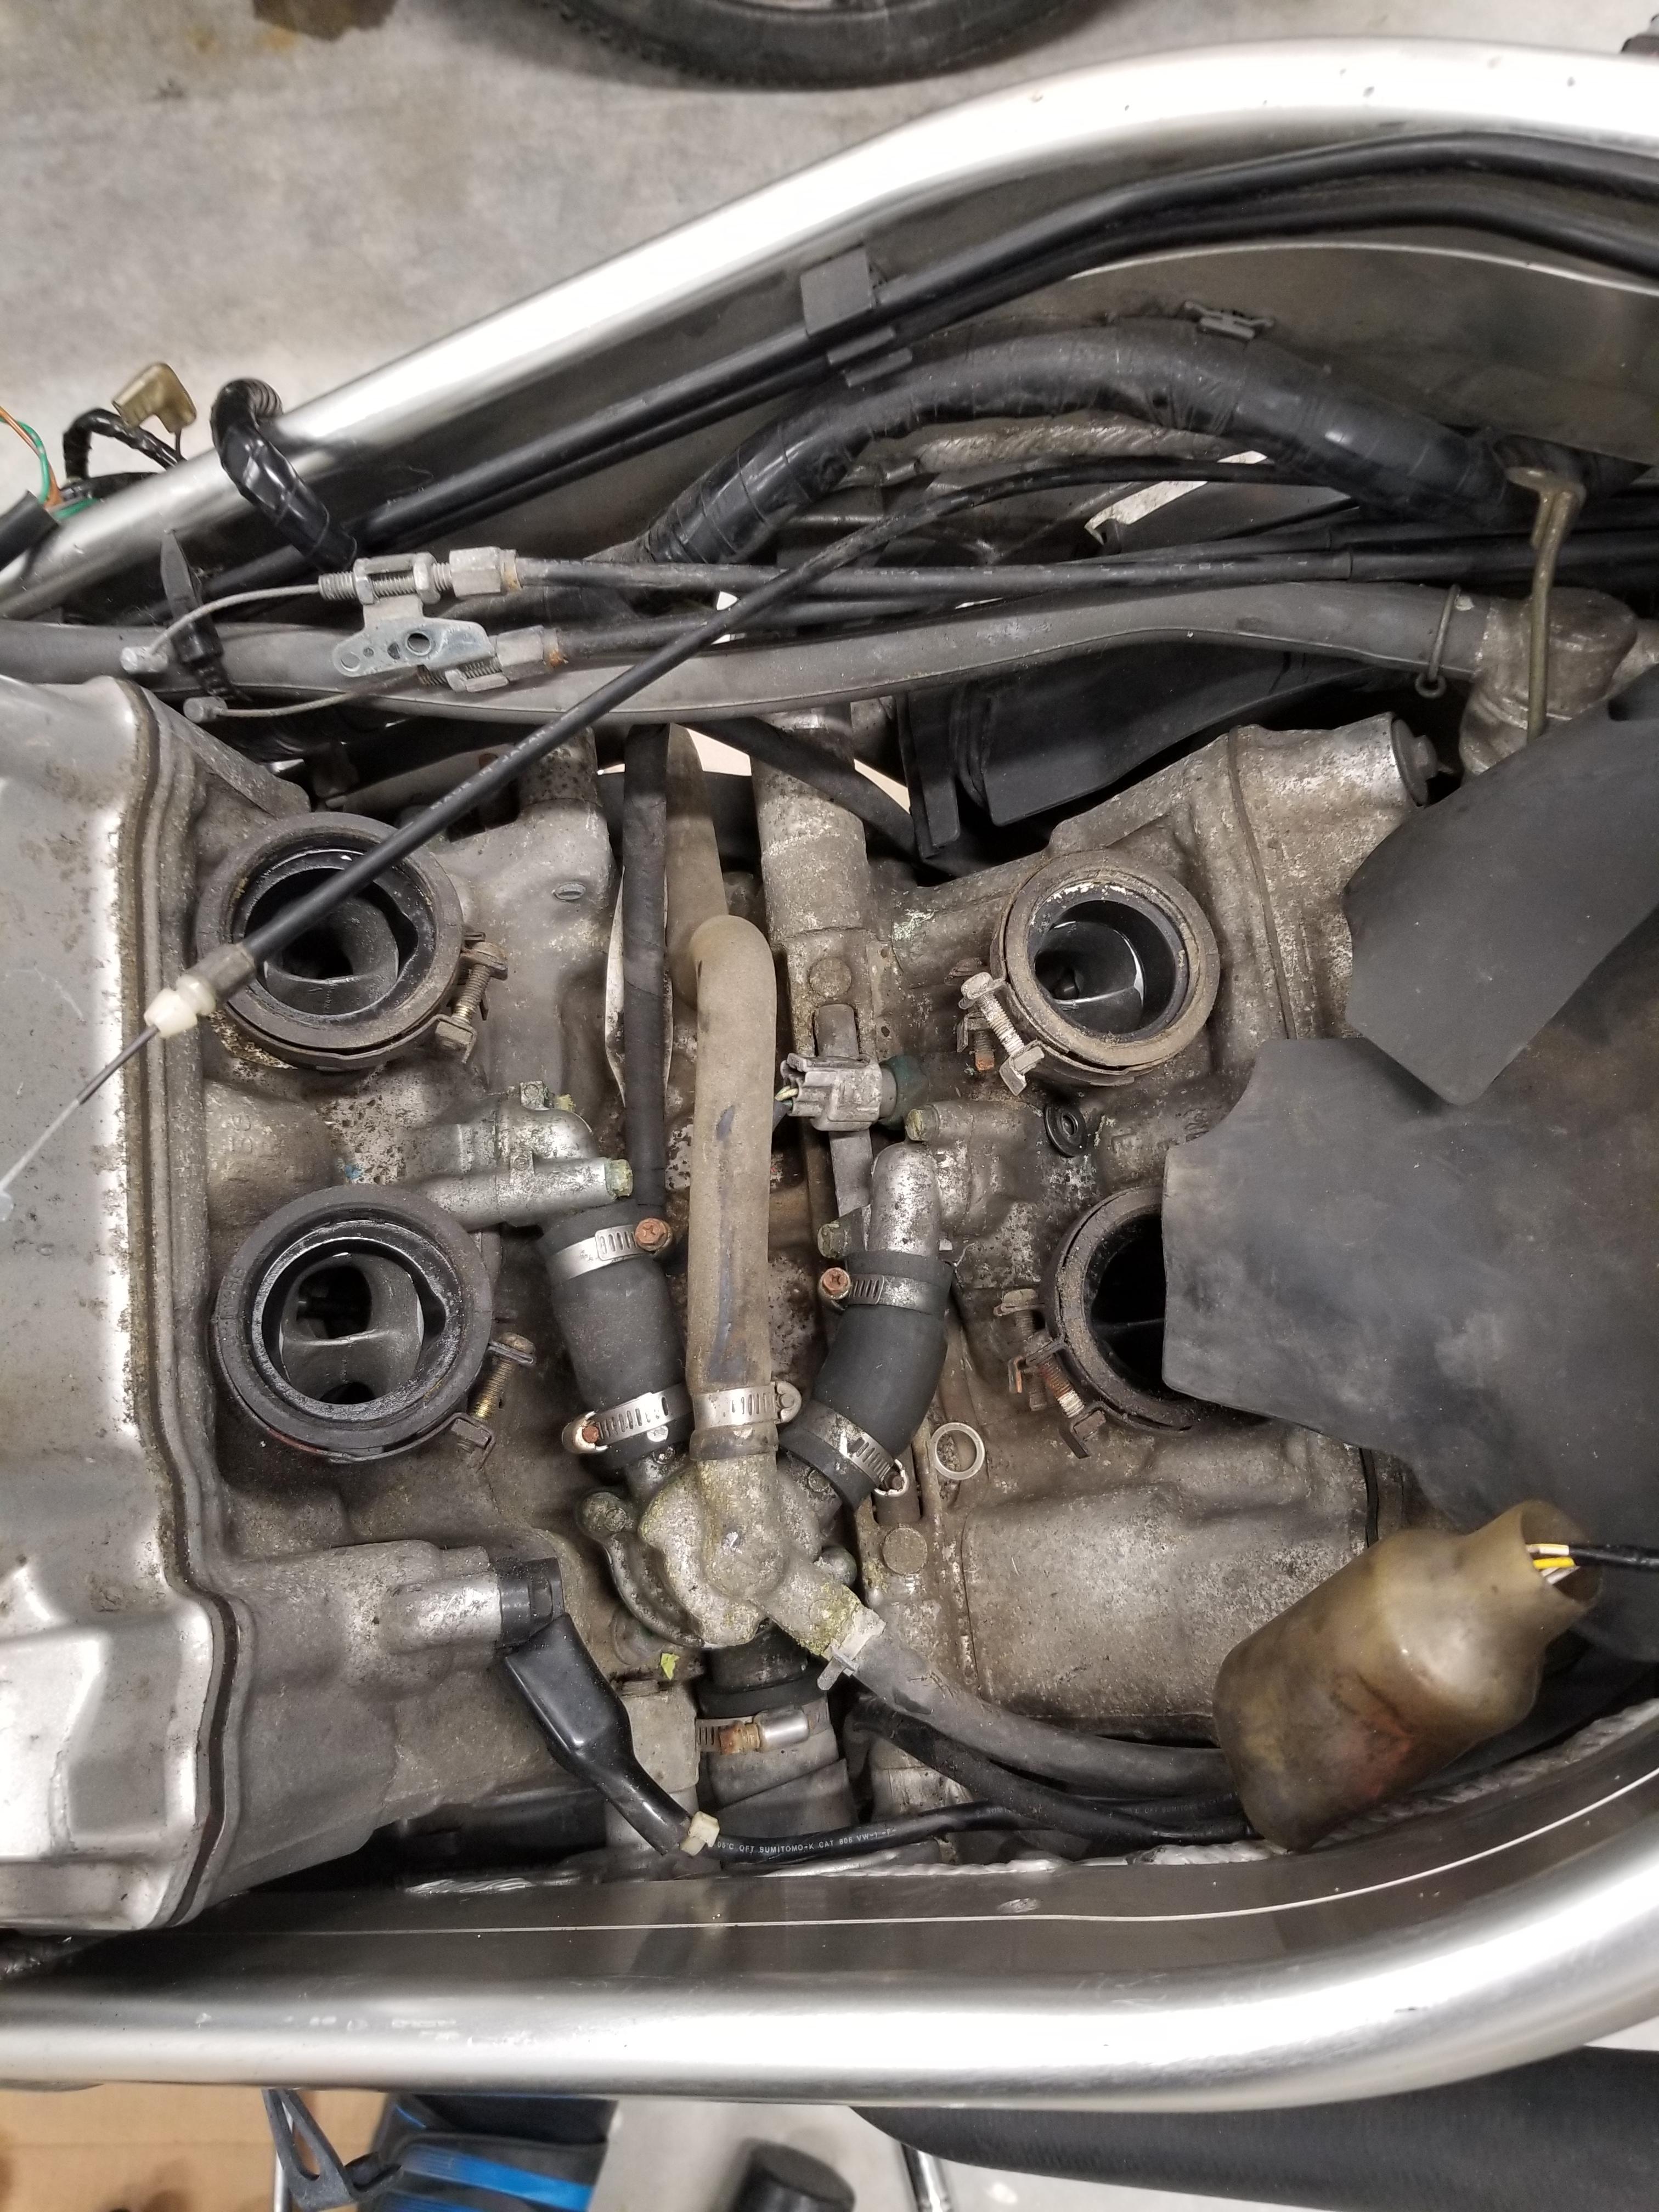
2 things going on here today... First, starting point after yesterday's endeavor Lets take a look at the throttle bodies... The injectors themselves... Their seats in the fuel rail... complete with debris Gunk appears to be rust particles and gasoline from said crudded up fuel tank... At this point I figure I'd better pull the other 3 spark plugs and see whats up... I had already pulled #3, it came easy (felt 1/4 turn past finger tight). #1 was stiff and I was immediately worried about whoever had played with it before... but after a bit of pressure it let up. I then went around front and moved the oil cooler; #4 and #2 were both 1/4 turn past finger tight, and I was perhaps a little surprised to see what came out... So if I were guessing, the front bank #2 and #4 are original or at least have been in place longer than #1 and #3. They have more burn on the porcelain and more soot on the electrode end. #2 and #4 are the same type, the CR9EHVX 9. However #4 is gold colored base, #2 is silver colored base. #1 and #3 are identical, CR9E. Service Manual says CR9EH-9. Continues to make me curious about what has gone on with this bike 🙂 Hopefully I can get these parts all cleaned up and go from there. Will remove the injectors from the rail and start cleaning that up this afternoon... think I should replace these plugs? I'm inclined to want 4 known new/good/ all the same Feedback / comments / insight always welcome.
-
Thanks Danno... appreciate the feedback. FPR is definitely a potential culprit for the poor running condition that I have basically zero info on! It is #3.... I'll pull the others in the next couple days and post for comparison.
-
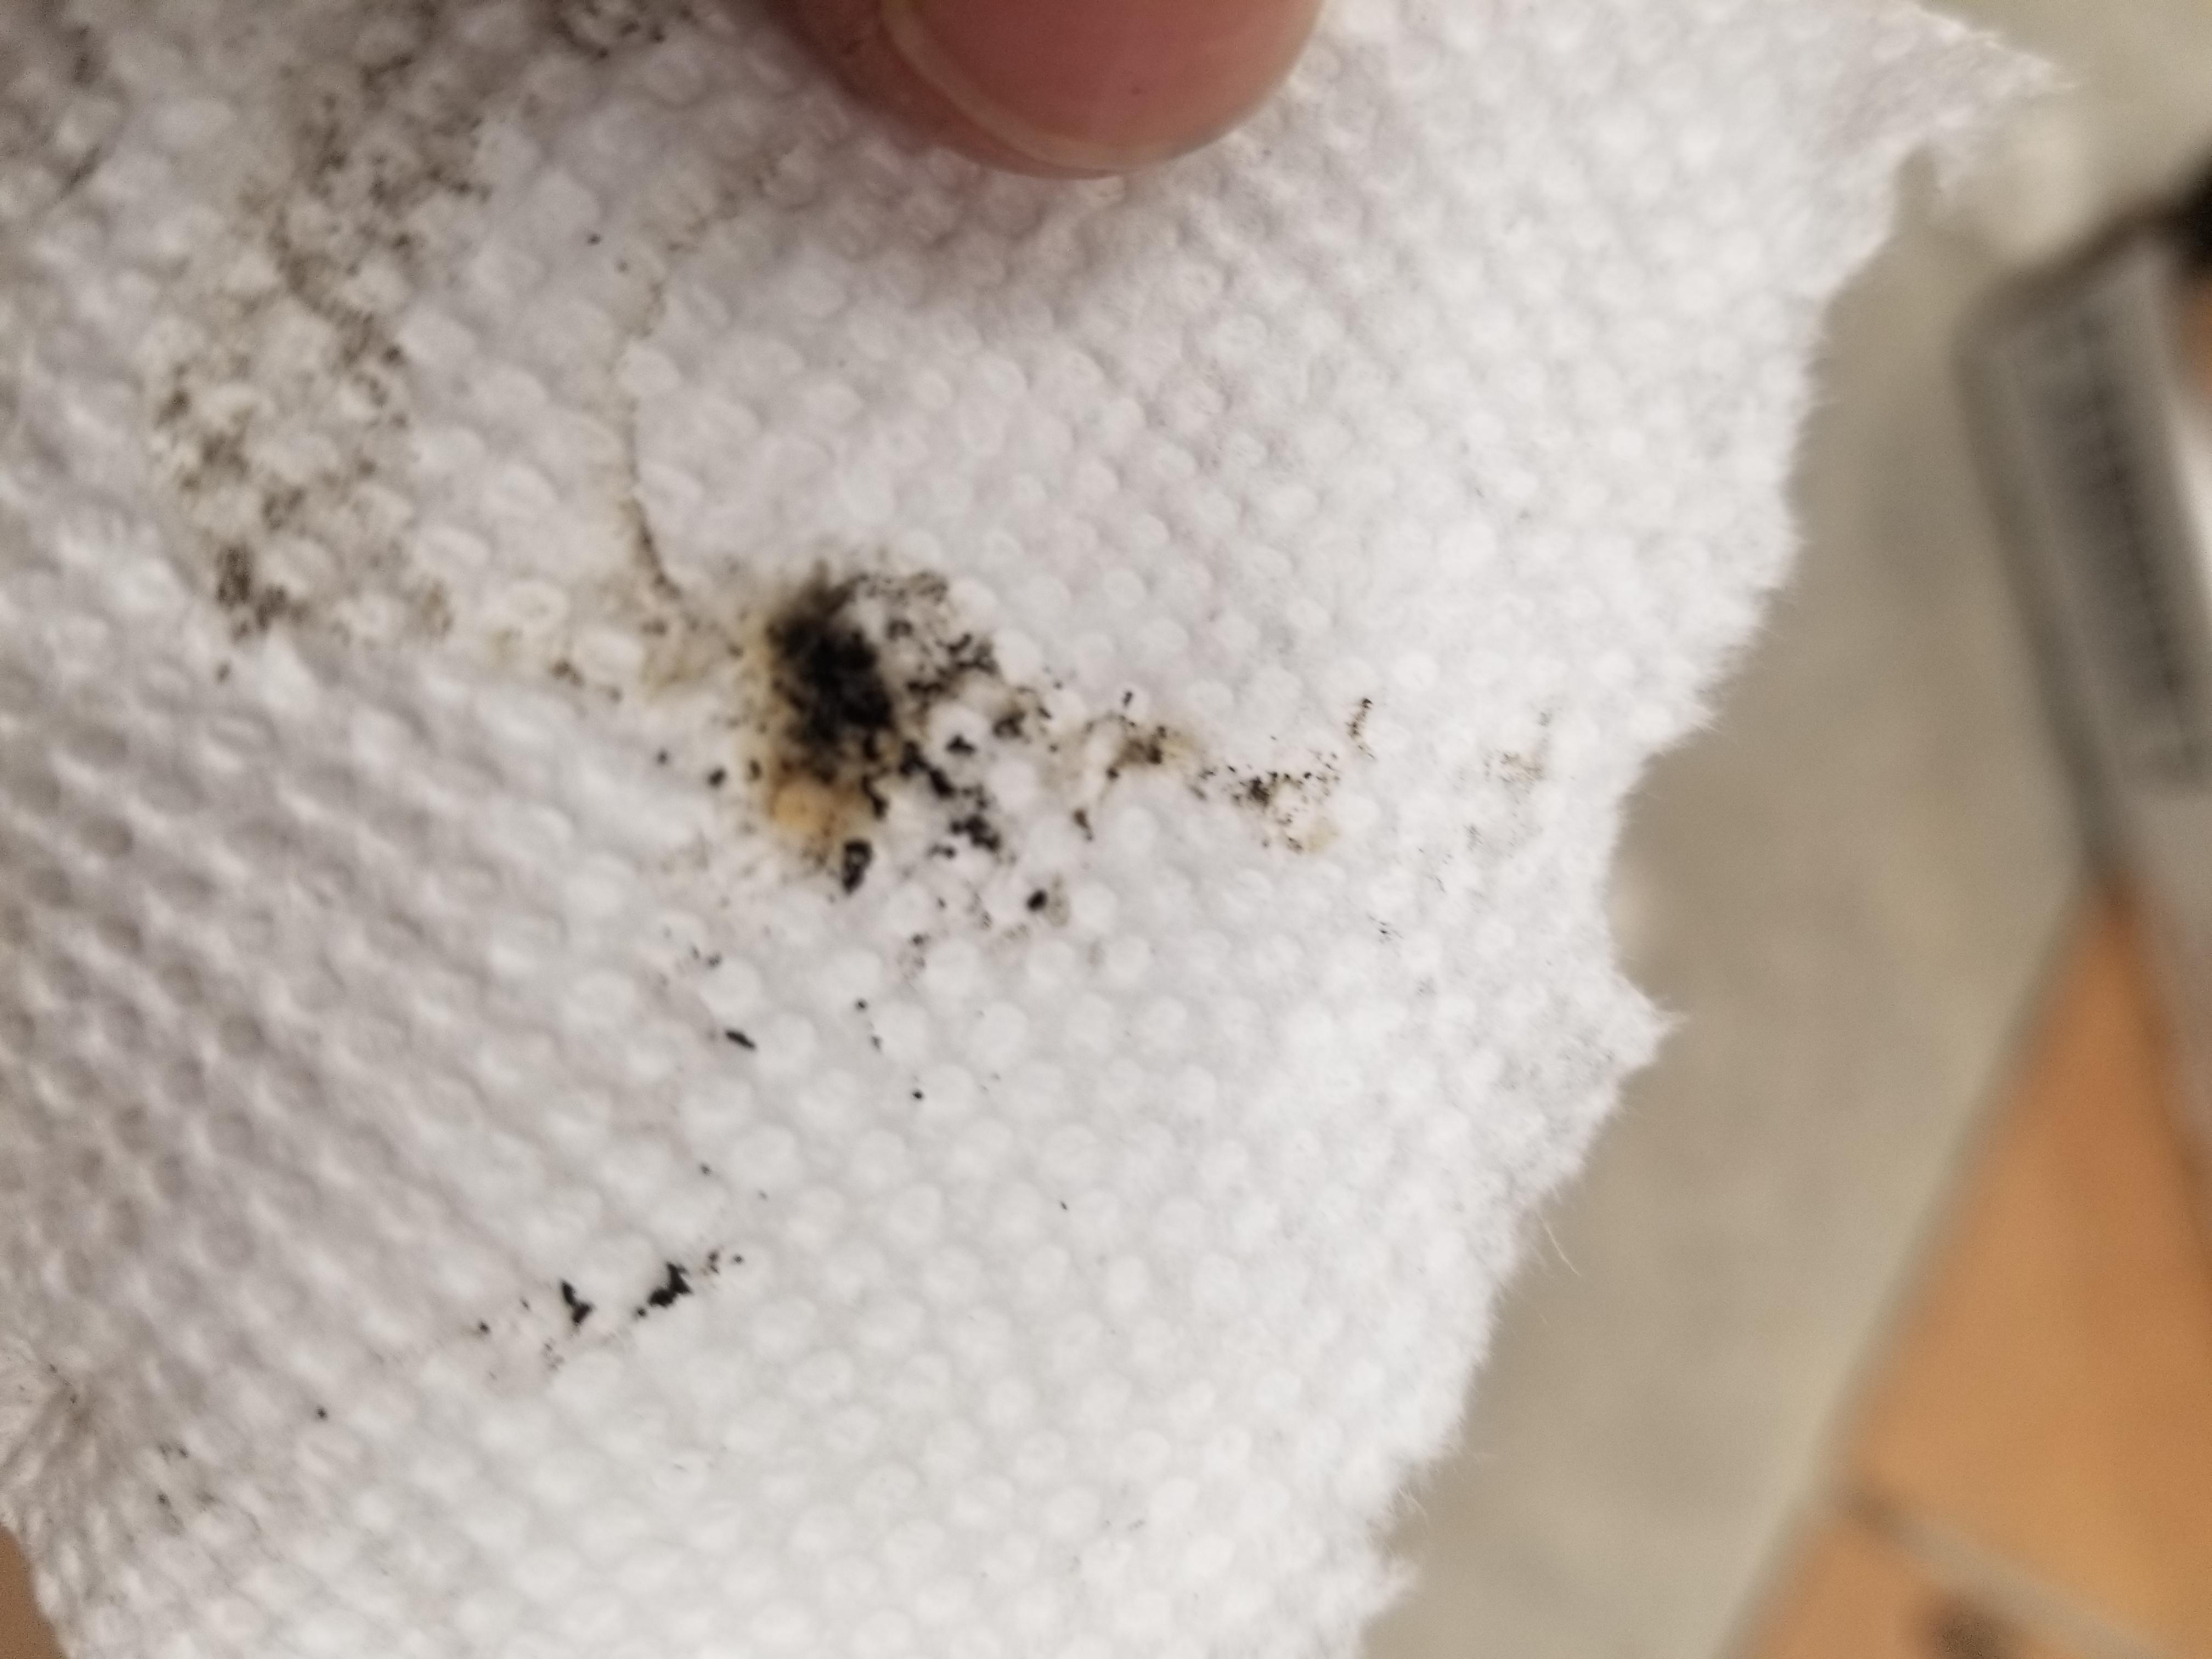
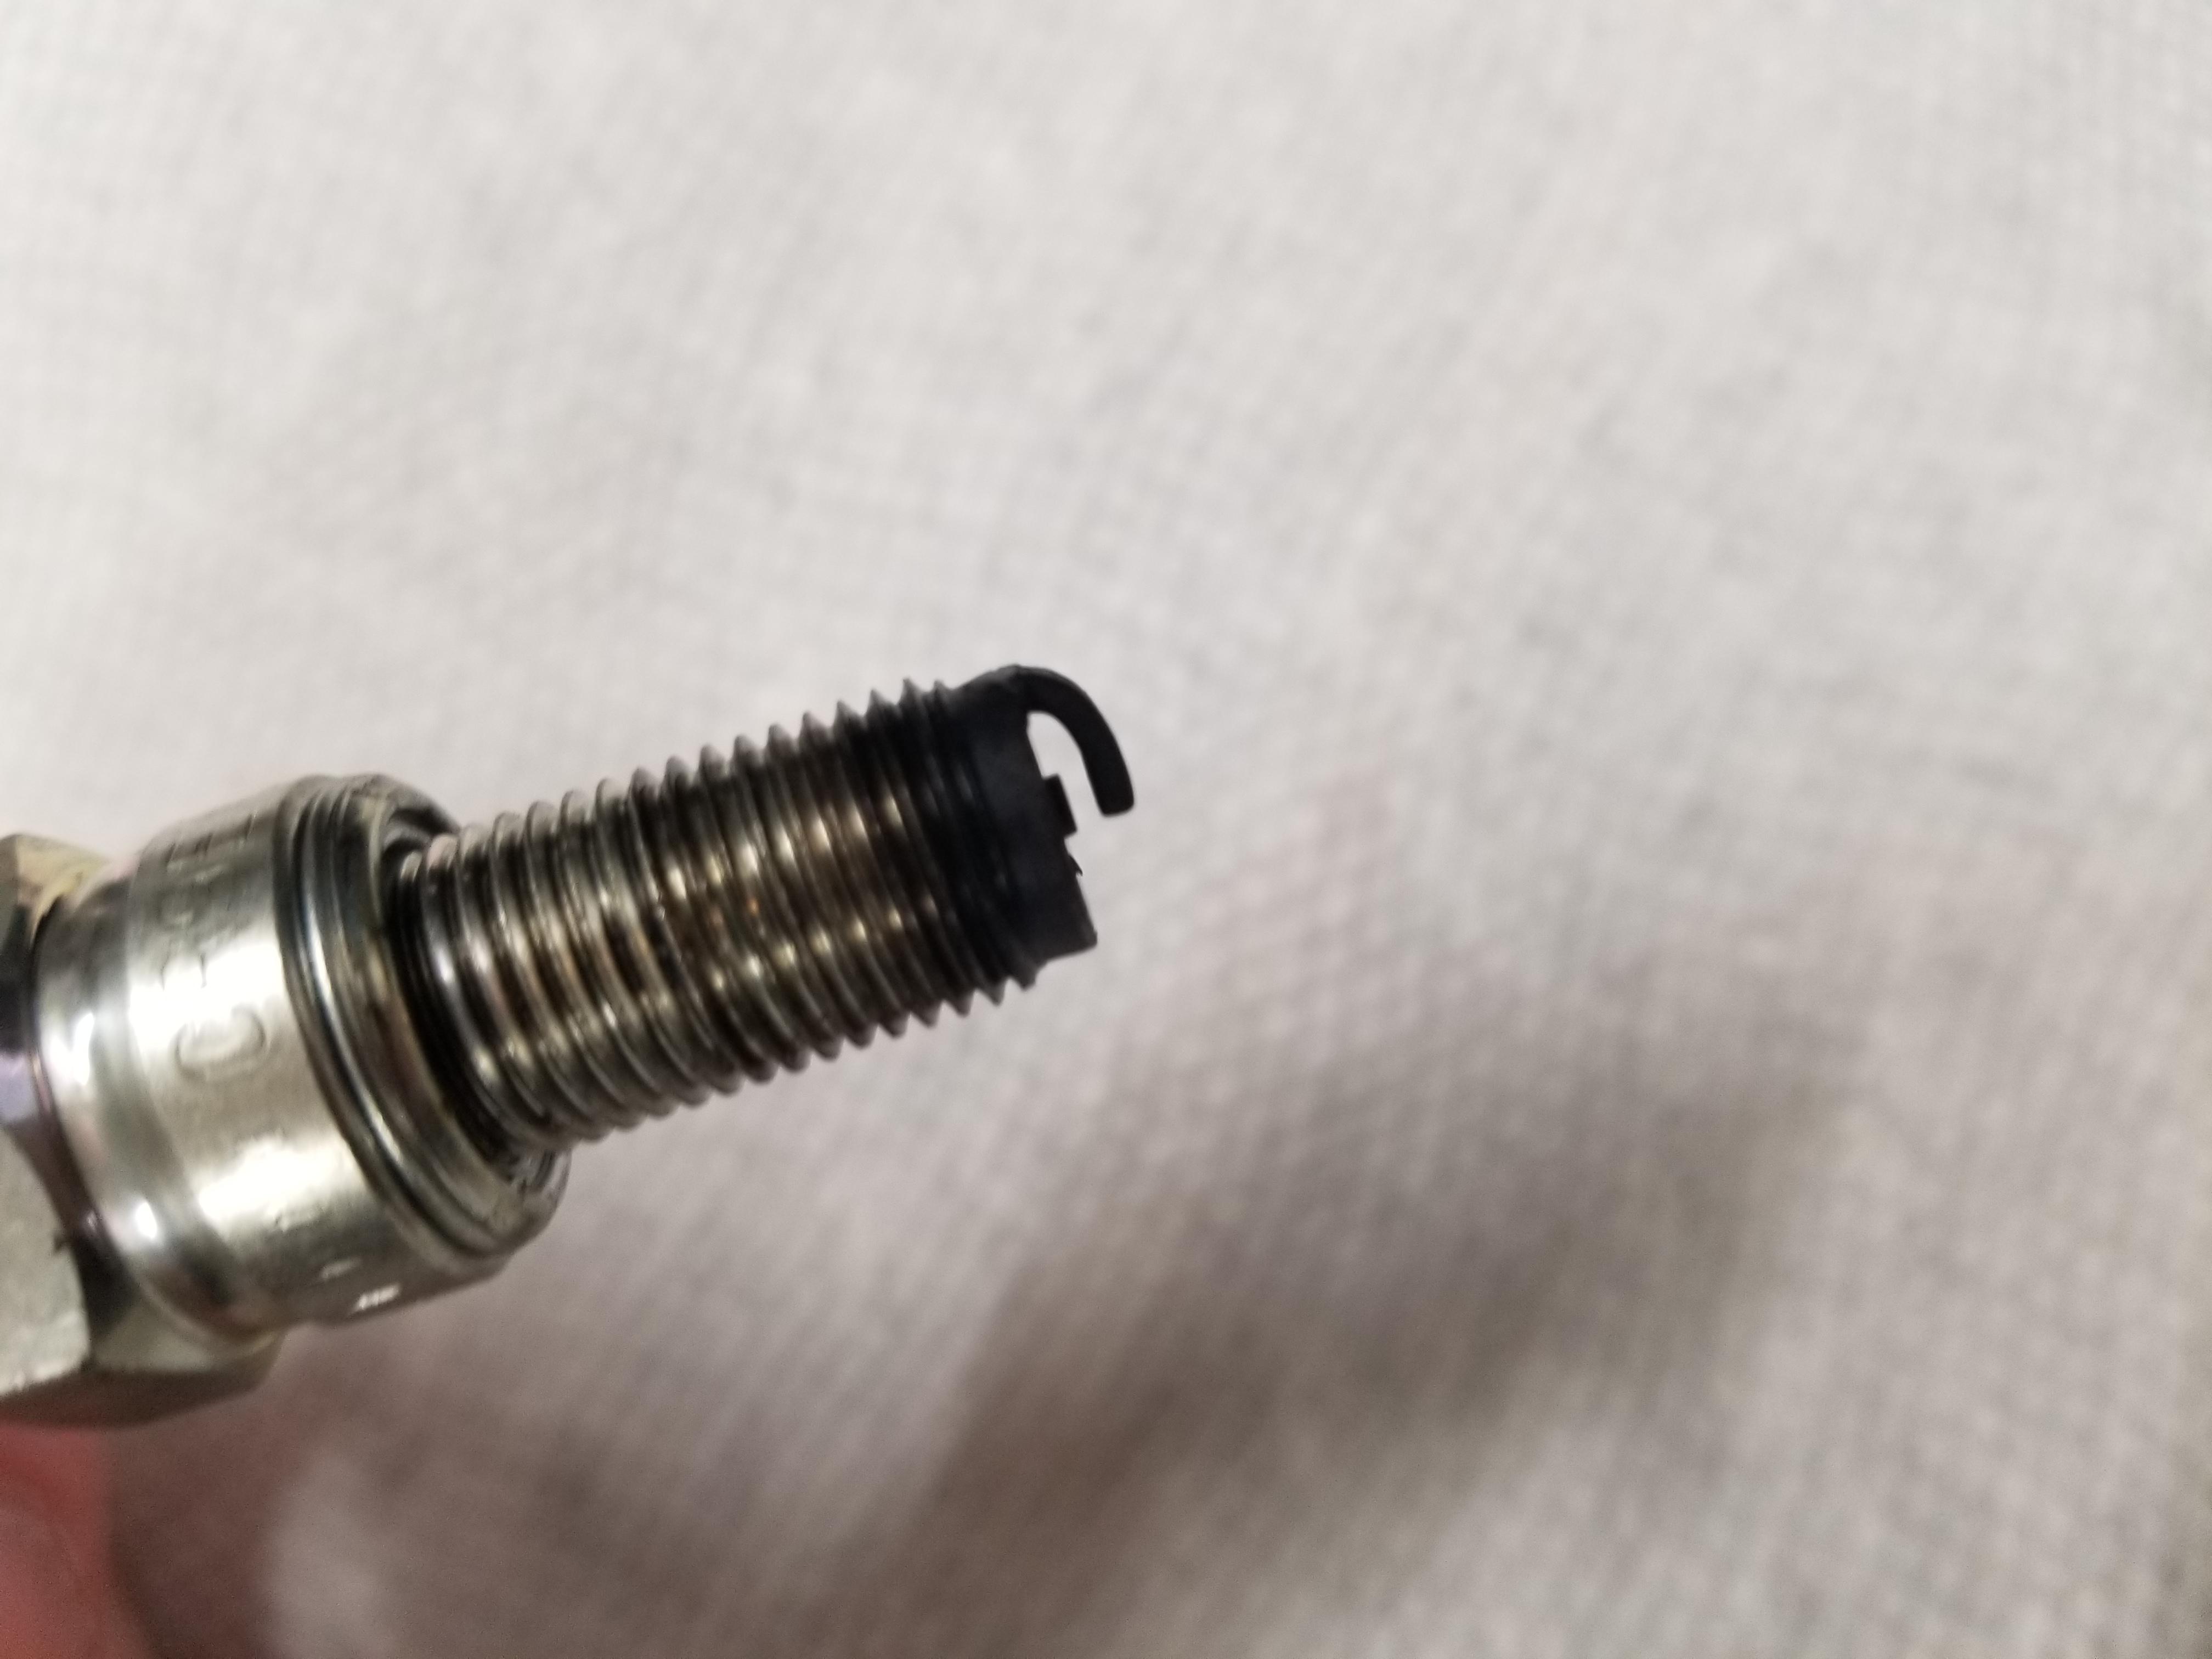
Fast forward to today. On vacation for the week, so planned garage time with wife support! The bolt which connects fuel line from tank to fuel rail had been removed during previous troubleshooting. I also removed it, and pushed some paper towel into the rail to see if there was rust / debris contamination from the fuel tank. Didn't take a pic at first, this was a re-do (and a poor one), but yes the first swab was all brown and rusty. I swabbed the end hole and the hole which lines up with the banjo on the fuel line from tank. Same result in both, rust. So that said, the throttle bodies will be coming off so I can attempt to clean the fuel rail and injectors. Since there is an unknown maintenance and troubleshooting history, and with the tank already disconnected I never tried to run it, I figured I would pull a spark plug next and see if there was any noticeable issue there. Looks like a spark plug ... no rust or debris ... anyone see a problem here? I think its all good, will pull the other 3 eventually to be sure. So that said, I'm optimistic that the rust and crap from the fuel tank only made it as far as the rail & injectors. So lets pull the throttle bodies; never done that before, have avoided it on my 02 through the years... but its time This is as far as we've taken it today. Tomorrow I will get into the throttle body. Still undecided on how far to go with this... original plan was just get it to run, ride it for a bit and sell it. But now I have a 5g... why would I want to sell it? Trying to decide how heavily to clean the V... and whether to start buying parts or focus on getting it running. To be determined!
-
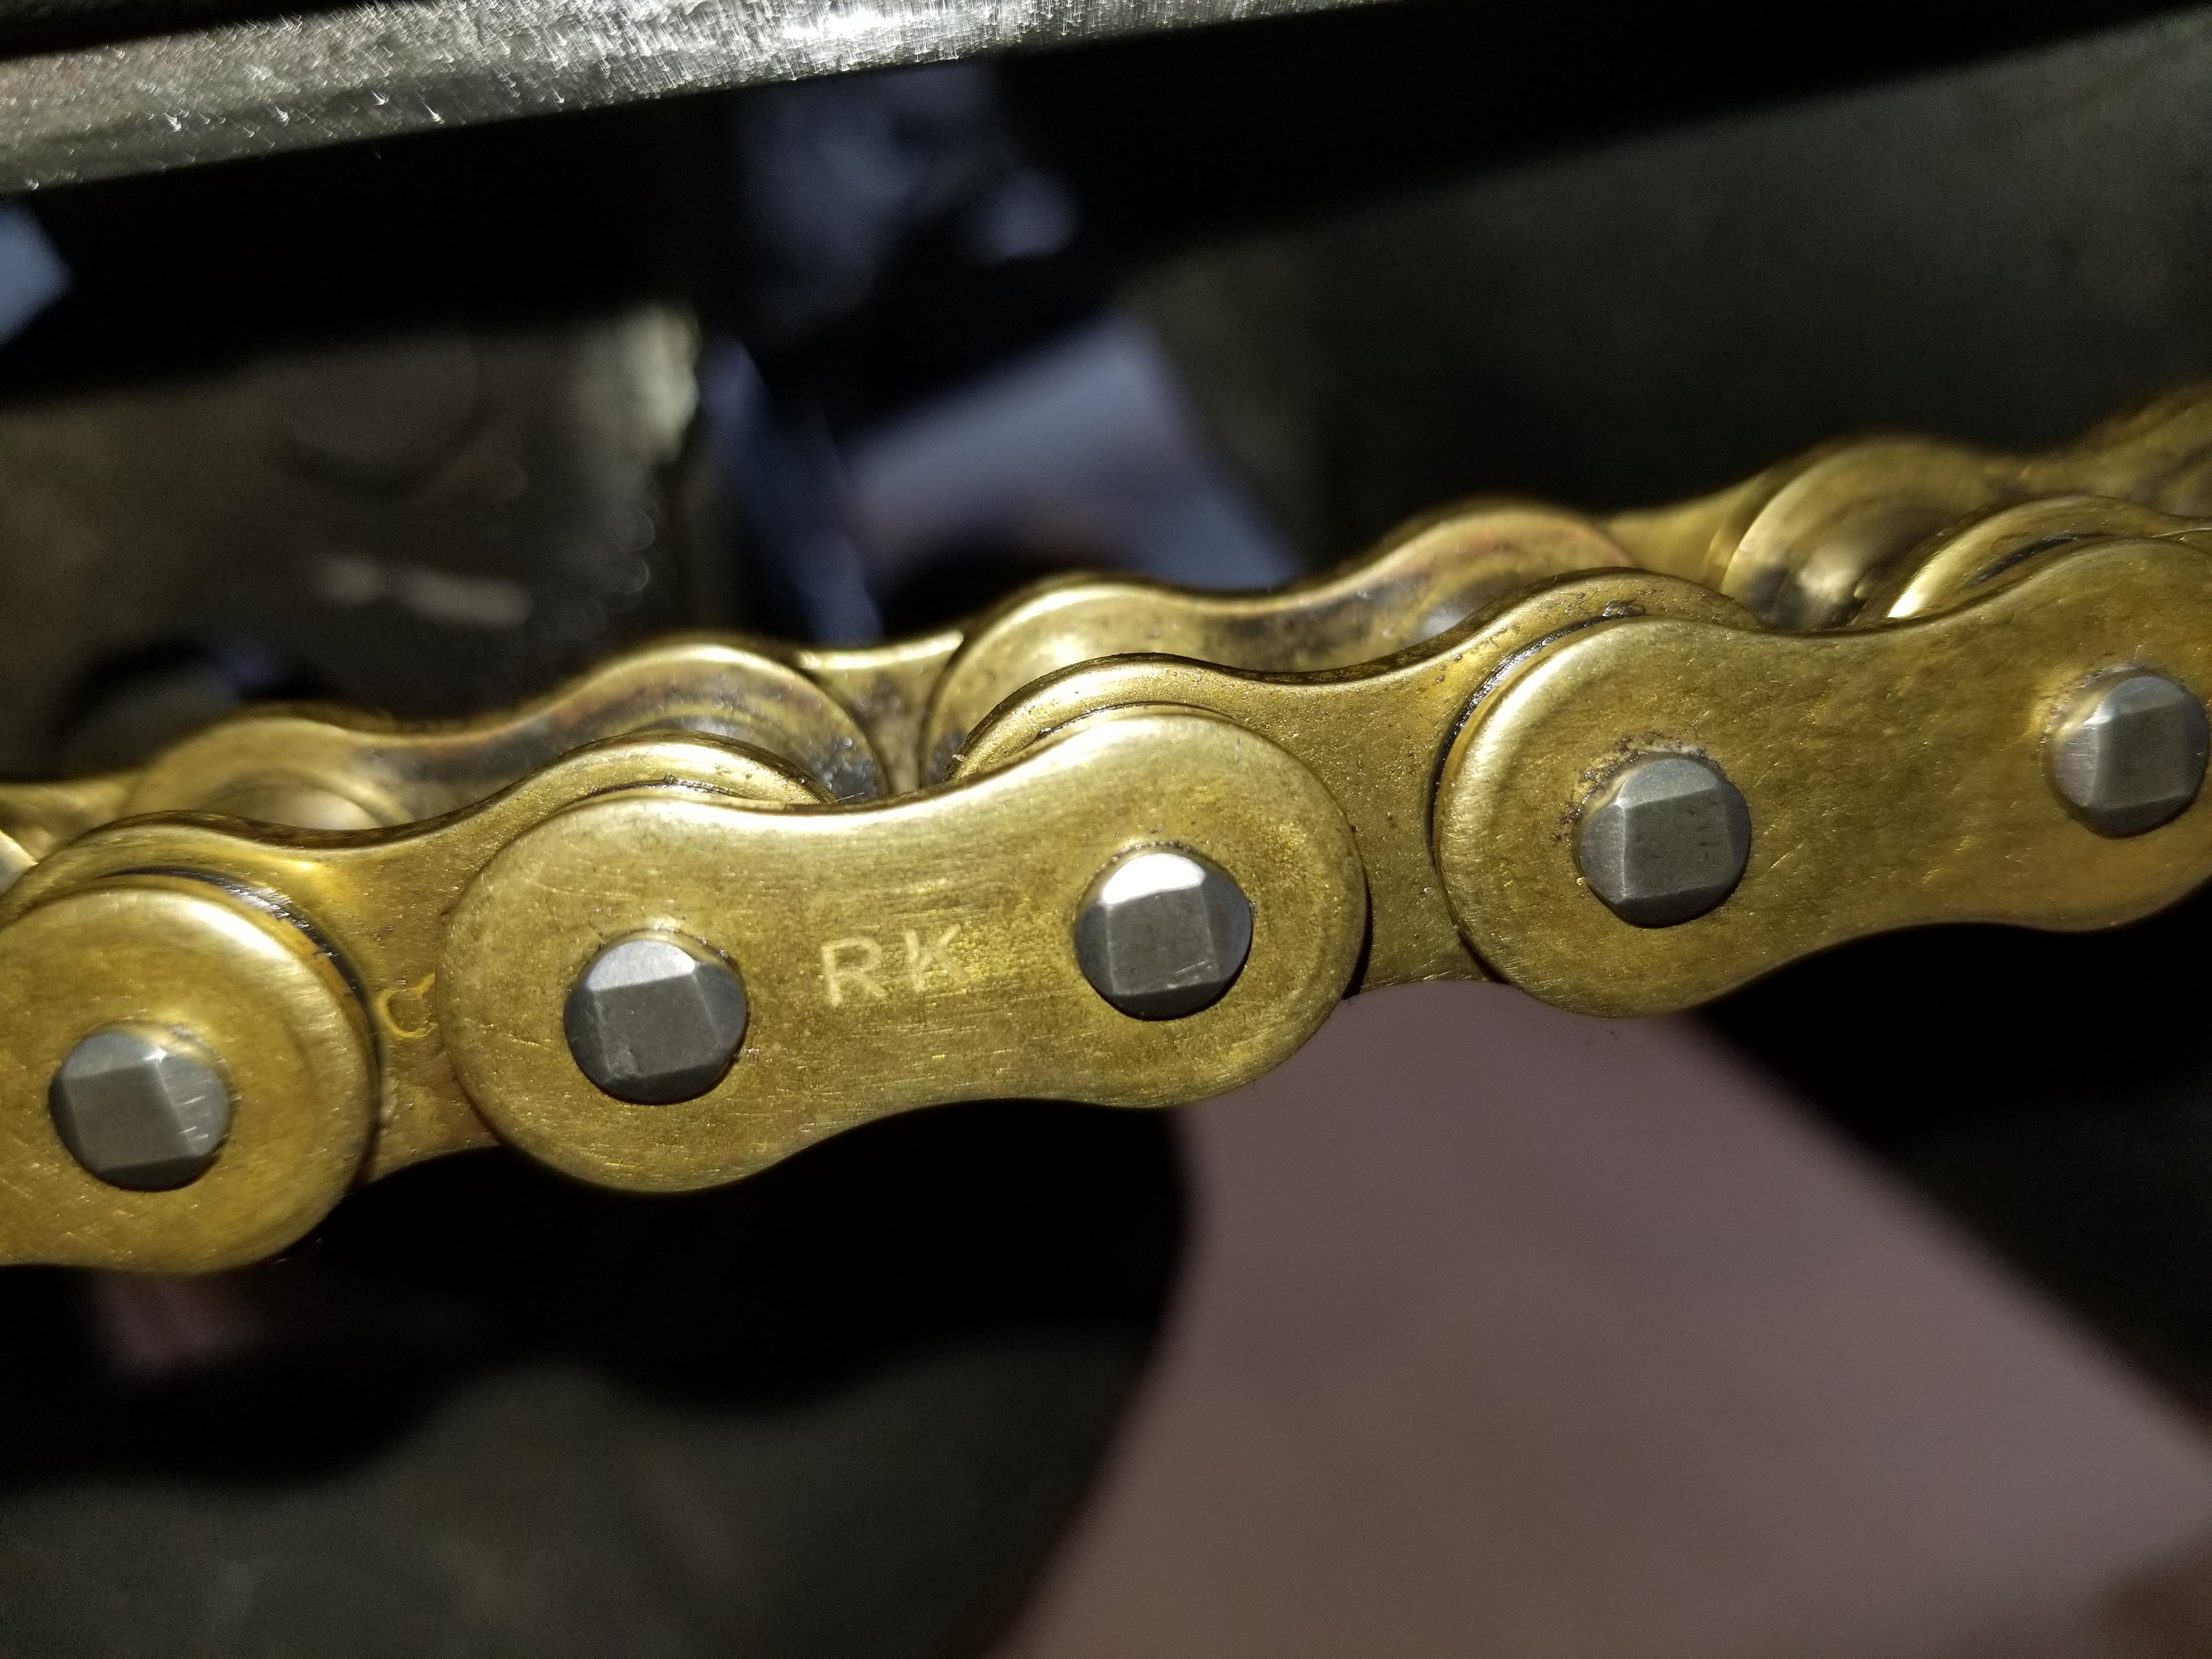
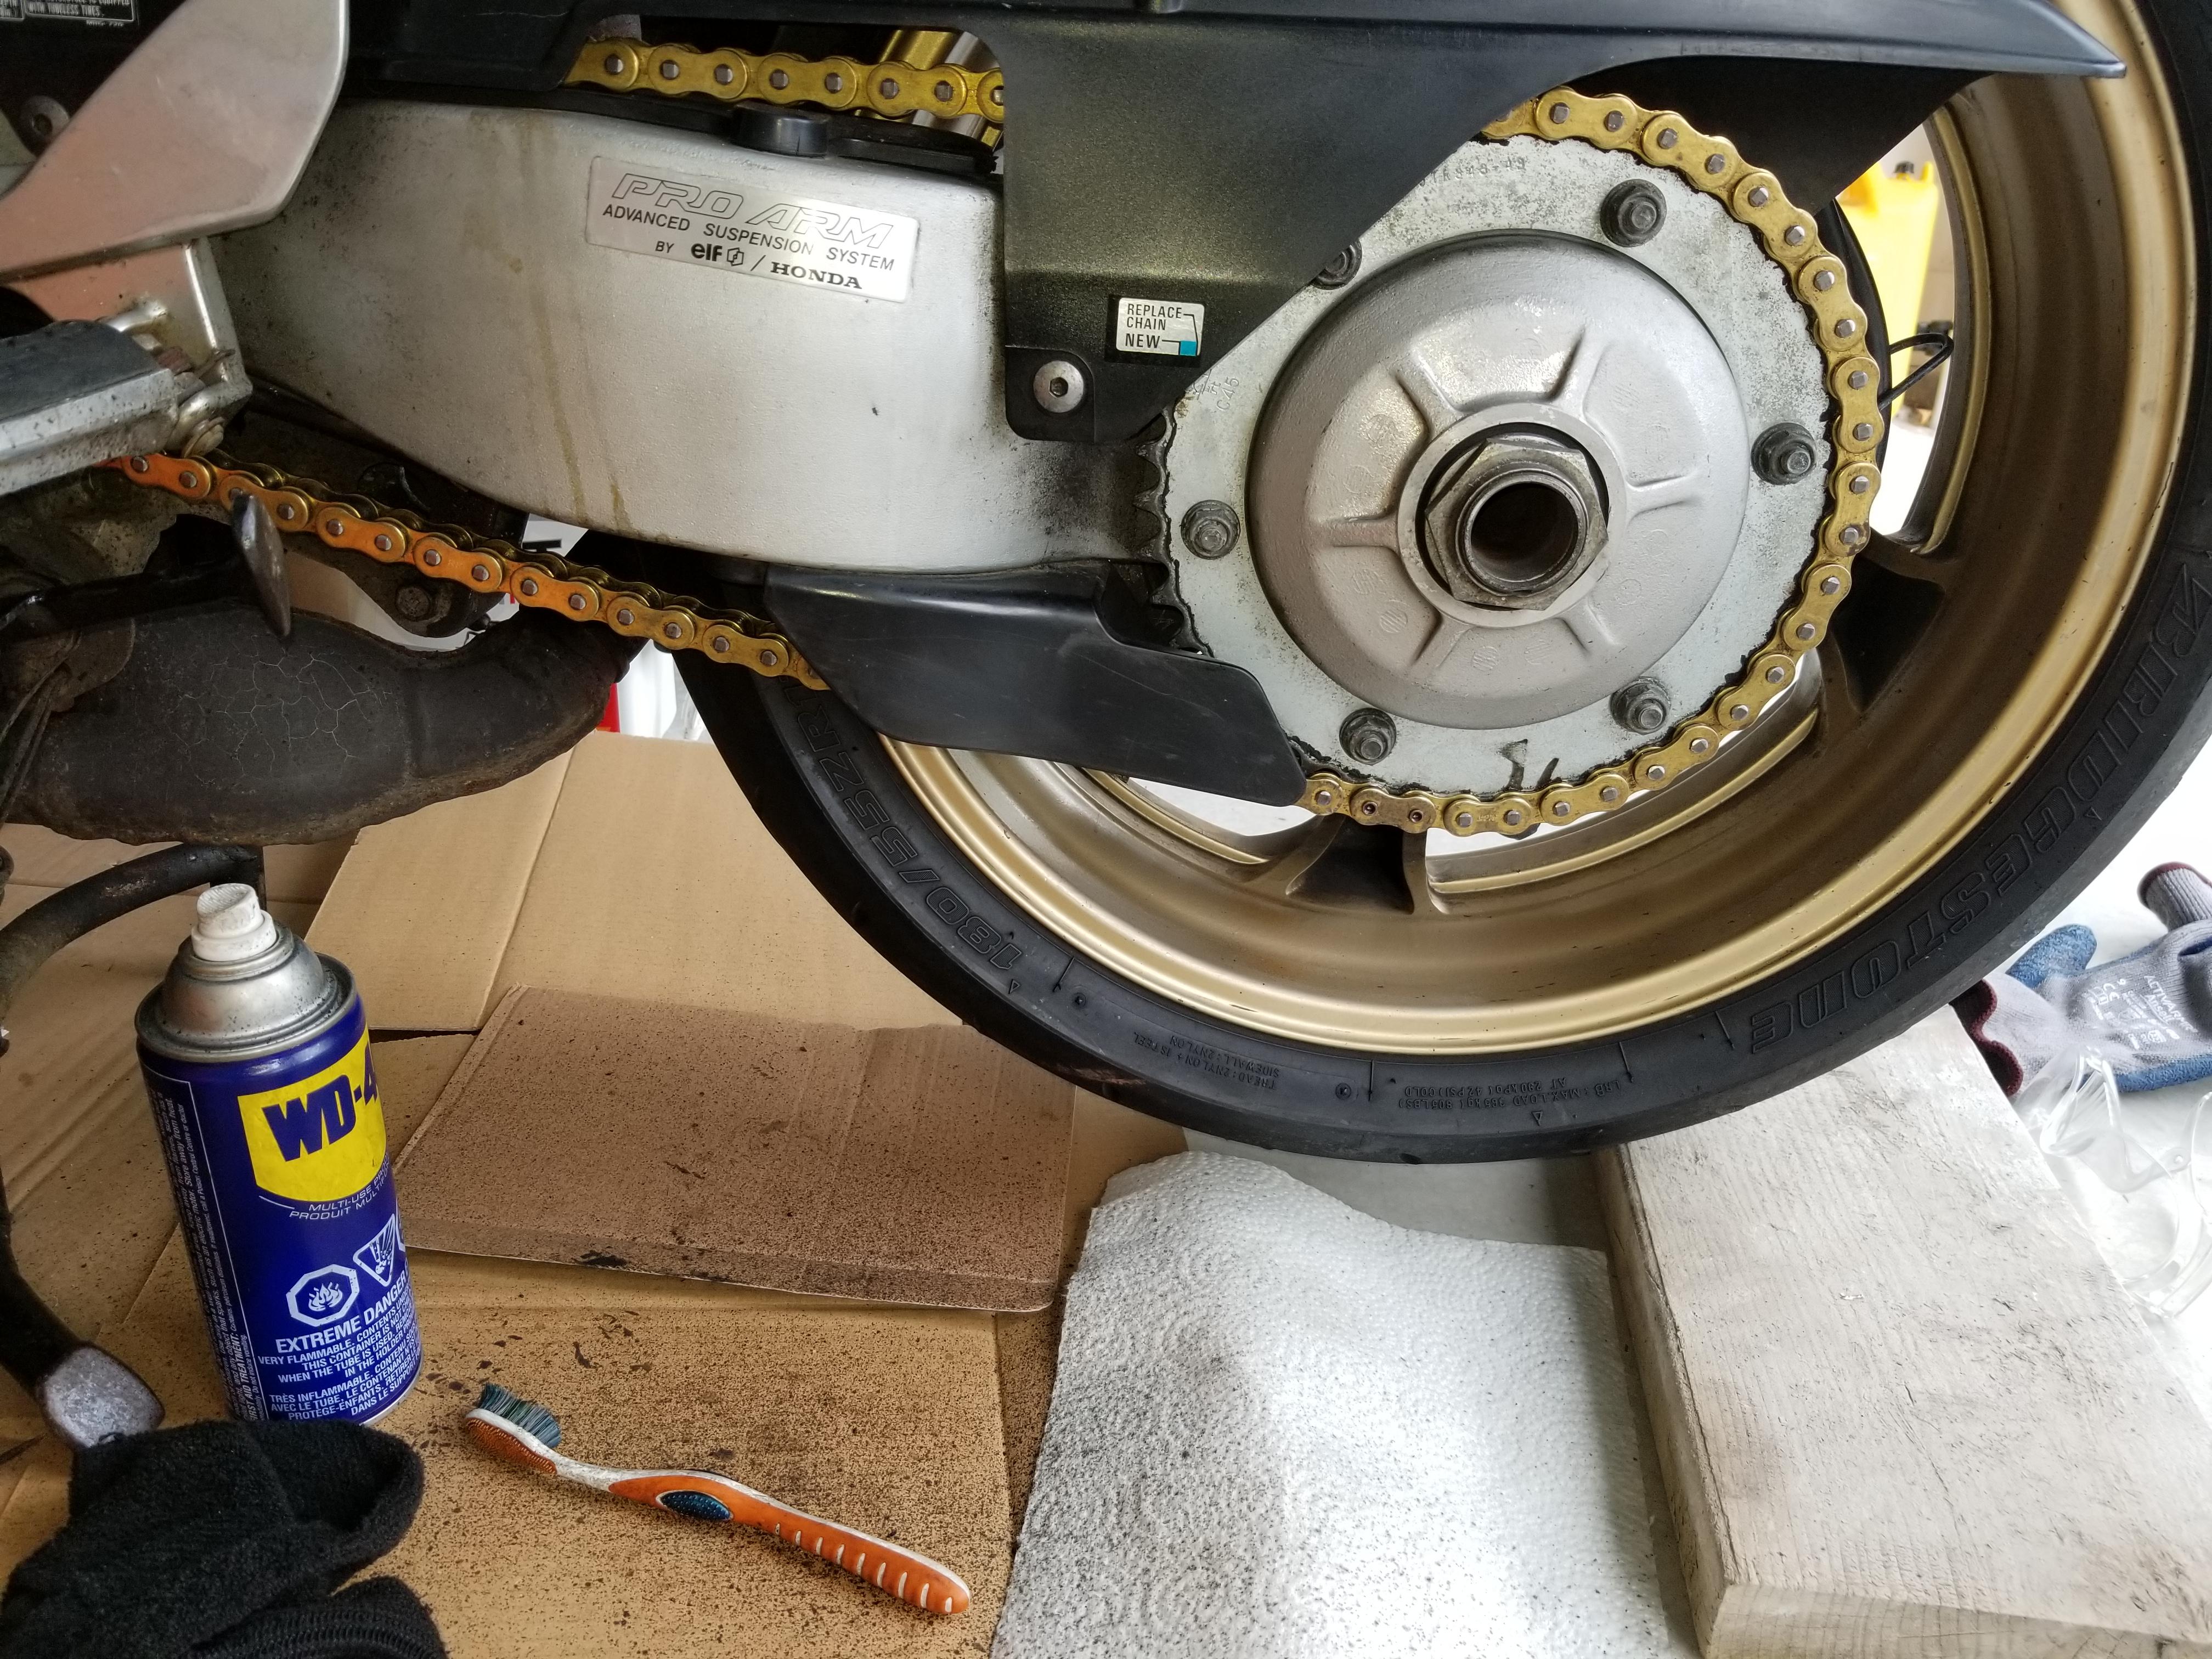
Back at it... not much has happened since summer; busy with work and life. Spent some time cleaning up the chain a few months back; it looks to be in good shape along with the sprockets.
-
Hello! User'd up for an advice request.
rhoderage replied to twistednoble's topic in Official Welcome Forum
Since you are in there, and the front CCT's seem to last 20-50k km, why not throw in a new one and have no concerns for a few years or more? I listened to mine chatter over a couple of summers and finally took the plunge... aside from the bolt head which sheared off - which told me the PO had already changed it once, and he was a goof in general with the work he did on the bike - it was a straightforward process. I didn't remove the TB's or much of anything, had to disconnect a coolant hose and tie it back but all in all it was simple. I did drill out the oil port in the gasket in hopes it will help the new CCT last even longer... I don't think there are solid results to say either way here, but as noted there is little risk of harm from doing it and perhaps it will help in the long run. Winding the spring is iffy, and at best buys you some time... if you swap for new then at least you know what you are dealing with. Mine is an '02 and my rear CCT is still silent so I will continue to hold off on that until necessary... -
I'm at about 10k km or 6k mi...so far so good
-
Agree, i went -1+2 on a 520 setup on my 6g and its a noticeable difference. Chain was due anyway so it was a necessary replacement item... sprocketcenter pricing was fair and shipping was reasonable to Canadia