Leaderboard


Popular Content
Showing content with the highest reputation on 02/22/2024 in all areas
-
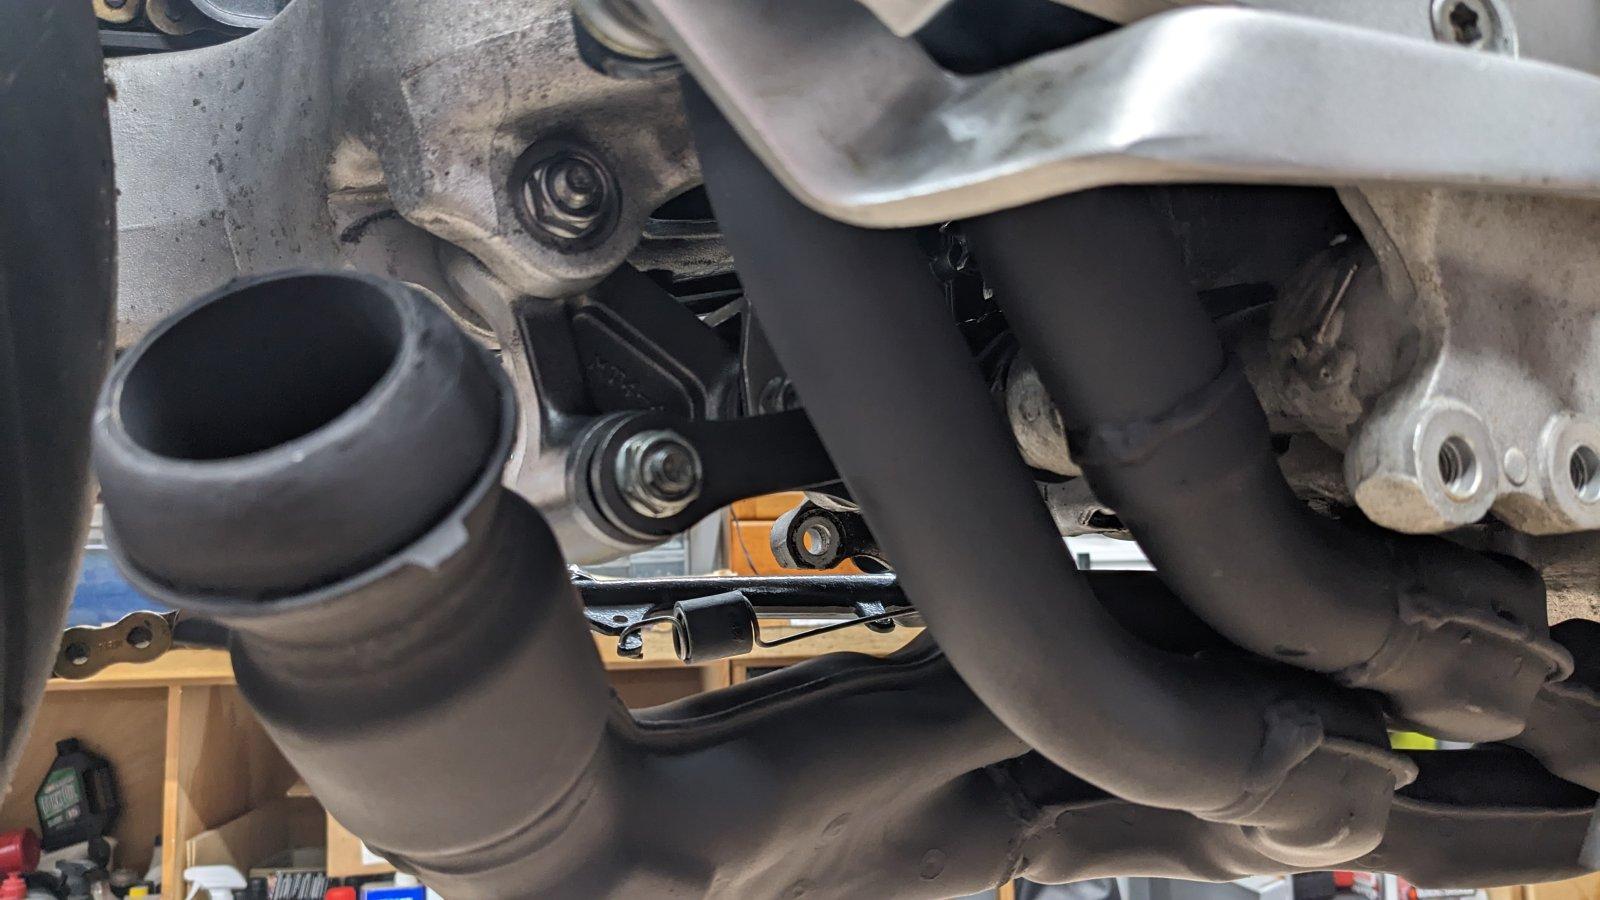
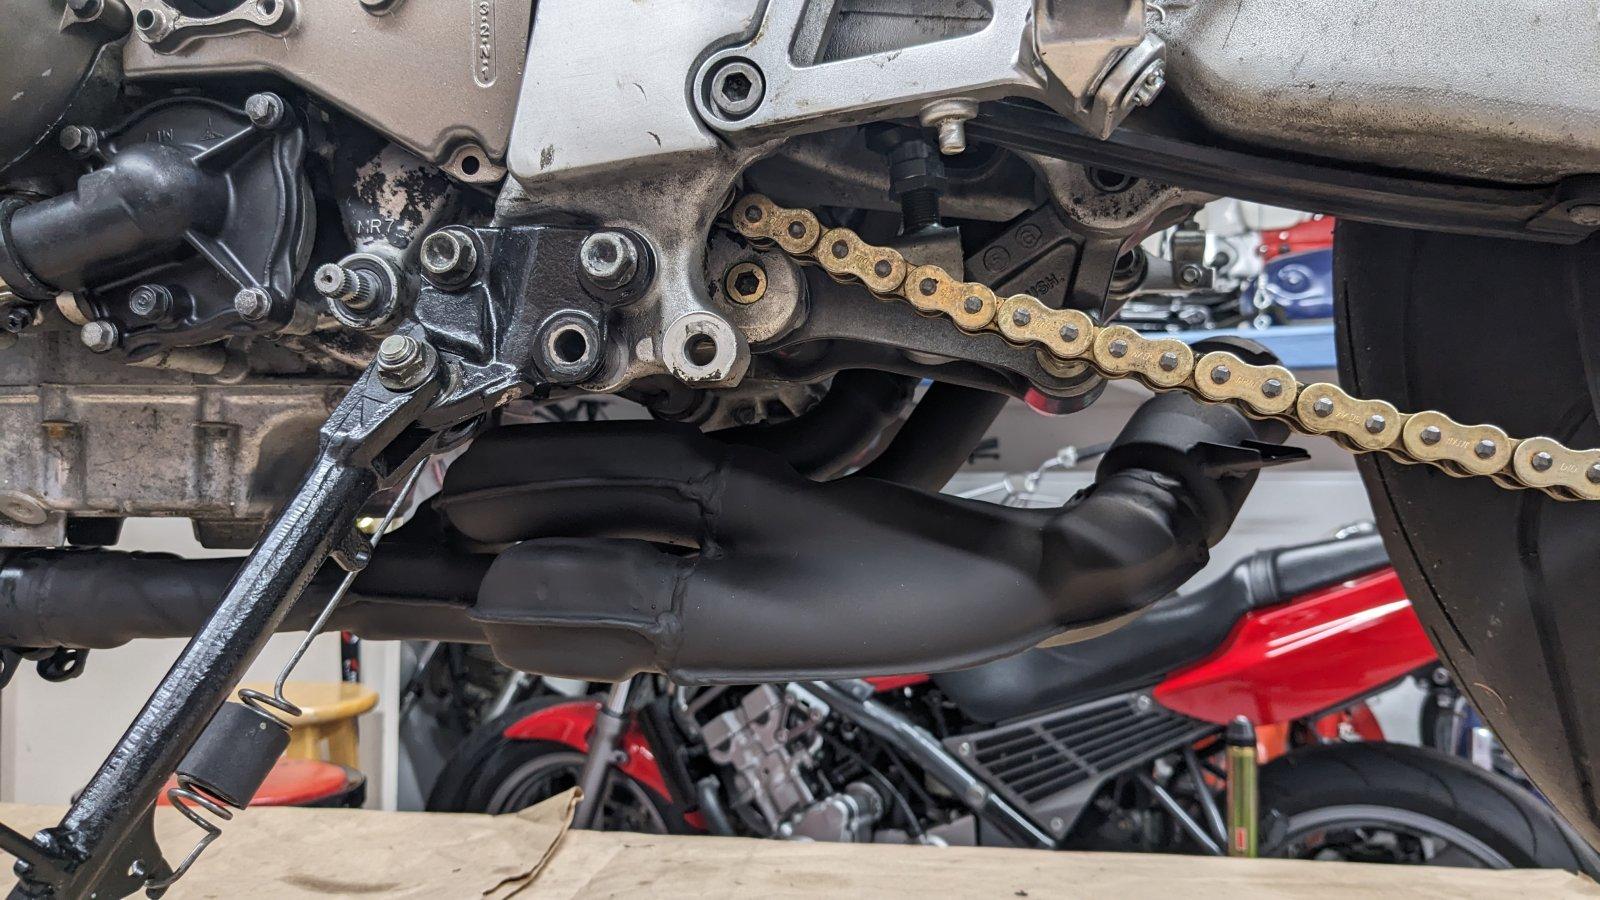
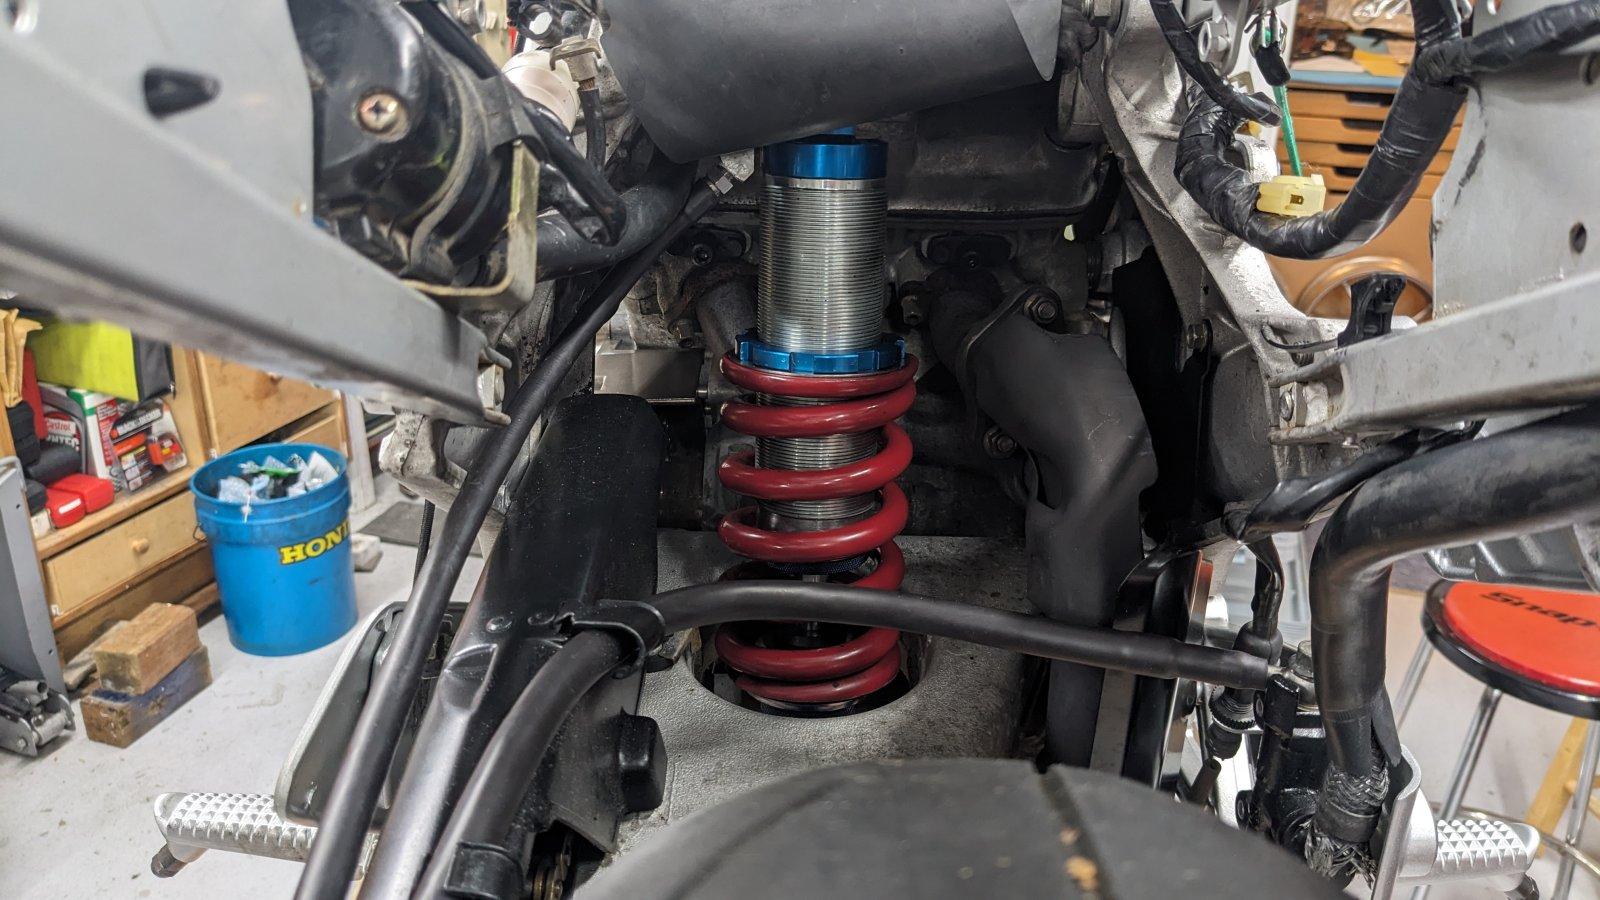
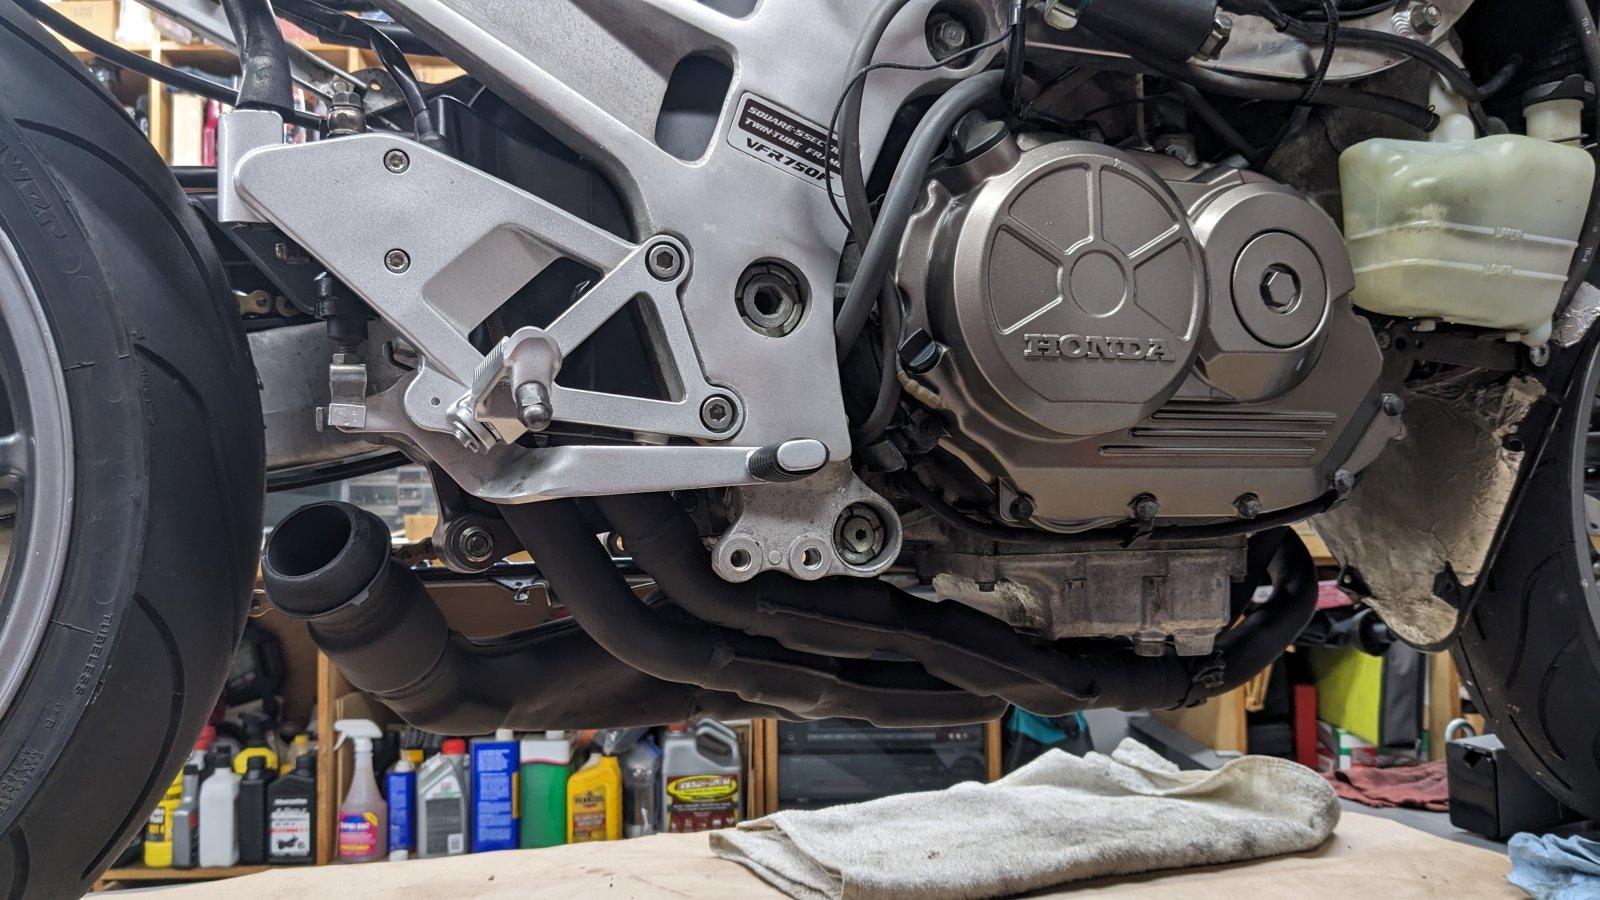
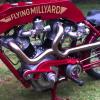
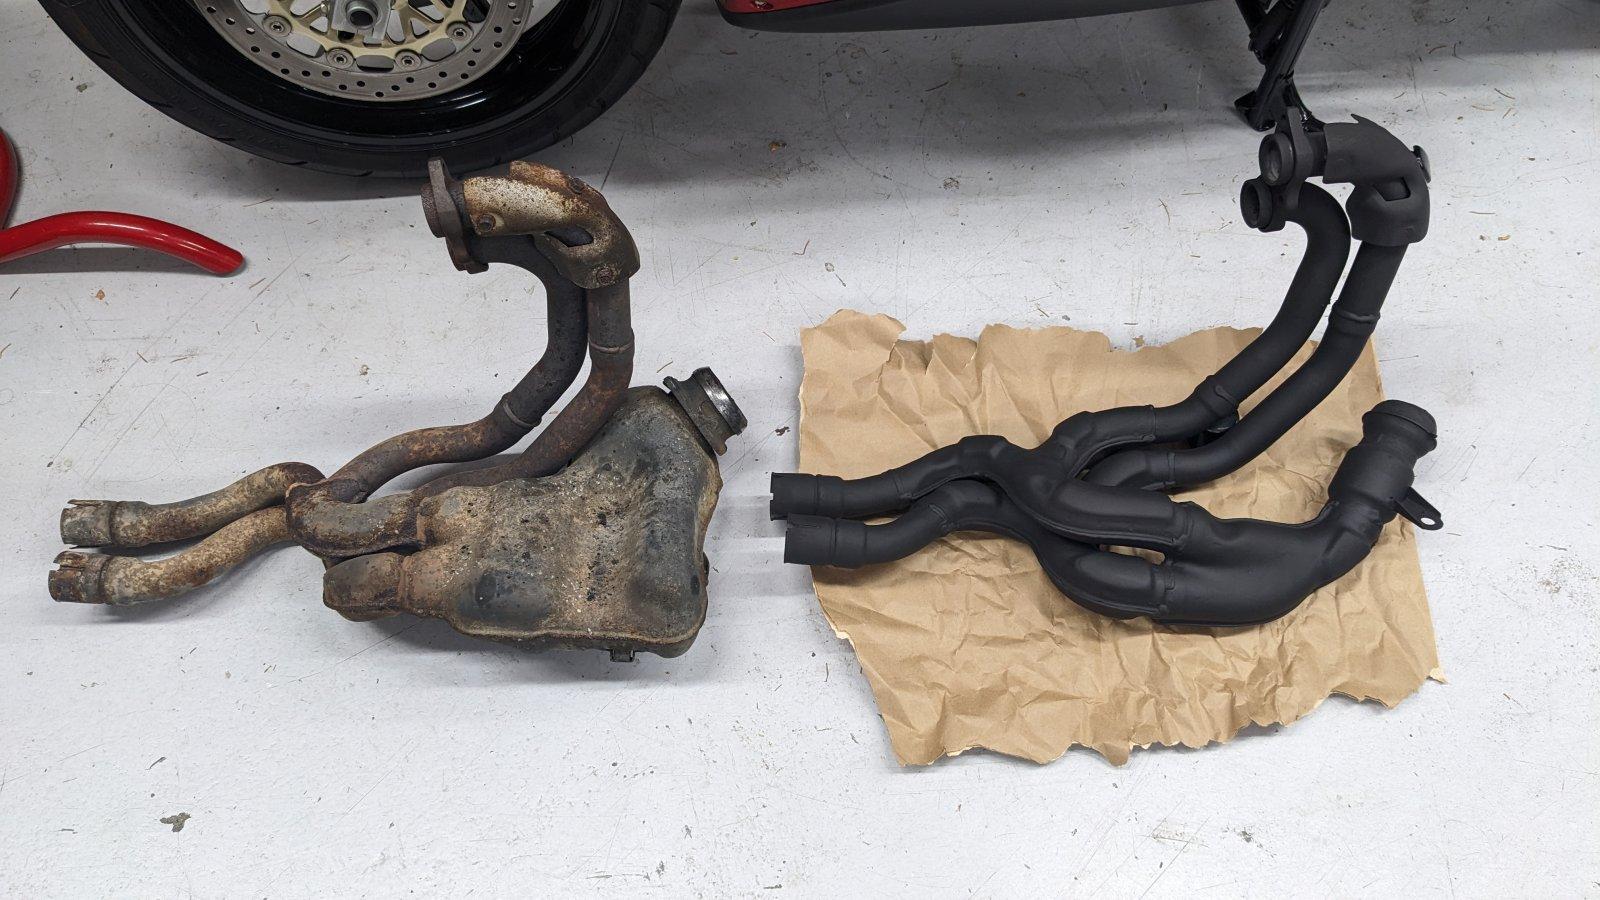
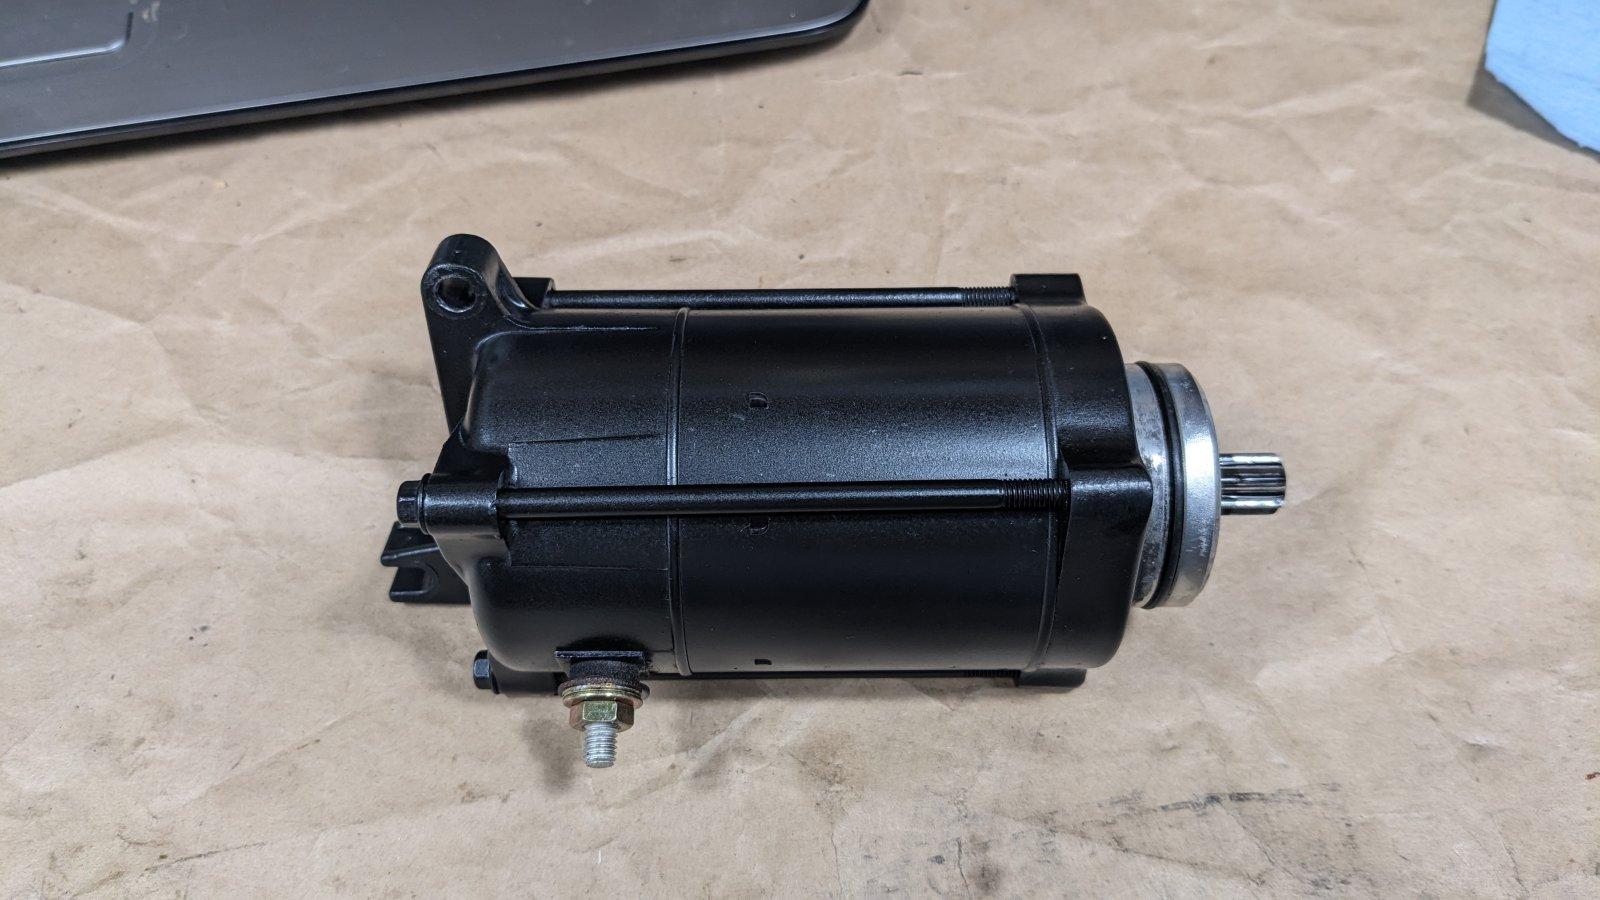
Exhaust system, fresh linkage, rebuilt Fox installed. Disassembled the clutch, scuffed and cleaned the metals, installed new EBC springs. Installed the serviced starter motor.
 3 points
 -
Ricks's has stator cover gaskets. They're $13. I'm running one on my '98 with a Rick's stator. https://ricksmotorsportelectrics.com/Honda-Stator-Cover-Gasket-25_1093 points
-
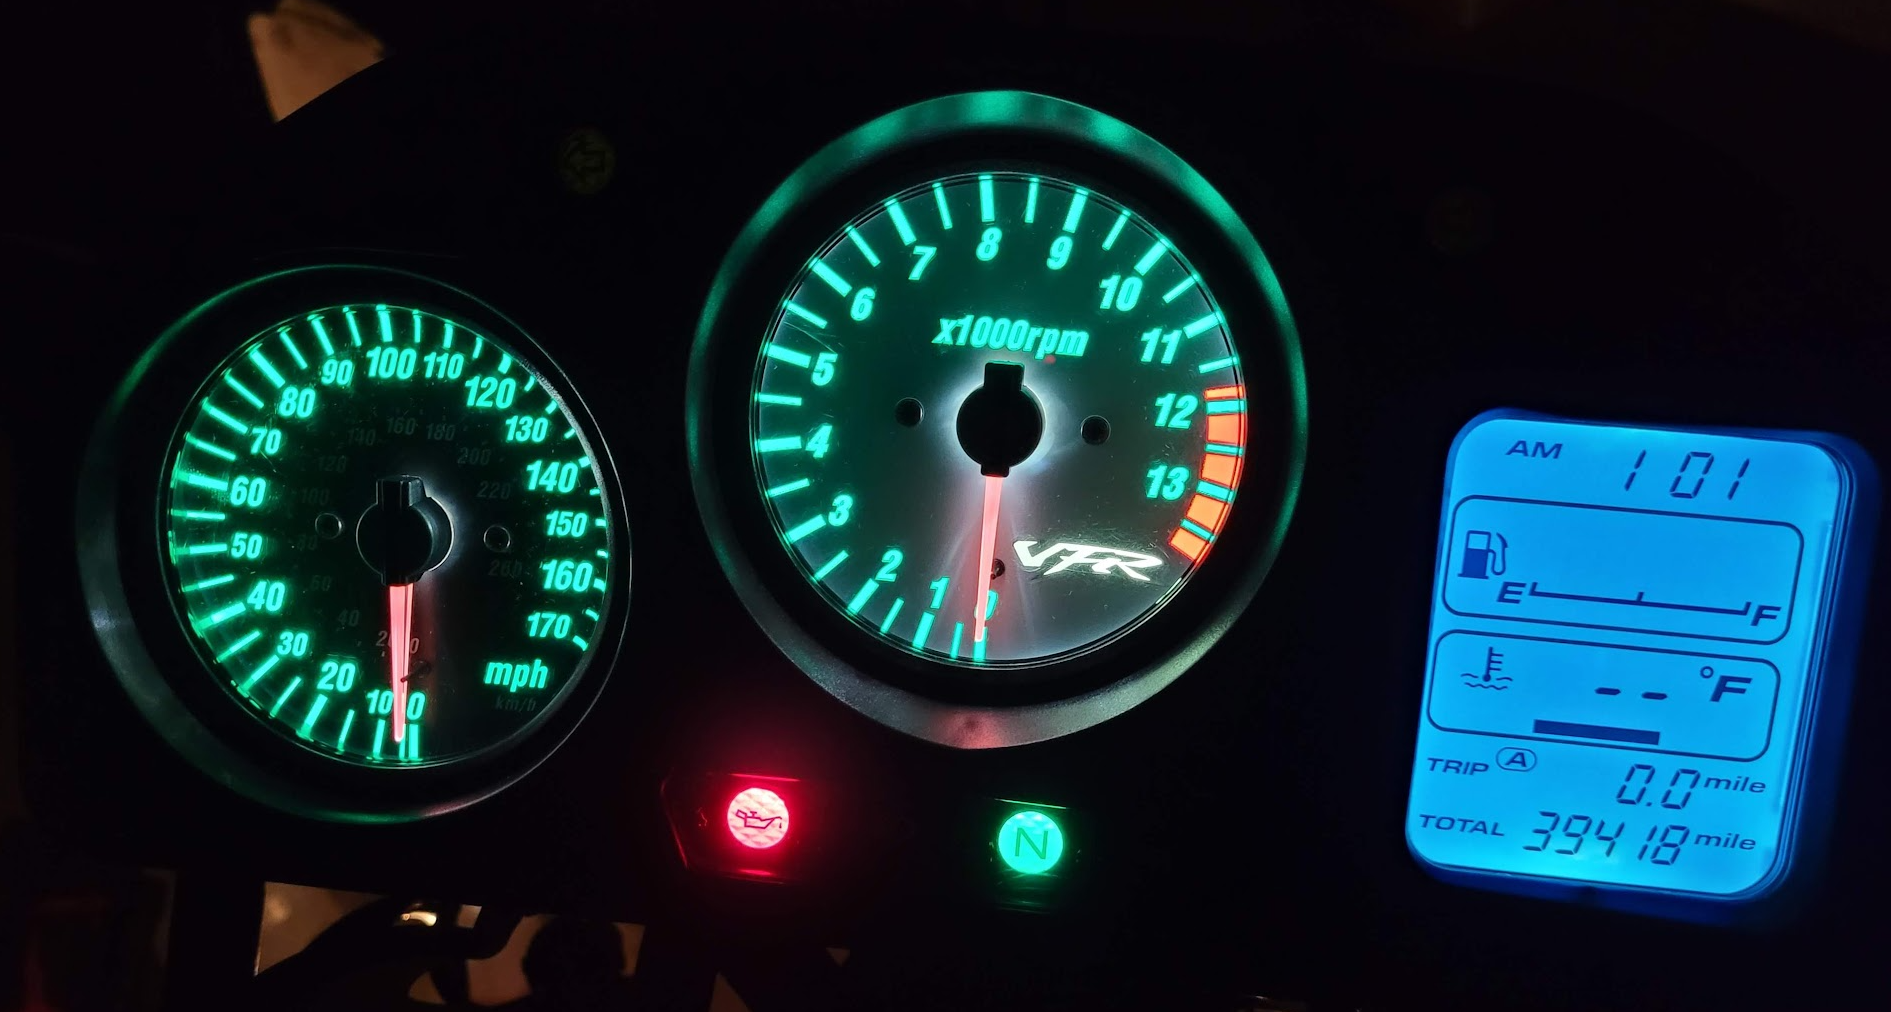
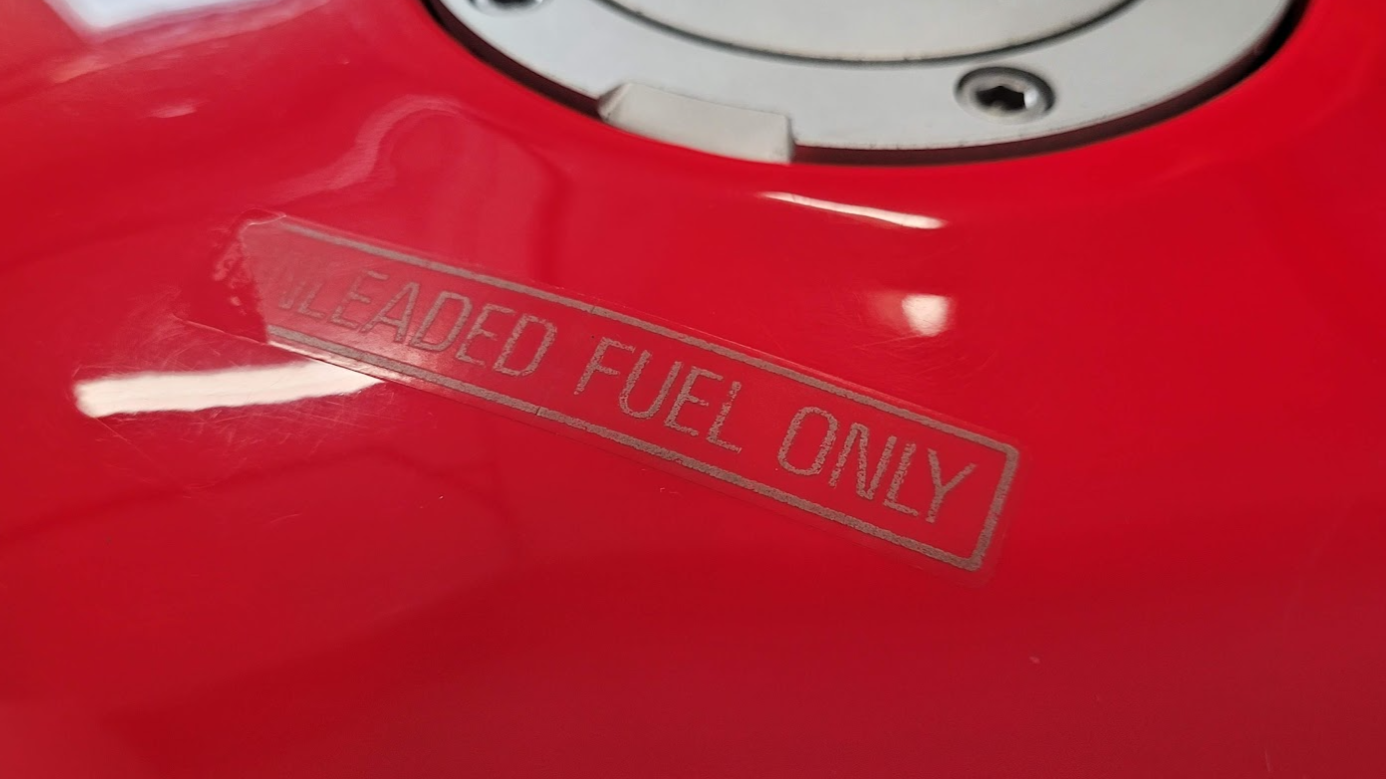
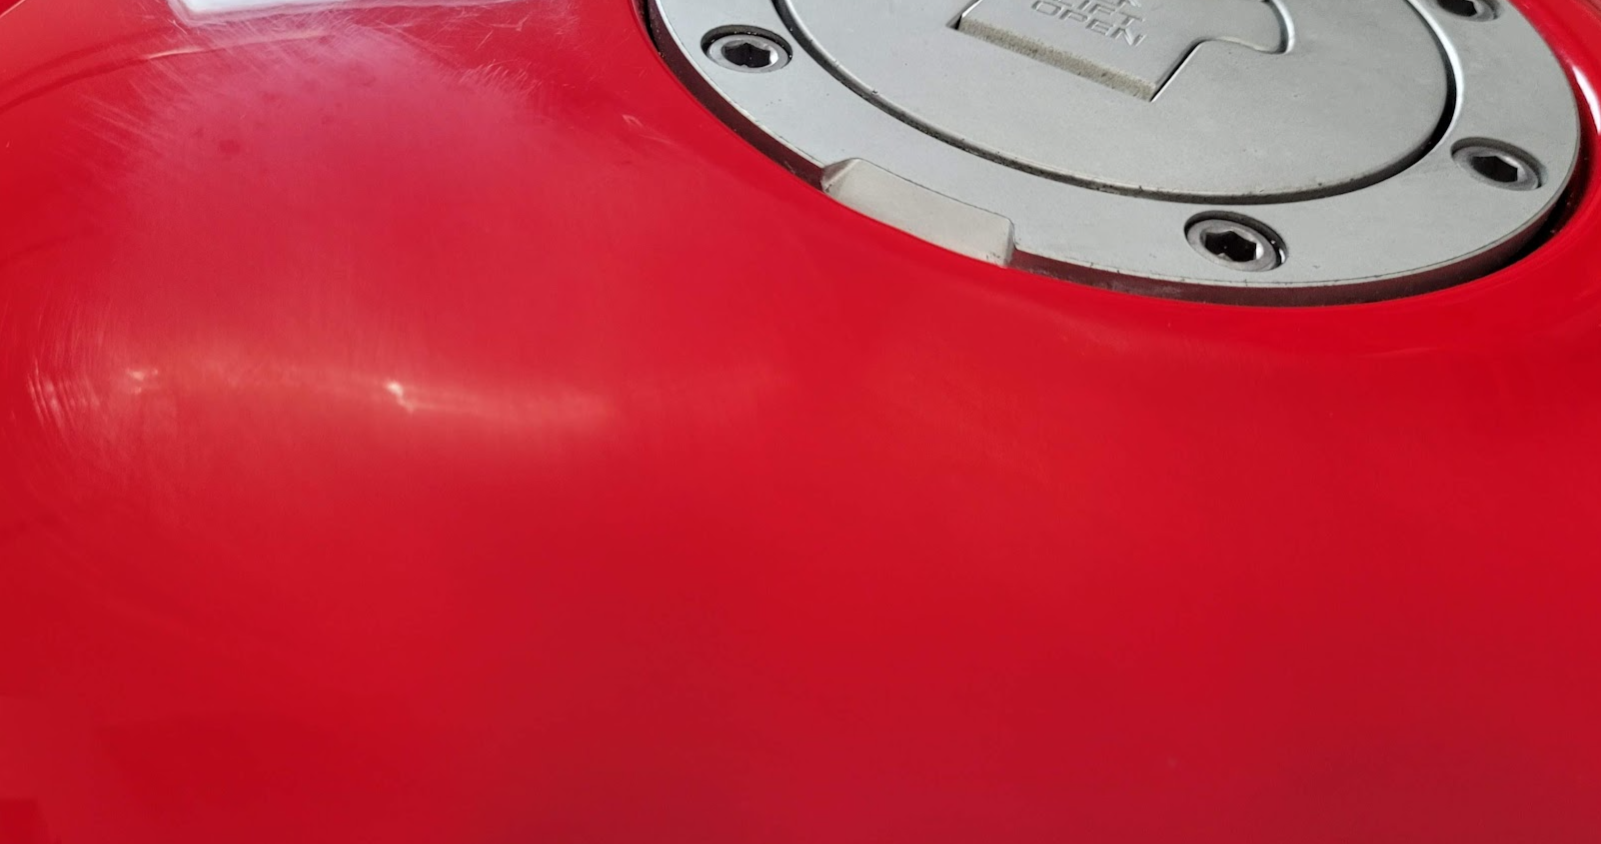
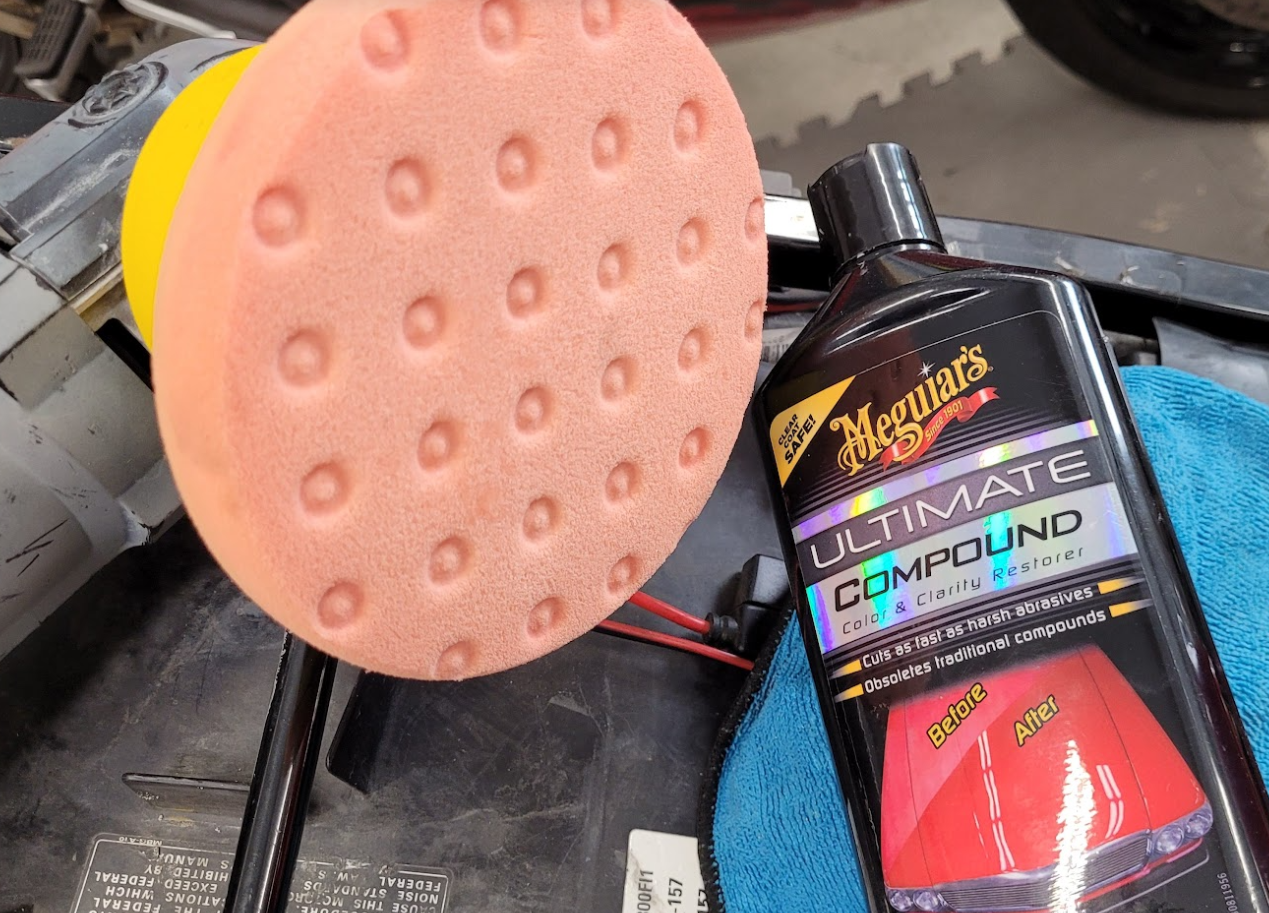
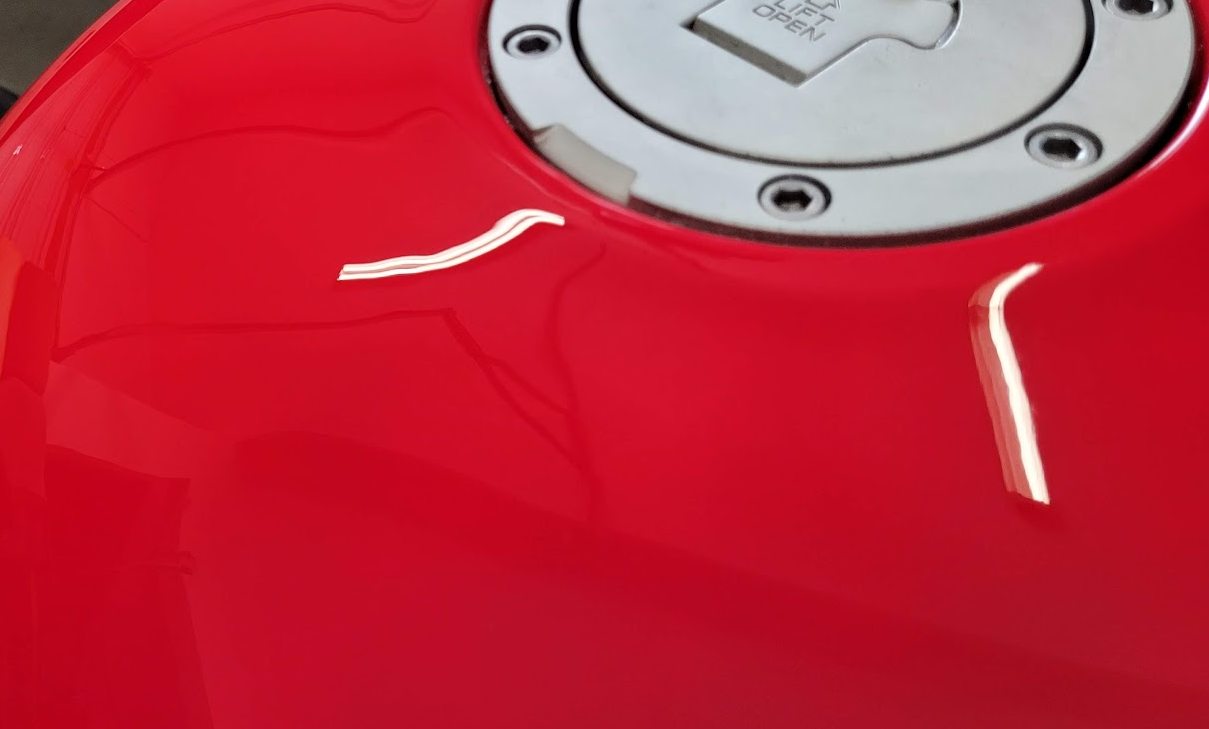
LEDs are such a cheap, easy and effective mod. Highly recommended. You only need 5 for the backlights in the cluster. https://www.amazon.com/gp/product/B08229N2Y5/ref=ppx_yo_dt_b_search_asin_title?ie=UTF8&psc=1 Did a test spot with the polisher. I first used a rubber wheel on a drill to remove this old decal, then lightly hit the area with 2000 grit wet sand, followed by an initial pass of Ultimate Compound on an orange pad. Turned out nice. Before polishing: After:
3 points
-
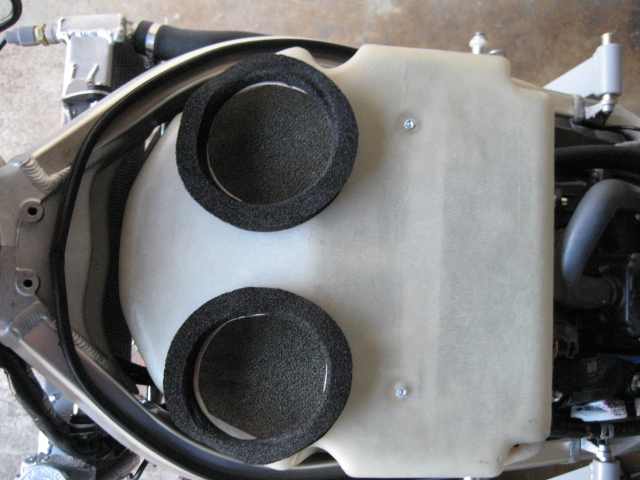
Understanding how an air box works and the reasons why a stock box is a safer bet... If you have ever had the gas tank off your late-model sportbike, you will notice that the front of the fuel tank doesn’t hold fuel; it holds an airbox. In the old days, when you bought a new bike, it had an air-filter case attached to feed the carburetors or the fuel-injection intakes. All the sharp, young guys would immediately rip off the filter case and replace it with four sock filters. Reduced airflow resistance. Much better performance. One day in the late 1980s, they began to rip off the airboxes of their new bikes and their engines fell on their faces. They lost a bunch of performance. “This can’t be happening! Putting on sock filters always worked before.” But it turns out the industry found a way to boost performance by making what is known as a resonant airbox. We have all in an idle moment blown across the mouth of a beer bottle and heard the "whoooo" of the bottle resonance. As air goes across the mouth of the bottle, it creates a low pressure, which causes air to flow up. That deflects the air away from the mouth of the bottle. Then the air goes back in, the airflow from your mouth goes back across, and the cycle repeats, rapidly fluttering and producing that deep tone. The compressible air in the bottle is acting as a spring, and the slug of air in the neck of the bottle is the mass that vibrates against that spring. This intake airbox from a fuel injected Honda is just a glorified beer bottle. Instead of the engine blowing across the mouth of it, its four throttle bodies are sucking from the box, pulling its pressure down. Air rushes in through the ducts in the fairing to fill up that low pressure. The next cylinder sucks the bottle pressure down and more air rushes in and restores the pressure. If the volume of the box and the mass of the air in the intake pipes are correctly chosen, the box will hum like the beer bottle. The trick is to get your engine to draw air from the box when the pressure is up and then the box refills when the pressure is down. And that is why ripping the airboxes off and putting on old-time sock filters resulted in a reduction in performance. In a specific zone of rpm, a resonant airbox can boost your engine’s torque by 10 percent. That’s worth having! My friend Stephen called long distance from England because he just installed a $900.00 HRC air box on his RC45 and saw 120HP on the dyno... mmmmm... together we wondered if the stock box be modified??? We found that stock RC45 throttle bodies are 46mm but the air box was restricted to 40mm... no problem... I'll bore the air box out to 47mm on the milling machine... I drew up plans for 47mm bell mouth based on the stock 40mm bell mouths and purchased a block of black Delrin... I'm not happy doing repetitious work but I labored long hours to machine 4 each bell mouths with my best accuracy... Don't you love when a plan comes together especially if it turns out perfect??? Now I had an unrestricted air box with my own 47mm bell mouths... it was the best I could do to replicate HRC $900.00 air box... not to mention I wanted to keep my home made K&N filter... Time to put the Mod to the test on the dyno... this is Dave at Chandelle Motorsports... No joy... I lost 1.8HP on the dyno... so bigger is not better in this case... a whole week worth of work shot down in flames... it seems Honda got the intake velocity right for a stock pipe after all... air boxes are like tuned instruments... alter the holes and the tune just makes sour notes and power suffers... Mr.RC45 fueling is not the problem... my air box will remain stock because our air box works like a finely tuned instrument... any wild ass guess mod disrupts this highly engineered resonant to where to you're producing nothing but sour notes... The airbox inlet tubes, or “horns”, are specifically designed to provide a resonance that can increase the total airflow by up to 10-15%. Second guessing these can cause the engine to loose power and increase the intake noise as in my case... RC45's stock intake horns are there for homologation purposes only and do not directly feed into the airbox only the HRC intakes feed ram air into the airbox...
1 point
-
I bought from this place: https://www.ebay.com/itm/201413374648 Seems to work fine, lots of options on eBay too.1 point
-
Good job I machine polish paint cars and bikes.. A good wash may be sufficient for some, a good wax when required.1 point
-
In a word ……No1 point
-
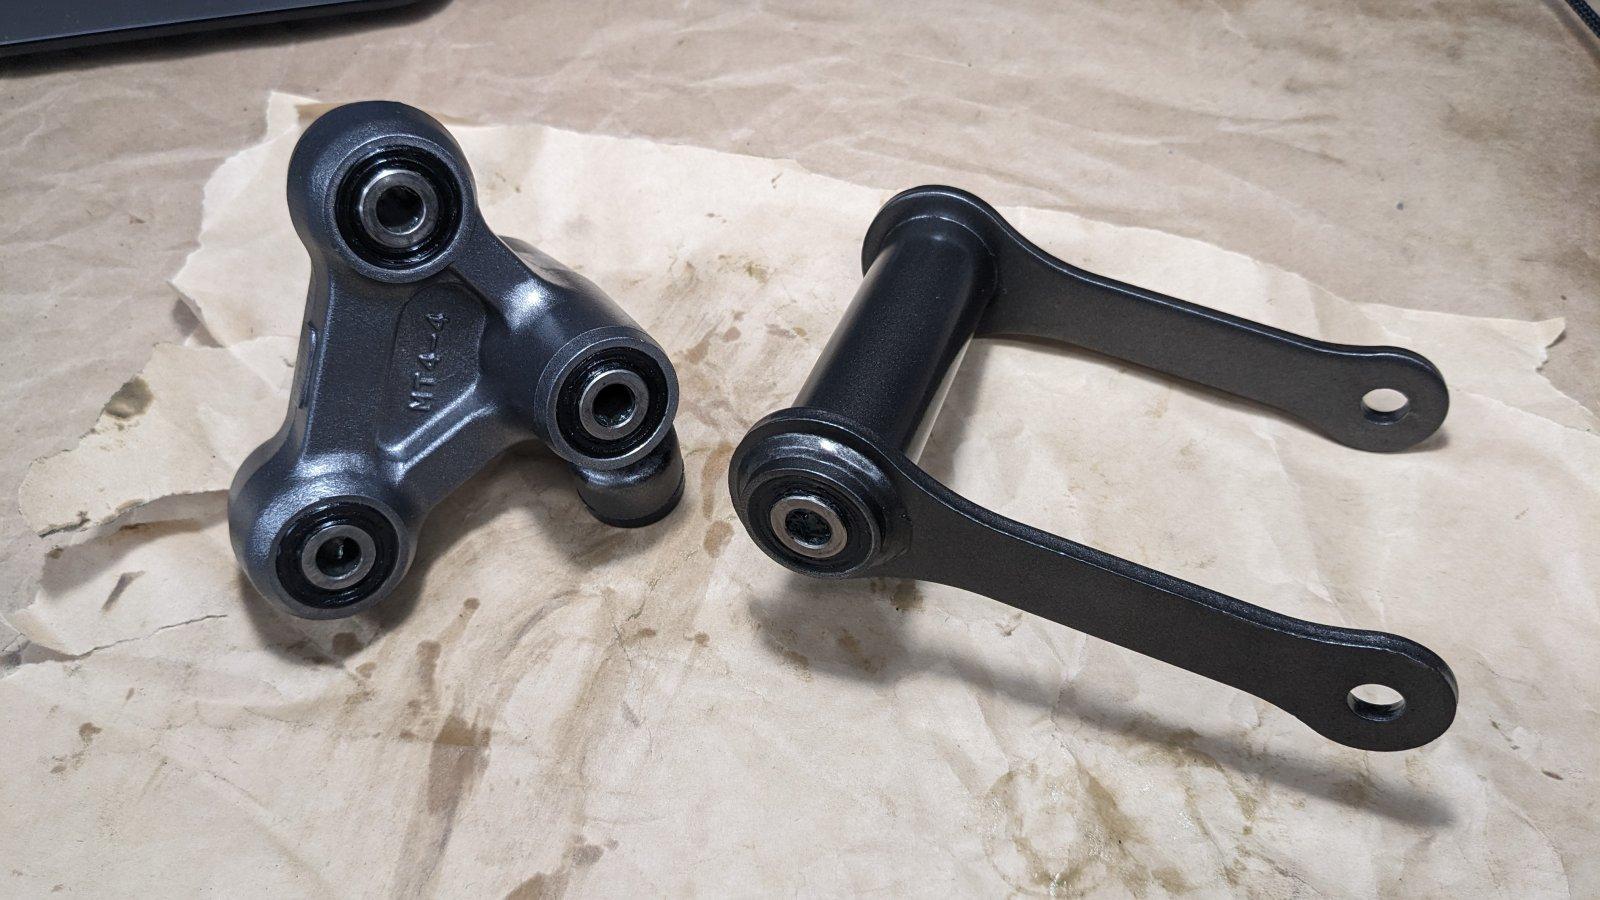
Goodbye 1992 collector (14 lbs), hello 1997 4-2-1 (9 lbs). Linkage cleaned, painted, repacked for the rebuilt Fox TC. Crankcase covers sandblasted, Bronze base, Dark Bronze Mist Metallic color coats, 2 coats gloss clear. Sprocket cover was also done. Starter disassembled, cleaned, brushes dressed (plenty left), coat of satin black.
1 point
-
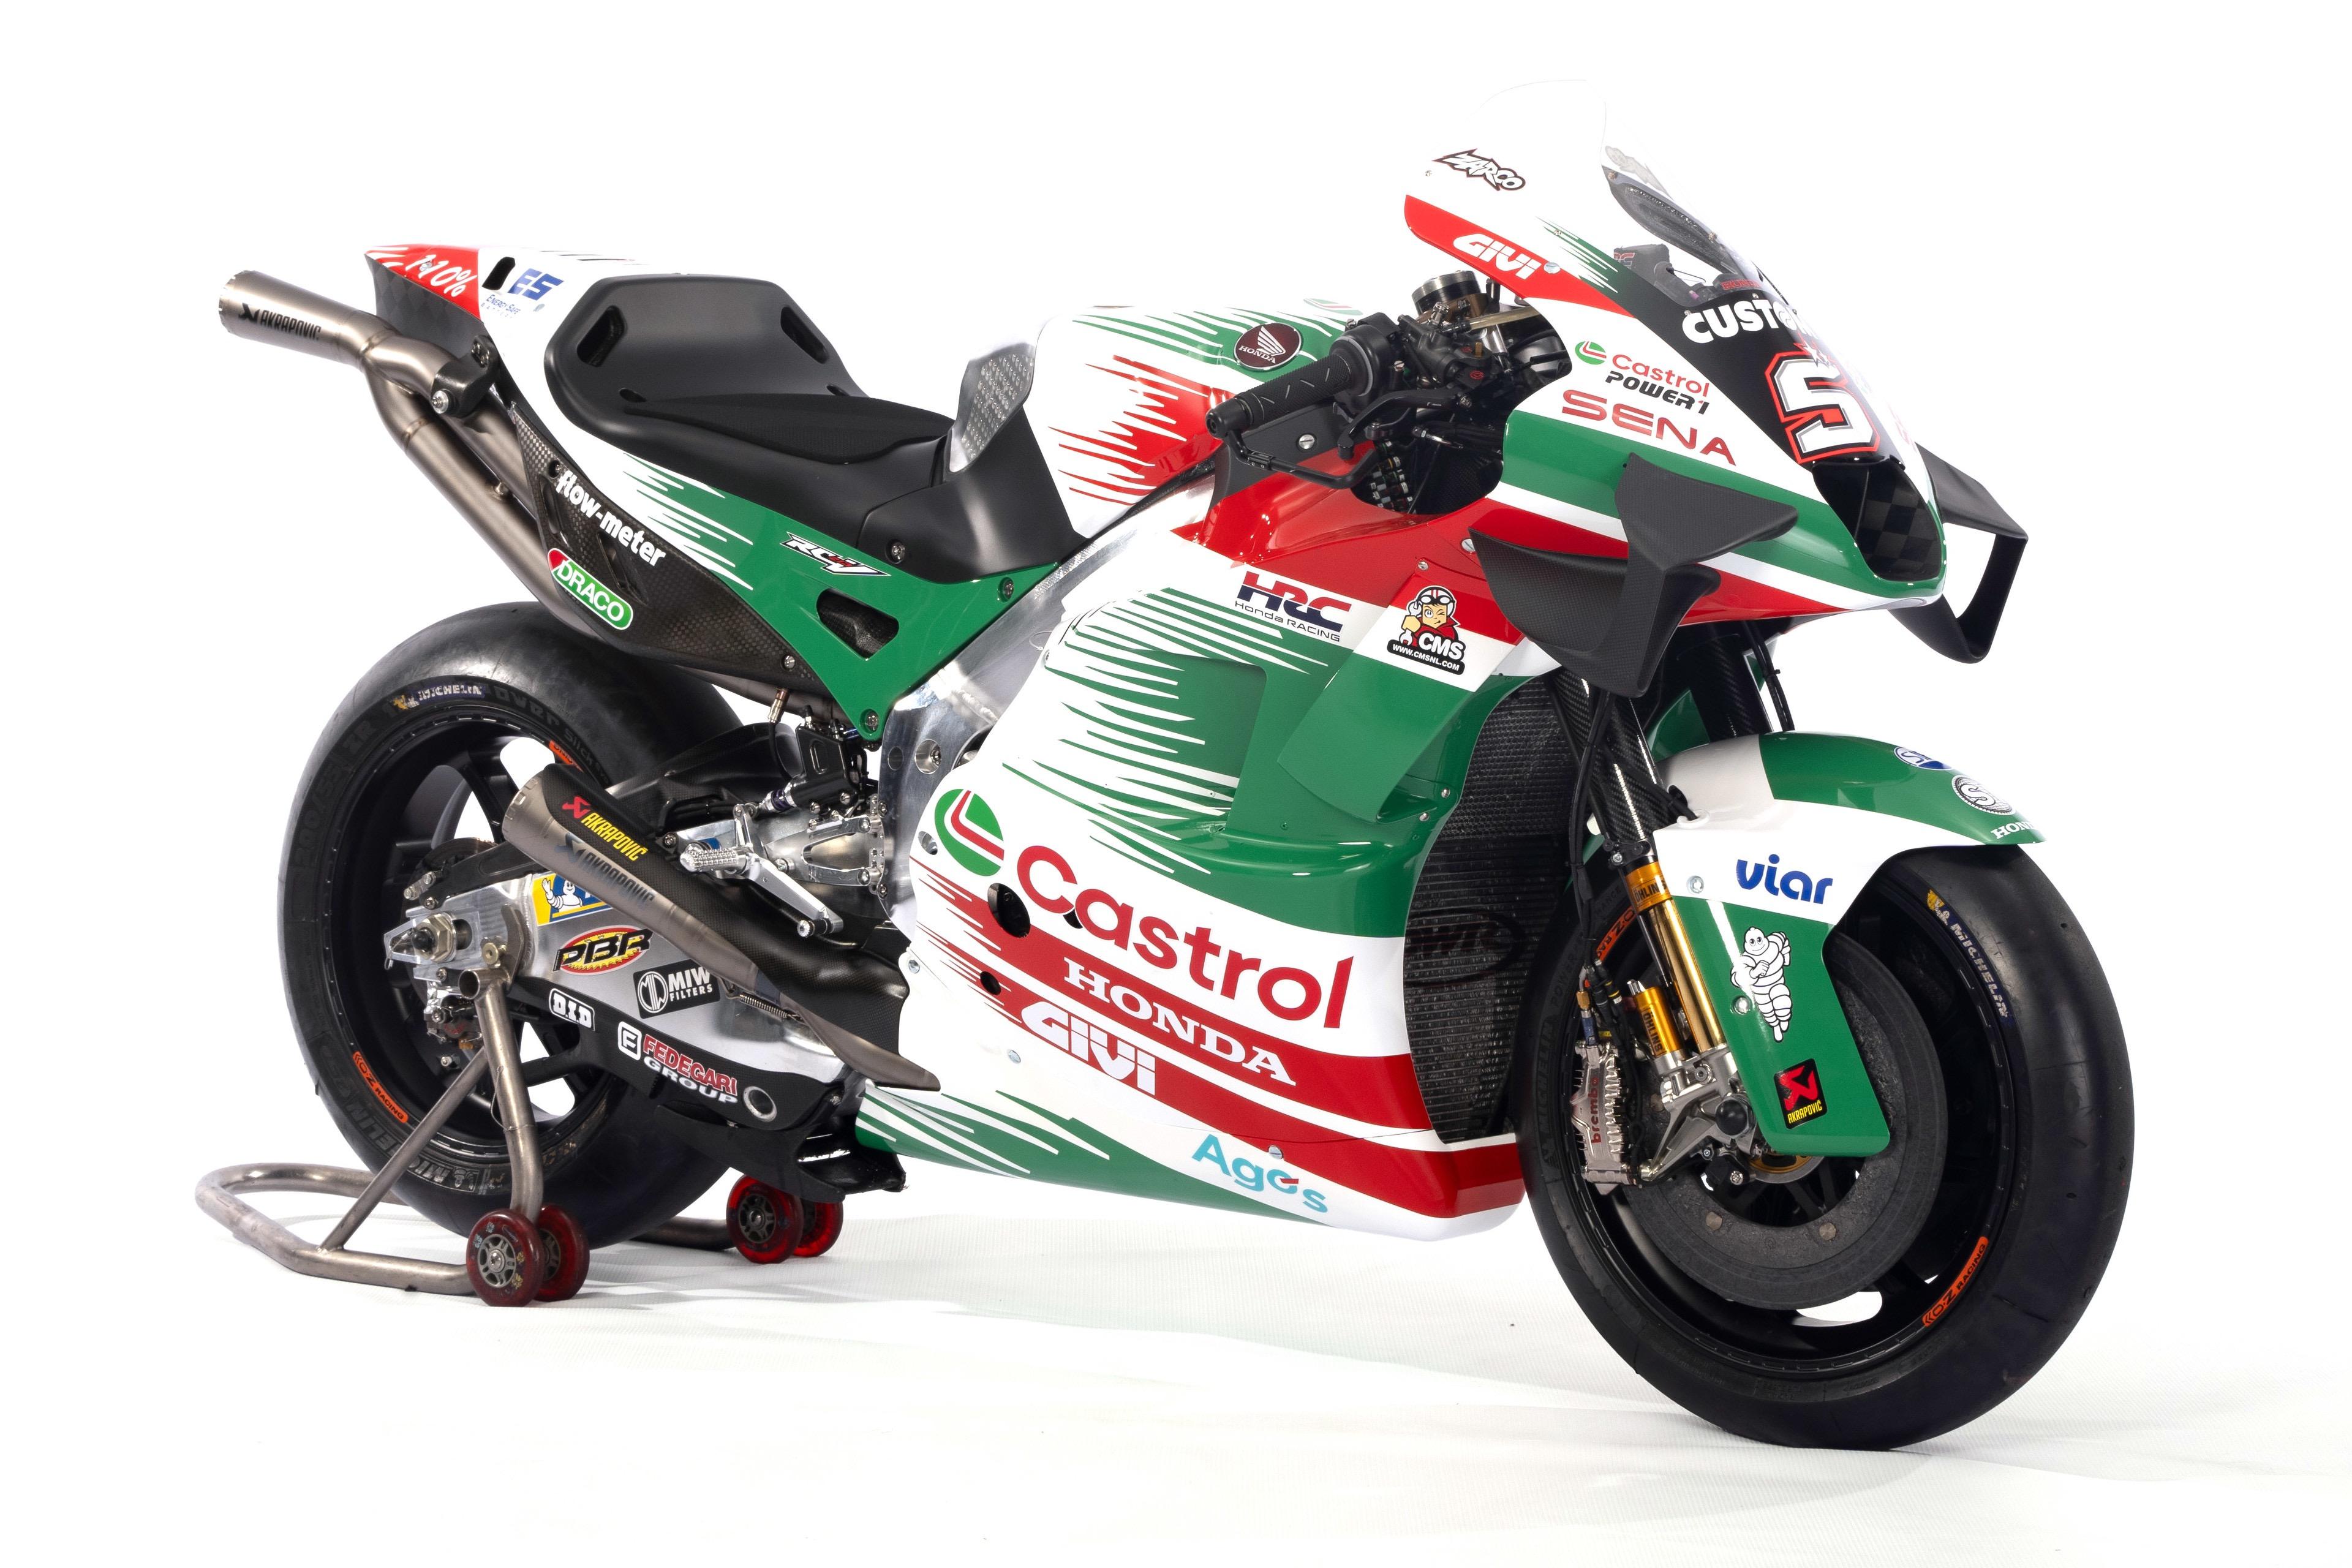
Yeah, "Powersports" is the word for many motorcycle dealers now, particularly the non-cruiser ones. But hey, Honda still creates some cool bikes! Johann Zarco's LCR Honda bike was just revealed, and as an RC-51 rider I just love the livery. (apologies for the hijack)
1 point
-
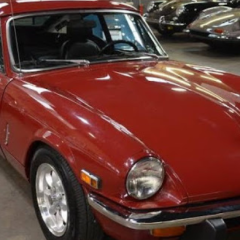
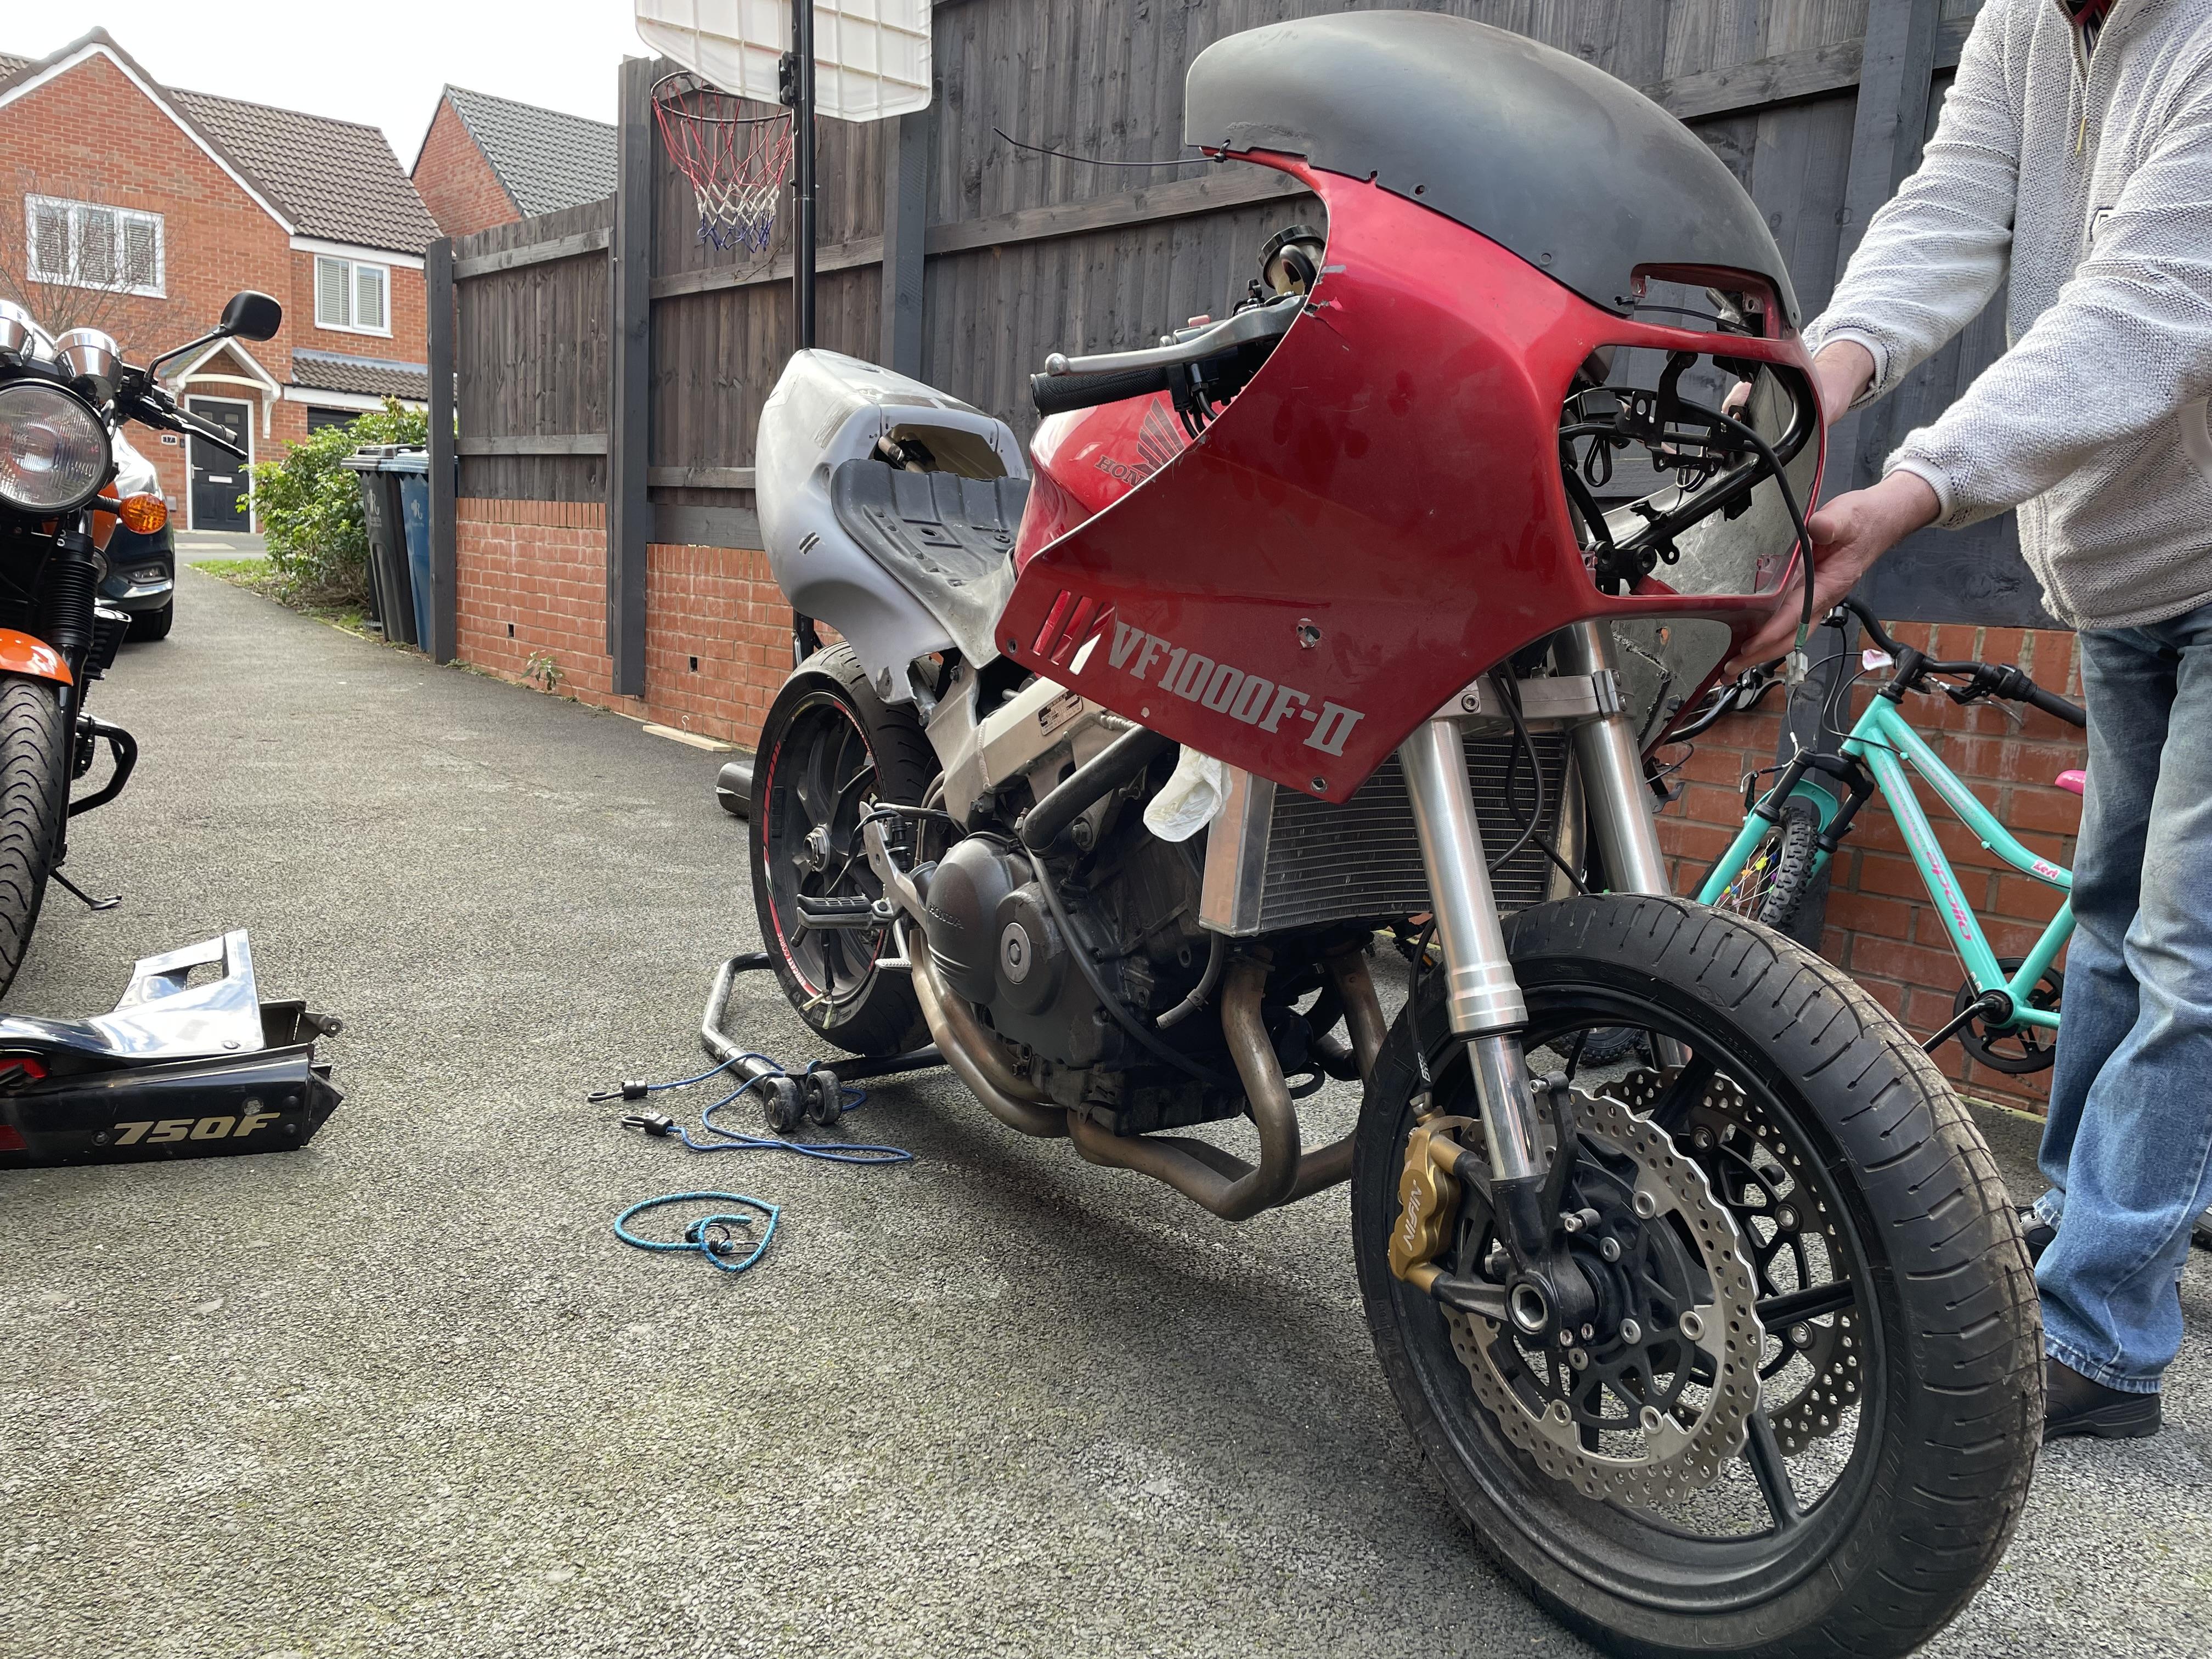
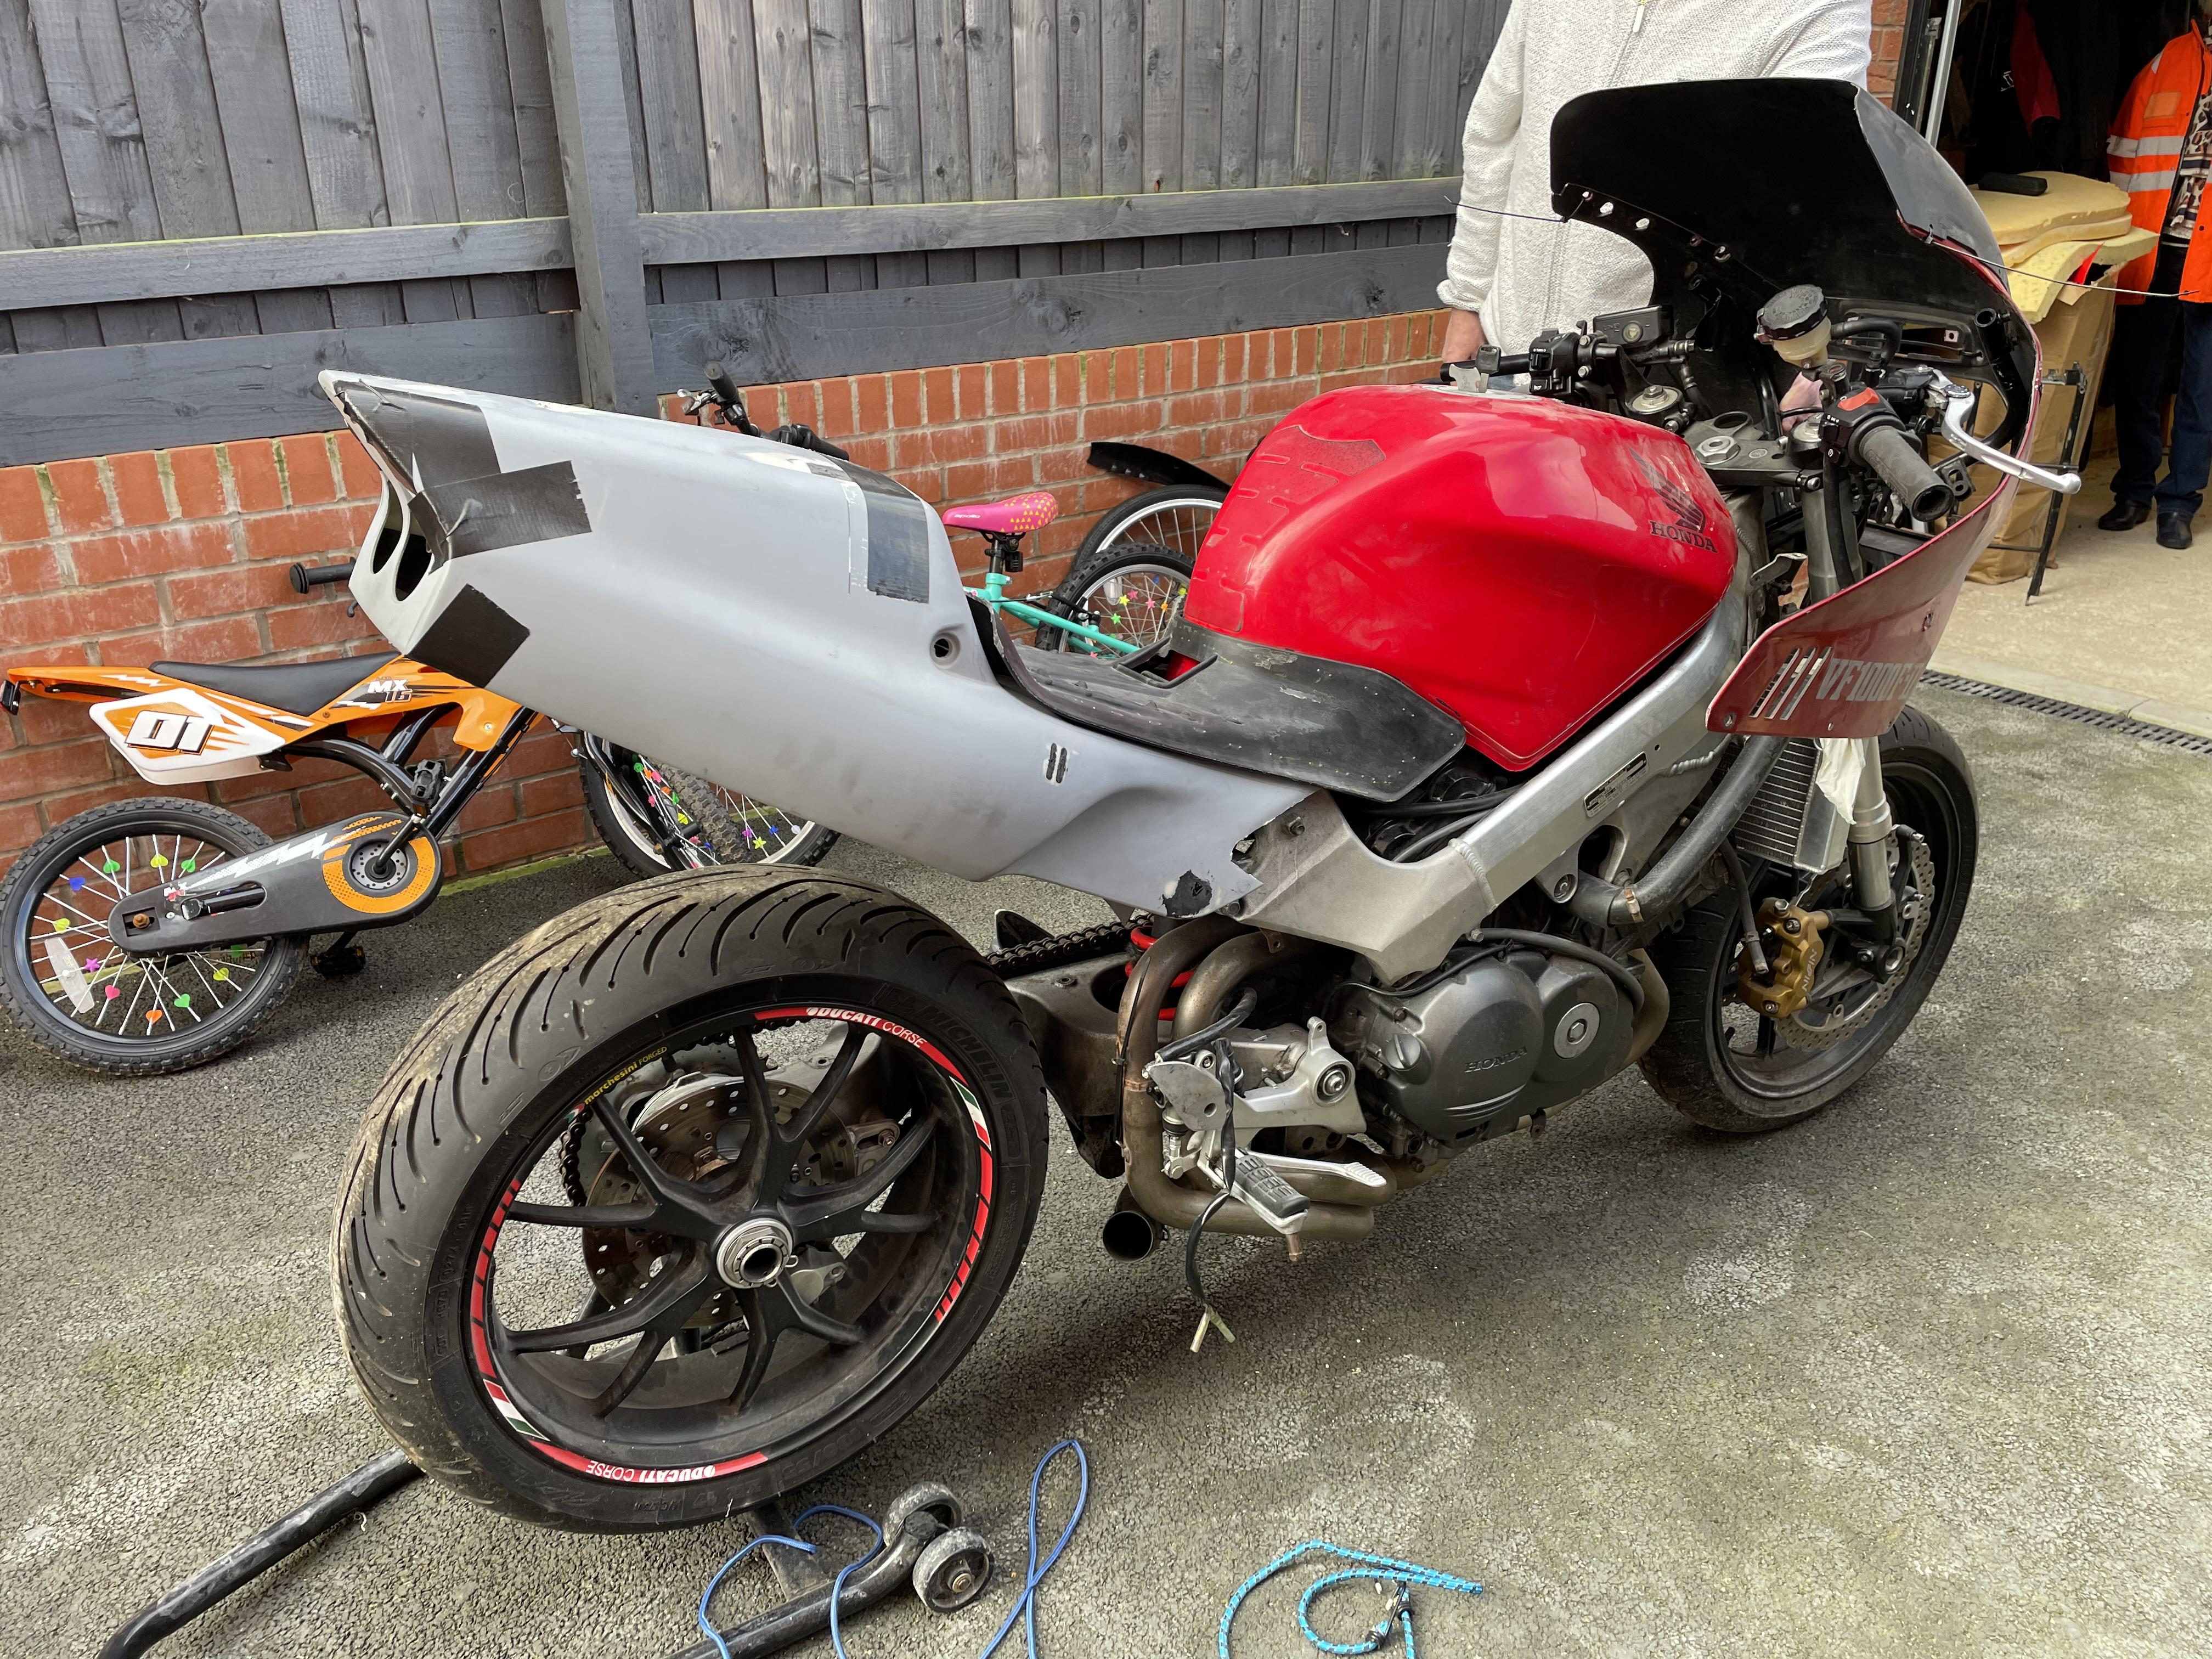
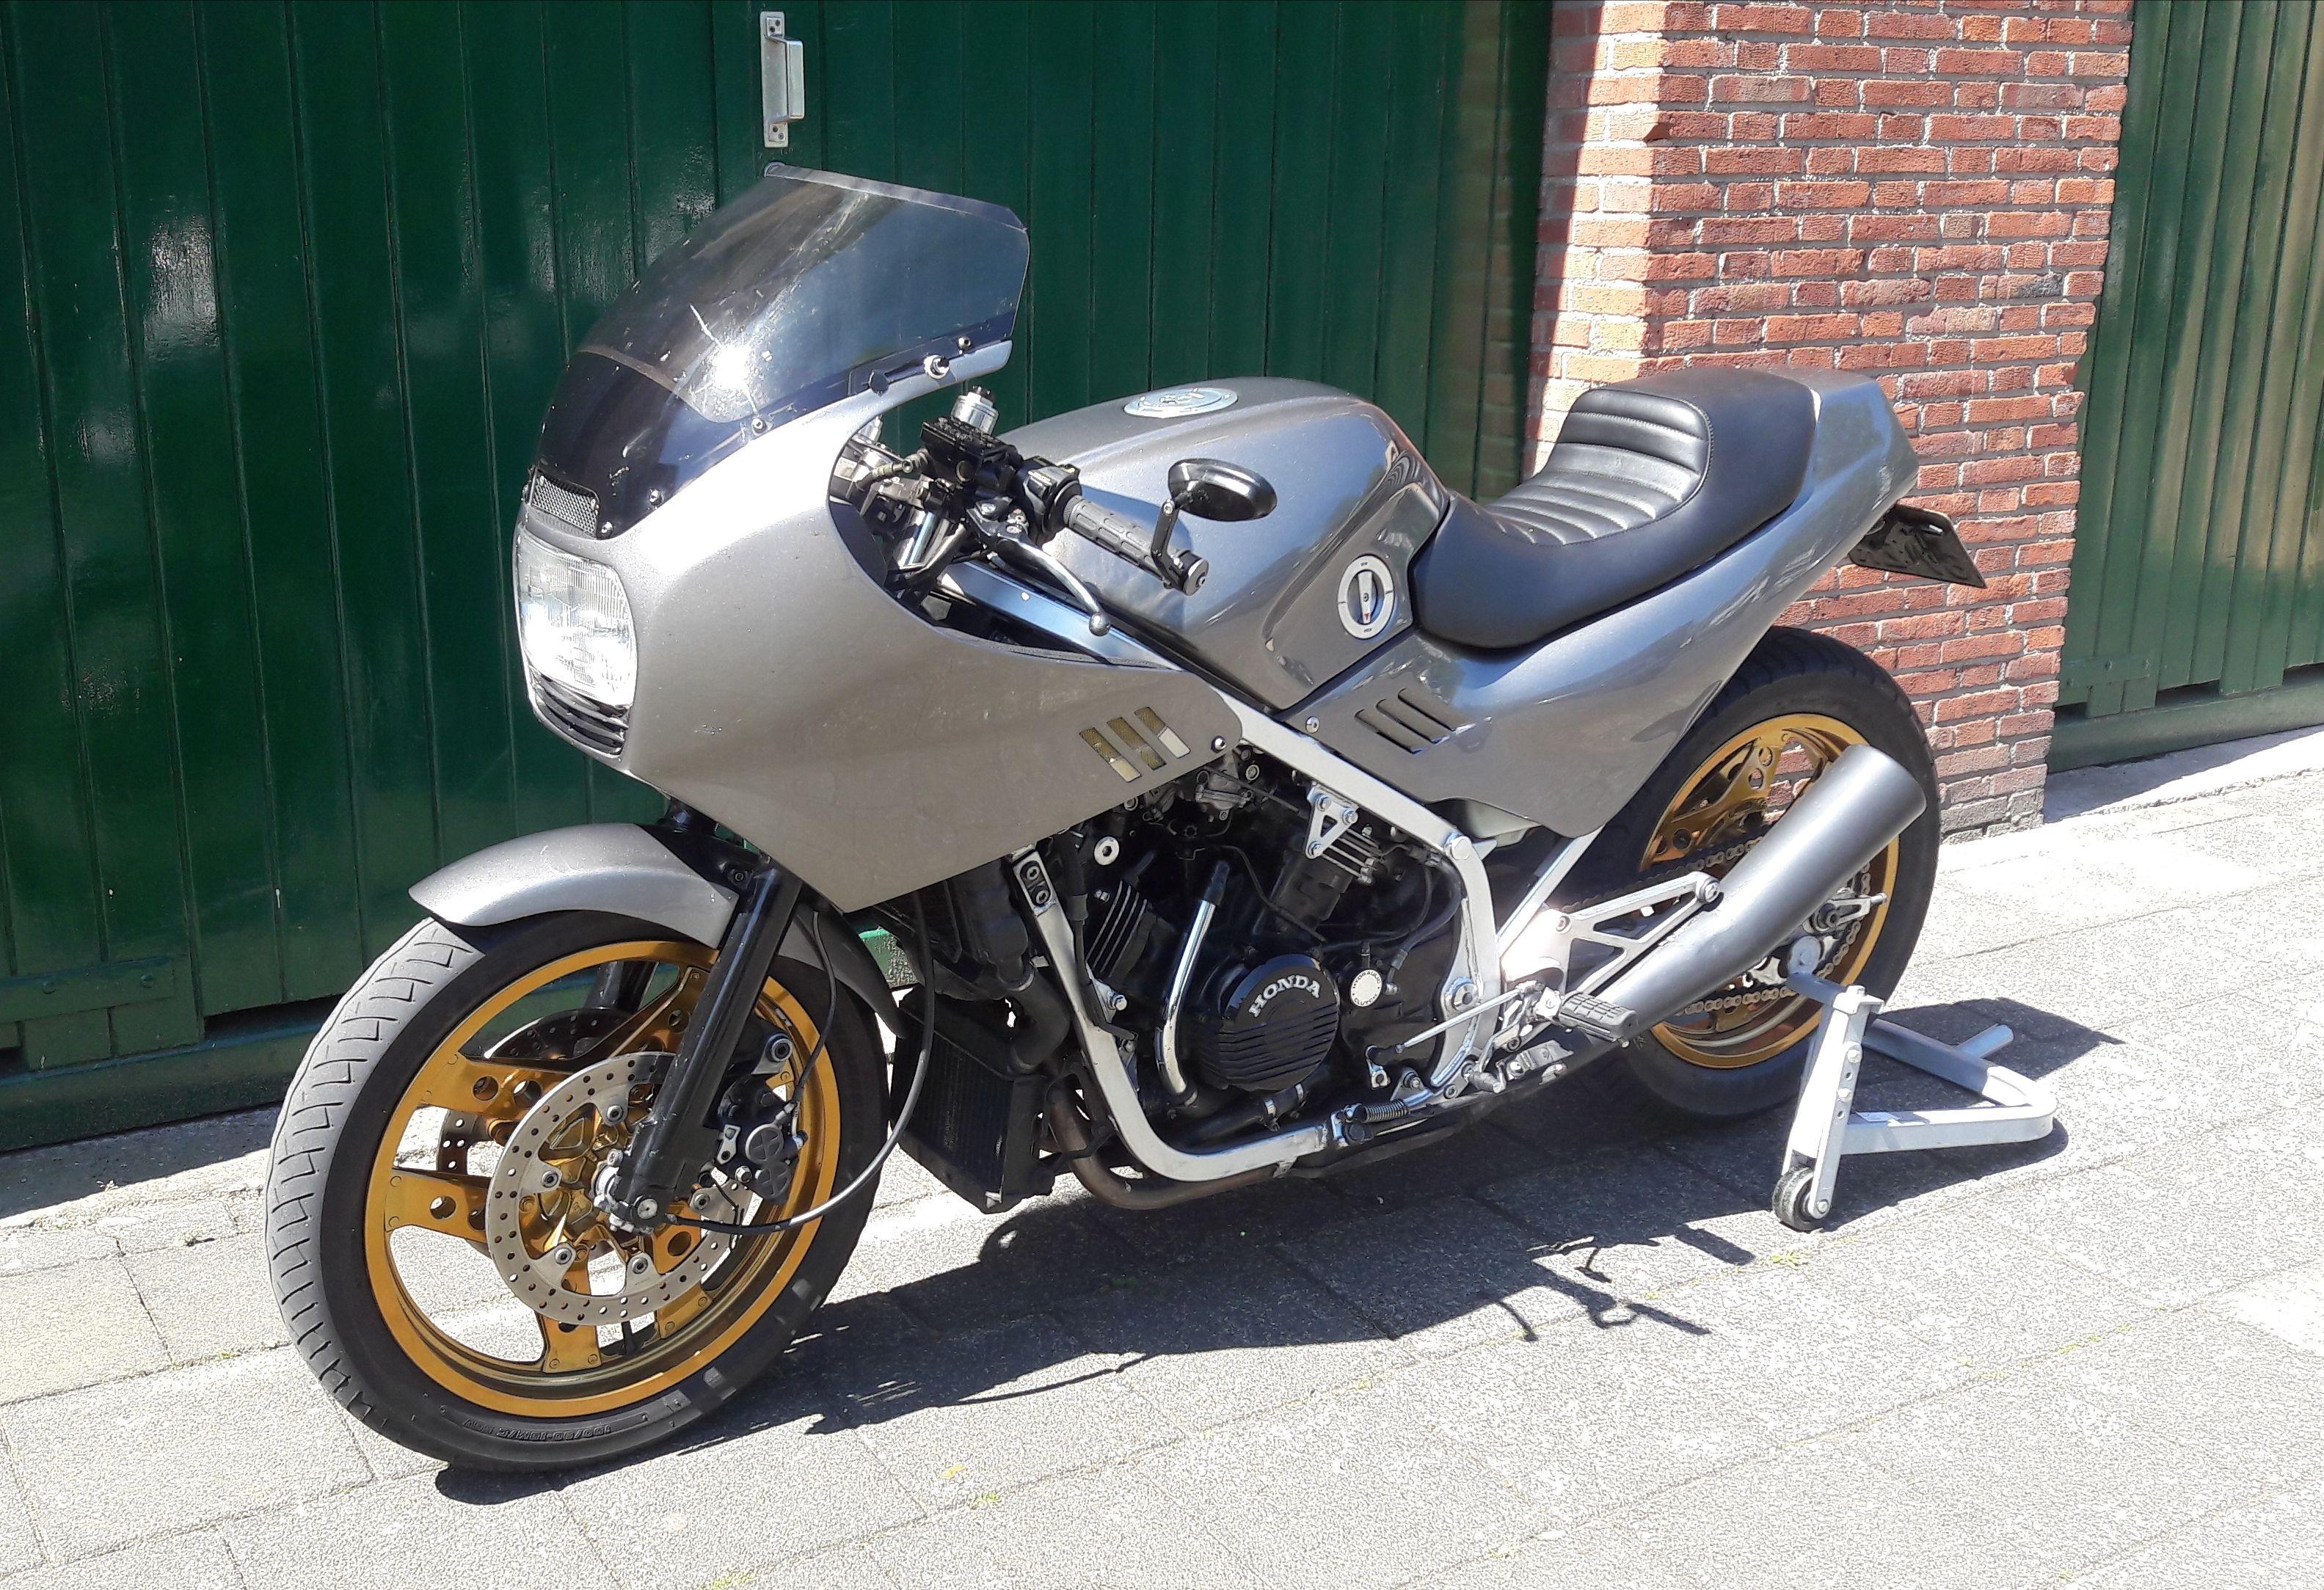
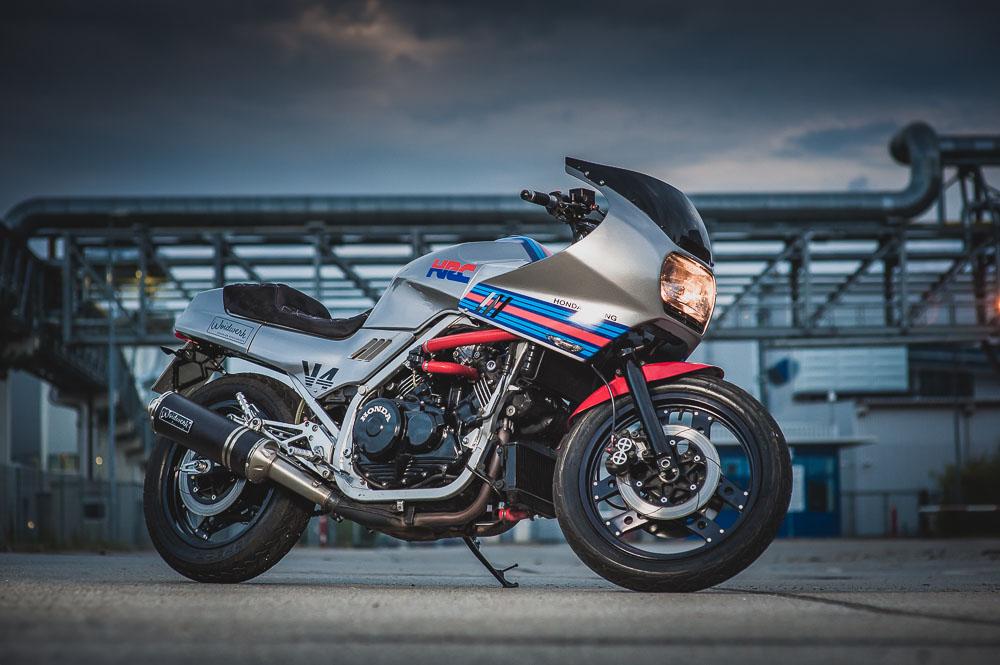
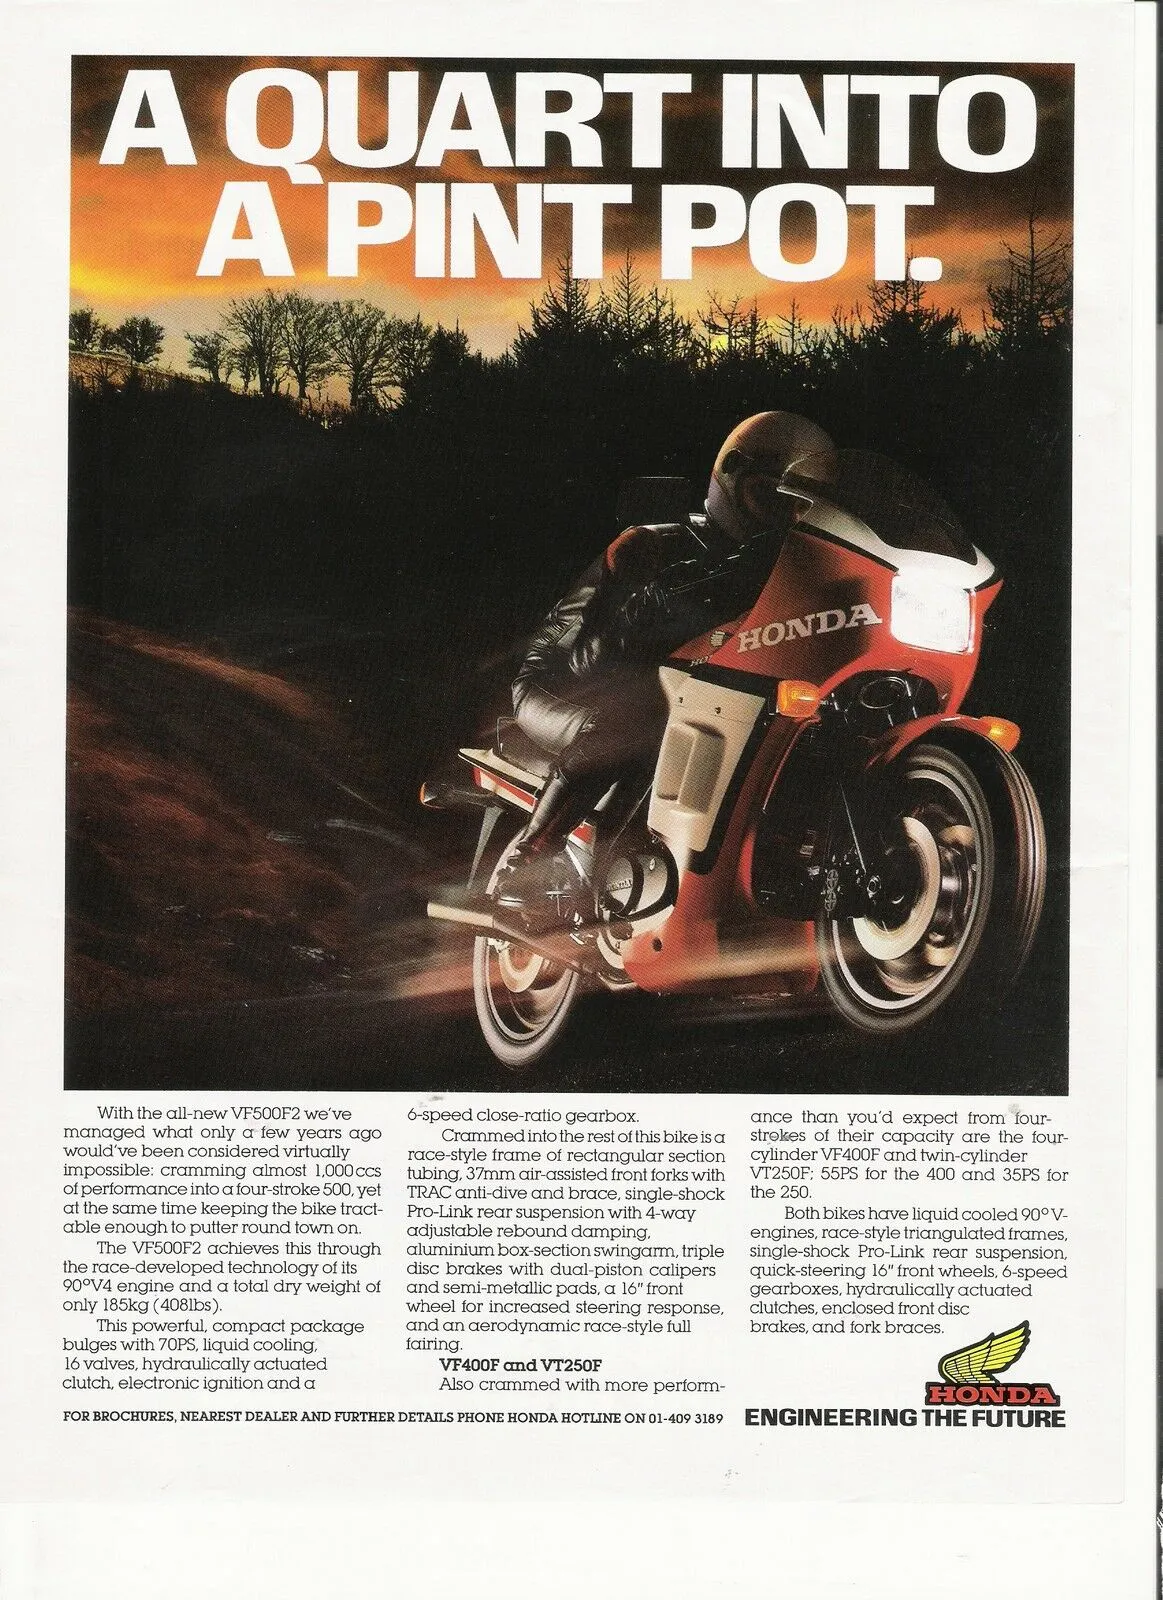
Back to the bodywork, and based on advice from here I’d settled on the VF400/500 front with the VFR750 RC24 tail. Nice slim design with a narrow tail to match. Makes the bike look smaller/lighter/faster. This is the sexy image I had in mind: What I didn’t expect was a celebrity intervention that would derail my plans completely. Incensed at my lack of skill and direction, none less than the legendary Mohawk himself came to the house and chastened me with a lecture on aerodynamics, rear seat drag and aesthetics. Very sternly, loudly and in person. There was much finger pointing and violent gesticulation! As if not crushed enough, his missus then lectured me on cleanliness, organisation and the efficient use of garage space. Feeling suitably chastened, I couldn’t possibly argue with any of it. Mohawk has instructed me to build this: VF1000-F2 Bol d’Or front with MC21 tail piece. And if Mohawk says it must be so, then so it shall be. Who am I to refuse! It’s hard to visualise as the panels are different colours and not entirely in the right position. So here are some pics of the respective bits on other bikes for reference. VF1000-F2 front with minor modifications (Check out the saddle on the first one!): MC21 tail on a VF1000R: Still planning to have side fairings and a belly pan. These will be bodged up after the front fairing and seat are situated. Side vents possibly from a CBR600RR and maybe a NACA duct thrown in for fun. Let’s see how we get on…
1 point
-
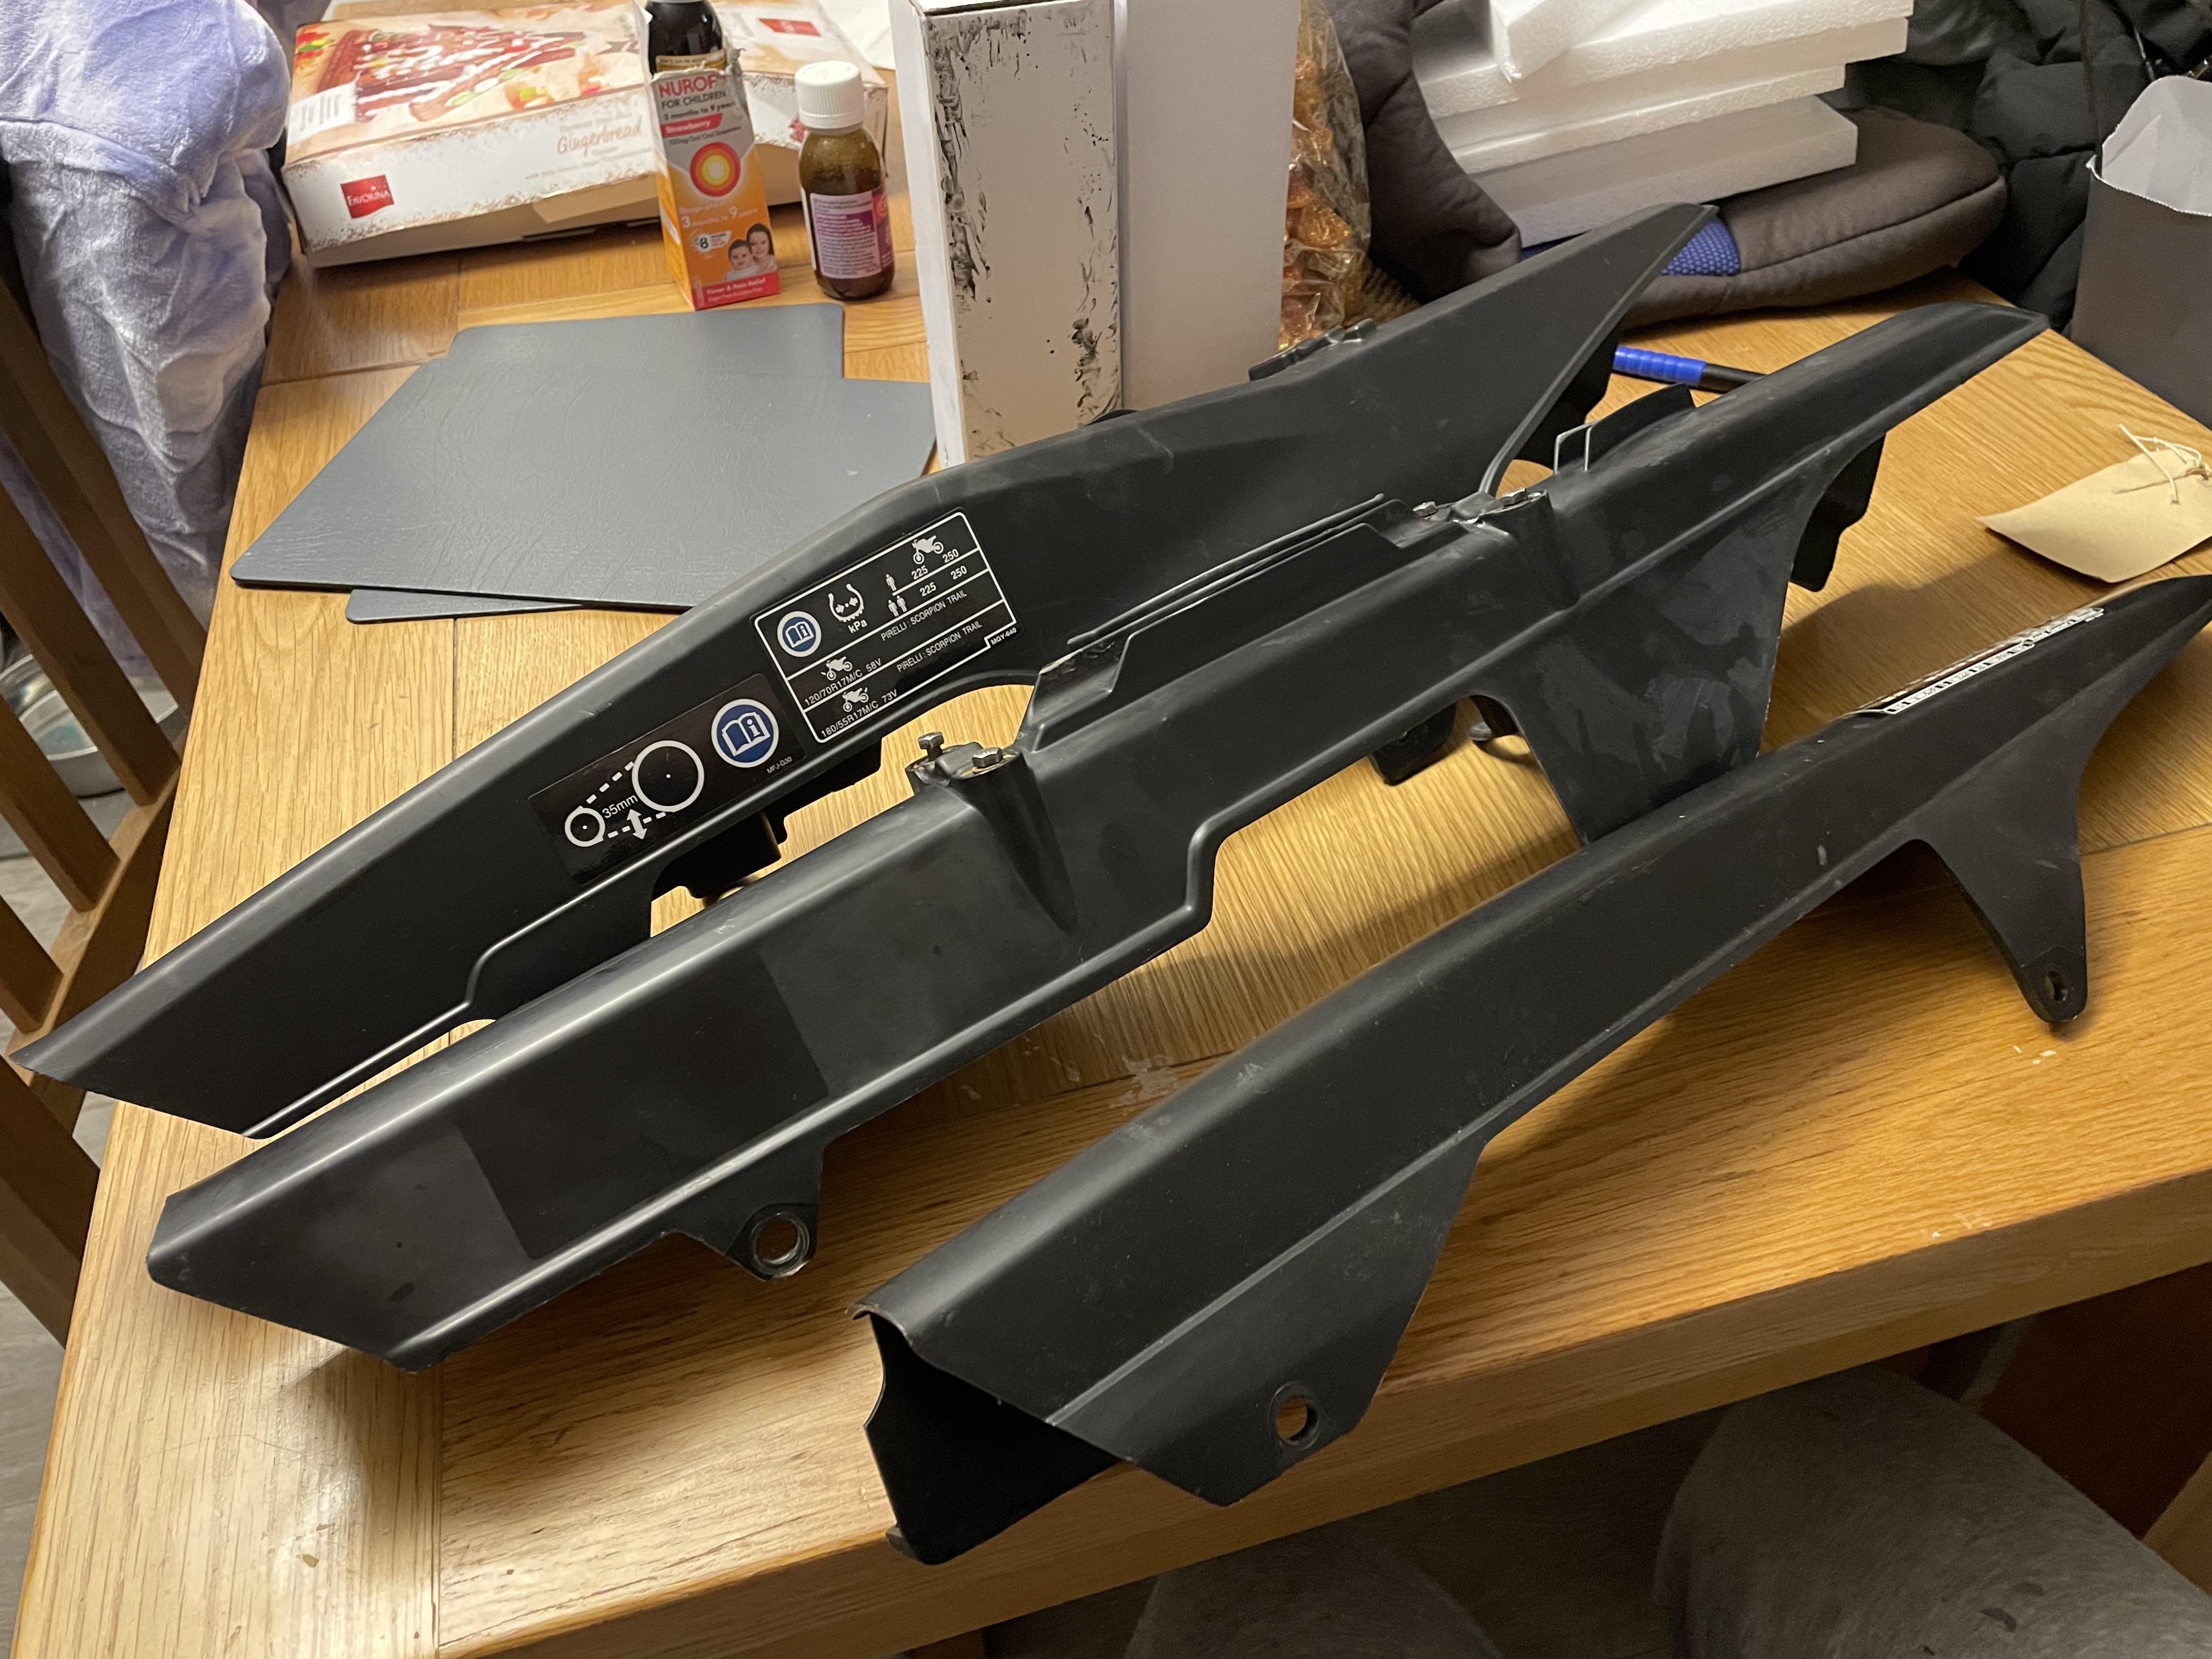
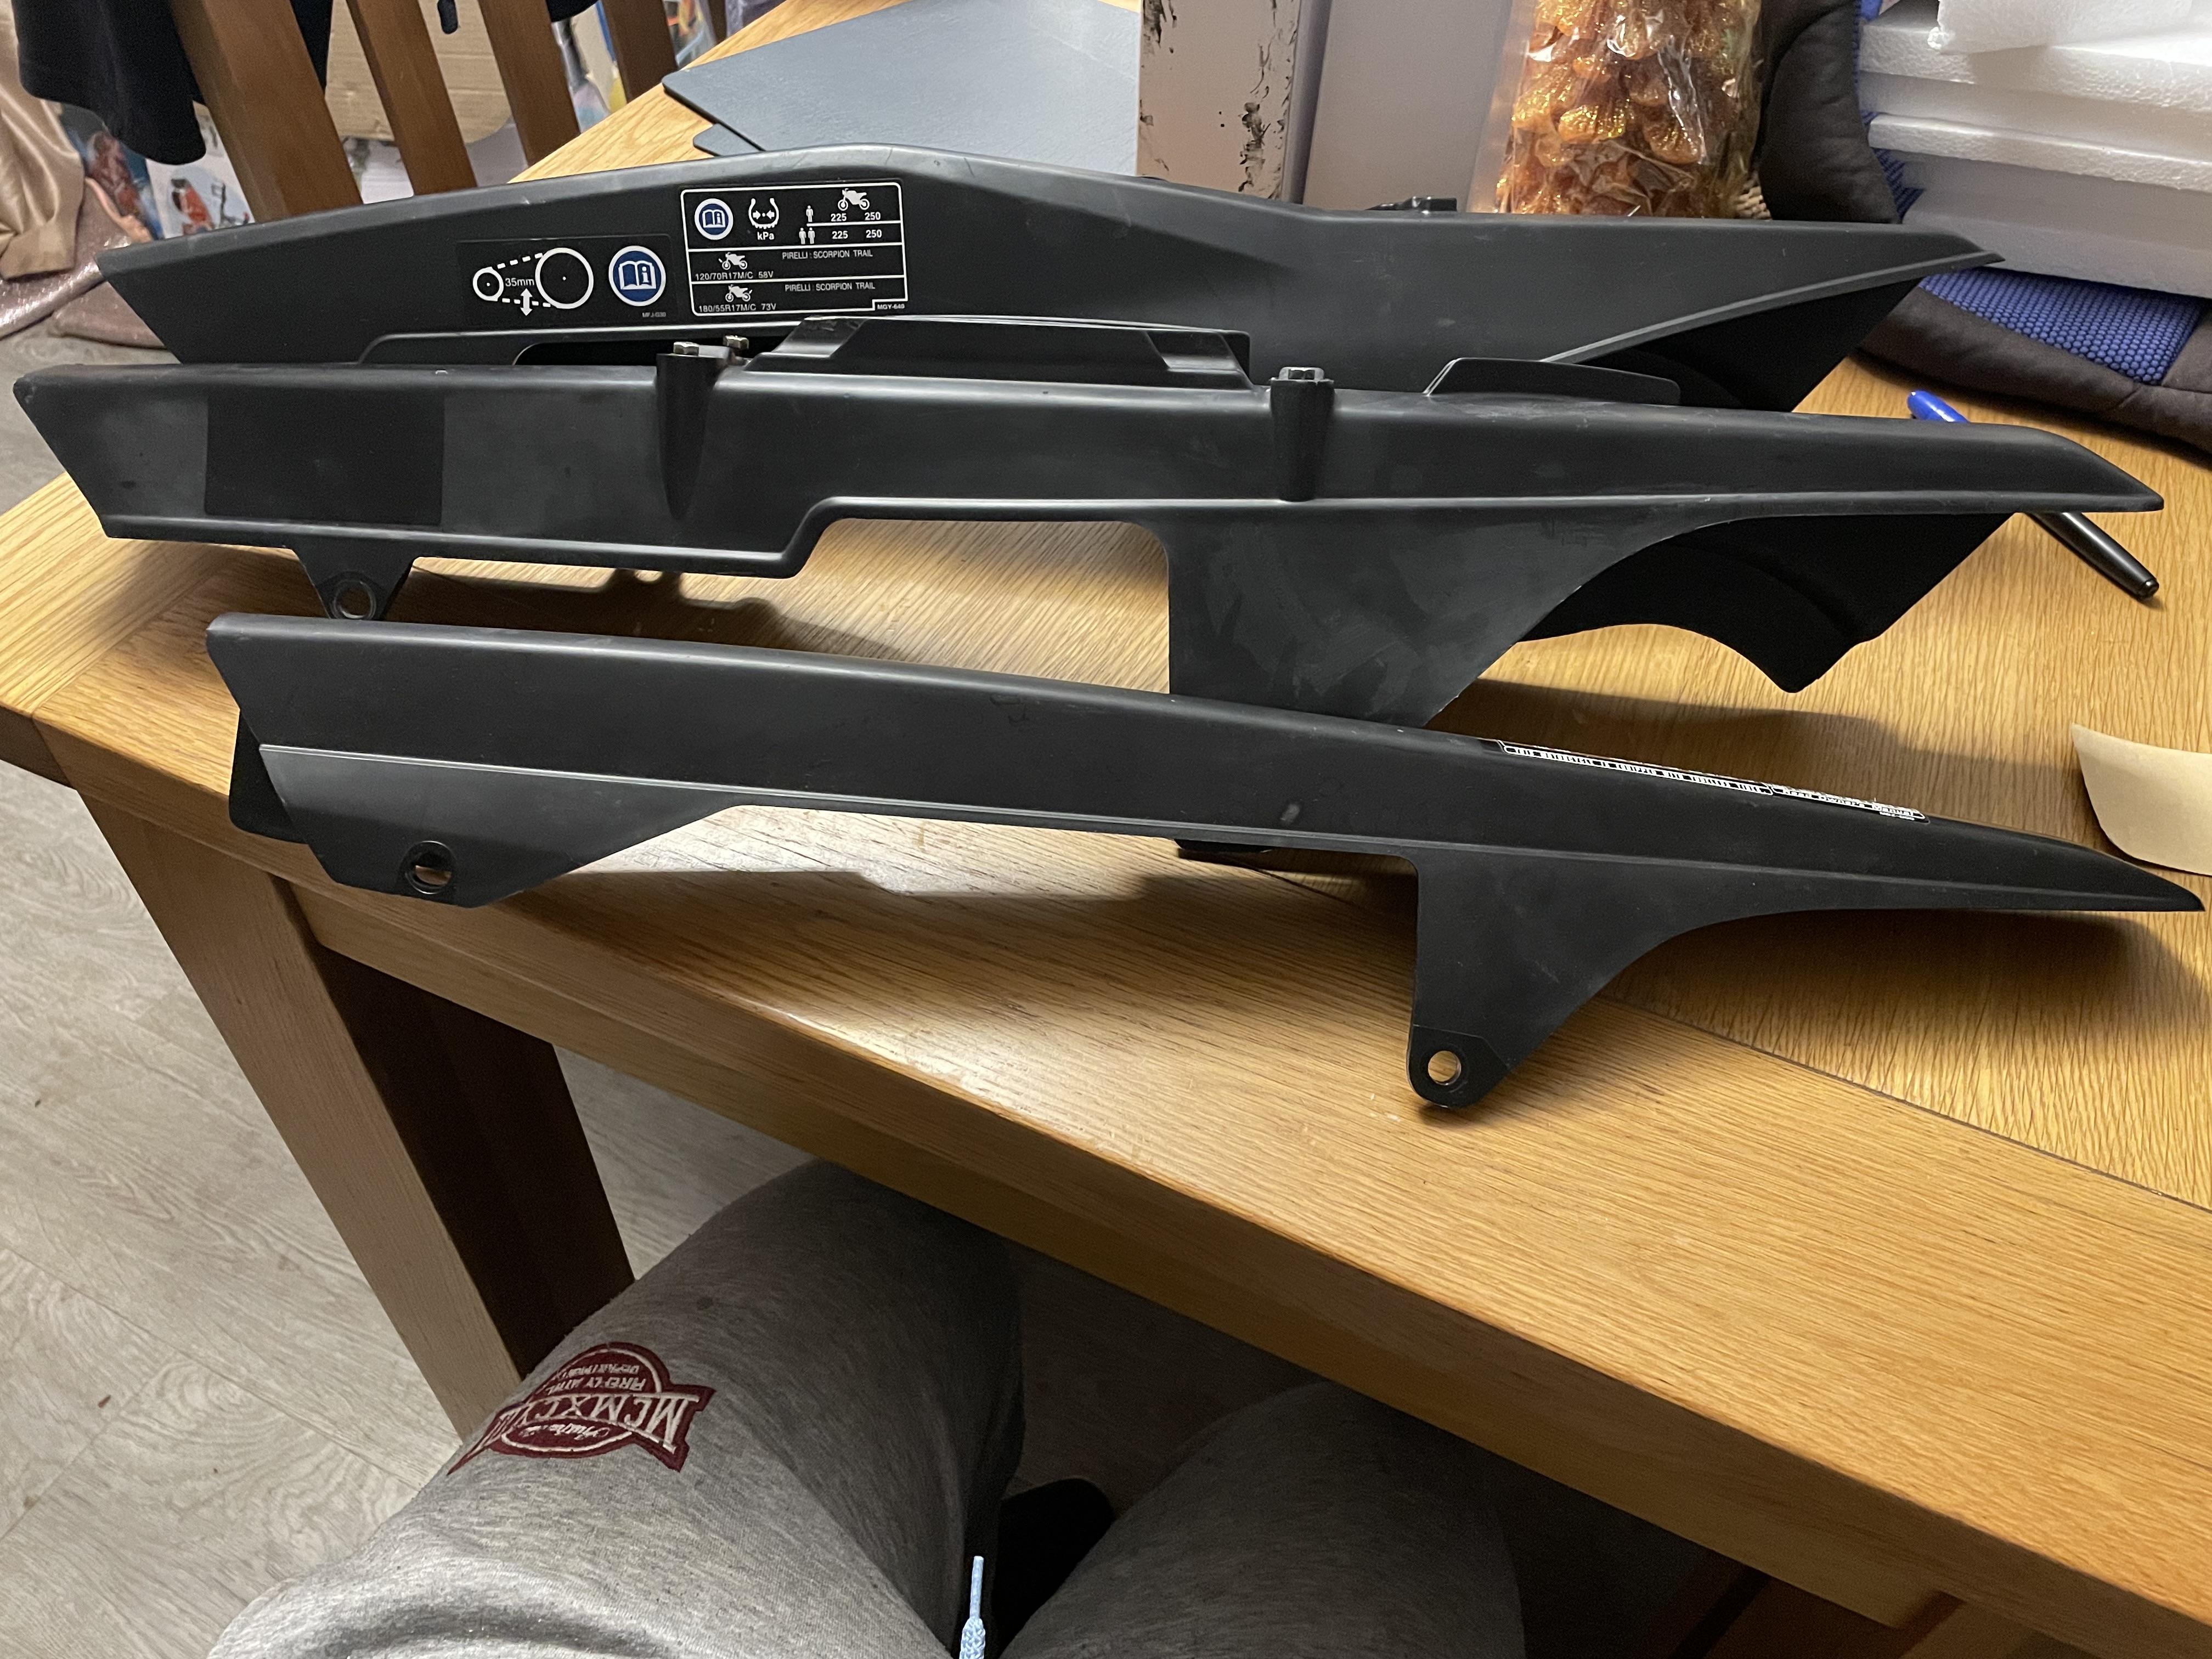
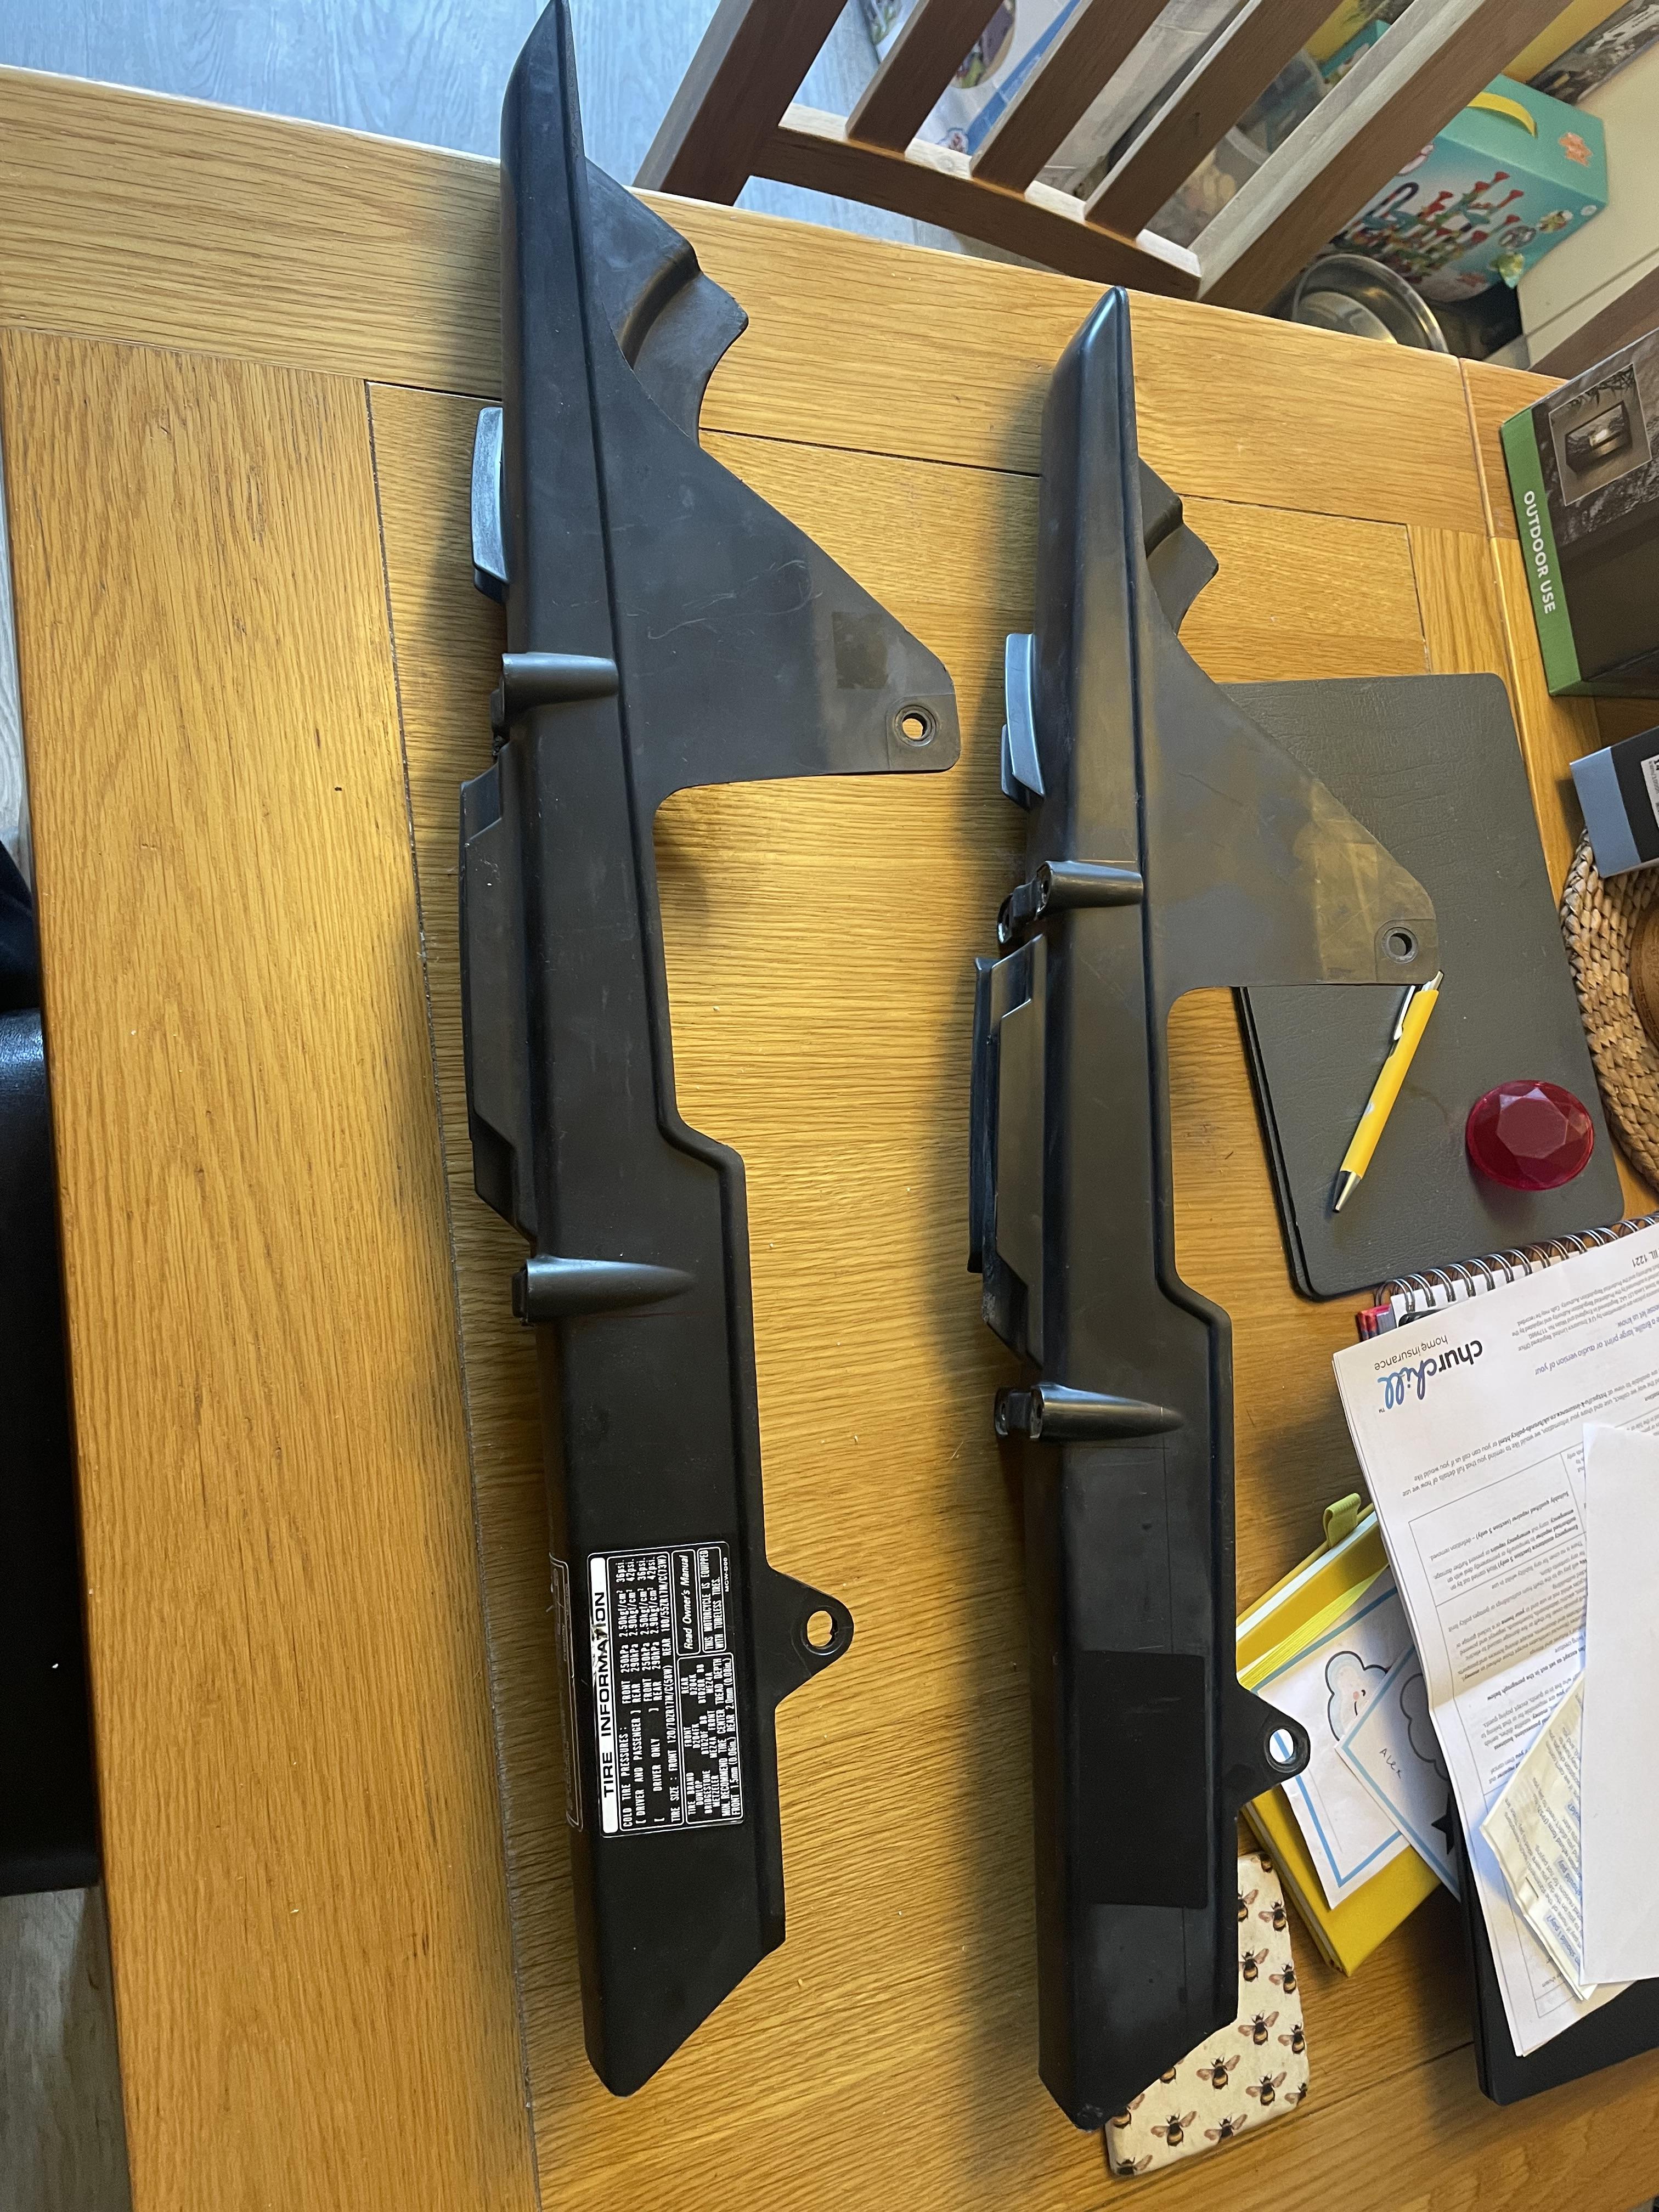
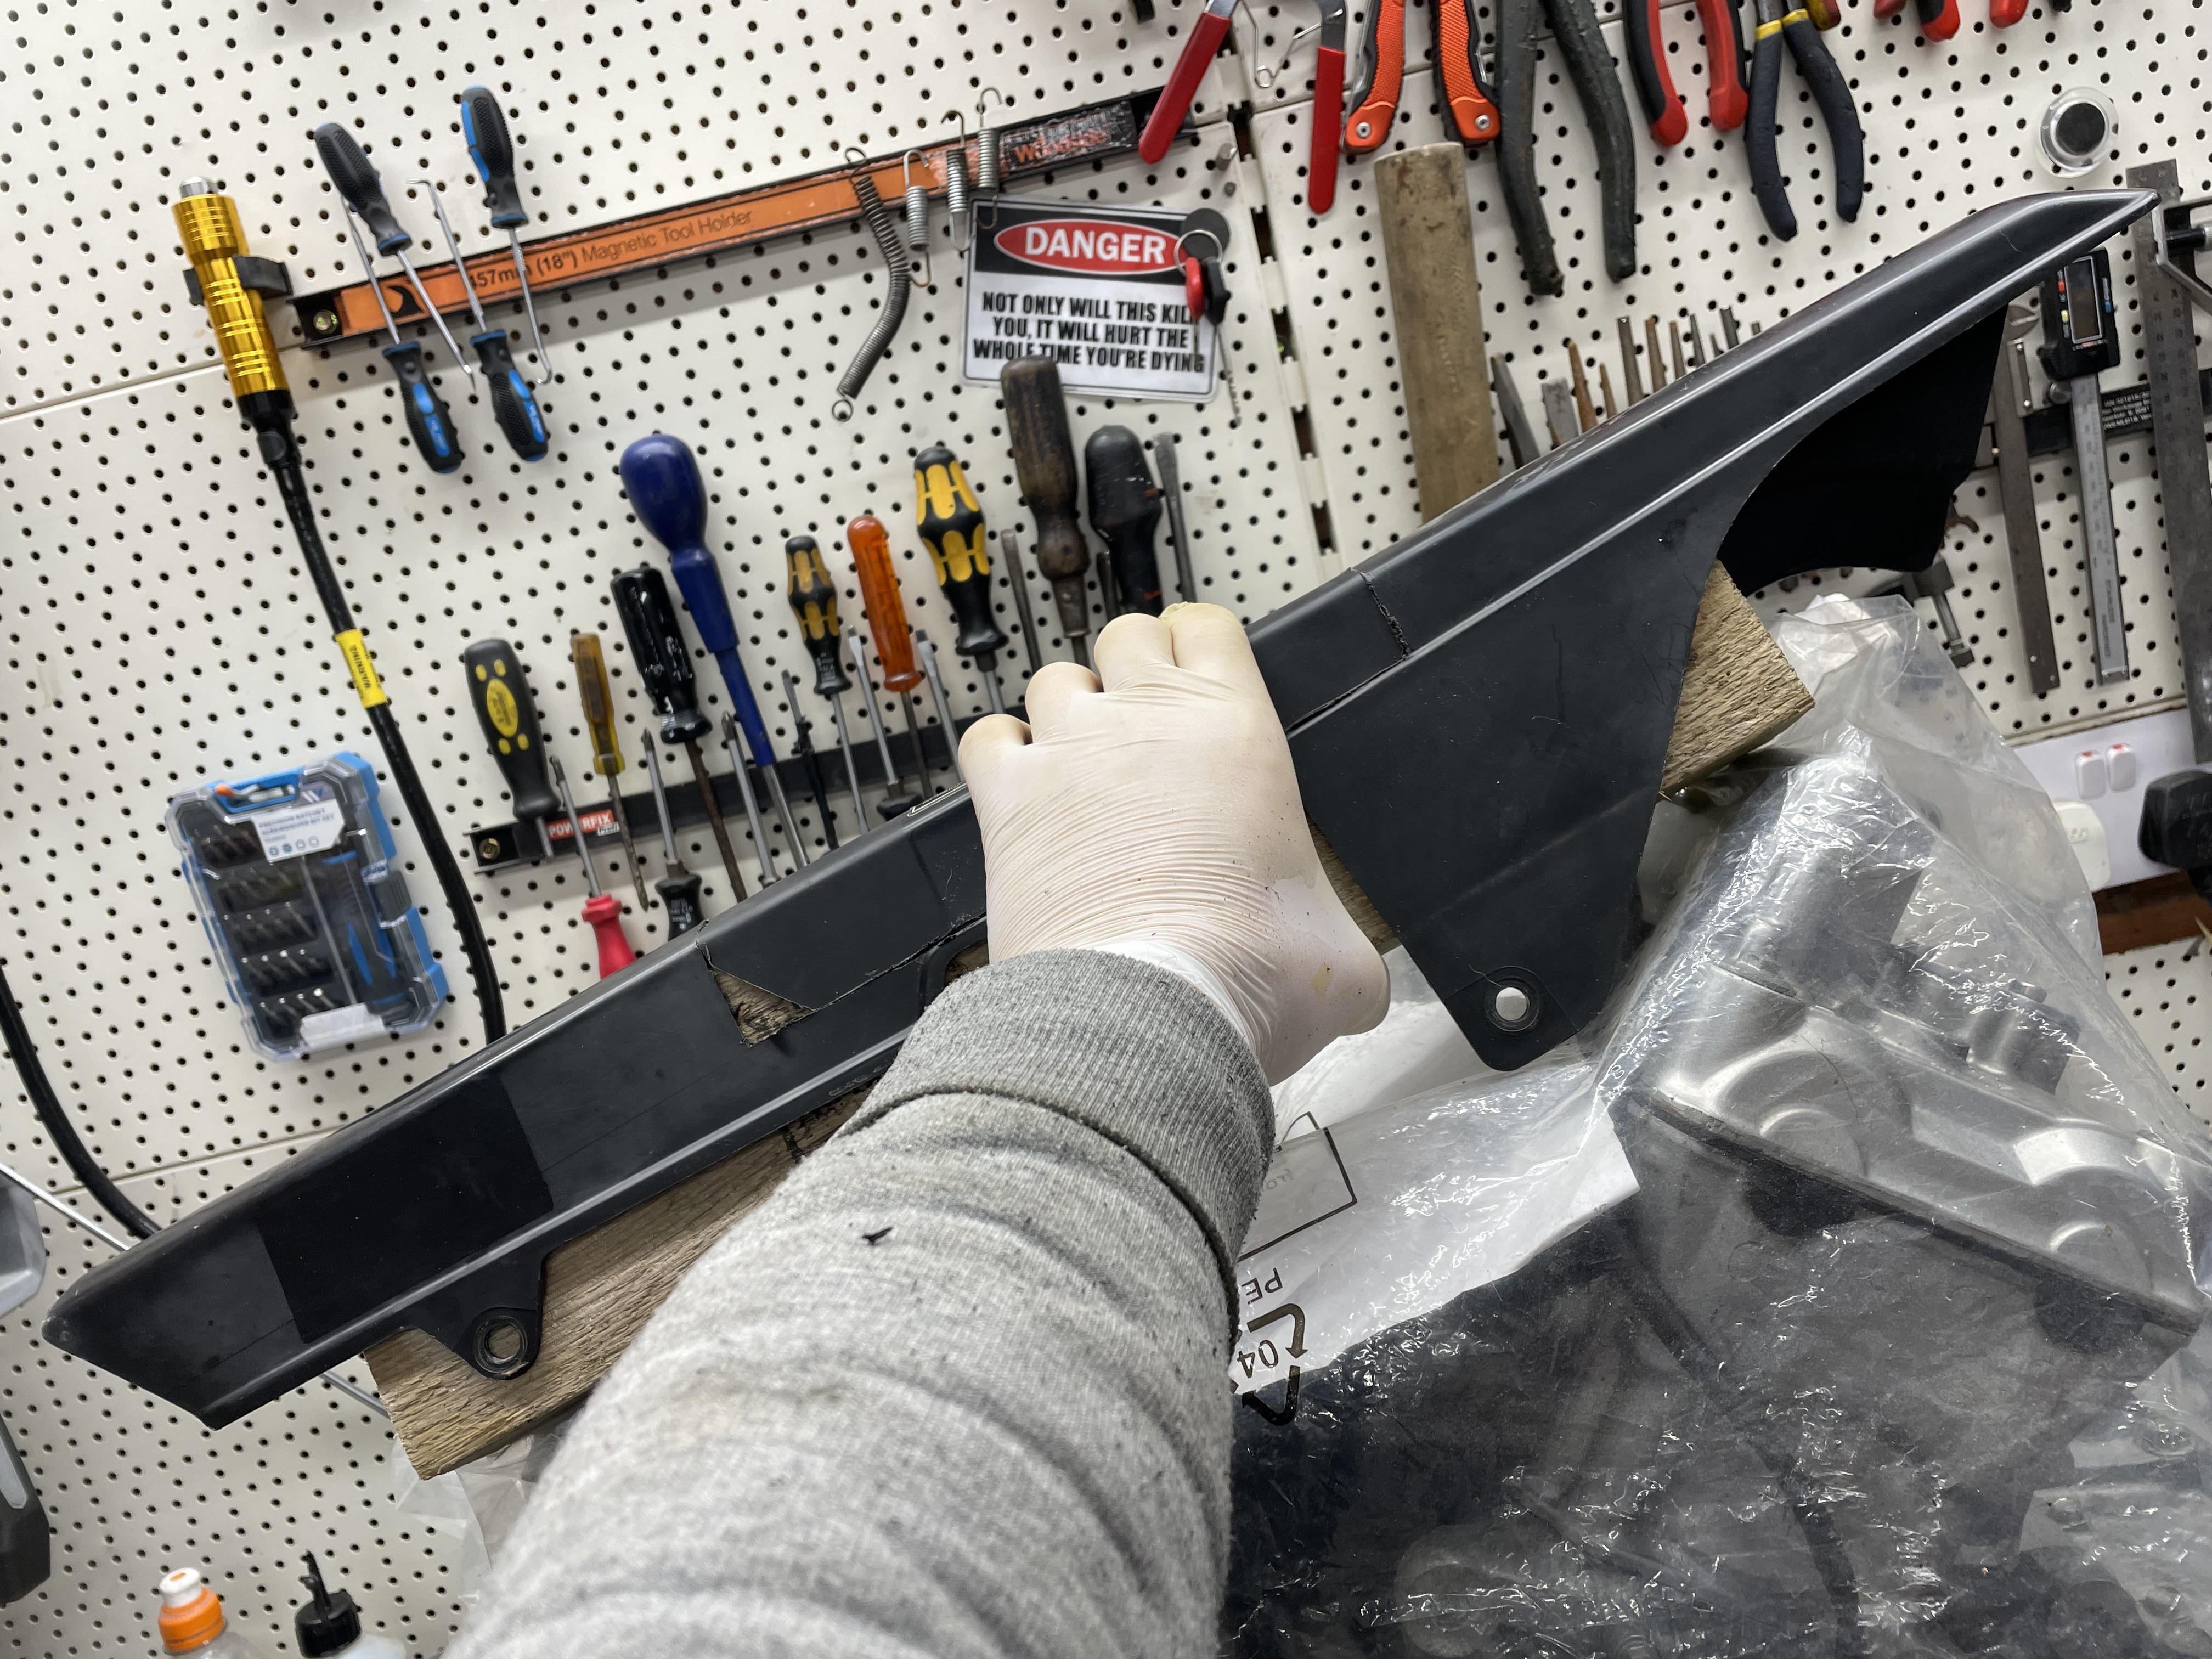
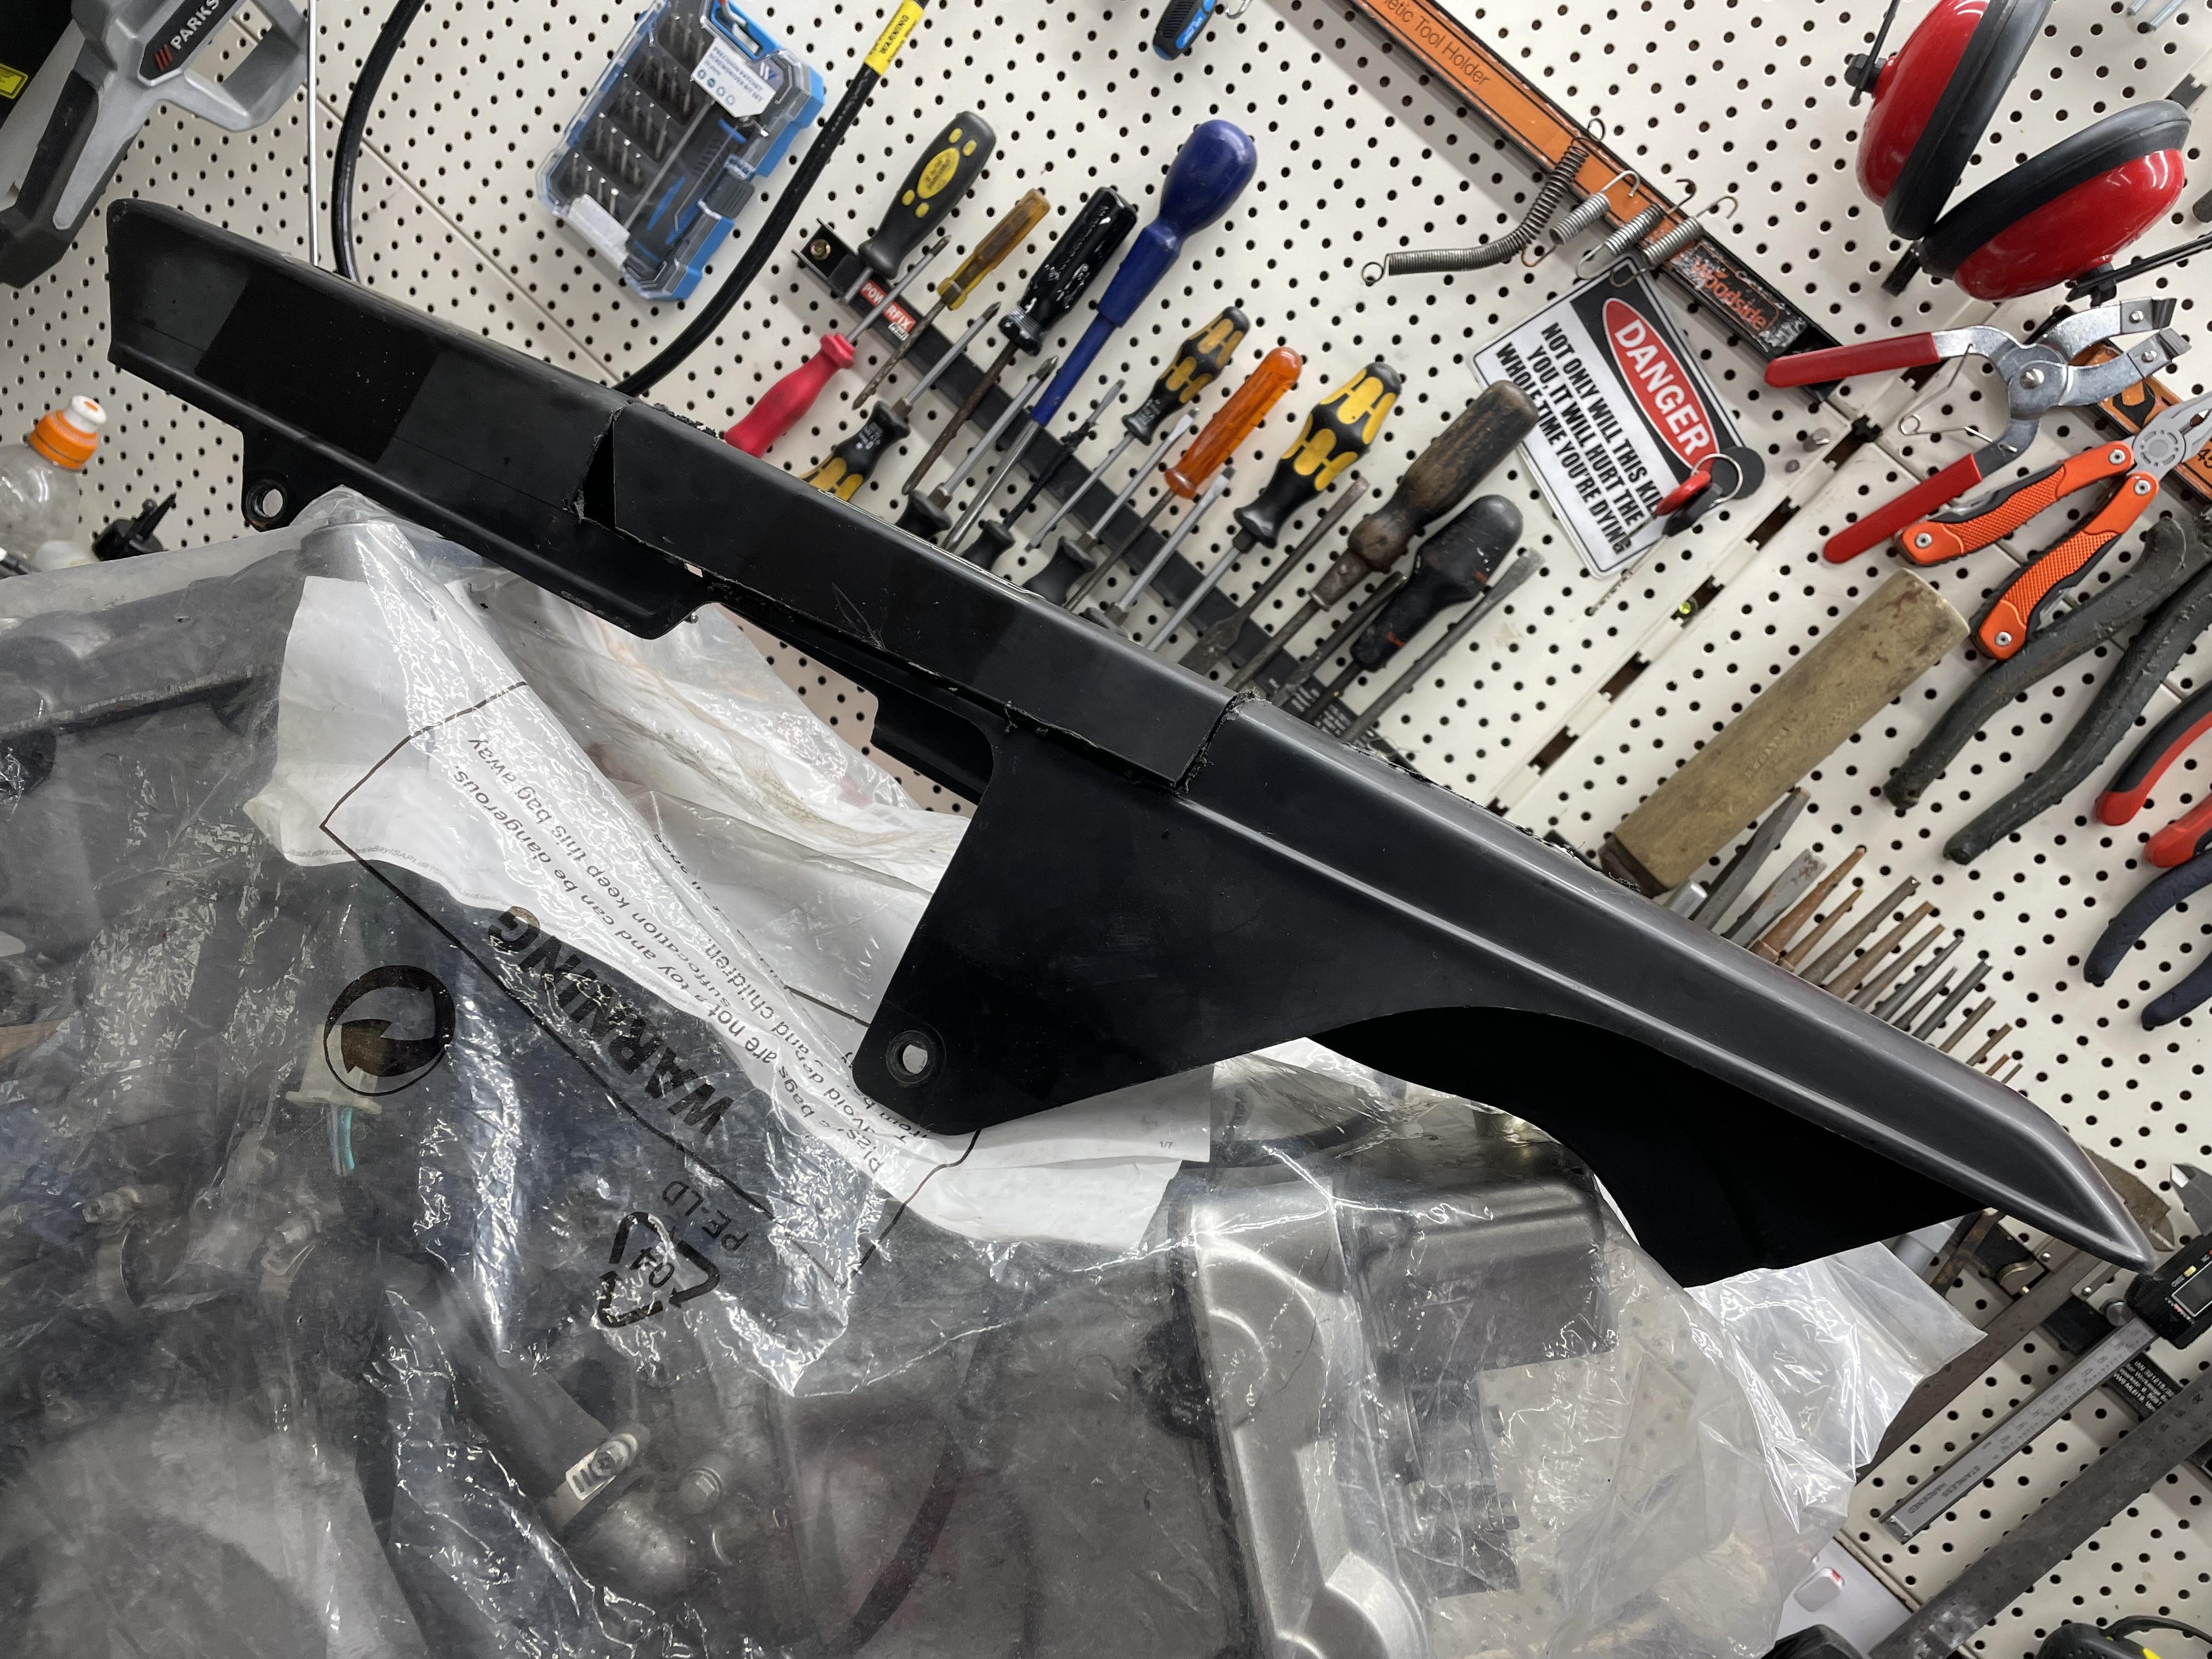
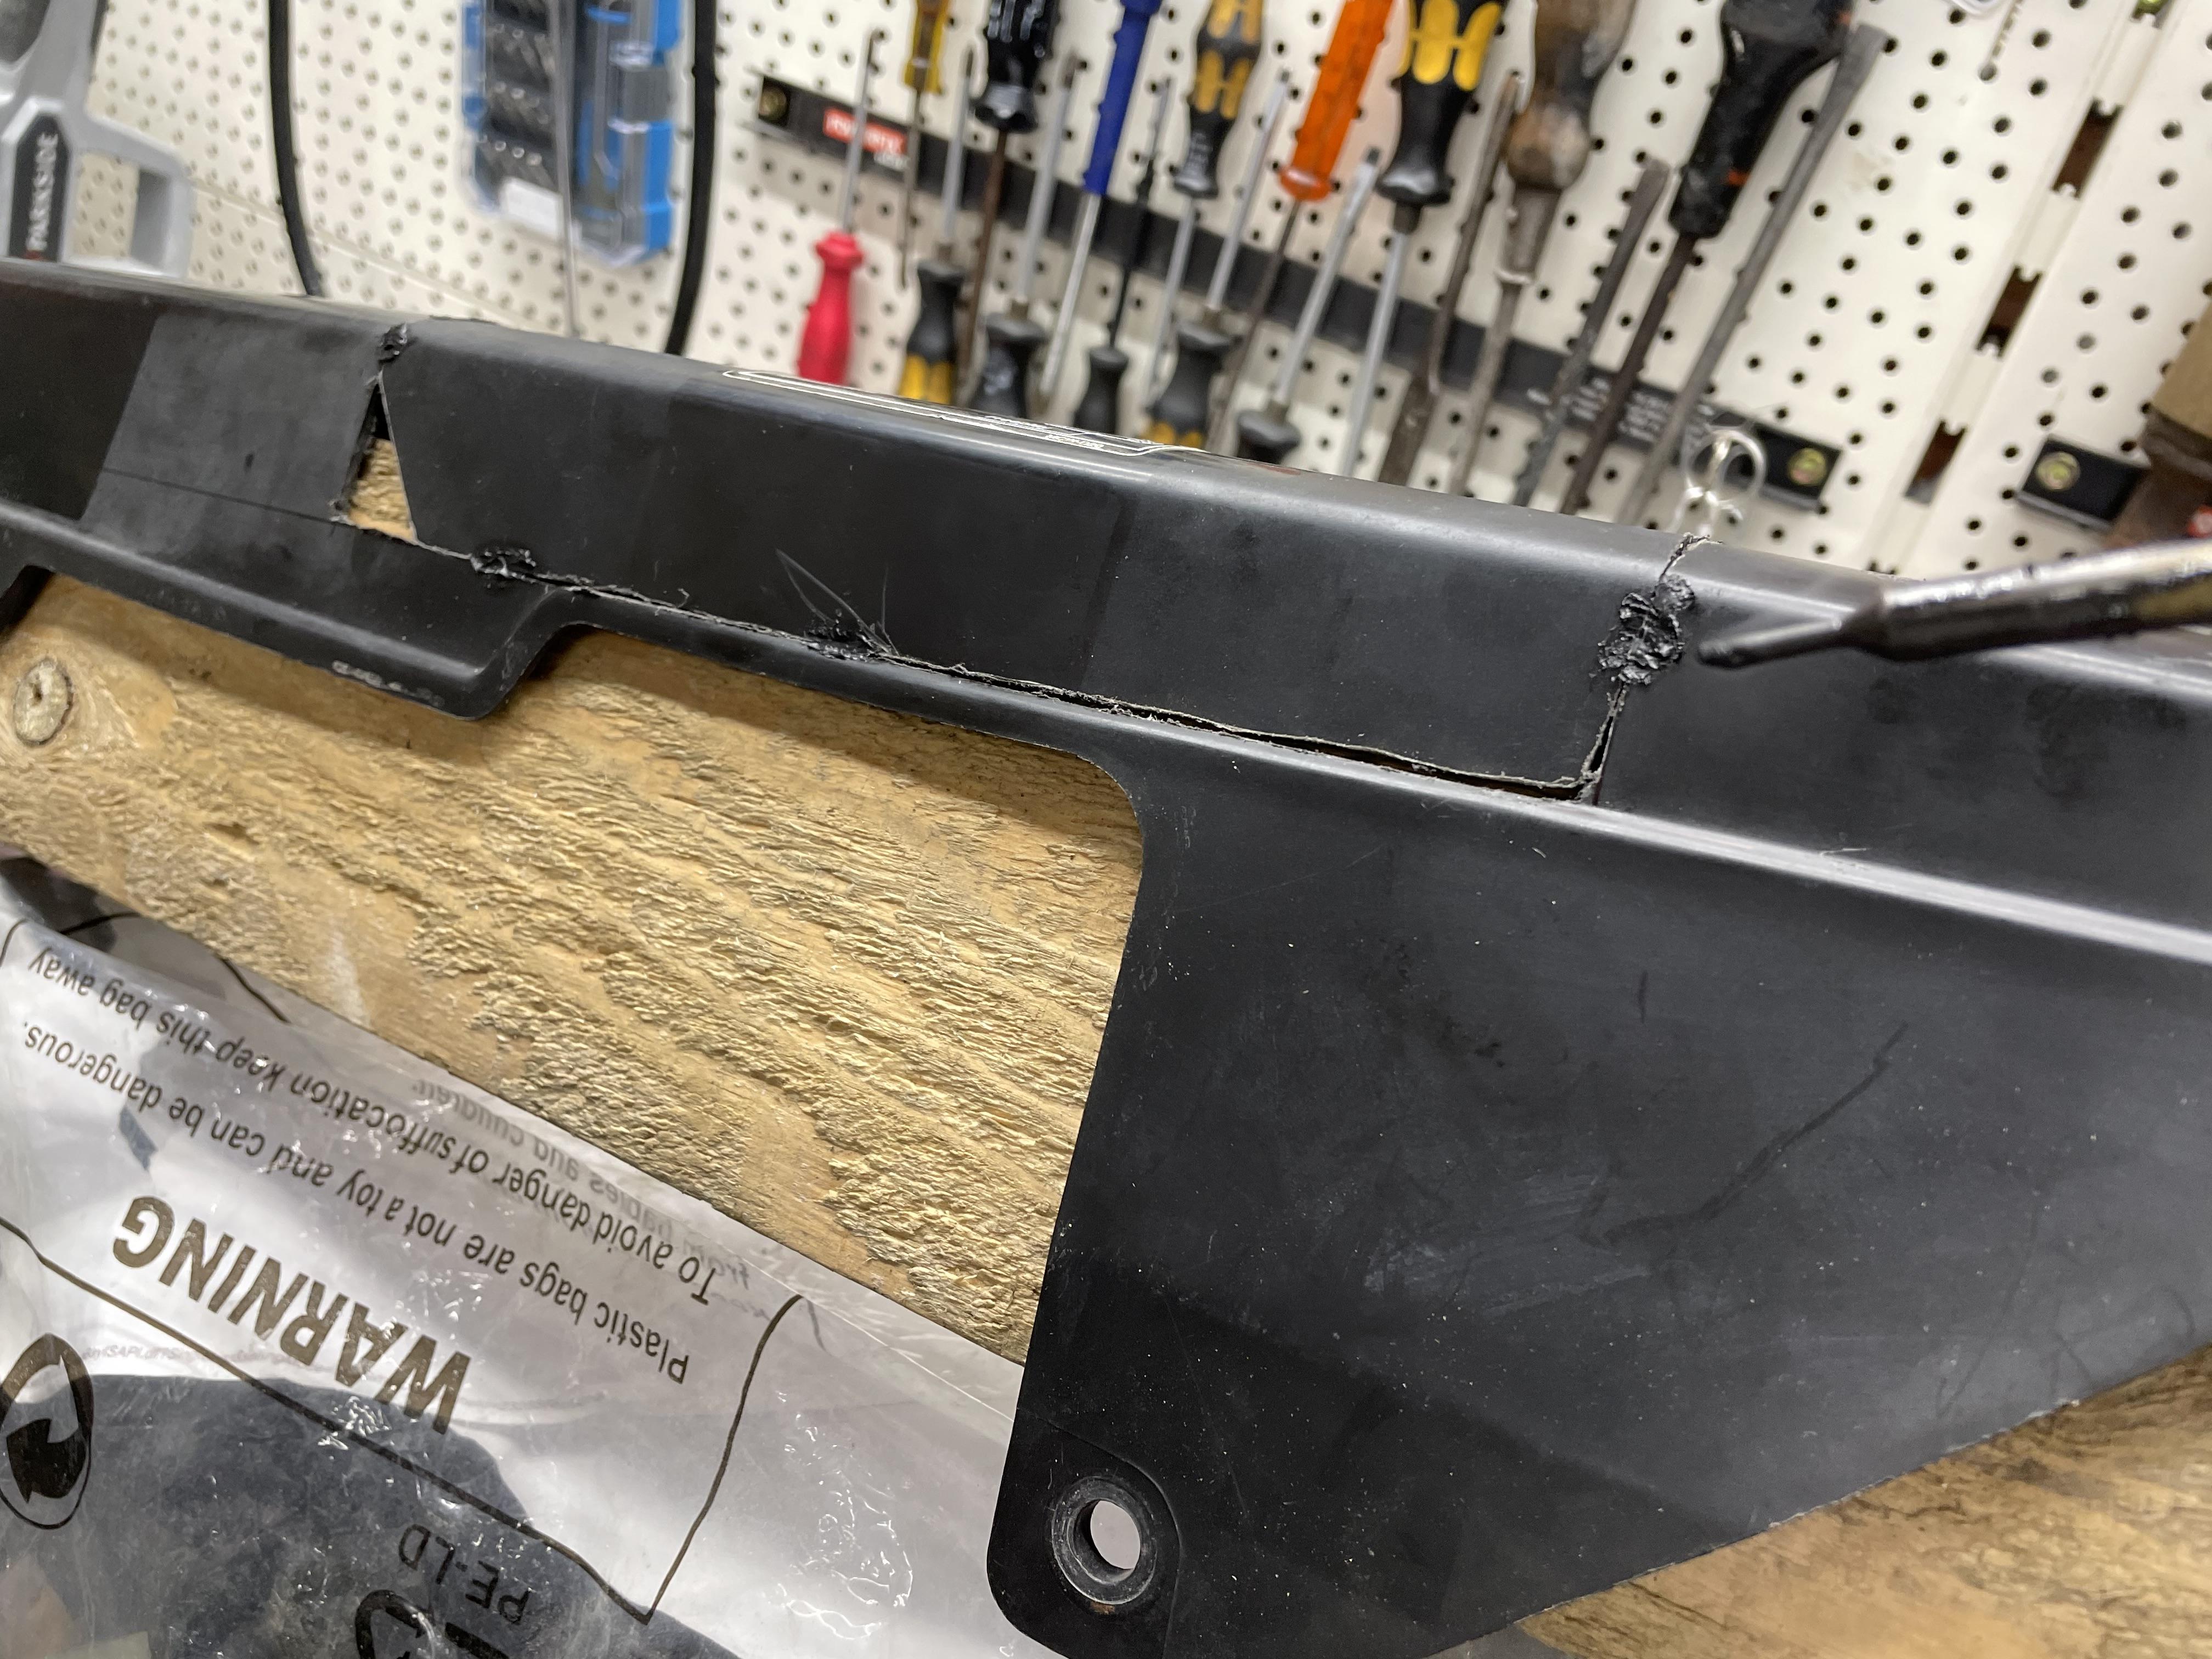
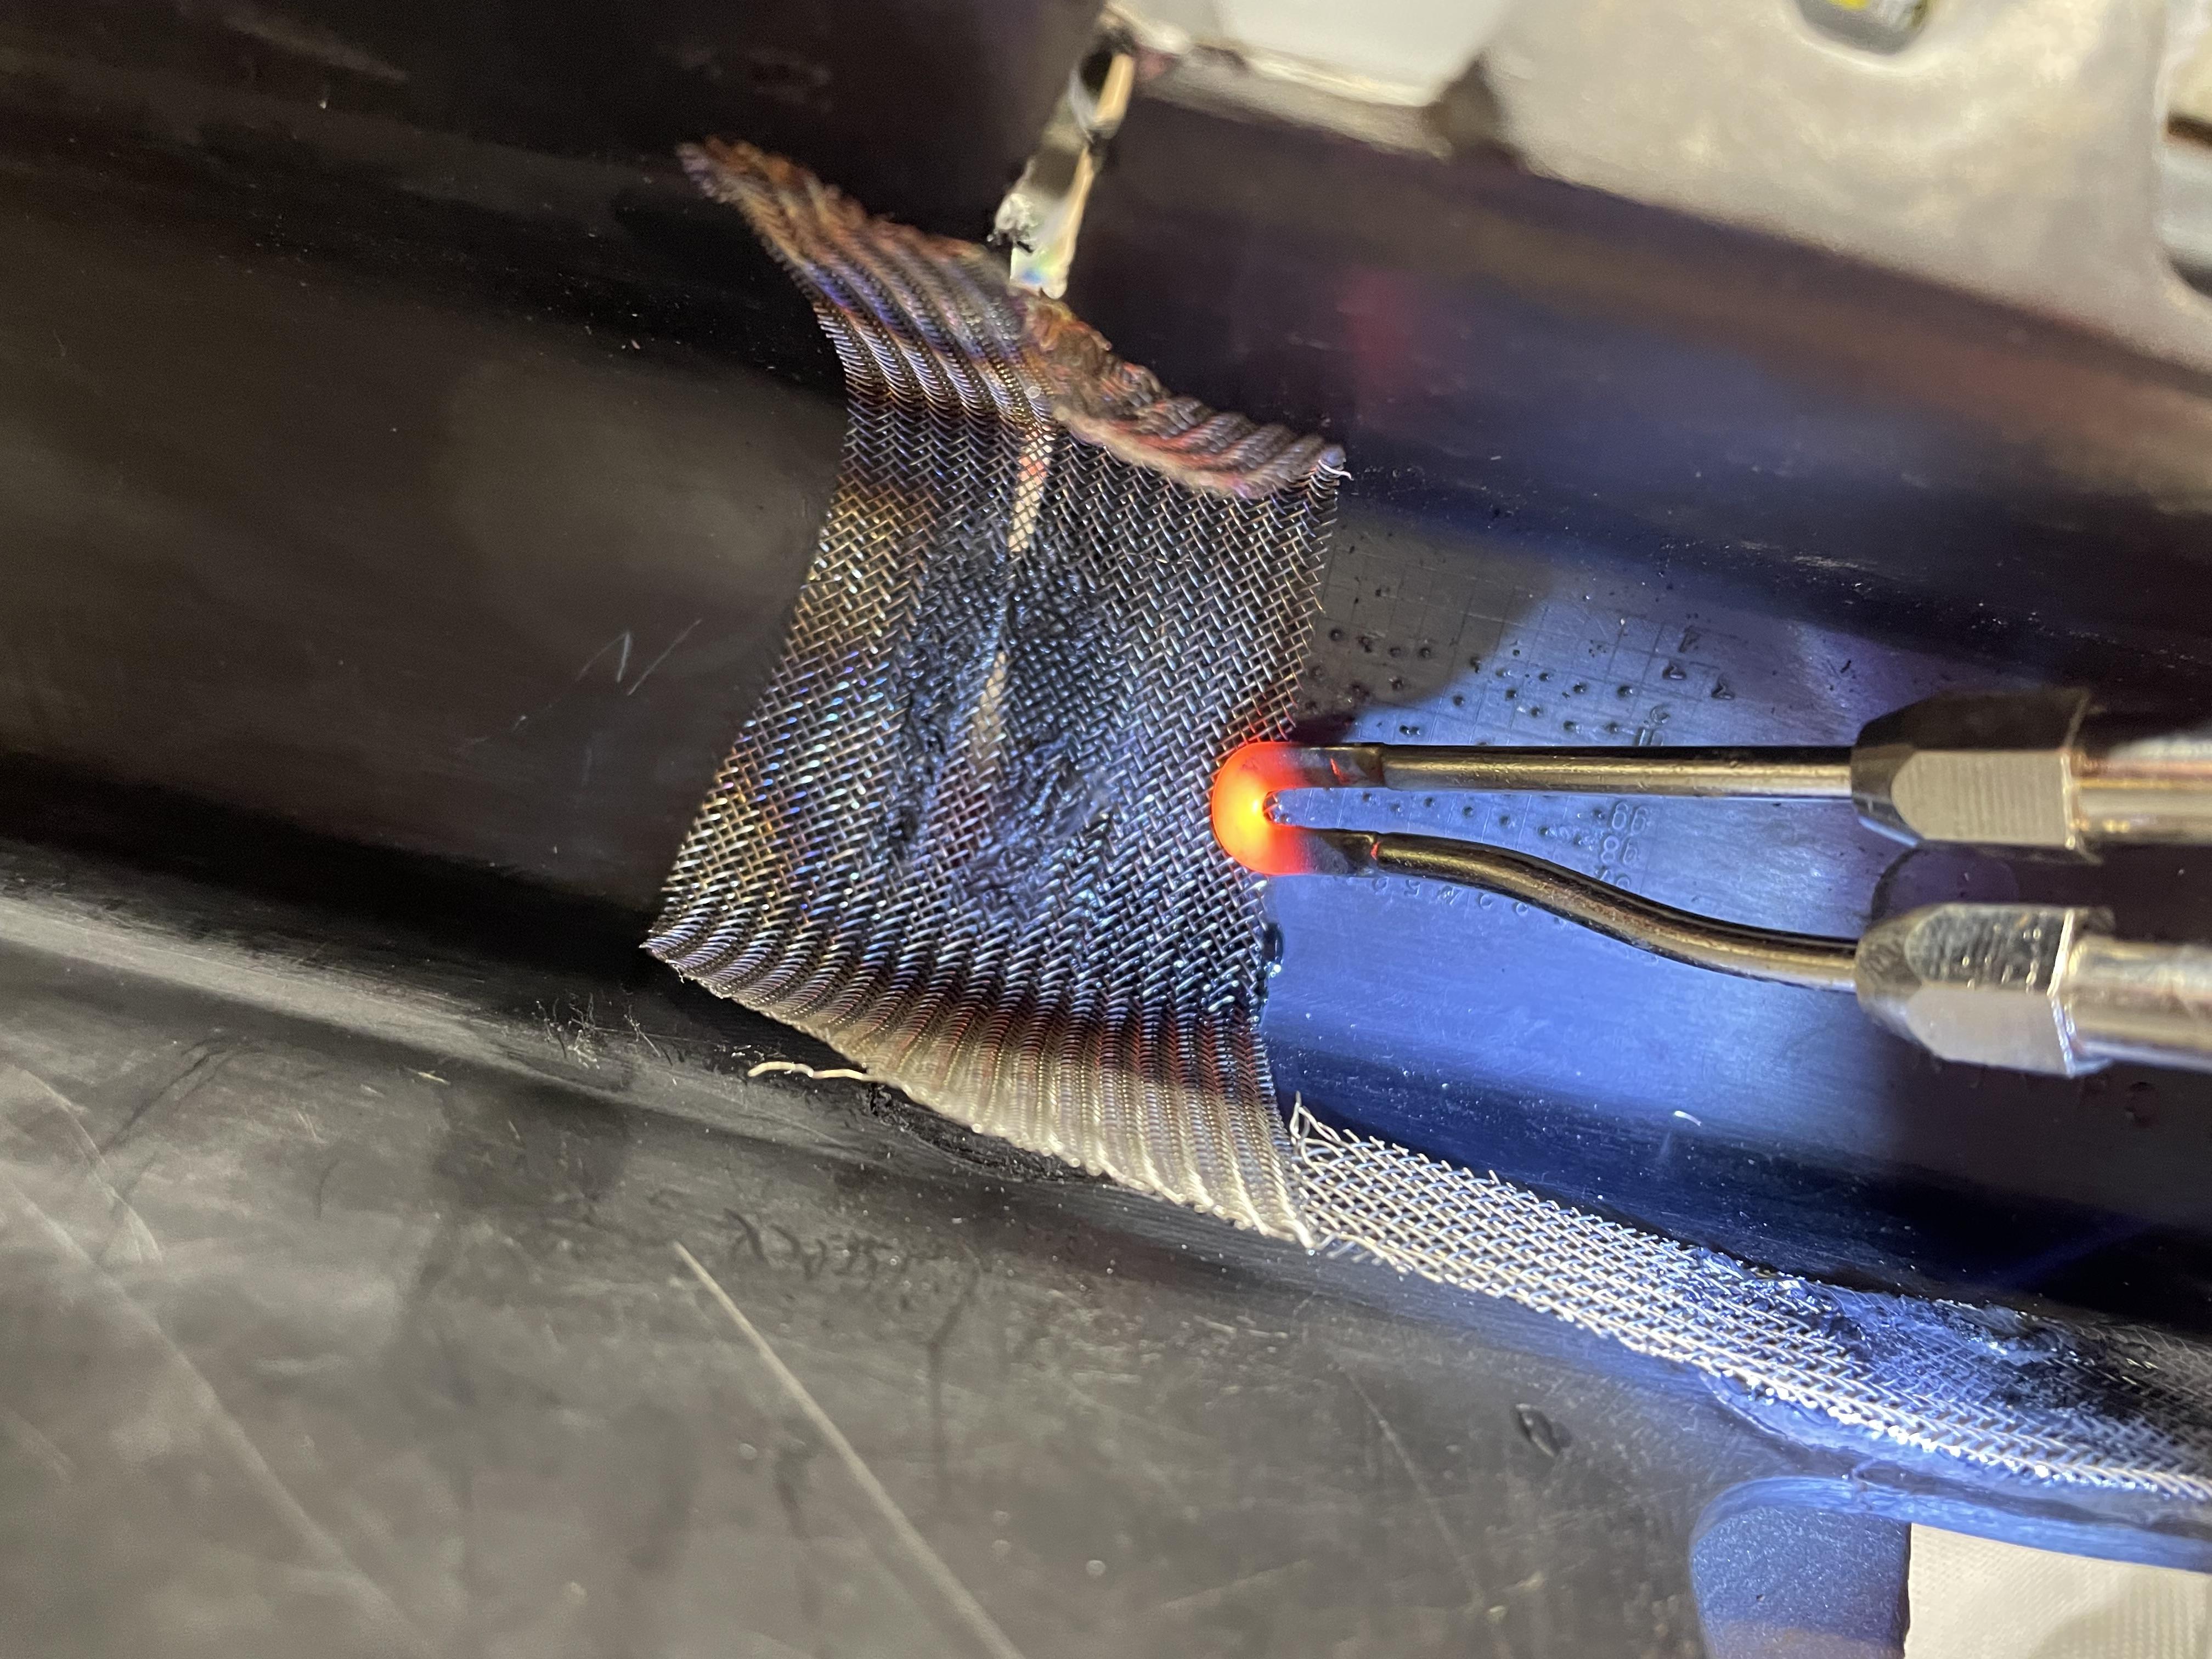
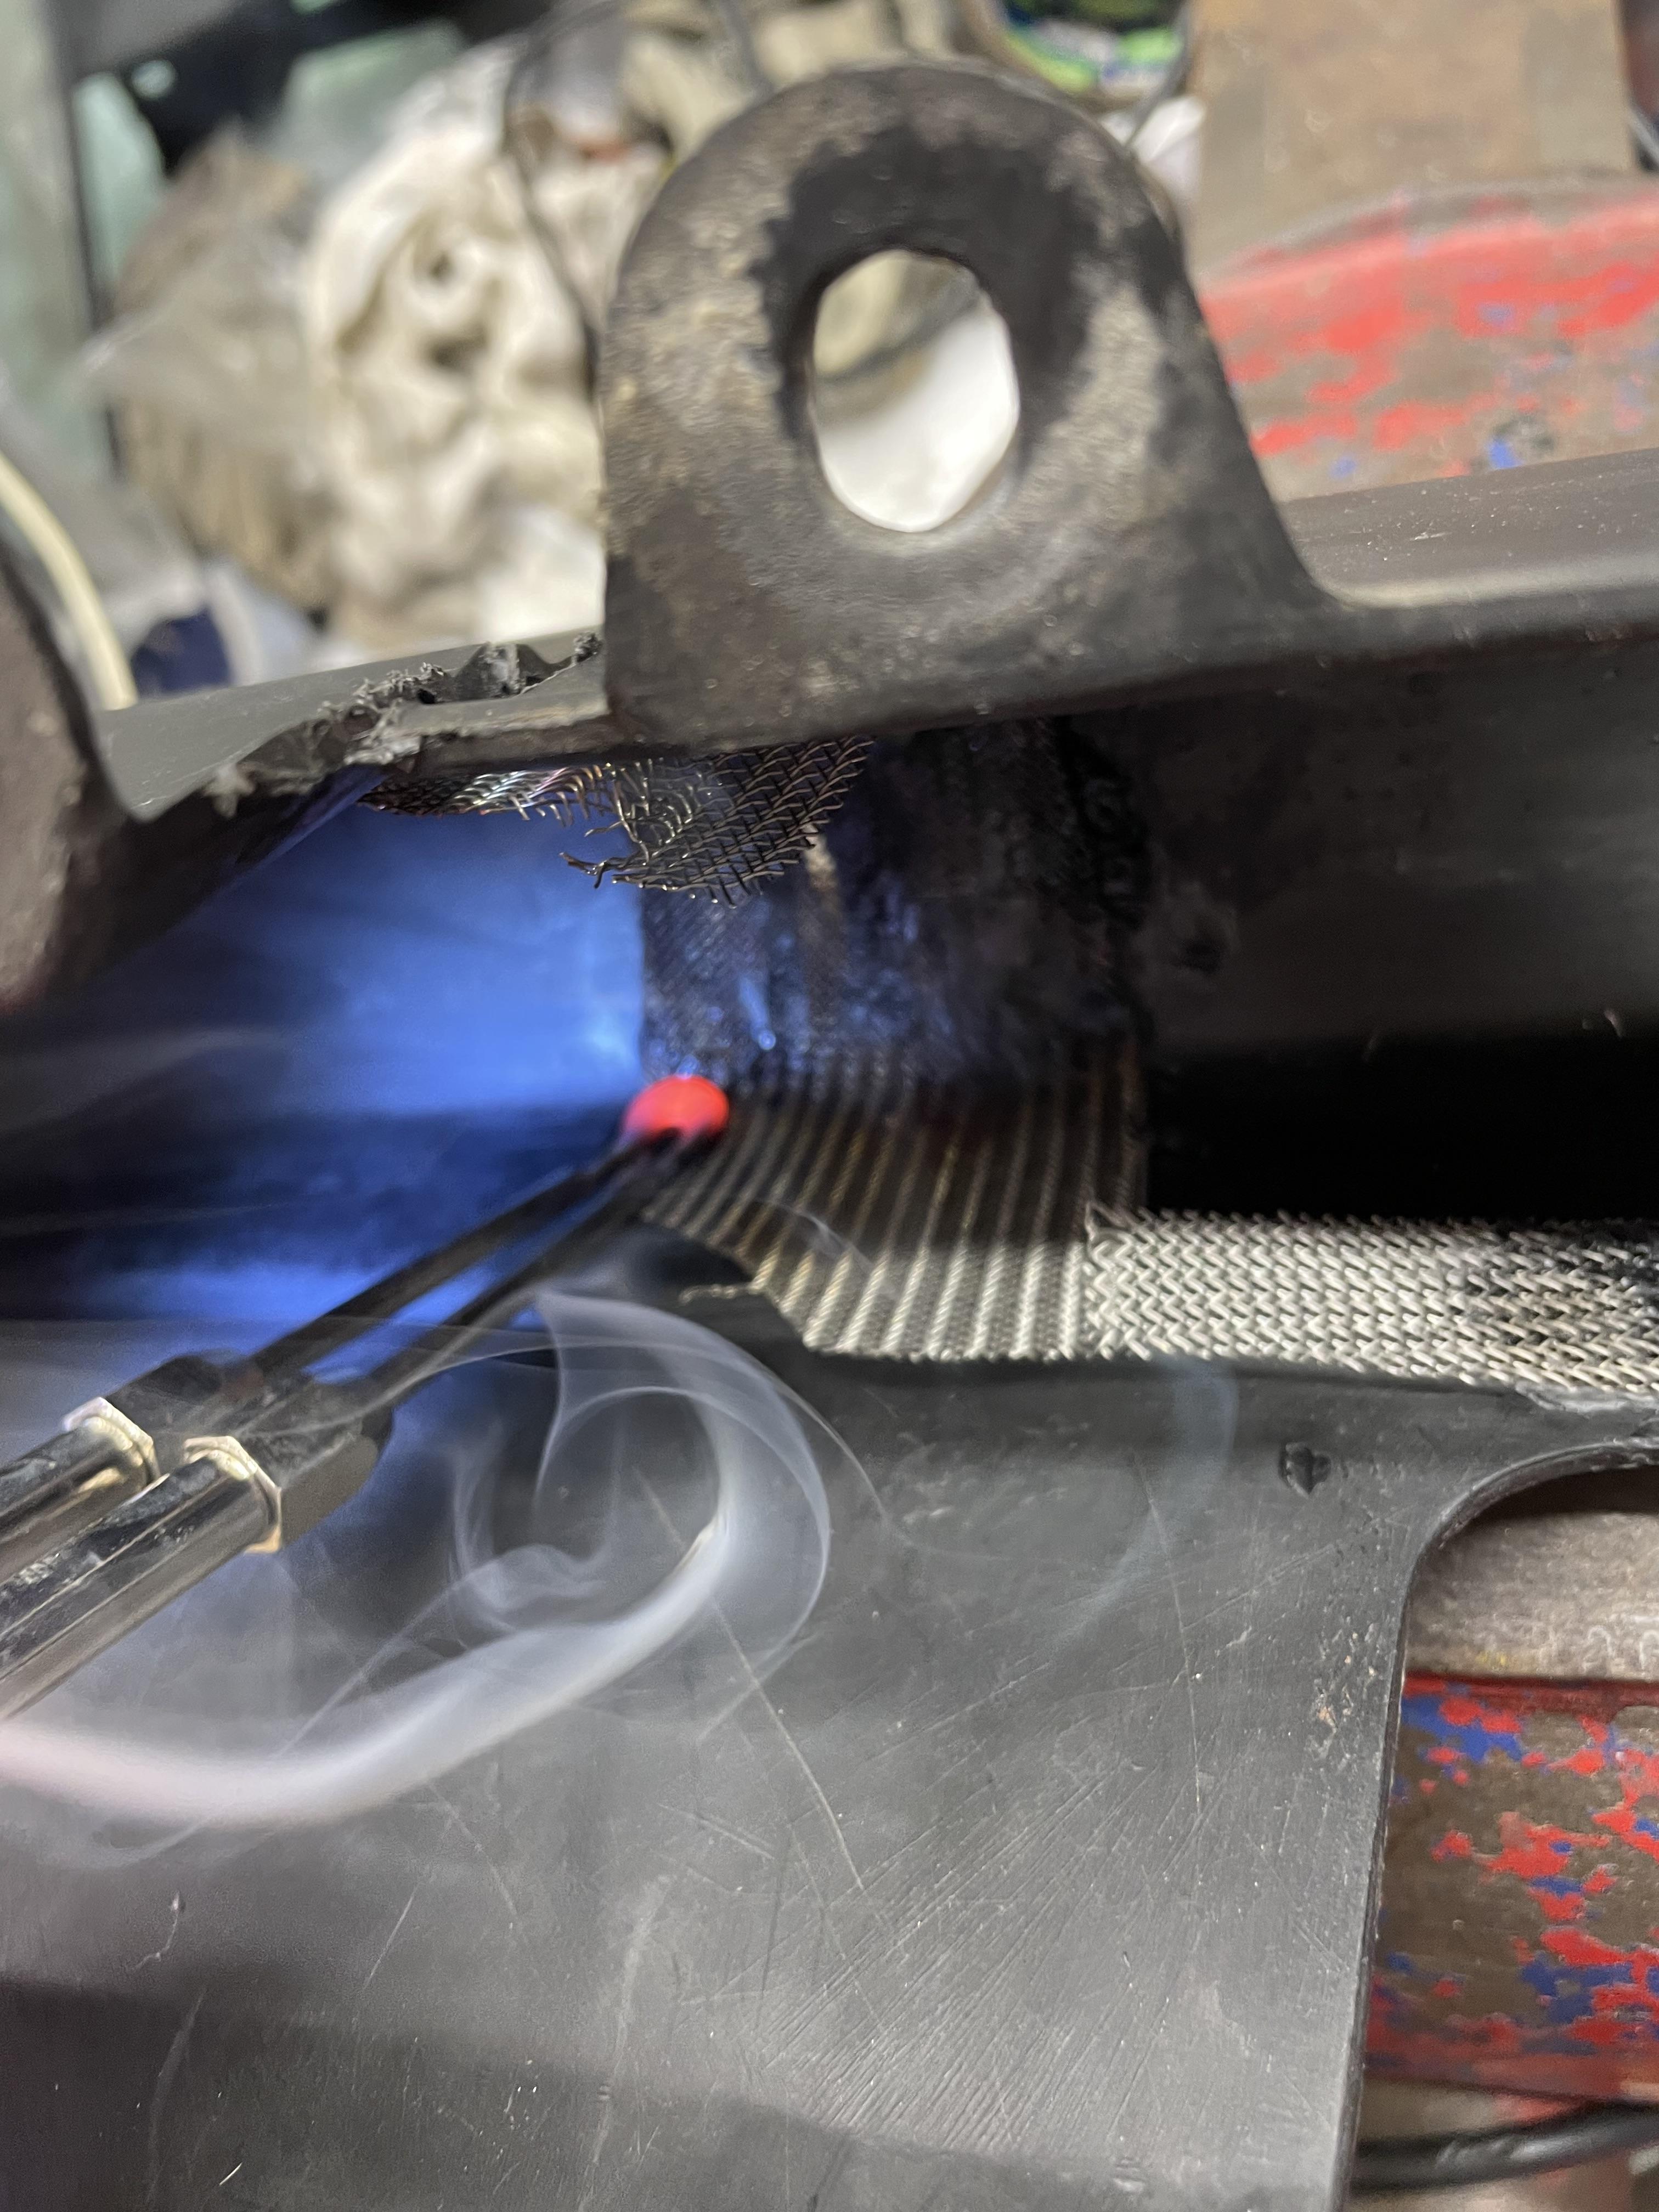
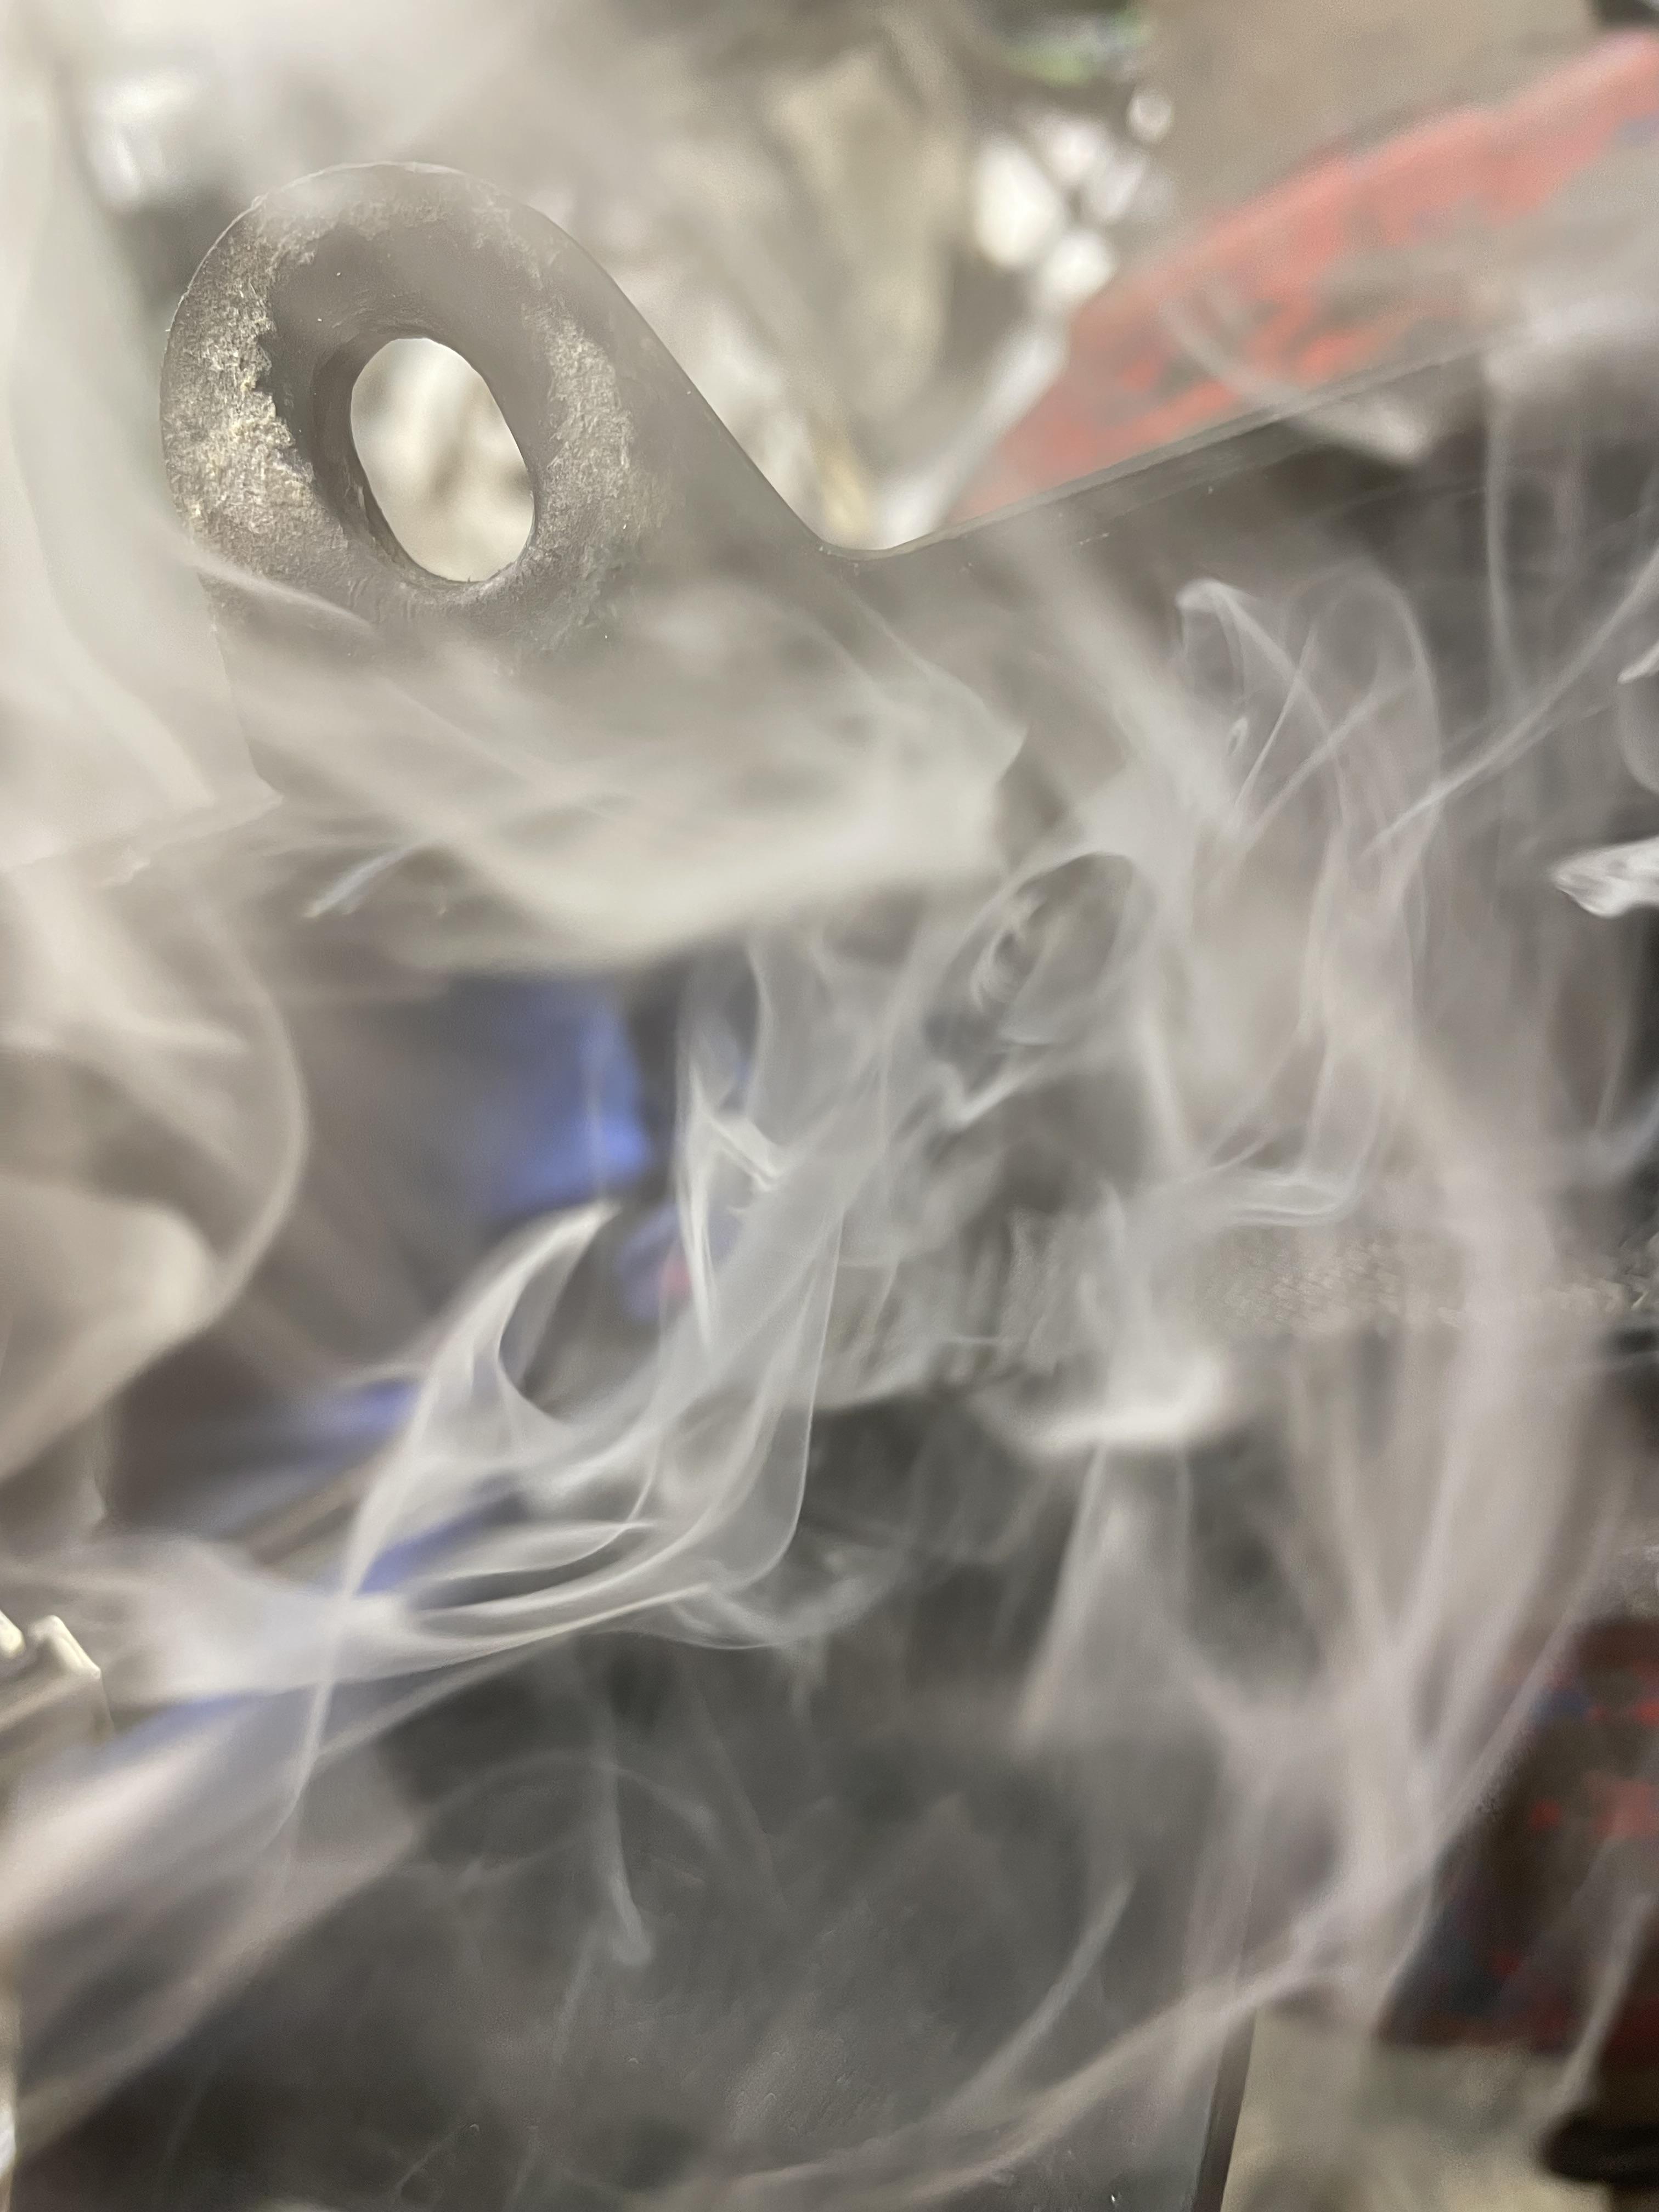
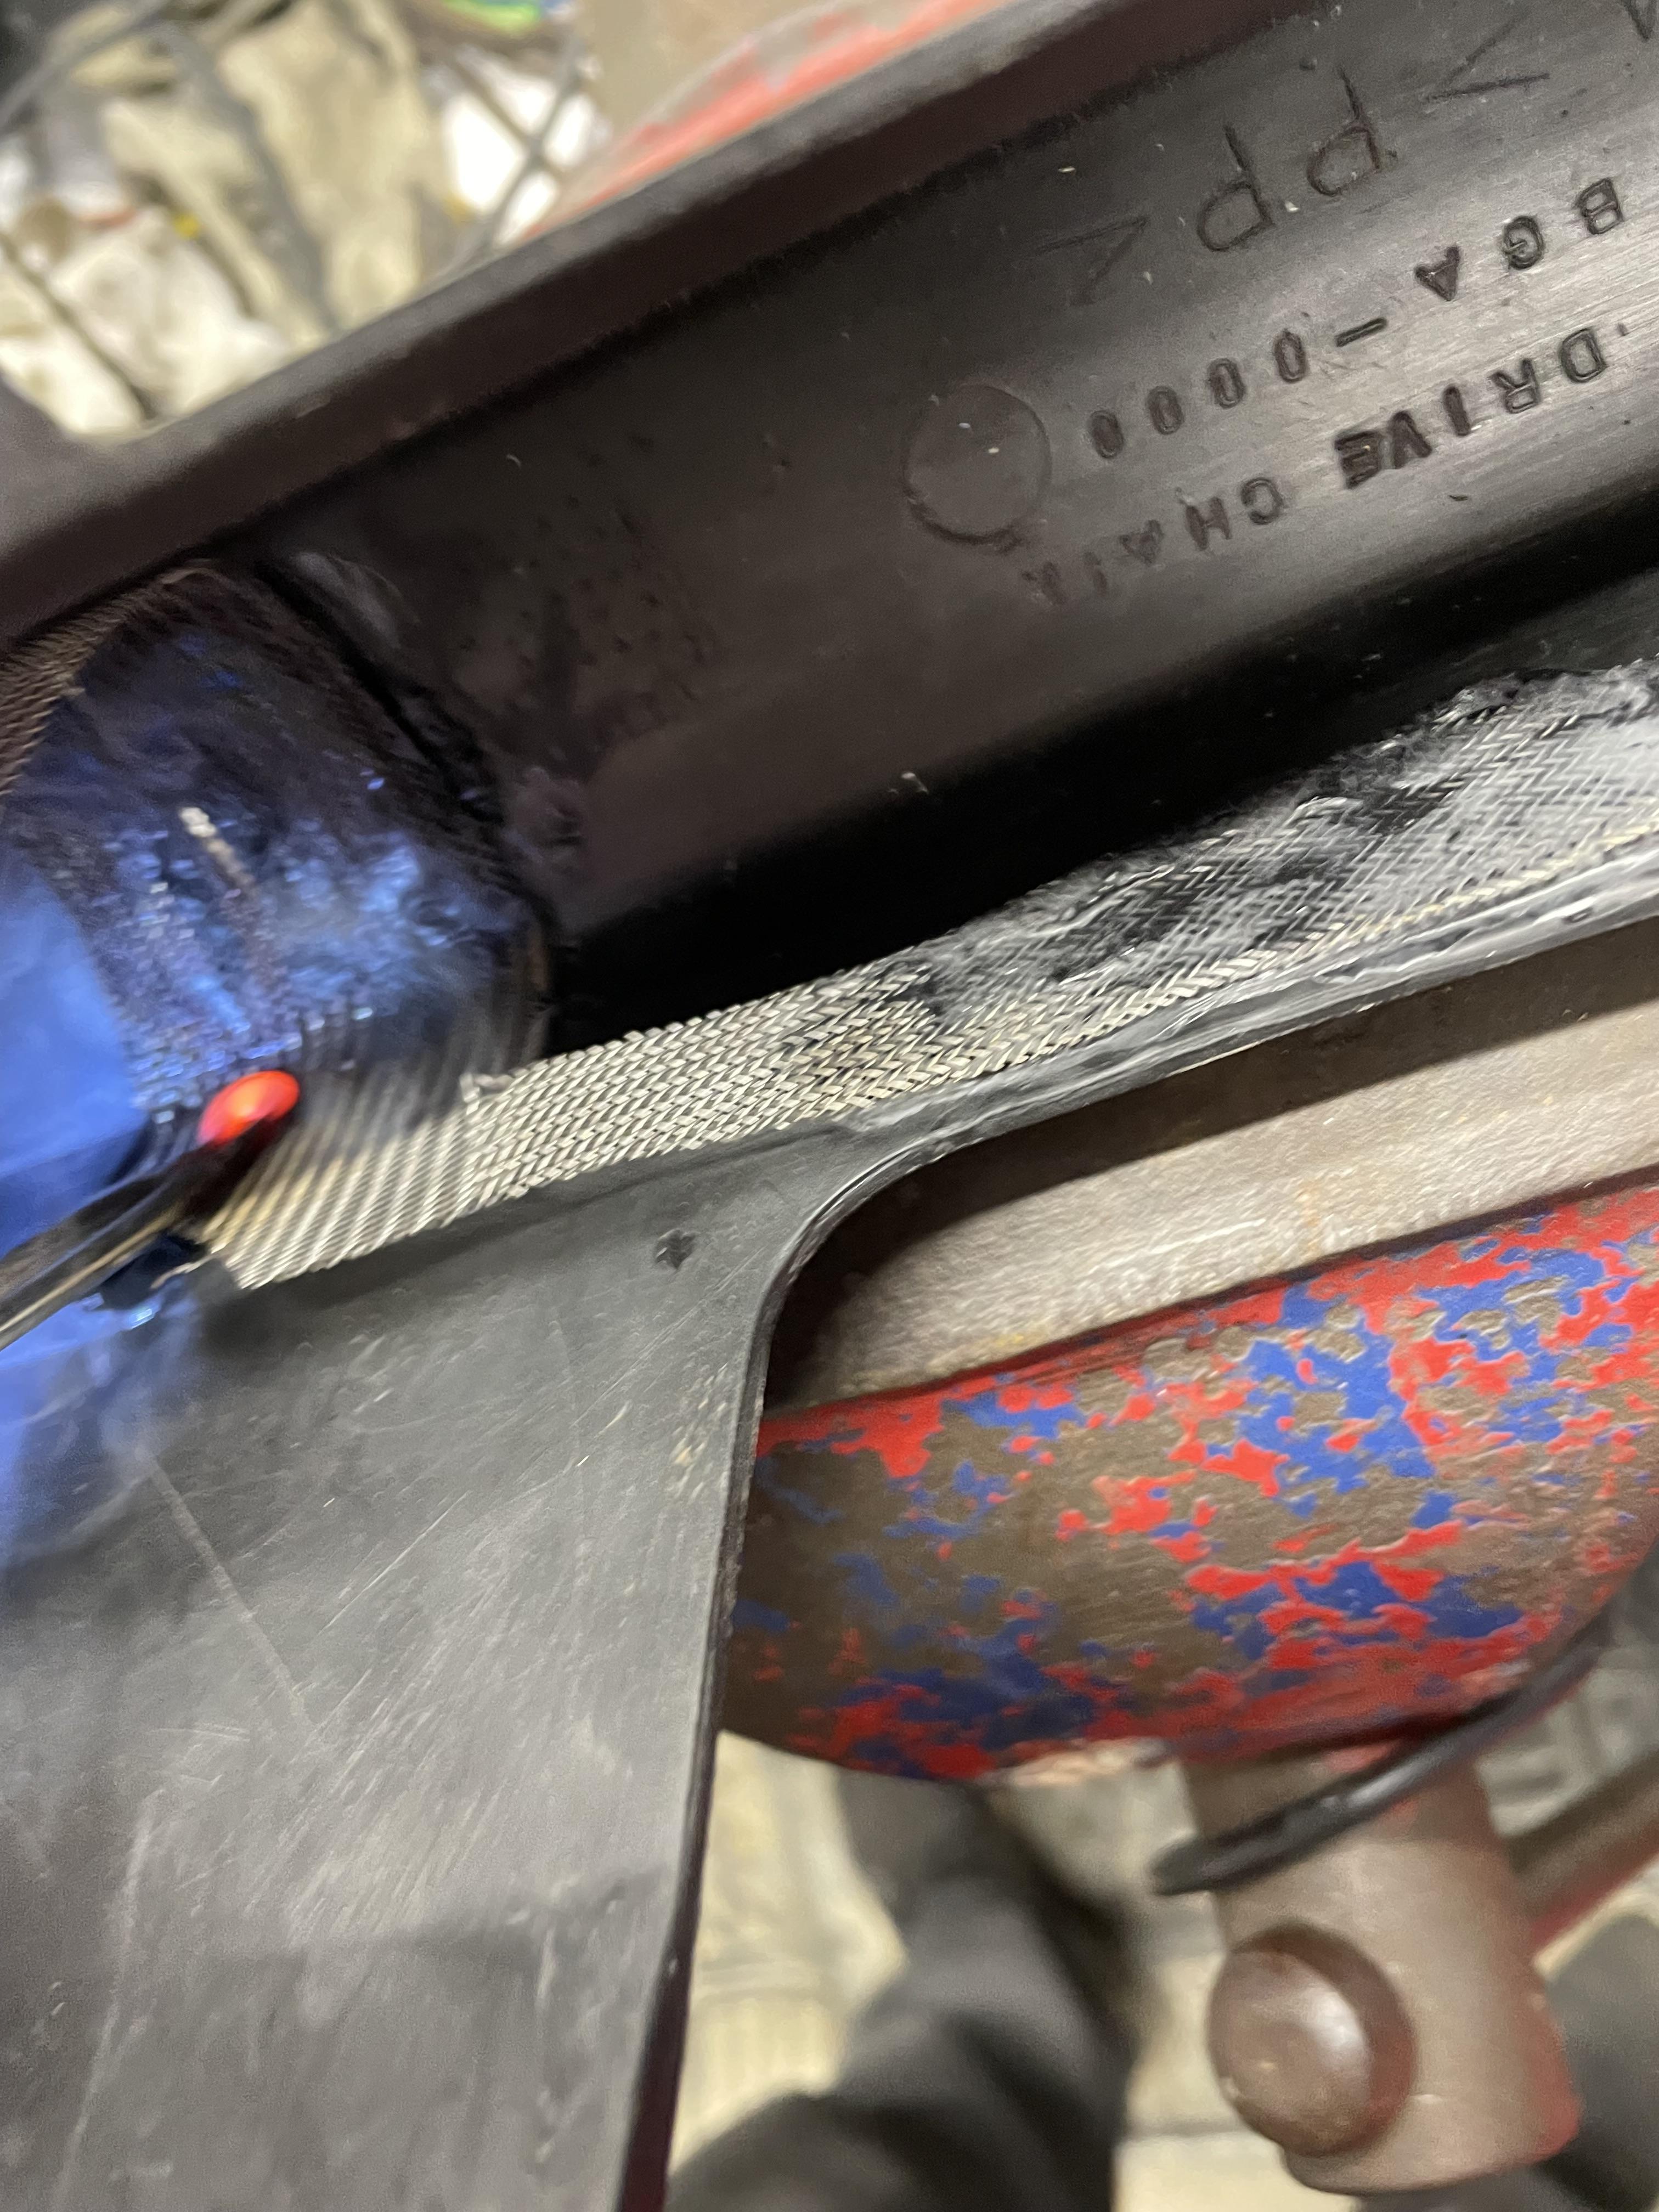
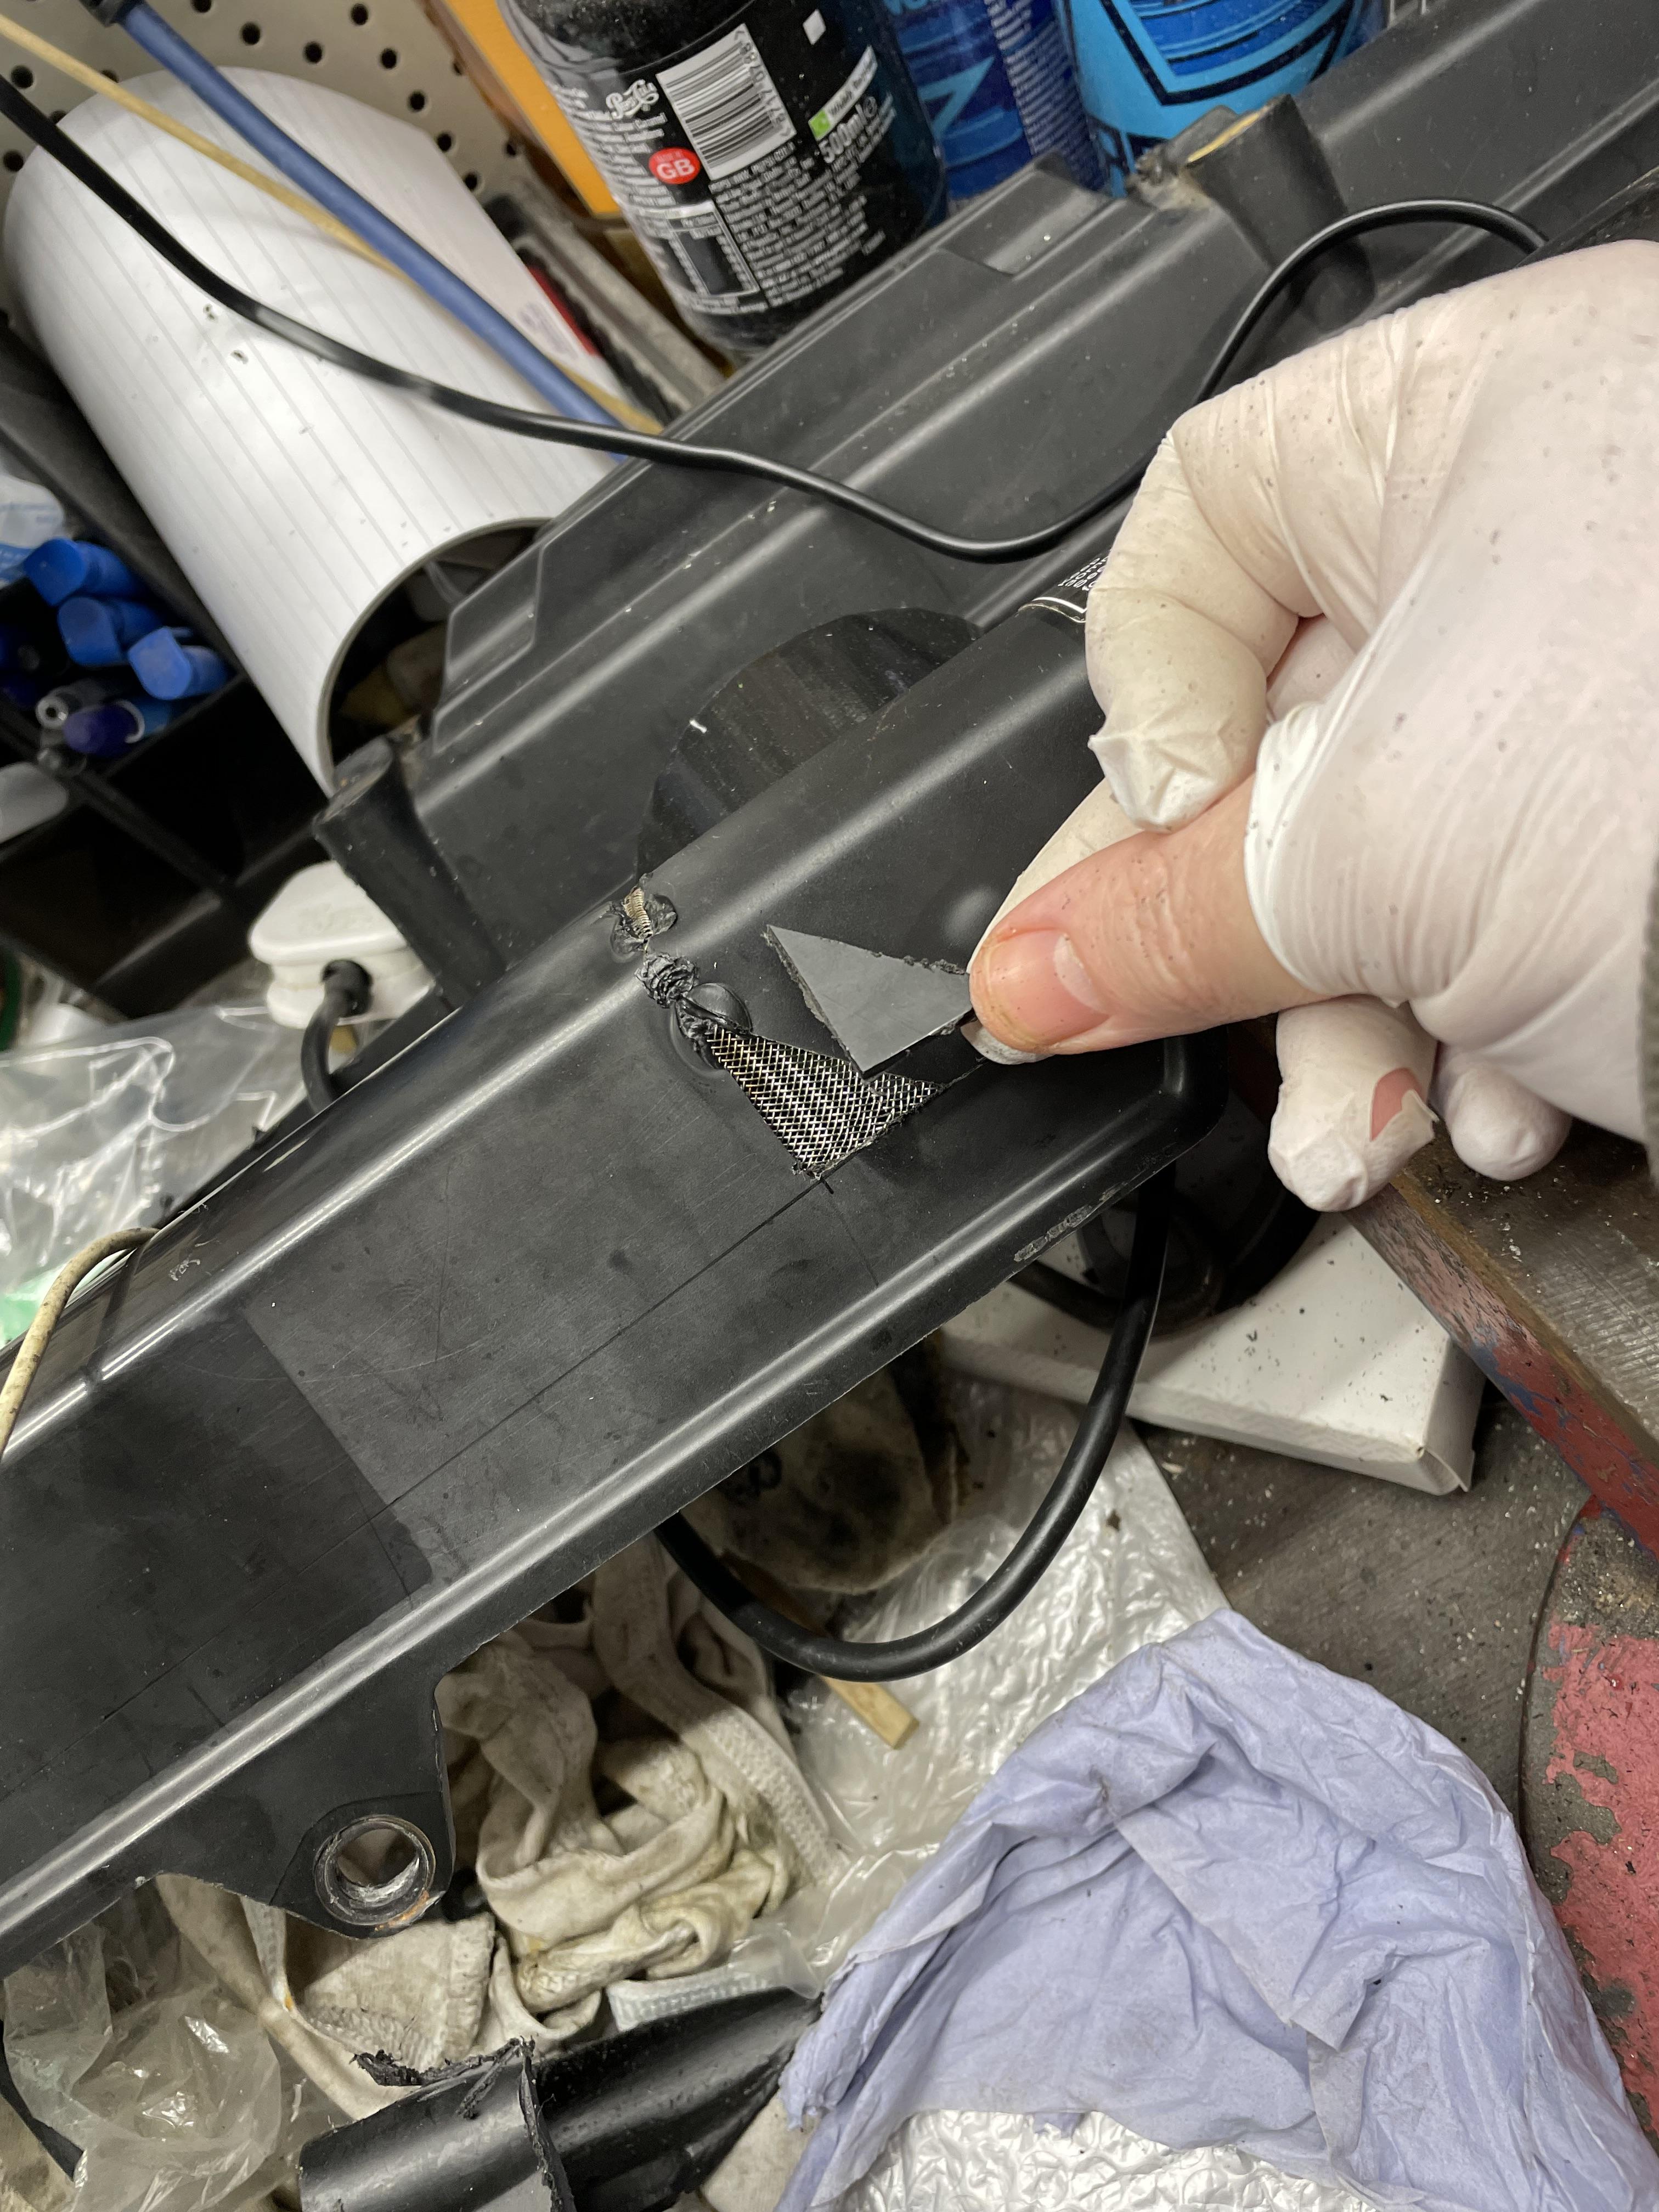
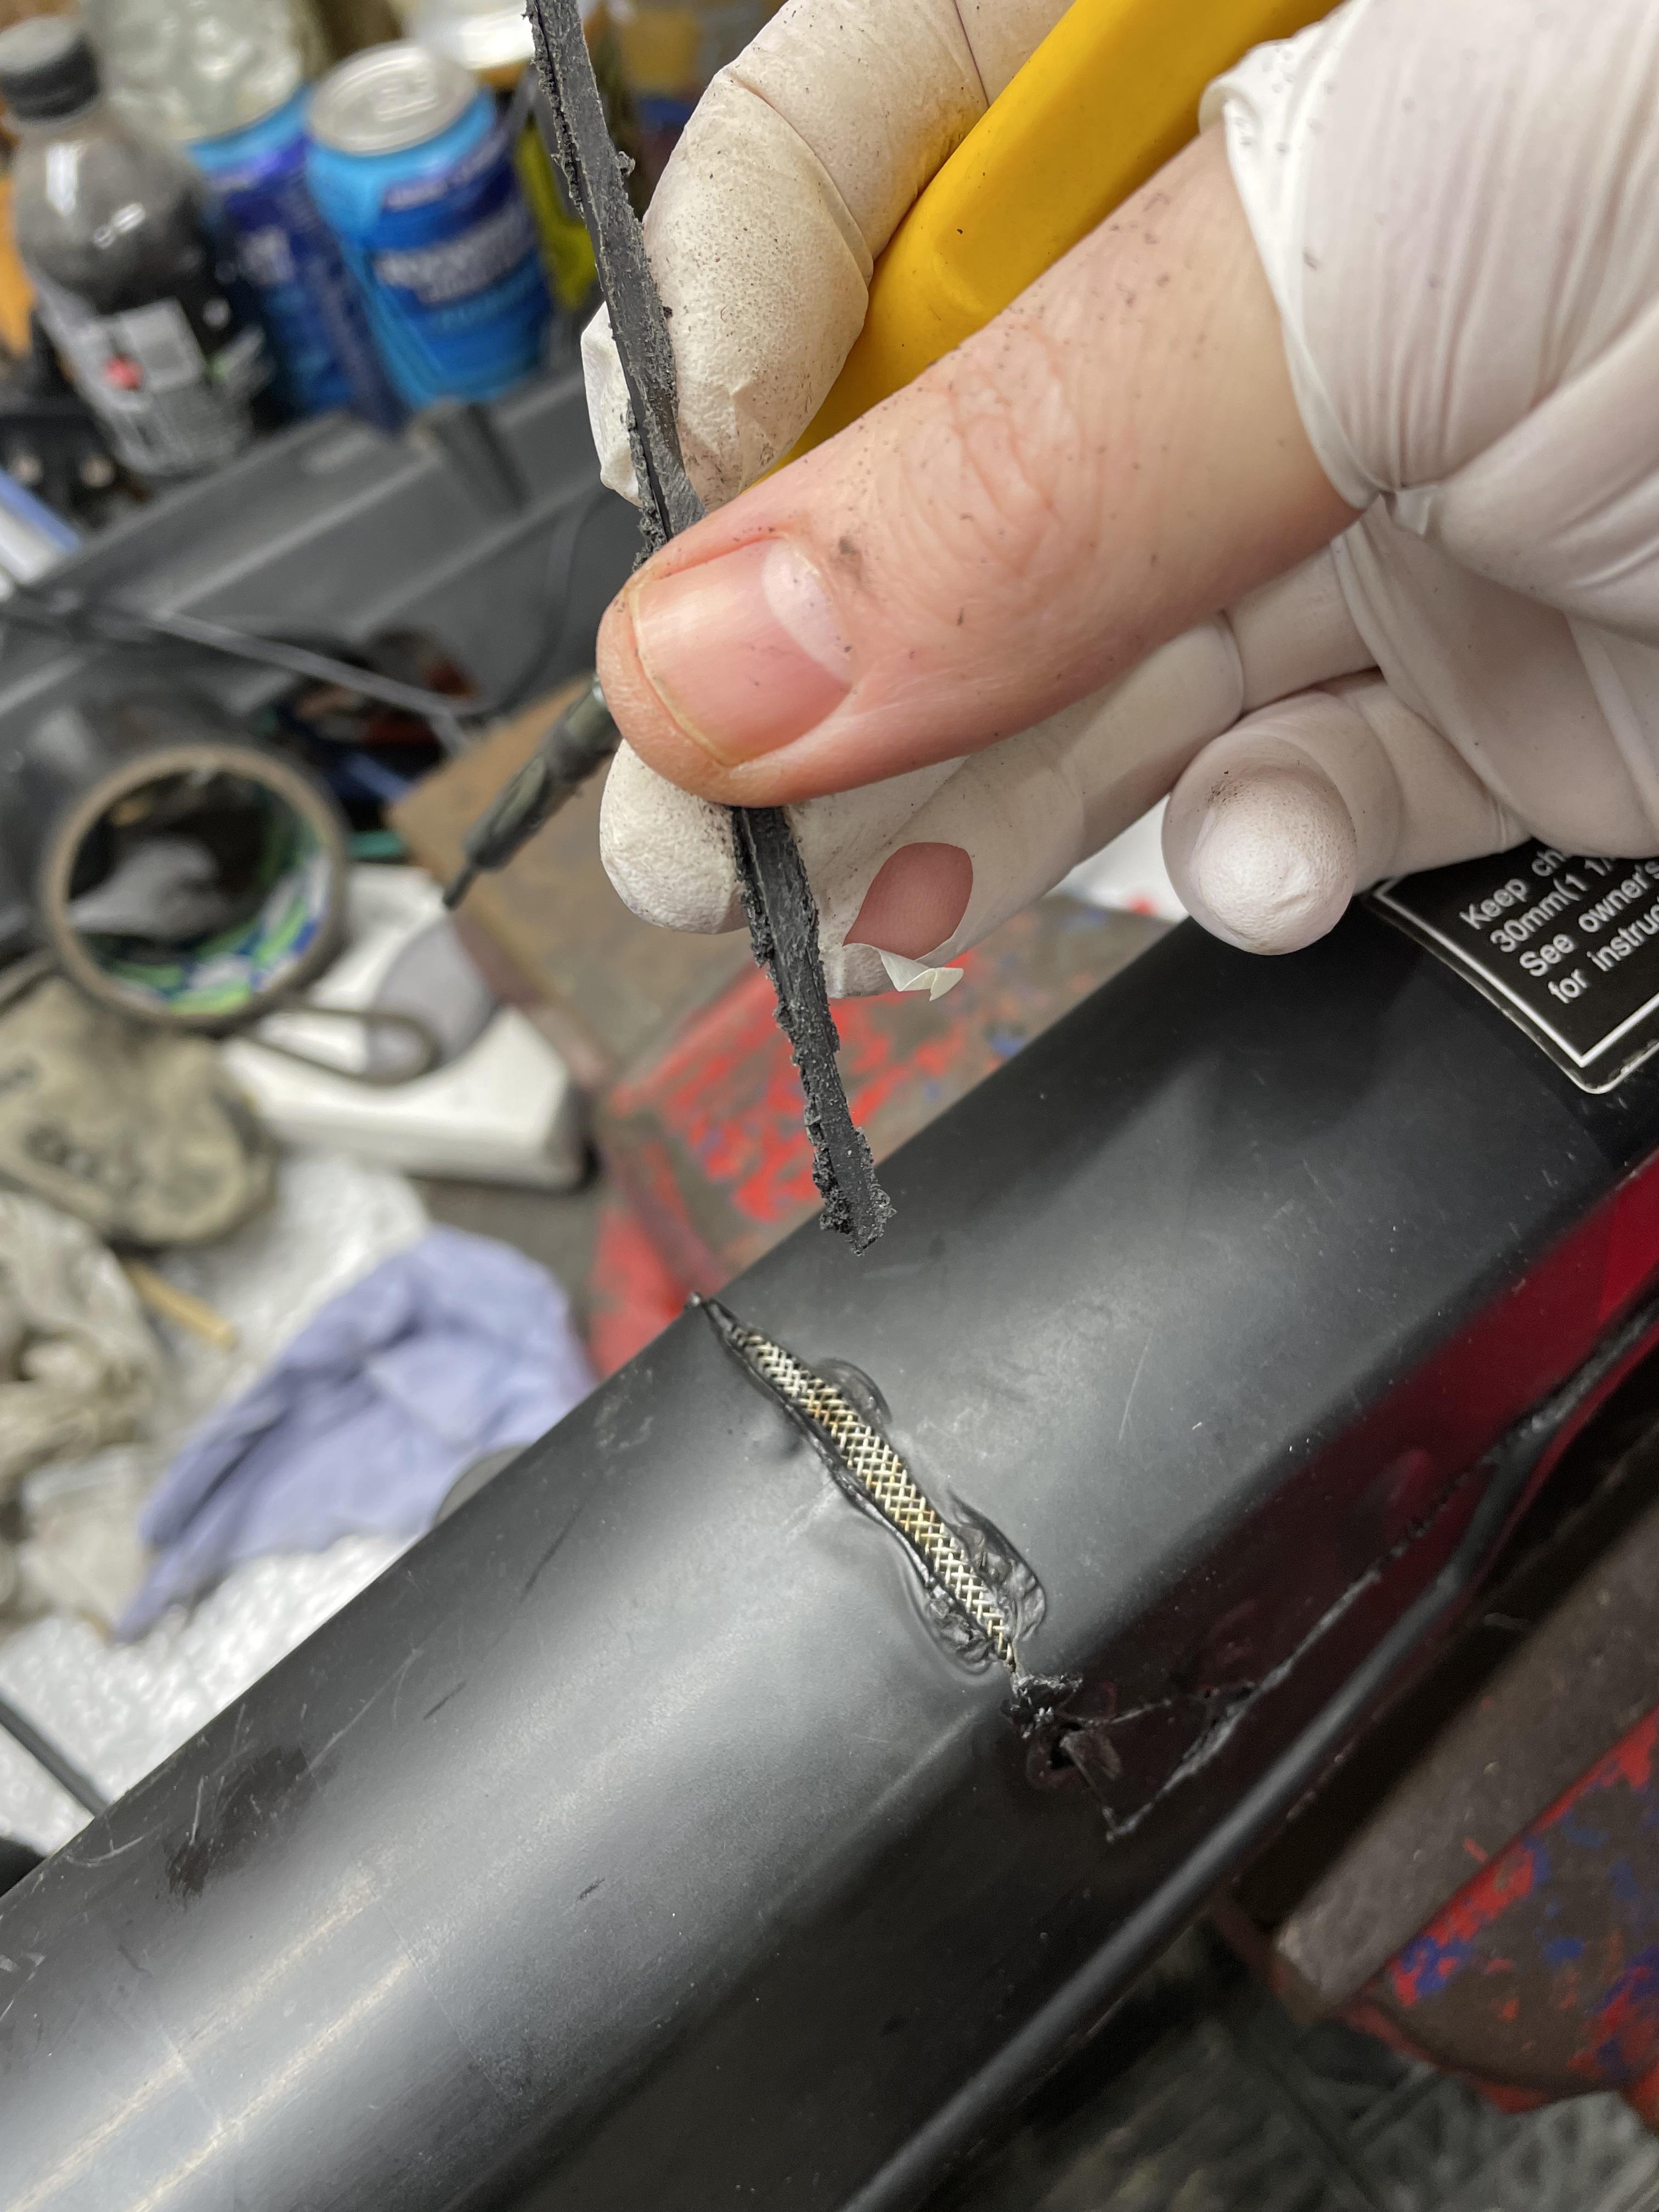
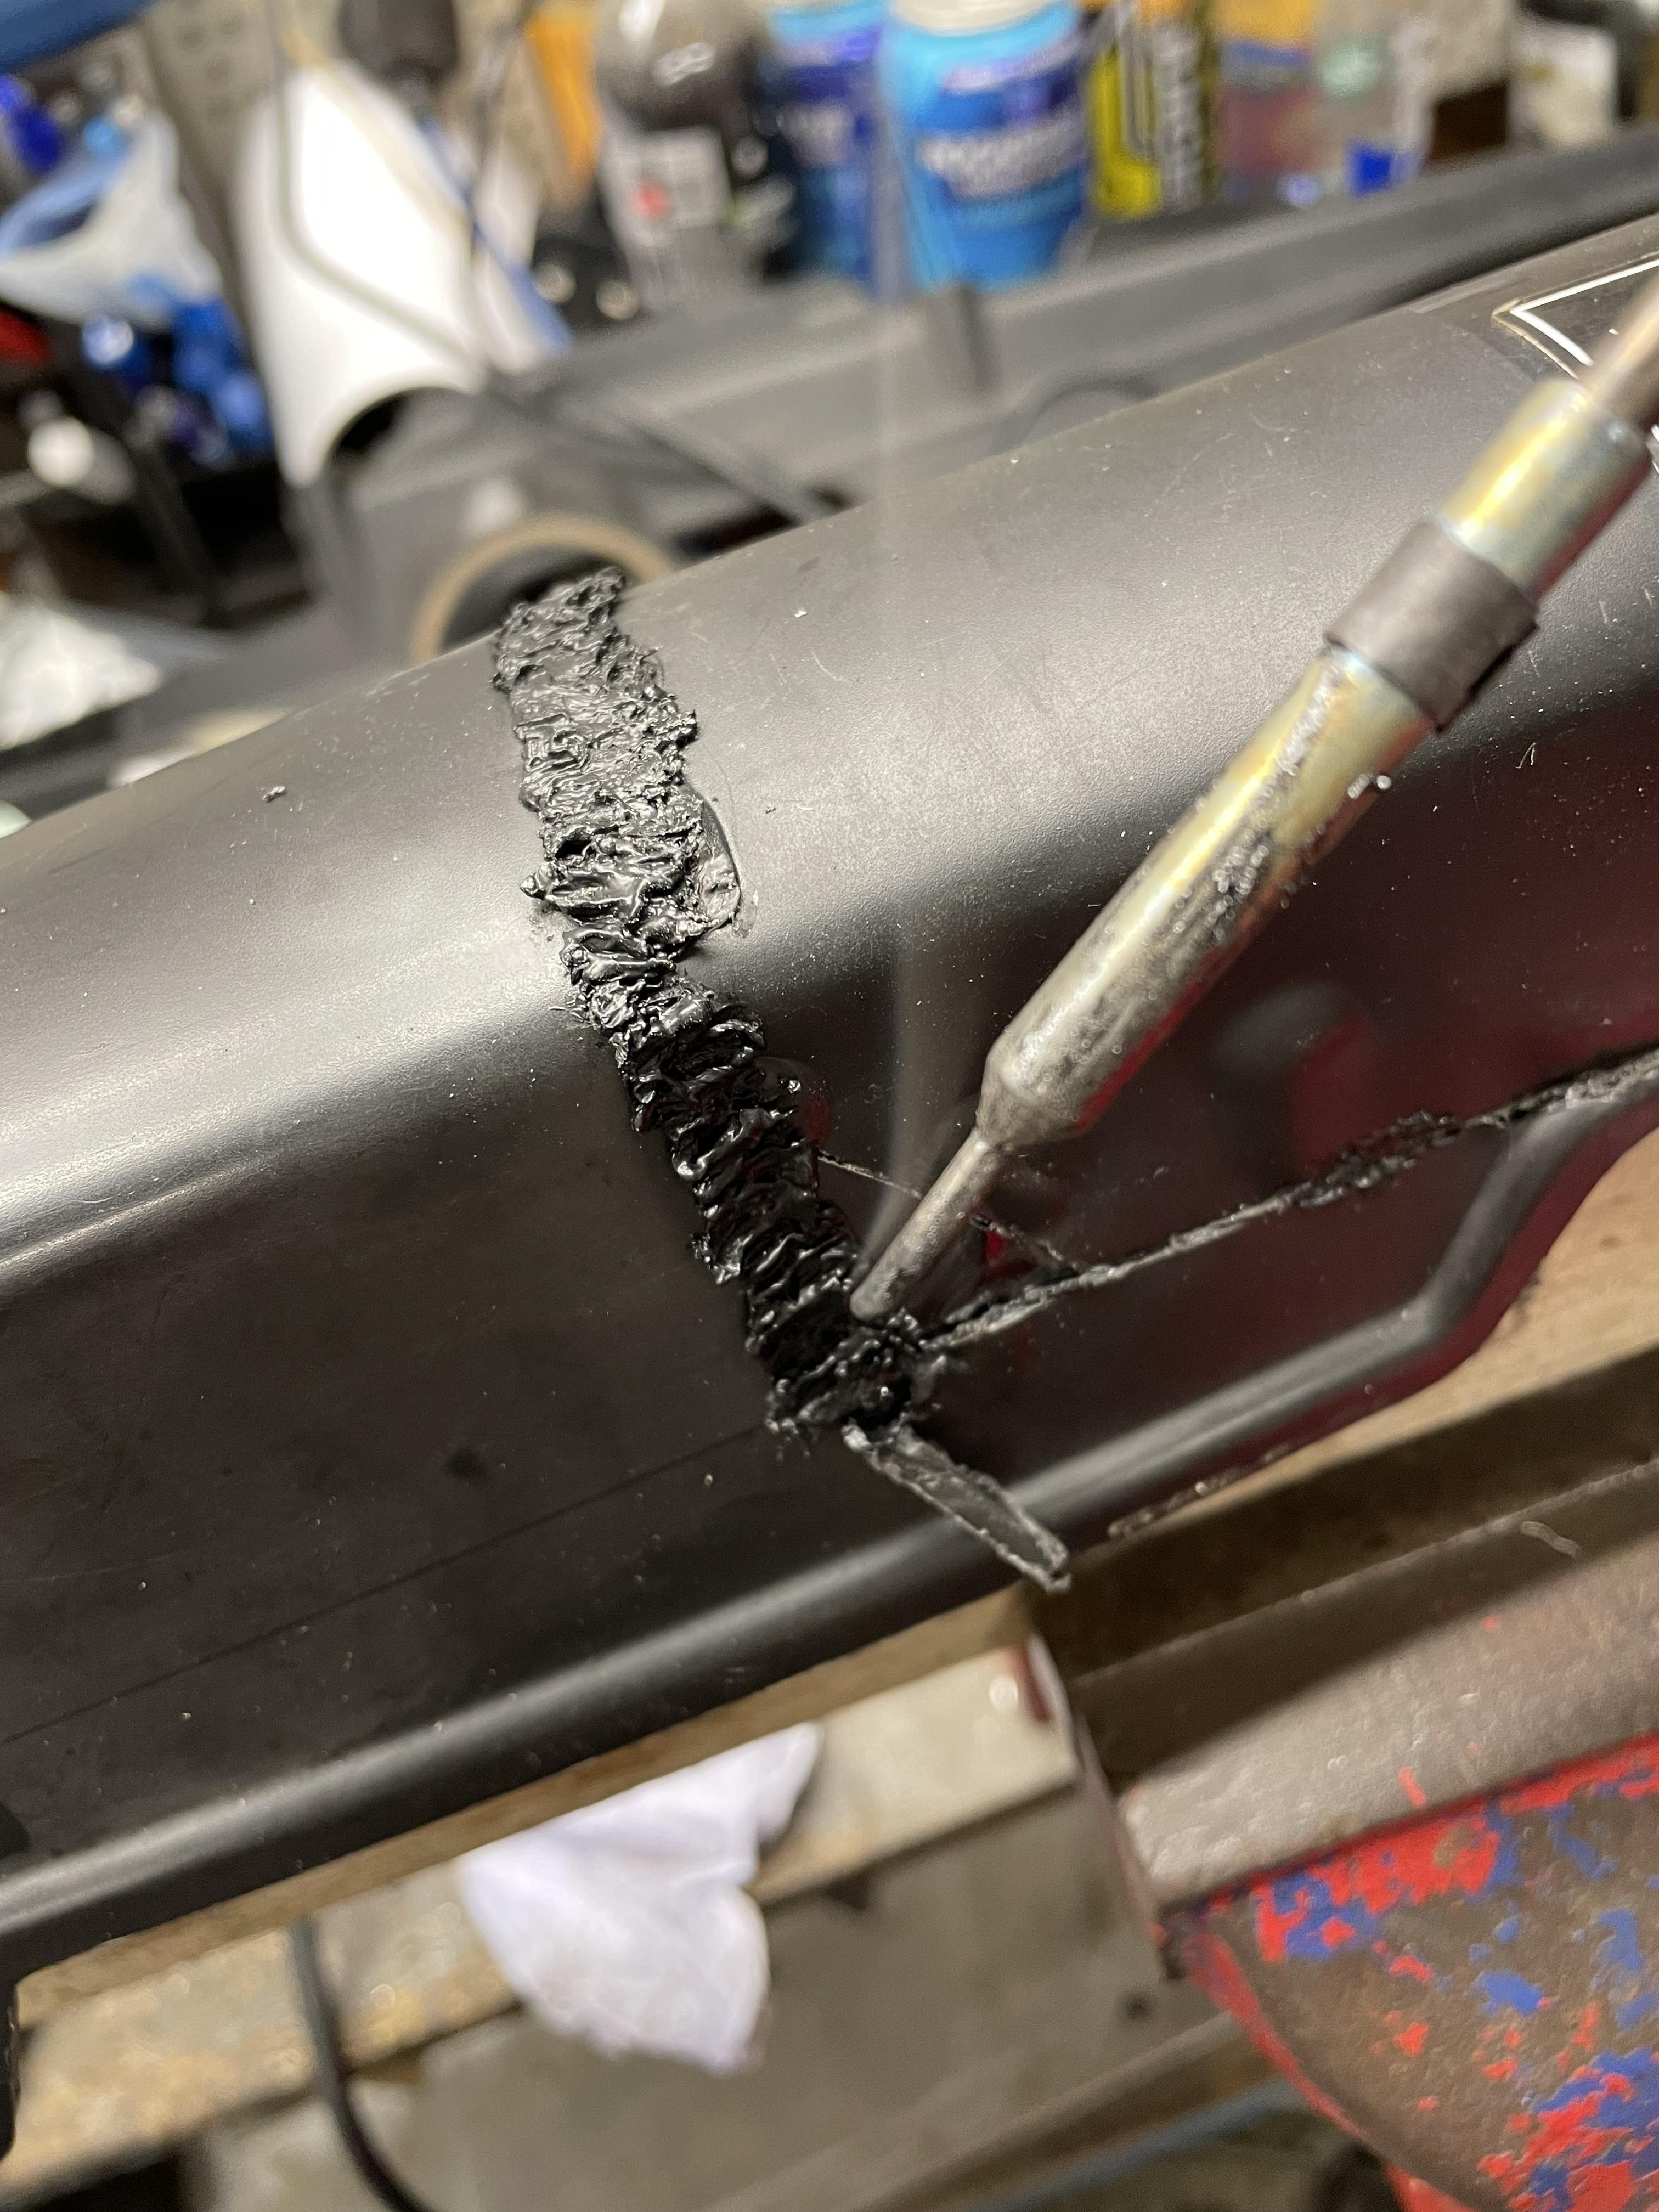
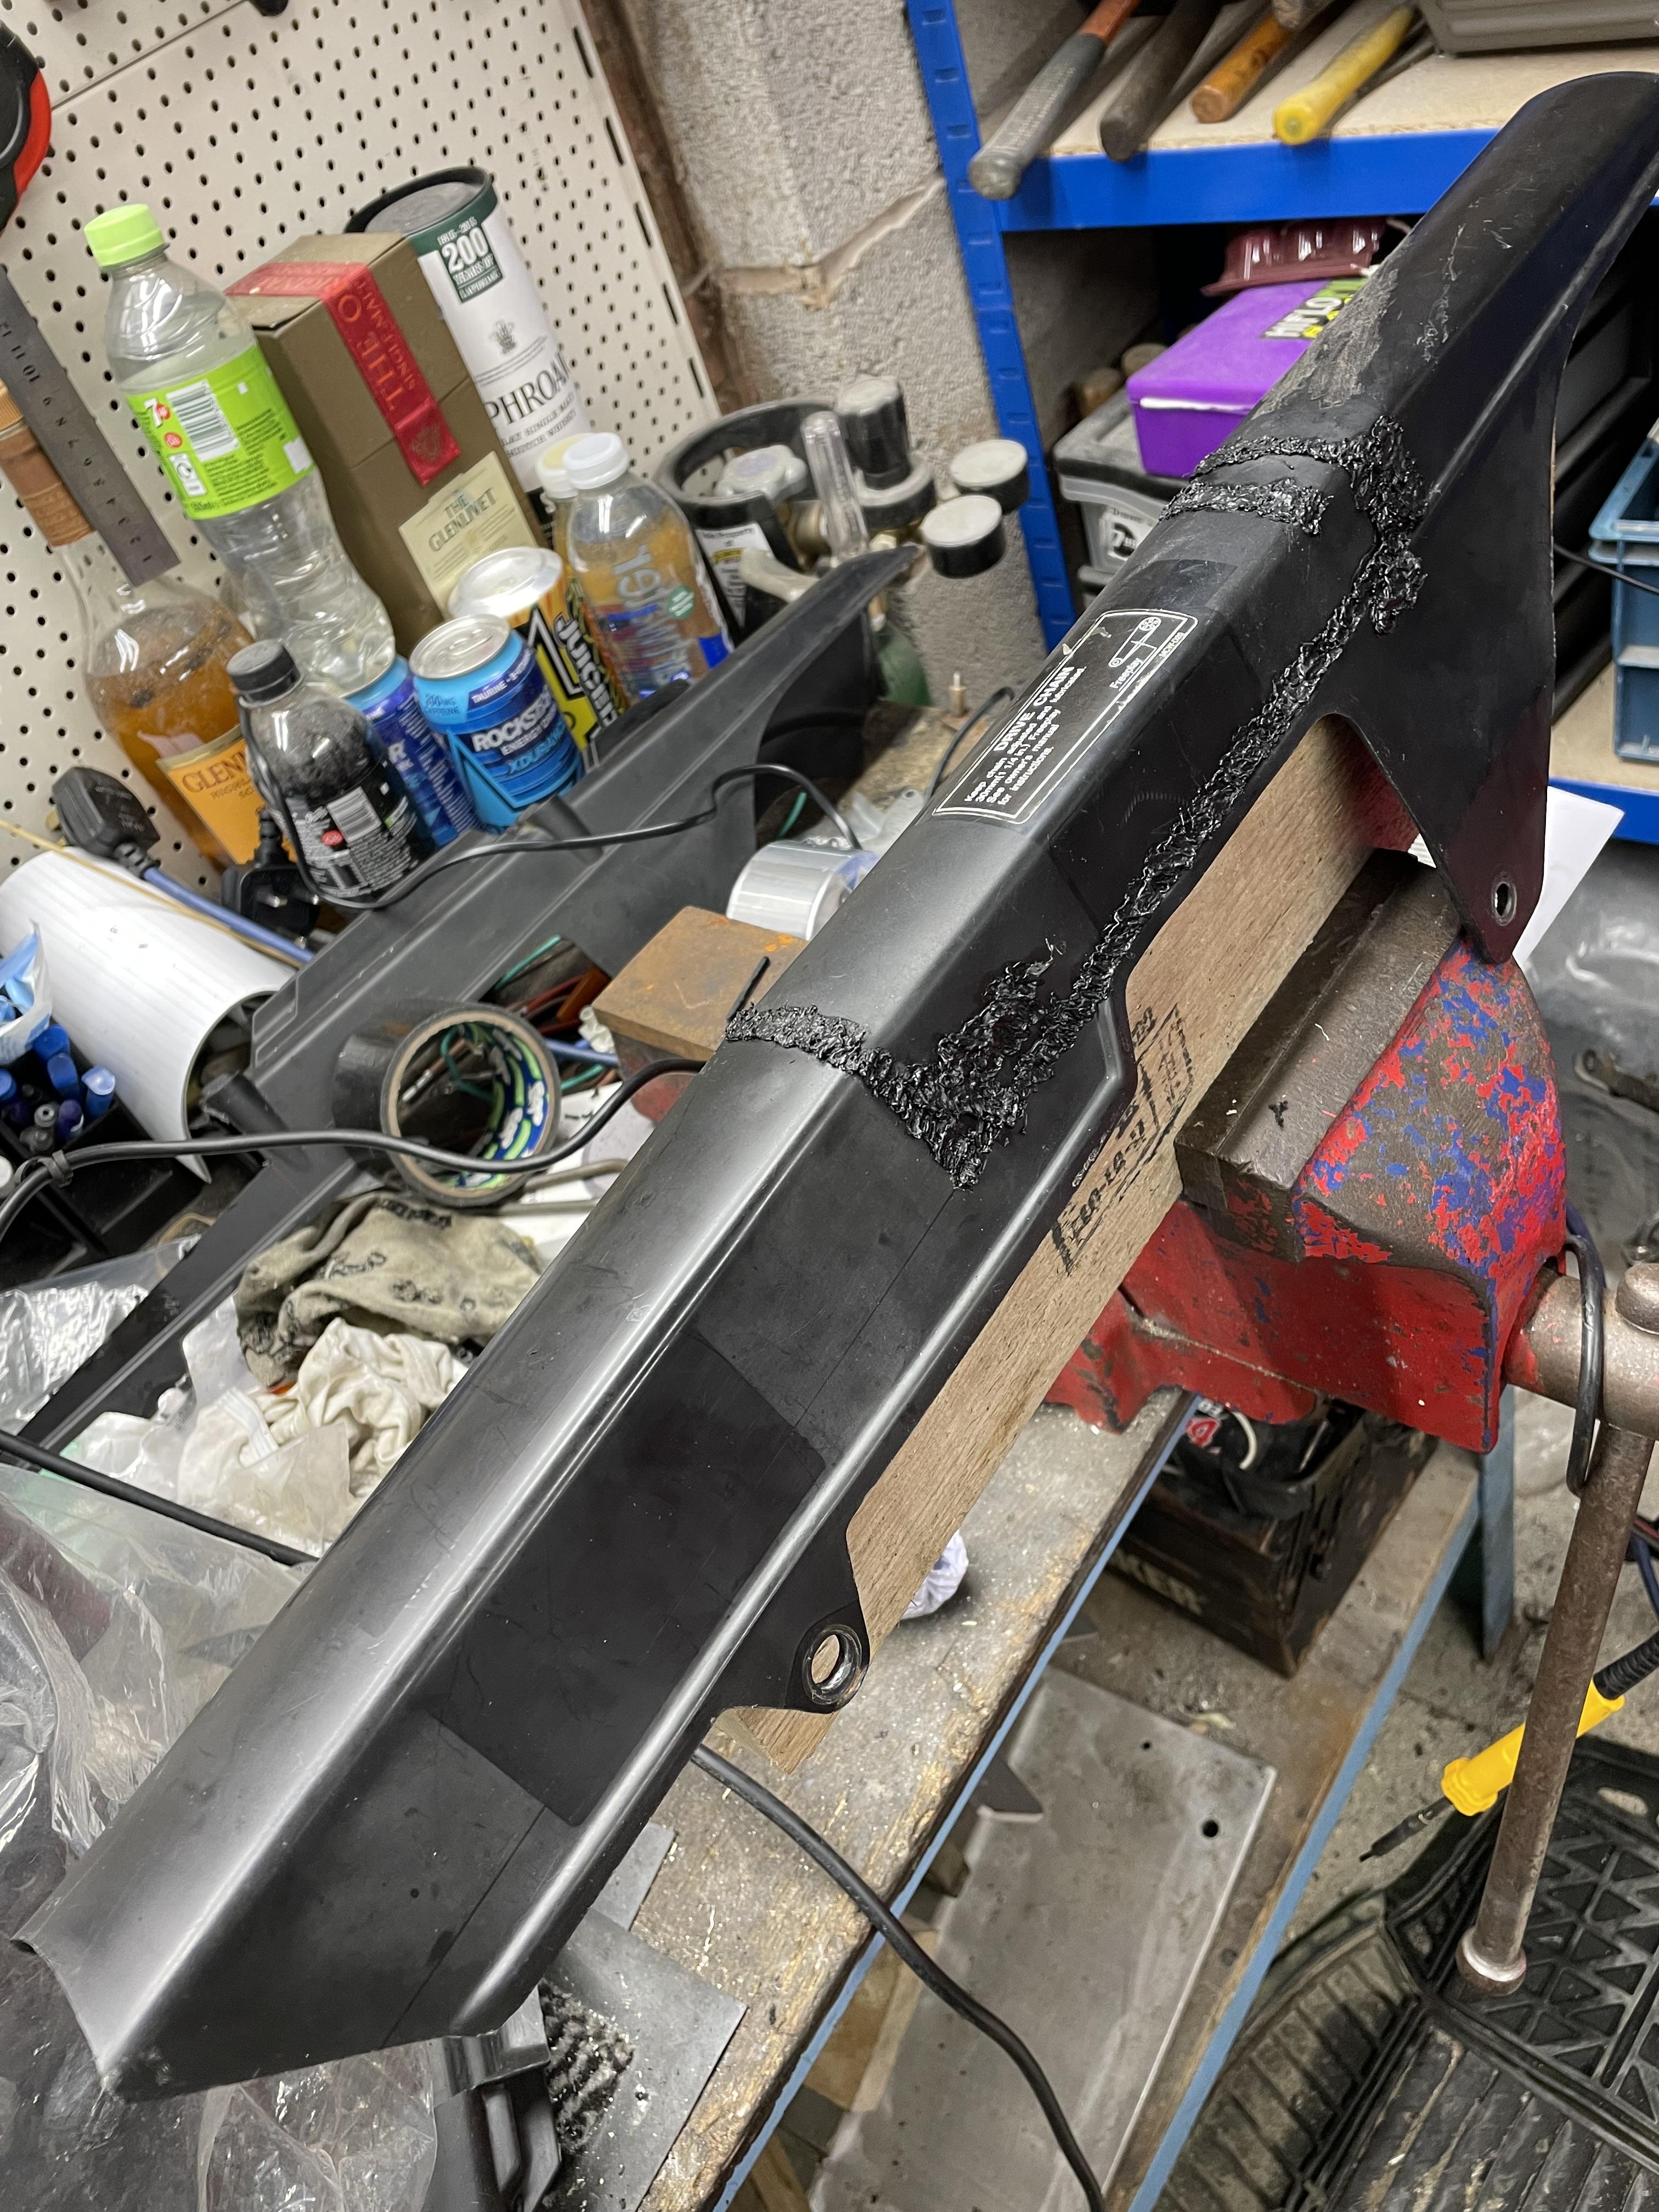
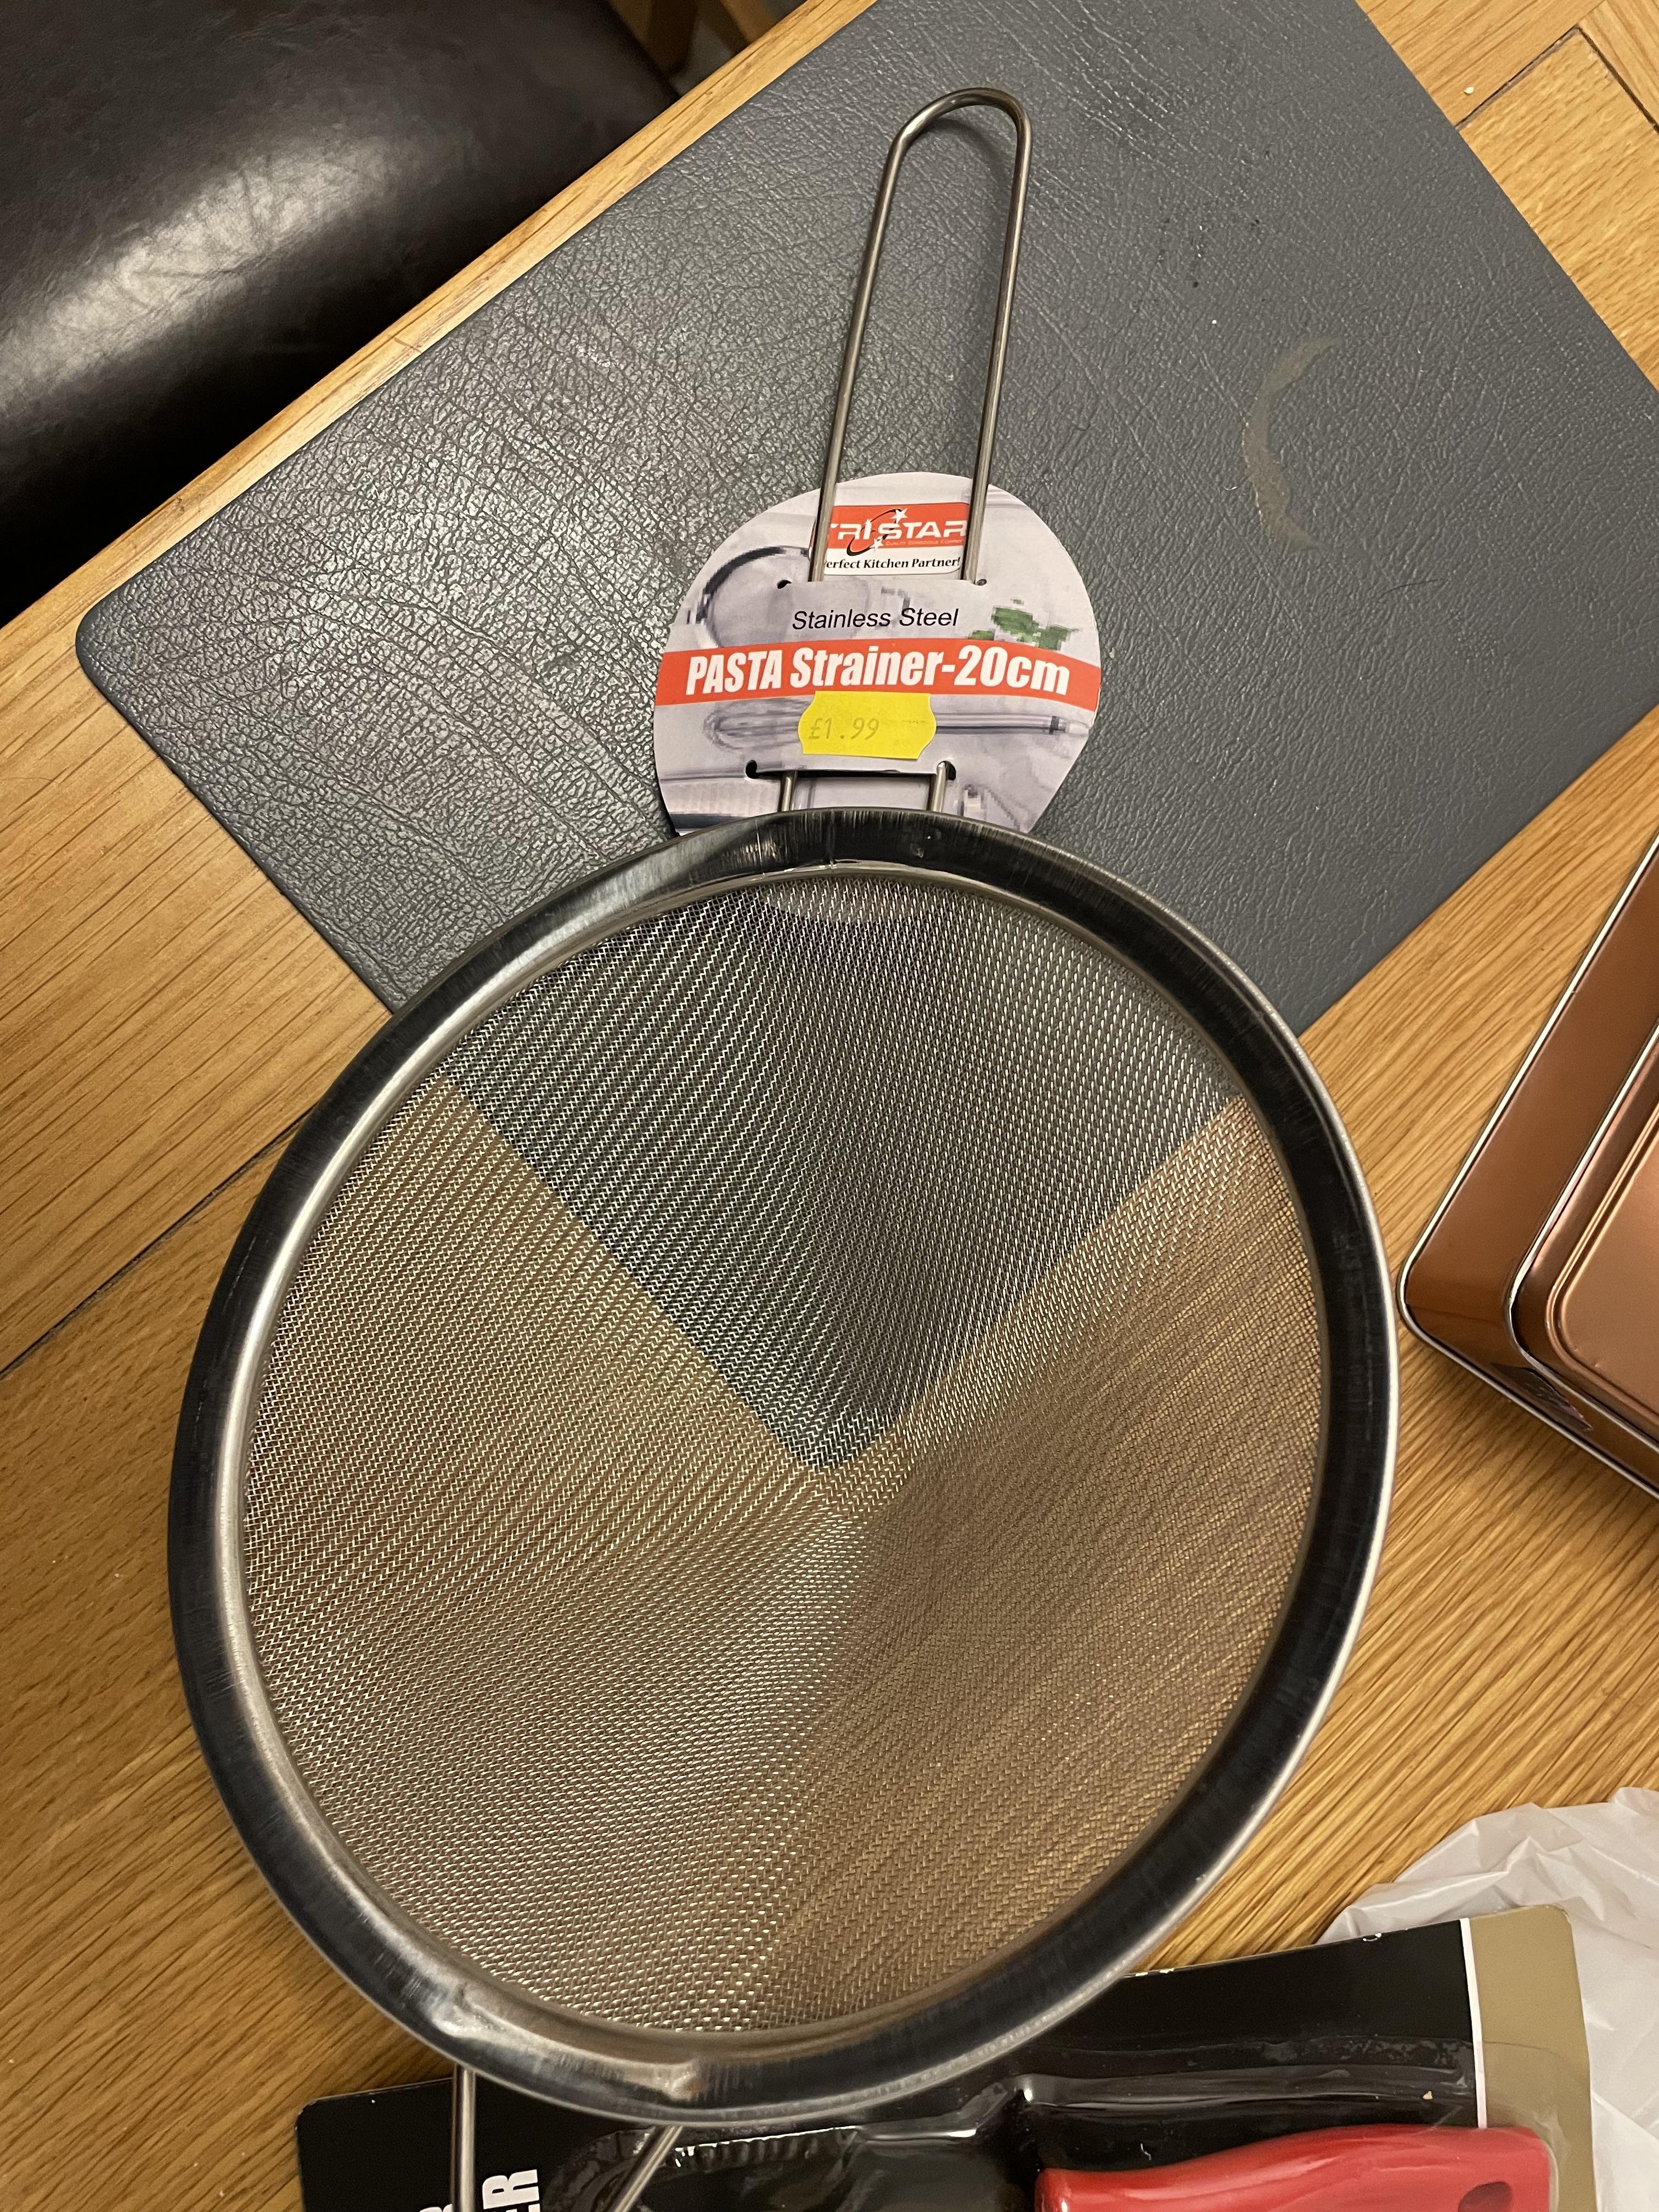
So I‘ve been wrestling with the chain guard and how I can make a smooth one without all the brake line holders on top (my brake line runs through the swingarm as per the mod on this forum, so the brake line channels are an eyesore). This particular project failed but I’m including it here to: 1. show that in real life we sometimes lose a few battles but that doesn’t mean we will lose the war 2. plastic welding Polypropylene is possible but not nearly as easy as ABS For the uninitiated, polypropylene is what our airbox, chain guard and speedo surrounds are made of. ABS is what our fairings are made of. If you wanted to modify your airbox this method will work. But it’s hard to make pretty so it didn’t work for this chain guard project. First thought was to cut off the top of my 5th gen chain guard and replace it with the top off another bike. Got my hands on a selection of chainguards to experiment with. Below from top-to-bottom are VFR Crossrunner, 5th/6th gen and Honda CBR1100XX Blackbird. Architecturally the 5th, 6th and Crossrunner parts fit the same. But the flat top off the Blackbird is too narrow and short to work as the VFR piece is a bit wider than all my other bikes (probably due to the extra strength needed for the brake hoses running along the top). Next thought was to cut the offending bits off the centre of the VFR guard and replace them with the smooth bits off the front of another VFR guard (brake hose stays are only in the middle of the VFR chainguard). So bought a second VFR chainguard and got busy chopping/welding. 5th and 6th gen units are exactly the same. Here’s the trial fit after quite a lot of fine grinding: cutting out the centre piece off chainguard A and slotting in the front part from chainguard B. Has a nice and smooth profile without any brake hose stays. Just what I wanted! Soldering iron used to “tack weld” the two pieces together, strong enough to let me work on them later. You can see gaps where the front piece from guard B wasn’t quite long/big enough. No problem - we can fill these gaps with offcuts later. Next, get yourself a nice stainless sieve and harvest the mesh for internal support. Used the bigger soldering gun to heat the mesh and melt it into the plastic, forming a single part when it cools. With hindsight, I should have used much smaller bits of mesh as they are a heat sink and I really had to crank up the power on the solder gun. This, in turn, warped the plastic somewhat. Can get really smoky so do this in a well ventilated area and don’t breathe the fumes. Helps if you keep your head below the welding point. Basically, the “welding” technique is to use strips of the parent material (cut from discarded pieces of chainguard), and melt them into the cracks with a soldering iron. A bit like welding in that you have to achieve decent penetration (not that kind of penetration!) and ensure both the filler material and the piece itself melt into each other properly. This is hard to do with Polypropylene, especially if all you have is a soldering iron pressed on the filler material. It’s also why the project failed (see further below). Once the main bits are “welded” together, time to cut out some pieces and fill in any gaps. The pieces will be melted from the back onto the stainless mesh, and then all cracks welded with filler. And we end up with something like this. Looking good and ready to finish off by grinding/filing/sanding down the “welds” to create a smooth surface. Unfortunately, this is where it all falls down. The polypropylene didn’t melt uniformly into itself and there were granular bits in the welds. Sanding the welds down exposed these granular bits which came off in chunks, leaving ugly scars. Also, I had no idea how to grind/sand off the welds along the horizontal fold and keep them dead straight. Impossible to do by hand so I’ve abandoned the project on these grounds. Having said that, if you ever needed to repair a polypropylene part or modify your airbox, this technique works a treat. Just not really good for pretty things in this case (not by hand anyway). So I’m open to ideas for a smooth top chainguard if you have them. Otherwise I may have to bend one out of aluminium or something.
1 point