Mohawk
-
Posts
1,990 -
Joined
-
Last visited
-
Days Won
47
Content Type
Forums
Profiles
Gallery
Blogs
Downloads
Events
Everything posted by Mohawk
-
I checked this block on mine & on opening it & removing the bridge pieces it all looked great. When checking the cables entering the block green corrosion was apparent. So I cut all the cables off the block & half a dozen had bad surface corrosion. So I stripped them back, cleaned up the individual strands with abrasive & intertwined & soldered all together then sealed with amalgamating over wrap. All my weird issues went away 👍 If you do this I would advise adding an additional thick ground wire to the bundle & run it direct to the battery negative terminal.
-
I'd just say to anyone out there with a 5th Gen to check the fairing below the headlight. There is a small infill panel that pops out to allow the parking bulb to be changed. It also pops out accidentally & then lets rain & spray in that corrodes the tracks on the dash circuit board. Just tape it up if you don't have the infill, its not visible so most people don't know its there ! ☹️
-

Wheel bearing, done after a few thousand miles
Mohawk replied to Bren's topic in Maintenance Questions
From what you have said if I read it correctly one bearing fits as you might expect but the other is a tight fit as you start it, then goes loose once far enough in to seat against the inner bearing spacer. If that is correct it sounds like the spacer is too short. One of the Kawasakis I used to have had that setup. The bearing on one side was a traditional fit to a shoulder in the wheel, the others depth was controlled by the spacer. After powder coat & a couple of months between removal & refitting I used the wrong spacer & the bearing floated inside the wheel. Once I realised my mistake & got it out I was able to put it in correctly. Bearing goo will not work unless you have a means to centralise the shaft to the wheel exactly. Check you parts are all correct ! Wouldn't be the first secondhand parts that came with wrong bits installed ! -
Torque figures / settings tapered head bearings
Mohawk replied to DONI's topic in Fifth Generation VFR's
The steering stem does not need the top yoke to set the head bearings. Just make sure the shells are fully seated. Don't even need bearings to locate the shells properly. Then add bearings & adjust as per Larry's advice 👍 -
Just a little where the frames crossed the fold in areas.
-
Clutch disengaged (lever in) the clutch gear drive is still engaged but doing nothing. Clutch engaged (lever out) in neutral, the gear drive is spinning the gearbox & the clutch lash springs bounce about to smooth the clutch on the gear. I suspect this is what you are hearing.
-
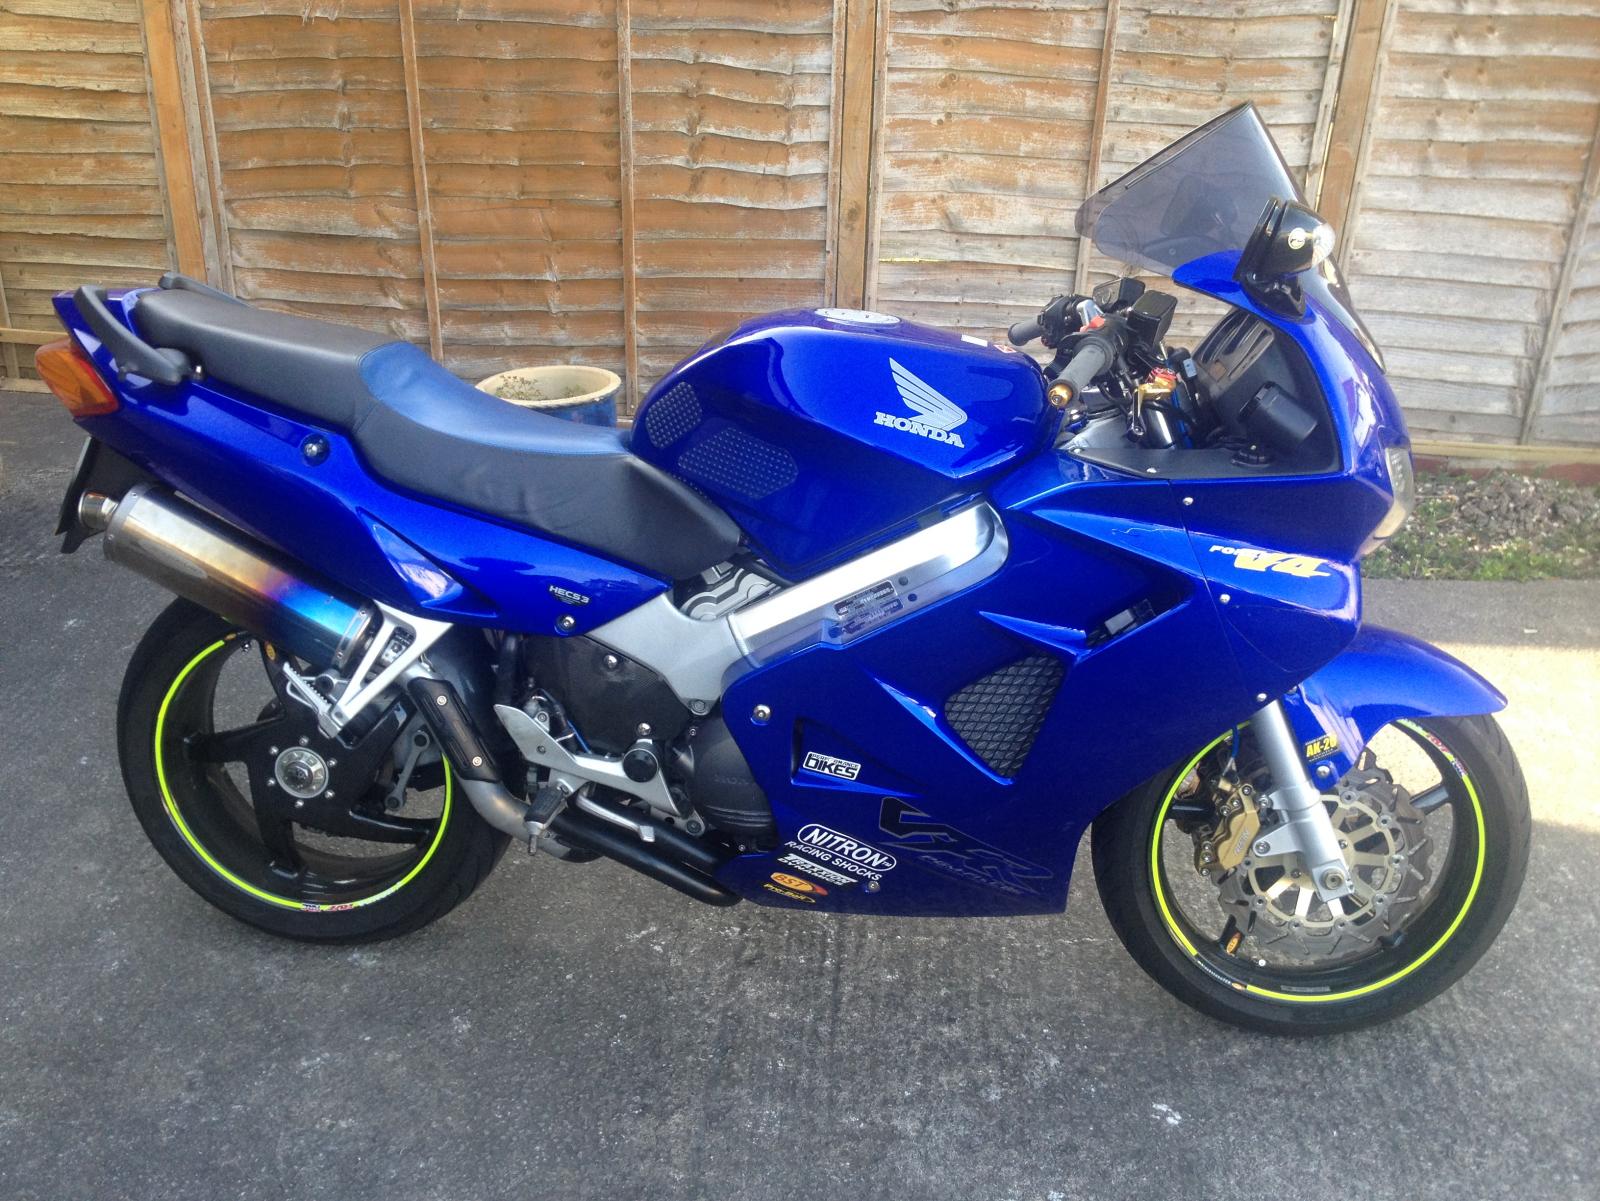
Yes original factory blue 👍
-
I took this thread as the 25th anniversary of the 5th Gen !? So here's mine 👍

-
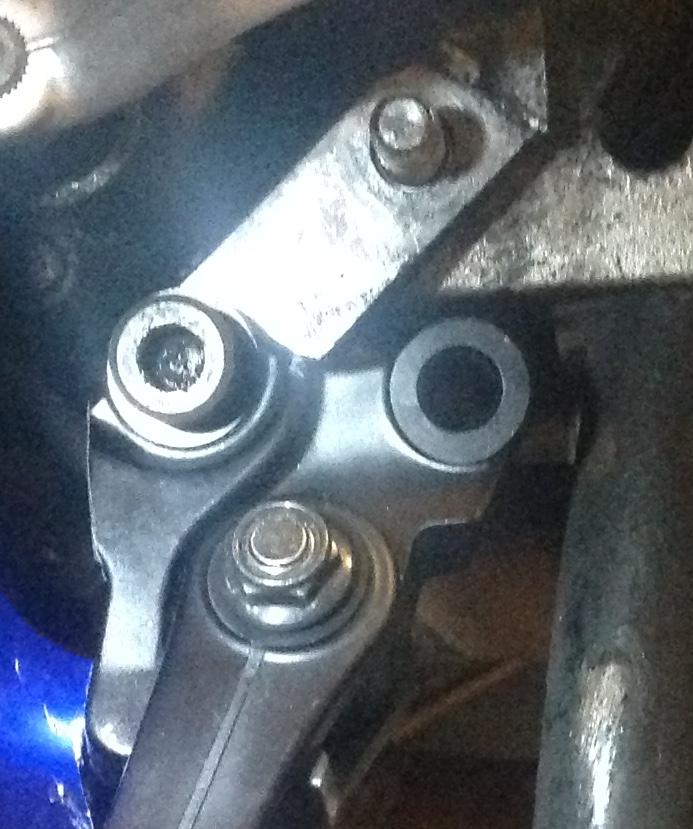
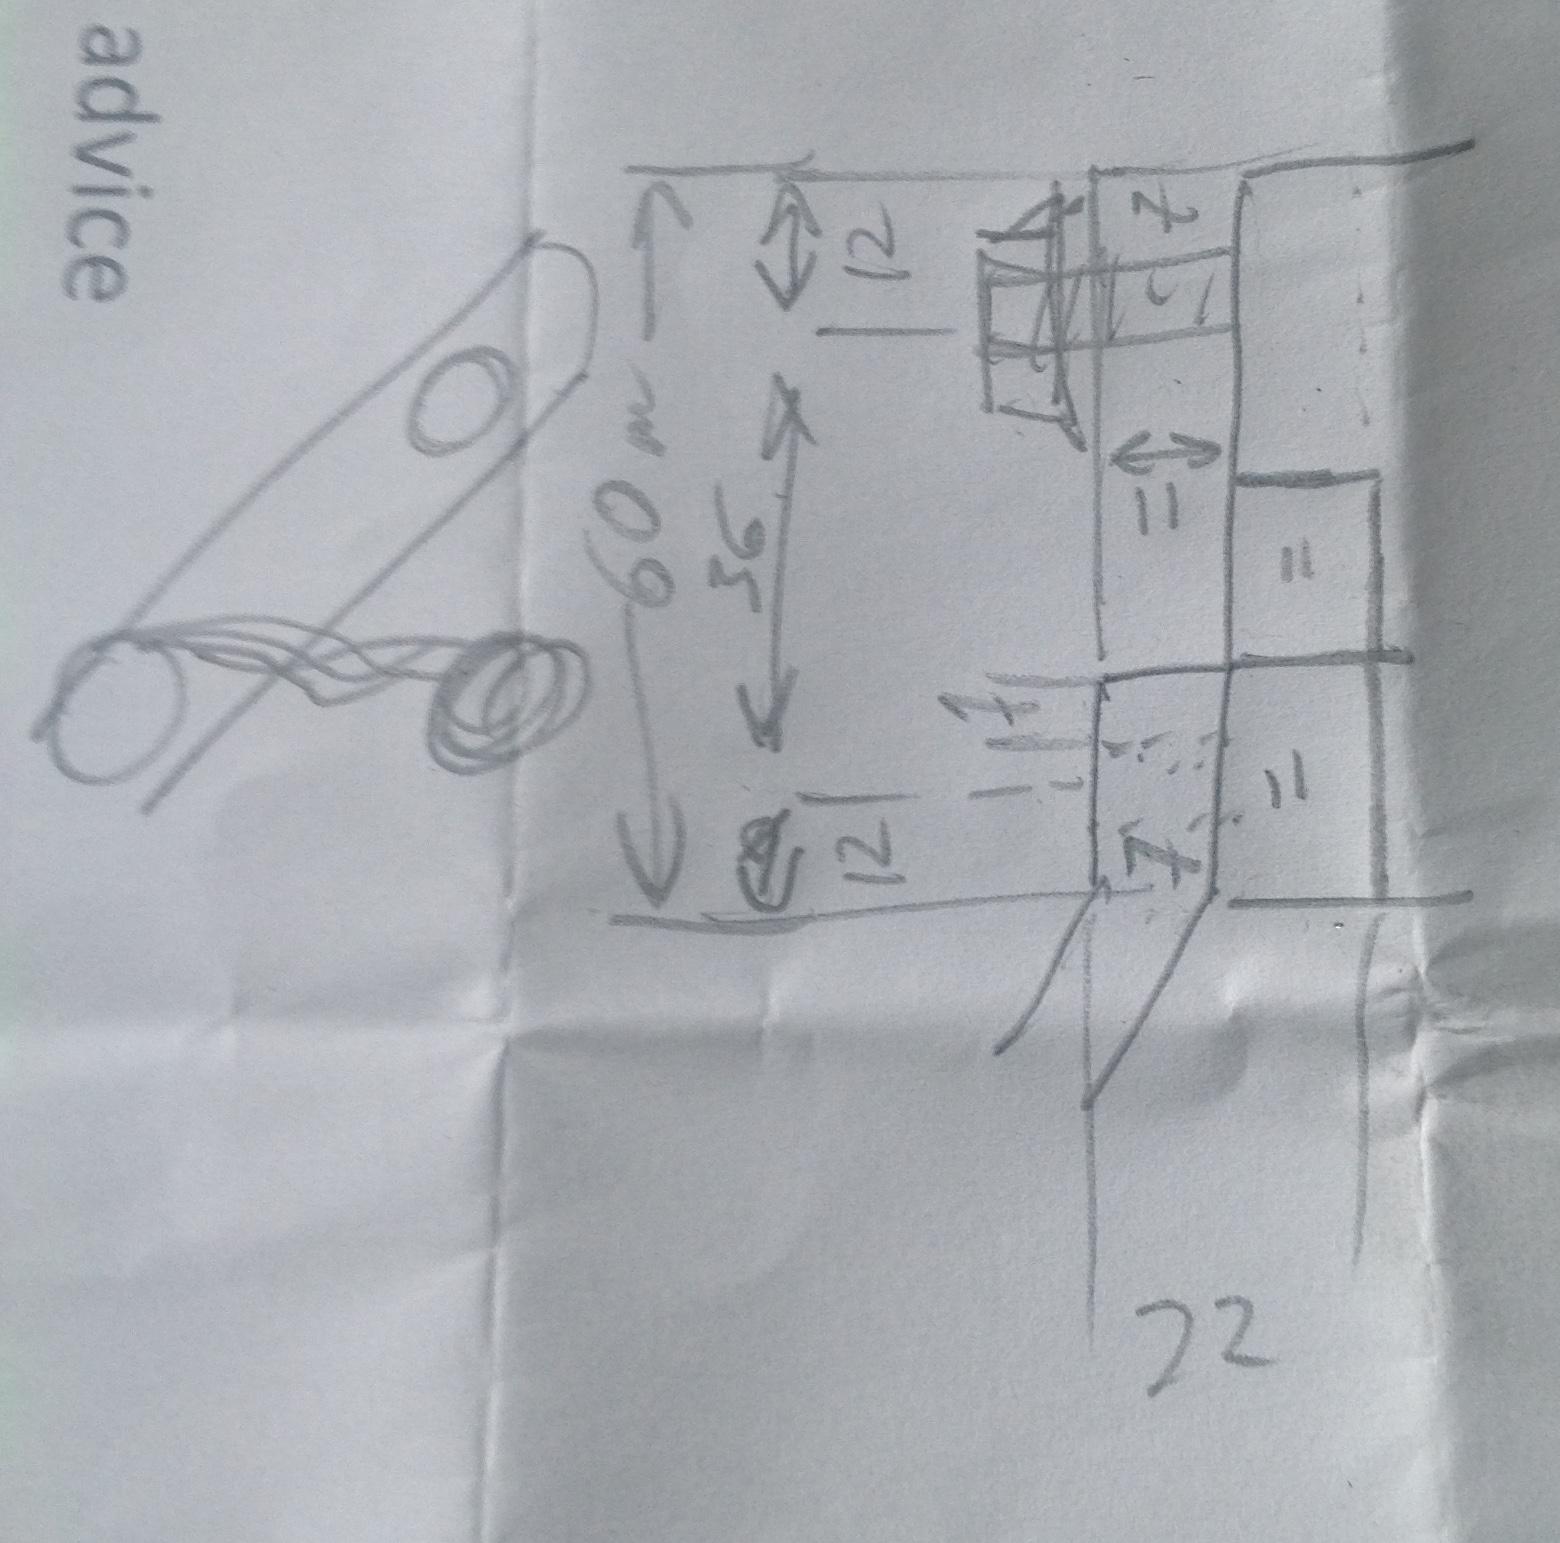
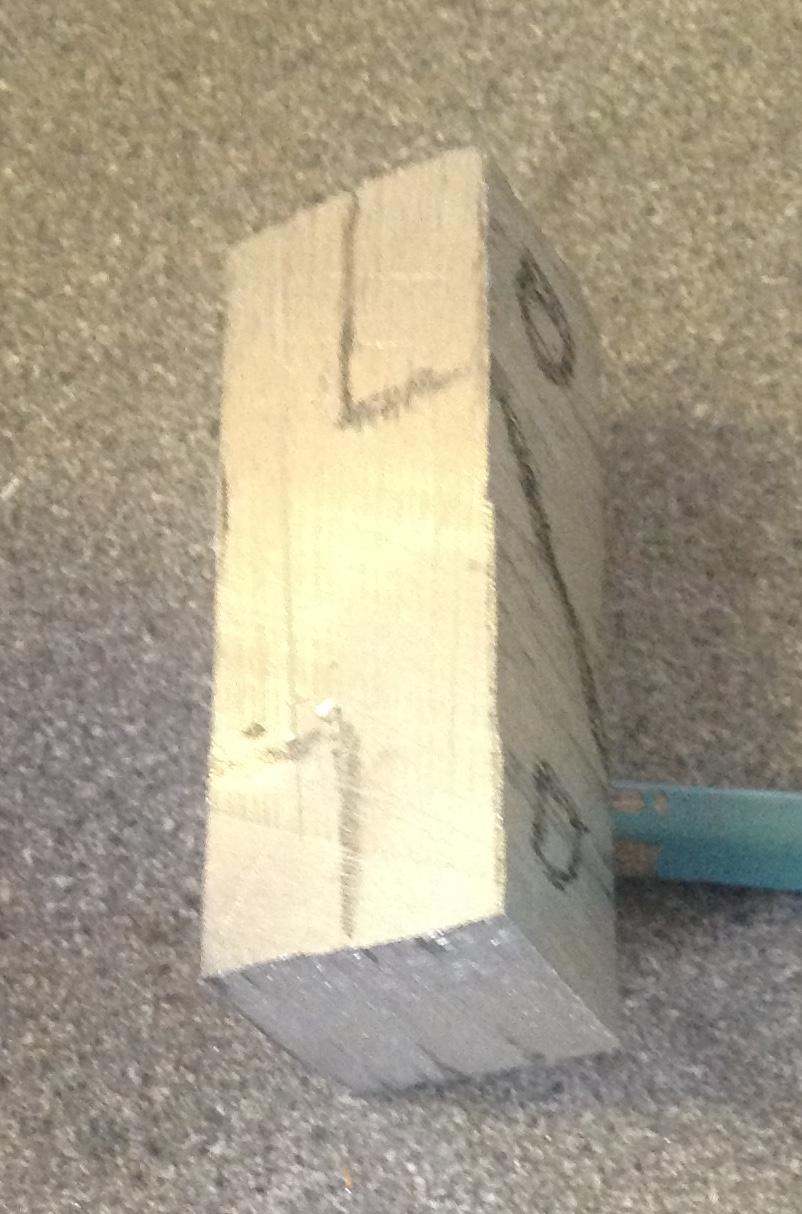
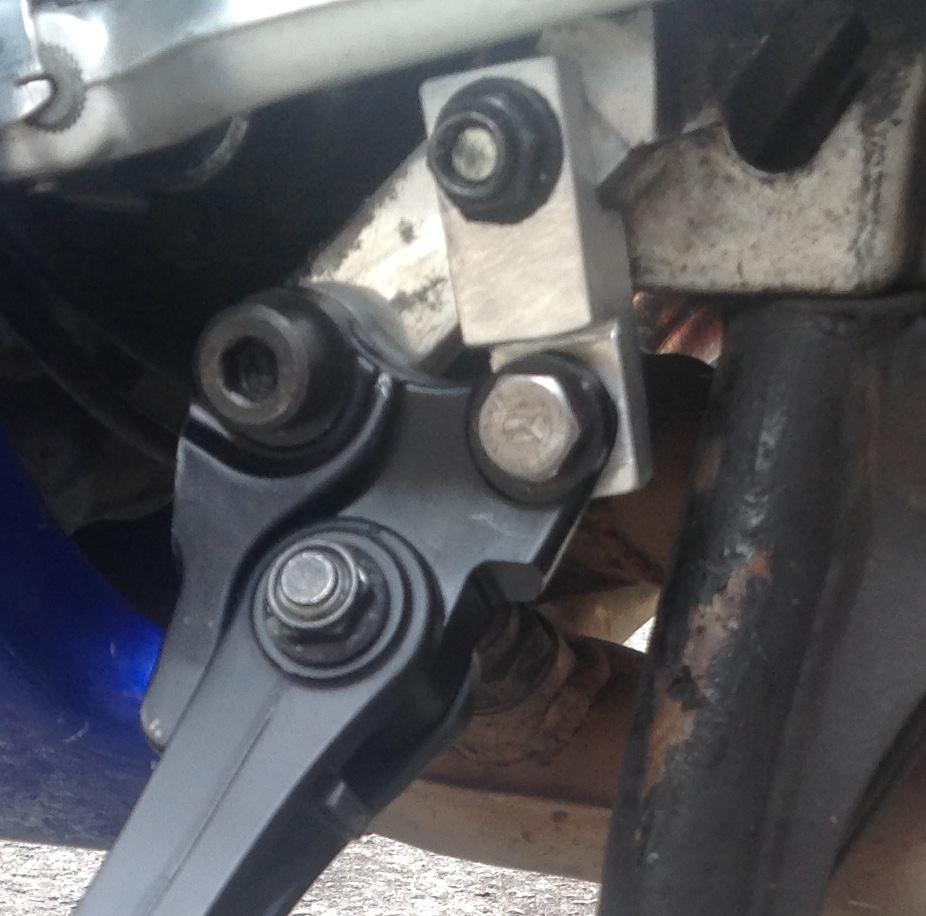
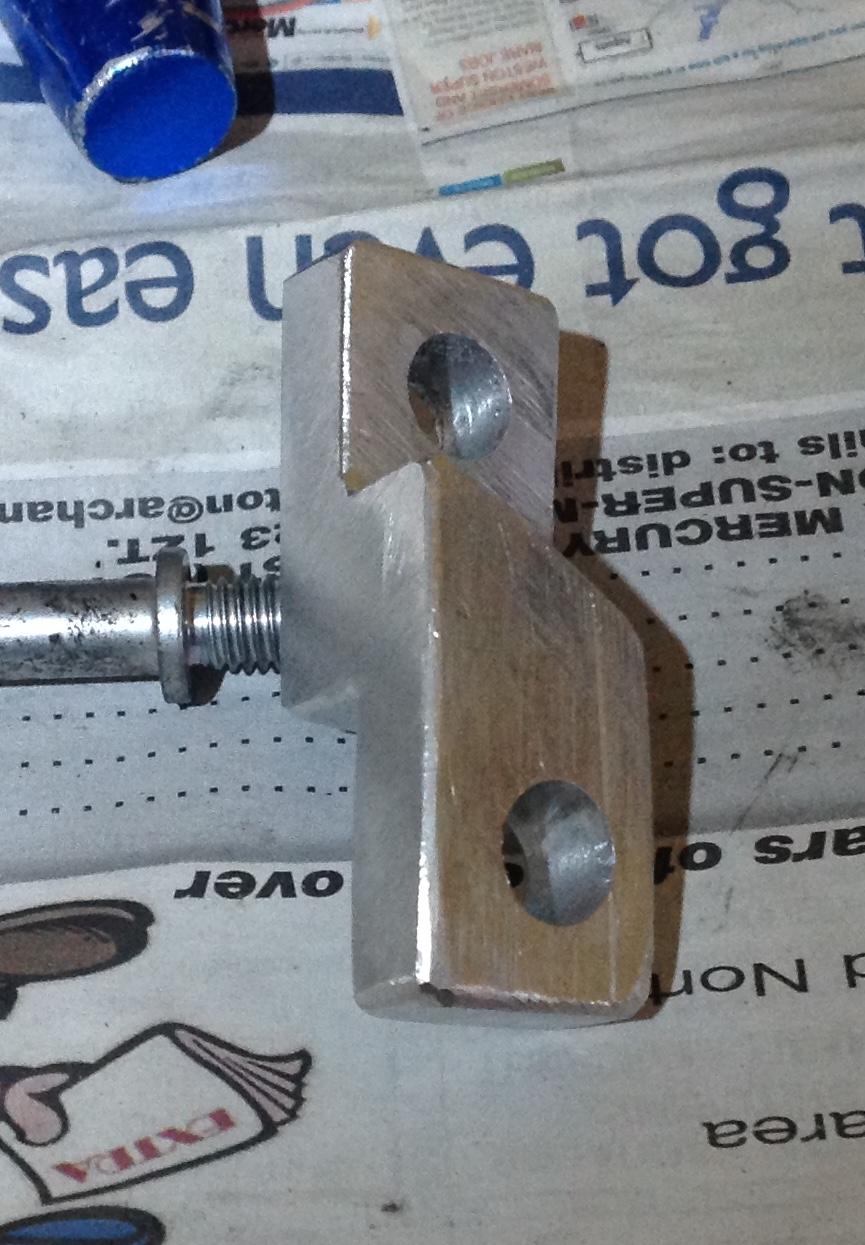
So after some digging, it appears all my early threads appear to have evaporated from this site. So a bit of digging I found some picks from August 2014. I cut the adapter from a chunk of billet 6061 I had knocking about. Measurements are in mm on the diagram. You need to trim a little off the bottom of the left fairing panel to make this fit.
-
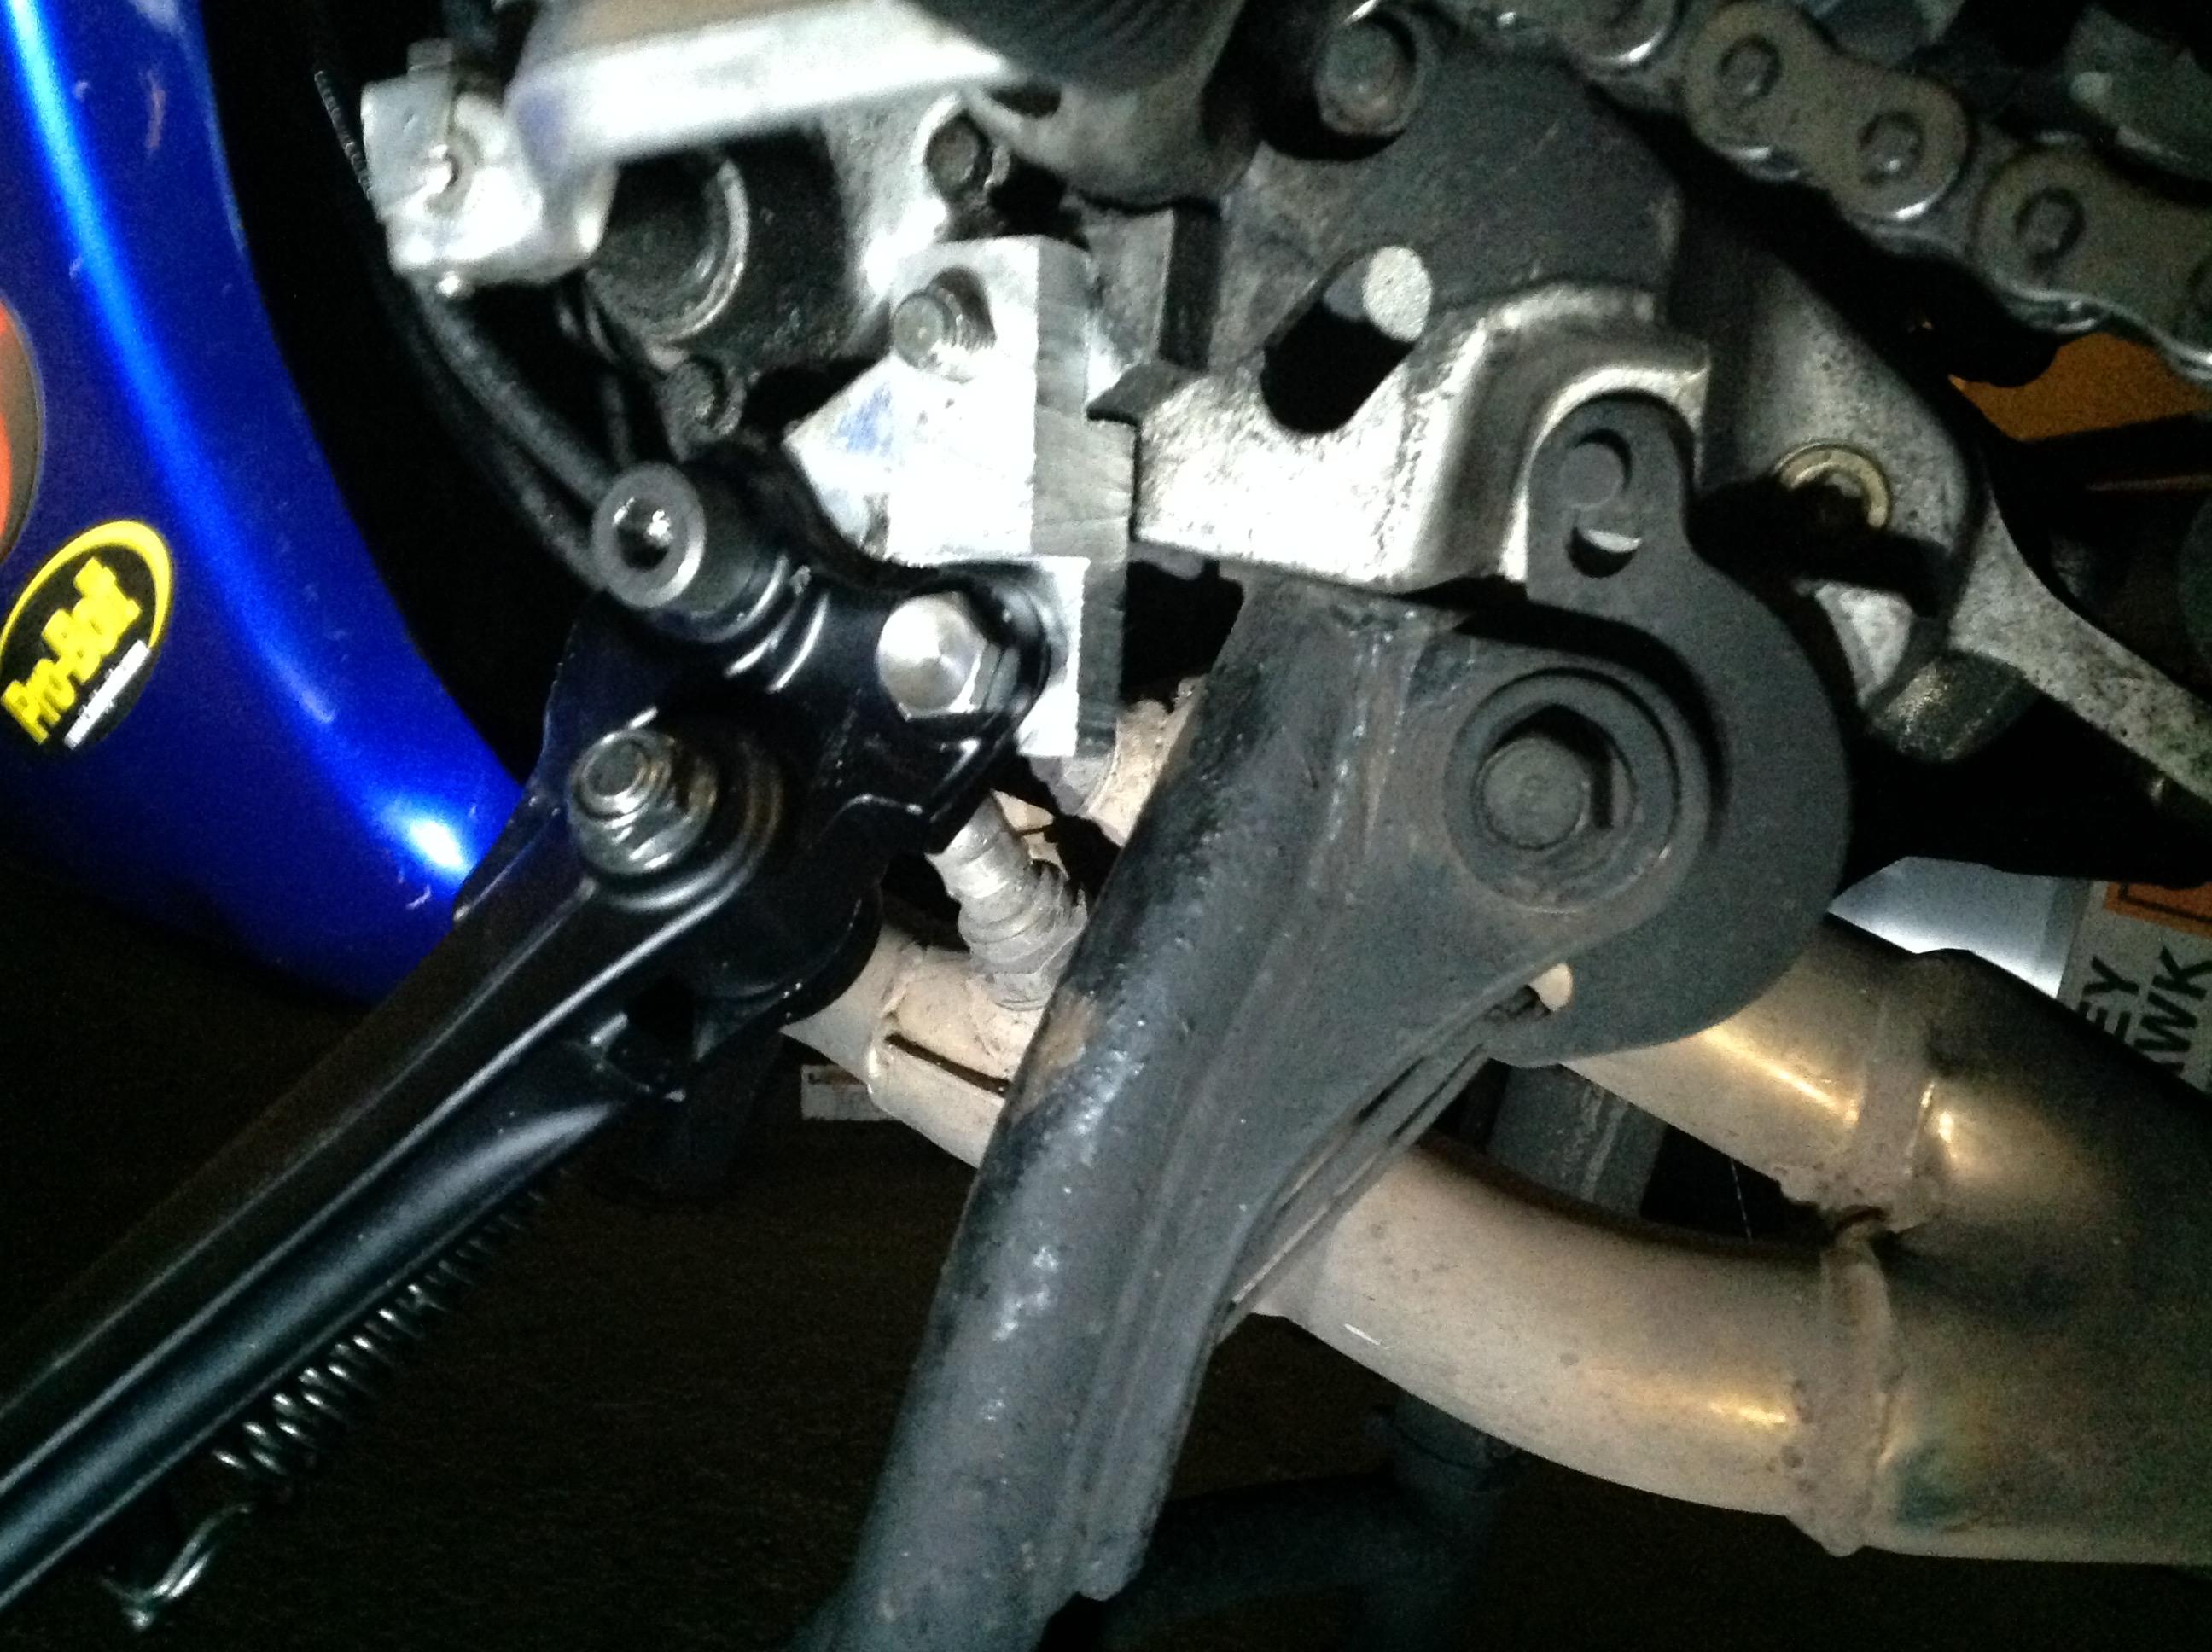
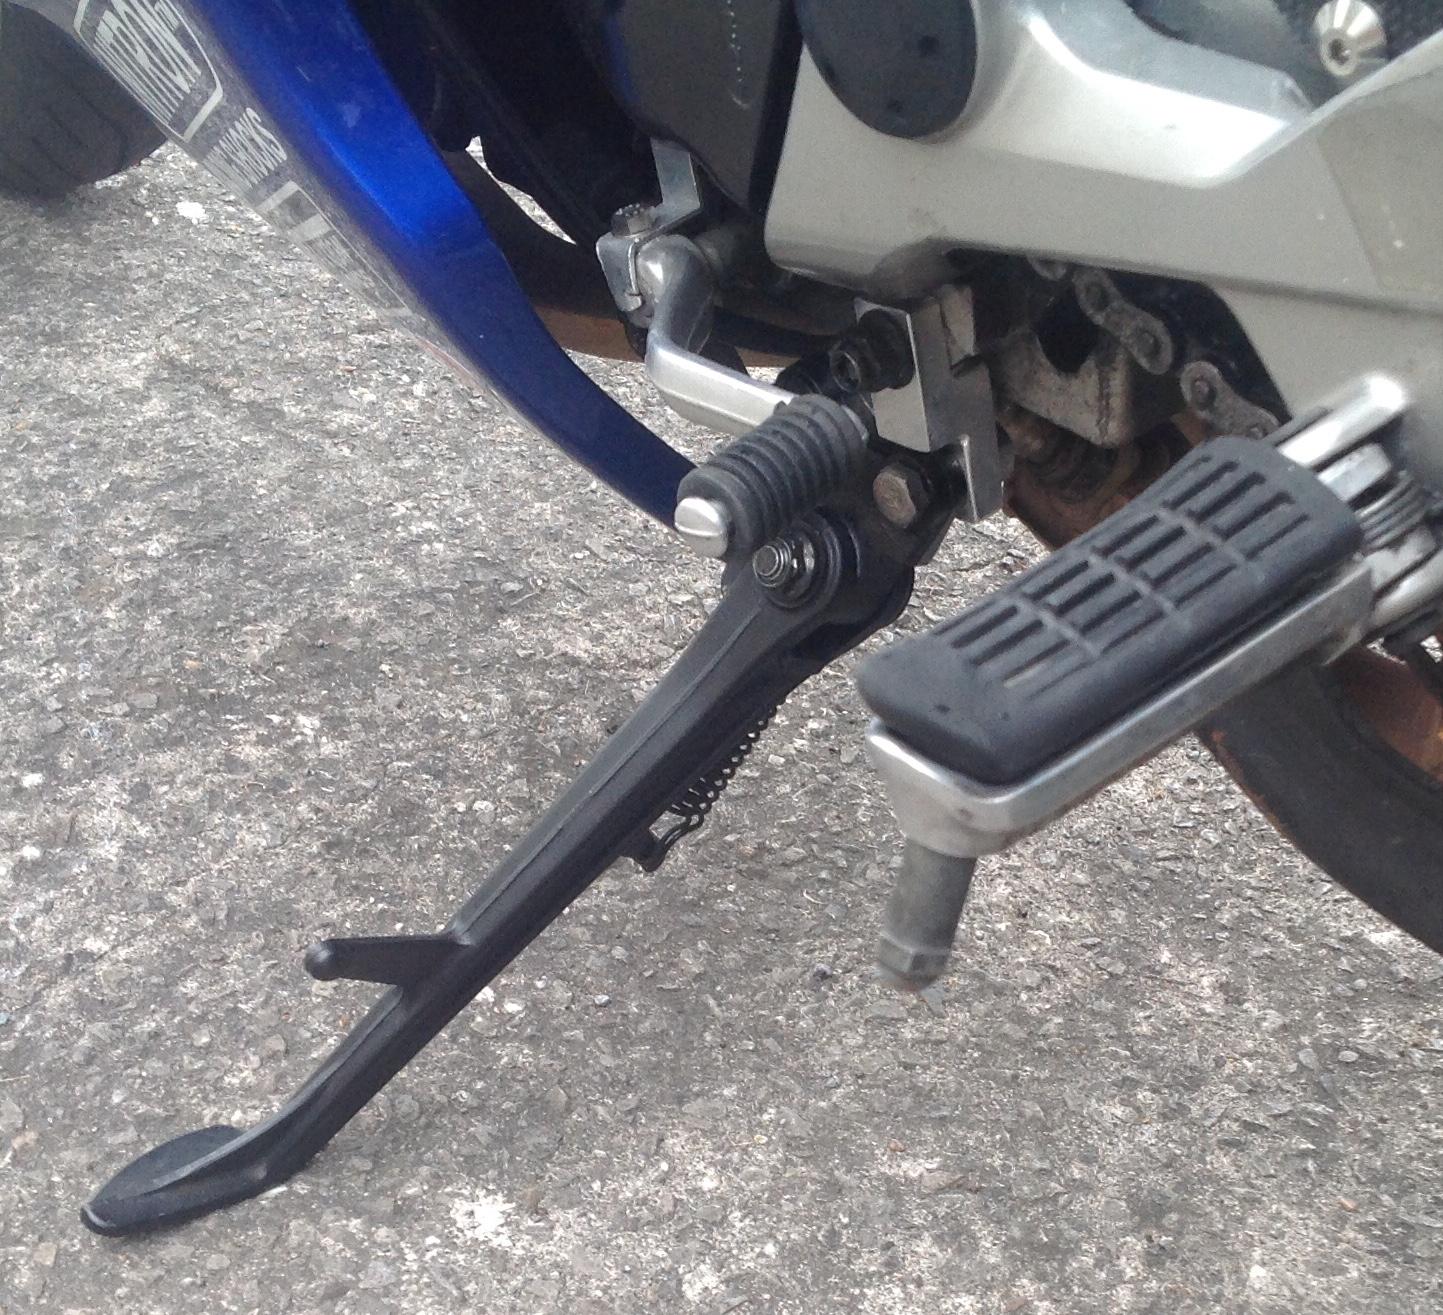
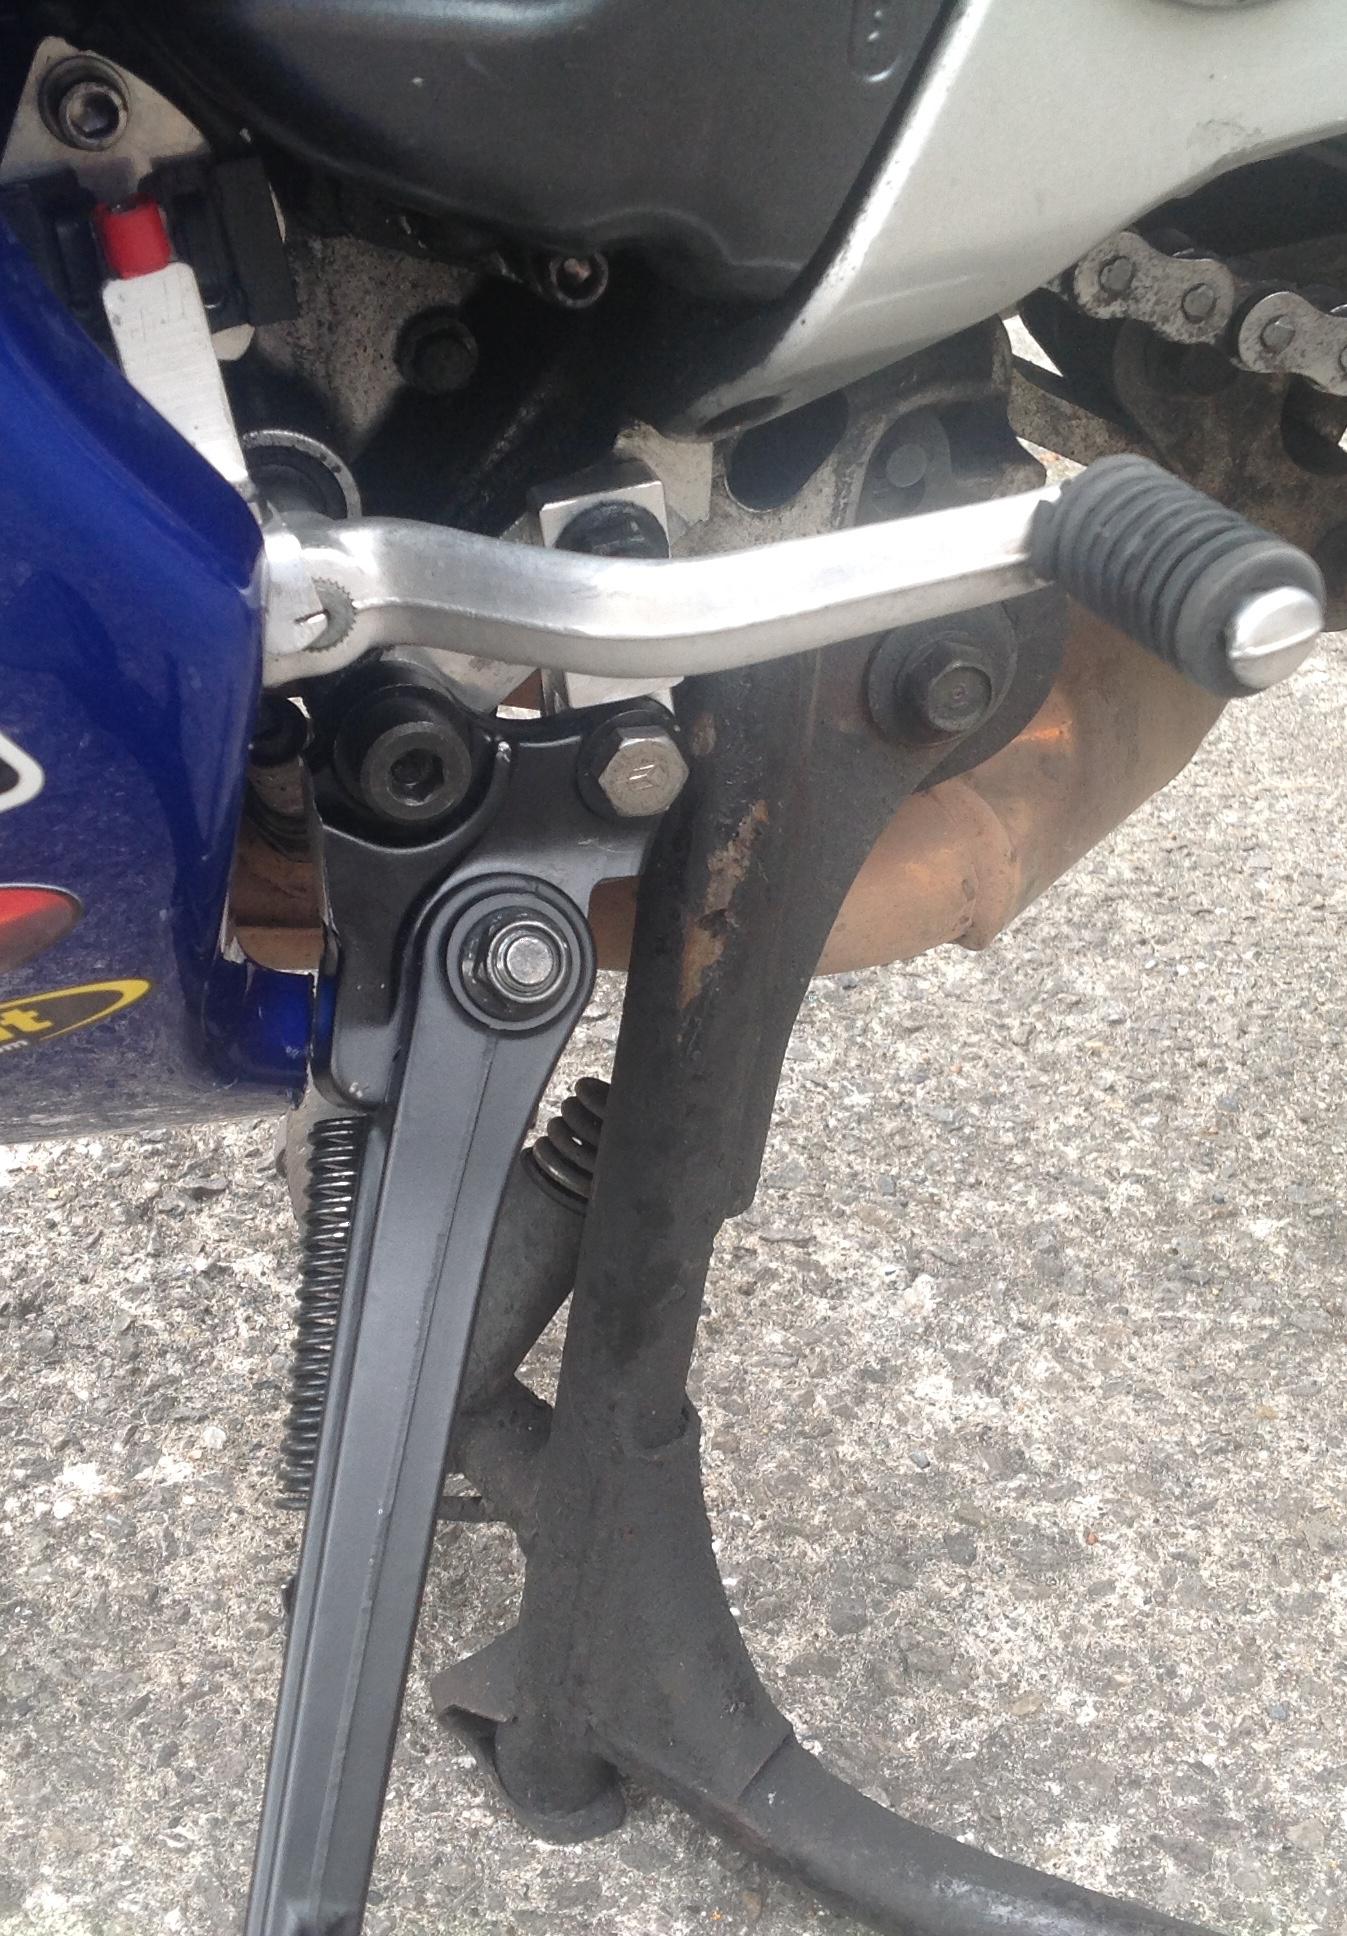
Just did some revision. I need to look for the picks for my adaptor. But identified the stand as CBR1000RR 2008-2011 like this on the bay. https://www.ebay.co.uk/itm/195911368381?mkcid=16&mkevt=1&mkrid=711-127632-2357-0&ssspo=VnpY0C4WT52&sssrc=4429486&ssuid=XZIc7kTyQ3G&var=&widget_ver=artemis&media=COPY I'll try to dig up the adapter details.
-
Squirt some brake cleaner in the disc bobbins & spin them, this ensures full floating disc. Check the disc alignment & that they are centred on the wheel hub, there is a little wiggle room. Also check the calliper sliding pins work as intended. For the throttle on track, just set a high idle of 2-3K rpm, then you never go on to the starter valves, its always on the butterfly. The rest as advised above.
-
I too have a SSSA stand but they don't work well if you work on the arm or shock 😂😂 Sorry away from home at the moment so can't check which year stand it was & was a long time ago, but it is documented on this site in my build threads. The adaptor has survived a 3 ferry trips where bikes are strapped down over the seat on their side stand. So pretty happy its strong enough.
-
Might have something to do with the amount of time he has been spending on one wheel with the supercharger fitted 😂😂
-
I used the shock length adjuster on my Nitron Race unit & had the same issue. I removed the centre stand & fitted a CBR1000 alloy side stand with my own adapter to compensate for the excess lean on side stand & its lighter to boot 😁 I still use the centre stand when removing the rear wheel by slipping it on temporarily then using a piece of wood under it so the rear wheel is off the ground so I can remove it, obviously this only works at home.
-
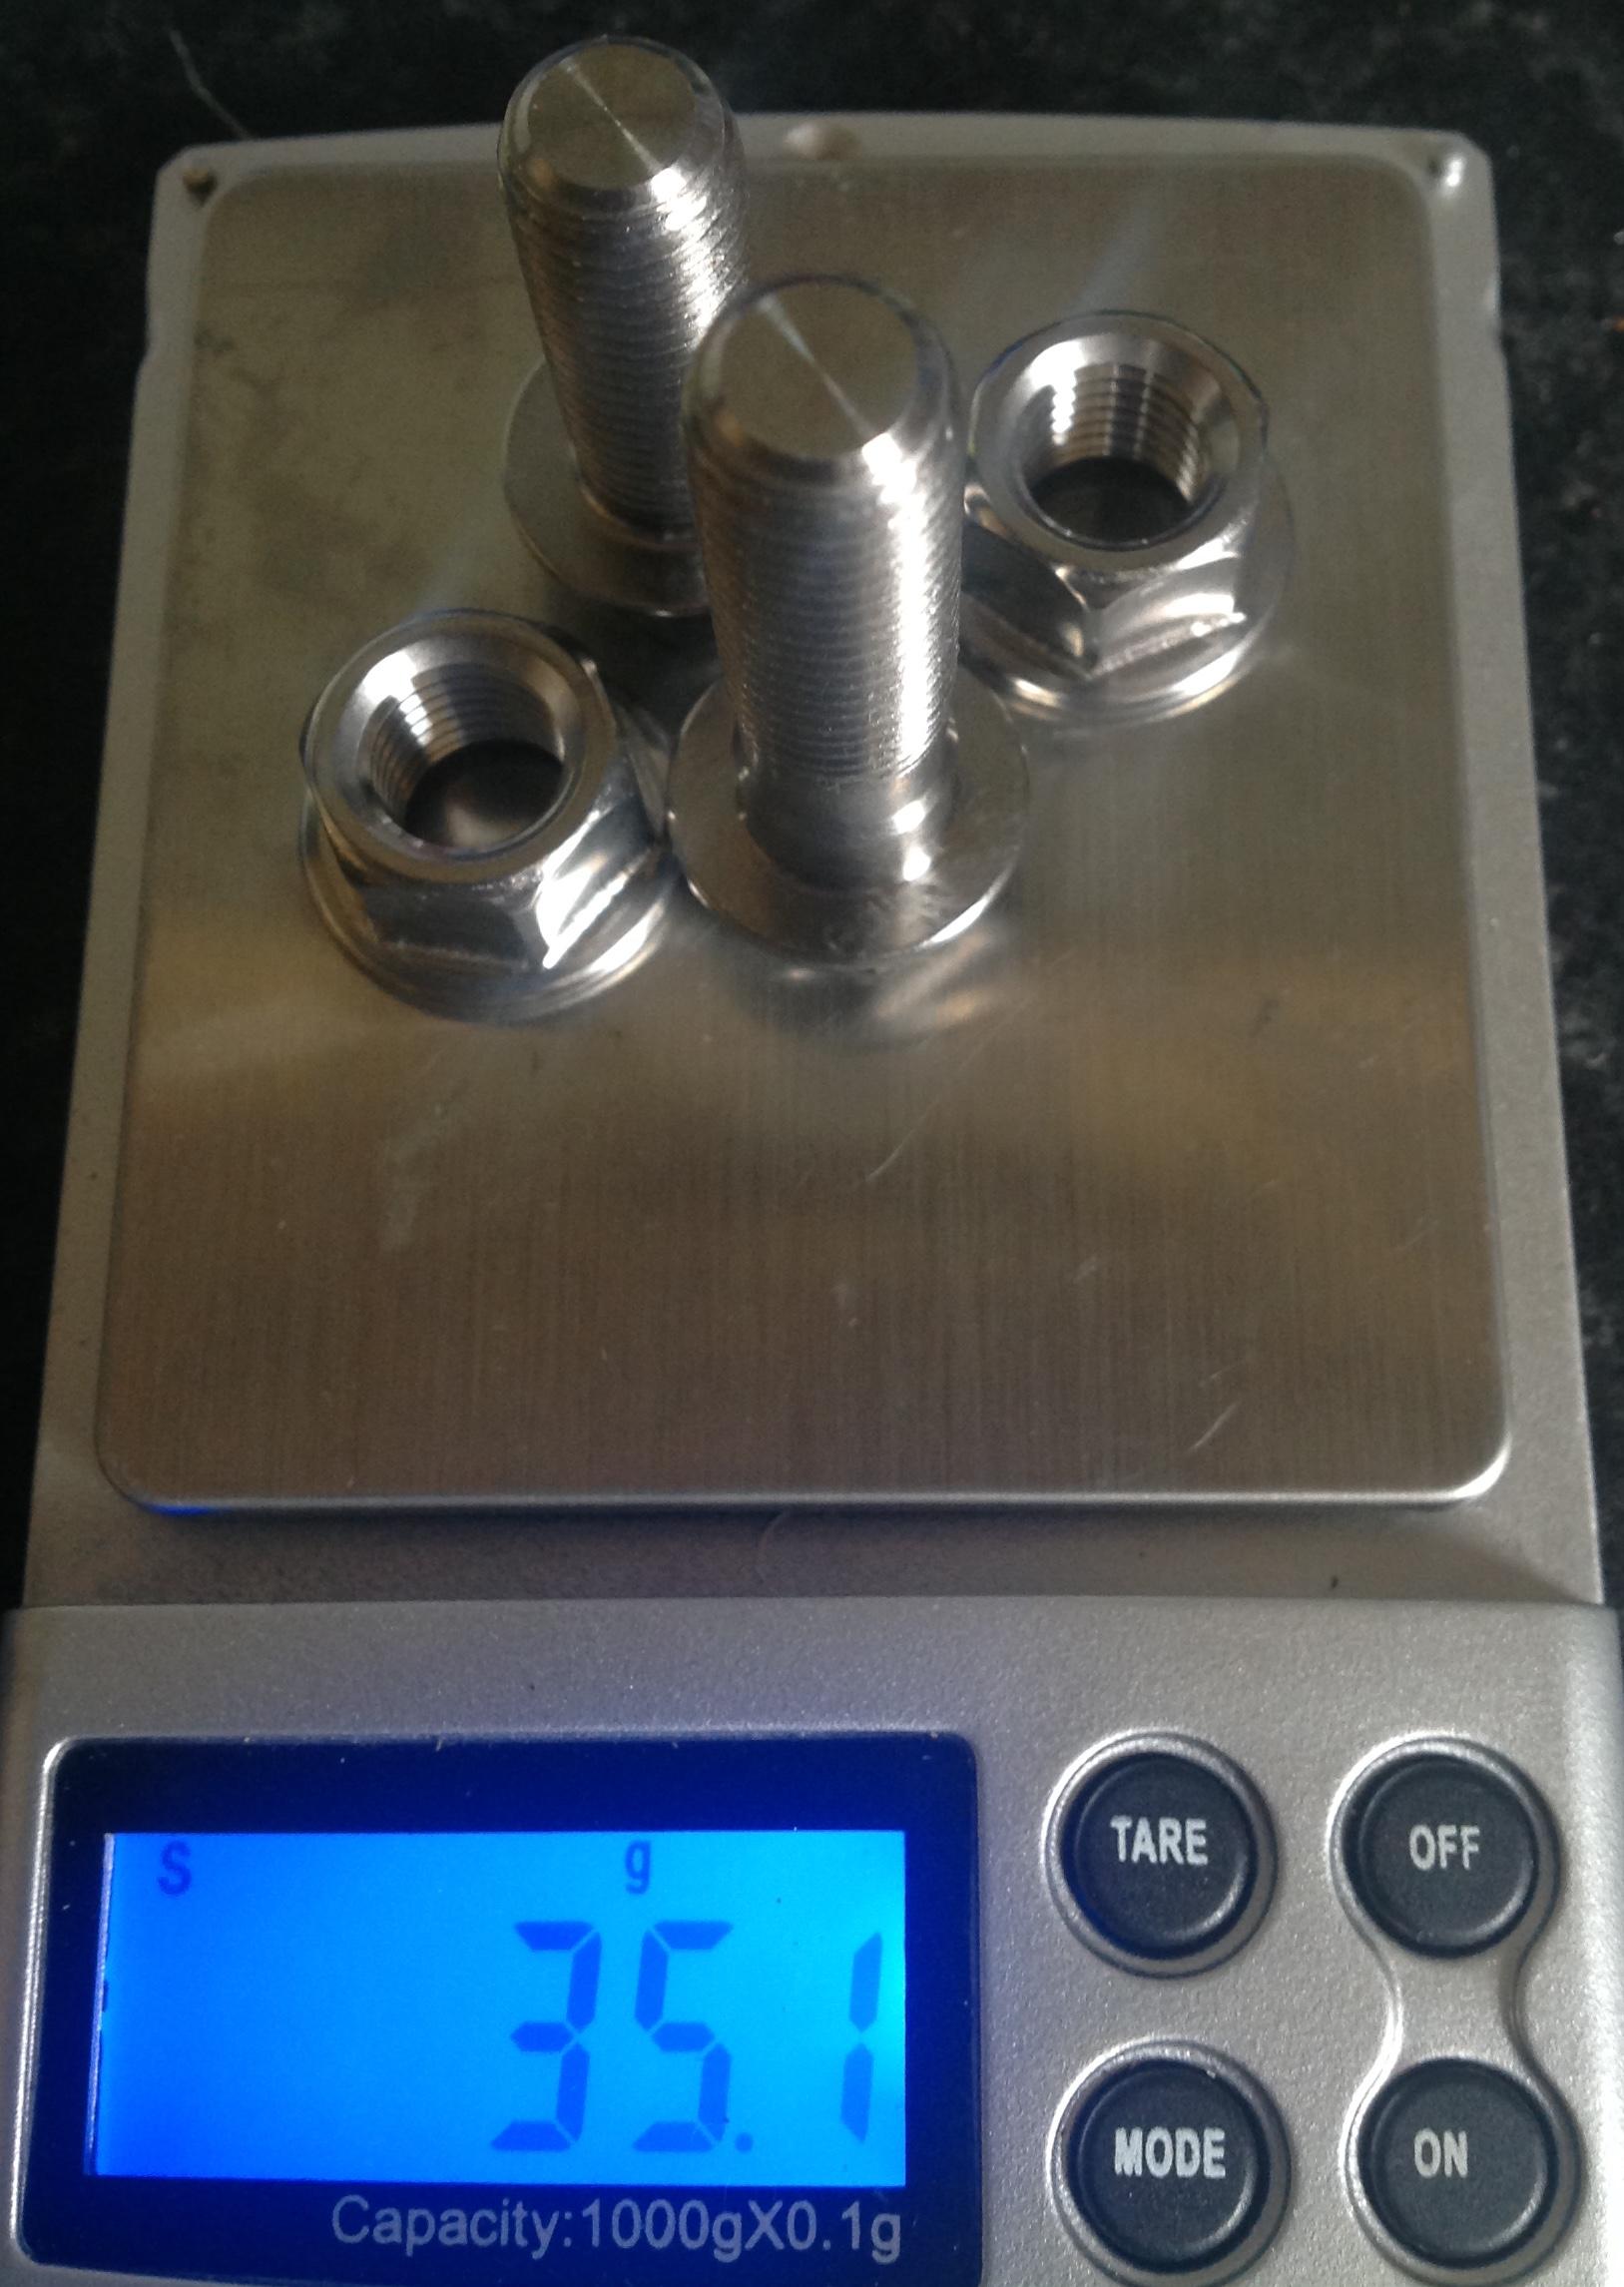
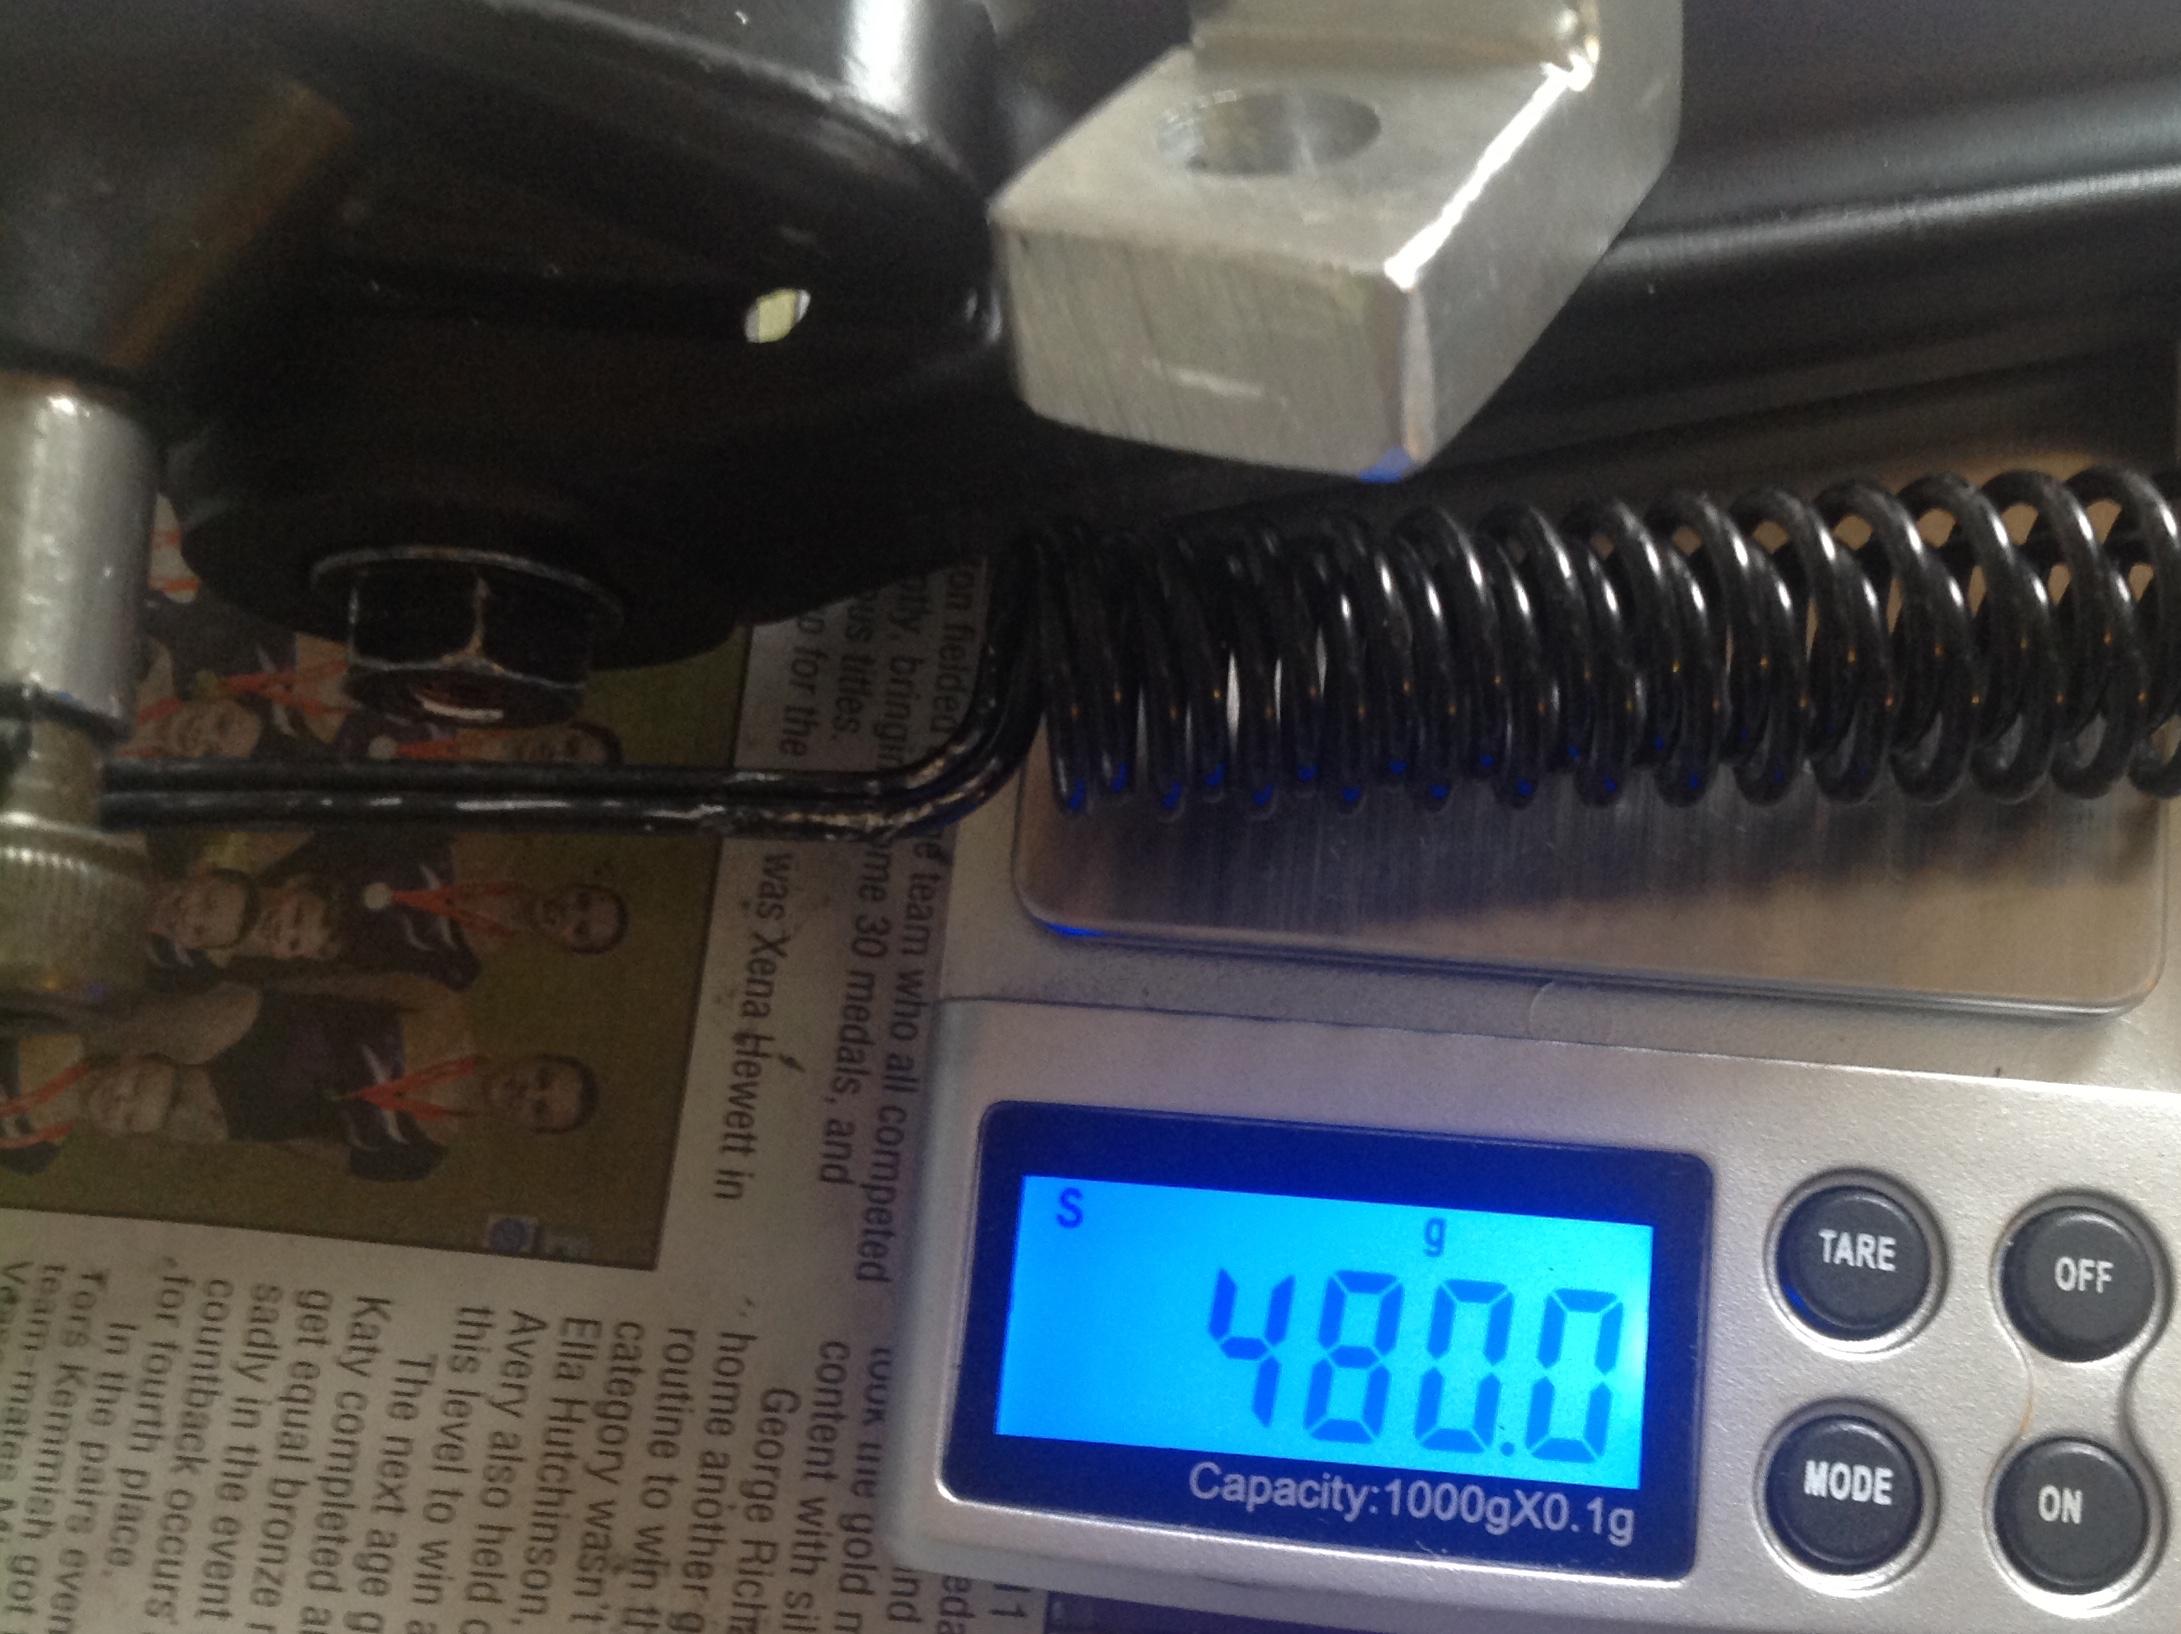
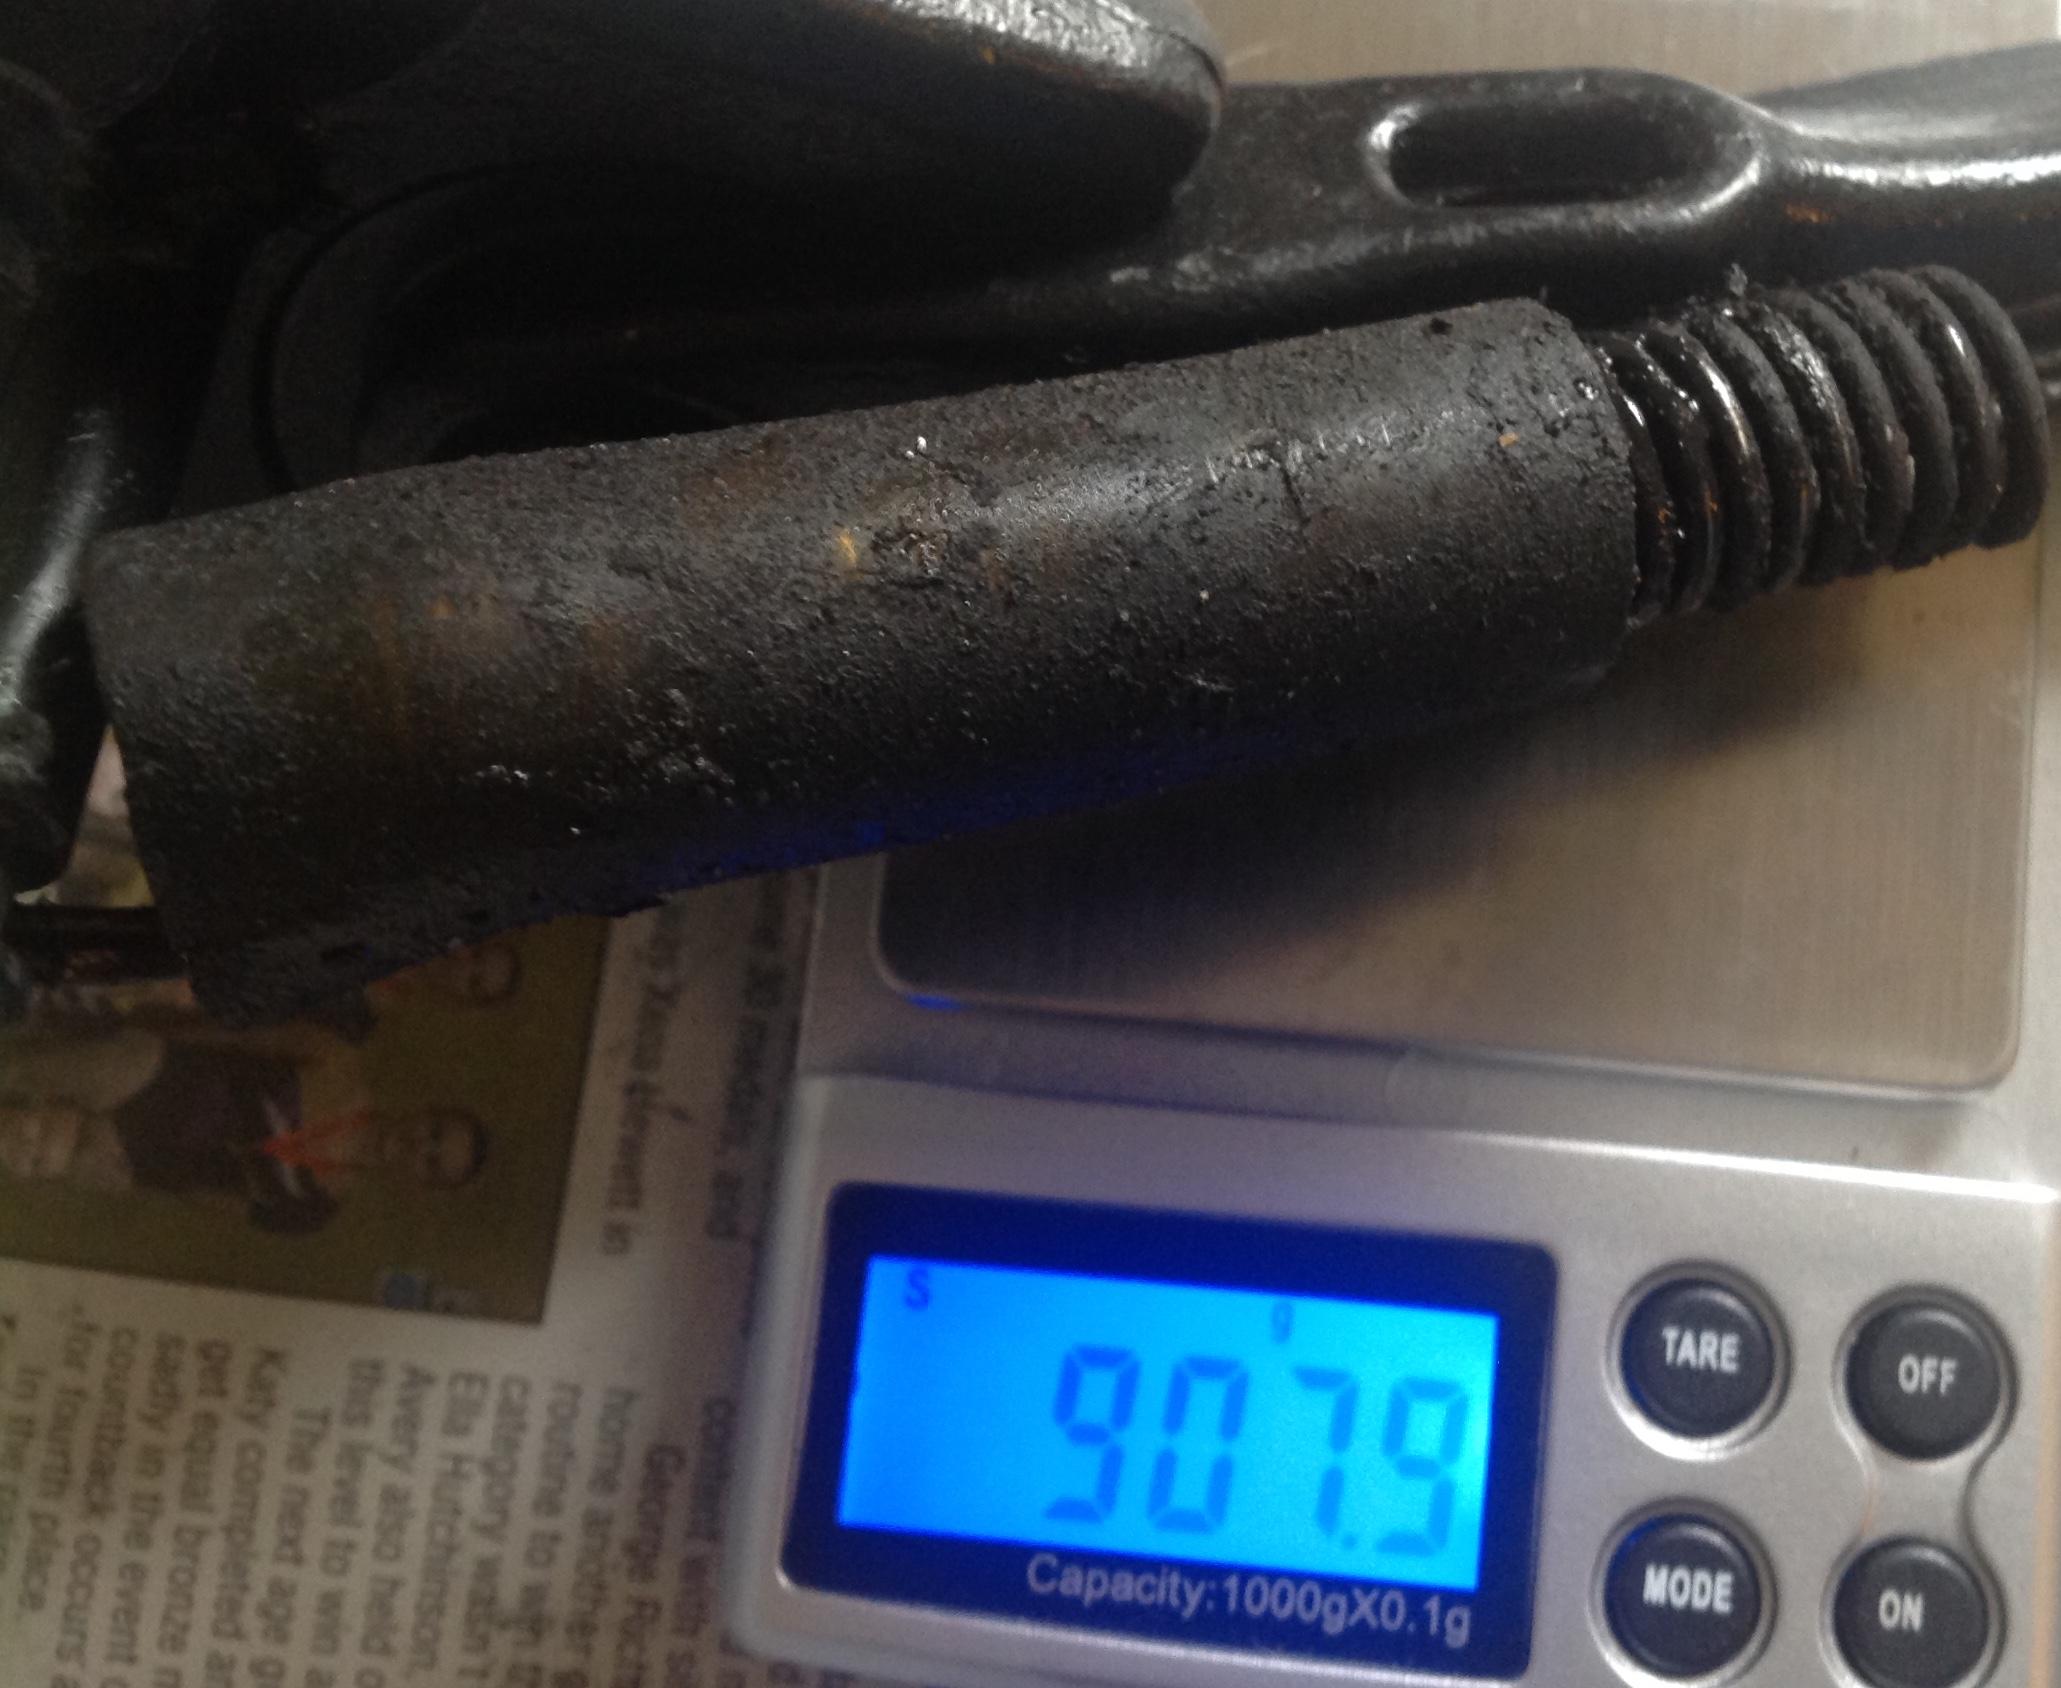
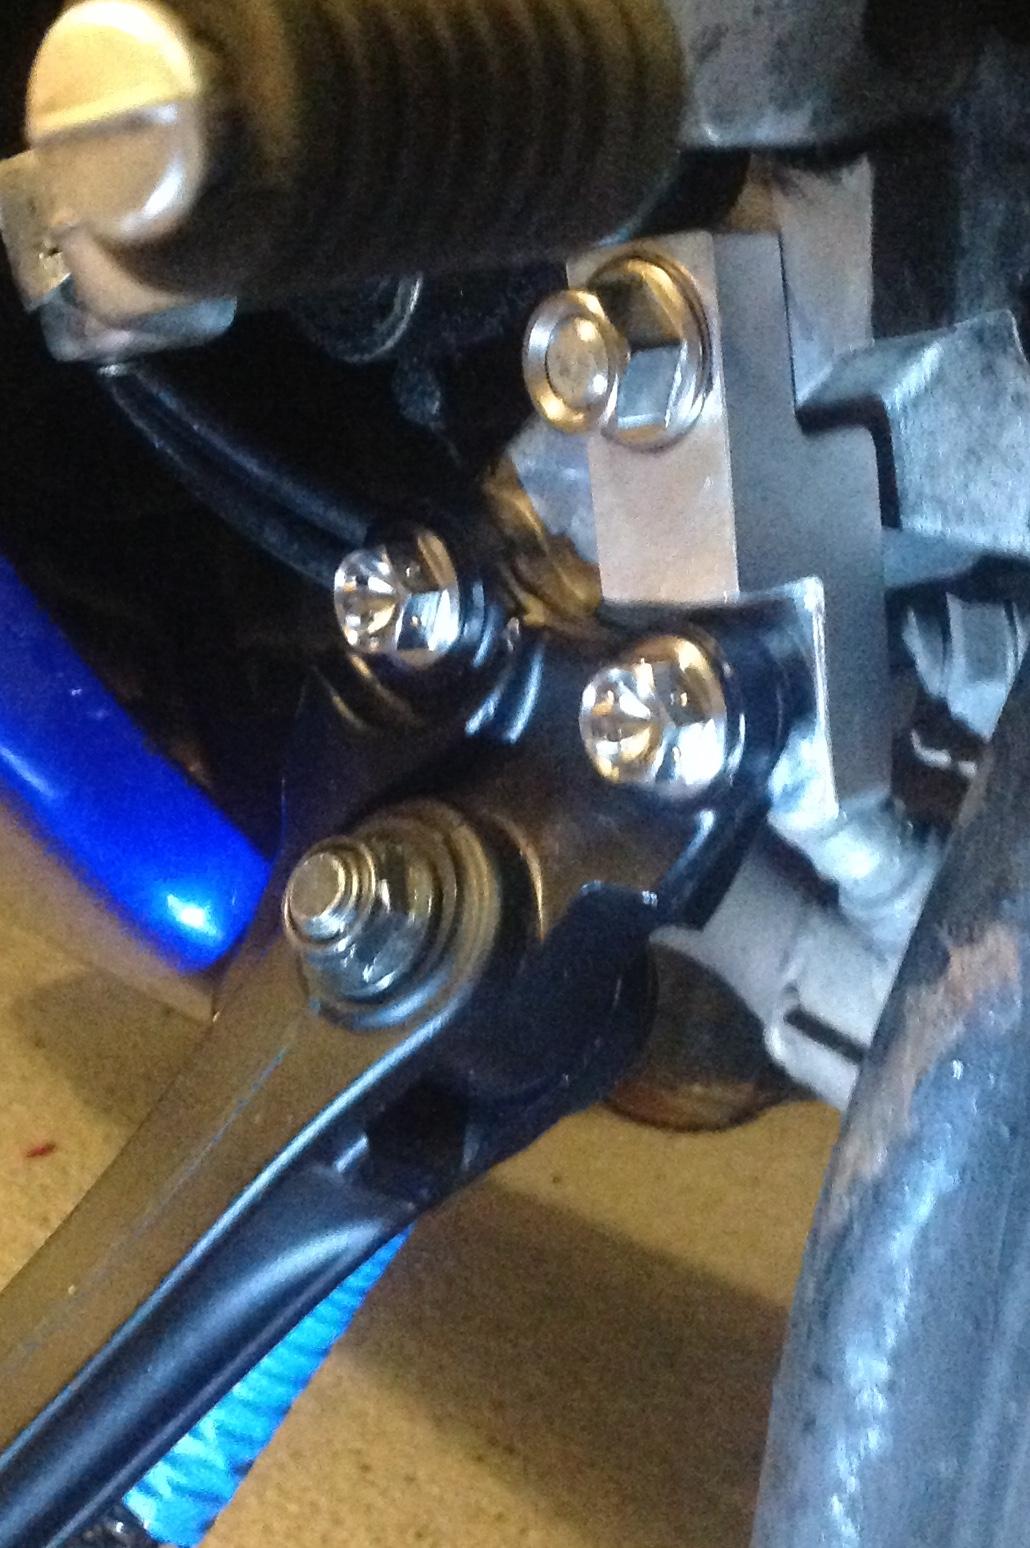
Are those alloy fittings ? If yes they are not recommended for road use, they are banned in UK & a bike would fail its annual test (MoT) if fitted. They are prone to vibration cracking & or snapping if hit in a crash/drop, or just a ham fisted accidental bump.
-
Chain slack adjustment - side stand or main stand
Mohawk replied to suawek's topic in Eighth Generation VFR's
The only true way to measure is to compress the rear suspension, such that the gearbox sprocket, the swing arm, pivot, and the rear sprocket pivot are all in a straight line on their centres, then tighten the chain. Thats sets chain tension to the perfect setting regardless of suspension movement. YMMV -
I am going to shut down vfrd soon
Mohawk replied to HispanicSlammer's topic in Site Comments, Help, & Support
I see the cert has lapsed, so if there is going to be a change of admin/ownership it needs to happen soon. Happy to donate if the site will continue. Here's hoping 👍 -
I am going to shut down vfrd soon
Mohawk replied to HispanicSlammer's topic in Site Comments, Help, & Support
Hispanicslammer, What you have done for the VFR community has been great & we applaud you for it. All good things must come to an end & if we can't find someone to replace you as super admin & take over & move the site, then so be it & thanks for all the fish 👍👍👍😁 -
I never knew JZH had a Toro kitted 5th gen. R U still in UK ? Where's the bike ?
-
No I could afford it now 👍😁
-
Its one of the regrets of my life, not buying the Toro Charger ☹️🤷♀️
-
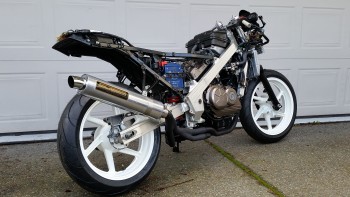 Colours look good, brakes not so much 😂
 -
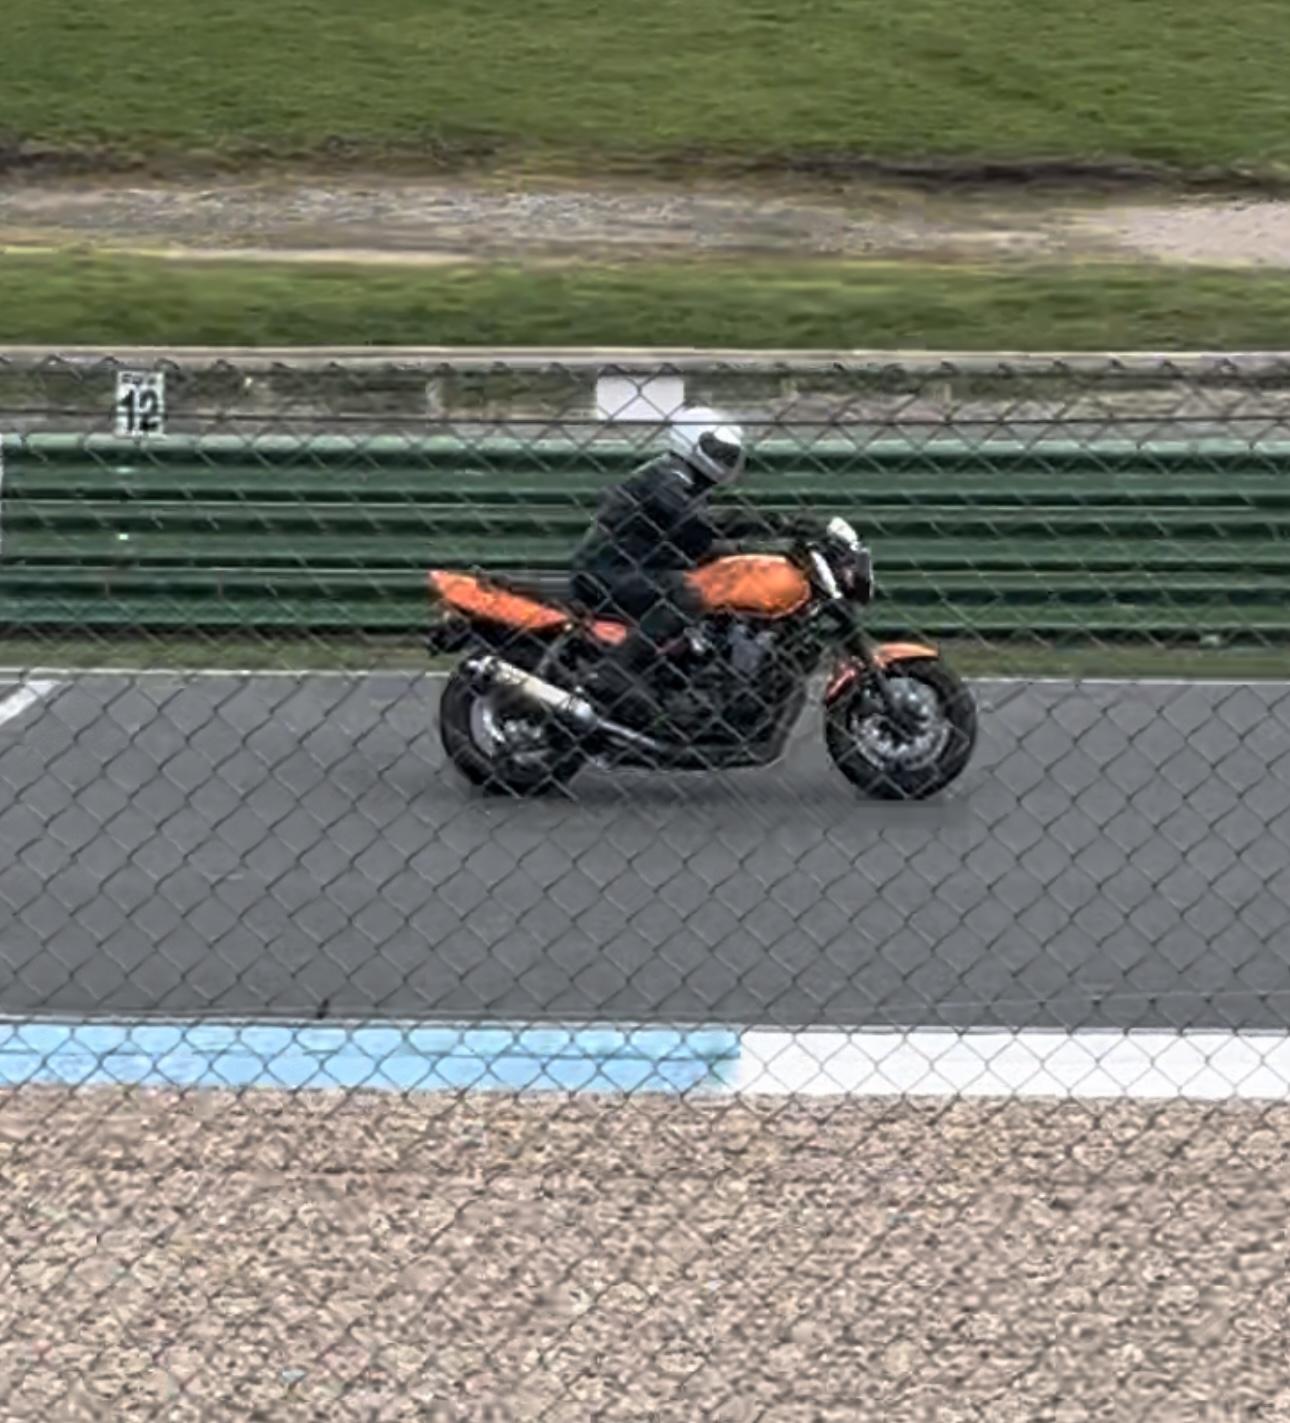
As Stray says we had a little meet up at Mallory, a place I have never bern to before. It was great to meet Stray he has an infectious enthusiasm for all things two wheeled. Was good to put a face to the name & meet some other folks. Here's a pic of our intrepid hero on a Cough Cough, XJR1300, sorry still taken from a video. He had a long car drive the next day, I said he would be driving with both hands on the bottom of the wheel going "Ooh me arms" after muscling that thing around all day. He was doing well chasing down a guy on a Duc 916/996 thingy. Luck for him there were many enforced breathers as fellow enthusiasts repeatedly swapped bikes for undergrowth or gravel traps, with many thinking race rubber with tyre warmers would cut the mustard on the cold track surface ! If anyone does go to Mallory watch out for the off road excursion that Sally Sat Nav will take you if you are unlucky like me 😂 Was interesting to see how my F-pace handled the deep water filled ruts on the badly cut up lane 😳 Was good to meet you Stray & Lee. Next time will be on 2 wheels. And thanks for picking up the lunch tab 👍 Now get that MoT
-
New 5th/6th/8th gen performance header now in production in USA
Mohawk replied to sfdownhill's topic in Exhaust Systems
The original headers have a large flange, the TBR & I assume these replicas have a narrow one because the pipe has a wider internal diameter. You want a gasket that fits in the exhaust port outlet & does not protrude into the exhaust port area to maximise flow. When you pull the existing exhaust the gaskets normally stick to the port, you will see the stock gaskets protrude into the exhaust port flow area. You want to avoid that. So using a wider diameter gasket that just fits inside the outer port & seals the header flange without protruding into the exhaust port area. I supplied the original dimensions to the guys when creating these headers. Cast head ports are not guaranteed to be exactly the same, so if possible its best to measure yours & buy the widest & thinest gasket that will fit & seal. Have fun.