.jpg.d3f382e7484e2df22da585f8b7596be4.jpg)
Tirso
-
Posts
162 -
Joined
-
Last visited
-
Days Won
4
About Tirso

Tirso's Achievements
")


-
https://chatgpt.com/ ?
-
Congratulations on your bike. This may work for you, the price is very low. The Ultimate HOMEMADE Rust Remover (Better than EvapoRust) - YouTube https://www.youtube.com/watch?v=fVYZmeReKKY 1 liter of water 100 grams Citric Acid 40 grams Sodium Carbonate 2 Tablespoons dishwash soap ≈ 30 mL (I use regular Dawn) I have excellent results in removing rust and cleaning parts. I cleaned my very dirty and rusty 5 Gen header in a 38 liter trash bin, 12 hours for 1/2 of the header and another 12 hours for the second 1/2. I do not know what it will do to paint. I would suggest using this solution only on the inside of the tank. Good luck.
-
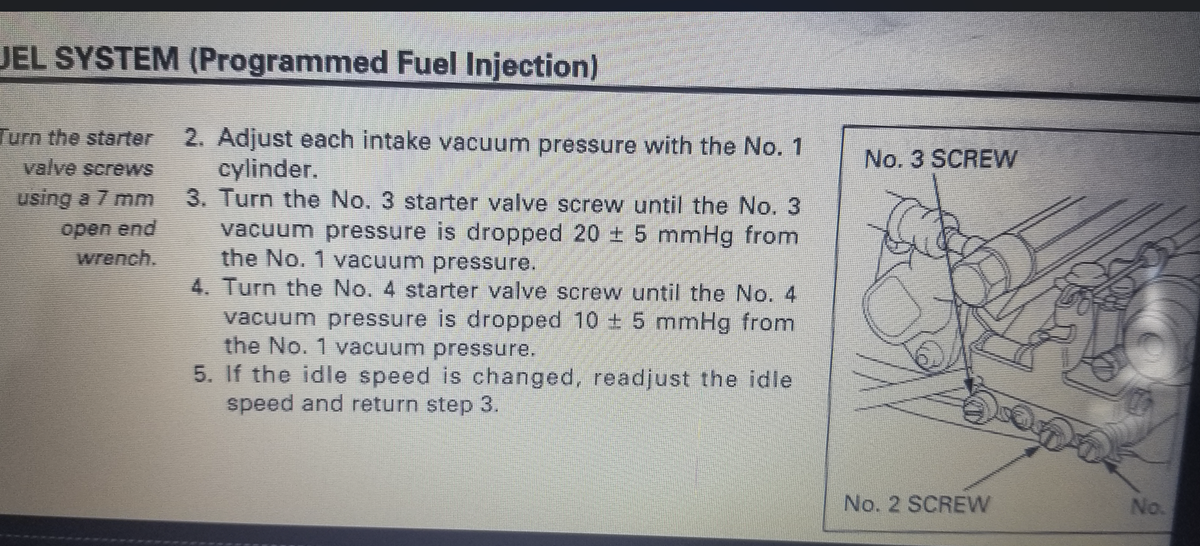
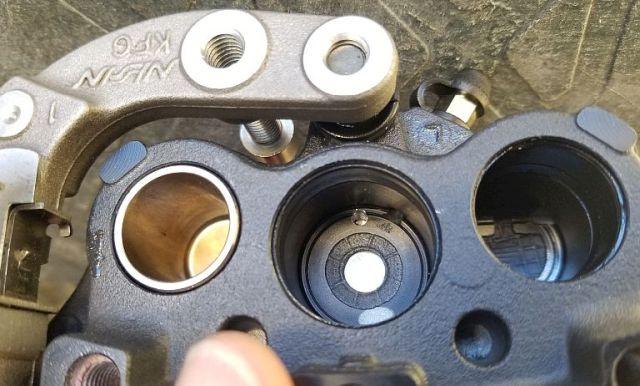
I'd start by having those injectors professionally cleaned and balanced. "balance numbers needed" A few years @Jkson wrote an excellent document on 5th Gen Starter Valves. "According to 5th gen manual, 3rd cylinder vacuum pressure should be dropped to 20mm compare to 1st. Most of us read it as dropped DOWN, and translated manuals have it mentioned as LESS vacuum for 3rd and 4th." Instead of "dropping" the value on your meter, you add the value. For example, using my Morgan Carbtune: 1 ≈ 180mm 2 ≈ 180mm 3 ≈ 200mm 4 ≈ 190mm Though, I would not be surprised if "the guy doing the balancing" set them all even. @Gaz66 is right. The Carbtune "works" though cheap gauges are best. Good luck, hope you sort out the bike, nice bike!! love the color

-
This is what I did: 5th Gen Needs New Rec/Reg, Other examples on this thread. If I had to to it over, I'd use rivnuts. Other mounting examples from VFRW Good luck
-
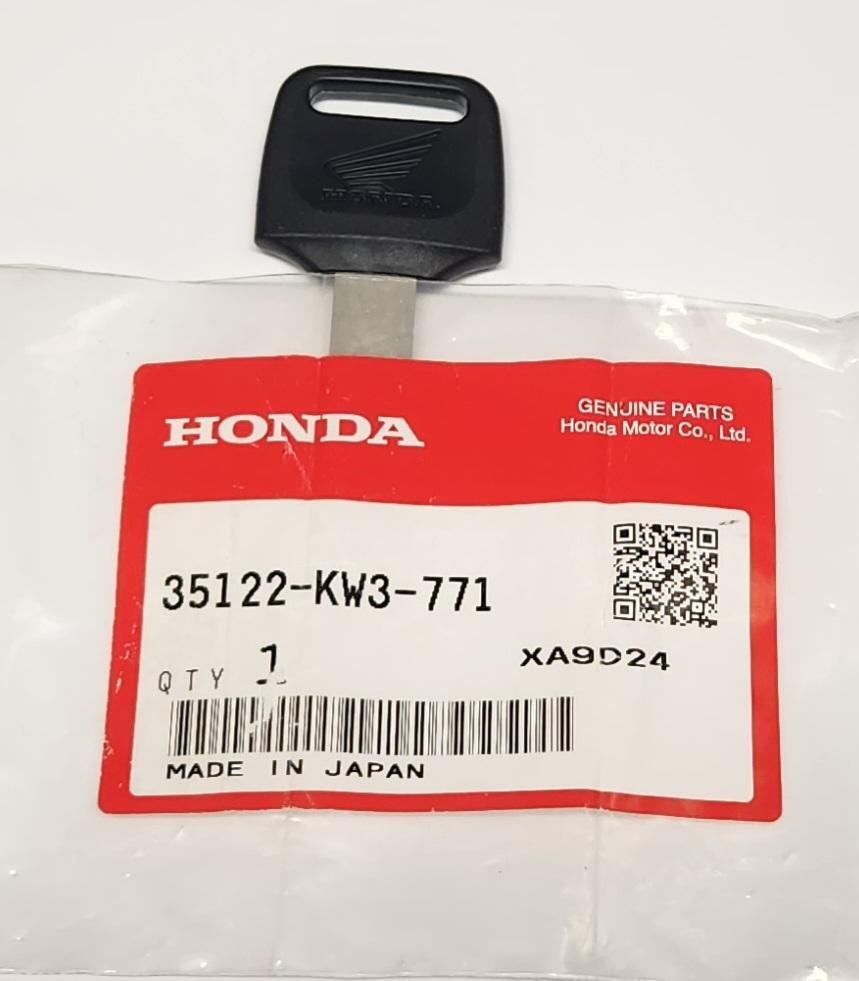
 I have 2 '99's. 771 is the spare key for both bikes and is identical the original key. Sounds like both will work.
-
Honda Unveils New V3 Engine with Electrical Compressor
Tirso replied to arrow's topic in OTHER Motorcycle Talk (non vfr)
"V3X 900" New engine concept with 2019 EICMA CB4X design. I can dream
-
Good job!! Do you have a model number on the Kawasaki gaskets? I have a set of Yamaha gaskets that I was going to "turn" to fit but the Kawasaki gaskets may work with my WiLD Headers.
-
BEST MAP FOR A 5TH GEN USING POWER COMMANDER II
Tirso replied to VFOURRACER74's question in Modification Questions
Best free suggestion is to try a few from the download section and see what works for you.. There's one with Full Erion (header included) that may work but the best option is always to get it dyno'd by someone who knows what they are doing. Good luck and post pics of your scoot otherwise your bike does not exist! -
I'll bite, how much and then there's shipping to US.
-
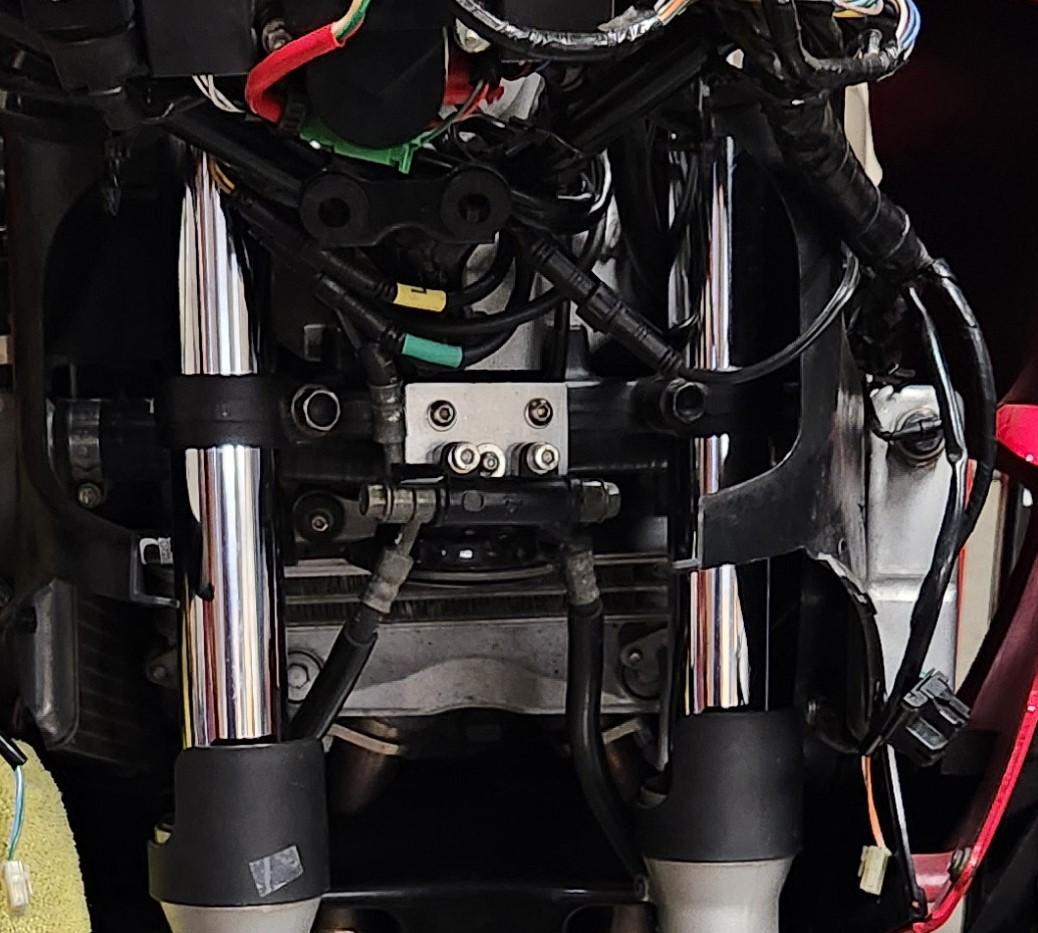
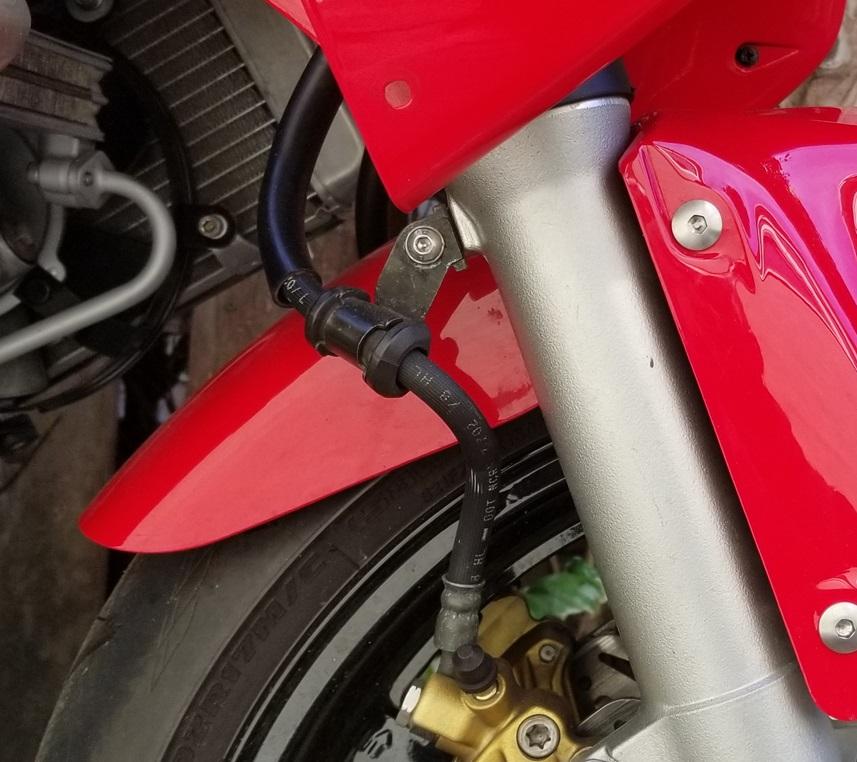
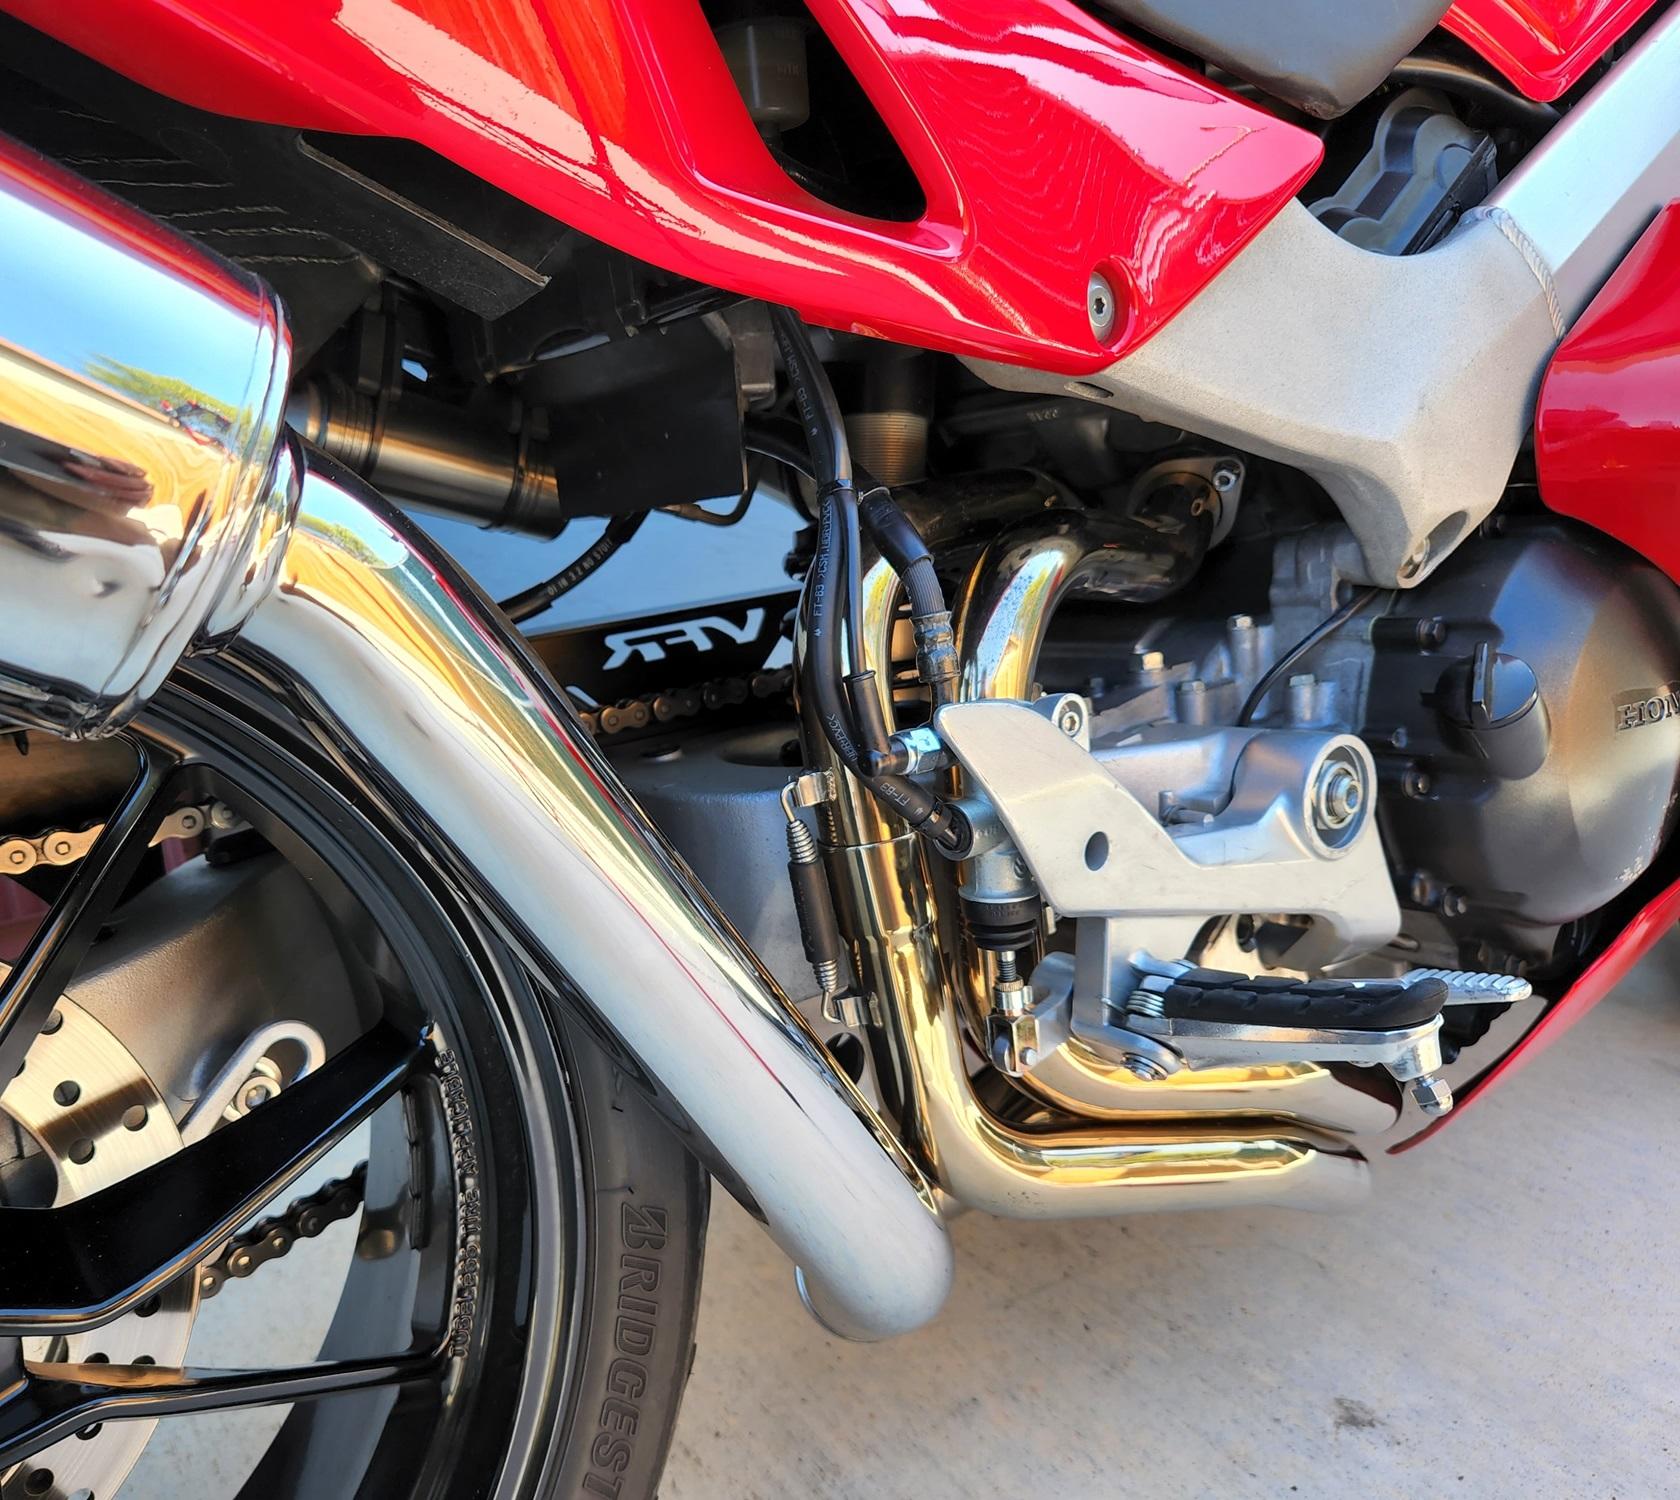
Info on my '99 conversion to VTR Forks: * Triple, Rim, Axle w/Spacers, Fender: '99 VFR on bike * Fender Bracket: home made, not good. Waiting for ABS printed brackets from Craftcloud . Thanks to MiguelDK for sharing file! * Fender Bolts: Stock * Bearings: (1) All Balls Racing * Forks: VTR uppers and lowers as the VFR stanchions were pitted from living next to Muir Woods * Fork Internals: DMr BD20 Fork Cartridges for Super Hawk * Bars: HeliBars * Front MC: '03-'05 600RR 11/16 MC (Coffin look) * Front MC Seal Kit: BrakeCrafters * Levers: Pazzo Levers * Brake Lines: '01-'05 FZ1 lines work well with HeliBars, and I like the connector Yamaha used for the 3 brake lines. In the below pic, you can see the brake line connector supported by a small aluminum bracket attached to the bottom triple. The horn is supported by the bolt between the Yamaha connector, I bend the horn bracket to get it to fit. * Brake Line Brackets: '97-'05 VTR. I bought Super Hawk front brake lines and used the brackets to give the lines a place to settle and not flop around * Brake Line Bracket Bolts: (2) stainless button head bolts from local hardware store * Calipers: '02-'03 954RR * Caliper Seal Kit: BrakeCrafters (Note on Installation) * Caliper Spacers: (4) https://www.mcmaster.com/93849A105/ * Caliper Bolts: (4) https://www.probolt-usa.com/stainless-steel-flanged-hex-head-m8x1-25mmx28mm/ * Rotors: (2) EBC VR1014 Black * Pads: EBC Brake Pad Set Sintered * Rear Shock: DMr BD40 Rear Shock with black spring * Rear Brake Version 1: '01-06 F4i 14mm rear MC with stock center caliper drilled to run one line * Rear Brake Version 2: Brembo P34 w/ Brembo Rear MC (Used Gig's post as guide for rear MC) Good results with 5 years of using the above set up, The fender brackets have always been an issue though now looks like we have a solution. Good Luck
-
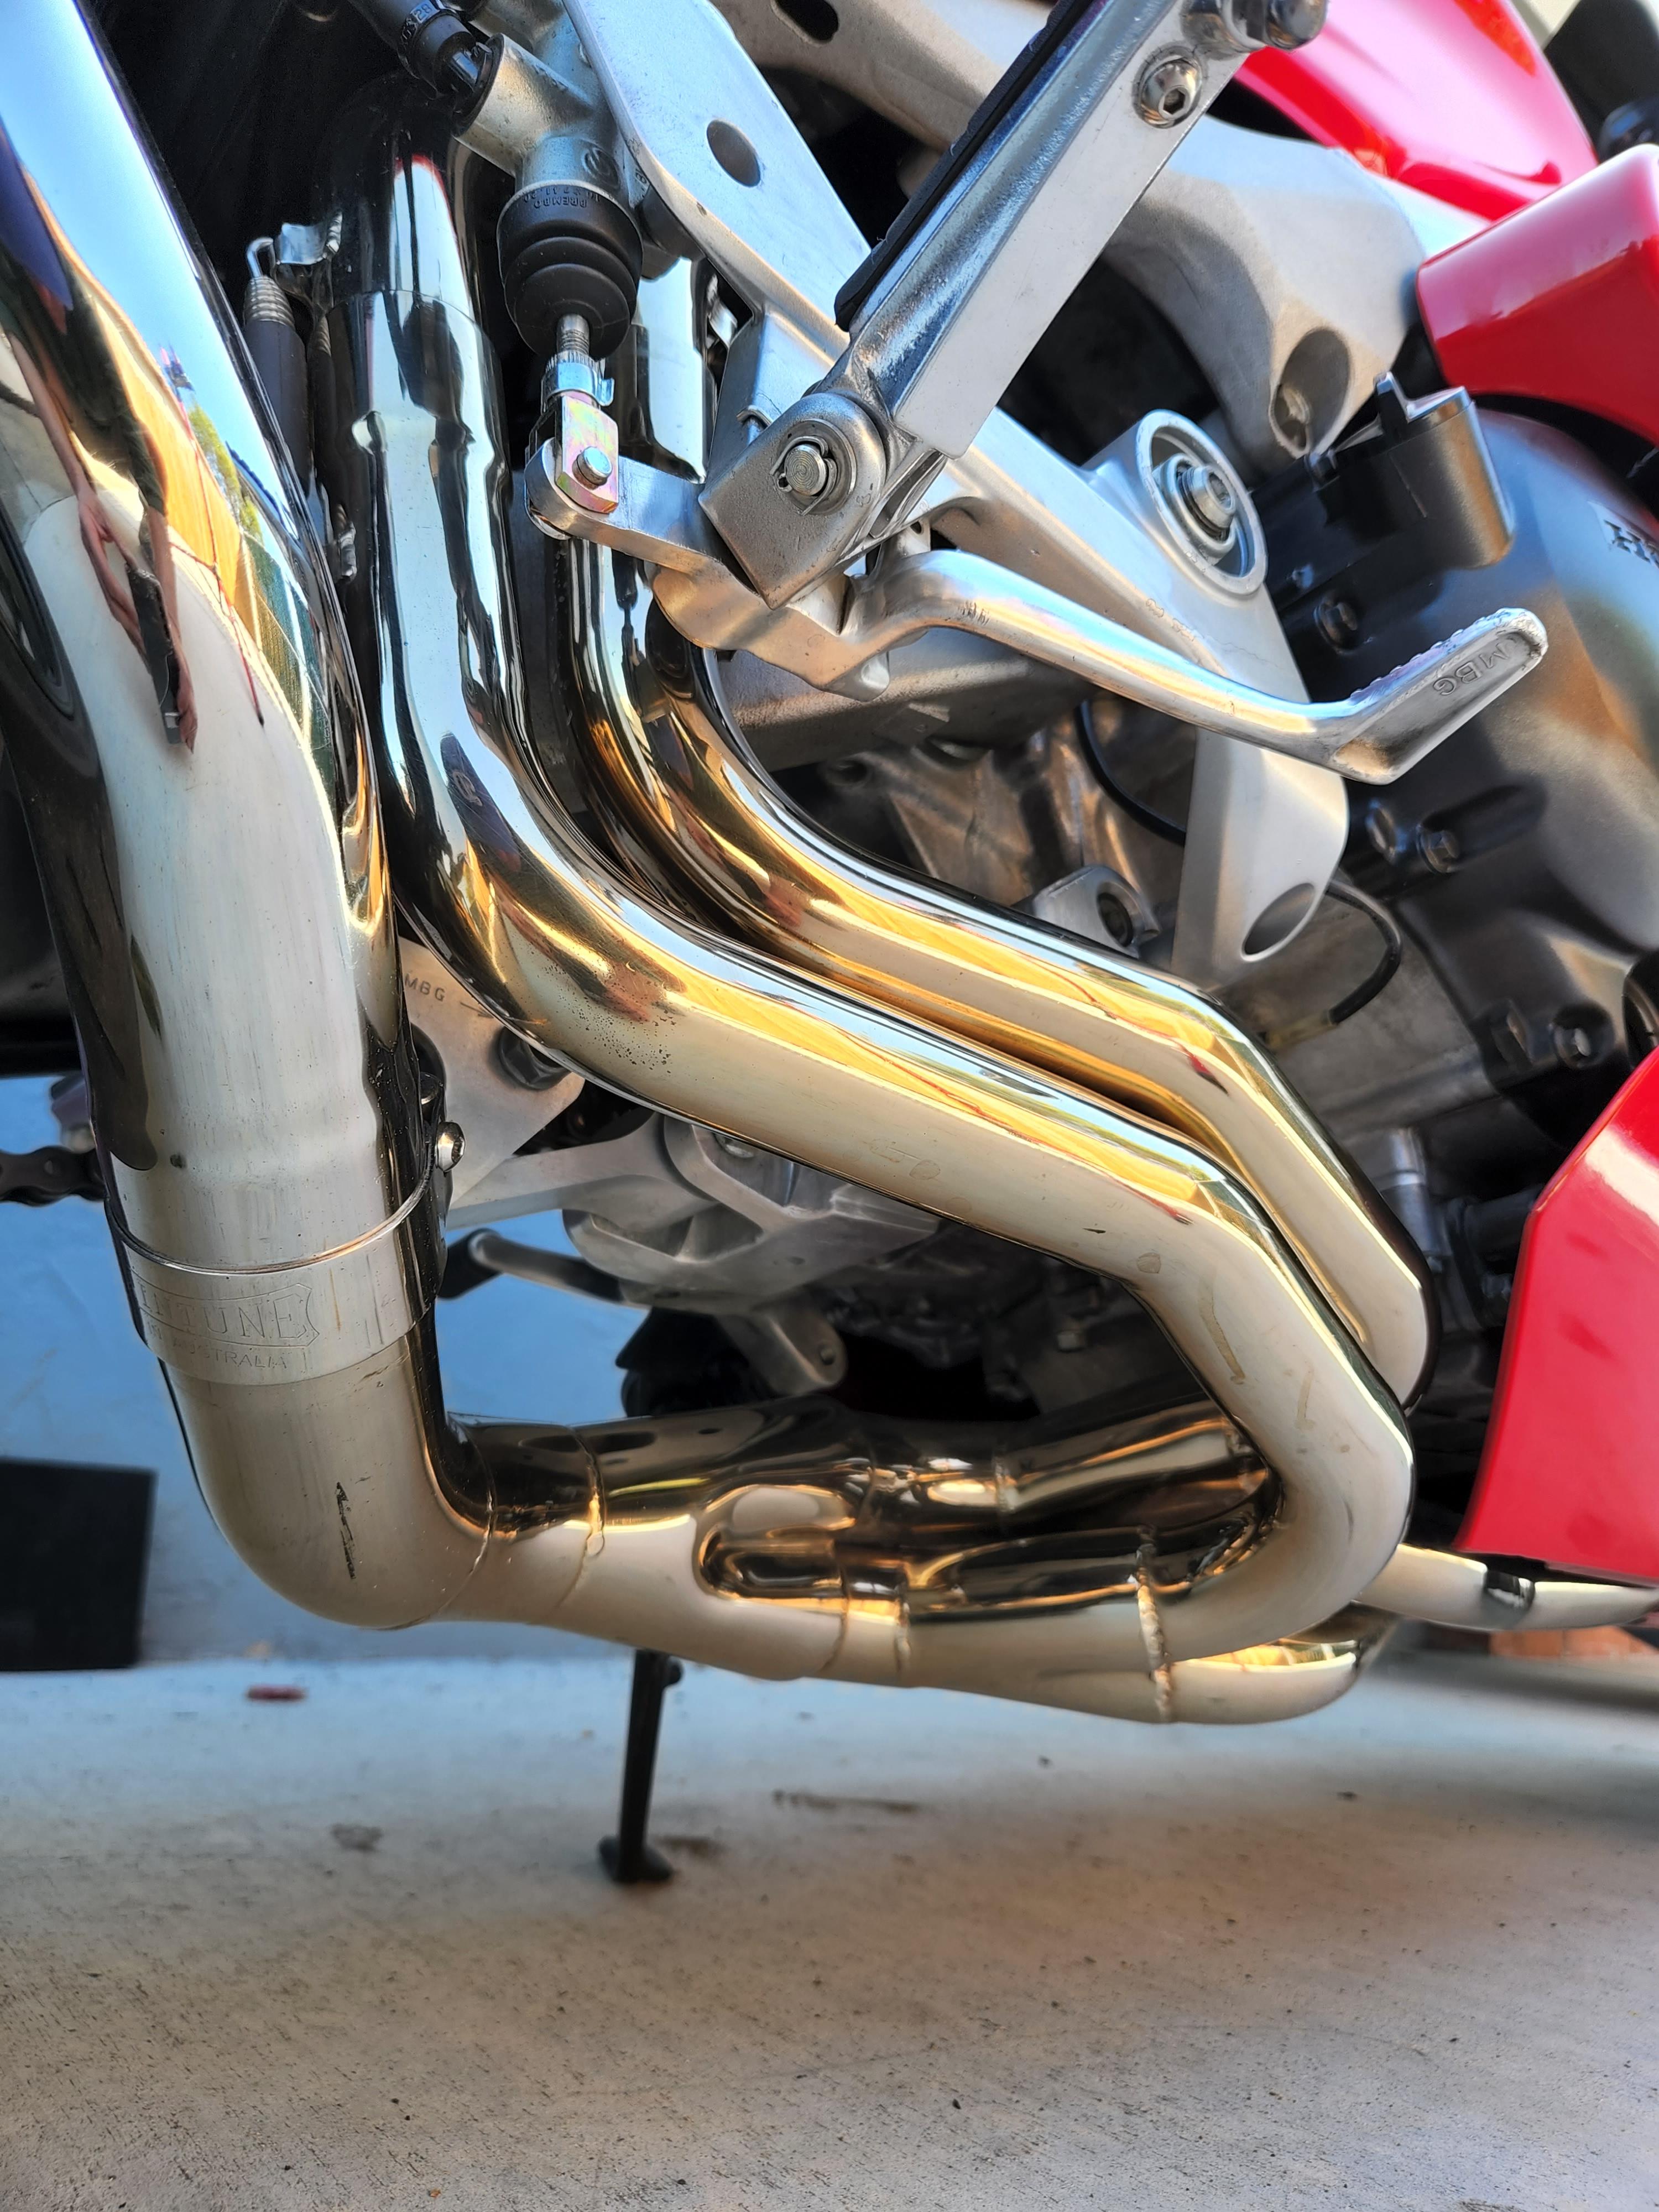
To break the original finish, I cut 3M scotch brite pads (7448 grey) into long strips and worked my way around the headers. Then a buffing wheel w/ different compounds did the hard work. In areas the buffing wheel could not reach, used a tapered buffer, dremel wool felt polishing tips or wet-dry sandpaper. The final polish was done by hand with Simichrome polish (NLA in CA since Jan '24 because it contains Hexavalent Chromium) Last step was to clean the headers with isopropyl alcohol. Any residue left on headers will cause them to discolor when the pipes heat up. Eventually the heat cycles on clean headers with give them a nice gold shine. You can find the 3M scotch brite pads at Ace. For your headers I'd start with 7448 and see how that works, if needed move on to 7447. Some of those tight spaces near the collector may need strips of wet-dry sandpaper. Start at 1000 with a water spray bottle. To control the mess and keep the sandpaper from falling apart, clean often with paper towels. Another option is to look for someone who polishes Harley pipes. I actually spoke to someone in Oakland who did Harley pips but he was booked out for months since he was semi retired and only worked a few days a week. I don't have direct experience with dry ice or vapor blasting but I hear good thing about them. Good luck!
-
Could have been me, though my headers were passivated, I polished them to match my Staintune.
-
Nice Hawk!! 1) Bodywork: I'm with @MBrane and have the paint match locally. 2) Bung info: @Dangeruss shared an index on Feb'21. Looks like the info you're looking for is on Pg 13 half way down 3) I don't "need" a 2nd set of headers, but could be interested.
-
From L to R Tirzo, Noel (St Stephen), Jeff Thanks gents, it was a fun day. Next time let's do Bolinas-Fairfax to Alpine Dam and mabe tour Ridgecrest.
-
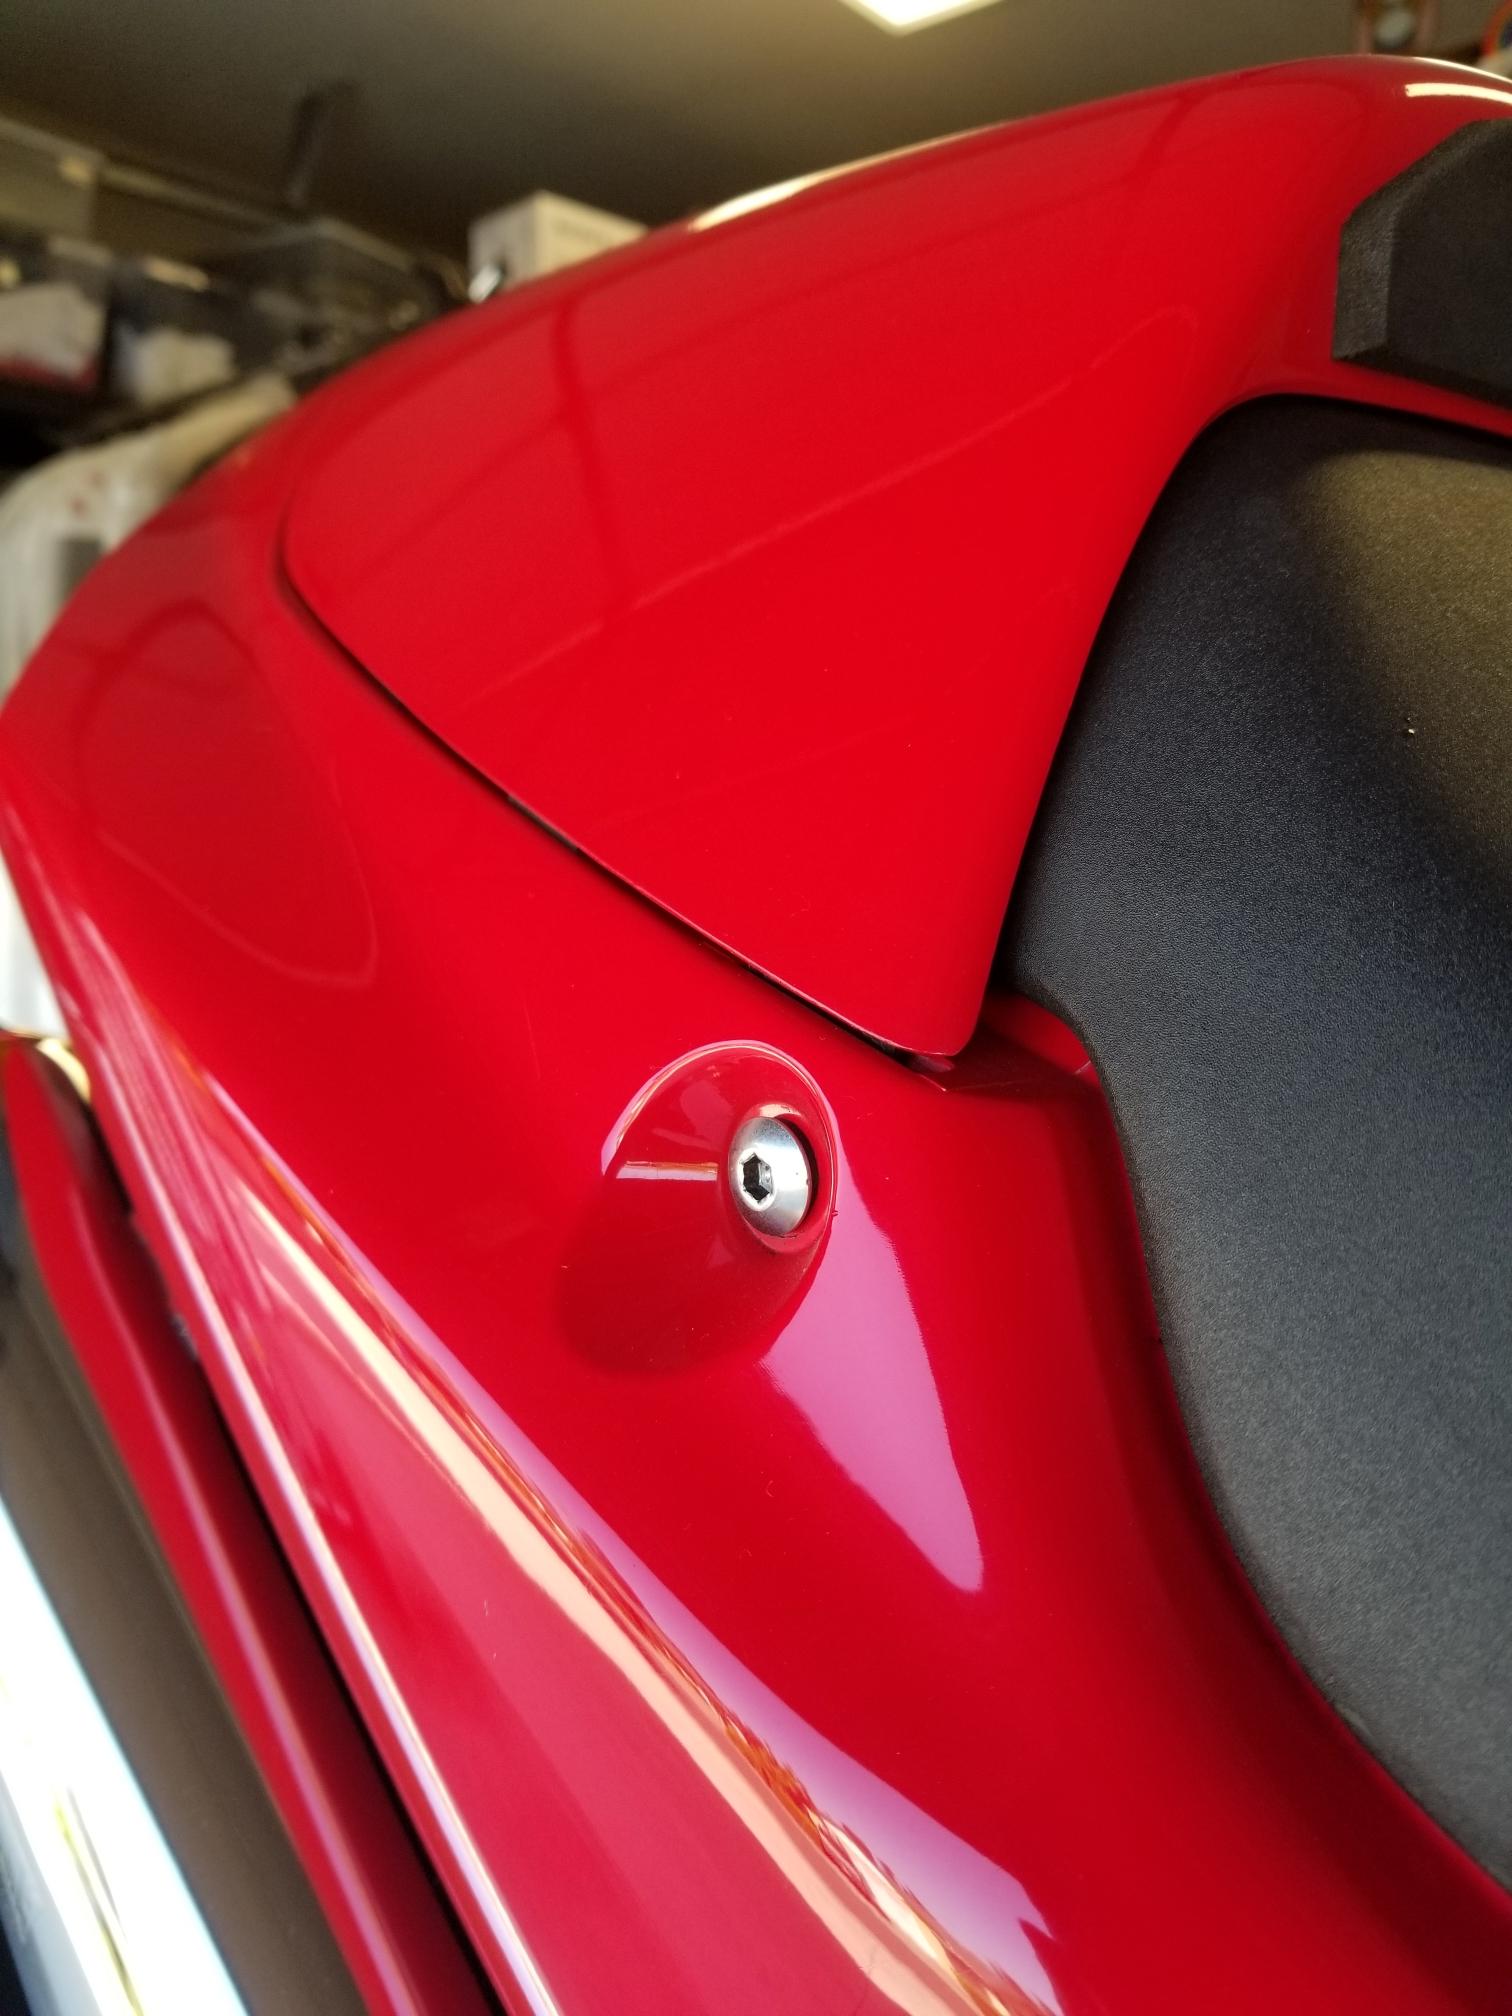
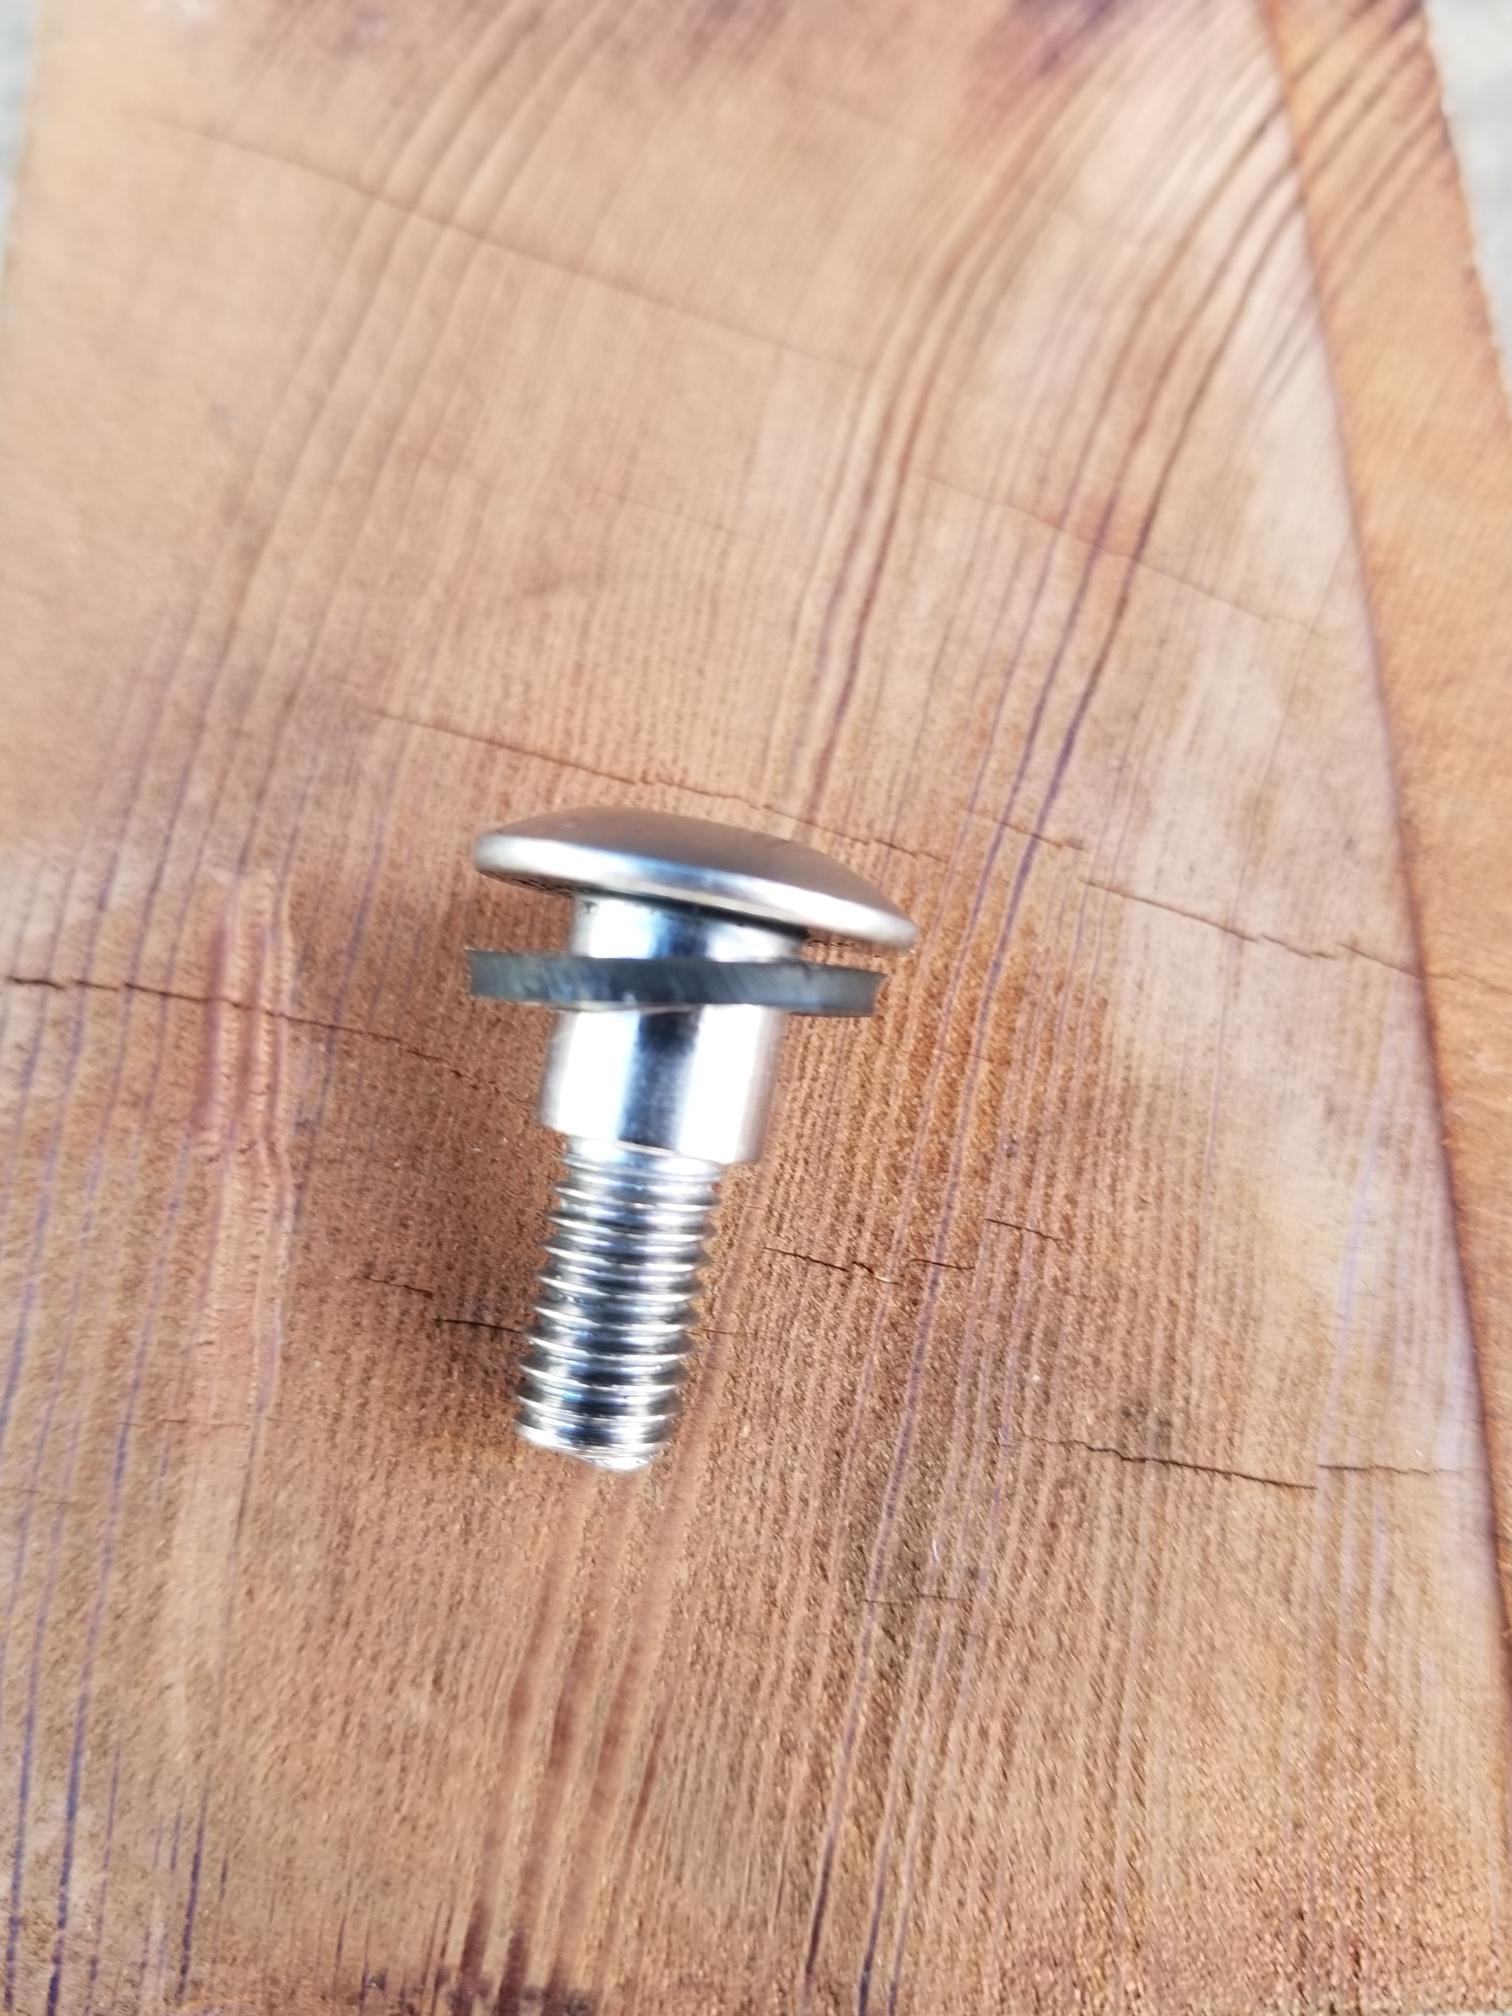
Good info on this thread, thanks! A slight highjack, anyone find a better non frankenbolt seat cowl than https://www.partzilla.com/product/honda/90104-MN4-000 ? The collar on this bolt is a little long and does not seat well without a washer/spacer.