Leaderboard


Popular Content
Showing content with the highest reputation on 02/29/2024 in all areas
-
We have a member here that goes by Throttlepimp. His name is Kevin Sigler, he does graphic design and has been creating and fabbing gauge faces and decals for a long time. He's supplied all my decal and gauge face mods for my business and bike projects for almost 15yrs. Countless transactions with nothing but good results - including a set of gauge faces for a second gen VFR like yours to replace sun faded ones. He's not on here much, so shoot him an email at throttlepimp@gmail.com. Tell him you are a VFRD member, and that I sent you. He already has files and color match for your gauges saved from my project. Customizing a face for your voltmeter will be very easy for him.3 points
-
...I bought this lightly used 2 year old VFR750, and haven't been without a Honda since then; several VFRs and a handful of VTR1000F. I'd bought the bike late that afternoon, and being early March it was a dark, damp first ride to visit my folks. I'd love to have it back, and in that condition.1 point
-
I've long been a VFR fan, and in fact a '96 VFR750F was the first bike I ever bought new... I think I was on a VFR forum way back then, but it's been a minute. Since then, I've done a lot of riding, drag racing, road racing and touring and 20 some bikes later, I'm back to a Honda V4. I sold my last bike (FJ-09) about 3 years ago because I was tired of the homicidal drivers where we lived. We've since retired, and it was time to get back on two wheels. Last weekend, I picked up a very clean '07 Interceptor in Freddie Spencer colors. Back when these came out, I loved the look, but the VTEC was a bit of a turn-off, and what I really wanted was a 1000cc VFR, so I never got that interested. Today, these bikes are a really good value, and I had forgotten how nice the Honda V4s are to ride. Even if it doesn't have gear driven cams... 😉 Anyway, I'm sure I'll be scouring the forum for info on the bike since it's been a while since I had a VFR. Looking forward to many happy miles!1 point
-
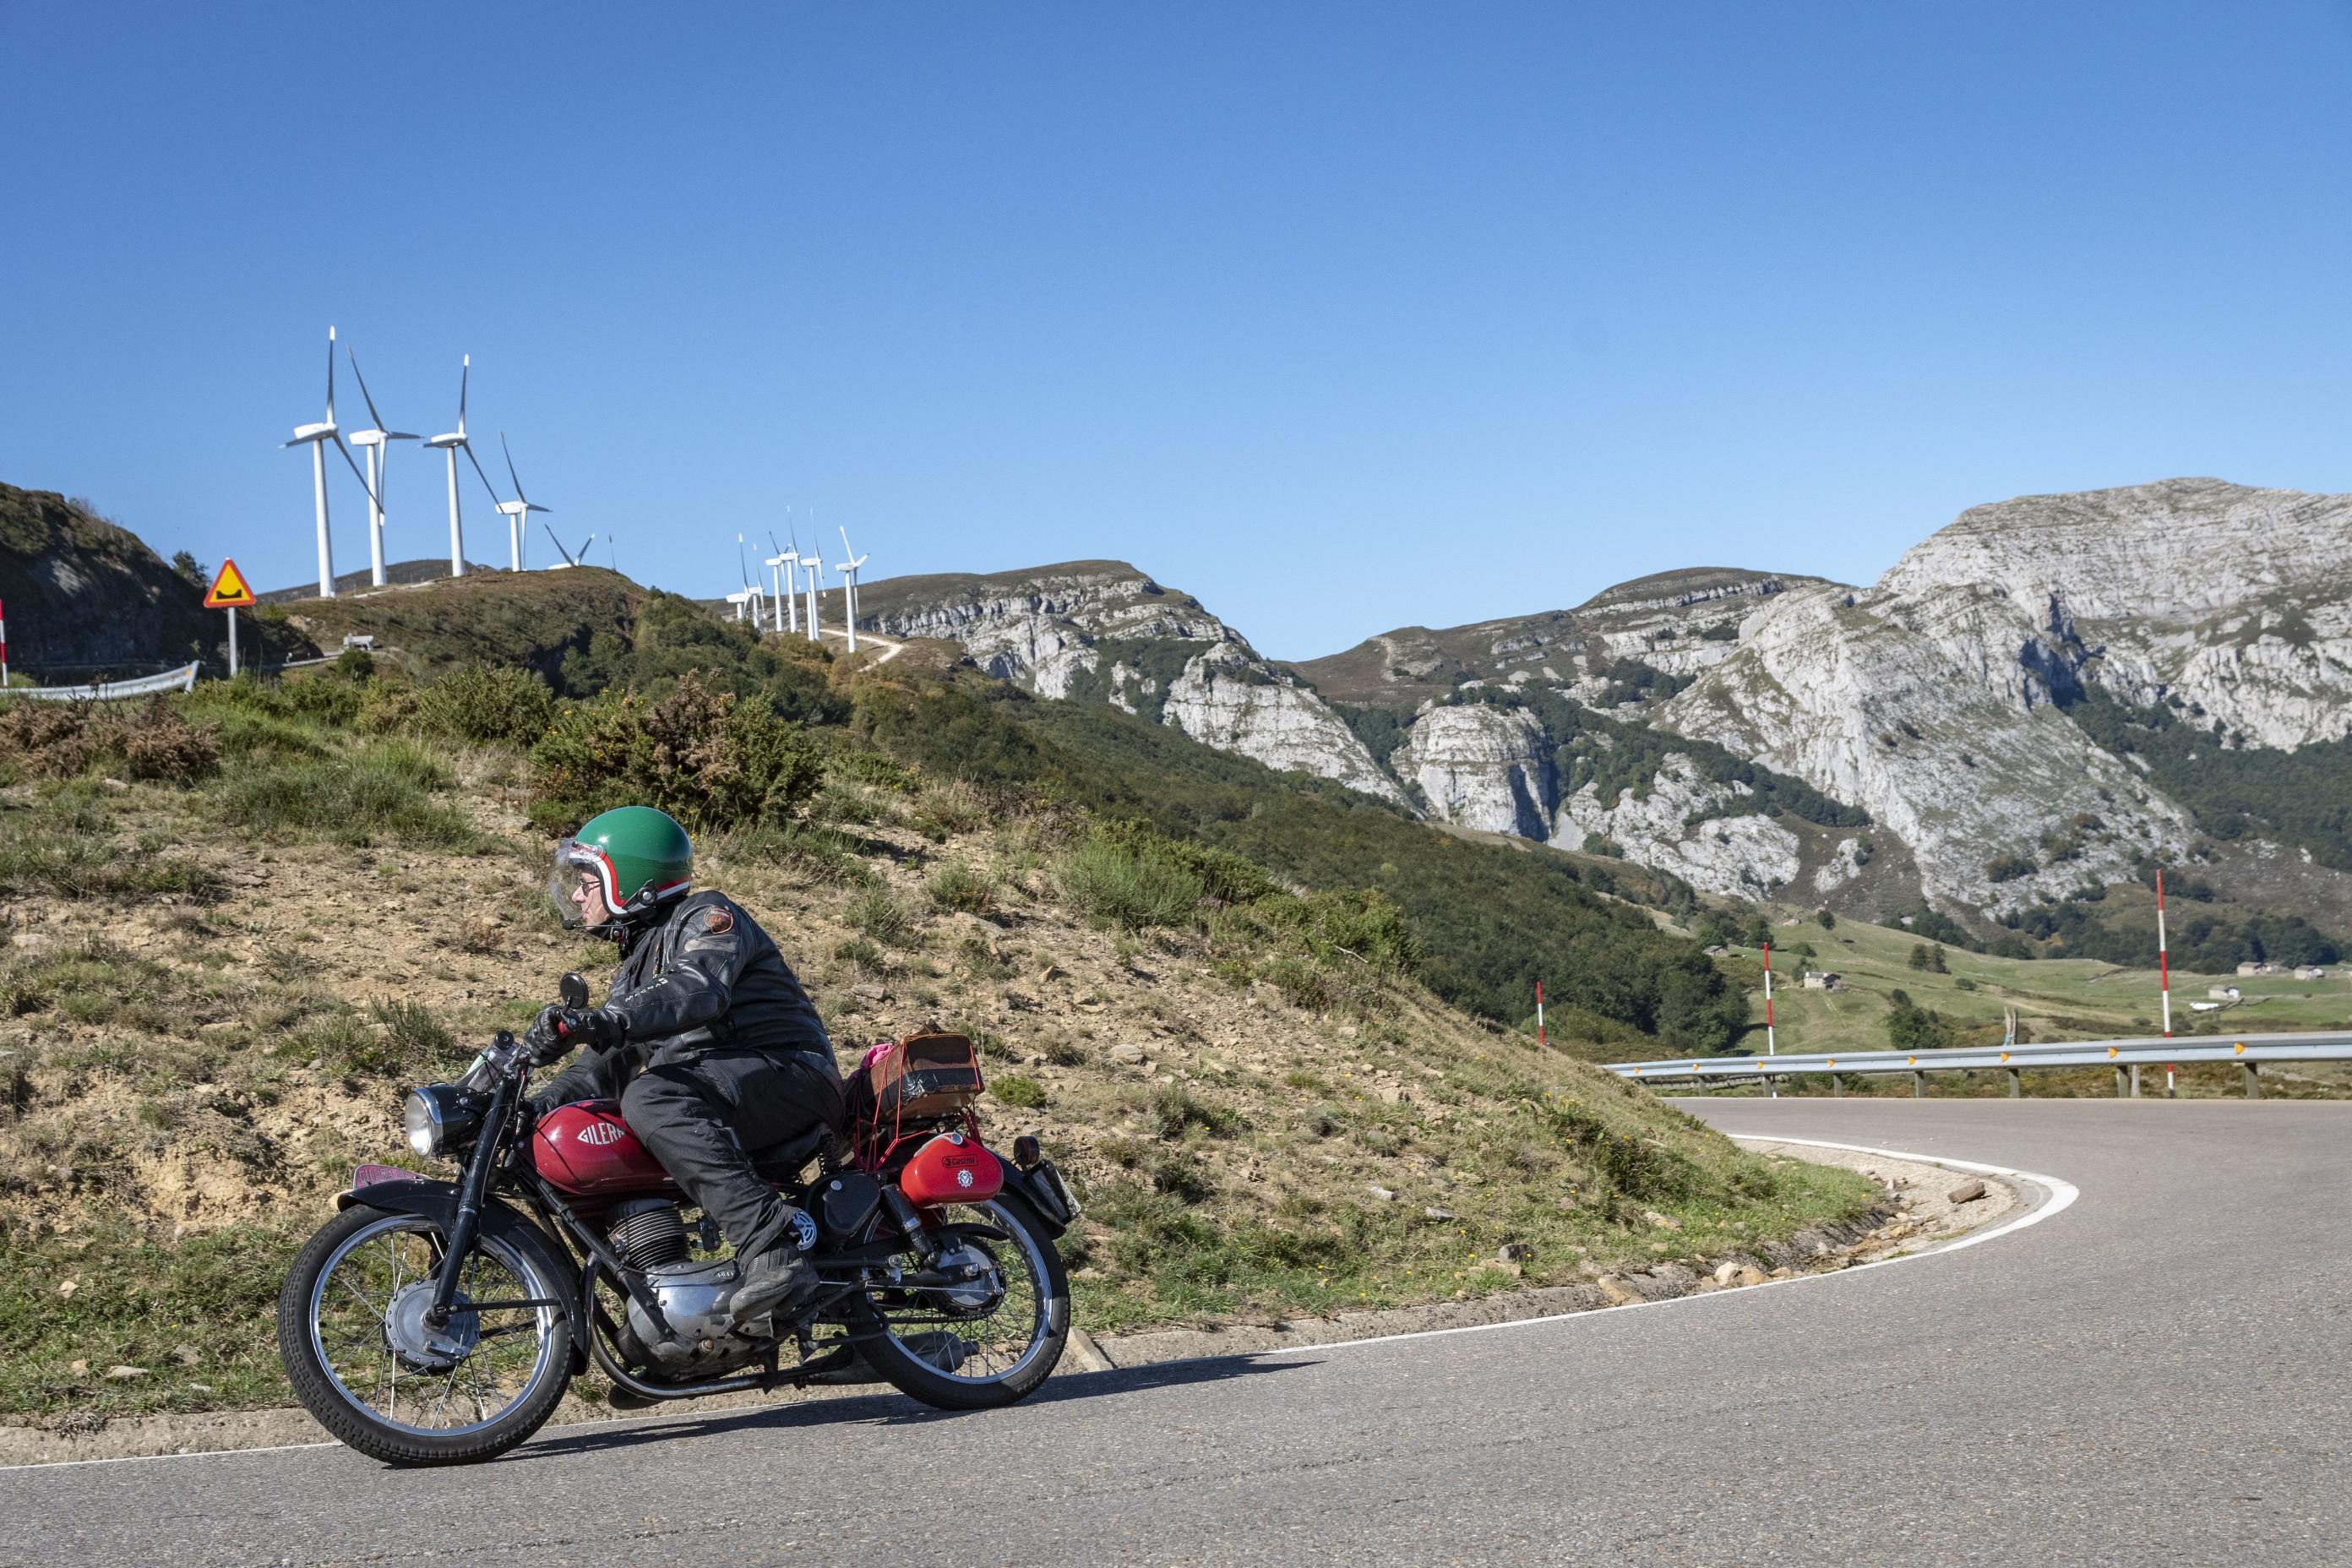
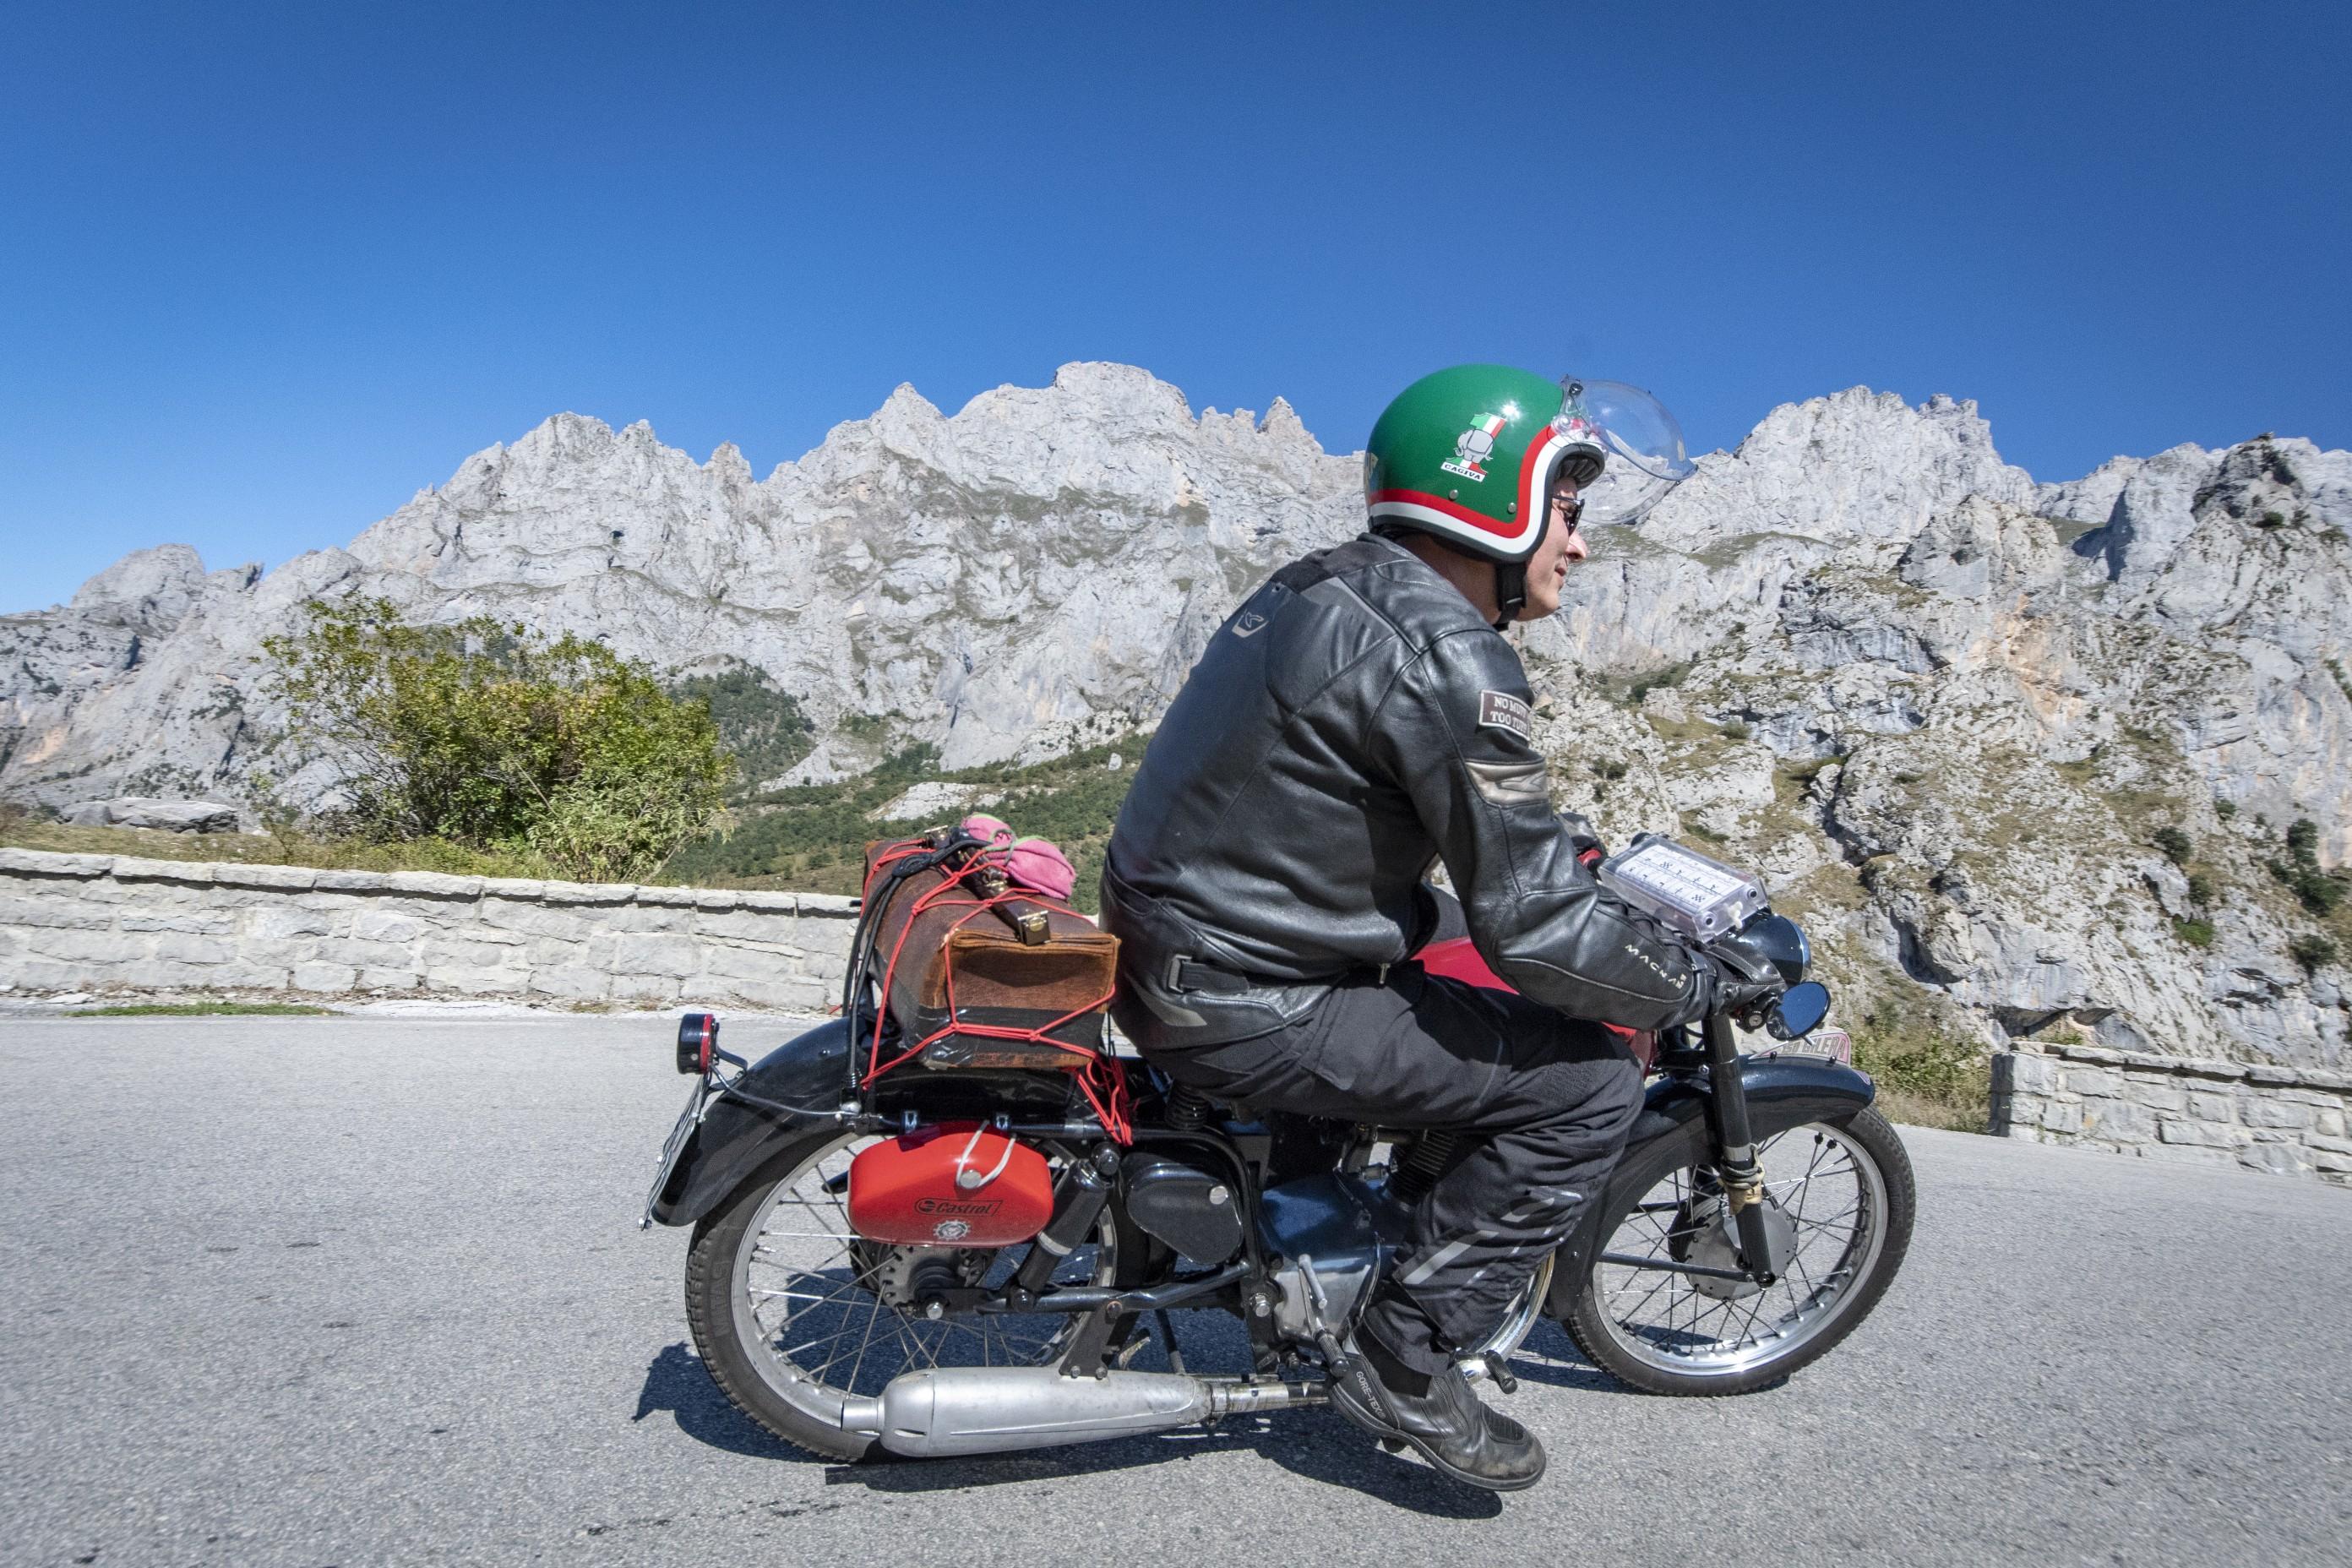
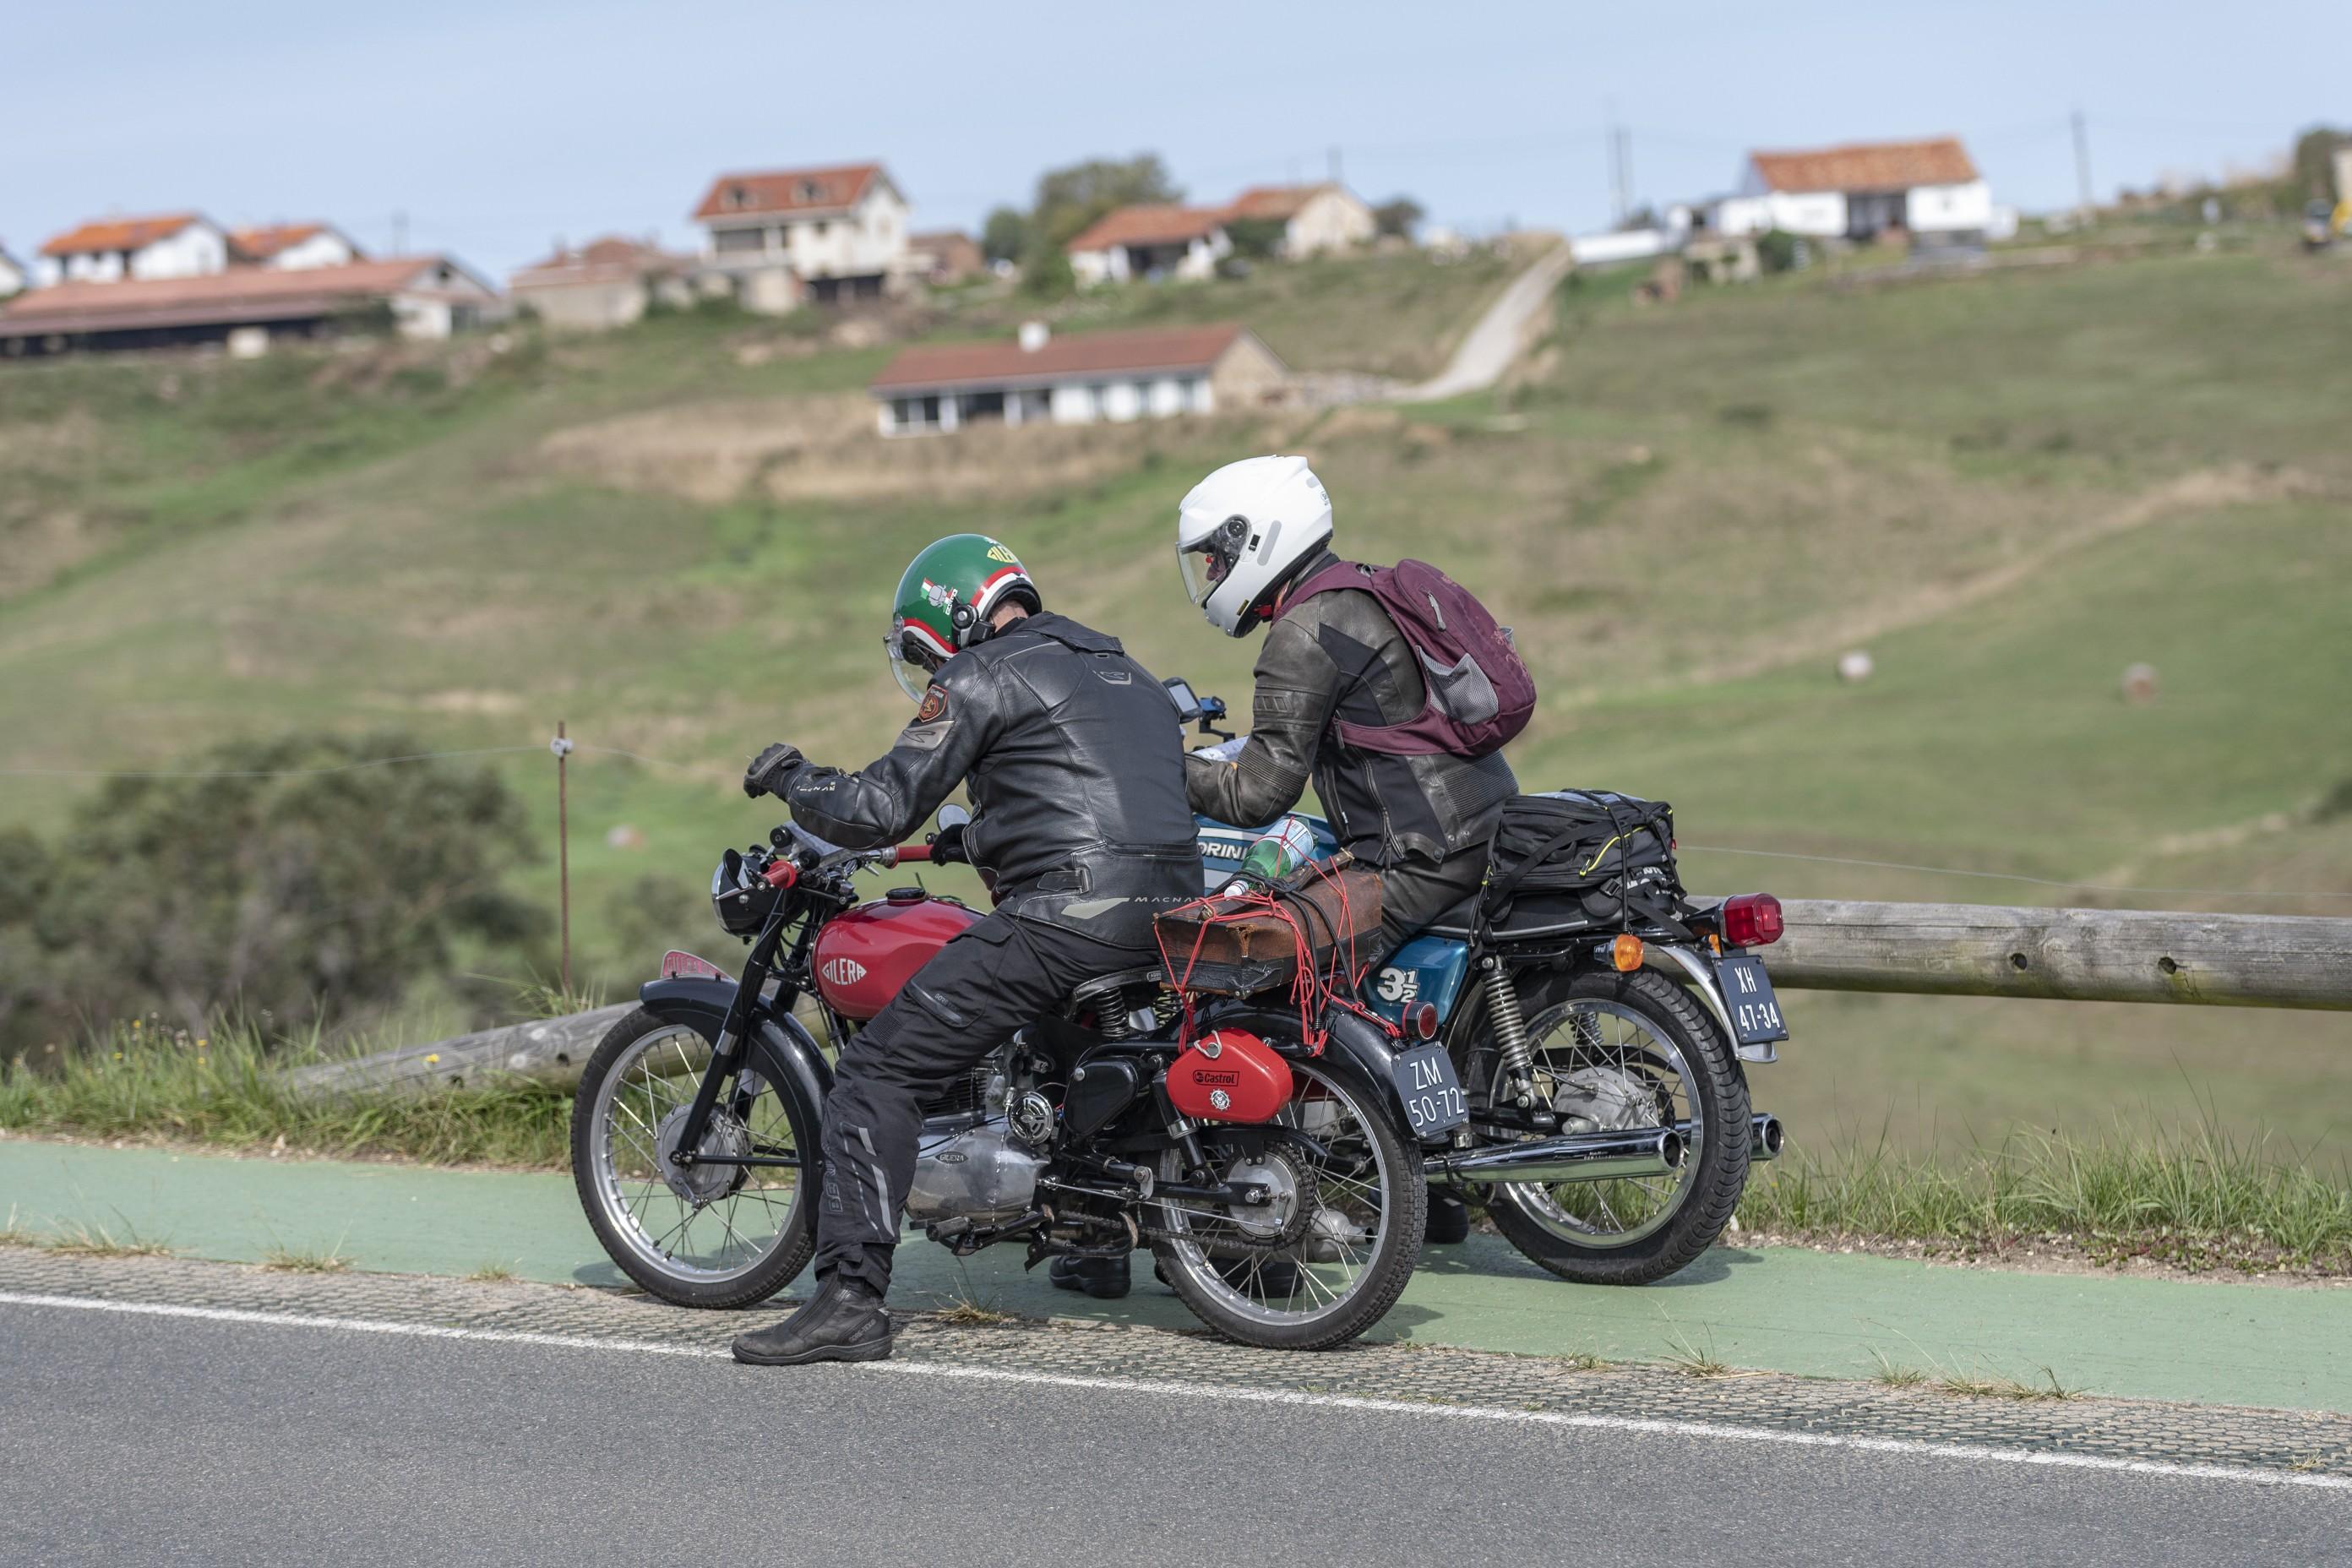
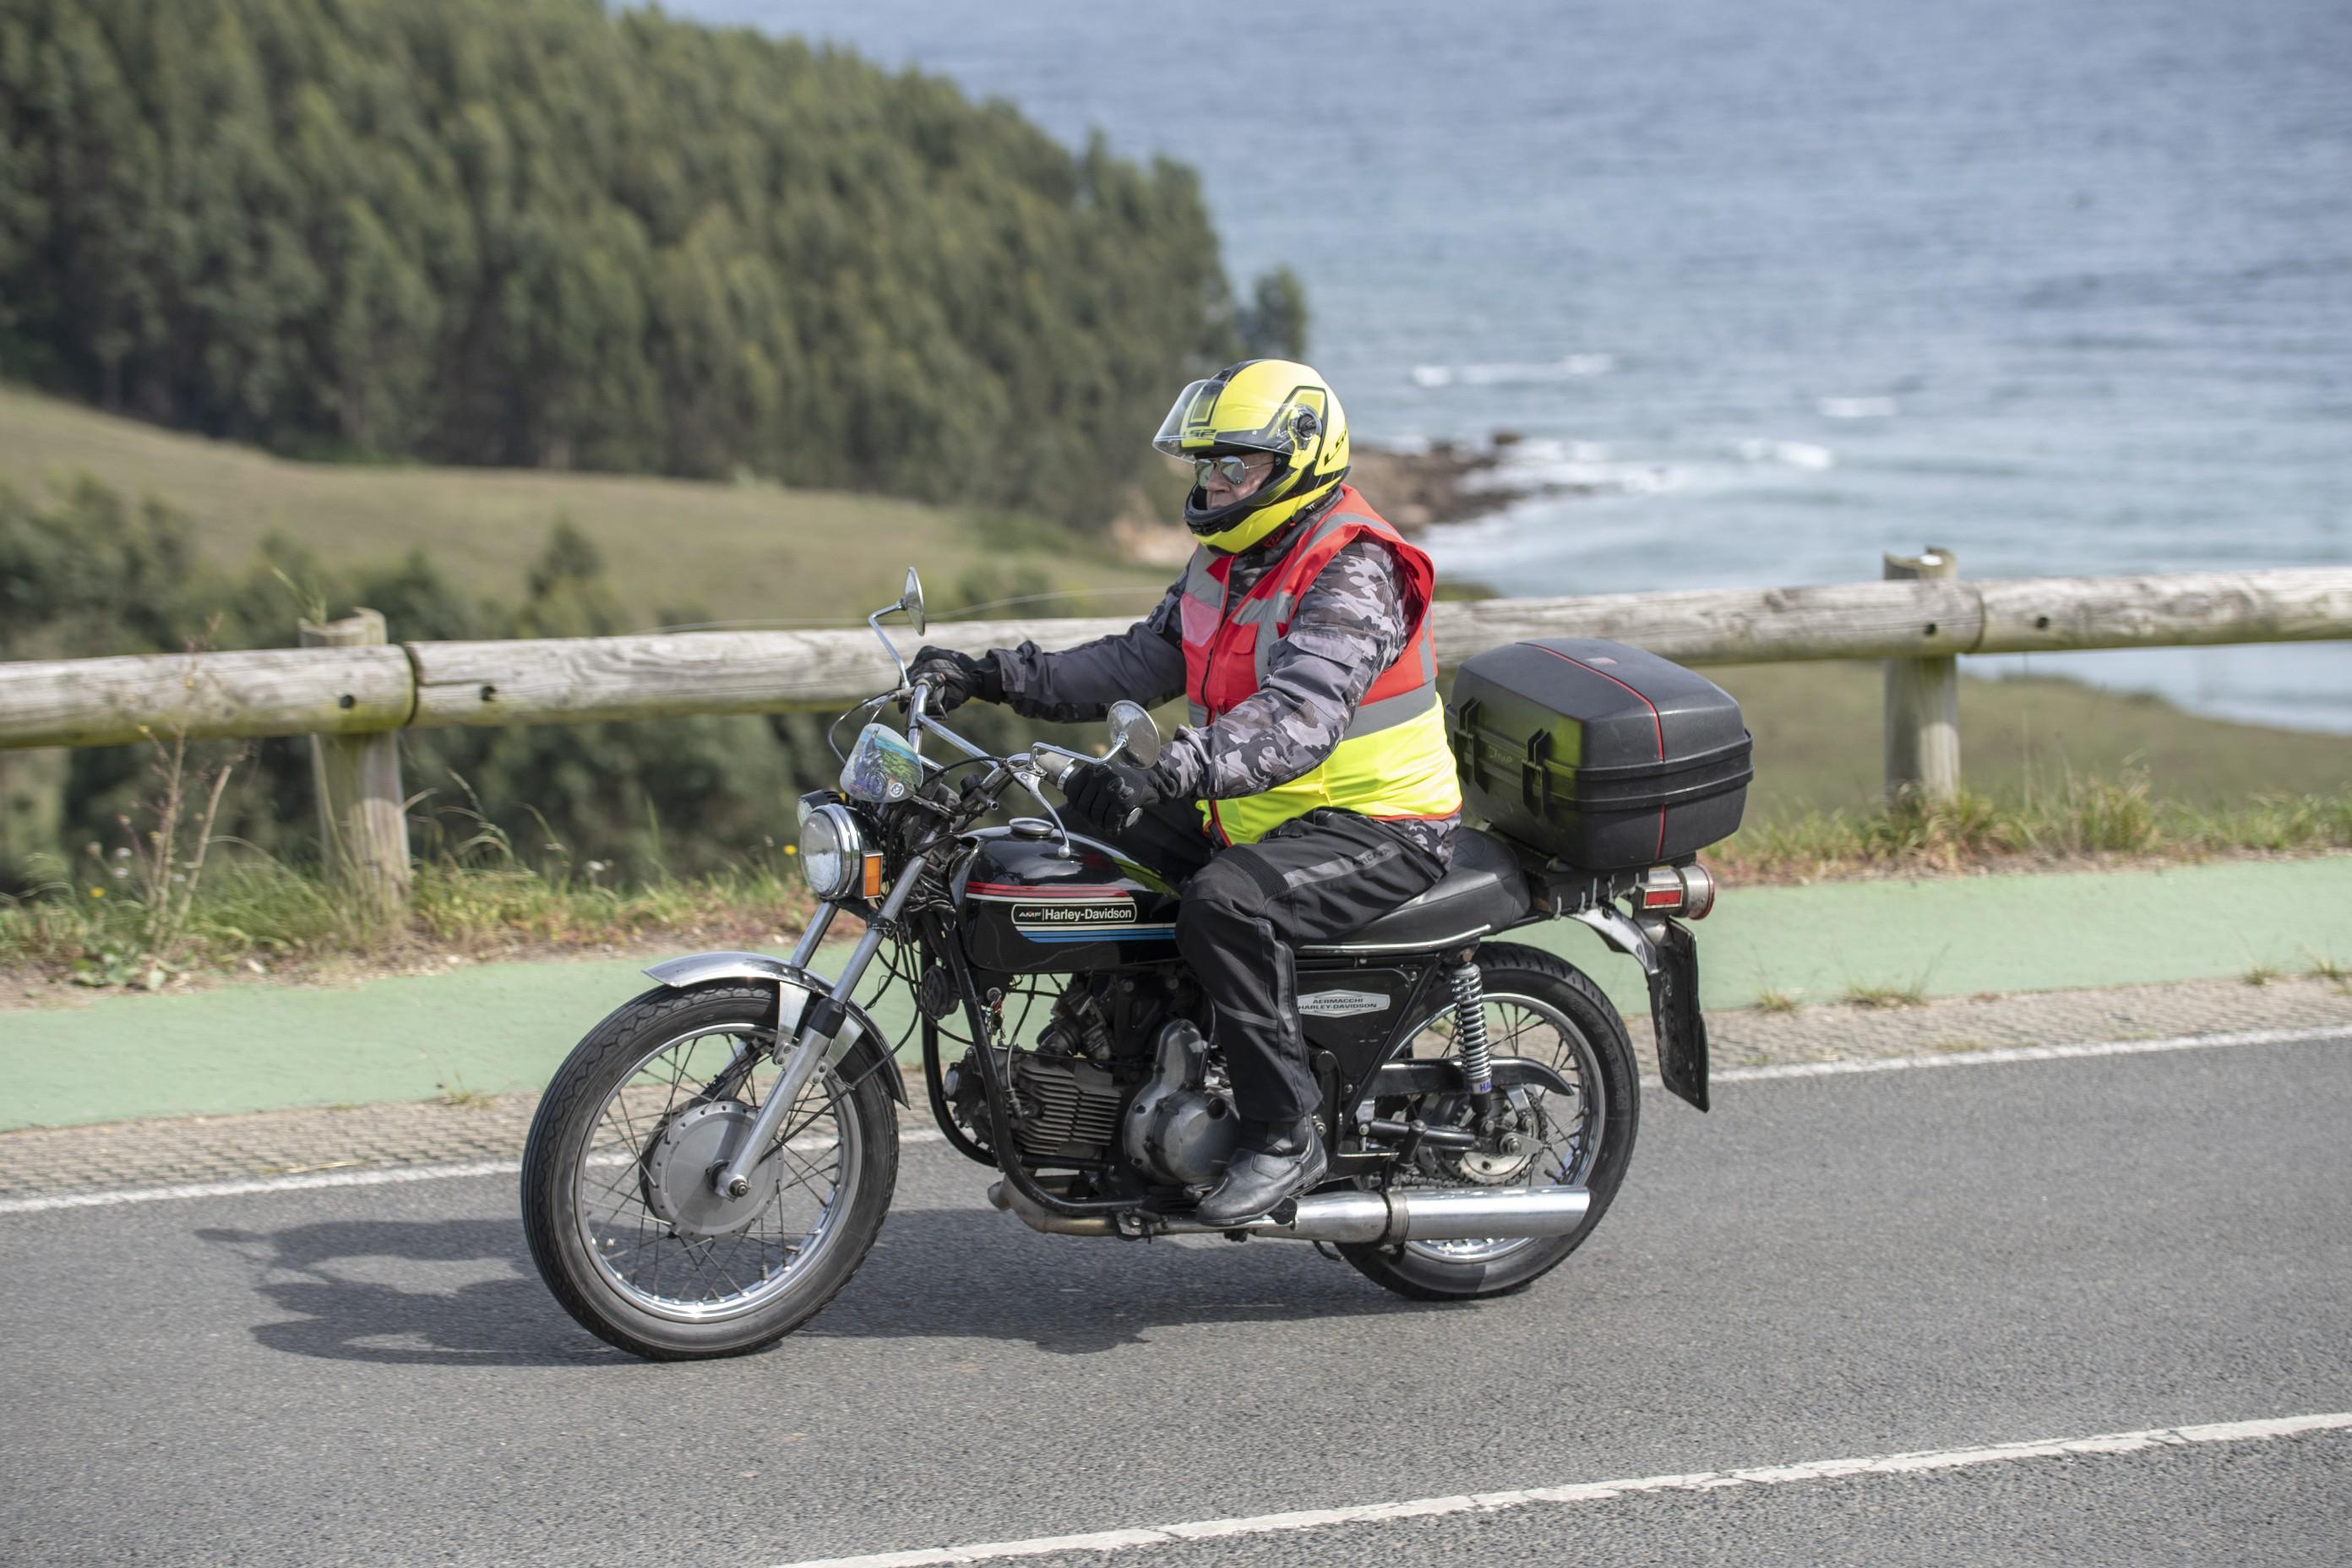
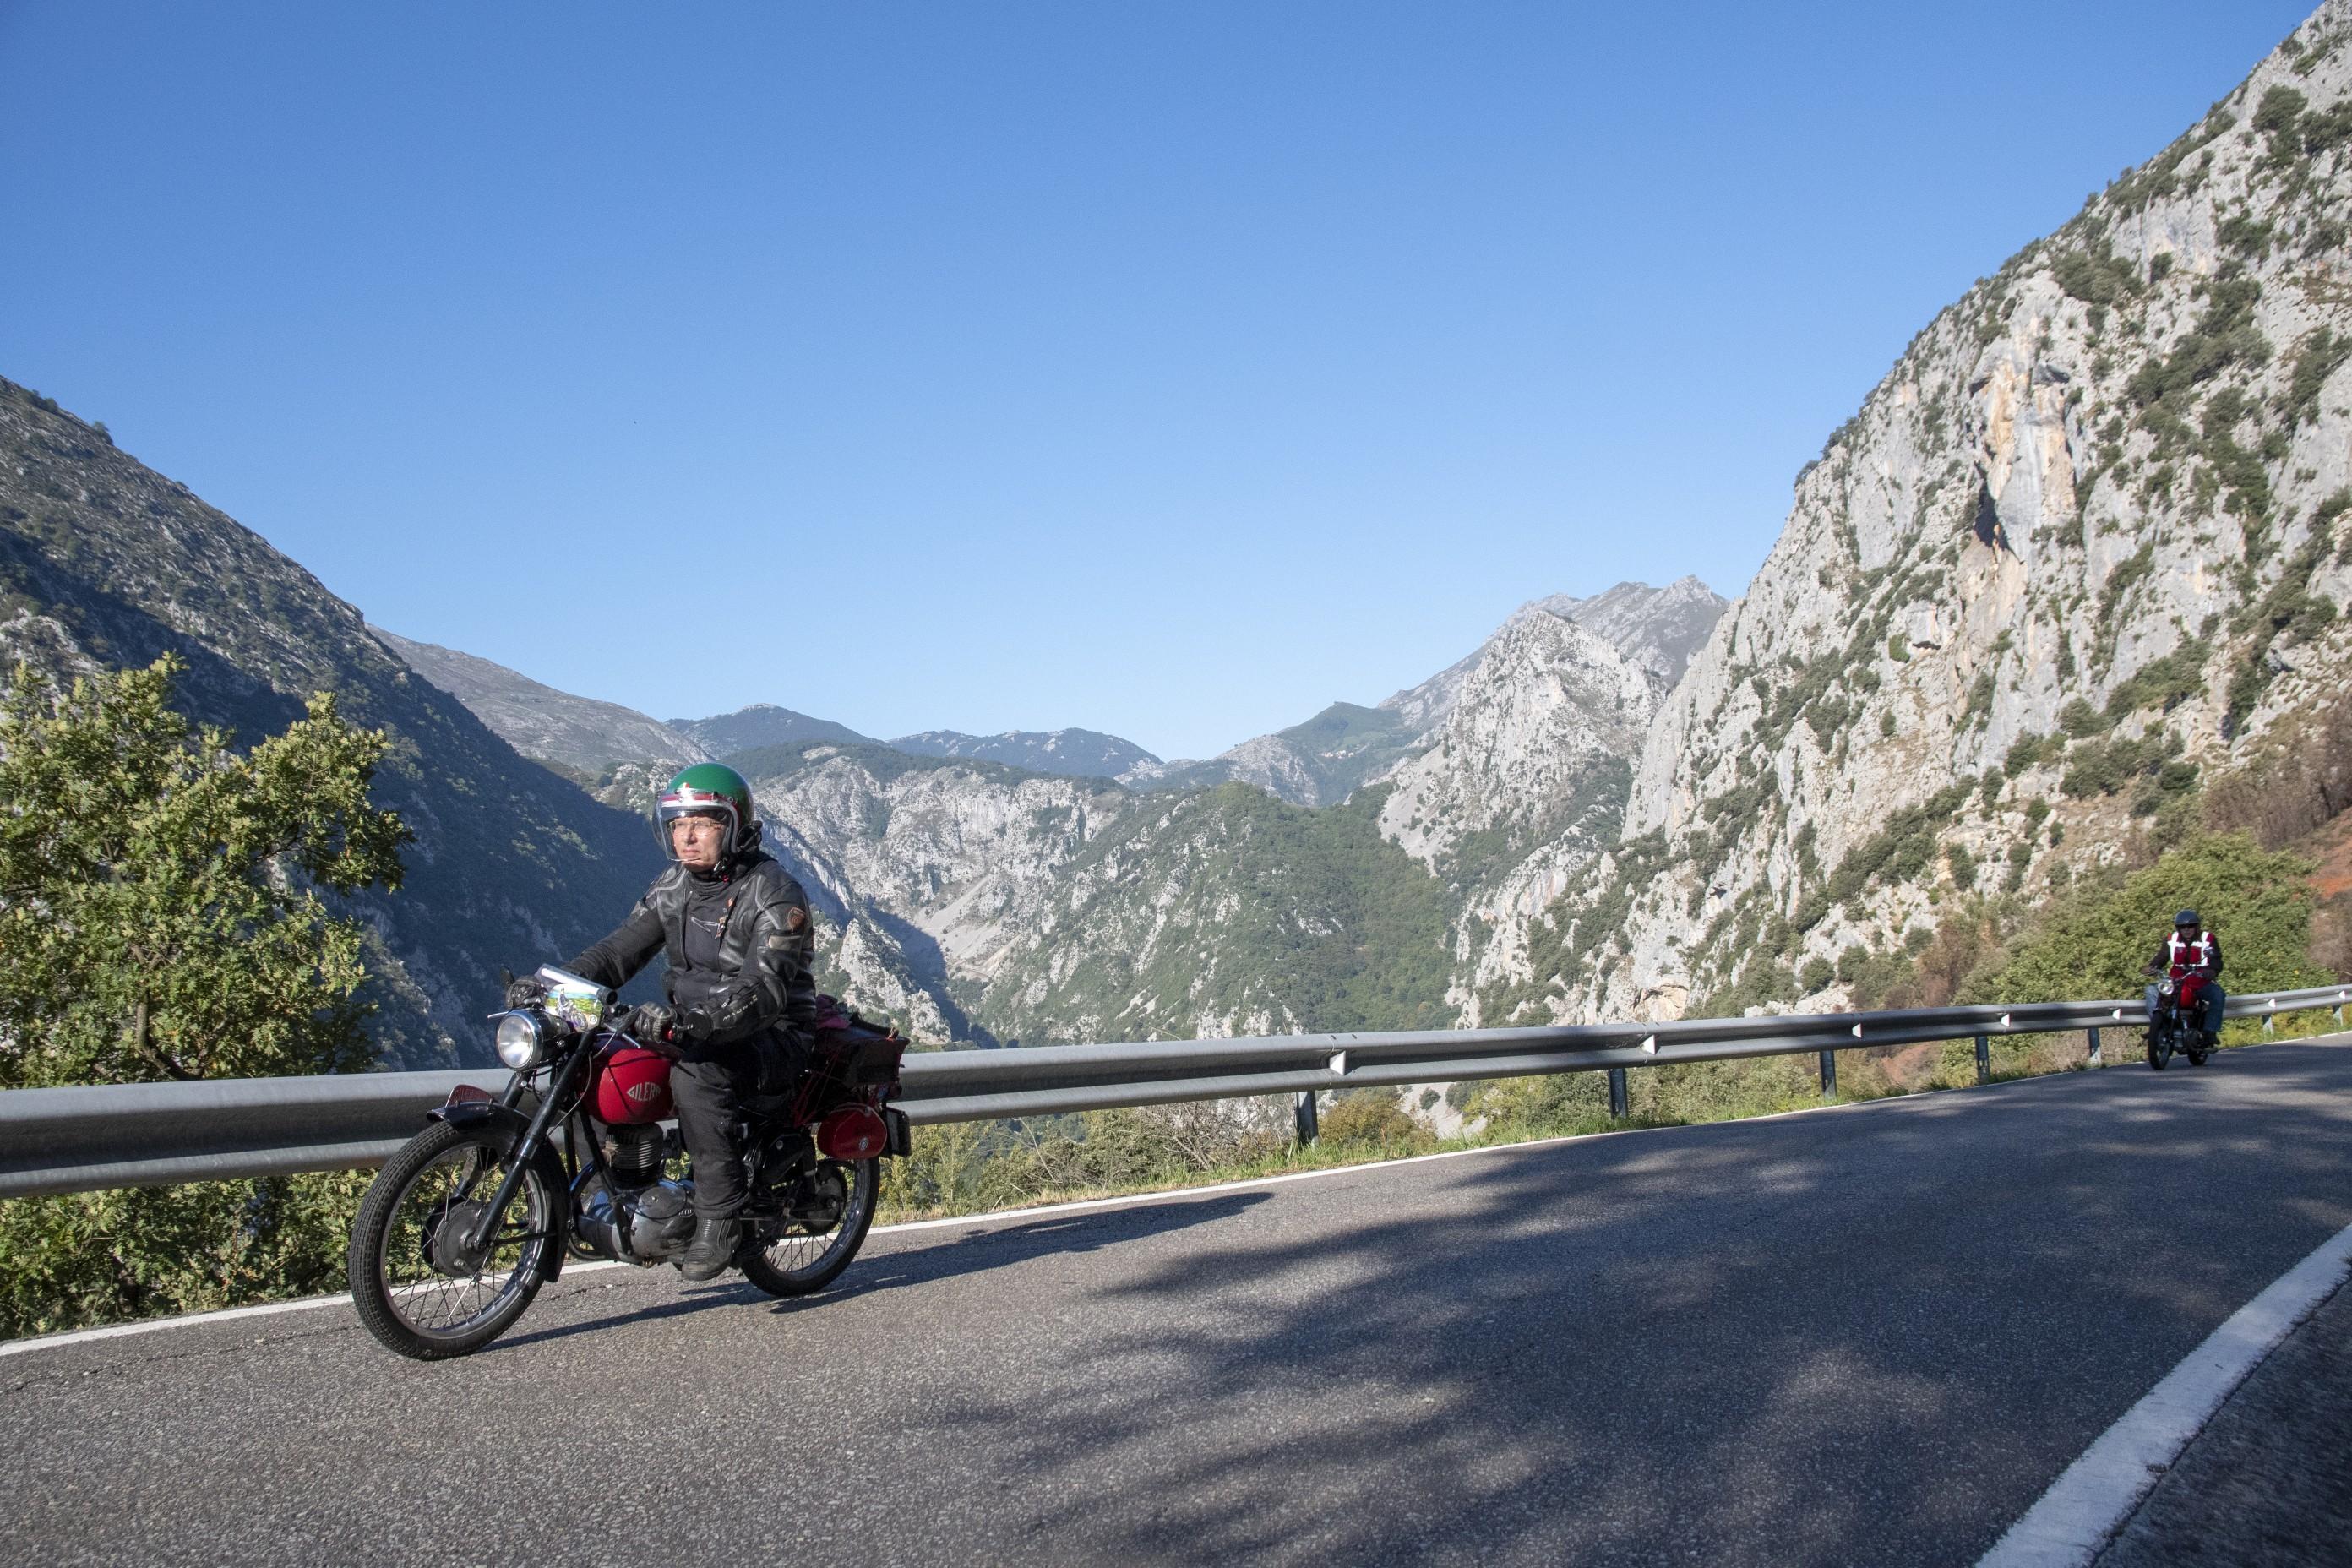
Picos rally 2022 Pals stop for one another I suppose it is not unusual for a 69yr old to suffer incontinence occasisionally Nah , fitting 6mm tubing on a 8mm spout is just dumb. But, I had spare tubing in my doctor's case... 😁 Back into the groove, railing!
 1 point
 -
The only TT VFR800 I remember was the one that had the gray front fairings. But it was still a stock standard VFR. Maybe it was for track marshalls? THINK the pic below is it.1 point
-
MoT checker says that reg is yellow. https://vehicleenquiry.service.gov.uk/VehicleFound?locale=en The plate says it was supplied by Bowers Motorcycles a now defunct large bike dealer in Bury St Edmunds, Suffolk. I can't see any mention of them as a TT competitor nor sponsor. So I think your acquaintance may have been fed a line of BS. Looks awfully like a 1999 bog stock VFR 🤷♀️1 point
-
This shows the simple and easily reversible "marble method" for disabling your PAIR valves. Please note that disabling your PAIR valves is not a performance modification, but is a good change to make when you have a Powercommander (and particularly an Autotune module) to get the best fuel mixture dialled in. At this point, I will try and sell you Toro's PAIR block-off plates which I also have on order. These are a much better permanent solution and any money to Toro is a good thing because the bloke deserves it! Anyway without any further ado, let's get started. First, you need to get your seat off. I don't need to explain how to do that, but note that the tank cannot be lifted if the seat has not been removed. Next, lift up the tank: Remove the two 8mm bolts which secure the tank. Once the tank bolts have been removed, lift up the tank and replace one of the bolts, like so: Screw the bolt down a bit, then spin the washer so it seats against the frame. We're going to use this bolt which is nicely sticking out of the frame as a means of securely holding up the tank. I have used some socket wrench extenders, with the hollow end sitting over the bolt head, and the solid end pushing up under the tank, like so: Nice and secure! Now we need to remove the UPPER air hose (it's the short one) from the rear-left of the airbox. This hose connects directly to the airbox and to the PAIR solenoid. Remove the UPPER hose by loosening the clamps with your fingers and moving them down the hose. Use a small flat-blade screwdriver to wiggle the hose a bit to get it off. Once it's been removed, your airbox should look like this: Airbox without PAIR hose. The next thing we need, is a bag of these: Three dollar bag of assorted marbles! Find a marble which is a nice tight fit in the hose but can be pushed with some effort. Note that it doesn't need to be the world's tightest fit - these are not vacuum hoses, just low pressure fresh-air hoses to draw air from the airbox into the exhaust. Don't be concerned about the marble being sucked into your engine! Firstly, there is very little if any air pressure going through these hoses, and secondly the marble will head towards the solenoid rather than the airbox, if at all! SPECIAL NOTE: Feel free to test the marble by sucking on the hose. If you can successfully suck the marble out of the hose, put your tools down and go for a job interview in the porn industry. :pinocchio: Push the marble into the hose, past where the clamps and hose connectors would reach to. It's best to push your marble into the end of the hose which is straightest, so you're not trying to shove the marble round corners. Marble goes in straightest end. After this, you can just slip the hose back on, put the clamps back in their original positions, and secure the tank again. However we now need to adjust the idle speed, as the ECU holds the PAIR valves open during idling, which affects the airflow through the airbox and exhaust. Disabling the PAIR system causes the fuel mixture at idle to change and therefore the idle speed will drop, so we need to bring it back up. Start the bike and let the engine warm up. If it won't hold an idle already, skip right ahead and perform the following step with the engine cold and also once it's hot. We're now going to adjust the idle speed. Here's where the idle adjuster is on the right-hand side of the bike just behind the fairing. Well hidden idle adjuster! Turn the idle adjuster clockwise to increase the idle speed. Most likely it will be really hard to turn with your fingers, so use some needle-nose pliers if you like: Be gentle and make small adjustments! A quarter turn can be a hundred rpm! Once your engine is hot, and your idle has been set to approximately 1,200 rpm, you're ready to roll!1 point