Captain 80s
-
Posts
2,314 -
Joined
-
Last visited
-
Days Won
188
Content Type
Forums
Profiles
Gallery
Blogs
Downloads
Events
Everything posted by Captain 80s
-

Another Thermostat/hose and Throttle body redo job
Captain 80s replied to mello dude's topic in Fifth Generation VFR's
Gotta pinch it a bit and get just part of the slot engaged with the bracket hole. Then keep pressure in that direction while you work your way around pushing in/thru a little at a time. Once you get some progress it will better stay at what you've accomplished so far without wanting to back out as easily. I know I pretty much just said the same thing I said earlier, but that's what works for me. And like I hinted at before, those are my least favorite to do, so I feel for ya. -
Another Thermostat/hose and Throttle body redo job
Captain 80s replied to mello dude's topic in Fifth Generation VFR's
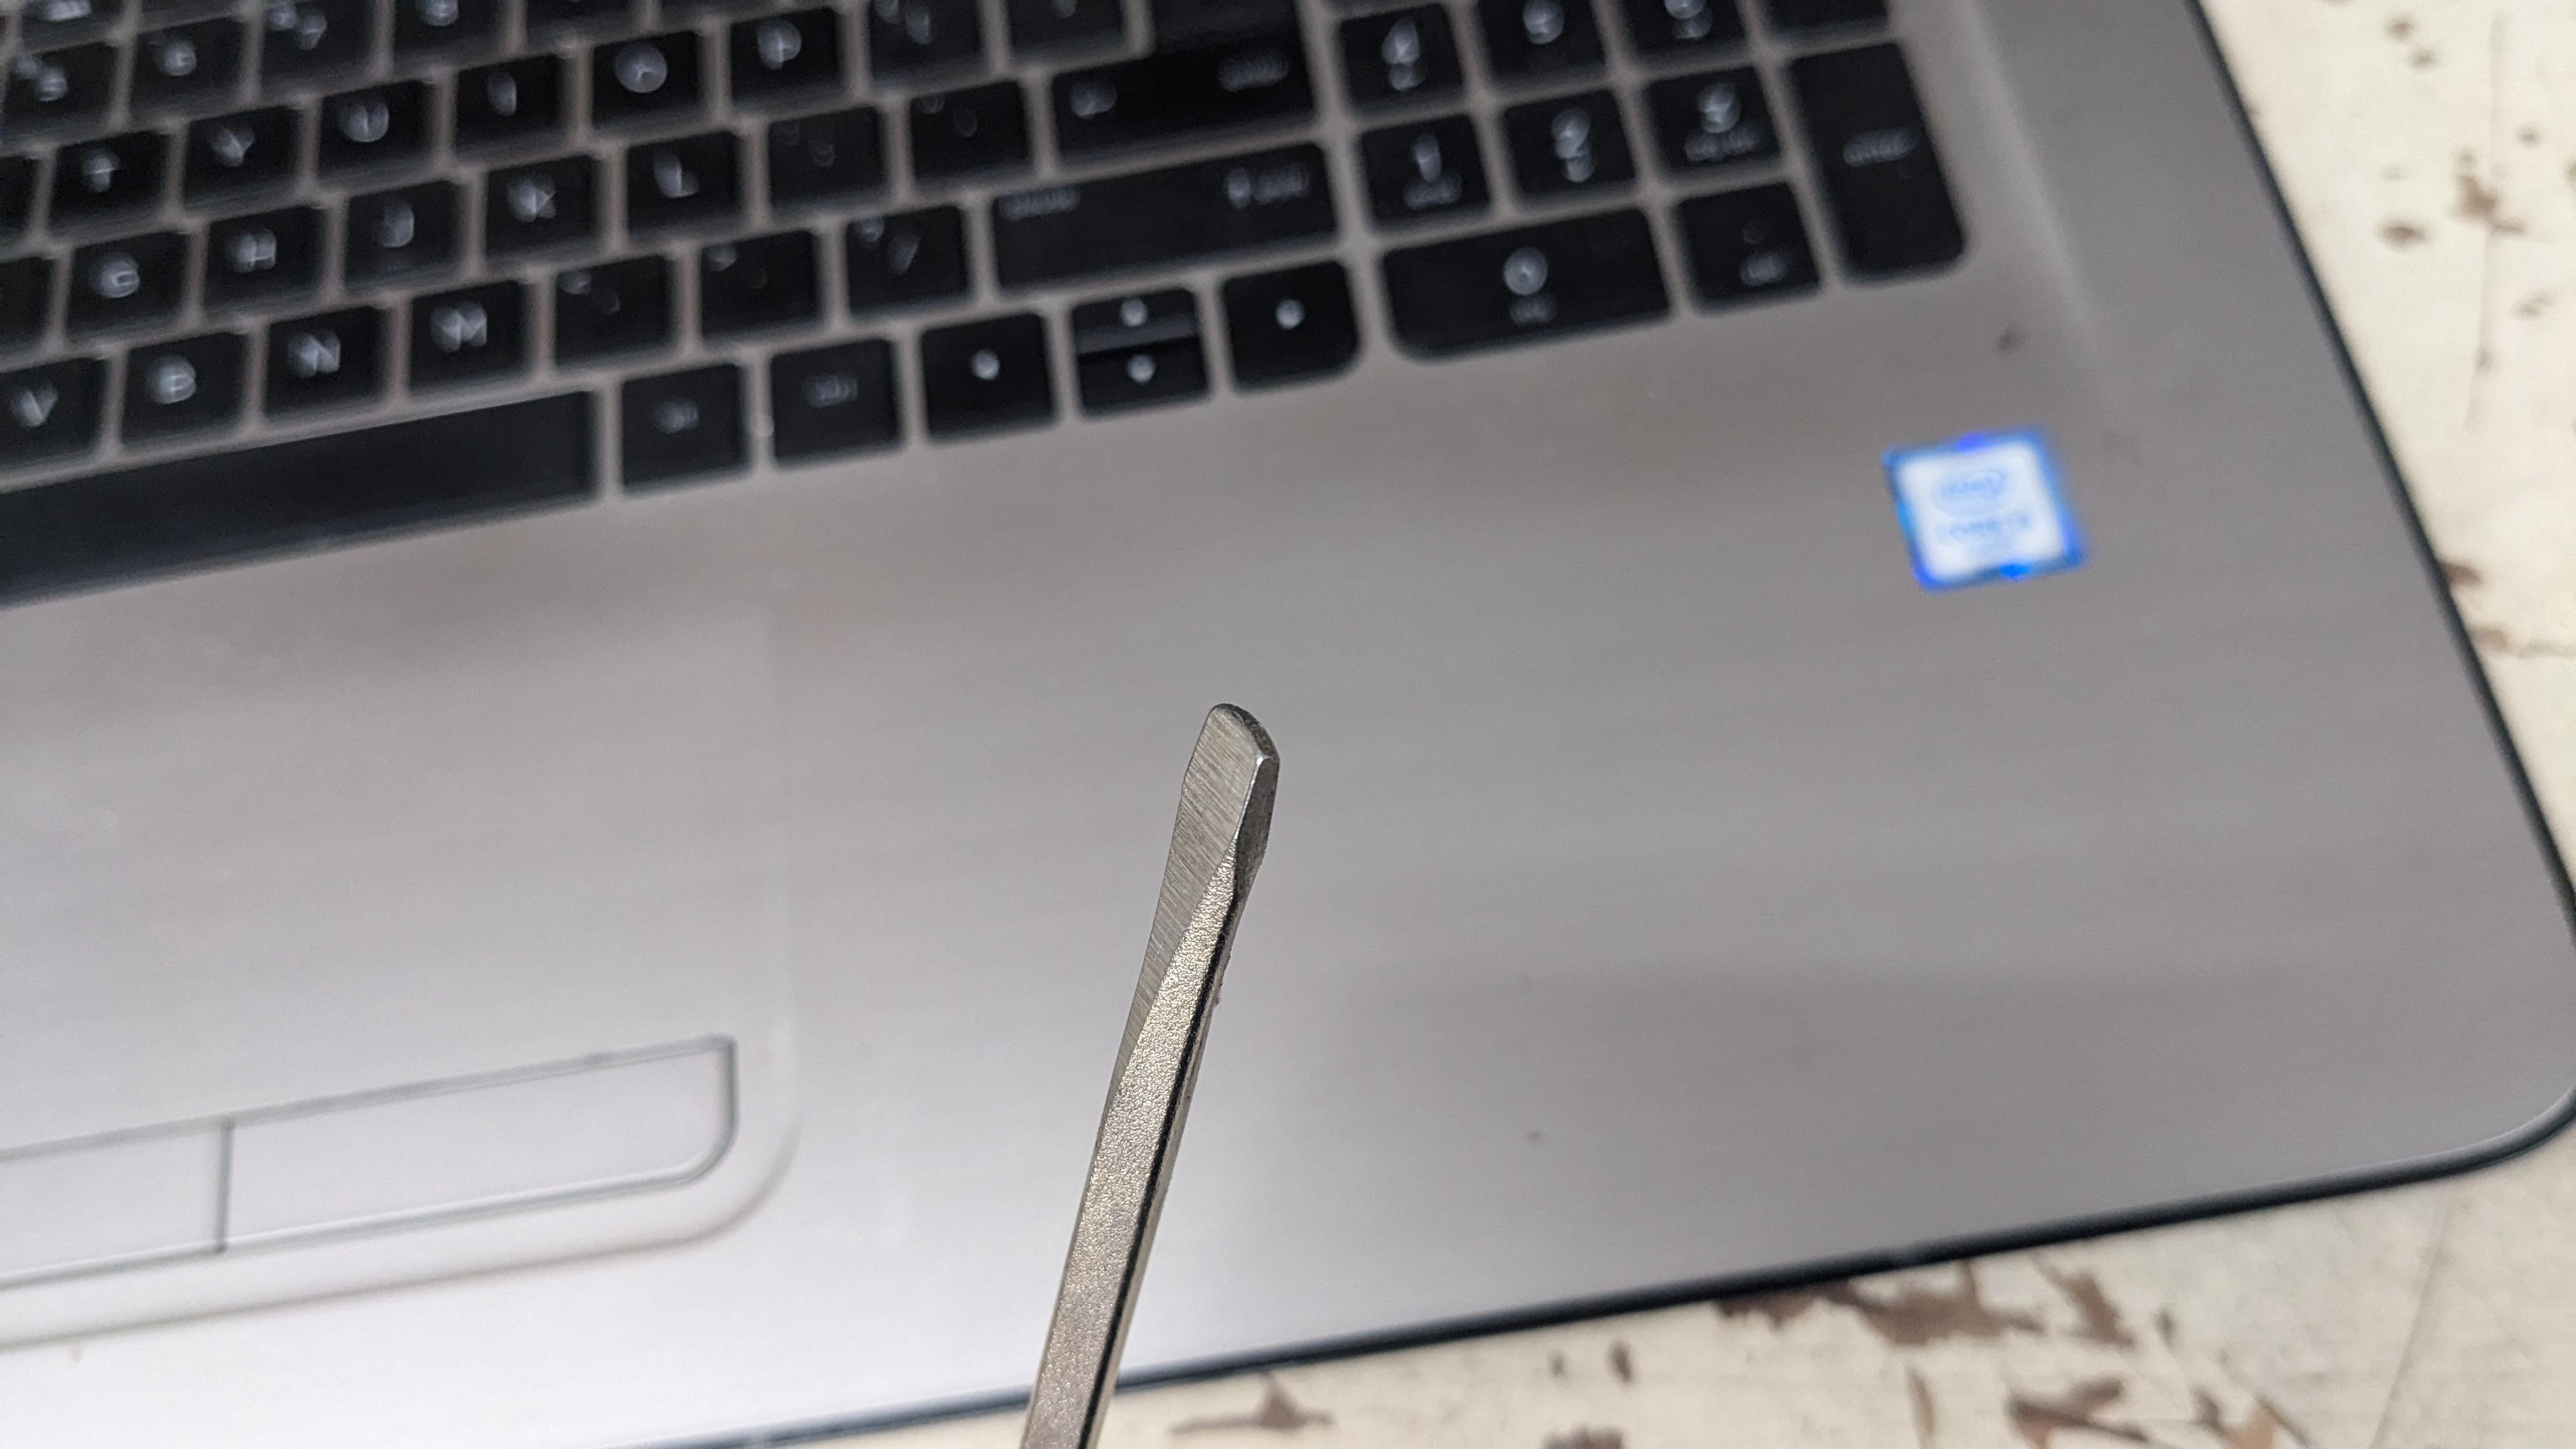
I have an old flat blade scew driver that I shaped the tip into a soft arc that I use as a grommet remover / installer. Get it started and then start going around and pushing thru, while holding/applying pressure to not lose what you got so far.. Doesn't tear or damage them. That particular style, thick and solid on both sides, is one of the tougher Honda grommets tho I will say.
-
It doesn't have to be "D" shaped to be the correct length. Just like a float bowl o-ring doesn't have to be pre-formed to the bowl shape.
-
I'm surprised you didn't order my equivalent when you ordered your others. I've installed 3 or 4 now.
-
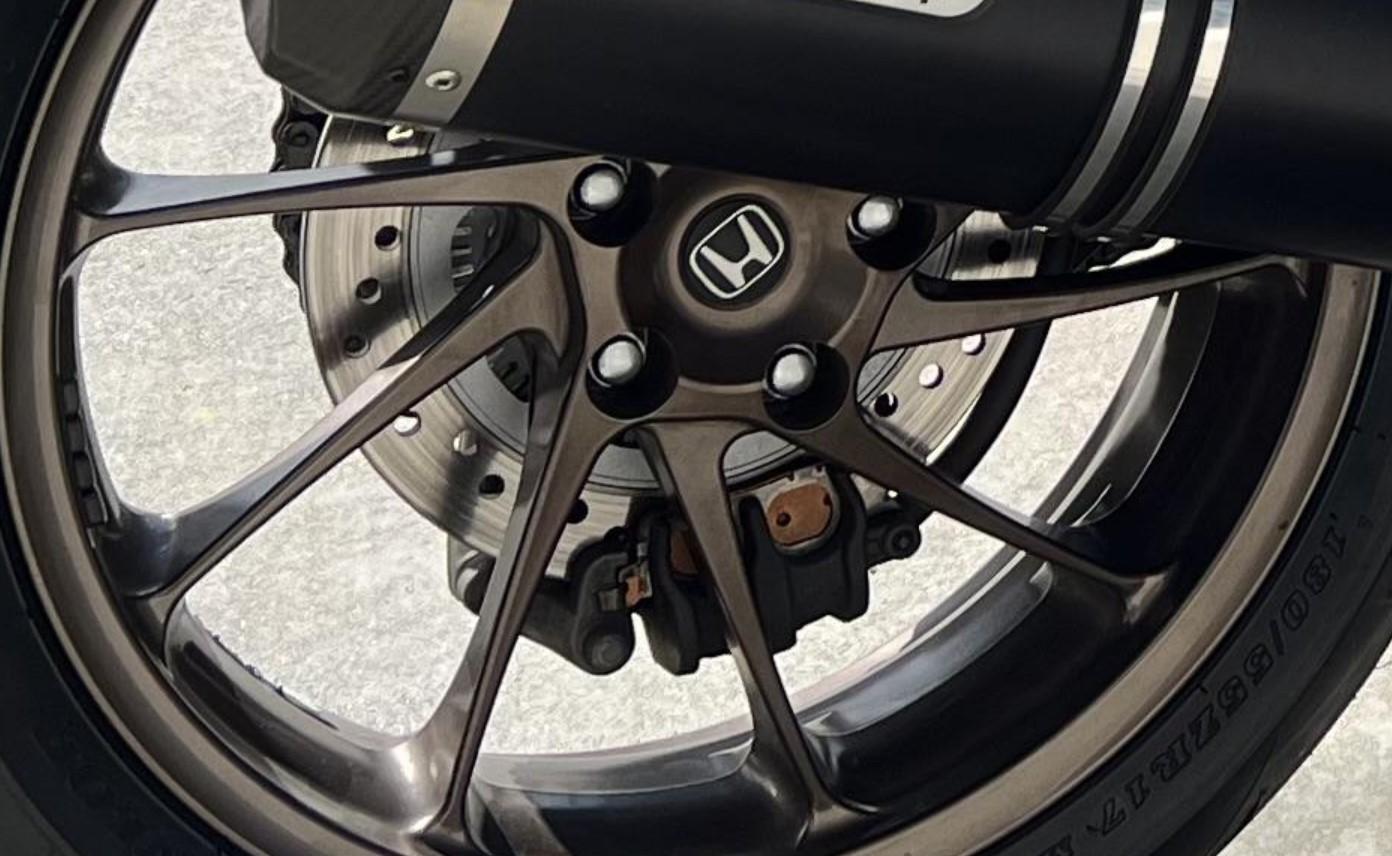
Yep... that Civic wheel looks sweet on there. 😉 Haha! Nice looking bike! Welcome!
-
Oh I hear it. And it sounds directly tied into the cam (gears) speed, which is probably not a good thing.
-
While I don't think this is the issue, one of my 500 Interceptors can spin the clutch push rod in certain conditions. The tip that is in the Clutch Slave goes to metal on metal and squeals. But you can make it go away by slightly pulling in the clutch to where the bearing on the clutch pressure plate takes over. Every now and then I need to put some moly paste in there. Good luck.
-
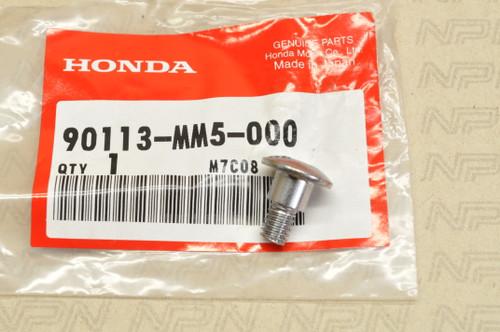
Printed fender bracket for 5th gen VTR fork conversion
Captain 80s replied to mello dude's topic in Fifth Generation VFR's
Here are the Honda versions I like to use. Incorporated "shoulder" so it can be torqued and not crush/crack bodywork. Thru single piece of Honda plastic: Thru 2 pieces of bodywork (like a seat cowl):
-
Another Thermostat/hose and Throttle body redo job
Captain 80s replied to mello dude's topic in Fifth Generation VFR's
Zero problems going above or below spec when sourcing aftermarket. If it is proud enough to squish (but not excessive), and will stay in the groove on assembly, it will be just fine. Personally proven over and over. Sometimes a dab of red rubber grease in a tight corner can help hold for assembly. Usually this refers to float bowls -
Is it ok for a different sized front tire?
Captain 80s replied to RC51Nick's topic in Third and Fourth Generation VFR's
While I prefer the 120/70, a 120/60 is acceptable. Less sidewall, smaller diameter when comparing the same brand/model. 180/55 is perfectly suited for a 5.5" rear rim. It is rider preference between that and a 170/60. You might actually be restoring some geometry with that 120/60 front used in conjunction with the 180/55 rear. But losing some ground clearance. -
You need to clarify the issue and explain some more symptoms/problems. Do you meaning "sticking" after the bike has been sitting for a while? As in, won't roll in gear with the clutch lever pulled in?
-
Good progress! They do make silicone that isn't bright orange. 😉 Yes, hammer and chisel for the round cover works great.
-
Selling my 2003 Honda RC-51 SP-2
Captain 80s replied to St. Stephen's topic in OTHER Motorcycle Talk (non vfr)
It would be very rewarding to get a nicely equipped RVT1000R that wasn't so goddam nice that you weren't concerned about riding the piss out of it like it should be NOT a dig on your (ex) bike. I have a few bikes like that. It is liberating. Like driving my Honda Element that I bought used and not being a FREAK about door dings and stupid people. There's a spot... I'll take it. Let the fun of the new bike search begin. -
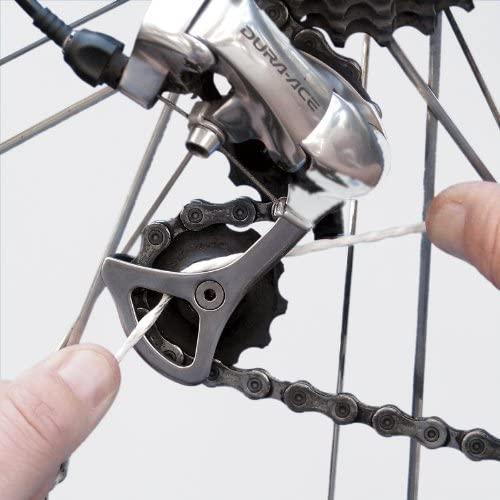
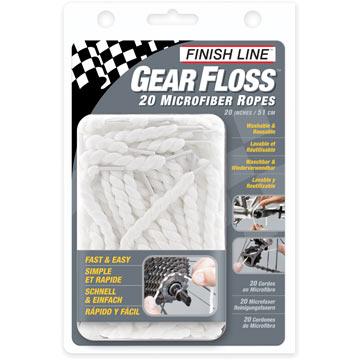
There's a great bicycle detailing product for getting around the backside of a piston for cleaning after extending it. Gear Floss. You can soak it in a little Simple Green (or your preferred product) for a little help on a gunkier caliper too. I'm sure there's plenty of other things that can be used like this (like a shoe lace), but it's braided, a good size and not expensive.
-
2007 25th anniversary wheel color color code help?
Captain 80s replied to CycleGearJNY's topic in Sixth Generation VFR's
Colorong -
1992 750 fuel starvation
Captain 80s replied to flyintwowheeler's topic in Third and Fourth Generation VFR's
Your version (Non-US) has the fuel valve down to the left in the upper cowl? Make sure the cables that operate the Fuel Valve are installed/adjusted and working properly. Perhaps "ON" or "RES" really isn't. If your bike is not that version.... never mind and good luck. -
1990 - 1997 are painted originally. It can seem light, but they are painted. At least US models are. If the top is "before", and you owned it since new, then the markets are different.
-
Performance Mods For Rc36
Captain 80s replied to Kingmdm's topic in Third and Fourth Generation VFR's
It is a great "mod". I took the brand new looking condom style from my 1995 that the original owner seemed to have swapped out in 2000 and put them on my 1992 that DESPERATELY needed some fresh mirrors. When they decide they are going to shrink / deform and be little bitches they will also be replaced by the same. -
Should have known better..... And non VFR bike's updates
Captain 80s replied to keny's topic in Europe
He should be happy. F2s are nice bikes. -
The shocks are quite short compared to other bikes, so you will likely need to find something specifically made for it. The 88/89 is the same length as the 87 (~280mm), and they are 10mm longer than the 86.
-
Absolutely. Finding that sweet spot for a clear finish is a balance act without going full polish. Now I say that not knowing exactly what Lorne wants, but judging by his question wording, it seems somewhat likely a factory-ish finish? For clears I tend to final with a uni-directional 3M Scotch Pad fine finish. Good bite for the clear is a bonus. Stay high quality with your clear coat to avoid yellowing. Spray Max 2K is a nice 2 part in a can. Have some other items ready for clear to maximize the can.
-
VFR750FJ "J" being the year designator. 1988 A common reference in Europe.
-
Likely not very. Honda will sometimes just smooth out the front/outside a bit, but the rest can still be pretty raw looking.
-
I have been trying to figure that out. Color abbreviation? What is the official name of the red?
-
That's because it is. Discussed by the owner in another thread I think.