

SEBSPEED
-
Posts
22,530 -
Joined
-
Last visited
-
Days Won
105
Content Type
Forums
Profiles
Gallery
Blogs
Downloads
Events
Everything posted by SEBSPEED
-

Official 12Th Annual Texasmac Event Thread 2015
SEBSPEED replied to Baileyrock's topic in VFRD Spring Memorial Ride (TMAC)
I have access to a few trailers, but I would like to avoid the extra expenses if possible. Between the tolls and the extra gas... oh boy. The only thing I have in my favor is both are not full size VFR's... -
Give it another twist. It is hard to get the steel of the pin moving, but once it gives, it will turn more easily. The most important thing is to make sure you remain squared up with the tool against the chain when you peen the rivet. If the tool is at an angle to the chain, your peen will shift off center and likely crack the rivet.
-
I meant that Timmy should let me do his RC cover... but yeah I'll do yours too! Screws are M3x.05, IIRC.
-
How about "TheOtherDutchy"
-
If you let me do one for your RC, you can park your bikes side by side and be lost in an infinity reflection of awesomeness. A flat black vortex, if you will... Nice job Nick, looks great!
-
 I like it!
 -
My 1983 Vf750f Restoration Project, Lotsa Big Pics!
SEBSPEED replied to SEBSPEED's topic in Modifications
Does this offer still stand? -
Well, on the bright side, you've stirred up enough interest that a sale shouldn't be too difficult!
-
It is frustrating to say the least. I am now paying $80/mo for 10gb data on phones plus $20/mo for max 3mbps DSL. I could probably get faster speeds with cable, but the single cable provider would force me to buy basic cable to get internet, which comes to just over $100/mo. Then if I want the channels I have with Directv, that turns into a lot more... Screwed no matter what... only way out is to opt out.
-
I'll send some info this weekend. Wish it were done already, but I can add progress pics I guess.
-
Sounds like it's gonna be a good year for swag!
-
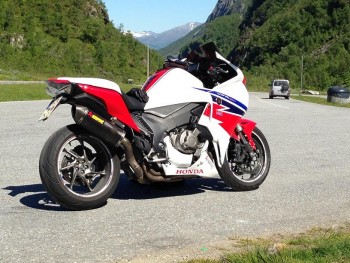
He's falling over! Must be unrideable!
-
Hmmm... nuts not available to fit 90-97 VFR750. :-(
-
Thanks!
-
Where did you get the red sprocket nuts? I could use a blue set.
-
I will own a 1300 some day. Probably won't be a 1300 anymore by the time I'm ready for it.
-
Updated original post. Thank you again to the 15 VFRD folks who took advantage of the free shipping and $5 donation!! I have plenty more covers, so get in touch if you'd like one!
-
Read the rules for the classifieds, they are pretty clear.
-
You should be able to get a used engine to get you going... If you're set on parting it out, then you'll need to post this in the Classifieds.
-
That looks like R258 Winning Red from here...my favorite
-
Glass bead blast and silver paint.
-
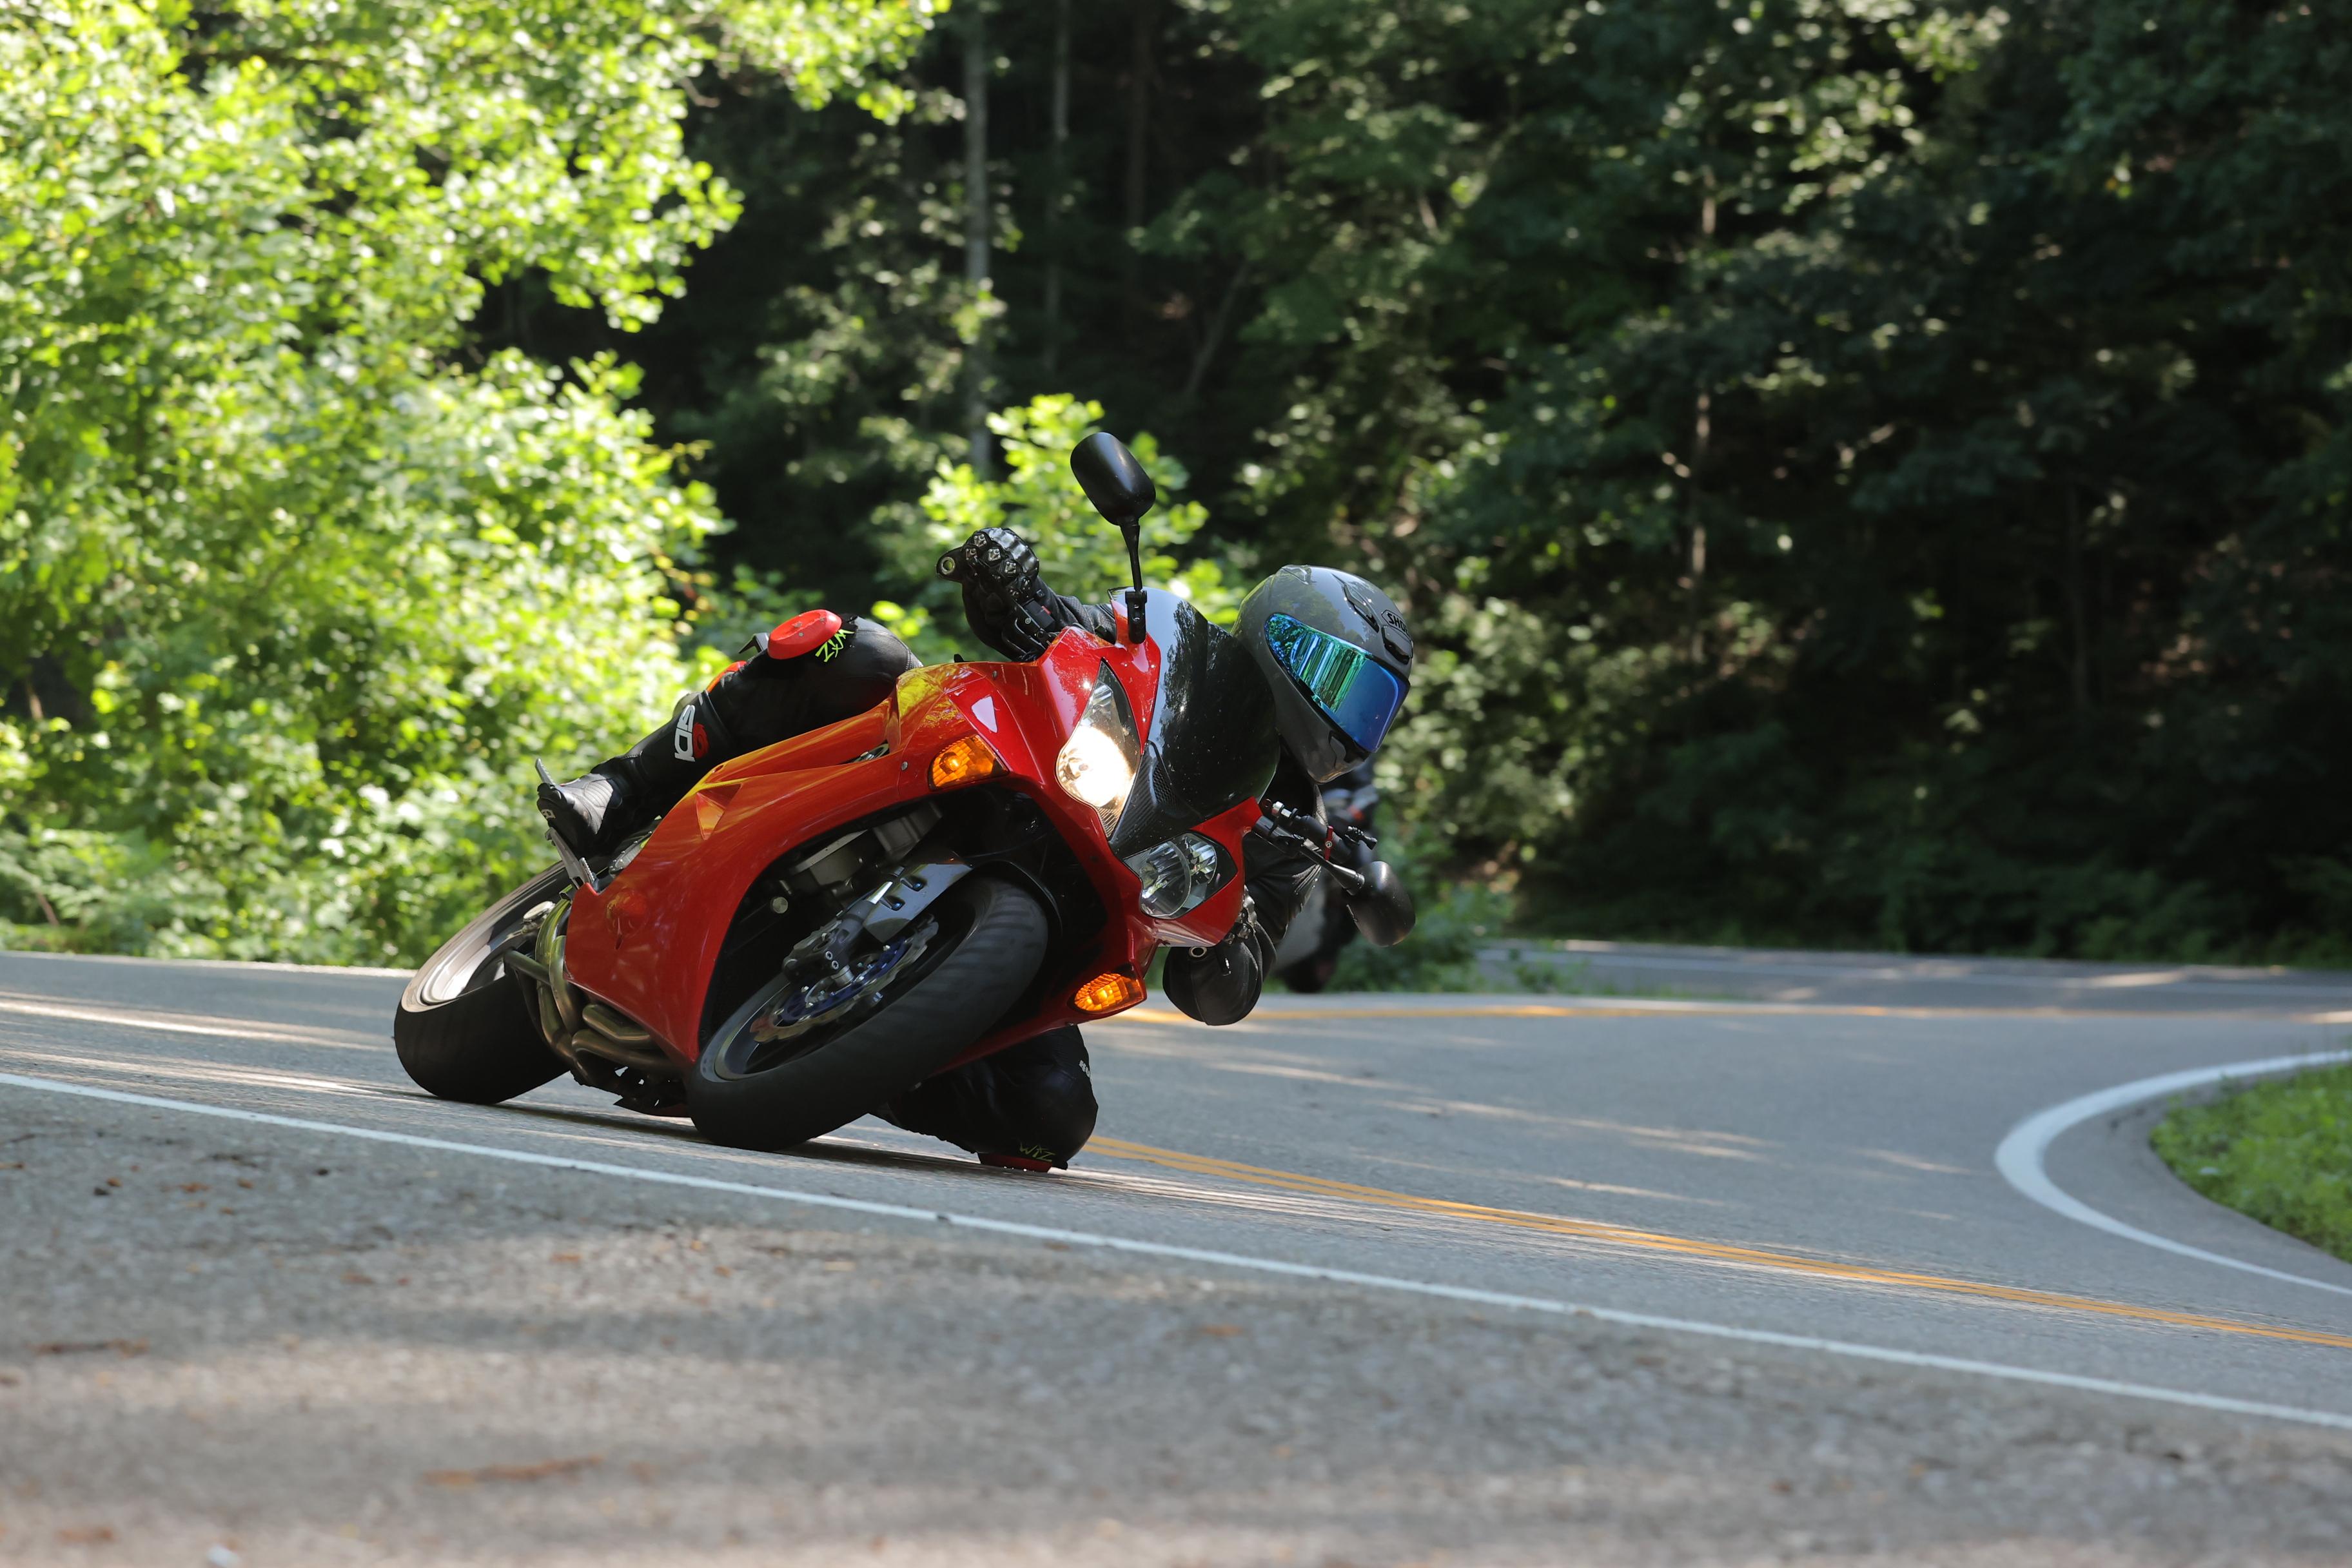
Nice vids. Your right turn entries look a lot better than your lefts. You're turning in way early on your lefts, which puts you on the yellow mid corner. Could be trouble when one of those motor homes decides to occupy the same space. I had the same problem until I started forcing myself to stare at the right hand white line before entering a left turn. Looking where I want to go puts me in the right part of my lane for left turn entry. Try it out.
-
What does the other end of the strap look like? Can you flip it around so the buckle is on the top end?
-
I've found the easiest and cleanest way to cut braided hose is with a nice, sharp chisel. Sounds wrong, but works well!
-
Nice one!