EvanVFR750
-
Posts
11 -
Joined
-
Last visited
-
Days Won
2
Recent Profile Visitors
977 profile views


EvanVFR750's Achievements
")


-
I had the same problem a little while ago. Ended up being a MAP sensor vacuum hose came off. I had a shop fix it for me, as I had no idea what was going on. I had my valves checked, spark plugs changed, and air filter changed in the service prior. You’ll see in my video the same flashing check engine light and the 900rpm idle. IMG_2666.MOV
-
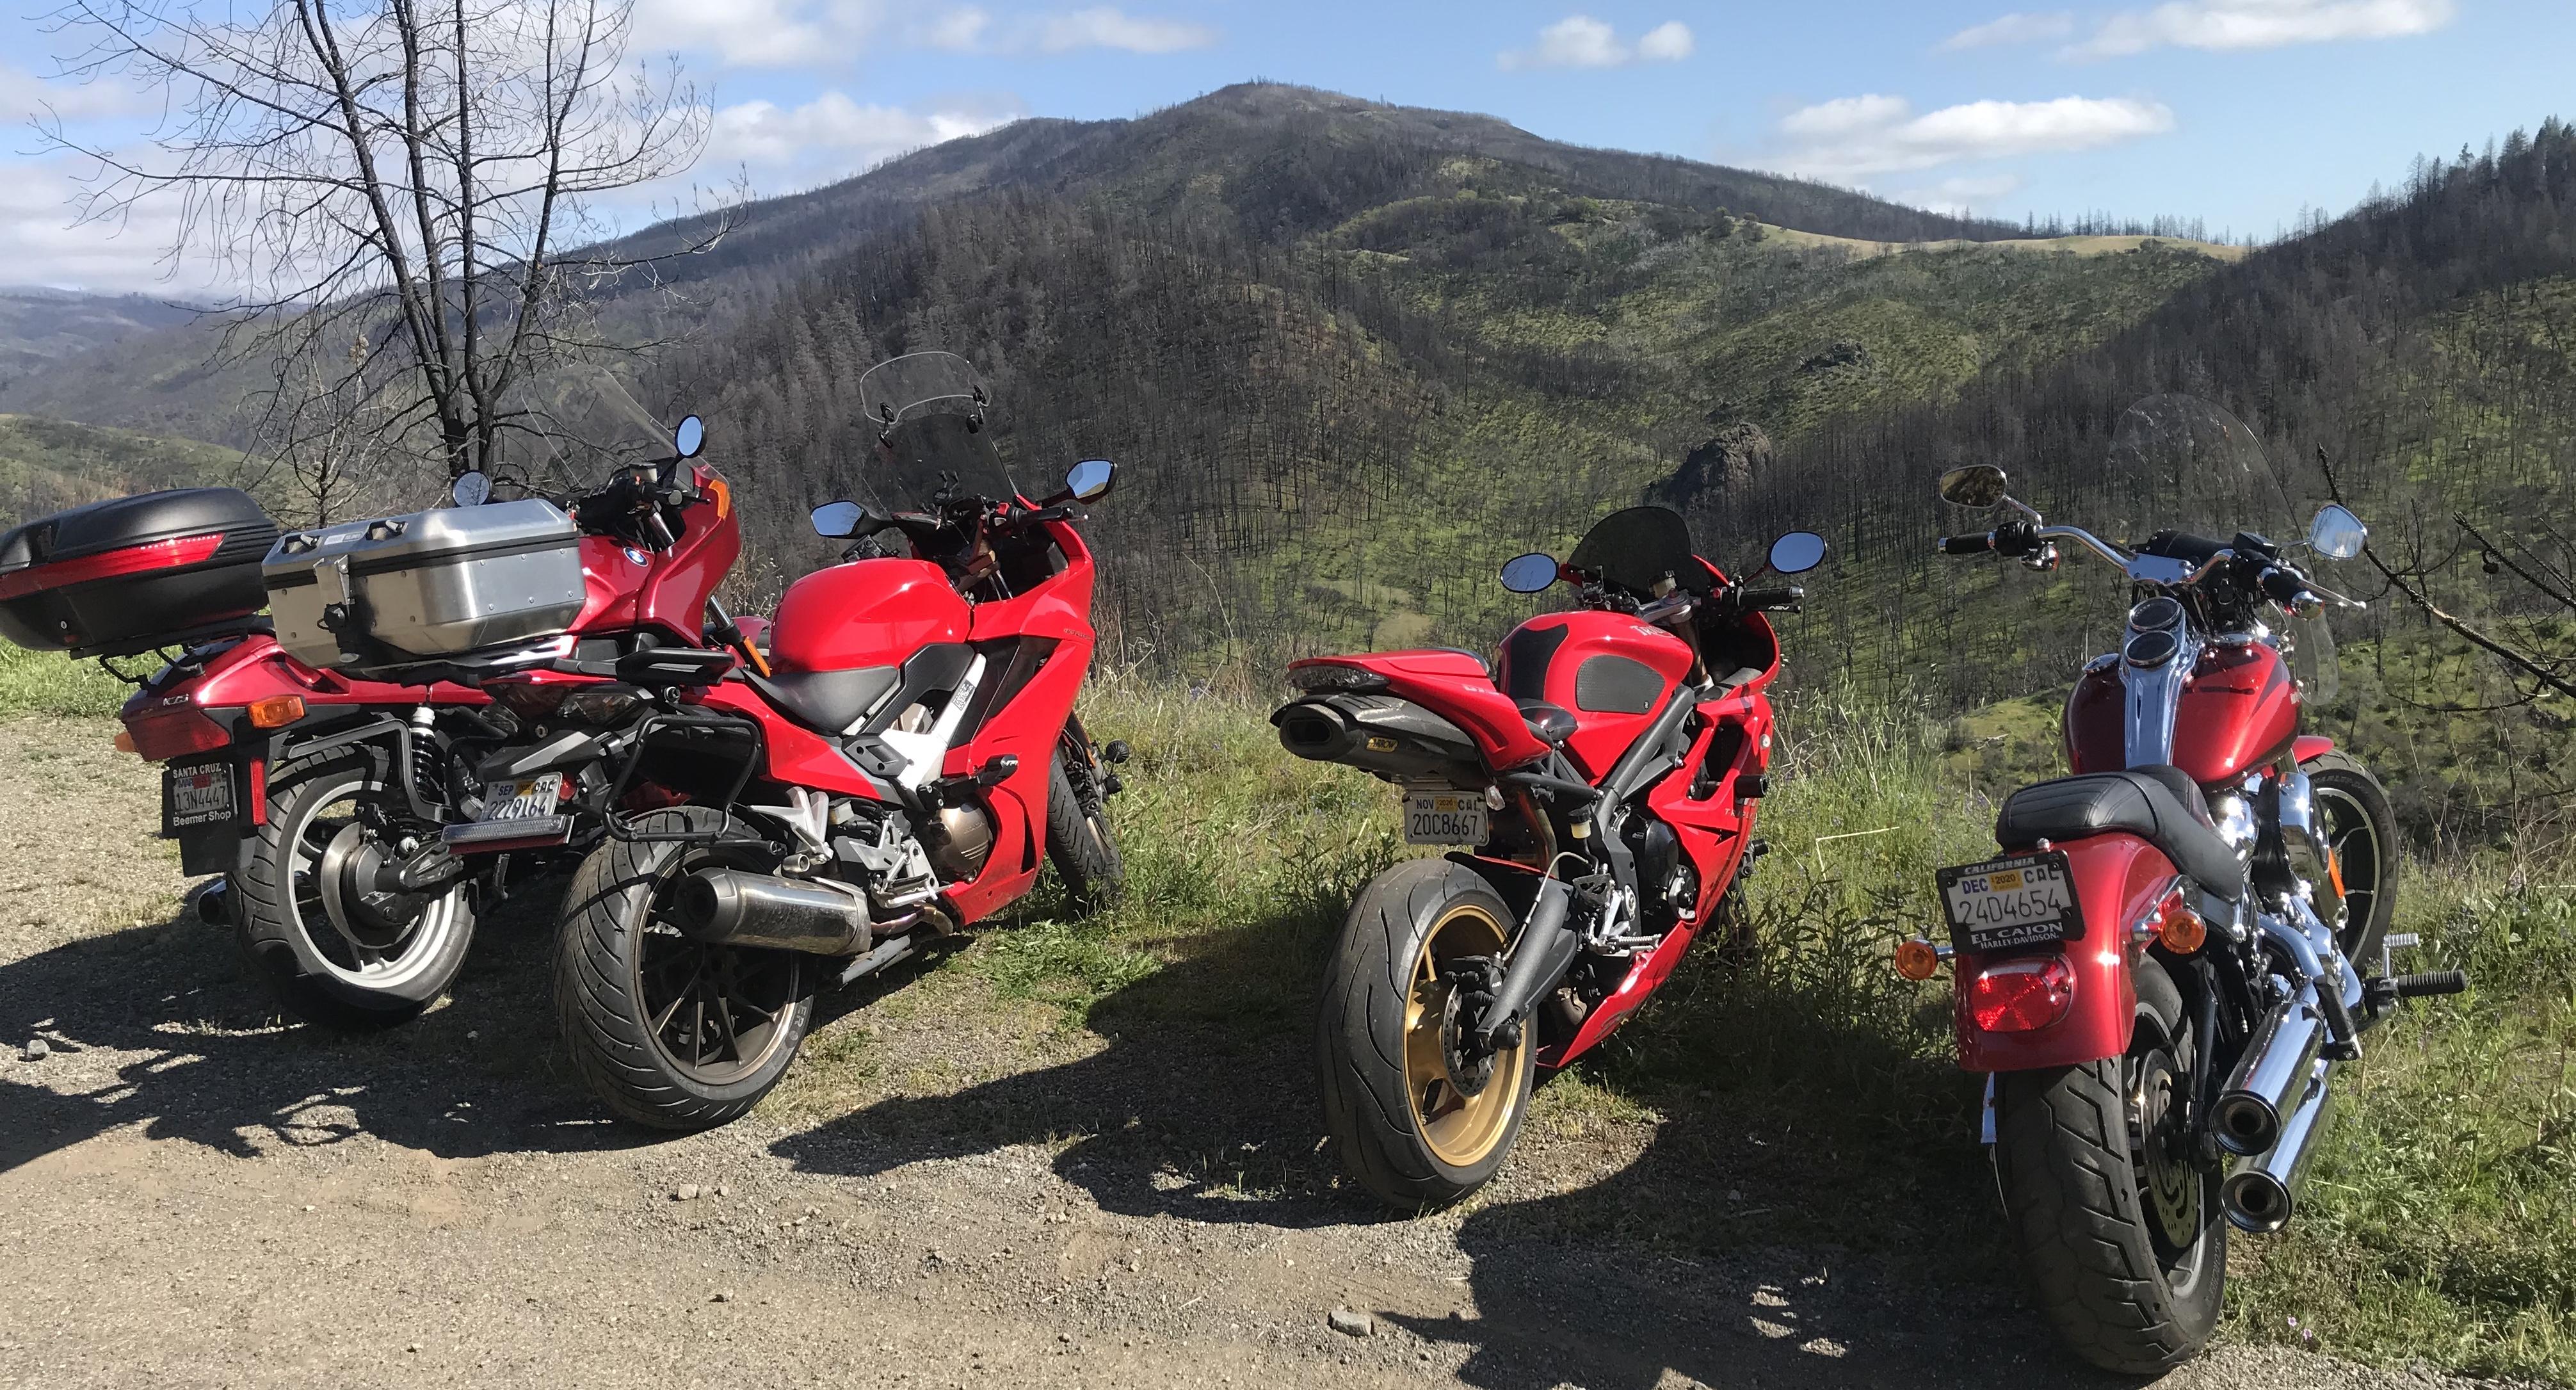
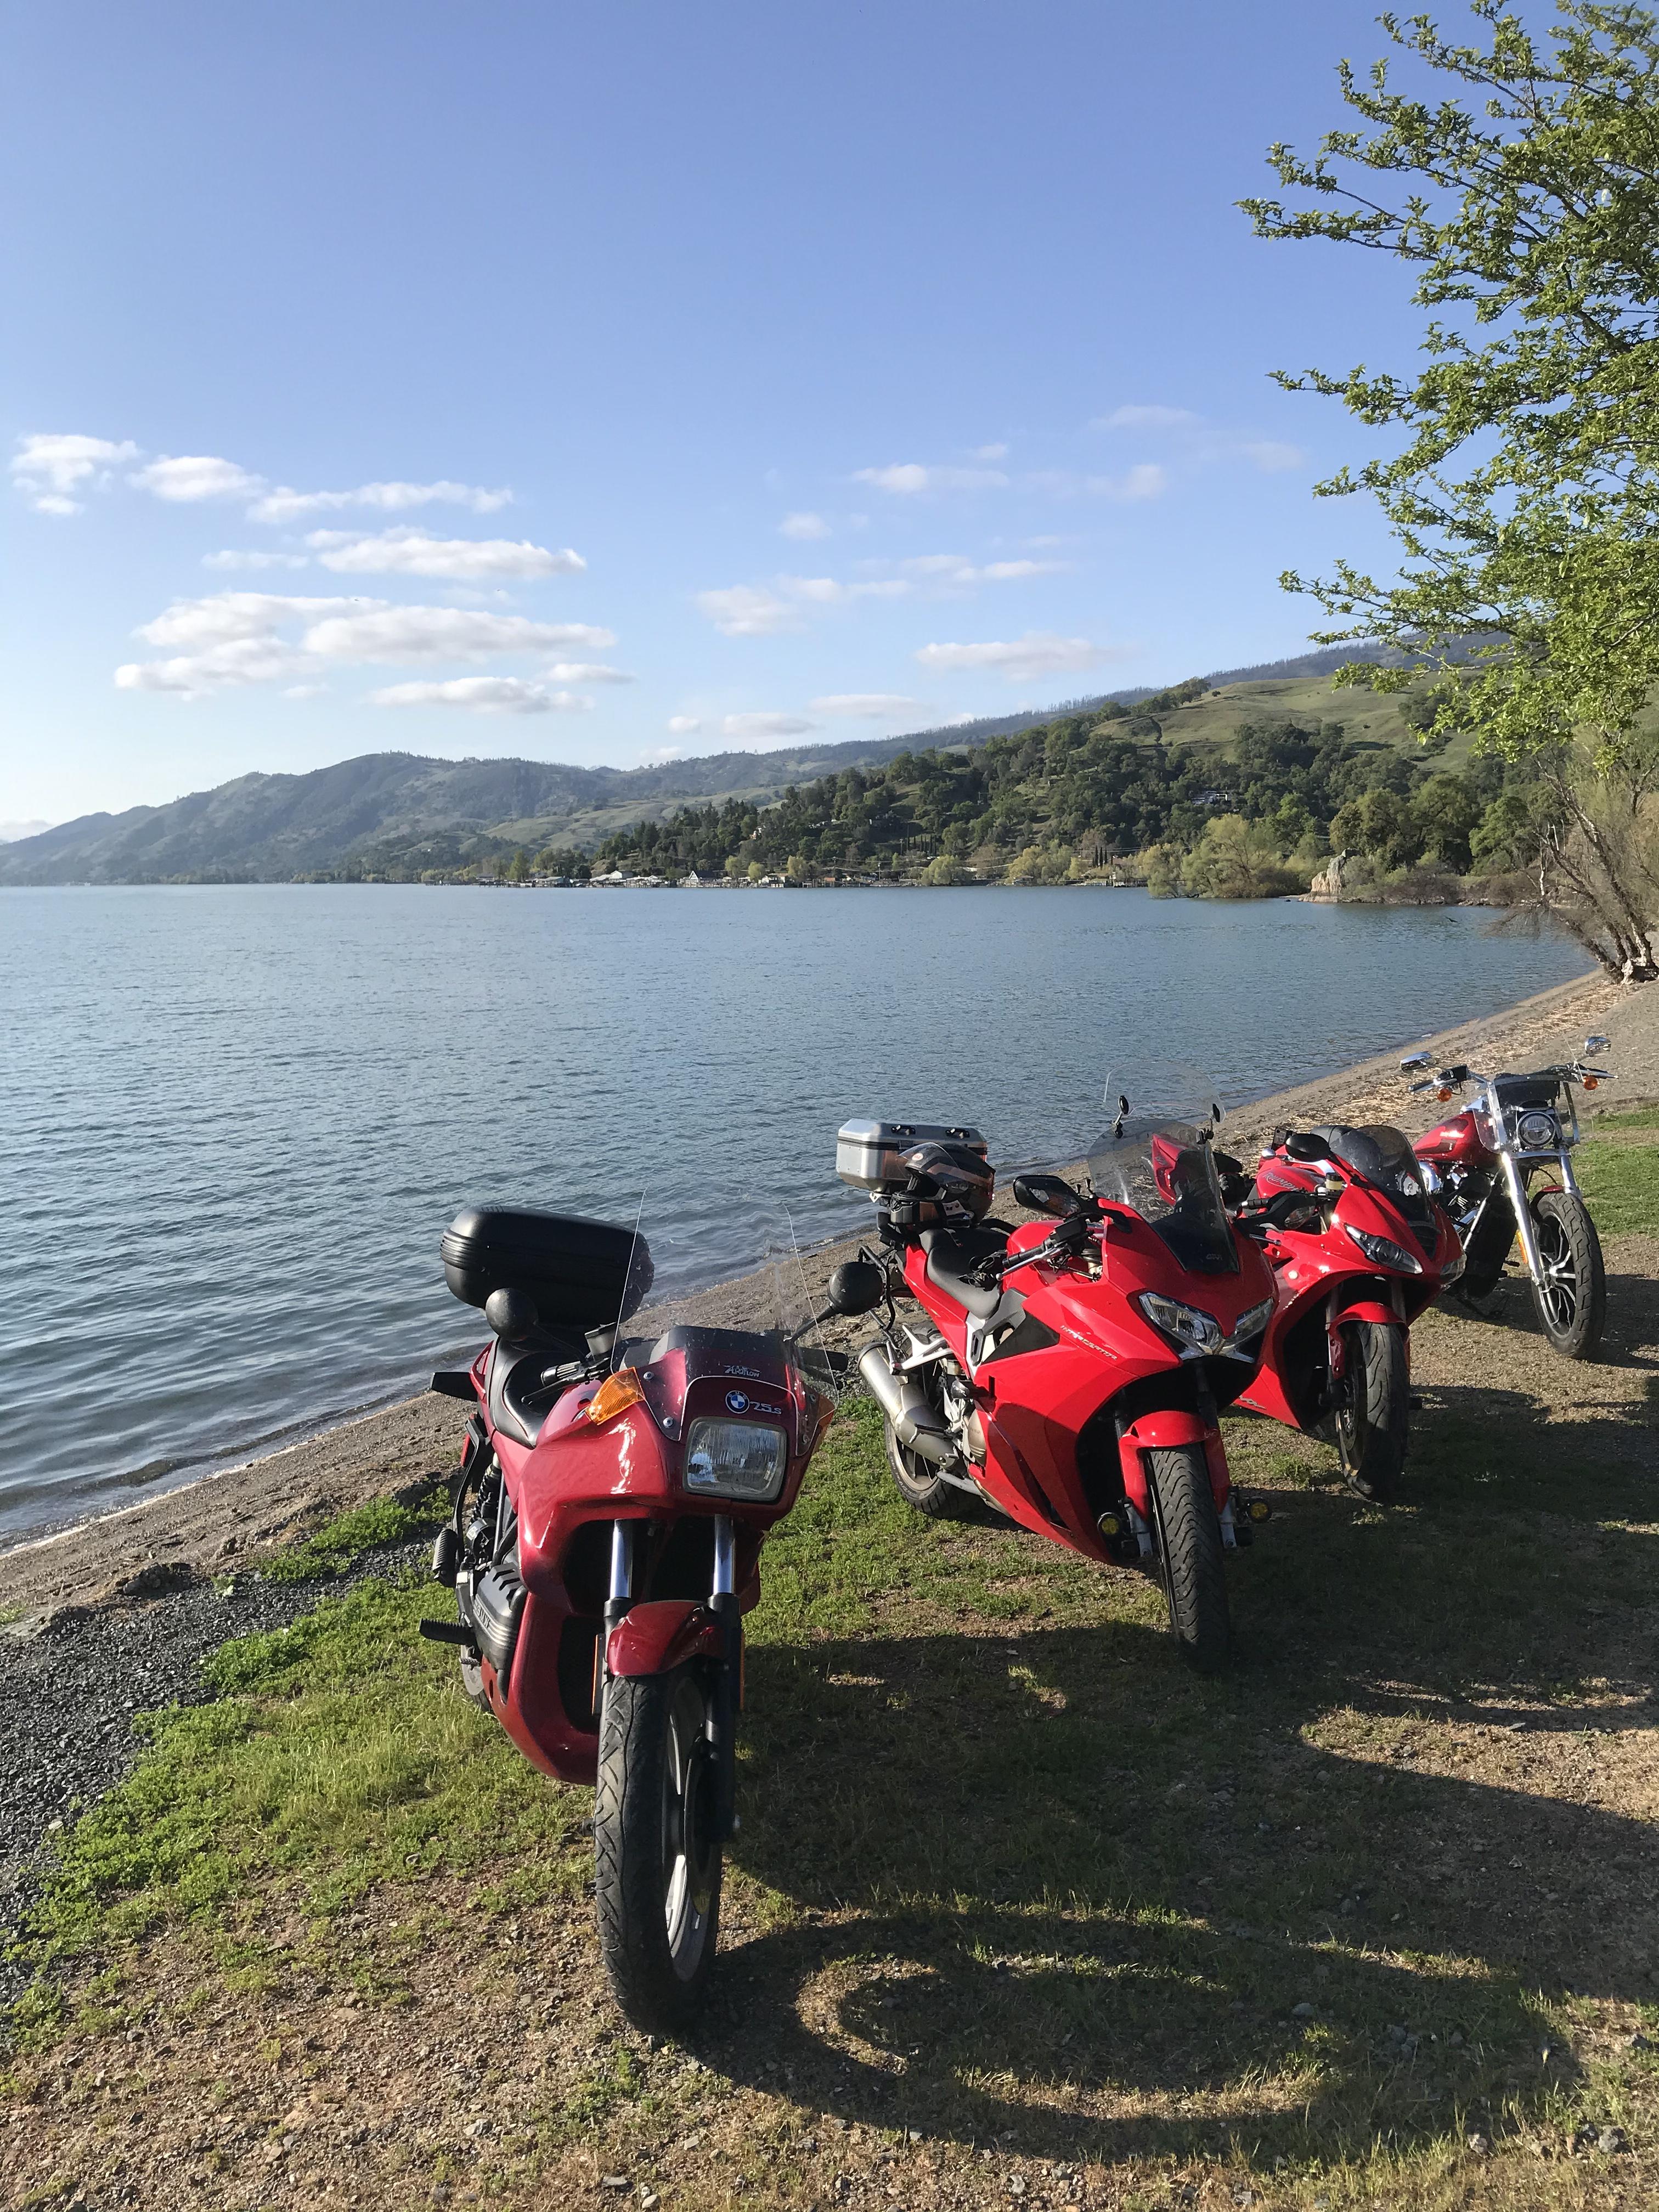
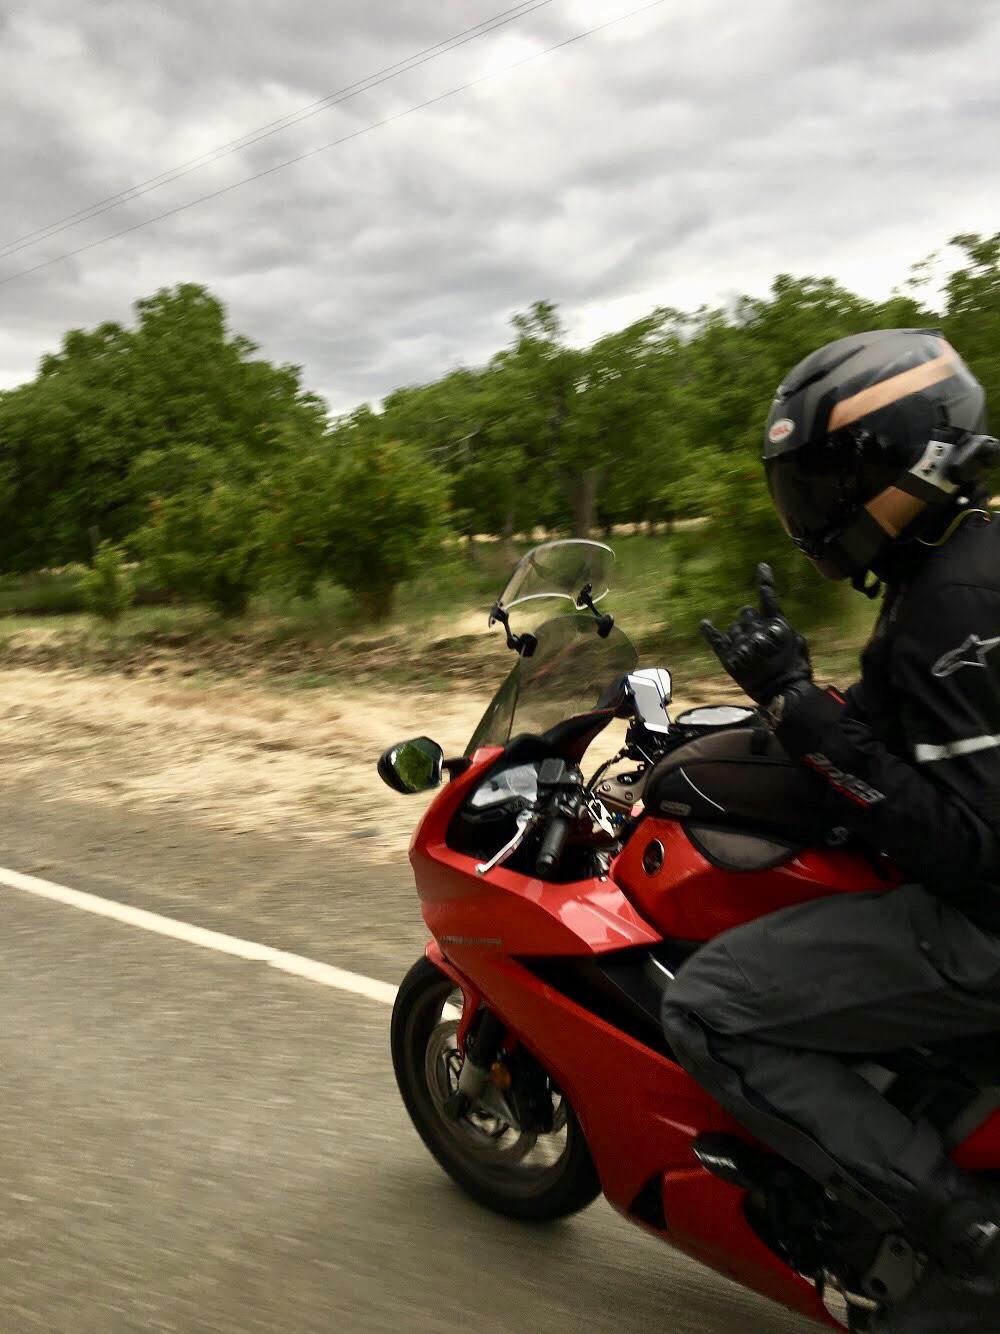
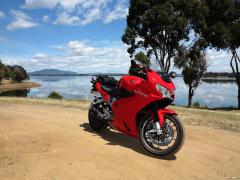
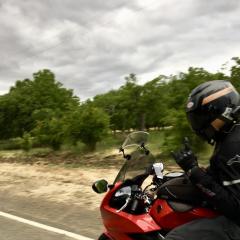
📍Clear Lake, CA Before the stay home orders with my friends and all our red bikes.

-
Ive been using OEM filters and it’s happened twice where the oring from the old filter sticks to the case. My bike dumped out the oil after an oil change due to a “double oring”. I would check that.
-
Shaggy Dog Story Contains VFR Pics
EvanVFR750 replied to RC79NC001's topic in Eighth Generation VFR's
The road to Lick Observatory is incredible! Such fortune to ride through there. -
Where to get Fender Eliminator / Tidy Tail?
EvanVFR750 replied to signal's topic in Eighth Generation VFR's
The Competition Werkes tail tidy for the 7th gen VFR1200 will work on the 8th gen.- 1 reply
-
- 1
-

-
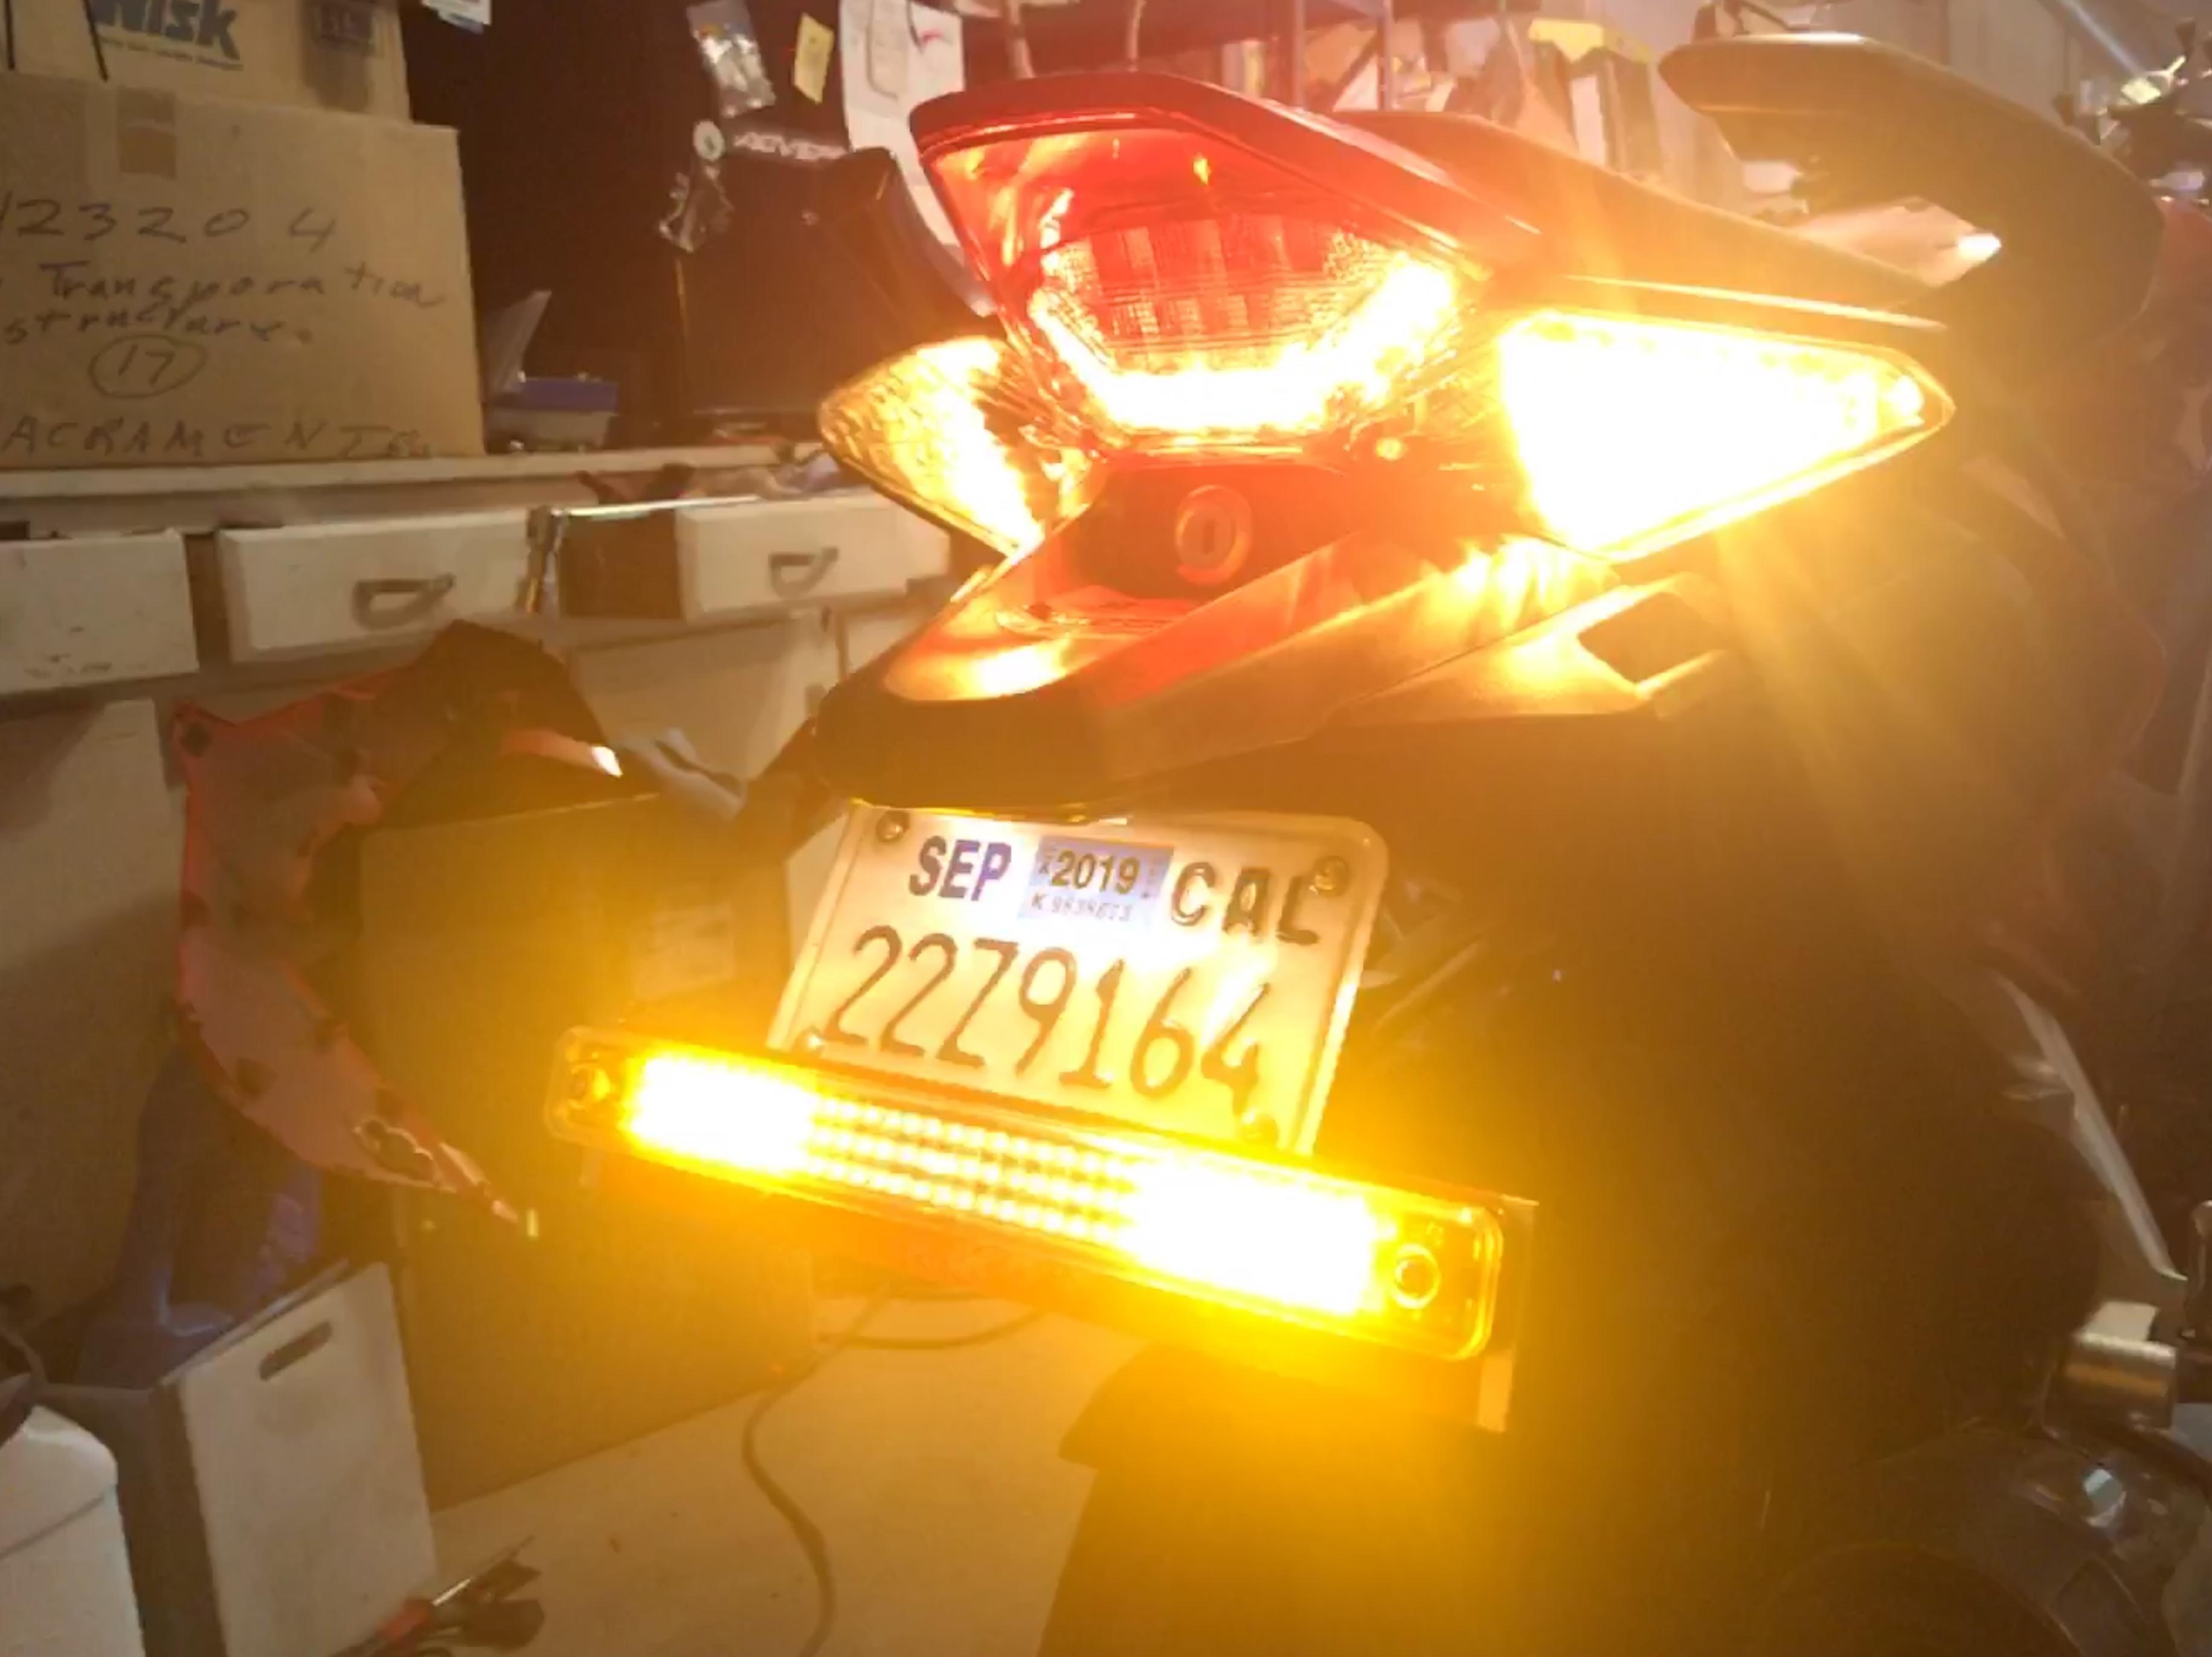
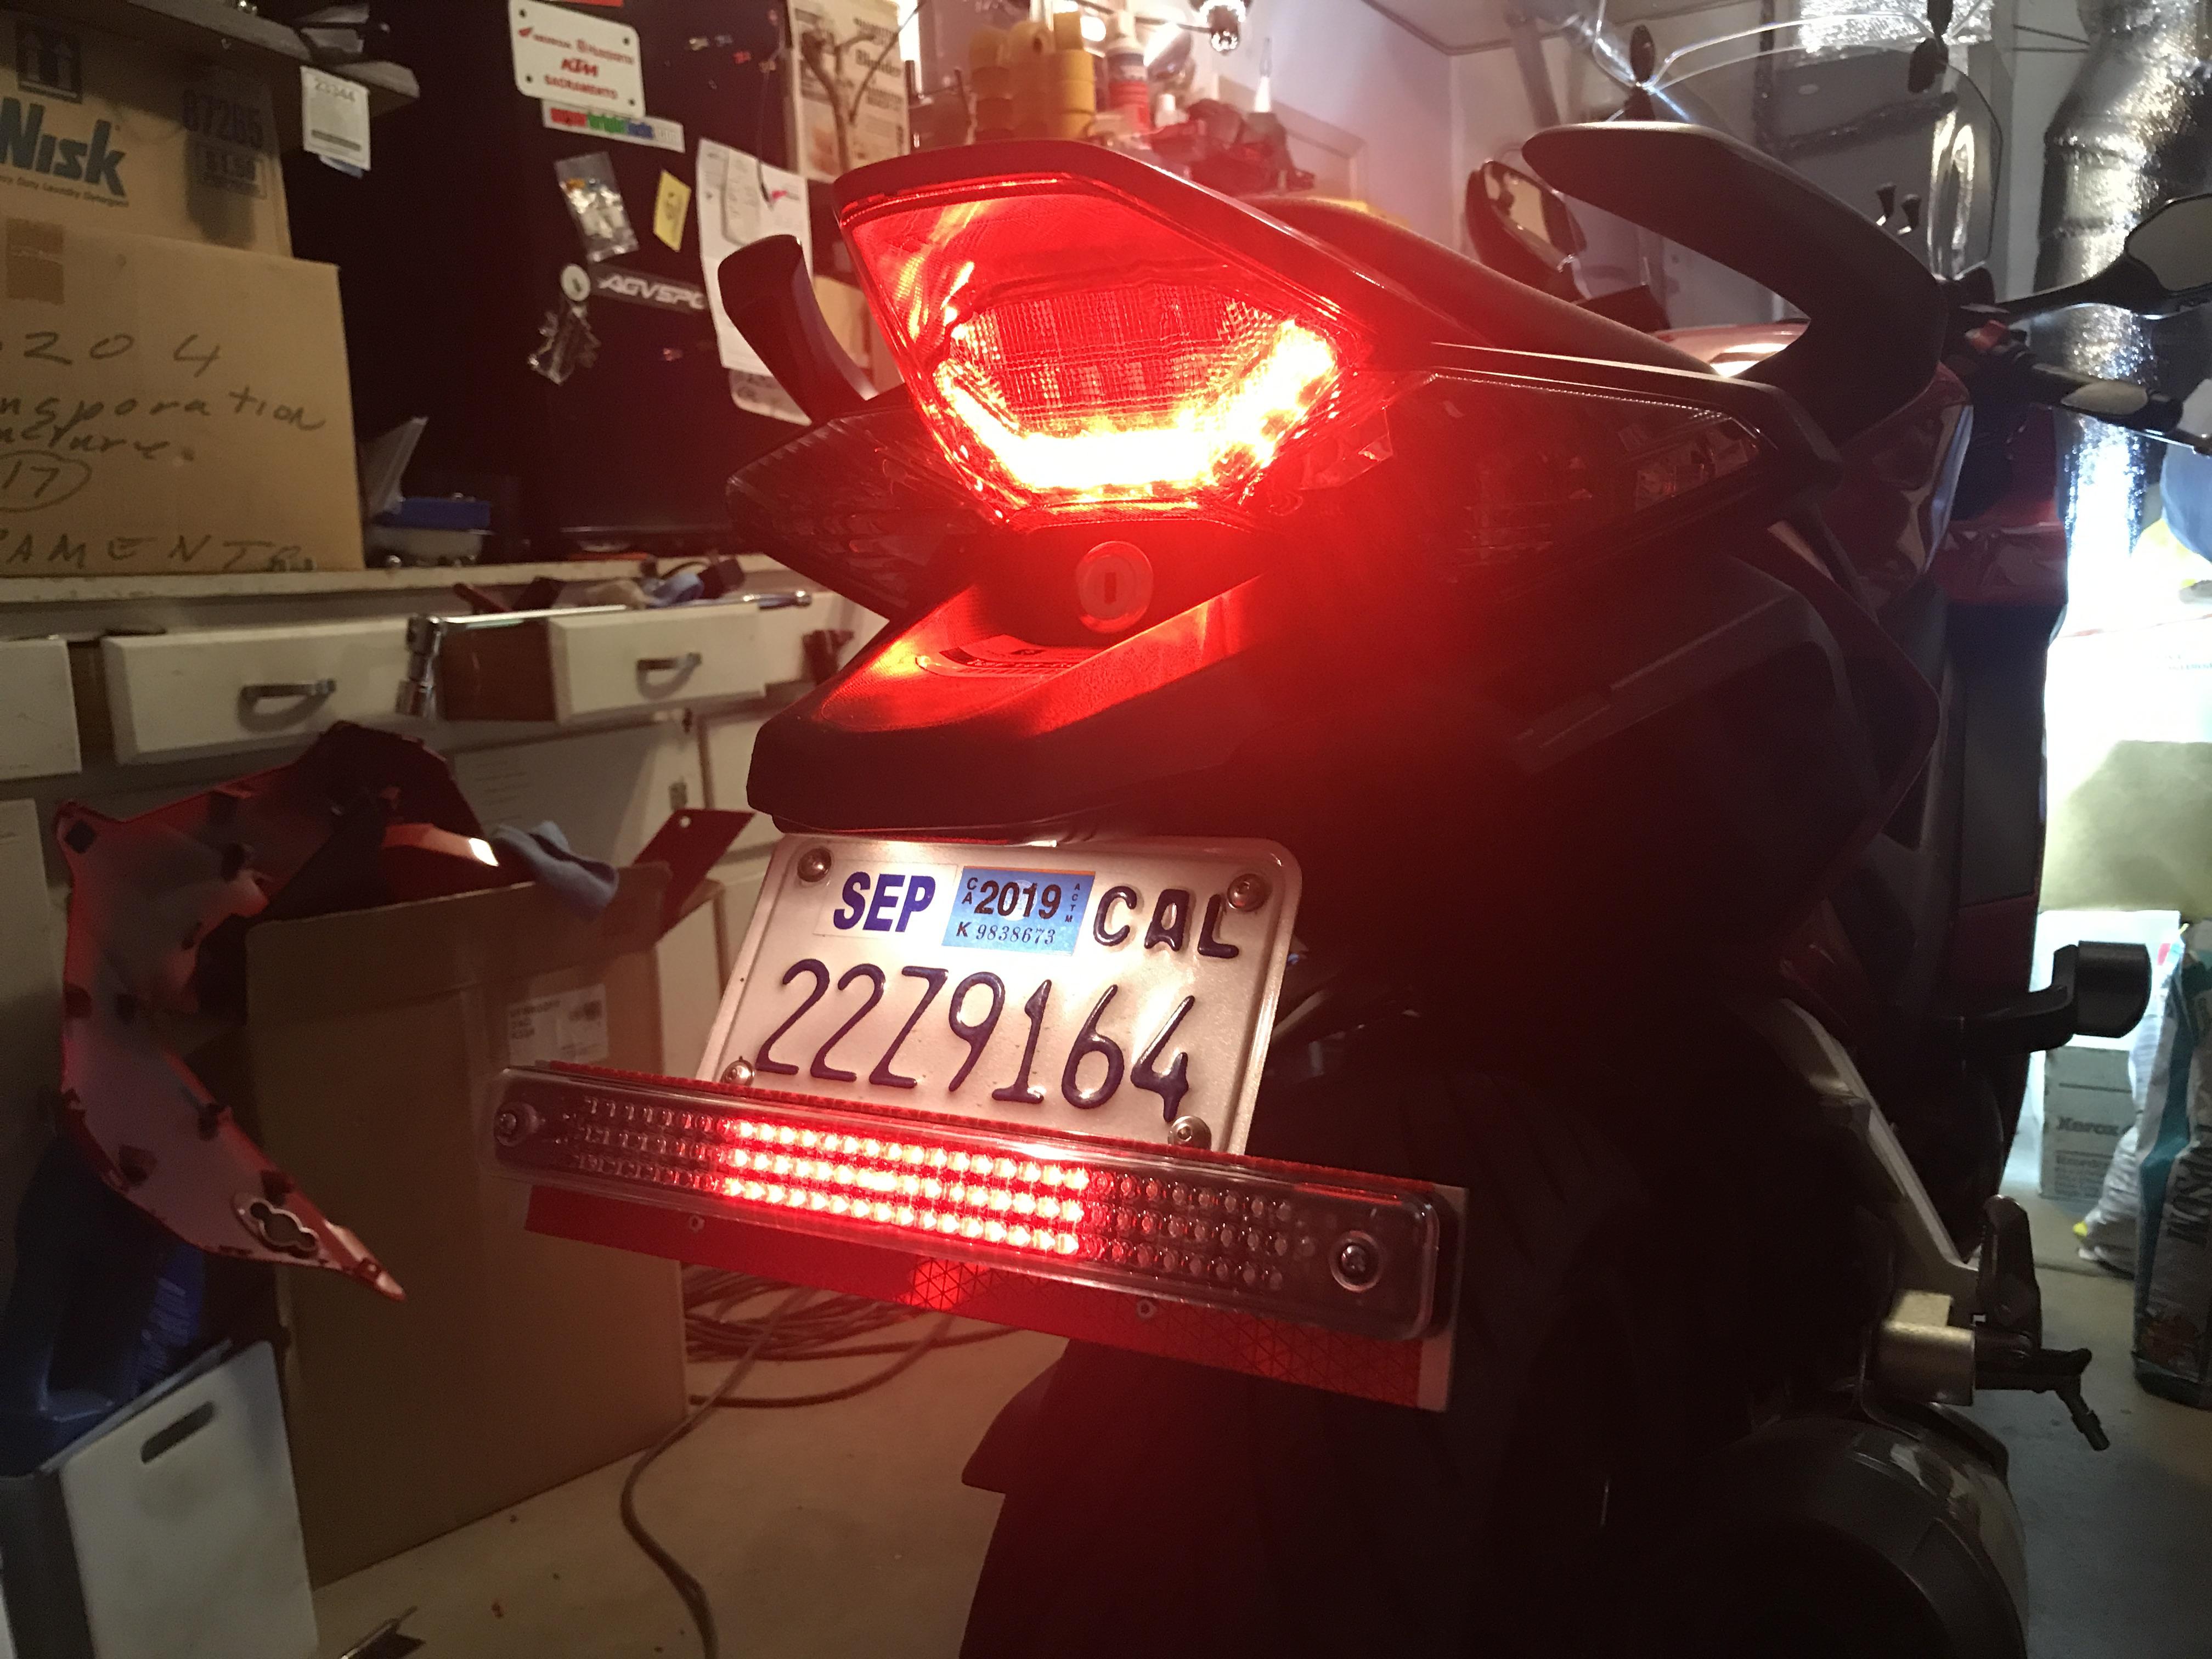
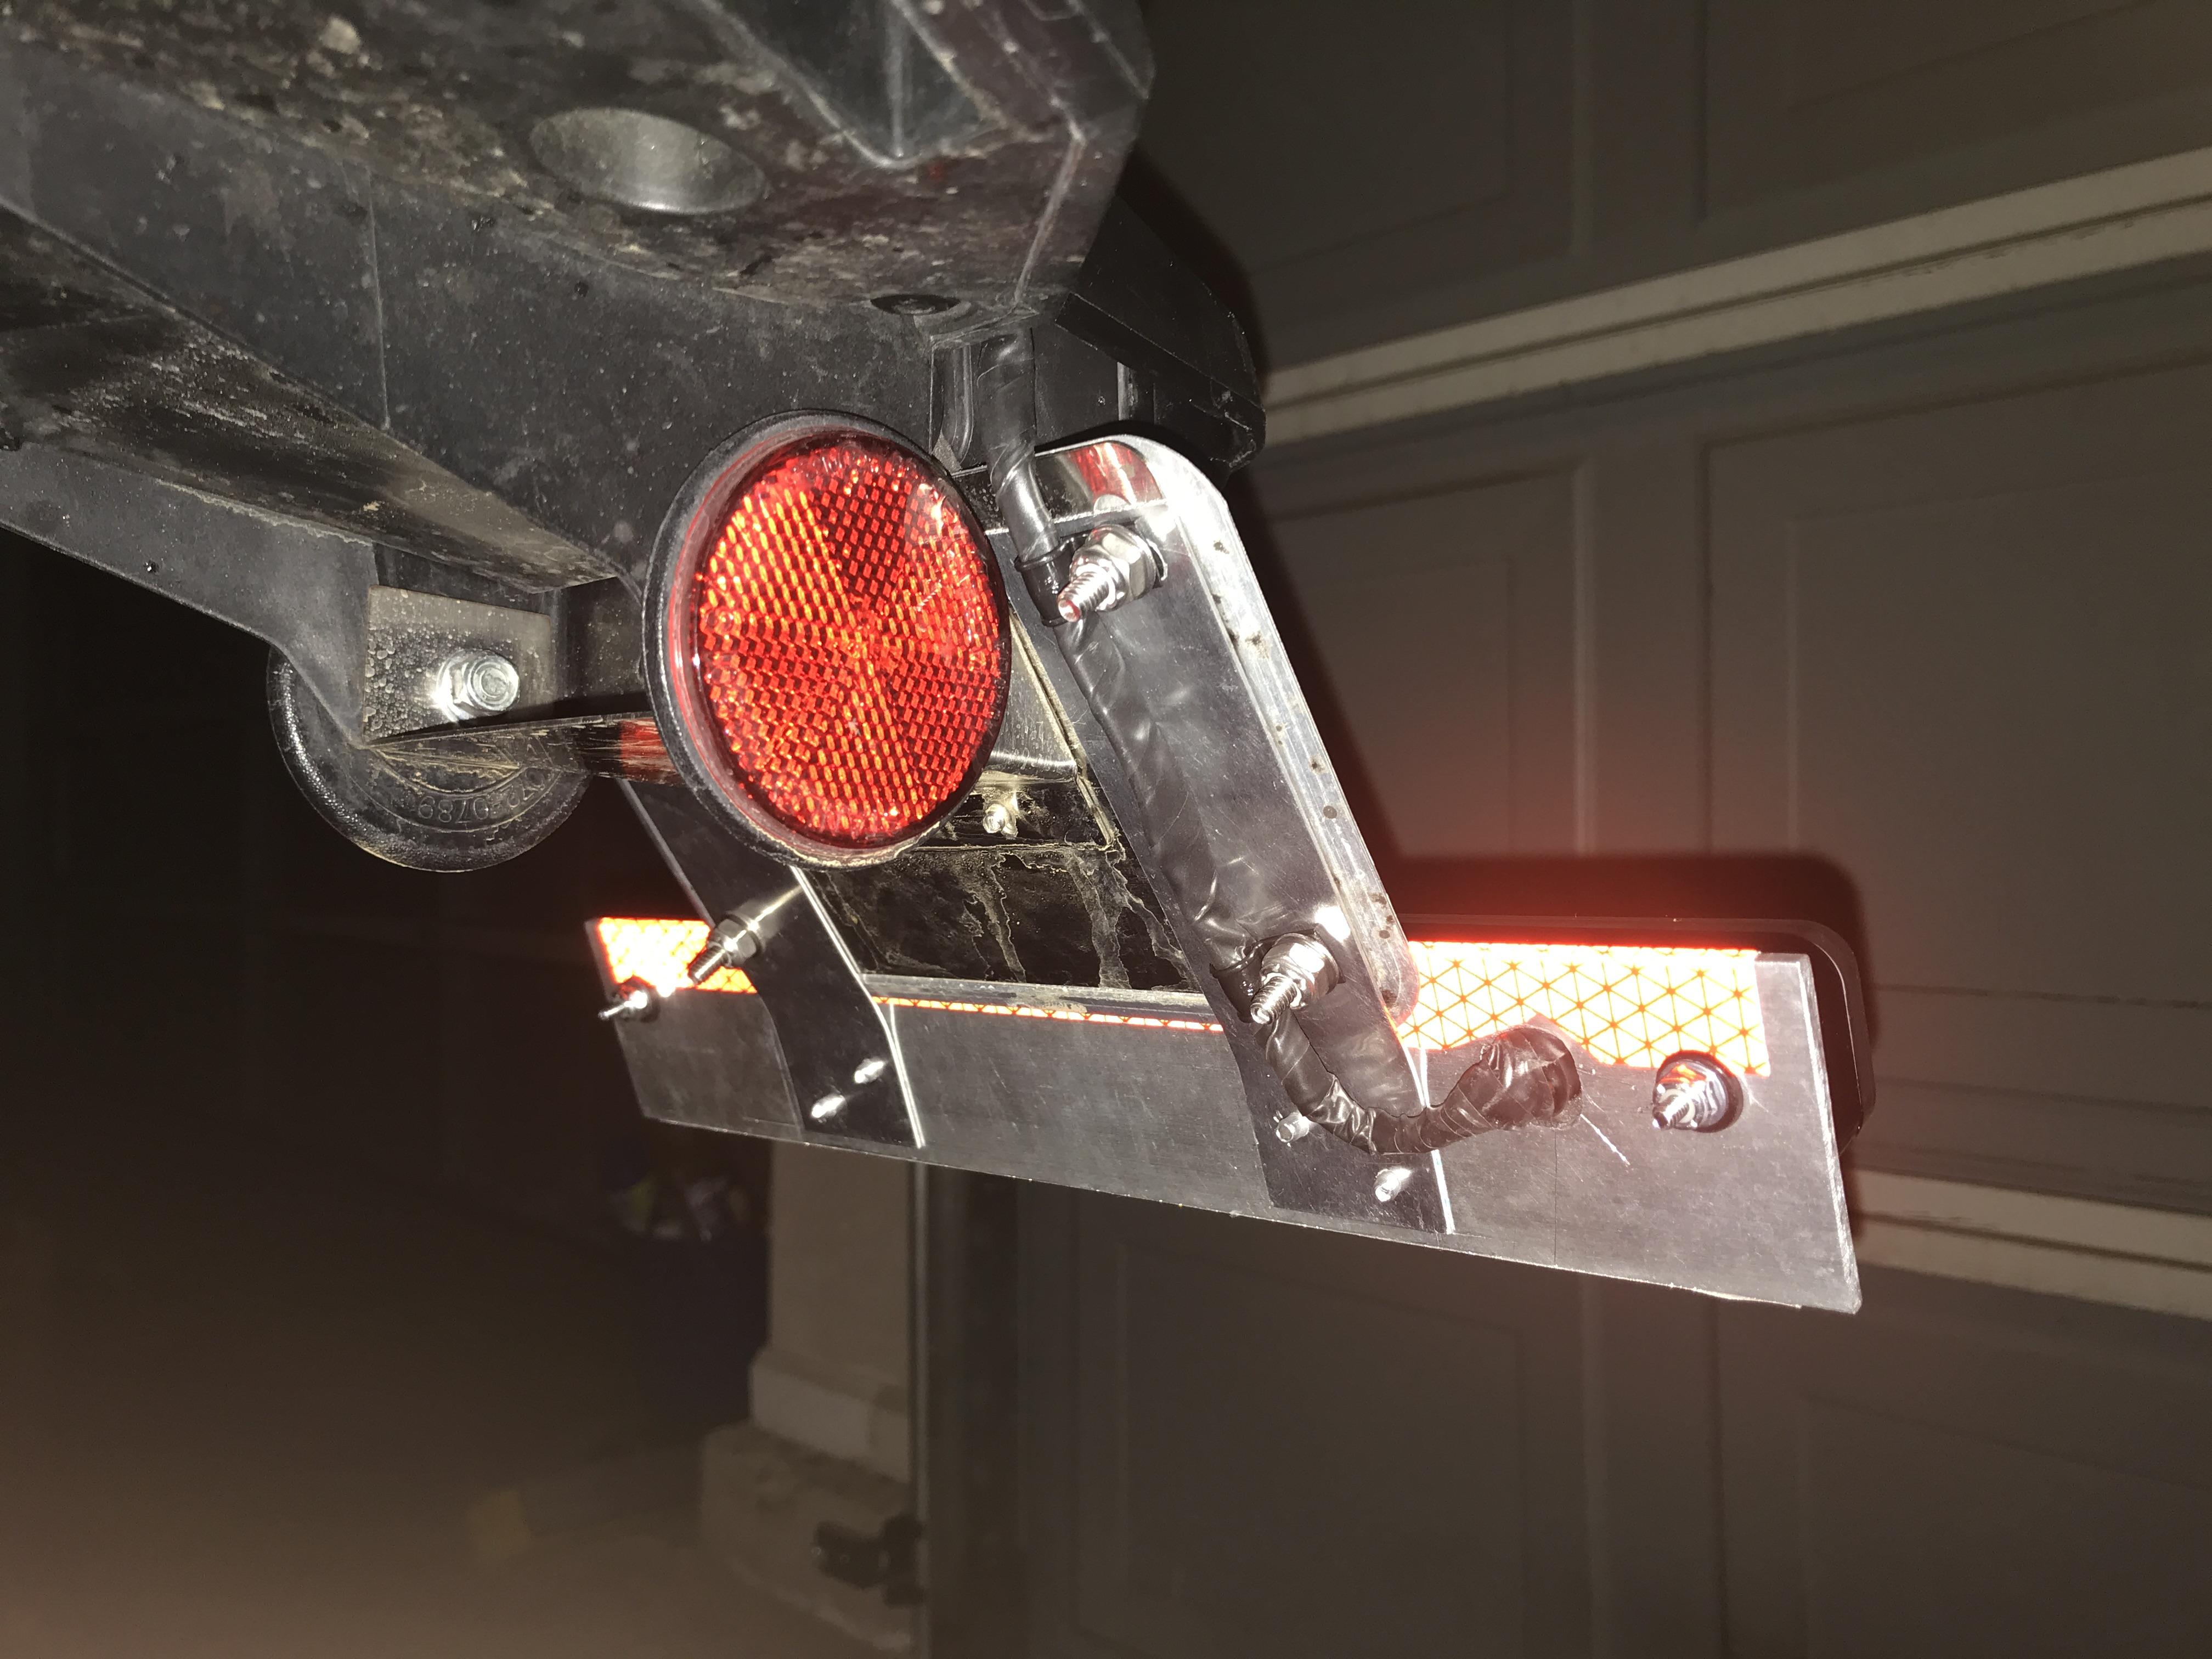
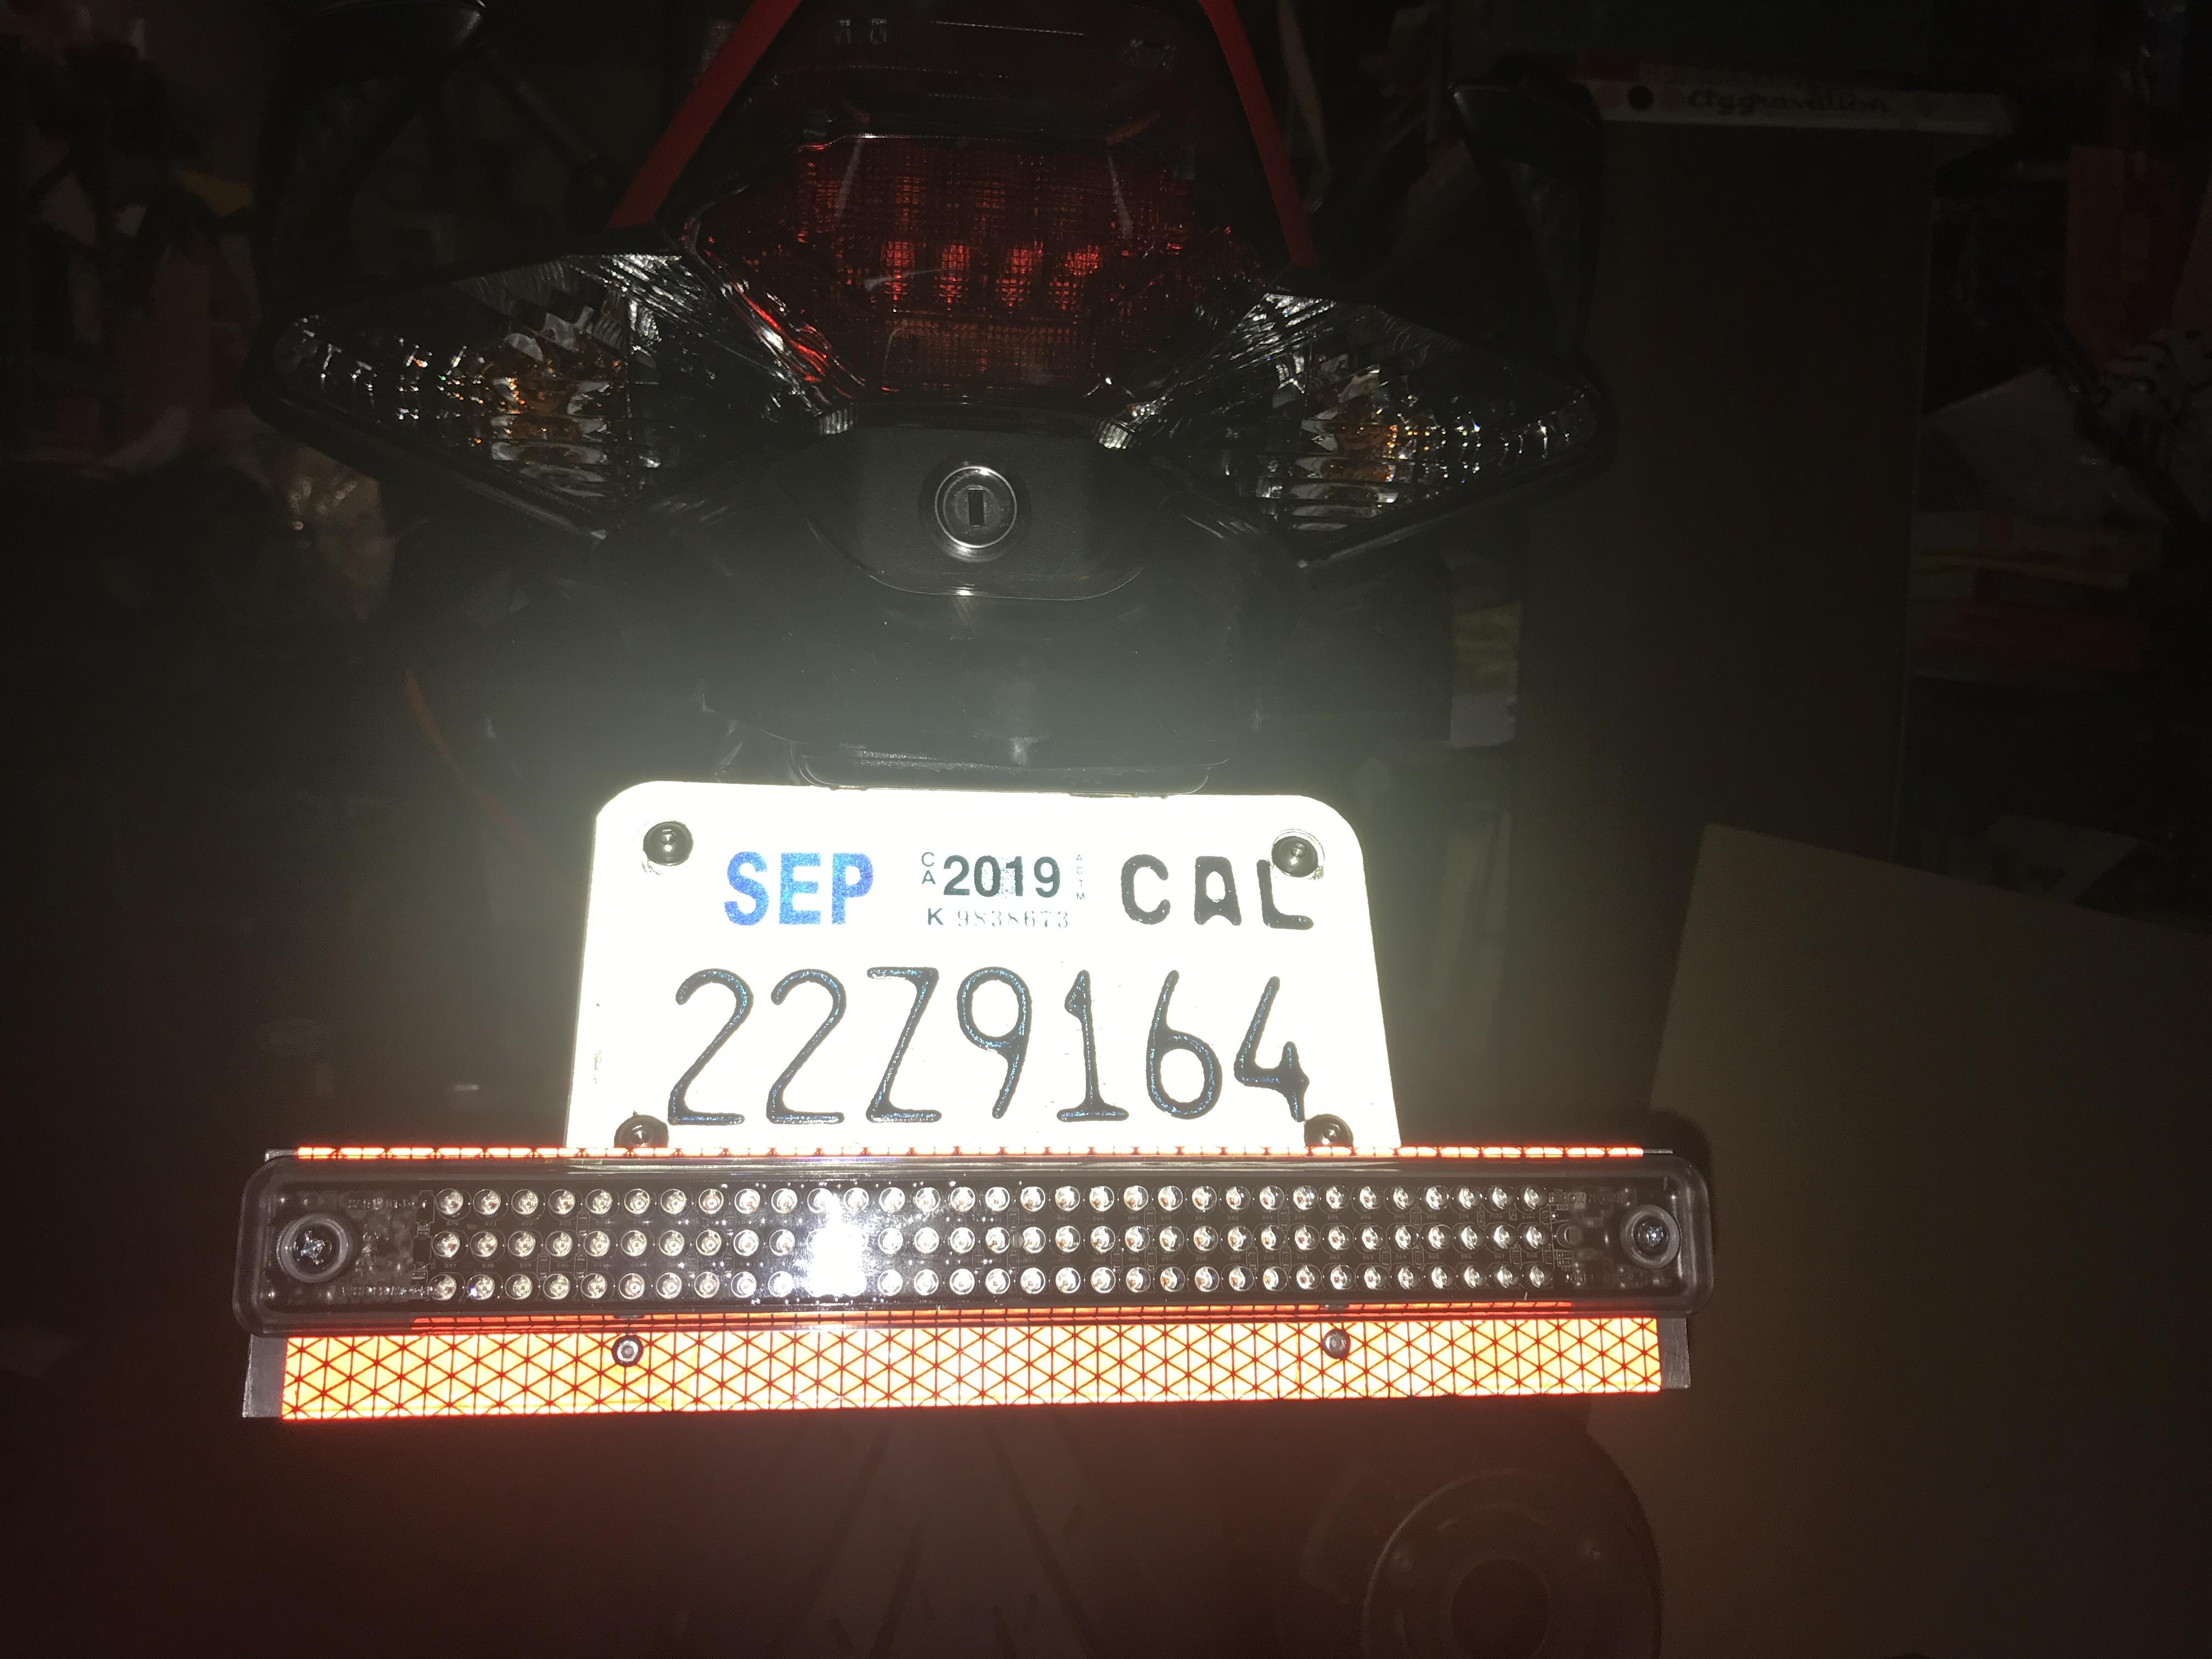
I went with the Competition Werkes fender minimizer for the 7th Gen, as well. It works great with minimal modification. The first thing, the top tab that goes between the LP light and the tail left a gap. The bolt heads on the LP light prevent the LP light from sitting flush with the tab, and the tab is just a smidge further out from the tail. I solved this problem by cutting thin pieces of closed cell foam and filling the gaps, just to keep the dust out. Im sure it’s perfectly fine to have not fill the gaps, no one will ever see it anyways. I re-used the OEM side reflectors as the bolts for the side, REFLECTORS ARE FOR SAFETY. The second modification would be it removed and didn’t leave a space for the rear reflector, REFLECTORS ARE FOR SAFETY. I had plans to add extra brake and turn lights, so I incorporated reflective tape into the mounting bracket for the extra lights. Some pics of the finished product.
-
EvanVFR750 changed their profile photo
-
Yikes! Maybe your dealer can do a better price?
-
Yeah it’s a high price but most kits are around that $300-400 price point anyways. And you still have to buy a mounting bracket, another $50-80. This kit bolted right in, easier for me. There are some cool features other kits don’t have: being dimmable and coming with the dimmer pre-wired. It’s triggerable meaning it can be wired to the horn to go full power when the horn is honked, or wired to the high beams to go full power on high beam/flash to pass. It was worth it to me to go with them since it’s local. If I have any problems with a bracket or a bolt I can just ride up to their shop. I met the owner while I was there, excellent customer service. Spent some time picking out bolt lengths and planning out potential mounting points for the dimmer rheostat. Its just one of the options among the various companies that make lights.
-
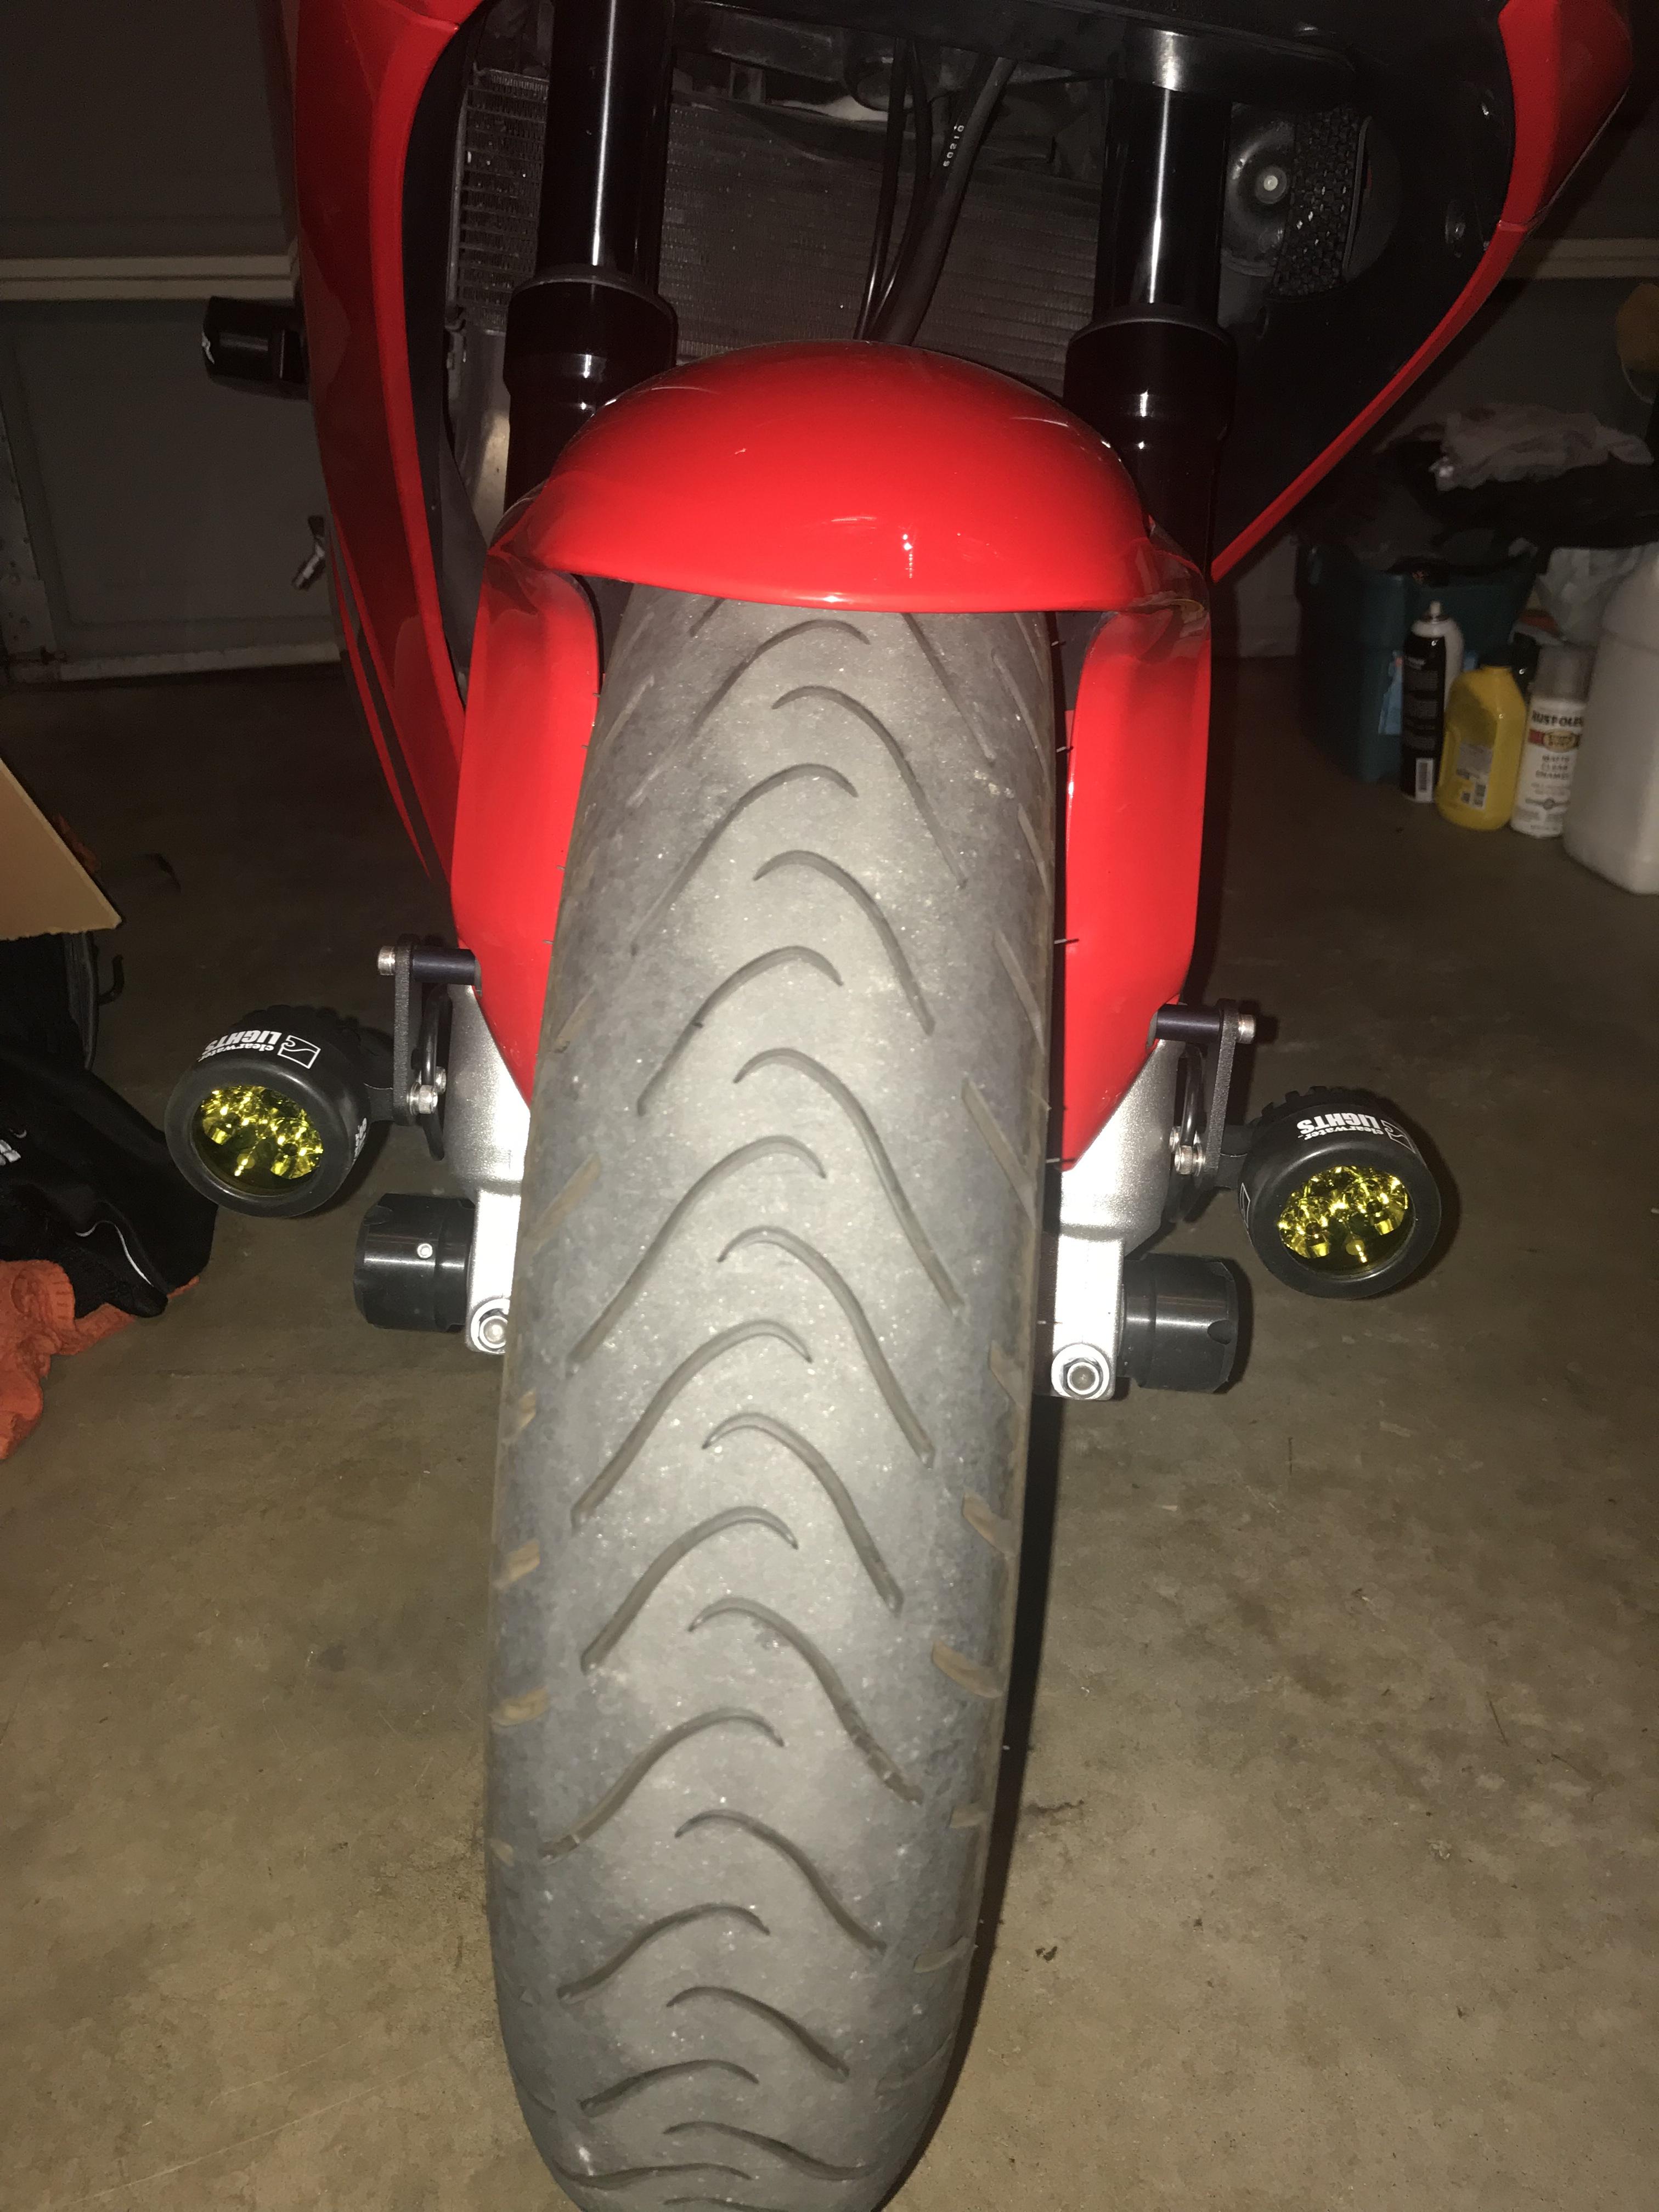
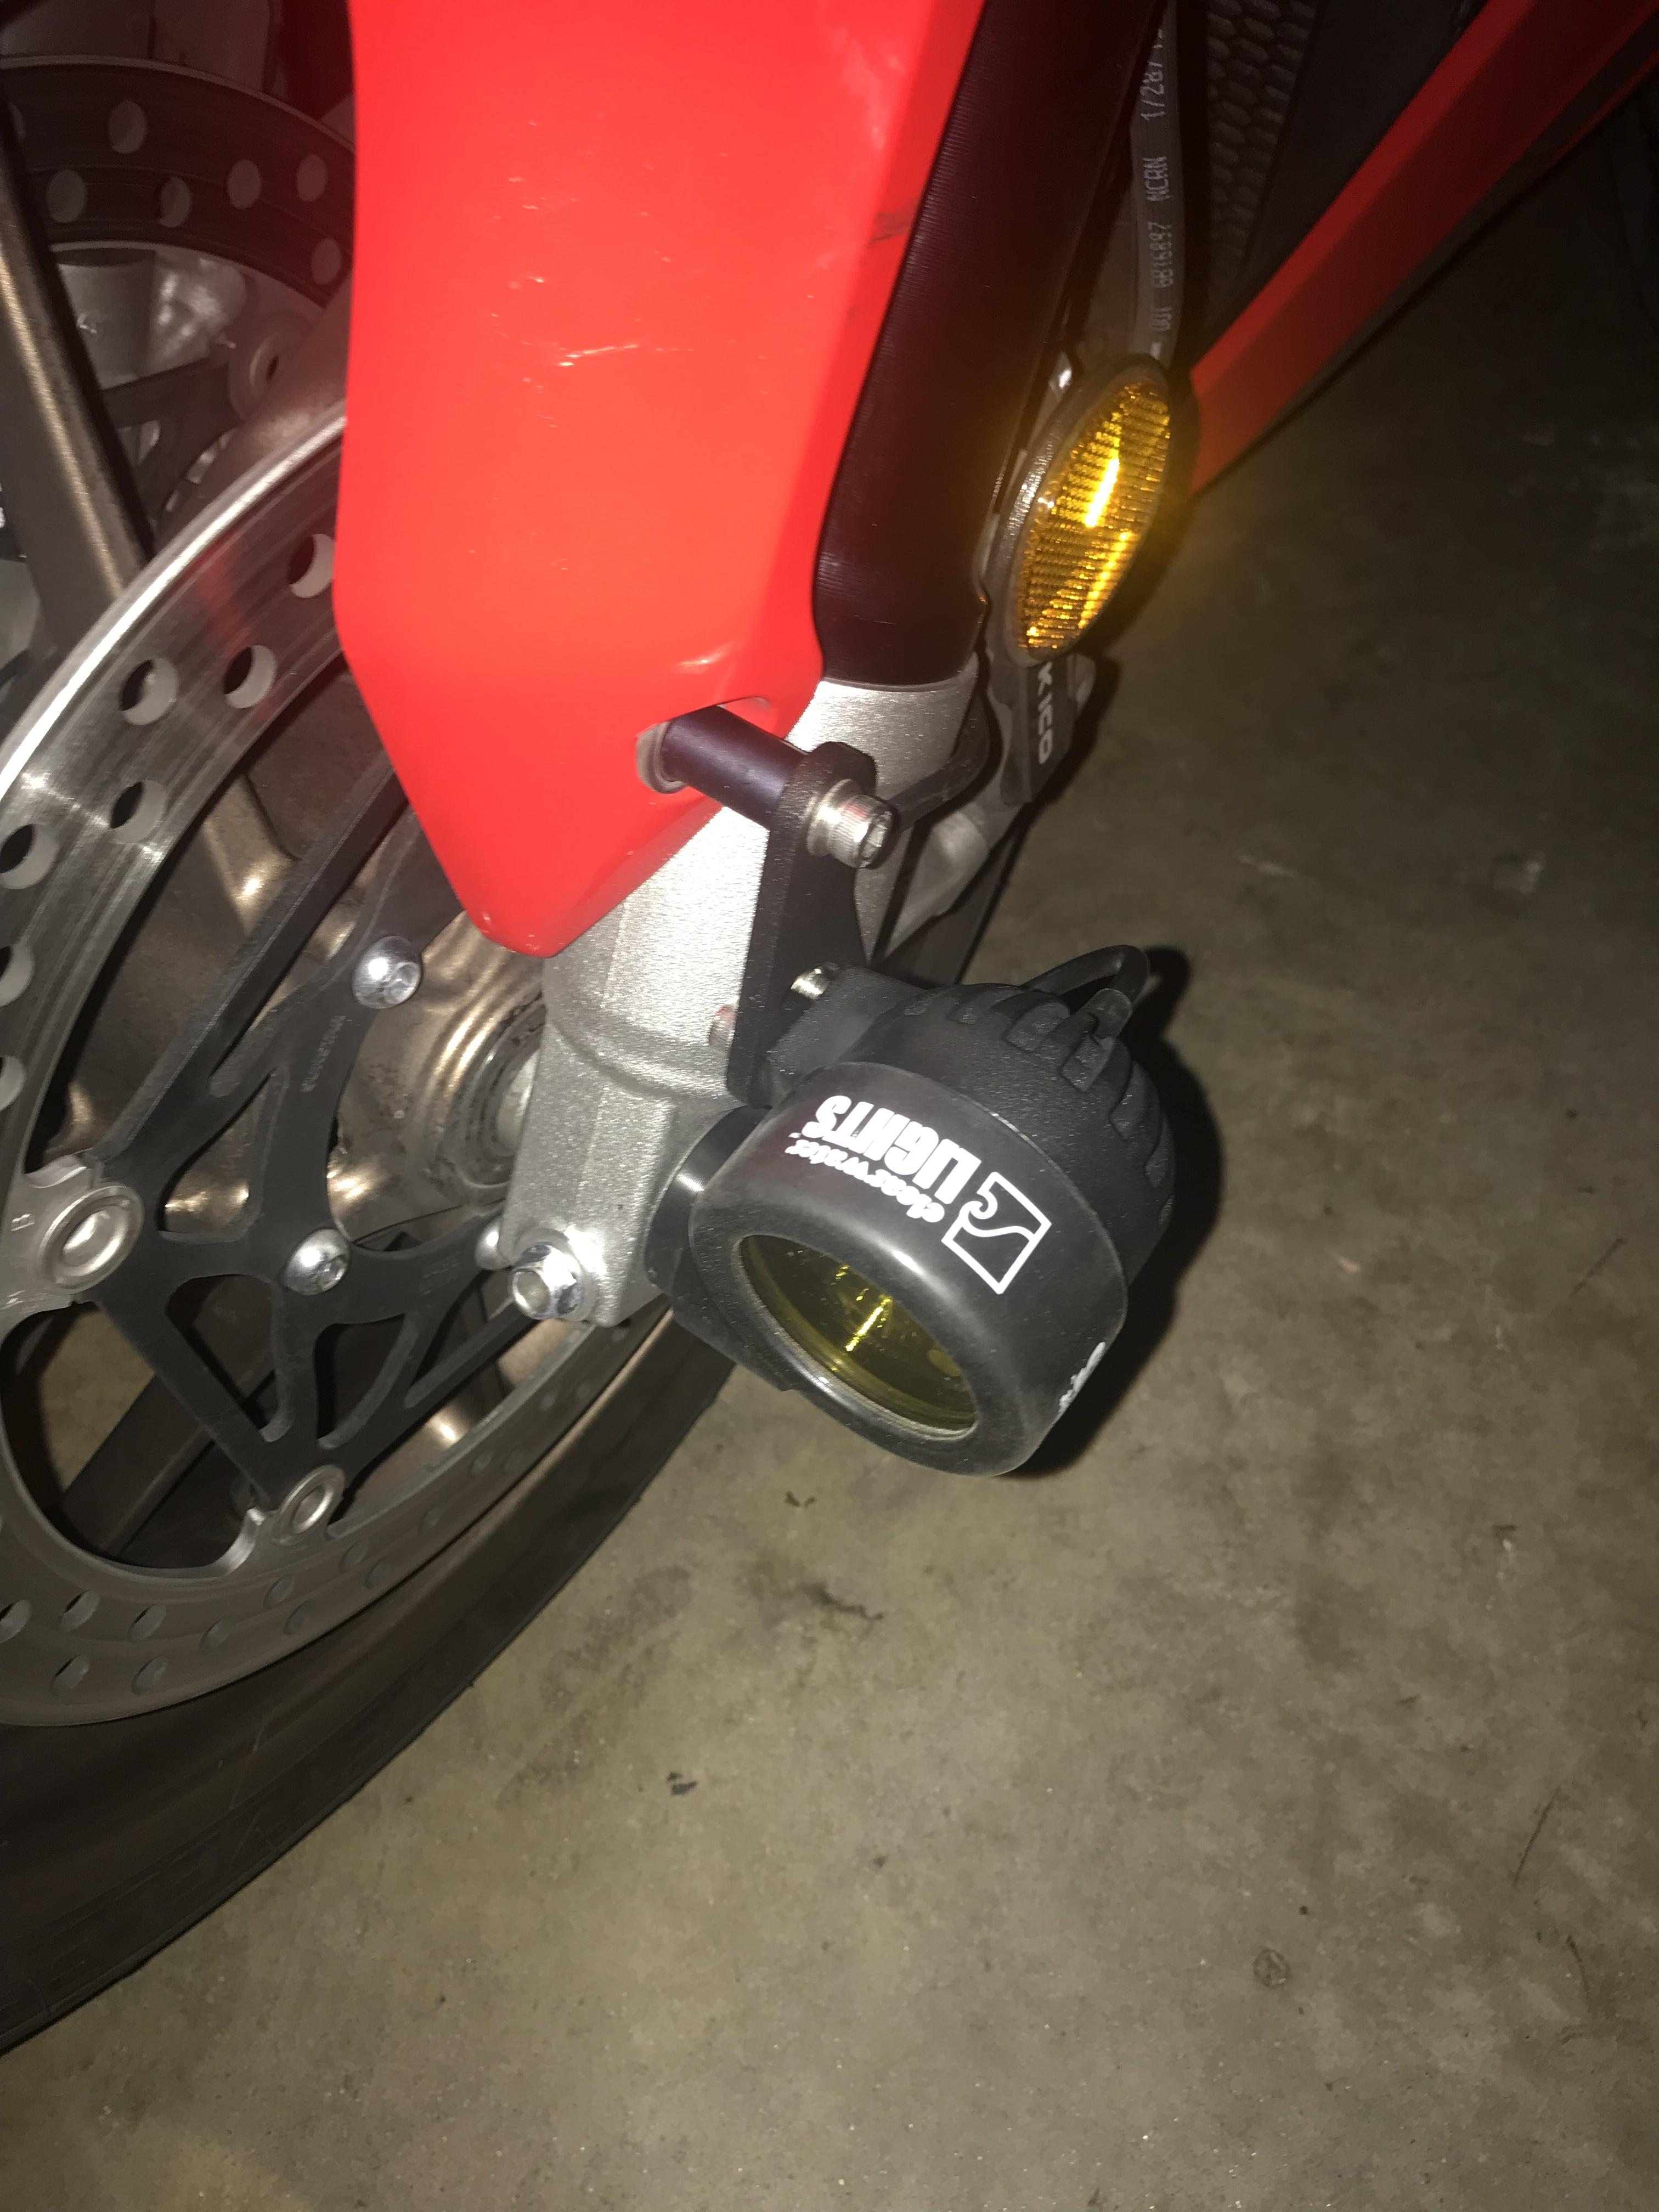
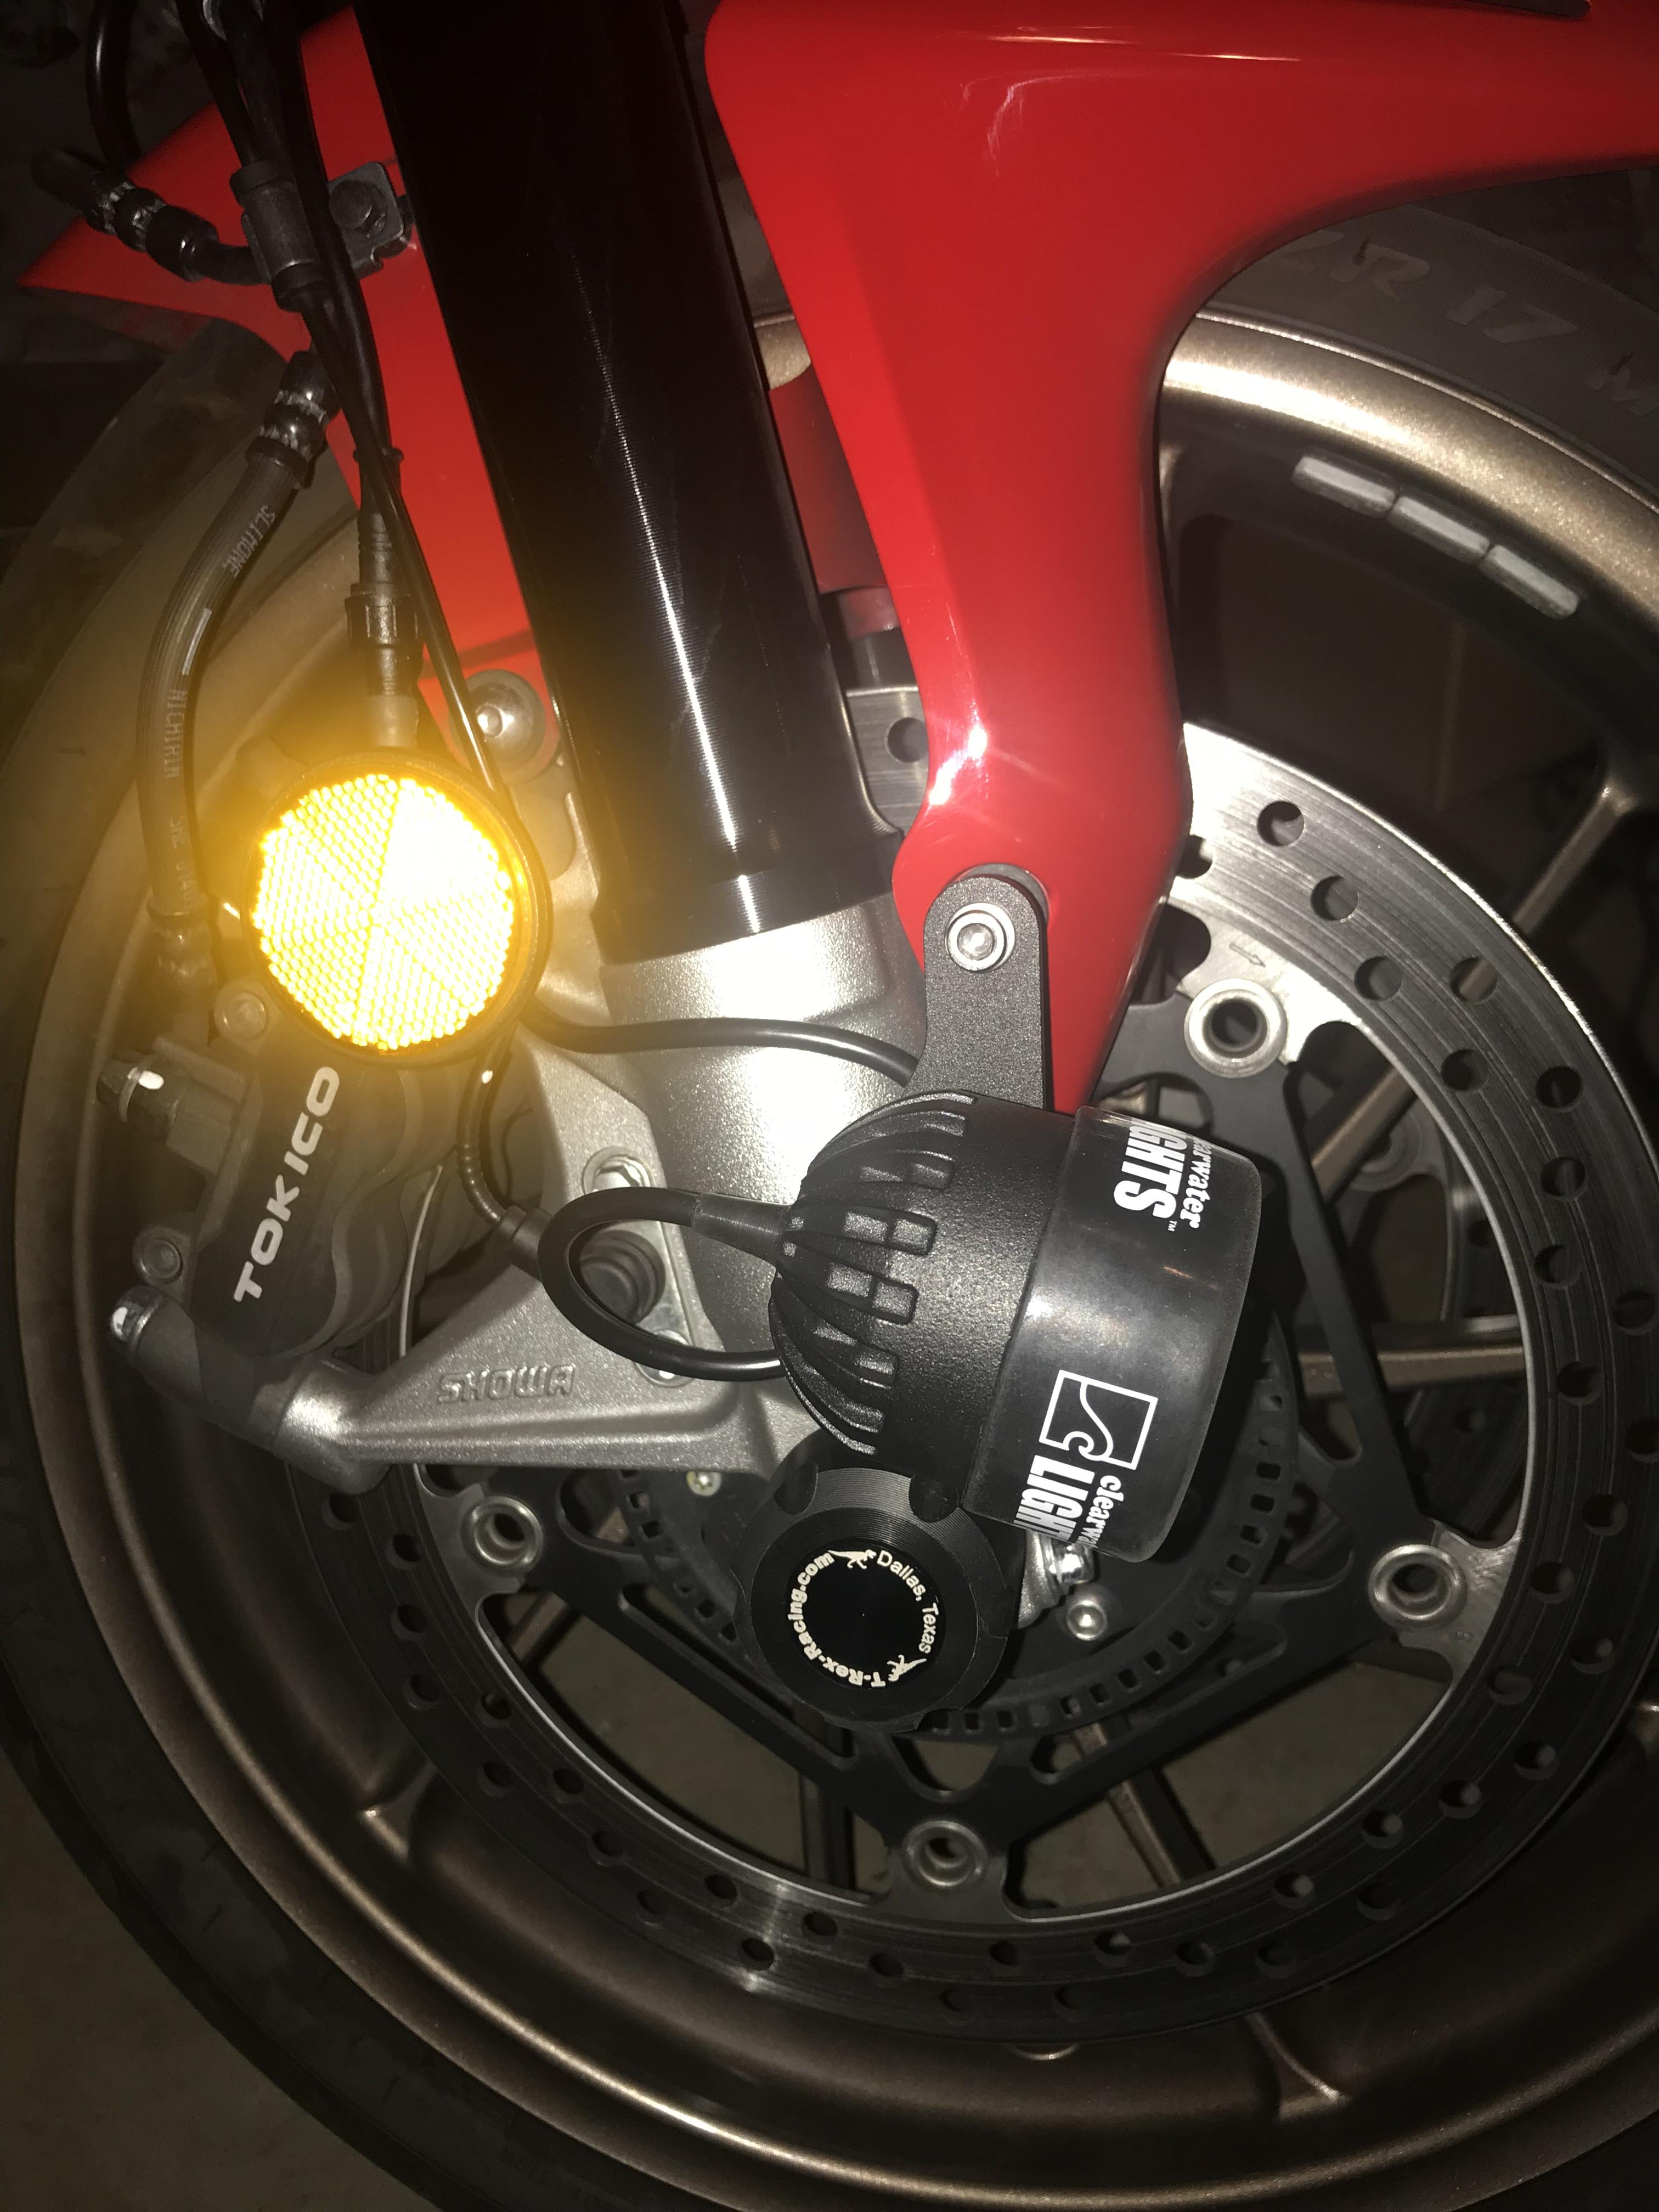
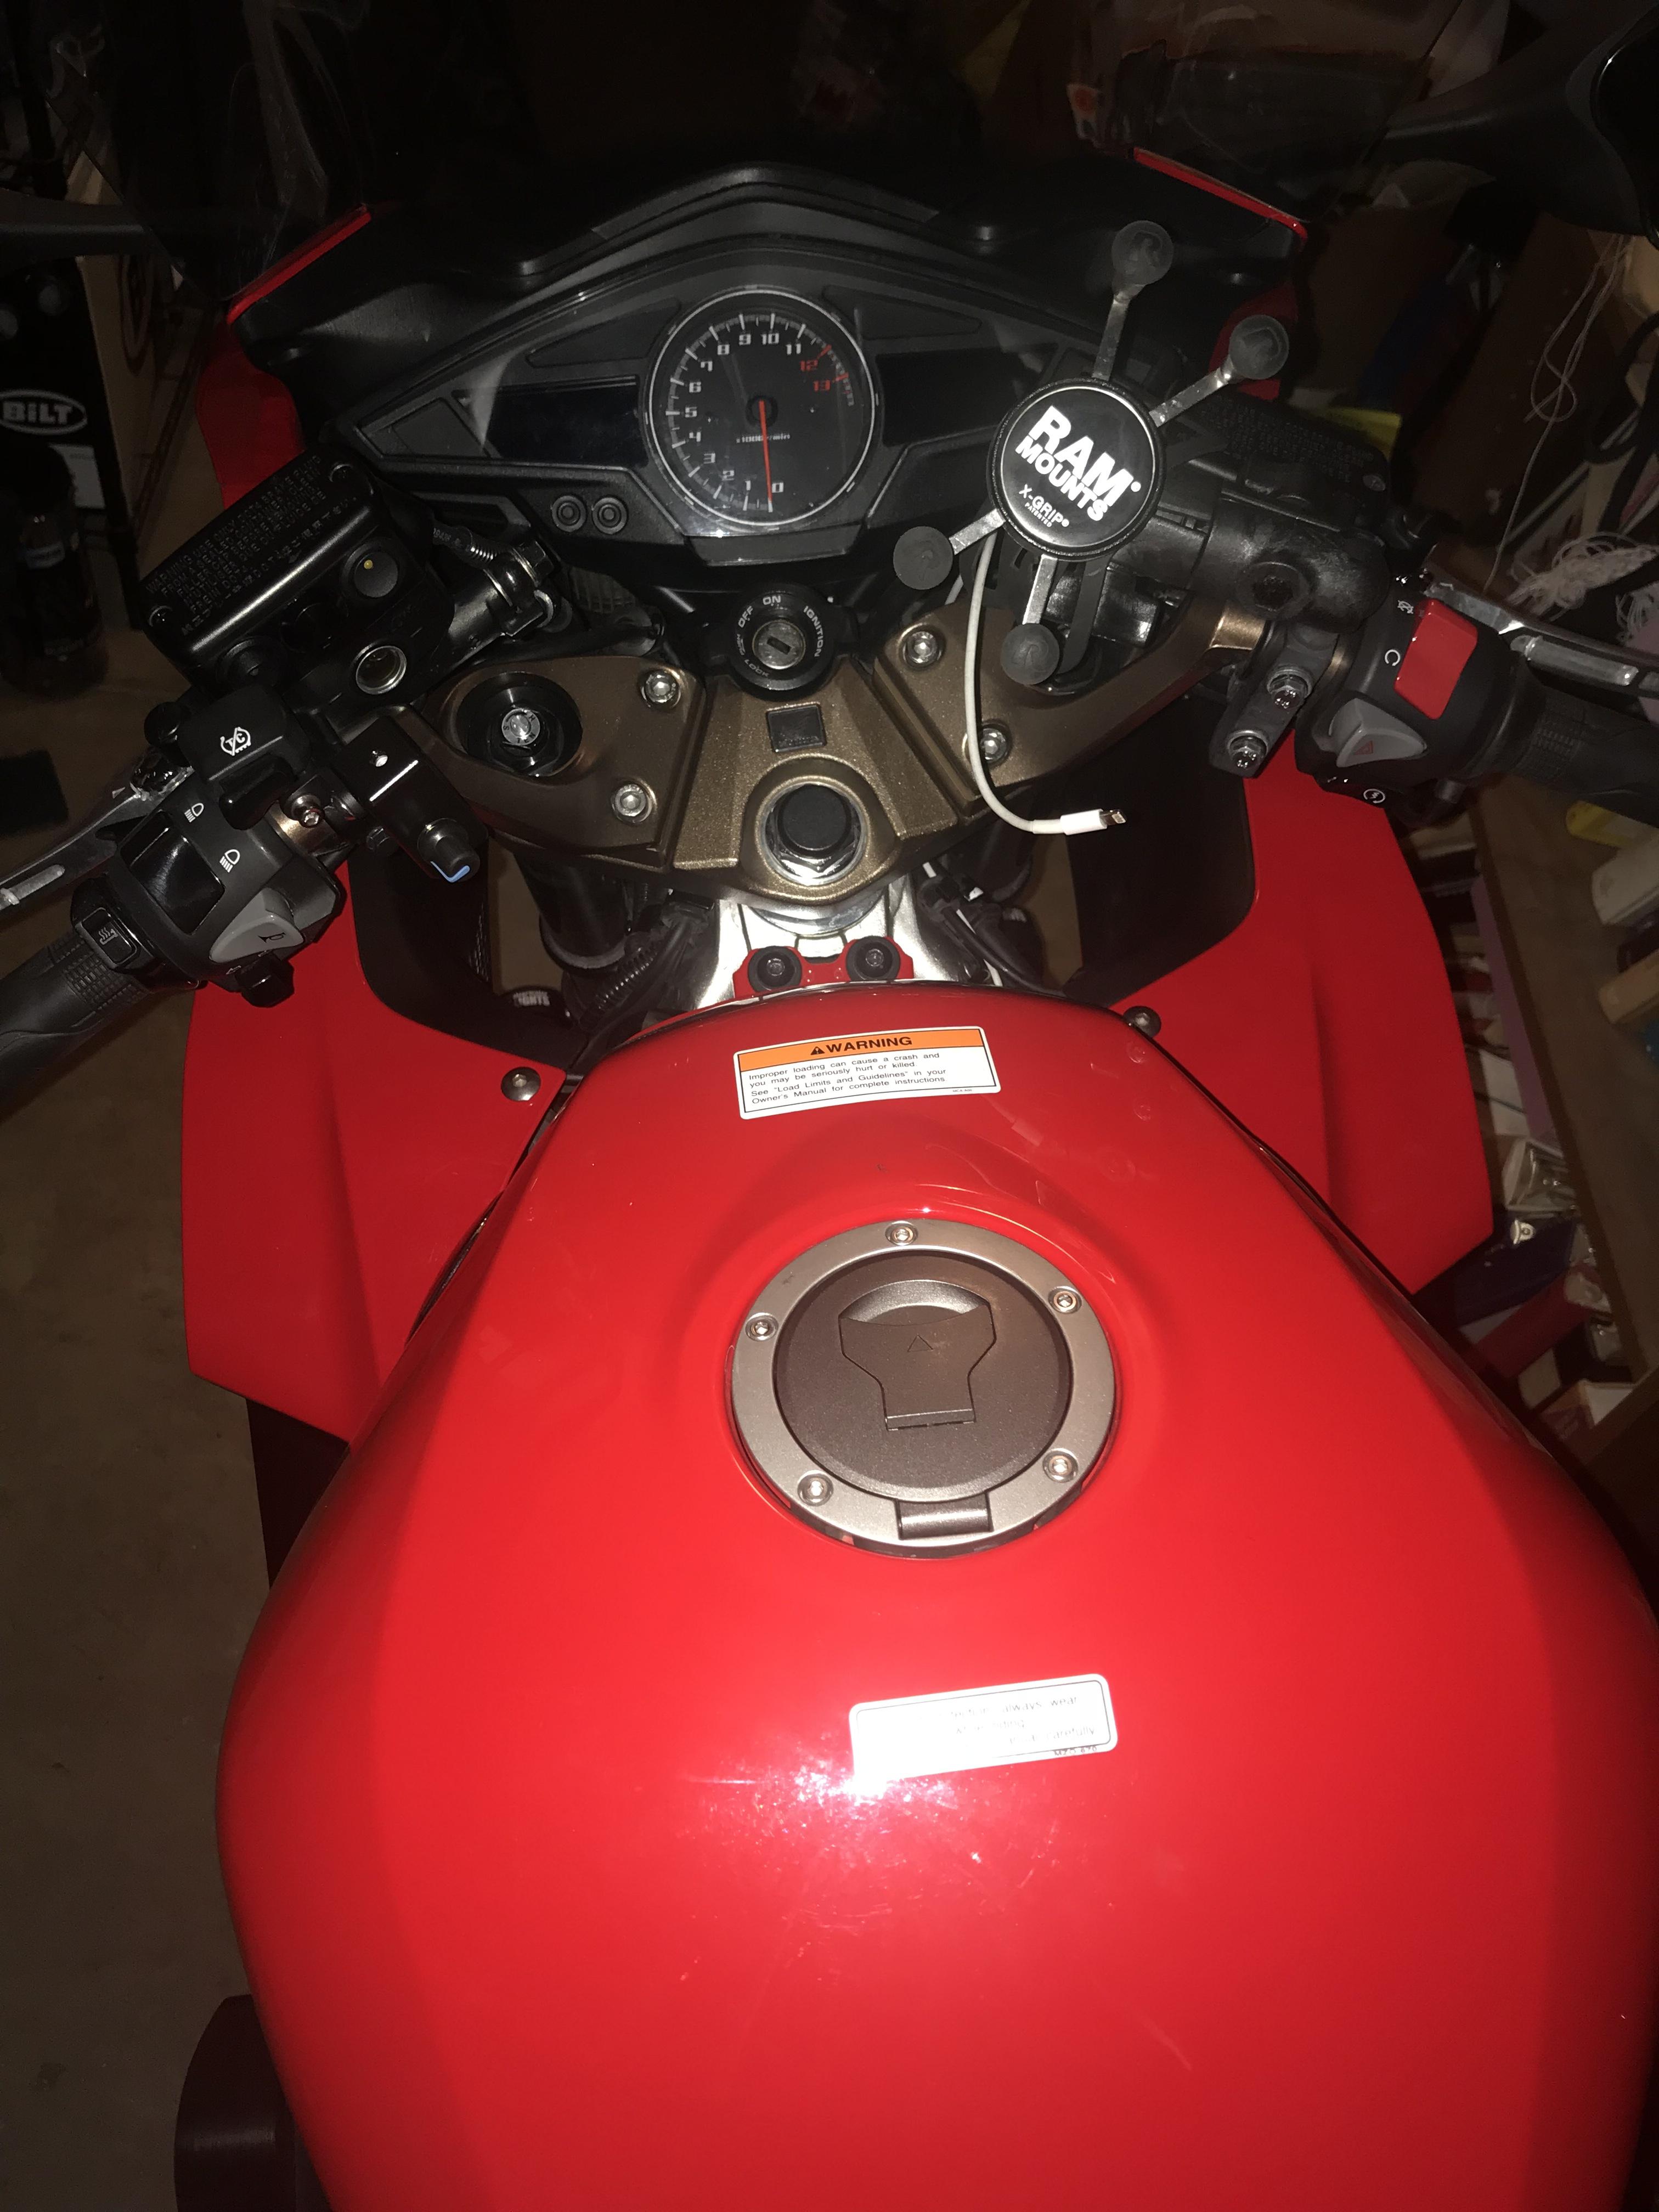
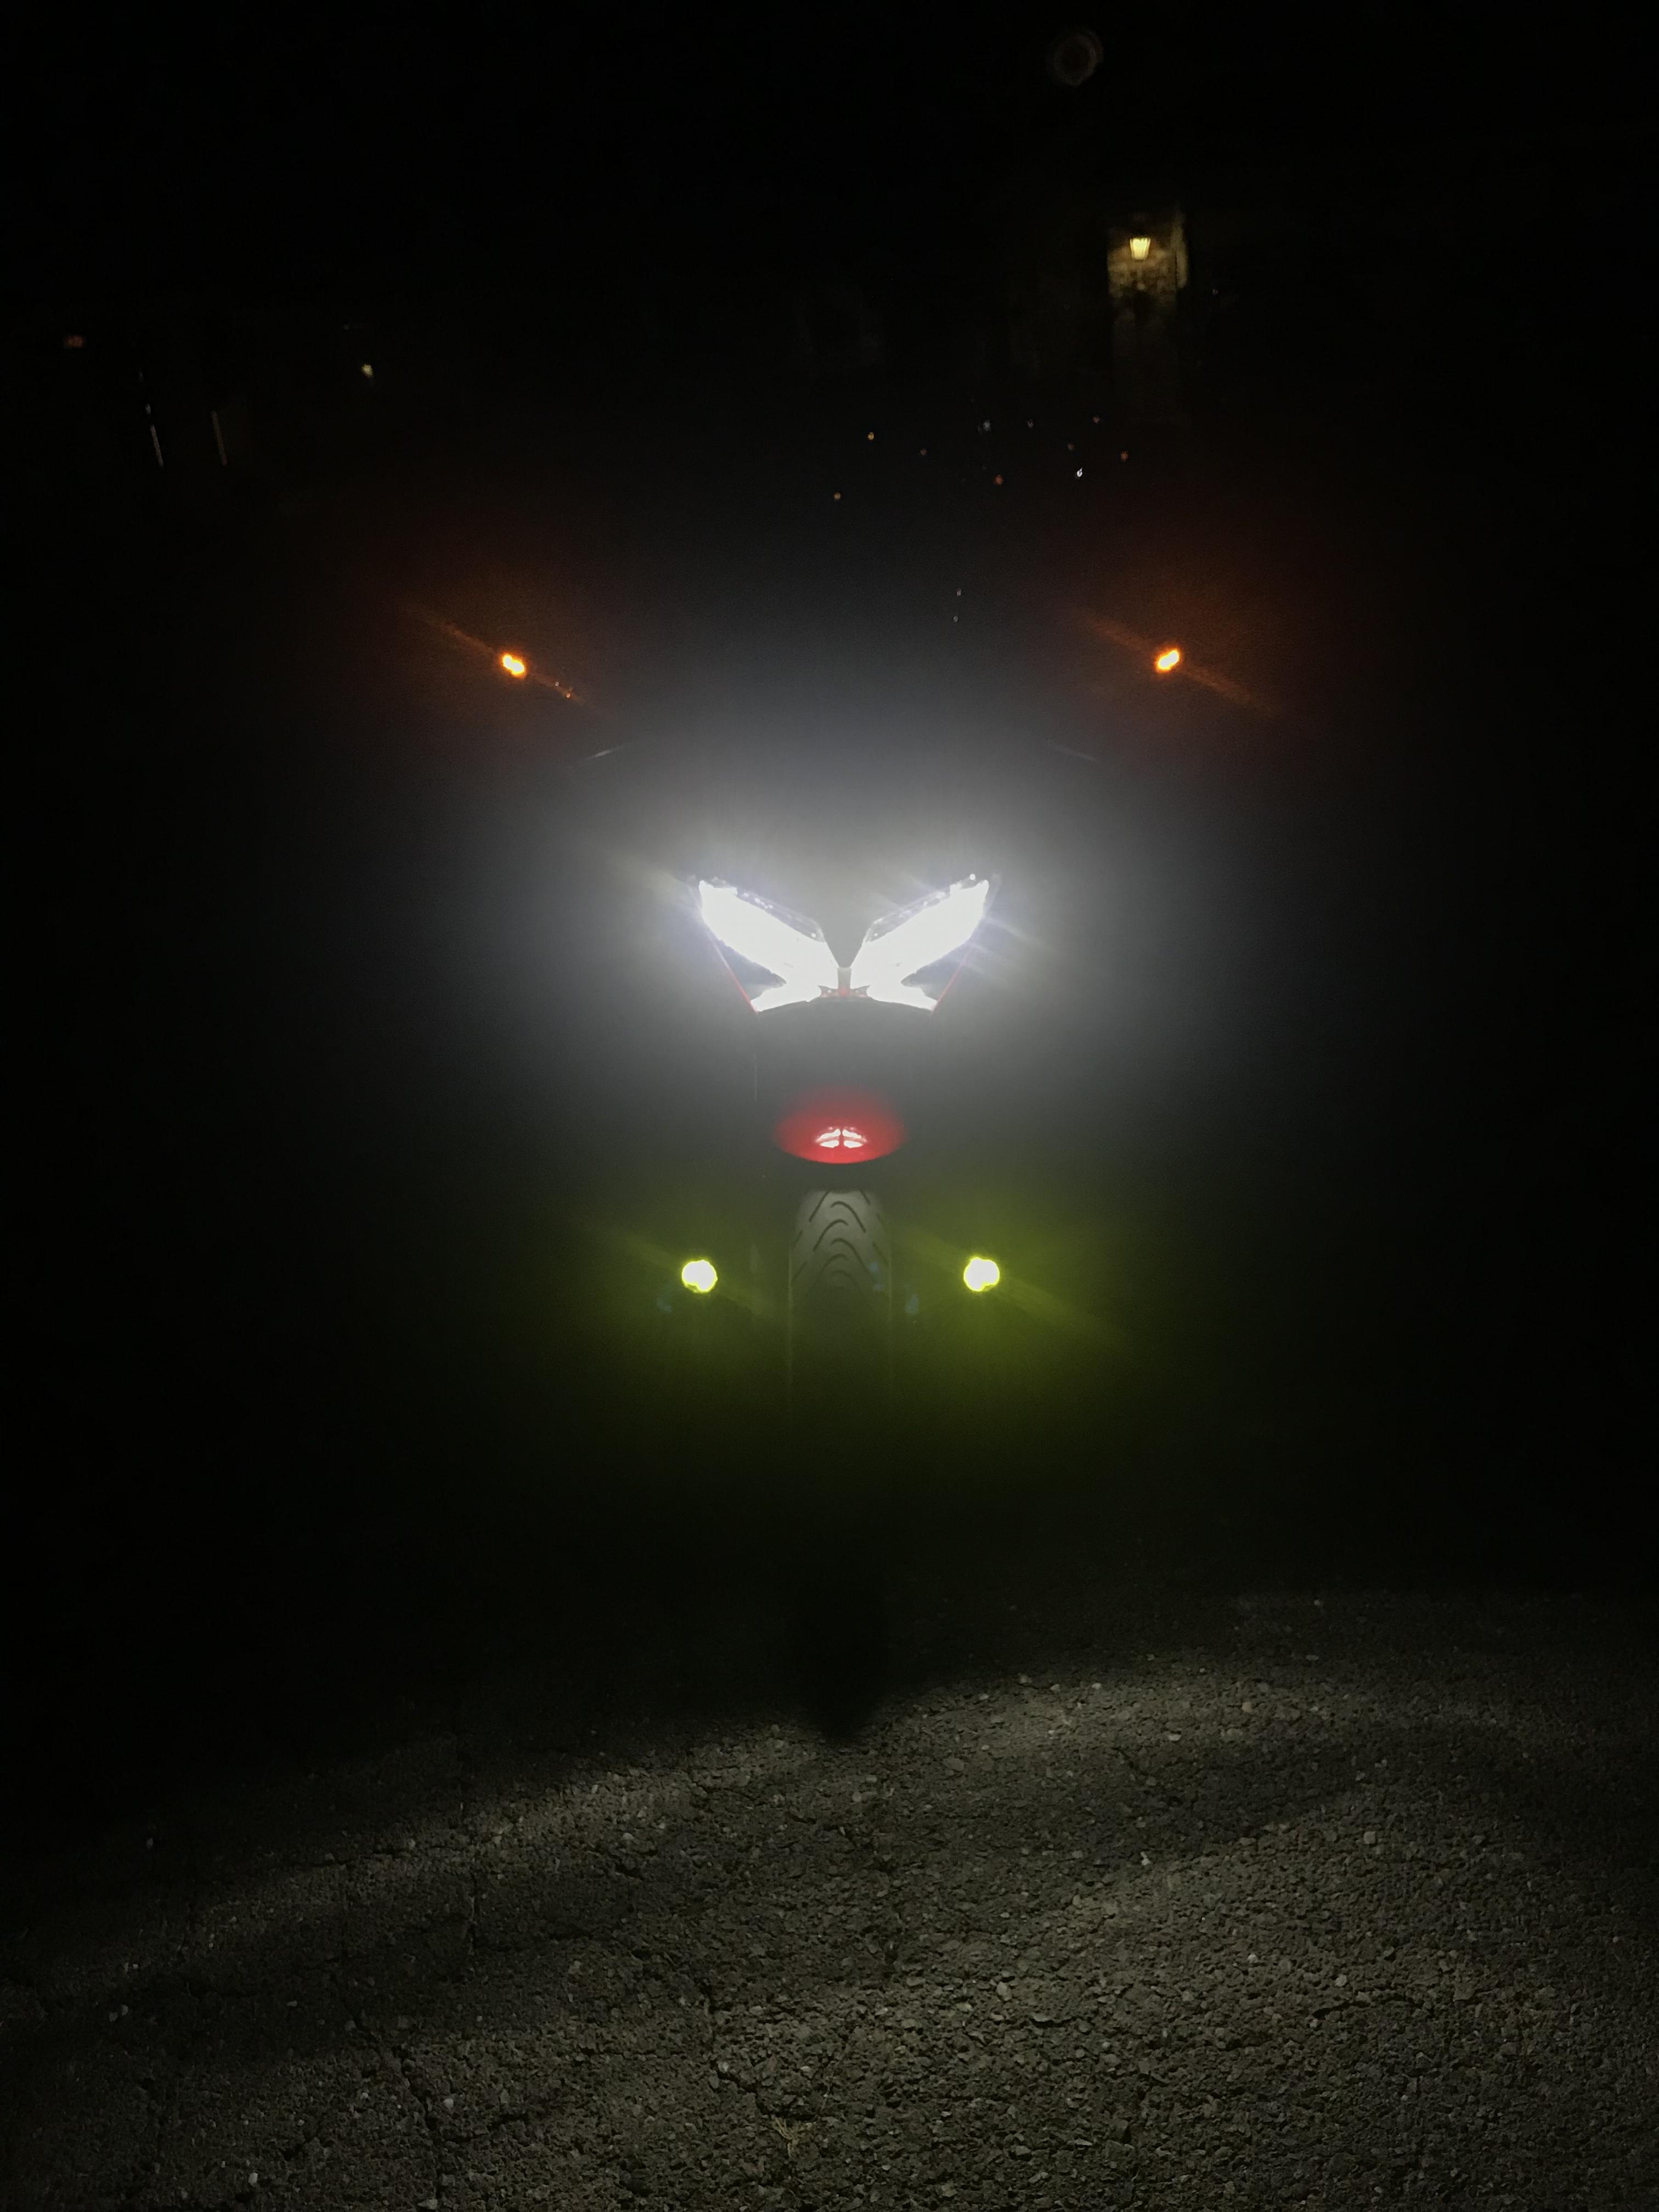
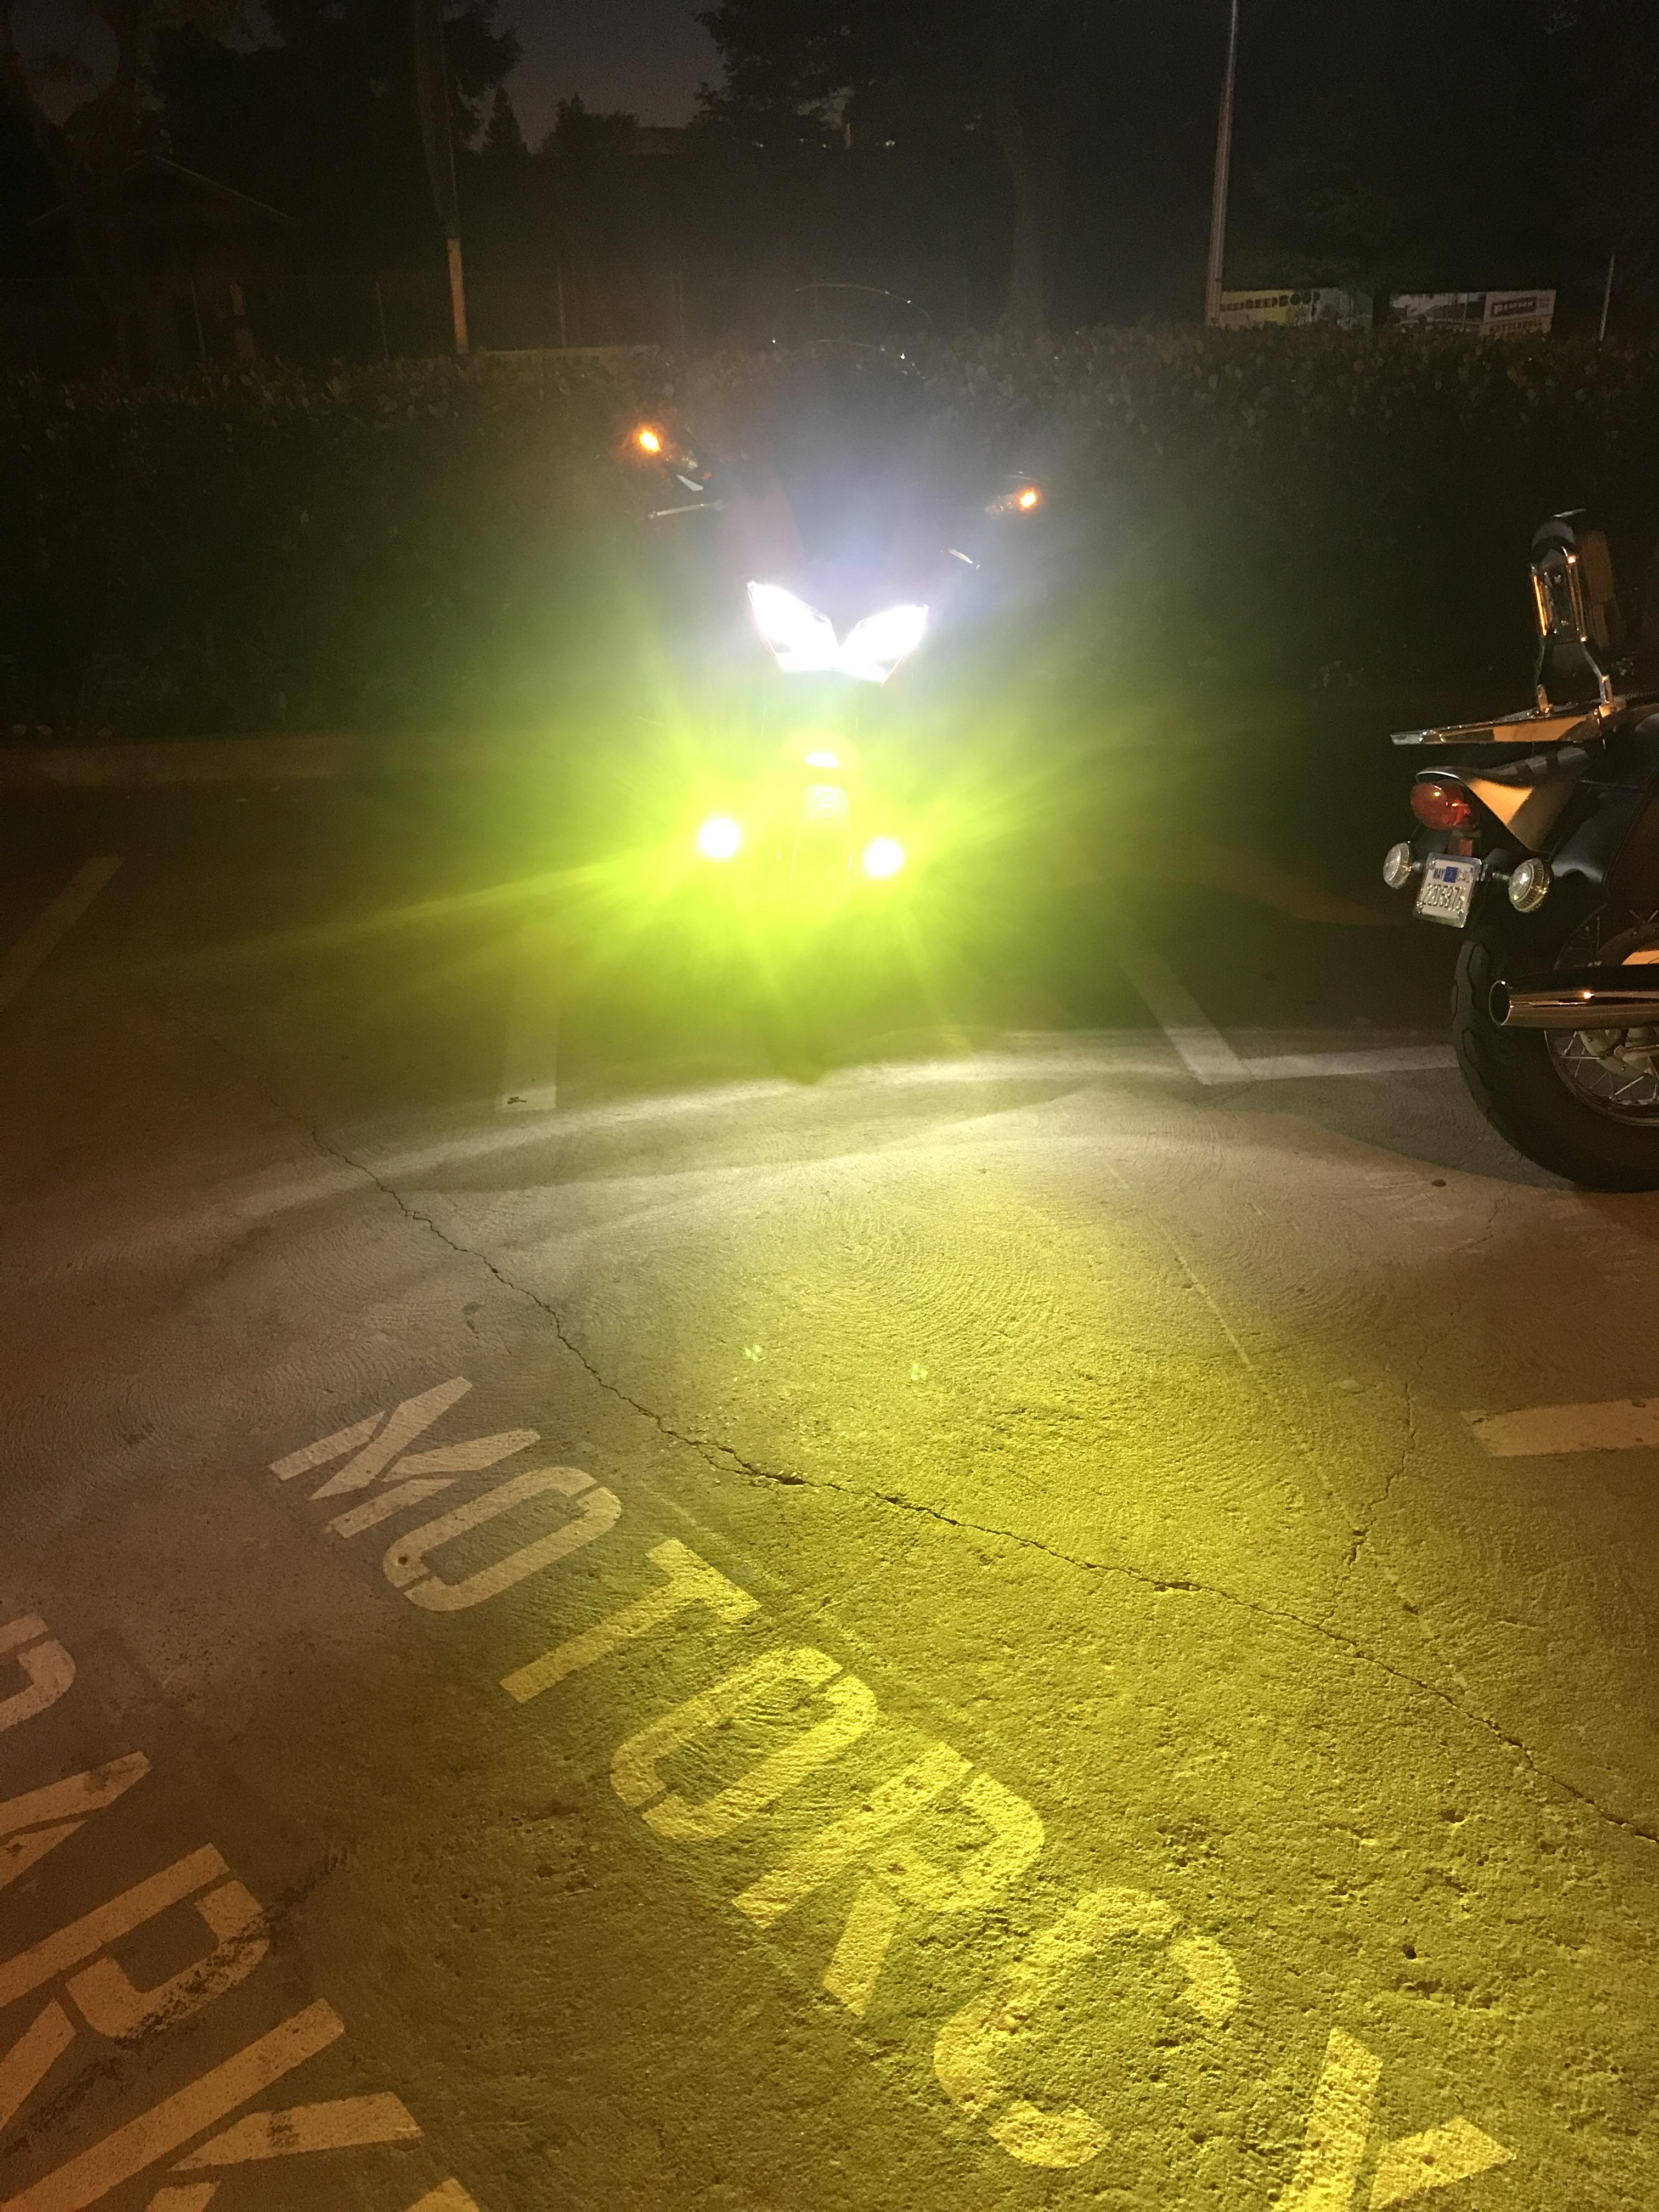
Theyre the Clearwater Darla lights with yellow lens covers. The universal kit was so incredibly easy to install. The wiring relay and everything was pre-made as a kit, it just needed to be routed around the bike. It came with a dimmer rheostat, mounted right in front of the clutch perch. Seen in picture 1. It came with several bolt lengths depending on which bolt you swap out to mount the lights. Plus they’re local to Sacramento. And made in USA 🇺🇸
-
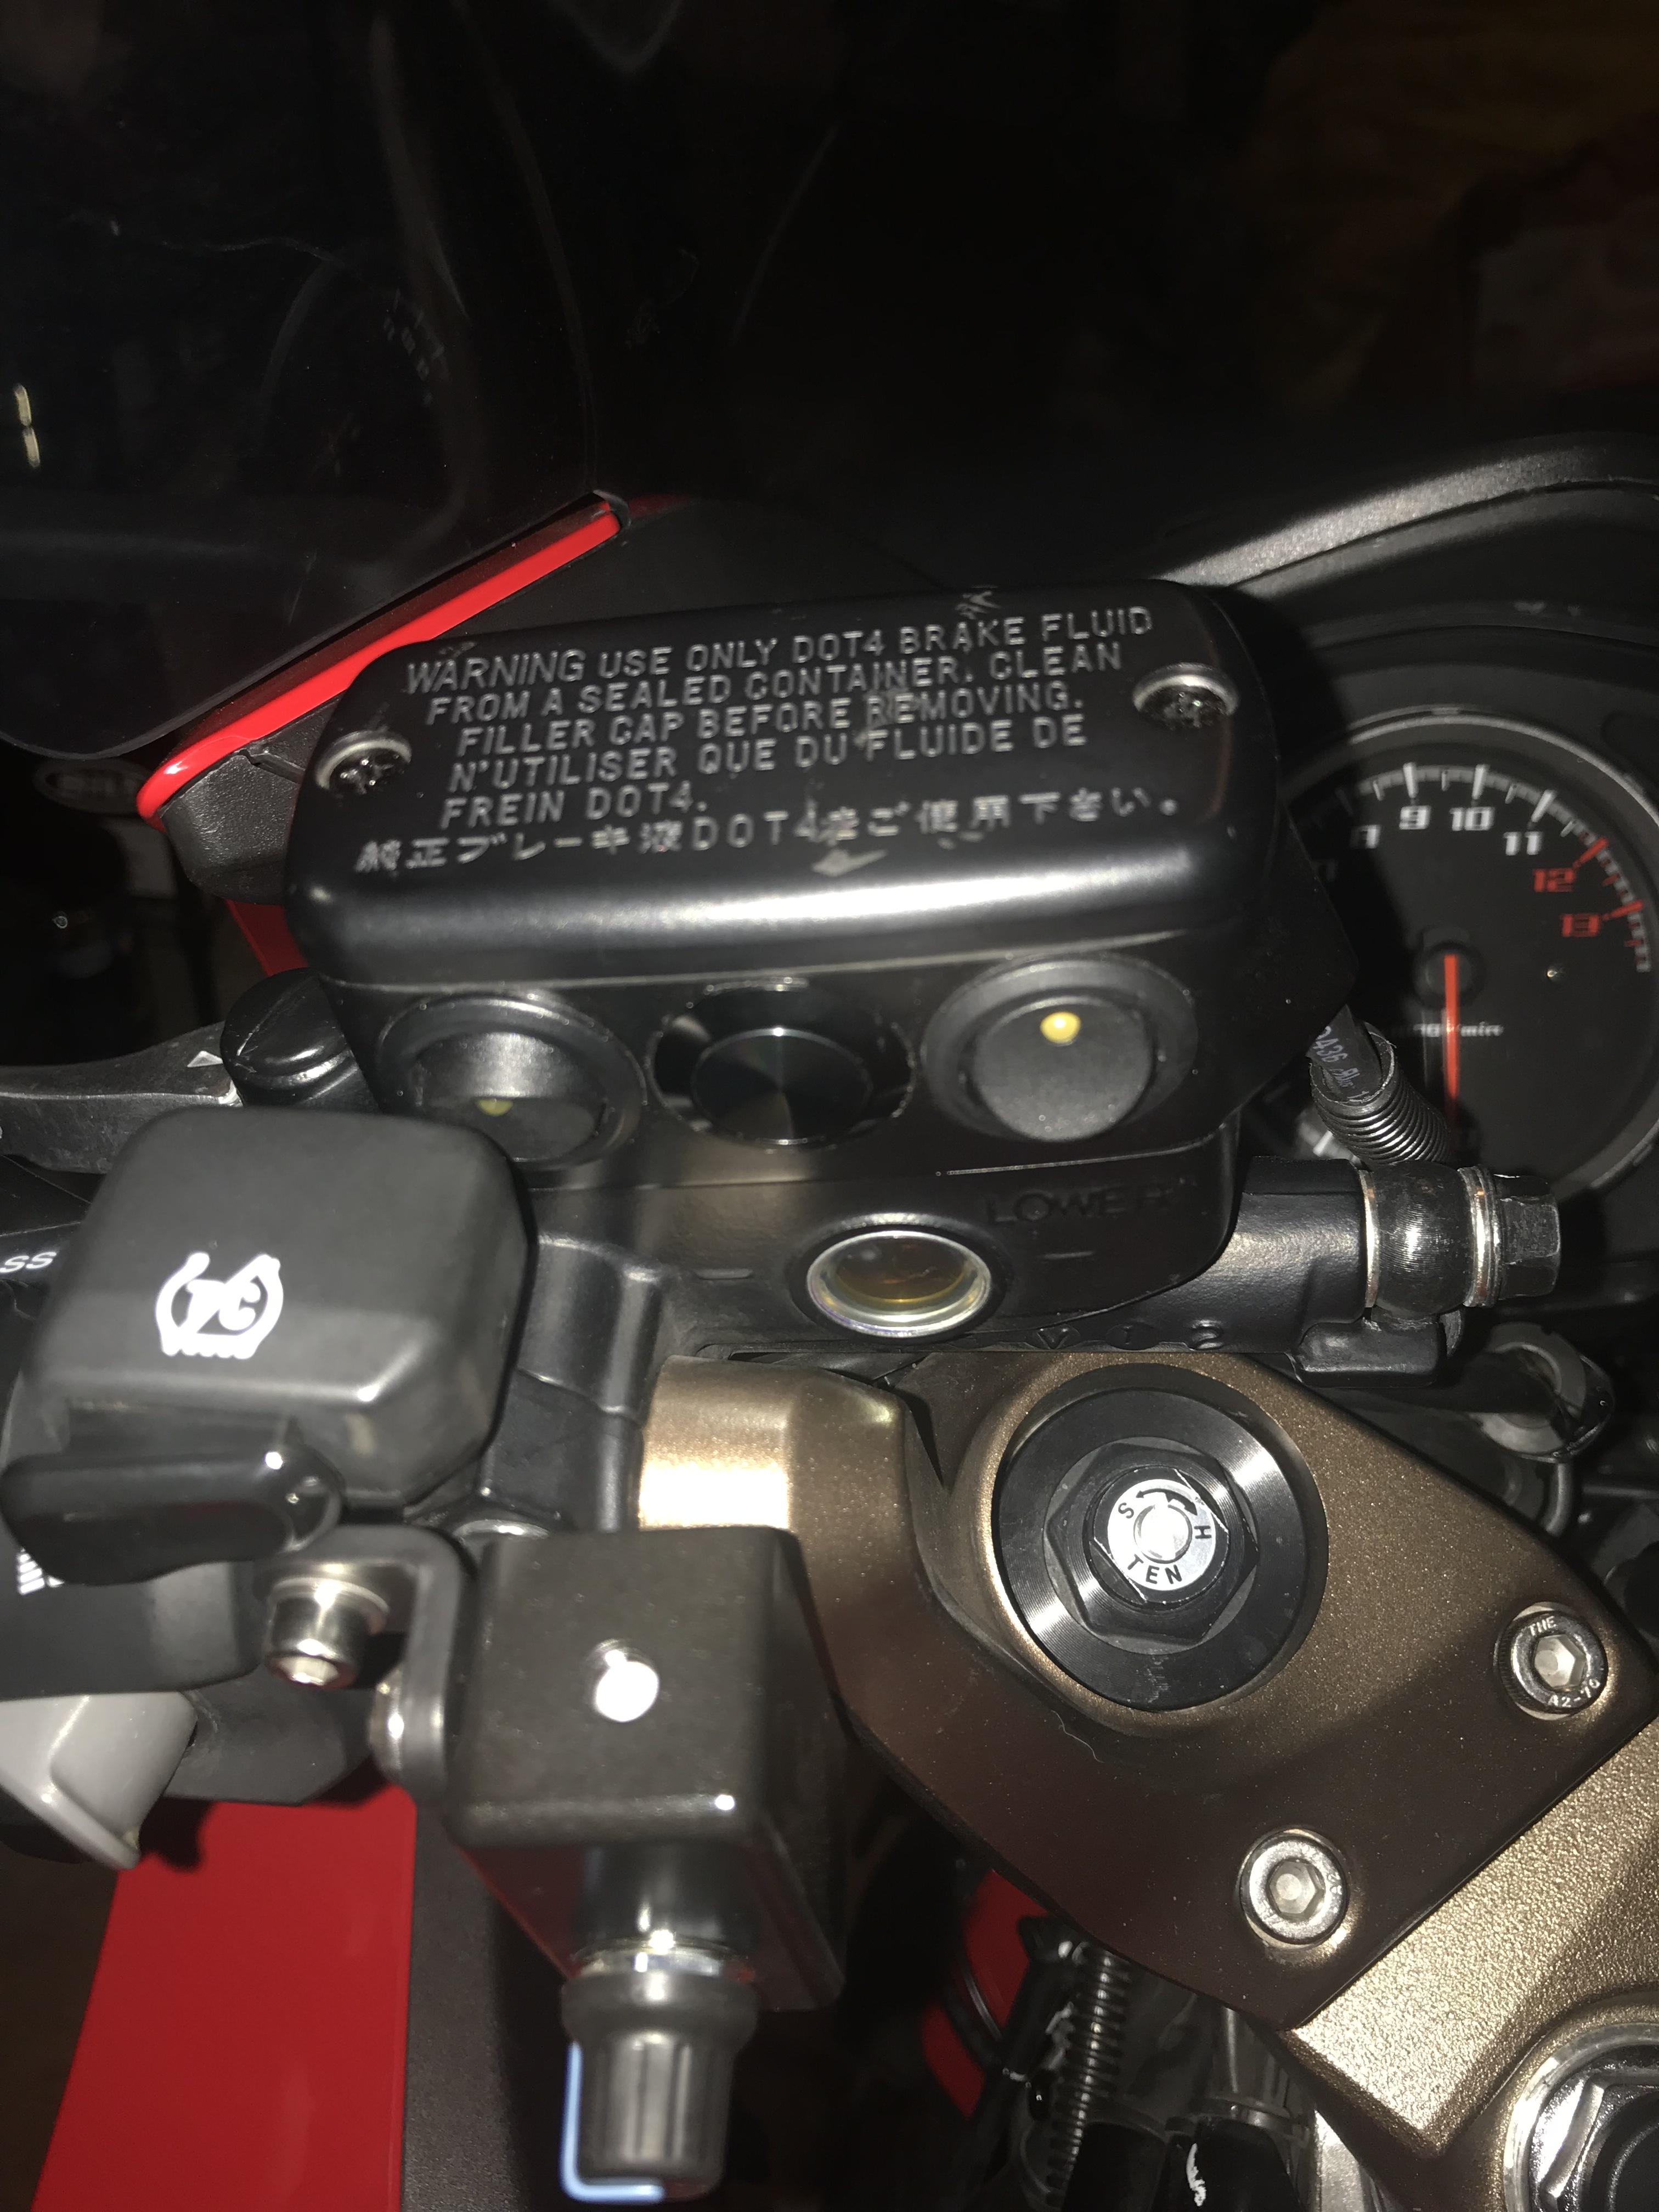
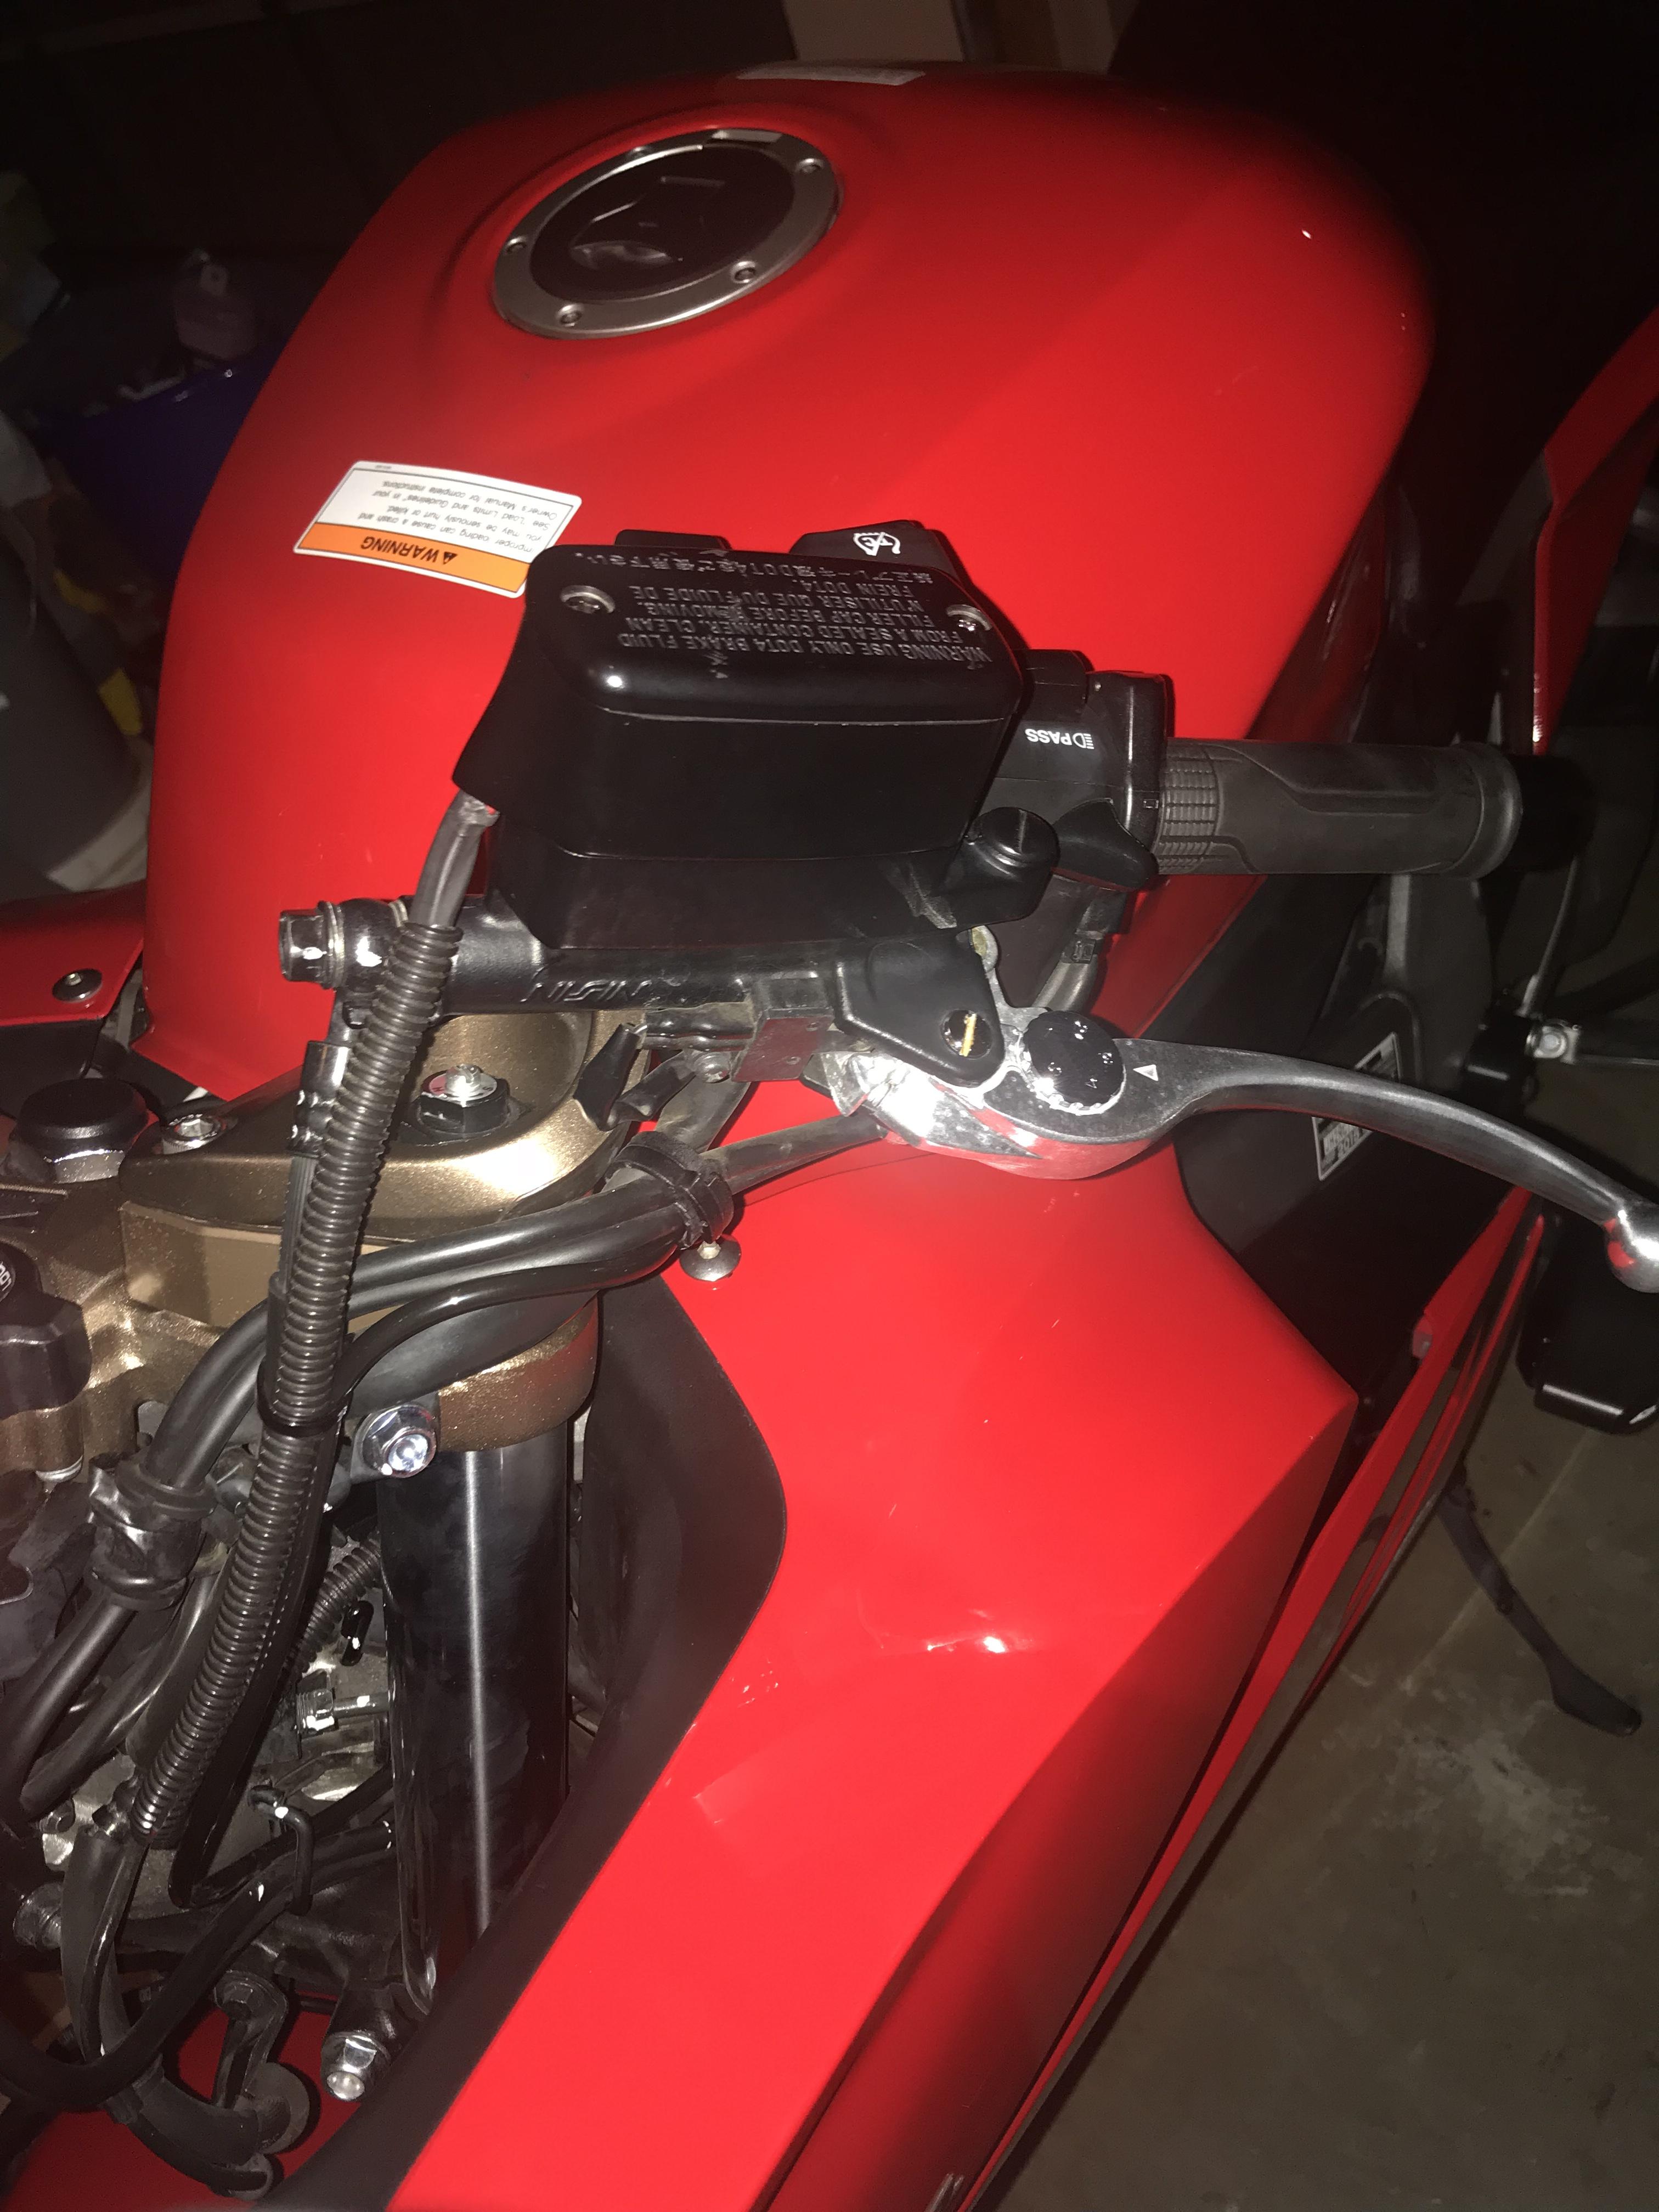
I was reading the other PMR handle bar switch Topic and saw the goldwing switch box mentioned by JZH. I thought it looked very close to the shape of the 8th Gen and I started doing some research. The gasket and plate under the clutch reservoir lid have the same exact part numbers listed on BikeBandit, leading me to believe at the very least the two reservoirs have the same bolt dimensions. I found it online at JPCycles and other sites, but I took a chance and ordered it from my local Honda dealership. They did warn me about electronics being nonreturnable, but I was fairly confident it would work, and it arrived the next day. I got it for $60.33 out the door. Part number 52-705LMA. For the black clutch side switch box. Im stoked to say it worked out. Installation was easy: Remove the two bolts from the reservoir lid and leave the gasket and plate in place. Place the switch box on top. Place included weather gasket on top of the box. Place original lid on top. Then, bolt it down with the included longer bolts. It’s been on my bike for about 100 miles now. I haven't experienced any leaks or any problems at all. The switch box has plenty of clearance along the windshield and upper fairing, even with the .9 inch MotoPumps bar risers. The wires routed down the side of the switch box and I followed the clutch line to the side of the bike. I was able to tuck all the wires away under the tank. I swapped the middle rocker switch for a momentary switch. I was hoping to place it far right, but the switch I bought was too long and the metal for the bolt-through-hole blocked it. The momentary button was to build in a garage remote. 🙃 Instead of wiring the the switch box to the battery, I wired the positive end all the way back to the license plate light, so my garage wouldn’t open when bike is off. I used one switch to switch the relay for the Clearwater Darla lights (I’m in love with these lights). And I still have an open switch for whatever future accessory I may stumble upon. Kwan