Fritzer
-
Posts
165 -
Joined
-
Last visited
-
Days Won
3
Content Type
Forums
Profiles
Gallery
Blogs
Downloads
Events
Everything posted by Fritzer
-
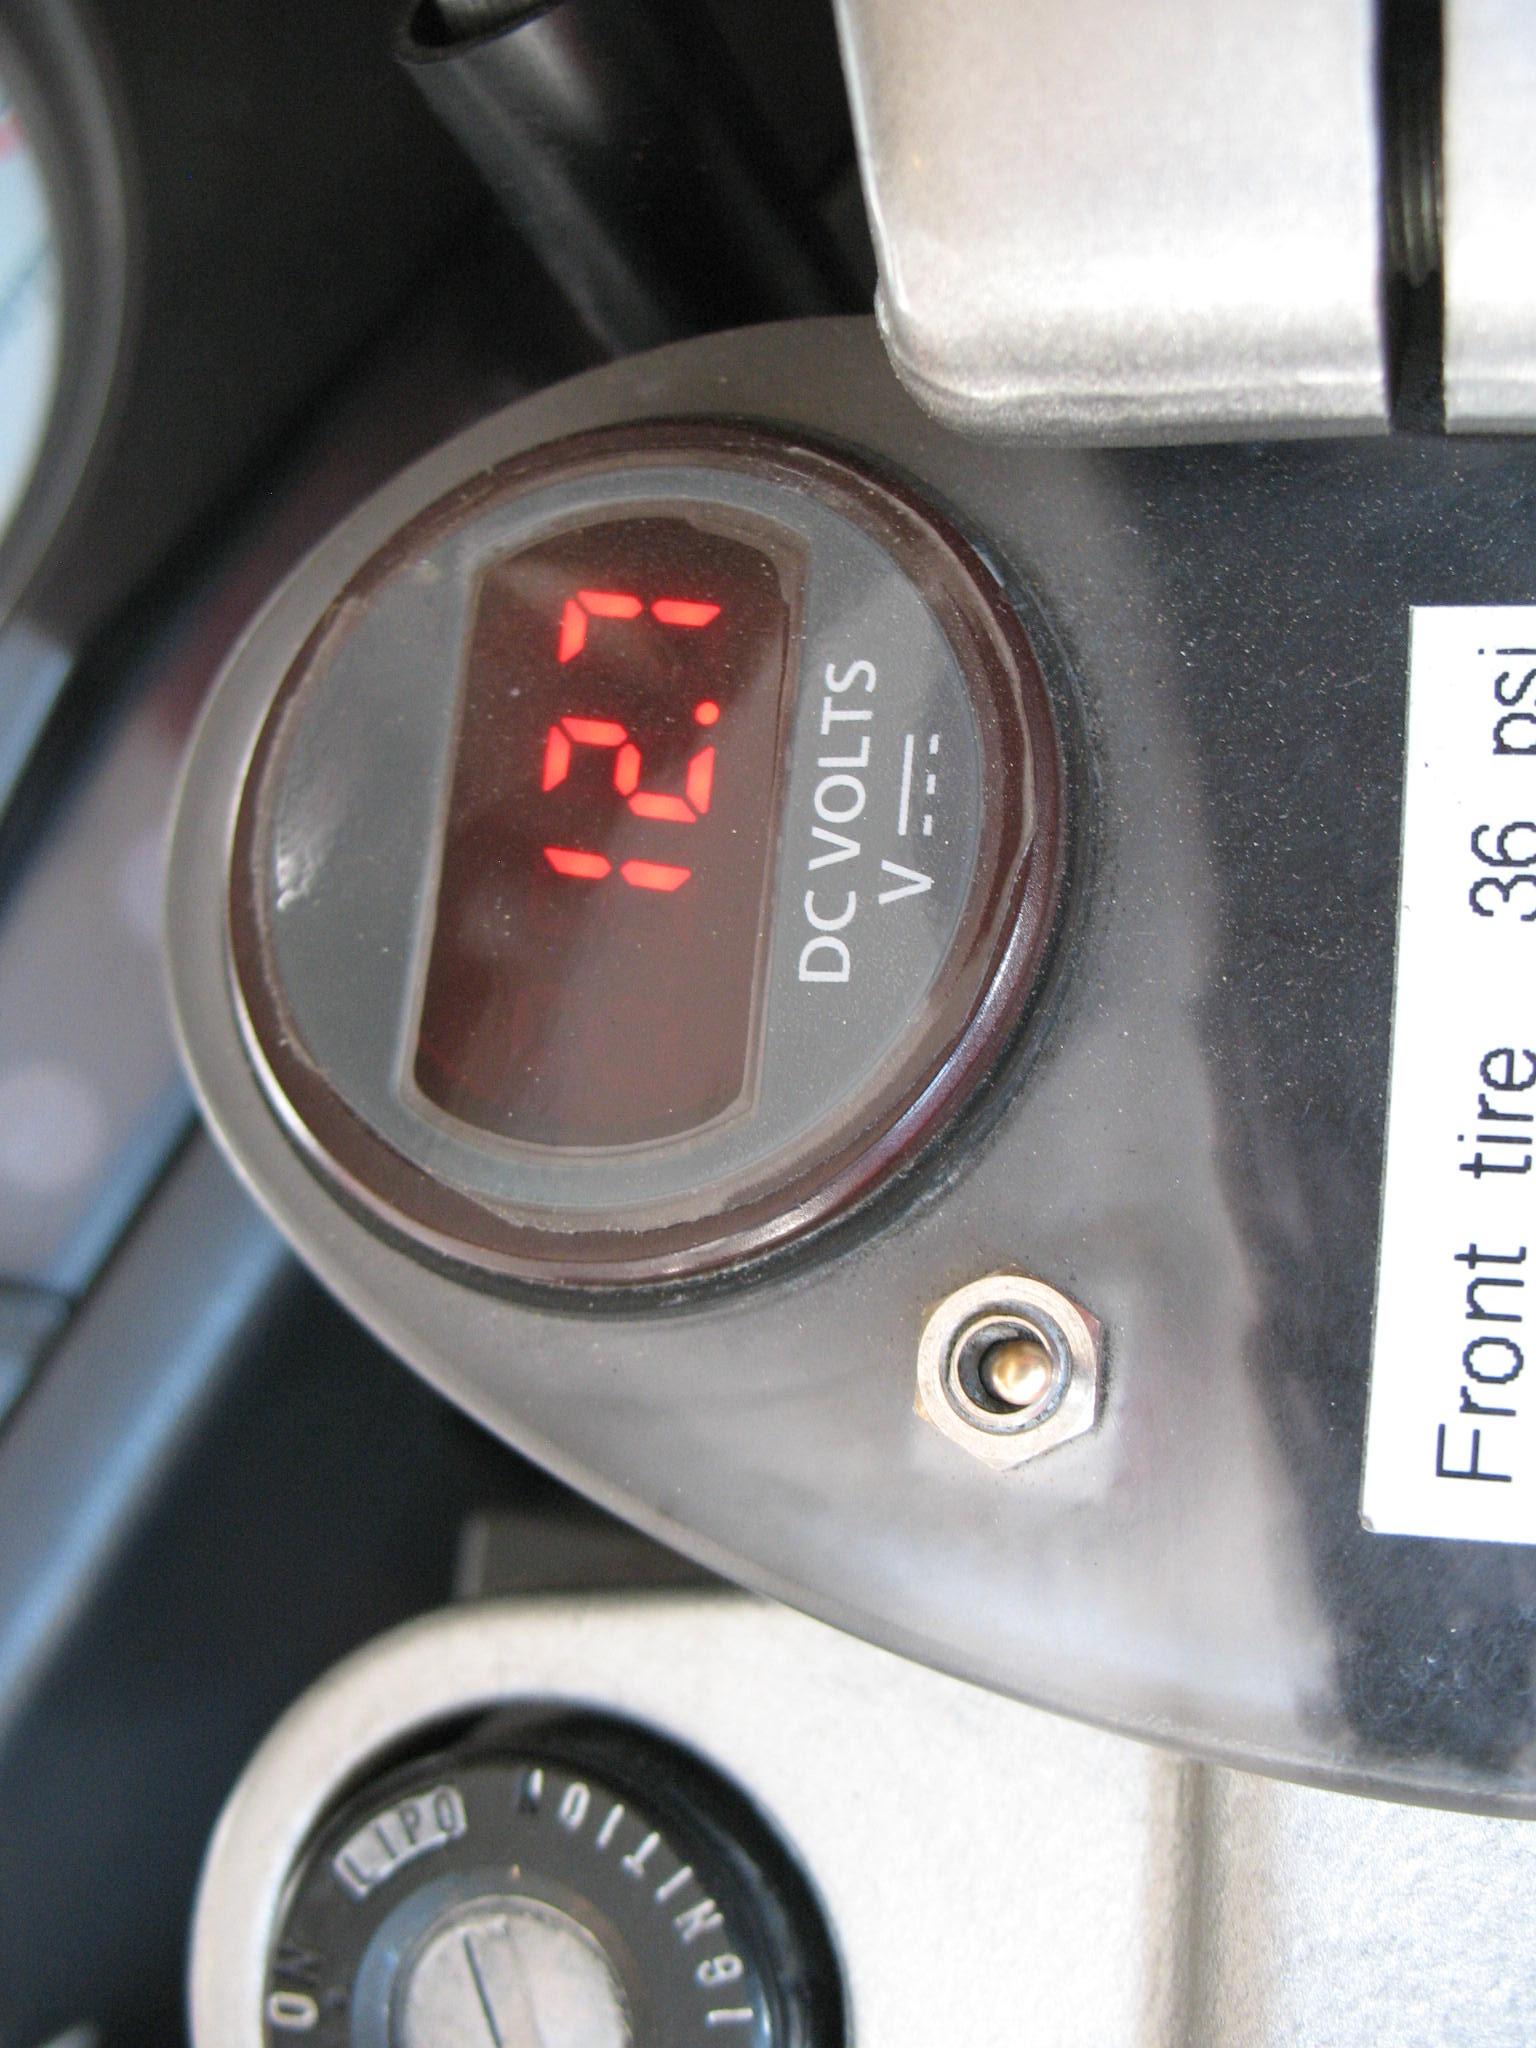
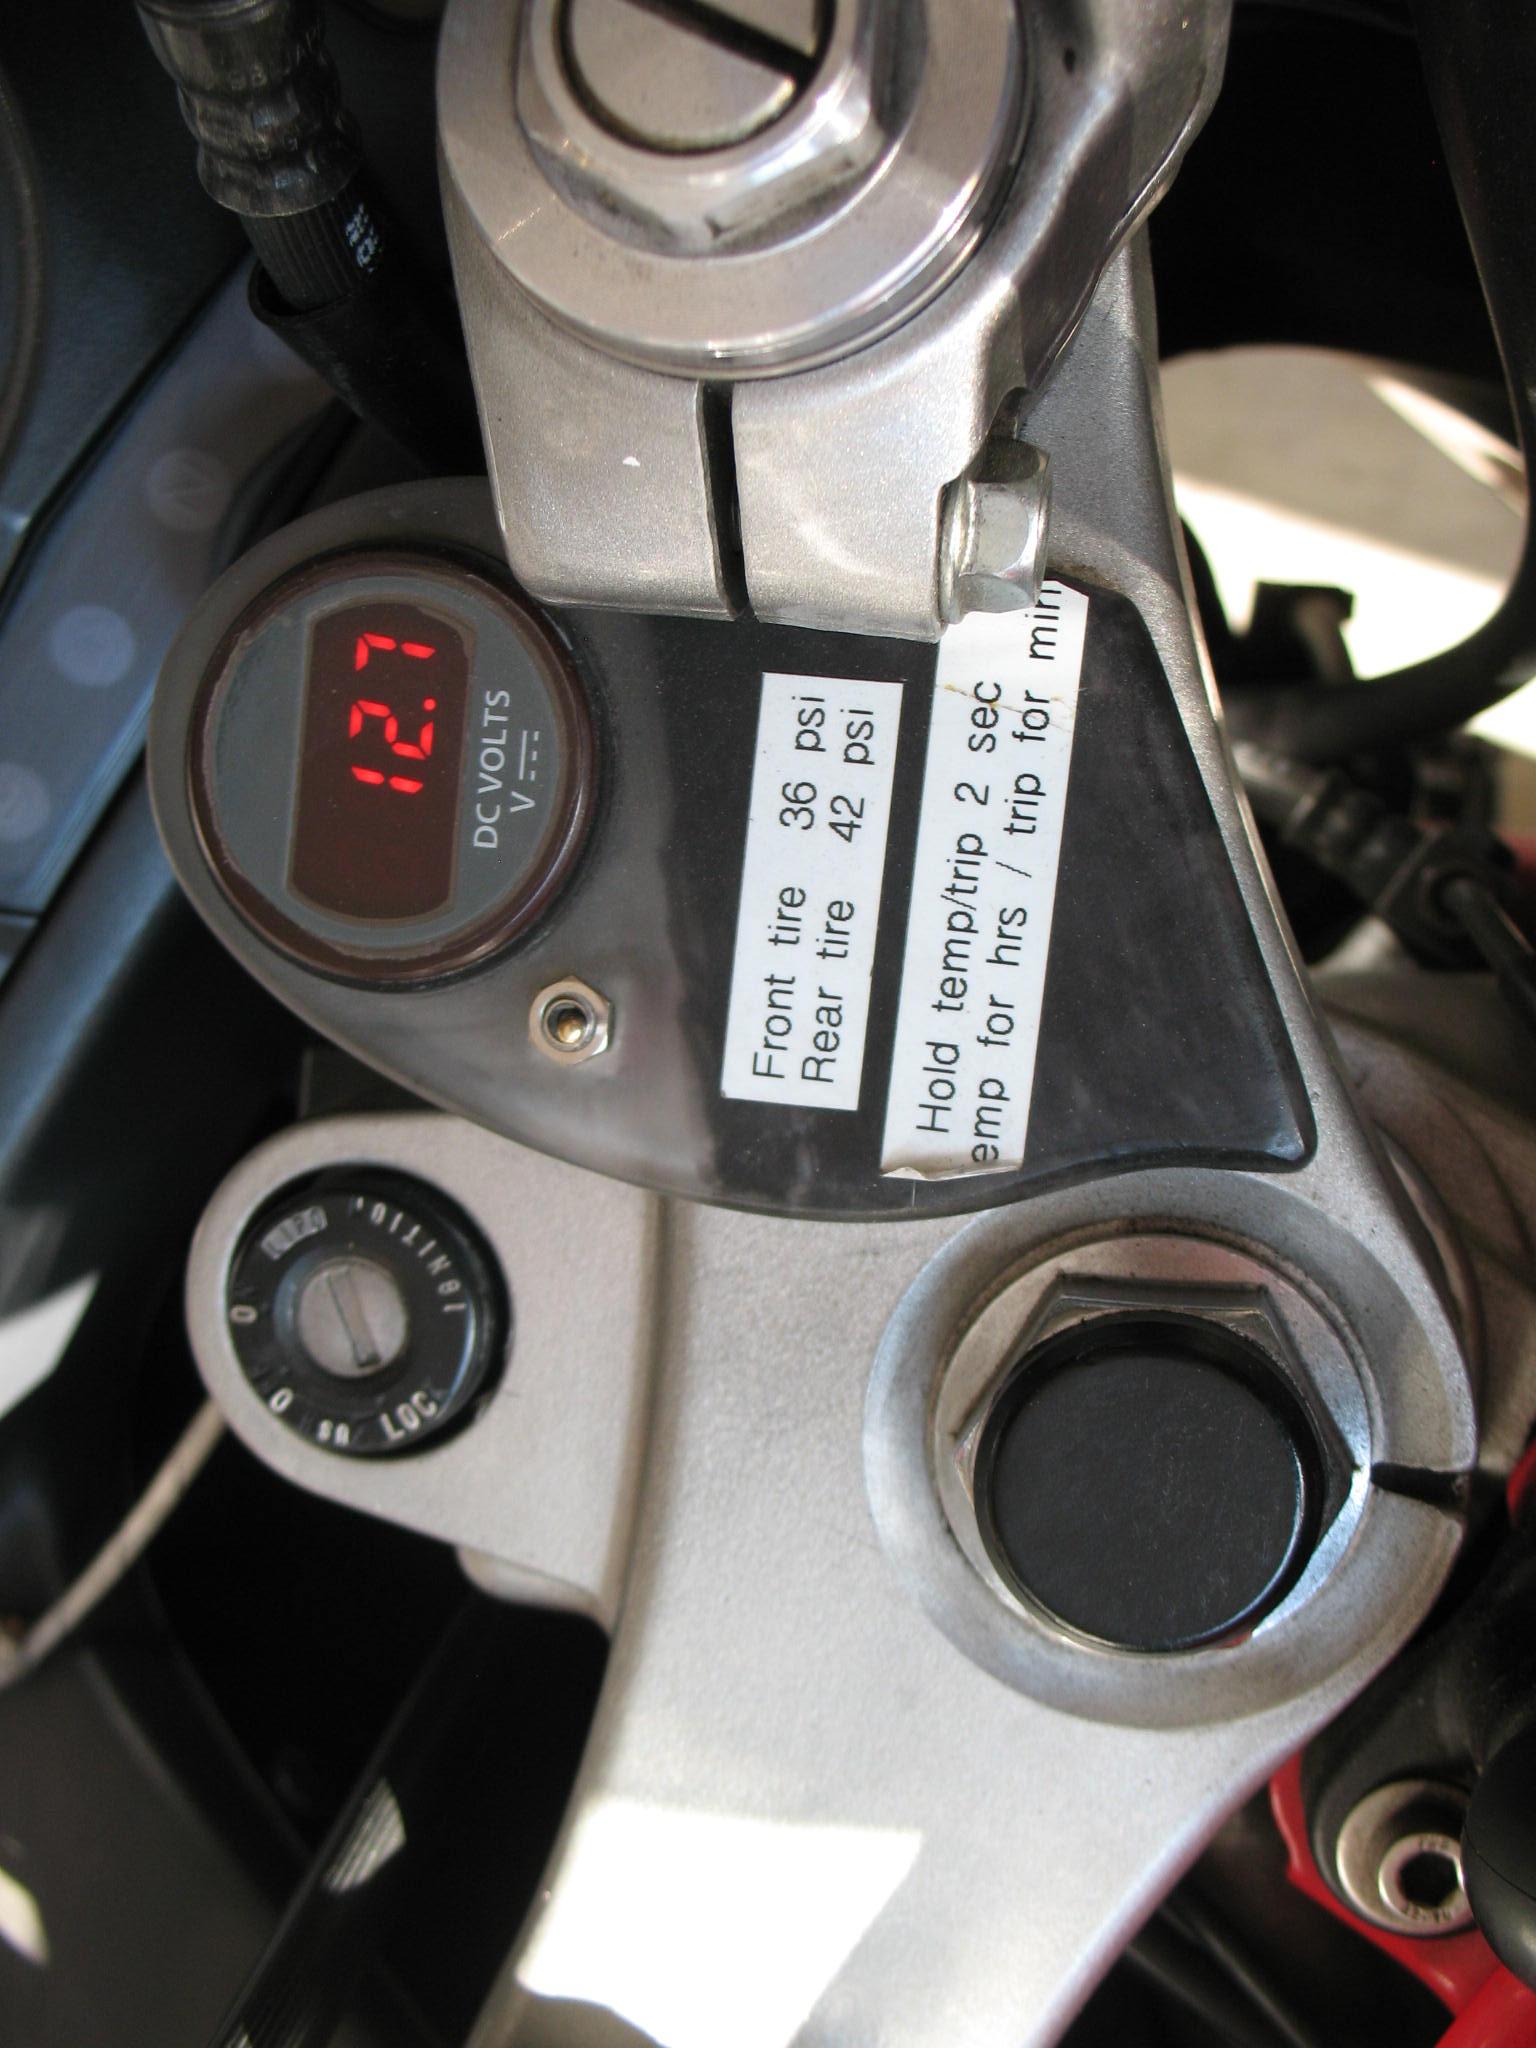
With the charging system on my 5th gen having a sketchy reputation I felt it was wise to install a voltmeter to keep an eye on the power situation while riding. It gives you a heads up before the engine starves for power and dies. I purchased a datel voltmeter but it was kind of expensive. You can get perfectly functional round voltmeter on amazon cheap. When I installed mine, I wanted to be able to check voltage without using the key. The solution was to use a four pin micro toggle switch that toggled between a switched and unswitched power circuit. I got the sources for power in the front cowling area with some 20 or 24 wire. I works great, comes on when you turn on the key but if you just want to check the voltage without the key, just flip the toggle. When I installed the meter back in 2018 I came across a posting thread that was members showing their installation method. It was helpful in coming up with some ideas on how to mount the meter. If you look around in the archives you might find that thread. Good luck with your installation effort

-
I also applied a little silicone grease to the male connector pins before I hooked the ECU back up. Good luck
-
When I purchased my gen 5 back in 2015 with 38K miles on it, the FI light would light up in a random, unpredictable way. When the light would come on, I noticed a minor blurp but other than that it ran good. The previous owner took it to a couple of dealers before we closed the deal but no solutions came of it. It was in great condition and the price was right so I went ahead and purchased the bike. After a couple of weeks I finally came across the culprit, a faulty connector connection at the ECU in the tail section. I pulled the connector from the ECU, cleaned the connectors with electronic spray cleaner/soft brush then reinstalled. No more FI problem in 10 years/30K miles. You might want to give this a try.
-
I had to replace the stator in my 5 gen bike a couple of years ago. In my search for advice, Cogswell came forward with a great aid to the remove/replace procedure. Get a set of stator mounting bolts (a little longer might be better), Cut the heads off and thread them in to replace the mounting bolts. Now you can slide the stator on and off without being pulled into the rotor. It is nice having the slide bolts on while removing, but is excellent when reinstalling. Thanks for that advice Cogswell!
-

High mileage inevitables (maintenance past 100k)
Fritzer replied to raoufhakam's topic in Fifth Generation VFR's
To the already submitted recommended items, I would also add Check front and rear rotors for potential replacement if out of spec Remove rear axle bearing set for inspection, I submitted a procedure for this titled " 5th Gen rear axle & swingarm bearing inspection at 60,000 miles" . It might help. Check front wheel bearings for smooth operation. If they are still good, remove dust cover and add a little grease, then put dust cover back on. Synchronize throttle bodies with manometer or vacuum gauges If you do all that has been mentioned, you should be good for another 100K. -
It is great to see people stepping up and refilling the operational coffers of VFRD. I guess everyone just needs to be reminded every once in a while.
-
Hi Fritzer, Thank you for your donation of 50.00 USD. We look forward to improving the forums with your donation. Thanks VFRDiscussion
-
I just received my ST2 brake module that I will install in the next week or so. I saw this product mentioned in the forum a couple weeks ago and it looks a great idea. I got to thinking that a headlight modulator would be good but would like to have it as a push button to activate with a time out +-5 second. Possibly a regular modulator that could be turned on and off at the handlebars switch. Is there any modulators out there like that?
-
My beloved VFR was stolen. Anyone want tire and rear wheel?
Fritzer replied to DrBS's question in Bargain Finder
Really sorry to hear about your loss. It would really cause me grief if it happened to me. Are you going to search for a replacement? -
Capt 80 is right on about opening up the tape wrapped charging circuit to see what is going on in there. The charging circuit is not protected very well from dirty road wash being introduced into the charging circuit connectors eventually causing a bad connections. Bad connections cause stator burnout and melted connector blocks. I had this same issue 4 years ago and decided to make solid connections to battery and ground. After competing the following alterations, I have not had any problems since. Maybe this will work for you.
-
Hi Fritzer, Thank you for your donation of 50.00 USD. We look forward to improving the forums with your donation. Thanks VFRDiscussion
-
Thanks for all the input. When I purchased my machine in 2015, the seller gave me all the service records he had. They showed that he had the clutch replaced at 34K miles just before putting it up for sale, hence my concerns for long trip. I do not excessively use my clutch so with all your feedback I feel good not worrying about it. Thanks again.
-
When they start leaking?
-
Wow!! 55,000 miles has to be a worldwide vfr clutch record. There has to be a technique for that.
-
Just curious what kind of clutch friction plate life people are getting on their 5th gen VFRs. Clutch on my machine was replaced 30,000 ago. I am getting ready for a 3,500 mile trip this summer from Oregon thru N Idaho, Montana, Wyoming, and Washington. Should I replace my clutch before I leave?
-
28 splines equals 13 degrees by 92mm throw is 22mm. I was a little long on the quote. I am surprised how much better my shifts are now for such a small change the hose made.
-
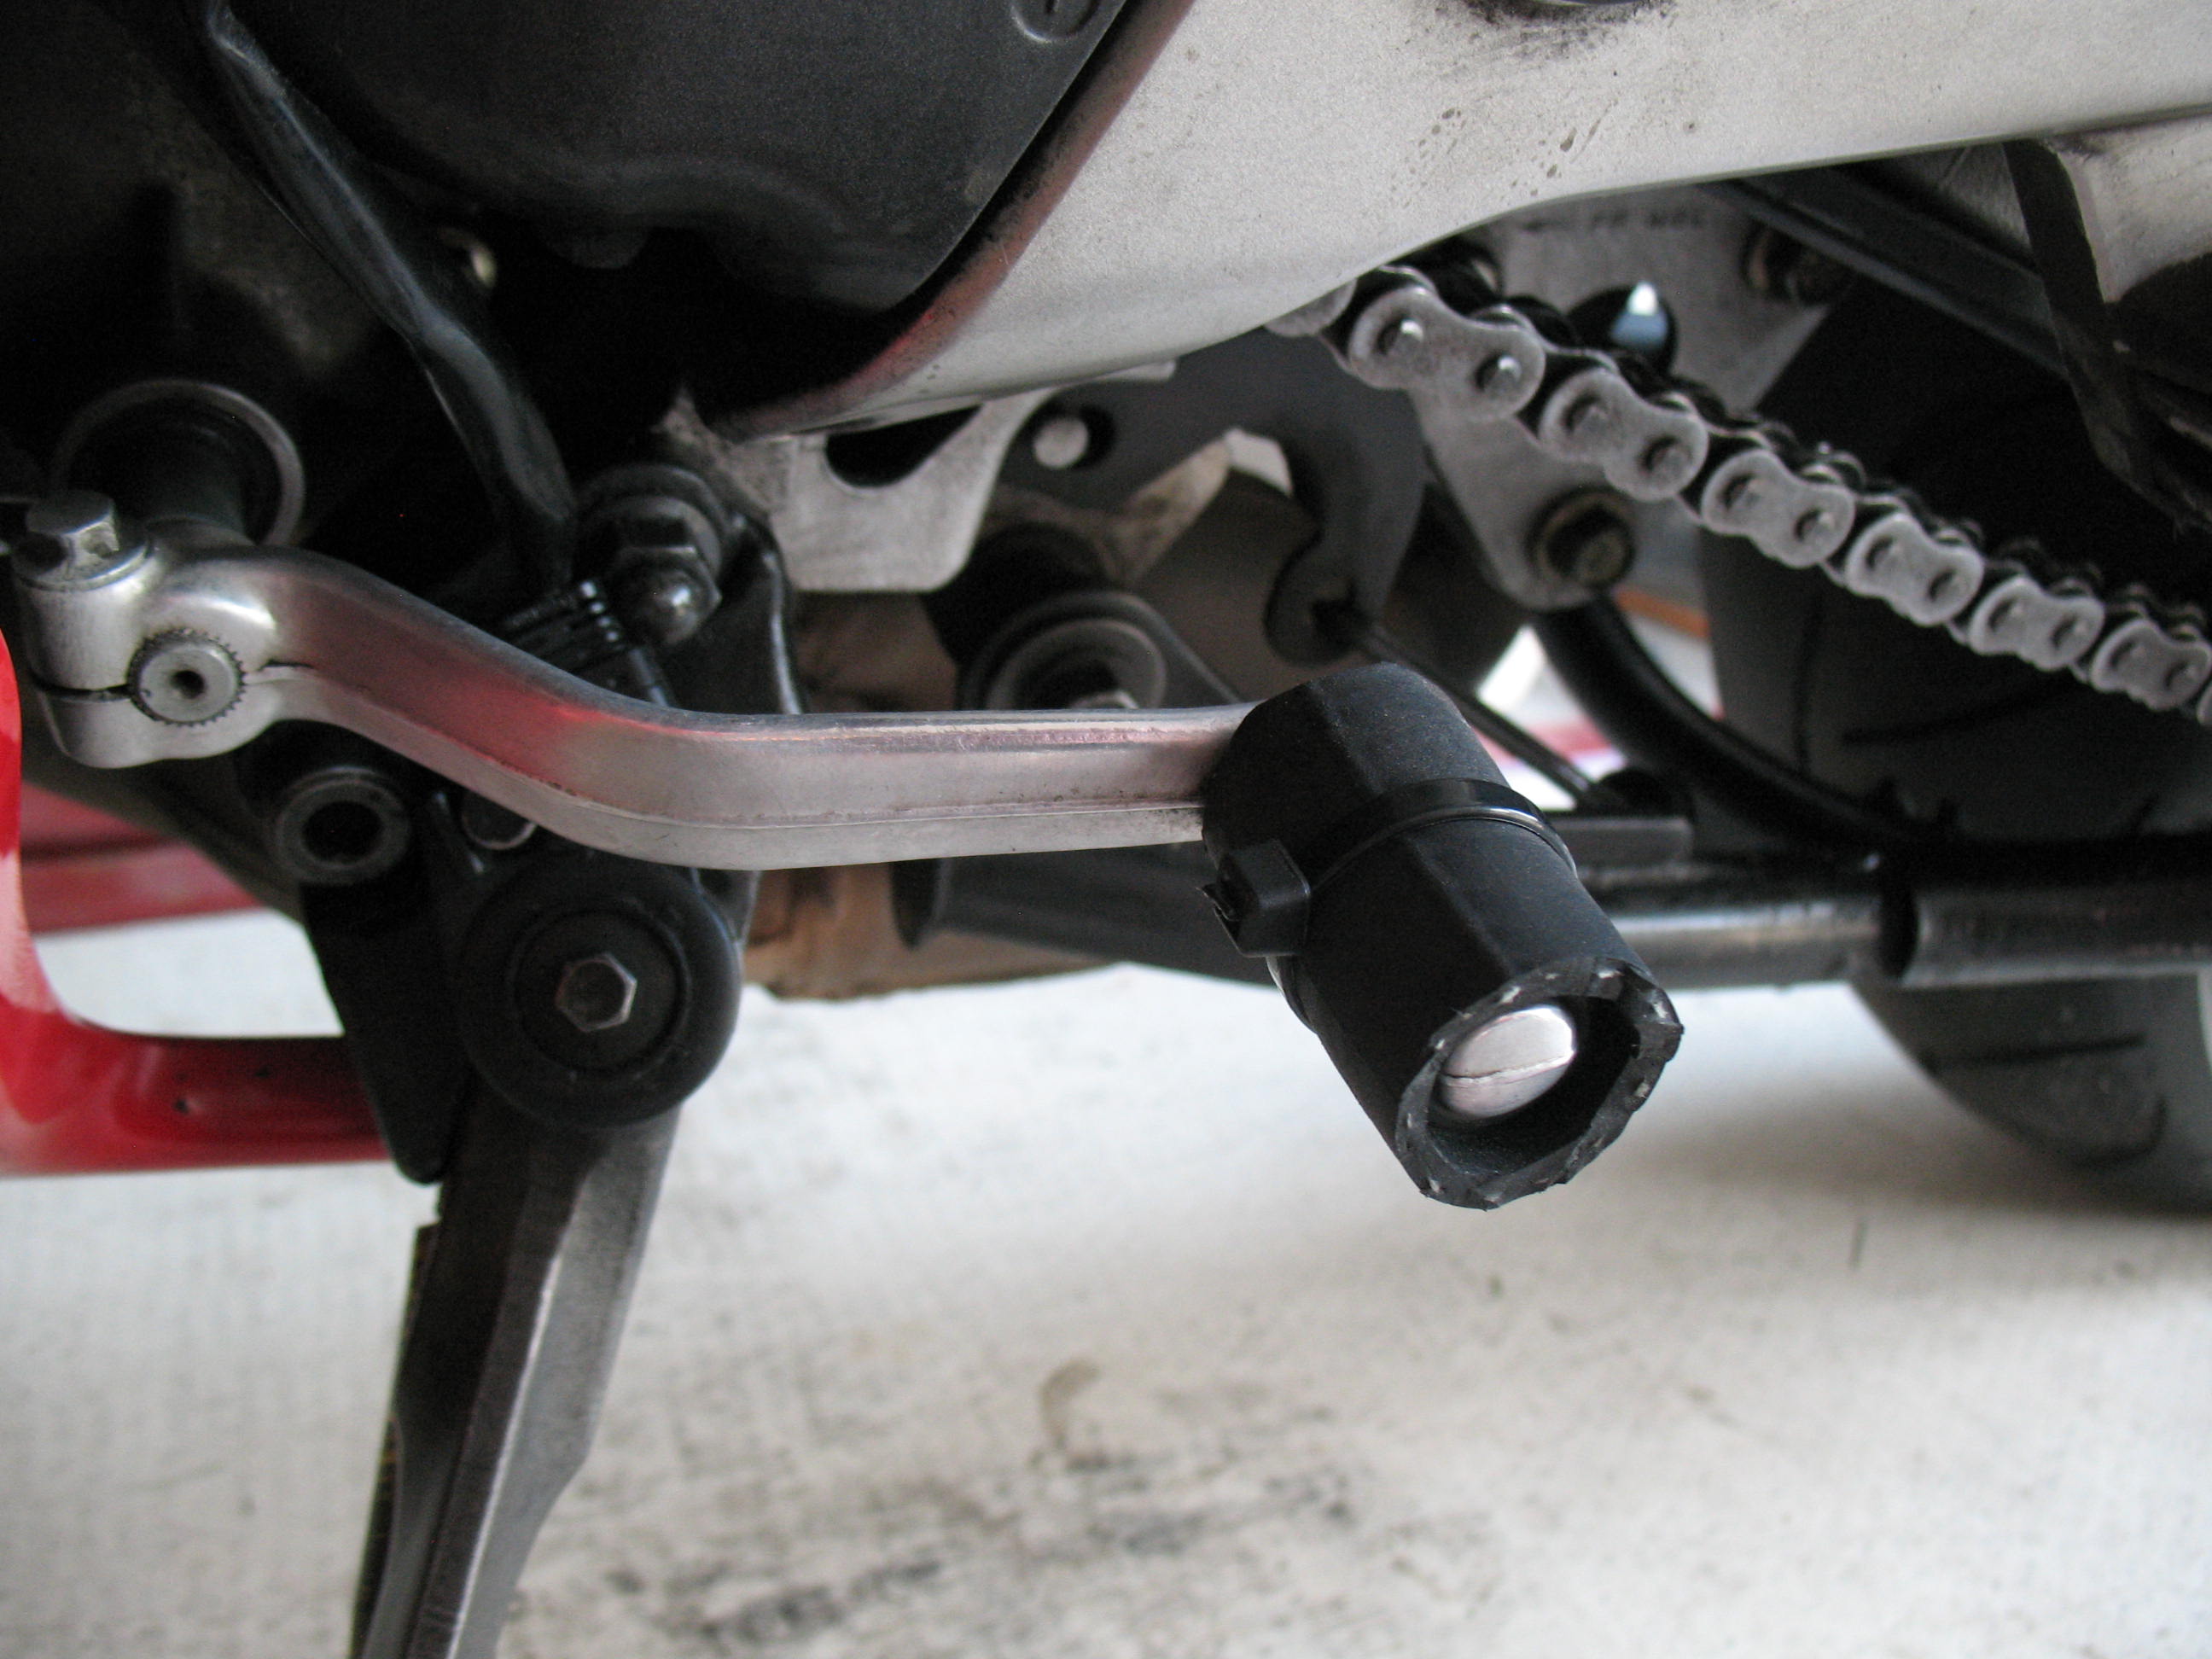
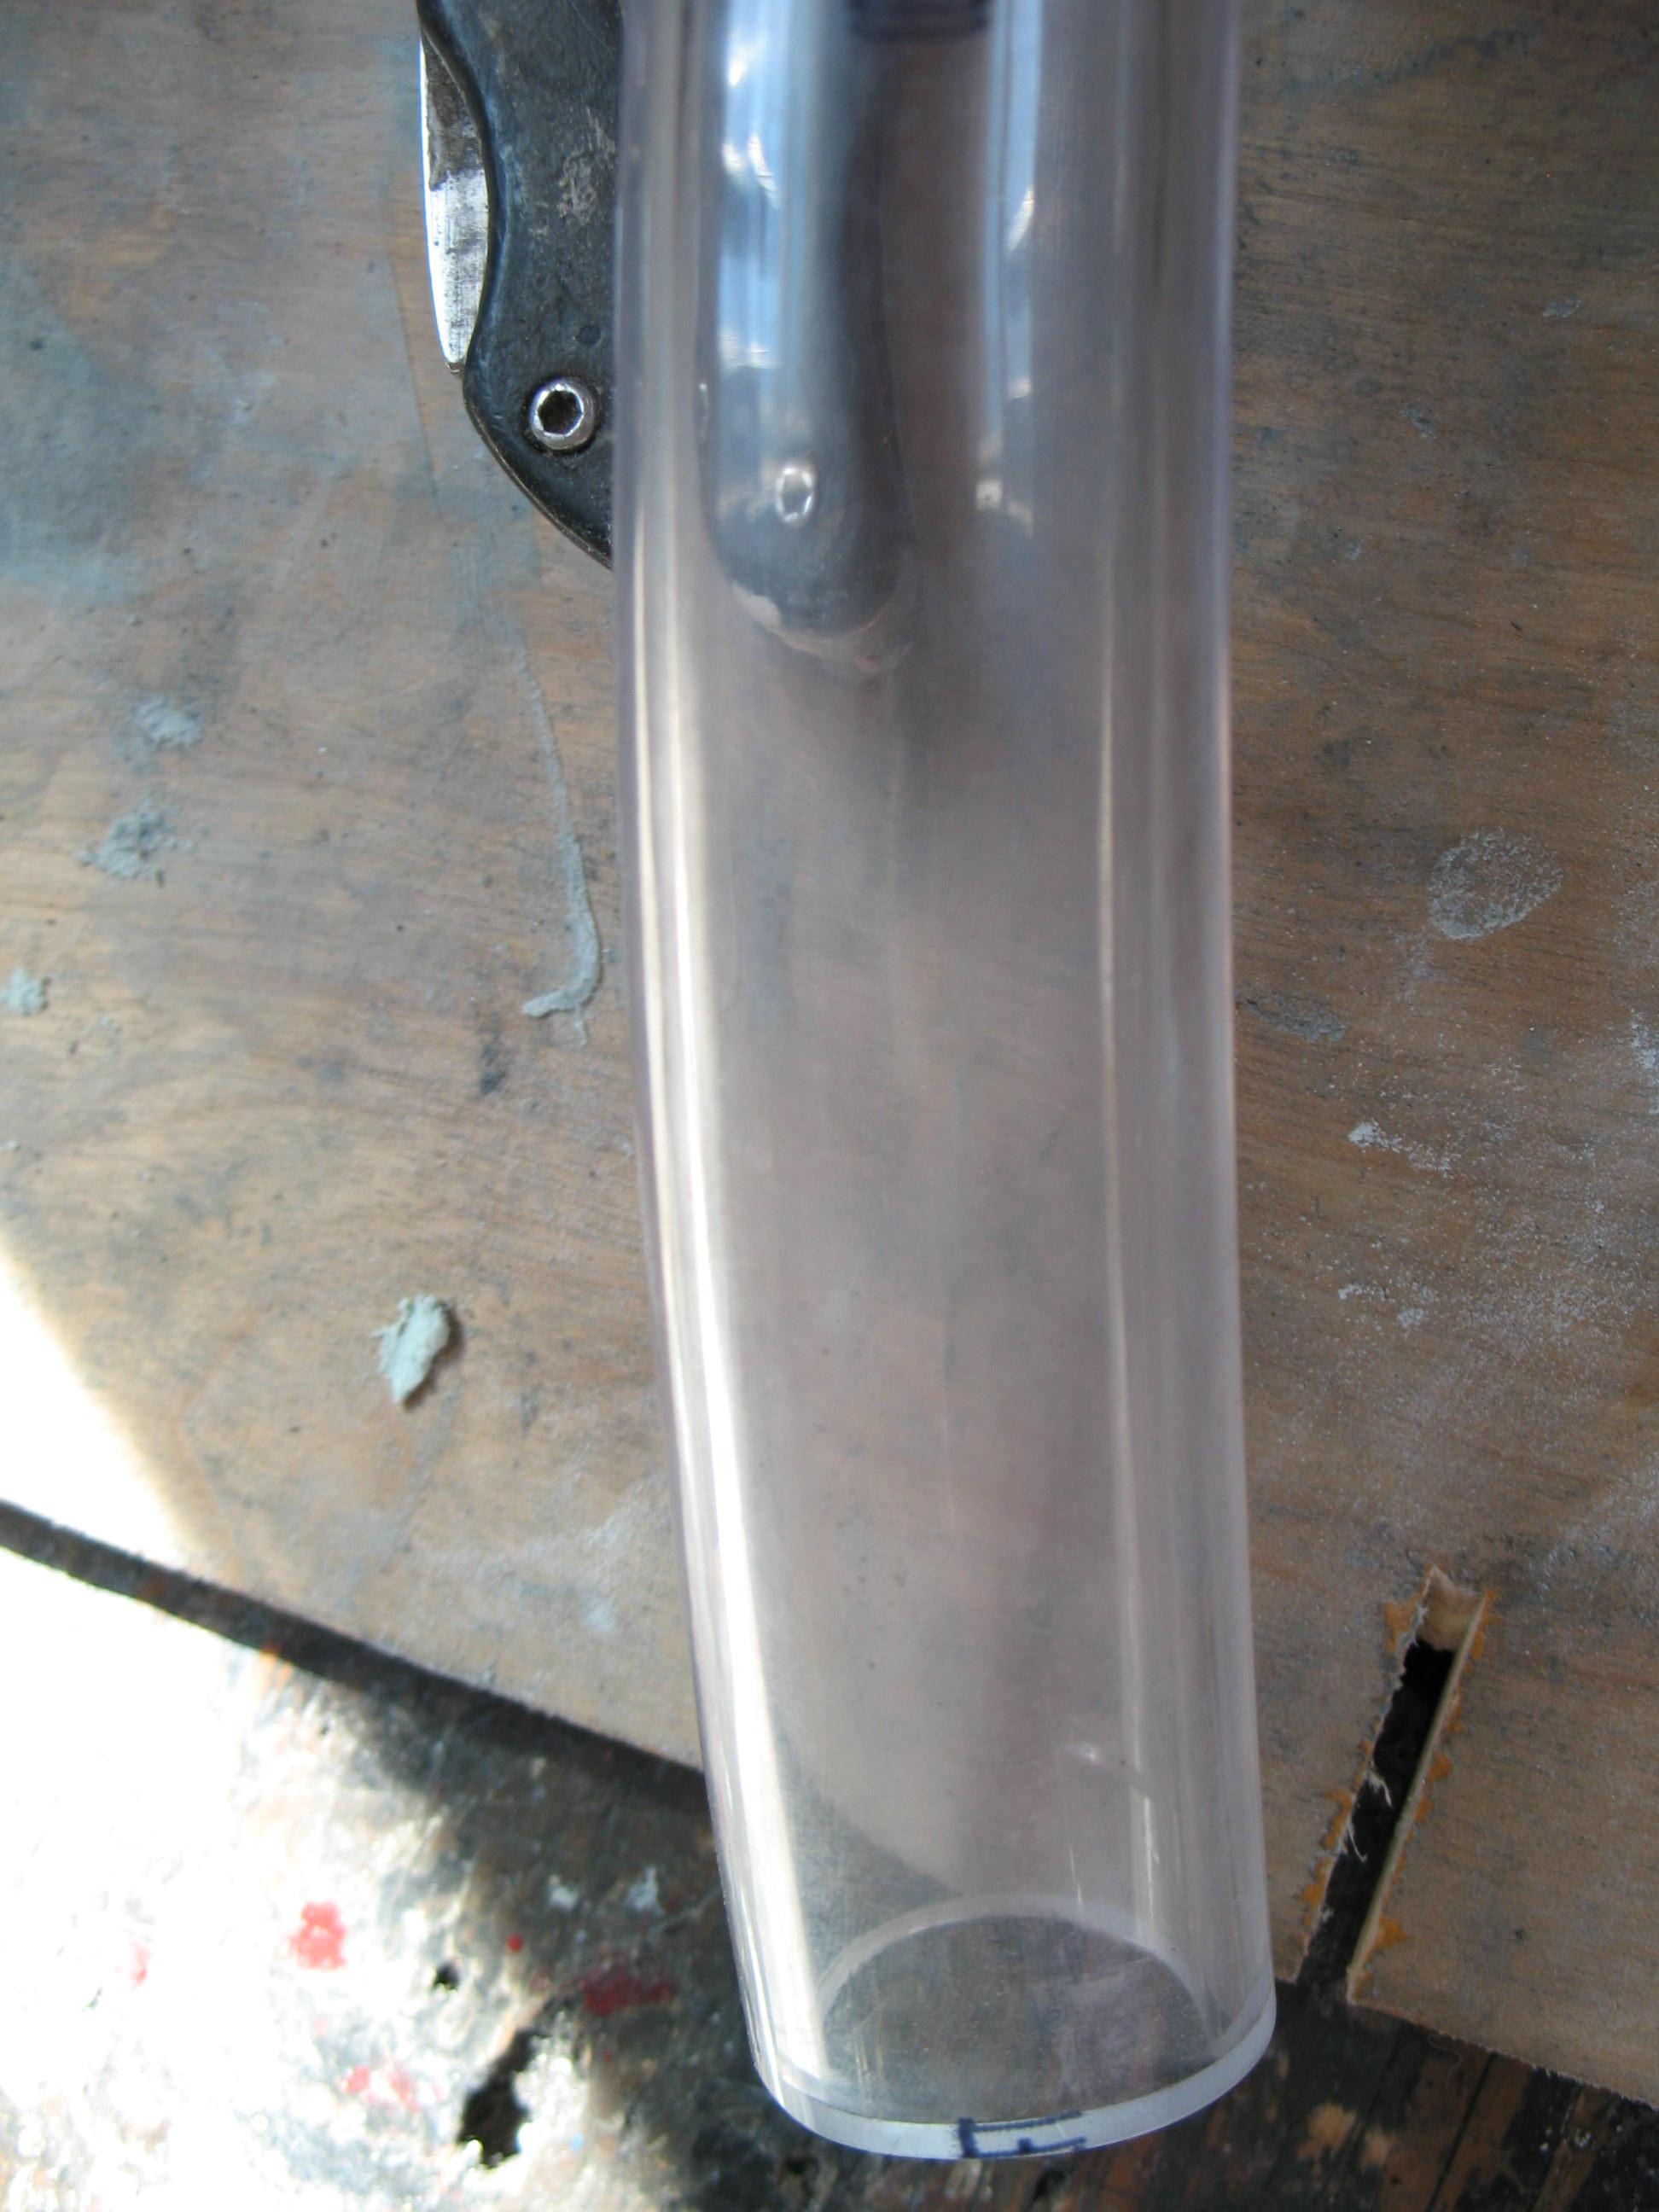
Picked up a piece of 3/4" radiator hose at the local auto parts store. It fits nicely over the lever without cutting it lengthwise. Put a zip on it to stop from sliding off.
-
The shifting lever on my machine is in a position that requires my foot to be raised higher than is normal for me to shift into a higher gear. Once in a while I don’t lift the lever up enough and the gear engagement cogs don’t get fully meshed. When that happens, it pops out of gear while under load. Very bad. So far no serious damage has happened (I think/hope). The most likely solution is to move the lever one notch down on the shaft splines, but the result is a 25mm drop in the lever. I tried that quite some time back but it caused too much toe contact with the lever. Never gave the issue much more serious thought until today while doing some cleaning. It came to me that if I could not lower the shift arm at the splines to the correct height, I could increase the diameter of the shift arm pedal rubber to effectively lower the contact point to my foot. Happened to have some ¾”ID clear tubing handy so I cut off 30mm length, slit it lengthwise, wrapped it around the shift arm pad then zip tied it on. This dropped the contact point about 4mm. I took her out for a spin and what a difference that made! Now when I go for a upshift, it solidly goes into a full engagement without having to make extra toe lift effort. Now that I know this setup works, I’m going to move the zip tie ratchets forward to eliminate contact with my shoe. If a person needed more drop of the lever arm, some thicker walled radiator type hose would probably work. I am sure that some others may have the same issue. Hope this helps.
-
The Cogs has been found and in good shape. I was worried that he got in a serious crash. He is just taking a break from the forum.
-
I am one of the few people on earth that is not on facebook. If you see him there sometime, find out what is going on with him.
-
Cogswell dropped off the radar a few months back. I miss his excellent advice and humor. Anybody know what happened to him?
-
My thoughts exactly
-
Did the same to my chain a week ago. It has 28,500 miles on it now and not making any noise yet. I could only get 20K mile on my old 84 FJ1100 with the more power and weight shortening its life. I looked back on my service logs and I remove, clean, oil and replace about every 1,000 mile with drops of motor oil at the rollers every 300 miles or so.
-
Another angle on it
-
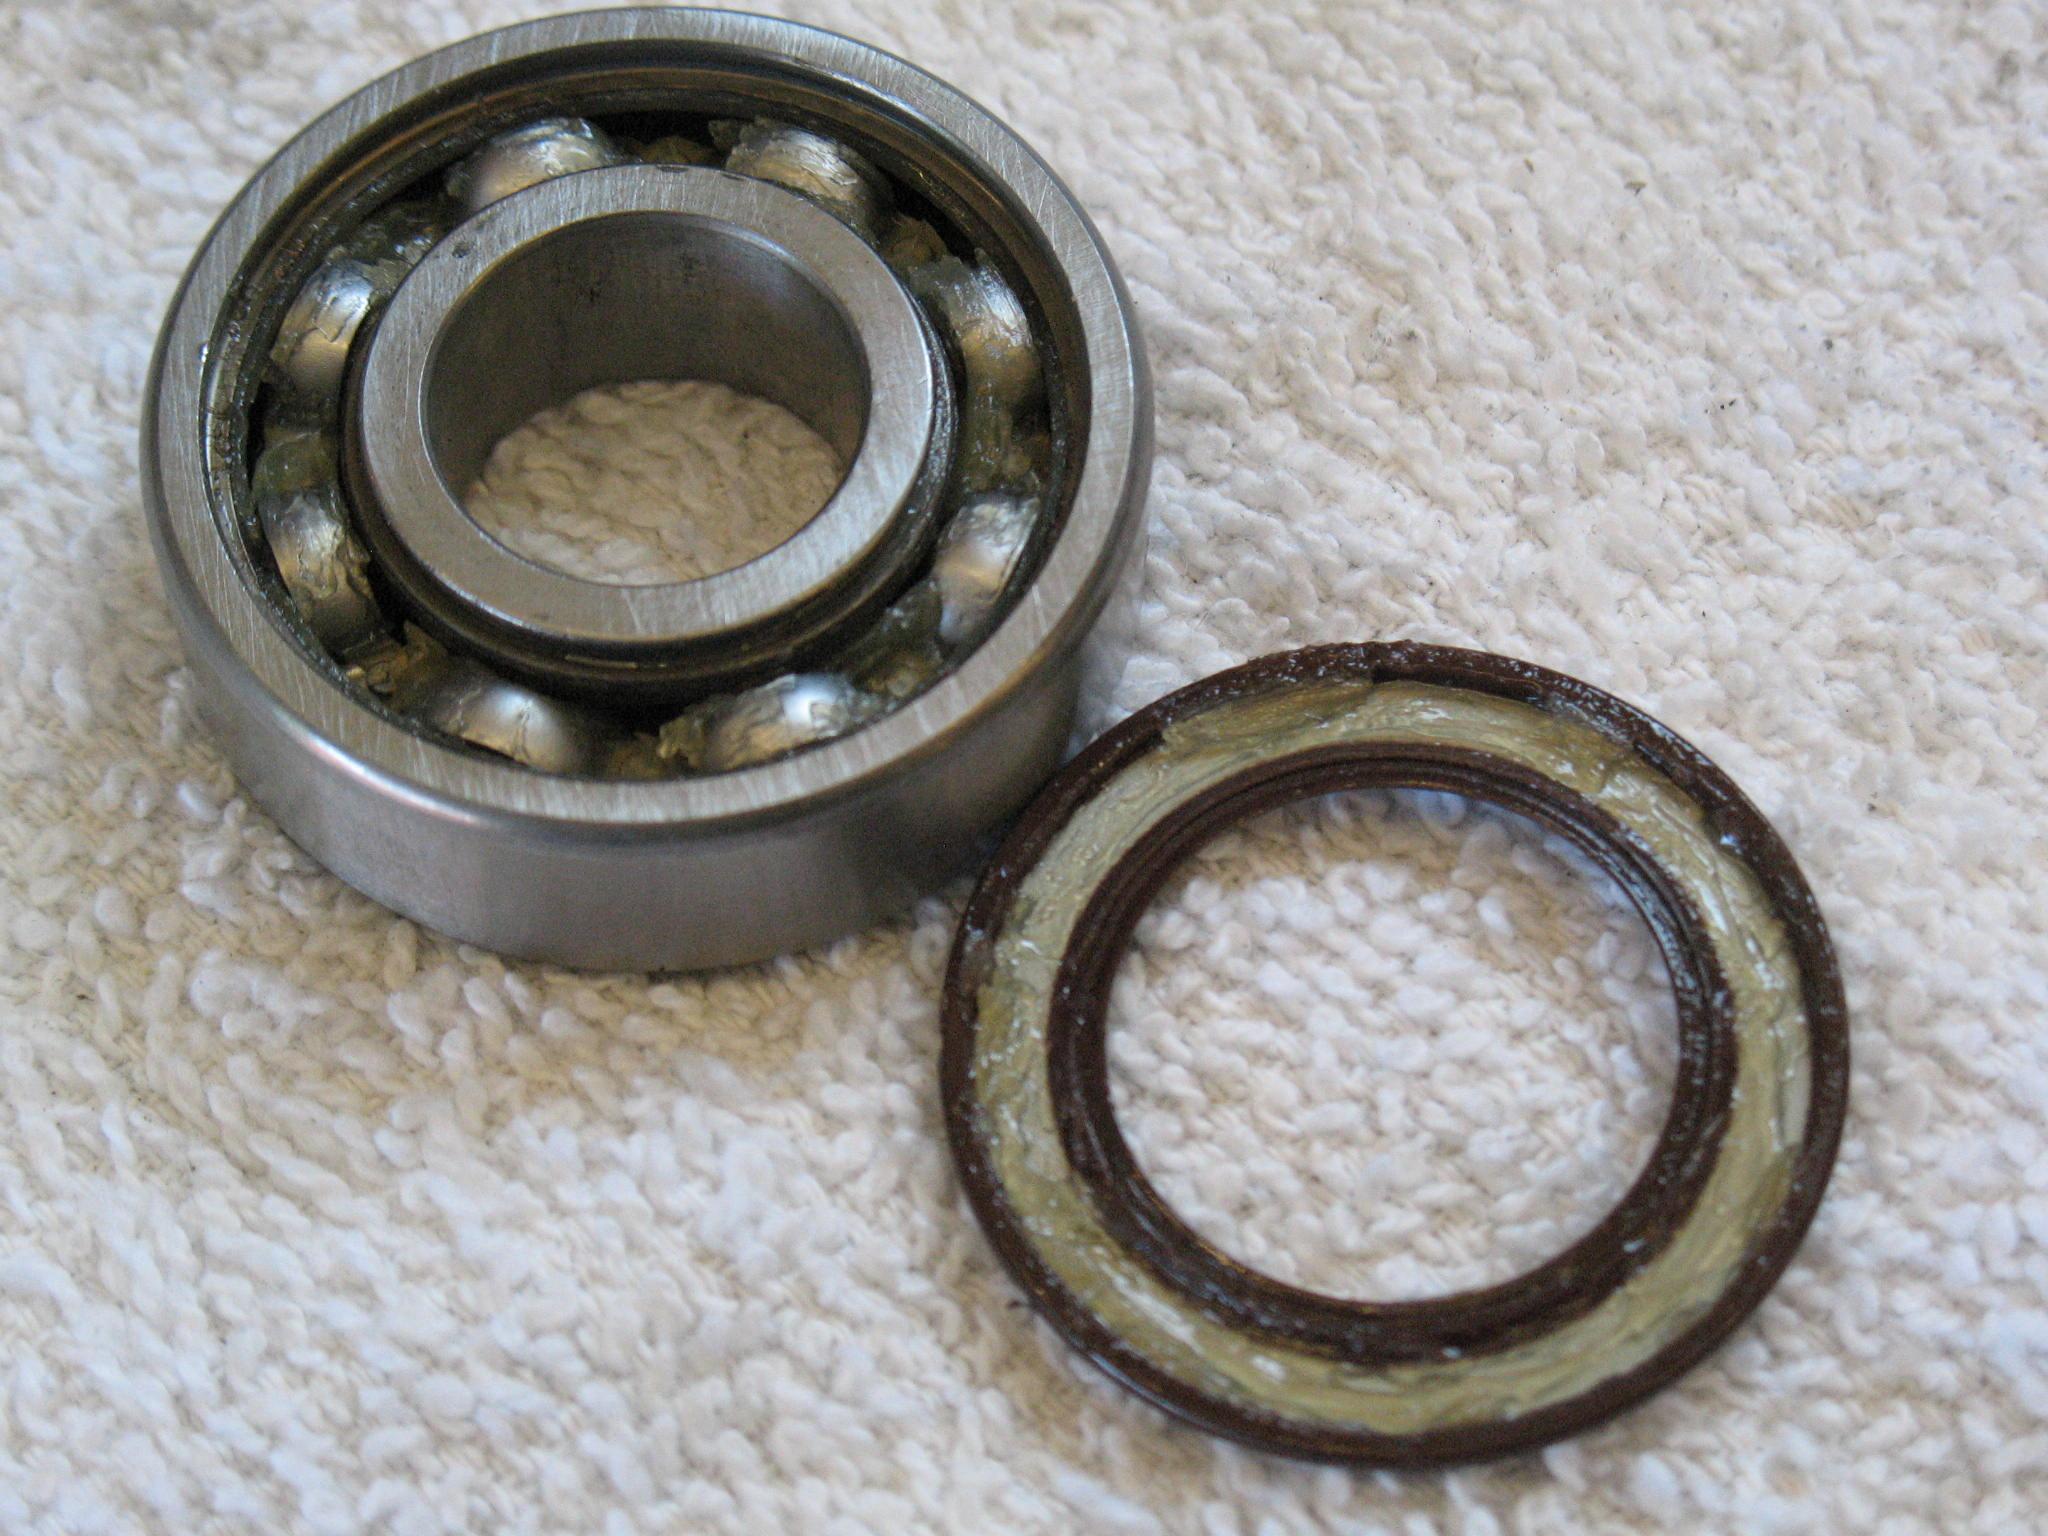
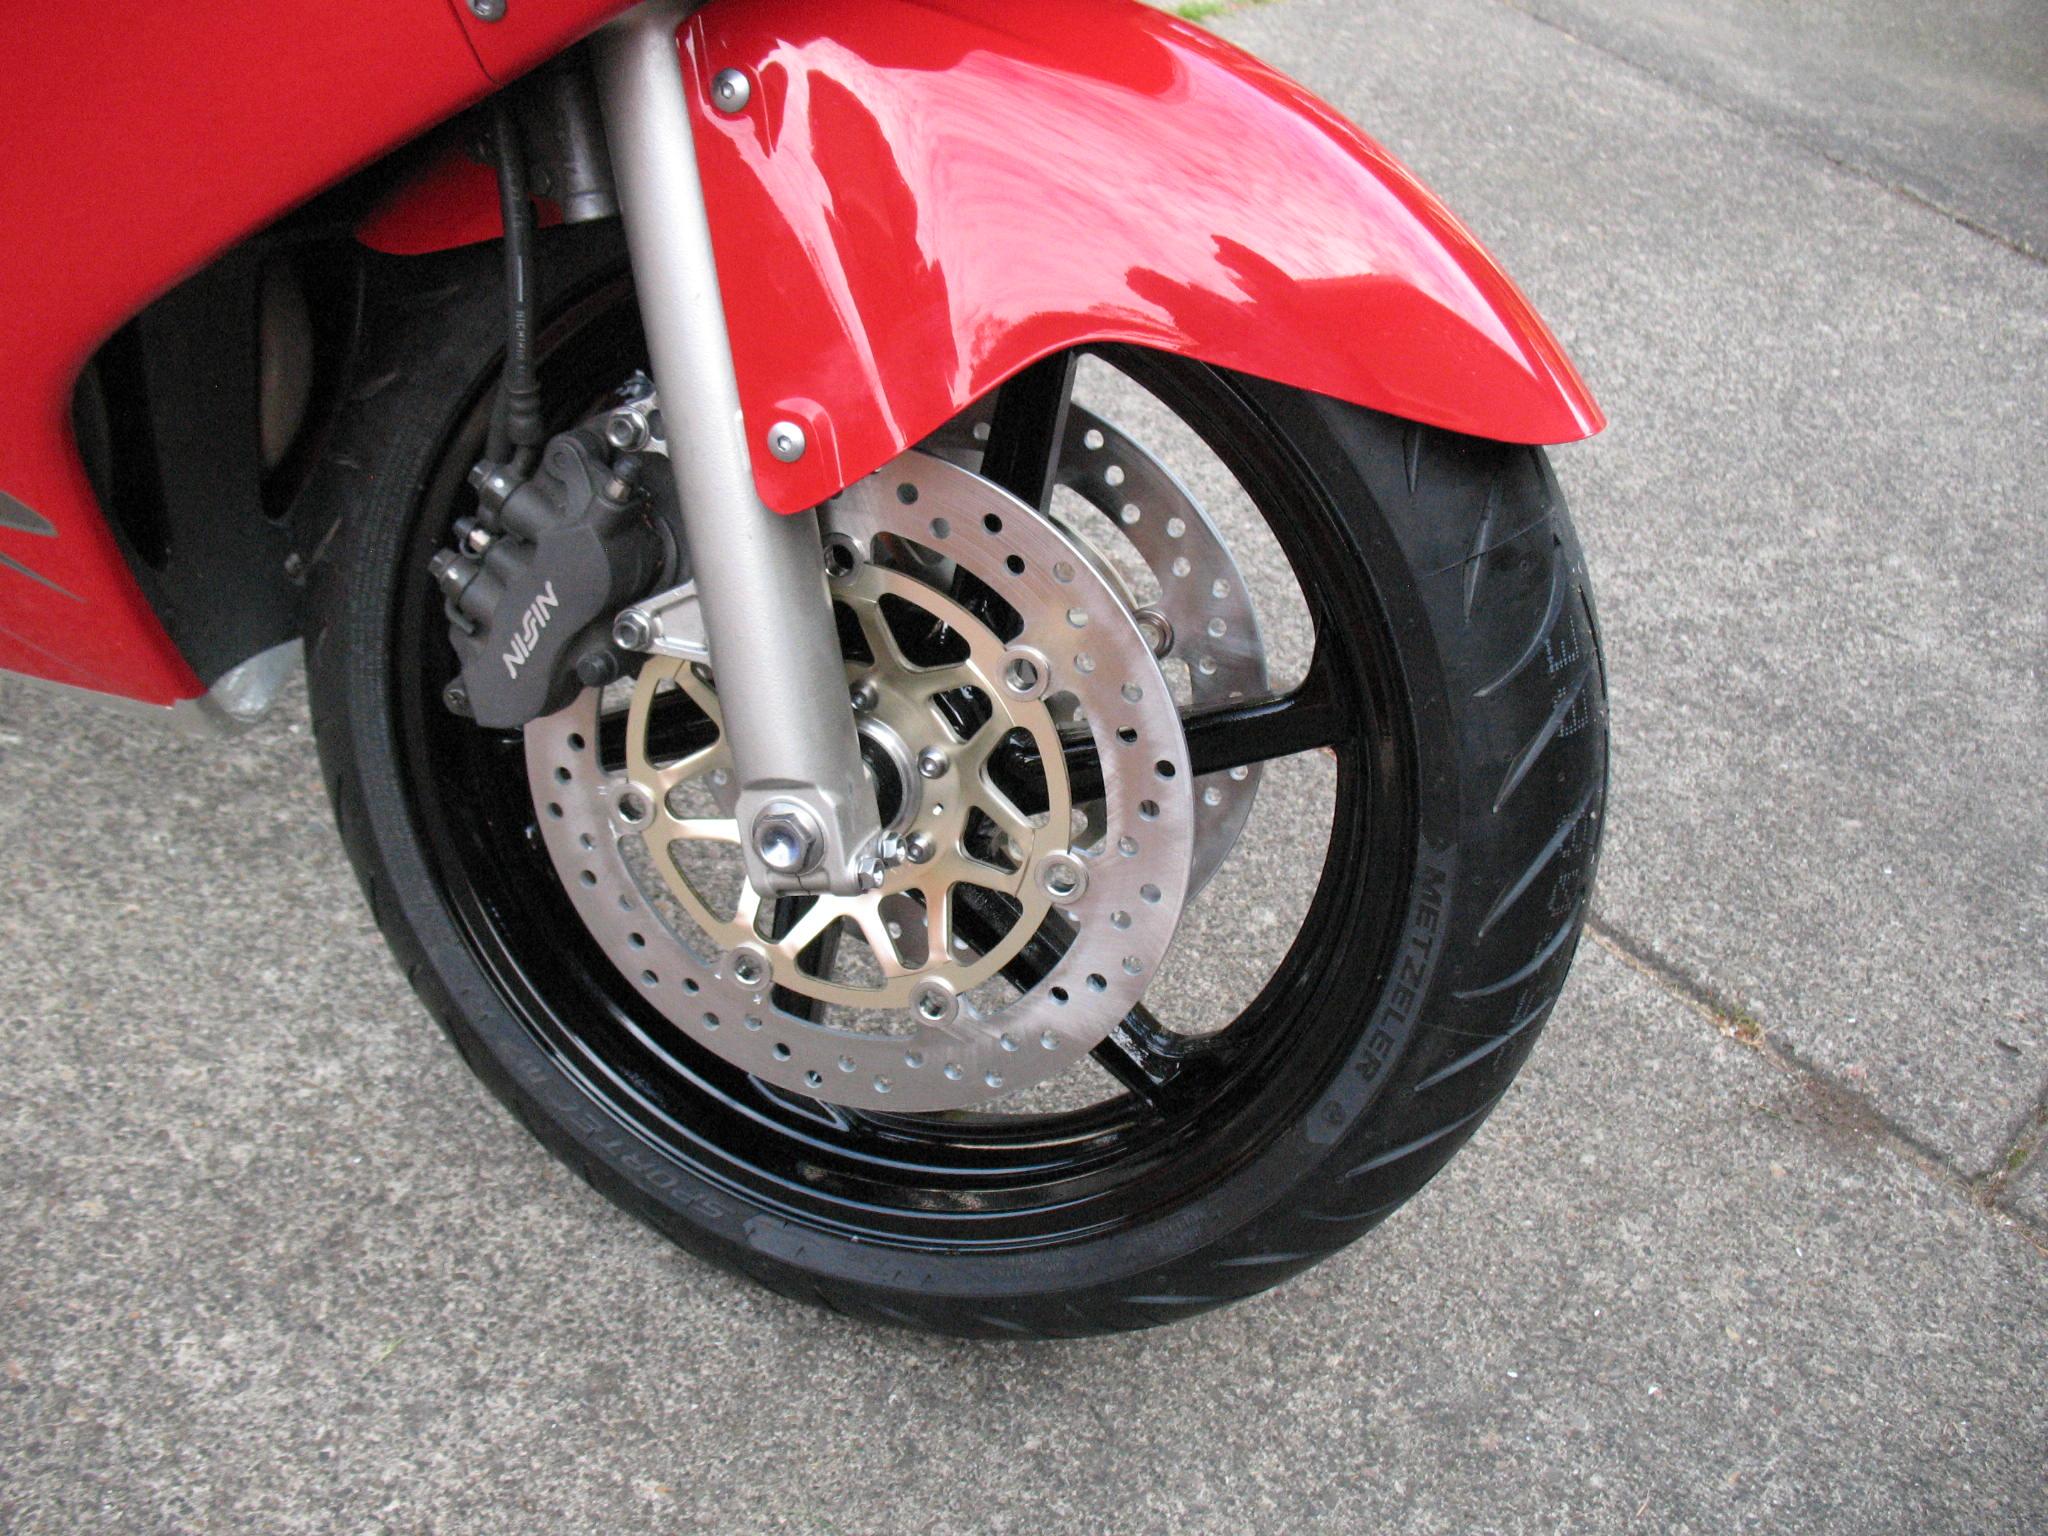
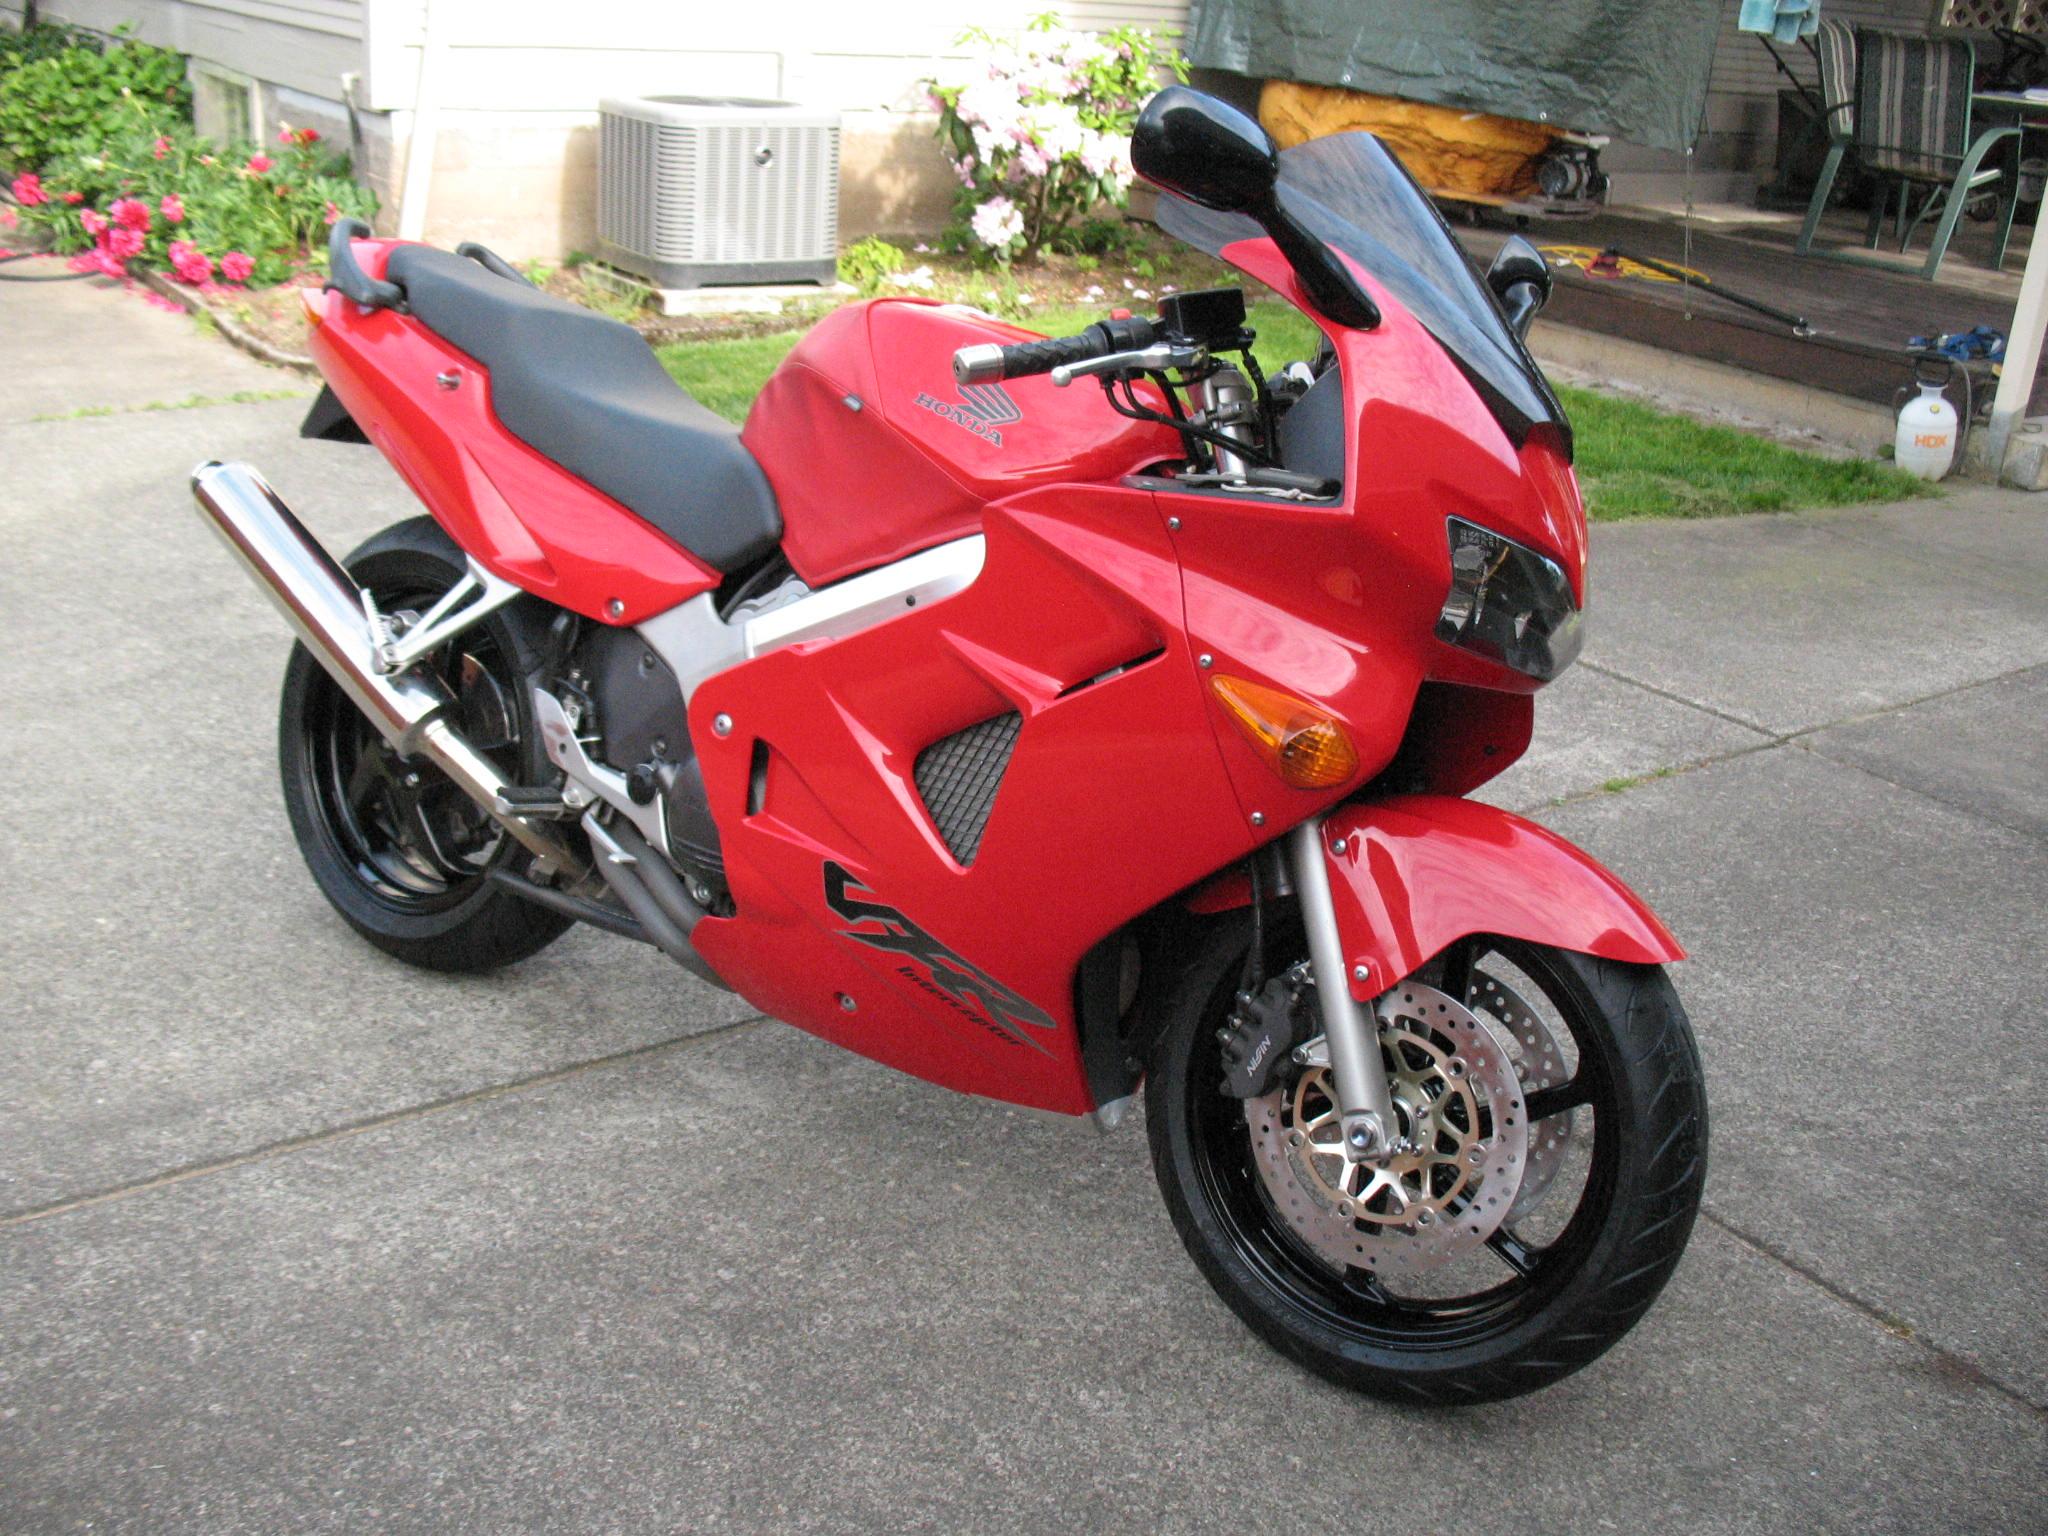
I just got done doing a 62,000 mile rehab on my front wheel that included the following......... Removed and replaced the bearings and dust seals Installed new OEM rotors Installed new Metzler M7 tire Installed new EBC brake pads Painted wheel with 3:1 single stage urethane paint It now looks like a new wheel The bearings were still good with no hints of failure but I wanted to put new bearings in to make it into the 120K+ miles. New bearings and seals were only $50. To remove the bearings you need to use a long drift punch to knock them out. Once you do that, the bearings are not useable. So I go to put the new bearings in and remembered a veteran Honda mechanic once telling me that you can remove the seals on ball bearings to grease. Afterwards just pop the side seal back on. I had the old bearings right there so I thought I would give it a try. I took a micro screw driver and got under the seal on the outside edge and it popped right out. The seal pops right back on like it never left. I take the new bearings before installation and pop the side seal off. Honda doesn't overload the bearings with grease. I packed both of my new bearing with additional grease, reinstalled the side seals and put them in the wheel. To make a long story come to an end, the moral here is that yes, you can do front wheel bearing maintenance without taking the bearings out of the wheel. Use a wide screwdriver and pop out the dust seal for reuse later. Now you can see the bearing. Take a mini pick or micro screwdriver and pry the side seal off. Pack it with grease, reinstall side/dust seals and you are good to go. I plan on regreasing mine every 20K miles or so. If a person does that, they will probably last the 130K mile life of the bike if it garaged.