Bren
-
Posts
416 -
Joined
-
Last visited
-
Days Won
10
Content Type
Forums
Profiles
Gallery
Blogs
Downloads
Events
Everything posted by Bren
-
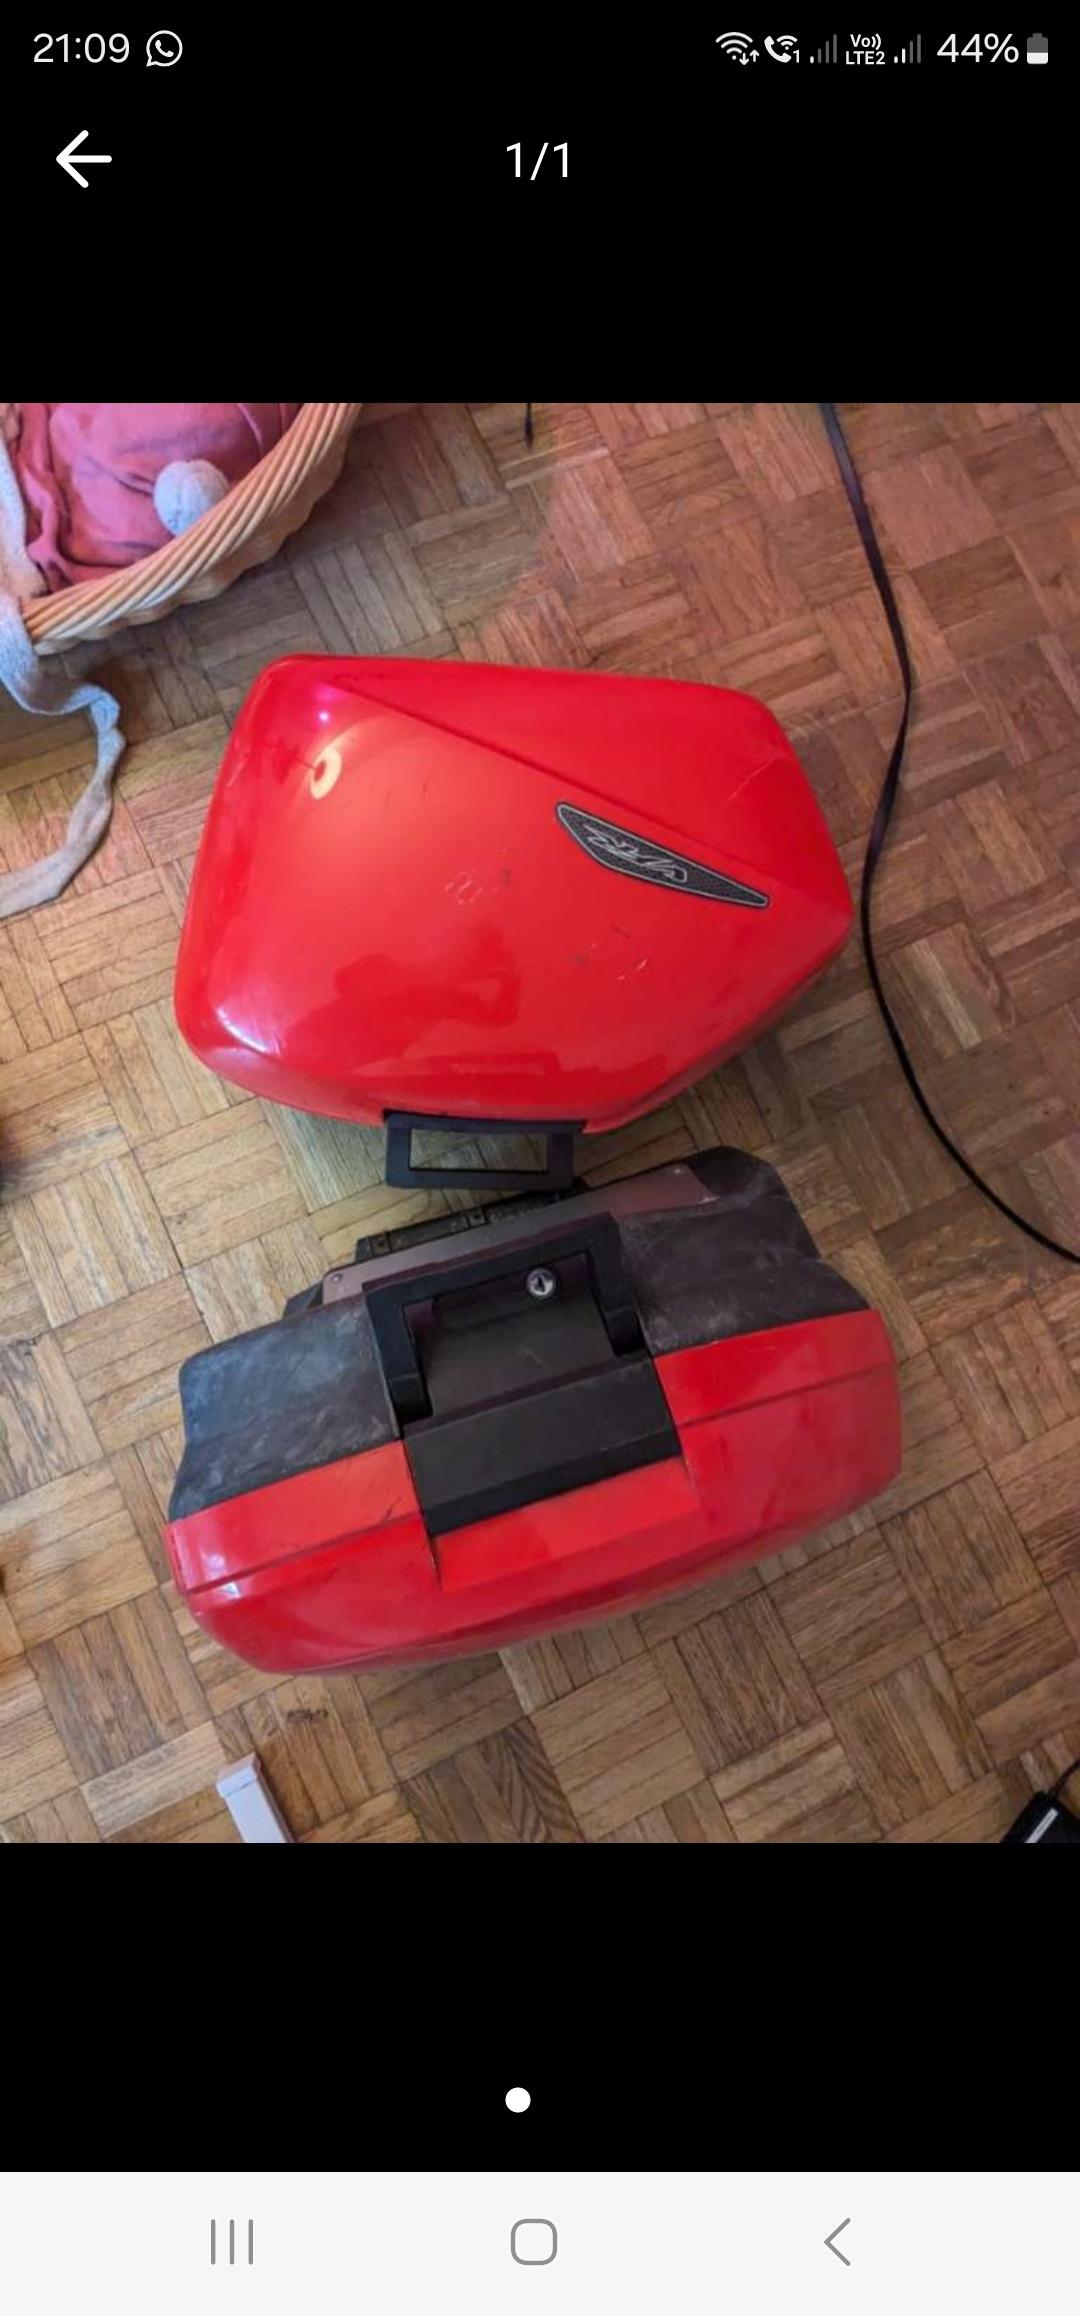
Is anyone looking for red side cases right now? I have a lead on some but I have a 5th Gen. If it helps anyone out I can be an intermediary, nothing on top for me just helping out. They don't look pristine but not bad from the 1 photo. He does state that the brackets aren't included, only the bags.

-
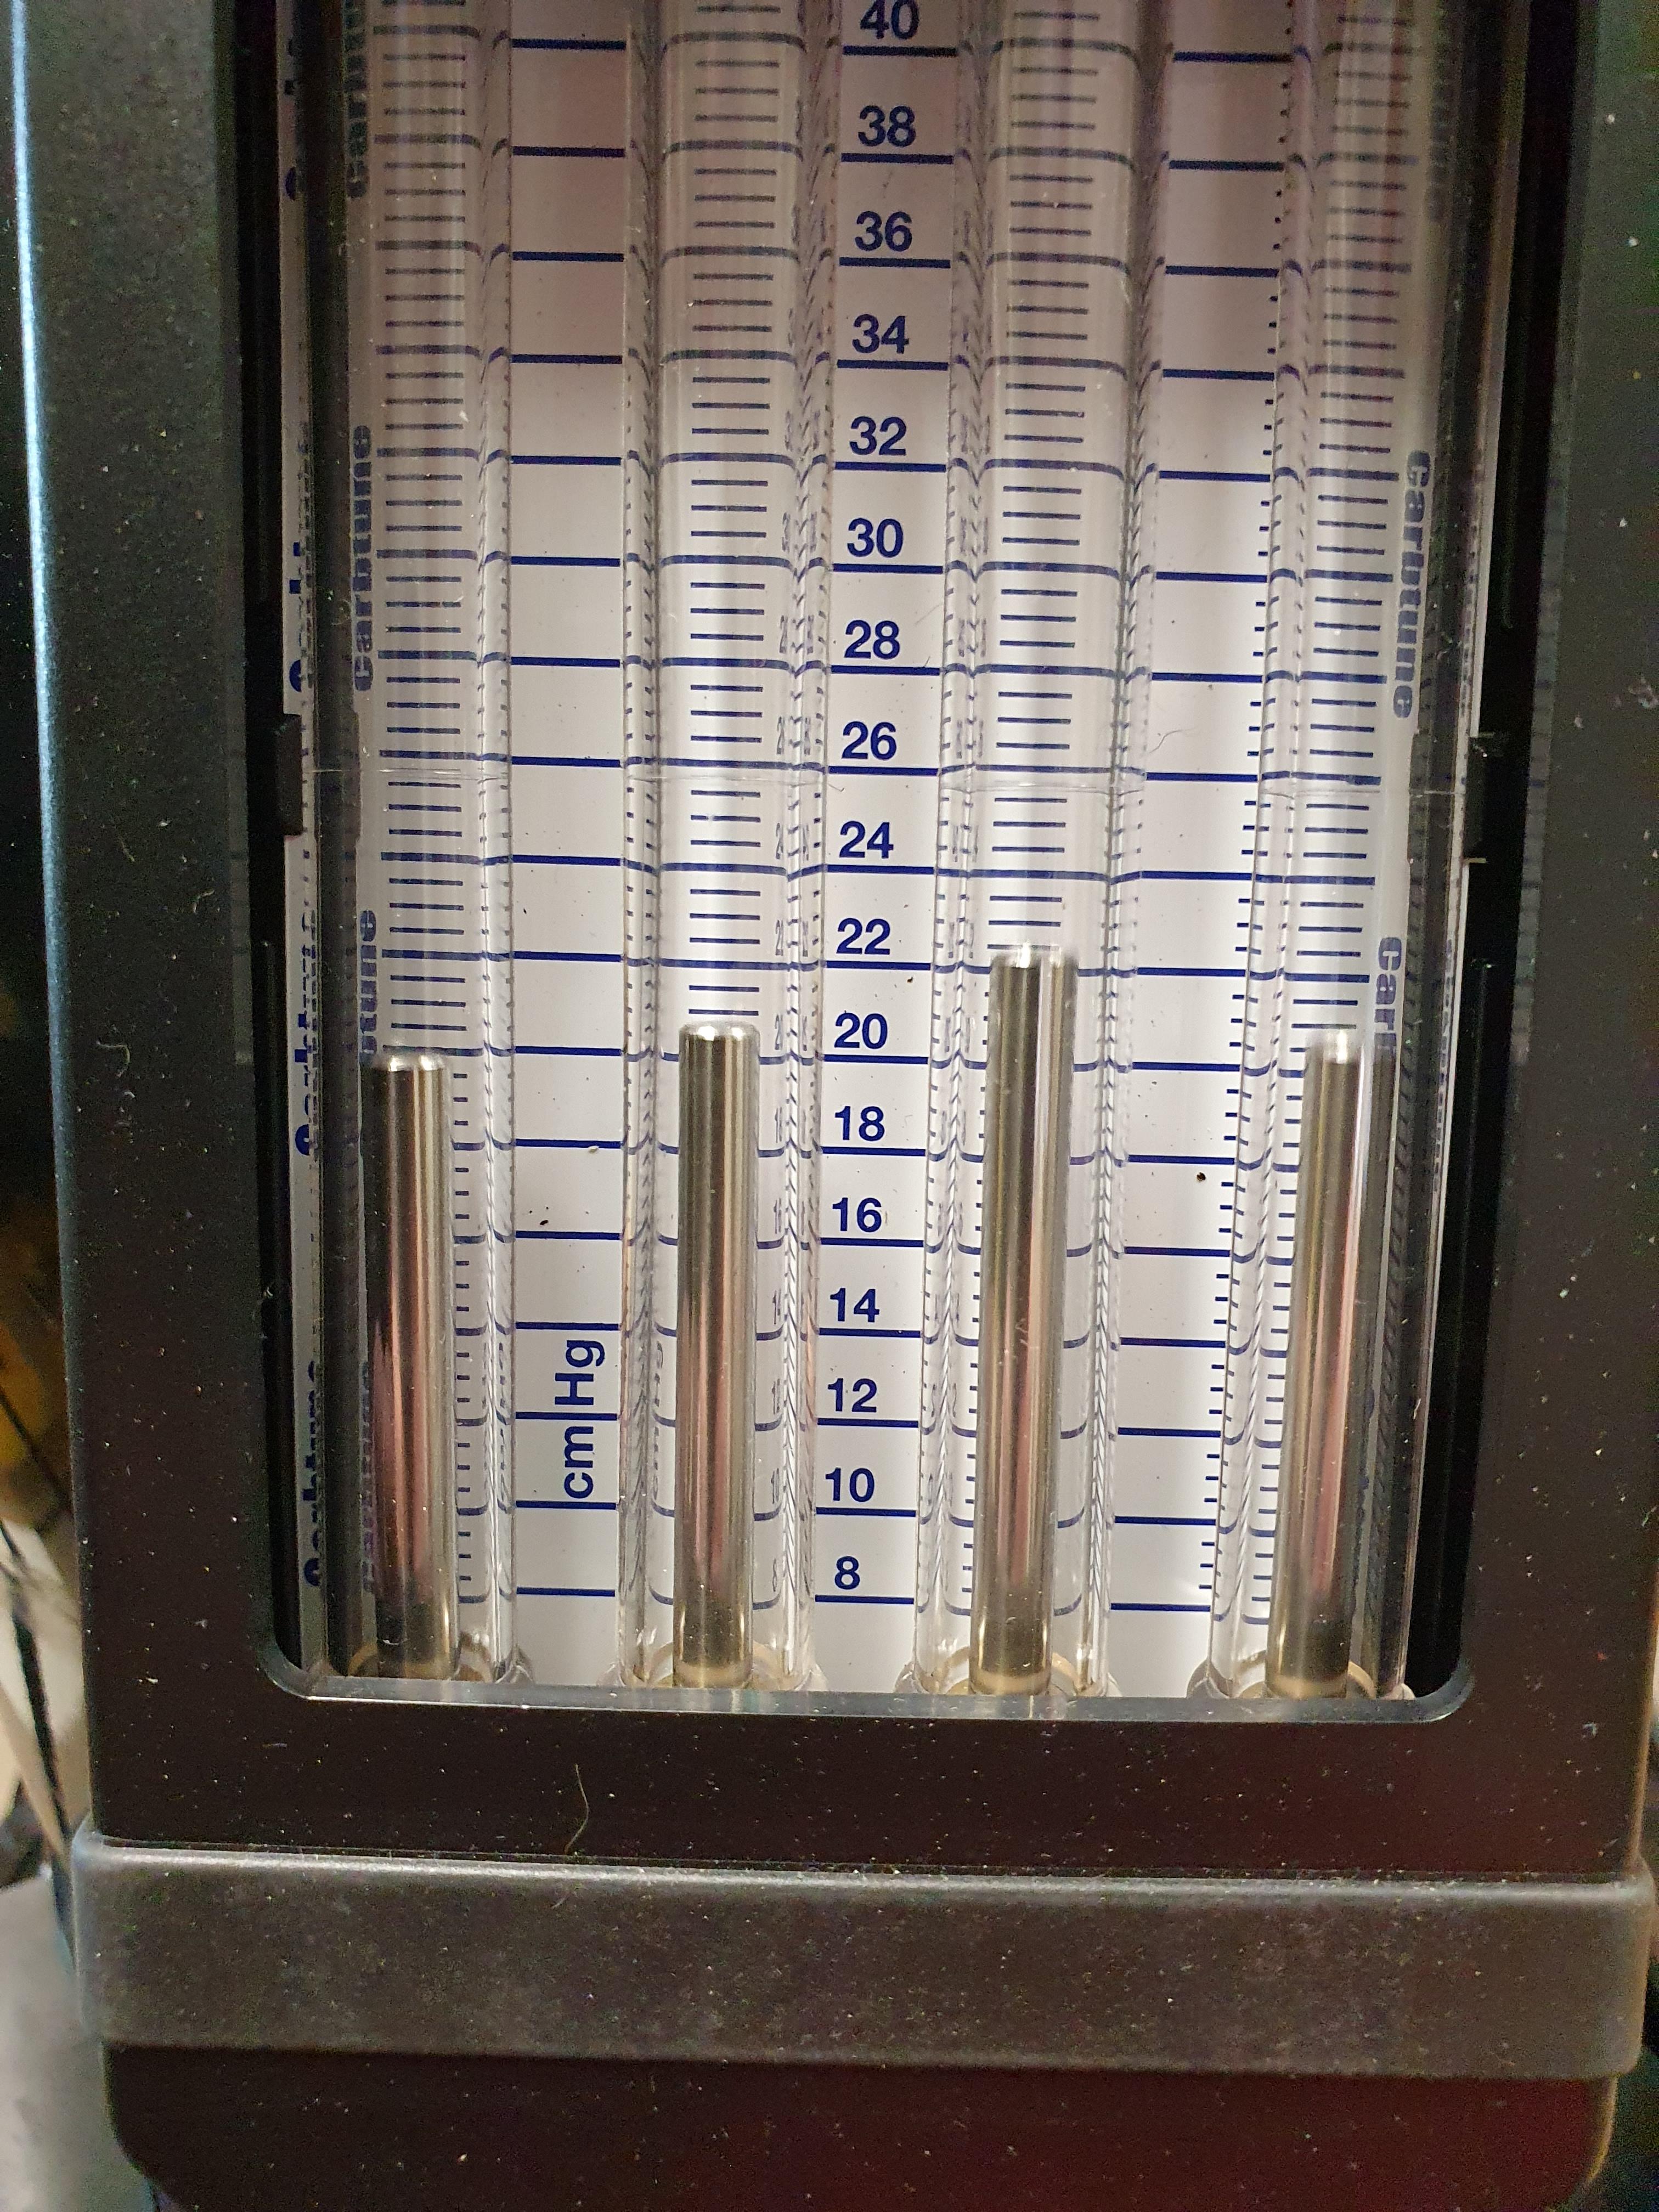
Difficult to get 100% right due to the fluttering even with the dampeners adjusted.
-
That's how I've always interpreted the manual description and set mine. More vacuum (= a minus in the settings relative to no. 1 the base setting) raises the Mercury in the tube. Hoping I understood it correctly too!
-
I'm not even retired and I don't have enough time to put on more than about 1k a year. 2 kids, a house that I built, and a very, shall we say, selfish/vindictive/physco wife does that to you. The wife bit will be ending soon but not the kids thankfully. 2024 is going to be different.
-
I have the same hugger, check my gallery for pics of fitting it.
-
@Skids looks good to me. I would do the electrical connectors purely due to the age, I see you have this listed already. Do you intend to change out the most likely stock RR? I got a CBR500 one which is a FH020 and it´s working perfectly, I used the Metri Pack connectors for the stator connection also instead of hard wiring them so I can remove it if necessary. If it gives you peace of mind then check the valves, won´t harm anything. Enjoy the servicing its a great winter pastime when its not possible to ride 🍺
-
Tidy solution 👌 @vfrgiving but I won't be drilling or sticking anything onto my Harris carbon fibre hugger, it's too damn nice! The line doesn't move about if at all, I'm not worried it falls into the rear wheel (too tight/short anyway and fixed to the hugger chain guard), locks it up and I crash, burn and go to the afterlife. Agree with @bmart Very cheesy piece.
-
Isn't that the thing for guiding the rear brake line? Goes under the bolt for tightening the eccentric? Mine broke so I left it off, no problems with steel lines as they are anyway less flexible.
-
Front fork compatibility and more (02' VFR800)
Bren replied to Cubize's topic in Sixth Generation VFR's
I think the VFR800 from 2002 onwards has 43mm forks, if you want to use a vfr top triple tree those cbr900rr forks will also have to be 43mm. You'll have to check that or get a different top triple. -
My 1997 750 is back on the road
Bren replied to fabio222's topic in Third and Fourth Generation VFR's
Great job there, a lot of effort to get it looking virtually new again! The paint looks really good 👍 -
I think I read once that those ground wires should be joined together into 2 groups as that's how they are in that orange block? I've never had to do this, yet, but probably will one day so I'd like to be prepared.
-
Can't help with the rev counter as that goes into electrical territory which I'm crap at but there are some very knowledgeable members on here that help others a lot! I would suggest you check the speed sensor which goes onto the front sprocket nut. This is a plastic piece that often doesn't get fitted back on to the nut properly and rounds out causing speed reading irregularities. Good luck.
-
No never seen this. I have a 98 and it doesn't lean over that far on the side stand. You need to investigate further, either something isn't tight or its bent. OR the previous owner fitted a shorter side stand because he lowered it but that wouldn't explain the movement you're seeing. Hth.
-
Been a Long Time! - Perfect Day for a Ride.
Bren replied to Grum's topic in Ride Reports - VFR Touring/Riding
@Grum Good to hear you beat it, couldn't have been a good time for you. On the positive side you can ride again so things are on the up! I also enjoy your posts and expertise on here, even though most of them just confuse me - electrics! Enjoy the wine 🍷 -
Wheel bearing, done after a few thousand miles
Bren replied to Bren's topic in Maintenance Questions
Thanks @Dangeruss for the tips and advice. I decided on the 641 as its suitable for disassembly which some of the others aren't without a great deal of heat which I don't want to inflict on my wheel. After more research , I will be removing the bearing and doing similar to what you suggested in contrast to my previous process above. I took the wheel off again today in preparation. I used a drift from the other side to gently push it out until I felt resistance, then I turned it over and I was able to, forcibly, push the bearing back into its seat with my thumbs. It's not flopping about and needs a good push to force it back down but that's not right, it should be tight in the pocket or the whole oscillating forces will probably make the pocket even wider/more oval. I'm pretty sure now that the pocket for the bearing has been expanded by a clumsy, cock-handed attempt at removal or fitting by yours truly. Even though I've done this many times this is proof that anyone can cock up anything. I'll report back on my wheel escapades! -
Wheel bearing, done after a few thousand miles
Bren replied to Bren's topic in Maintenance Questions
Thanks @Mohawk for your input. The parts are correct, been in use some 15+ years now and only now a problem. -
Wheel bearing, done after a few thousand miles
Bren replied to Bren's topic in Maintenance Questions
Again, appreciate the advice @Thumbs. I think you're right on the drift method to remove the bearing previously not being as exact as I thought I was doing it ie. slowly around the edges. 641 ordered and on the way! -
Wheel bearing, done after a few thousand miles
Bren replied to Bren's topic in Maintenance Questions
I made sure the bearing seats were clean before fitting, I had also taped off the wheel myself before powder. I think it would matter if it has any play because even though the spacers hold it in place laterally the bearing can still move up, down, sideways and with the forces of suspension etc it would rattle it around eventually shaking the bearing to bits. This is my understanding and suspicion anyway of what happened to the old bearing. That would be the 648 which is a permanent adhesion type of compound, I don´t want to use this as it would be a nightmare to remove the bearing again in the future. I´m still researching how I´ll do it but the first idea is not to drive the bearing out again but leave it in and apply the loctite 641 around the circumference of the bearing outer race. This 641 is supposed to have a low viscosity so I´m hoping it drains down where there are any gaps. It sets in 10 minutes, fully cured in 24 hours, so I would have enough time to then quickly reinstall the wheel so it sets in the correct position. Very much my feeling too. Thanks. I´ll update my success or failure! -
Wheel bearing, done after a few thousand miles
Bren replied to Bren's topic in Maintenance Questions
Yes, it will have to be applied to the outer race (circumference) and the wheel casting otherwise it would glue the inner turning bearing part also. I'm reading up how to do this still as if I apply it to the bearing and then drive it in, it will be wiped off by the tight area. Need more research but any help or advice would be appreciated. -
Wheel bearing, done after a few thousand miles
Bren replied to Bren's topic in Maintenance Questions
Thanks for that. Did some more googling and decided on the 641 also and managed to find it online. Hope it works! -
Wheel bearing, done after a few thousand miles
Bren replied to Bren's topic in Maintenance Questions
both of the above are difficult to get, I´m concerned to use the 648 as it´s green which is a permanent adhesion similar to red loctite, extreme heat to get it out. I´m wondering if the common, blue, thread lock would work... -
Wheel bearing, done after a few thousand miles
Bren replied to Bren's topic in Maintenance Questions
looking at it, which one would suit best? 641 or 609? Any experience with applying it? -
Wheel bearing, done after a few thousand miles
Bren replied to Bren's topic in Maintenance Questions
never heard of that loctite stuff before, I´ll see if I can get some. Thanks for that. Still makes me wonder as I´ve had this wheel on for some...10 years maybe more. Yes sealed bearings directly from Honda dealer. -
Hi All, looking for the collective wisdom on this. I have the SP1 front end on my bike with an SP1 wheel, when I got the wheel powder coated a few years ago I put new bearings in. I felt something was off a few weeks ago and checked the bearings and sure enough one was noisy and rough. Interestingly there were drops of water under the dust seals and the bearings on both sides when I took them out. I don´t generally go out in rain anymore and I haven´t washed it in a while. On this wheel the right hand side bearing sits deeper into the rim than the left, right wheel spacer on that side is also longer. When driving the right side (deeper) bearing out it seemed to fall/plop towards the outside edge a bit before having then a significant interference fit and I had to tap it out all around the edge as expected. When fitting the new bearing there was an interference fit at the beginning but then once just below the edge of the wheel it seemed to almost fall down to the bottom of the pocket, left one had to be driven all the way down to seat properly. I´m wondering, and worried!, now if my wheel is screwed or does this sound normal?
-
That's nice! I see you've blocked off the headlights and put some spots where the indicators reside, are they suitable for night time? I ask as I had an idea for my gen 5 to pull the huge indicators, make a small housing out of fiberglass and put some small spots in there as ancillary lighting, indicating would be taken care of by mirror mounted indicators ala CBR1100XX Blackbird. I just haven't found any small yet powerful enough that may work. Have a link?