Captain 80s
-
Posts
1,858 -
Joined
-
Last visited
-
Days Won
121
Content Type
Forums
Profiles
Gallery
Blogs
Downloads
Events
Everything posted by Captain 80s
-
@Terry What adhesive did you use on the left grip? Well... both I guess. The left has been the more difficult one when using level 4 or 5. The right, which is pretty much plastic on plastic seems to be less finicky.
-
The Touring had nice, long leads. Was able to route a nice meandering hidden path and still coil a little extra lead. Nice with the Helibars on the ST.
-
I'm just a little South of you, and for the most part I agree. Buuuuuut... goddamn it's nice sometimes! Even if it's not even close to freezing. I just wanted the option and this is my Sport Touring bike. I'm more apt to take this out in less than ideal conditions.
-
At the time I bought mine (couple years ago), supply was shit but I absolutely had to get the bike back together and wanted to finalize all the wiring for my accessorizes. I liked the Touring grip pattern the best anyway, but 125mm would have been nice. As it turned out, 120mm has been fine for me but I would have liked to fill the space a little better. Well... 5mm better.
-
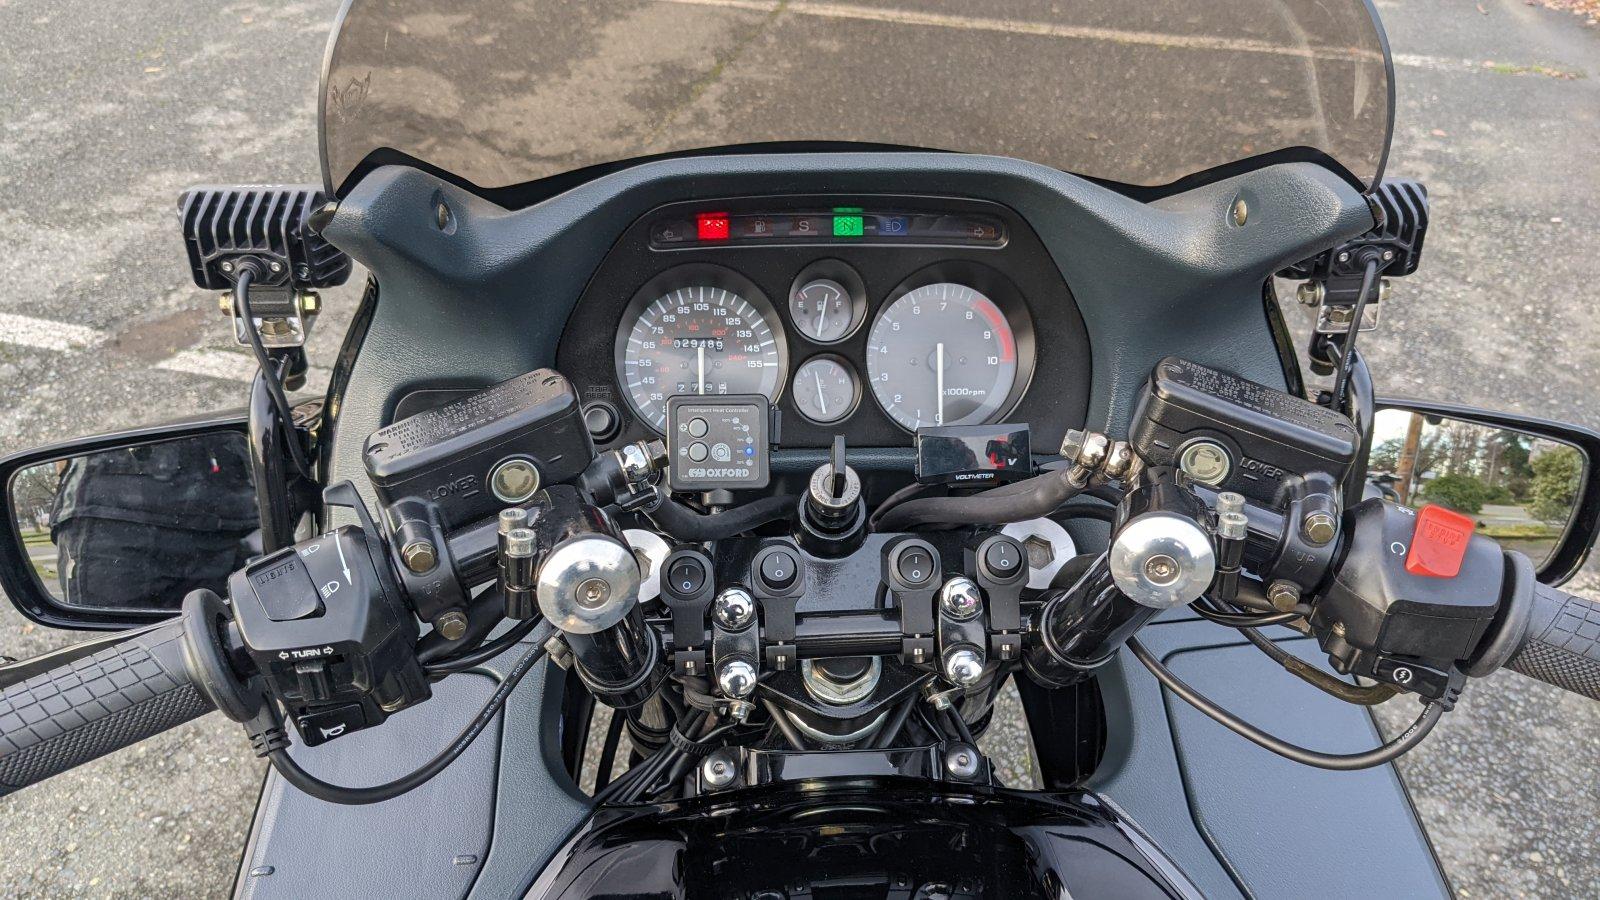
Not sure if I'm groovin' on where that integrated controller is. Perhaps taking up valuable grip space, is 120mm not including the controller? Is the right grip 120mm? Maybe not a problem in reality, but I'm not sure I'd want that thing always pressing against the side of my hand. I wasn't the biggest fan of the Oxford controller either, but I mounted it down around my triple clamp, not sticking up off my master cylinder clamp. It's not like it's a shift button that constantly needs quick thumb access. I ran a switched relay pulling power from the battery and a tapped a dash light lead to energize it with the key. But I have friends that have it wired right to their battery, no toggle or relay. On my St1100. There's a lot of shit going on here, I know. The Oxford controller doesn't block as much as it looks like when riding, I don't need to know I'm going 10mph. You can see a USB port peeking out from the upper right of the controller too. Voltmeter is on a toggle so I'm not staring at it all day.

-
A three paragraph response with more pictures (really ANY response) is something somebody does that was affected, positively or negatively. Using a quote I read recently, "Nobody believes you here now." Ride safe.
-
Do whatever you want with your VFR, If you like it, then that's great and all that matters. But, yeah, there is.
-
You can likely start "training" it back with some blankets and appropriately placed weighted items before trying to mount and possibly cracking.
-
That looks pretty good now. Hey... nice inner fairing panels too! Where in the hell did you score those?
-
I won't. And don't care on this bike. I don't even have speedo cable attached to the F2 wheel. I know when I'm speeding and I know exactly how fast I'm going when I'm not. I have a fuel light and a reserve switch.
-
Pretty sure he is referring to the pins that allow the caliper to move freely as the pads wear. It is a common failure point on single action calipers.
-
Take the gauges back out. That way you can slide a bar into the frame work of the upper cowl stay and manipulate it around. Also pay attention to the mirror mounts (independent of the cowl stay itself), they like to move when crashed and can play a big part in locating the upper cowl. Also, how does your frame look where the stops on the lower triple hit it? If impressed on one side more than the other, they will allow the steering lock to travel farther and can make it seem like the upper cowl stay is off. When you're all done, then reinstall the gauges.
-
Yeah, that's pretty. Congratulations.
-
An original style (undamaged) mount is absolutely straight. If your lowers don't match up, your problem is upstream.
-
My friend created some pretty decent looking replacements with some metric all-thread, thick wall aluminum tubing, and a long hex nut (w/ thin lock nut) for the bodywork fastener to thread into. It was meant as a band aid, but he just kept them.
-
The top is the replacement style stay for the bottom original. Less likely to break off and leave the threads in the frame.
-
Pretty crafty work there dude. Look for my boxes of bodywork from The Guest/Rain Bike to show up soon.
-
Yeah, that was just dumb, always bugged me. Stupid Americans.
-
I just counted 7 wheel swap projects within eyesight in my shop using parts from this era. I've witnessed that even some of the best "tutorials" often overlook details and assume certain base knowledge, including my own. It's almost like an inadvertent barrier to filter the skill level. If anybody just collects parts on comments and is surprised and disappointed when they go to assemble after new paint, bearings and seals, they probably shouldn't be doing this kind of work. "But anybody can learn". Then get your calipers out, get your hands dirty and do it. Then ask more questions.
-
New clutch time. Because that's when your old clutch wants to start slipping. A different bike might do it sooner, later or all the time. All sounds pretty normal and expected to me though. If I got a recovered stolen bike back and the clutch was slipping after servicing the hydraulic system, I know what I'm doing next. Also be sure you didn't over fill your clutch master res, need to leave some air space in there.
-
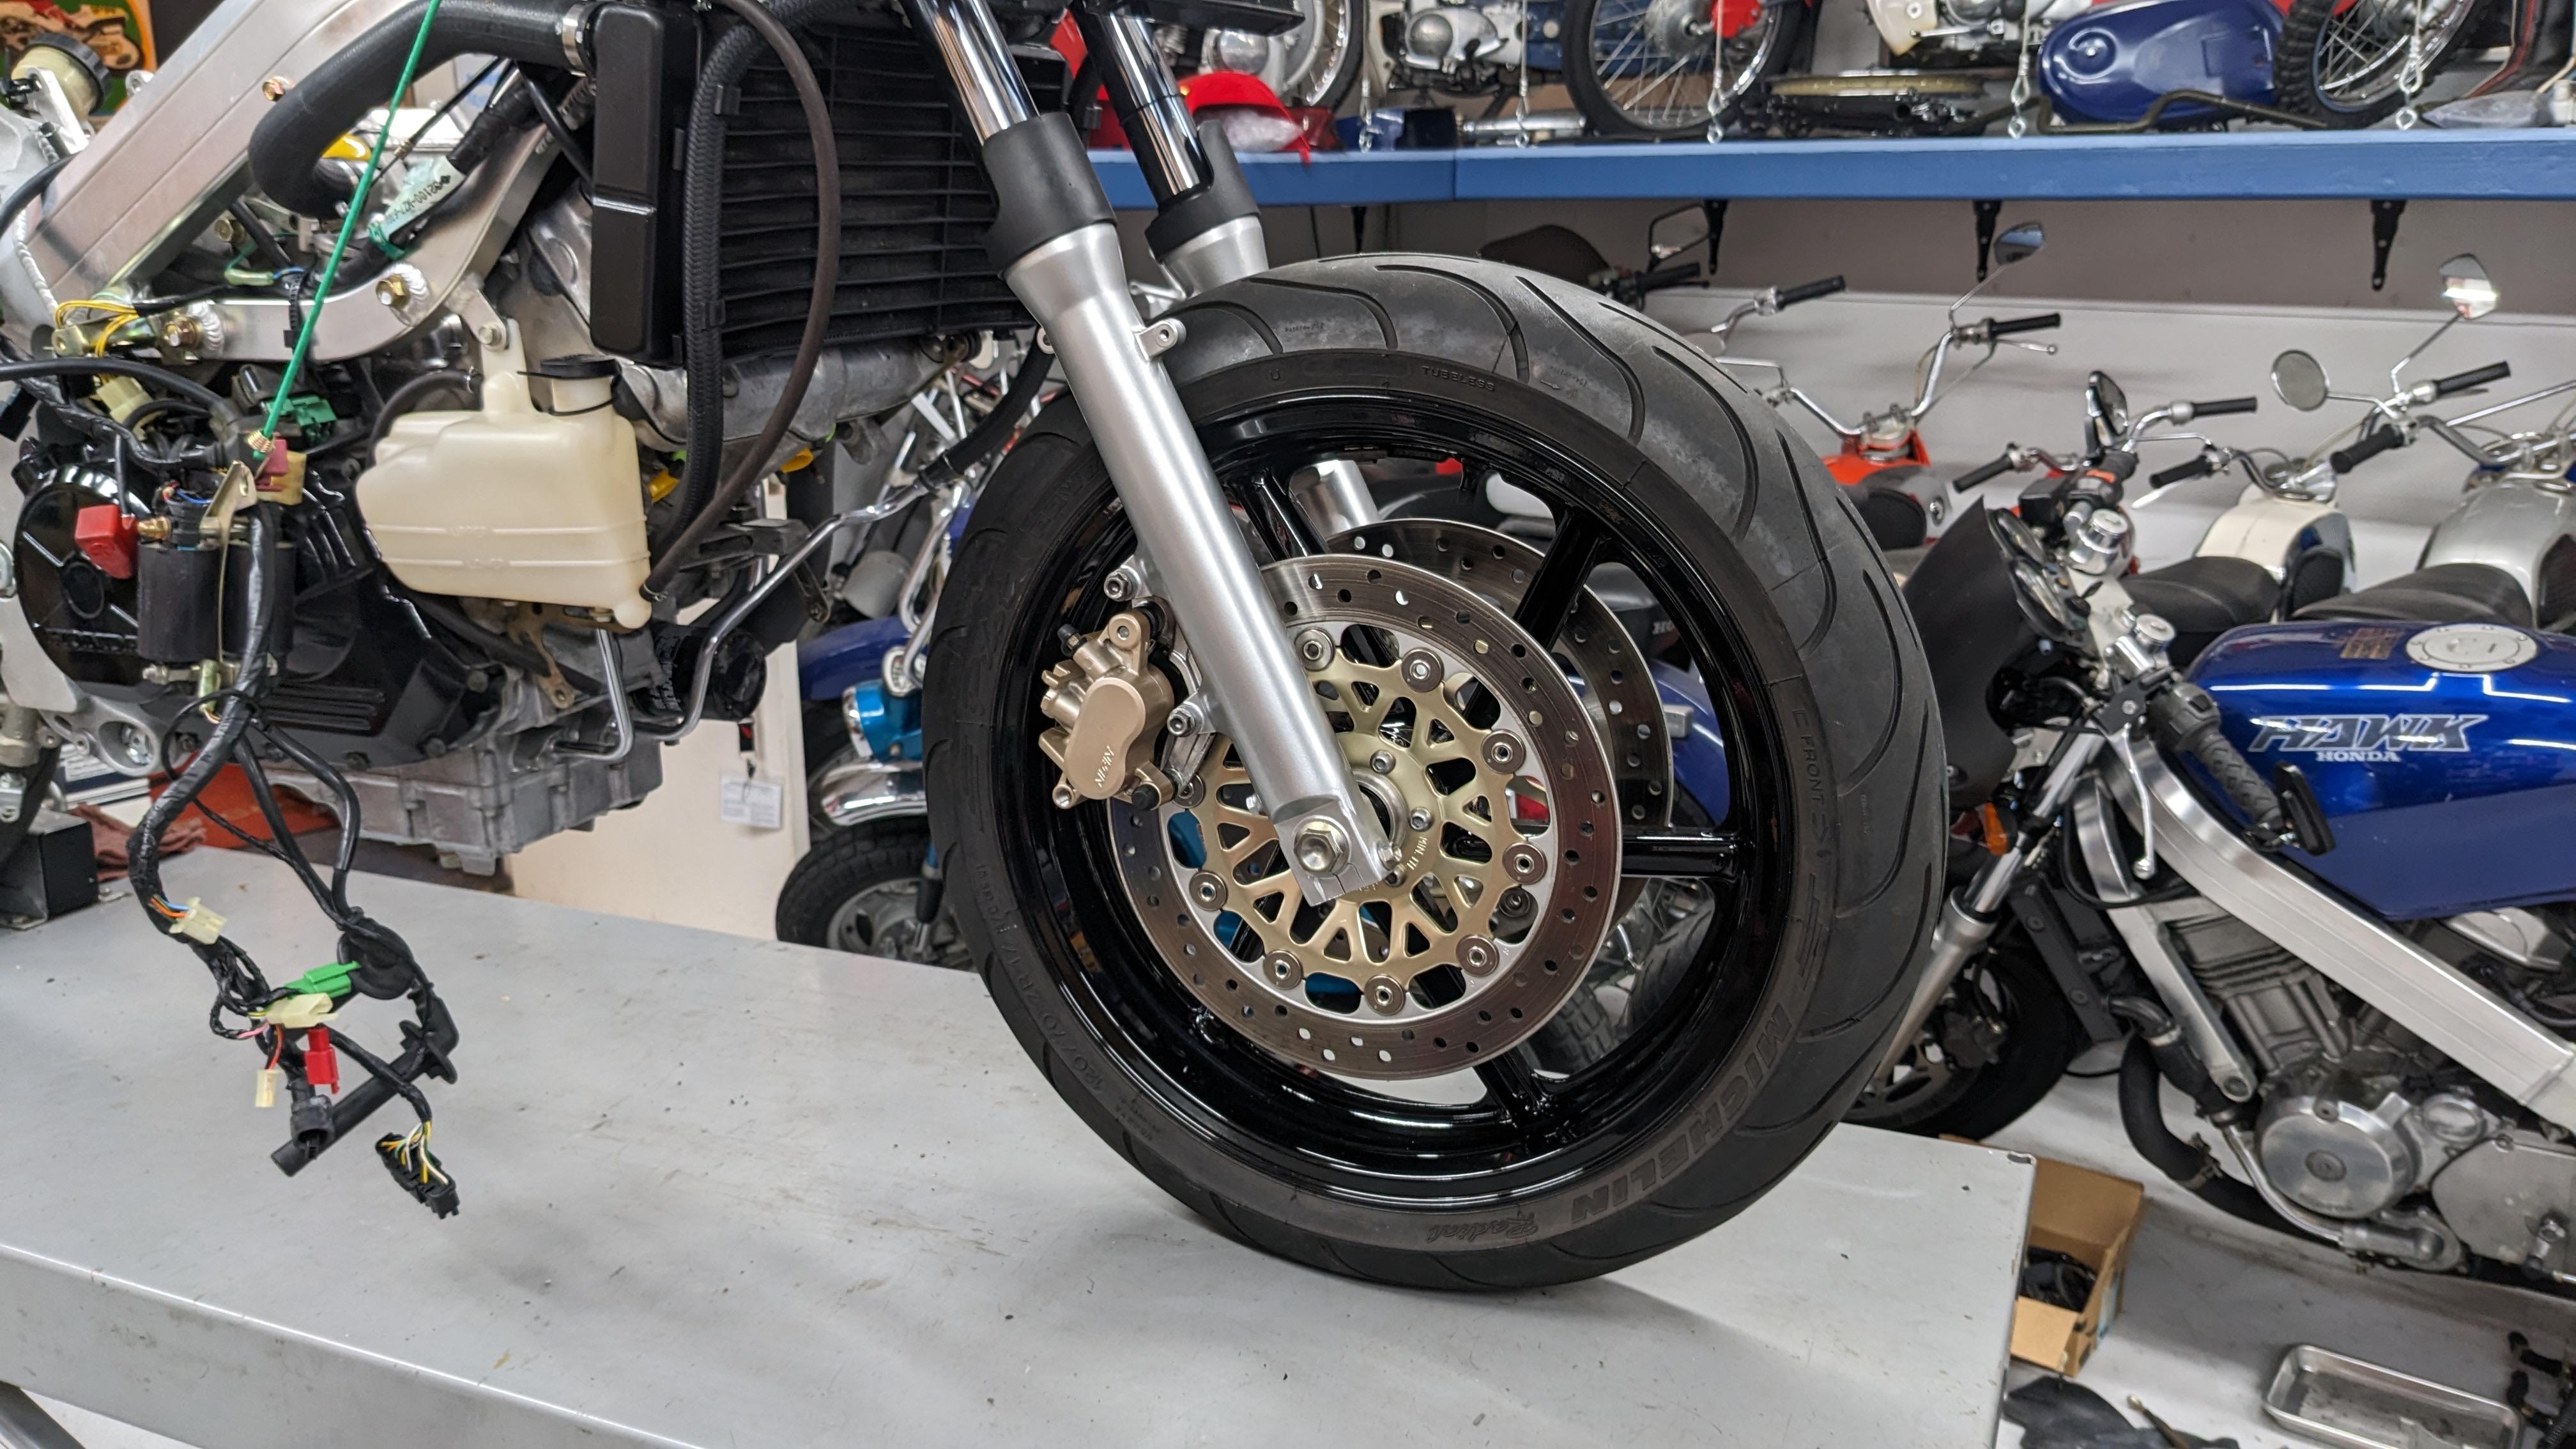
With my RC26, yes. 1993 CBR600F2 front end (3.5x17) with Race Tech Cartridge Emulators and Springs, in 88/89 VFR750F triple clamps. F2 rear wheel (4.5x17) with a Fox Twin Clicker. Is getting F3 forks and wheel and F3 rear wheel (5.0x17).
-
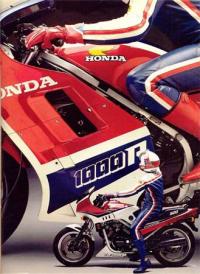
MARK, RR. COWL SIDE (TYPE2) 77214-MCW-K20ZA $30.54 This part number shows available in the system. But it's for the R/W/B Anniversary colors.
-
#5? DECAL 77214-MCW-K60ZA by Honda Currently Unavailable.
-
Thank you!! All the clues are there, I just never put it together that they didn't cut the headlight. I knew the rest of world got headlight switches, I so wish US models were like that.
-
Duplicolor Wheel Coating - Silver. Not too bright and cheap looking. It is almost identical to Honda Accurate Silver, which is used on a bunch of applications. And then the clear coat softens it a bit more if you want. Sprayed these fork lowers on my 95