SEBSPEED
-
Posts
22,530 -
Joined
-
Last visited
-
Days Won
105
Content Type
Forums
Profiles
Gallery
Blogs
Downloads
Events
Everything posted by SEBSPEED
-

Official Event & Picture Thread, 2015 Tmac!
SEBSPEED replied to Baileyrock's topic in VFRD Spring Memorial Ride (TMAC)
Bruce's cross Cornercarver taking a pic of my bike at the Fontana Dam Baptism by Dragon Obligatory overlook pic And a bit of a "before & after" ... 2 1996 VFR750Fs... -
Official Event & Picture Thread, 2015 Tmac!
SEBSPEED replied to Baileyrock's topic in VFRD Spring Memorial Ride (TMAC)
As you absentmindedly walked to the hard bag on the back of my bike when we stopped to put something in it, waiting for it to open. I refer to mine as my frame sliders. -
Official Event & Picture Thread, 2015 Tmac!
SEBSPEED replied to Baileyrock's topic in VFRD Spring Memorial Ride (TMAC)
Now this I will have to see! -
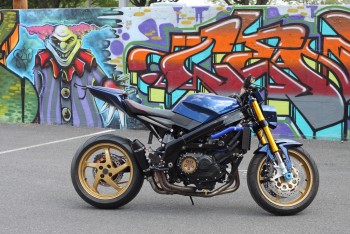
Thank you guys, I appreciate it. Now let's see if this thread has capacity for this much awesome... Andy's Mine:
-
VTEC was love at first sight for me.
-
If you install it the wrong way, the centerline of the sprocket will be shifted. As such, the chain will not be aligned properly.
-
I'll third the motion for picture B.
-
Buy the bike and I'll add at least one for you...
-
Thank you guys
-
Unless you mount it off to the side, the front wheel will likely interfere. The vee angle on our bikes puts the front head farther forward.
-
You could try raising the seat height a bit by adding a pad or foam under the cover. A handlebar conversion like the one LSL offers will straighten up your back. If you convert your 2000 to utilize the later 02-07 rearsets, you can then add an adjustable rearset. The bike you want is not out of reach, but it will take a little $$ and effort to get there.
-
The bike is louder than my VTEC with unbaffled Staintunes. It seems loud to me, and I will try to quiet it down a bit with a Yoshimura baffle I have in my bin. That said, after polling about 20 people to ask if the bike seems obnoxiously loud, all have said no. It isn't anywhere near an ear bleeding level, and certainly can't be compared to any open-pipe Harley. I have noticed that it turns a lot of heads - riding through towns in a group, I could see people picking up on the unique sound.
-
I really can't. But, I know what I'd be willing to sell it for, if someone wanted to buy it. The exhaust is a Two Brothers right exit header with my own mid pipe and can. The shape of the dirt bike can gives it a very different tone than most other VFR pipes.
-
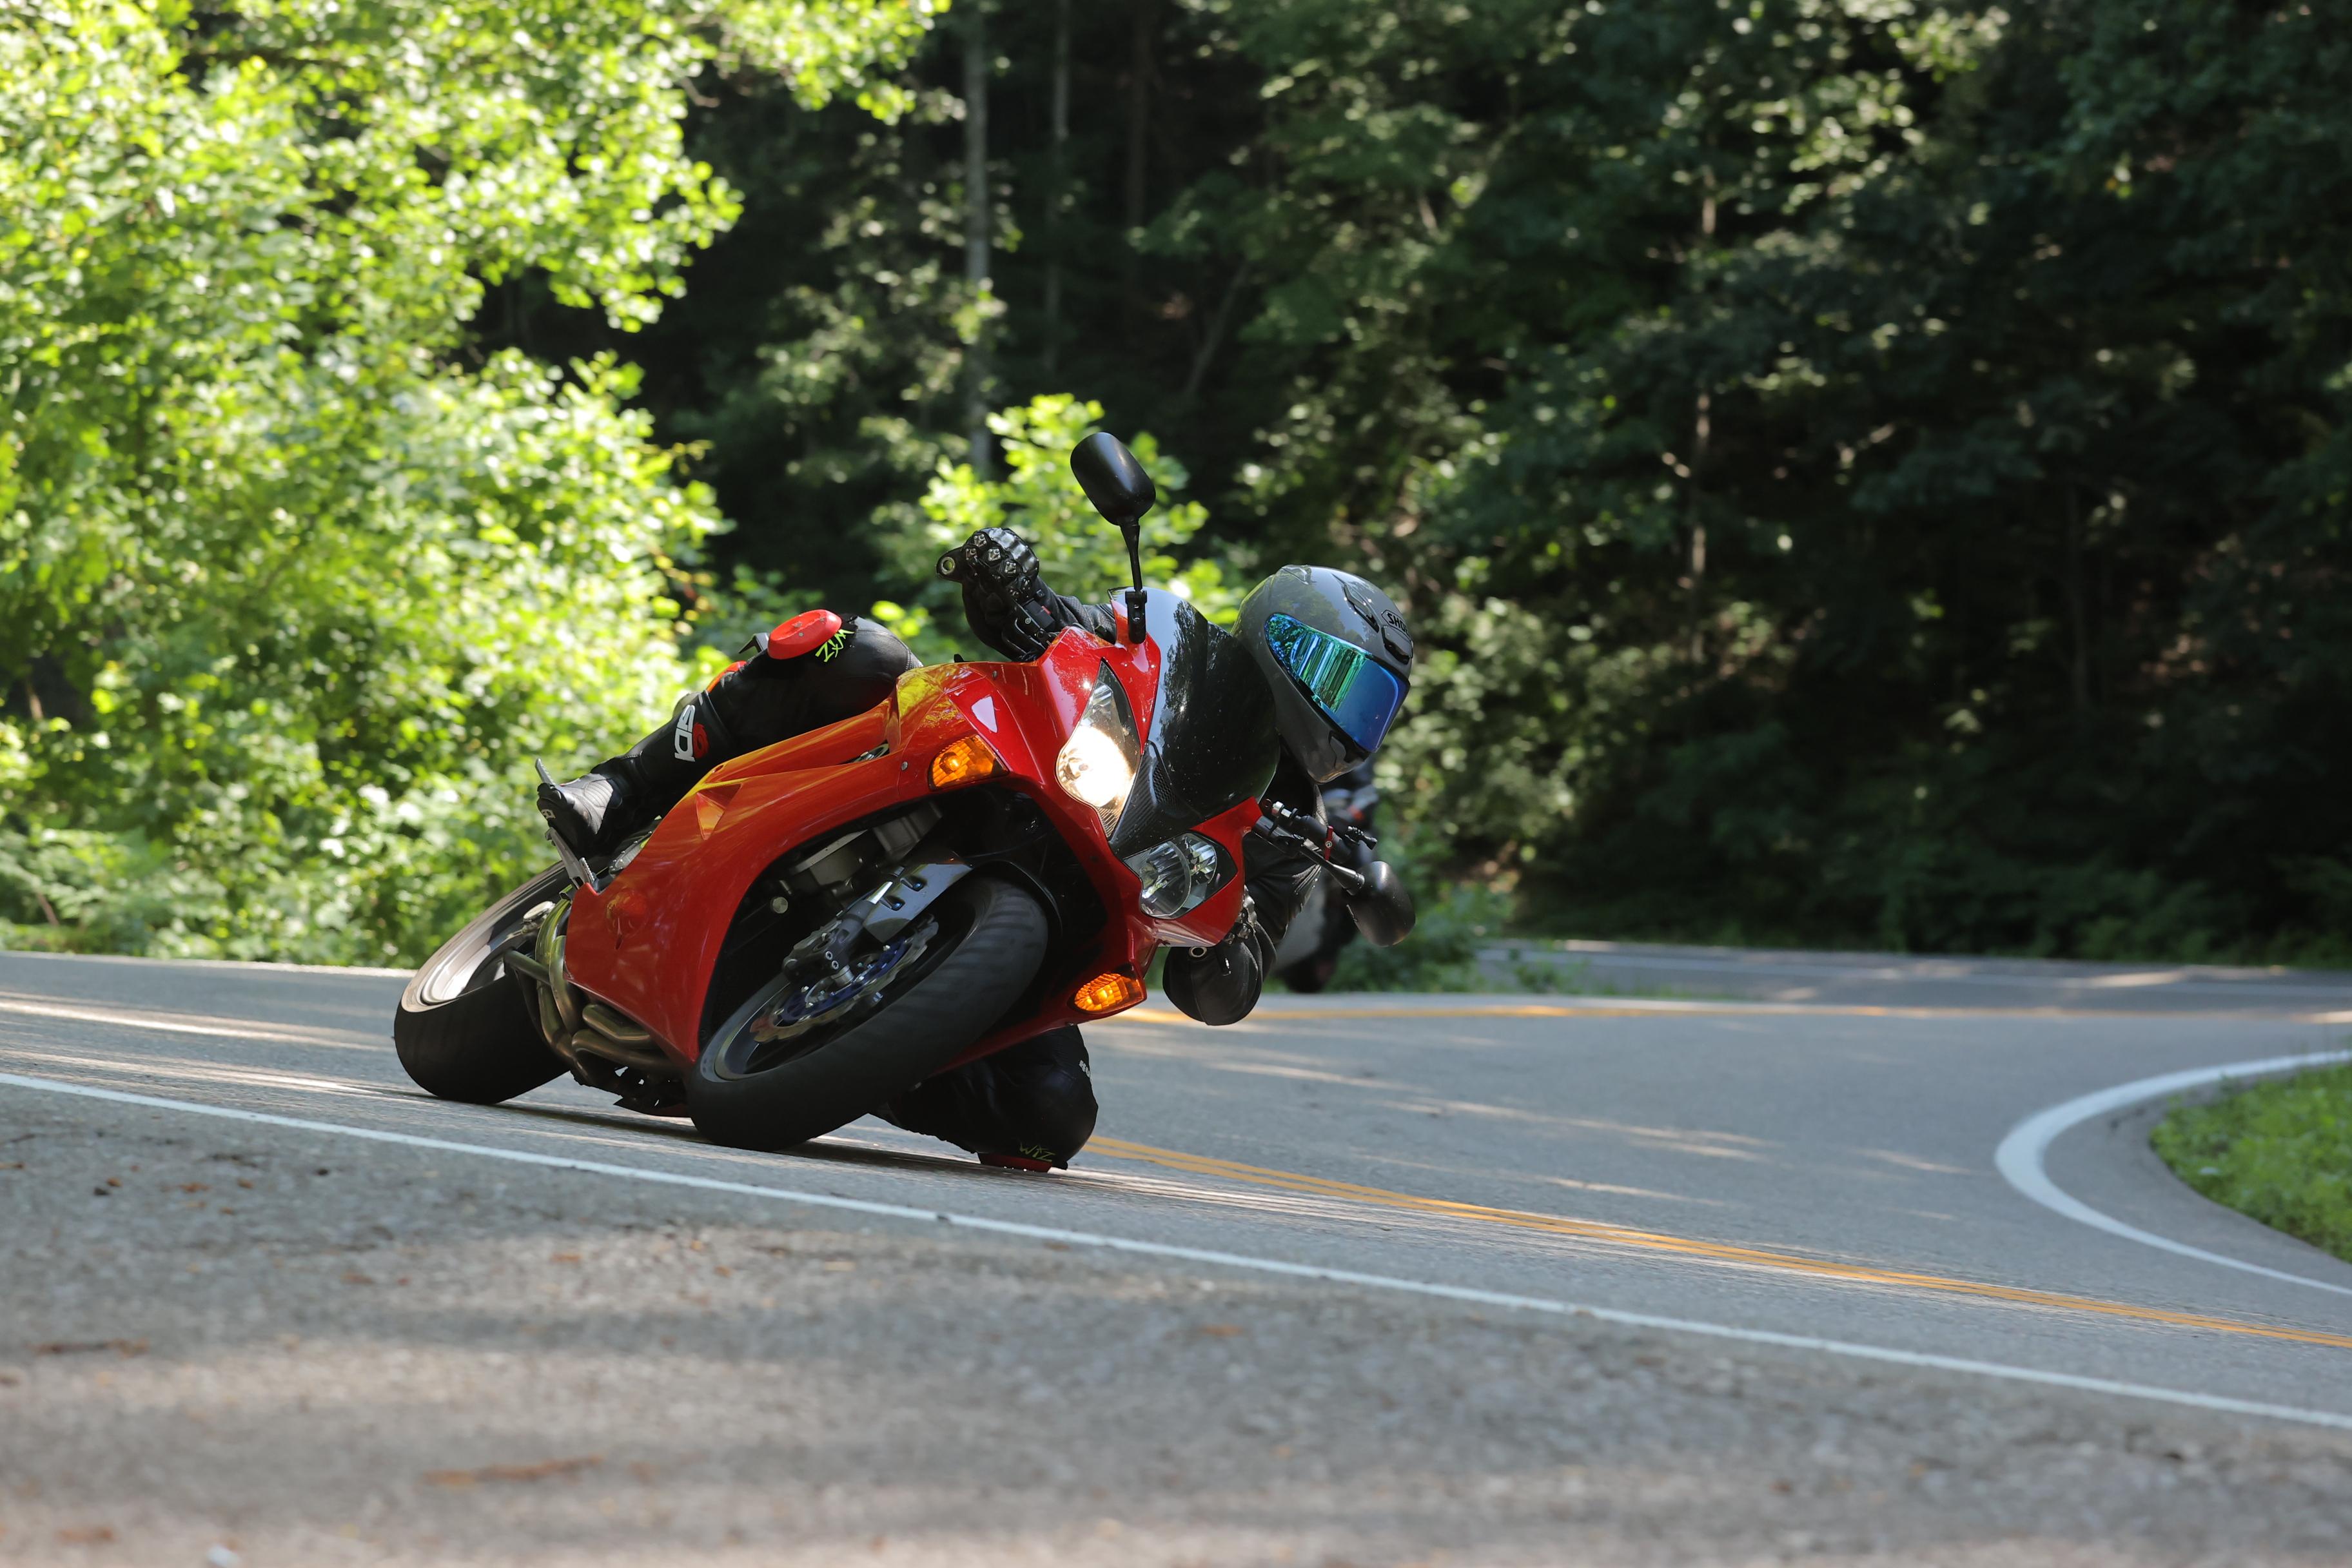
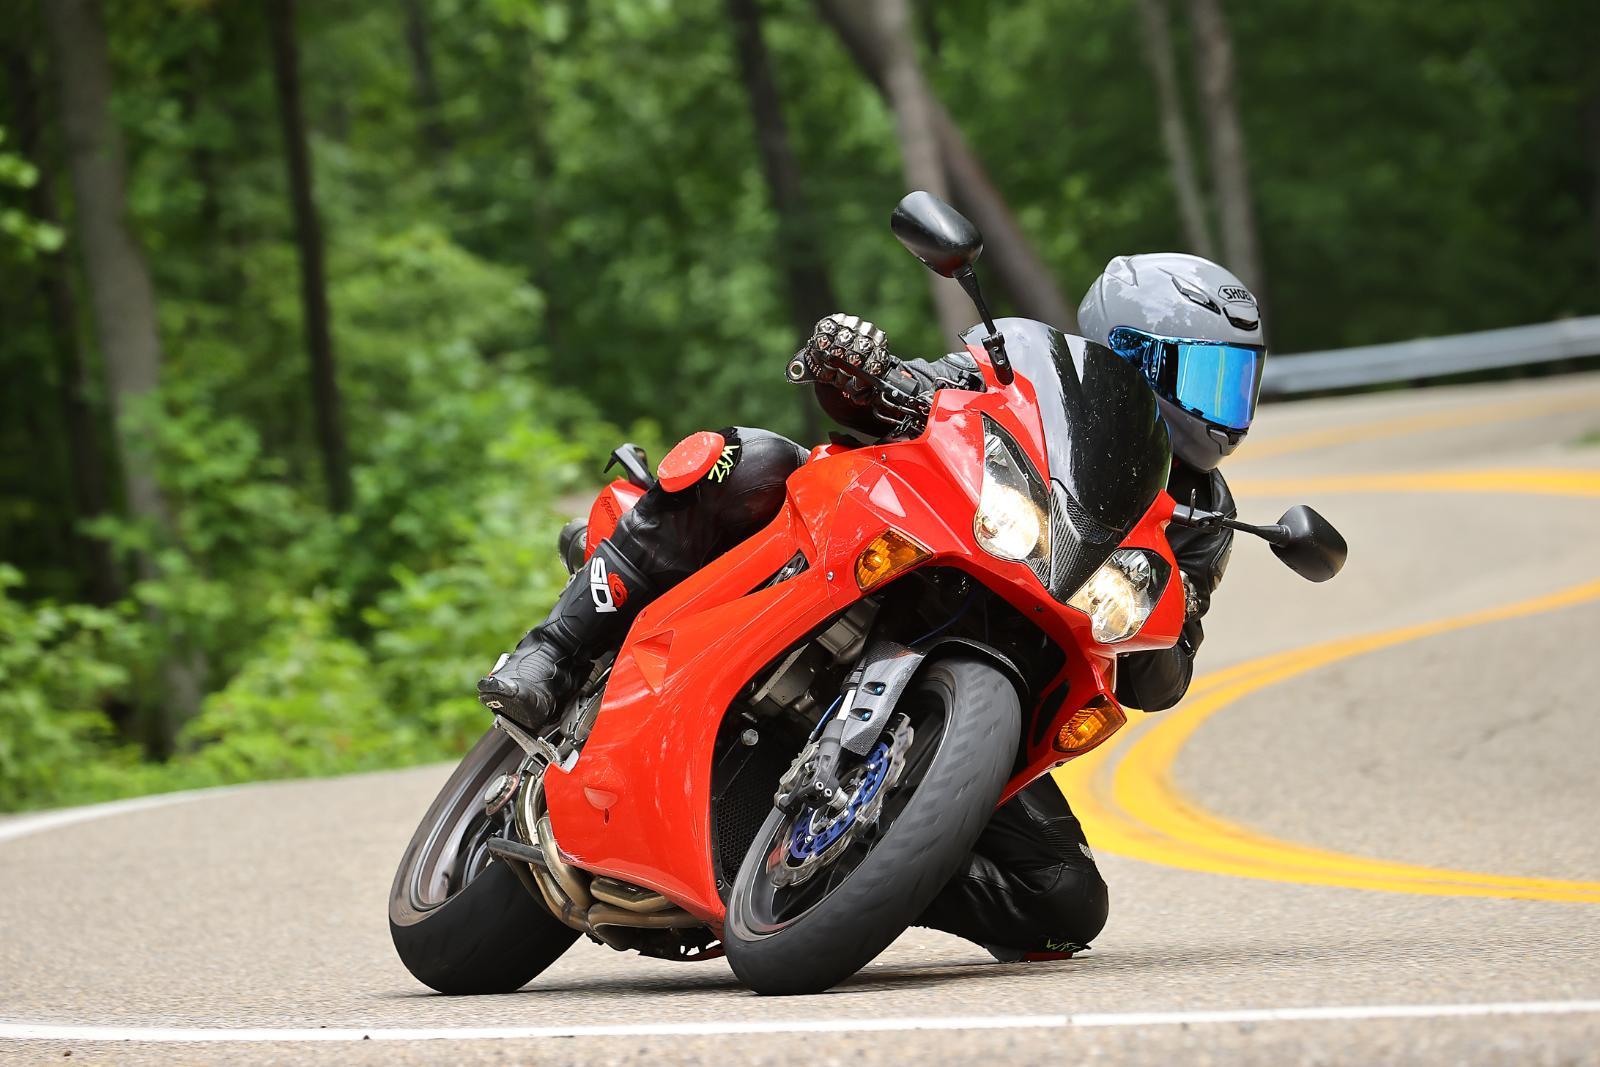
I never showed my full hand, just kept tossing a few cards out. That is pretty much it for the build pics. I have more, but a lot of them are redundant or obsolete. I'll update in a week or so with some action shots from the Dragon. I seem to have misplaced my SD card with all the video on it... I will be revising the oil cooler fittings to remedy a small leak, and I noticed a bit of a coolant leak on the last day of TMAC that appears to be coming from the small pipes in the "V". Might be the hose clamps for the Samco hoses settling in after a few heat cycles? We'll see. I'm also in search of a smaller rear brake caliper. After that, it may just get a "for sale" sign...
-
Finish your KZ by yourself and you can be CraftyCarver
-
I should have time for the forks this weekend. I have a few things to catch up on first, after being gone at TMAC for 6 days.
-
-
-
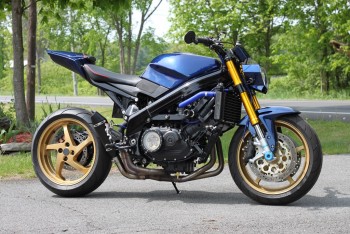
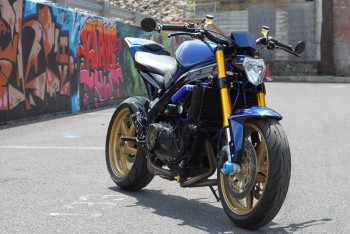
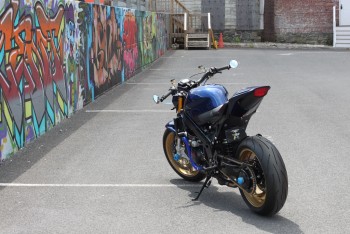
From the album: 96 Streetfighter
-
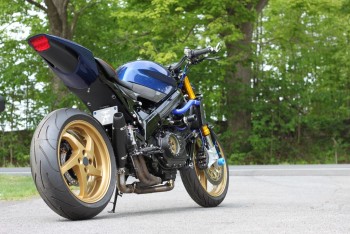
From the album: 96 Streetfighter
-
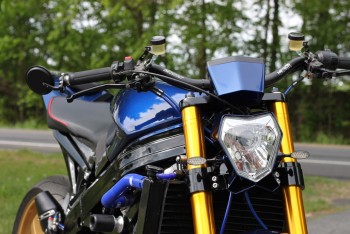
From the album: 96 Streetfighter
-
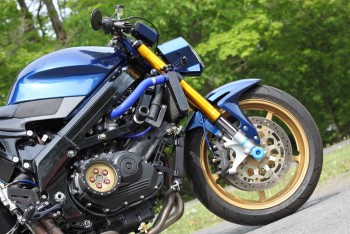
From the album: 96 Streetfighter
-
From the album: 96 Streetfighter