


ducnut
-
Posts
548 -
Joined
-
Last visited
-
Days Won
14
Content Type
Forums
Profiles
Gallery
Blogs
Downloads
Events
Everything posted by ducnut
-
Are the front brake pads on the 5th and 6th gen the same ?
ducnut replied to RdChinoy's topic in Sixth Generation VFR's

-
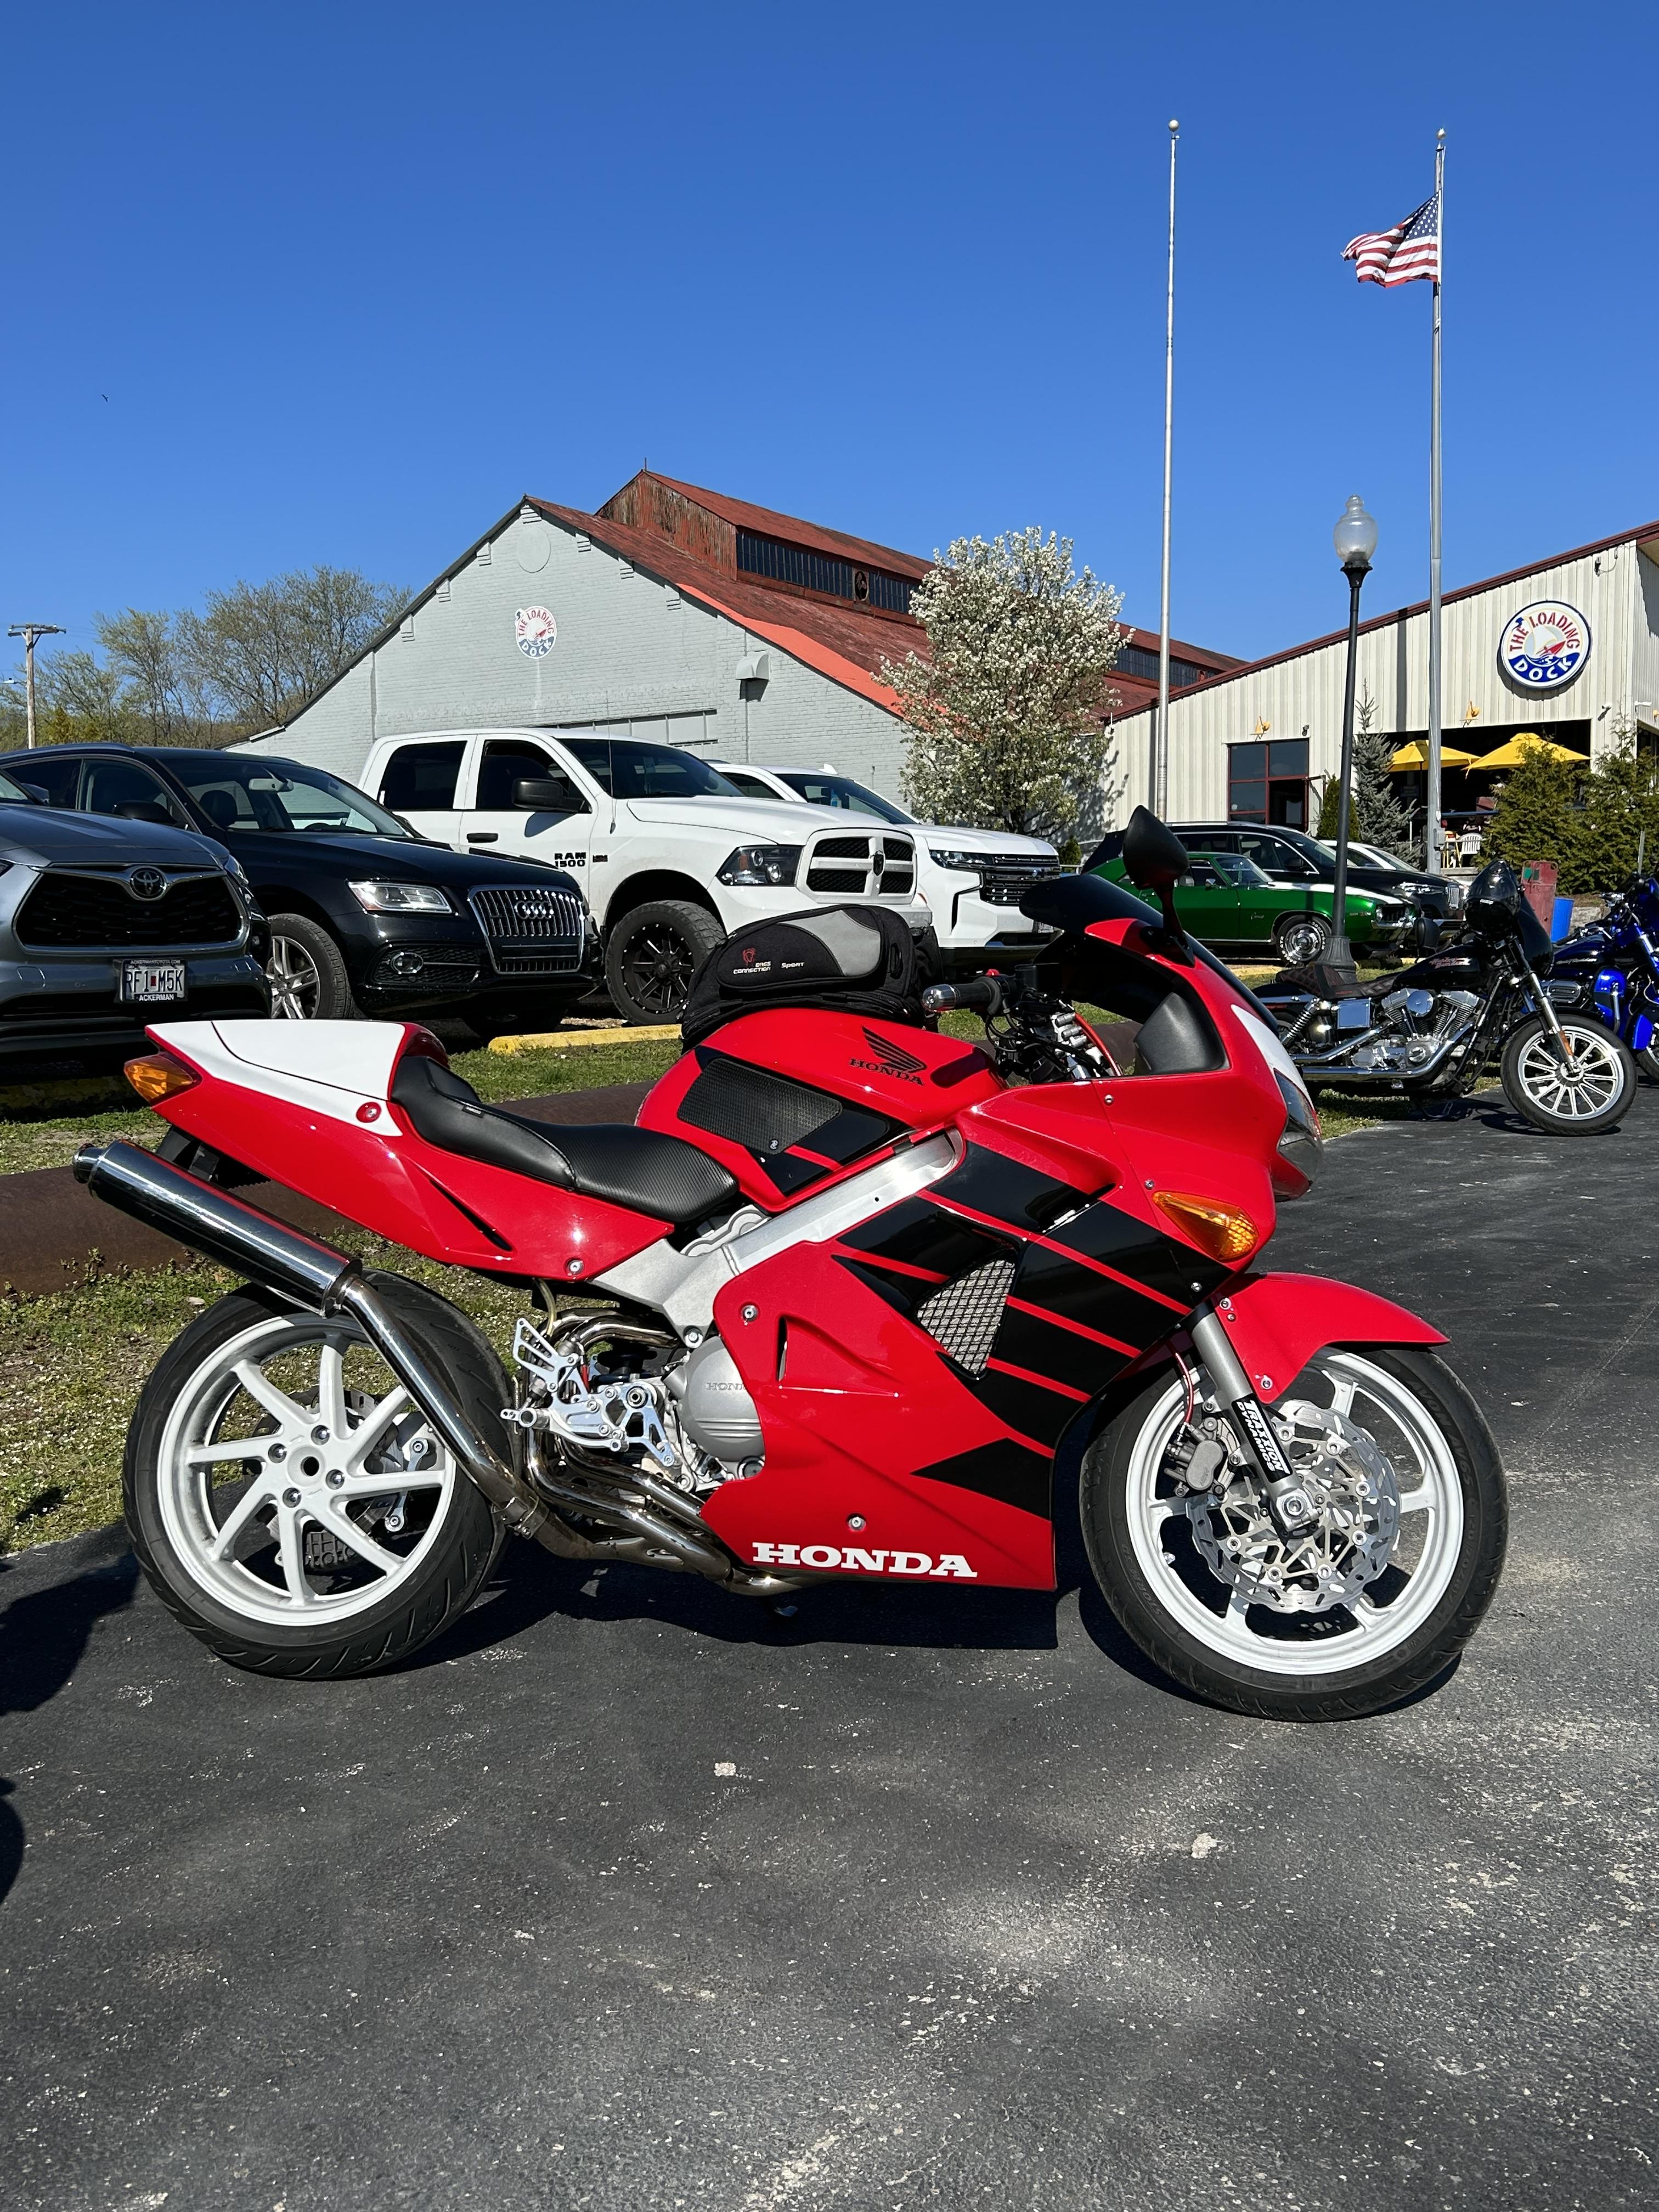
Post up a pic of yours. Might just be something minor out of place.
-
Take a look at how the rear suspension linkage works. No way around the contact, other than a banana-shaped link. My shock is longer length and I stacked a bunch of stainless washers on top of the clevis. I drilled out the gas tank hinge mount, so I could stack on even more washers. The rearend of my bike is as high as I could possibly go. It all makes for a drastic difference in the handling
-
It’s roughly 2:1 ratio. The rearend height is limited by the link.
-
I can’t fathom downloading a form, filling it out, and expecting it to be adequate enough to satisfy expectations. The best of the best all want to speak to their customers and I can’t think of any who don’t. To NOT want that interaction is bizarre to me. Just remember: Apple was founded by three incredibly intelligent and innovative individuals.
-
Legit.
-
^^^ The bold text is 100% not true. No Penske is off-the-shelf, no matter which dealer you buy from. They are custom assembled, by a handful of techs at Penske Racing Shocks, in Reading, PA. They have built all my shocks, the last 18yrs, including a VFR prototype and the one currently on my VFR. Likewise, Wilbers and Traxxion products are all custom-built, to the customer’s needs. There’s a really big gap between a guy working in his home garage, whom you act like is a suspension god, and legit suspension manufacturers like Penske, Wilbers, and Traxxion Dynamics, who have thousands of racing championships behind their work.
-
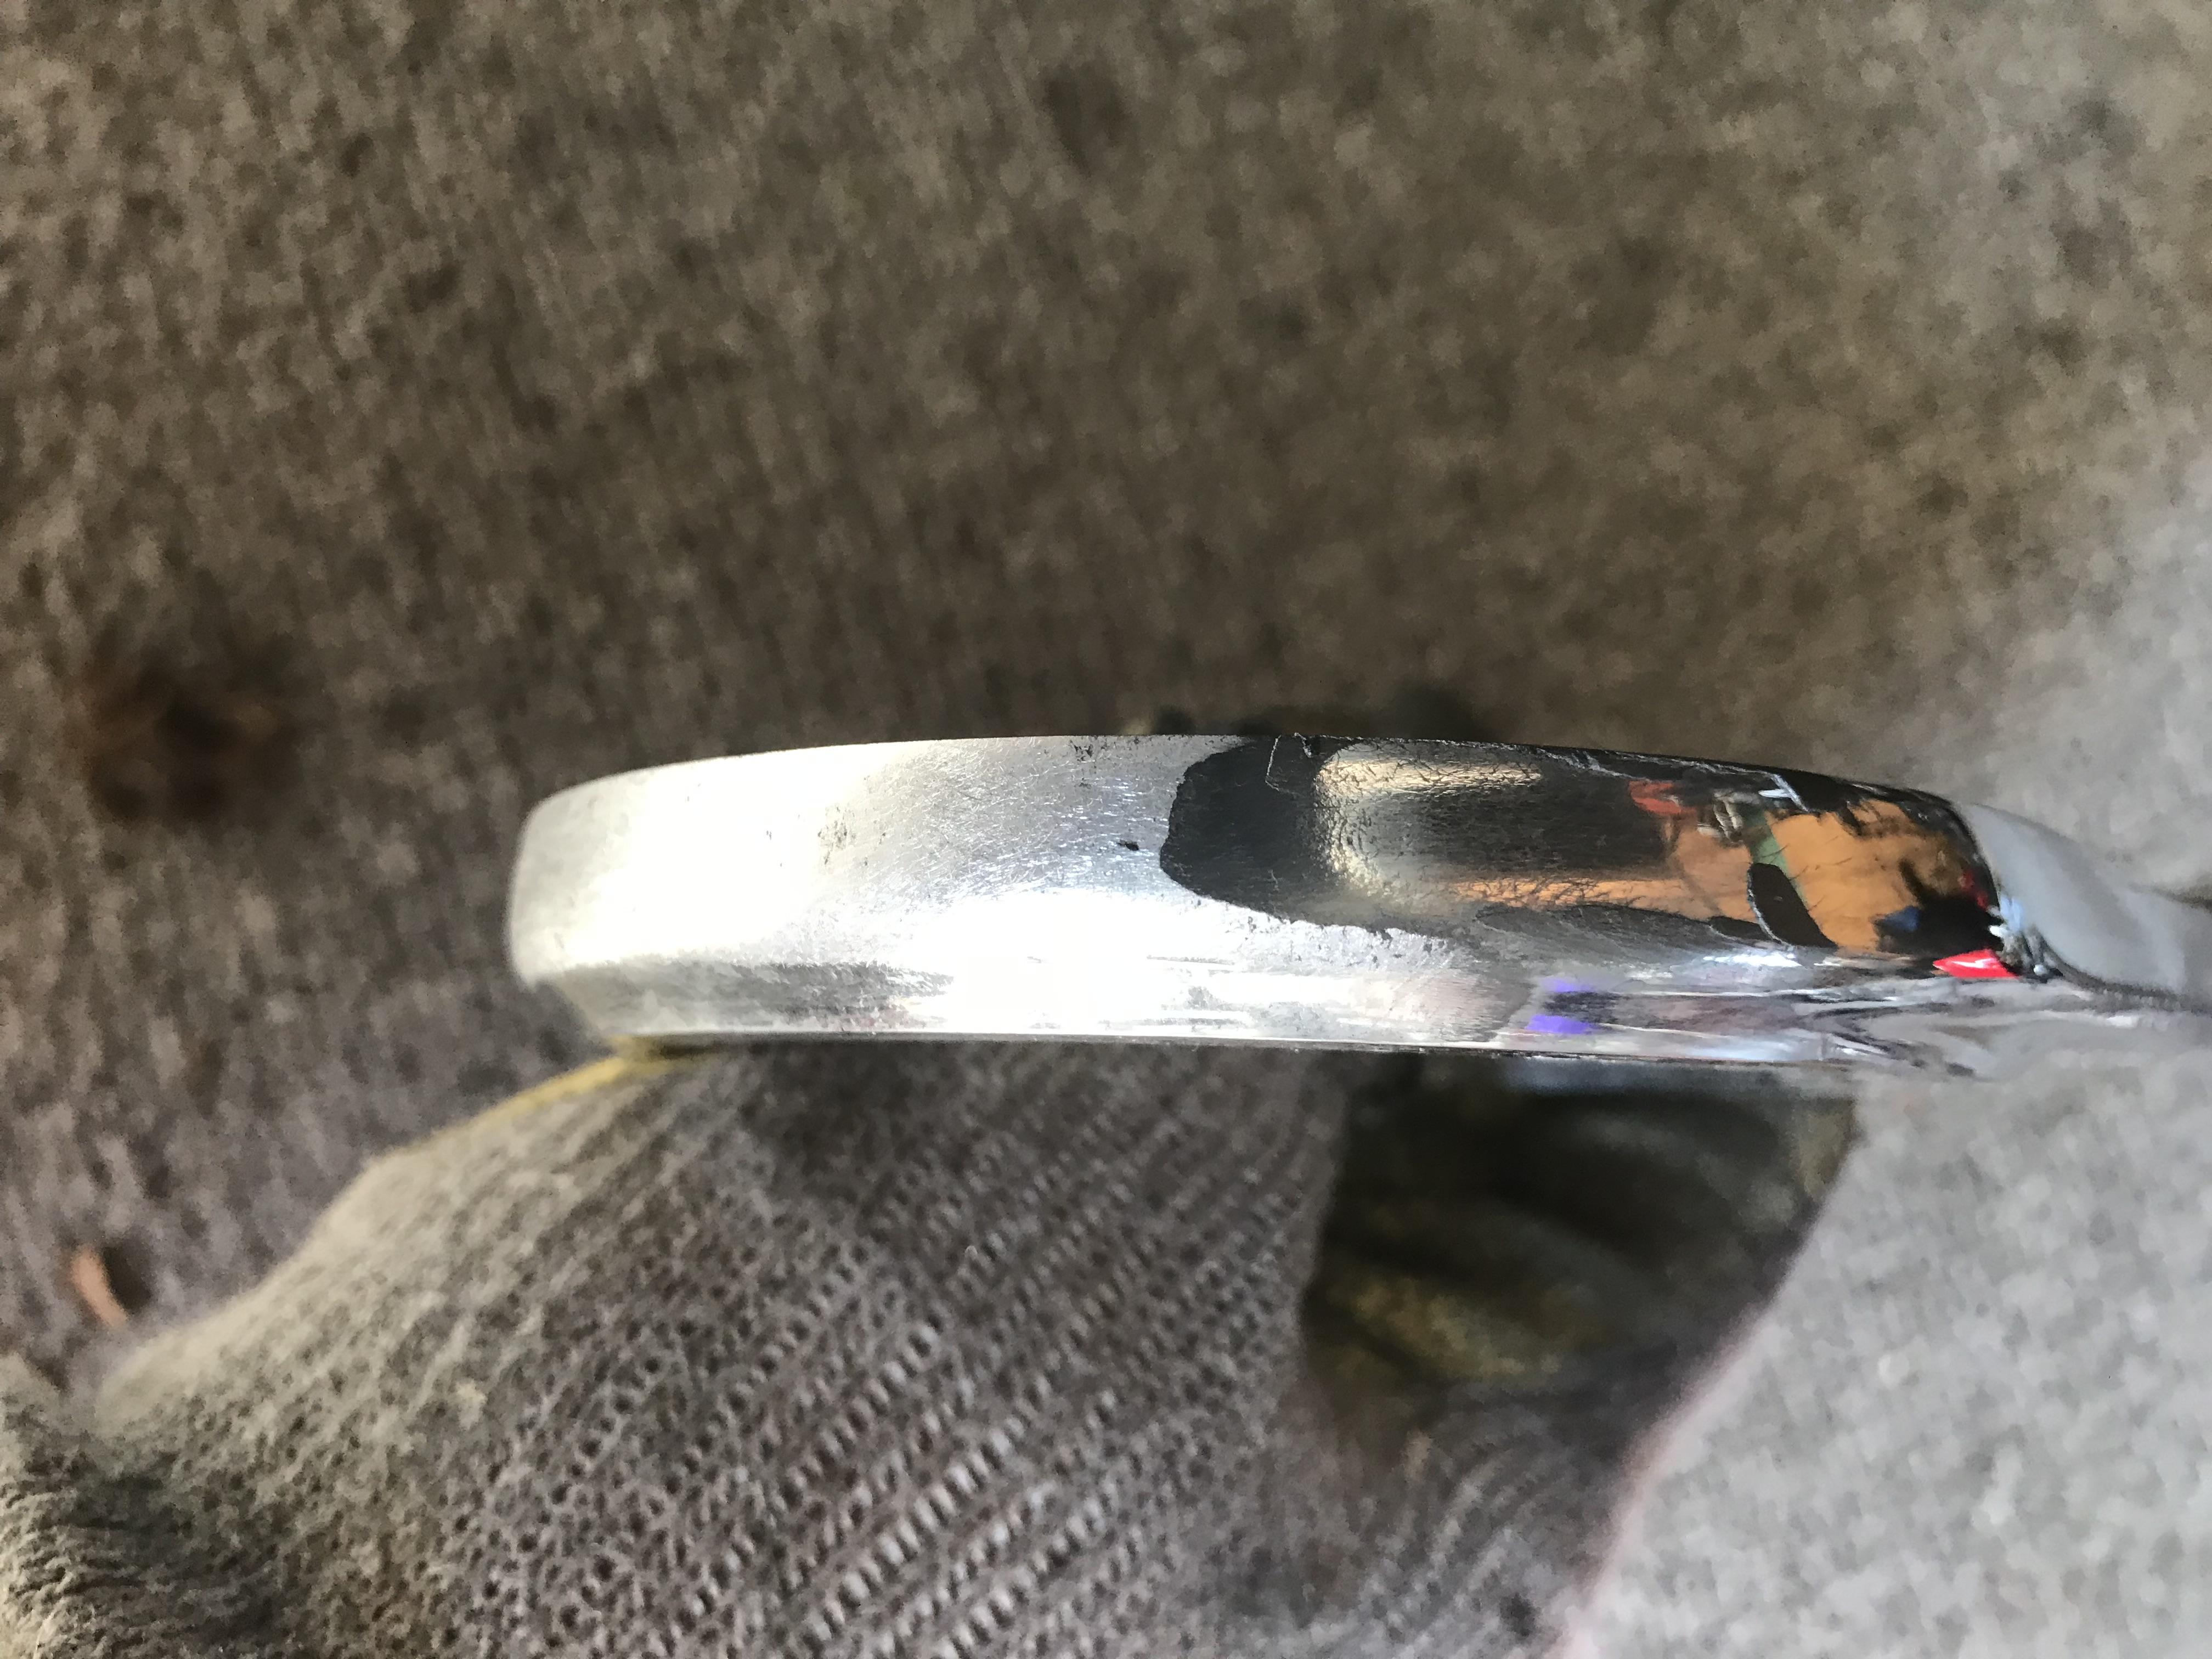
A stand-mounted buffer will do a much better job. The more horsepower the motor, the larger the shaft, the larger diameter buff you can use, which means faster pace of work. This is a passivated tube next to a polished tube. A buffer makes easy work of it. This shows the progress on my brake hanger, where I smoothed the casting marks, then, polished it. This is the final outcome. You just can’t achieve this level of finish, without a proper buffer.
-
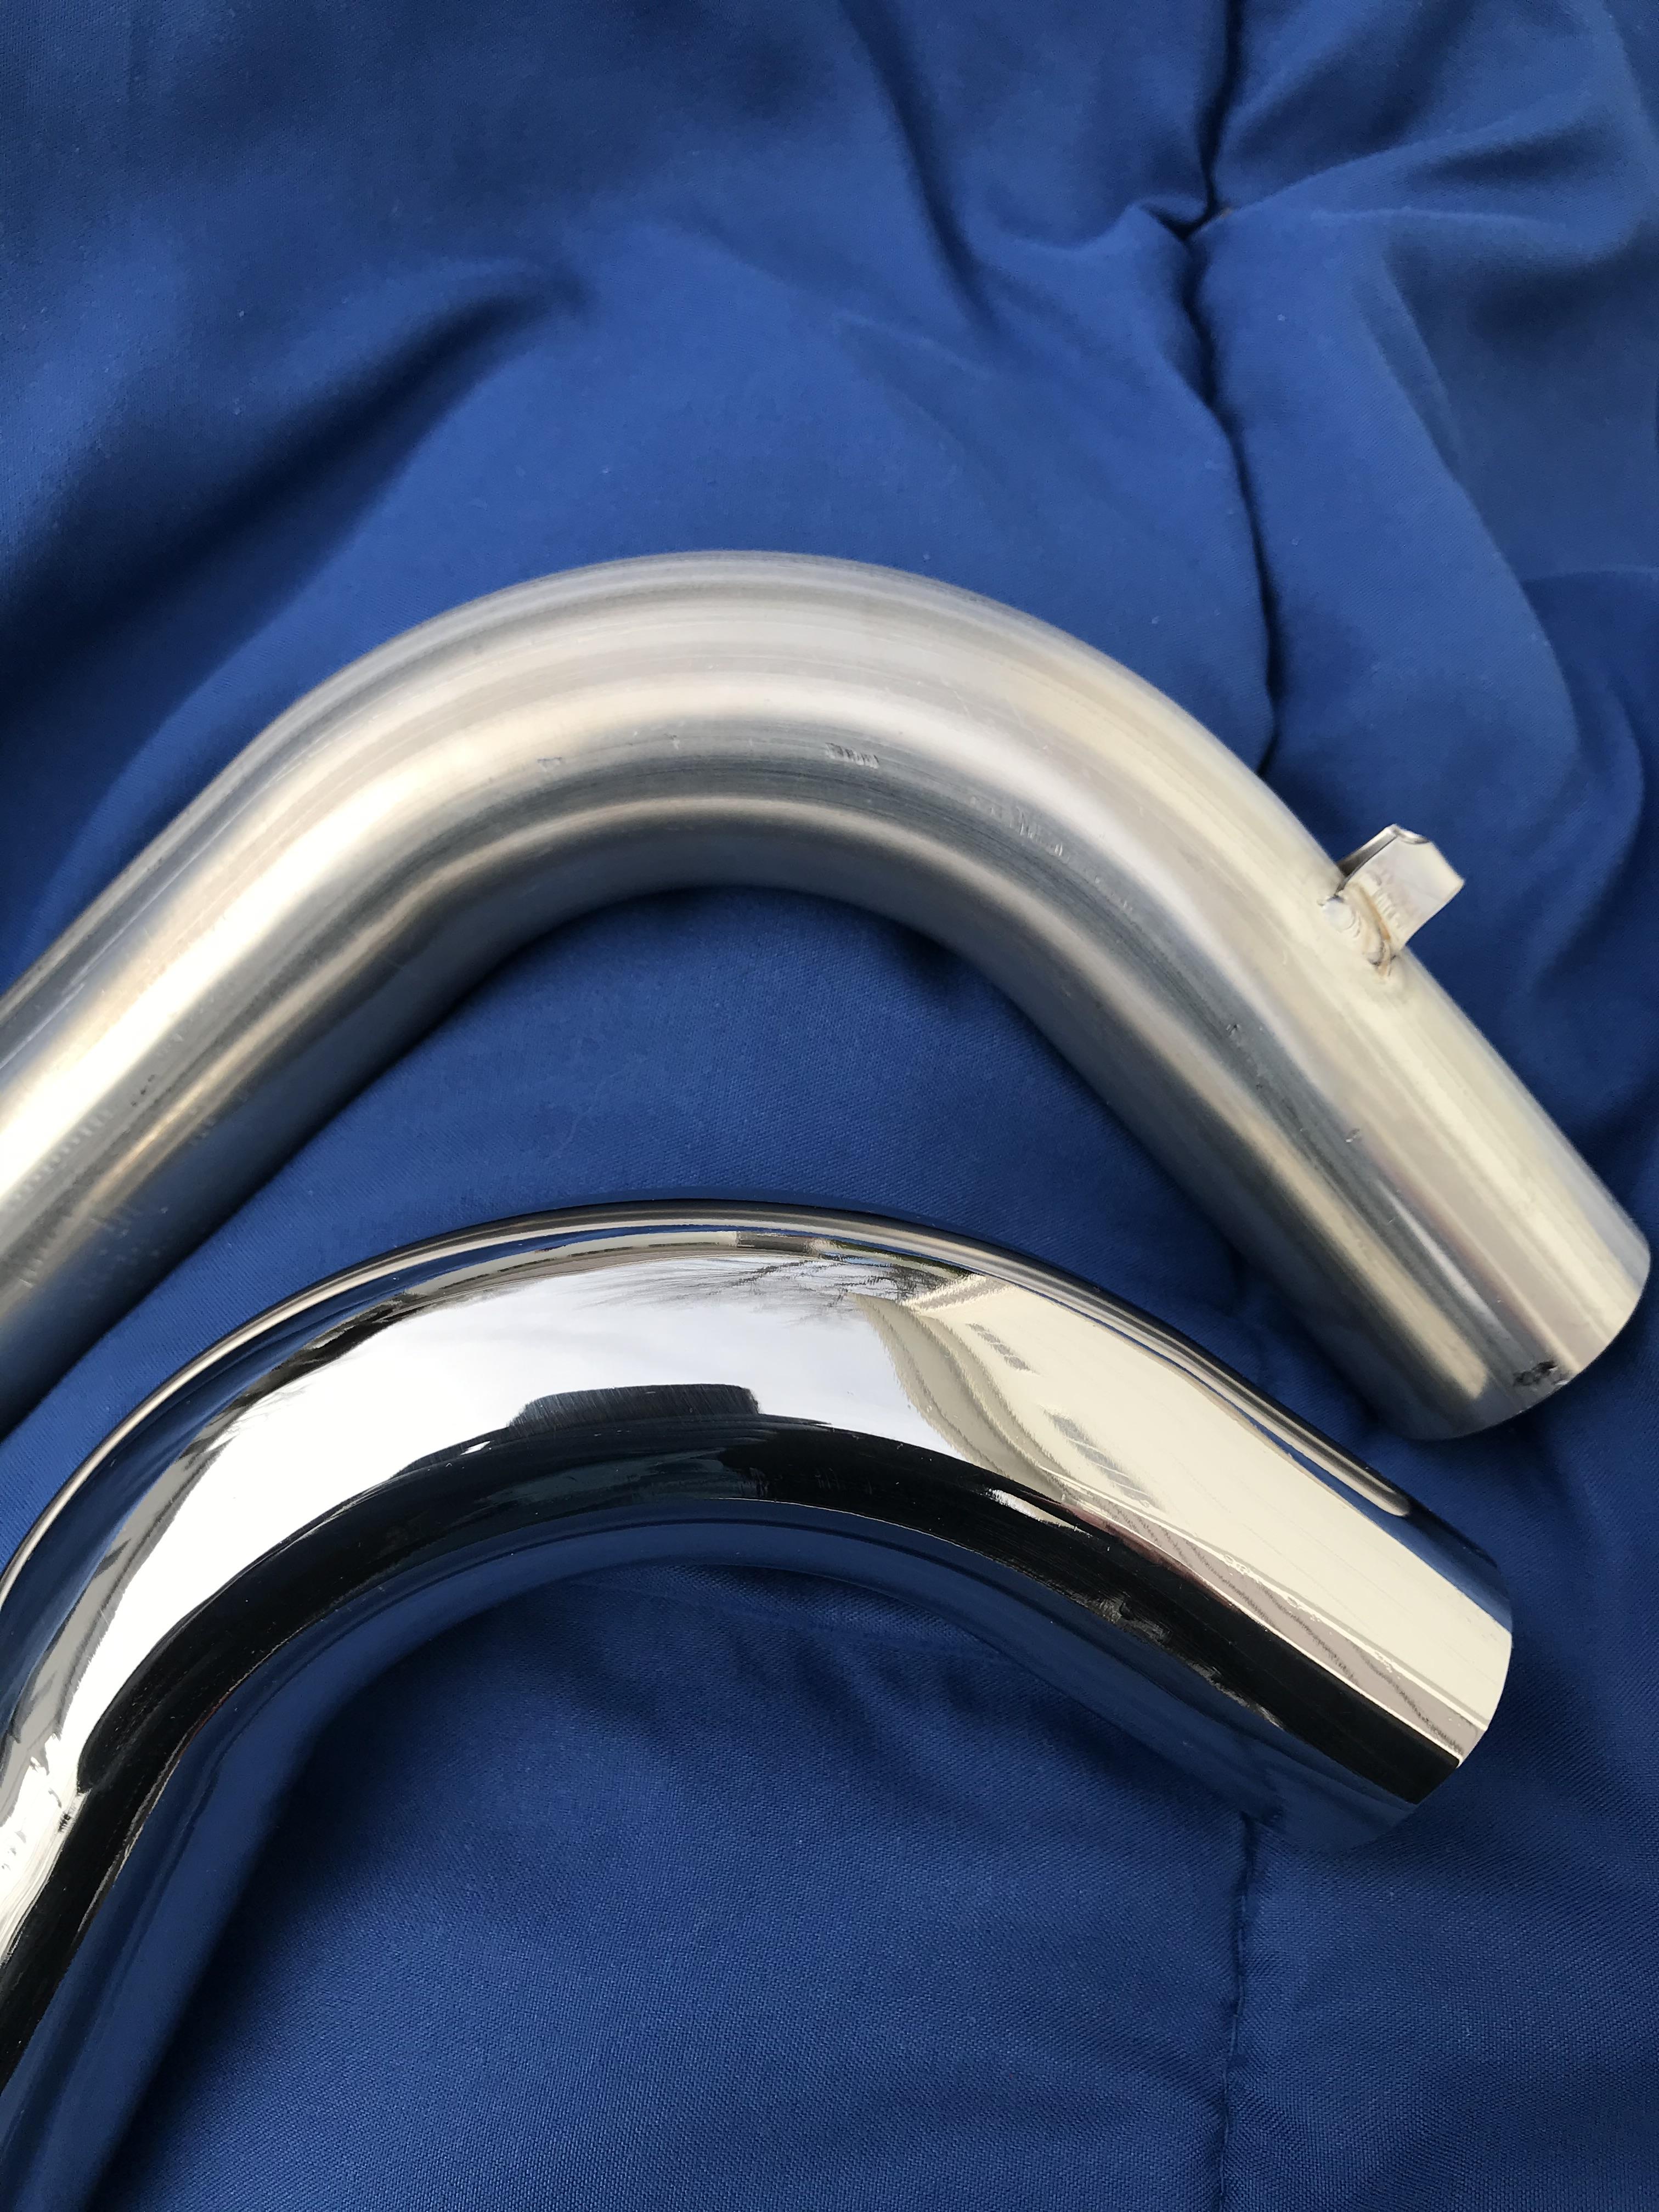
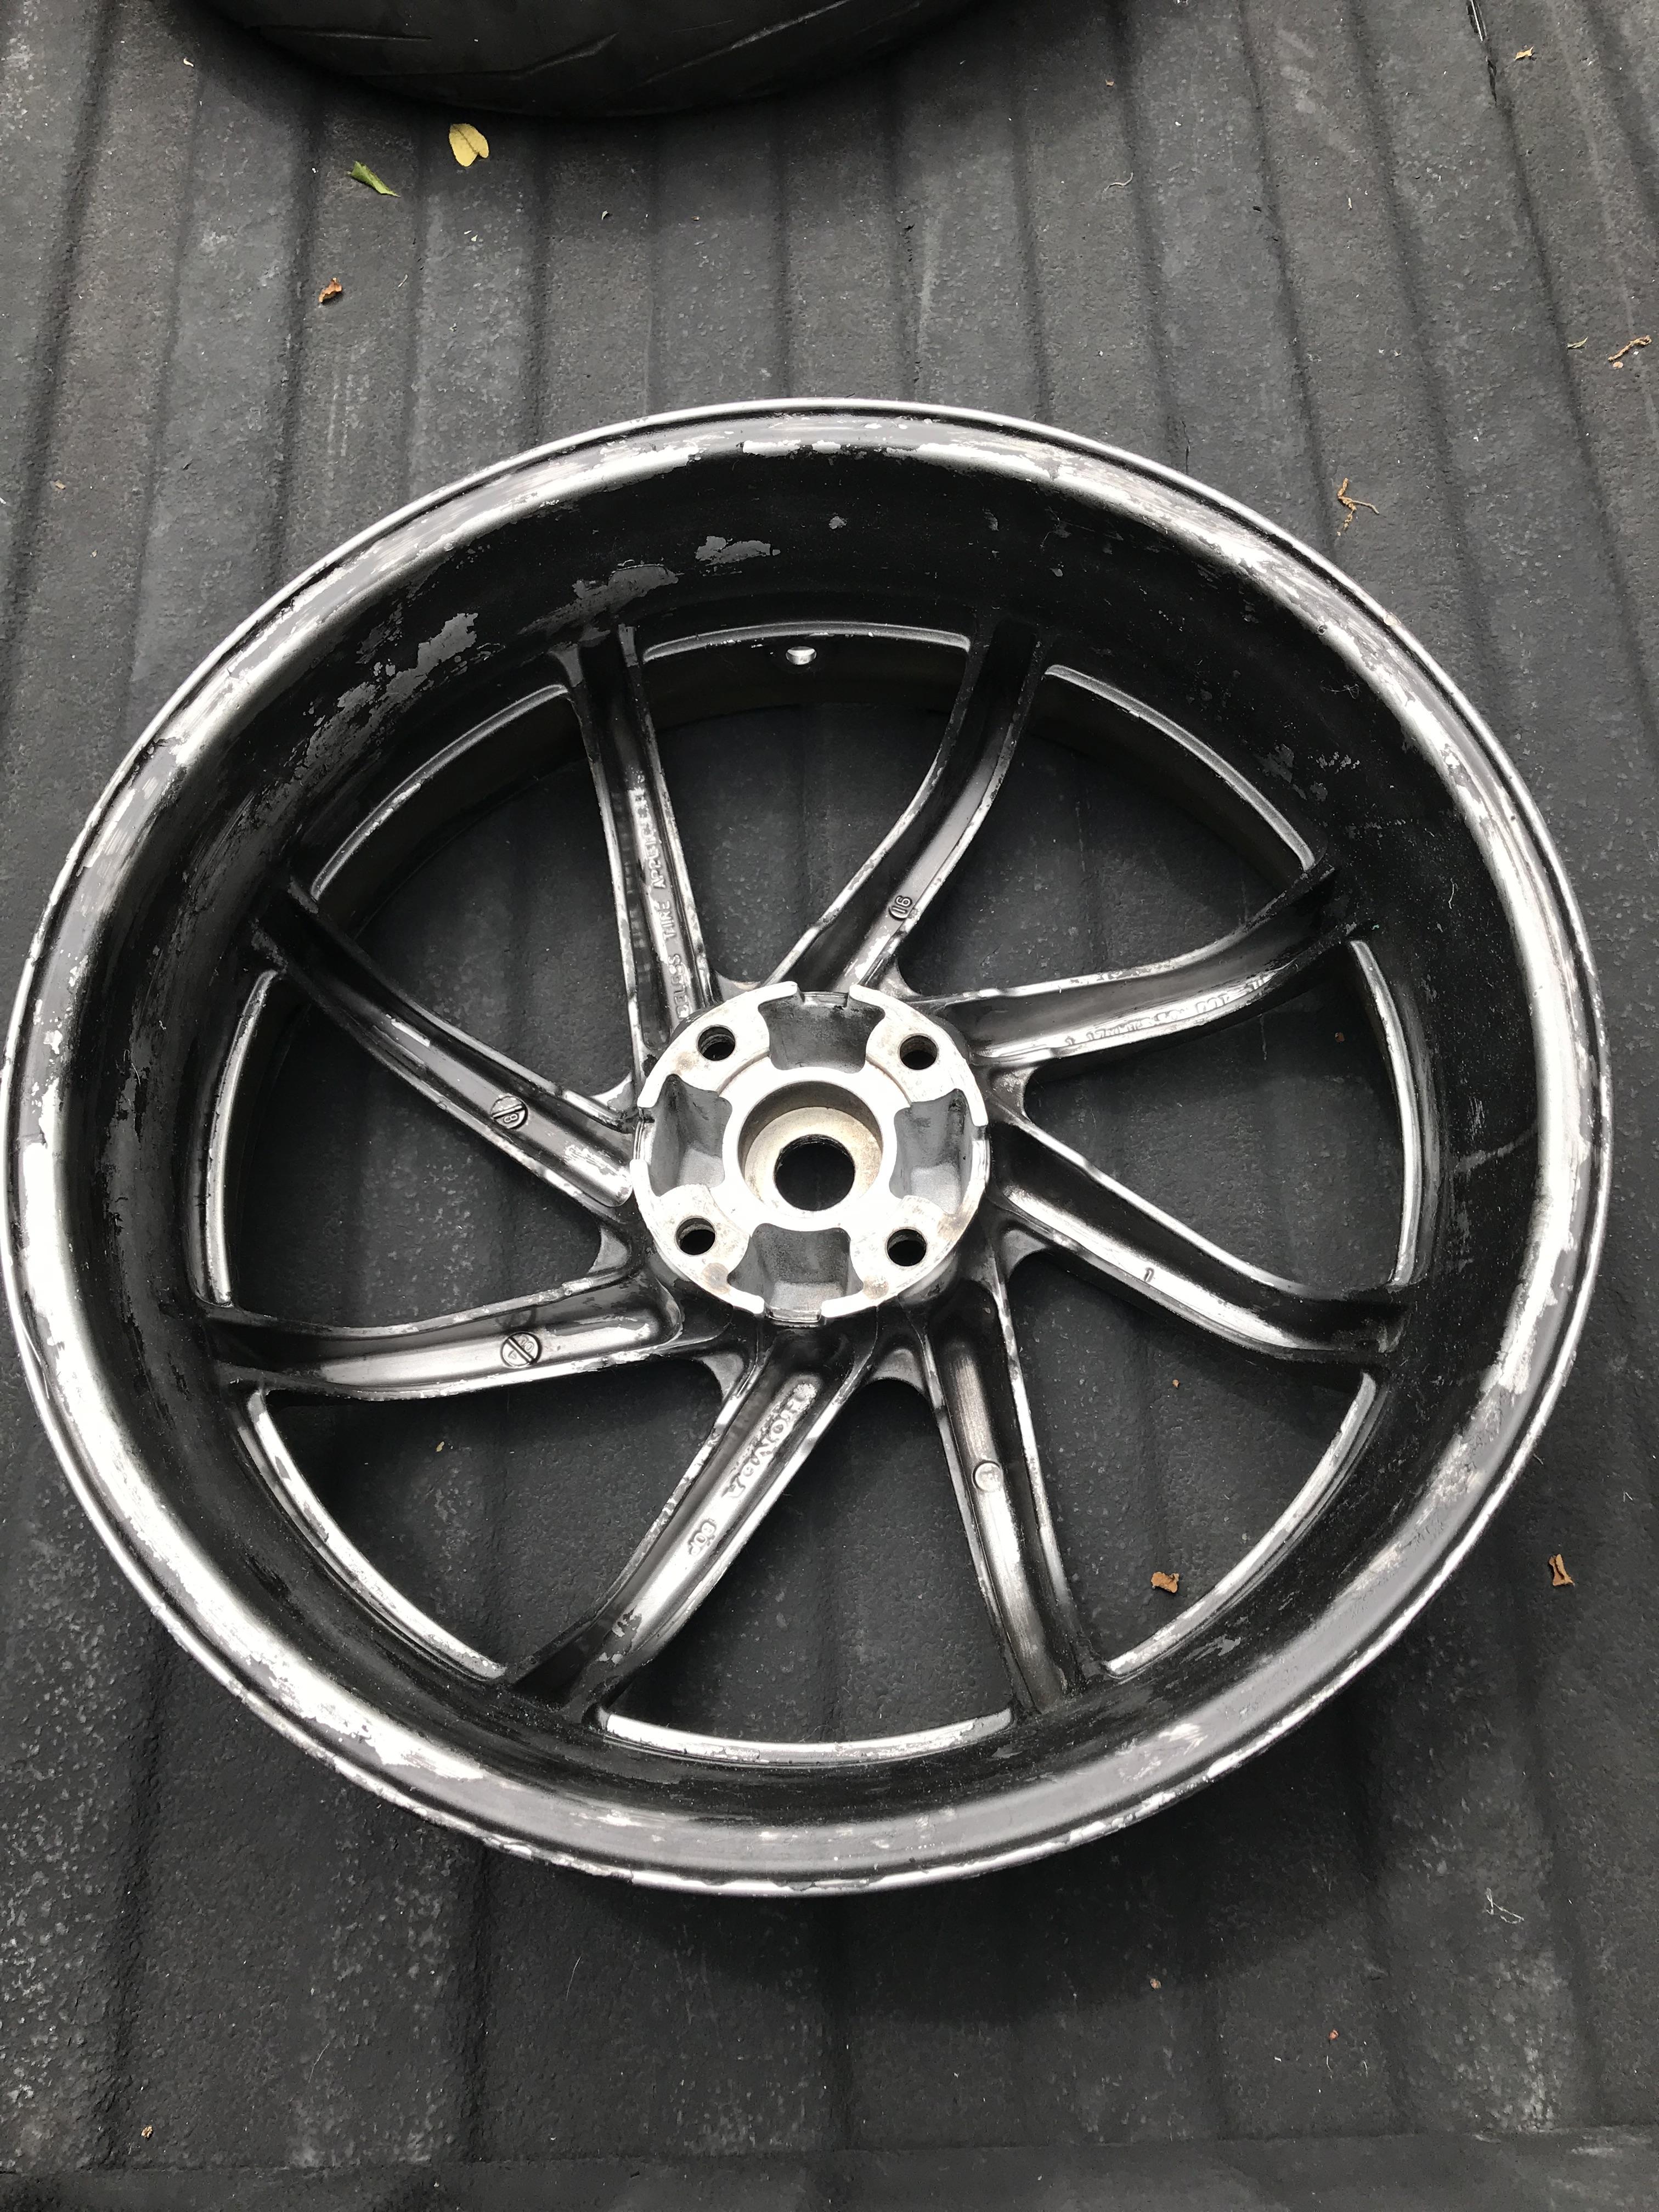
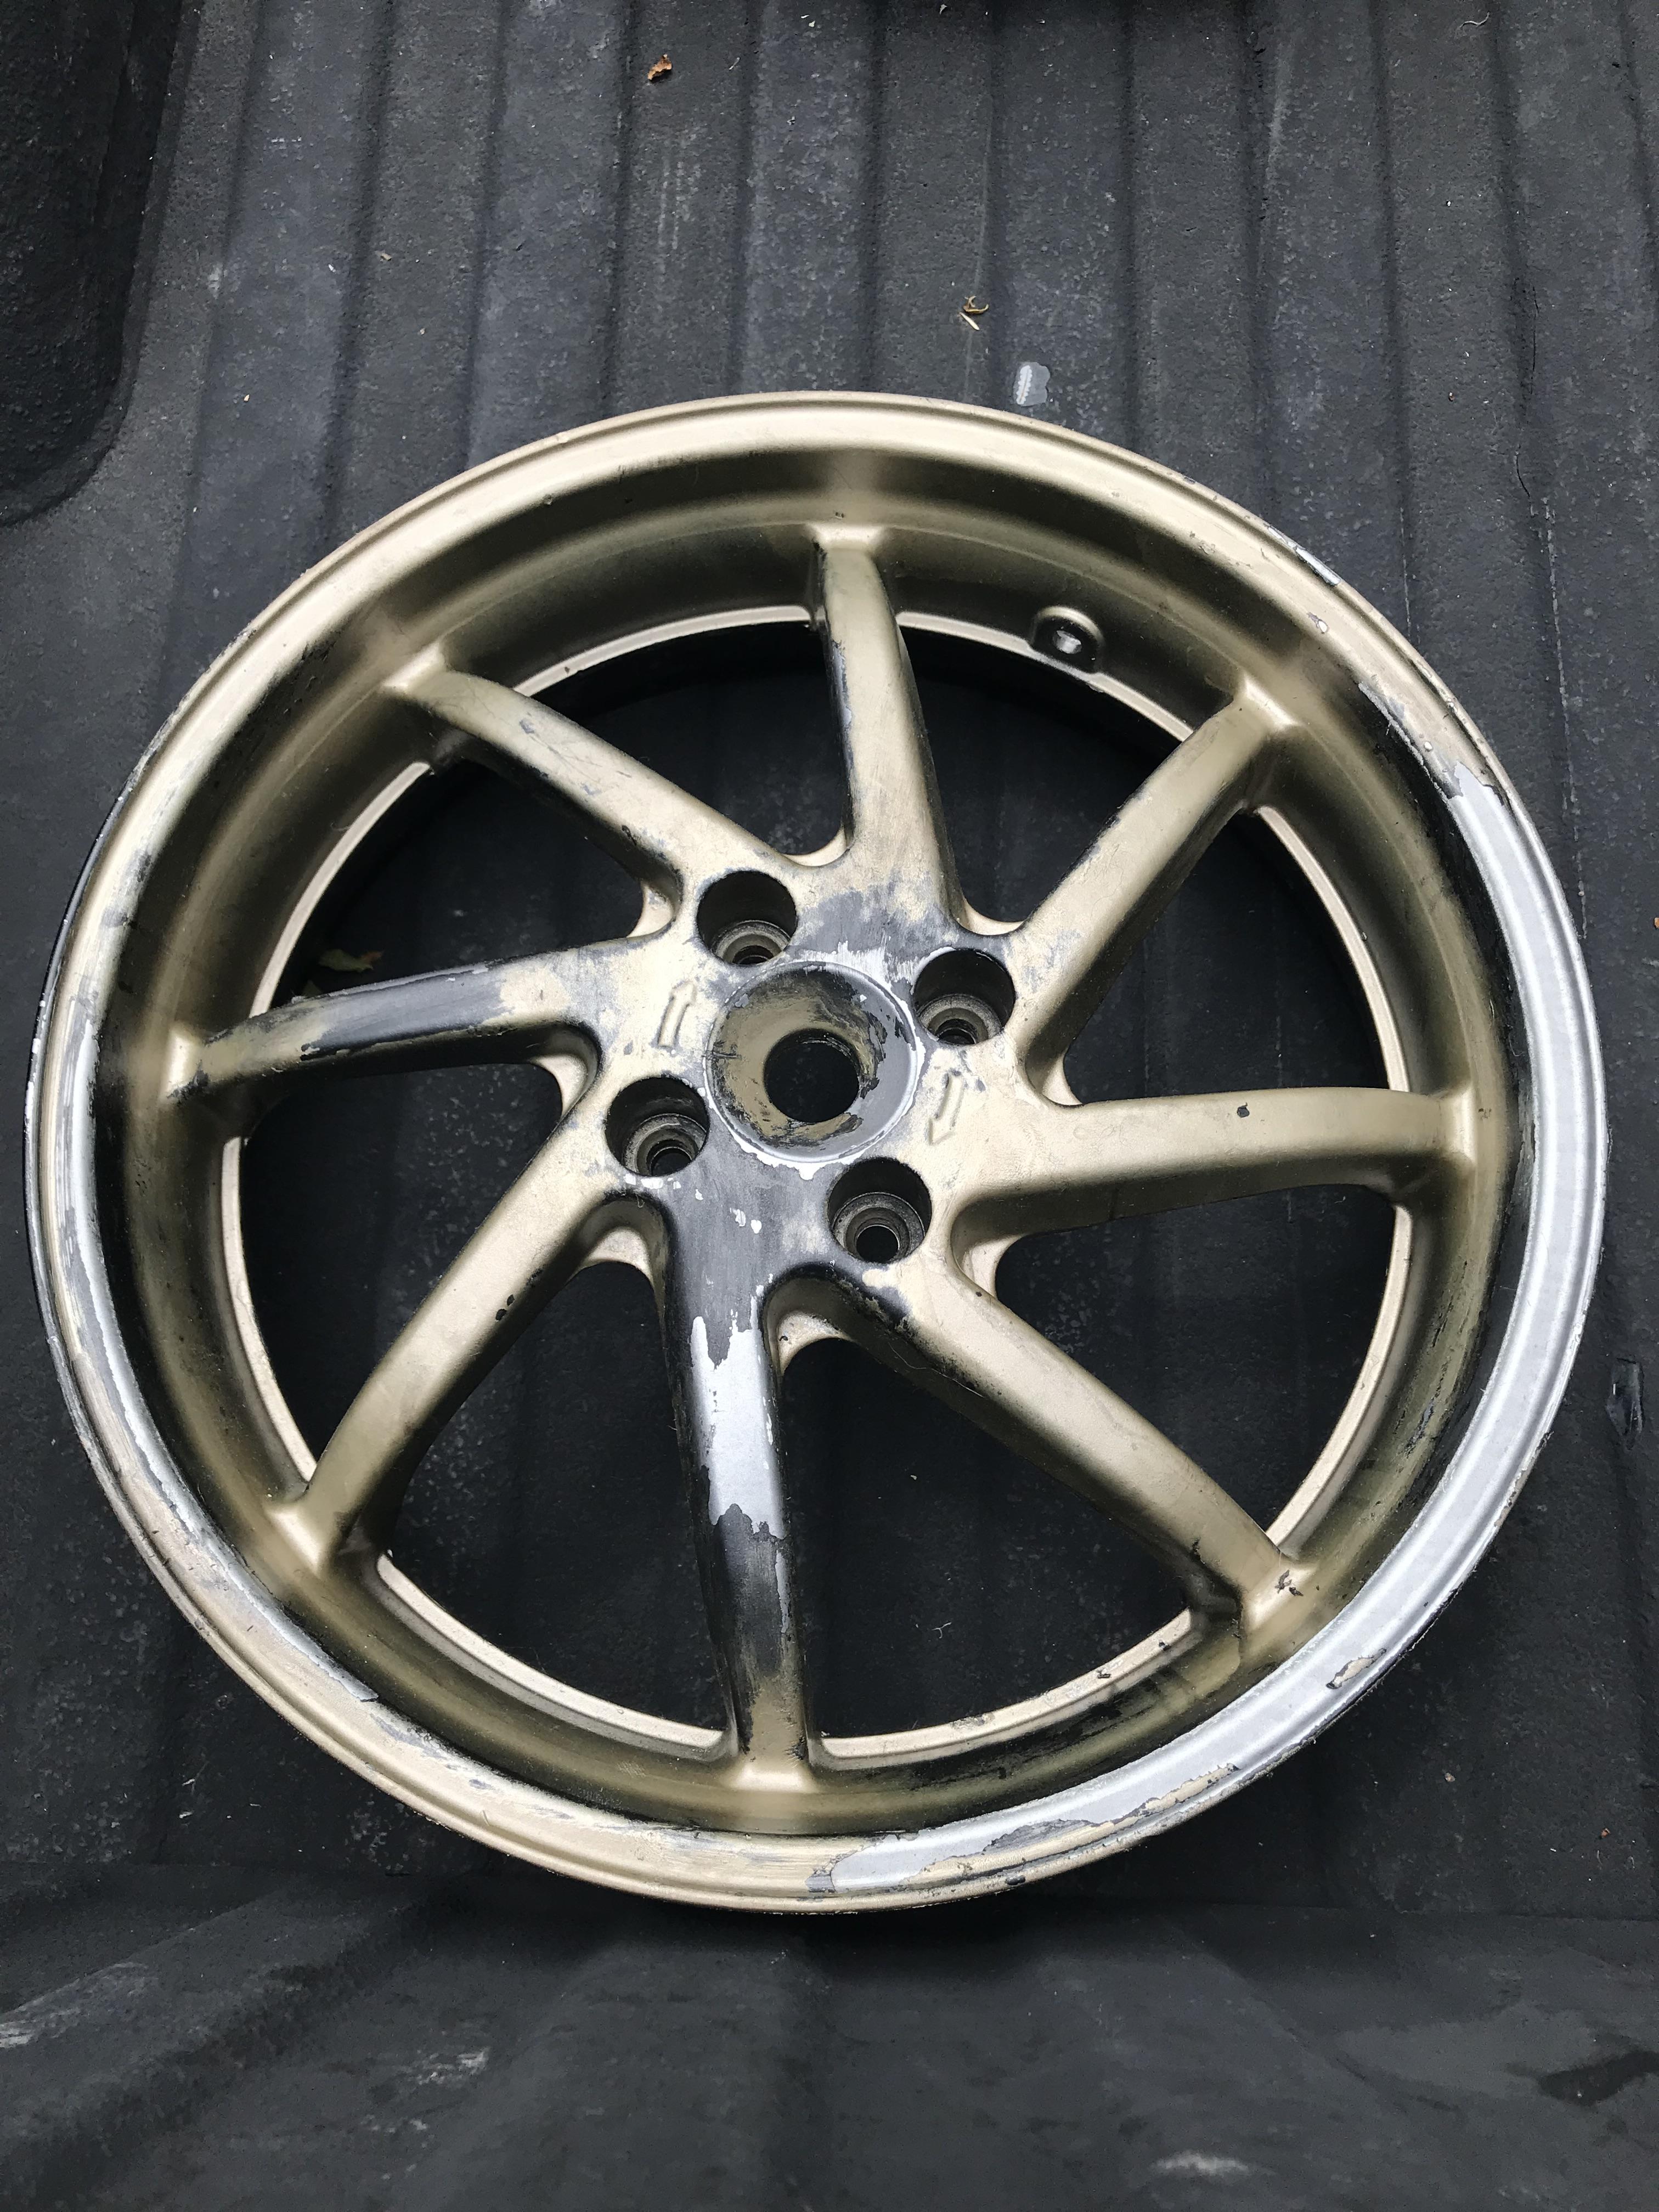
I had to have bought the rattiest wheel on the planet. Dude assured me it was solid, under the layers of ugly. Indeed, it was. As for the Staintune, I bought that from a motorcycle salvage yard. I asked if he had any VFR’s sitting around. He said he had what was left of one sitting in a wheelbarrow. As I started picking through the pile, I immediately recognized the muffler at the bottom. I couldn’t believe it, as I’d stumbled onto the holy grail in a junkyard. There were no brackets, so I had to improvise a bit. And, thankfully, there was no damage beyond scratches, which I polished out. I gave $50 for it.
-
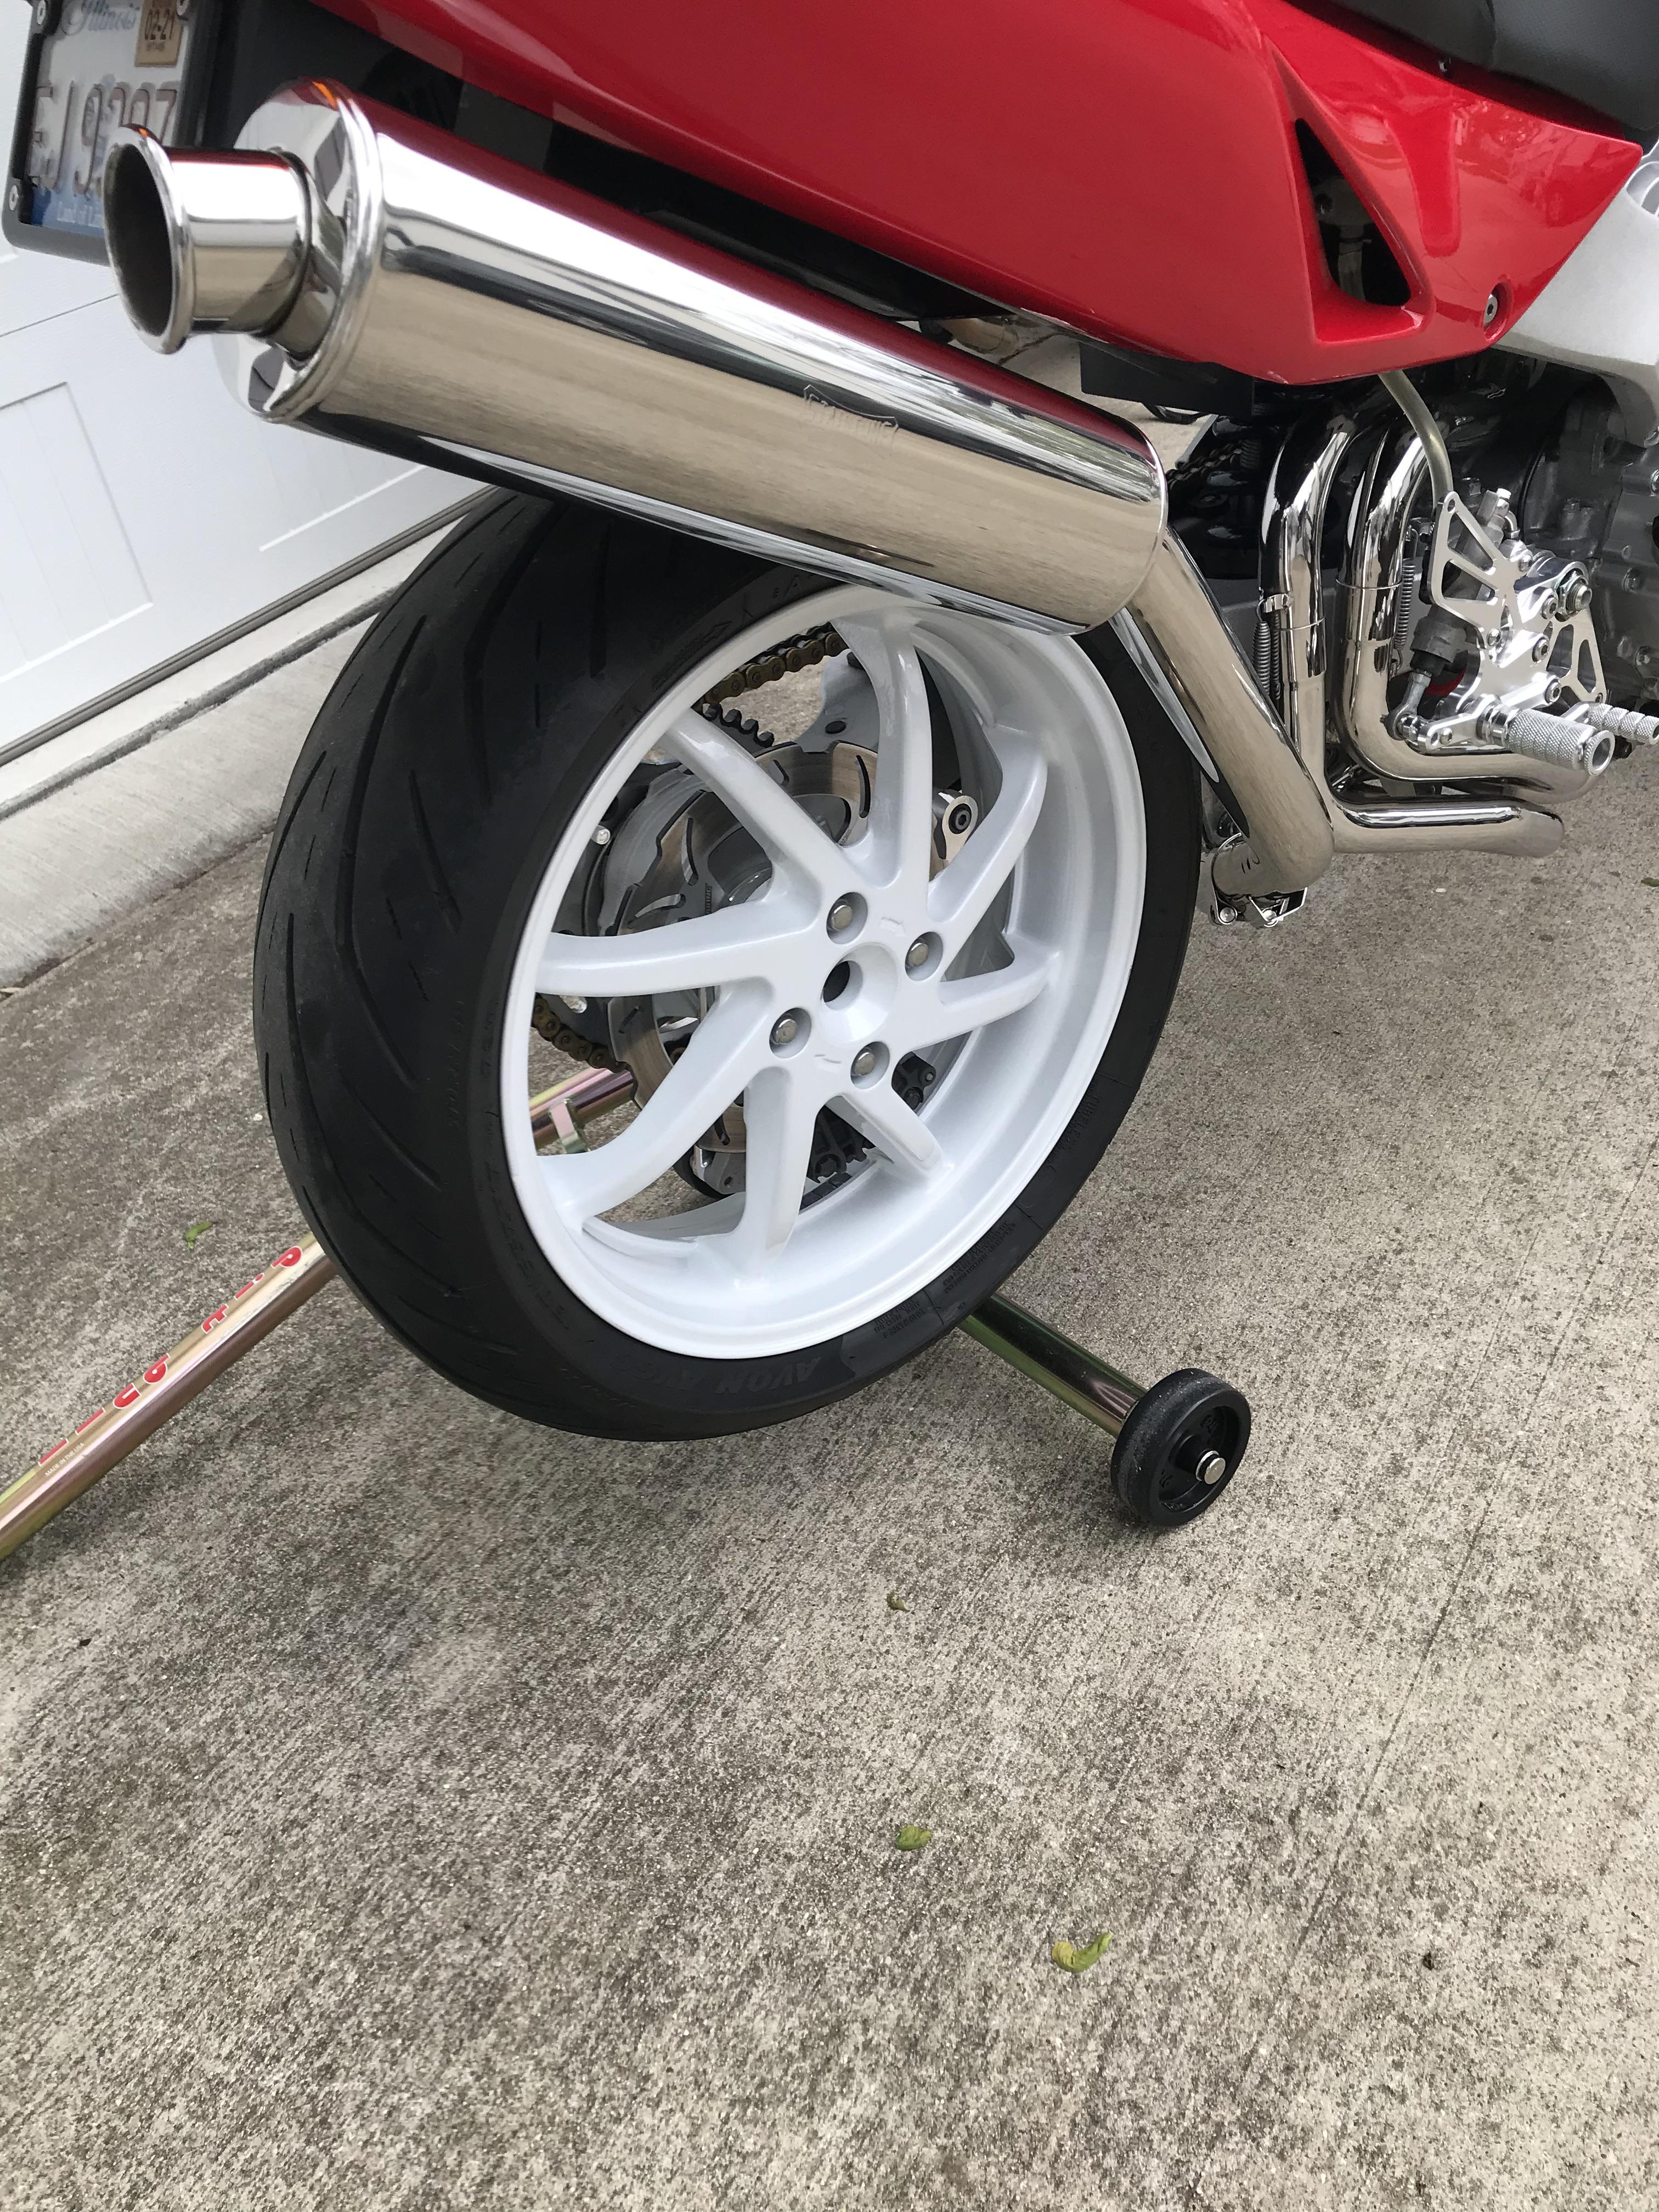
Just a simple piece of metal flat stock welded to the subframe. Of course, a Staintune has a threaded mount on the backside. I removed the bracket that bolted to the footrest, as well. But, you might be able to come up with something similar to just attach a clamp to?
-
I just have the usual buffer on a stand, various buffs, and various rouges. Weren’t the 2Bros headers originally black?
-
Did mine April 2020, while living in the midwest of USA. End of 2020, I moved to Florida and was 2 blocks from saltwater and the bike lived in the garage for 8mos. Middle of 2021, I moved to southwest Florida and the bike lived in my living room. End of 2022, I moved back to the midwest of USA. Through all that, my passivated and polished header still looks like the day I did it, except with a beautiful golden hue, now. The naysayers couldn’t have been more wrong.
-
It’s the same shock. I’d strongly recommend getting it serviced by a Penske dealer, before continuing to use it. Protect what is an expensive shock. And, if you have the budget, get the forks reworked to match.
-
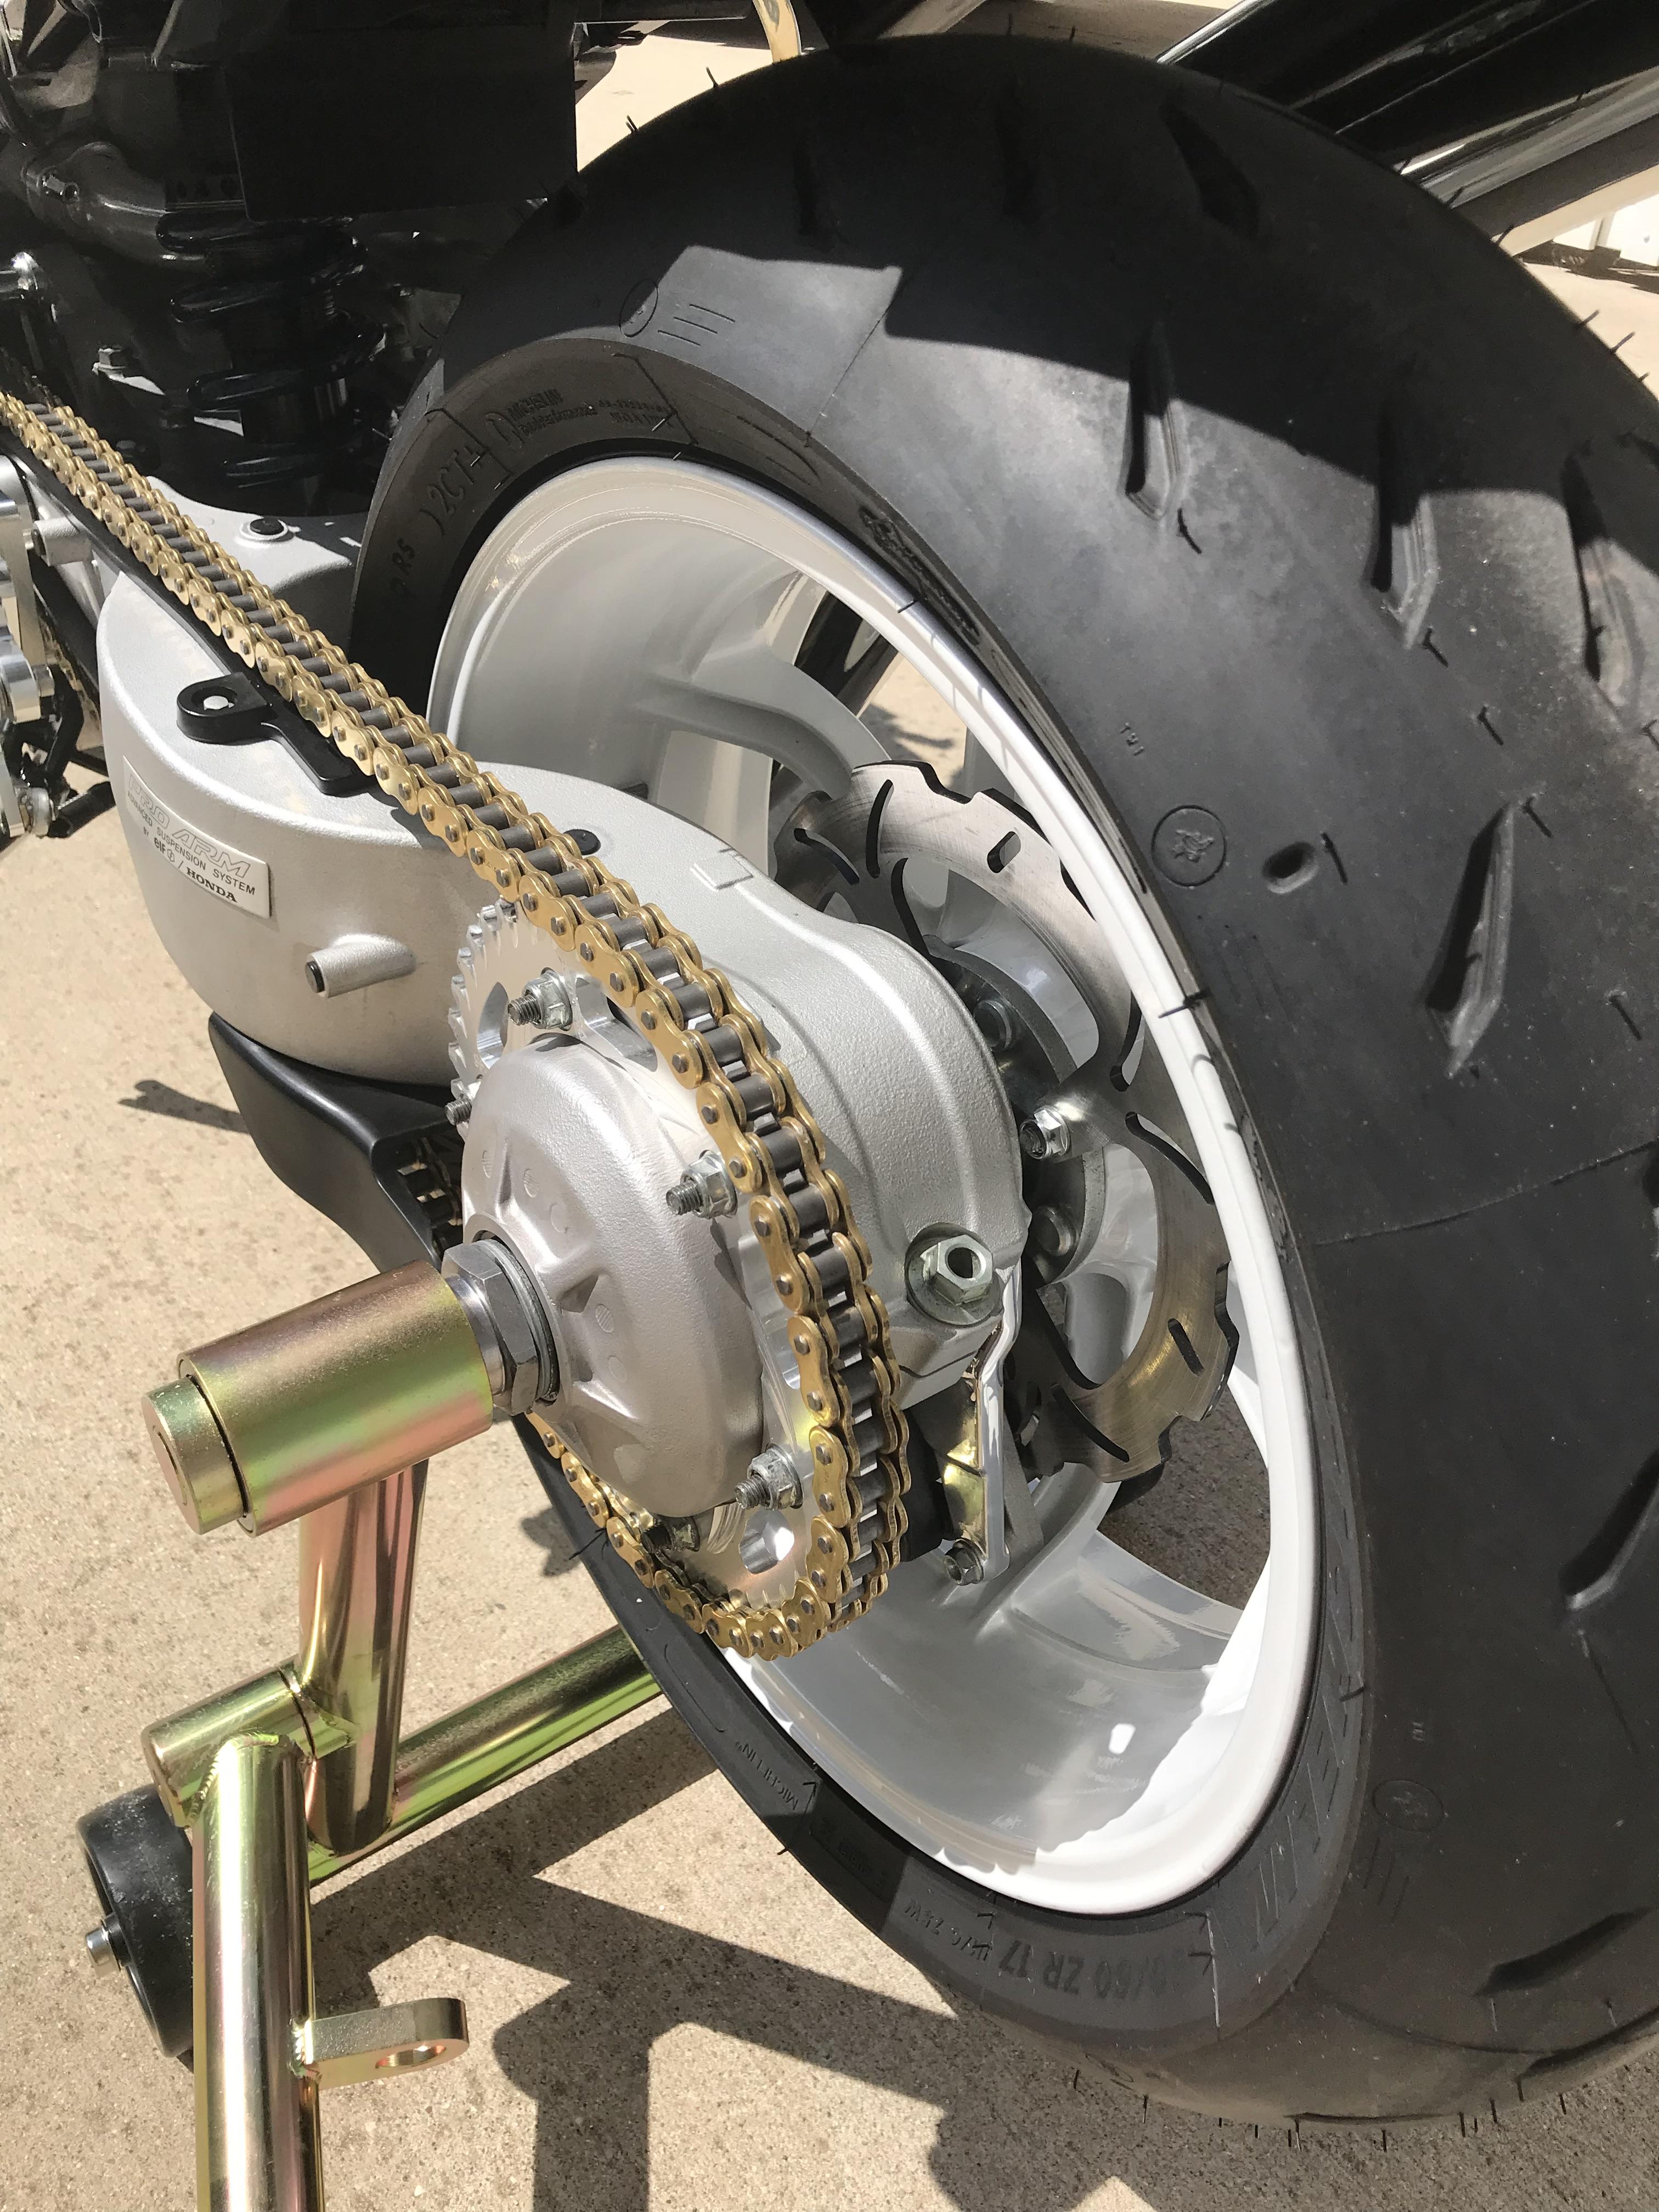
Yes. You want to remove the large nut, before doing anything else. Once you conquer that, then, move onto further disassembly. Pop the the snap ring off the eccentric and remove that, so you can clean all the junk out of the swingarm. This can present problems, as well.
-
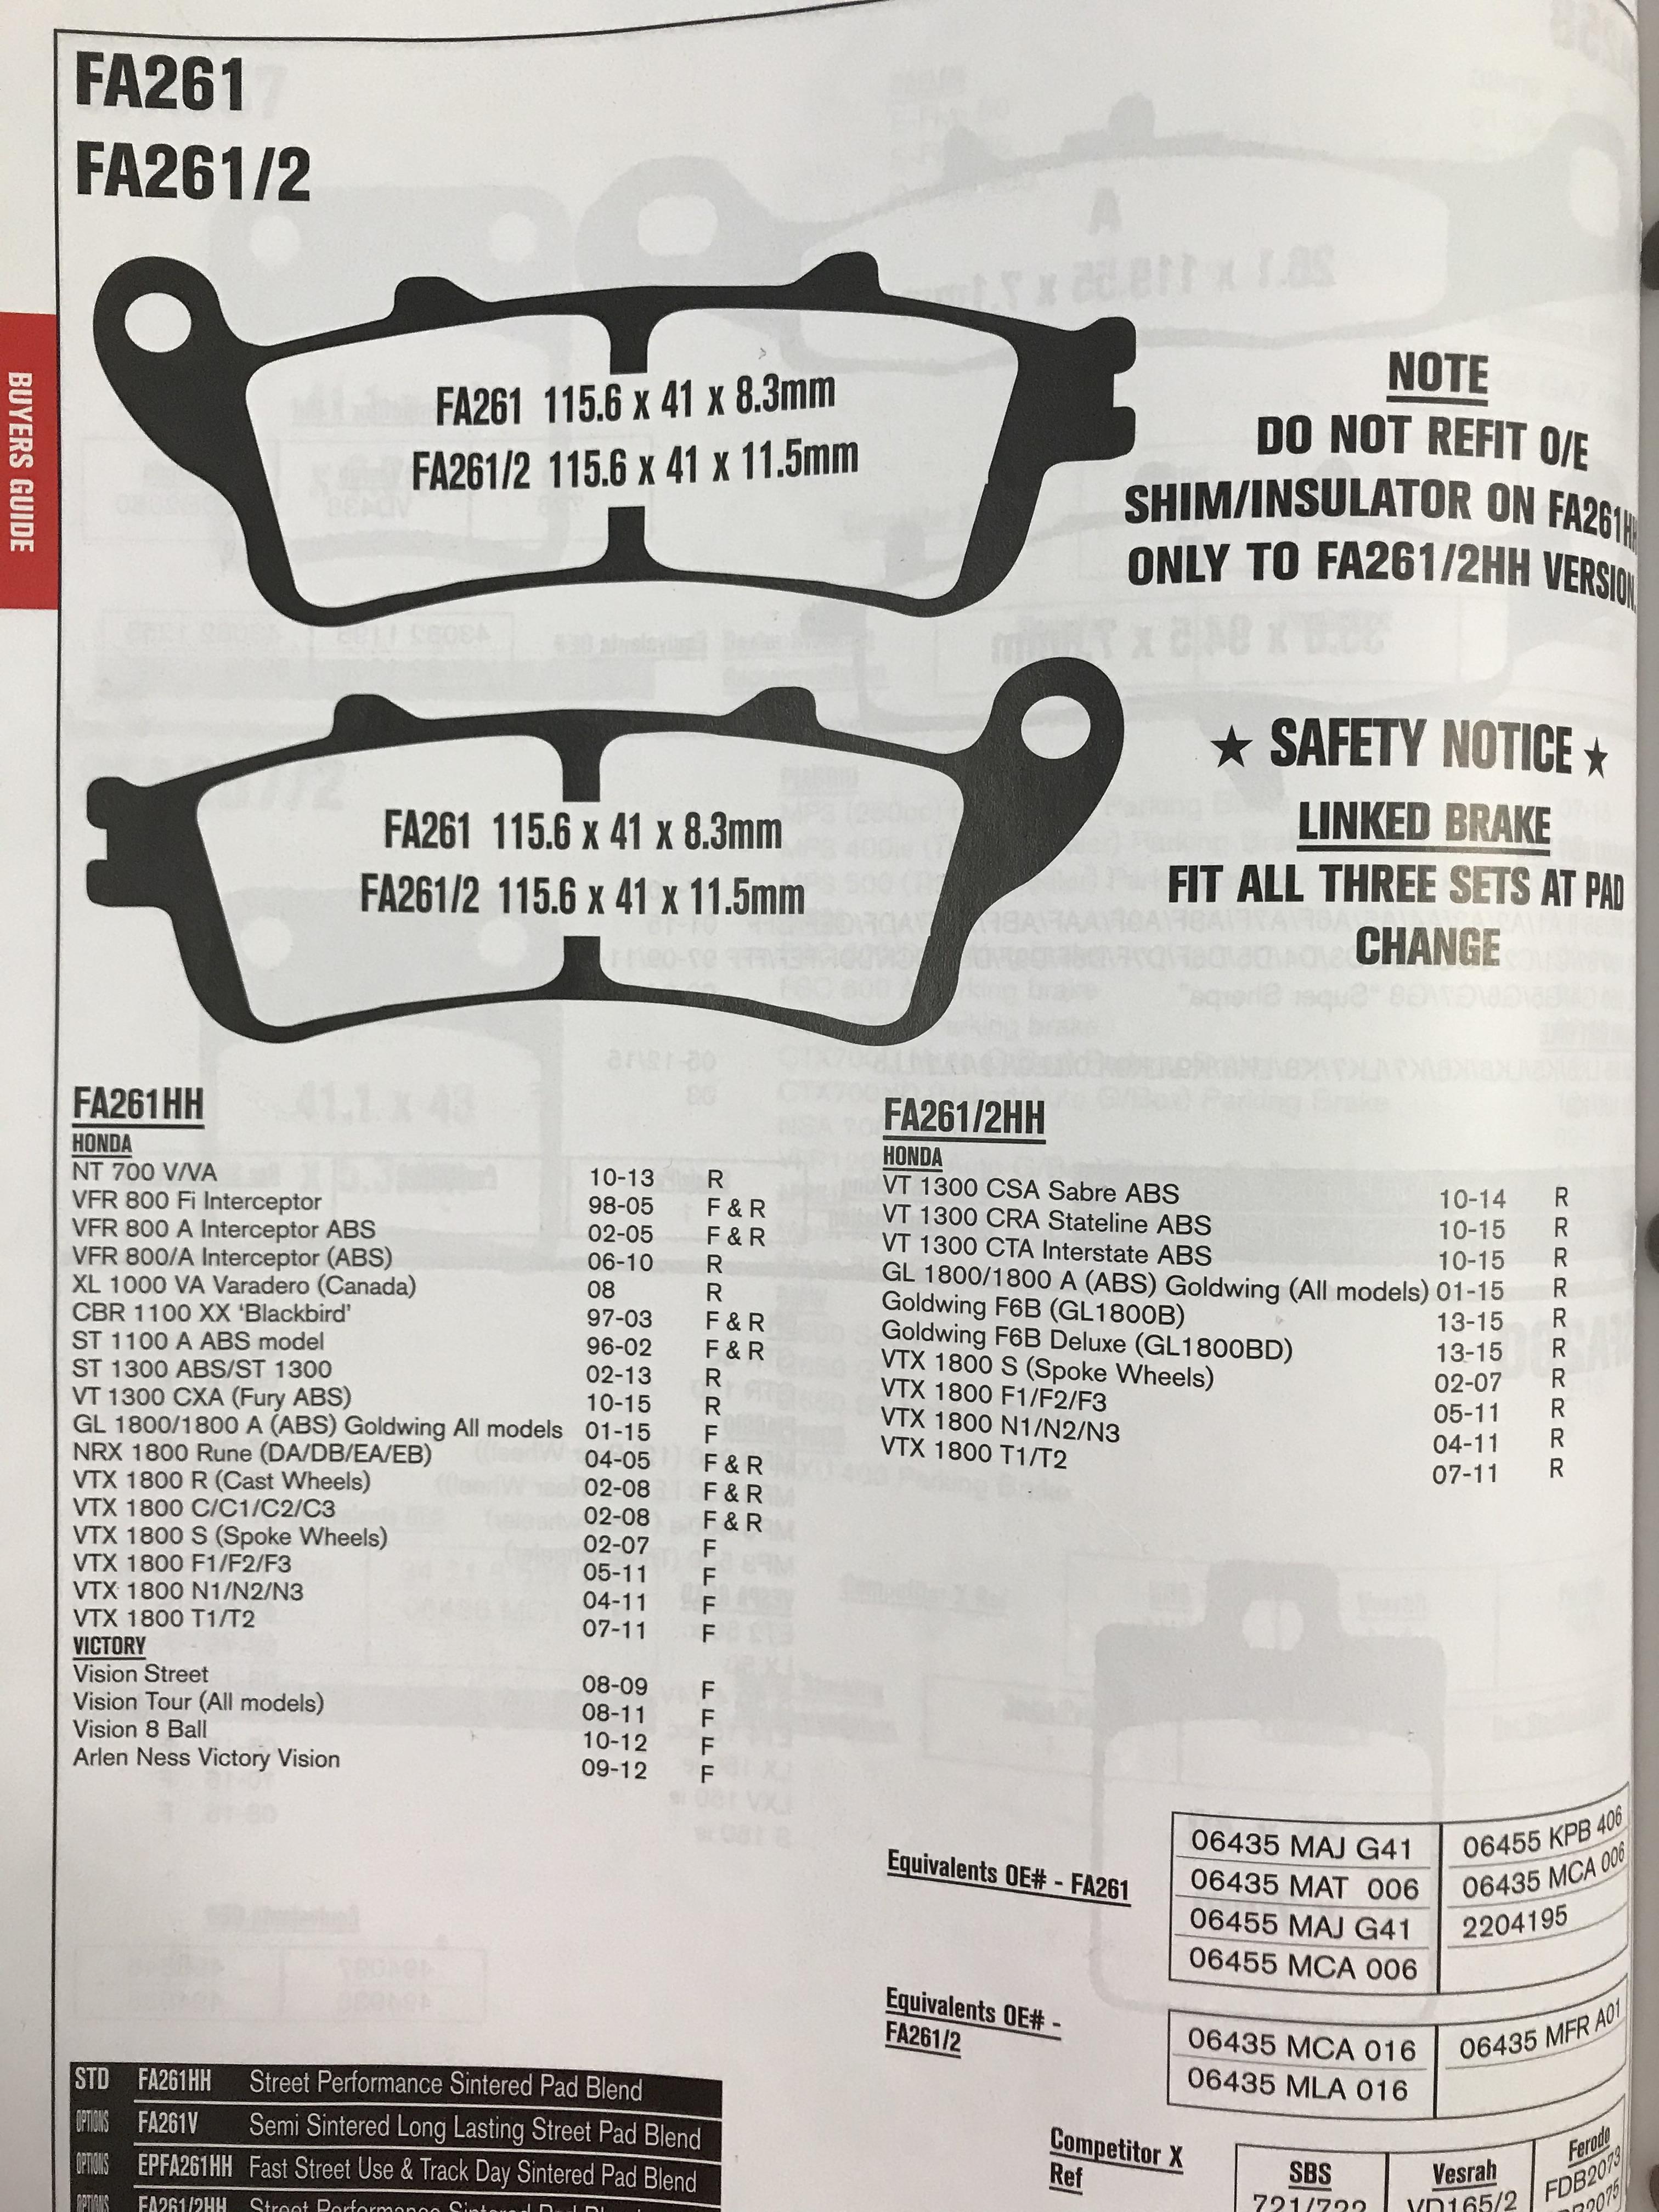
It’s plainly stated in the EBC catalog, as attached below. I surmise, it’s because of differing compounds, pad thicknesses, and resulting performance differences. YMMV. Those pics are right after a complete disassembly and before getting it back on the road. However, despite being on the road for 6yrs, it’s still that clean. Unfortunately, salt in the air hasn’t been so kind to some of the finishes, like on the chain. I’ve moved back to Illinois and some touching up is on the agenda. You’re correct, sir.
-
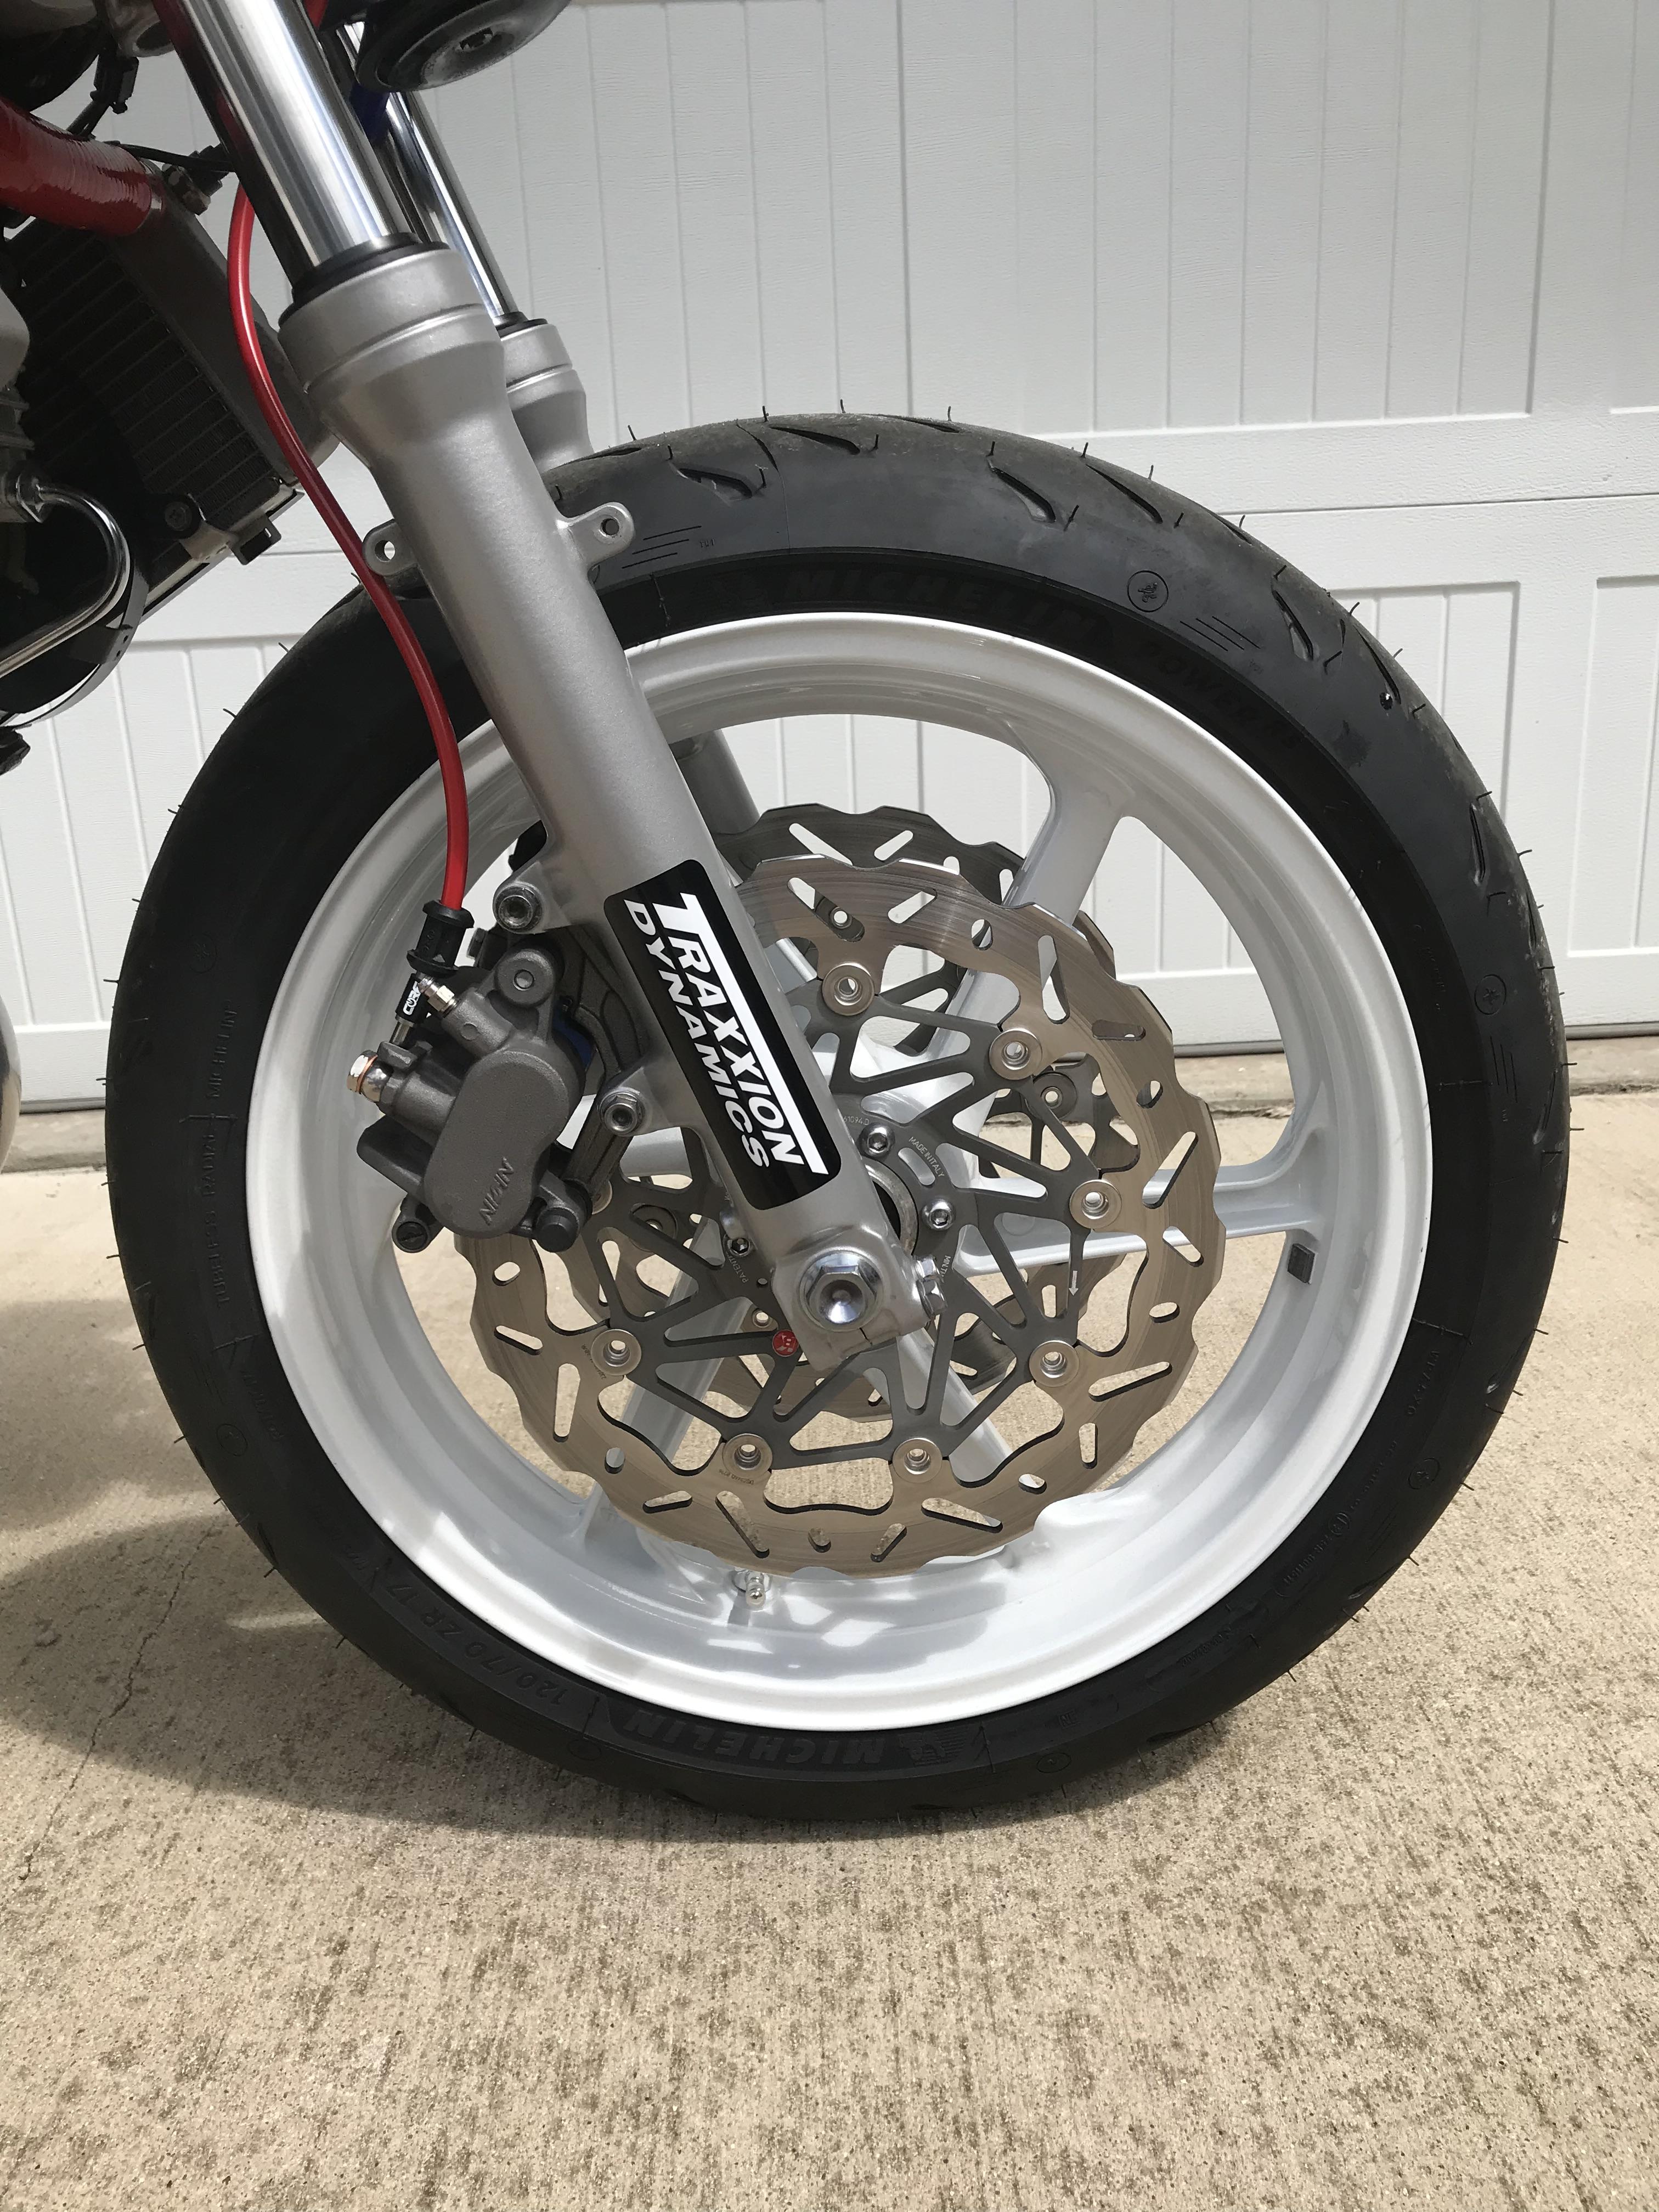
Since the brakes are linked, it’s highly recommended to replace all three sets, together. I run Braking of Italy rotors, with DP Brakes pads.
-
I’d go with fully-sealed. Not all of Honda engineers’ ideas were good.
-
New 5th/6th/8th gen performance header now in production in USA
ducnut replied to sfdownhill's topic in Exhaust Systems
Unslip the slip joints a bit and get everything loose and floating. You’ll need to work your way around to each exhaust port, tightening a bit at a time. I don’t mean tightening the pipe all the way in; just equally moving each head pipe in, by using the nuts. While doing that, keep working the slip joint, incrementally moving it together. The gist is to equally move everything into place, until the headpipes are seated. I didn’t use a torque wrench and I’d suggest you don’t either. The studs are quite small and it doesn’t take much to damage them, strip them, or even pull a stud out of the head. Using just your hand, you can better feel when something is not right. The main thing is to just take your time and equally ease everything into place. -
New 5th/6th/8th gen performance header now in production in USA
ducnut replied to sfdownhill's topic in Exhaust Systems
Don’t bother with Staintune. I used a FiveStar Mfg barrel clamp. WD40 liberally applied to the slip joint. You should know to never try and insert anything dry. The header shouldn’t be up against the swingarm. -
New 5th/6th/8th gen performance header now in production in USA
ducnut replied to sfdownhill's topic in Exhaust Systems
Be extremely careful with the expanding. I took my header and Staintune to an OG exhaust dude, who gently expanded, rotated, gently expanded, rotated, etc. He probably spent 20 minutes on it, for fear of splitting it. -
New 5th/6th/8th gen performance header now in production in USA
ducnut replied to sfdownhill's topic in Exhaust Systems
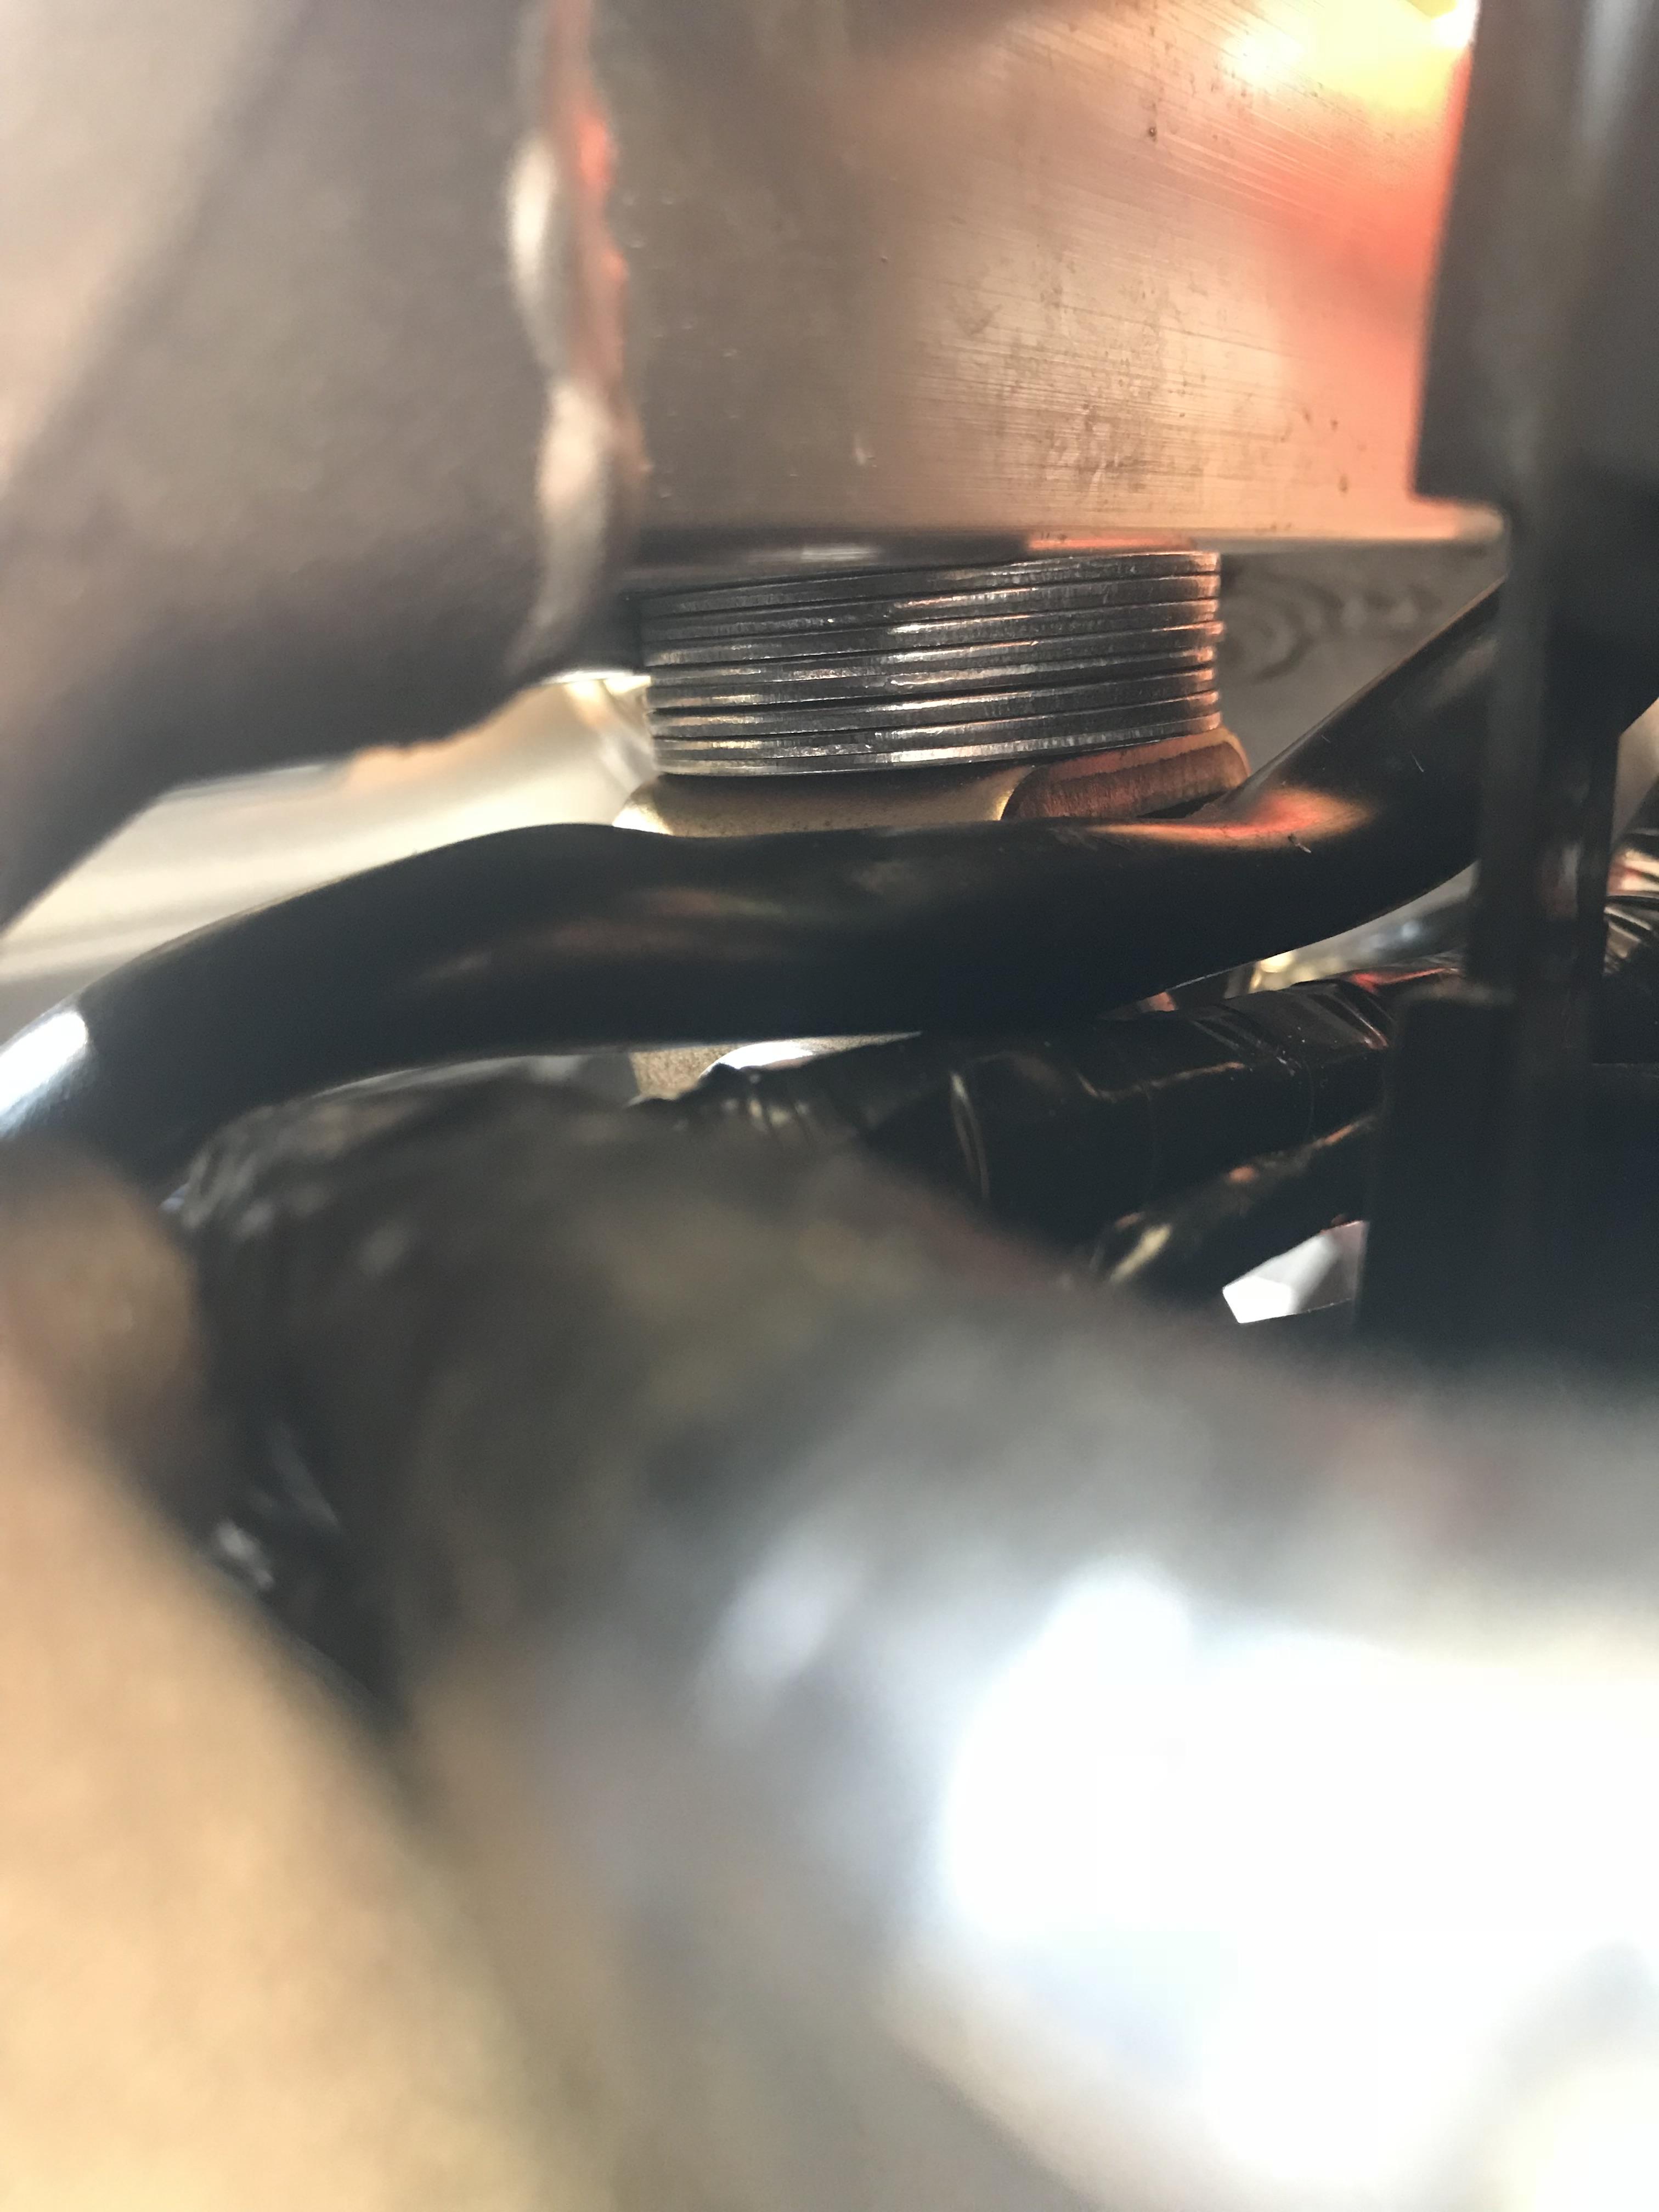
Since no one has responded, I’ll give my 2¢. When I tore down my 5th Gen, that heatshield and everything Honda has jammed into that space was a right PITA. The 6th Gen is a bit different, but, you still have to get all that out of the way. I'd strongly suggest you buy OEM Honda replacement studs and nuts and replace the original bits. This way, you’ll have no issues. Don’t be afraid of the braking system. Doing so will be at your peril. People avoid servicing the hydraulics on these bikes, because of the unknown. It’s the worst thing you can do, because the system will eventually fail, altogether. At that point, you’ll be chasing gremlins and searching for used replacement parts. You’re better off to be preventive. Just buy a vacuum bleeder and follow the service manual’s bleeding procedures and you’ll have no problems. -
Iridium plugs in a 5th Gen? Oh boy!
-
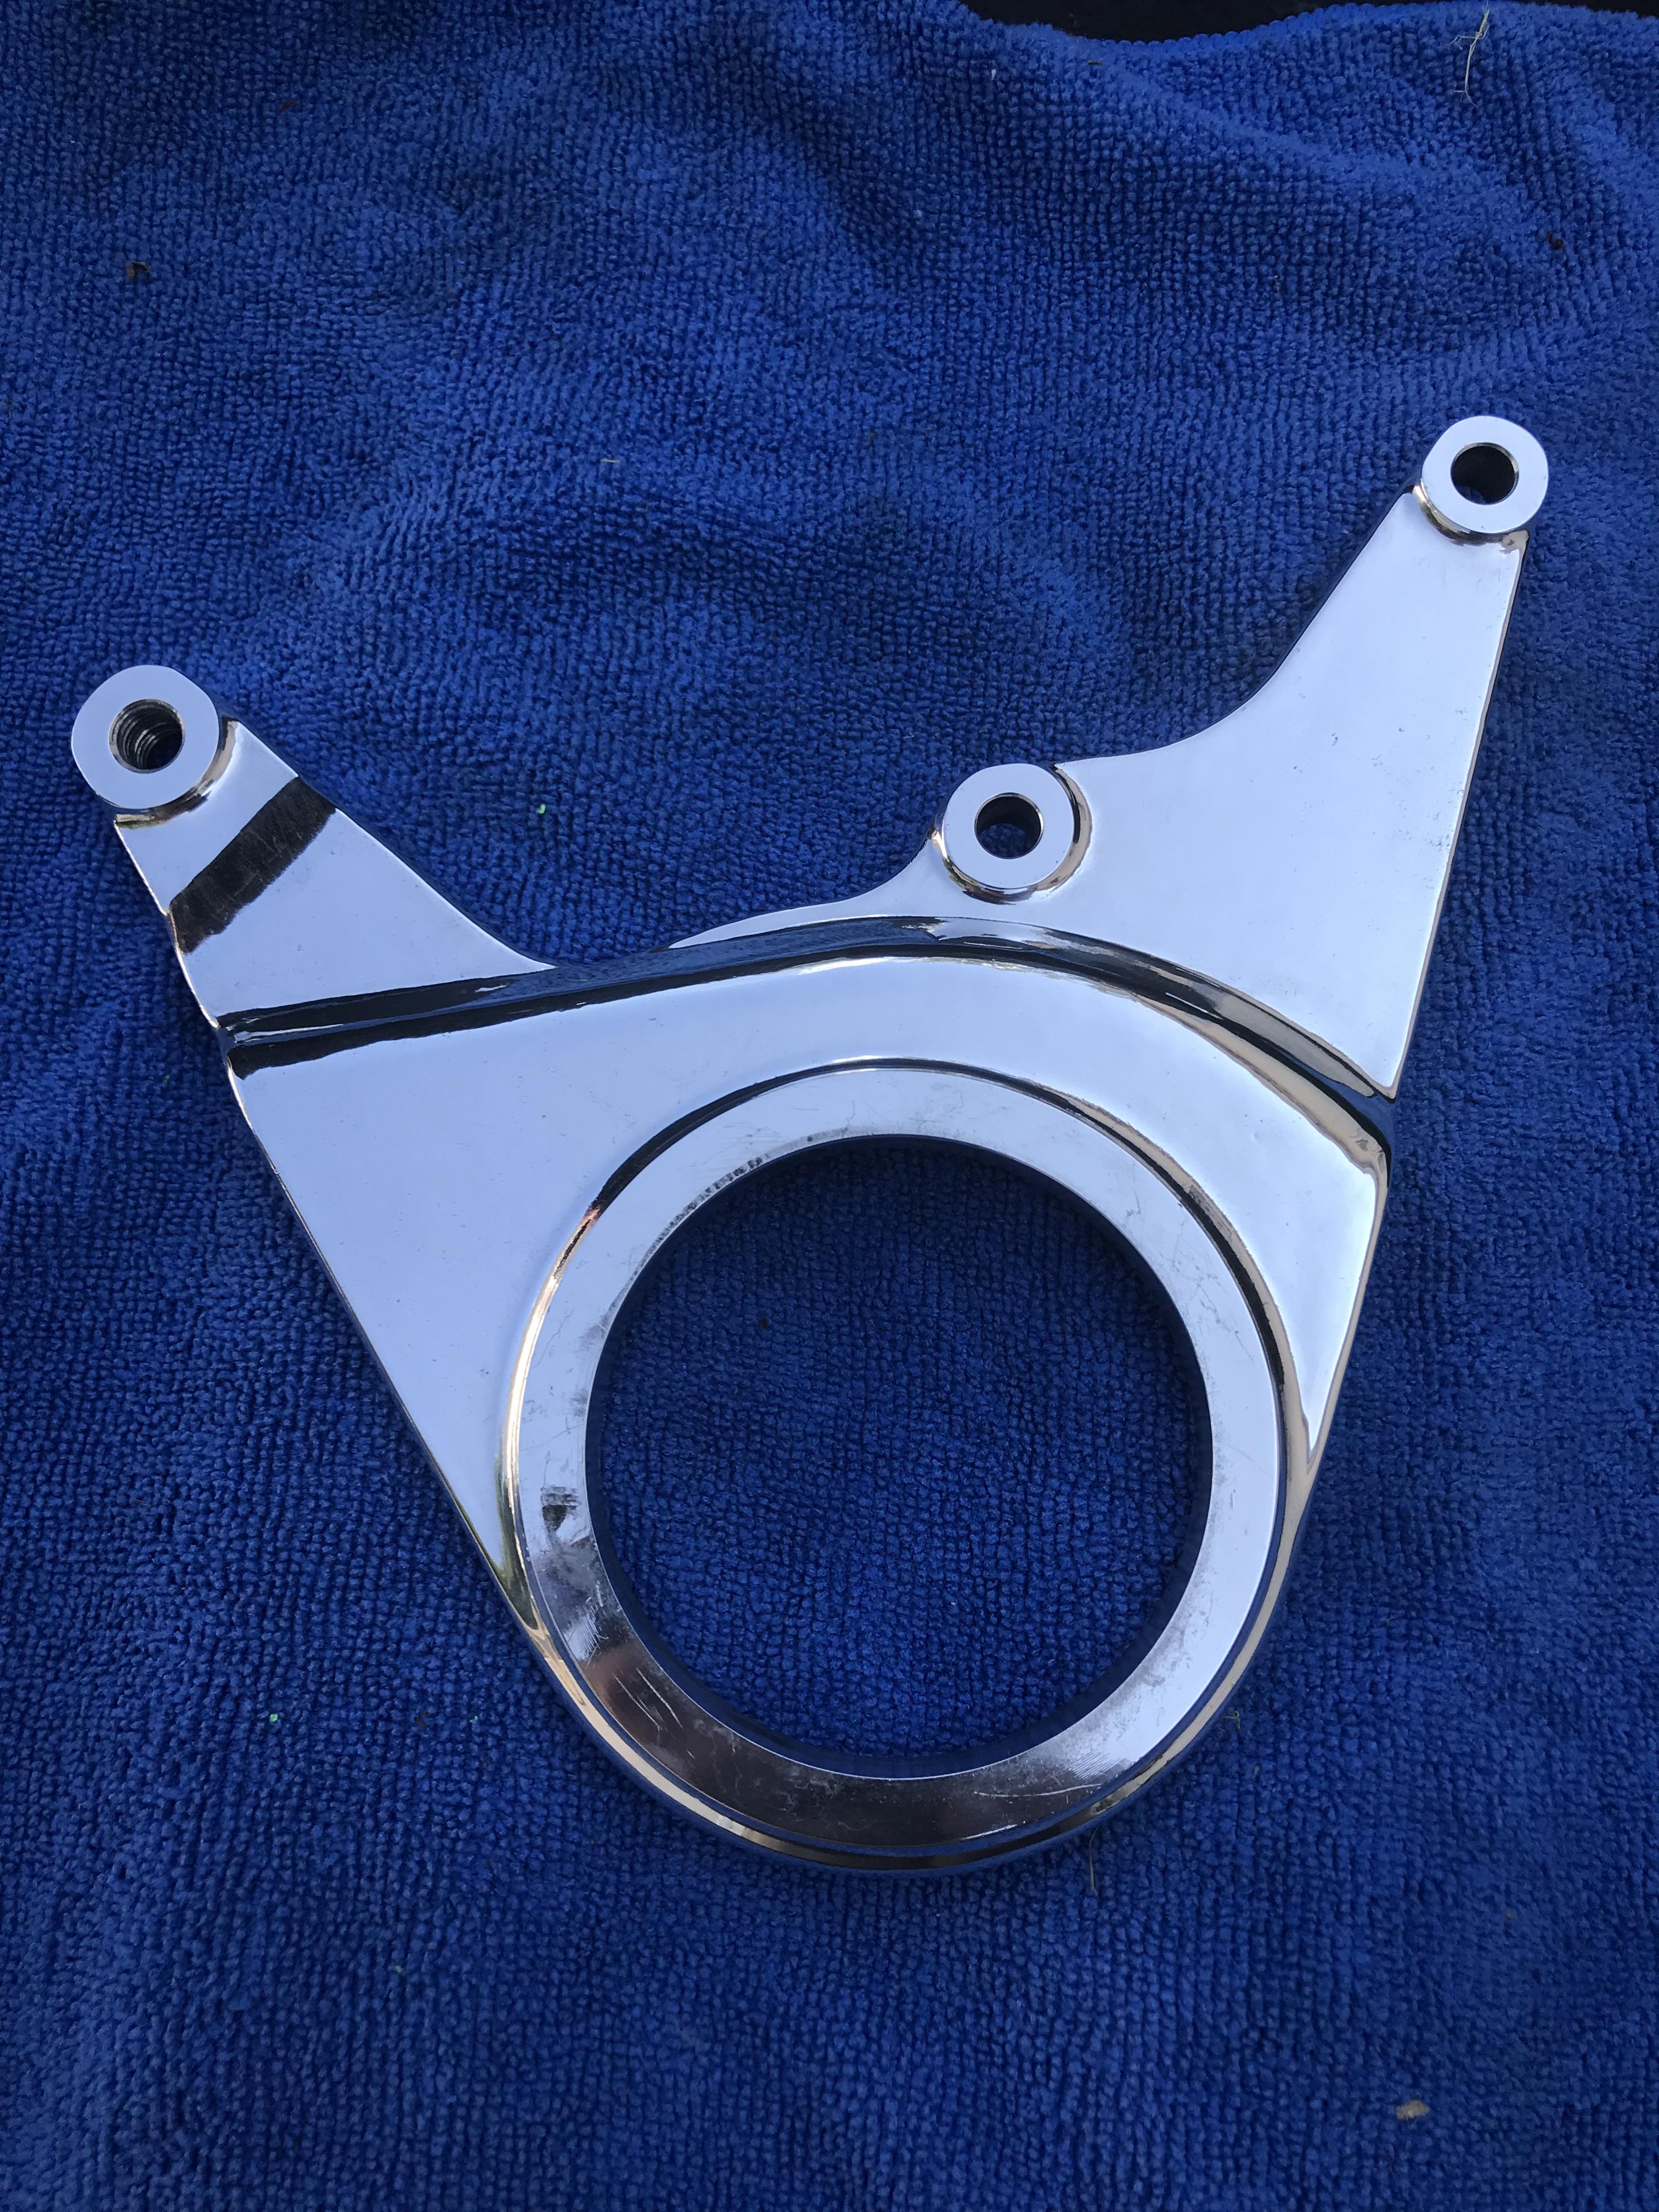
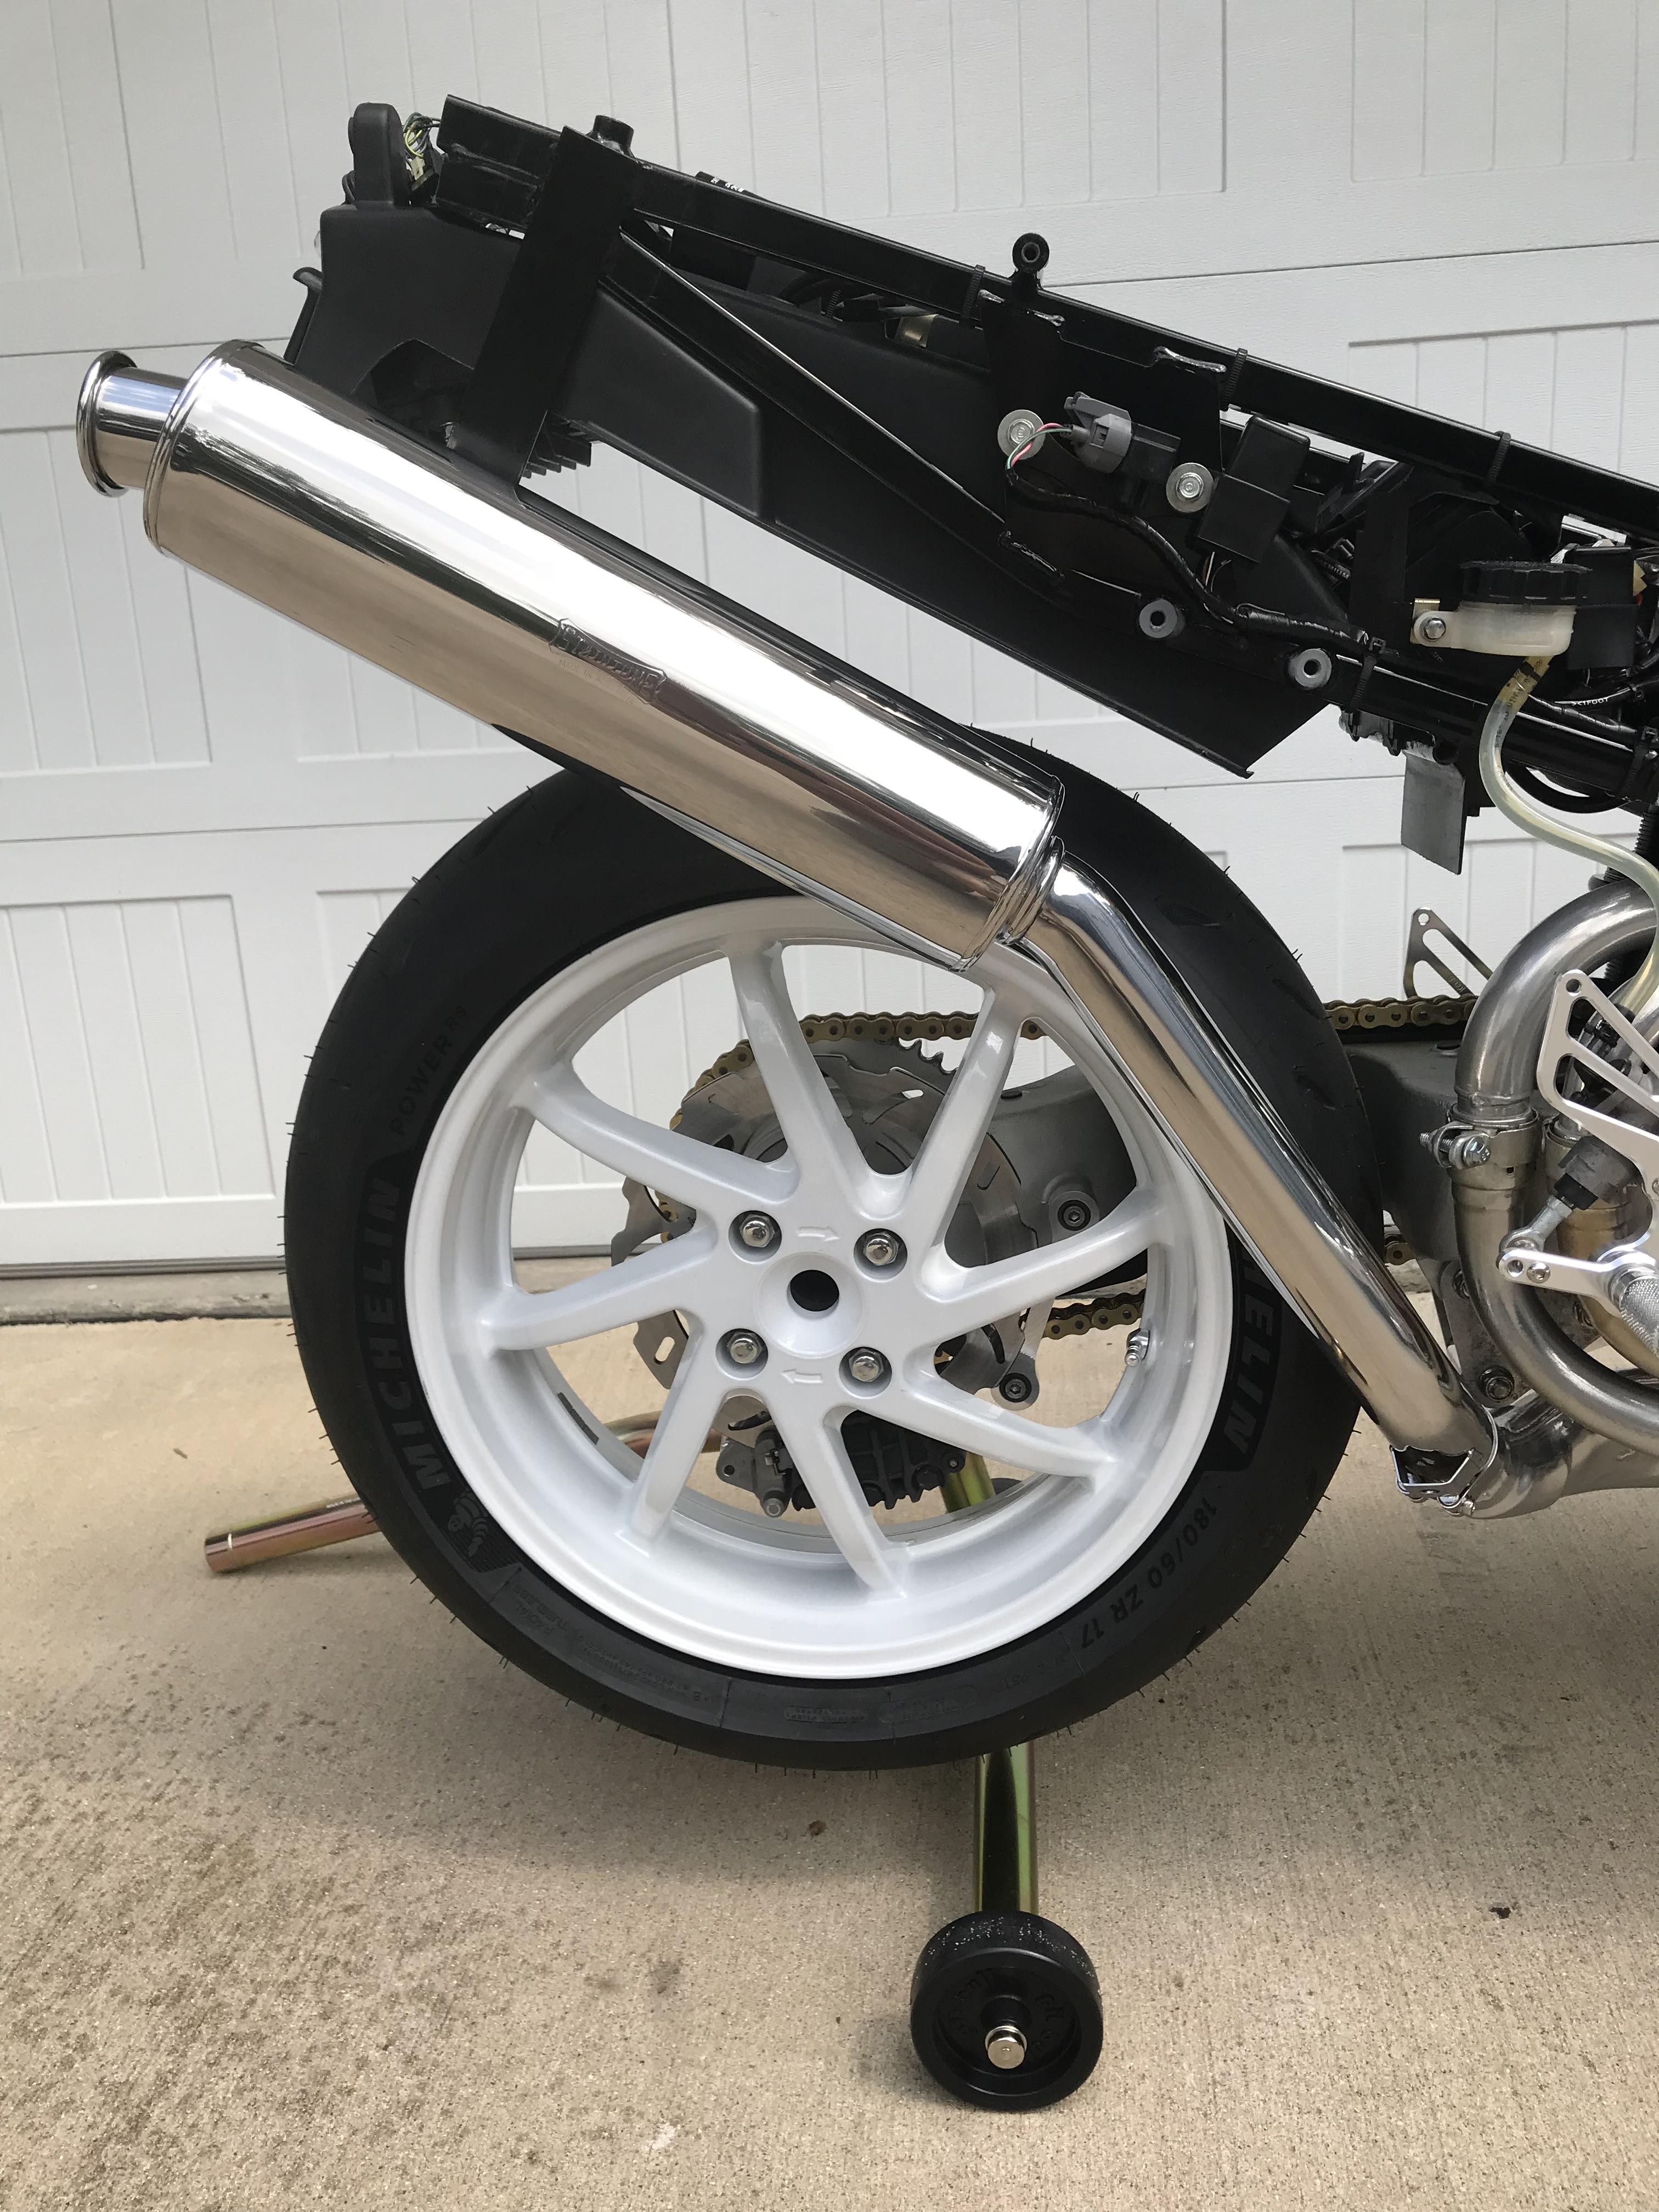
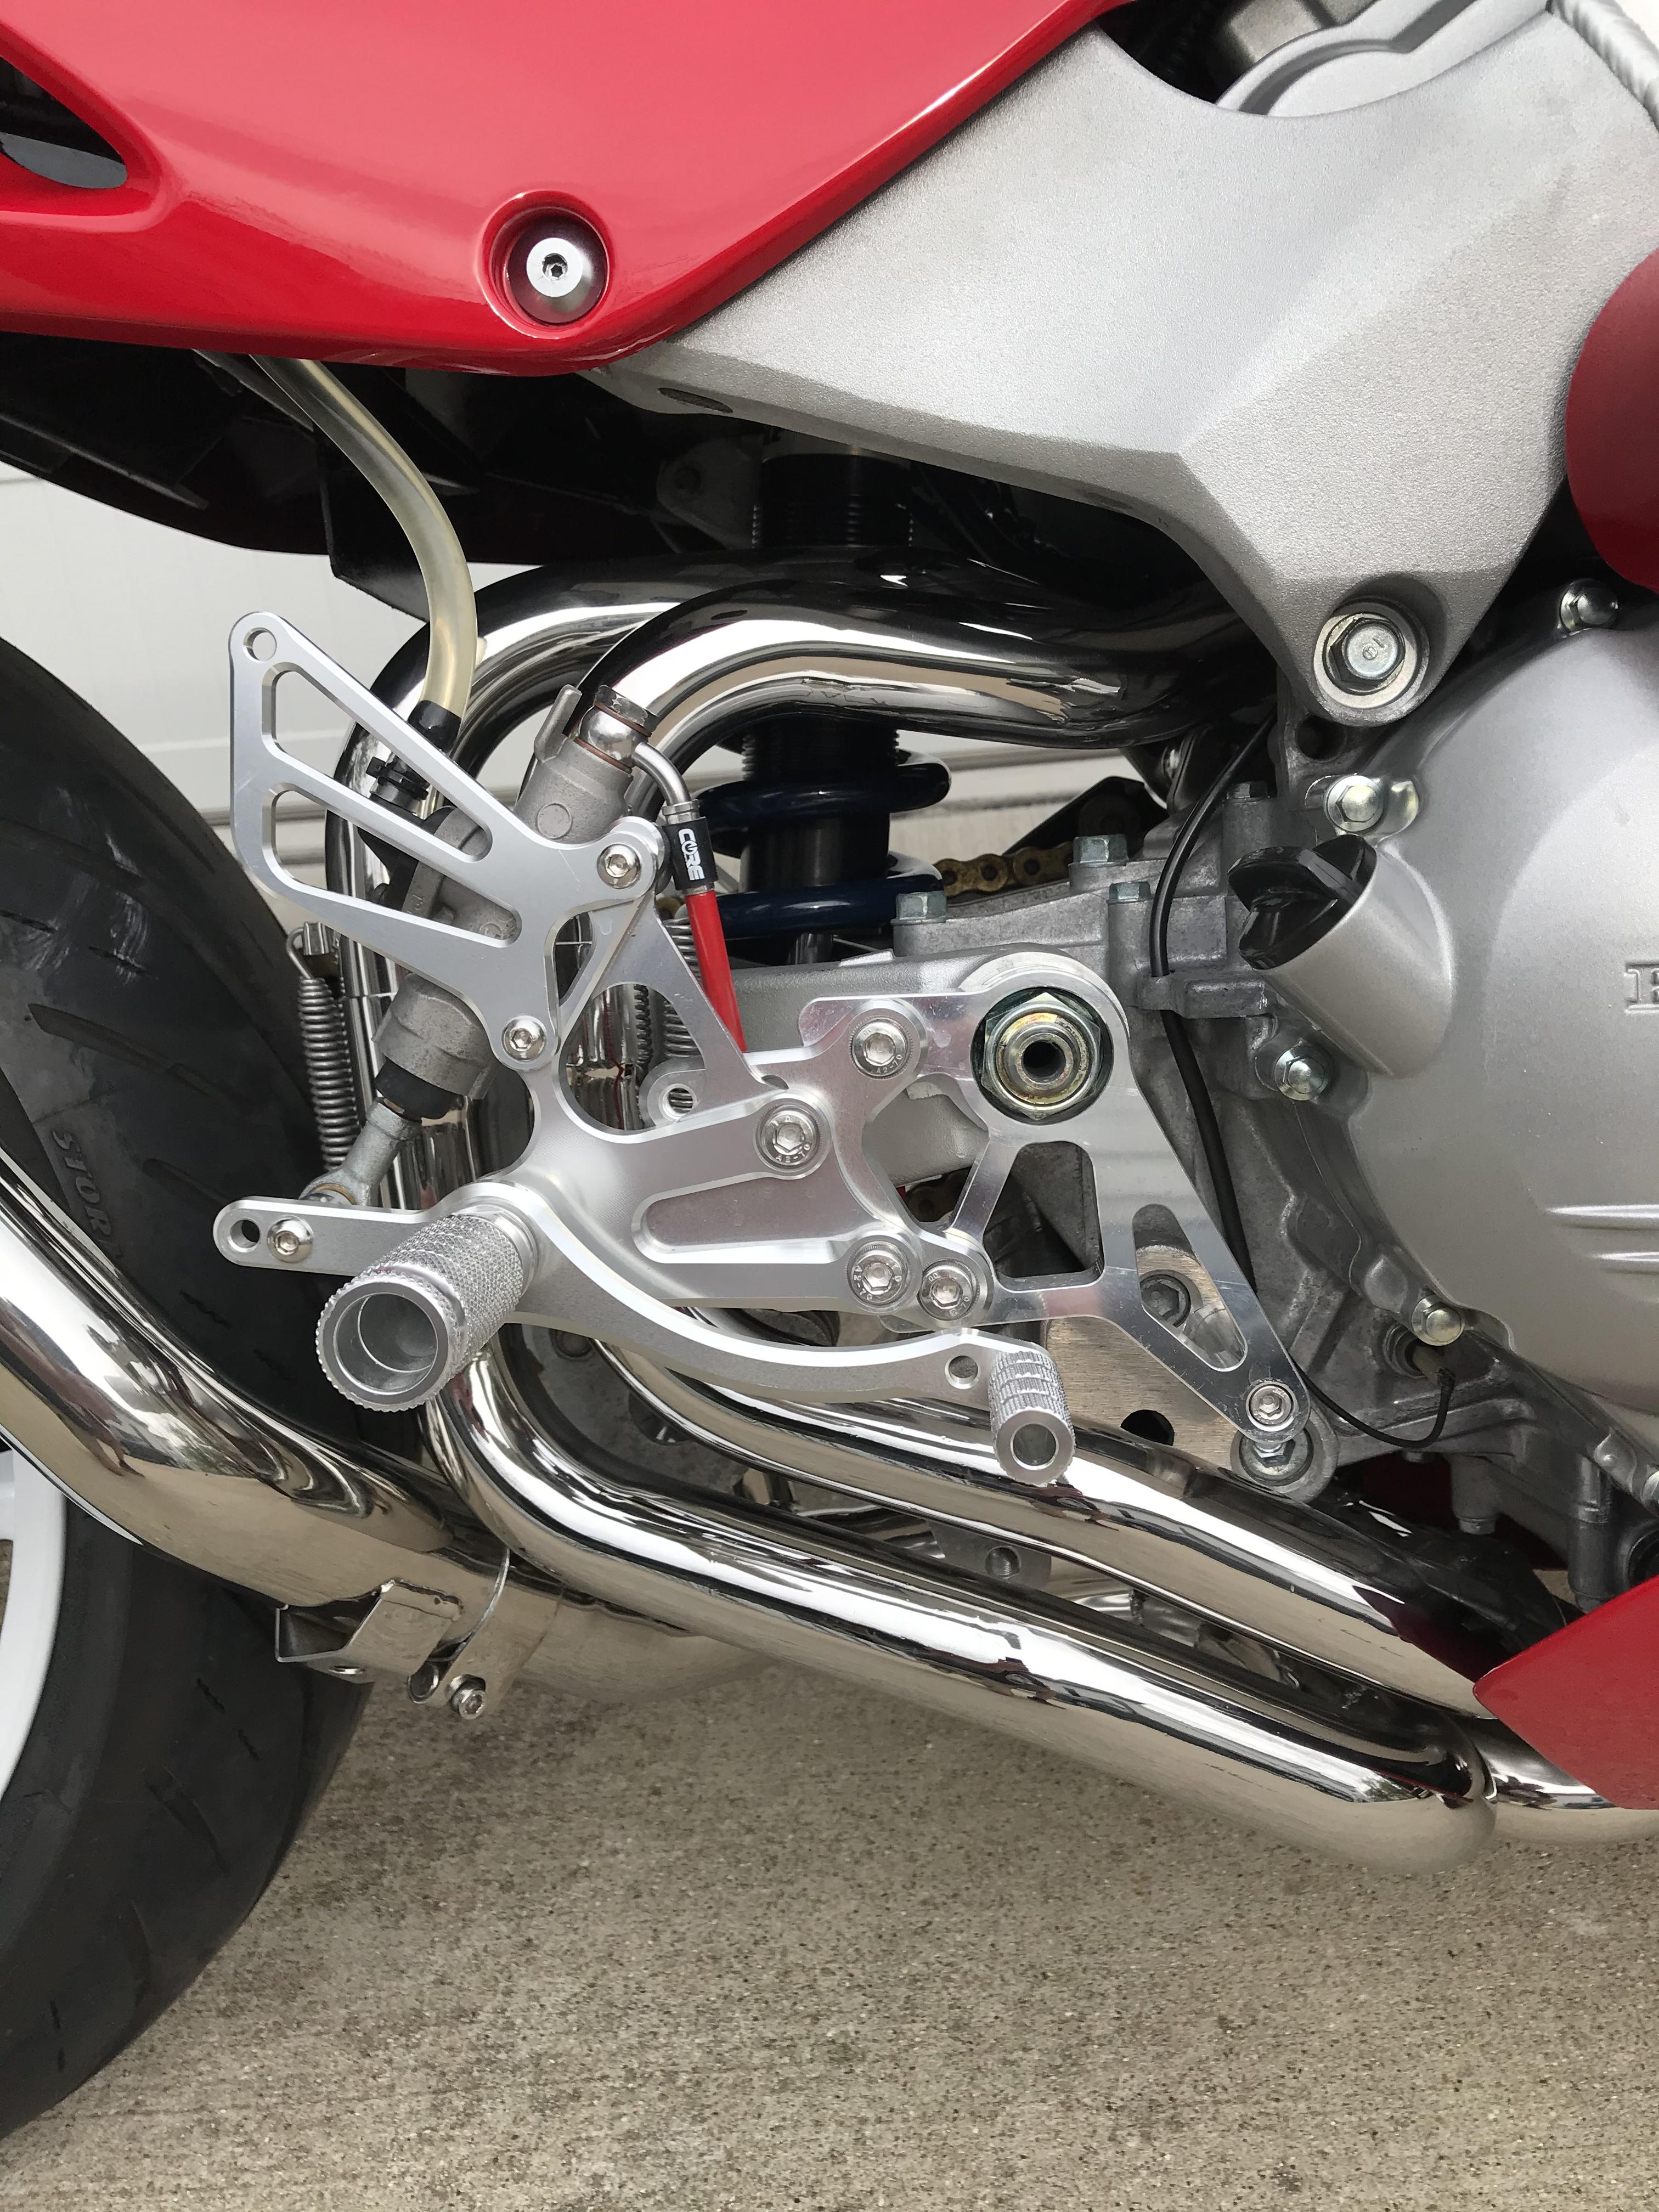
This is the difference in using @SEBSPEED’s rearset adapters versus using the originals. The master cylinder is moved forward and I ran my brake line to the underside of the swingarm. Both help get the brake line away from the exhaust. And, it’s a cleaner, simpler look.
-
Not mine.


until