zoomzoom
-
Posts
510 -
Joined
-
Last visited
-
Days Won
7
Content Type
Forums
Profiles
Gallery
Blogs
Downloads
Events
Everything posted by zoomzoom
-
 Very Nice.
 -
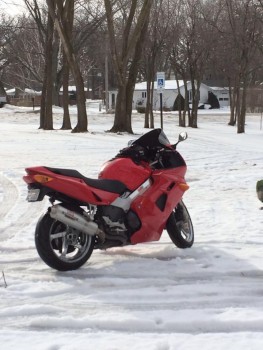 In biking terms the snow would be considered a handicap. He parked it in the handicap stall before it started snowing and then left it there. LOL
 -
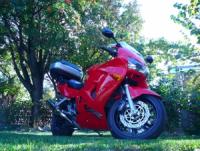
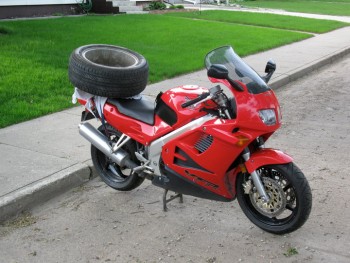
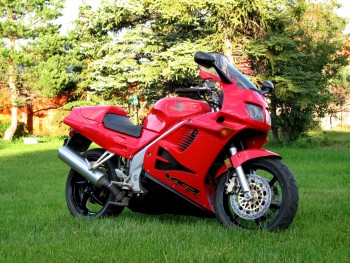 Great picture. Brings back many fond memories of my previous bike. Love the 4th gen styling and that is one very fine looking example.
 -
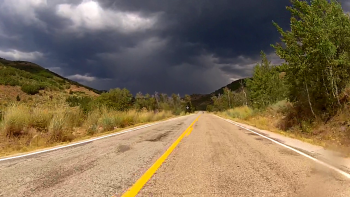 Now that is one nasty looking weather forecast. All ye who dare to venture forth, be warned, ye will get wet. LOL
 -
 Very cool picture. Now that would indeed be grand scenery
 -
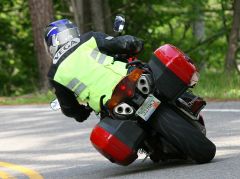 Now that is some serious lean angle. To the camera man, NICE SHOT. Looks as though there is about another 1/2 inch to go before the pegs and his foot would be scraping.
 -
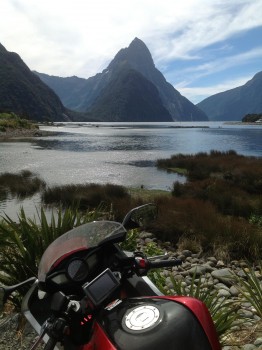 Now that is a view I could never get tired of riding to see. FANTASTIC
 -
Hope Slide near Hope BC Oct 2013
zoomzoom commented on 34468Randy's gallery image in Member's Gallery
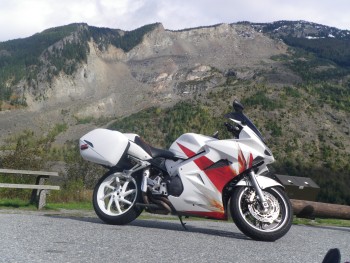 NICE machine Randy. Lovin that 8 spoke rear wheel.
 -
 Damn, he's got the first 2014 VFR800 ten spoke rear wheel, GET HIM!!! LOL
 -
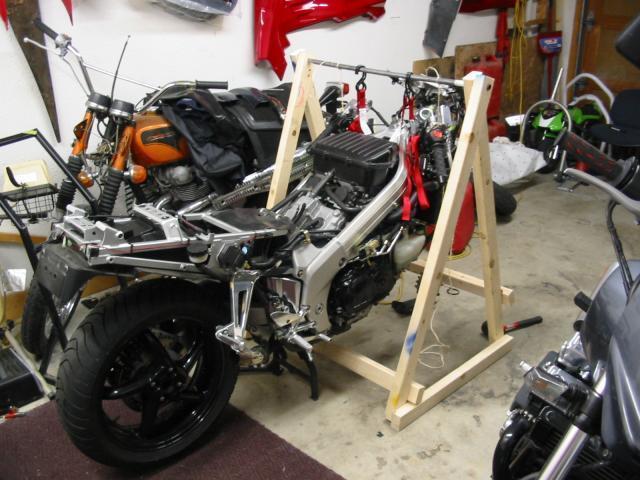
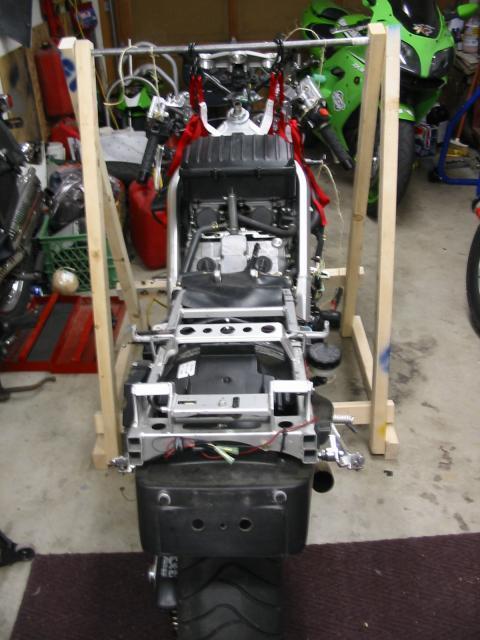
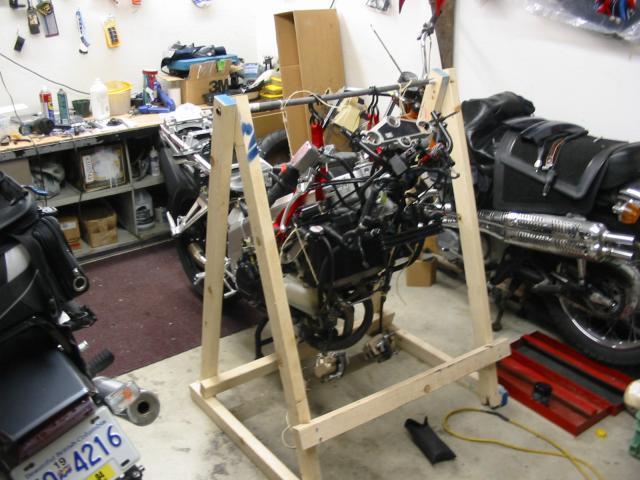
Thanks for the great write up Duc. I love reading How-To posts, if for any other reason than to see how others do stuff on their bikes. You never know when you'll see an idea that makes your life so much easier when it comes time to do something to your own bike. If perchance you don't have a garage or at least if no way to support the bike from the rafter or roof of the garage, shed, etc. you could also try using the support brace method. When I was doing some detailing, metal polishing and powder coating work on my last bike (a 97 VFR750) I made some braced frames out of wood that I had lying around in the garage. Since I was renting the house at the time, I did not want to add any extraneous holes in the ceiling, and thus I built the side frames to support the bike while I removed the front end of the bike. At the time there were a few things I wished to do over the winter like powder coat the wheels, fork seals, steering stem bearings, brakes pads and the addition of heli bars. Not all required having the bike supported but it did make life a lot easier. The sides of the a-frame are made from 5 ft long 2x3's, and the base was 4ft wide x 3ft long (front to back). The cross tube that was bearing the weight of the bike was a thick wall steel tube that I found in the metal recycling bin at work. I drilled the holes in the 2x3's just large enough to accomodate the bar and then when I made the frame and overlapped the 2x3's the side braces twisted just enough that they locked the bar in place. Once there was weight on the bar there was no chance of moving it either. It was easy enough to remove the brace at the front of the bike when I went to reinstall the the forks and the front wheel. If you don'r have a steel bar kicking around, I'm sure a 2x4 on edge would have worked just fine in place of the bar. I would be tempted to screw a 2x4 to the top of the brace frames though as compared to screwing it in between though in the interest of making sure the weight of the bike bears on the frame and not the screws. To hold the bike up I used a couple of cam buckle style tie down straps and looped them around the support bar and then around the sides of the frame. I made sure that the buckles were facing outwards and not touching the frame so as not to scratch anything. Once raised in the air the bike was very secure and not the least bit tippy. Another thing that came in handy is that the bar was useful to tie up the stock clip-ons so they were not dangling, and to tie a support strap around the brake calipers so that they were not hanging from the brake lines. Be sure to place the bike on the center stand so that it is more secure once you lift the front wheel off the ground. If you find you need a bit more clearance you can also remove the rear wheel so that the front can be lifted a bit higher. The pictures show that the tank is also off the bike but I would imagine that the bike could be supported in this manner just by wrapping a tie down strap around behind the bottom triple clamps so that you don't need to remove the upper cowl, as shown in Duc's pictures. I was doing other work to the bike at the time and thus pretty much everything was removed at the time. One thing led to another, and another, and another. Sometimes winter in Canada gives us lots of time to think, and think, and think, and when it comes to adding farkles, that can lead to a lot of extra bits being removed. LOL

-
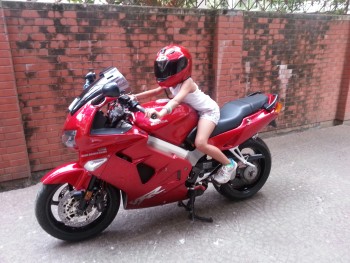 My daughter Chantal is only 4 but just loves swinging her leg over the bike and making vroom vroom noises. She can hardly wait till she is tall enough to reach the the foot pegs. When she saw the shot of your daughter she said "I wanna be tall enough to ride like that girl daddy." In time I said, all in good time.
 -
Very cool. Love the red helmet. "If I only was a little taller" says the rider. Let the 2 wheeled adventures begin.
-
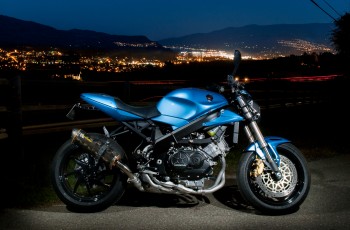 Having physically laid eyes on this wonderful machine, I can say with outright honesty that it DOES sound as good as it looks. Bar none, one of the nicest sounding bikes I have ever heard.
 -
NICE BIkE Duuuuuude
-
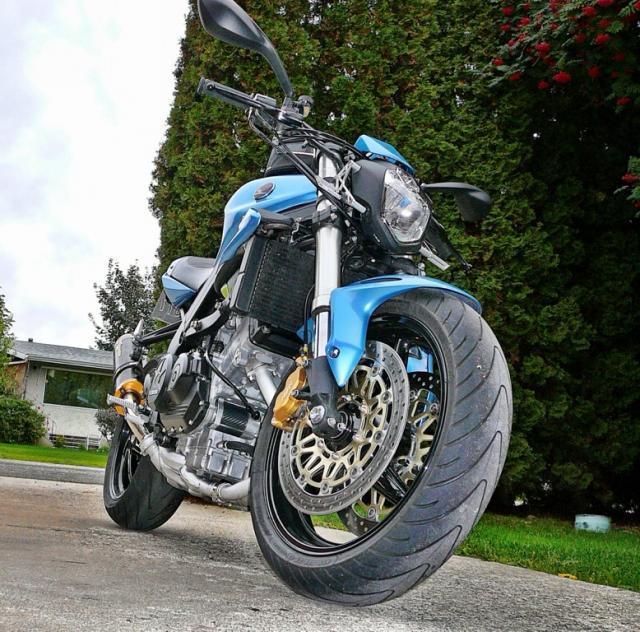
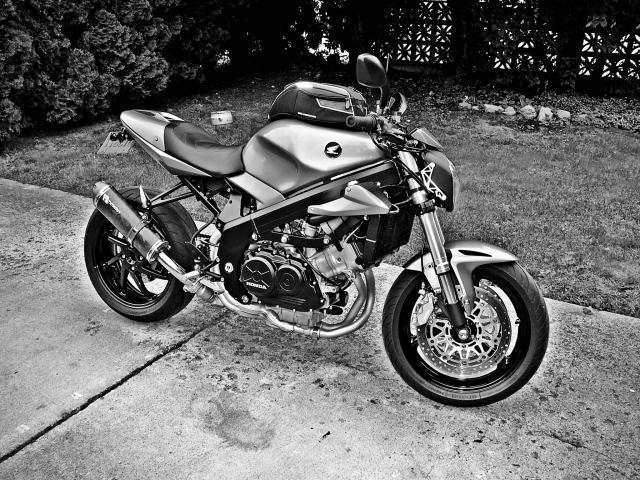
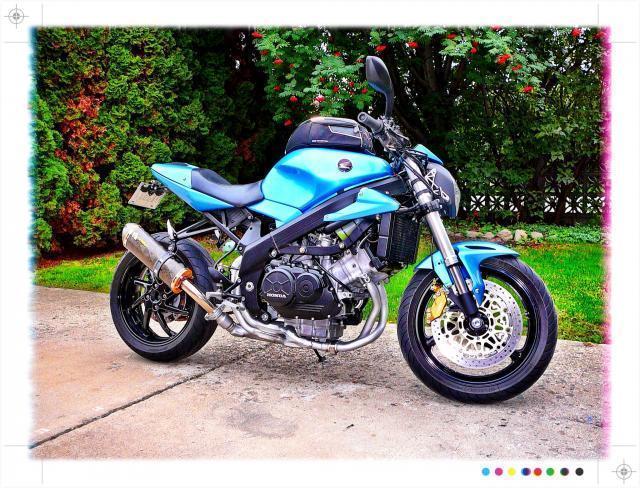
A few photos of Apex's machine sitting in the driveway at my house a couple weeks back. There has been some photographic trickery employed, but I can not say enhancement, for Apex's bike needs no real enhancement. PS. Sorry Apex, I just could not help myself. Hope you understand. LOL
-
Hey Apex I would love to meet up sometime and have the chance to both see your bike and most of all just the chance to shake your hand. You have completed a project that is both stunning and deserving of awards. I'm not sure even the design guys at Ducati could have come up with a bike that looks as good as yours. Absolutely every part of your design flows into the next. Not sure what exactly you do for a living, but perhaps you have missed your calling. My 6 year old son Liam was looking at the computer with me as I was reading through your write up and he was practically drooling on the kitchen table. To see him that enthralled about something (anything in general) was amazing to see. He asked after we looked at the build and he asked "Daddy, can we go see that bike??" I told him that there are not a large number of people on the site that are from Canada as opposed to the US so the owner who built the bike is probably too far away to drive. It wasn't until I happened to look at where your avatar that I discovered you were so close. I take my son for the odd ride with me, but alas Armstrong is a bit far for him (he would fall asleep for sure on a ride to Armstrong), so if we do get the chance to meet up I will have to bring him with me. When it comes to the badge issue on your bike, I have seen a badge like the one you have on your bike and as I recall the badge has a type of 3M adhesive rubberized two sided tape much like the stuff they use to install body side mouldings on cars. The difference being that I think your badge has the tape across the entire back side of the emblem. I do PDR for a living and I have had the odd customer ask me about removing badging from their car. I tried to remove the badge off an older BMW once and it had two sided adhesive that covered the whole bottom surface (I checked with the BMW dealer to make sure there were no positioning pins) and it was hard as heck to get off. I had success finally by (I think someone else mentioned this already) using a hair dryer to heat the emblem the whole time I was trying to remove it as it takes a while to get the adhesive warm and pliable in the middle. The other thing I did so as not wreck the emblem was to use fishing line to saw through the adhesive tape while one of the guys that works with me dribbled 98% Isopropyl alcohol (rubbing alcohol) on the fishing line. This helped to release some of the glue and it won't harm the paint, though it will remove any wax. One thing you may find upon removing the emblem is that the adhesive on the emblem may have stained the paint a bit where it is attached, depending on how long it was between when you painted the tank and when the emblem was applied. As long as the paint was well cured before you applied the emblem it should be fine. Once you get the emblem off I have used a product called Goo-Gone to remove any excess tape adhesive, and you can get it at most hardware stores. If you want to get the rubbing alcohol you need to ask for it at the pharmacy counter. Wal Mart carries the stuff and it is about $7 for a 1 litre bottle. Hope you get the emblem figured out if you haven't already. And again, WOW.
-
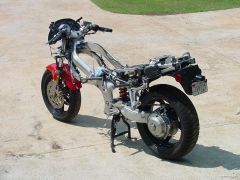 Ok, Ok, I've heard of a naked bike conversion before, but aren't we getting a tad carried away.
 -
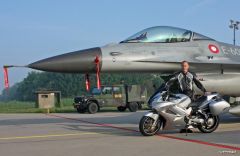 A lot of people might say when they feel the "Need for Speed" they turn to their motorcycle....................... and then are those that might perhaps pilot fighter jets. NICE bike.