Search the Community
Showing results for tags 'restoration'.
-
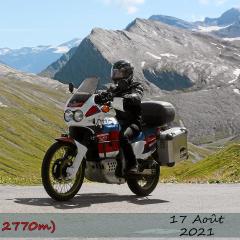
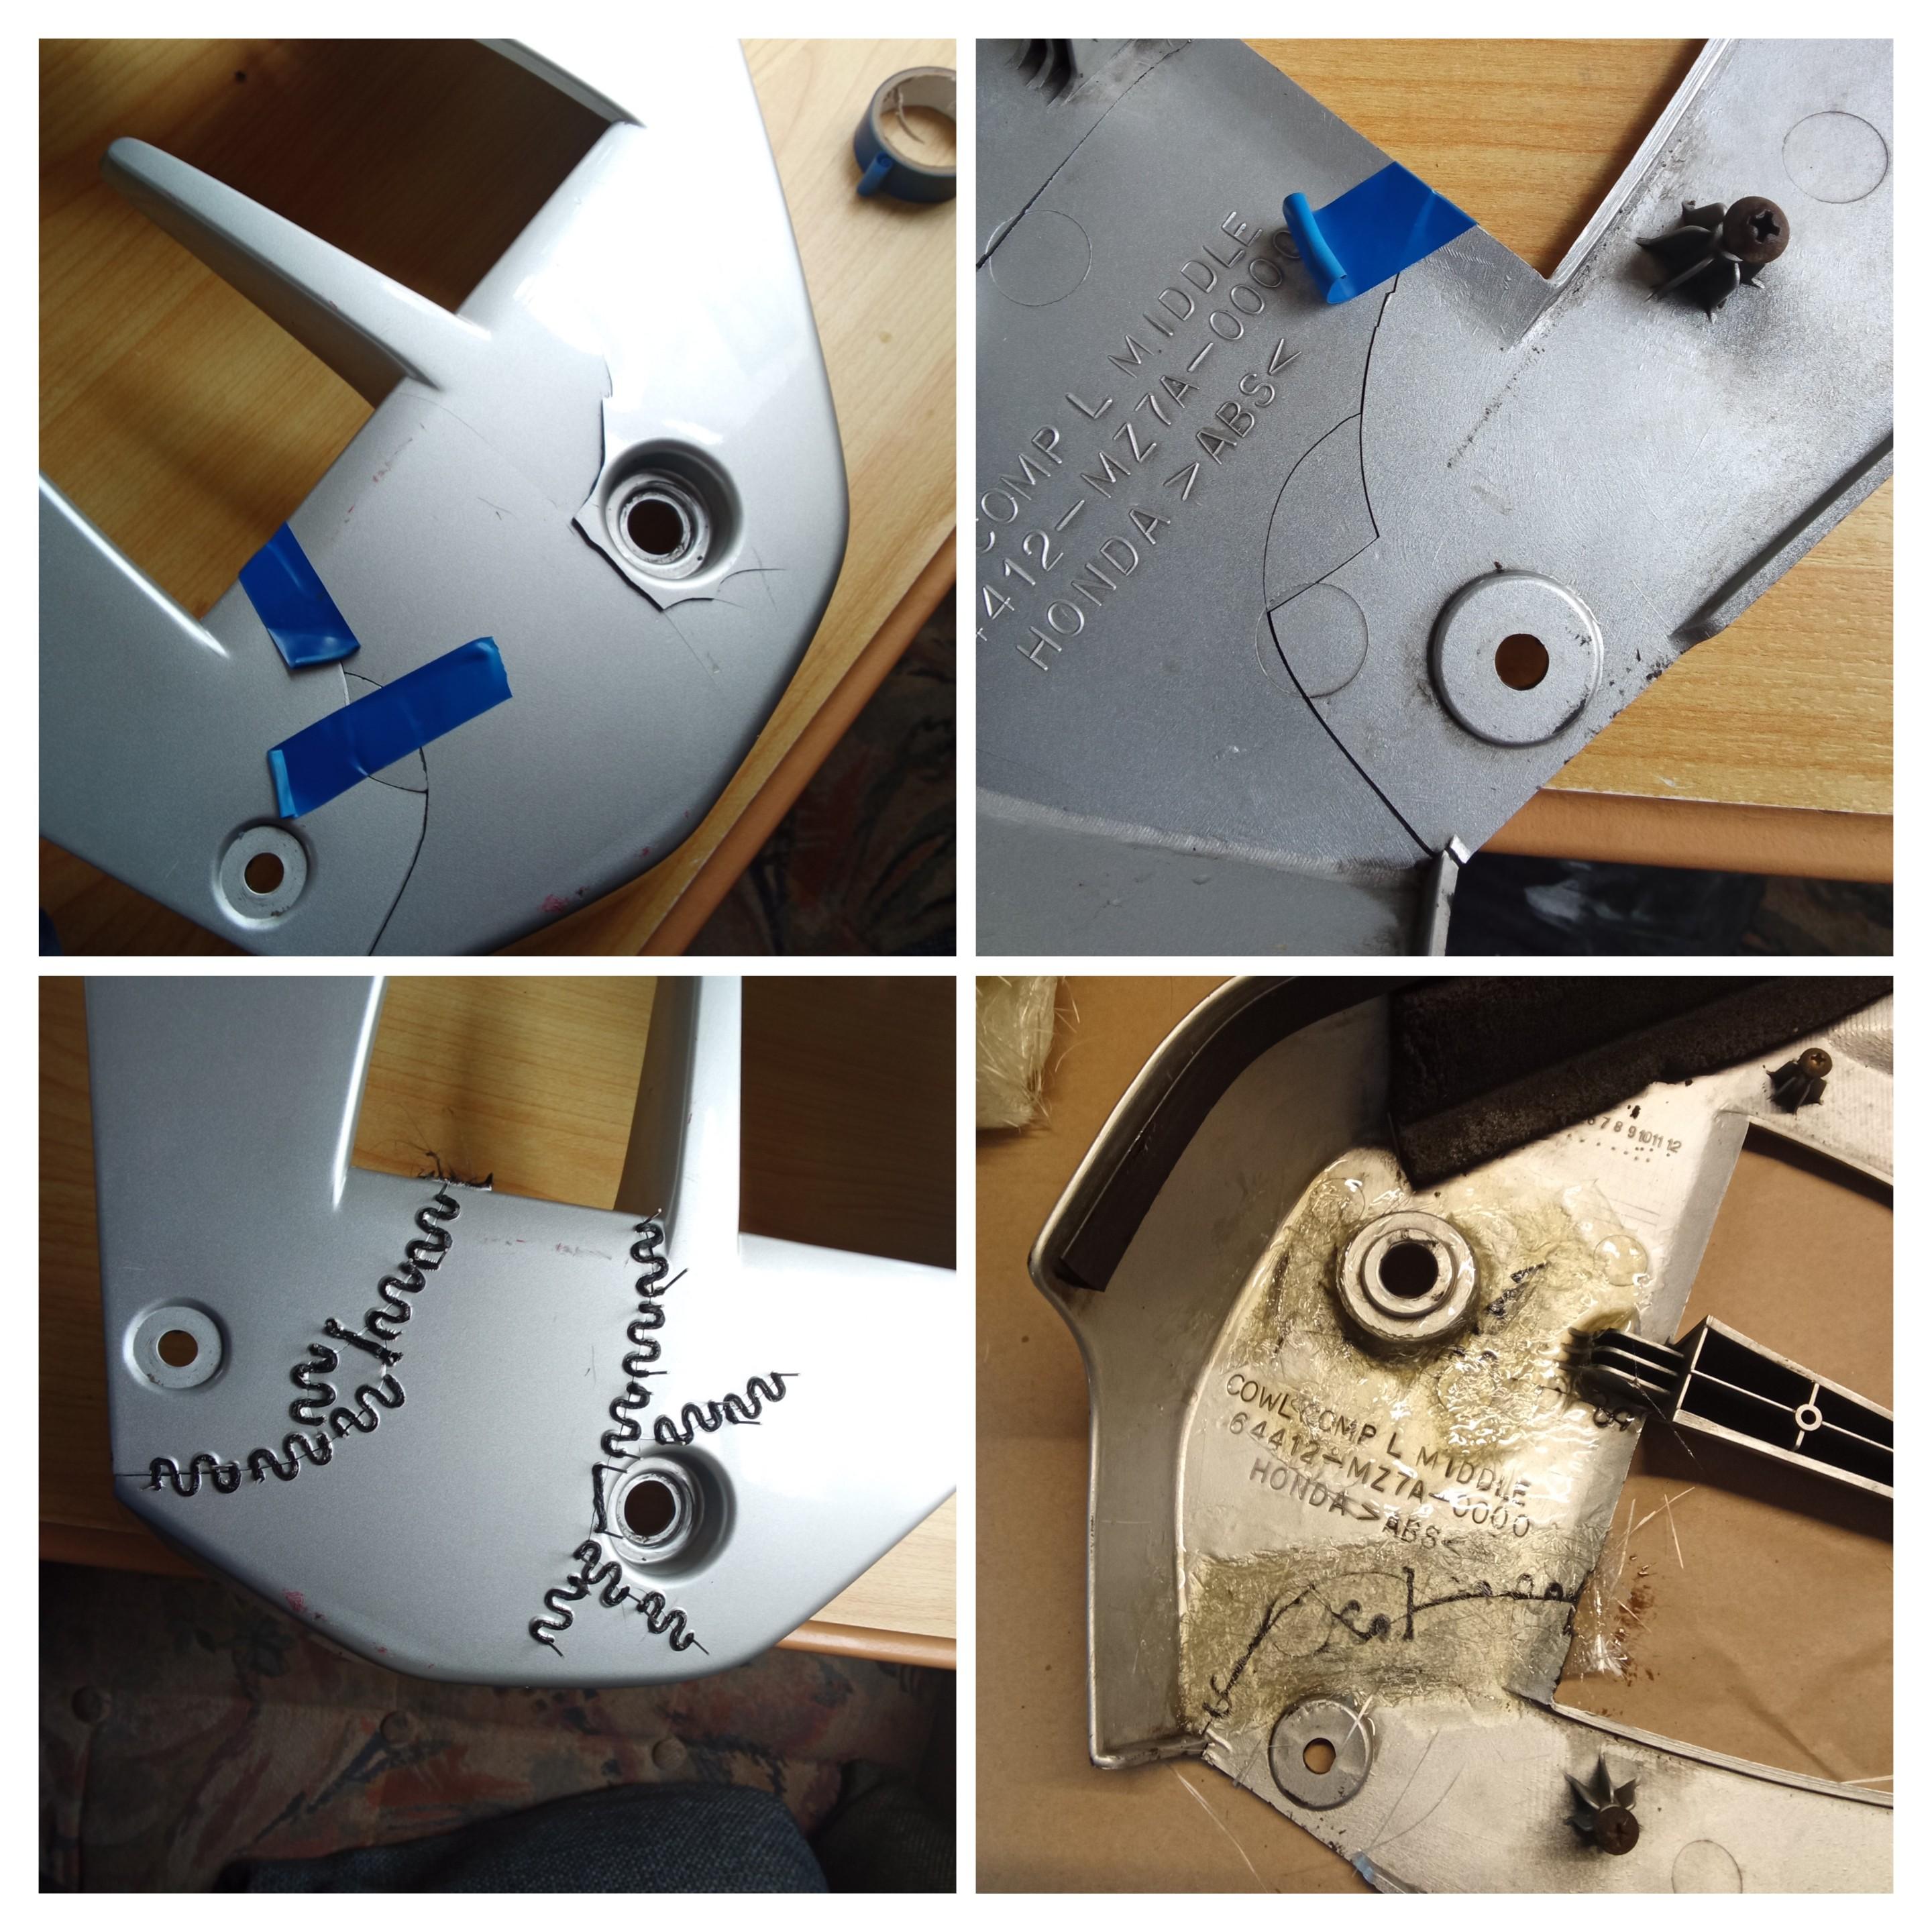
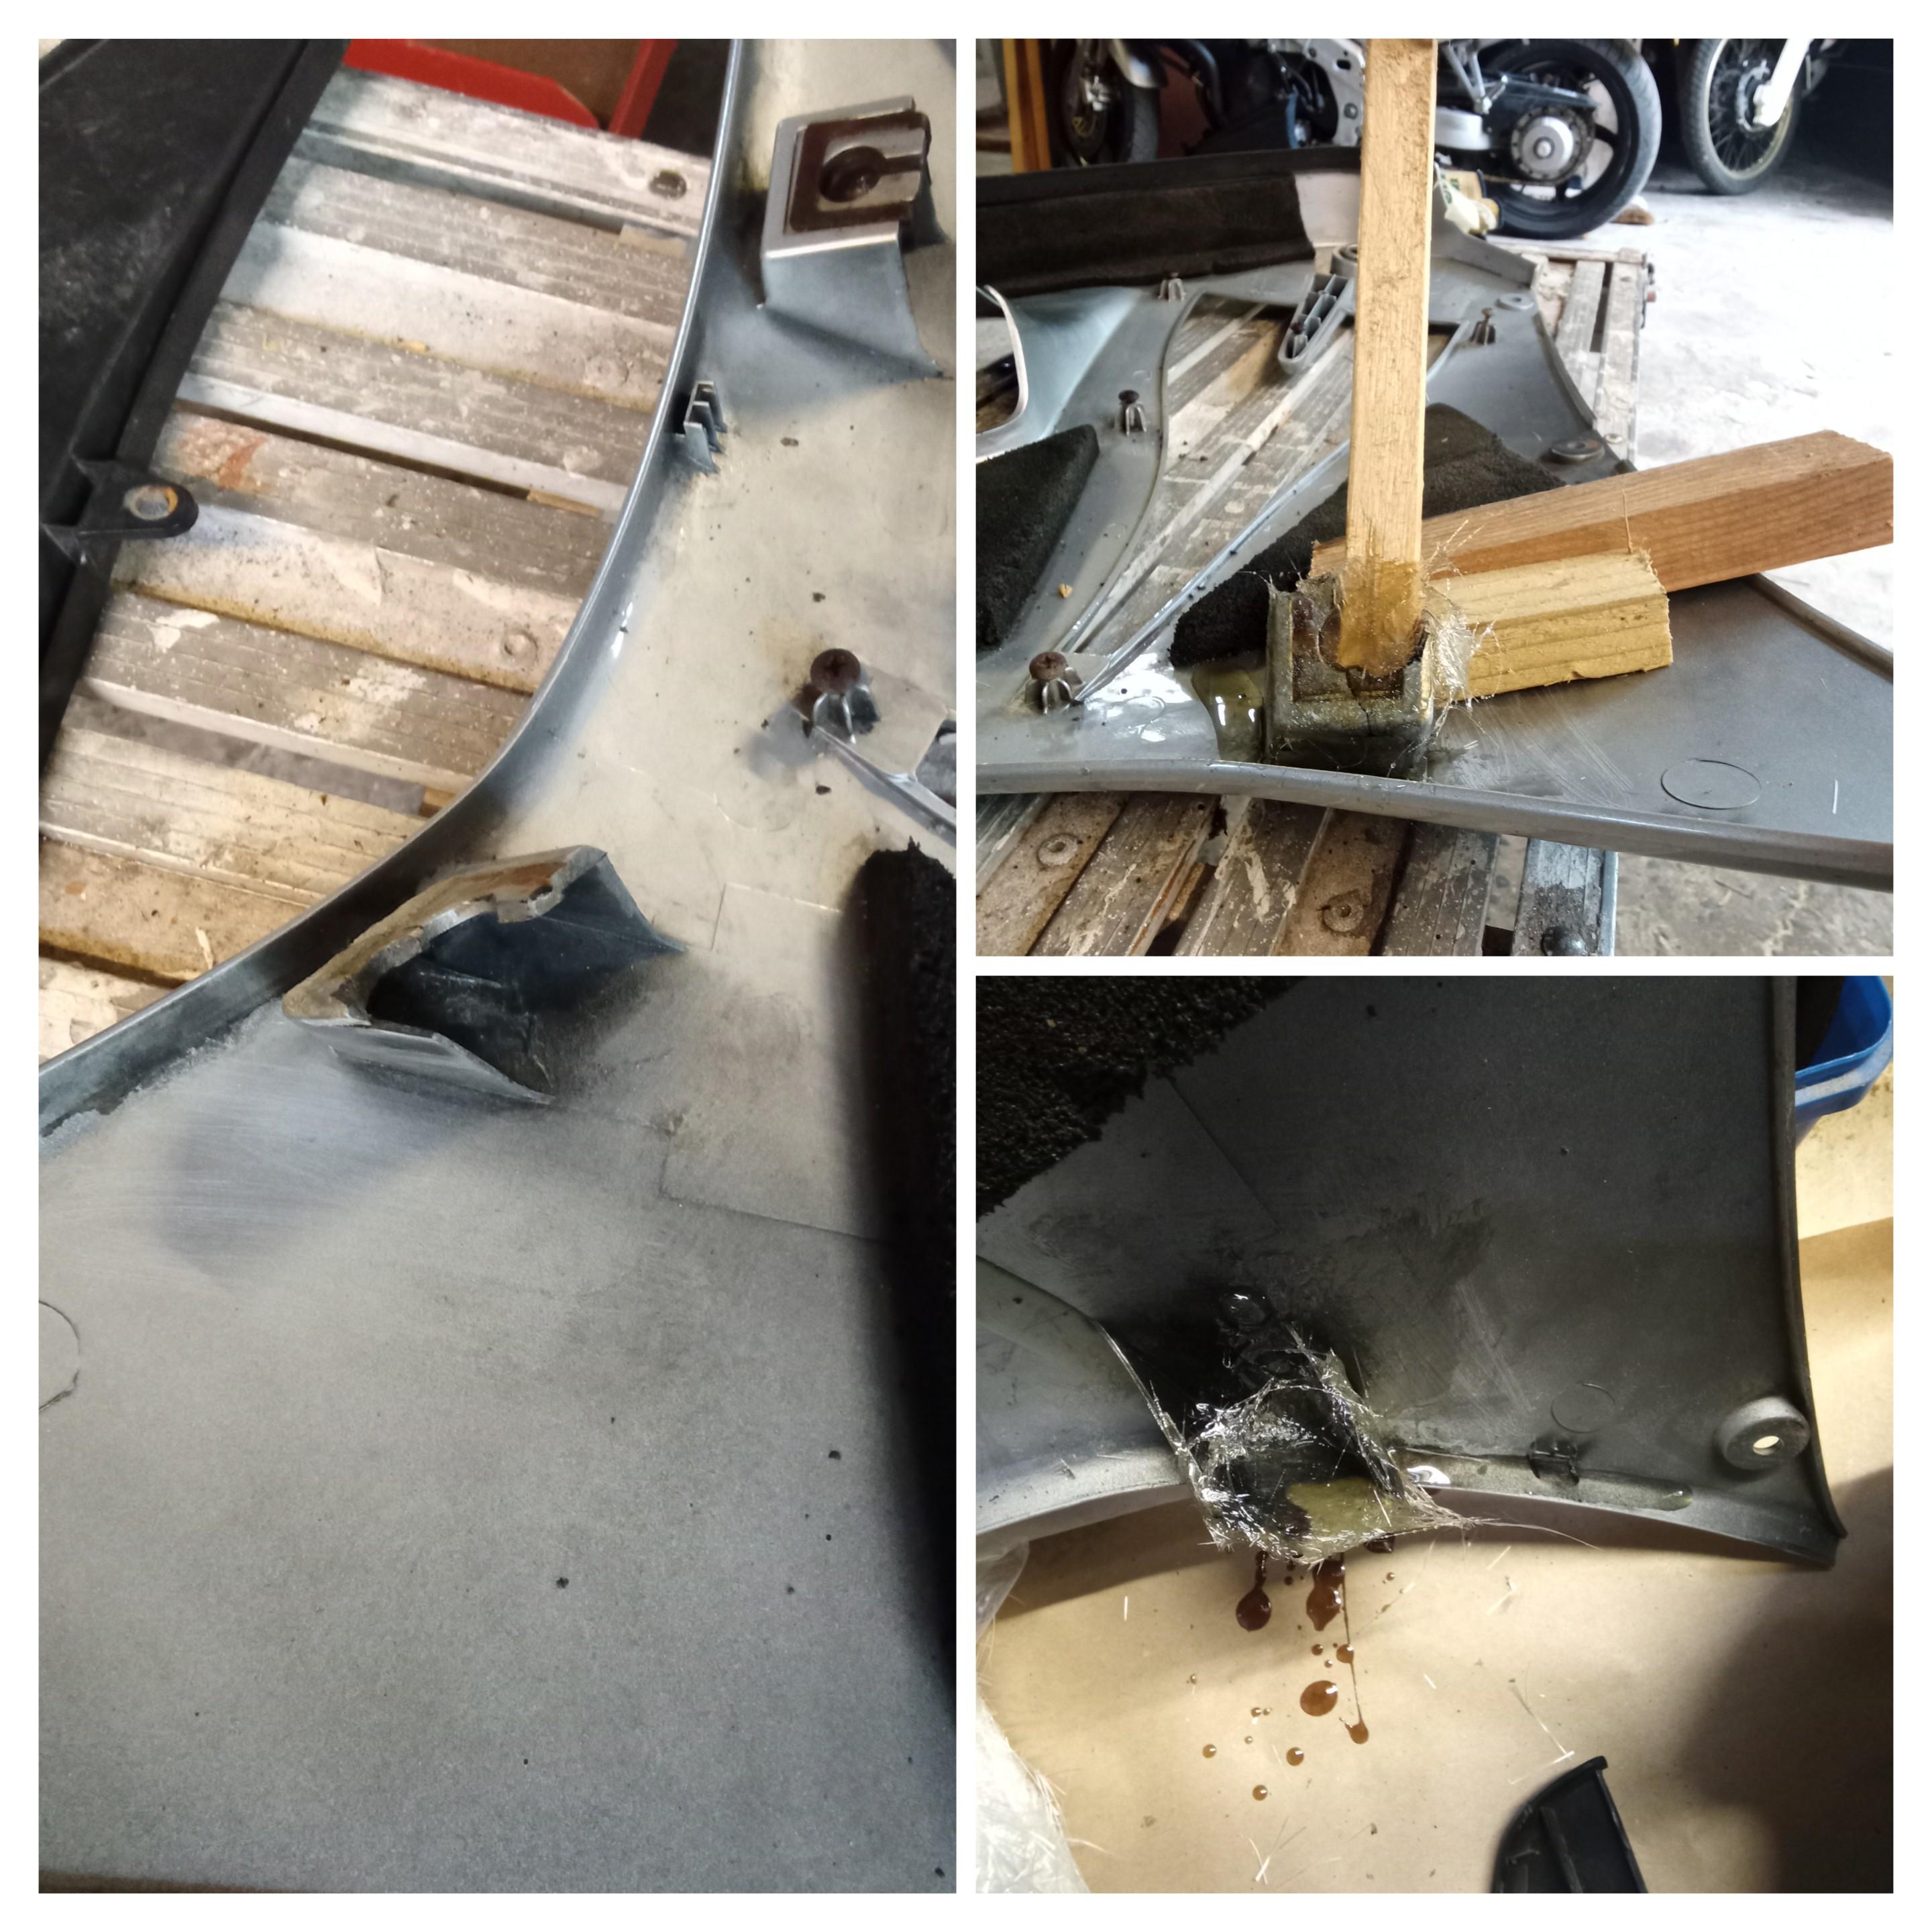
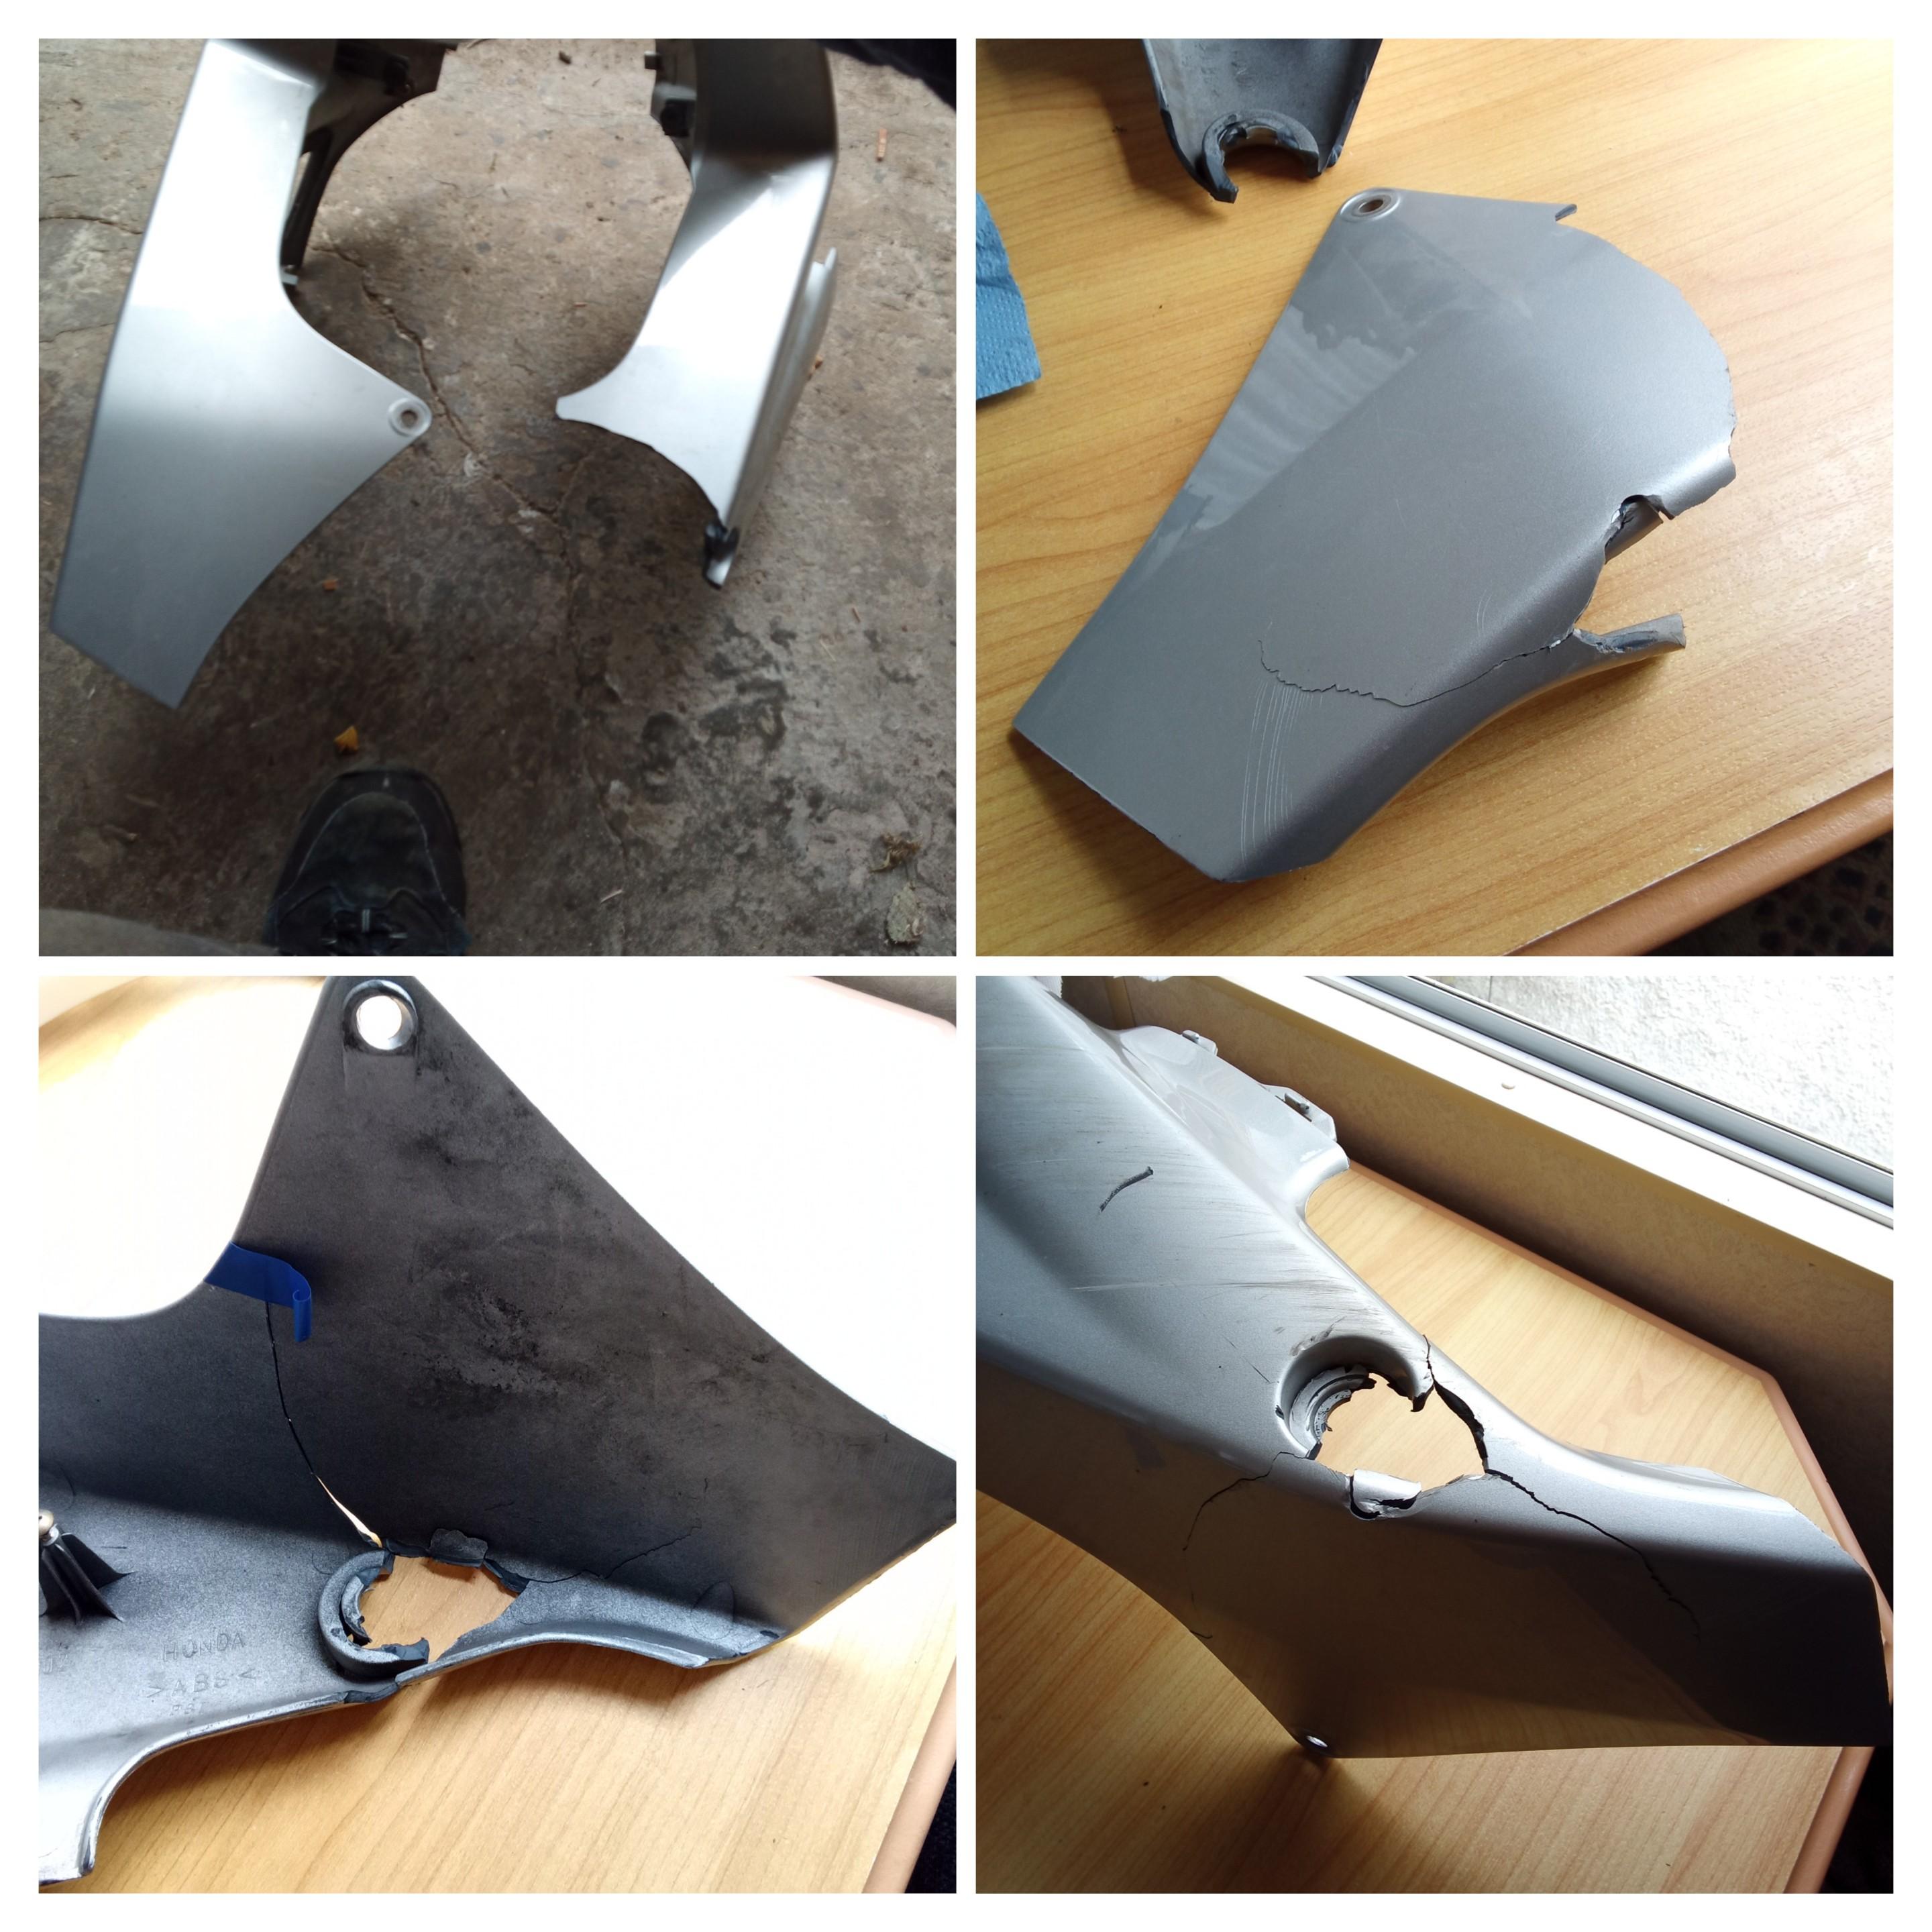
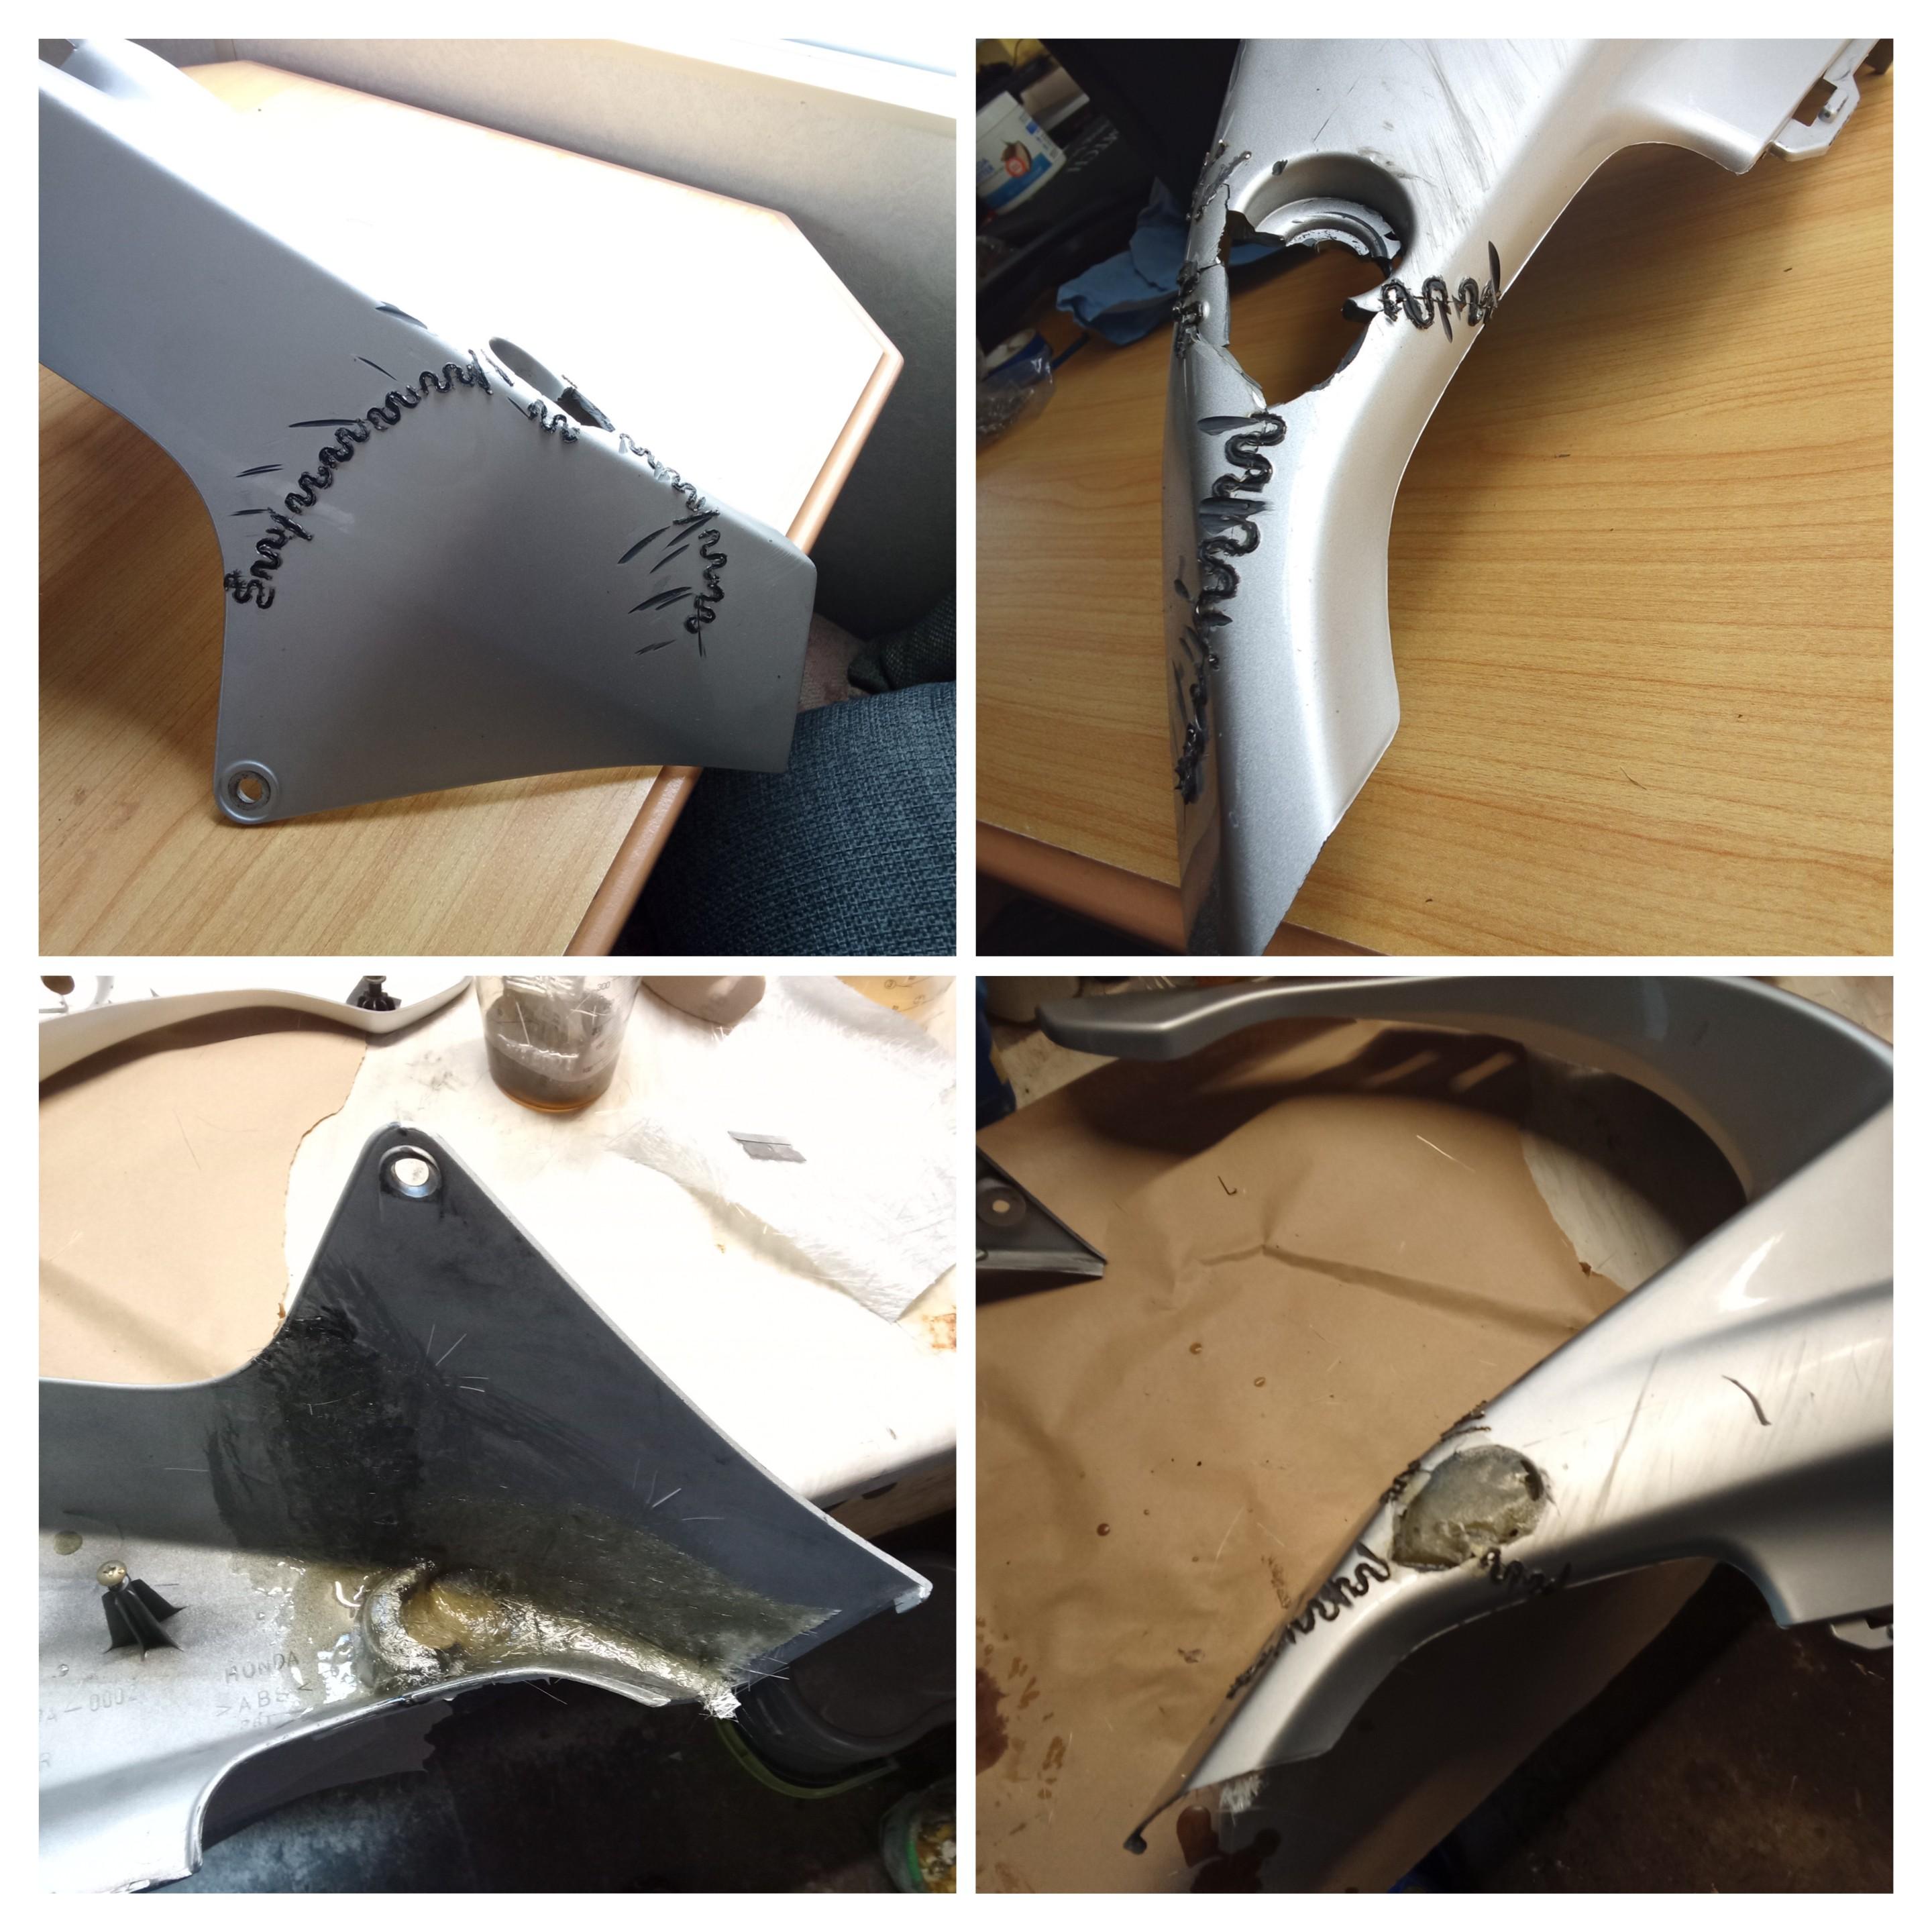
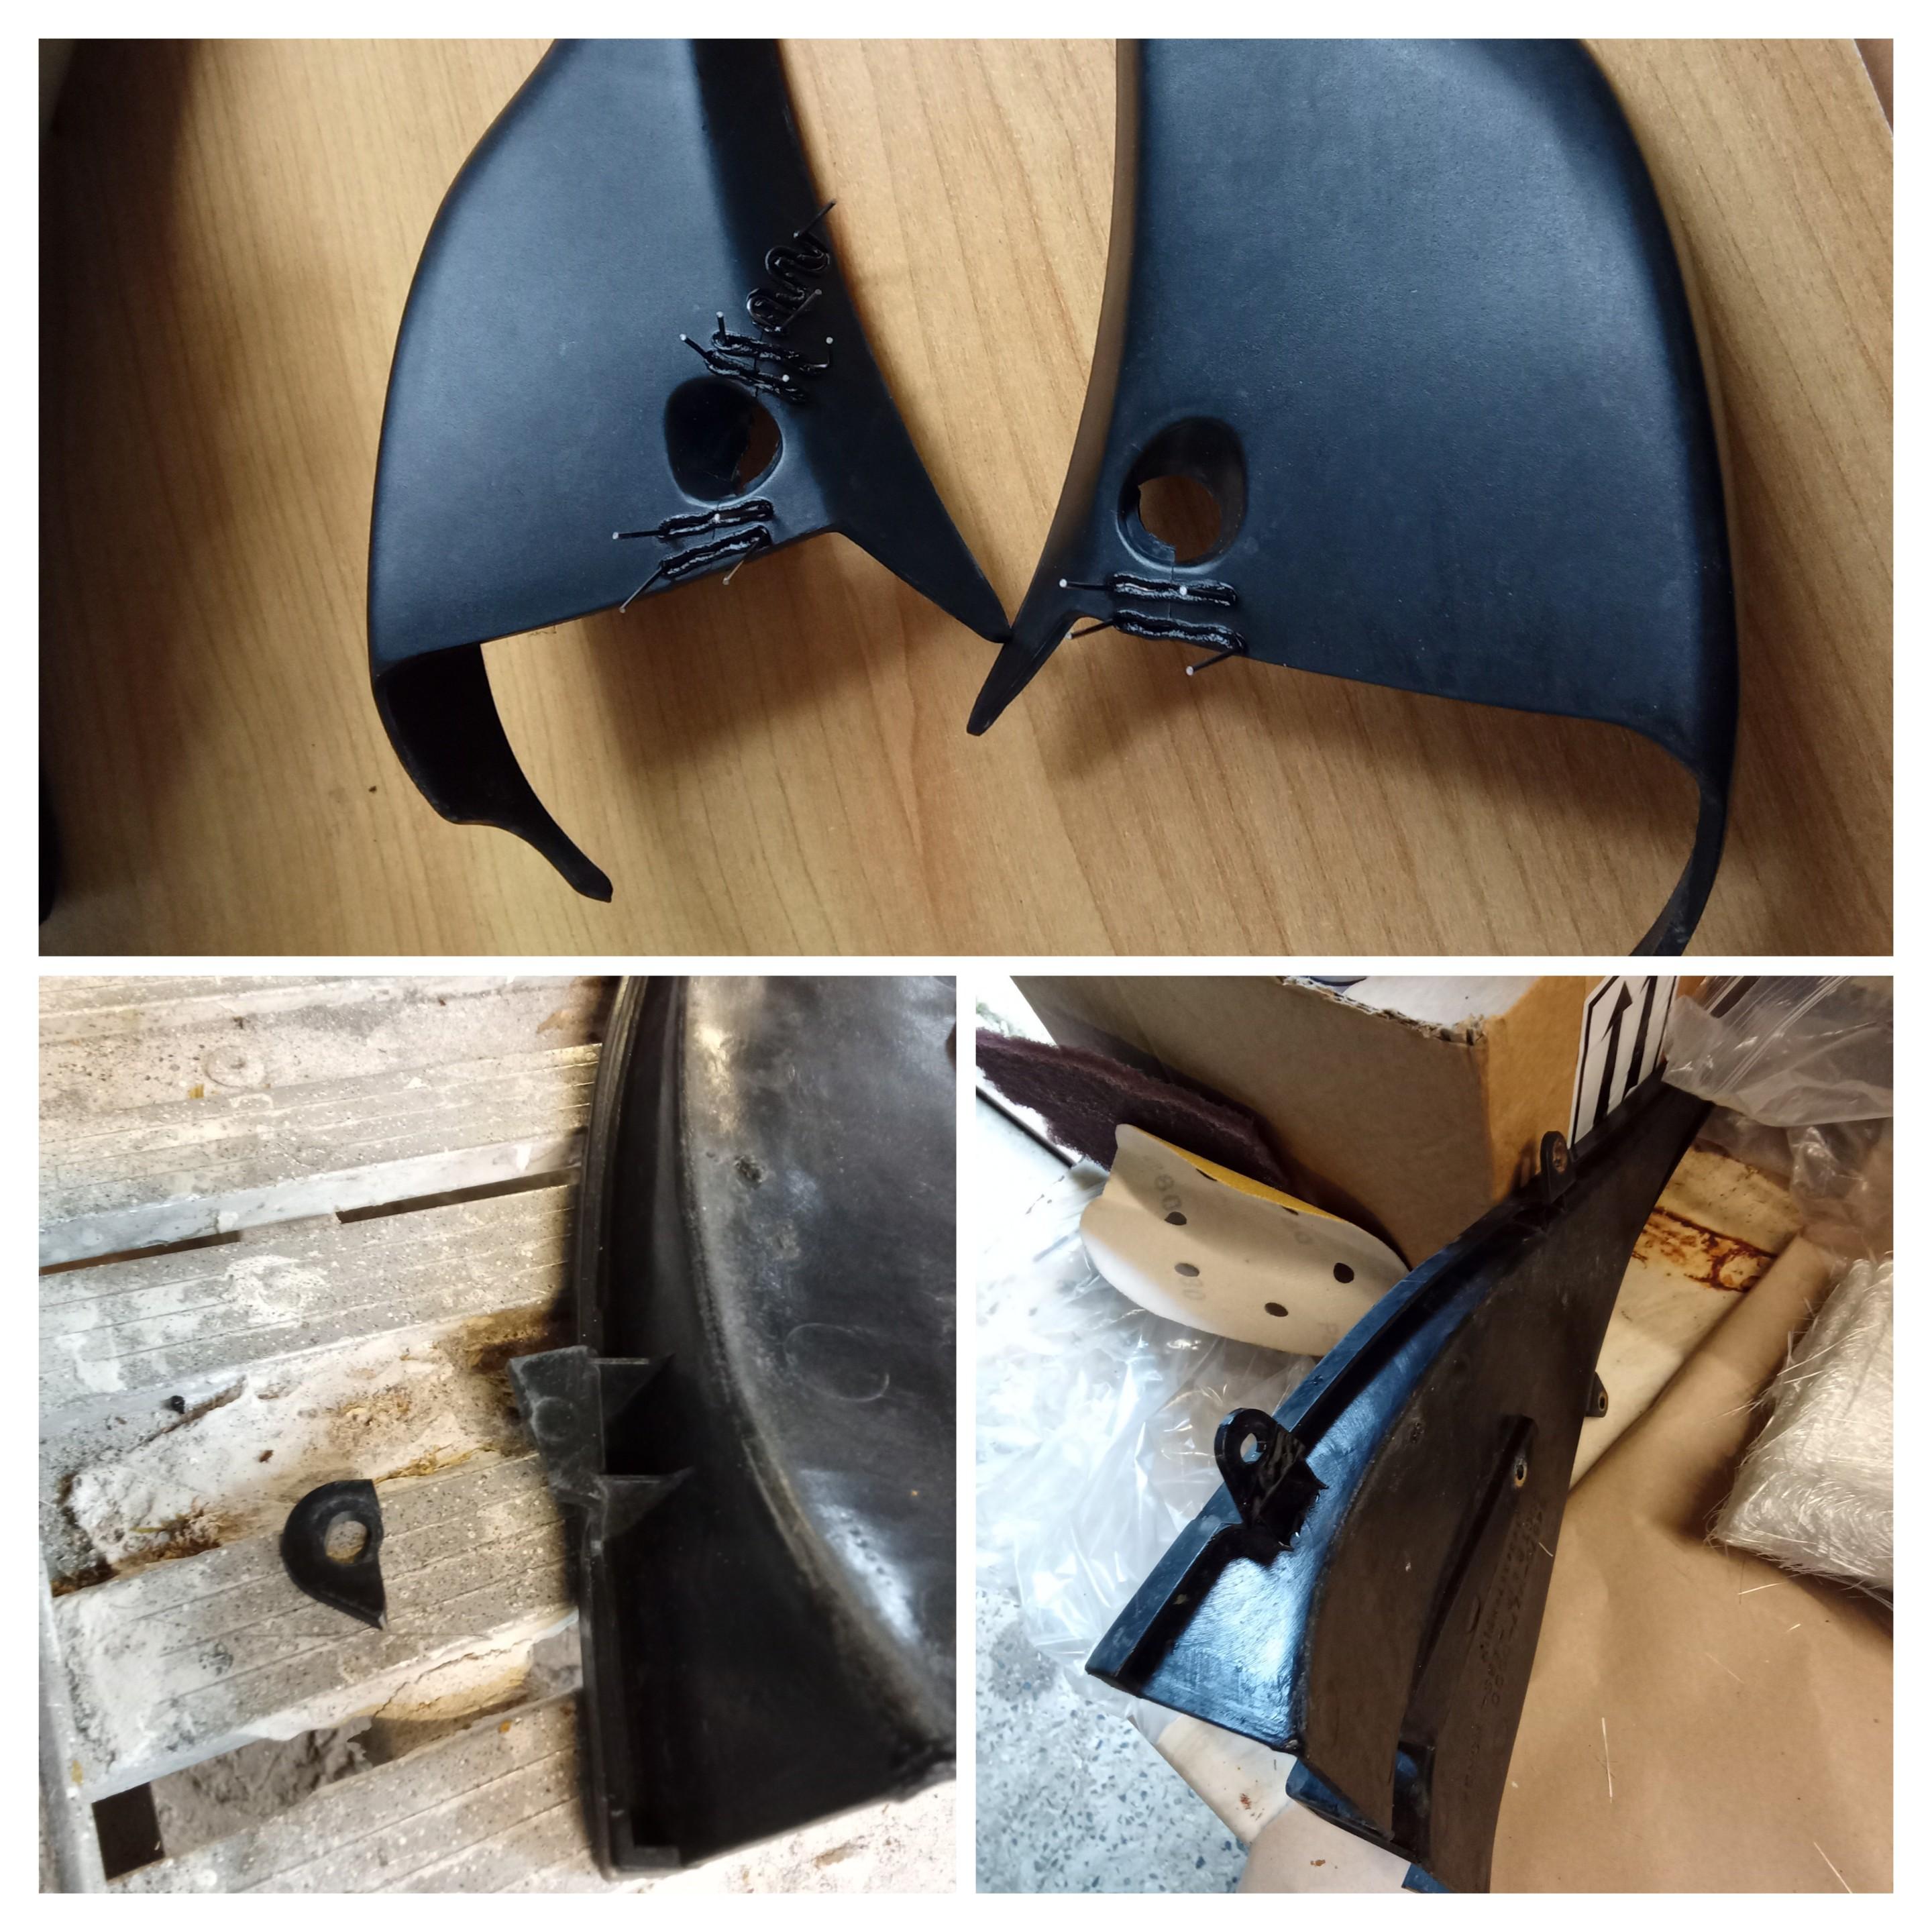
Hi there ! Following a wee accident, I'm taking the chance to cherish my VFR this winter. I thought the process of repairs and the painting might interest a couple of members. Please feel free to make any suggestion Cheers ! Here are the work done so far : Plastic repairs with hot staples, reinforced with fiberglass and resin at the back

-
Good Day, Im seeking some direction on where to find replacement body panel bolts for my 99 vfr, specifically the large head/shouldered ones (the 4 main ones that hold the side panel) ive looked high and low online and can only seen to locate generic bolt kits that dont have that specific style of faring bolts ( the generics are too sloppy in the body holes). Can someone guide me in the right direction?
-
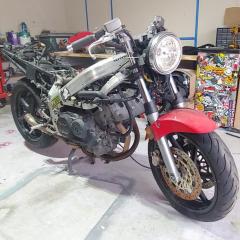
Hoping this is the right place to post. This is the rebuild process of my early prototype VFR-750R built in 1986 and imported into Australia specifically for use as a race bike. I bought it in 1994 and was lucky enough to get it with an engine that was built in 1993 with the full HRC race kit installed. At the time this kit alone cost almost $60,000 in addition to the cost of the bike. And back then they were selling in dealerships for just under $20,000. The bike was raced its entire life and then retired when the RC45 was introduced. Thats when I was able to pick it up for what I considered to be a steal. I rode the hell out of it, doing 50 or so track days in 5 years before the crank lost a gallery plug, causing the bottom end to seize. The stock titanium conrods were destroyed but I was able to get the crank repaired. At the same time I was in the process of moving here to the US so I had no time to repair it. As a result I covered the chassis in a layer of grease, put the engine in a waterproof box and put it into storage. 10 years later I was able to ship it over here so I packed it up and it arrived with the thick layer of grease still in place. It took another 3 years to find all the parts I needed before I could even think about rebuilding it, and then my 996 went all Ducati on me and I had to rebuild it just so I could get rid of it. But once that was done I cleared out my work space and got started. There were a few nasty surprises in the build but nothing I couldn't handle. There were a bunch of parts on this bike custom made by the race team that were either broken or worn out but thats why I taught myself how to use Autocad and a bunch of CAD/CAM programs. I built myself a small CNC mill specifically to make parts for this RC30. So here are some pictures: My first track day on this bike early in 1994 Picking up the package from the freight hub in Houston The special parts cleaner in use. It works perfectly. Cases all clean and ready to go back together. Heres the top end ready to go back together. New aftermarket rods cost more than my KTM supermoto. You can see the damage on the original titanium rod but these are not repairable. Checking side clearance on the new rods when installed. Using the damned expensive internal micrometer to check the custom bearings. Much more accurate than plastigauge provided you take all measurements with the parts at the same temperature. Old pistons are worn out. Thats why the motor was smoking a little the last few times I rode it. New pistons. Notice the different reading on the micrometer. Thats the difference between smoke and no smoke under decell. Checking the cylinders. Thankfully they were still within spec. This motor has the cylinders cast into the top crank case. As a result the engine has to come apart any time new pistons are needed. Here they are going in: From below. Individually weighed and balanced rods and pistons installed. Transmission installed after each gear was washed and all bearings checked. There are four of these oil jets in the cases. Dont forget any or there will be problems. Cases together. It takes a lot of jiggling. Heres a question - who can shed some light on the spiral groves on this bolt? It holds the cases together so has no interaction with oil or gears. Heads of two of these are visible in the next picture. Flipped over, this is the oil pump. Its actually from a VF1000R as the standard pump doesnt have passages for the lines to the oil cooler. I figured this would be the best time to bring the engine and chassis together. Thats when I noticed the crud in the threads. Heres a shot from the timelapse - frame installed on the engine. http://youtu.be/PTBPv6x7GbA Roger at OnroadOffroad.com rebuilt the shock and forks. This is the titanium swingarm pivot - part of the HRC kit. It feels light as aluminum. Here are the starter motor and gears I installed when I first got the bike. Why? Bump starting is a real pain. Race kit crank allows ignition timing to be adjusted. All ready to button up. (oil cooler bypass line waiting for new hoses) Time to start work on the carbs. Luckily I emptied them before I stored them so they werent bad at all. I installed a choke system - not easy with the short-port NL0 heads. But worth its weight in gold. On the other side of the motor I found some more stripped threads. The race team helicoiled almost every bolt hole in the motor for reduced weight. I did the rest. Coming together nicely. Checking piston travel to verify cam settings. Checking cam travel. There is actually a degree of difference between the front and rear intake cams. Not sure which one is wrong though. I cant adjust until I know which one is correct. I then found a bad bearing on the front bank so I replaced both. Here the hot bearing drops onto the chilly cam. Race kit ID mark. Now comes the fun part. The race kit wiring harness was replaced with the stock wiring harness so I could use the starter but is huge and heavy. So I ordered a used VFR-F harness to donate wire and connectors for a new harness made to the race kit wiring diagram. I later found out that there were several plugs missing from the F model harness. I found a goldwing harness that had all the plugs I needed and it was an easy process to make the new harness with starter motor and charging circuit added. Kit CDI connected to the new harness. We now have sparks in all the right places. Heres the new brake calipers mounted with custom made brackets. The old calipers needed new seals that were no longer available. Hopefully these calipers from a 999S will work as well as the AP Lockheed ones. (Thats not dirt on the calipers, the previous owner painted them then scraped most of the paint off. Theres a little more left to do though).
- 72 replies
-
- 10
-

-
- rc30
- restoration
- (and 1 more)
-
 I apologize I have not been active on the site for some time. I found this video on the restoration of not one but two VFRS. Once he got the first running the sound of the gear whine tugged on my heart and brought a tear to my eye, I do miss my 2000 VFR. Hopefully this is not a repeat, if so please feel free to remove this post. Please keep them on the road, they are all special!
 -
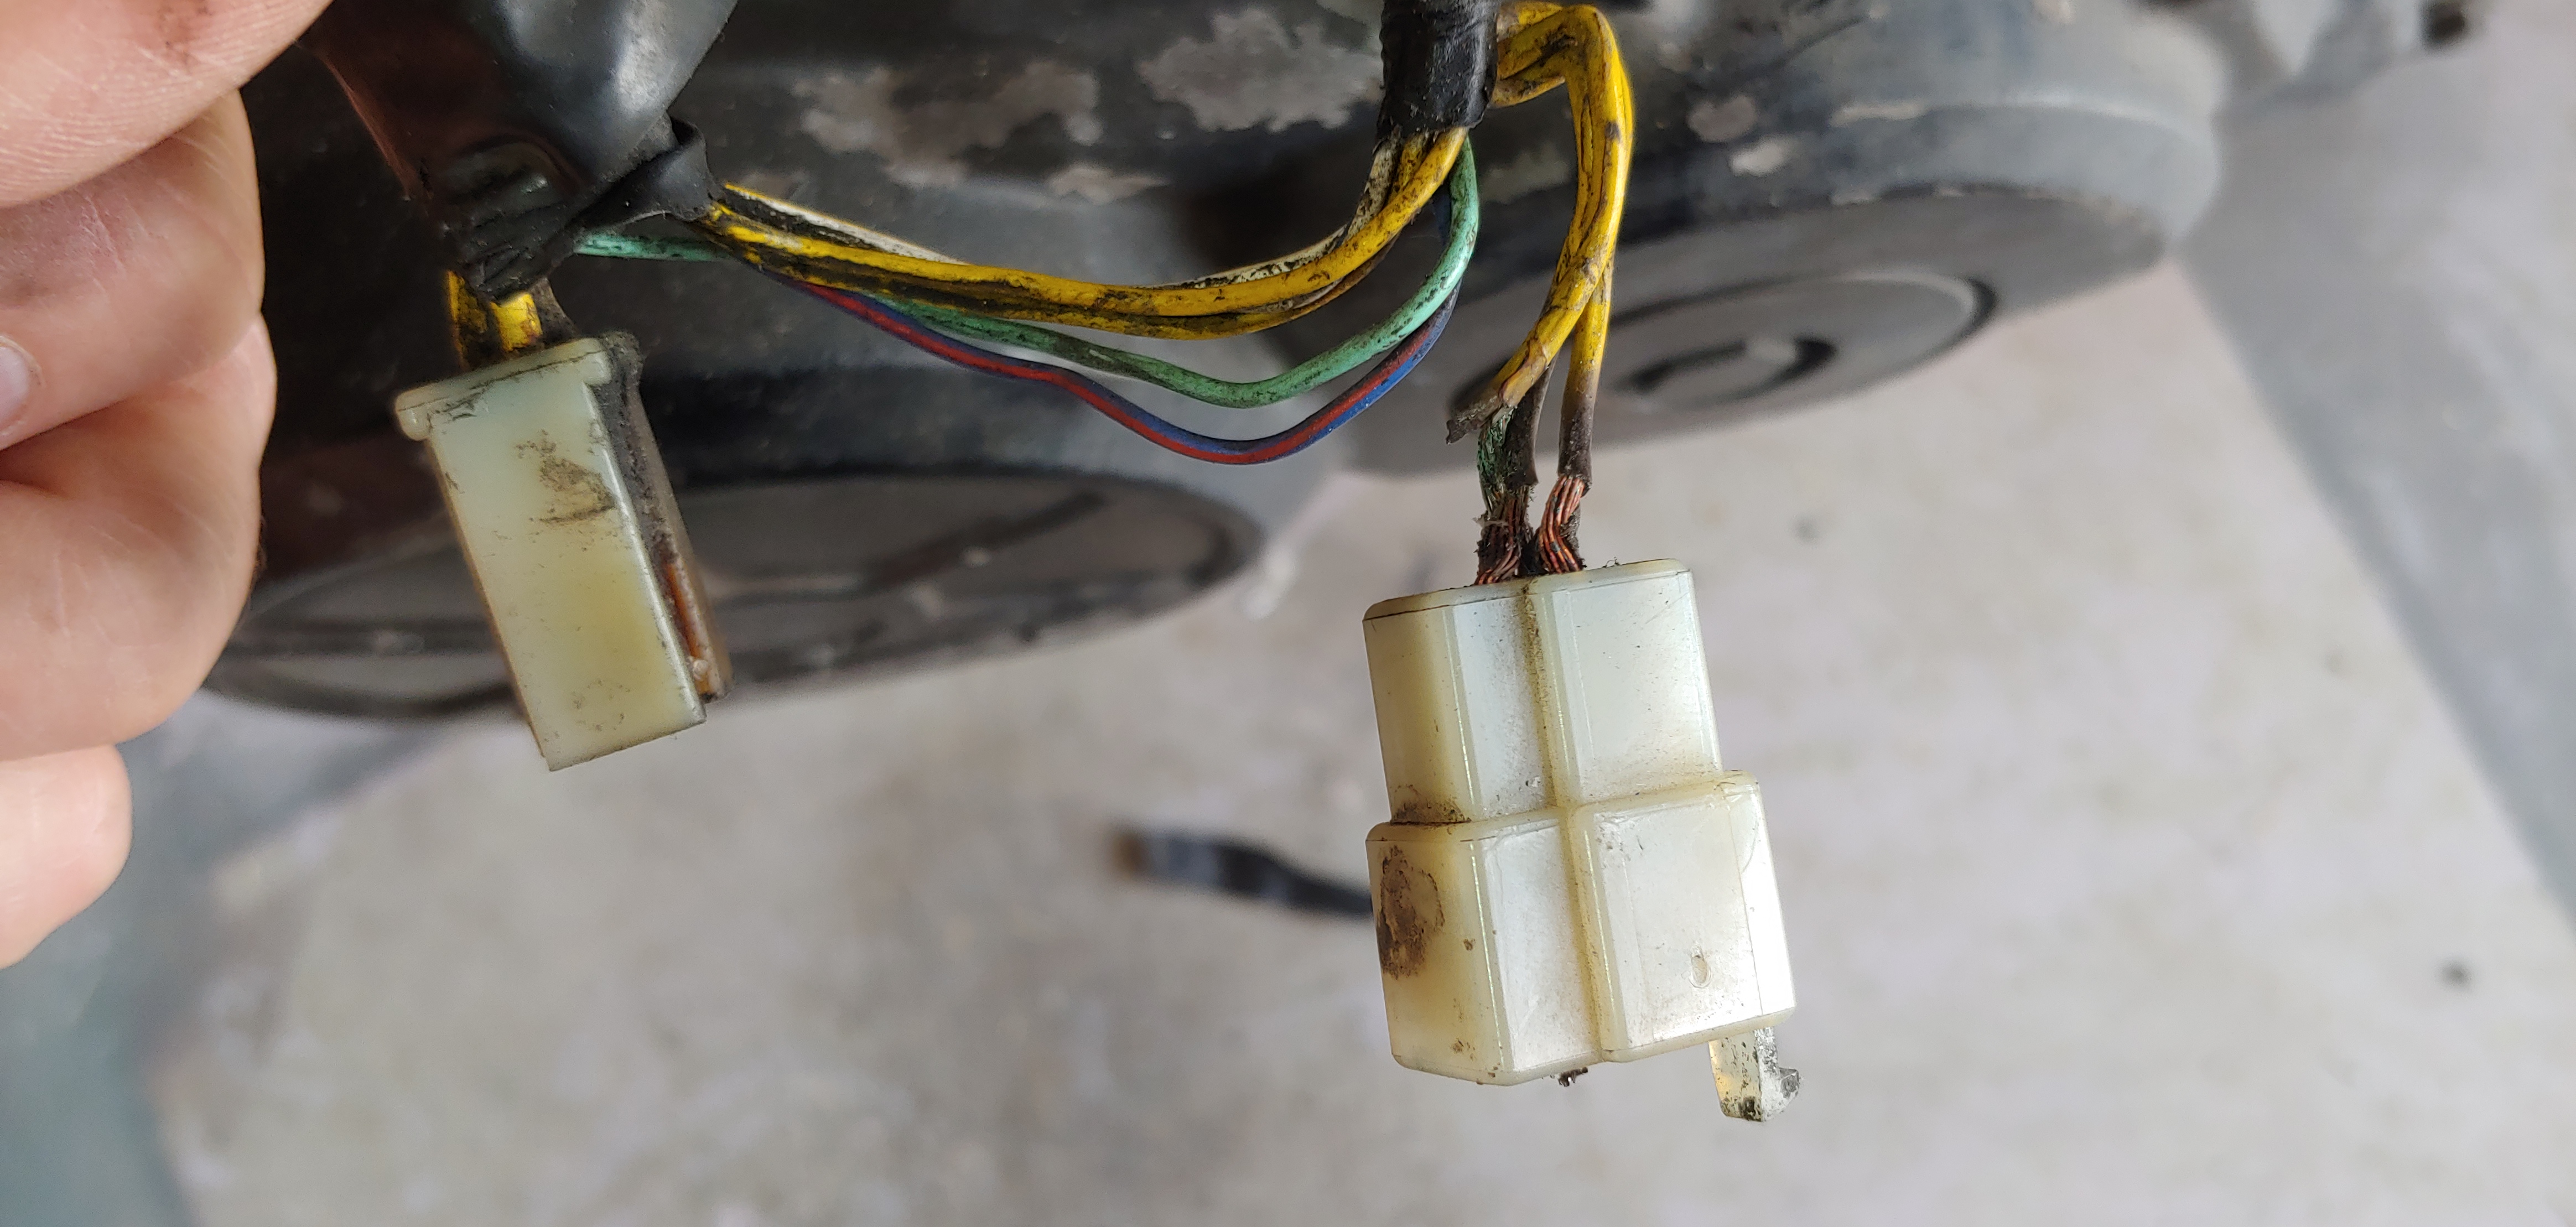
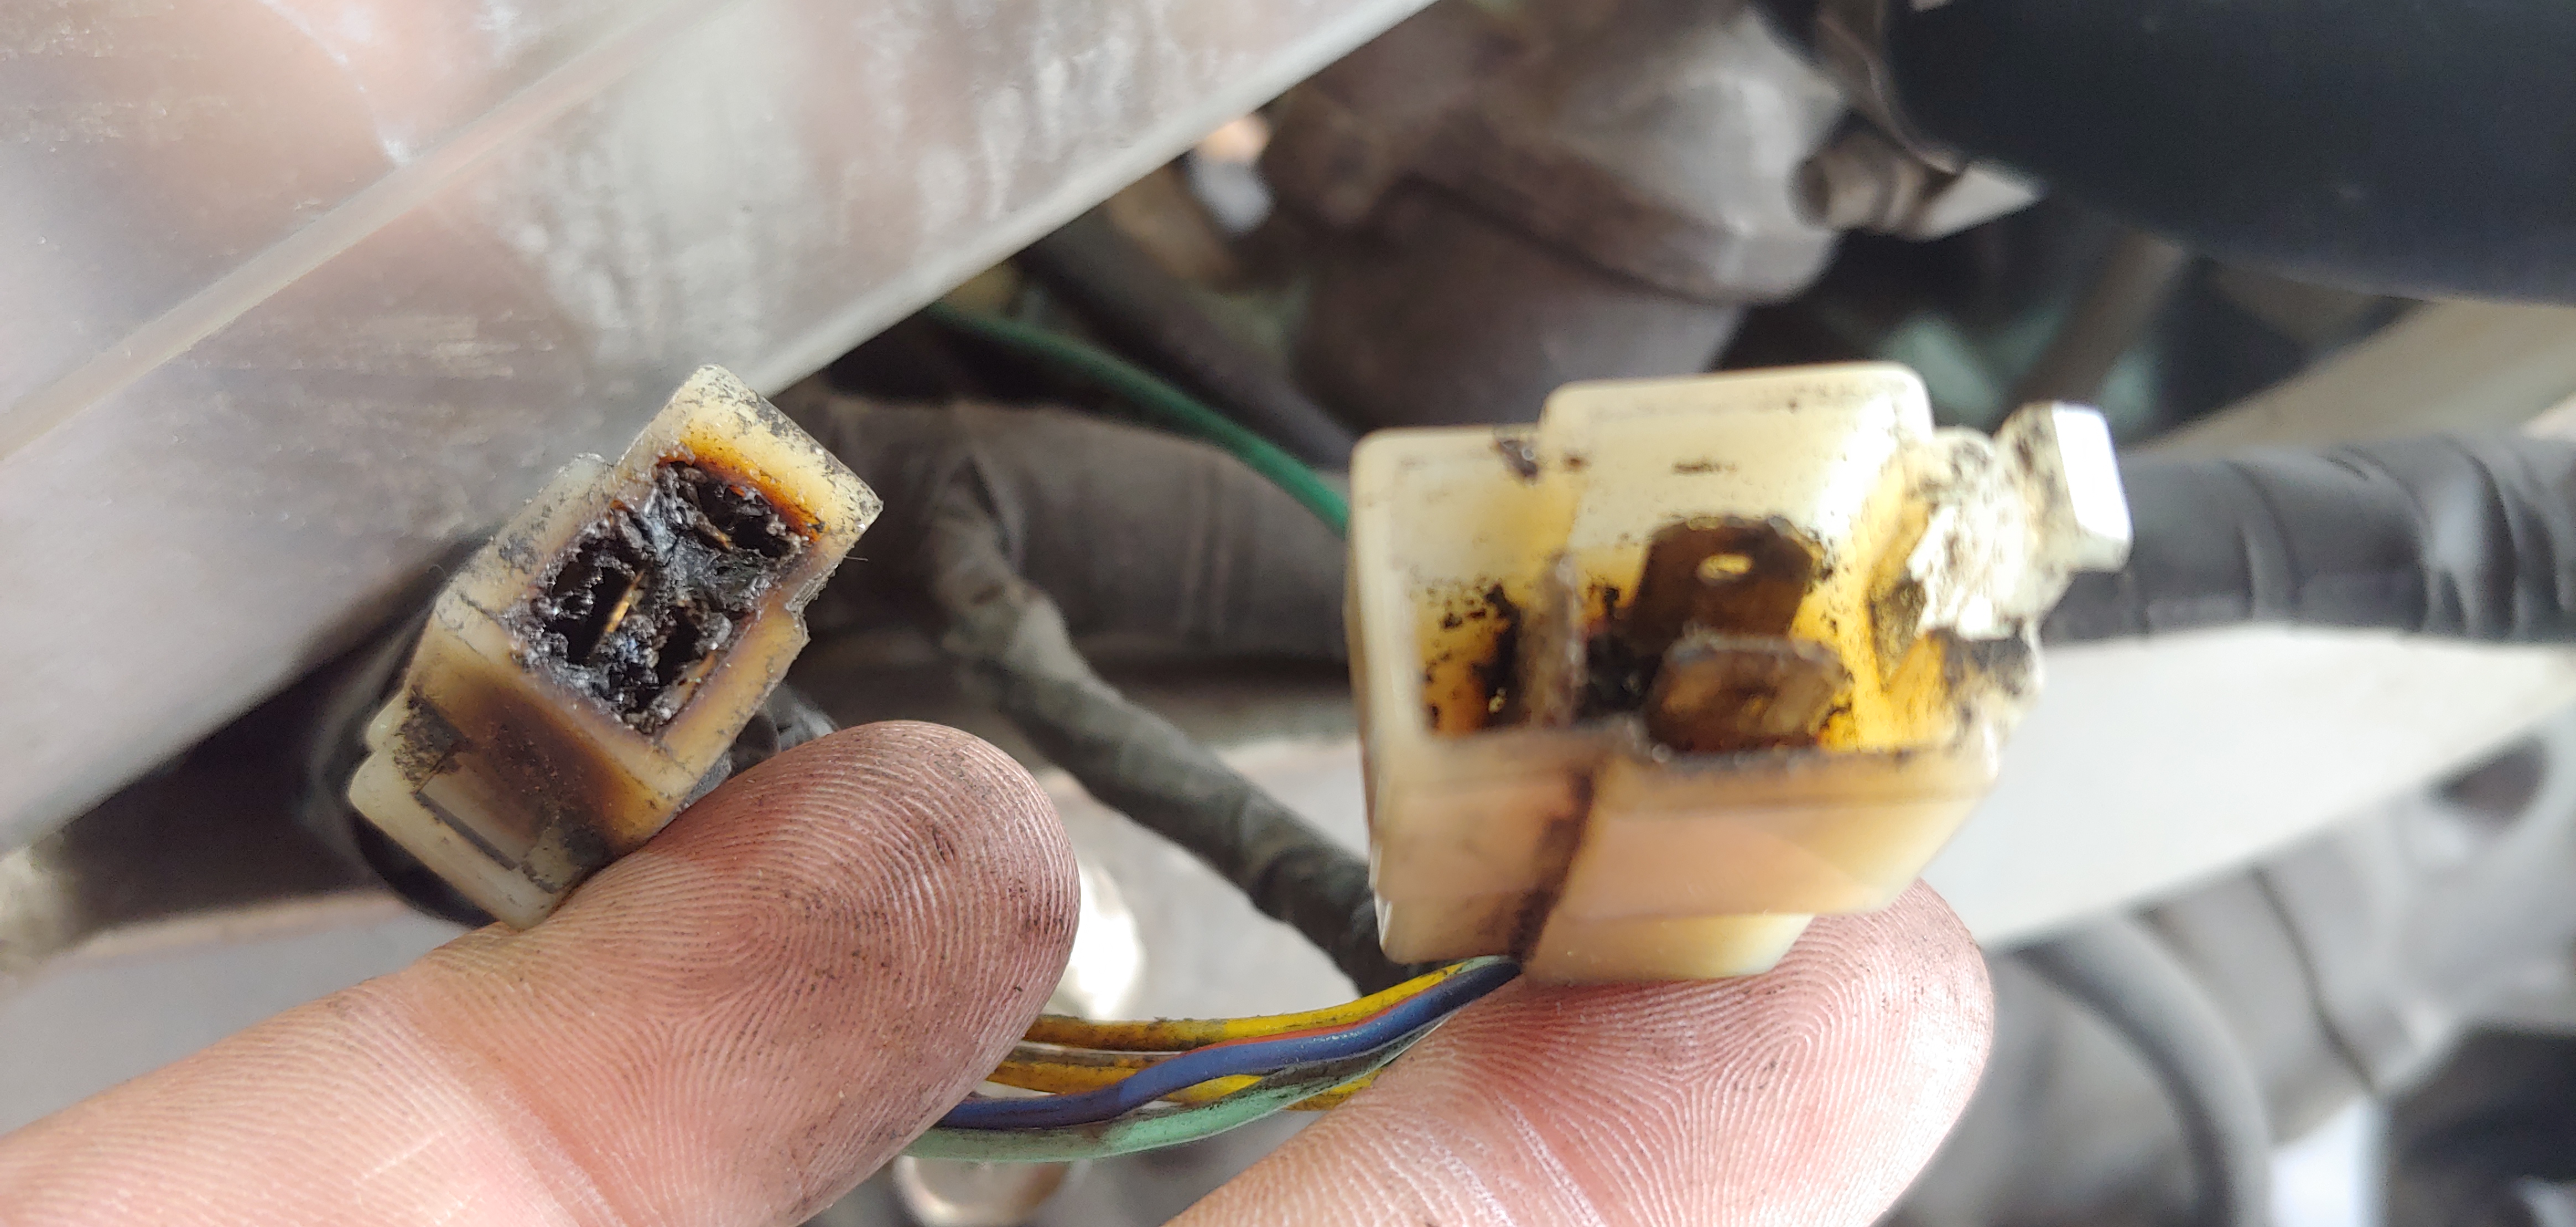
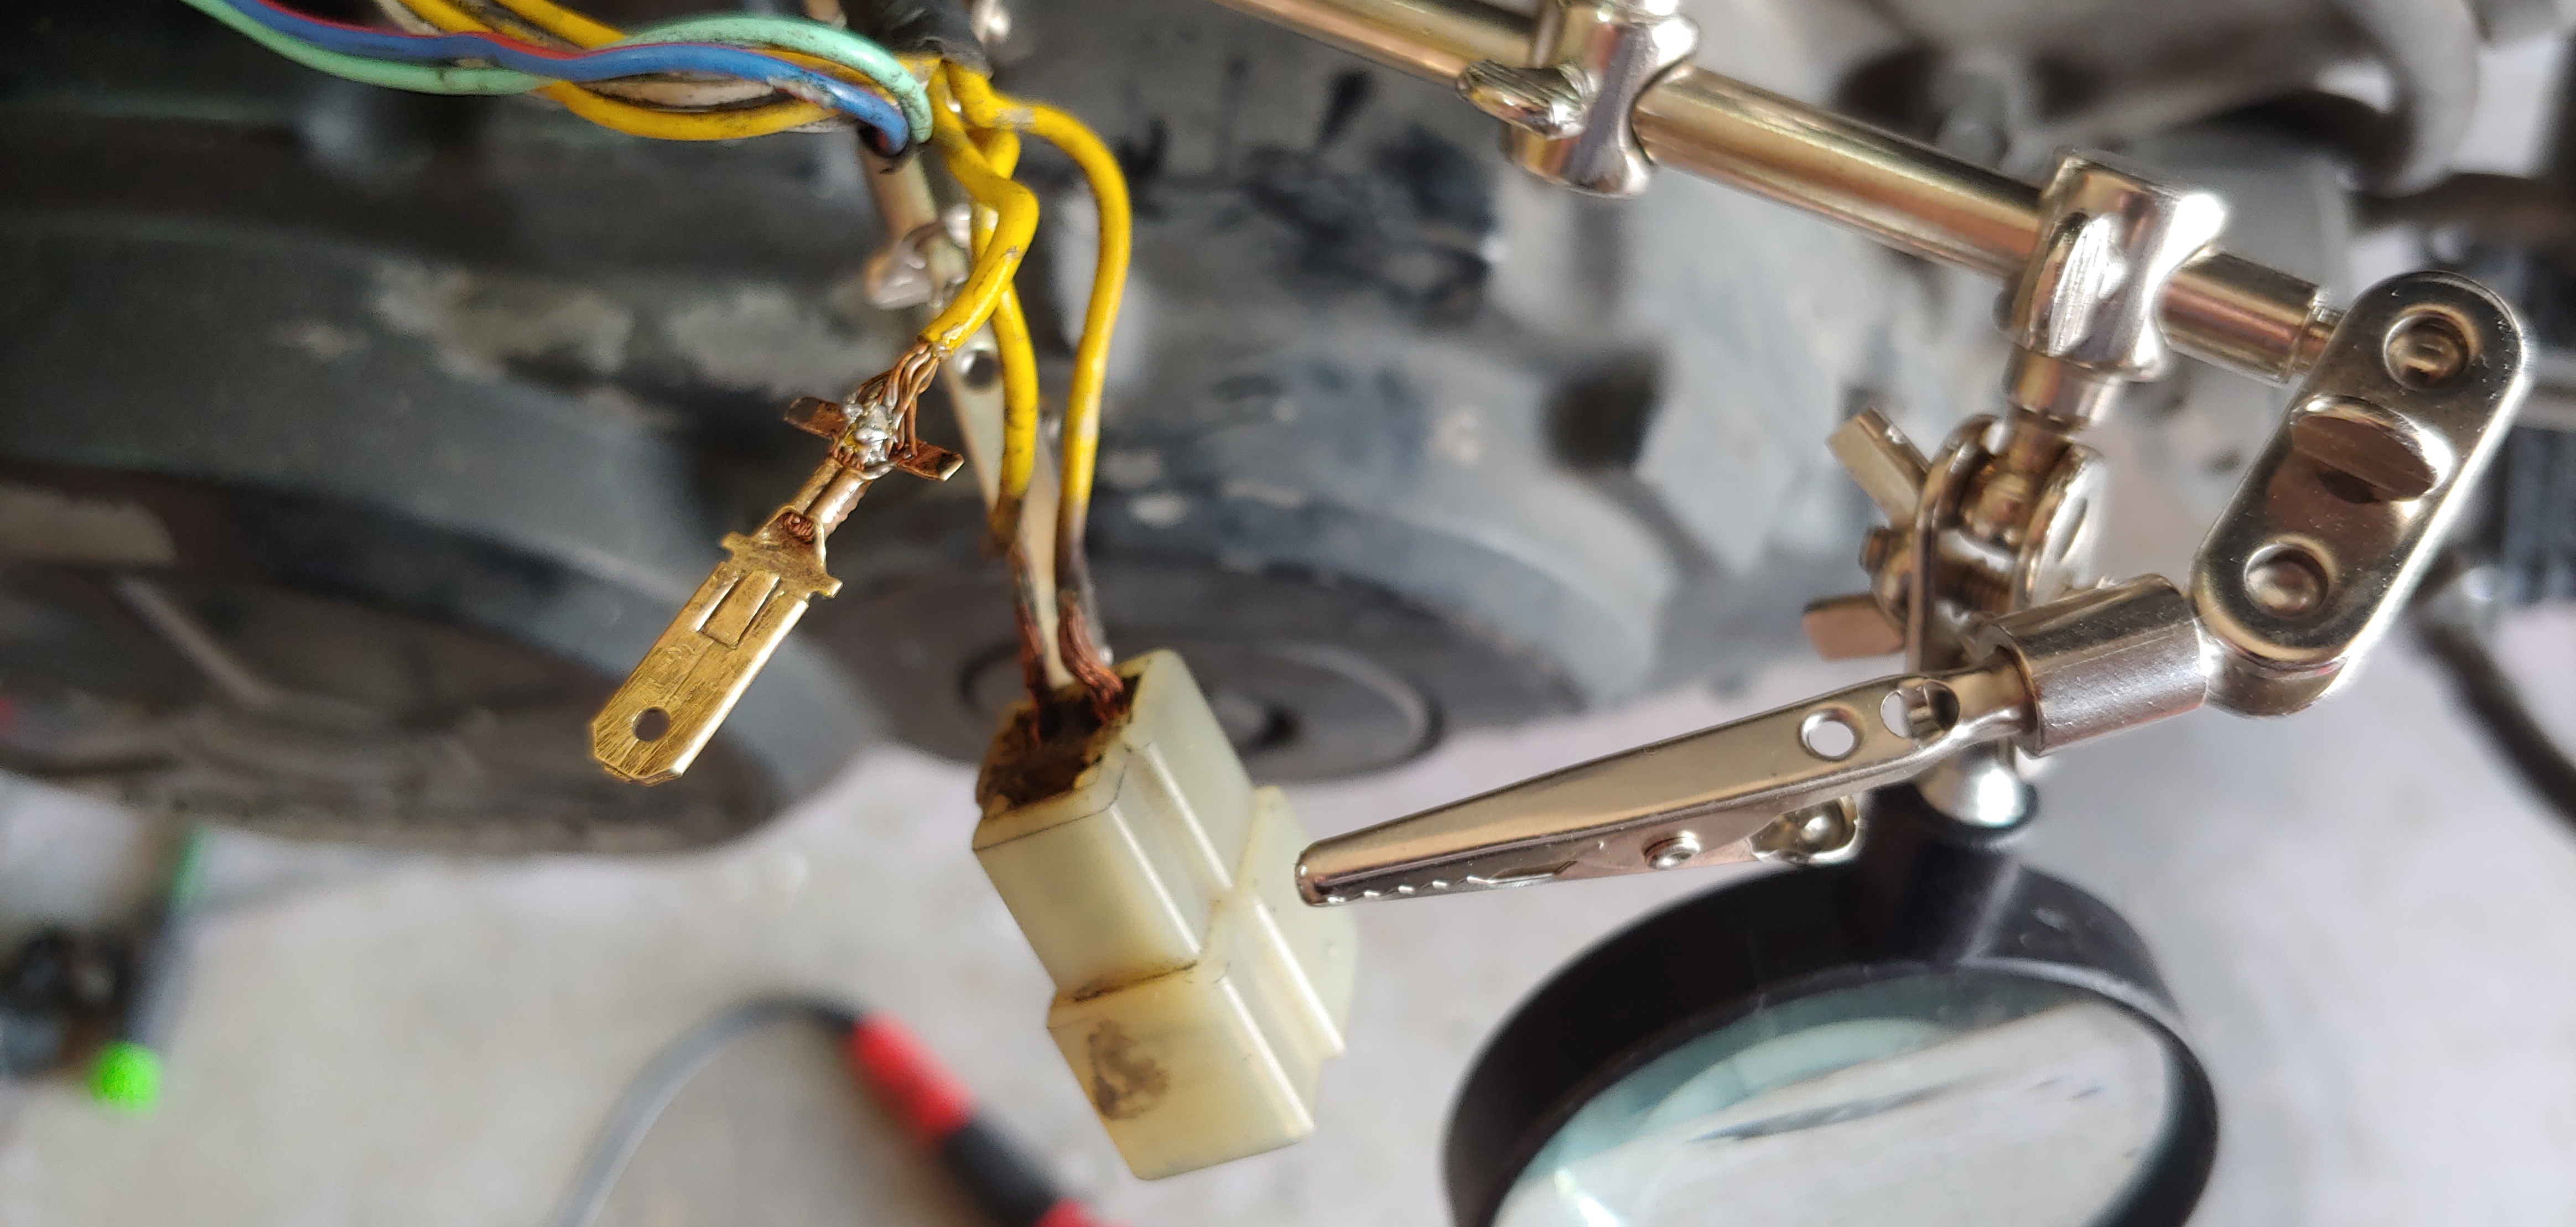
Hello all! I recently bought a 95' VFR750 basket case with the intensions on having a fun daily driver and to knock a bike off of my bucket list of 'bikes to own'. After purchasing it and getting into my garage to give an in depth look over, the thing is in VERY rough shape. The bike is in pieces (hence basket case) with every electrical connection disconnected from it's original place and no service history or proof of actual mileage. The wiring has been hacked up and eaten up by mice it looks like, over the years of sitting, and after pulling the plugs I found oil on them, one heavier than the others, which concerns me. Below are some pics of the bike after it was unloaded from the truck. I got discouraged after the in depth inspection of the condition of the bike, but after looking into several threads by other members, I am confident I may be able to get this one at least running/ road worthy. The title is bonded so not too worried about returning to stock or making anything pristine, so my plans are to make it into a 'street fighter', 'naked' build. My first trial with the 'Disaster' was trying to see if it would at least crank with the battery provided after having it sit on the tender over night. That did nothing... but keeping in mind the battery hadn't been used in 4-5 years along with the rest of the bike I wasn't too concerned. I then ripped a battery out of my other bike and tried that, and got nothing. After a night of more thread reading and a further look at the manual I had another set of things to check the next day. So this morning I checked the main connections to the battery, 30 amp fuse and starter relay.. that's when I found this.. After some short video tutorials on wire/ connector repair, and keeping my VERY small budget in mind, I decided to try and salvage/ repair the existing burnt up connectors the best I could to see if I could at lease get the bike to crank. I made the below repair, using my cheap Radio Shack soldering iron I purchased several years ago, but it gave out on me halfway through the joint. So that's where I'm at, I'll purchase a new soldering iron tomorrow and get to work repairing the rest of the connectors and wires as much as I can. The community surrounding these bikes seems pretty amazing, so I'm looking forward to anyone willing to offer advice and insights and seeing if I can keep another viffer on the road.
-
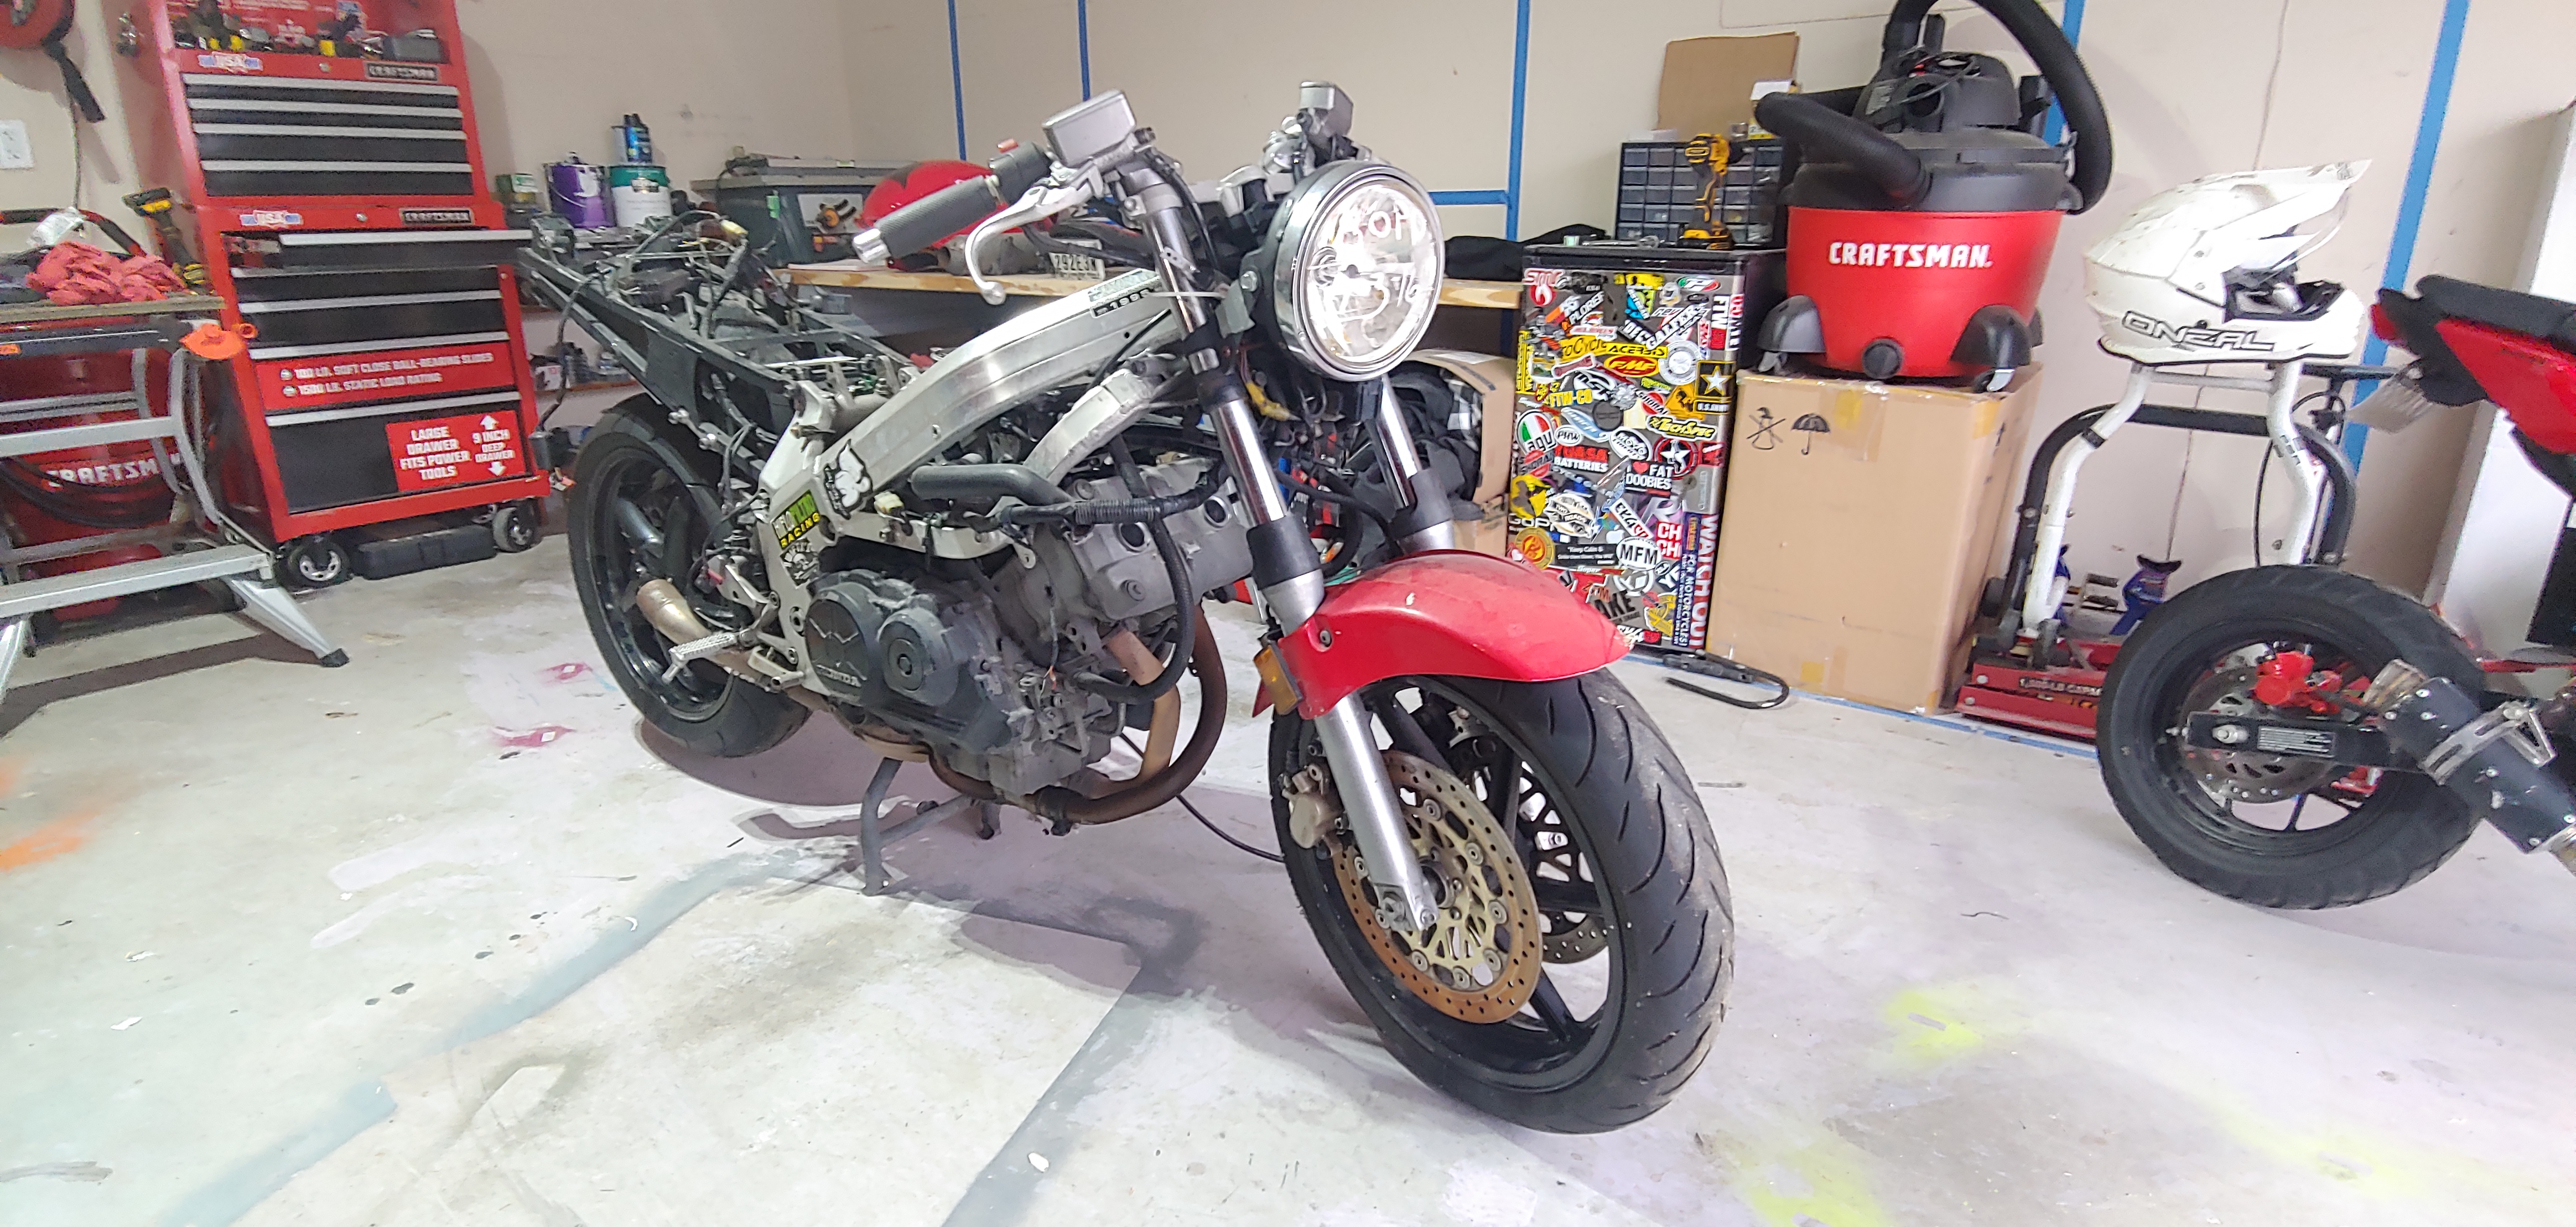
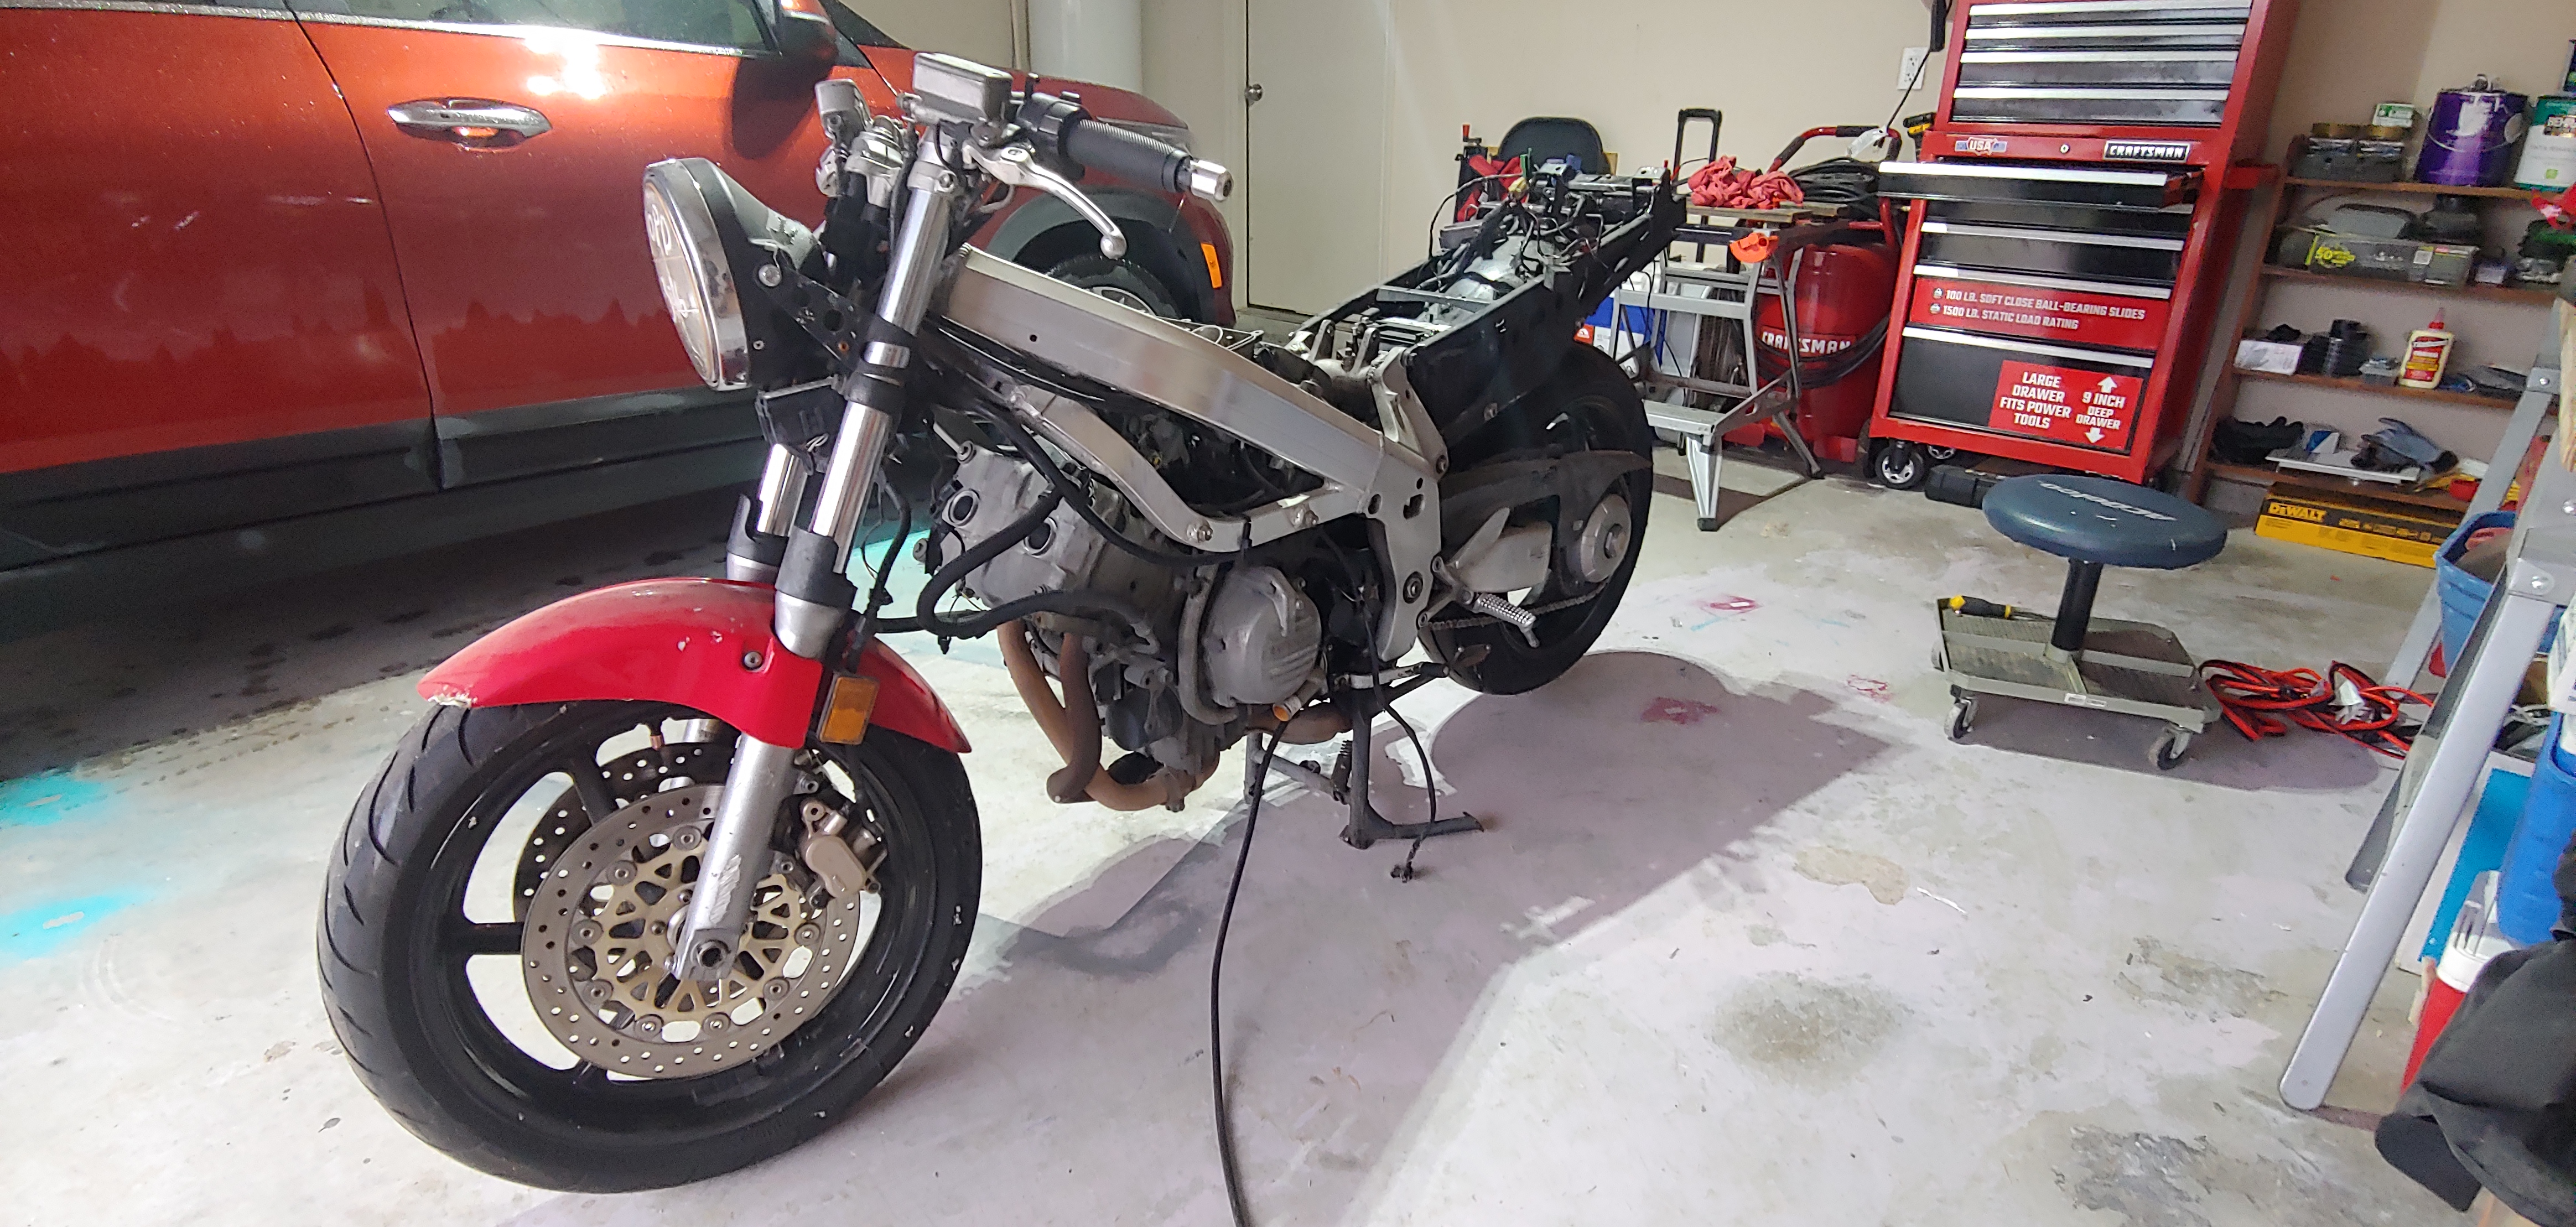
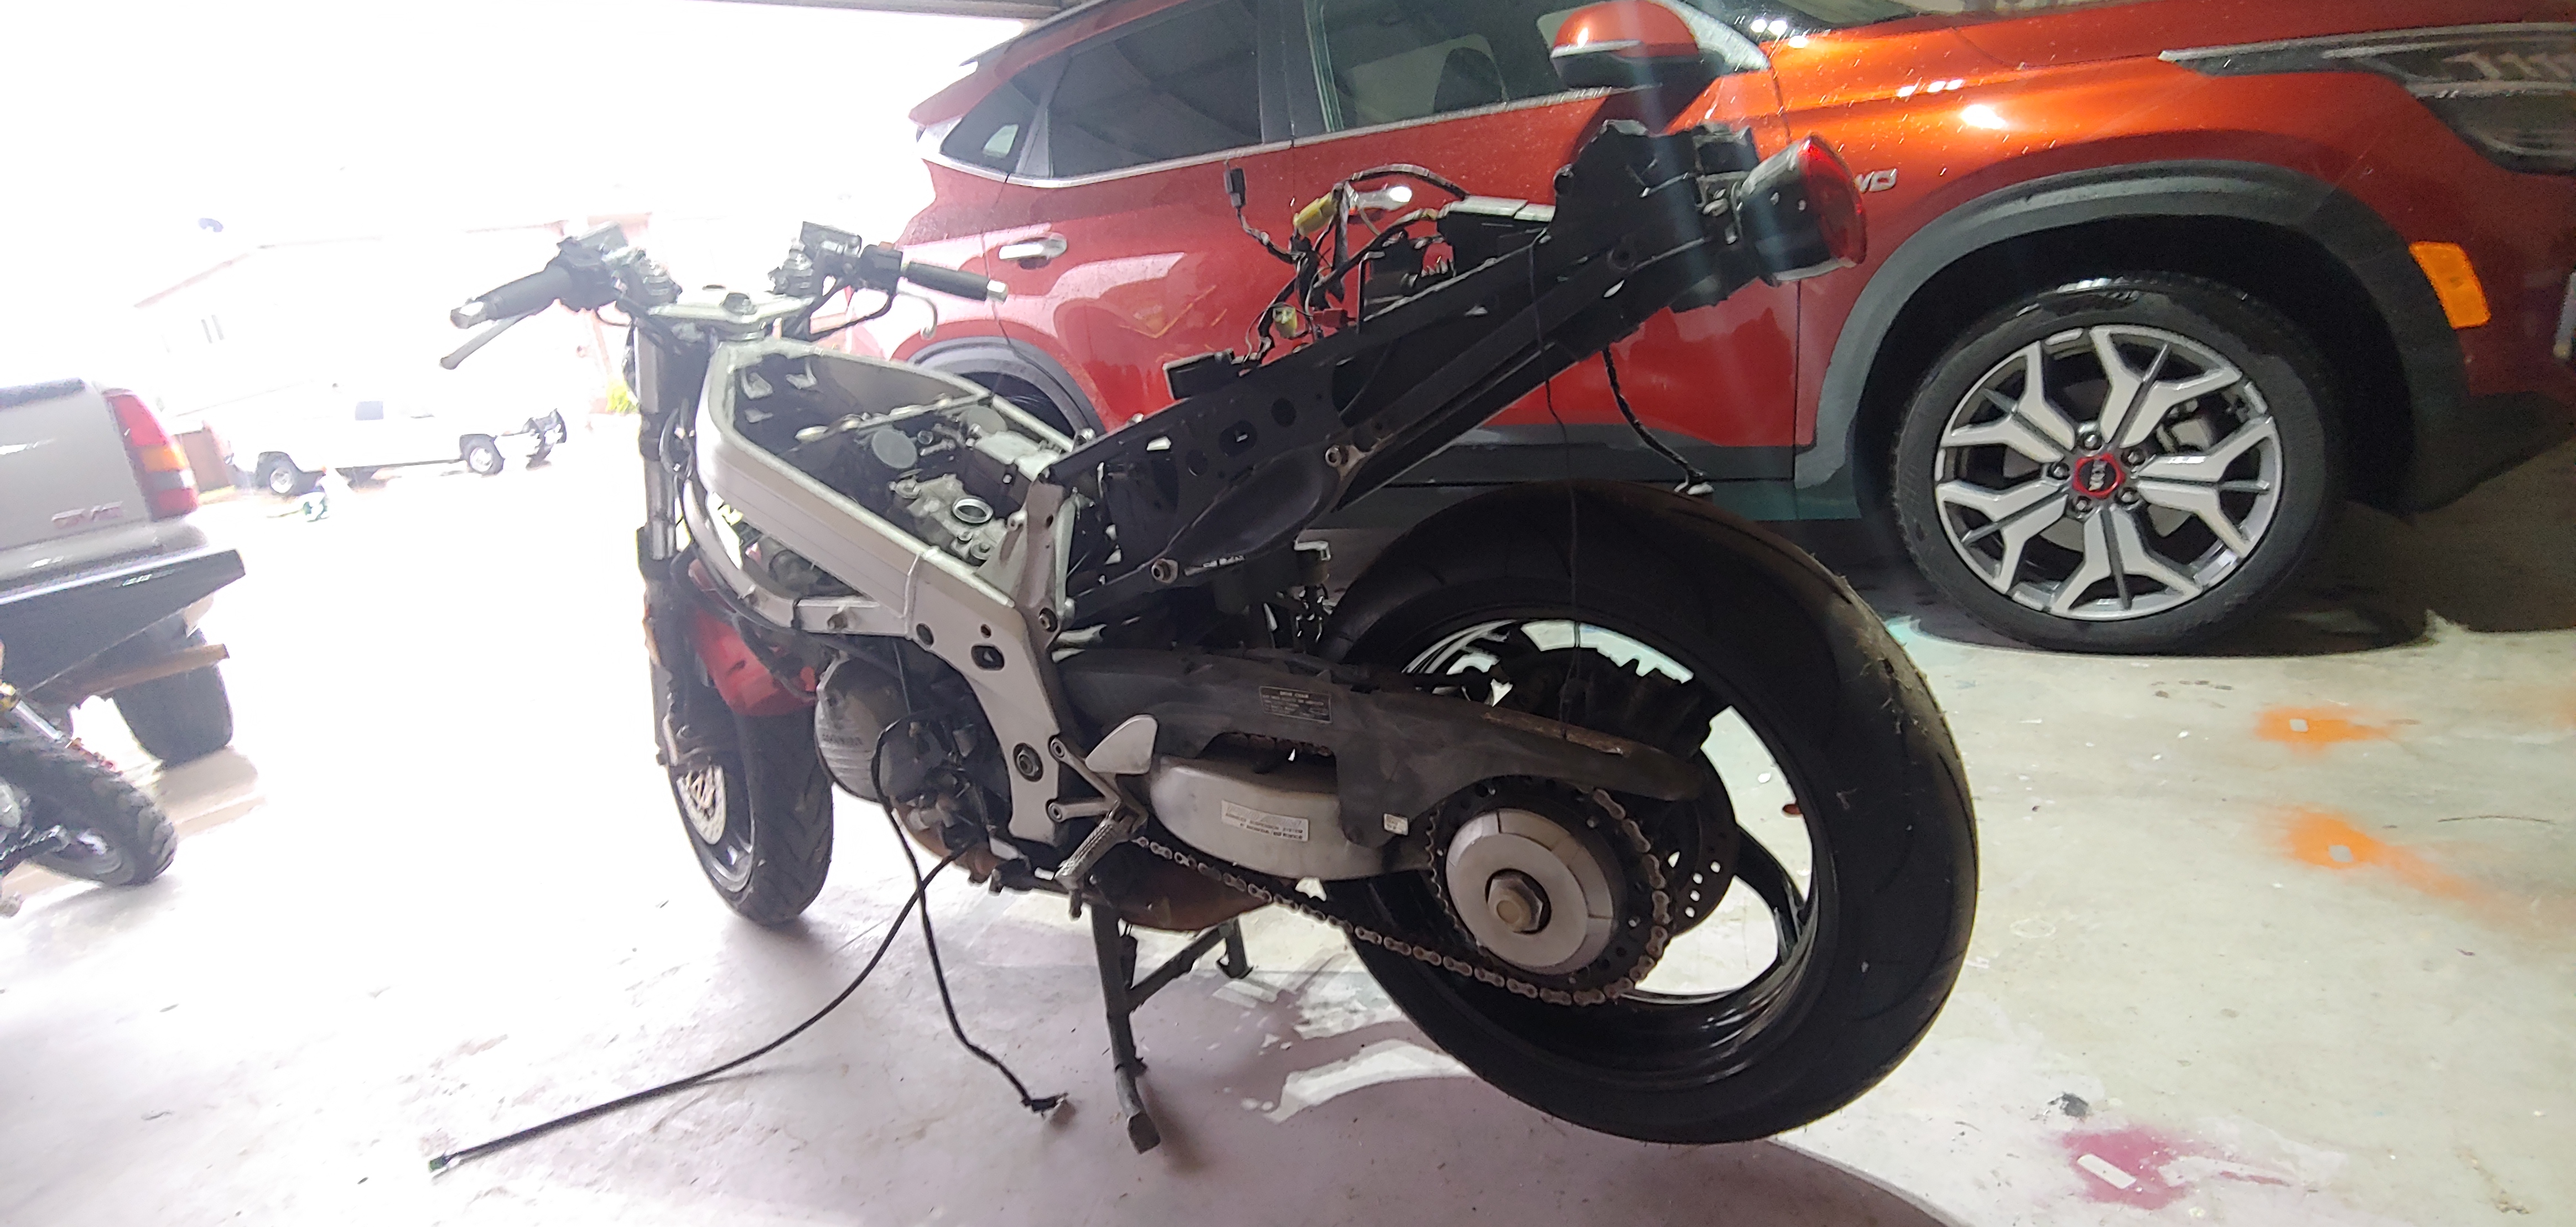
Here's something I've been working on for a few weeks now. The whole project isn't finished yet, but should be soon, so I thought I'd post a few installments of the rebuild here. I was asked to get this girl back up and running, she was last ridden 10 years ago. During early discussions the carbs were cited as the main issue that needed addressing, but after getting eyes on the bike, the issues went a little deeper than that. Still not bad overall, a good starting point for sure. Nowadays you can give just about anything 10 feet and an Instagram filter to make it look good: But, the closer I got the more I saw that needed attention. The whole bike was fairly original, and was put away just as some of the small "old bike stuff" stared cropping up. Tires were dated 2003, fork seals leaking, clutch slave leaking, gas had gone off, battery gone, mufflers packed full of whole kernel corn feed, etc. I made a list and settled in for the long haul, but not before getting the bike to start on the old gas with a fresh battery. It took full choke and a lot of cranking, and the bowls leaked, but it did start, run, and even took some throttle so I knew we had something to save here. First up, clear a space, pull some bodywork and the carbs Rut roh, first sign of trouble... someone's had that plenum off, and they chewed up the screws while they were at it. When I saw that I figured it was time to go all in. Ordered a full rebuild kit from BillyC and tore the carbs down I got them to this point, then proceeded to tackle 1 carb at a time till all 4 were done Kit contents: All the rubber was hardened and splitting, this definitely needed doing Each carb body was soaked in Berryman's and thoroughly blown out/dried and rebuilt with the new rubber. The diaphragms and slides were in good shape and stock. The chrome on the slide hats was pitting and chipping/flaking and the hats were dirty, so I sent them on a quick trip through my blast cabinet to clean them up without dulling the chrome too badly, then installed the nicer ones on the outside carbs. Also blasted the plenum, and refined the body & bowl gasket surfaces. All in all, they look better now
- 57 replies
-
- 4
-
-
- vf500f
- restoration
- (and 2 more)
-
I bought this VF500F earlier this year as a project bike and my second ever motorcycle. I have been working on making it look better and work as it did in the '80s(while modernizing where I can). I thought I was buying a 1985 VF500F, but have since found out from the MTO history documents that it is an '84. Its got 56 thousand km on it, but it runs and it was cheap. I have been told that one of the previous owners restored it using a few donor bikes and based on the frame paint and what not I'd say it has. I have been taking it apart and learning how it works so that I can fix up anything is out of date or falling apart. It has been fairly straight forward so far using guides and chatting with people on this forum, but I have a few questions and am looking for general advice. I've been thinking about the exhaust on this bike for awhile. The bike has some sort of upgraded 4-1 exhaust on it and I think I've identified it as the Hindle 4-1 pipe. It shows it's age though. There is rust pitting and an odd cloudy texture on the metal. How do I resurface the pipe? Also, the can that was on the end was a SuperTrap, but its kinda broken and I'd like something lower profile too. I have been considering leaving the end open as a straight pipe, except the end of the pipe is messed up and has an adapter bolted straight through it. To fix this I want to remove the end bit of the pipe and fab my own stainless side exit. Would this be viable? Will it mess with the tuning too much? I am aware of the carb jetting I'd need to do in order to make it work and I can do it. All that I've been reading from GAZ's topic about building his own pipe has put me off though. I'd also like to know what having this pipe means compared to stock. Besides the exhaust I am open to advice for things to fix. So far my list of things to do looks like this: Tires Repainted wheels Lights Speedometer Redone seat Chain and sprockets Wobbly clutch lever(How do I fix this?) Carb sync and clean Carb jetting Mirrors I am going to link an album of pictures here for the pipe. http://imgur.com/a/RmqqA P.S. - I am not keeping the original look of this bike, but I am a huge fan of the engineering behind the VFR series and I've wanted one of these since I first got into bikes. If anyone in Ontario needs red plastics or stock parts I can hook you up. This is an ultra-low budget D.I.Y. build, since I'm 18 and in school(before anyone suggests super sonic builders who can do it for me). Why is mine red?
-
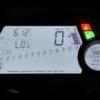
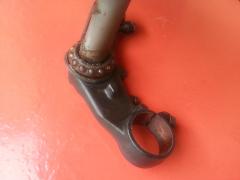
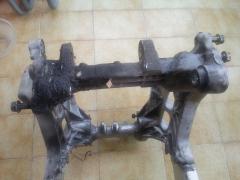
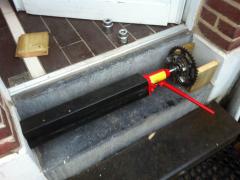
From the album: My restoration thread
-

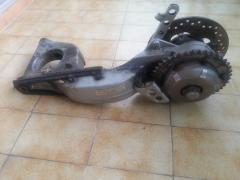
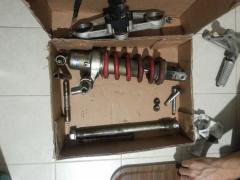
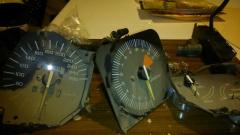
From the album: My restoration thread
-

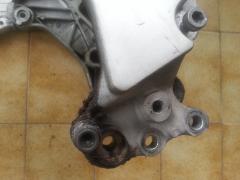
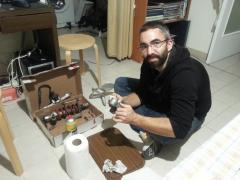
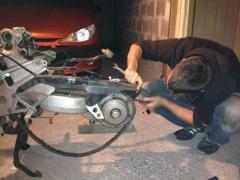
From the album: My restoration thread
-
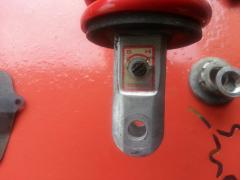
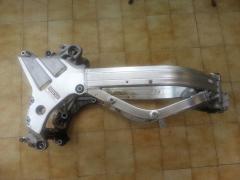
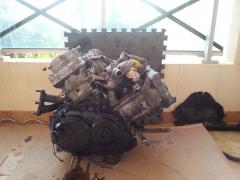
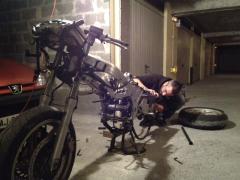
From the album: My restoration thread
-
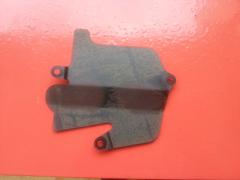
From the album: My restoration thread
-

From the album: My restoration thread
-
From the album: My restoration thread
-
From the album: My restoration thread
-
From the album: My restoration thread
-
From the album: My restoration thread
-
From the album: My restoration thread
-
From the album: My restoration thread
-
From the album: My restoration thread
-
From the album: My restoration thread
-
From the album: My restoration thread
-
From the album: My restoration thread
-
From the album: My restoration thread
-
From the album: My restoration thread