Captain 80s
-
Posts
2,306 -
Joined
-
Last visited
-
Days Won
188
Content Type
Forums
Profiles
Gallery
Blogs
Downloads
Events
Everything posted by Captain 80s
-

Motorcycle Dealers (U.S.)
Captain 80s replied to St. Stephen's topic in OTHER Motorcycle Talk (non vfr)
I worked at a Honda Dealer for over 12 years starting in the early 90s. It was nice being a single line dealer (especially Honda), but the writing was on the wall you had to expand your line up. We moved the Dealership (SUCKED) and also became a Yamaha Dealer (and a MZ Skorpion Dealer for a while.... ugh). So we picked up Snow Machines and Watercraft too. While cool, they suck to move, store and work on while taking up valuable real estate, even in a larger facility. Snow Machine customers bought the machine and you pretty much never saw them again. I did get to ride around Yellowstone on Yamaha's dime though, that was cool. They do not have it easy. The margins are shit and people will drive across the state to save $100 on a $10,000+ bike when they live 10 miles from you. There is no loyalty anymore. OK, so we made pretty much zero on that bike, would they like to head over to parts and get some accessories, apparel or chemicals? Nope. Sand paper rubber you know where. Of course there are awesome people too that understand about building relationships. It goes both ways. The people that were loyal and friendly reaped so much more benefits than the difference between "out the door price" from one place to another on just one bike. We set them up constantly. While I really enjoyed (most of) my time, there is no way in hell I would do it again. Started to suck the passion right out of me. -
.jpg.104e4444aeeb86f850a3148ff1e67256.jpg) Pretty sure that is an artifact of the camera and setting, but Jesus Jumped Up Christ!! You got a Honda Mini Trail in that saddle bag for around the campground?!
Pretty sure that is an artifact of the camera and setting, but Jesus Jumped Up Christ!! You got a Honda Mini Trail in that saddle bag for around the campground?! -
Morning fellow VFR campers
Captain 80s replied to FromMaine's topic in OTHER Motorcycle Talk (non vfr)
Didn't ride today cuz it was still chilly in the upper 40s this morning and the roads were still damp after a storm. Thank you for some perspective. -
Getting the correct spring rate for you and your bike, choosing the right oil and height, will go A LONG way in improving your situation. Start there in my opinion. You will be blown away by the difference. After the honeymoon period is over and you perhaps start picking up on some areas you may want to refine regarding valving, that can be done fairly easily. The cartridge holder can be removed without completely disassembling the forks. If you go the dealer route, make damn sure they understand your desire for a specific oil height, and how/when to measure it. You don't just want "fork oil capacity", which is done far too often.
-
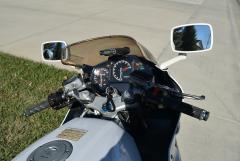
Definitely "custom" front cowl brackets, both the upper and the left/right mids.
-
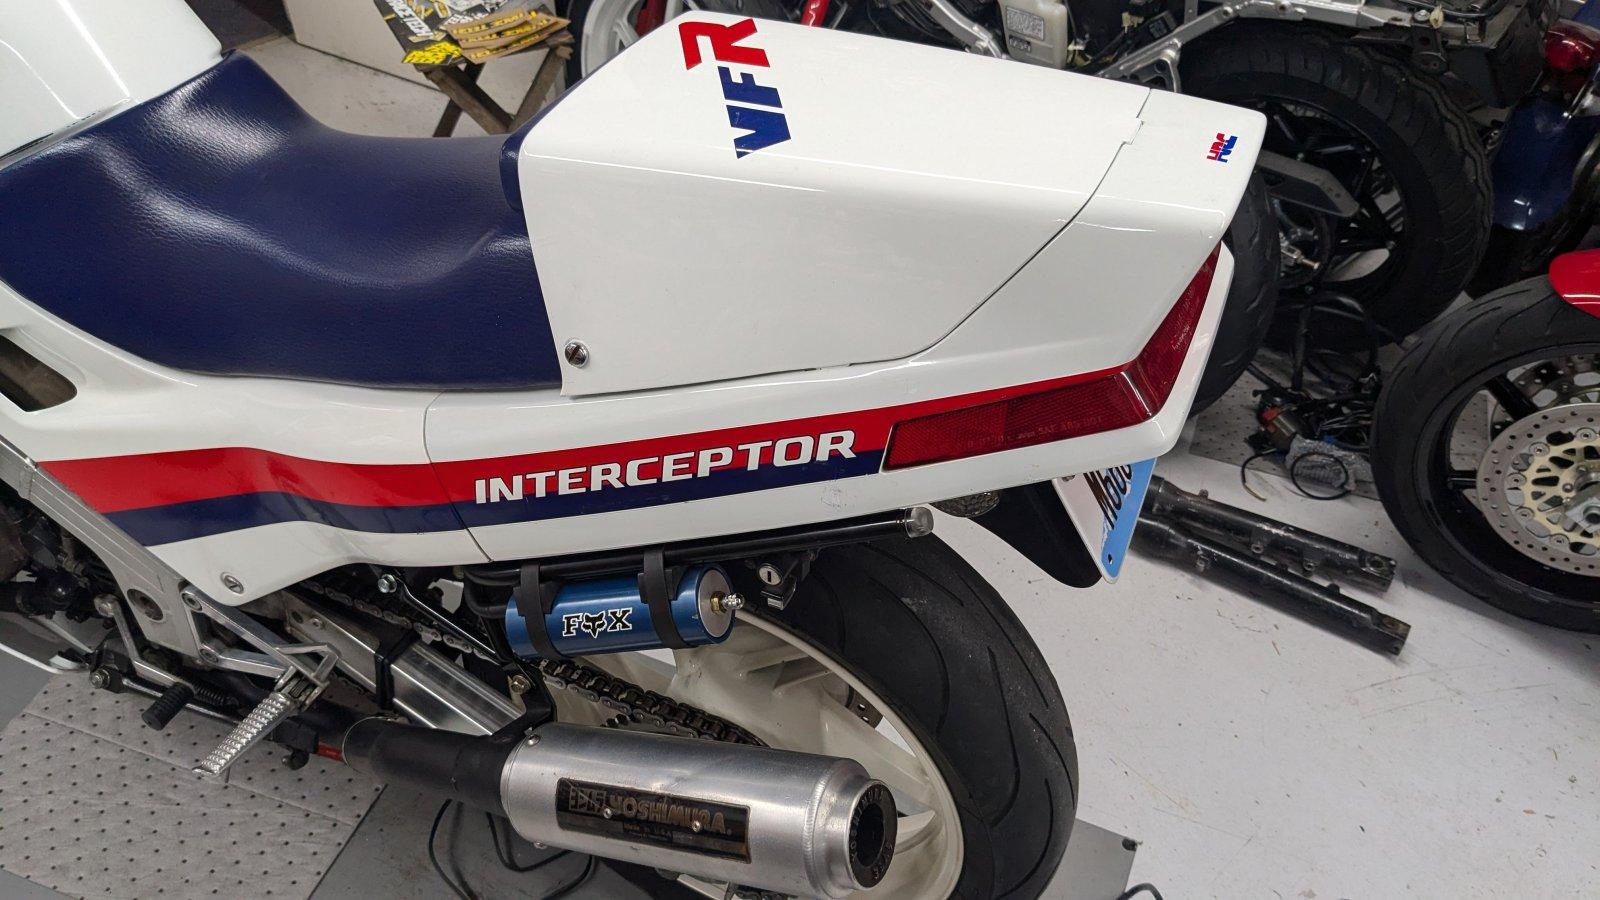
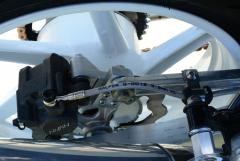 This is an interesting rear brake solution. I like how it relocates the stay arm bolt up above the disc diameter. Drilling / tapping for the attaching bracket hardware, the rear protrusion can be easily controlled with the right bolt lengths.
 -
 No accusation, sorry you took as such. I certainly don't feel offended, mine was merely a question too. It might not be a stiff fork, you seemed quite shocked by what you saw. Cheers.
 -
Do you know what spring rate was installed and how much pre-load was built in when assembling the forks?
-
That sounds like you are describing the prime cycle. But it has always sounded like a mechanical "whirring" to me, like a servo motor. Perhaps the pump is getting the prime signal, but there is a physical issue with the pump itself, so it doesn't sound the same.
-
The pump should "prime" for a second or so EVERY TIME the key is turned on. That's what he is trying to tell you.
-
Cut out when raising Kickstand
Captain 80s replied to CalvinVFR800FI's topic in Fifth Generation VFR's
You can also just remove it and with a jumper wire make the bike think the sidestand is up. I have also ran that circuit to a hidden toggle switch for a rudimentary theft deterrent on a buddy's bike that parked downtown. While it doesn't prevent the bike from being thrown in a truck, if they smash the ignition every time they put it in gear it dies. -
Awesome. Pretty sure you mentioned it, but make sure that sliding collar for the lower mount bolt is clean, lubed and moving freely.
-
Yes, that is possible. I think I would be actually removing the pistons and verifying the seals on the caliper before moving on to the master. The seals can get damaged/folded/swelled and have corrosion behind them (likely) and hold the pistons. If they were as dirty as you let on, they are likely pretty corroded in the seal grooves.
-
Yes. "Rebuild" the caliper. Did you remove the pistons when you cleaned them up? Or at least pump them out enough to clean up the gunk/corrosion ring that typically forms at the dust seal? Did you push the pistons in initially prior to any clean up to make room when fitting the thicker new pads?
-
 Guys, without any doubt, bmart is behind his students 😎
 -
The EXACT same thing I thought.
-
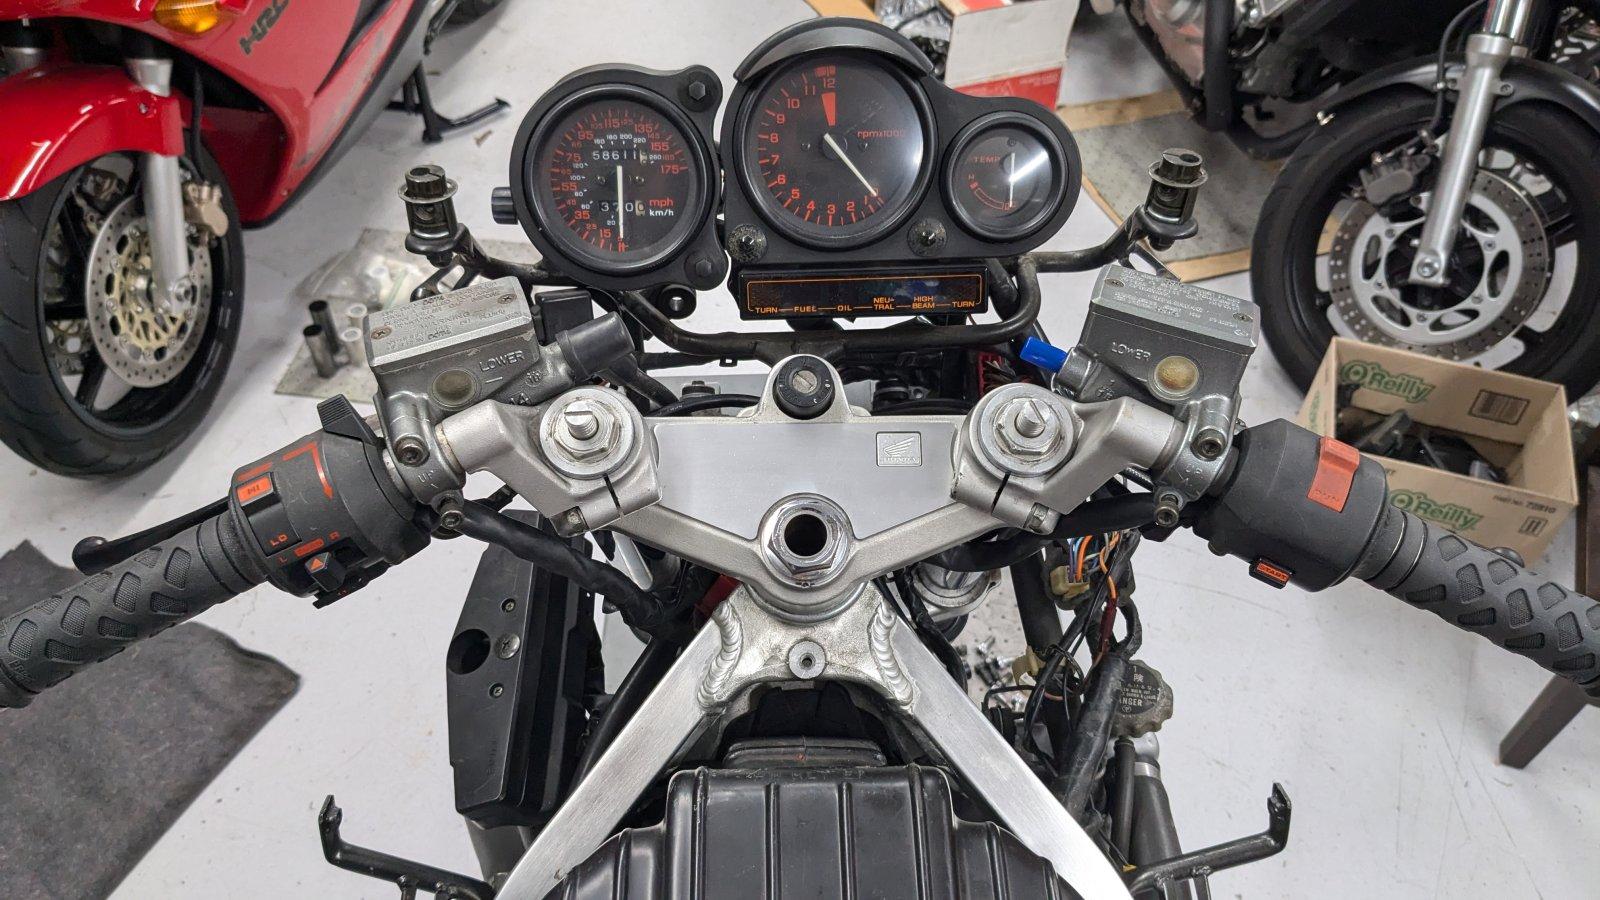
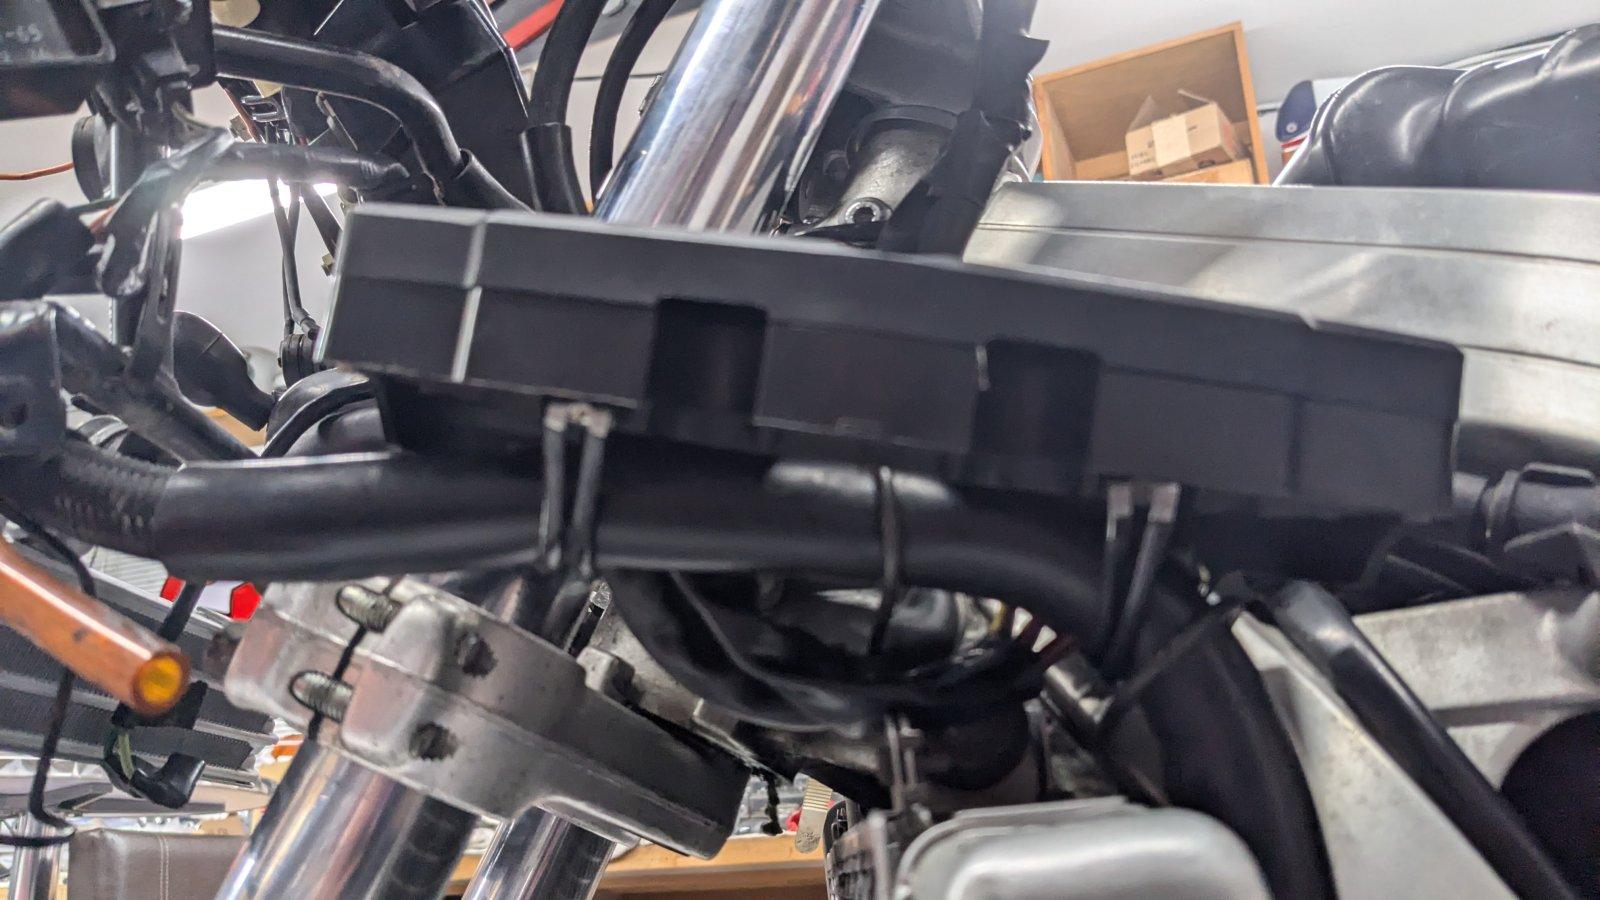
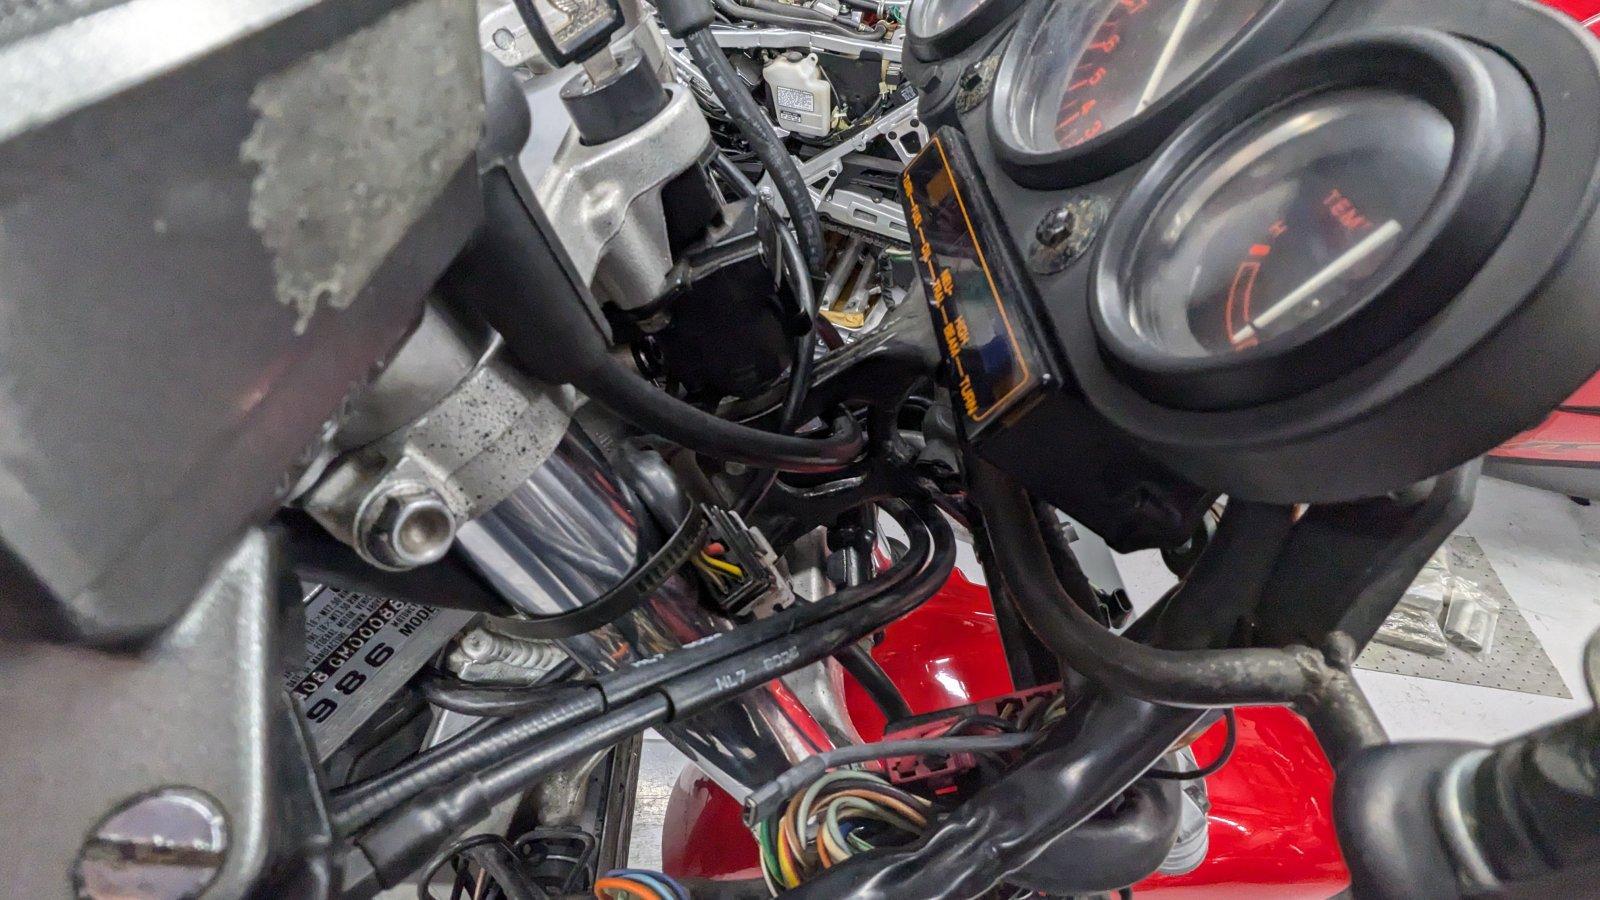
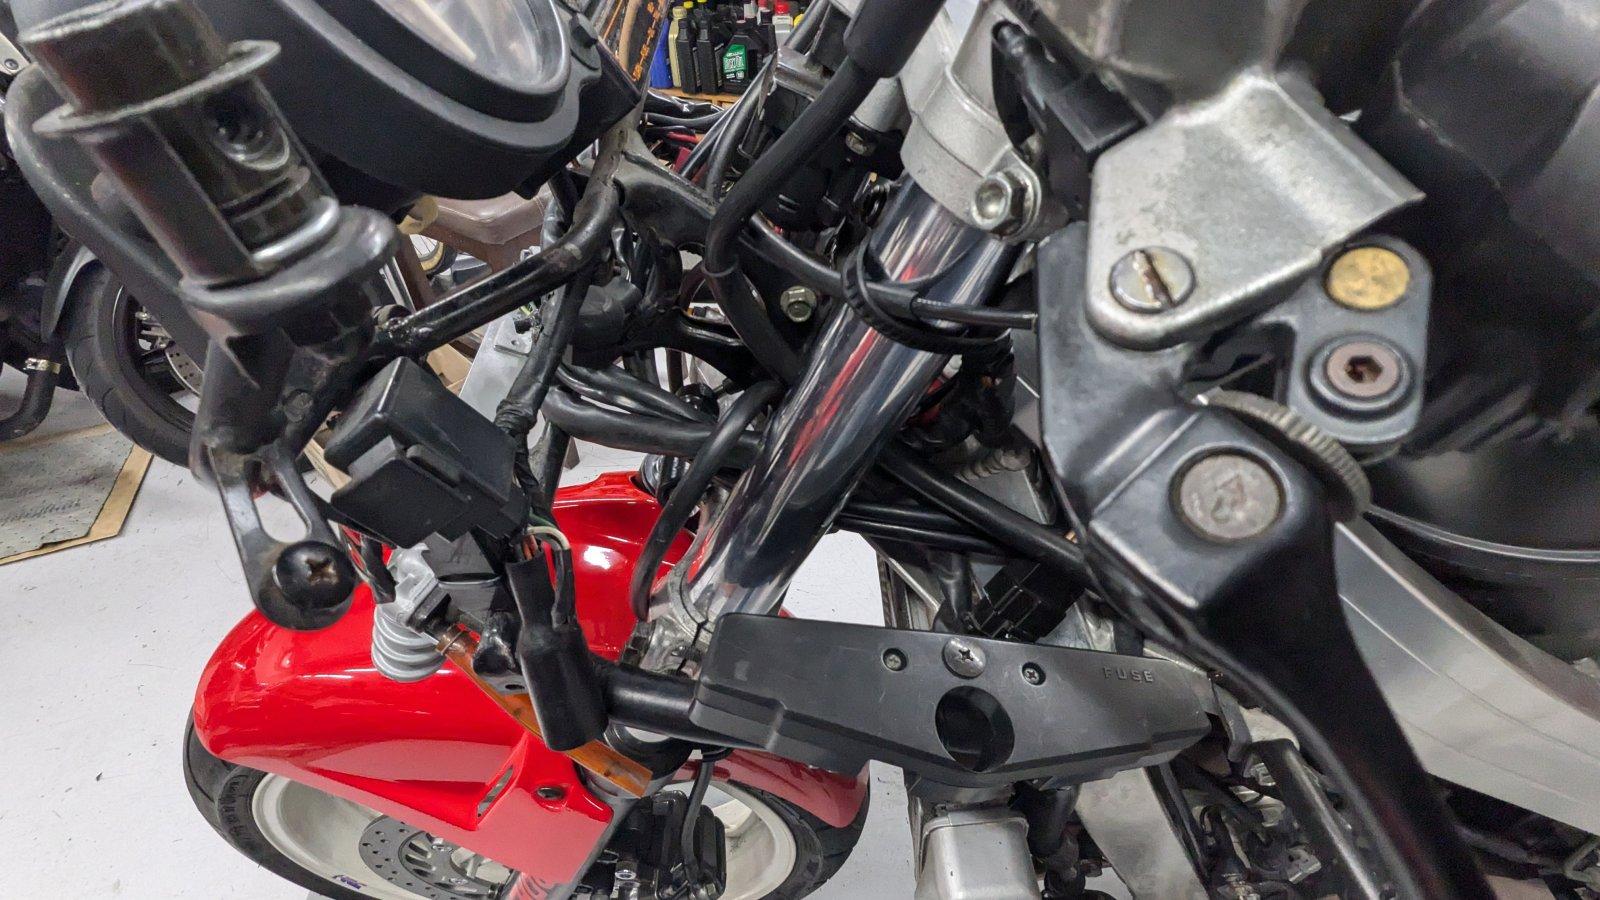
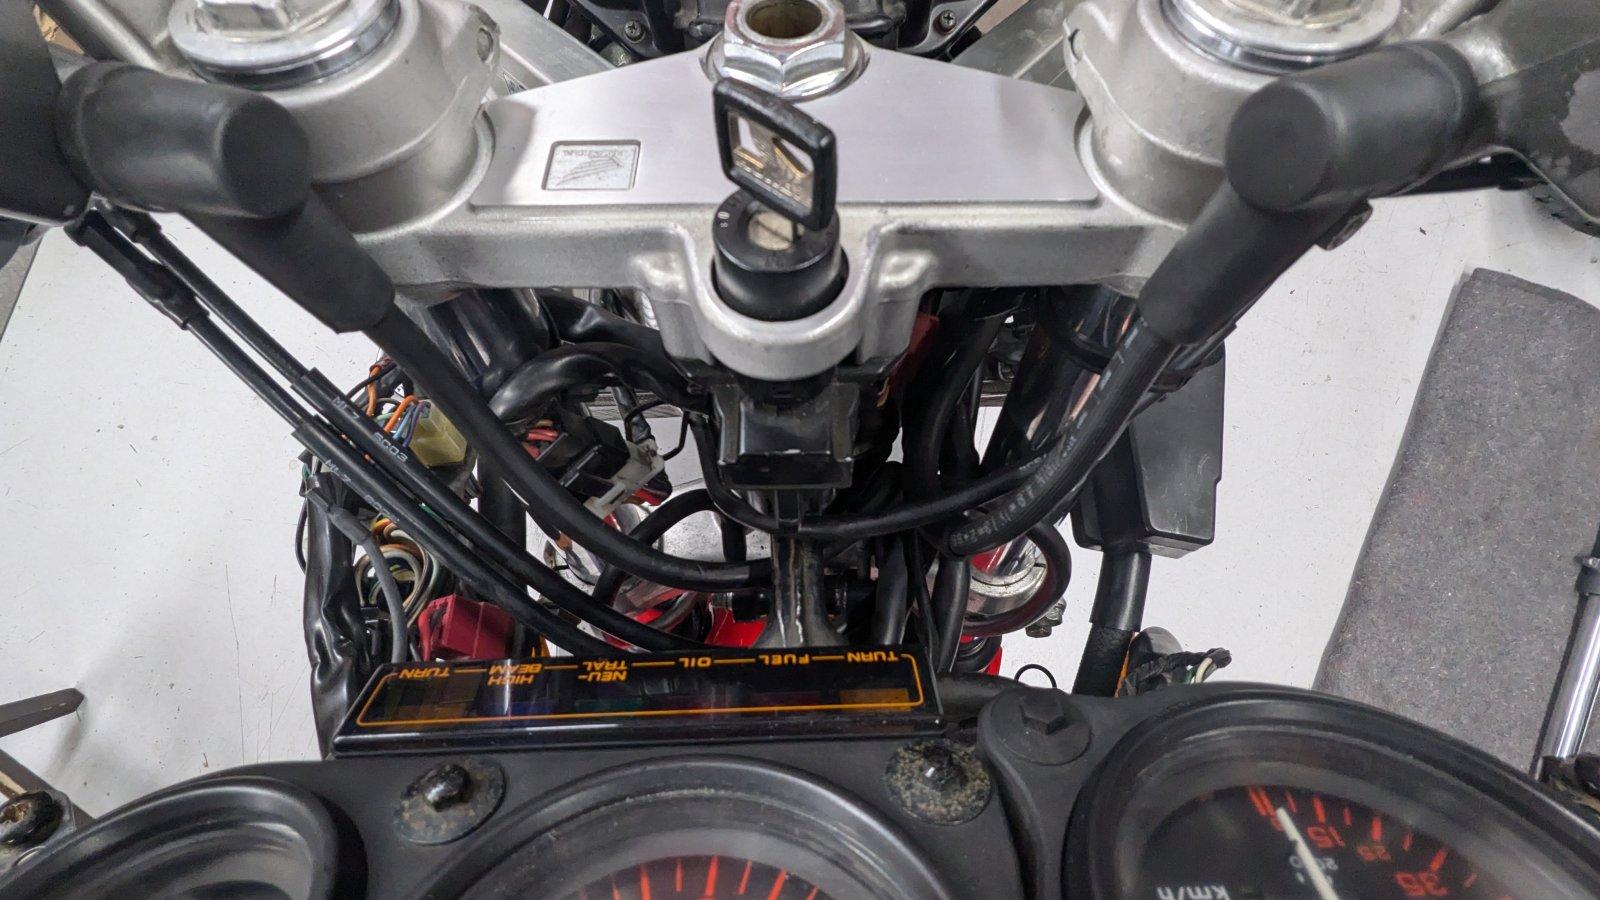
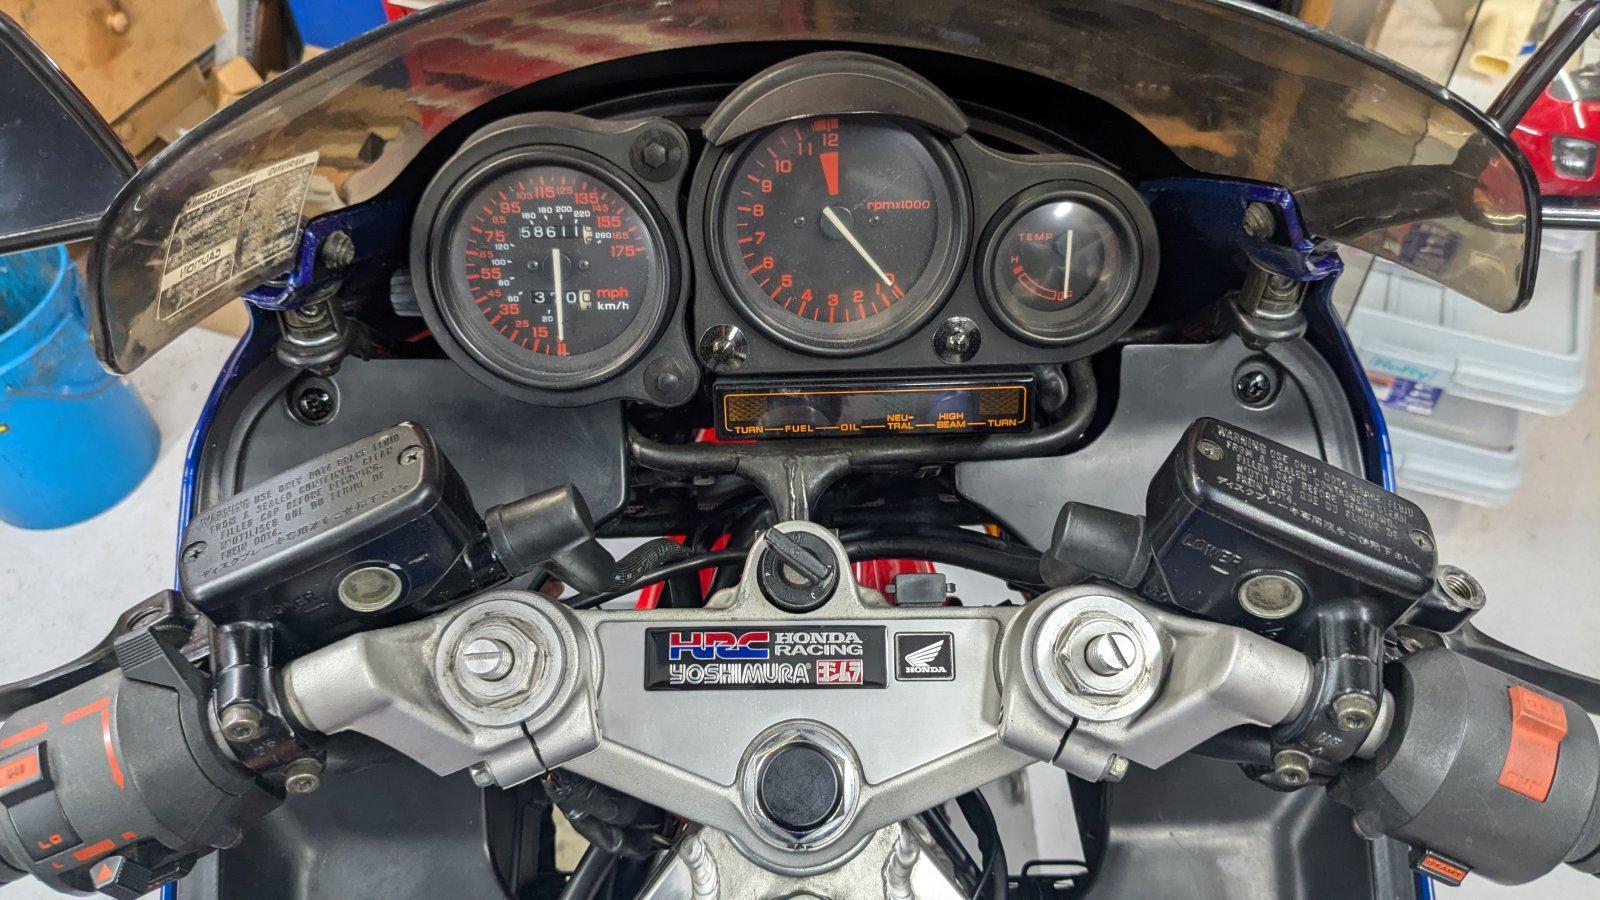
THAT was fairly involved. The right (?) handle switch assy and ignition switch plug in there, under the clamp. Fuse box migrated to the left, under the inner fairing panel, on top of the oil line. I sourced a long ignition switch harness from a broken one and created and extension that runs behind the steering stem and around the right side for the ignition to plug into. Right switch routes under the ignition switch with just enough length to plug into the fuse box without getting stretched or pinched lock to lock. Left switch assy wiring now goes down to the fuse box. The left switch assy and fuse box wiring routes forward and around the front to the connectors under the inner panel on the right. I *think* that's how it went from memory. All came out pretty damn sano in the end. Oh, and I had to eliminate the steering lock bracket from the frame. The RC24 triple mounts the ignition at an angle, the RC36 is straight/perpendicular.

-
Leaking oil out of cylinder head dimple hole
Captain 80s replied to Triops's topic in Third and Fourth Generation VFR's
That is a drain for the spark plug recess. I suspect your valve cover gasket is leaking. Or your plug is loose. Probably your gasket. ABSOLUTELY replace the valve cover bolt grommets when you do the job. Usually those alone are enough to supply the correct pressure to stop a leak. -
-
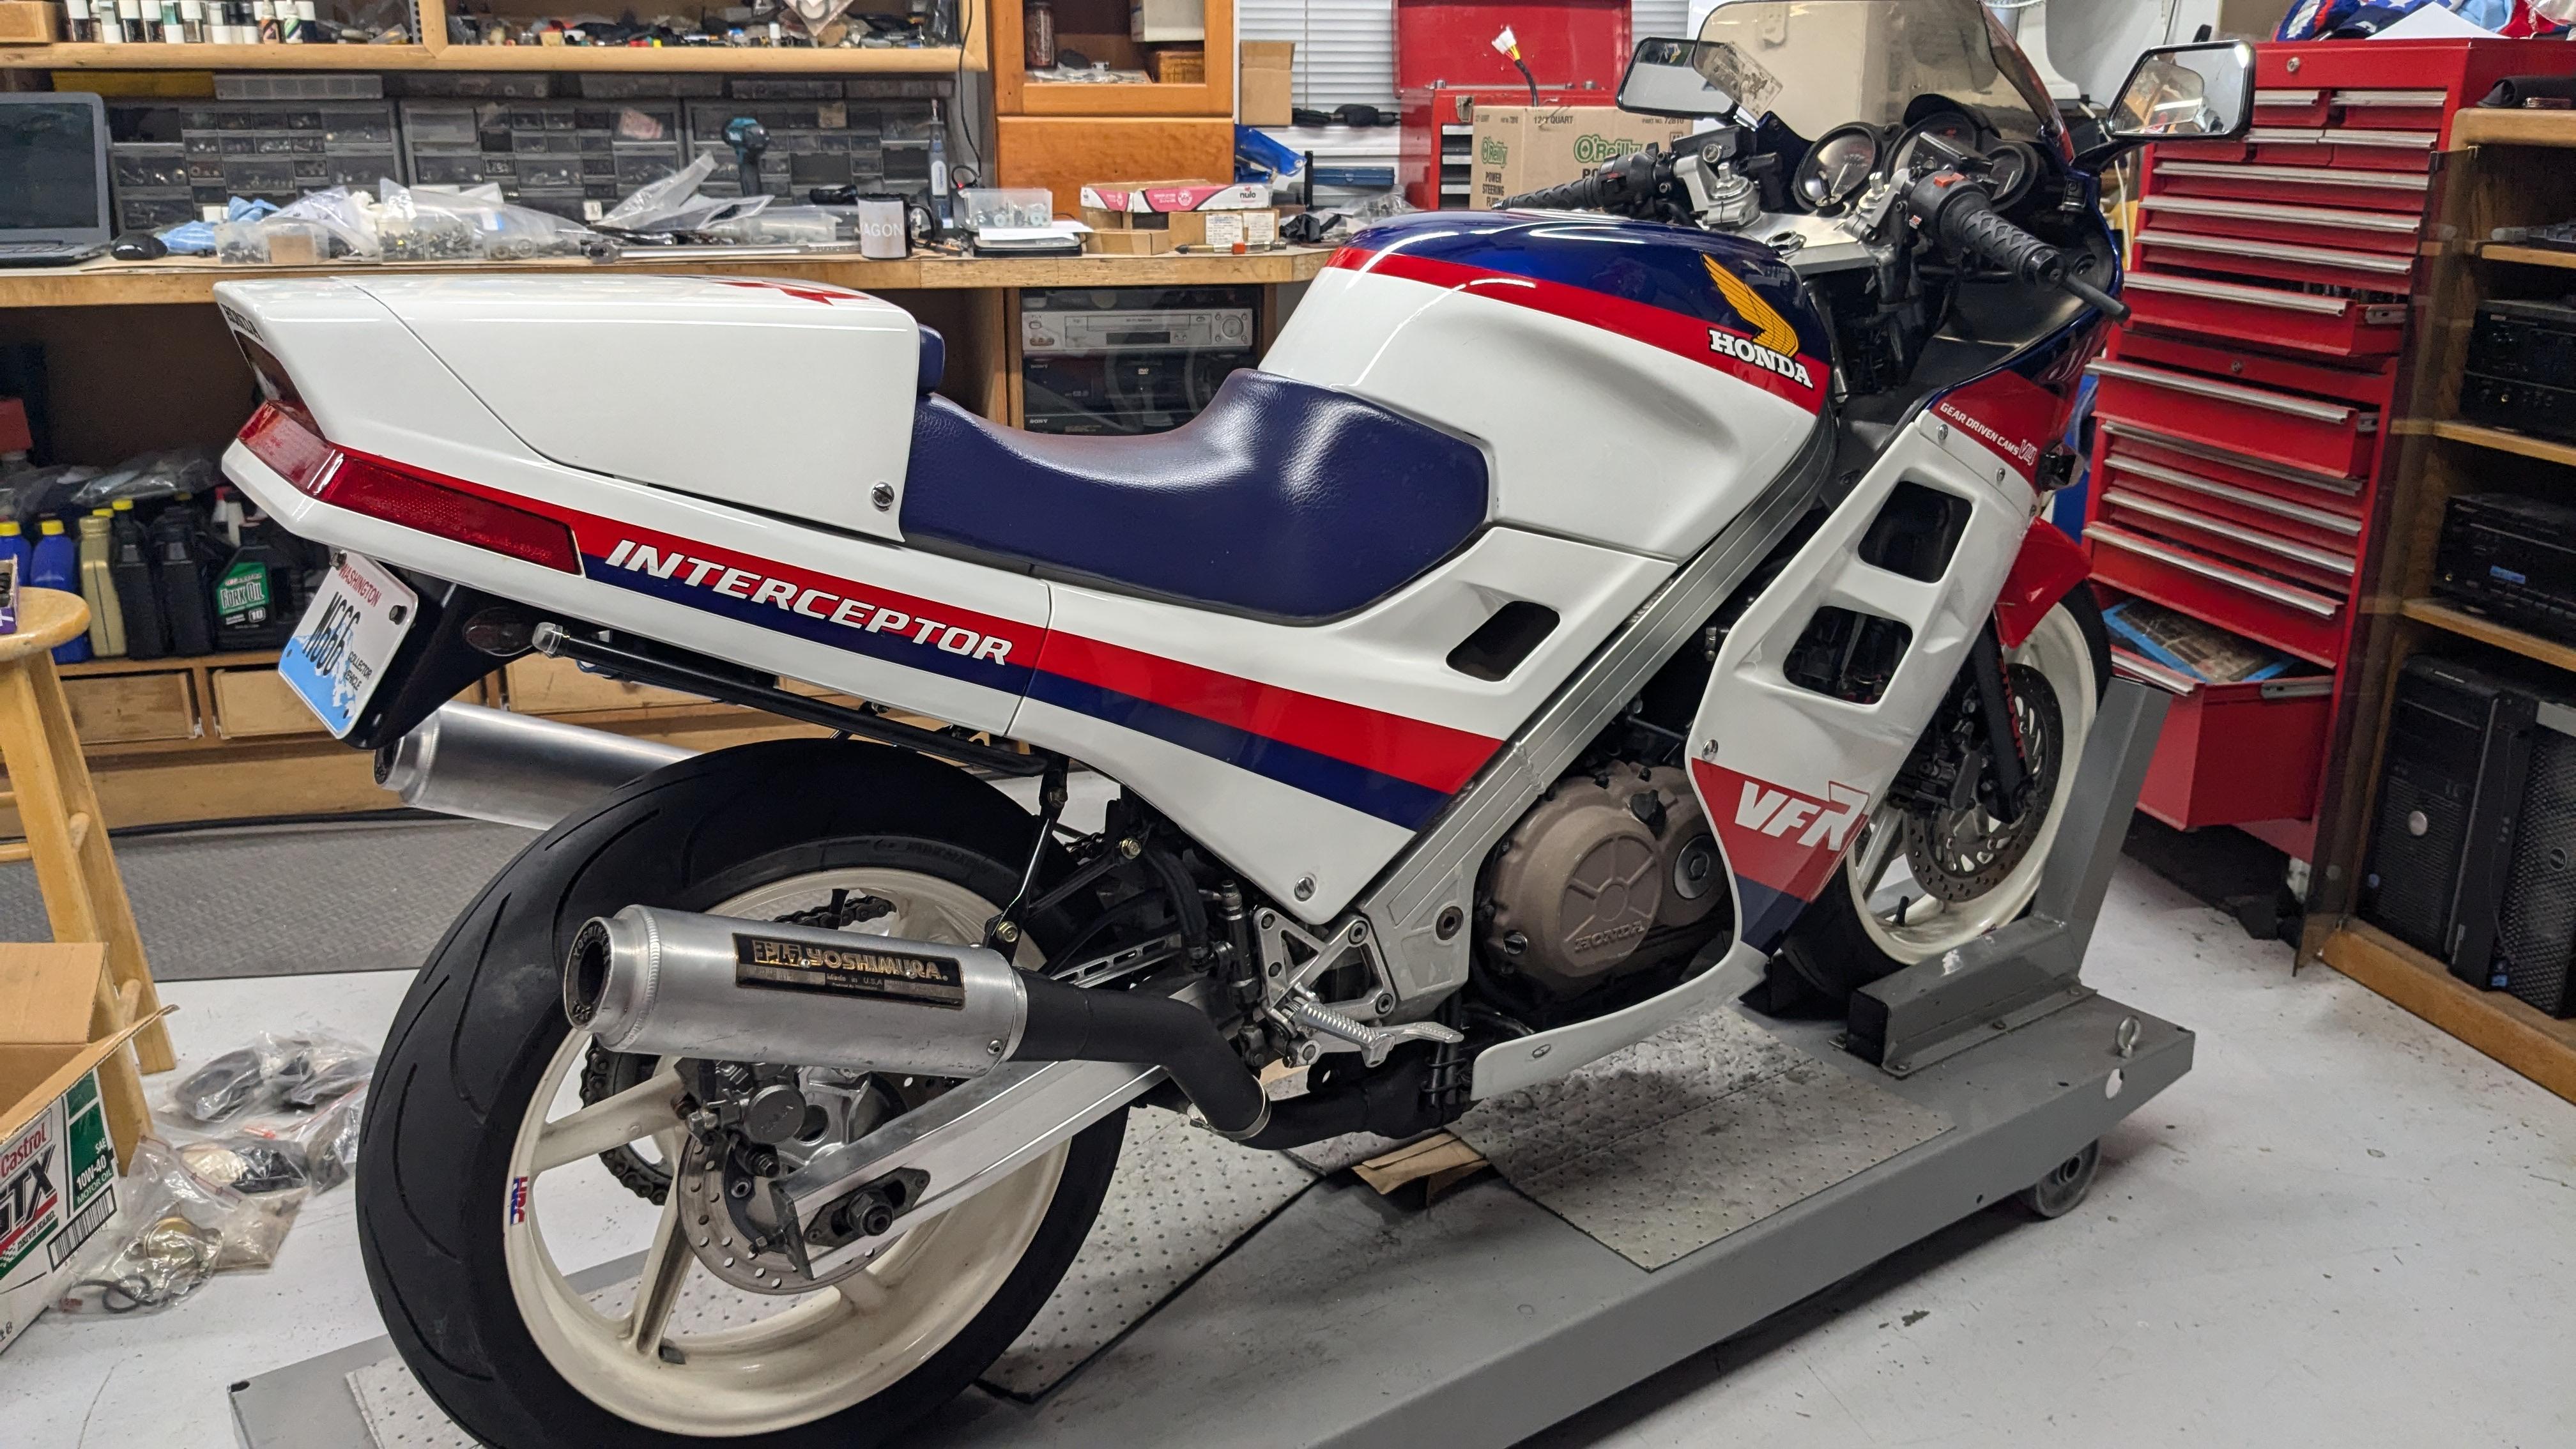
Rolled it outside for it's first run before the next weather system rolls in. Sounds F-ing great in person. Throttle response is snappy and it settles back down to idle nicely. Stoked to ride it when the weather cooperates. Upgrade Kit First Run
-
The angles and lines flow nicely for me. I like it. Good job. Your decal placement program hurts my brain tho.
-
That's only if you are missing the little bleed port hood that presses in place. That's exactly what it is there to prevent. How in the hell are you supposed to bleed brakes/clutches then? Keep installing the cover everytime you top off the res?
-
That's great, but... what WAS IT tho? Corrosion? Bad sensor?
-
Loosen the left handlebar and slide it up on the fork a fair amount. Now rotate it as far forward as you can to where the banjo bolt is the lowest point in relation to the master cylinder. You smartly have old towels or blankets draped over EVERYTHING at this point. Work the lever, almost slapping at it not fully depressing it. You are not cracking the lower bleeder. Let the air bubbles come up out of the "bleed hole" under the little cover in the bottom of the master. The key is the bleed hole is now the highest point. It is not called a "bleed hole" by accident. I just fully bled two dry clutch systems only doing this in the last couple weeks in the matter of about 15 minutes each, coming back to manipulate the lever a bit while I did other shit. Huge bubbles just keep coming up and out as soon I just touched the lever. And then did a few traditional bleeds to finish up for insurance. Easy-peasy.