Stray
-
Posts
585 -
Joined
-
Last visited
-
Days Won
14
Content Type
Forums
Profiles
Gallery
Blogs
Downloads
Events
Everything posted by Stray
-
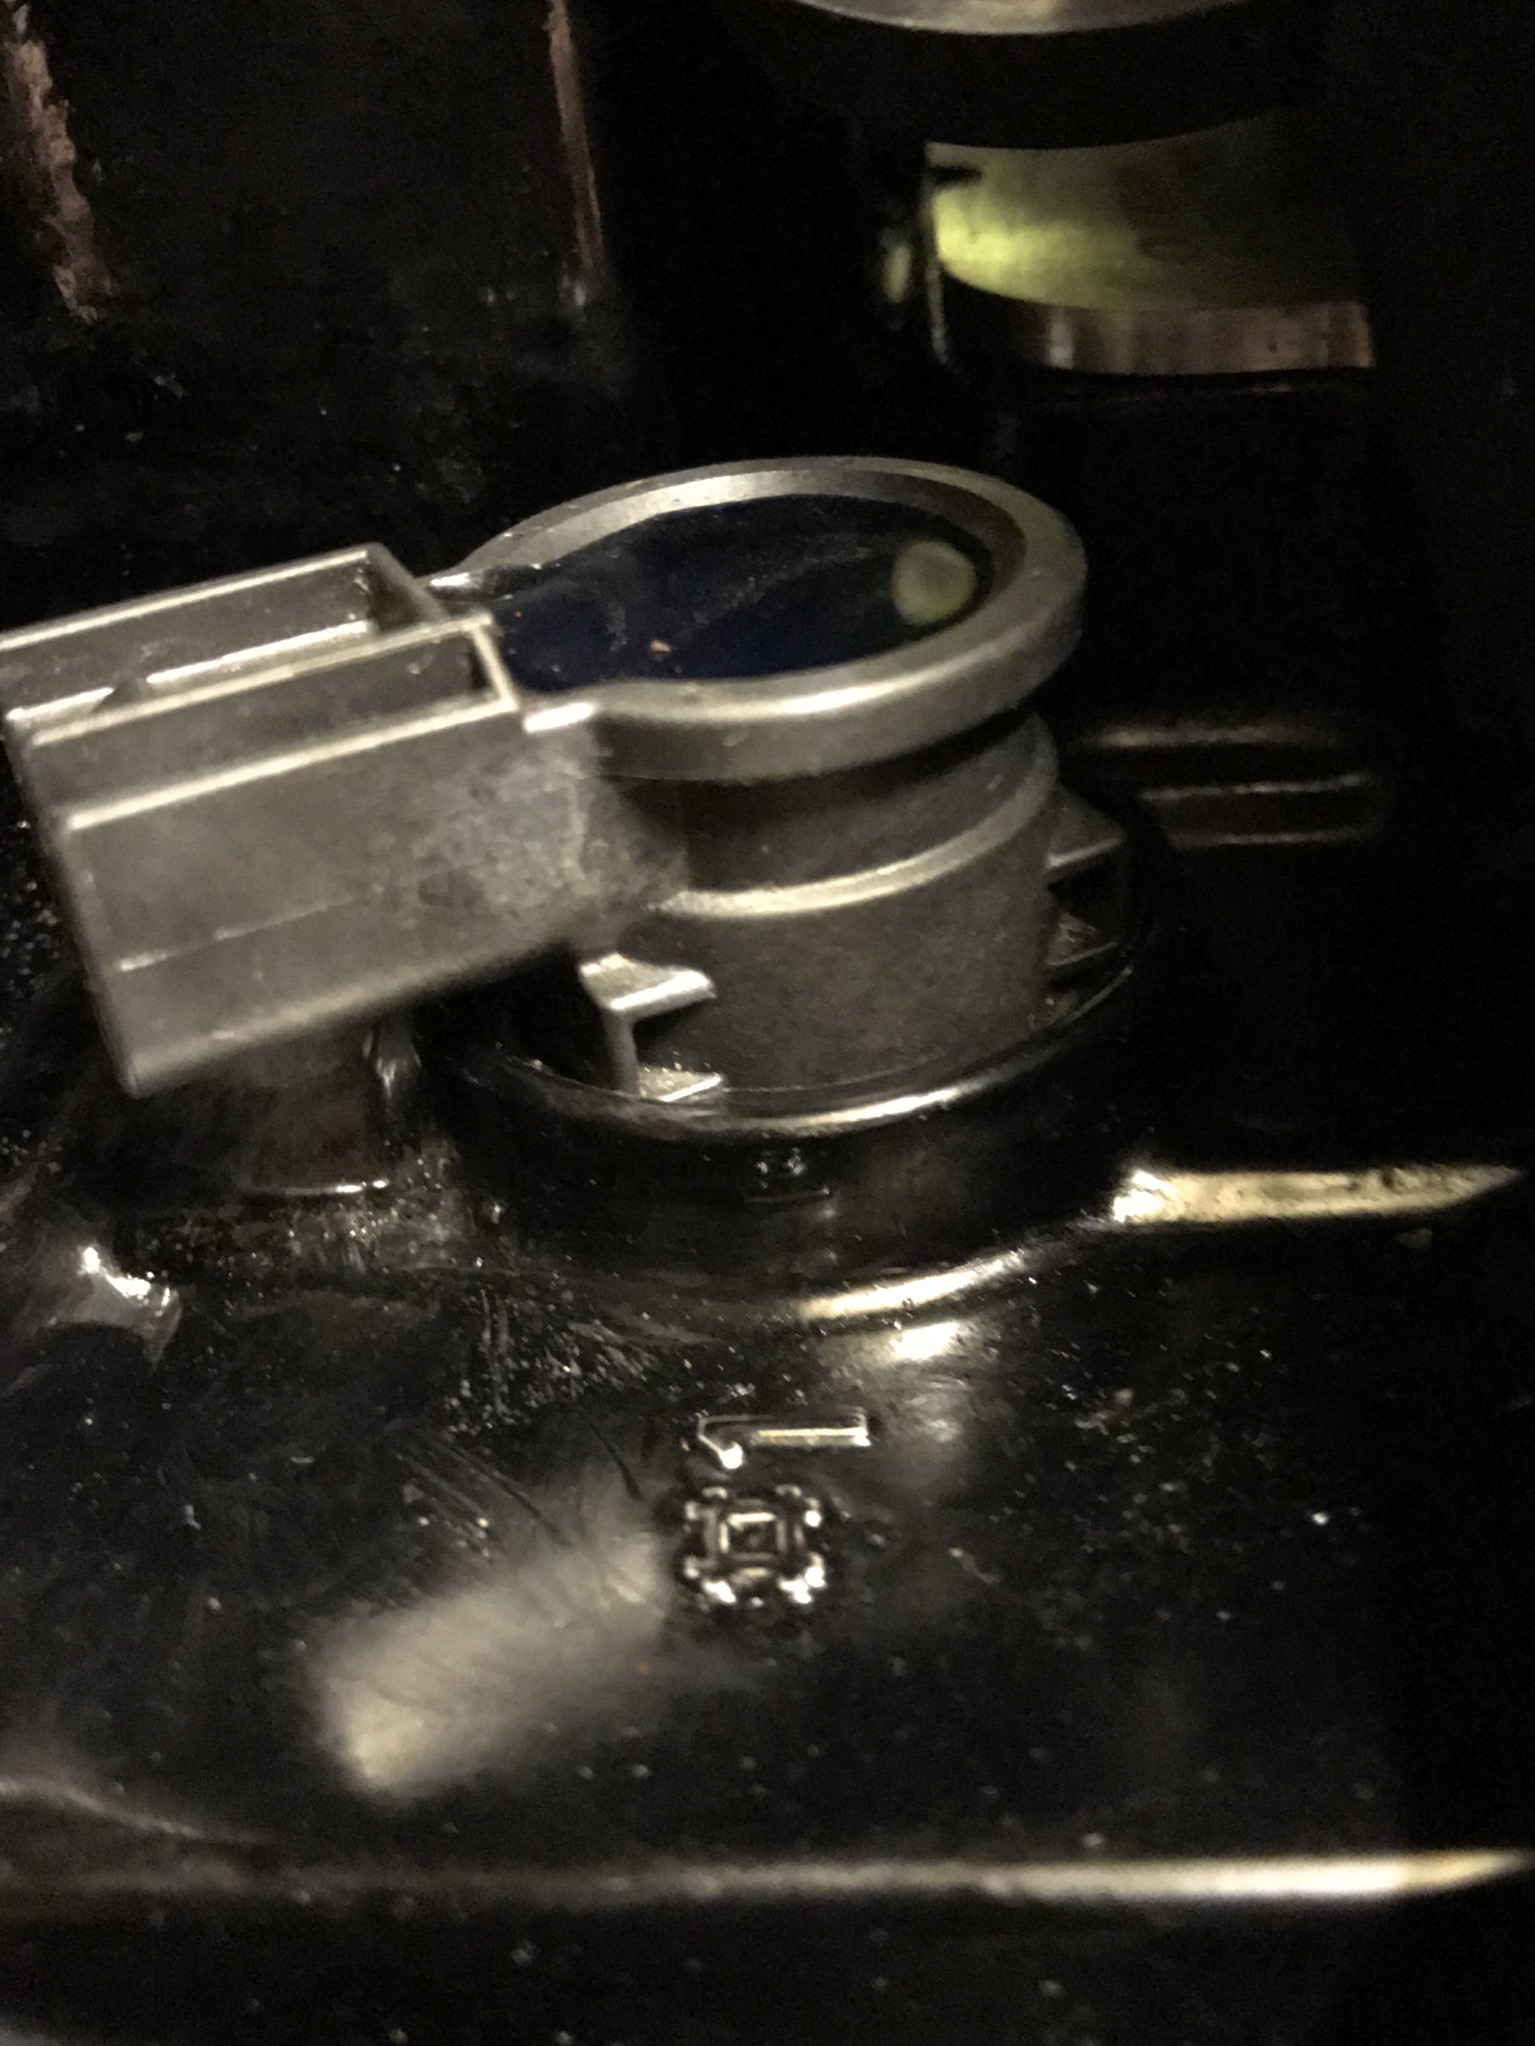
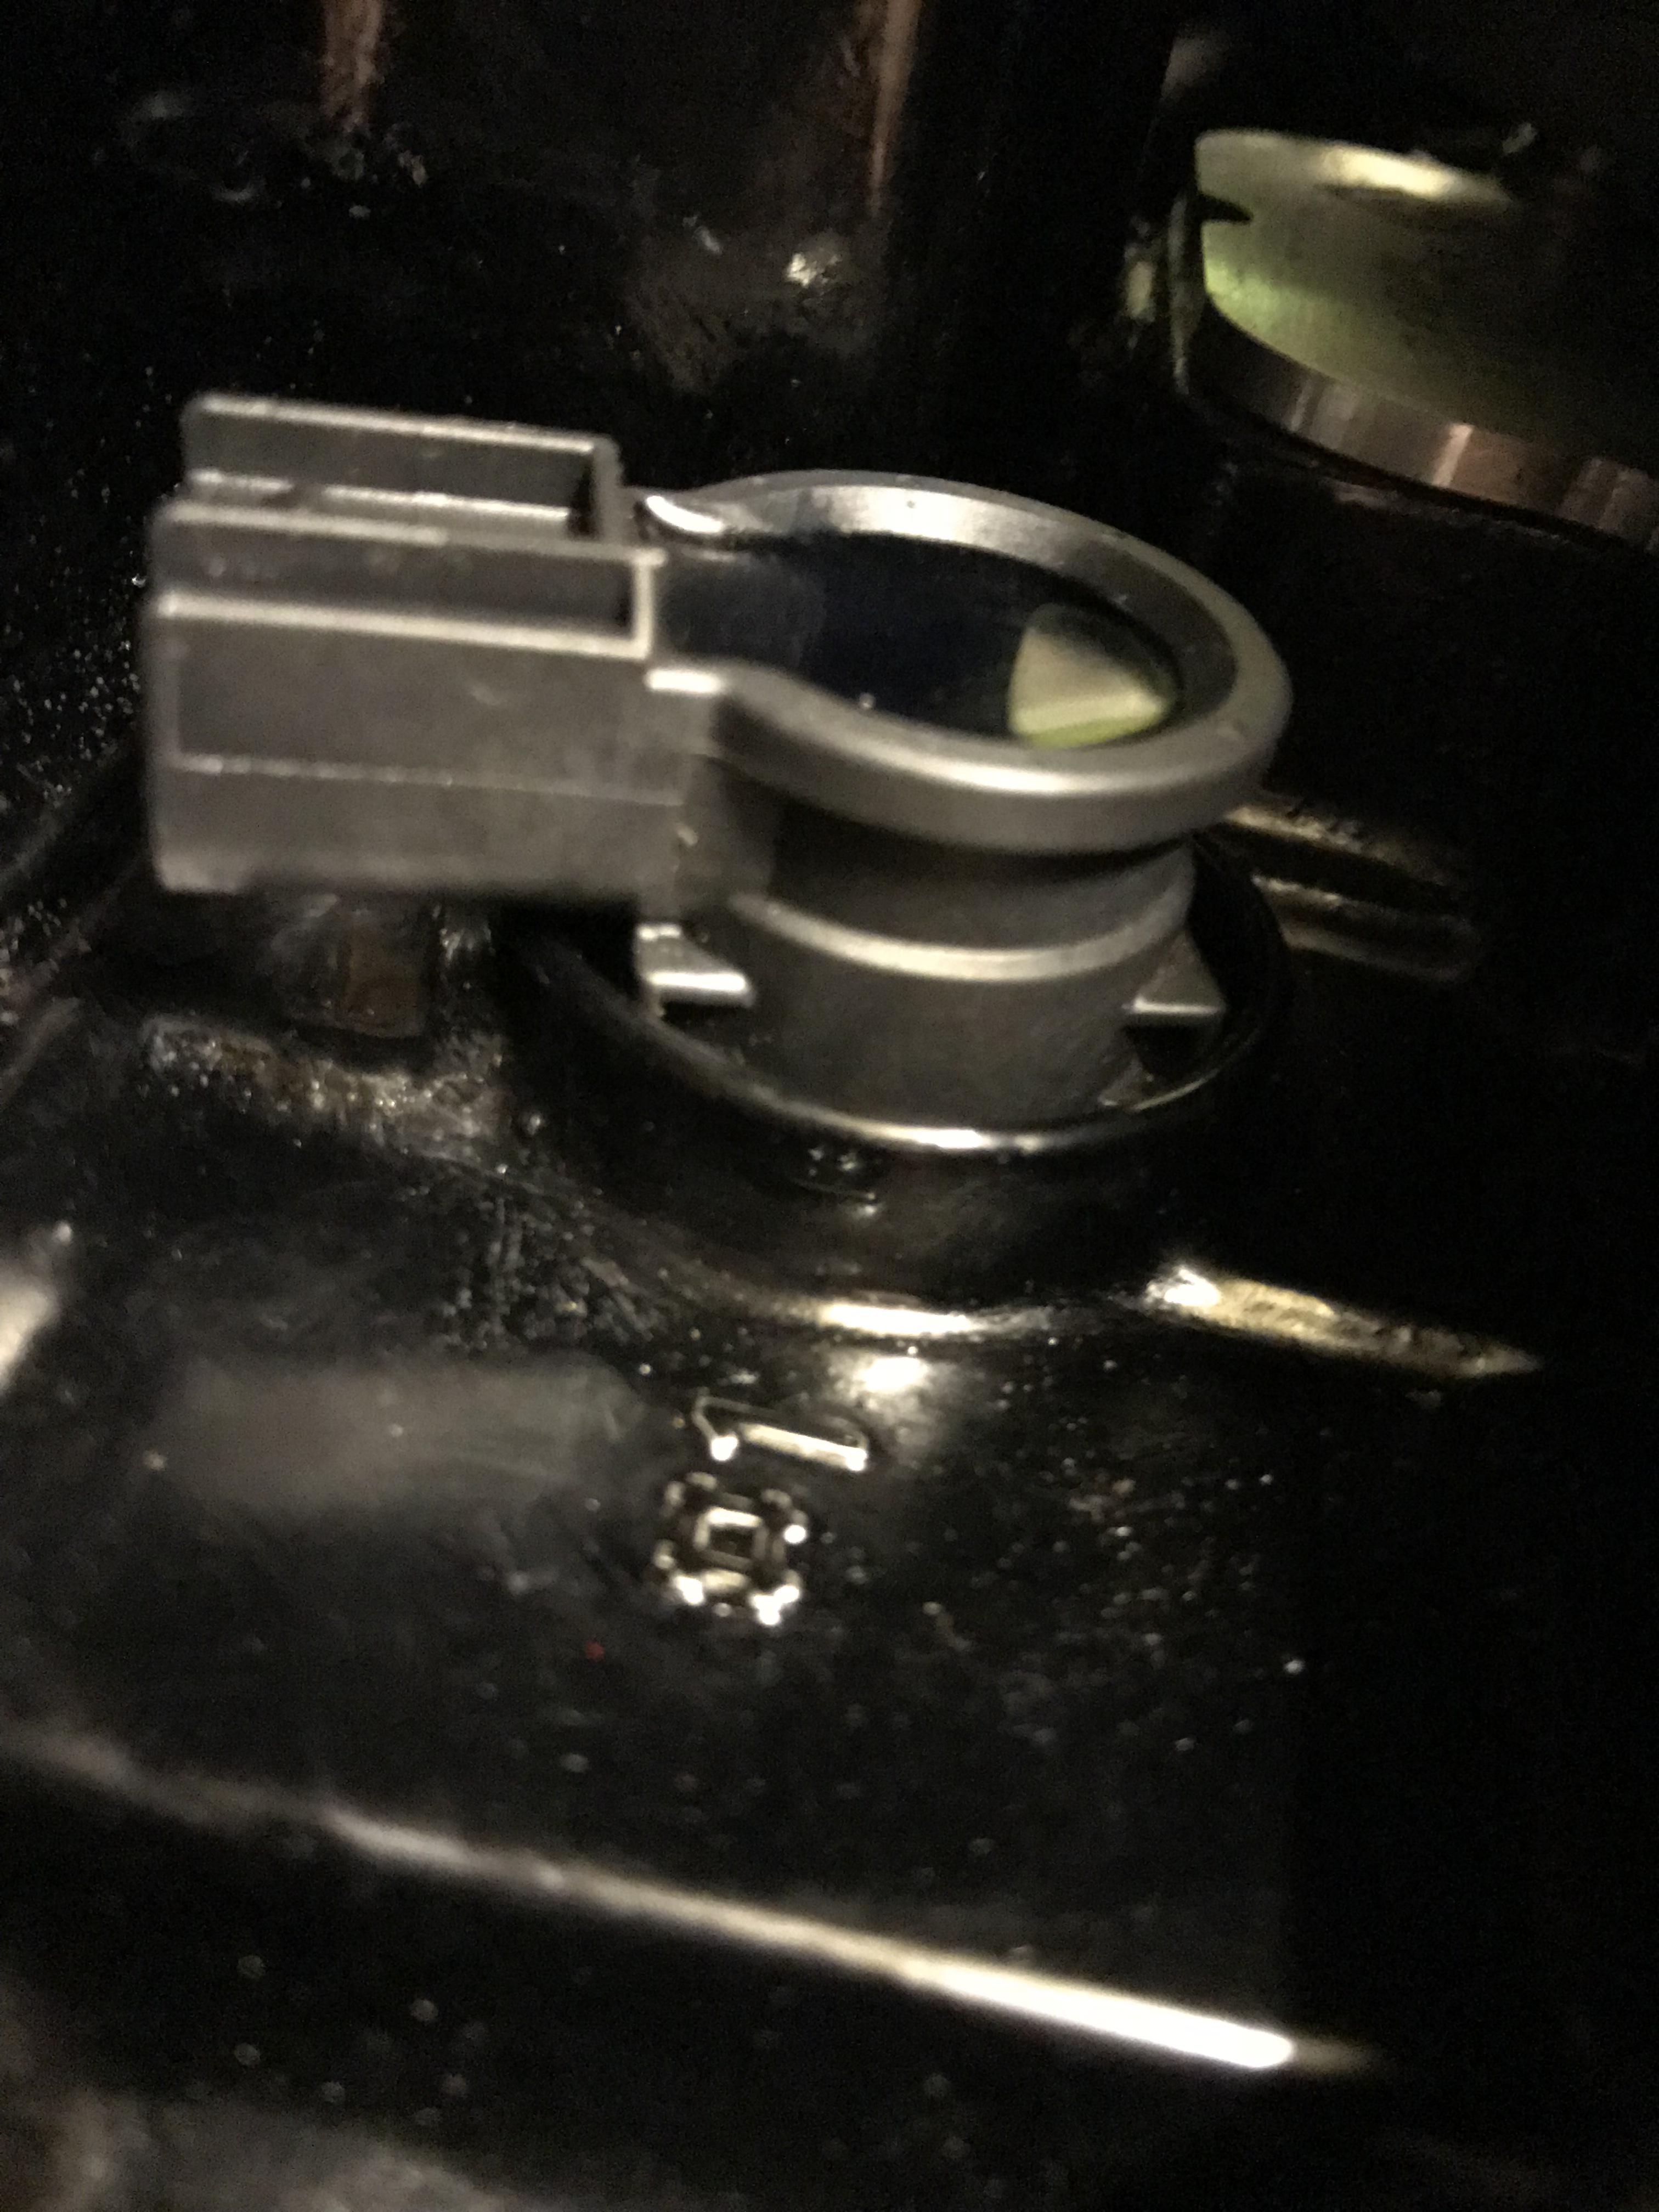
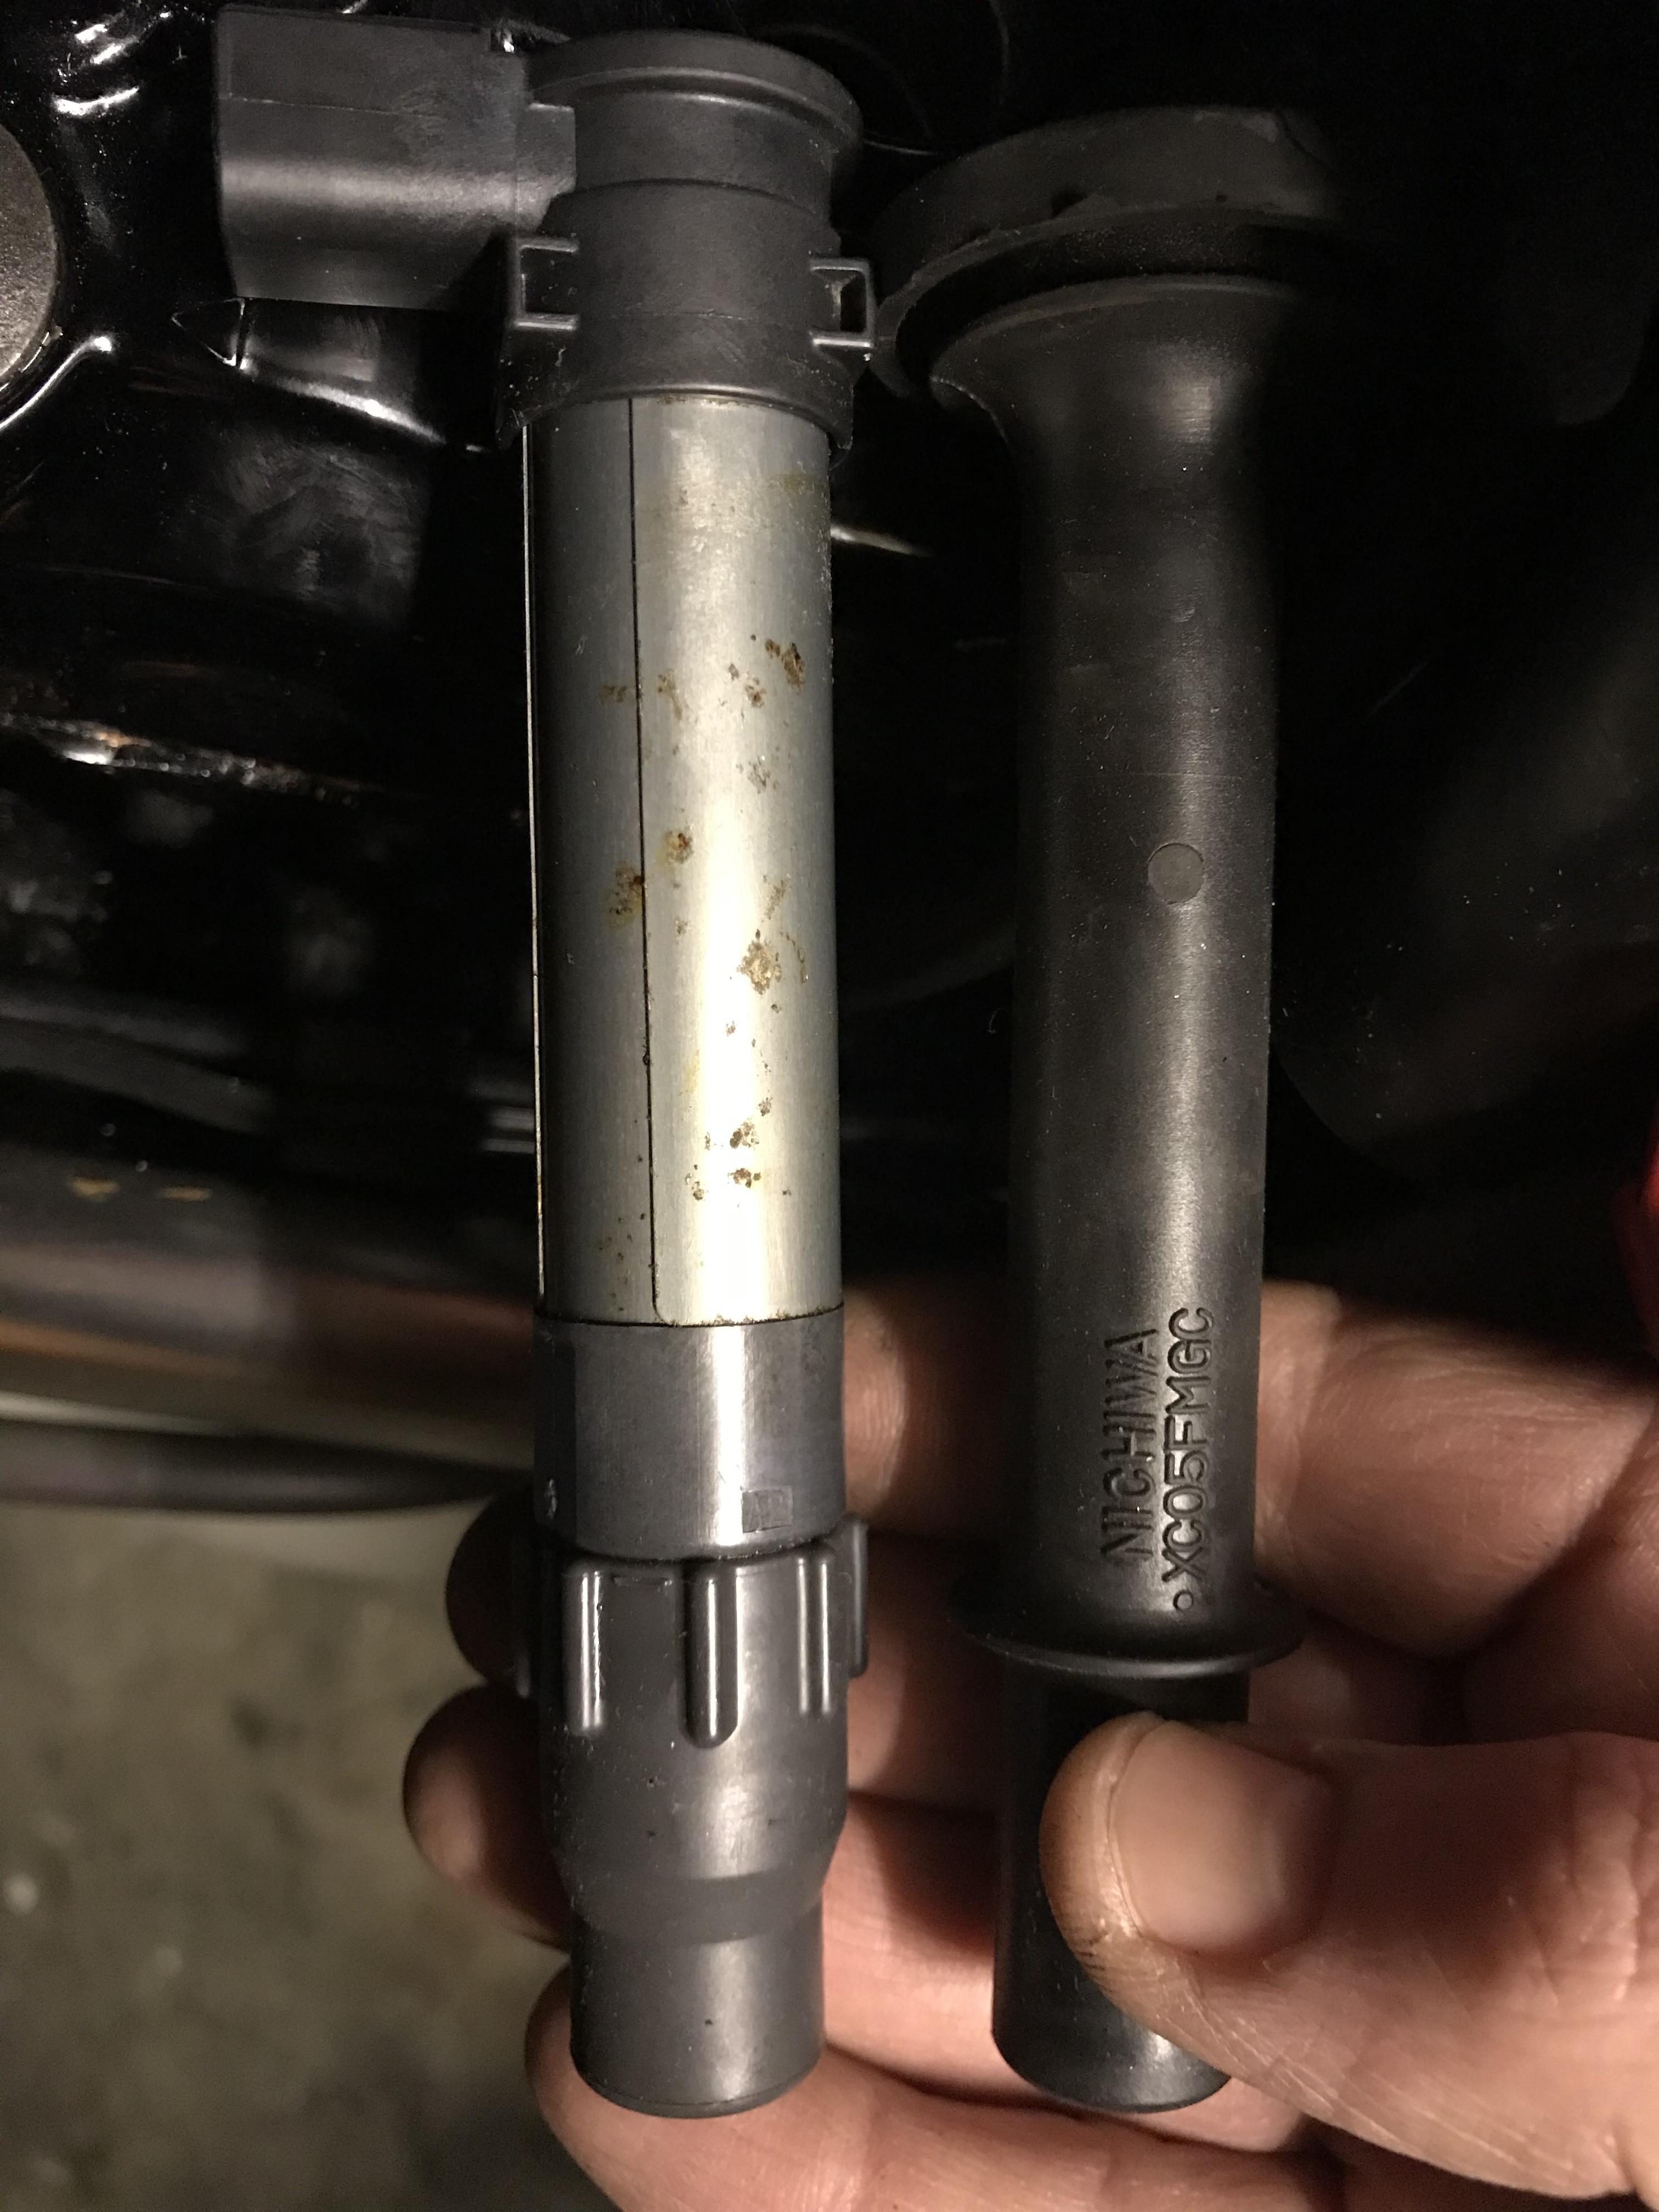
Gig, are you sure the seal doesn’t need trimming? I just test-fitted a CBR1000RR 2008 COP in my 5th gen and it seems the rubber interferes with full insertion (ooh, Miss!). Here’s a pic of the COP with the seal on: Here’s a pic of the COP with the seal off: See how the first one sits a bit prouder? It also felt like a nice positive engagement with the spark plug with the seal off. Not sure if it just needs a bit of lube and a harder push (I’ve got to stop using such language!) but I did lean on it pretty hard. Her’s a side-by-side of the VFR plug cap vs CBR COP. Looks like you need to get the entire plug in to reach the required depth (there I go again). Those little square bits on the COP must be inside. For what it’s worth, without the top seal the COP wriggles about a bit so that’s not a solution. Of course it also leaves the spark well exposed to water ingress. What’s the solution? Stray

-
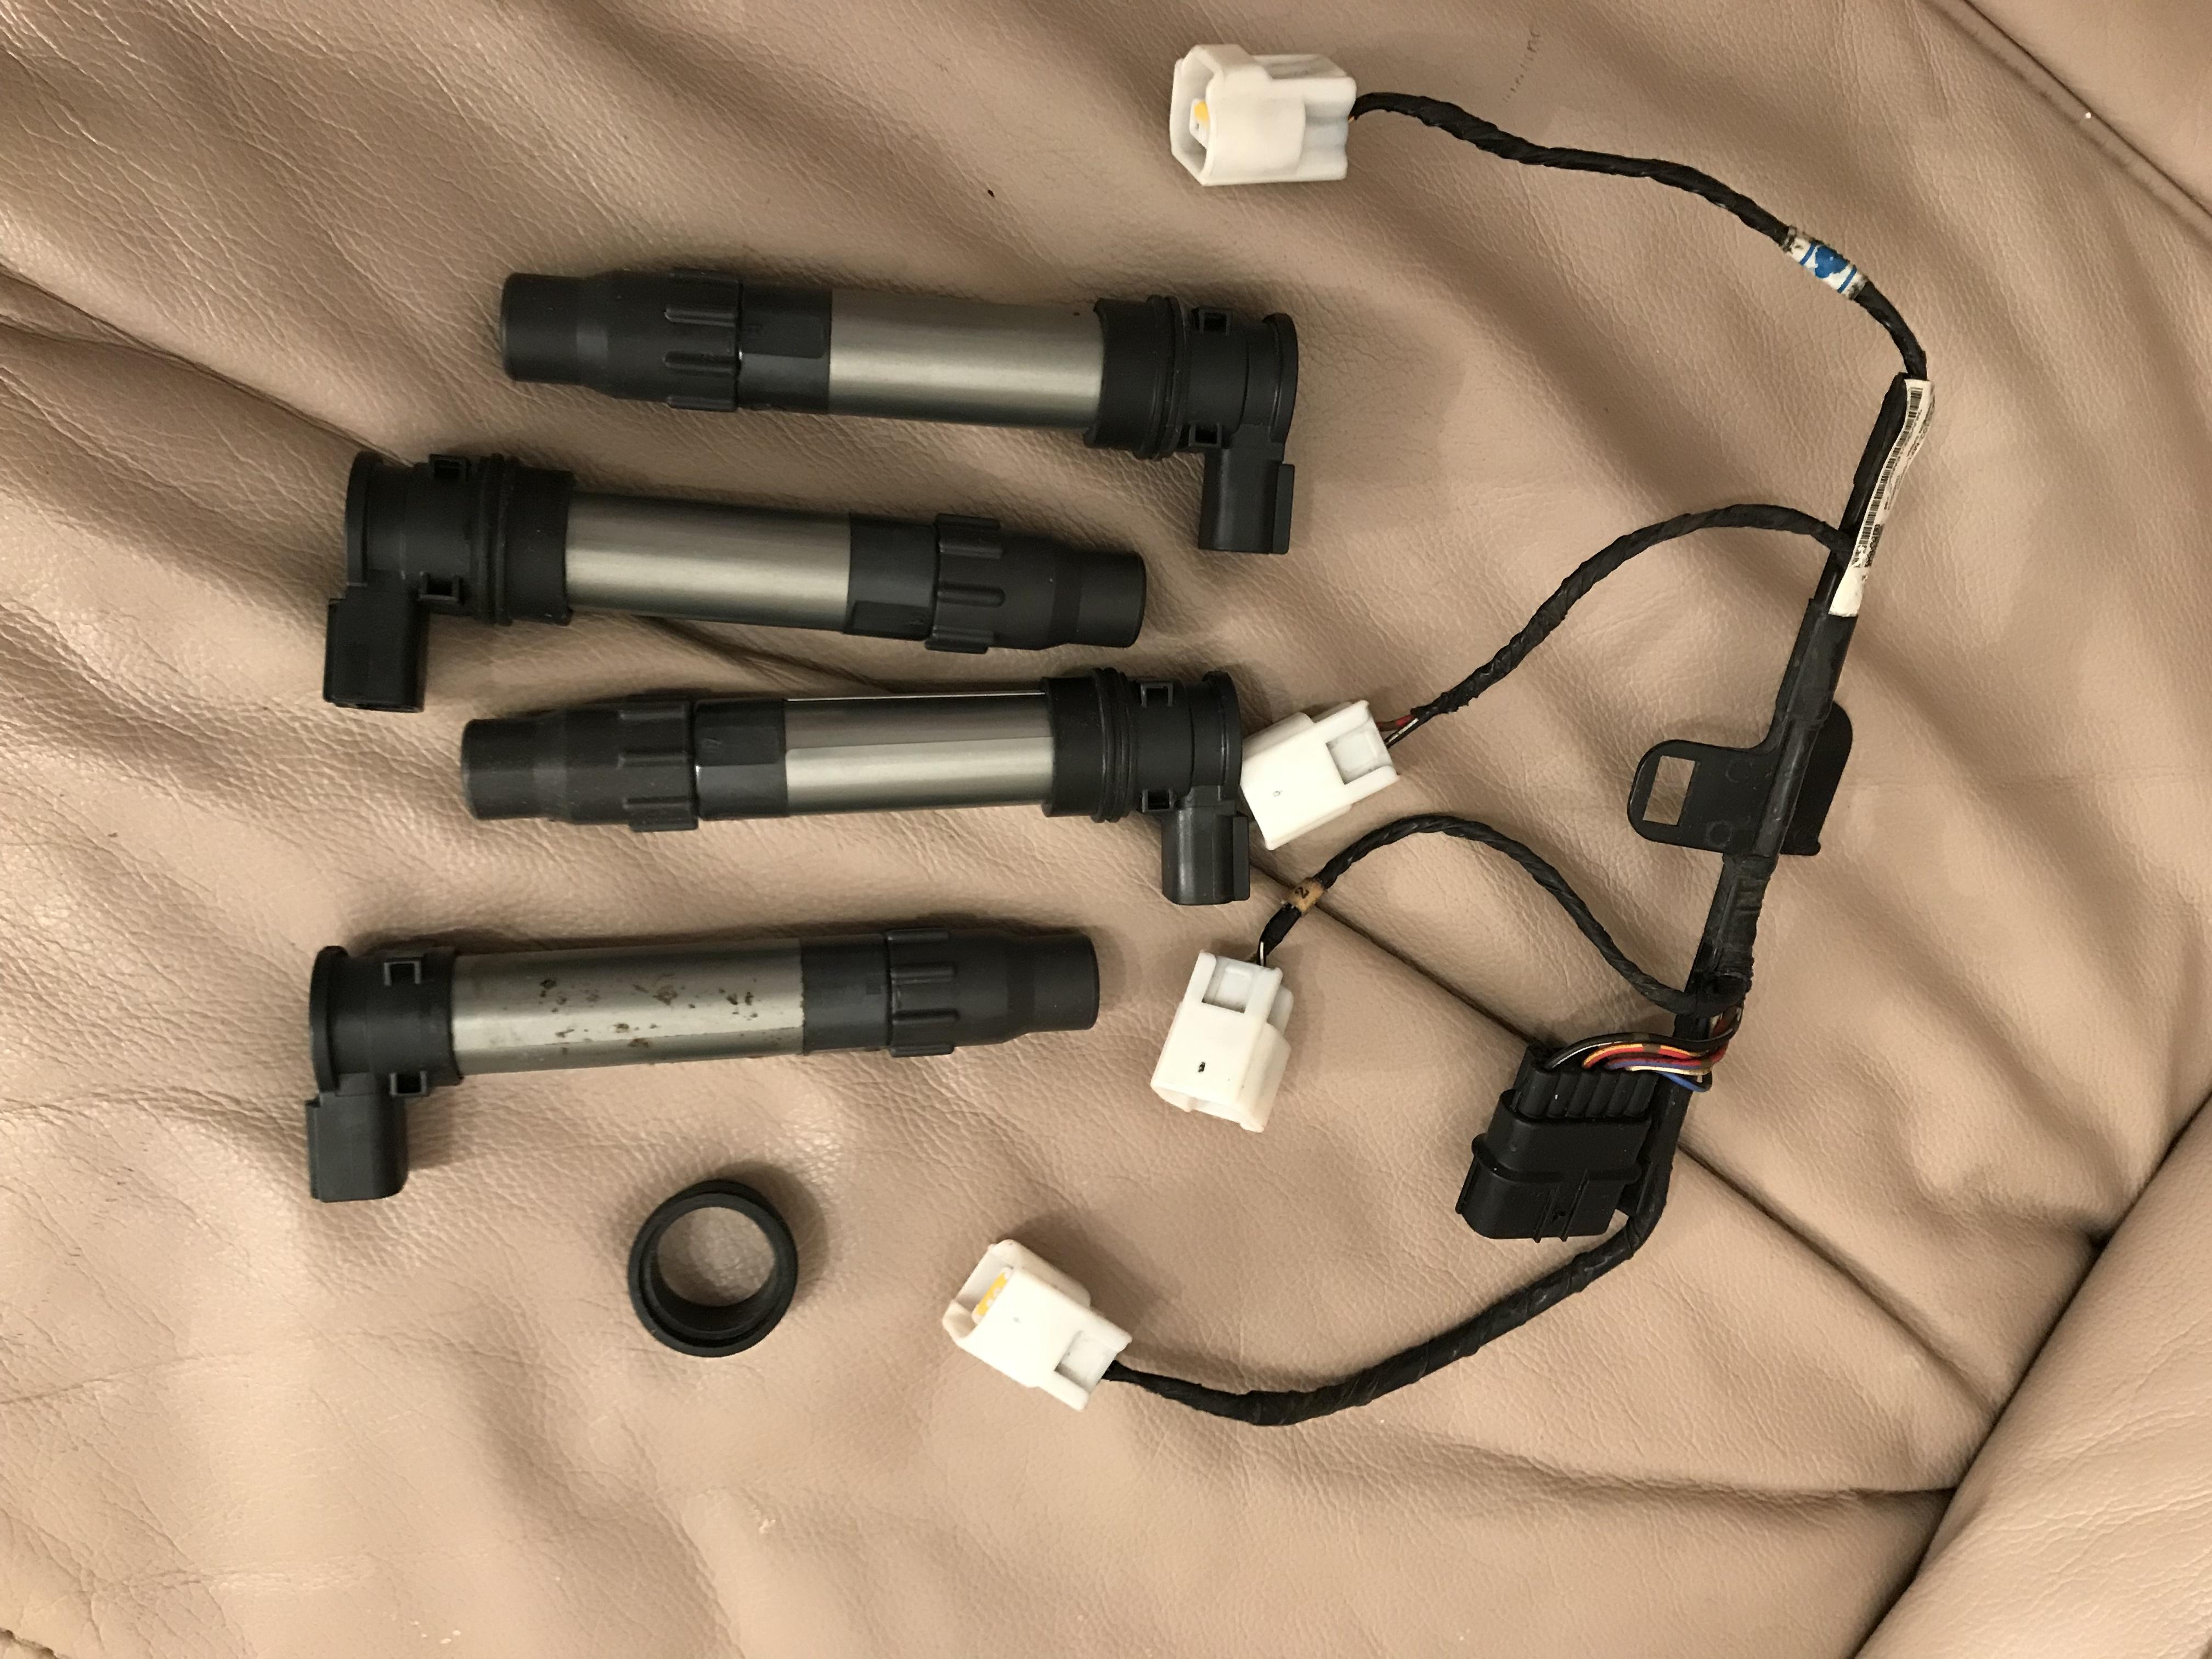
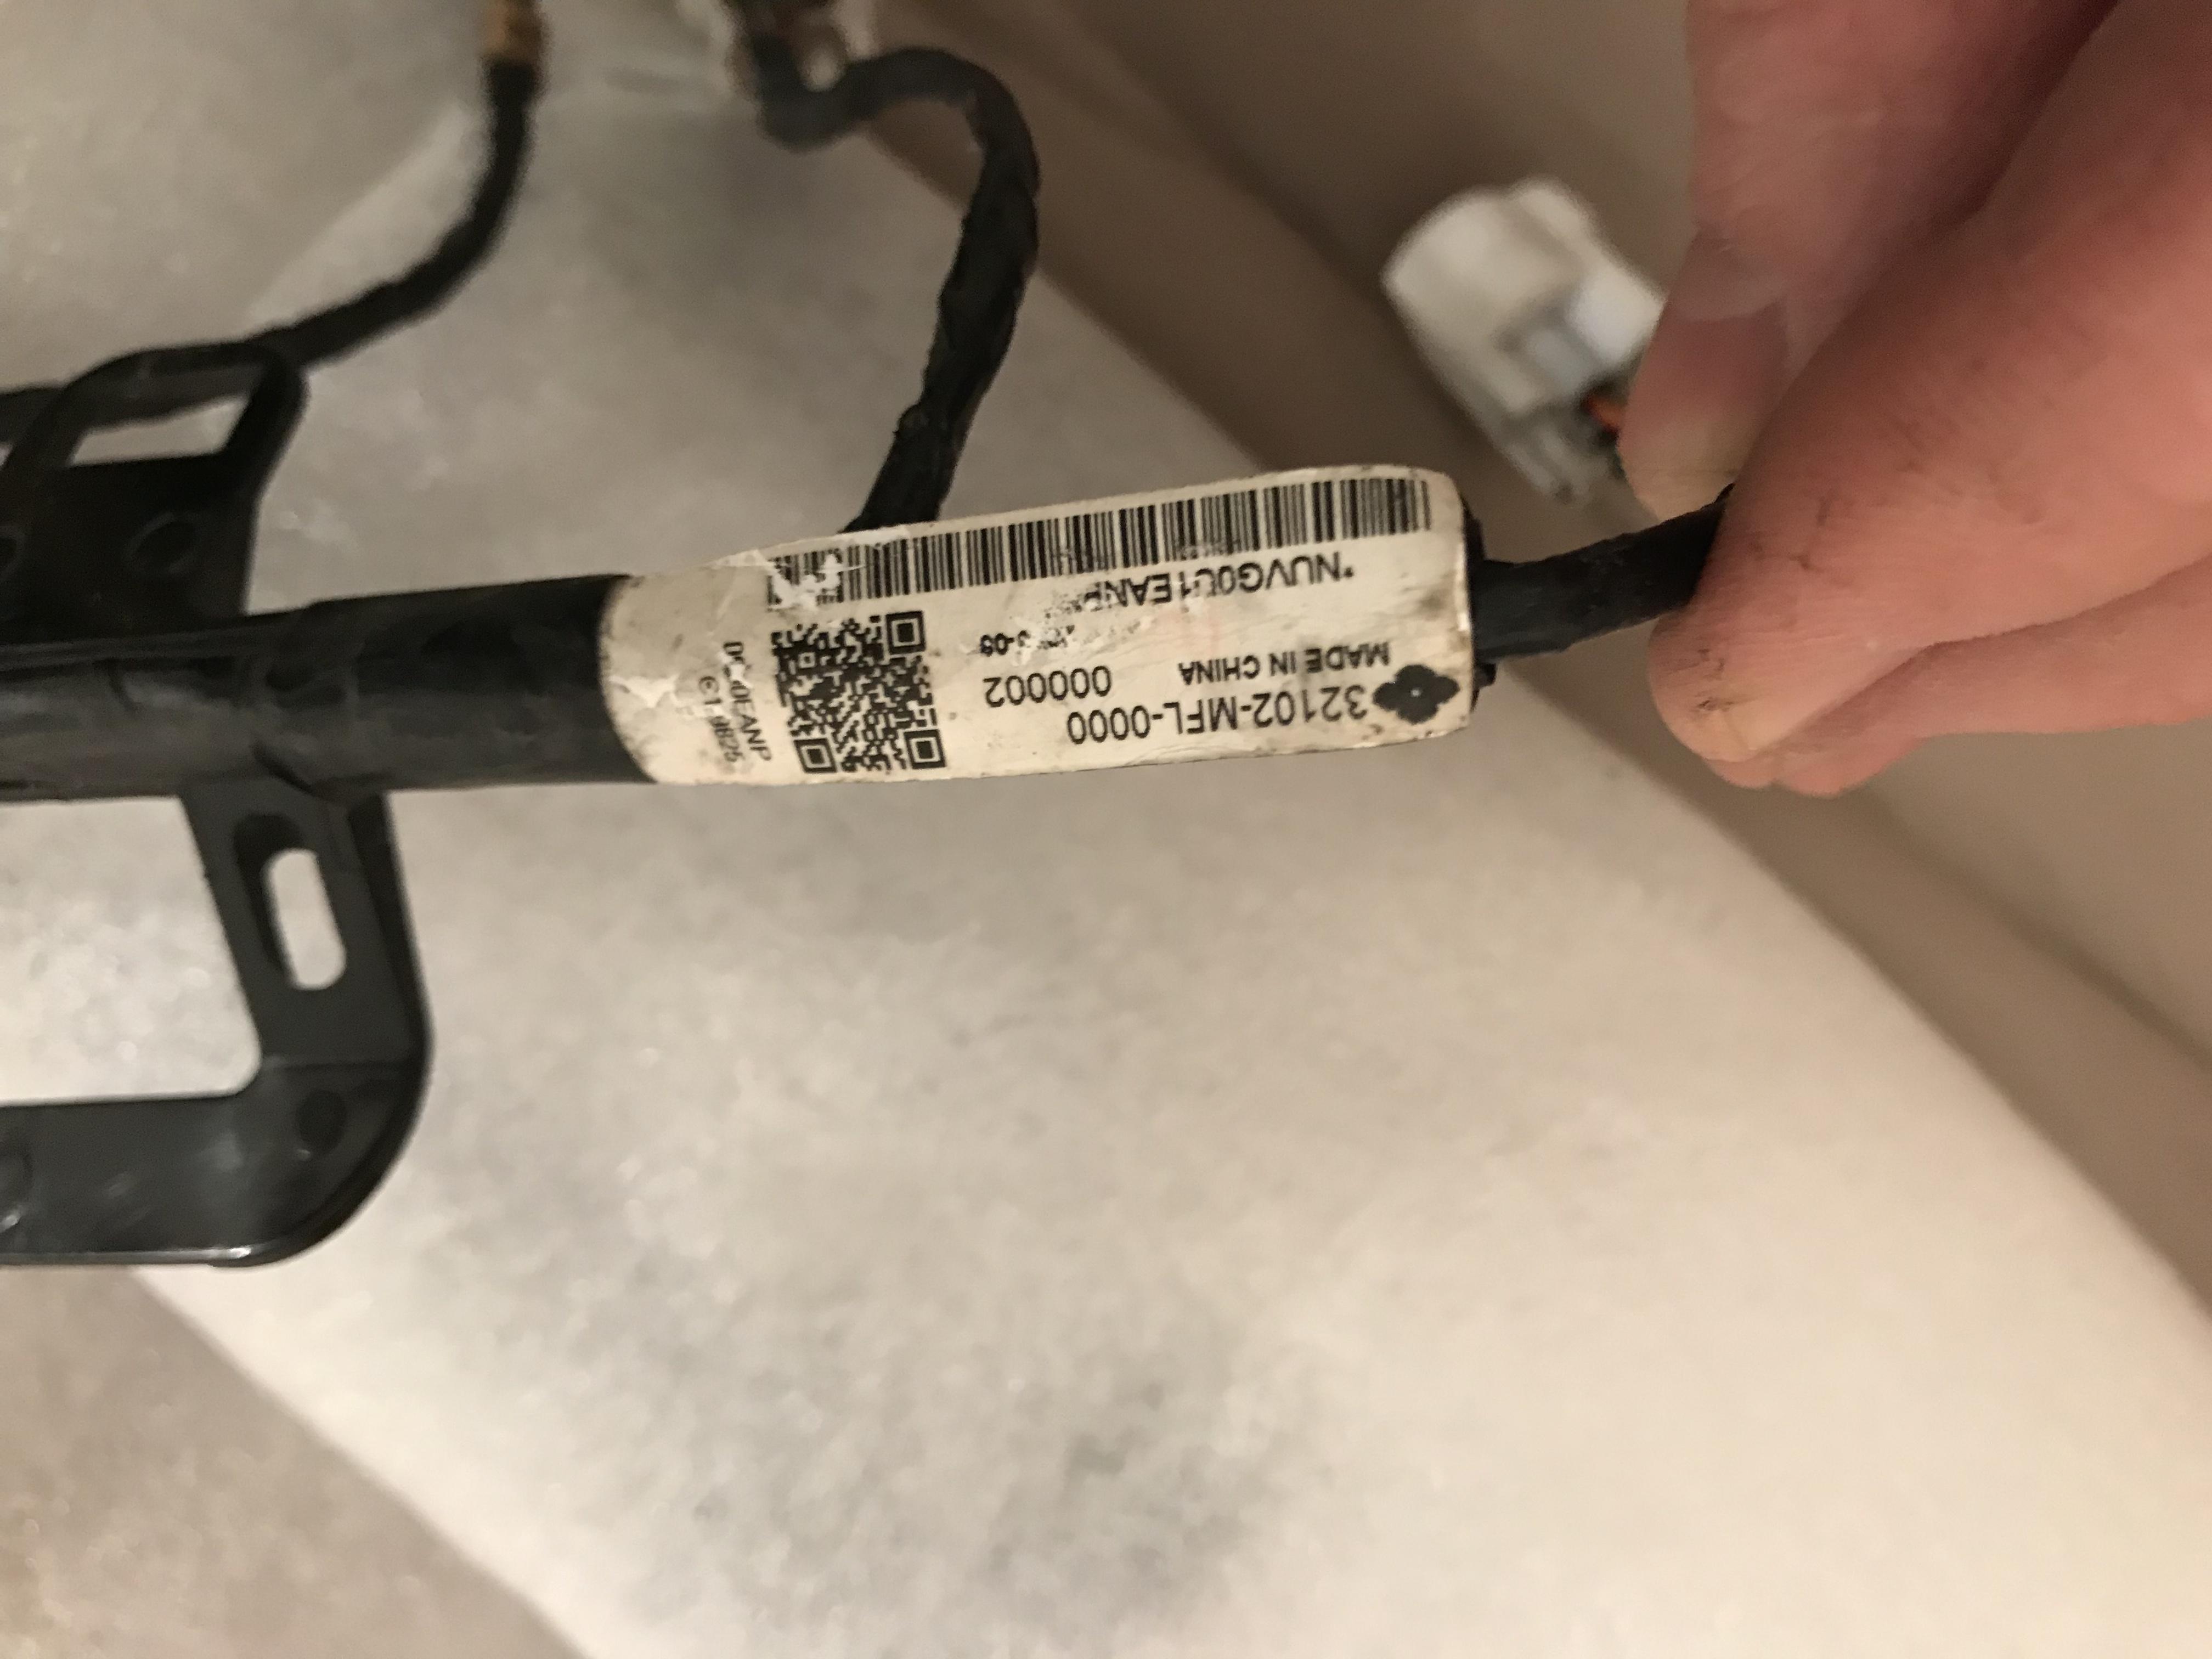
Thanks VFROZ, I’ll follow your lead. These puppies arrived in the post Saturday. One coil is slightly corroded and it just happened to be the one with a loose top seal. Did the seal fail and let water in or did the corrosion stick it to the spark well requiring the breaker to tear it out with force (thereby wrecking the seal?). I’ll never know but will ensure mine are watertight. Will put double o-rings on and ensure the slightly corroded one goes on the rear/right cylinder (least likely to get soaked there I think?). Anyway, I saw something else quite interesting on the wiring loom: I didn't realise Honda was sub-contracting out bits of their flagship bikes to China? I knew about the entry-level bikes but an ‘08 Fireblade? Surprised me a bit. I’m going to try crimping Metri-Pack type Denso connectors to the original VFR wires instead of cutting off the old ones from the CBR loom (will keep these on hand in case things go pear-shaped). My thinking is this method makes for a cleaner install but not sure if the original wires have enough length (funny, my wife was saying just that!). Picking up the new Denso connectors this week. Will post when done. Thanks again for for all the advice/help from the forum members! Stray
-
@Mohawk, is there a photo of your ram air setup someplace? I seem to recall reading about it a few months ago but search function not playing ball. If I recall you also installed dual velocity stacks but again search function can’t find it now. I’m assuming you can’t fit dual velocity stacks in a standard airbox as it is too close to the air filter. So are you running them without a filter? Im toying with the idea of ramair myself, possibly through the dumbo indicators, but they are a bit too low for comfort. Mohawk’s scoop setup seems better protection against water ingress but the air is probably mildly warmer there than fresh air from outside the bike. Nevertheless, at the speeds ram air operates there won’t be much cold air trapped in the engine bay at all! Stray
-
Got CBR1000rr 2008 coils and loom coming. Will fit next weekend (busy this weekend). Two observations: 1. Both VFR and CBR have same spark plug gap of 0.8-0.9mm. Does this suggest COP doesn’t put out stronger spark than our fat green coils? Should we be widening the plug gap to 1mm with COP mod? 2. Is there a way to run fresh cables and new Denso connector plugs from someplace on the loom? Metri pack waterproof ones are available cheap. I can’t help but feel splicing the CBR connectors onto the existing 19 year old wire is asking for trouble. Failed RR/stator connectors have made me overly cautious. 3. A lot of the CBR ‘08+ coils on eBay look corroded across their metallic silver jackets. Not sure if this is due to water ingress or high heat (or both). The US ones are less corroded than UK ones, which suggests moisture is the issue. Should we be doing more to waterproof the spark well? Is an outwardly corroded coil likely to fail or is this just a cosmetic problem? Note: earlier CBR coils (and most other bikes too) are covered in black plastic so no corrosion is visible, although there may be some lurking within. Thanks to Ranger and all those other members who pioneered this mod - I am very grateful to you all! Stray
-
I’m loving the retro handsomeness of that Z900. Looks like a classic but has all mod tech (USD forks, liquid cooling and FI).
-
Wow - those look like really high quality items!
-
My understanding is that no-cut sliders aren't mounted as solidly so sometimes cause more damage in a spill. For instance, they might bend the fairing bracket they sit on during a crash, forcing it into a radiator or something. It will, of course, bin your fairing instantly. The VFR is too heavy for sliders on fairing brackets. A lighter bike might survive a static drop with that setup but not the VFR. At speed you don't stand a chance. As for axle sliders I often wonder if they are useful. Firstly, does the fork bottom out if you lay your bike down? Does the rear axle? What about all that unsparing weight you're adding? Just a few thoughts. Stray
-
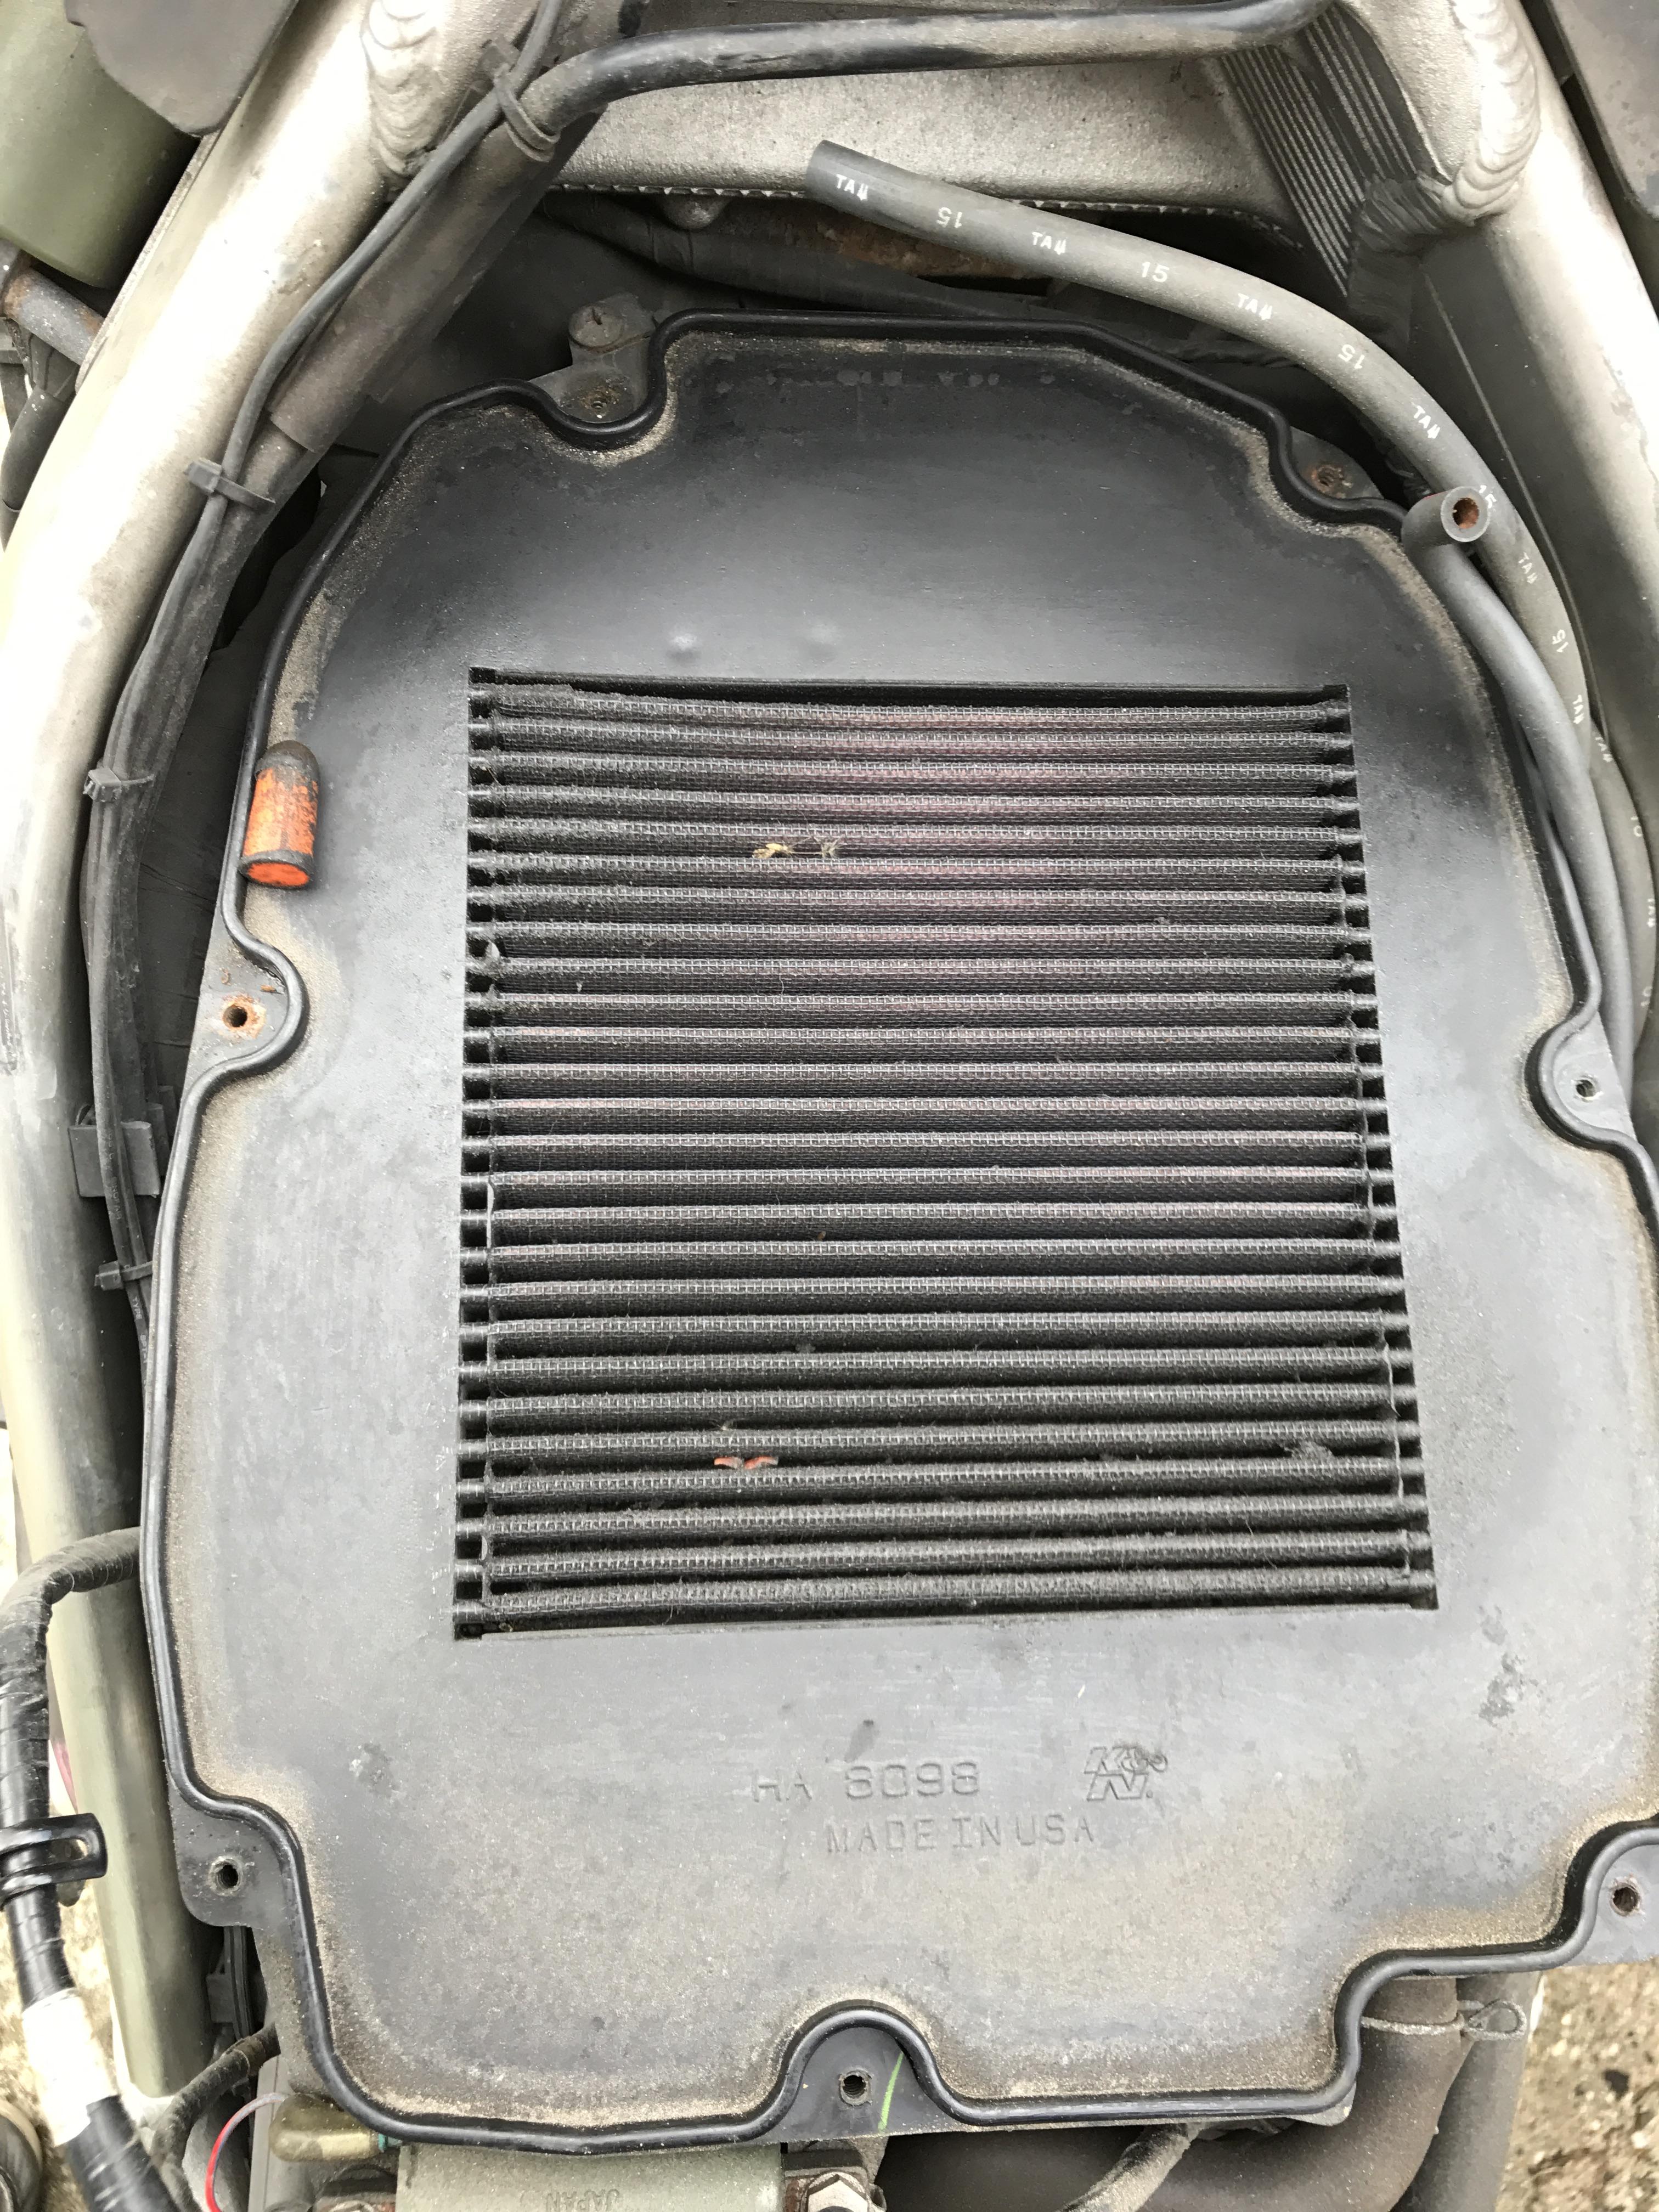
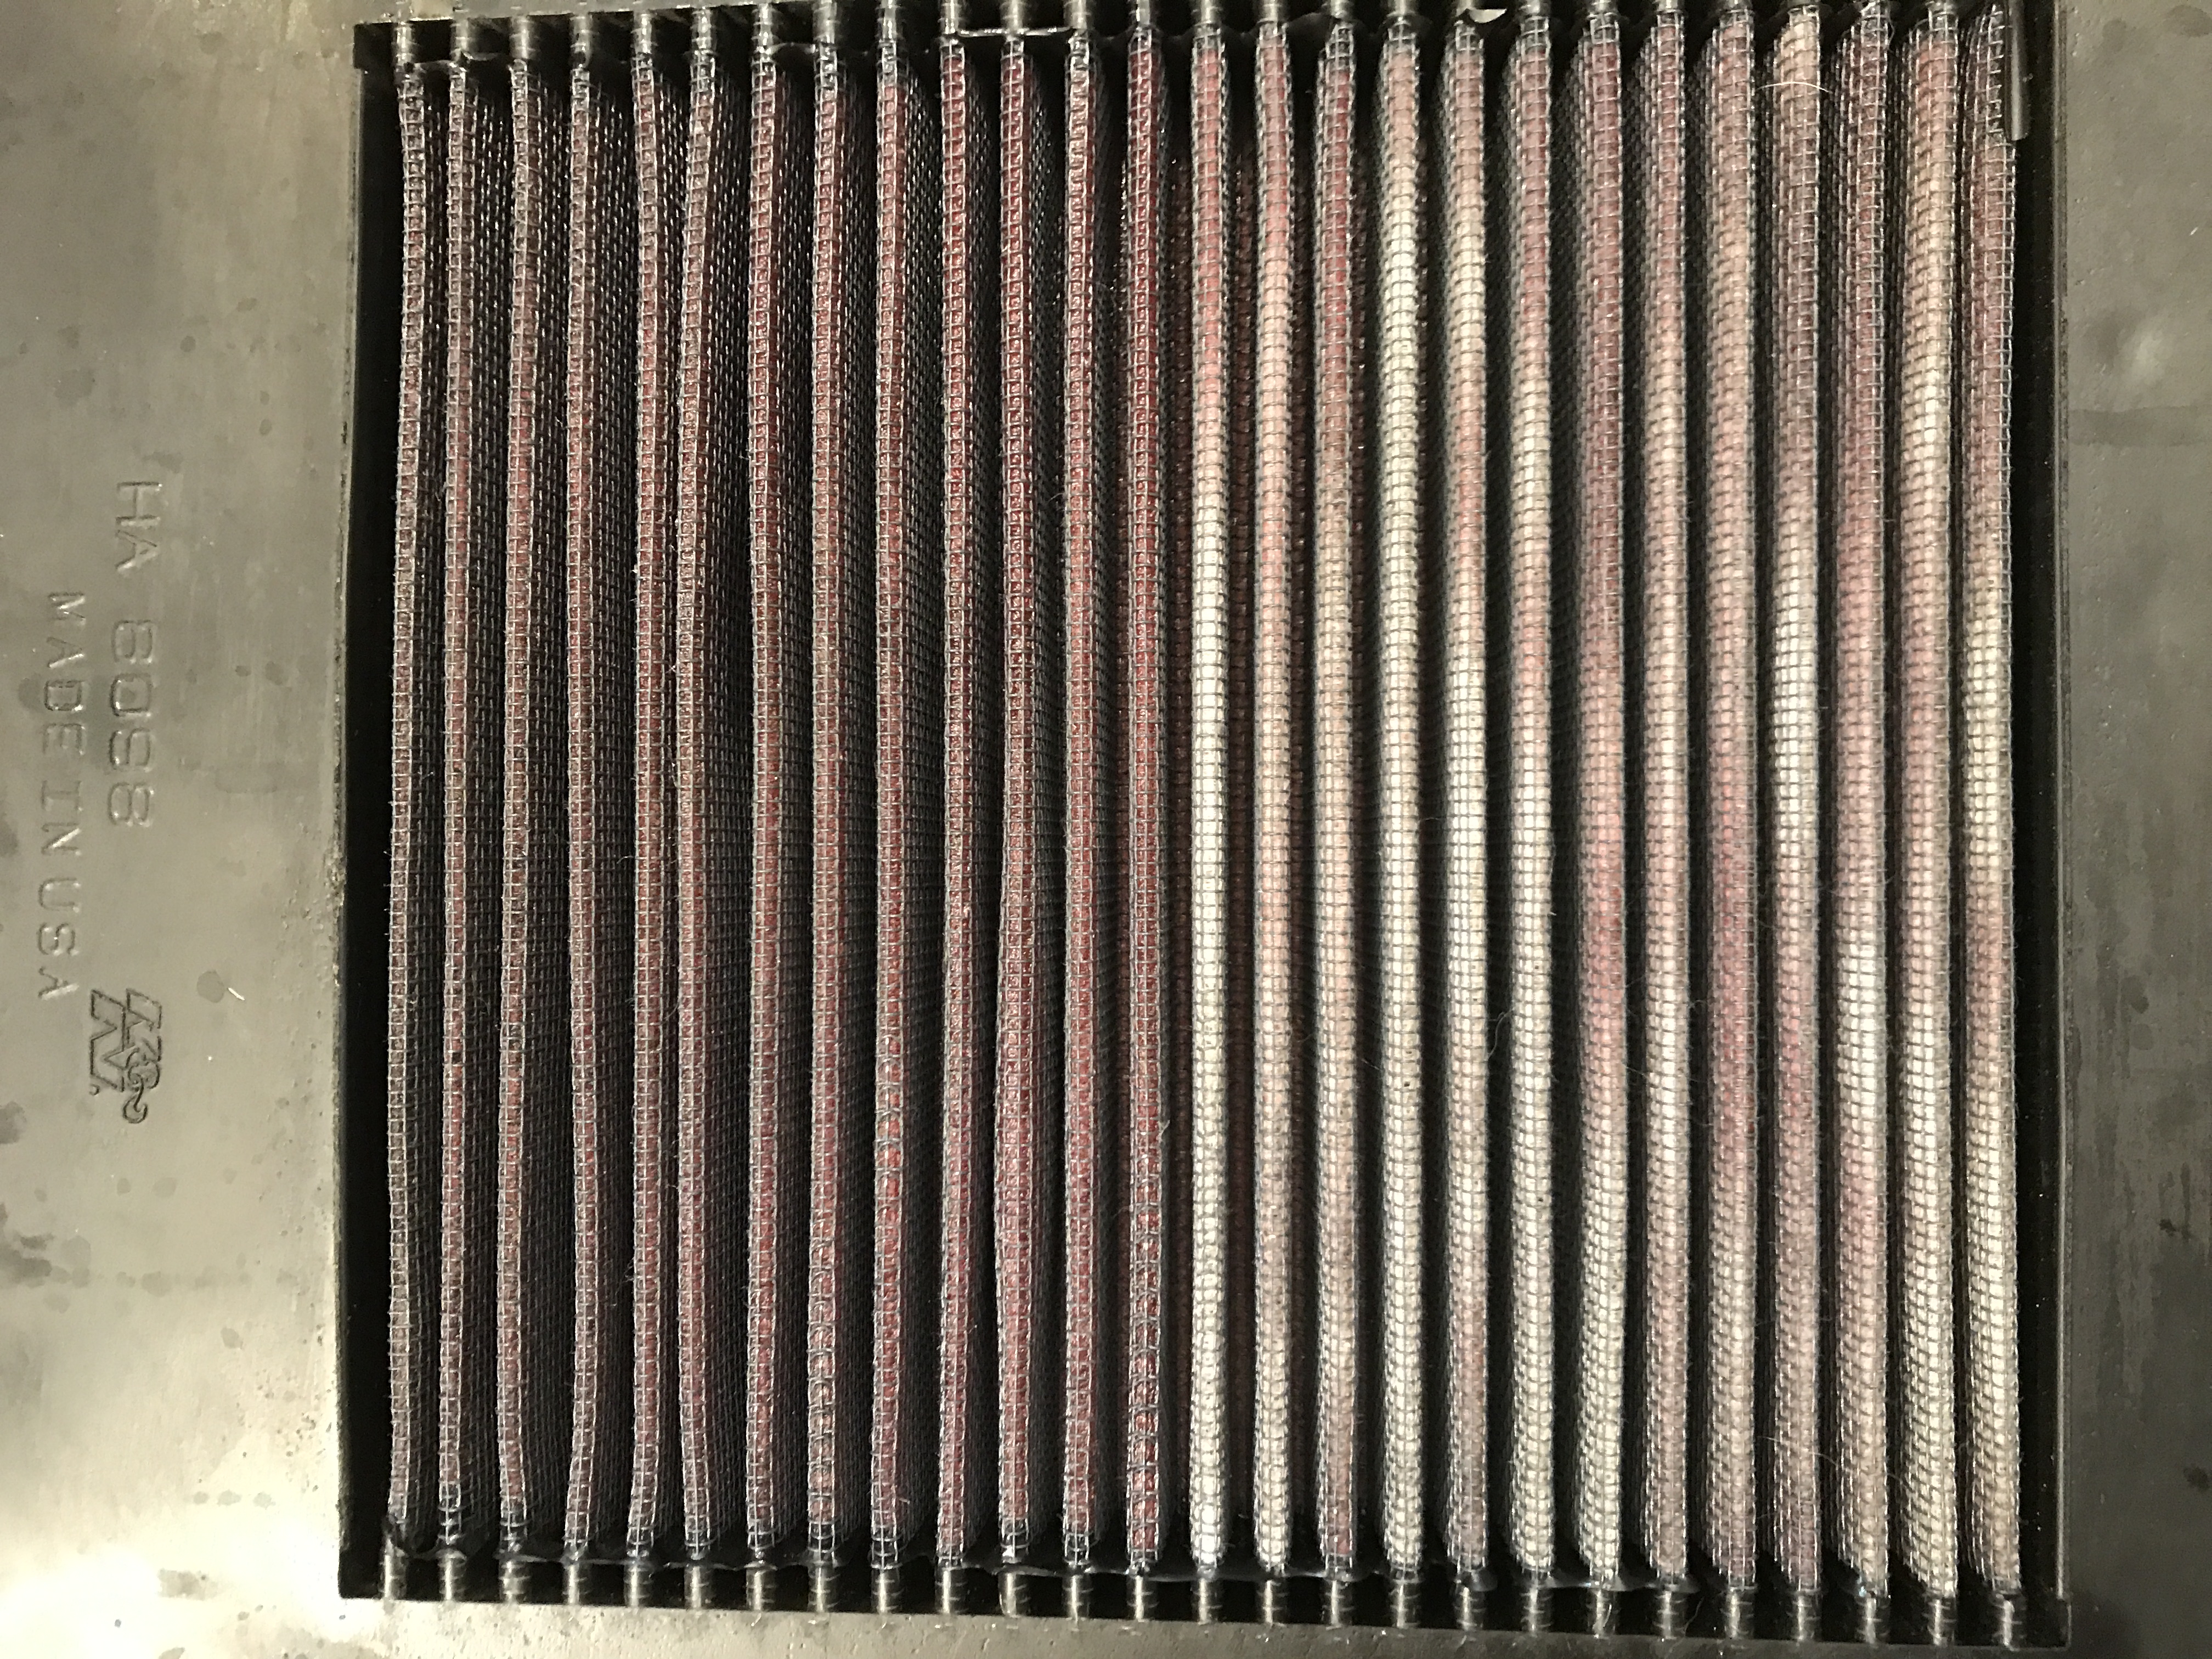
So K&N must have realised their earlier design (the one in my bike) left something to be desired...
-
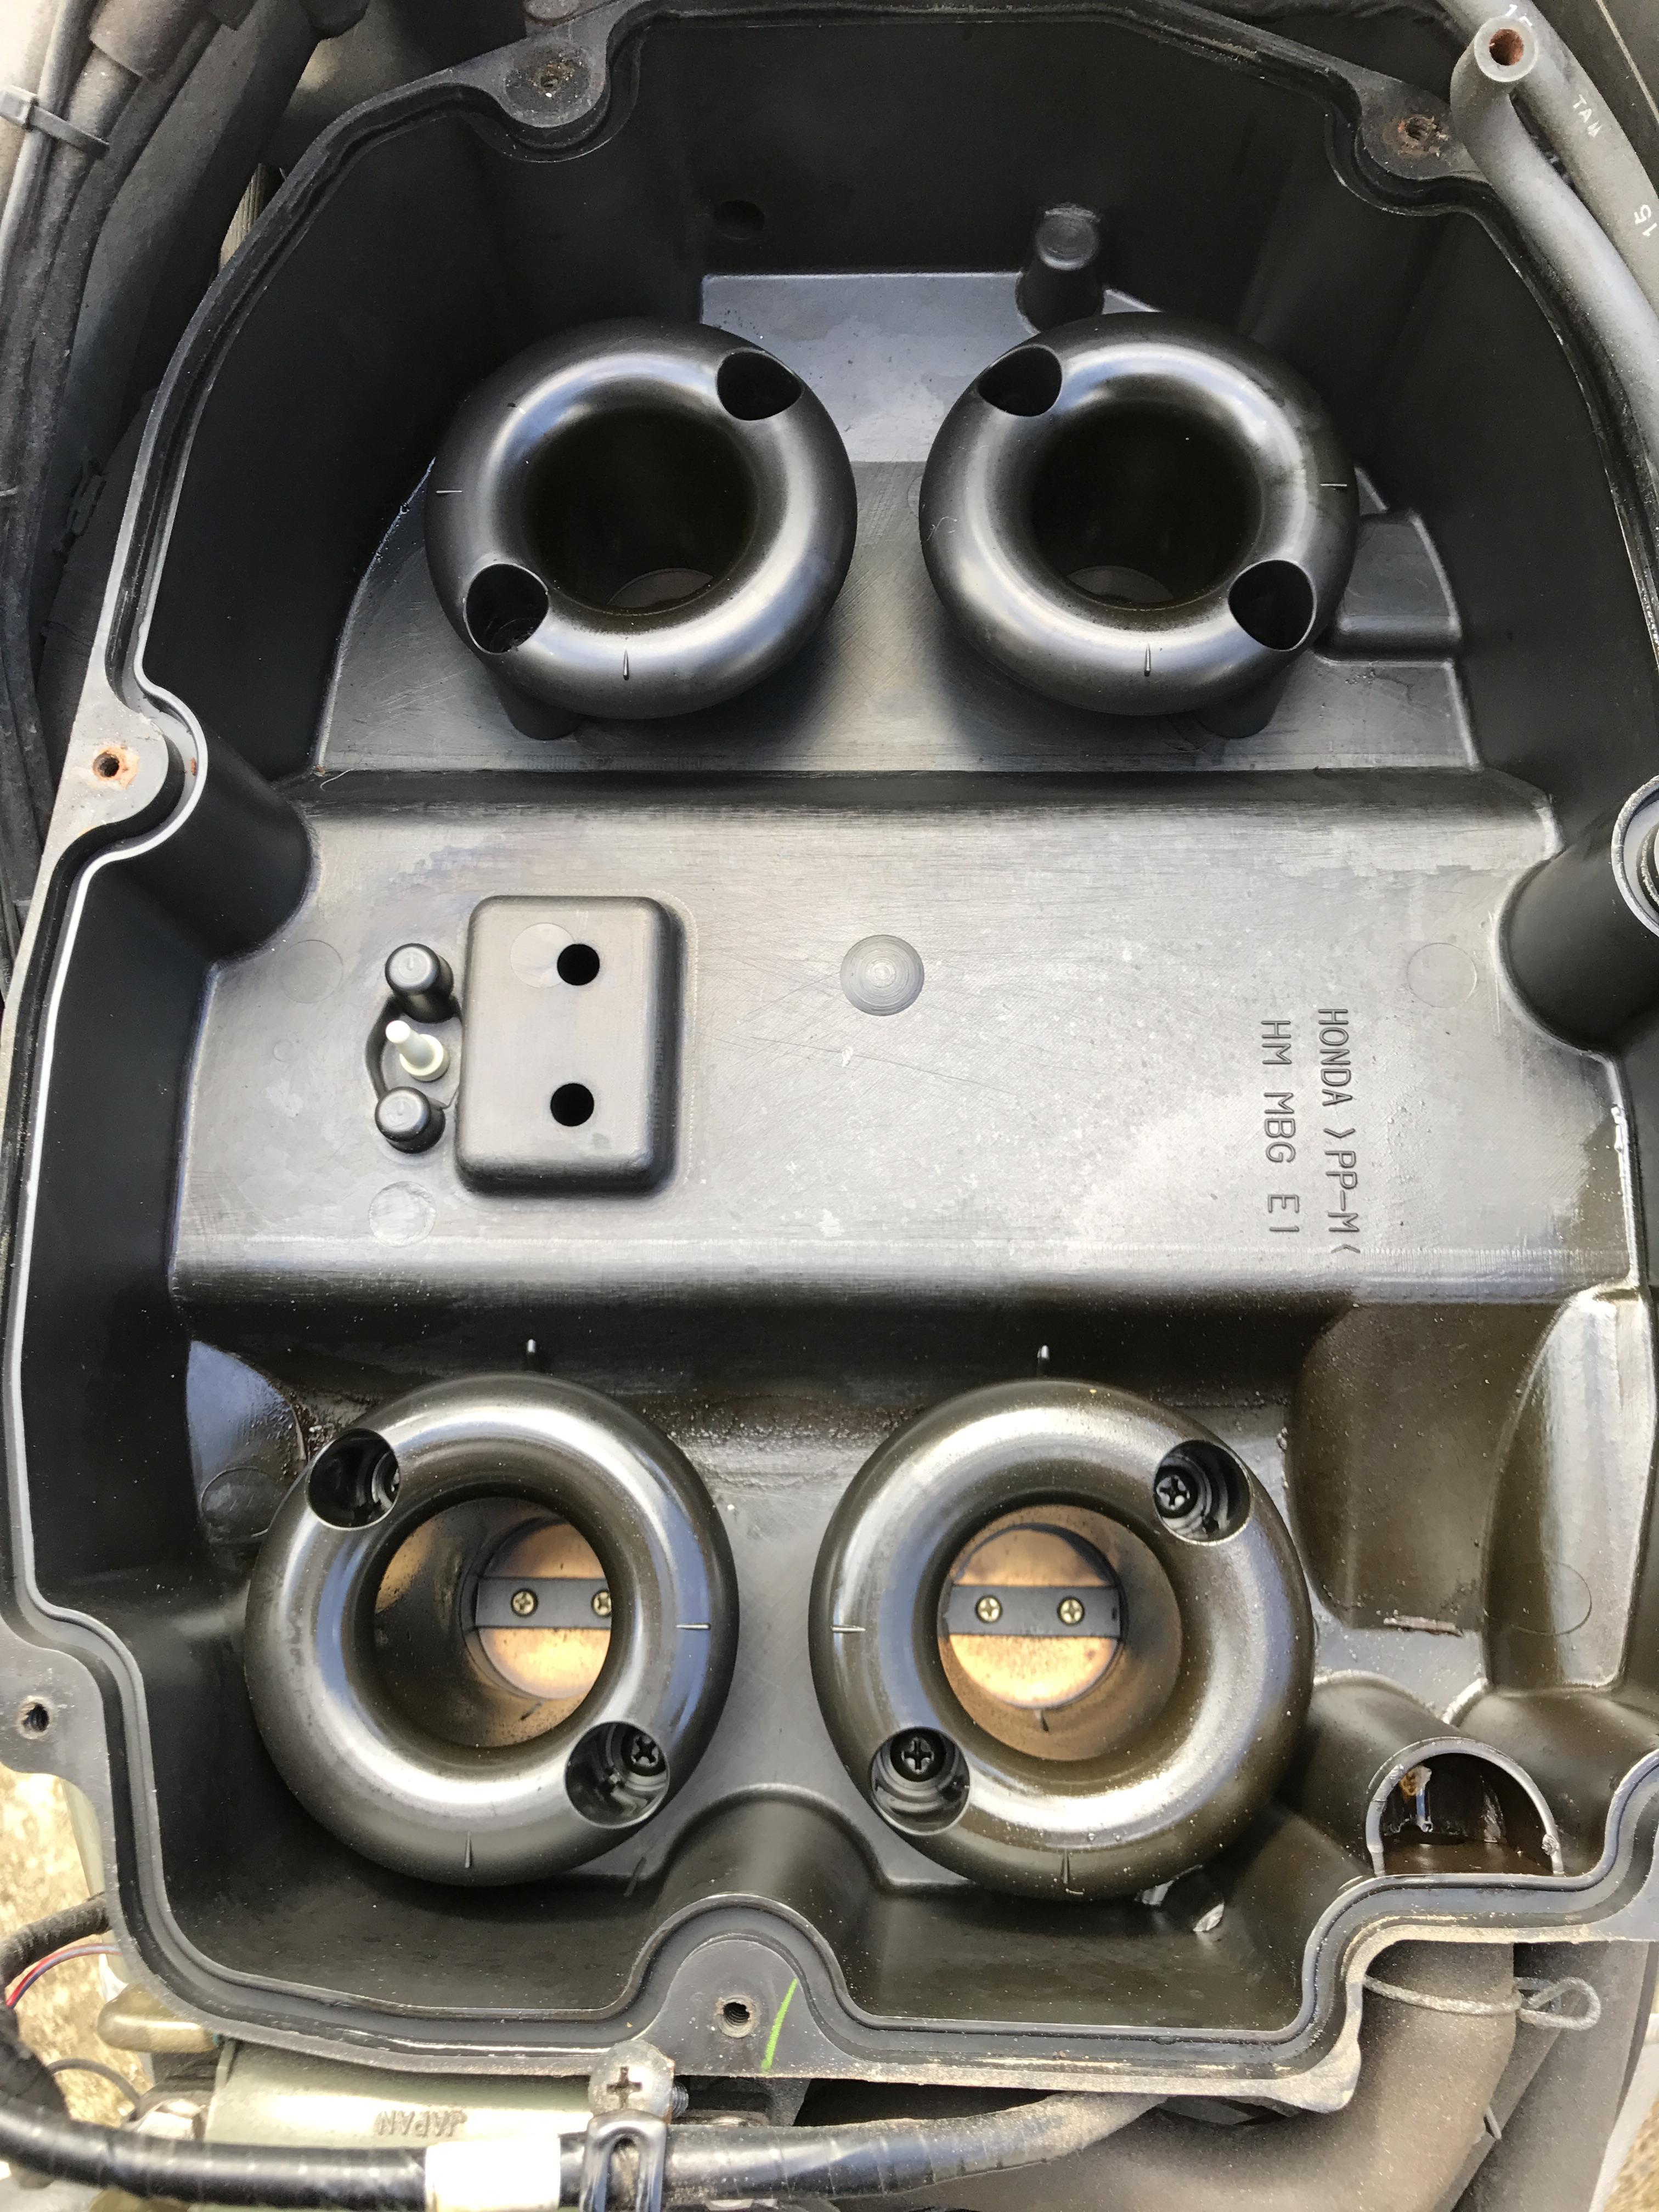
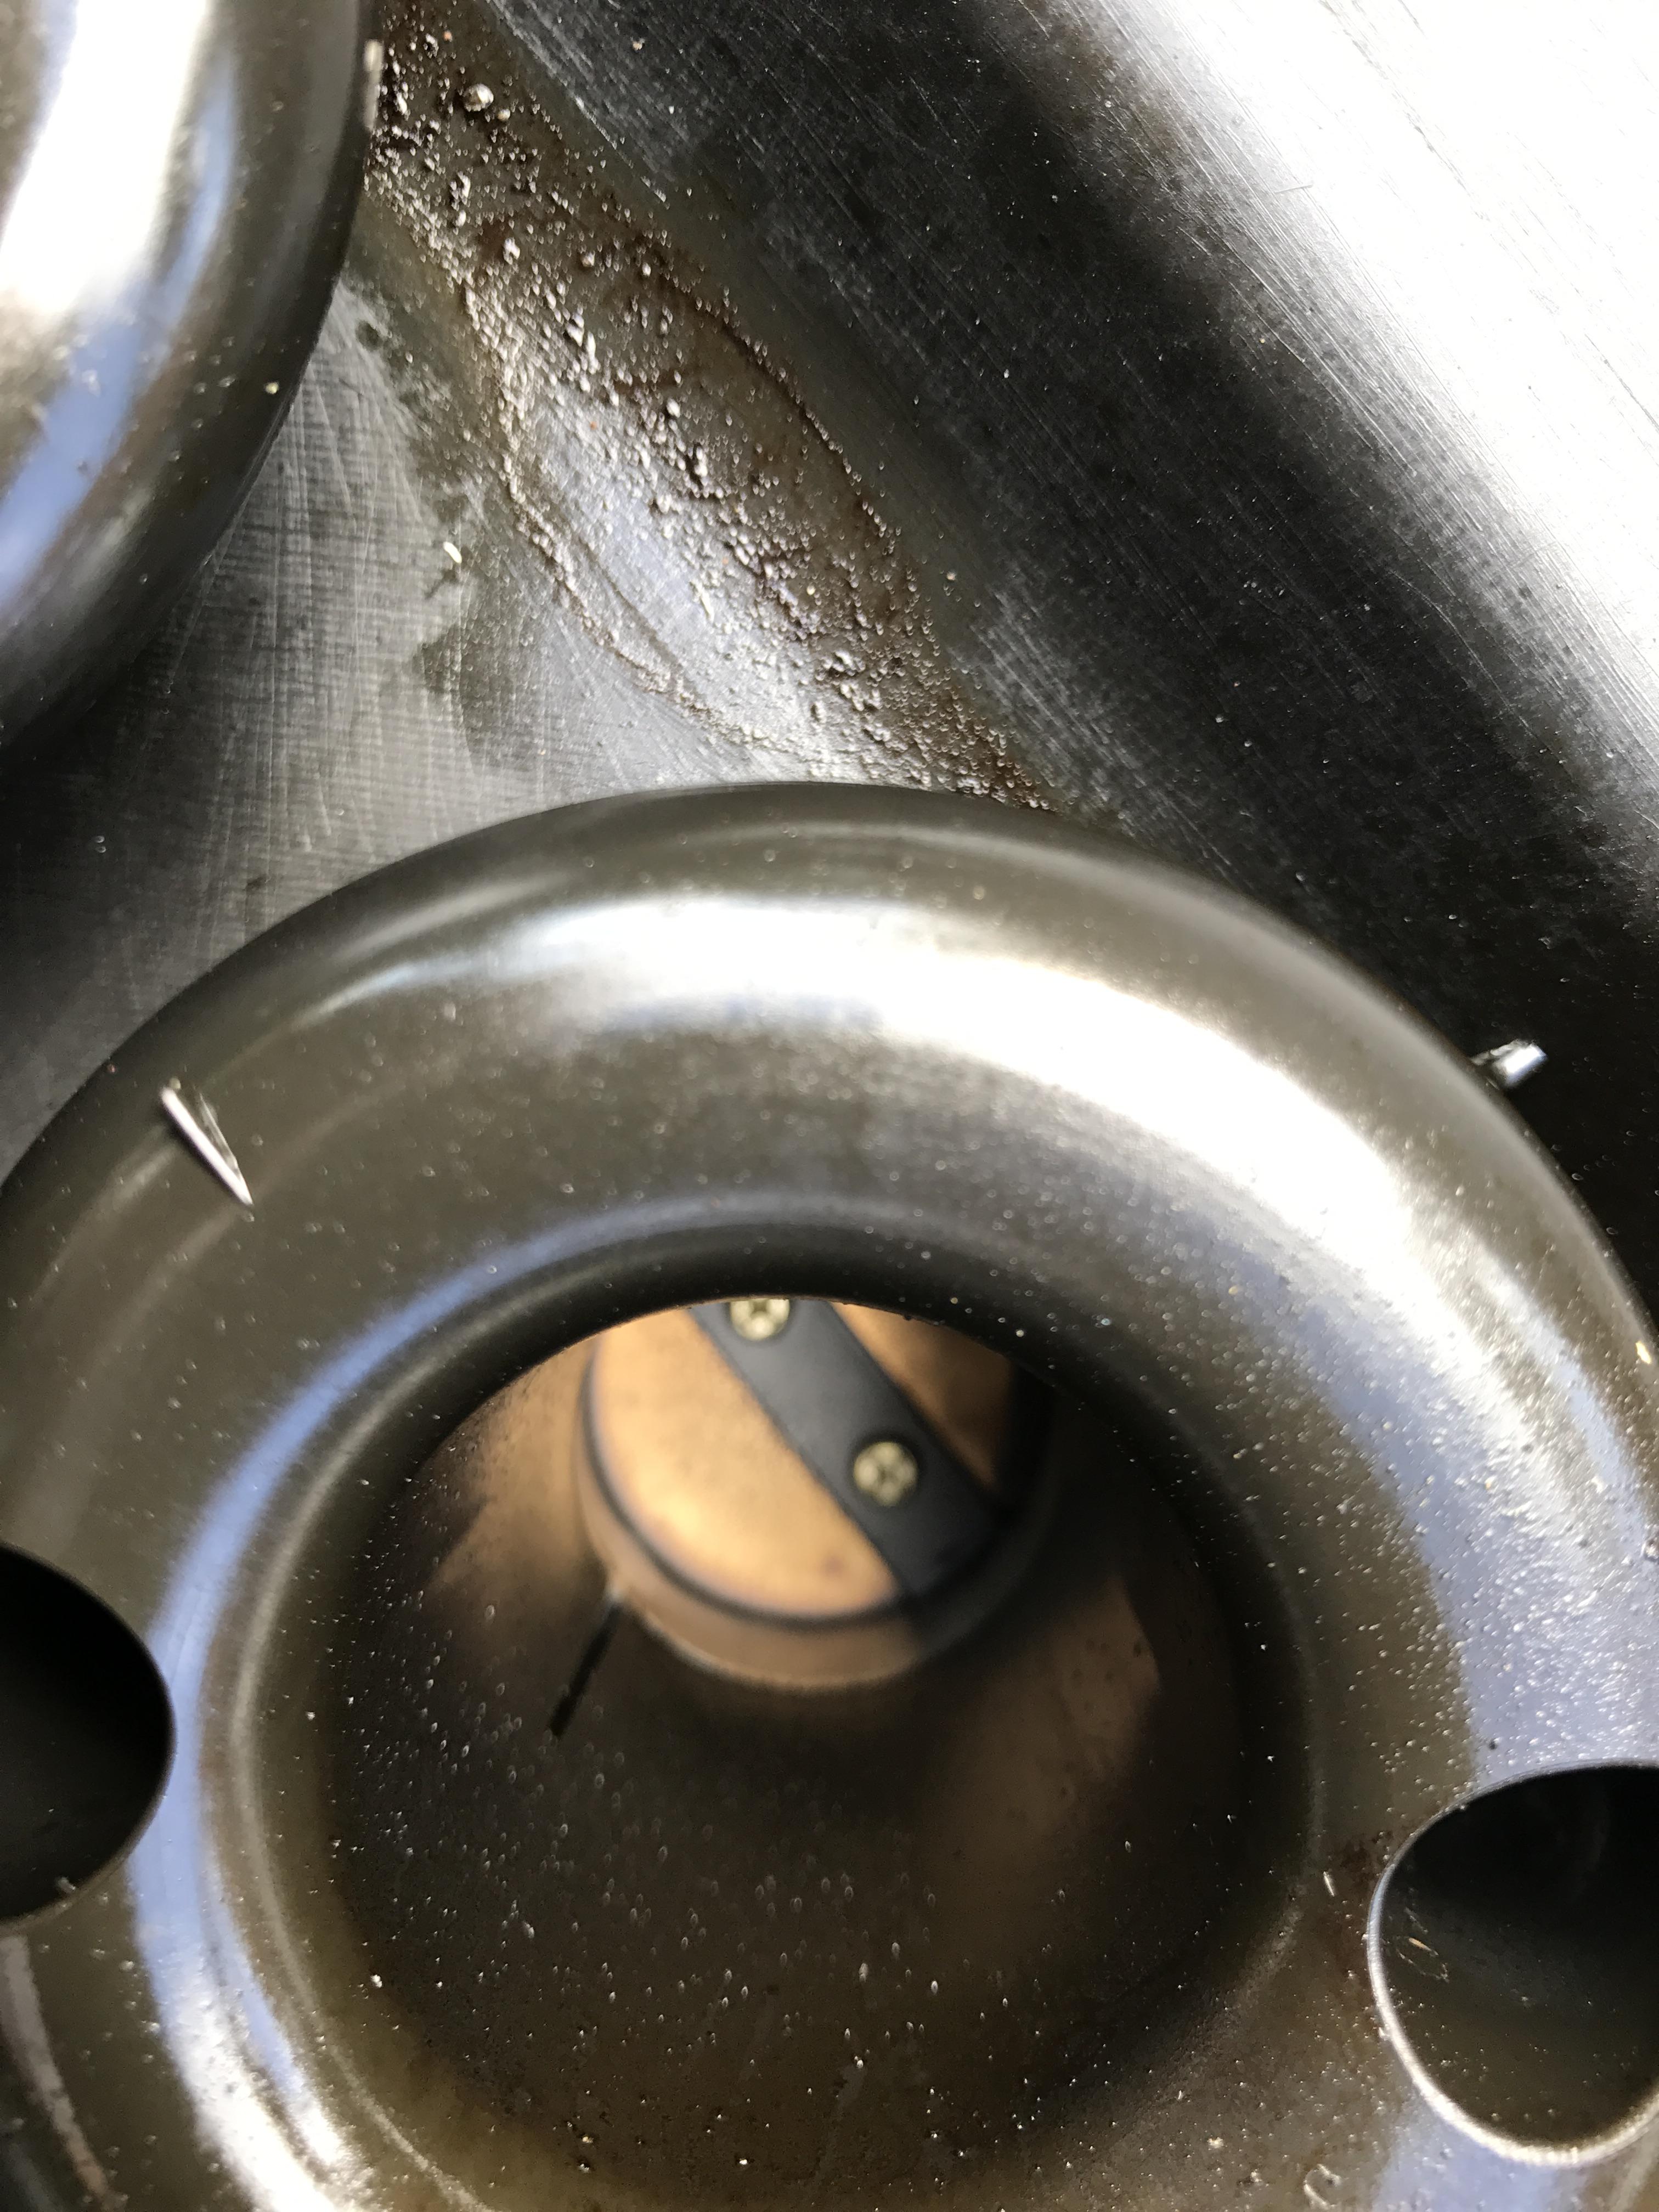
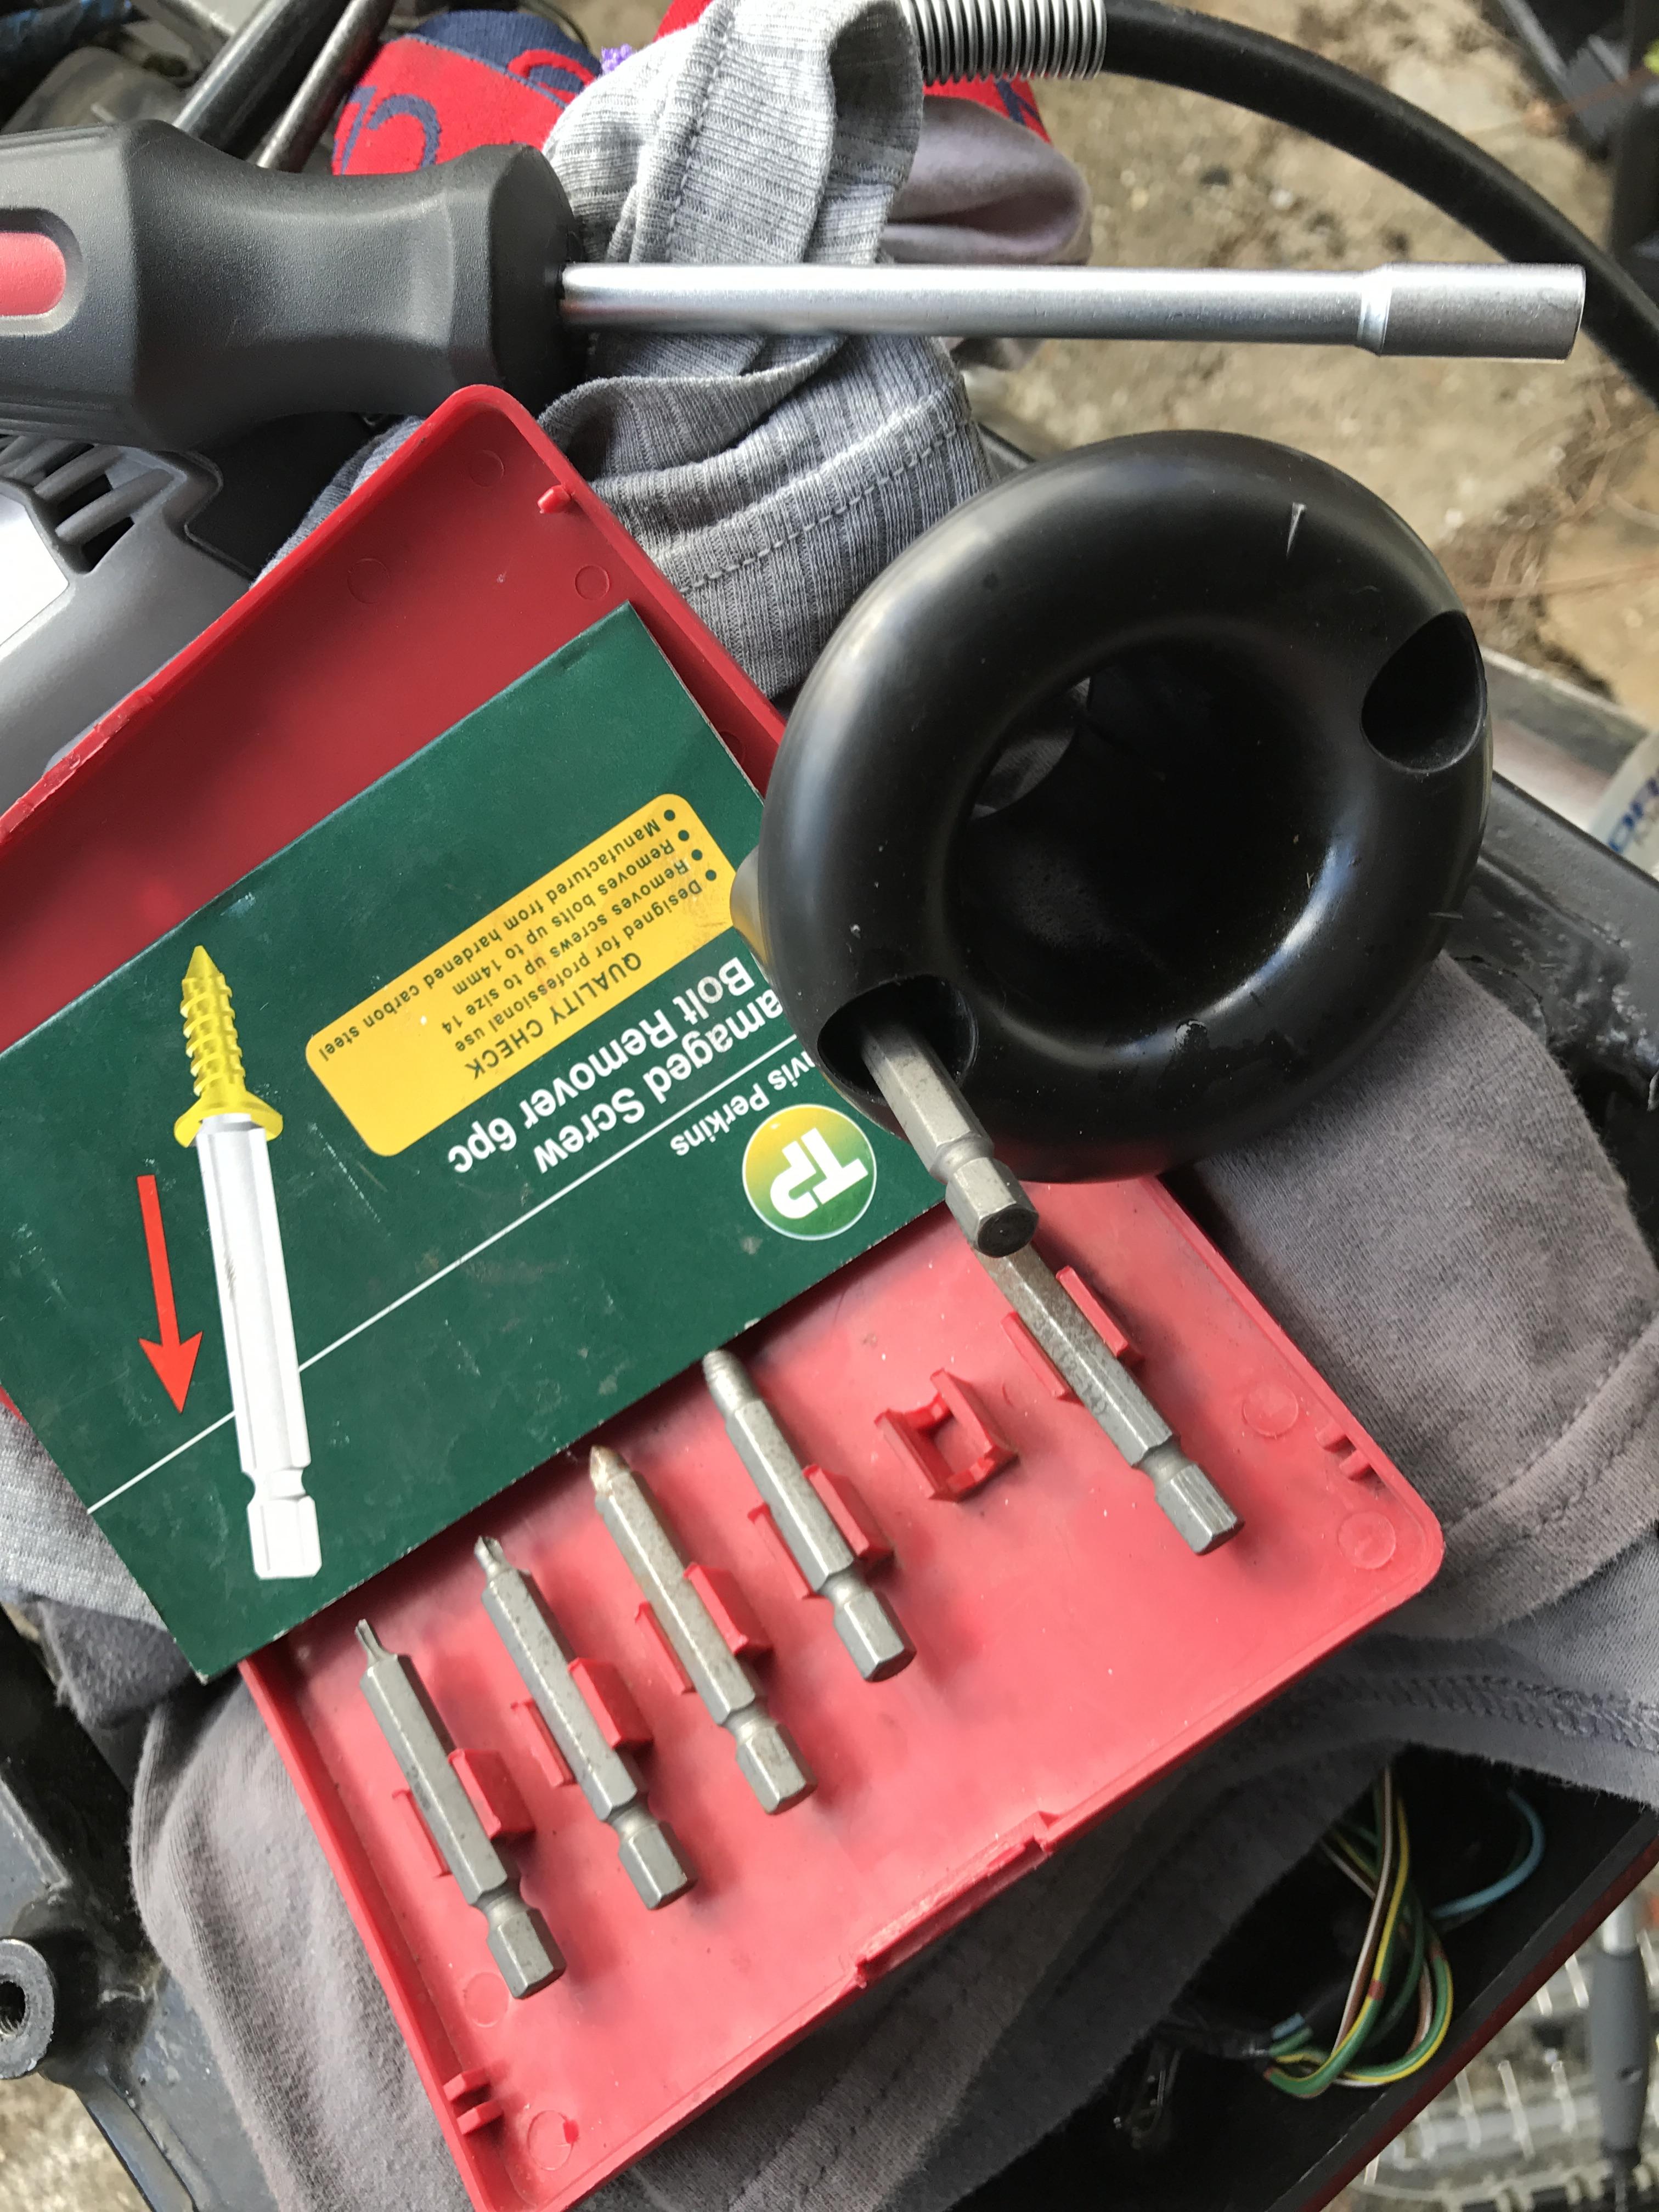
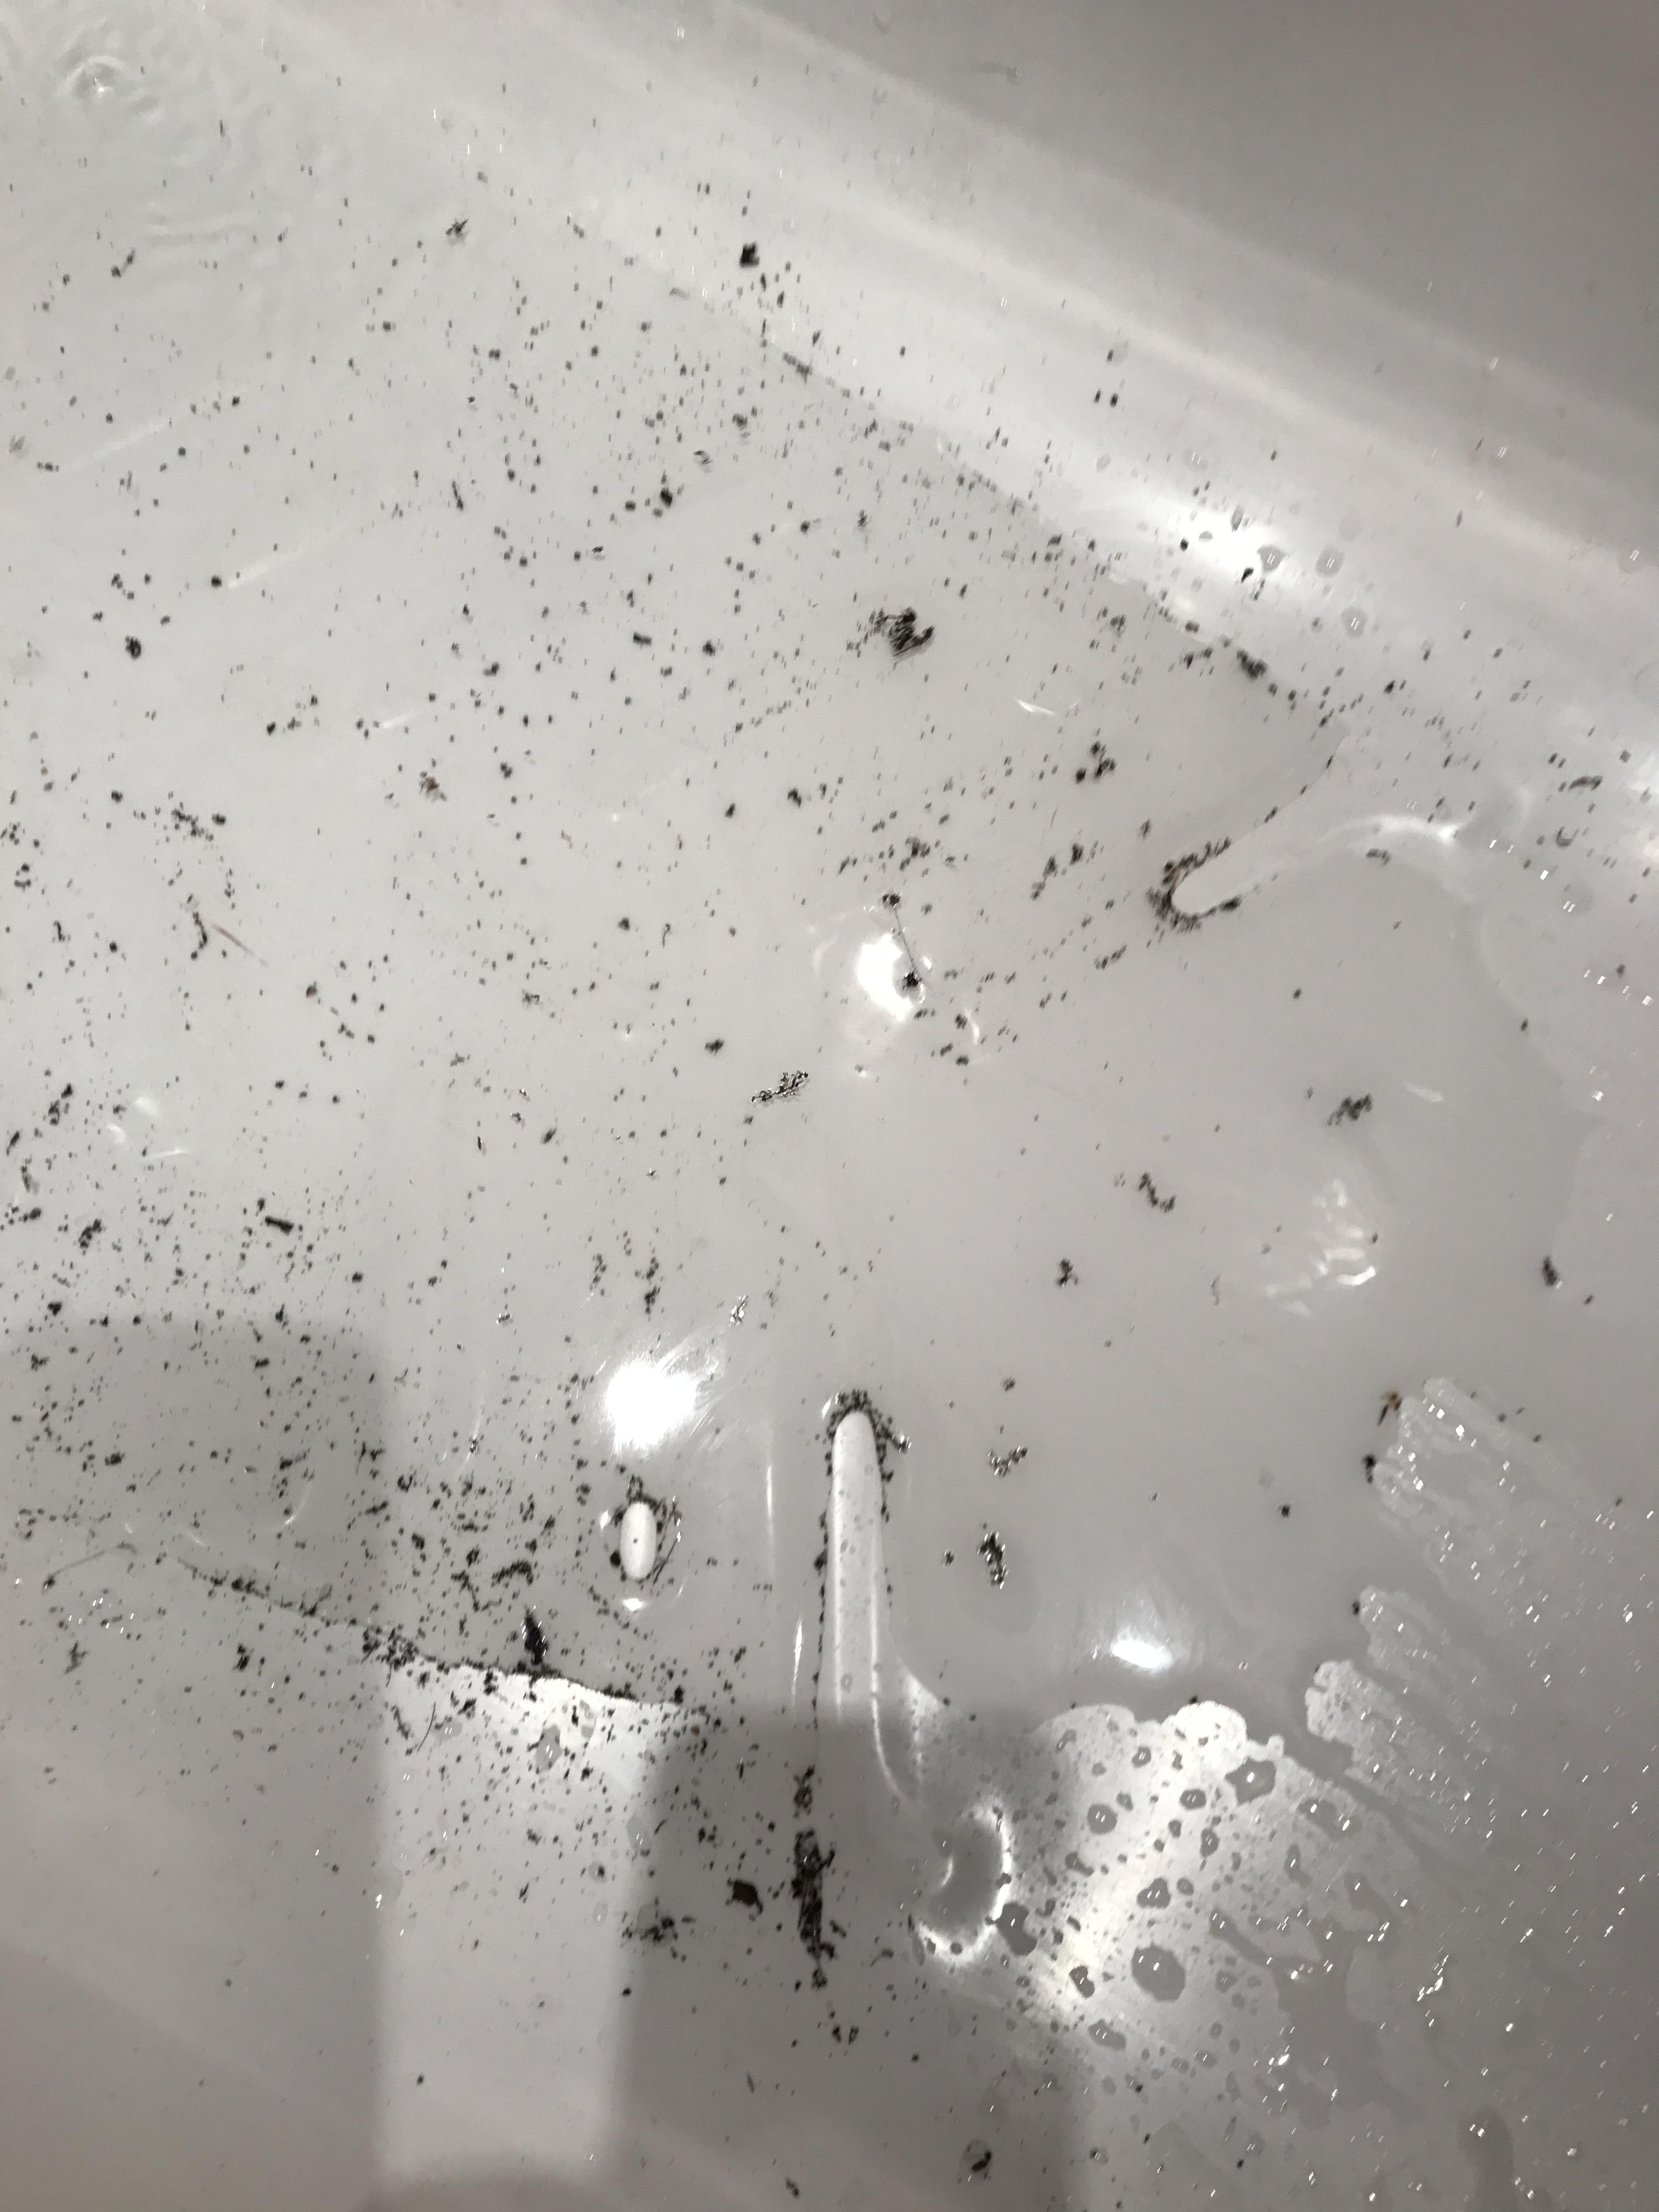
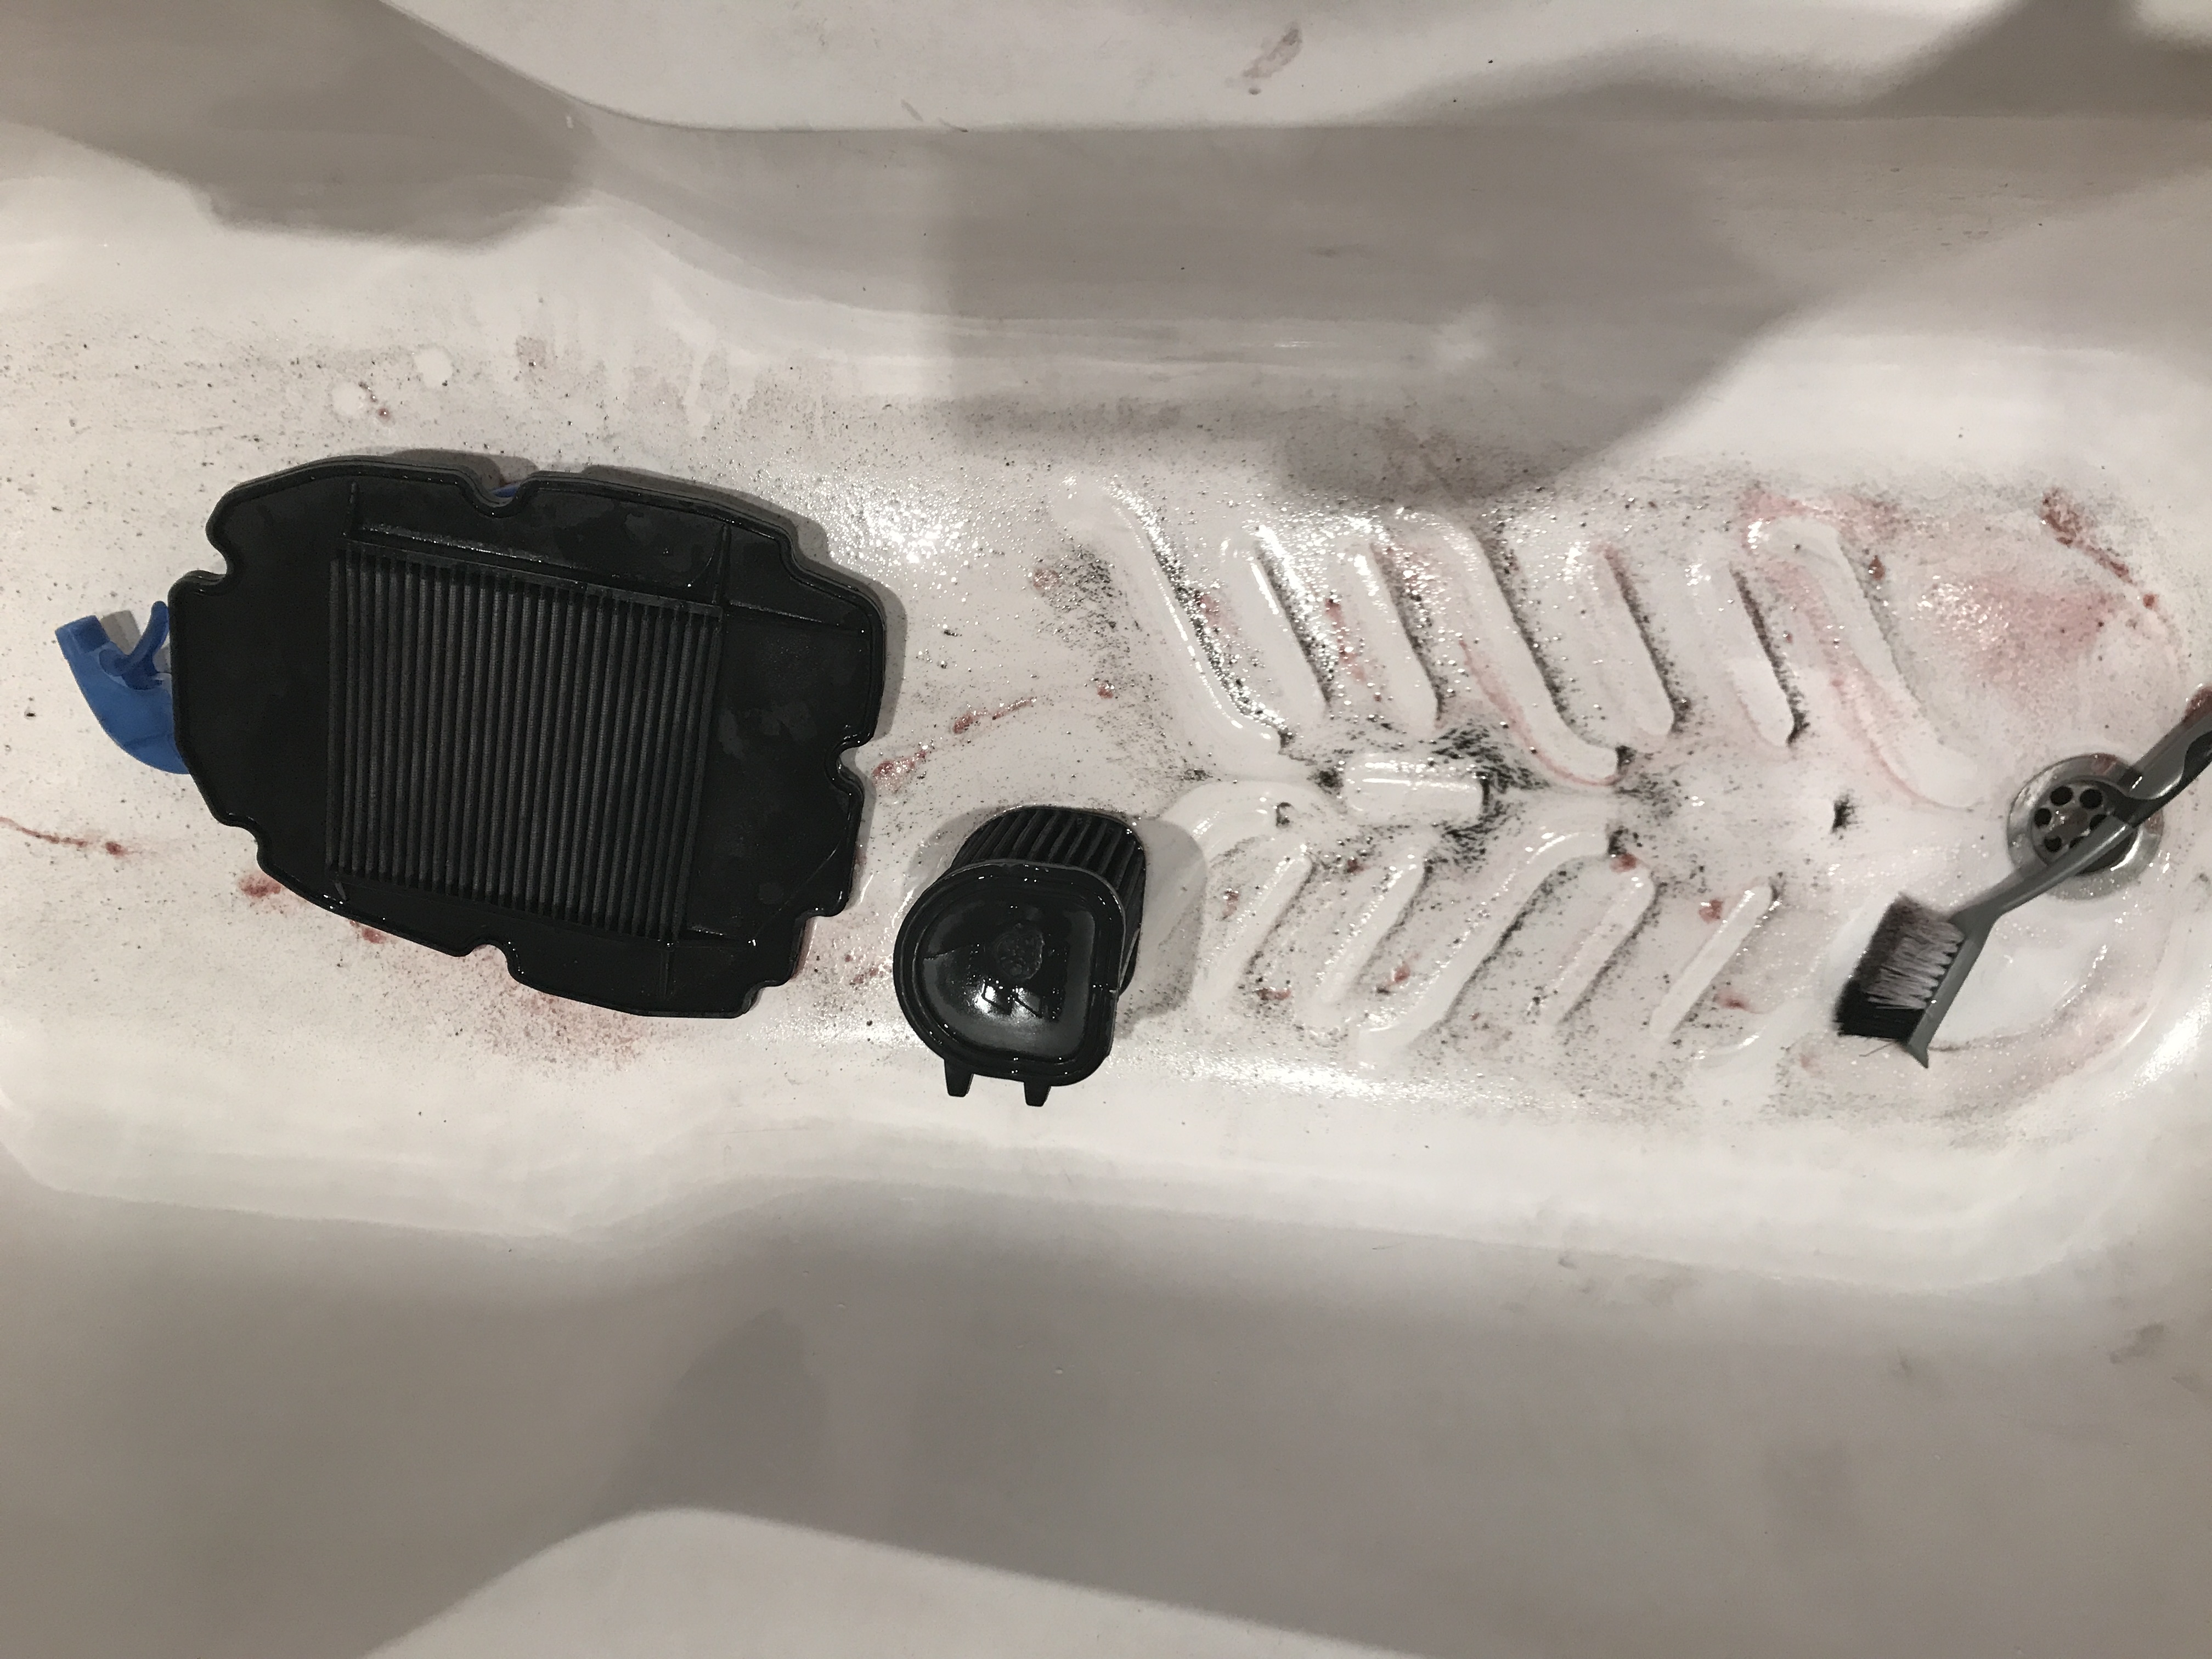
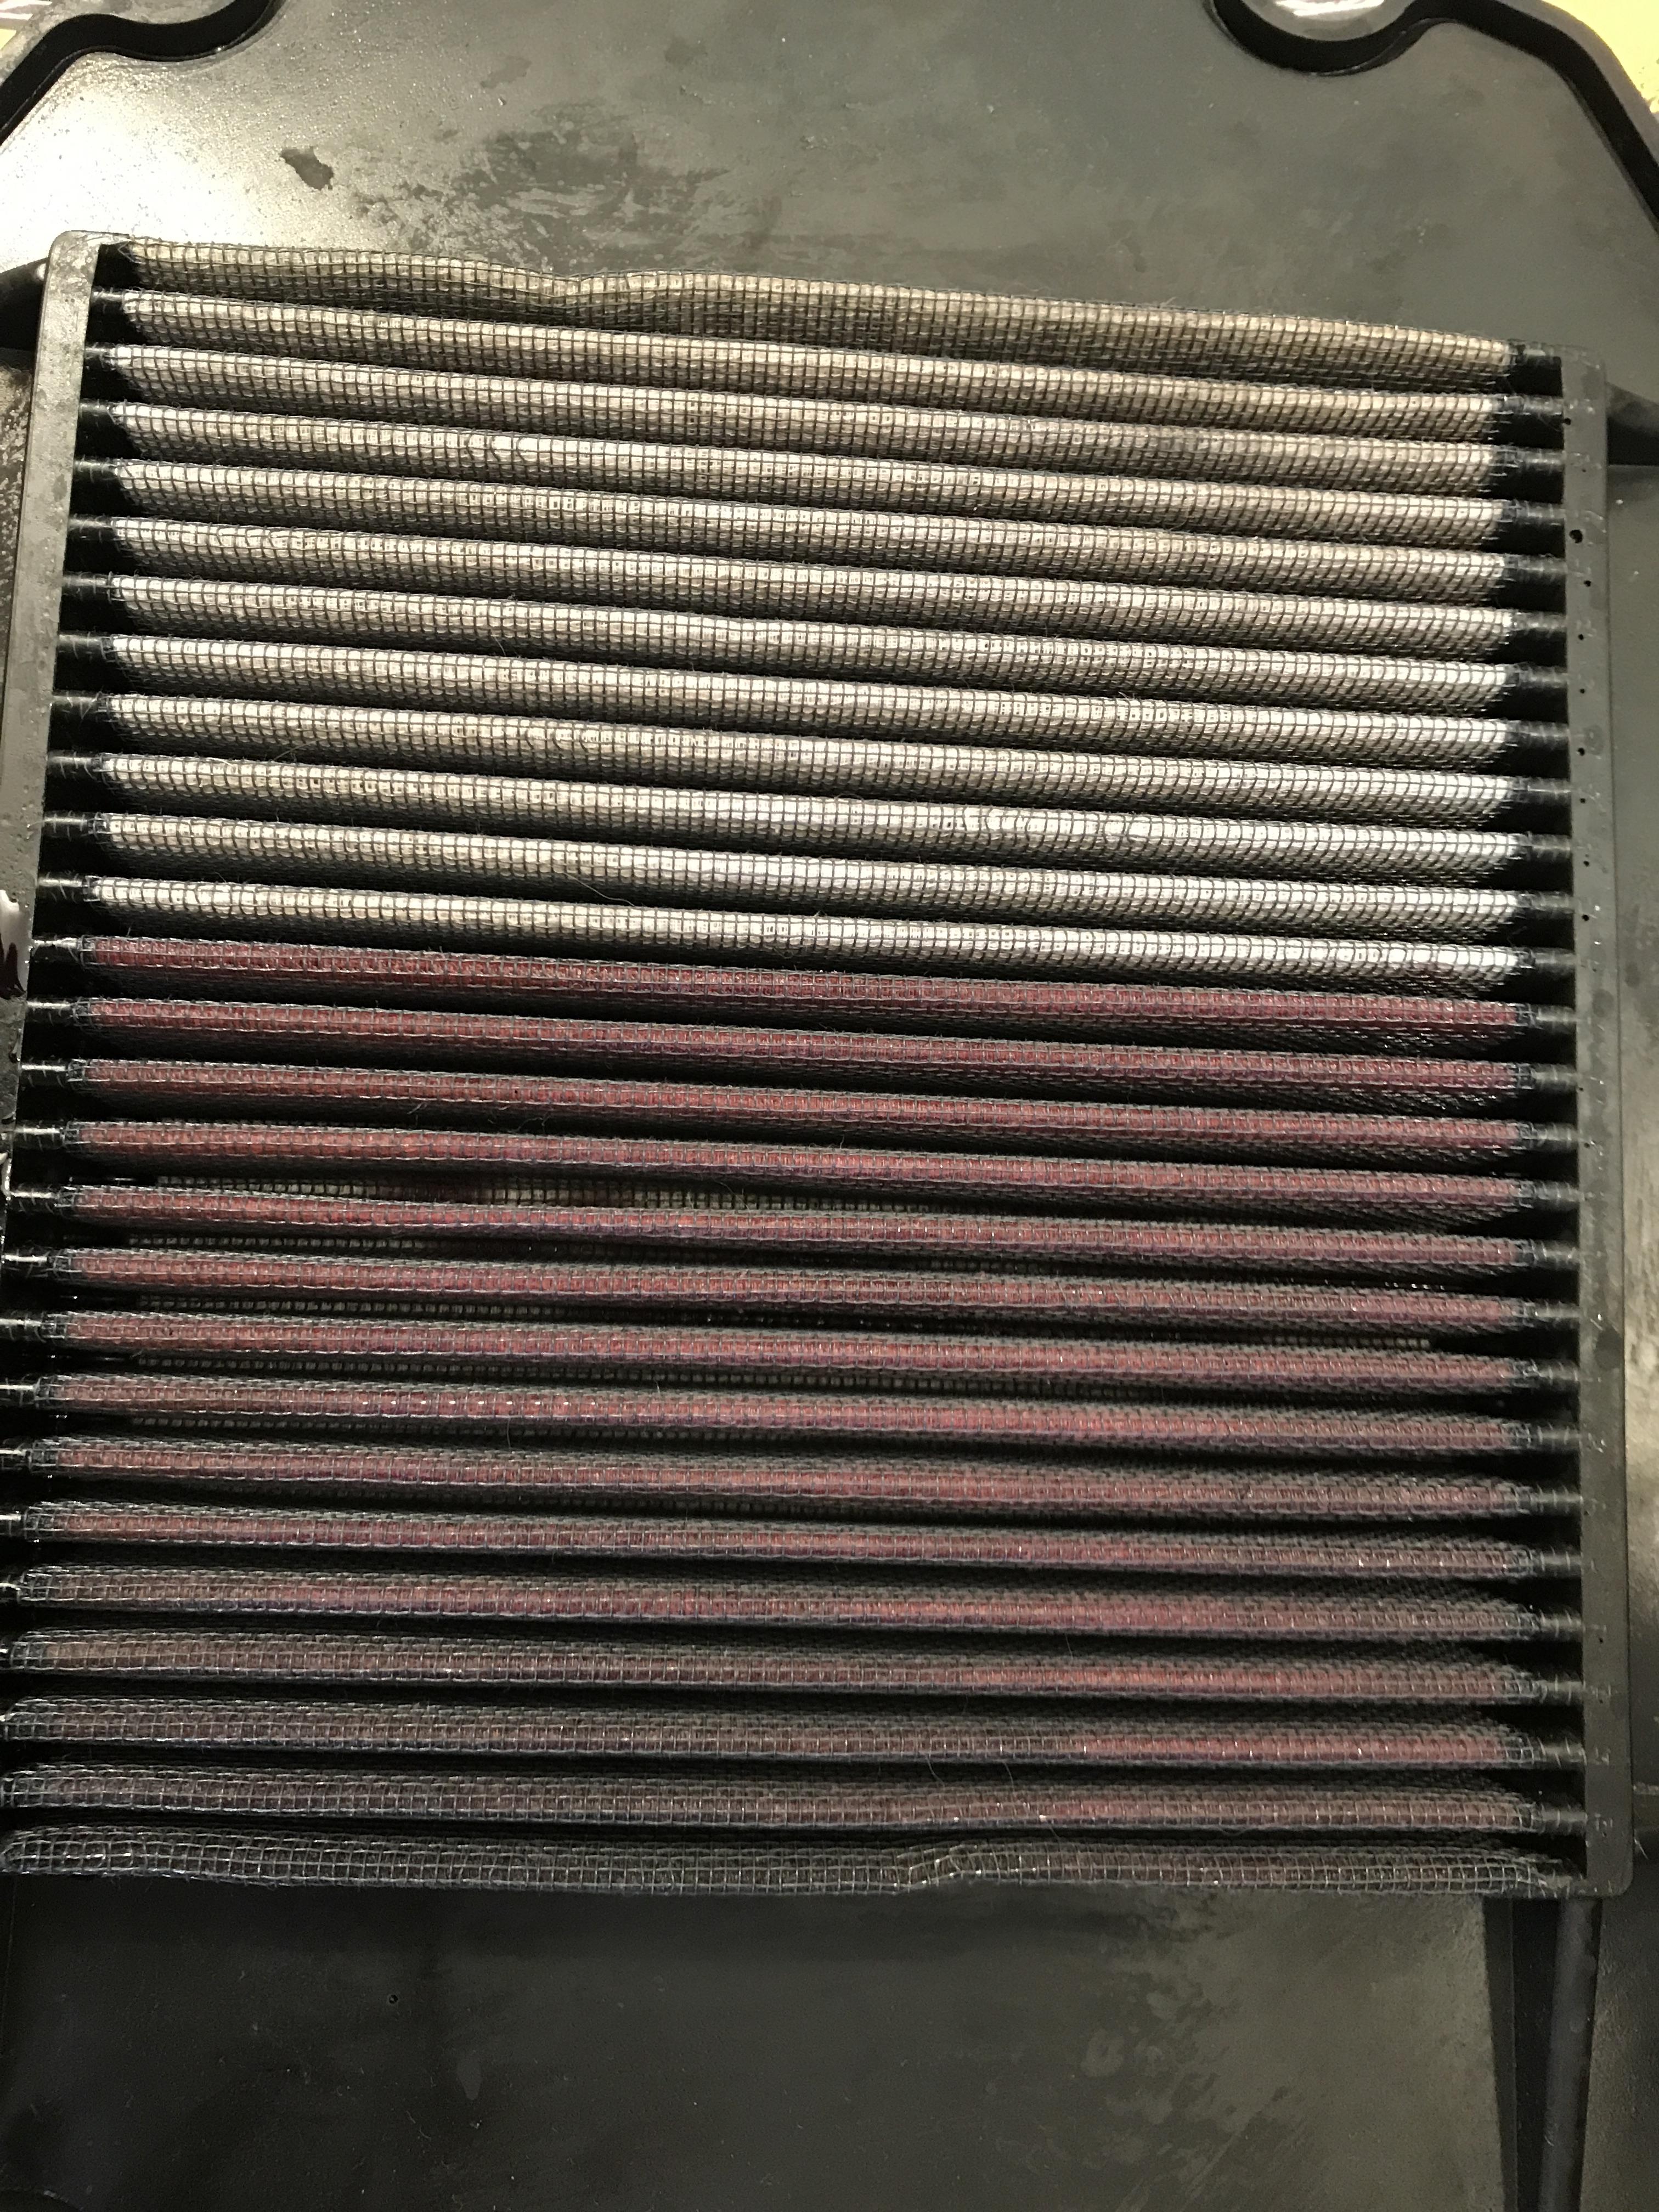
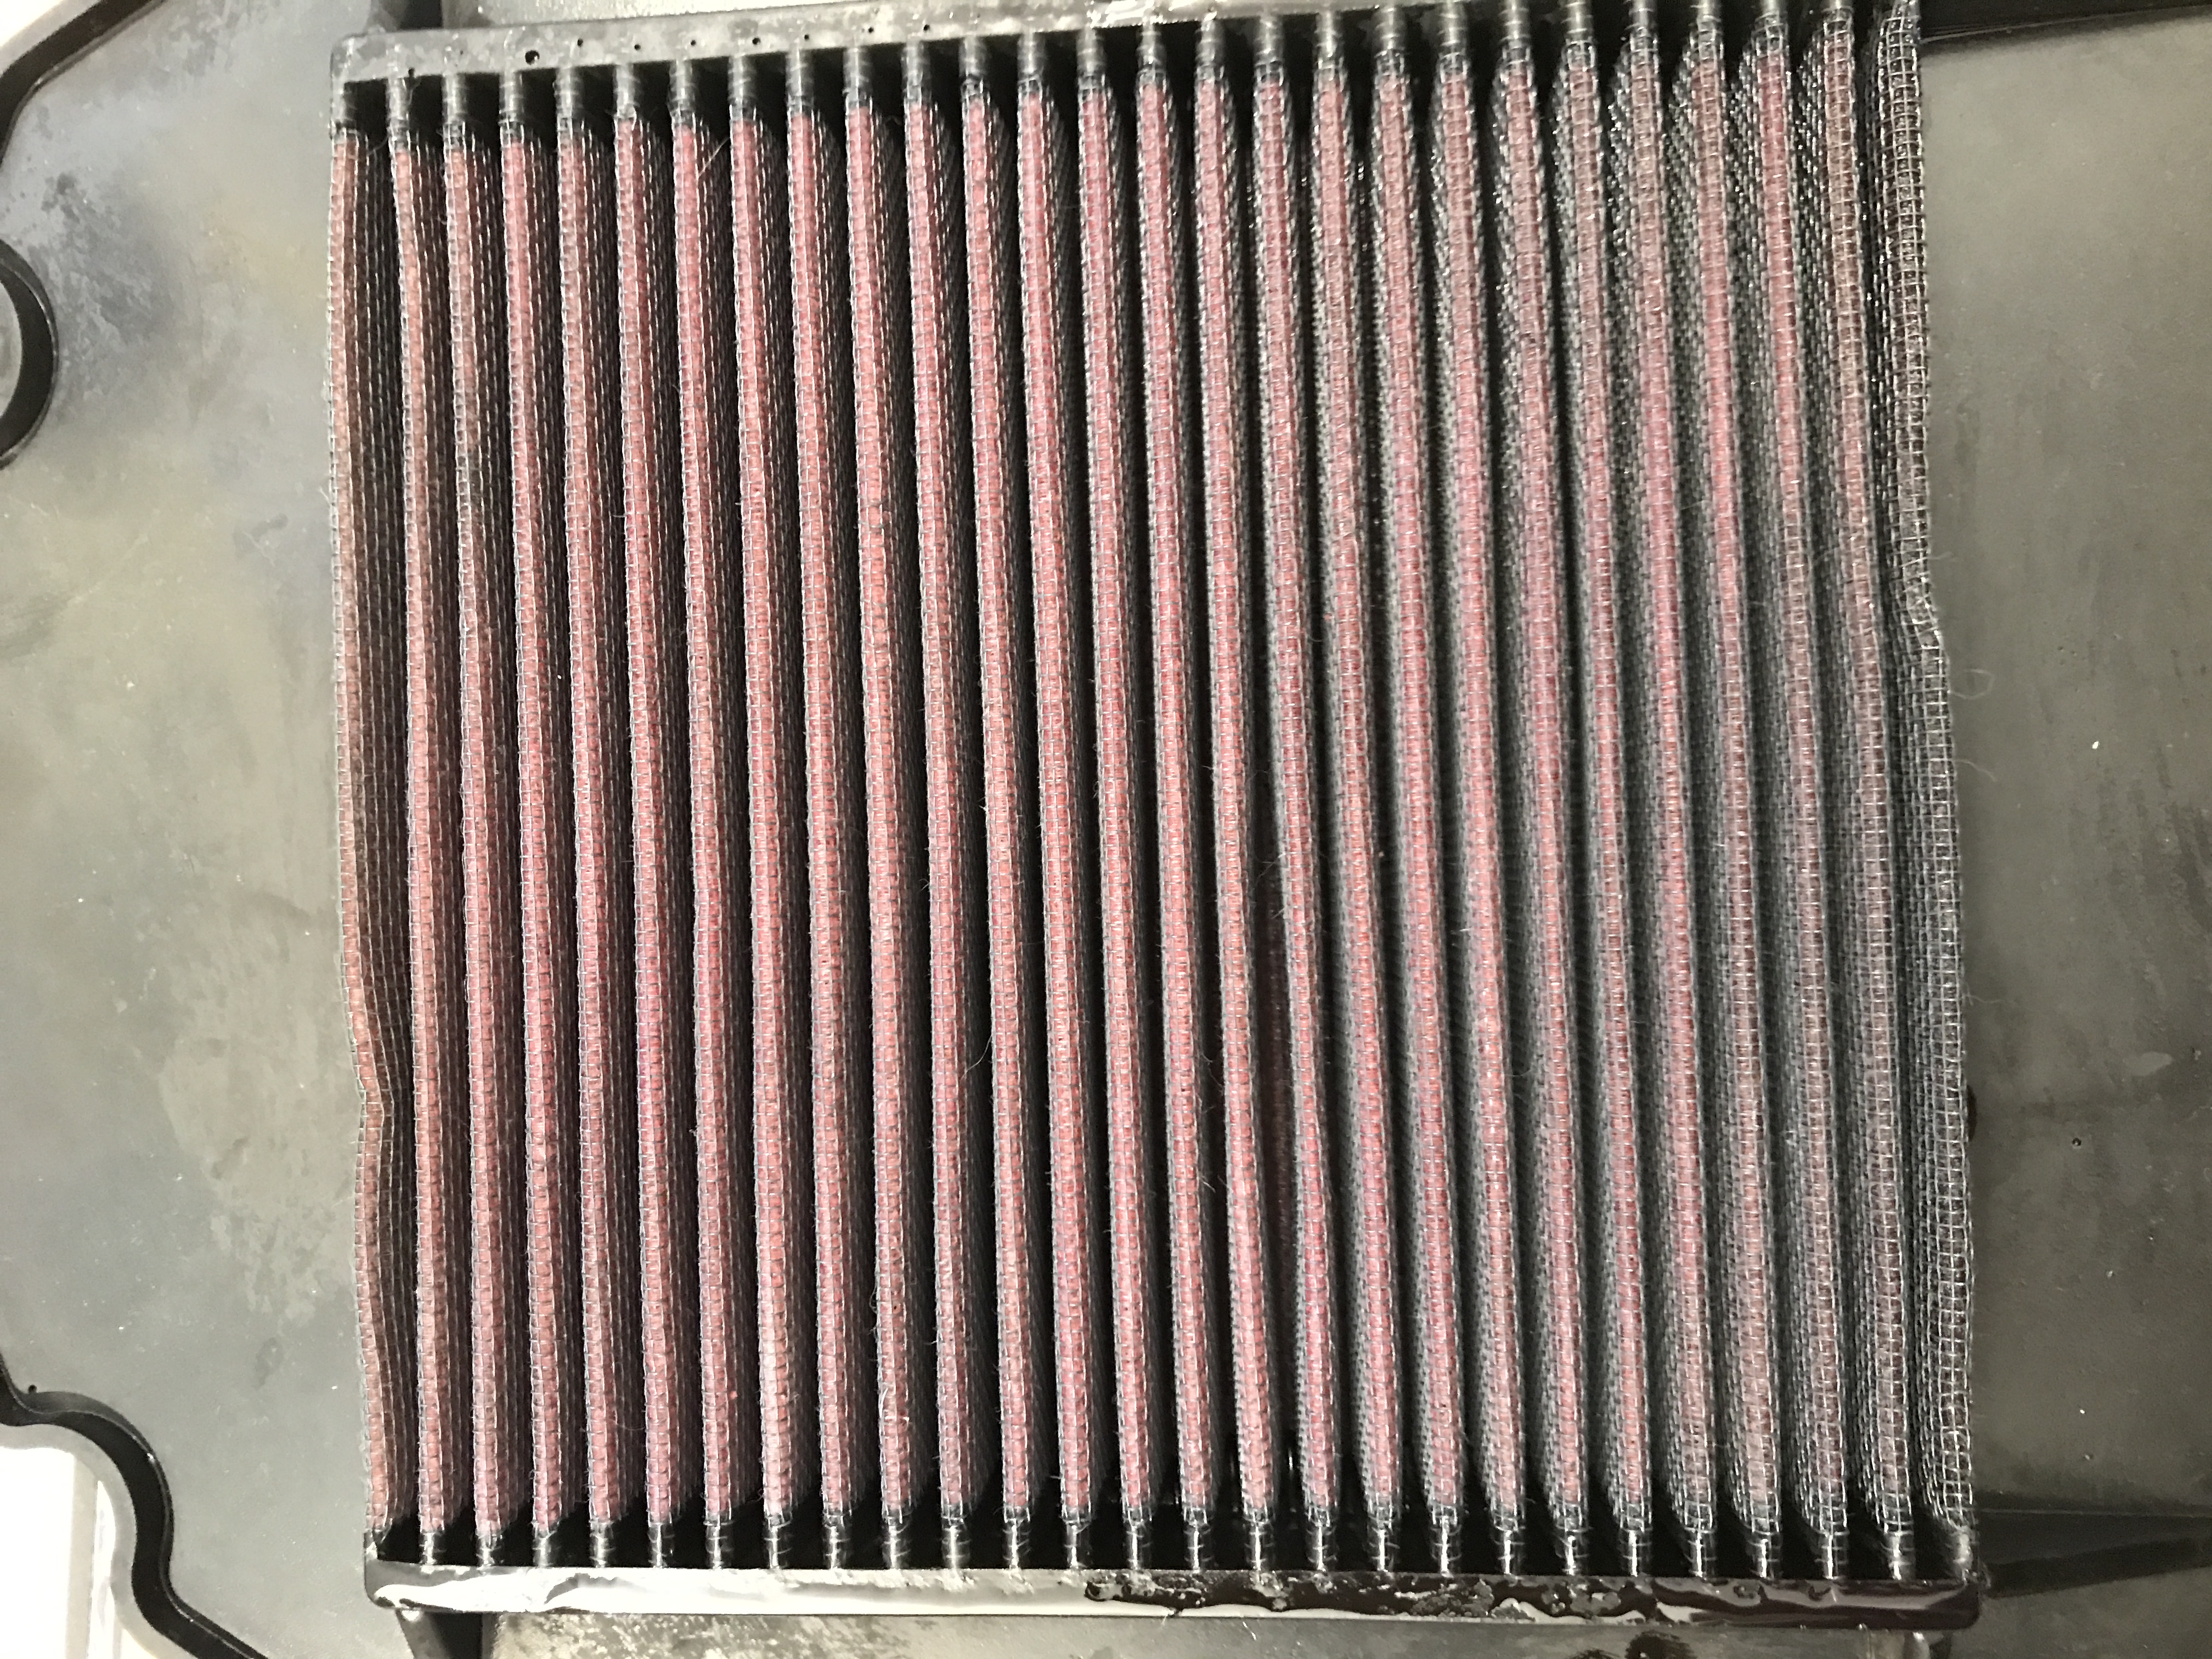
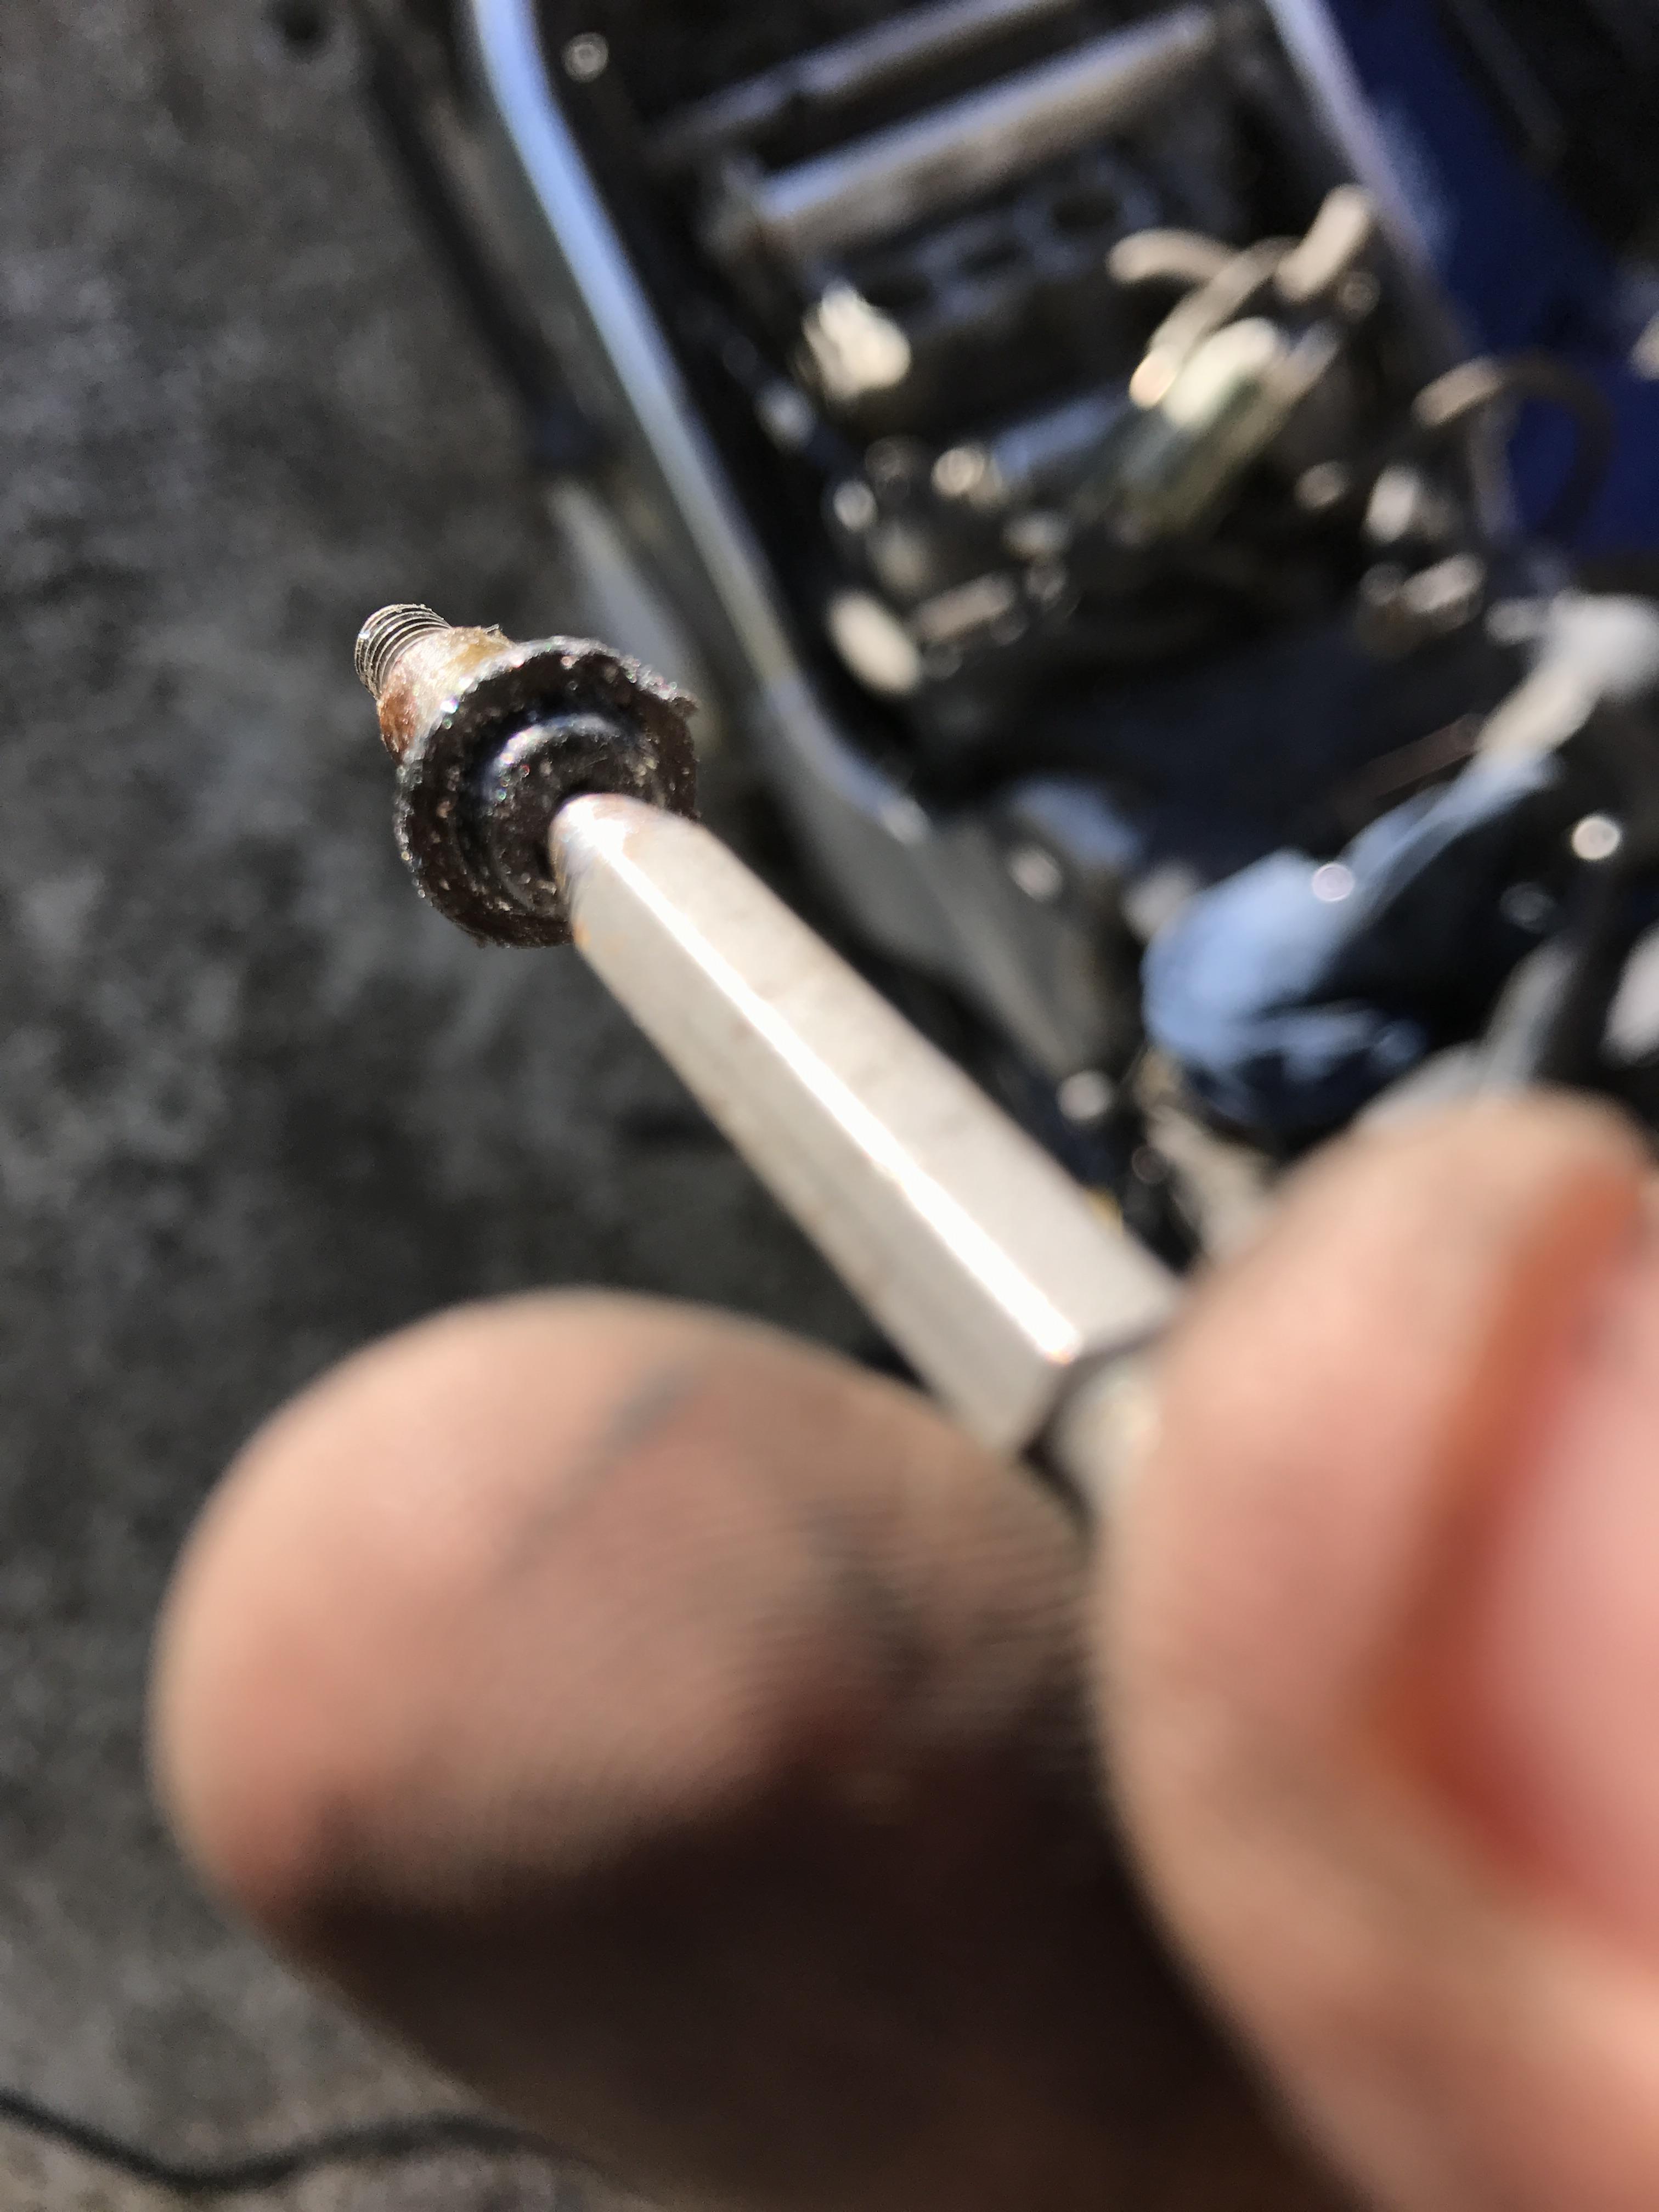
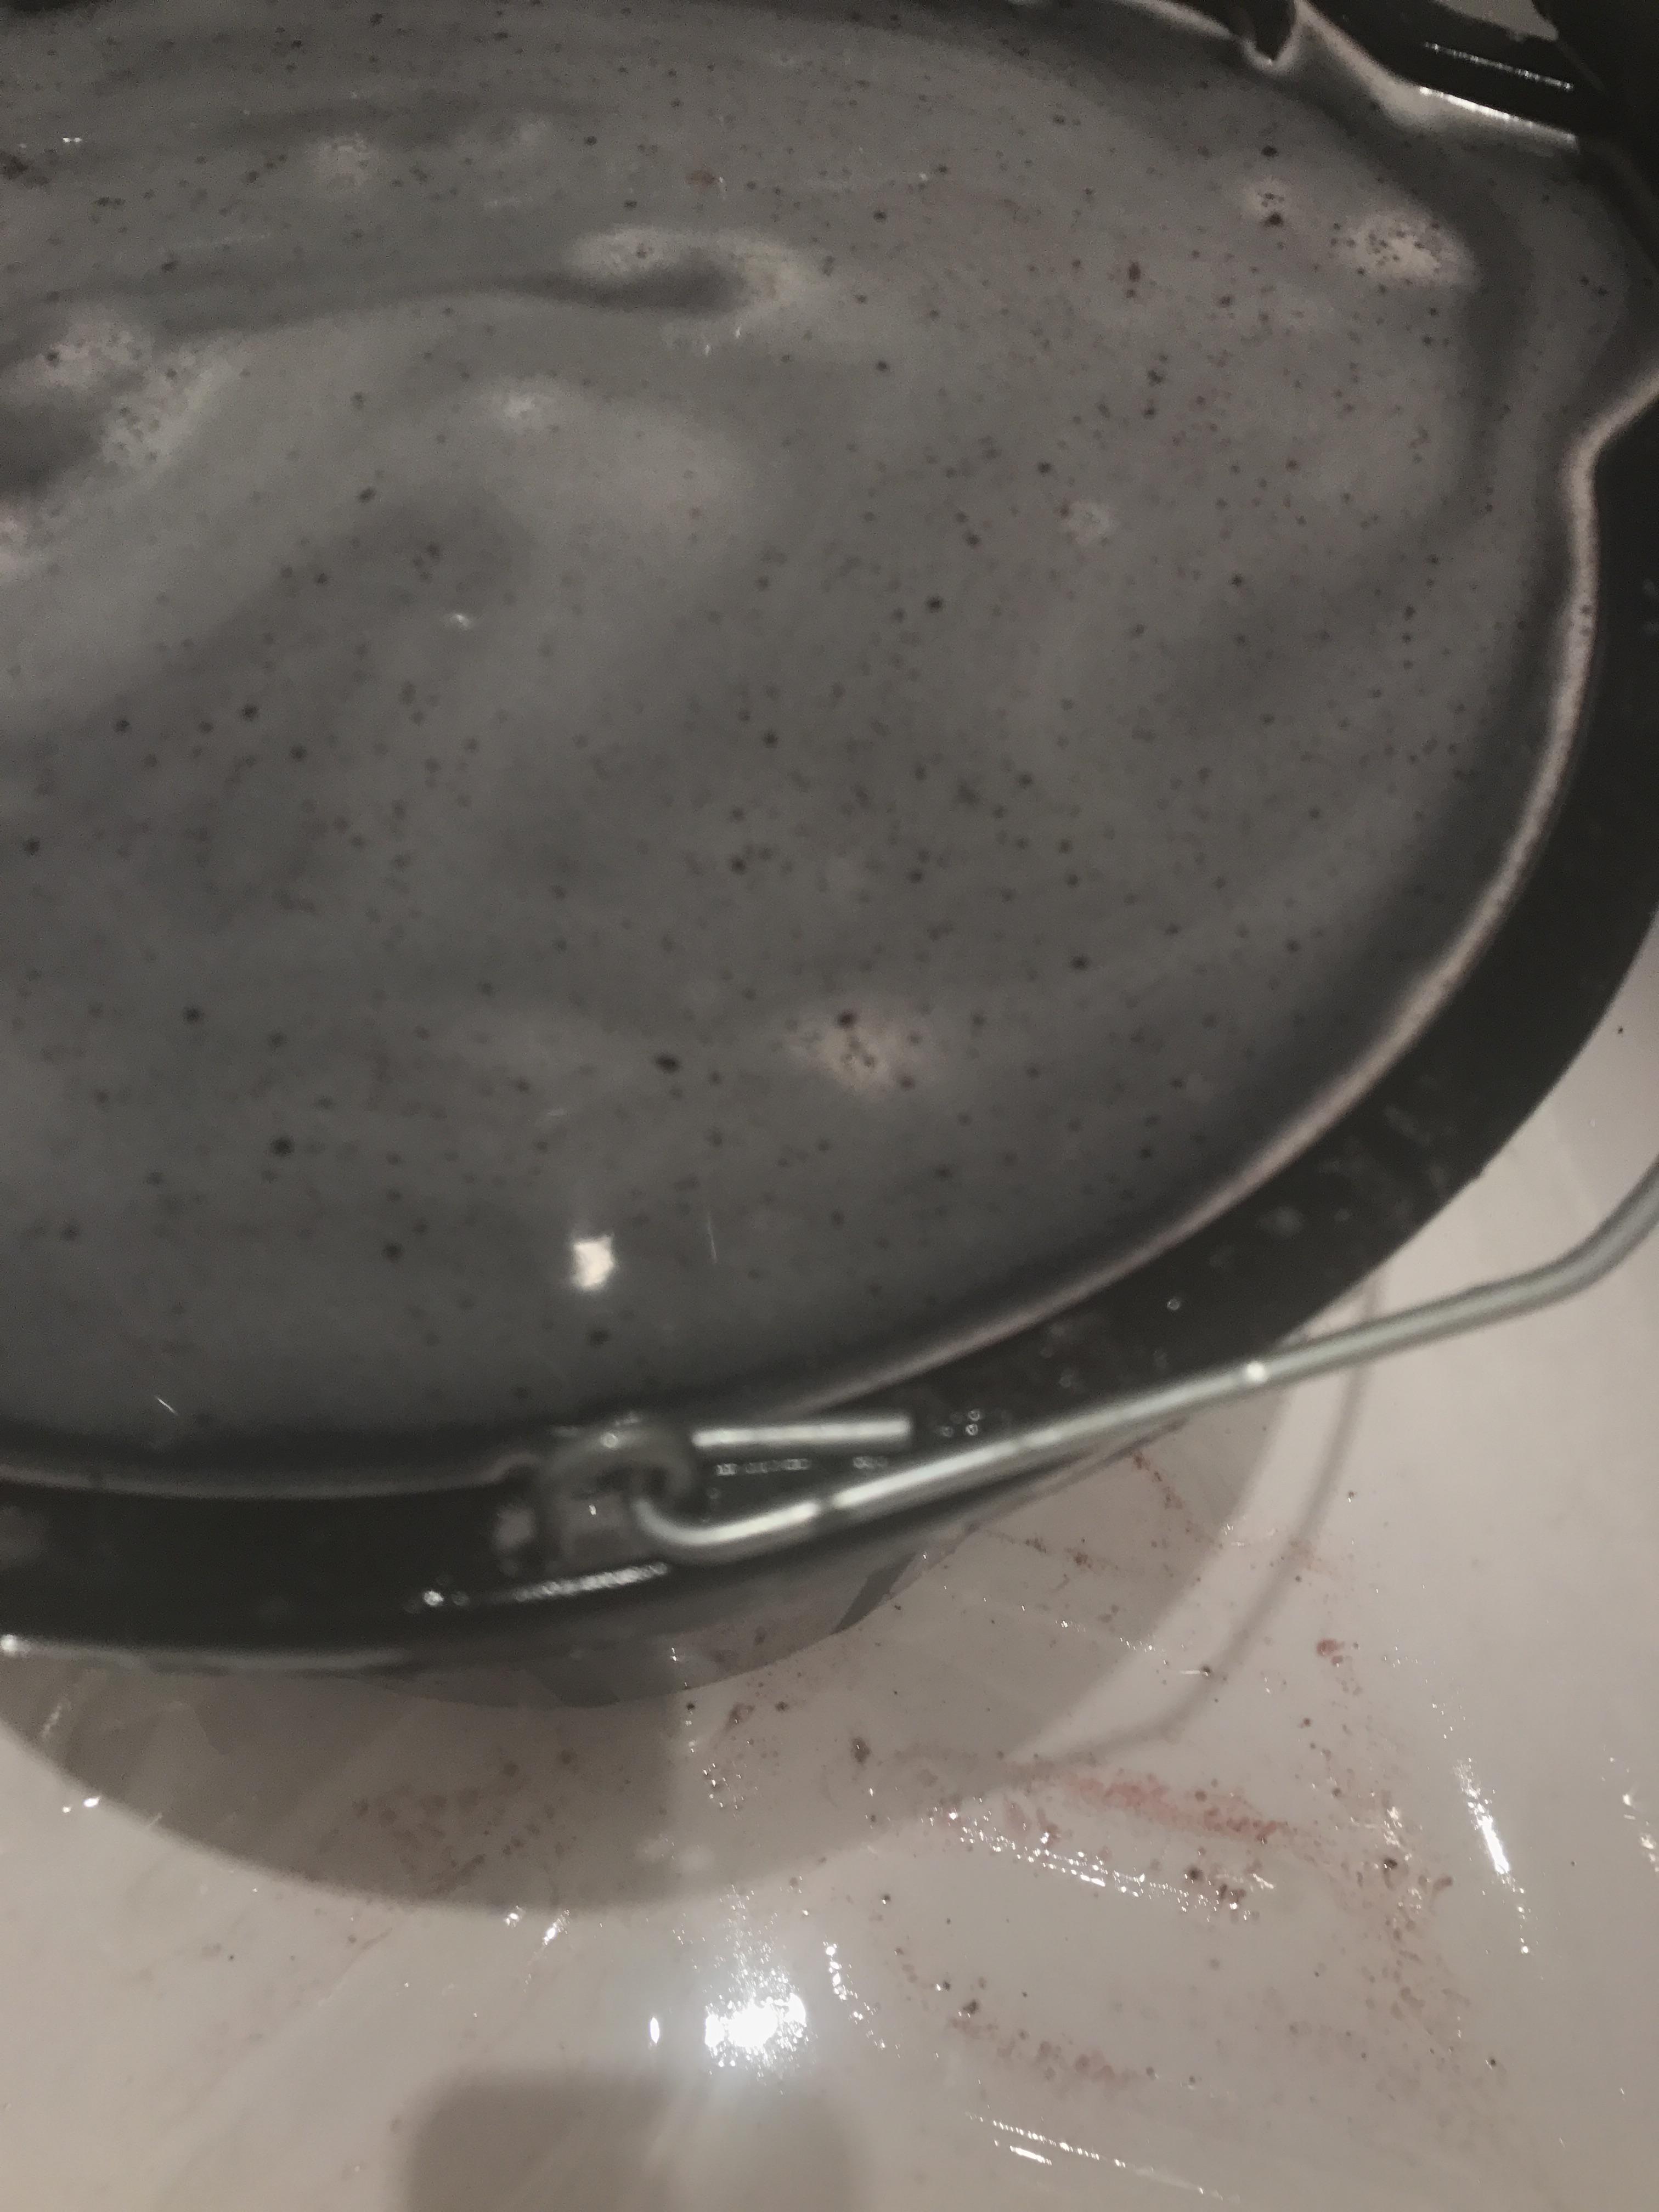
Hello All, A quick guide on how I refreshed a K&N air filter on the 5th Gen. This is not the only way to do it and may not even be the right way - it's the way I did it and it came out great. First you have to remove the tank and the air box cover. No pics of that but the front left screw on the air box was a b@stard. It's also usually the most rusted (exposed to salt spray) and most likely to strip, so go easy. I bought new stainless screws m5 x 20mm x 7 units panhead, if anyone is interested. Thats when you get the first look at your air filter. Mine looked like it had been there since the Ark touched dry land but I was pleasantly surprised to find it was K&N. I know many members don't rate these very highly and personally I wouldn't have installed it but this is a budget machine and rechargeable filters fit the bill. It it was loaded with crud and insects. Some of these bits had combined to form solid big chunks. Nasty! I also removed the velocity stacks and bottom air box housing to do a valve check (in another thread). They have markings on them showing orientation for reassembly. The stacks are held in by blind shoulder bolts one of which had to be drilled out. Used an old Travis Perkins bolt extractor to get it done. Having completely removed the air box I now turned to cleaning the air filter. First job was to turn it over and gently tap the edge so the loose bits could fall out. Then I ran a vaccum cleaner over each please to suck out whatever I could. Make sure you vacuum the top of the filter to lift dirt out the way it went in. Vacuuming the bottom gets dirt trapped in deeper. The amount of debris removed through these methods truly surprised me. Most of the grit was ingrained so I decided to wash the filter in warm water with liquid laundry detergent. Yes, laundry detergent. The filter media is a cotton gauze and can be washed with the same stuff as your cotton under-crackers. Liquid is is better than powder detergent because the latter sometimes gets stuck in the fibres whereas the former is completely dissolved and washes out. I let it soak in a strong solution for a couple hours, throwing some dishwash soap in to dissolve the greasier bits. This is the cr@p that washed off easy. This is what floated to the surface during the soak. Best way to get rid of it is to overflow the bucket and the crud spill out over the top. Otherwise you lift the filter out of the bucket right through the dirt you just removed, thereby reinserting it. This is what sank to the bottom of the bucket and looked like dense, dirty beach sand. Then the filter was hosed off in the shower (don't tell the missus) and immersed in a fresh bucket of soapy water. I got a soft long-bristle nylon brush and set to working it along each pleat with soap, gradually loosening more crud. Between the gentle brushing and tapping this is what came out. The other filter belongs to my other bike. Thought I'd do them both at once. With the oil and dirt removed the filter took on a dull grey appearance. I was pleased with how clean it came out and inspected it closely for any hidden trapped dirt. There was none so it was left to dry overnight. The next day I applied genuine K&N oil pleat by pleat using their squeezy bottle applicator. Some say it is just normal ATF, and they might be right, but I'm not clever enough to know for sure and it wasn't exactly expensive so I used the real deal. This pic shows the difference between oiled pleats and dry grey pleats. When the first side was done I flipped it over and started again. Note how I am halfway through on the second side and you can see some oil from underneath seeping through. Some say if you leave it 15 minutes it will soak throughout but I thought it was still a bit too dry so applied oil on both sides. The final pic shows filter fully oiled. It still had some dull spots but those got redder after a while when the oil wicked through. Hope this helps people doing the same thing out. I'm no expert but believe any rechargeable filter could be done the same way. Just remember that dirt is removed the same direction it went in otherwise you're driving it further into the fibres. Stray
-
That's some great insight, GregDenver. I was planning on giving the bike a proper scrub while it's apart for maintenance. Don't think it has seen the wet side of a rag for over a decade! Might take your advice and dismount the radiators for a proper clean, as you suggest. Stray
-
Thanks MD
-
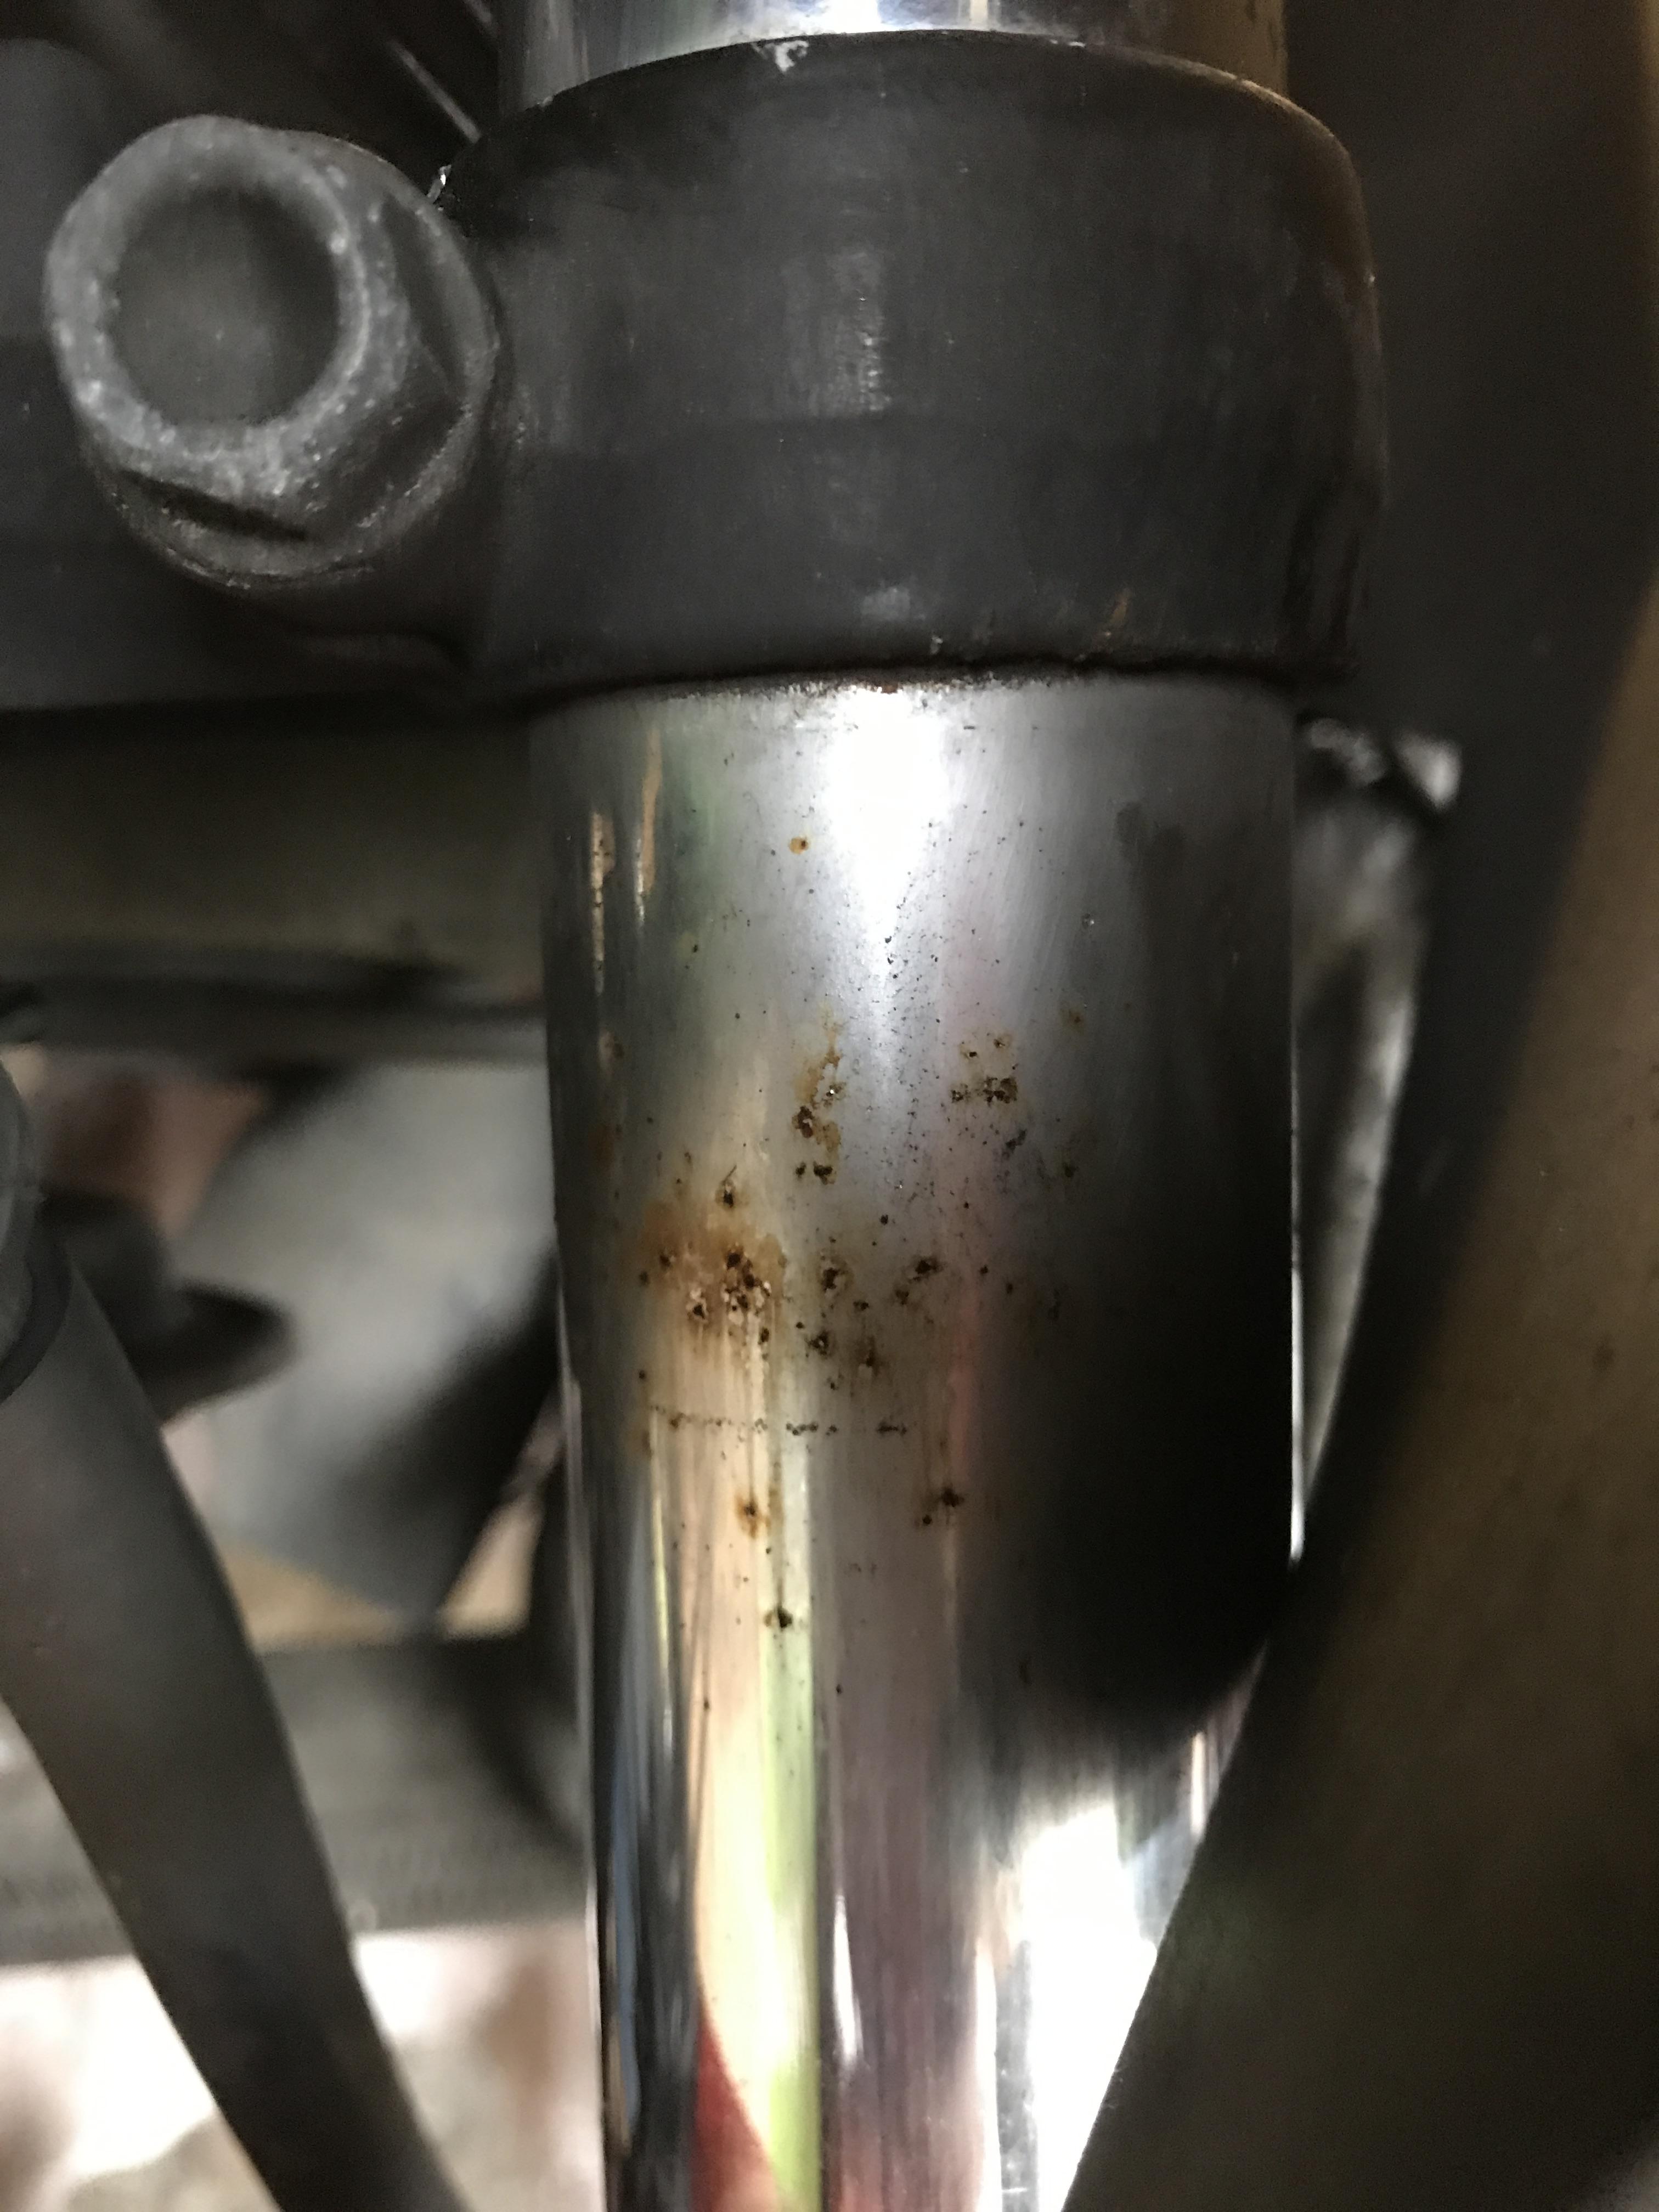
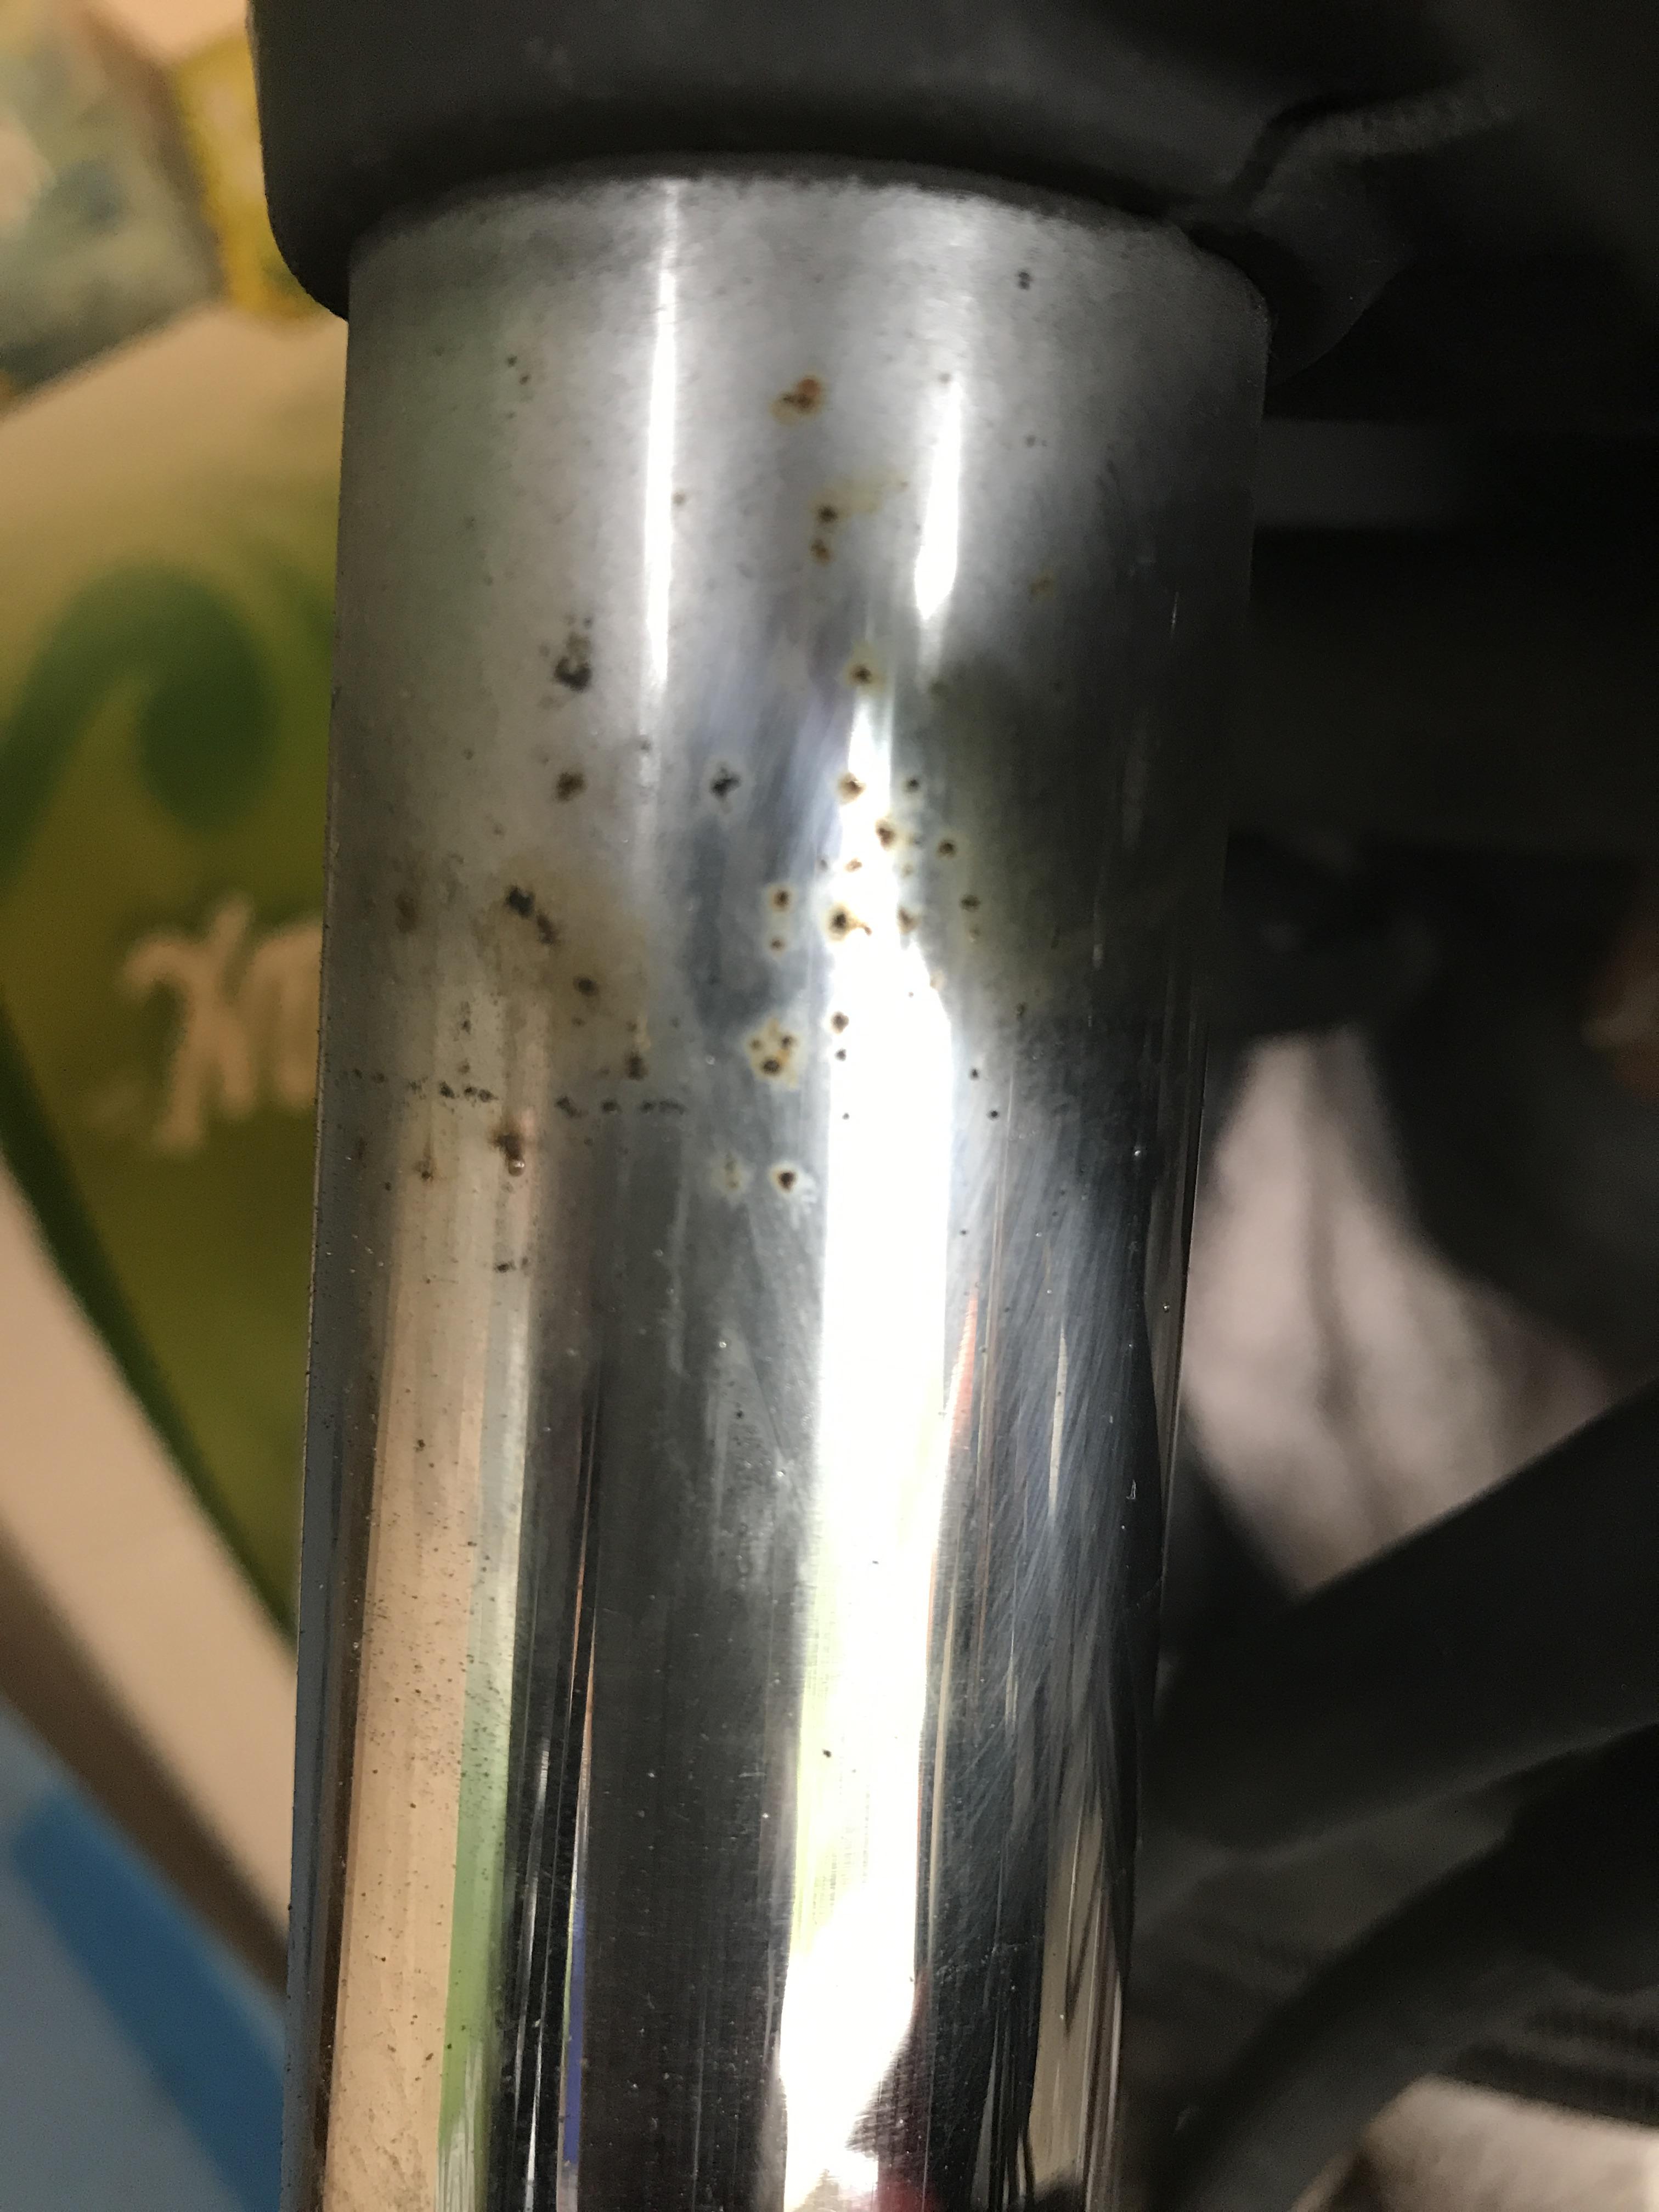
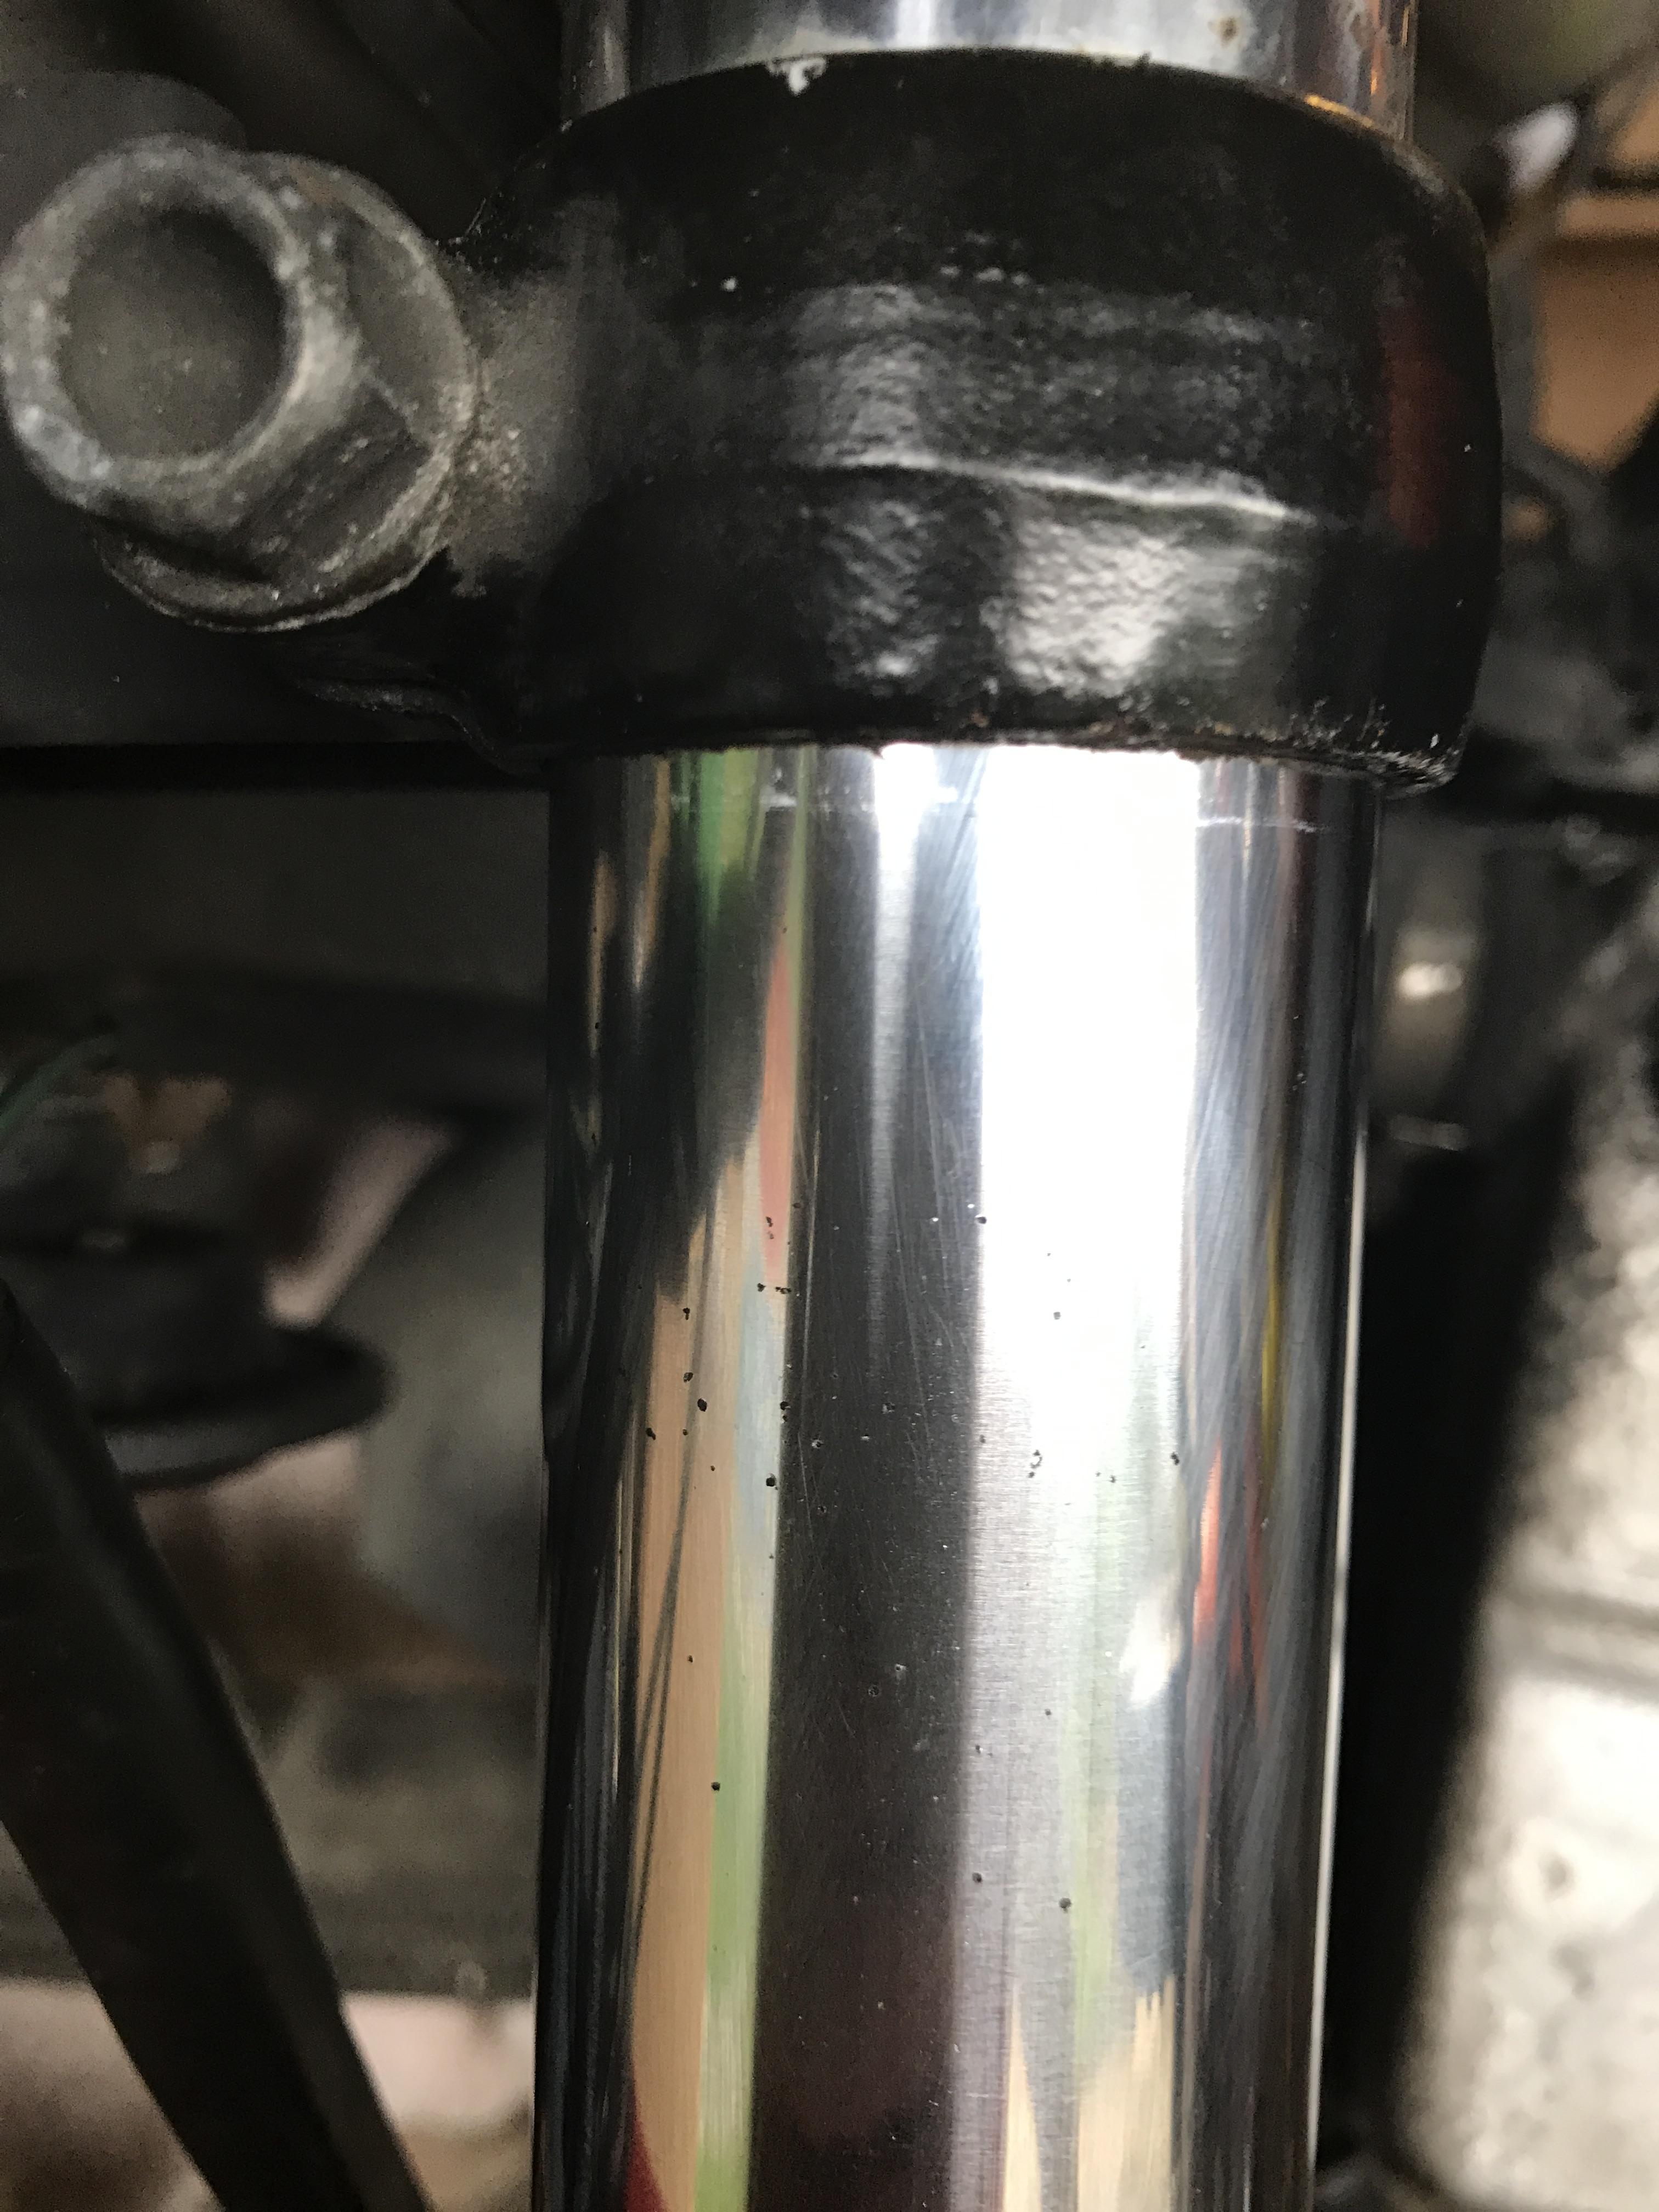
Just water? I'll try that next time - thanks. Just goes to show the phosphoric acid does nothing. Firgot to say in the last pic the left fork is still rusty whereas the right one has been cleaned. It's not perfect but you can see an appreciable improvement.
-
Hello everyone, This is is a quick how-to for those with crappy rusted forks. It's not a cure-all but might help reduce the amount of pitting and help your seals last a bit longer. The only ways to ultimately tackle rusty forks is to re-chrome or replace. This is just a temporary fix and doesn't work on heavy corrosion You will need: 1. Cola (any brand as long as it has Phosphoric acid in the ingredients) 2. Piece of aluminium foil 3. Protective oil of your choice (I use ACF50) Method is very simple: splash some cola on the forks and swish it about so it gets into the rust. Apply some cola on to foil sheet also. Now rub the soaked foil across the rust until it is completely removed. You can actually feel the rust reducing as you rub. Go gently to avoid scratching the chrome - it works just as well gently. Best to rub left-to-right as this will create microscopic ridges for fork oil to dwell and protect the fork (same principal as honing a cylinder for piston rings). Up and down would create microscopic tears in the seal's mating surface, shortening its life. In reality it it doesn't really matter which way you rub - just go gently. When you're satisfied simply wipe off the cola and apply some sort of lube protectant. Lots of rumours on the internet suggest the phosphoric acid "converts" rust and the tinfoil chemically fuses bits of itself to the pitted area. I'm not a chemist and cannot confirm-or-deny this but I feel there is not enough Phosphoric acid in cola for this. My my gut feeling is that the tin is harder than rust but softer than chrome. It removes the former without harming the latter. But the acid and chemistry might help things along. It creates a grey residue which might suggest the acid is working. The only thing I know for sure is it works well. You can can see from the pics how much of an improvement there was, although some deeper pits remain, although they are much smoother and kinder to the seals. One old-timer told me he seals the pits with flexible superglue and builds them up to match the surrounding surfaces. Normal superglue it too brittle. Sounds like a good idea but really time consuming. This is process took less than 5 minutes and cost less than half a pound. Hope it helps someone out. Best, stray
-
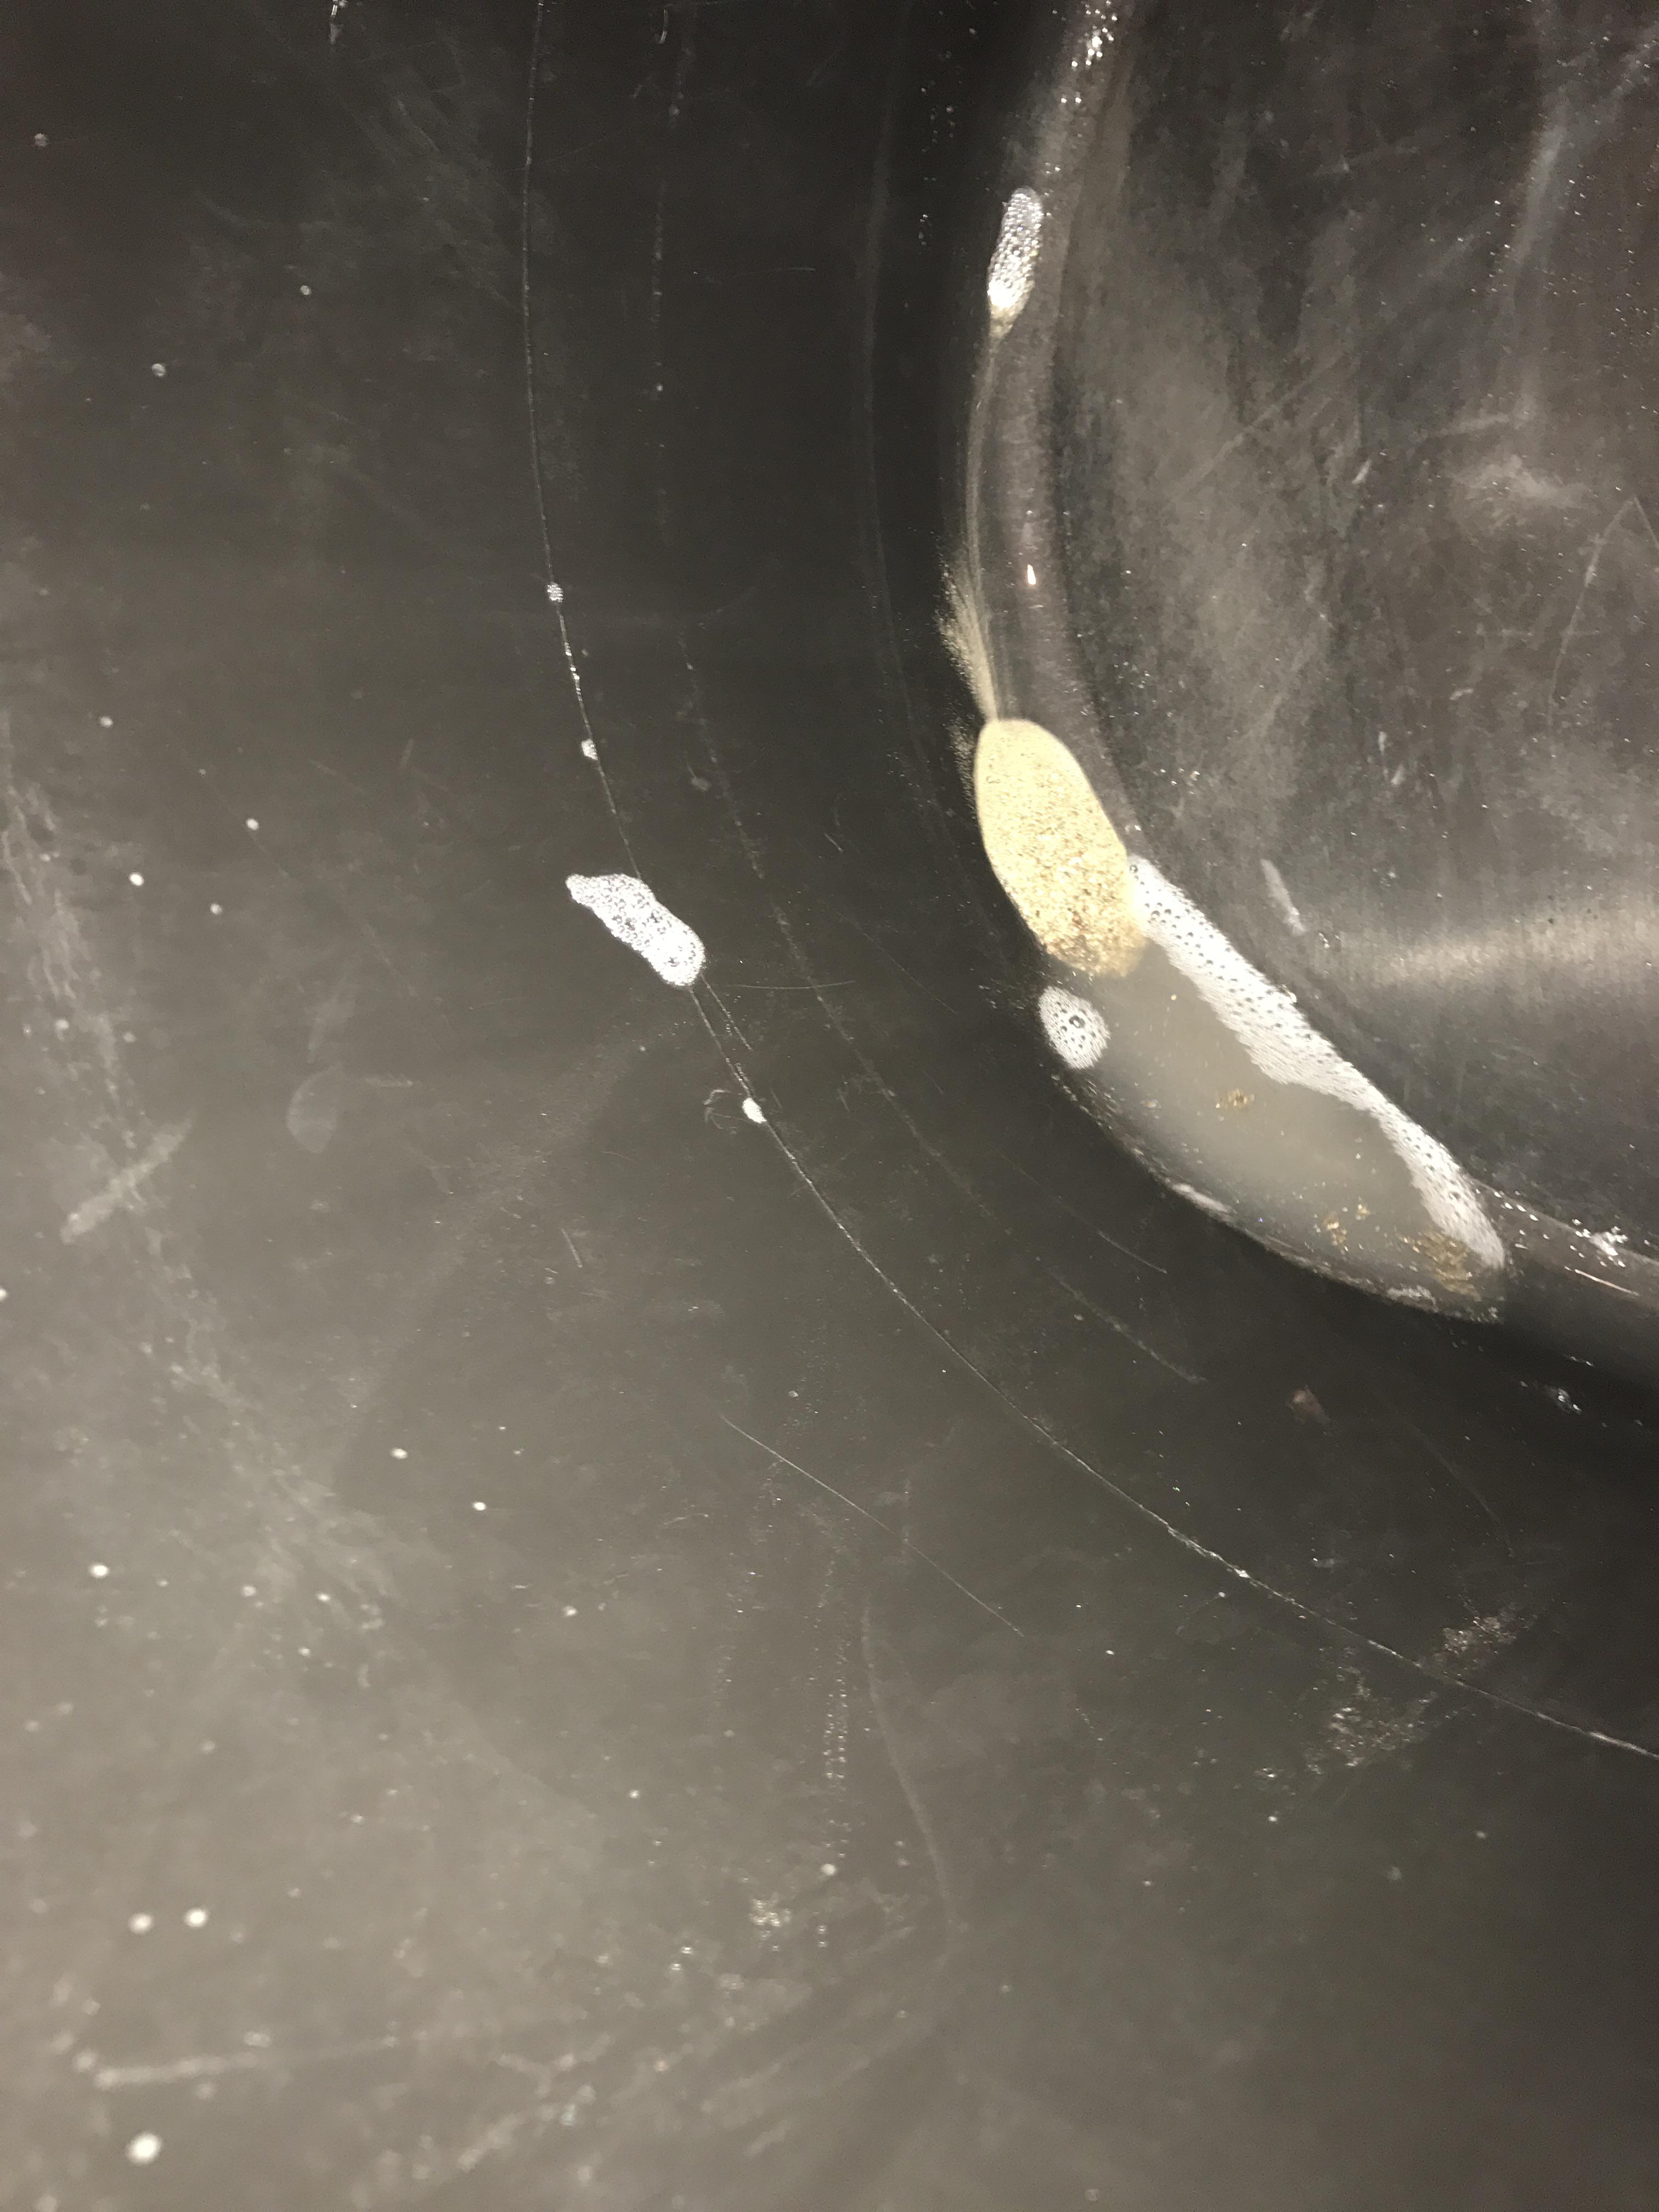
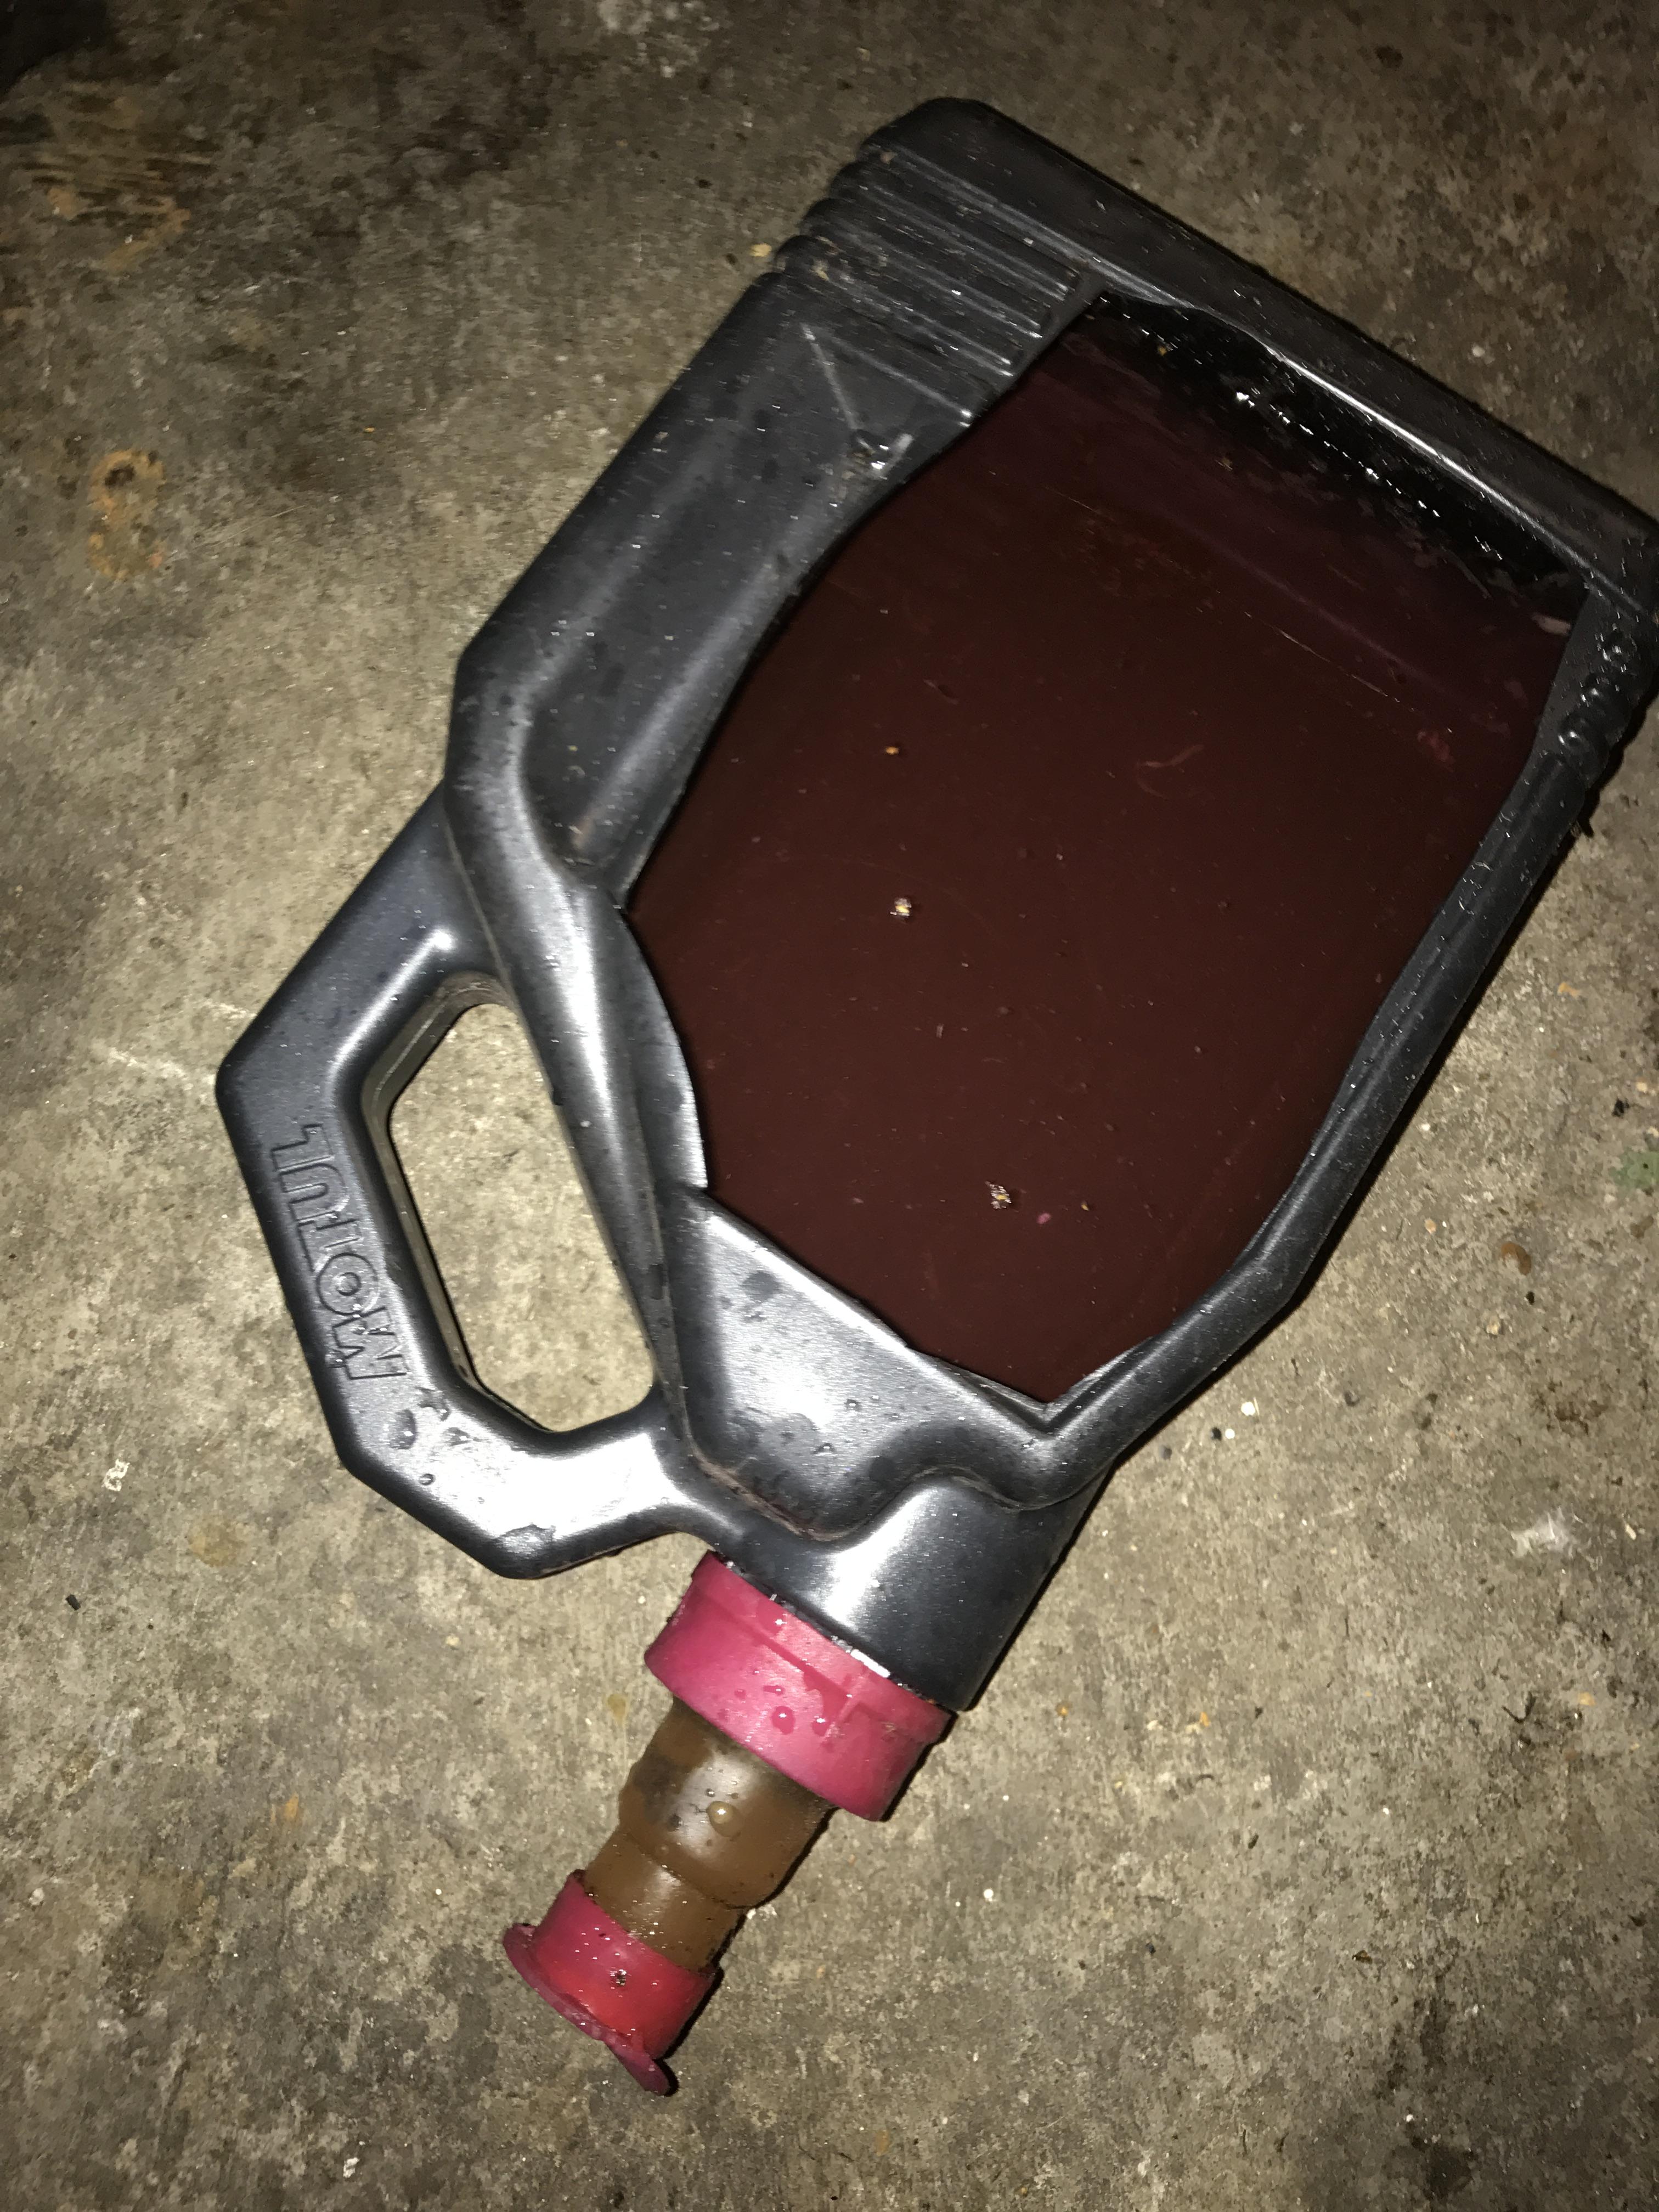
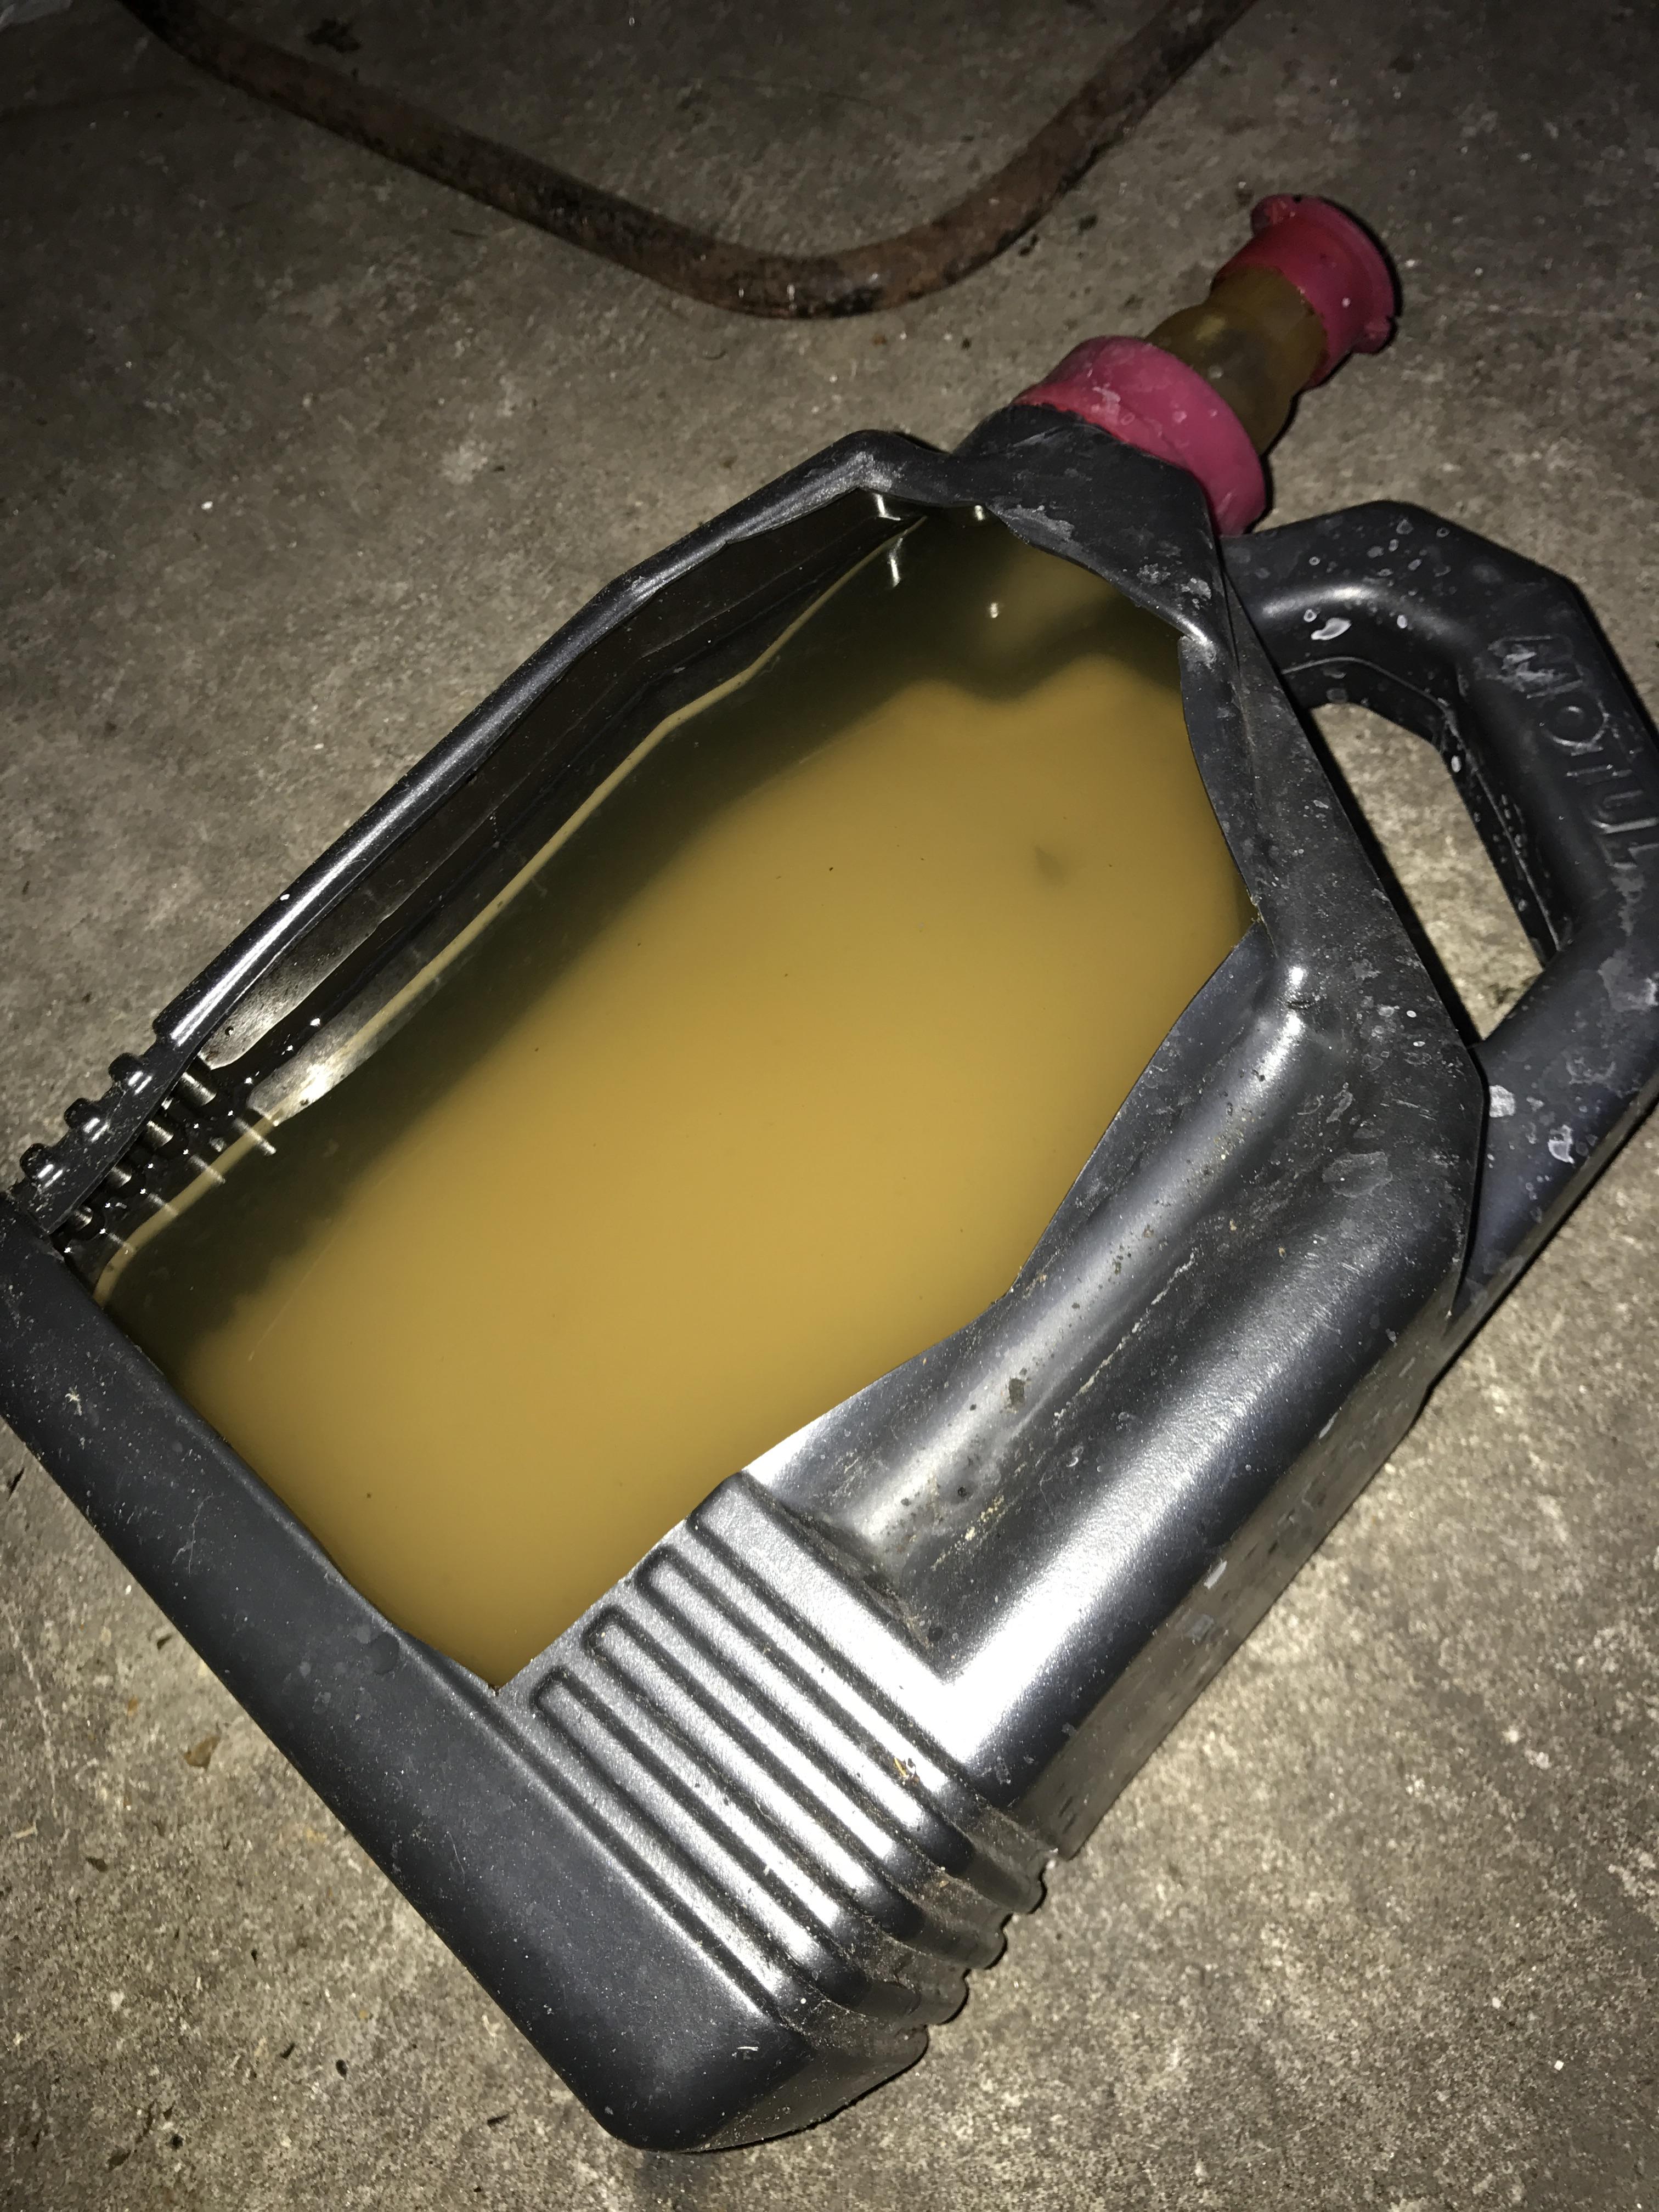
The second pic of drained coolant shows the soda mix after it had settlled overnight. Crystals are at the bottom making it look white. Think I added too much...
-
Sorry, the last pic showing rusty forks shouldn't be there but I don't know how to delete it. Please just ignore that one.
-
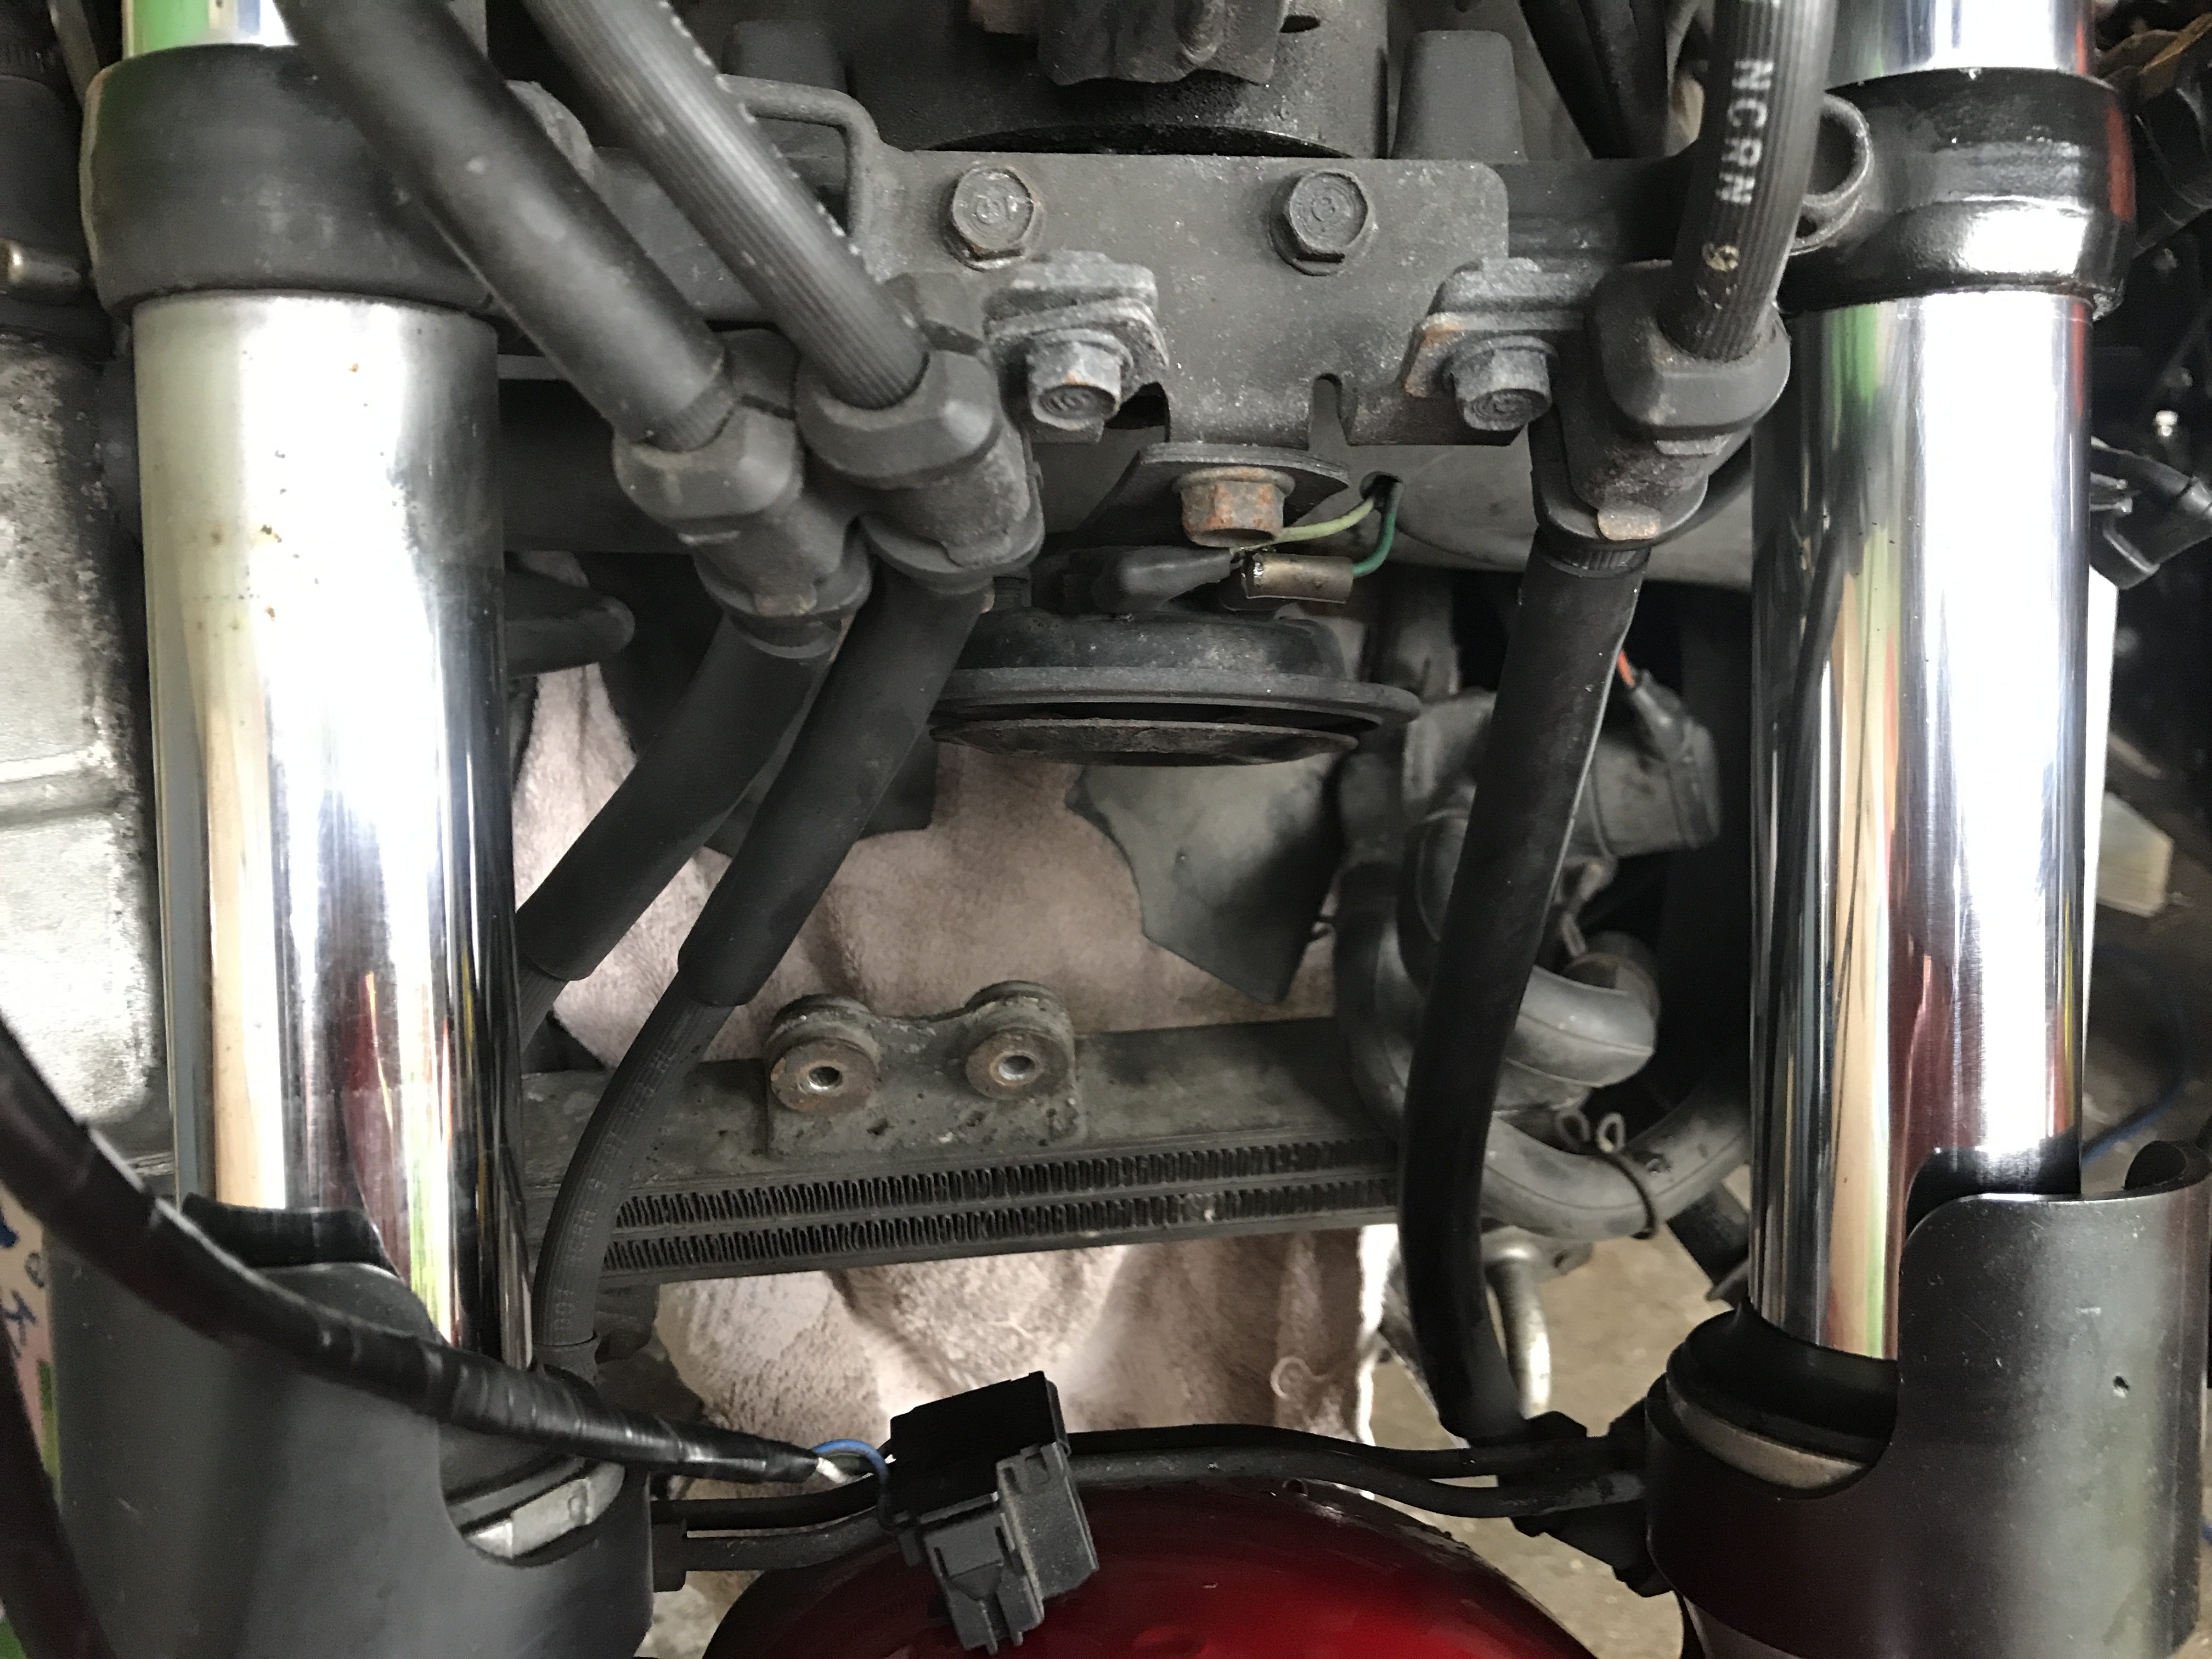
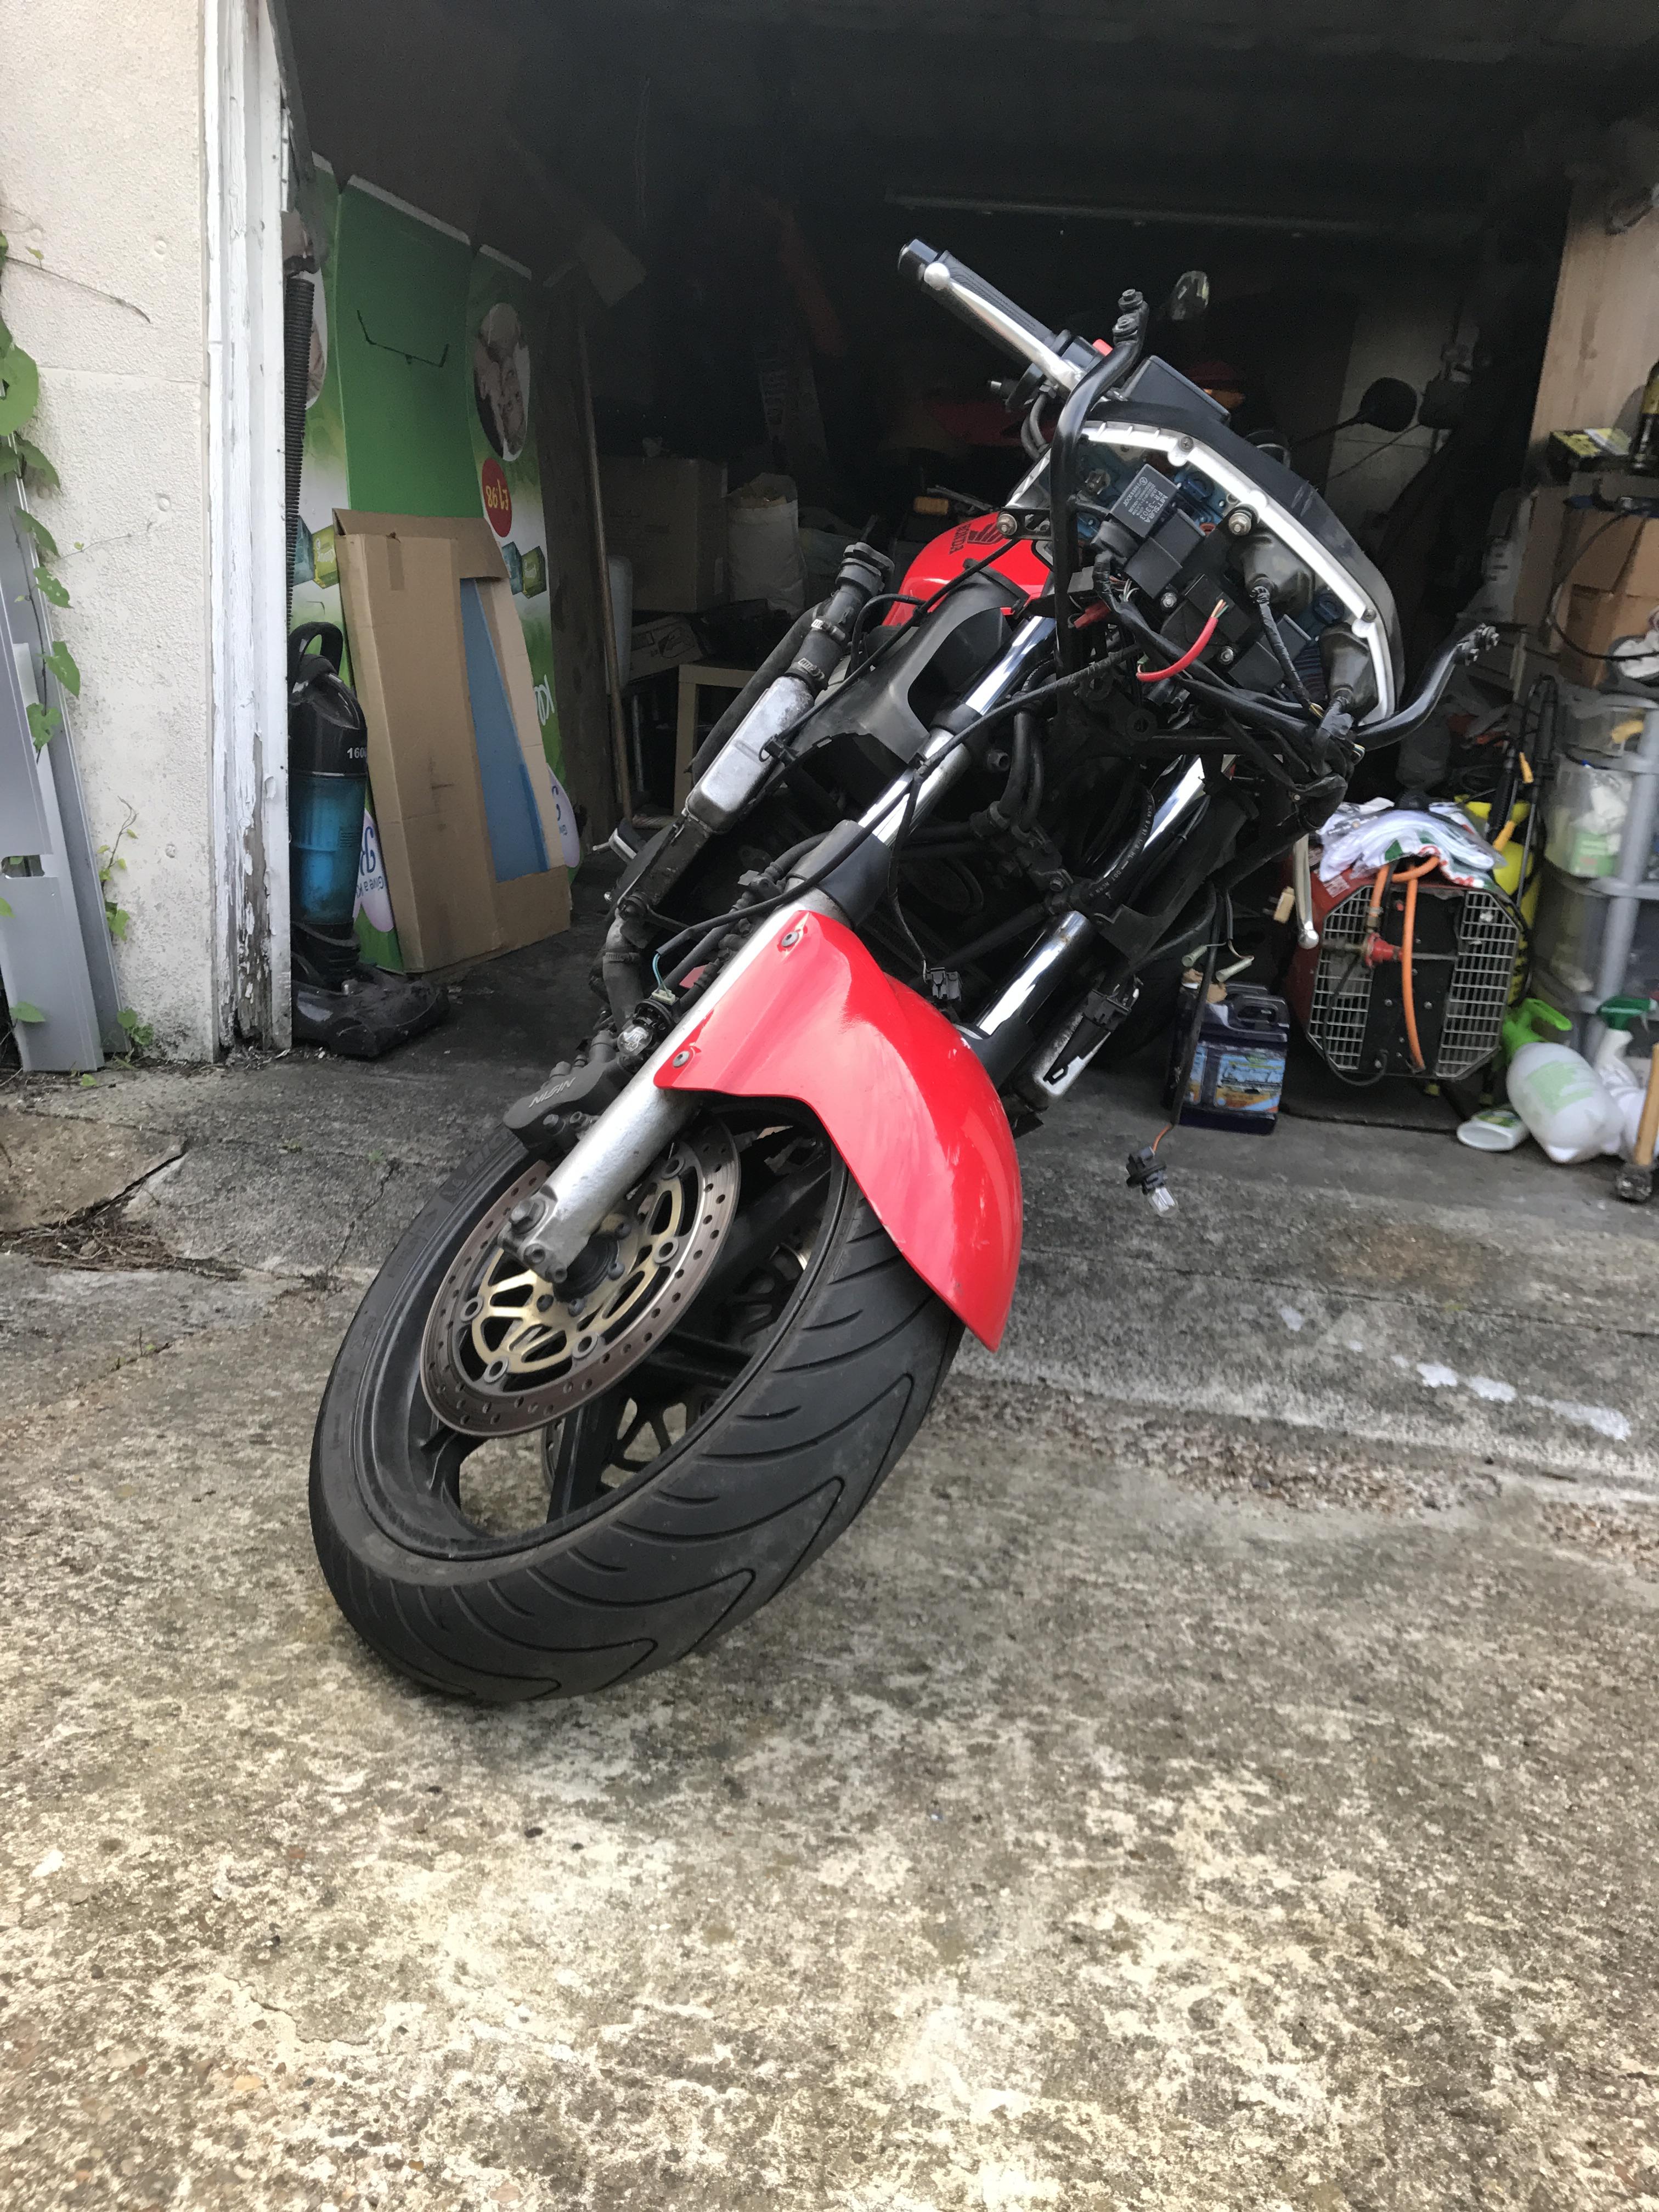
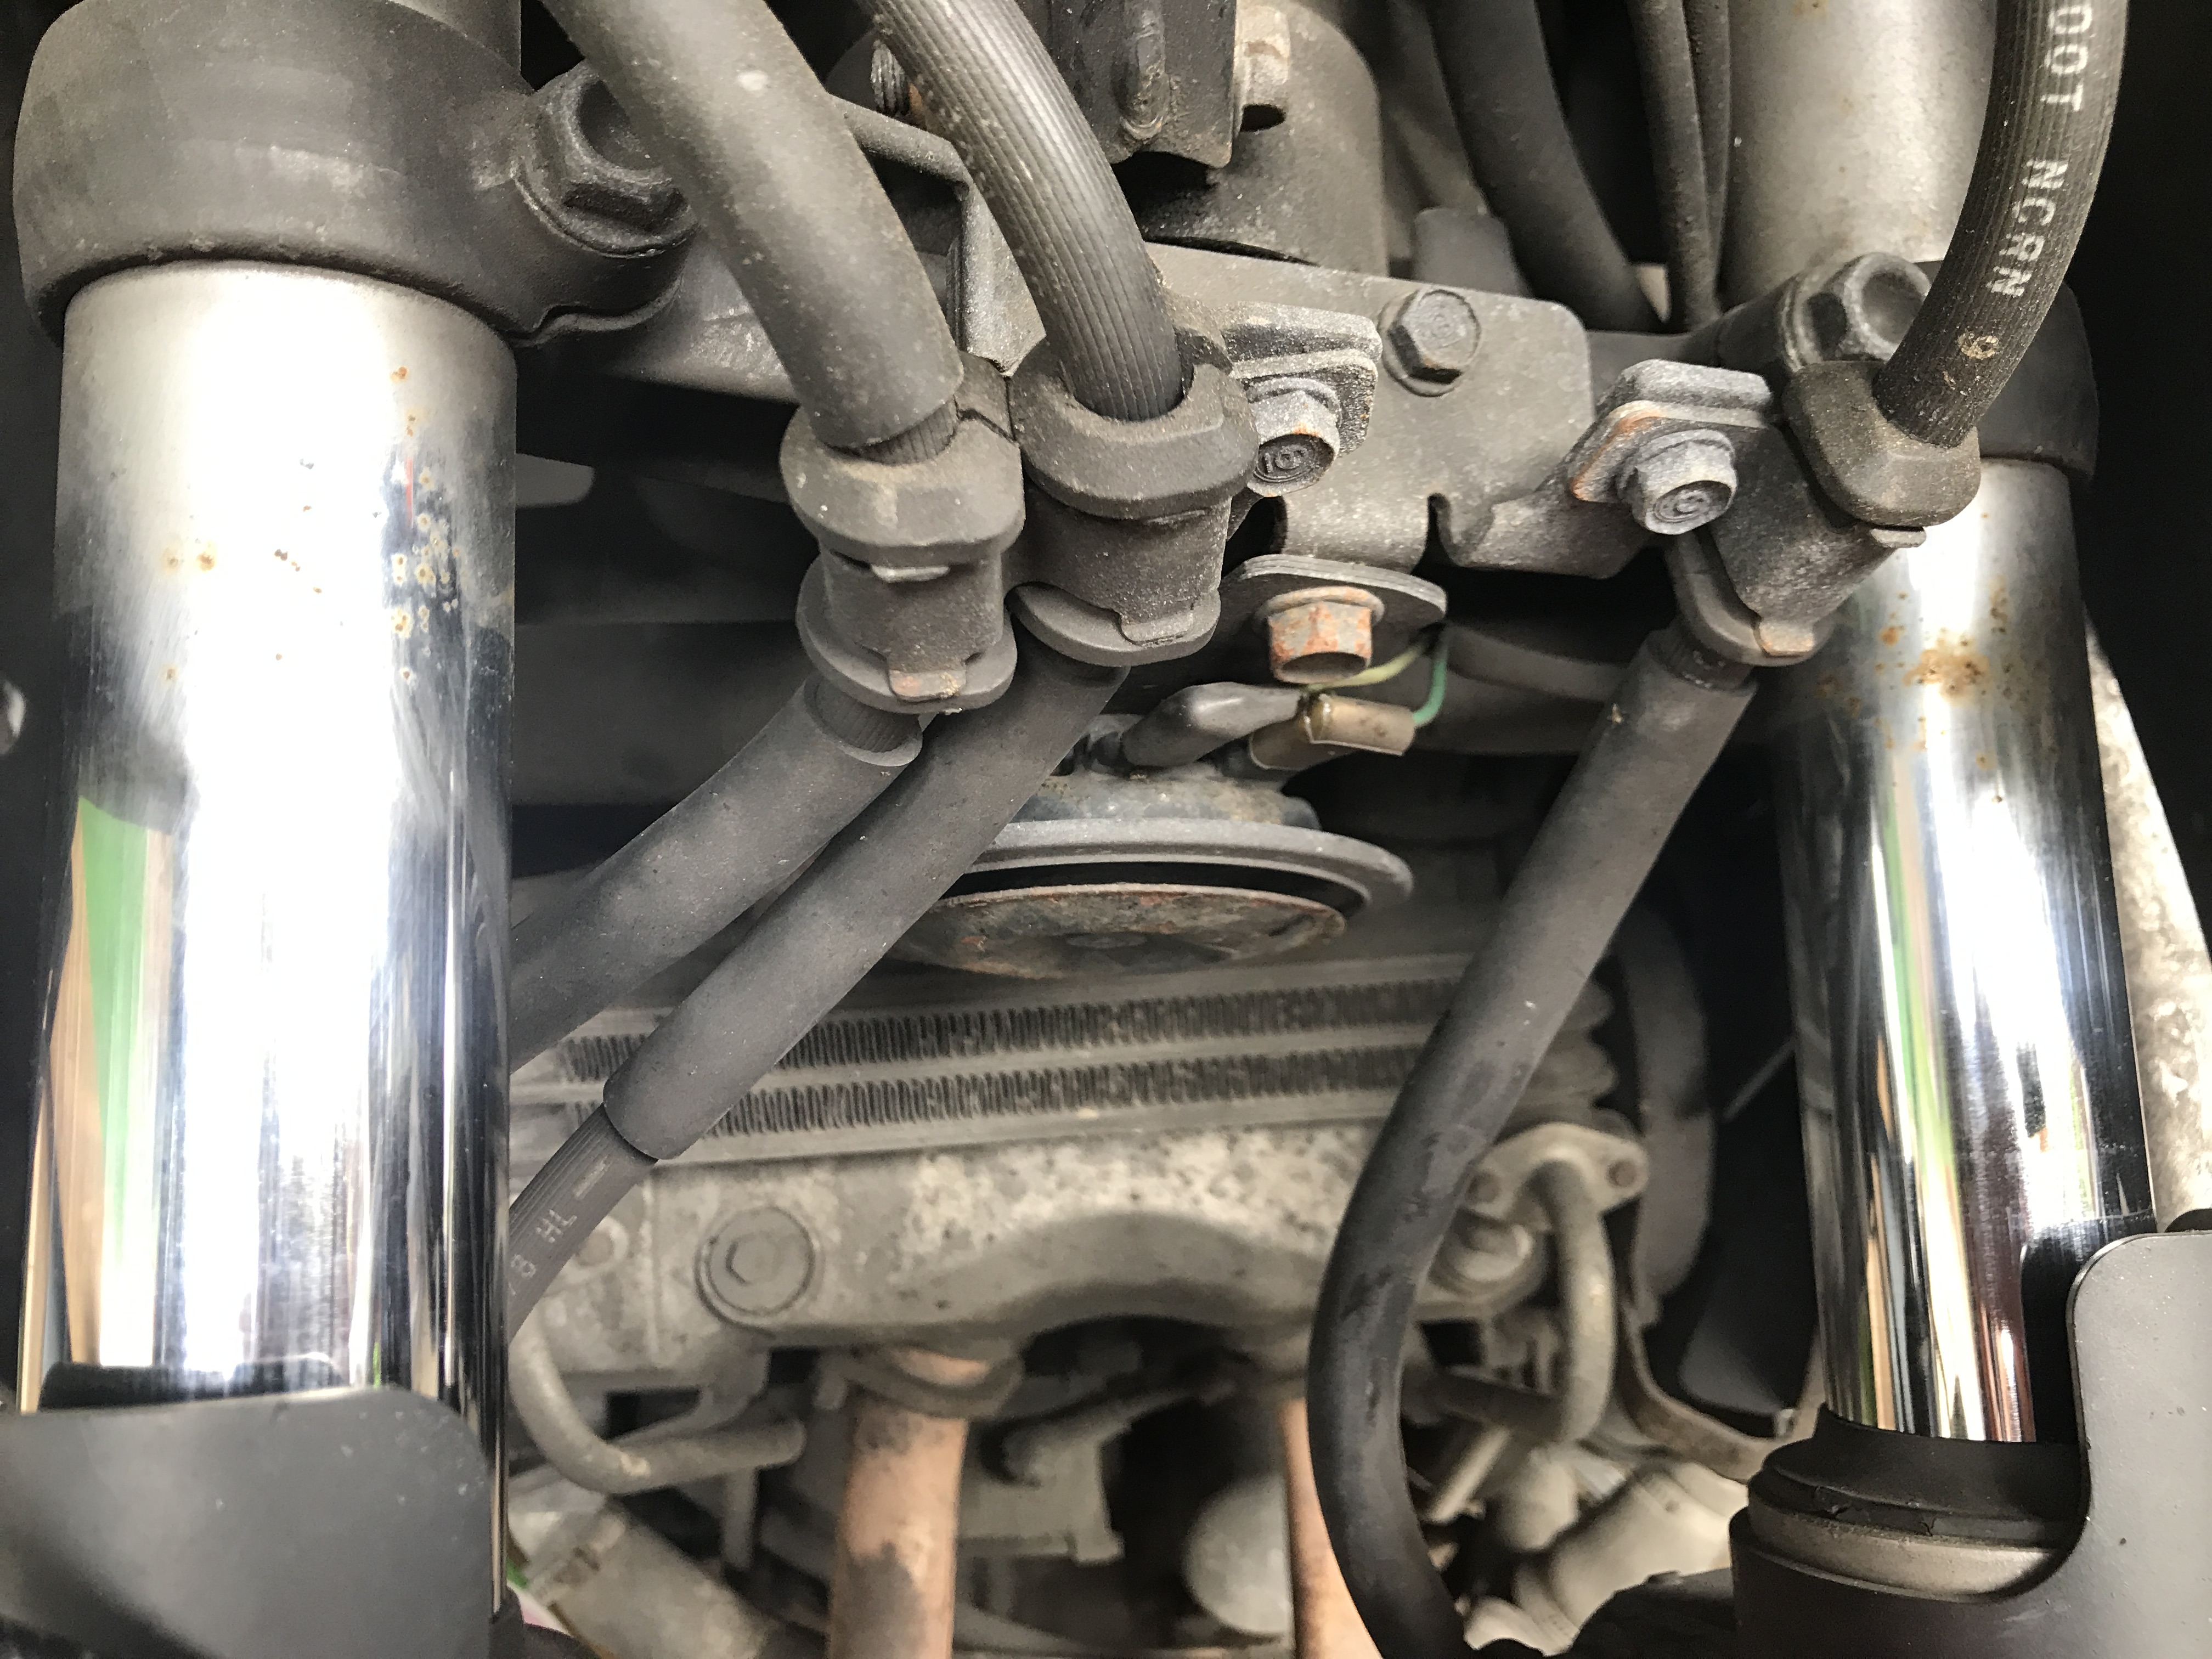
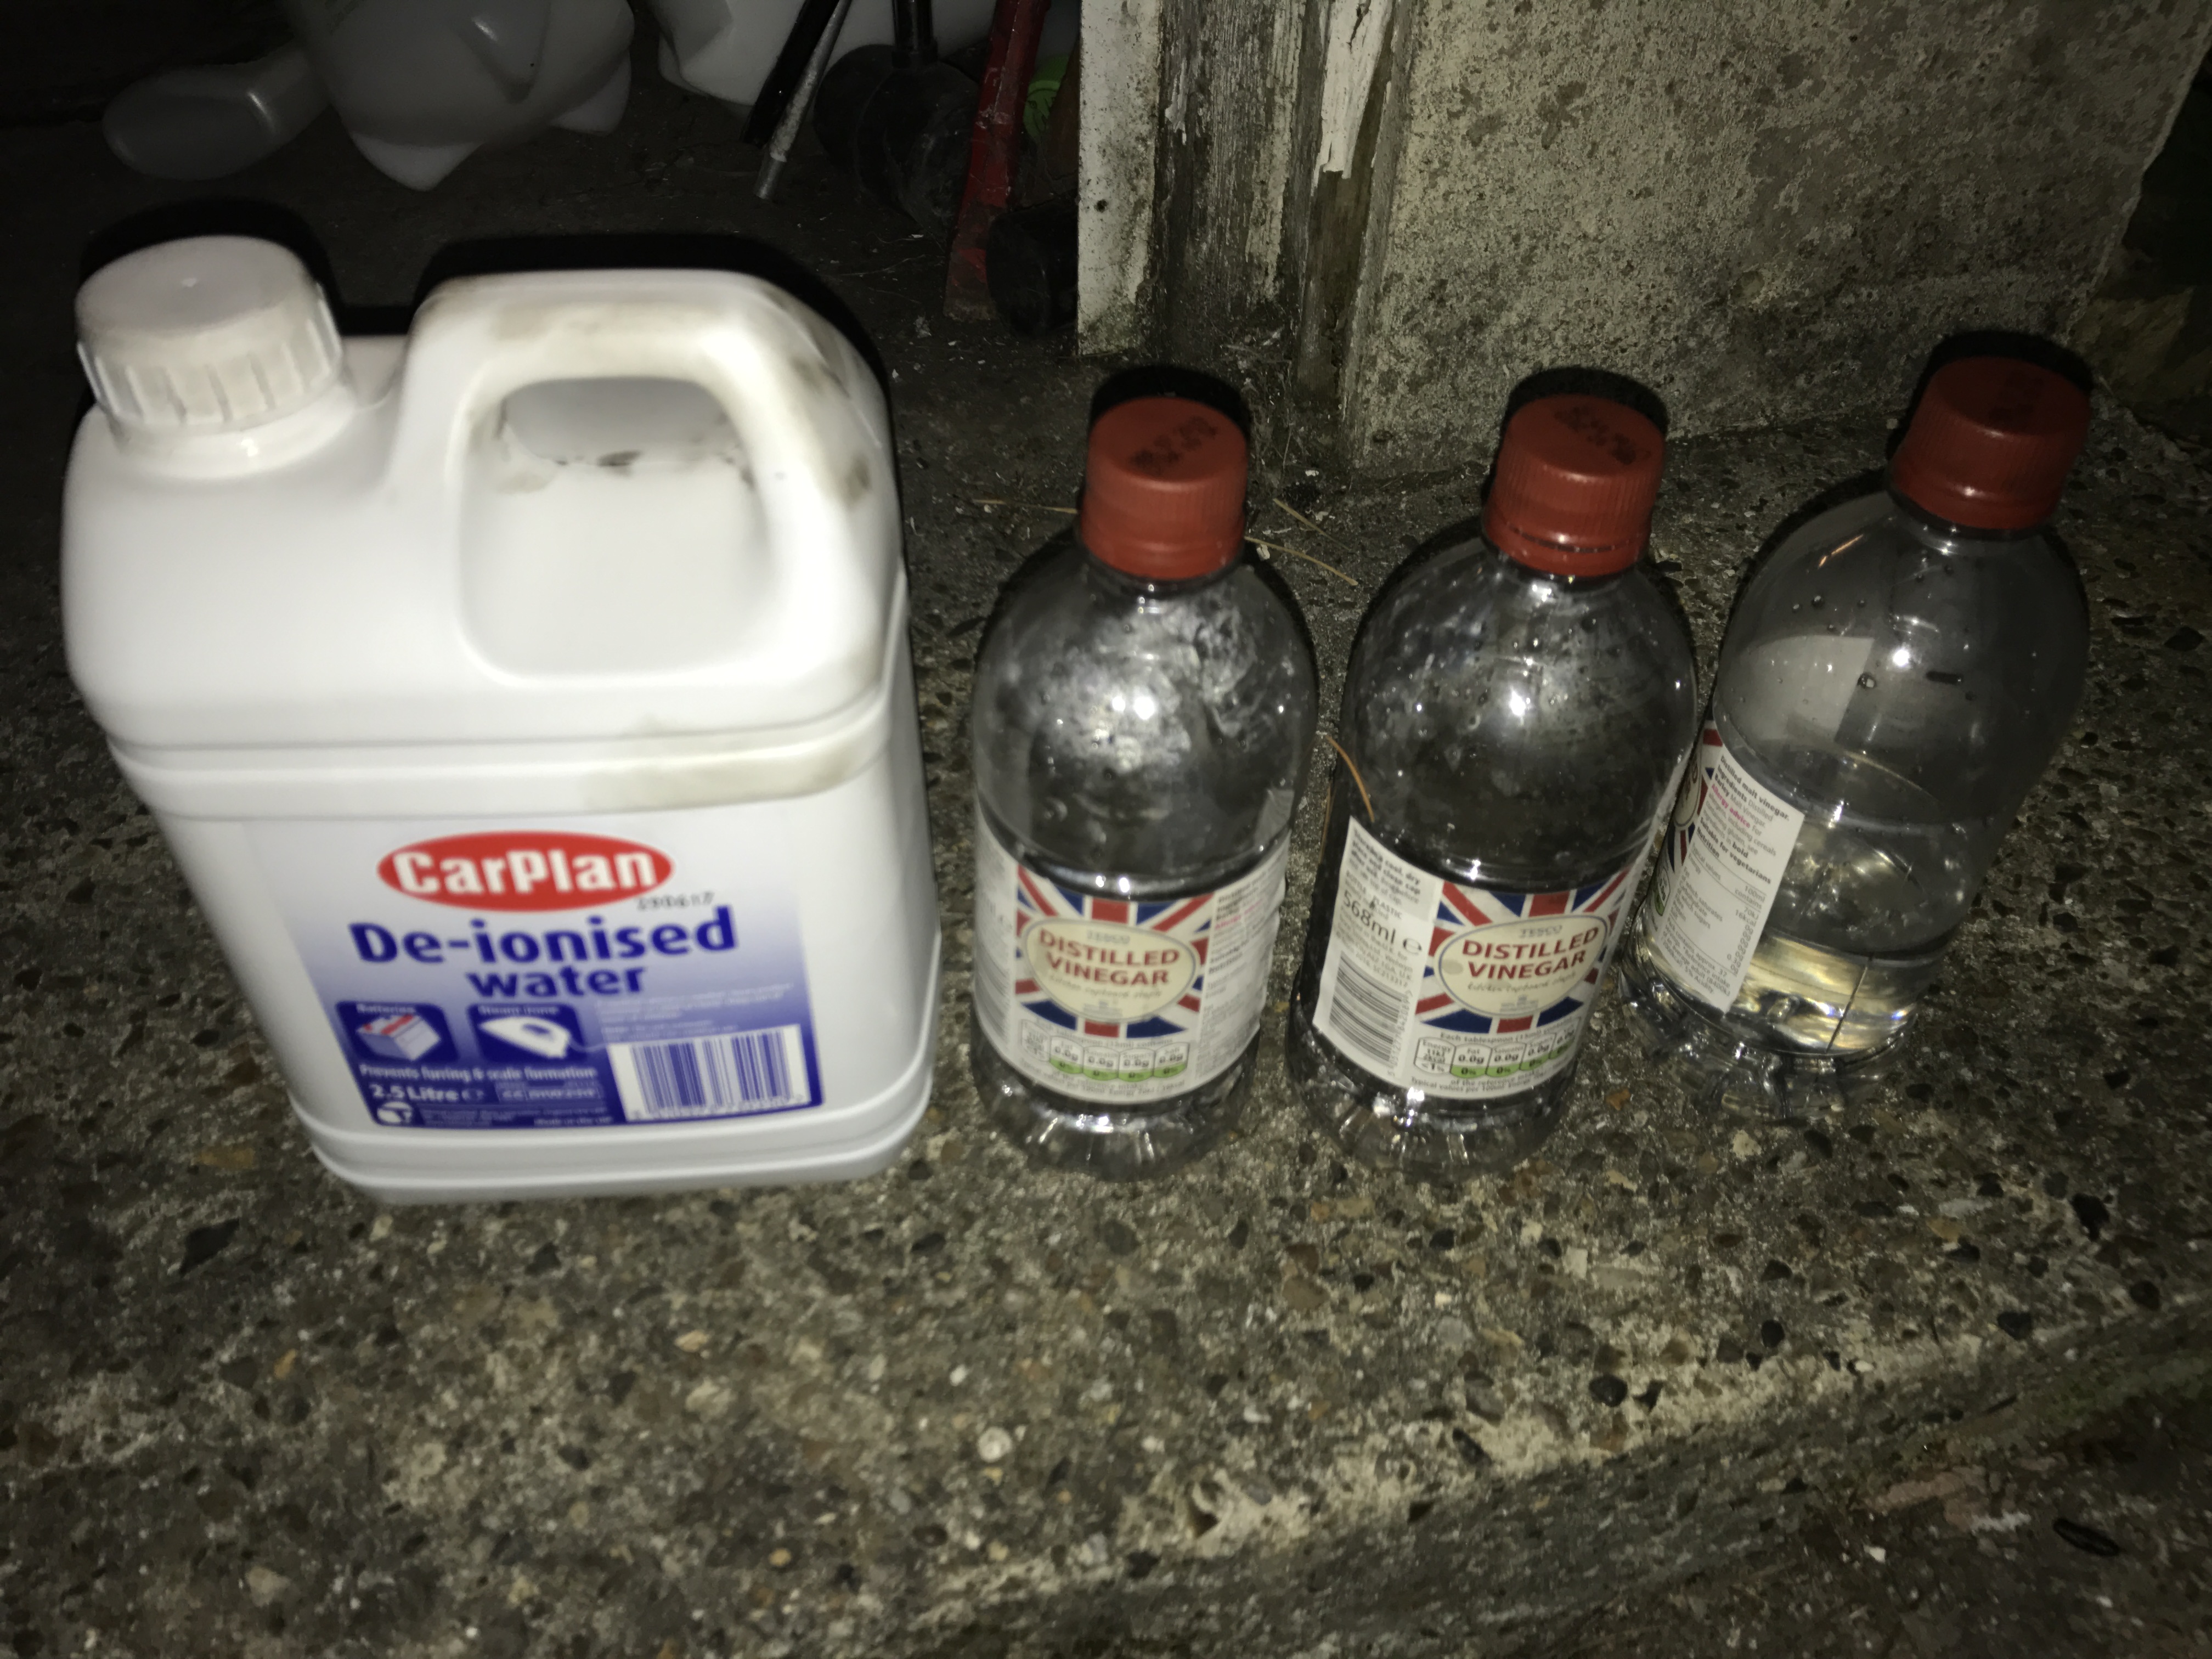
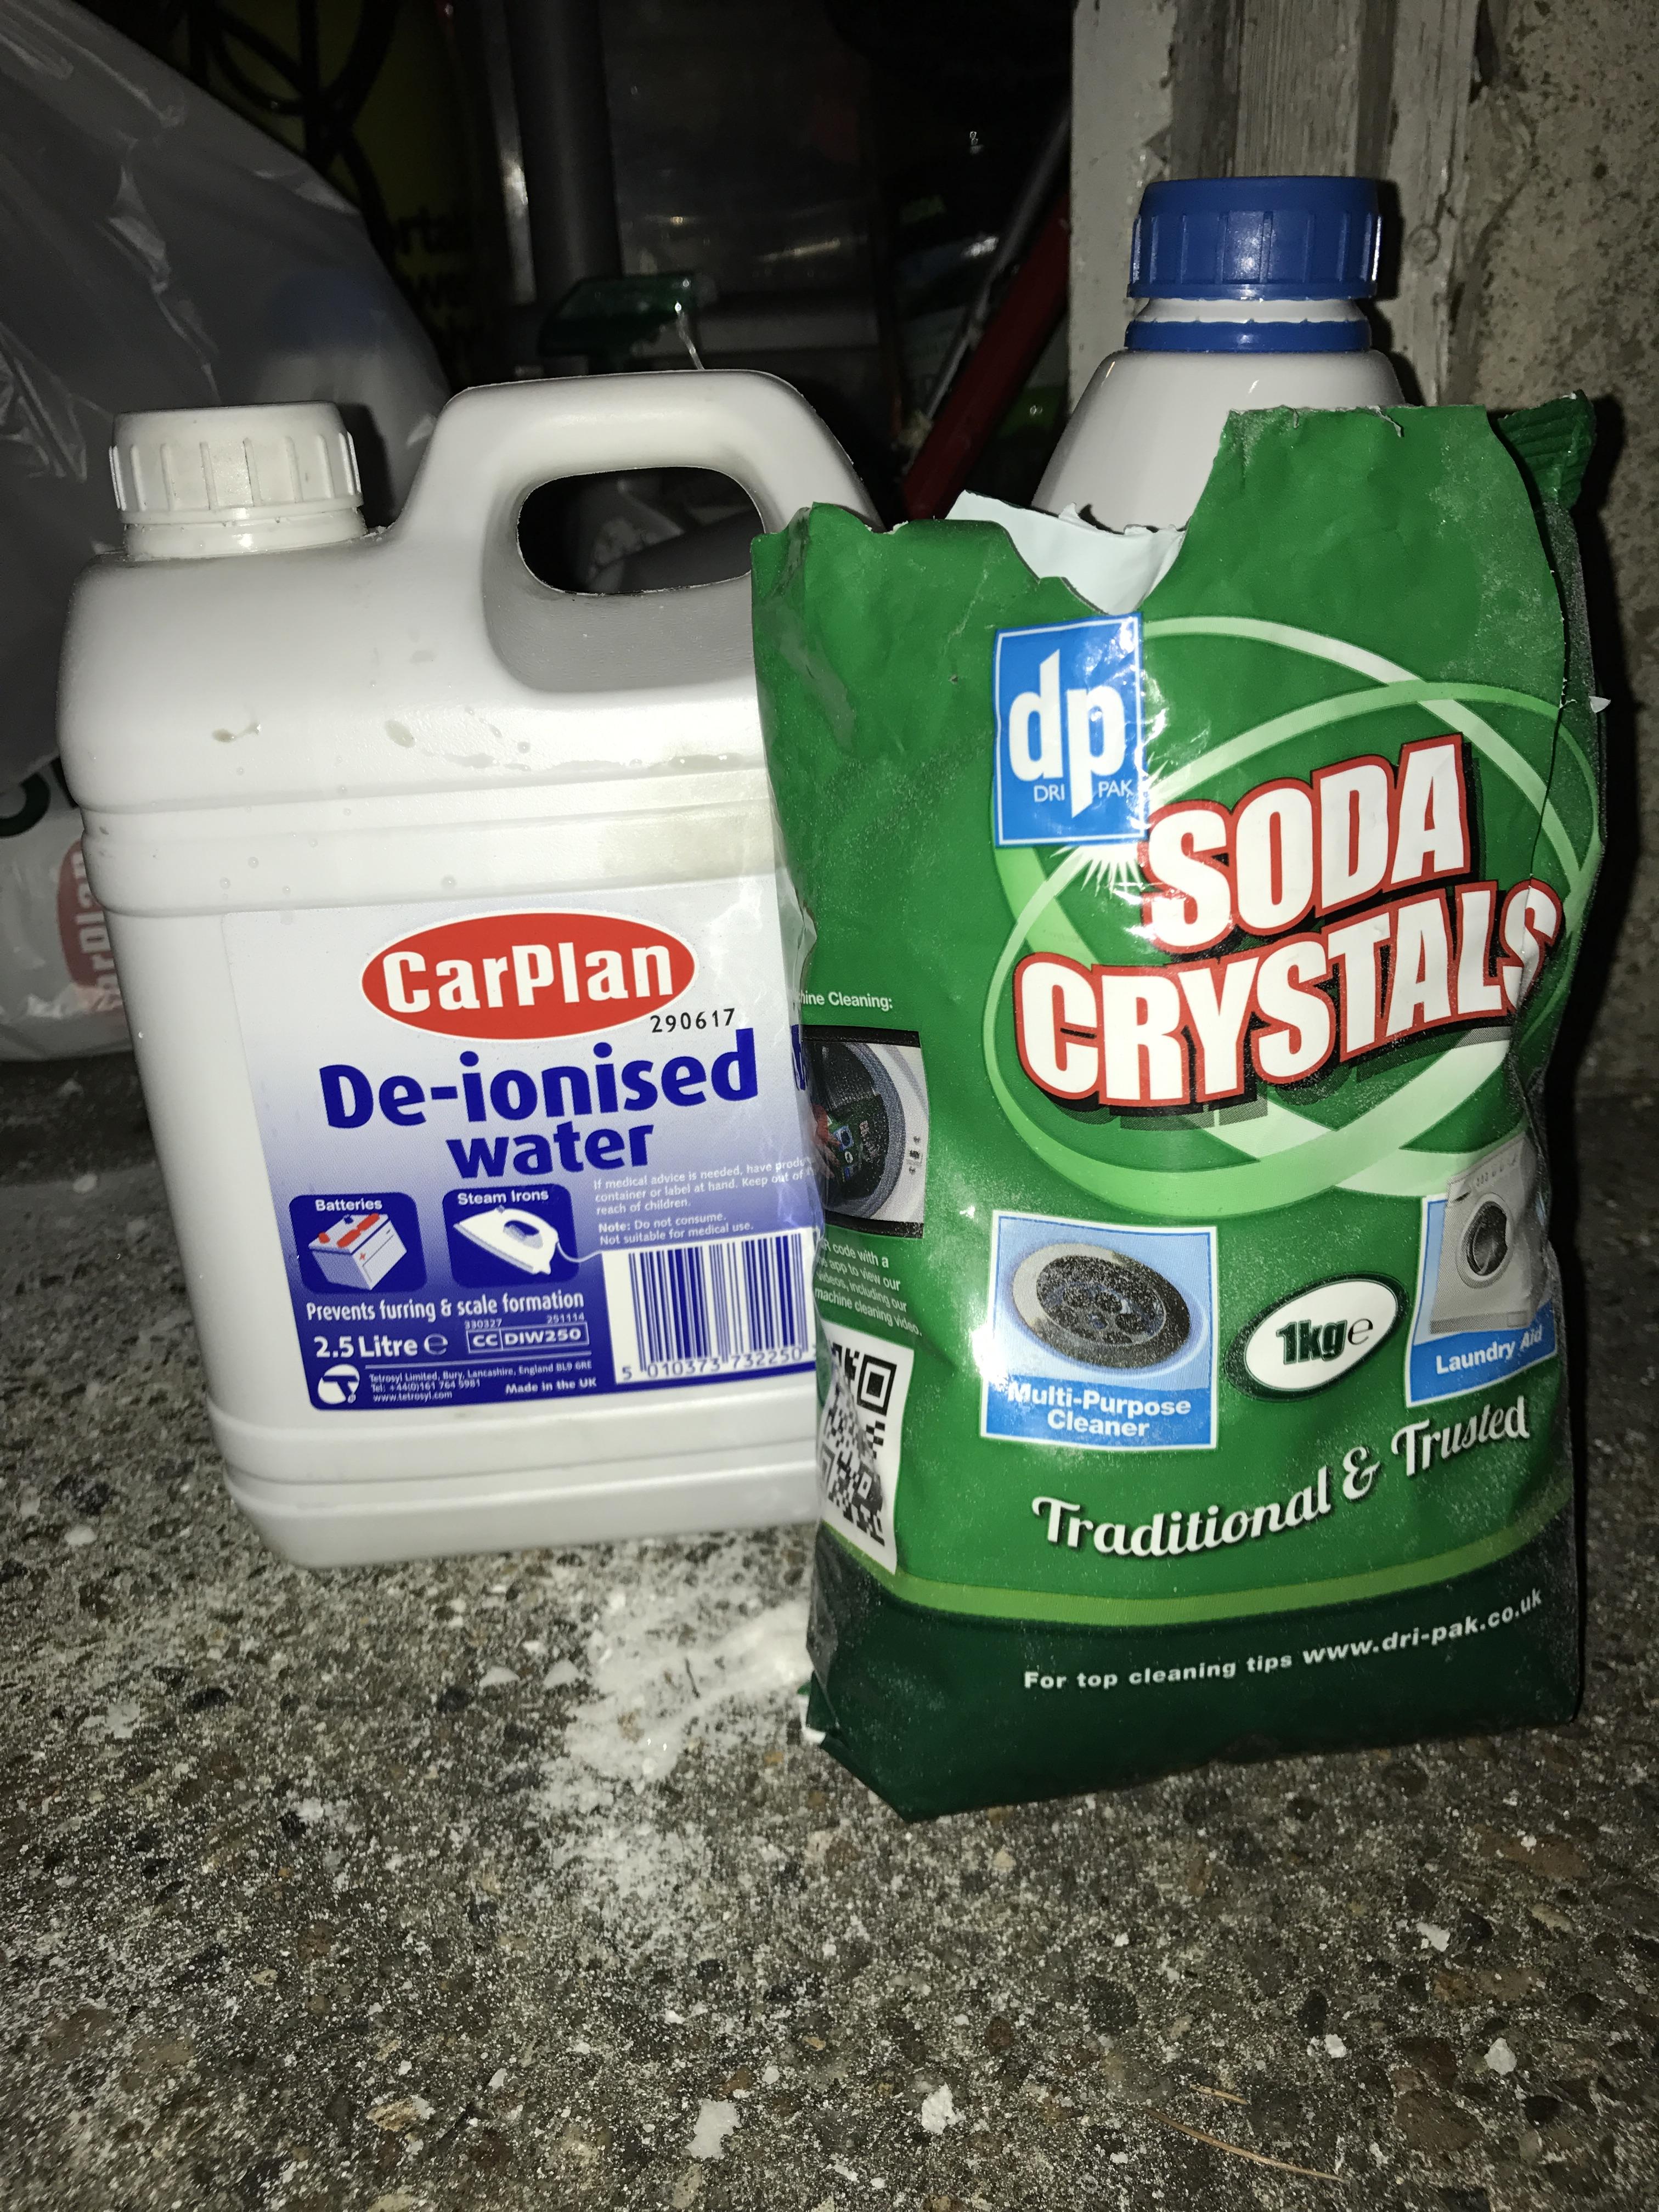
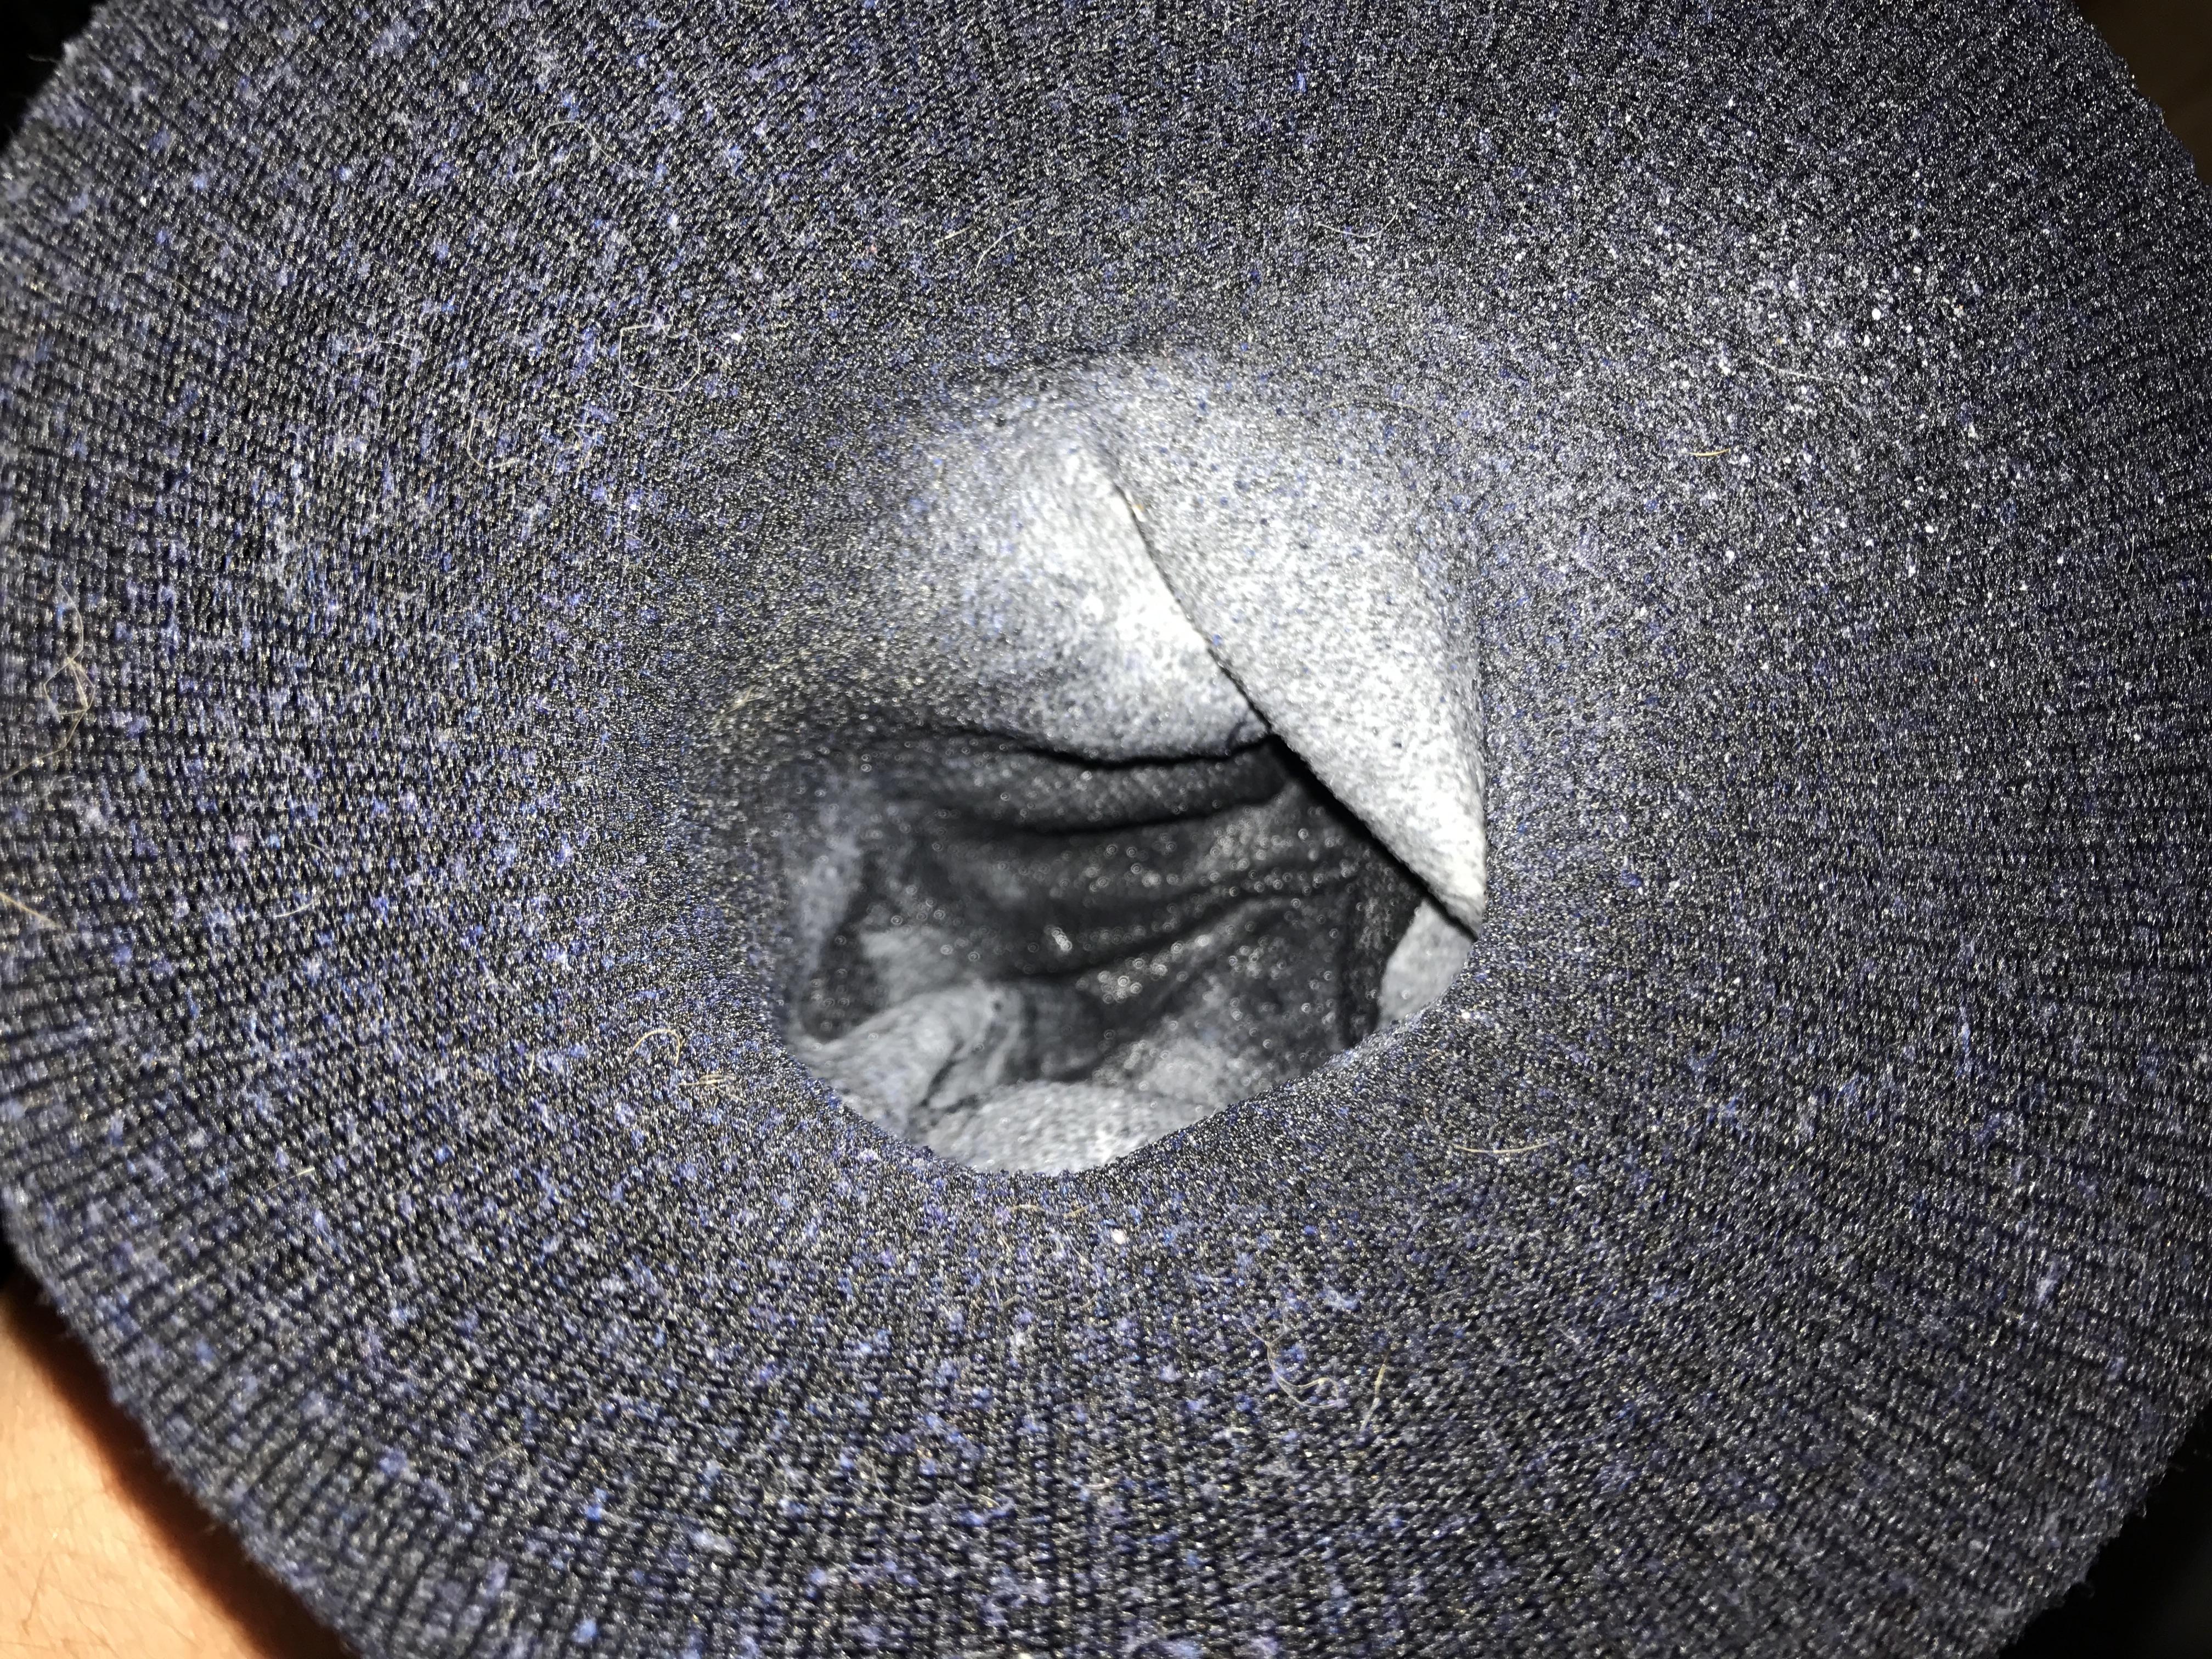
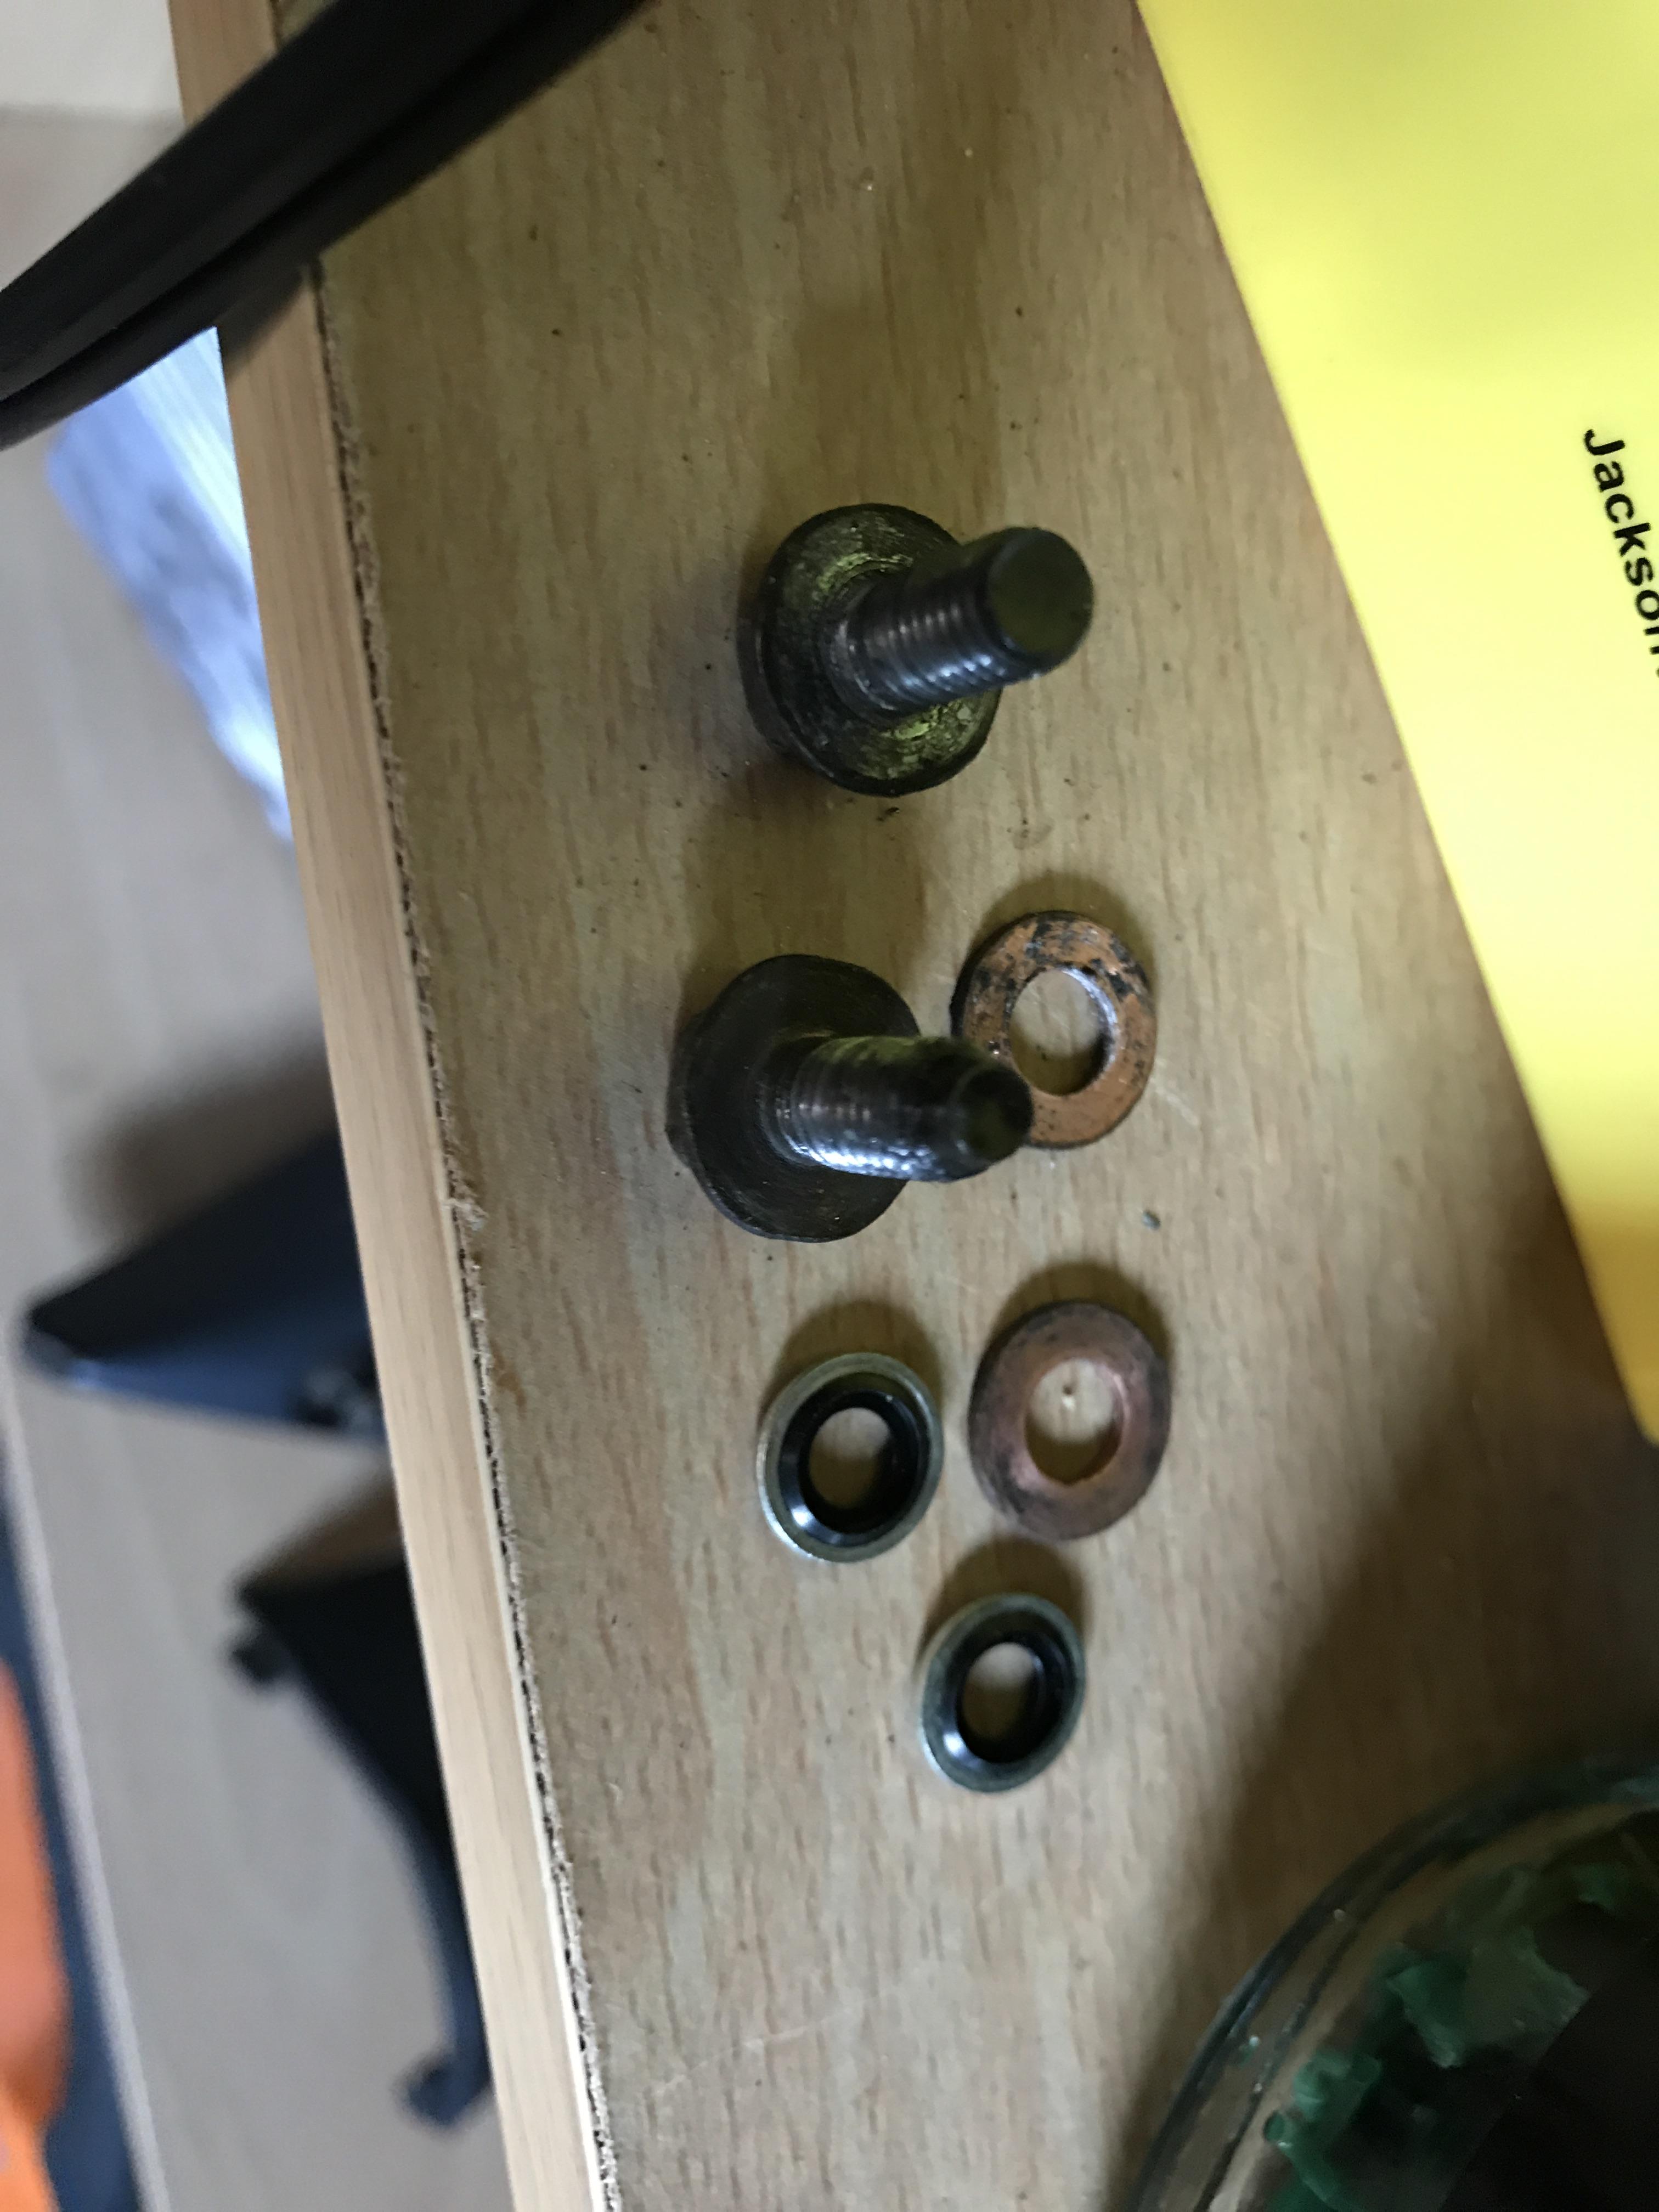
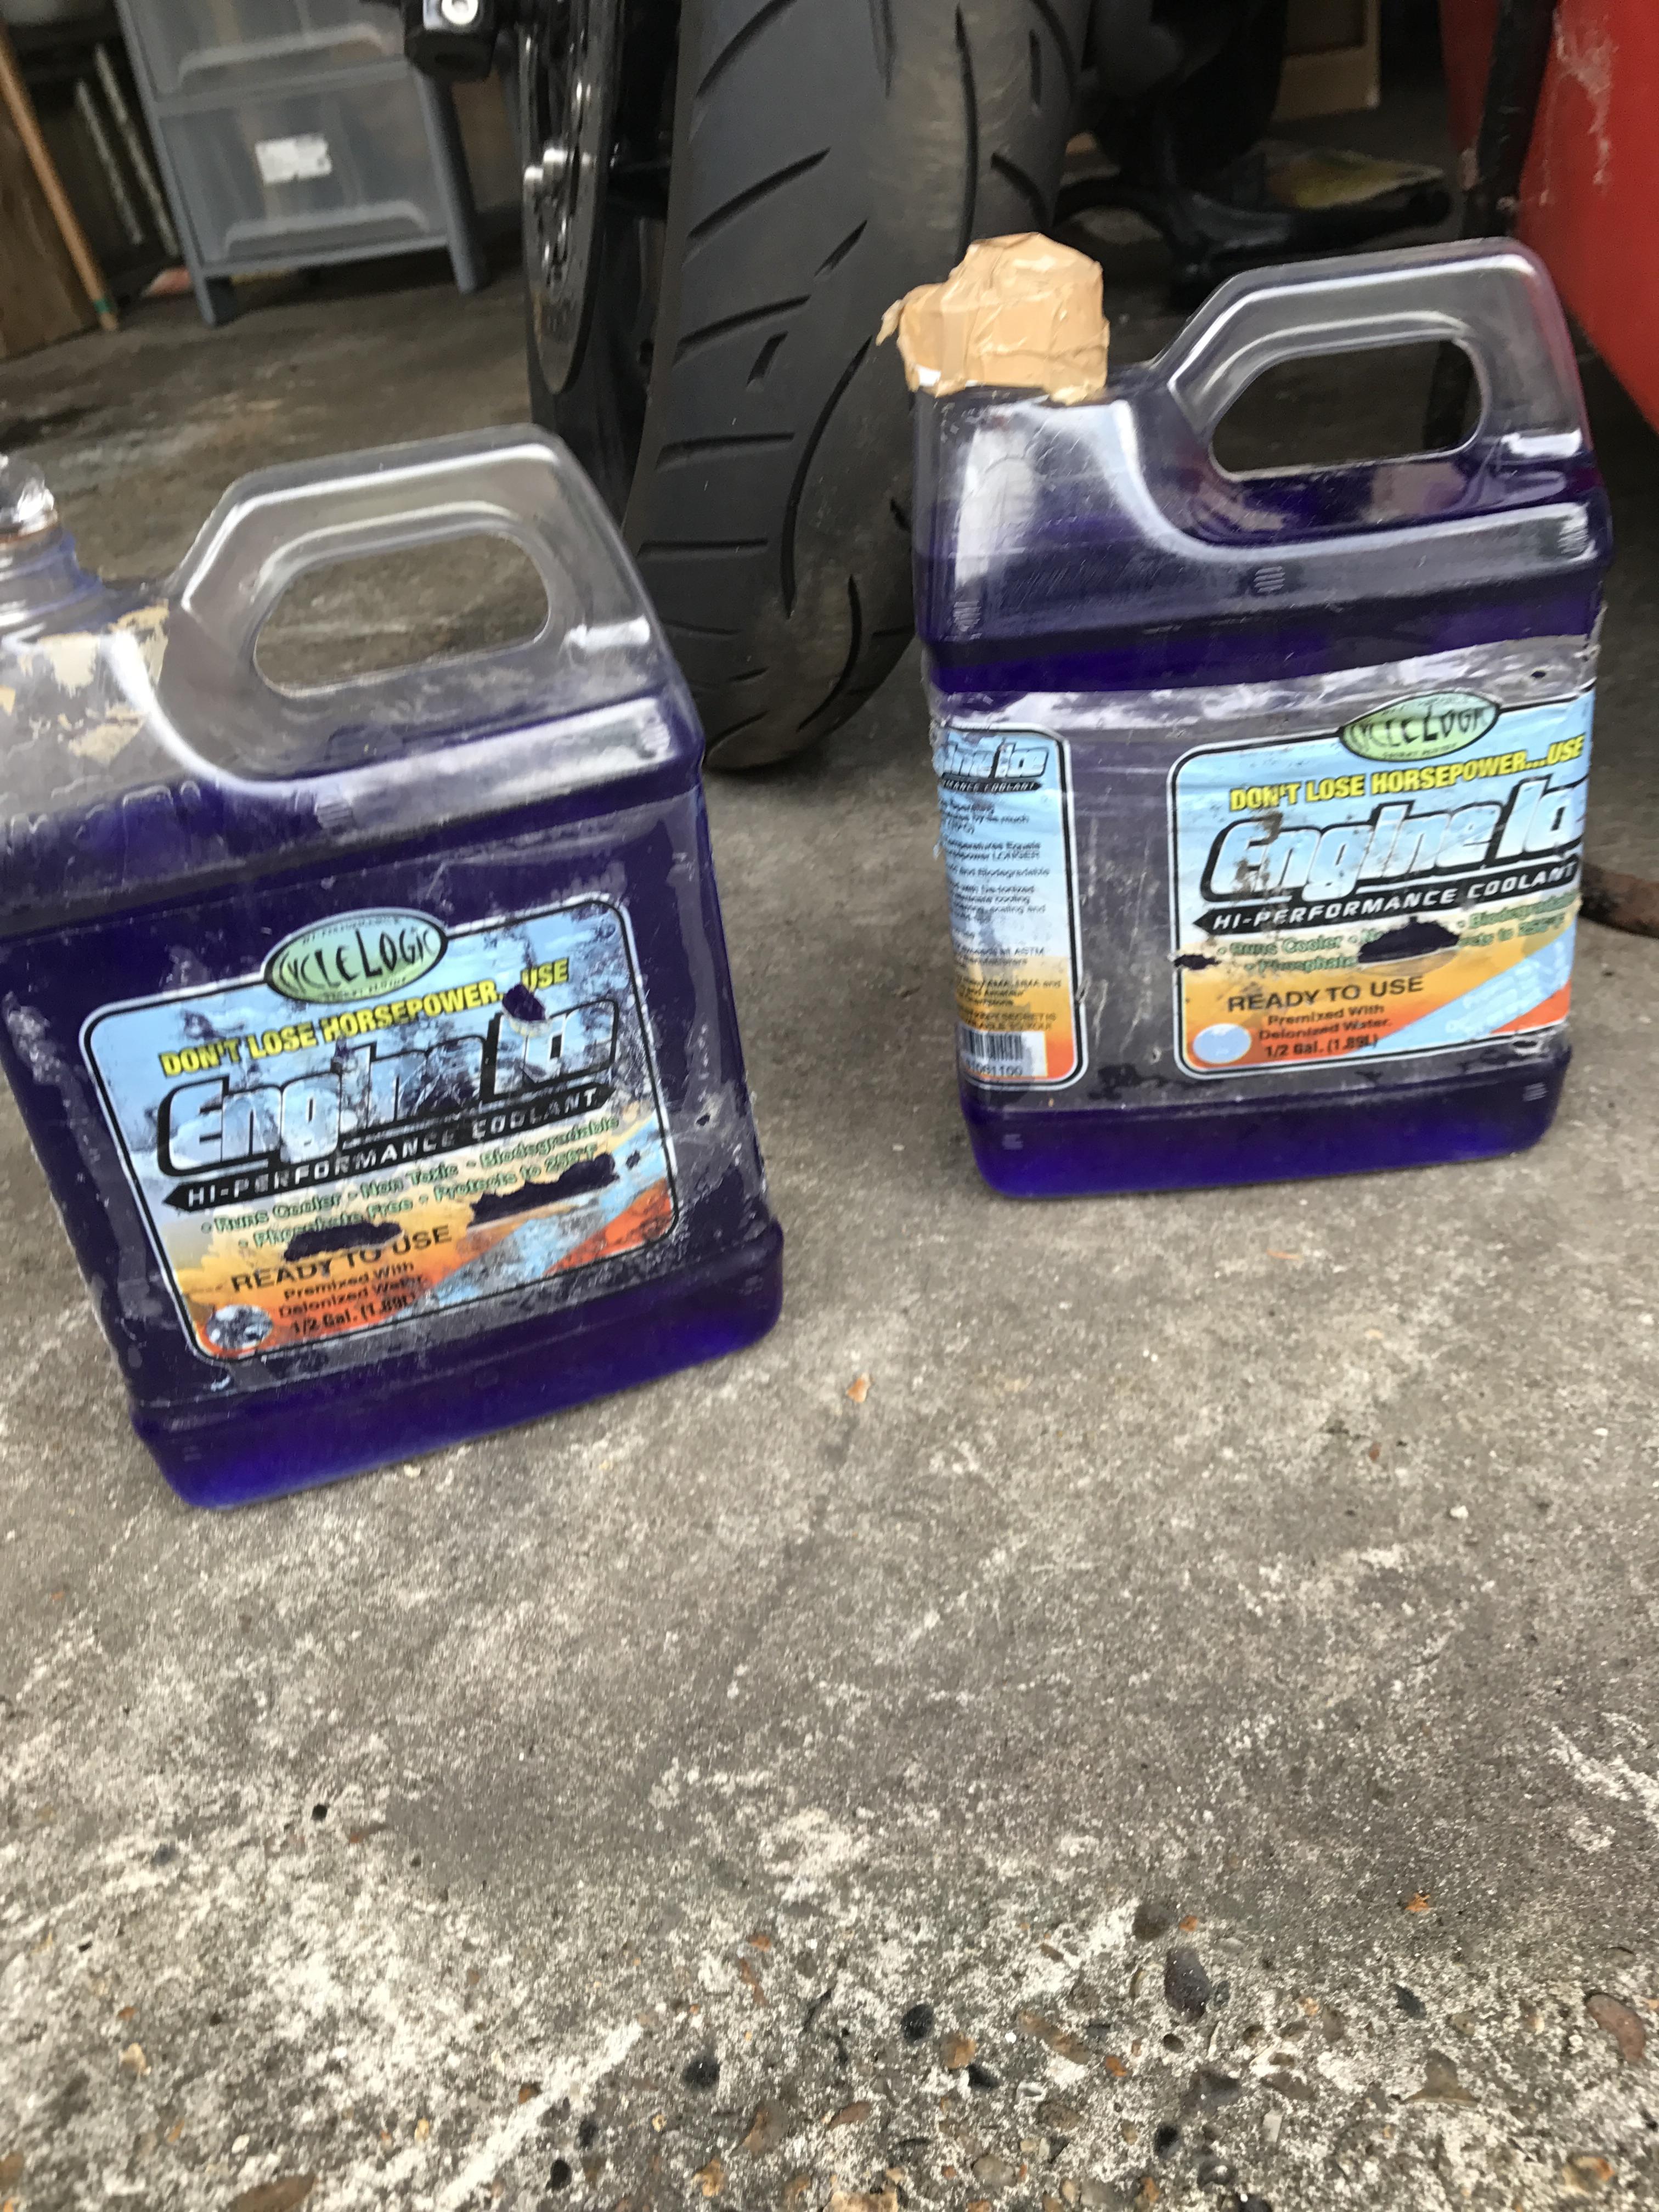
Hello All, Just did a thorough coolant flush and renew on my "new" 5th gen 1998 and set out the steps below. Hope it helps someone out. High mileage bike with what looks like poor maintenance. Thank God it's a Honda or it would be scrap by now. Anyway, I began by pulling the side fairings (I'm doing other work - you don't have to remove all the fairings like I did) and putting the bike on its side stand to drain the old fluid. Note the extreme lean angle achieved by finding a nice dip for the side stand. You can also just muscle the bike over to the left whilst lifting the front wheel. Easier than you might think. I found having the bike on an uphill slope drained the most coolant. To to drain the system remove the "odd" 5th bolt and washer on the thermostat (right hand side, near your foot peg). Place a container underneath and slowly unscrew the coolant filler cap. Unscrewing the cap lets air enter the system and it flushes really fast. WARNING: this stuff shoots about 4 feet! There is also a coolant drain bolt under the front left exhaust downpipe which is awkward to reach but also dribbles a bit of fluid if you really want to get every last drop out. I did, but it may not be necessary on a well maintained machine. Finally, detach the hose from the overflow bottle on the left and let that drain. It just pulls off easily. In all, I only got about 1.75 litres (nearly 1/2 gallon) of fluid out. The bike takes twice that to fill so clearly a maintenance fail by PO. Coolant looked red and dirty. Now the technical bit. I replaced all bolts/hoses and refilled the system slowly with equal mix of distilled water and white vinegar. Vinegar helps remove hard water deposits and scale from aluminium and is used to clean coffee machines. The engine was set to idle and vinegar mix circulated for a while to thoroughly clean the system internally. I ensured the thermostat kicked in and juice was fully circulated by waiting until the cooling fan kicked in. Another way to check is by massaging the cooling system hoses and feeling when they warm up. Or you can look down the filler neck and see the fluid flow. After it cools you drain the system again as described. Strong vinegar smell and coolant was full of crud that the acid had cleared out. Really happy with results. Now I had to neutralise the acid from the vinegar (don't want that corroding the aluminium) so I mixed up some Soda Crystals in distilled water and filled her up again. Soda is a base and will neutralise the vinegar's acid. Luckily soda is a buffered base so you can't add too much - it never overdoes it. I poured it through an old sock to filter out any undesolved soda crystals. Ran the soda water to full temp as before, let cool and drain. Weaker vinegar smell came out and the coolant looked like it had collected a bit more crud so I was very pleased. Next step is to rinse the soda residues out so filled the system up with 100% distilled water and ran it for some time. Let cool and drain as before. This time I poured a few jugs of distilled water through the system with the drain bolts out, just to flush straight through. Fitted new bonded washers to the drain bolts because someone had been a bit heavy-handed tightening them and I could feel the threads were damaged. The bonded washers seal easier than copper washers (don't need as much tightening) which gives the threads a break. Steel bolts into alloy is always a recipe for disaster so I do the same with my sump plugs. Really saves the threads. Ran a die tap over the bolts to straighten the threads and applied a light smear of copper ease. Good as new. Remember to burp you cooling system by blipping the throttle hard a couple times and massaging the hoses. Cranking the bike over sideways also helps get air bubbles out. Pouring the coolant in slowly (no glugging) is also helpful. Now the the system is perfectly cleaned and I am confident in it once more. Happy days! Stray
-
Cool Tip: Replacing Tail Light Bulb... With Turn Signal Bulb :)
Stray replied to HumalogAddict's topic in Maintenance Guides
I know this is an old thread but I just wanted to say a big THANK YOU to the OP for this info. I've been spannering around bikes for decades but never knew this clever little trick. Stray