
Baileyrock
-
Posts
5,264 -
Joined
-
Last visited
-
Days Won
51
Content Type
Forums
Profiles
Gallery
Blogs
Downloads
Events
Everything posted by Baileyrock
-
Thanks again for posting this up! :rolleyes:
-
Very nice shot! :fing02:
-
 I like it! :biggrin:
 -
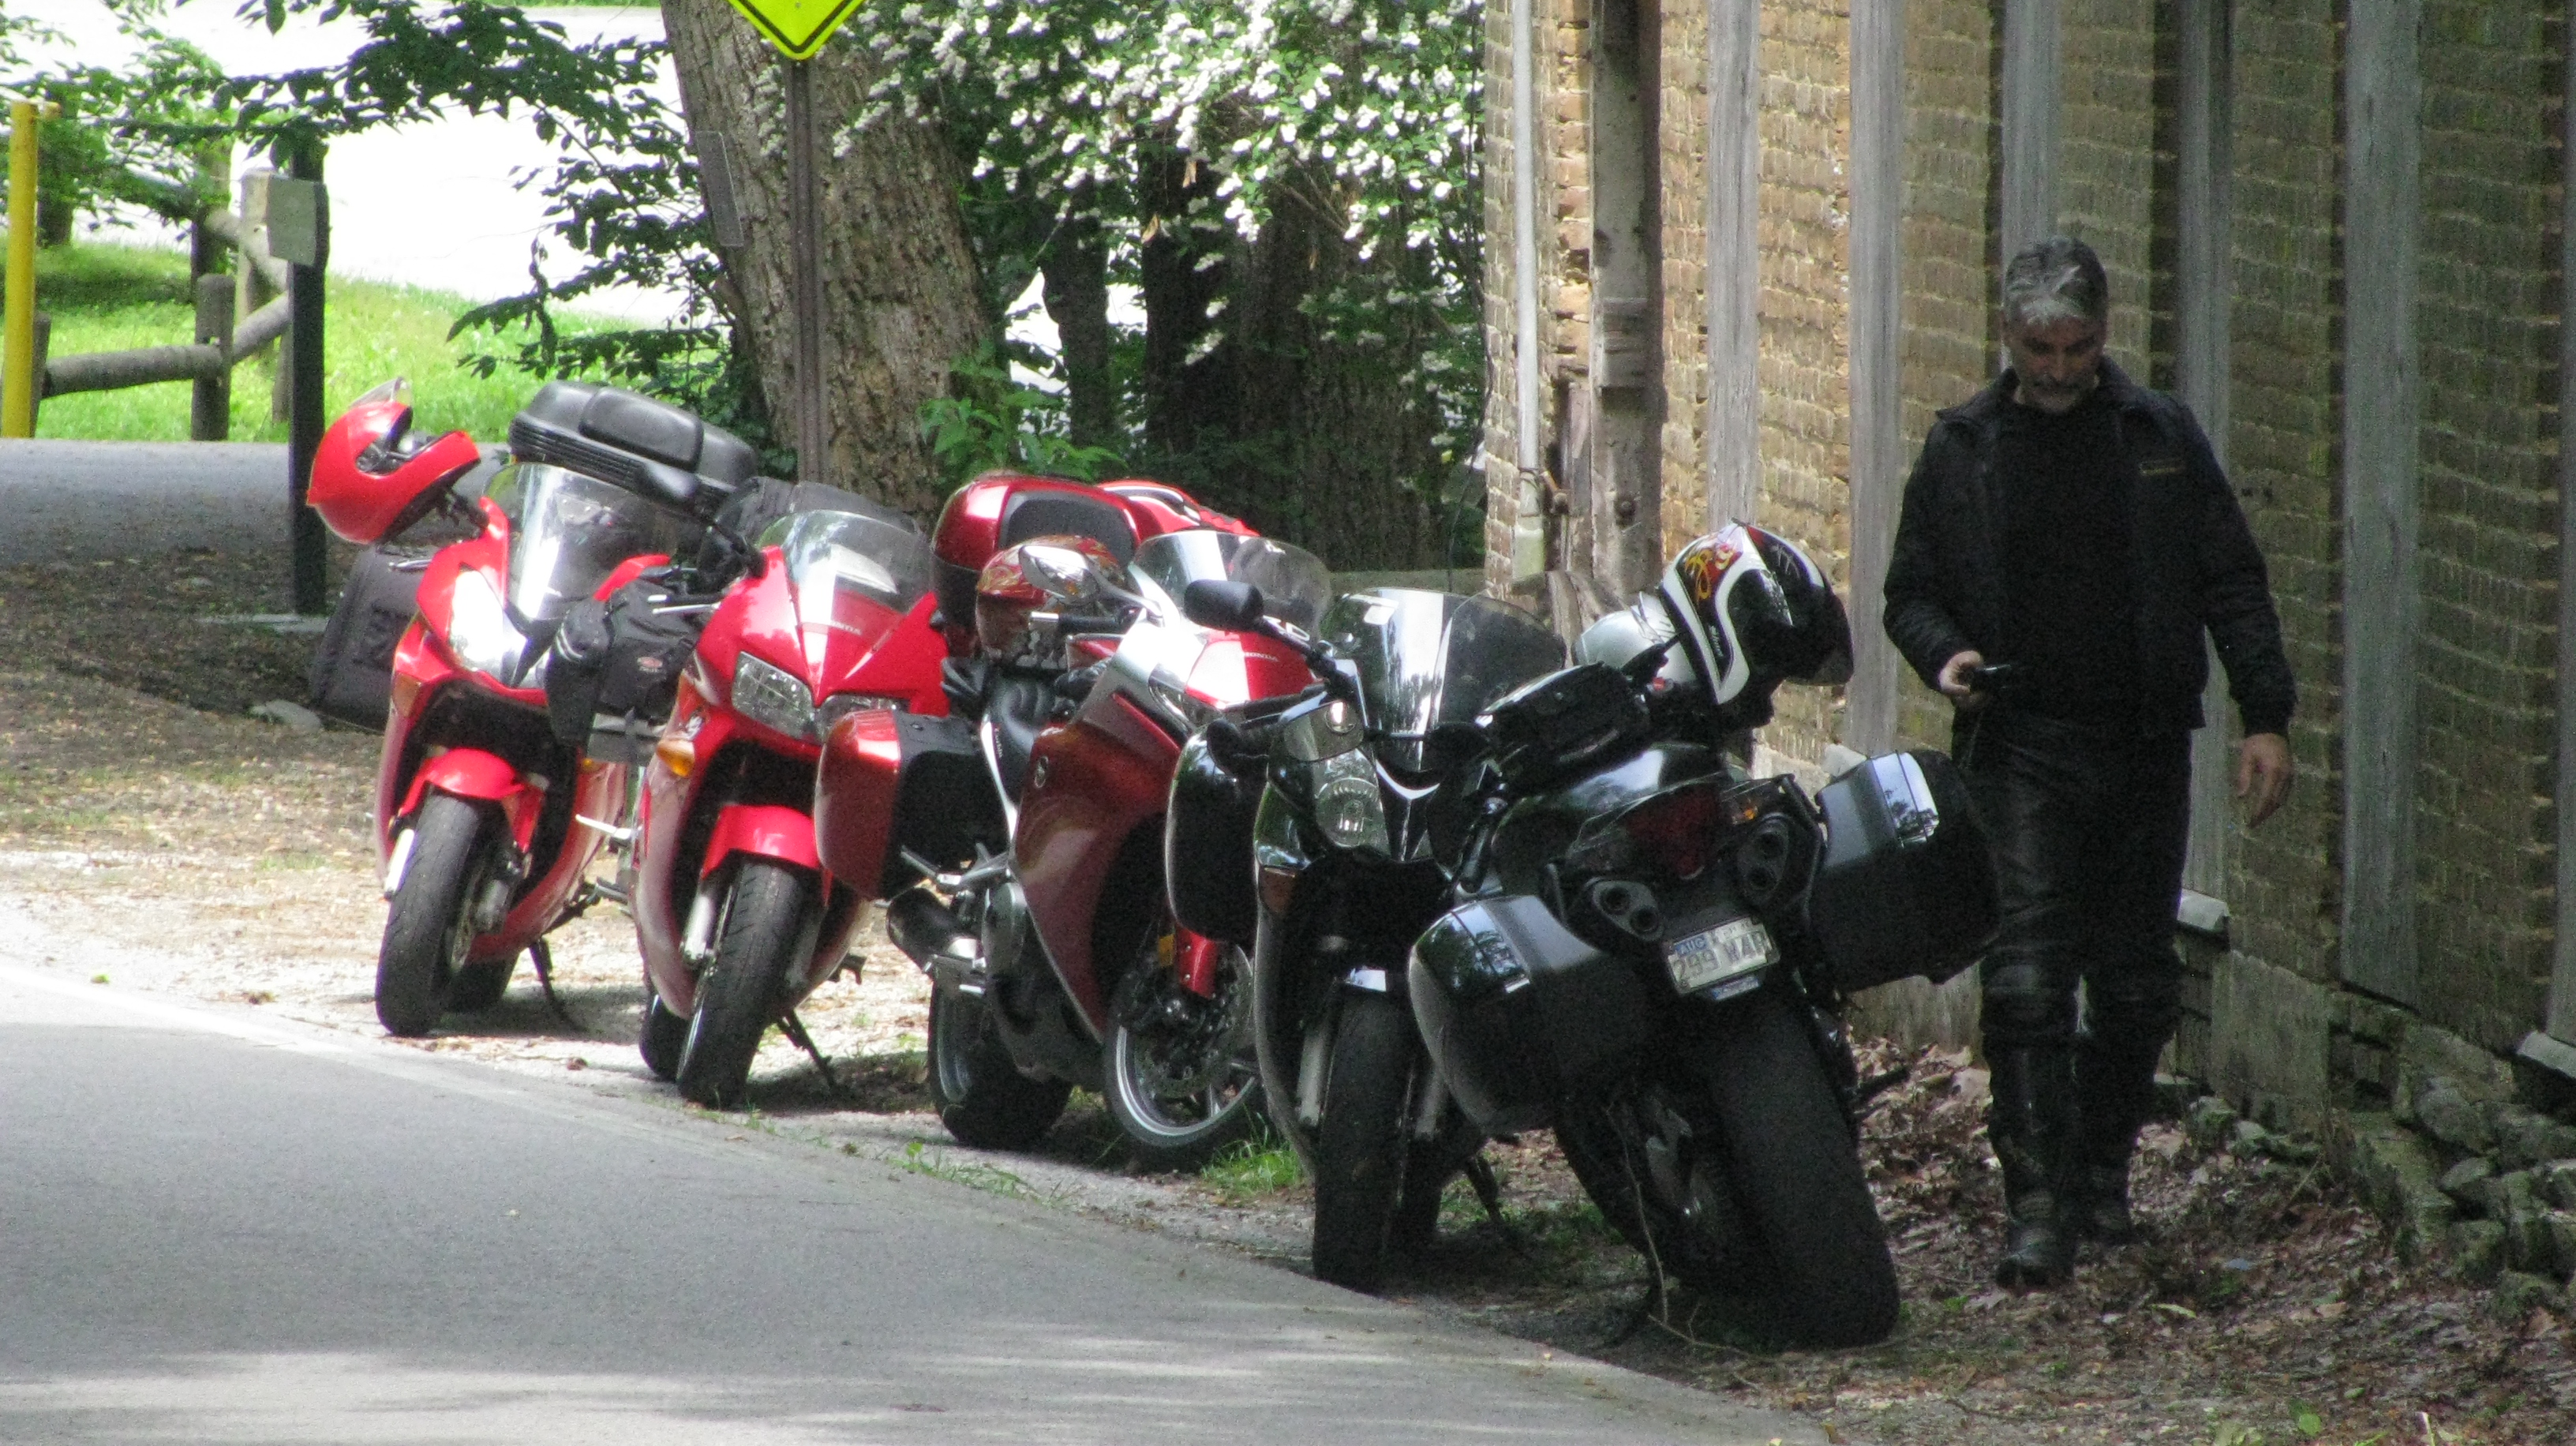
 Awesome! :biggrin: Always funny to see mirrors & open lights ot track days elsewhere as it's not legal here in the USA.
 -
 Beauty!!! Bike and pic!!! :rolleyes: Those F3 wheels and VTR forks on it?
 -
That was a Major weight savings Move! :unsure: Thanks Beck, It doesn't really matter if a different model has a drain hole/plug or not, I'm mostly referring to later model VFR's but didn't want to just stick this method in the 6th gen section as it should apply to most any conventional cartridge fork equipped bike. It should also allow better cleaning/flushing than even drain plug equipped forks and allows you to mod the comp. & rebound valves or shim stacks while your in there and with a fraction of the labor time involved vs standard fork removal to do the same work. :fing02:
-
And I'm the one on DRUGS! :blush: Glad we got it figured out! :unsure:
-
The results look great, nice job! :fing02: BTW damn, what a Post Ho! :unsure:
-
You are a smart man my friend, I bet that is exactly it! :fing02:
-
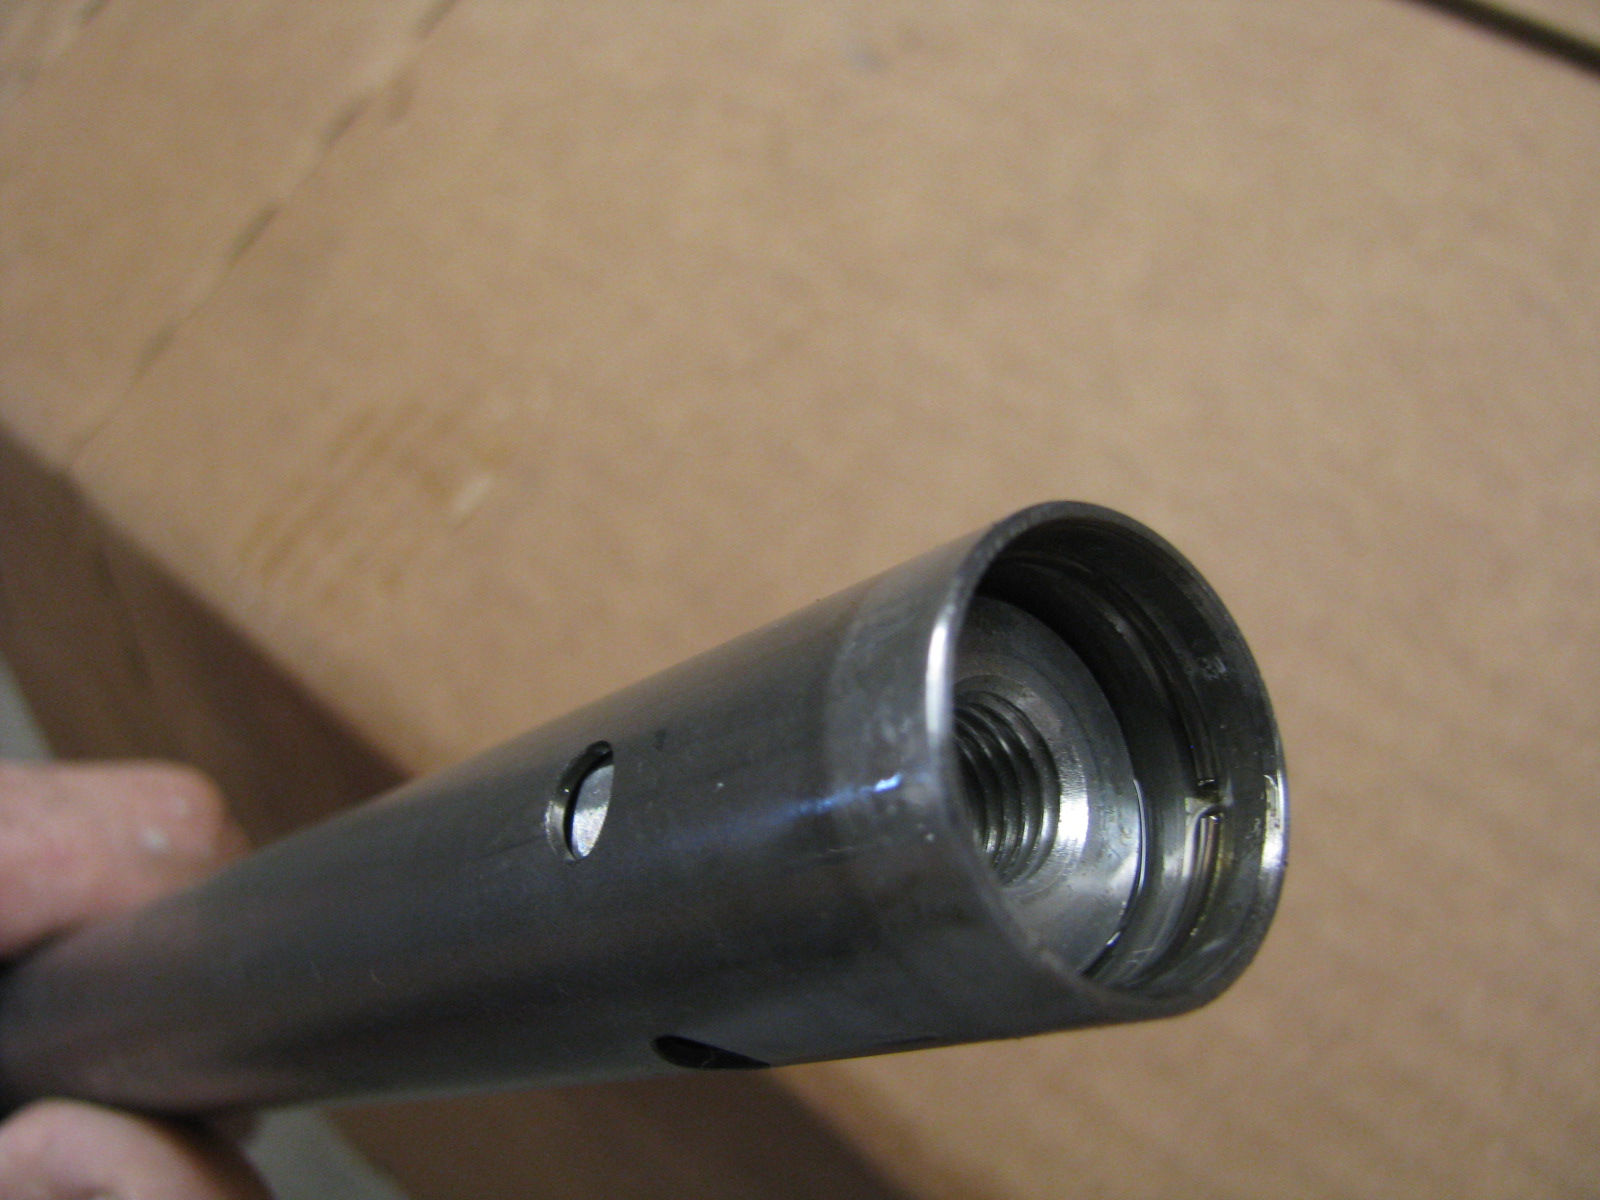
No, that's the point. There is no drainage bolt per say on either fork, it's just the bolt that holds the cartridge in place. The bolt location is identical, in fact every conventional fork has to have the same set-up to hold the cartridge assembly in the bottom of the fork tubes and the axle would be in the way one each one. Don't know if it's my picture or what making you believe there different because there is NO drain bolt on the side of the F4i fork? Now there are some forks, usually older one's that have extra drain bolts on the bottom sides of the forks, but VFR & F4/f4i's are not one's. :fing02: I hope I've clarified what I'm saying this time. :unsure: :blush: BR
-
Most manuals show a number (distance from top of fork tube to top of oil in a compressed fork w/no spring in it) like 110 mm. They use to show cc's, but don't seem to do that any more. There a simple tool they sell that you just set the mm's needed and slide a tube down into the fork, you suck out any extra above the desired distance. :angry:
-
Actually the VFR & F4i forks are exactly the same design as far as bolt location, the only difference is that the VFR uses a smaller bolt size than the F4i. Still no need to pull the wheel, just remove the axle (& pinch bolt if needed) and you have full access to the bolts in the bottom of the forks. Also no reason not be able to flush every bit of old oil from the tubes when there empty and use compress air to blow out any remaining flushing fluid that might still be there. :ohmy: Easy, simple, quick! Unless you need to replace seals or tube bushings there's no reason to pull the forks or any bodywork! :fing02:

-
For whatever reason any method other than an air impact just doesn't seem to work as well! You can use my impact anytime you want and I have a mini compressor your can use to run it if you don't have one! :fing02:
-
I have Not made it out to the shop yet! :blink: This work was done prior to my crash! :beer: I've never had an issue removing the bottom fork bolt as long as I keep the fork fully assembled and us a Impact wrench! :dry:
-
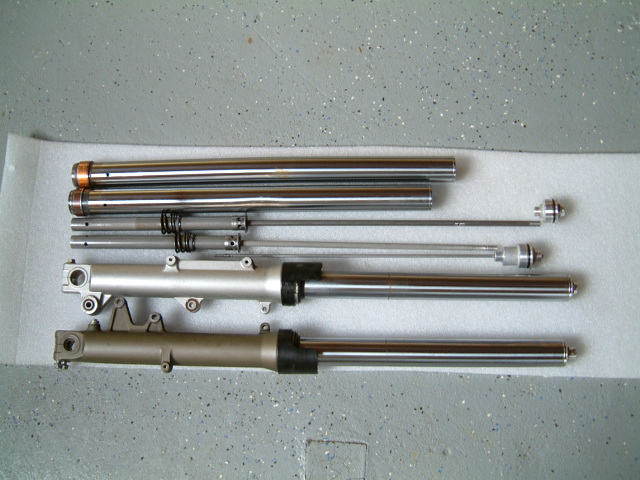
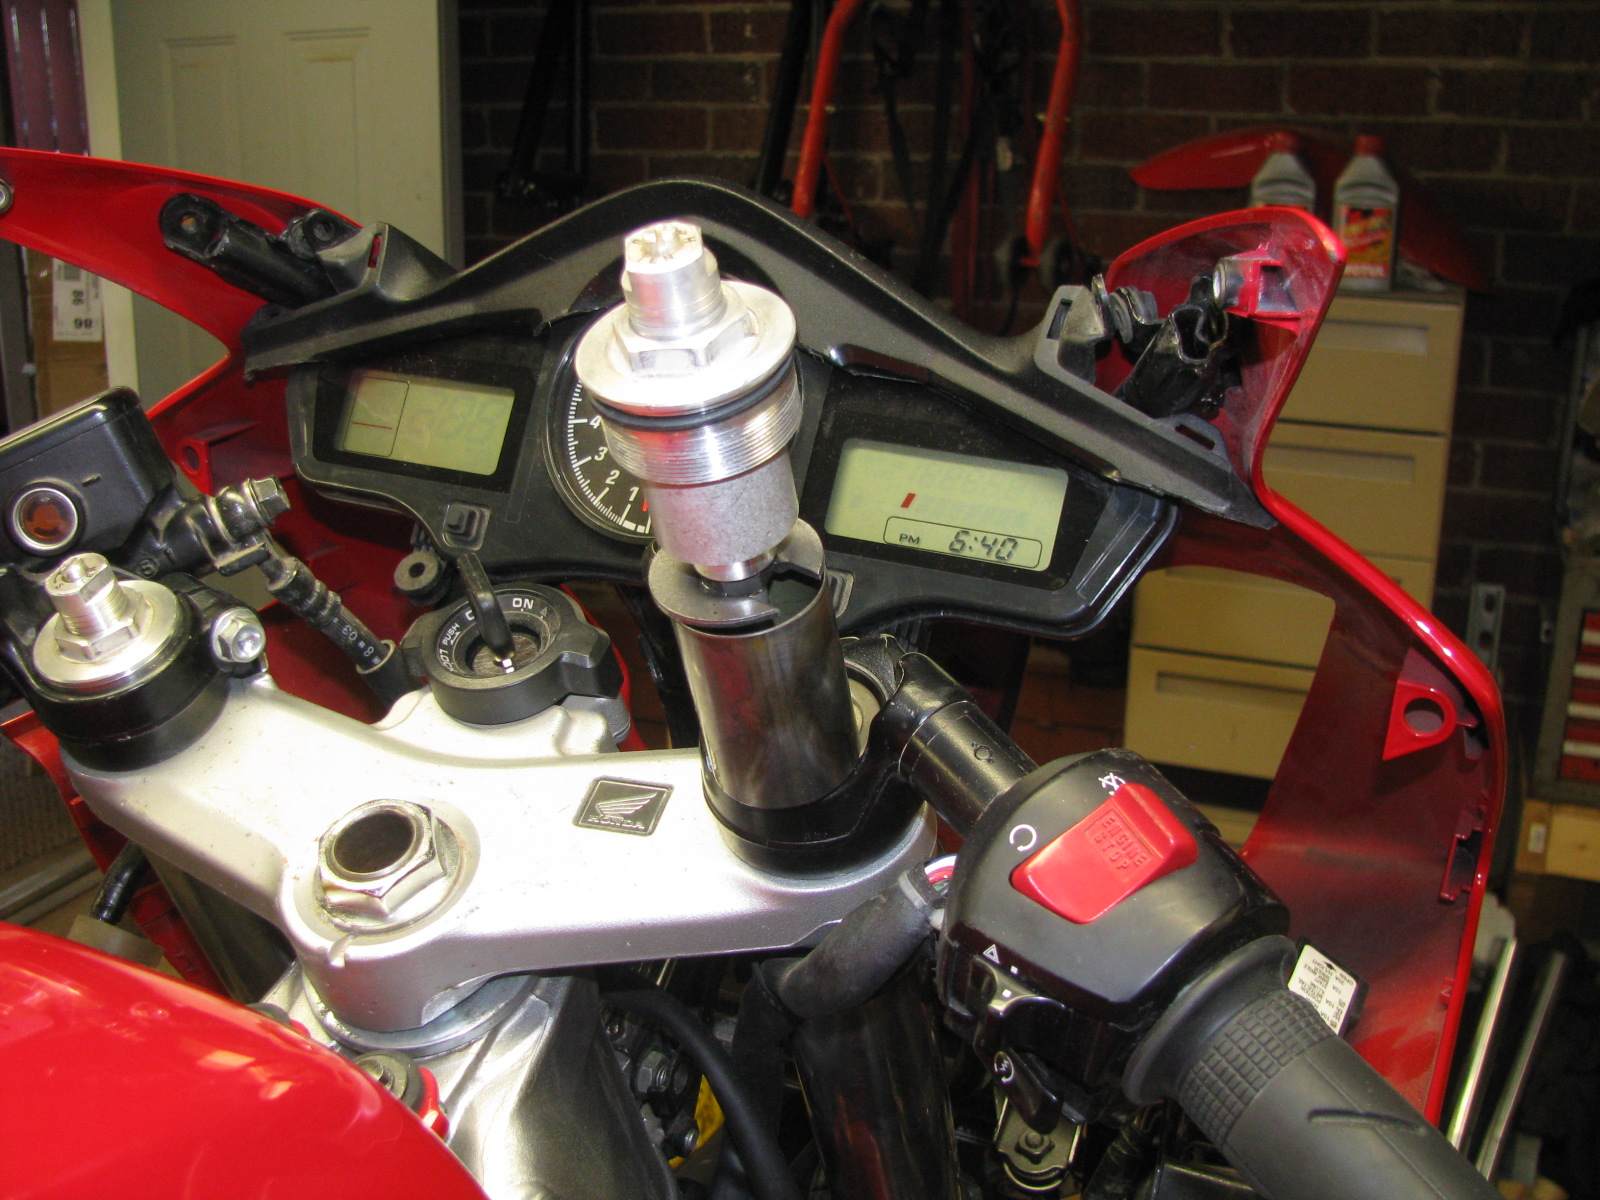
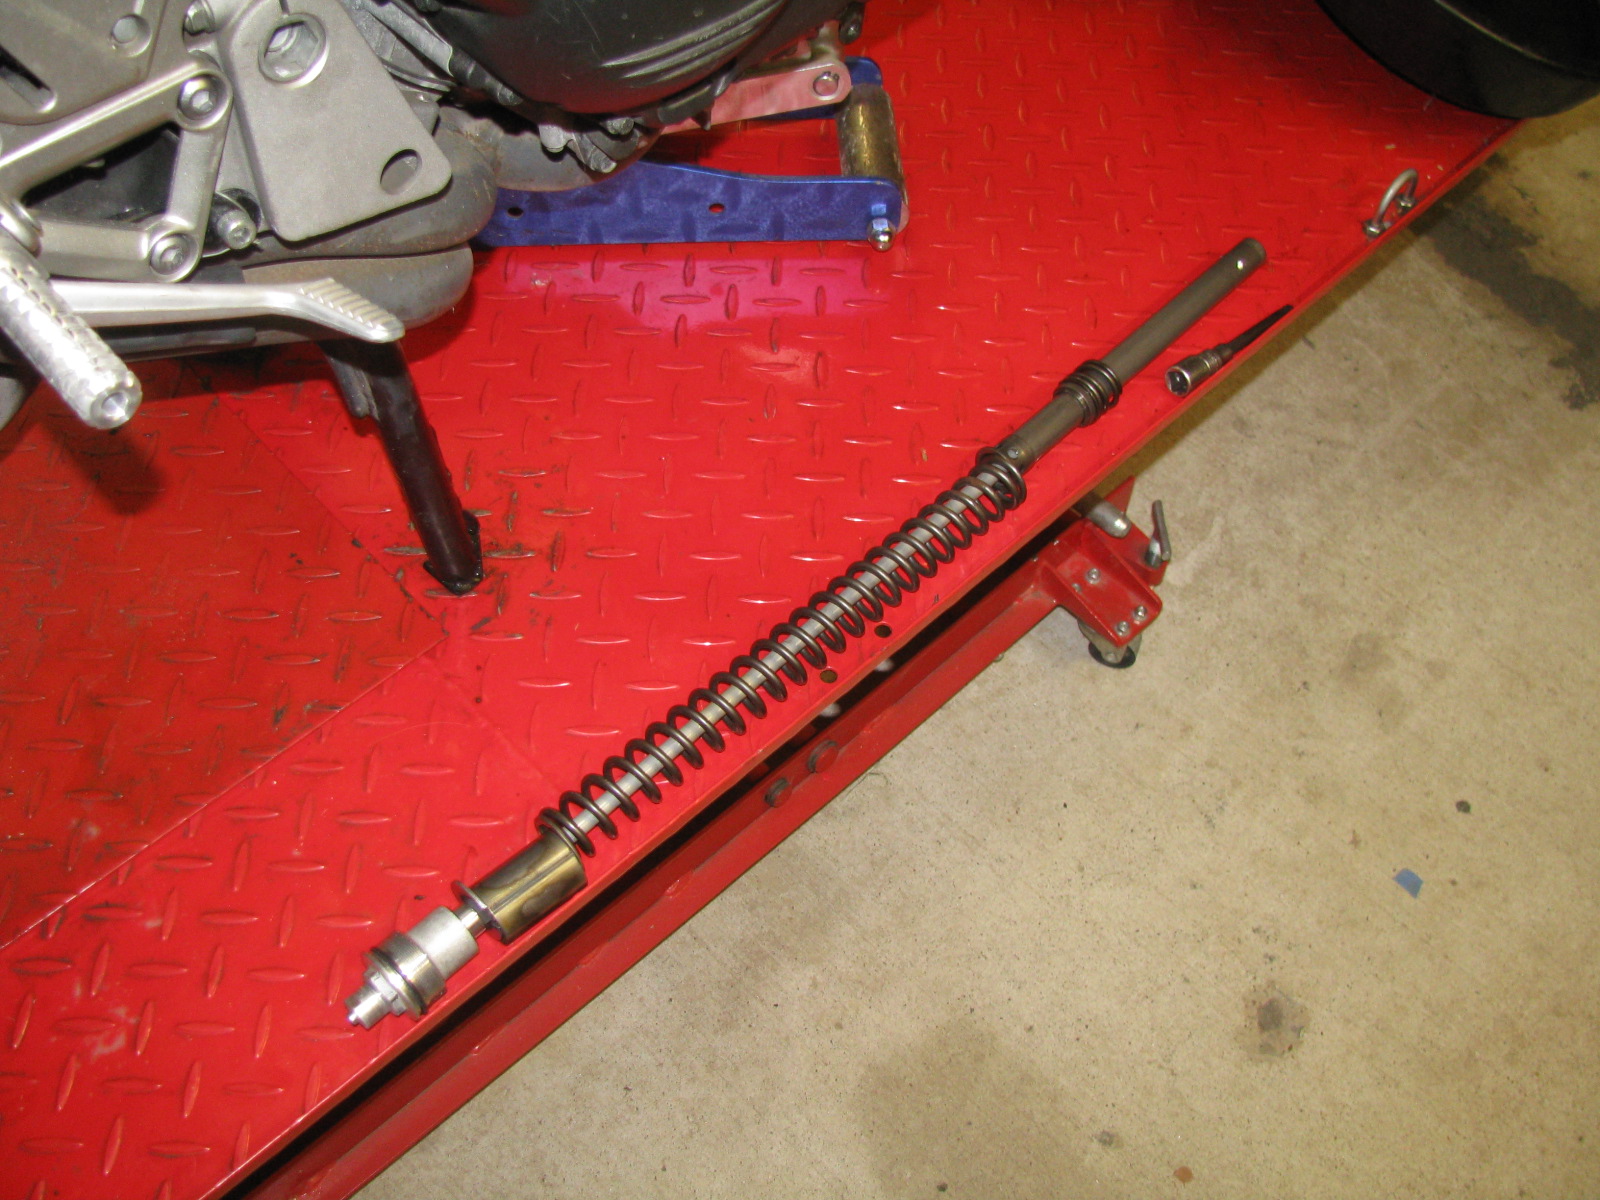
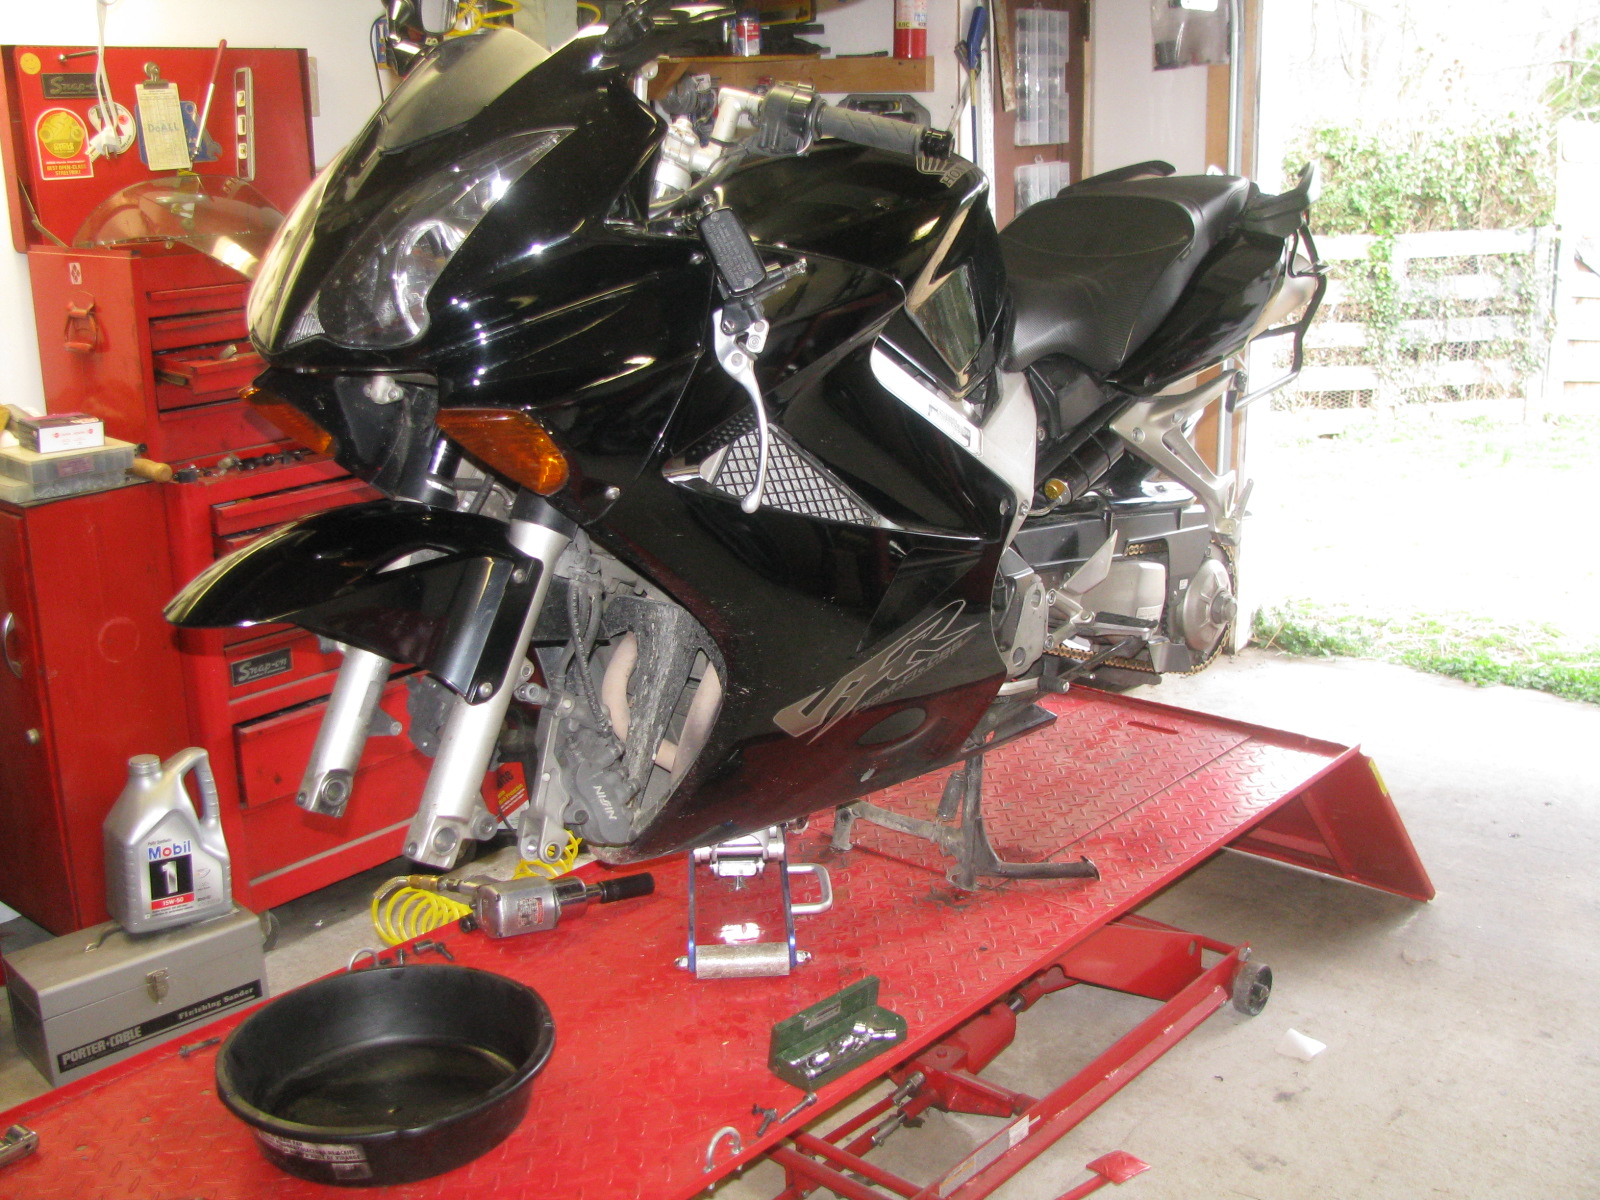
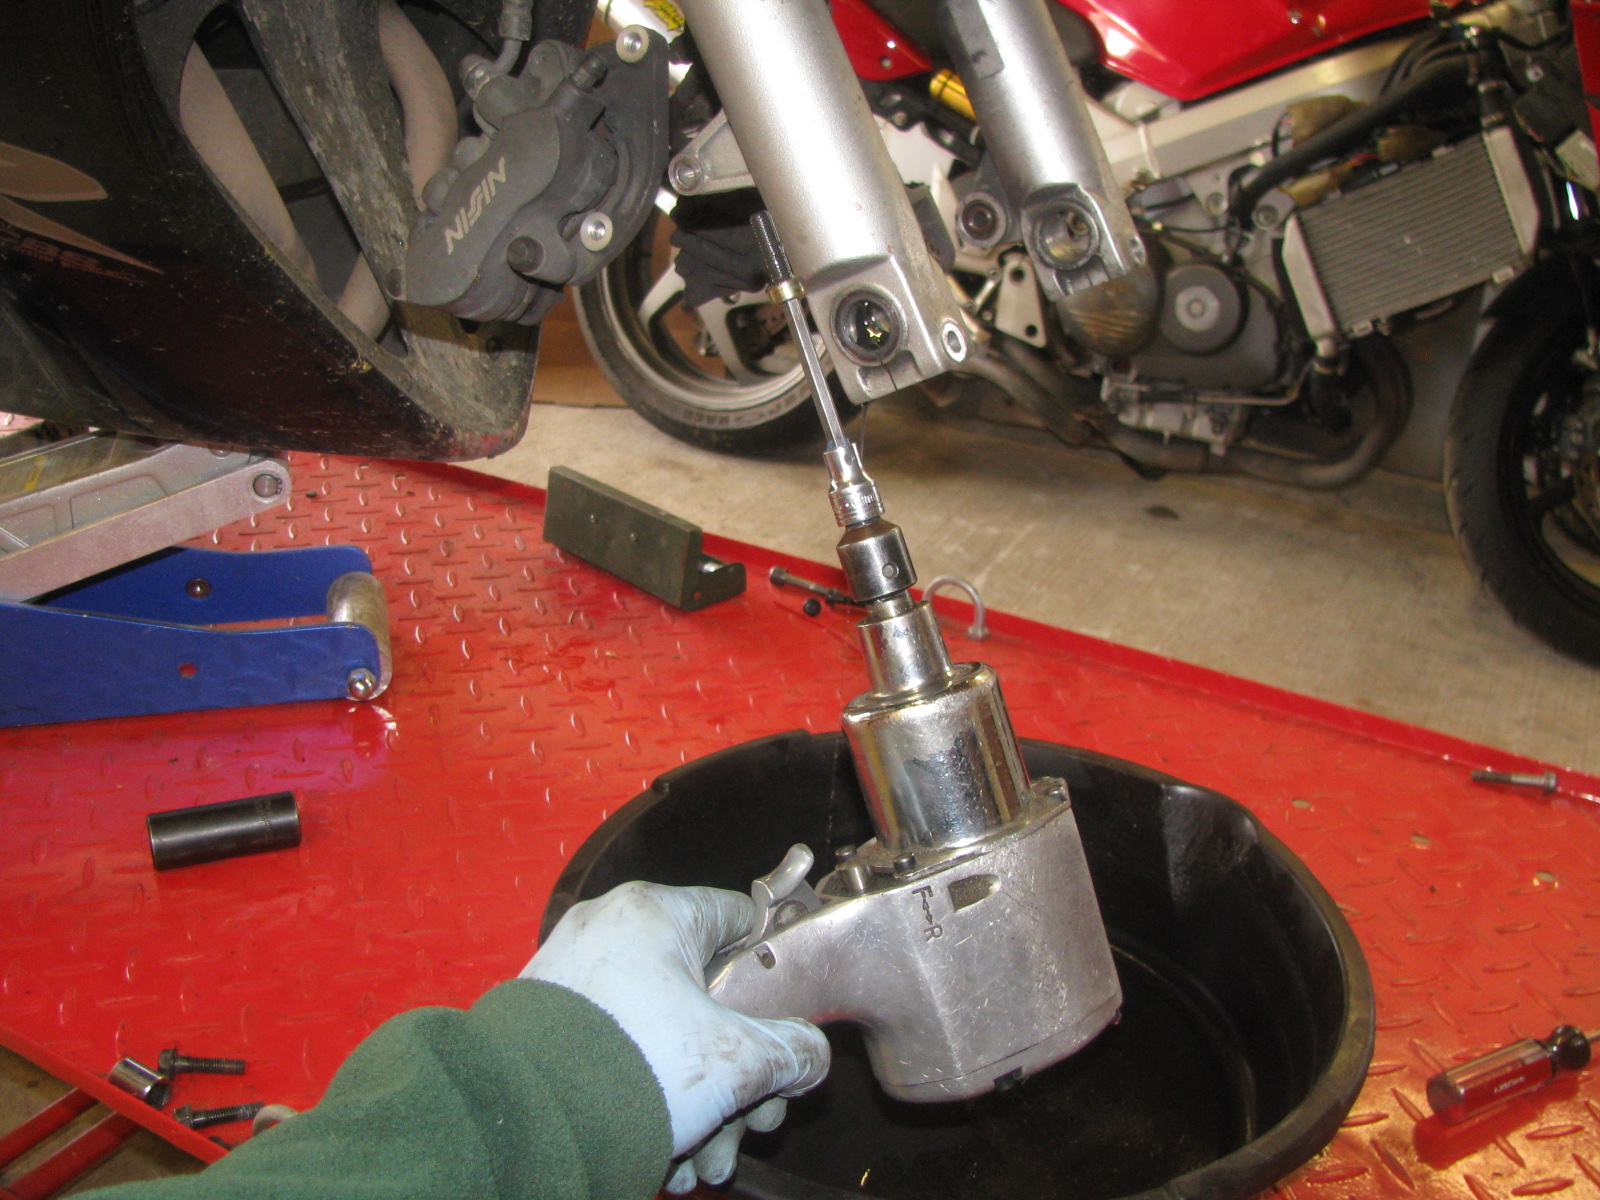
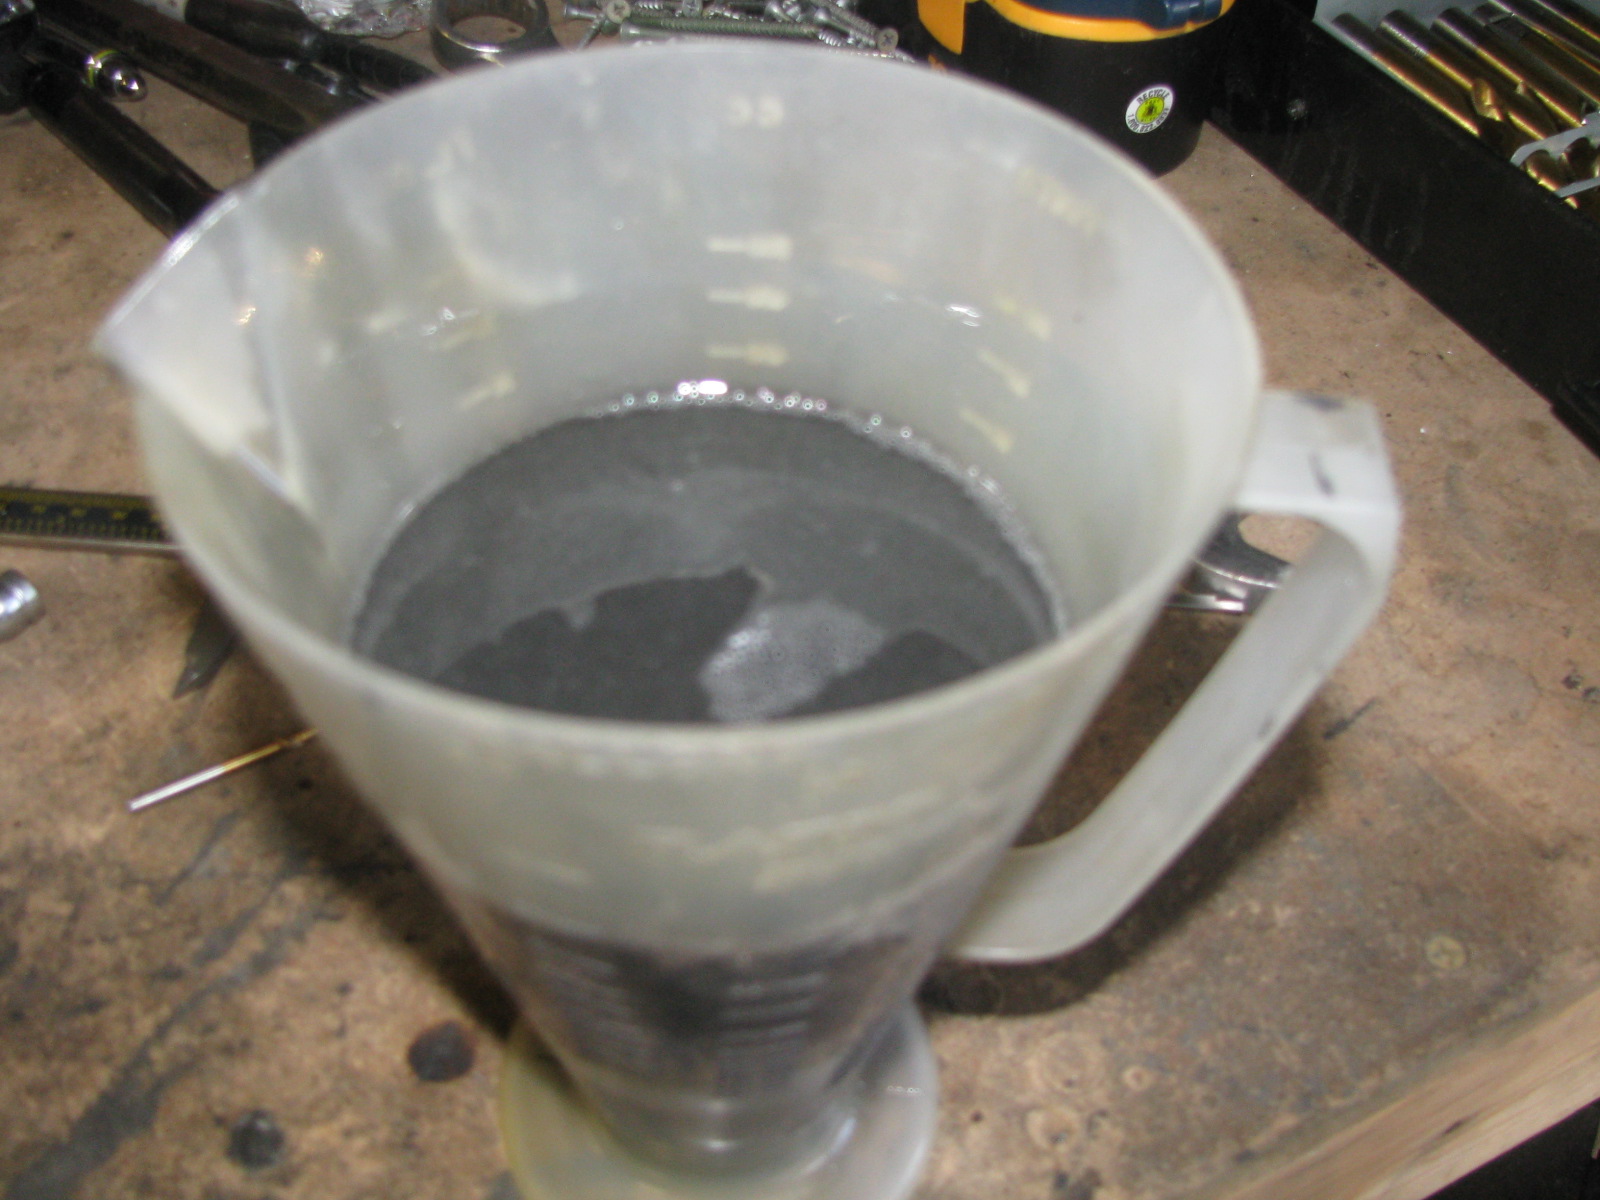
Actually I was changing out comp. & rebound valves, but no reason you couldn't use this method for the same or just a quick oil change. :beer: Click on any pic to enlarge! First off place bike on center stand and place a jack under the front of the exhaust headers and unload the front wheel(off ground). Then remove the axle (I did not remove the calipers or wheel) Place a drain pan under the fork leg (I suggest only doing one side at a time) and remove the bolt in the bottom of the fork leg that holds the dampen rod assy. Some oil will drain at this point, now remove fork cap and allow the remaining oil to drain. Now you can remove the entire cartridge assy. (Note these are F4i forks on my track Vtec) At this point you can clean & rebuild the cartridge assy on the bench (I changed both the comp. & rebound valve assy & fork springs) and with empty tubes, you can easily flush out the fork tubes while still on the bike. If you want/need to work on either valve you need to push the lower valve(comp) up into the bottom of the cartridge to expose the inner c-clip, once removed (C-clip) you just push everything out the bottom of the cartridge with the upper rod. I reinstall the fork Cap and tighten the bottom bolt again. Repeat procedure on the other fork! At this point I reinstall the axle, then remove both caps & springs allowing me to add and set fork oil level. Pump/stroke the dampen rod several times until oil comes out the top of the inner tube, then reinstall springs and fork caps. Pump the forks a few times w/the brake on and tighten the last axle pinch bolt and your done! (Be sure to clean off any thing that may have got on rotors, pads or calipers) Nothing to it, quick & clean! :dry: BR's method 2213. Note: On oil level: I've already done all the calculations to achieve correct oil levels while forks are still on the bike! It amounts to ADDING 10mm from measured oil level height to give true level. ie: measure 100mm level on bike, actual is 110mm. You will need to add an additional 10cc of oil to compensate for the fork angle. If you have the actual cc amount (like 500cc's per leg) then you don't have to worry about it.
-
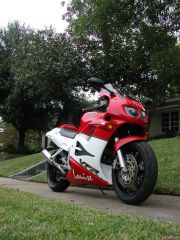
 Damn that is one Sweet bike! :rolleyes:
 -
 Pretty shot and nice looking bike! :rolleyes:
 -
Fun, educating & entertaining stuff here guys, I'm enjoying the process. Thanks :blink:
-
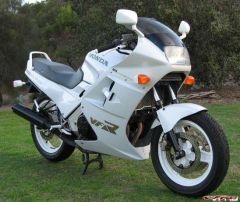
 Beautiful bike! :laugh:
 -
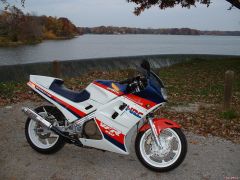
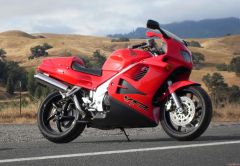
From the album: Baileyrock's ride's!
© ©vfdiscussion.com
-
 Always extra fun to see exposed lights on the VFR on those Canadian(?) track days. :excl:
 -
 Looks good! Must be one of those Canadian :dry: 's
 -
TELL ME WHAT YOU WANT TO KNOW AND I CAN EXPLAIN YOU What did you modify to make it work in the VFR frame? Was it too short/long? the lenght of the steering stem was ok I only had to machine the upper bearing zone and the threads to match honda ones, then you only have to put a collar on the upper triple tree to match the difference of diametres and you are done:) I'm not familiar with the 3 gen stem set-up, but I've had a set of 07 gsxr 600 forks sitting here for some time as they look to be a great 6th gen swap. They are the longest of any GSXR fork(close to rc51 range) 28 7/8"(733mm) and seem to use the same lower tree stem bearing as the Honda and as you found the stem seems to be a usable length. I was hoping to just find a upper bearing with the Honda O.D. & GSXR I.D.. :blush:
-
 "Use the Force" I am your father! :dry: Nice shot!
 -

Just Installed Power Commander 5 On My '06!
Baileyrock replied to coderighter's topic in Modifications
There are a few other posts on this as well, but only the old PCII's allow you to adjust ignition timing. They intercept the signal before the it gets to the ECU, and so it can tell the computer that the timing is mentally challenged, and the computer will advance it. PCIII and PCV's intercept the signal coming from the ECU to the fuel injectors control module (or something like that). A few users have done this, none have reported huge power gains, but as far as I know, no one has dyno'ed before and after to find out. Also, you'd need to use higher octane gas. This is another mod that would only help when WOT in the upper RPM range. There were also PCIIIr's that also controlled ignition timing along with the fuel map! :biggrin: