zoomzoom
-
Posts
510 -
Joined
-
Last visited
-
Days Won
7
Content Type
Forums
Profiles
Gallery
Blogs
Downloads
Events
Everything posted by zoomzoom
-
Another new member...another restoration/slight modification
zoomzoom replied to Loftust's topic in Official Welcome Forum
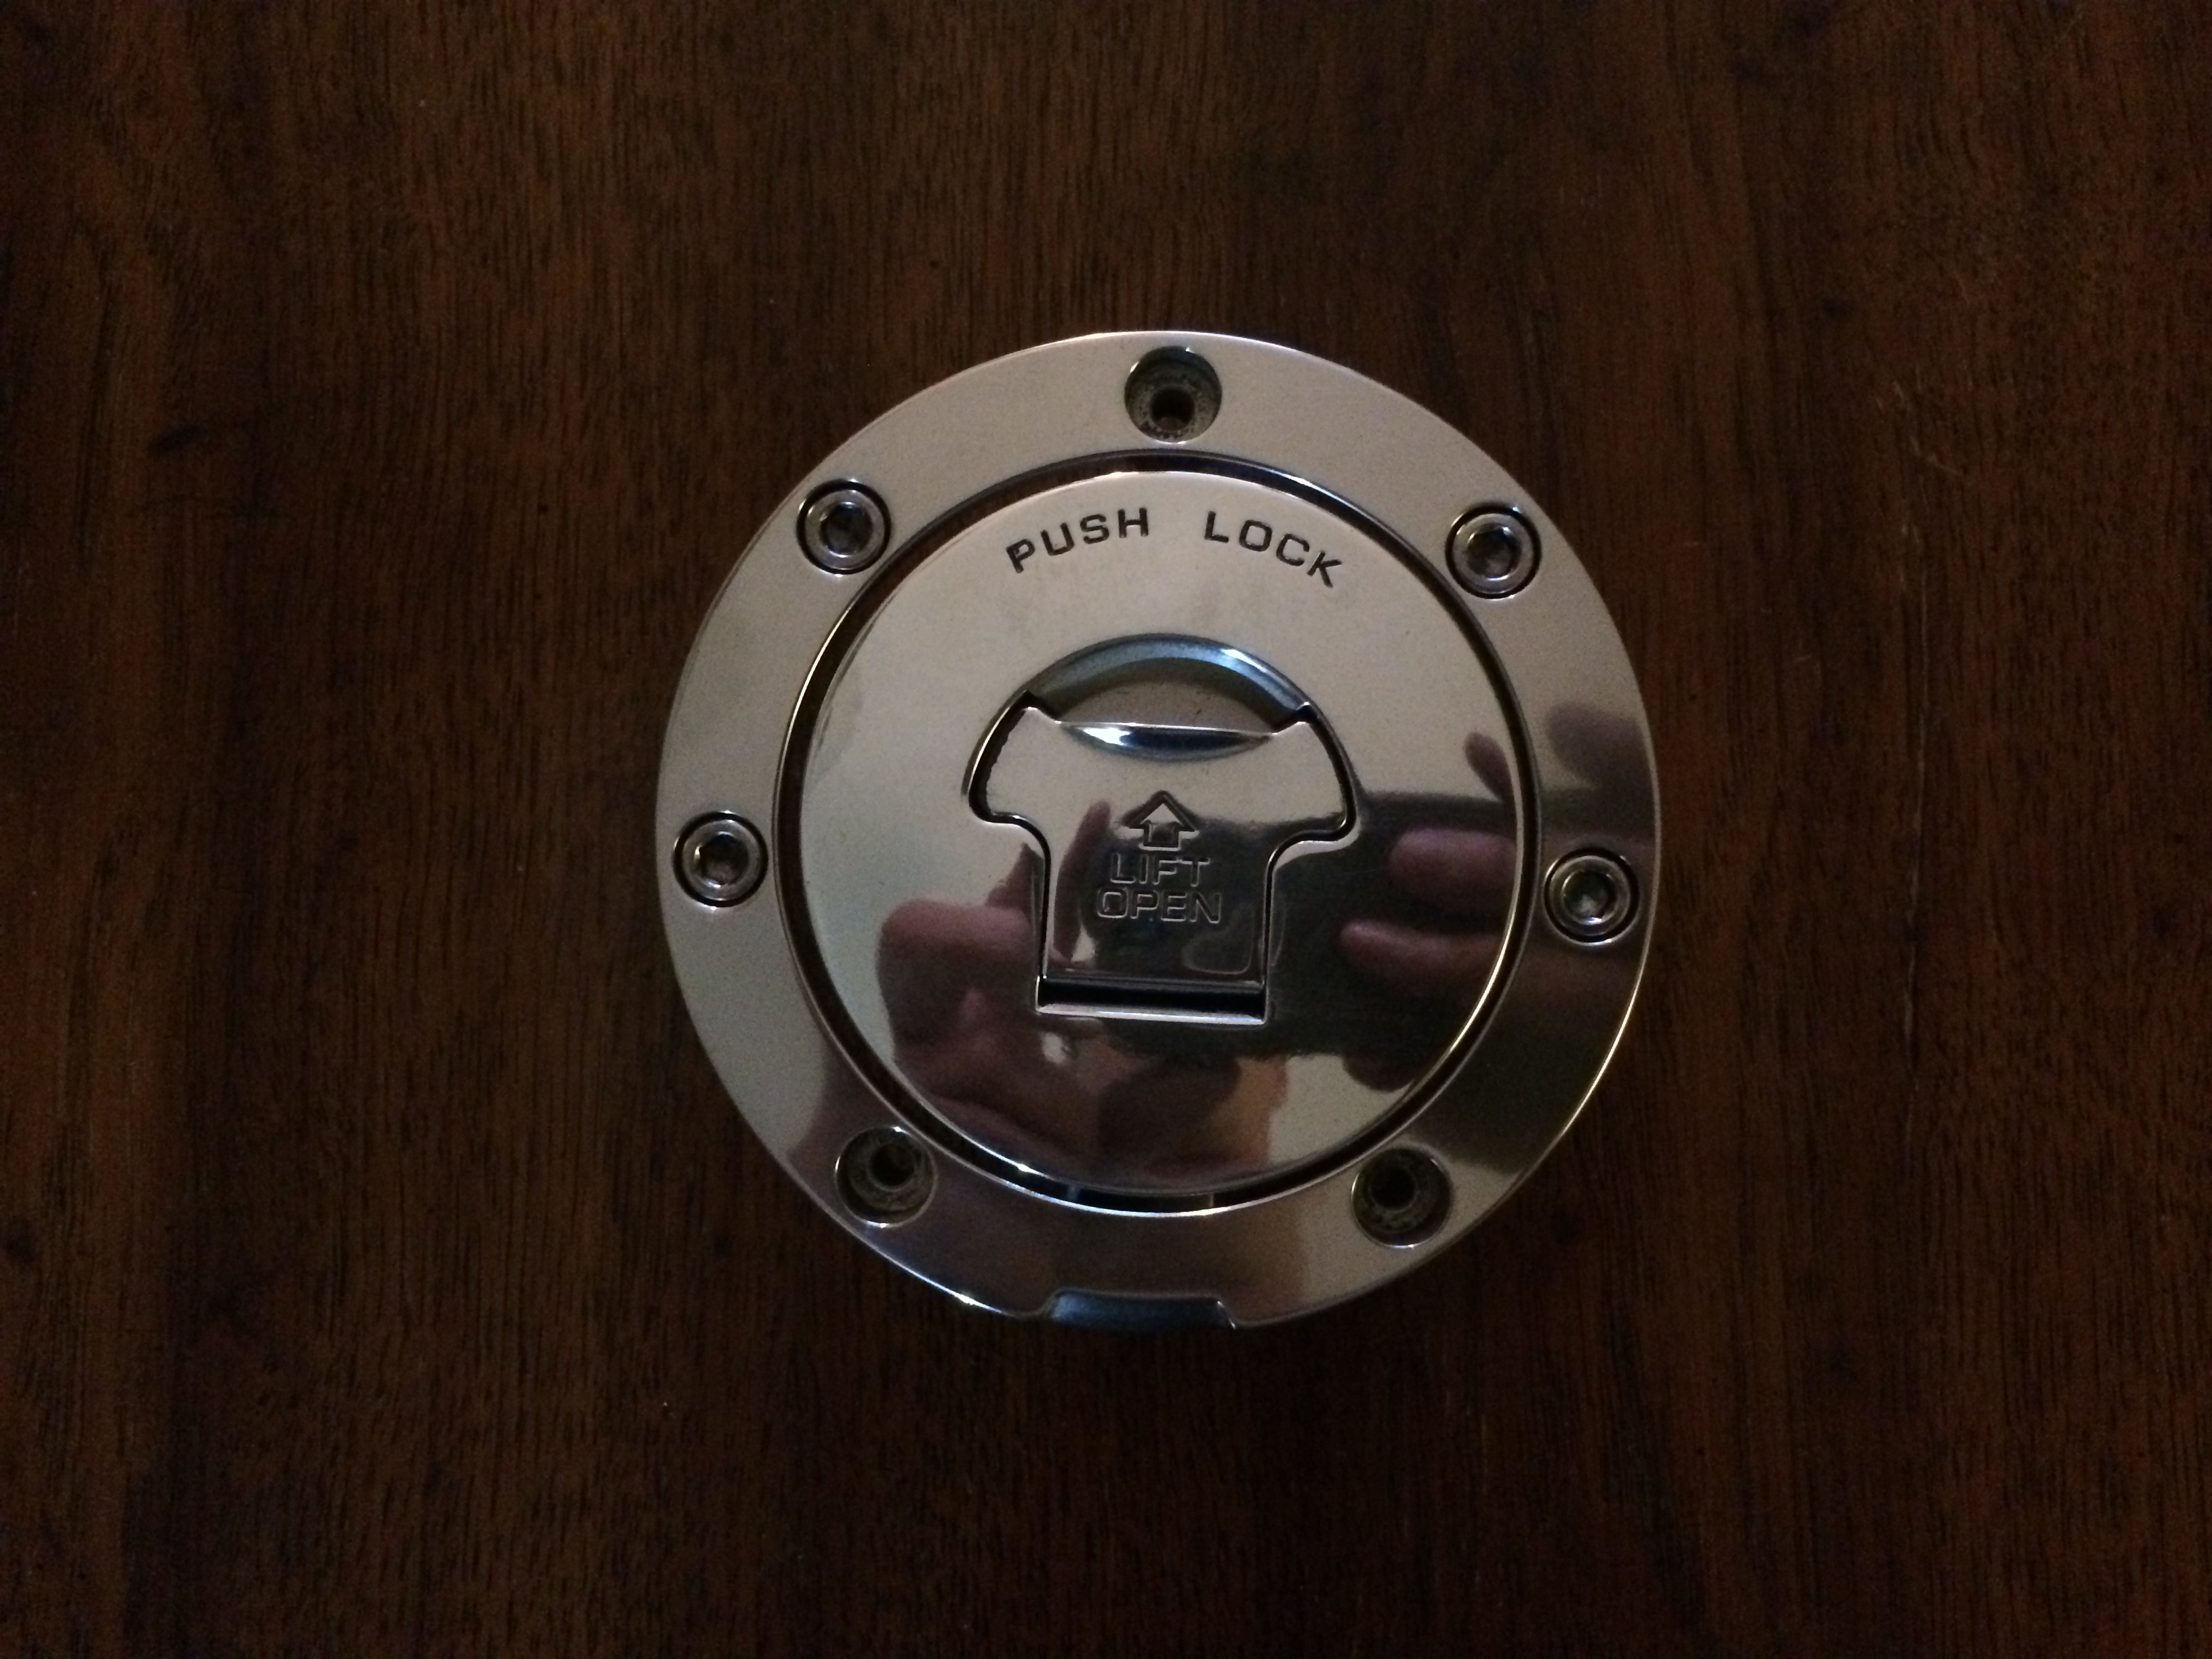
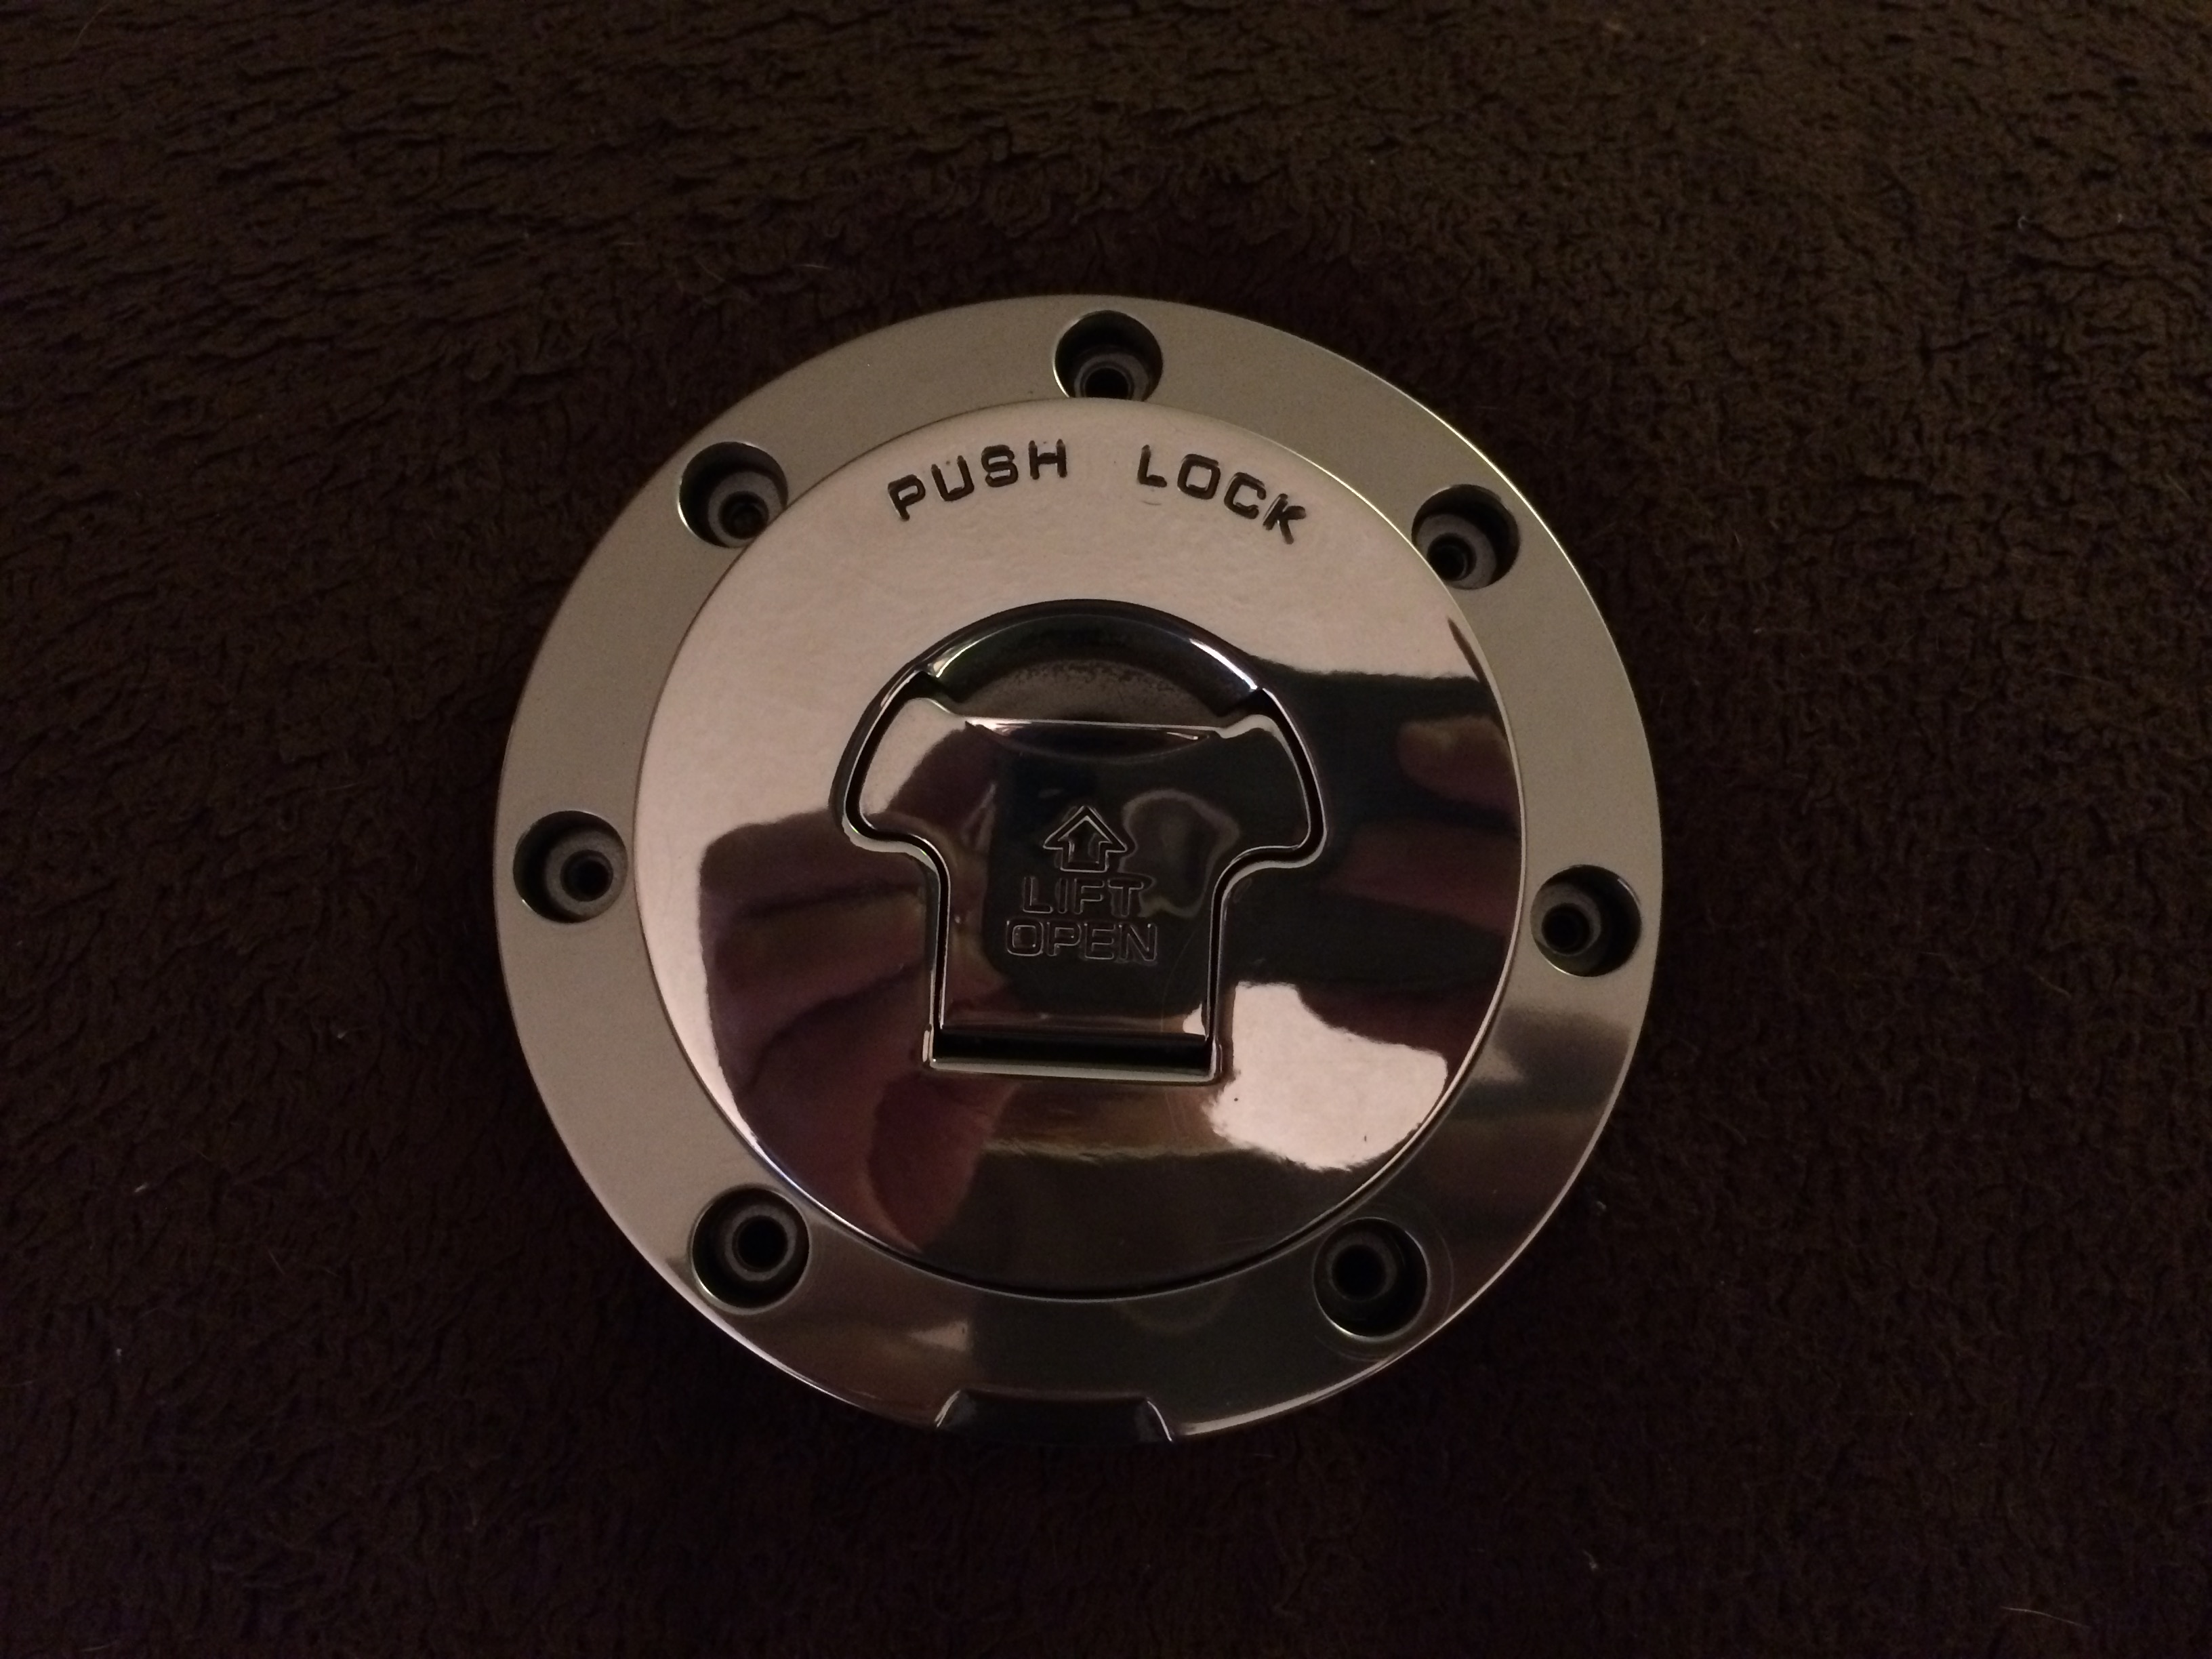
Keep the updates coming. Love to see the awesome transformation, and just in case you were wondering what a polished fuel cap might look like. Well................ After wet sanding and polishing my friends 99 VFR while he was away in Germany tending to family issues, my friend decided the gas cap might look better shiny. And shiny bits were added.
-
What luggage actually looks good on a 5th gen???
zoomzoom replied to Epyon007's topic in Fifth Generation VFR's
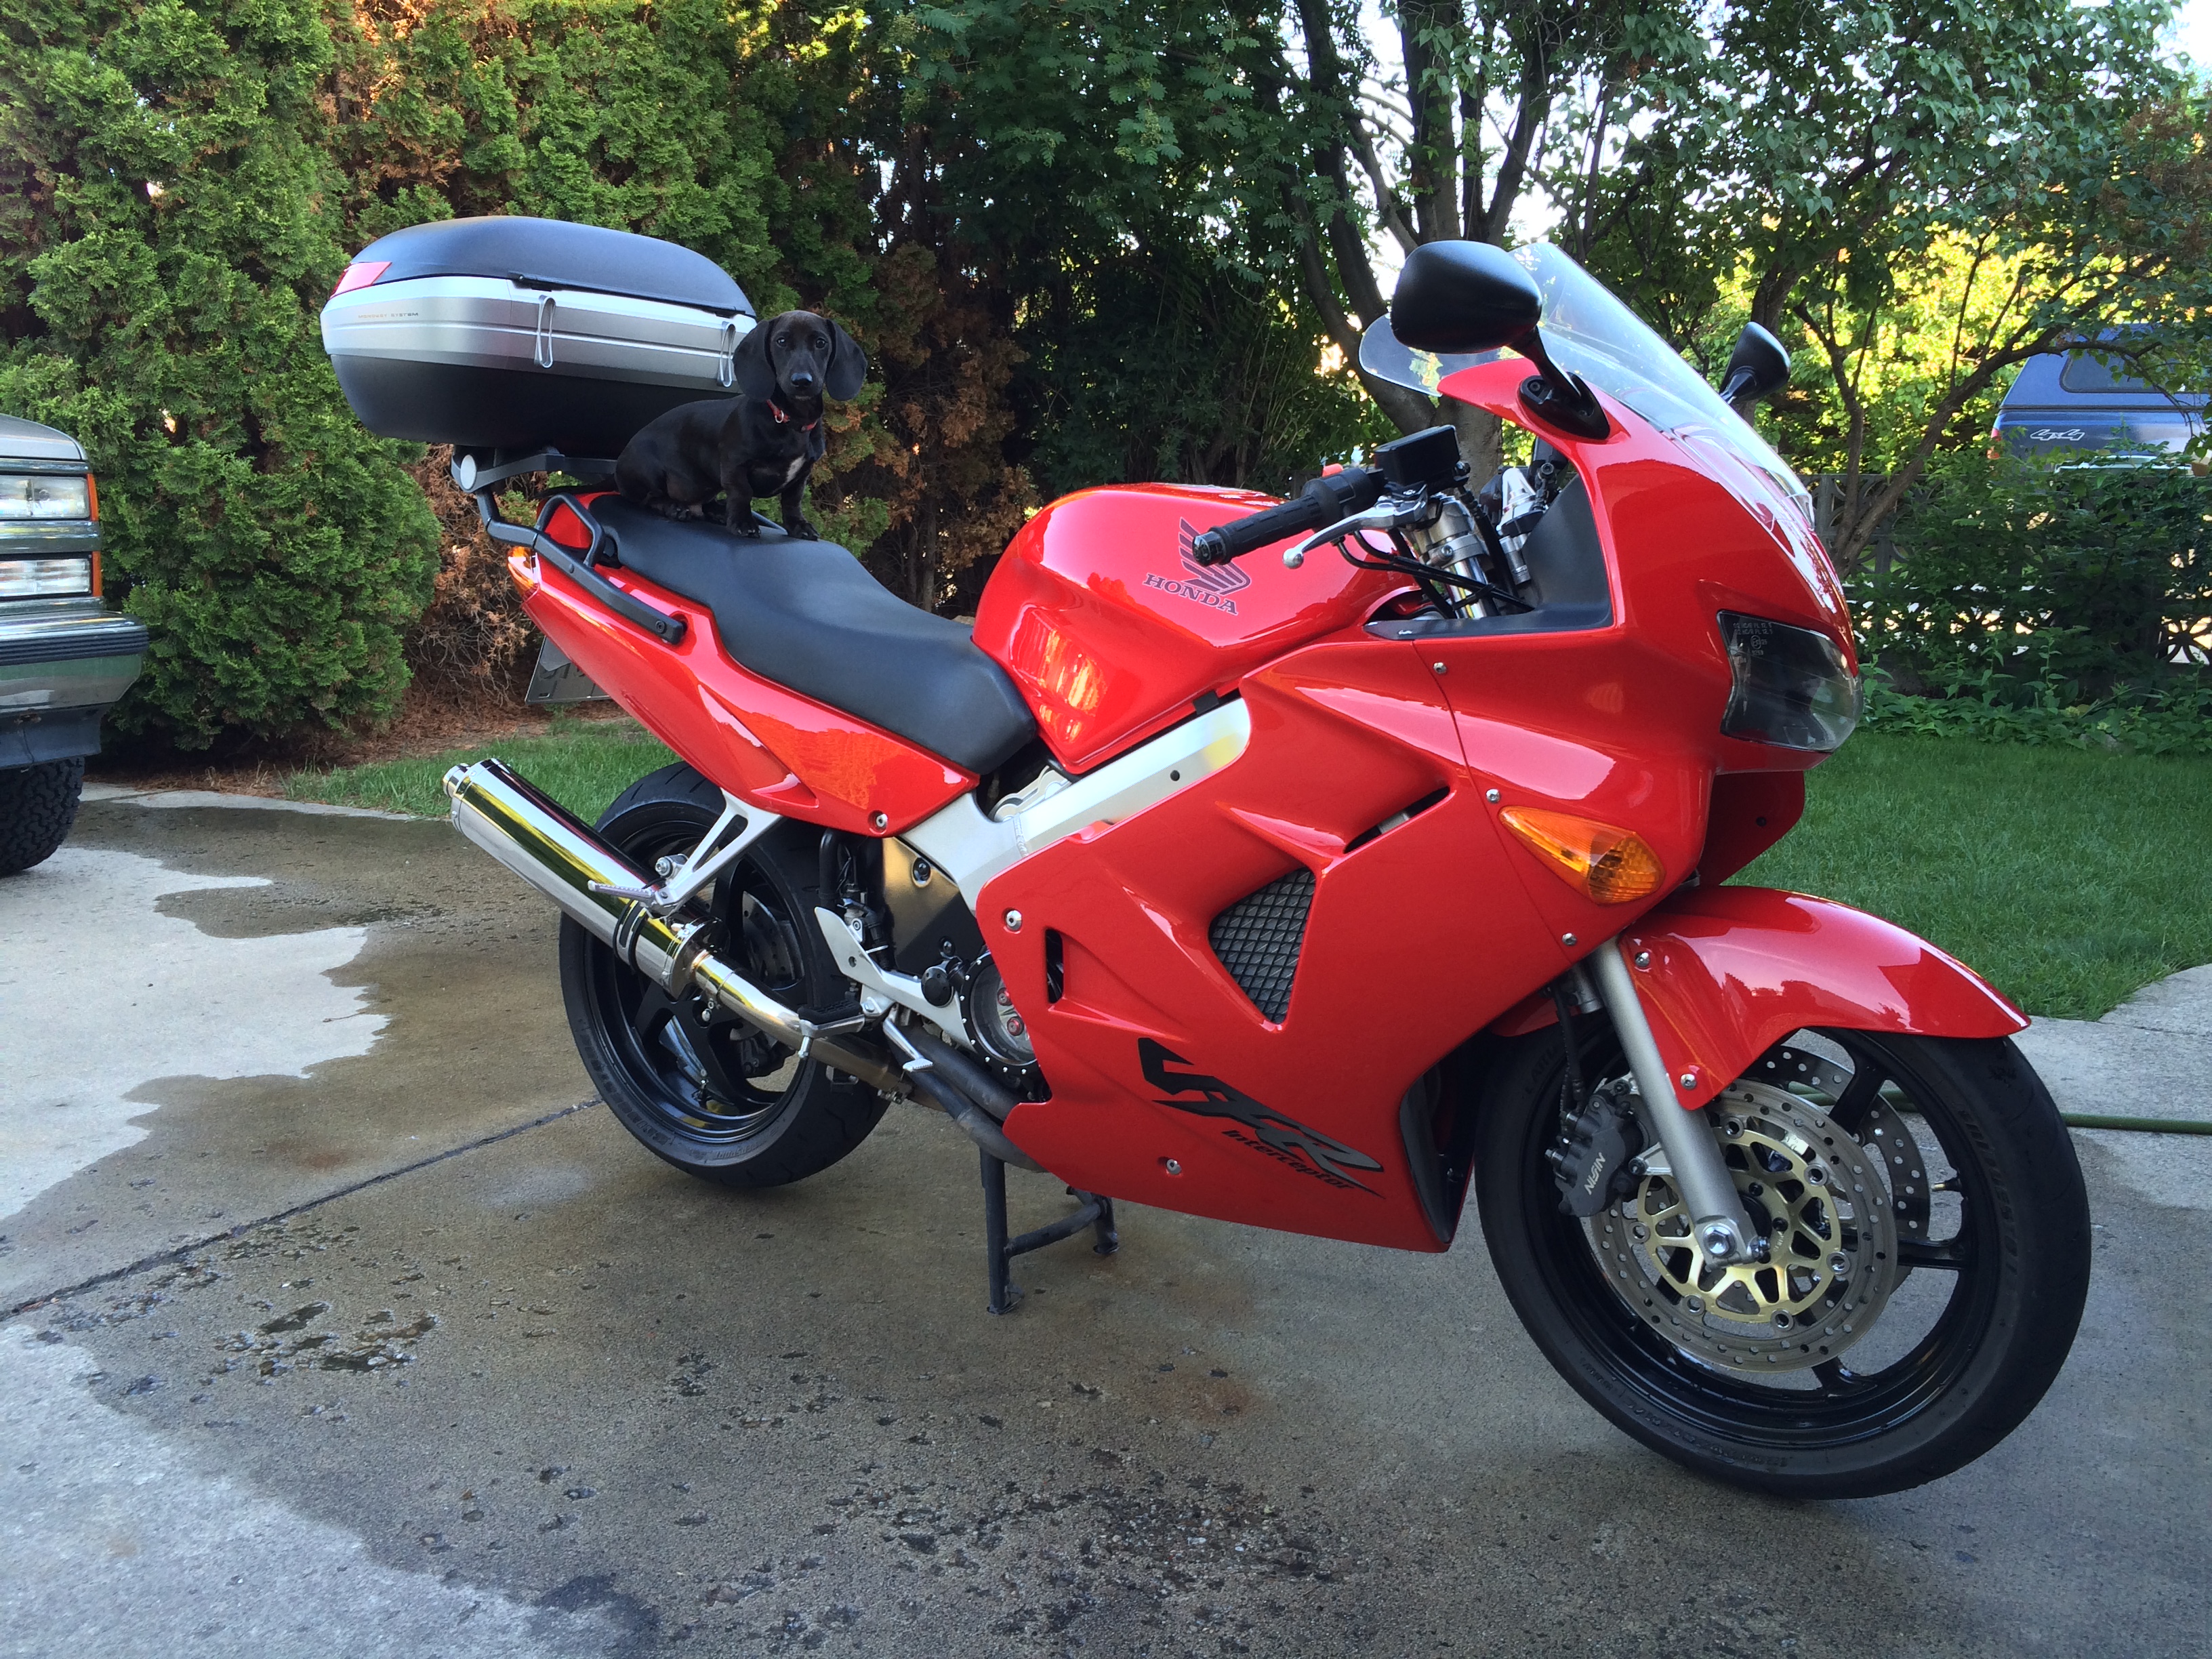
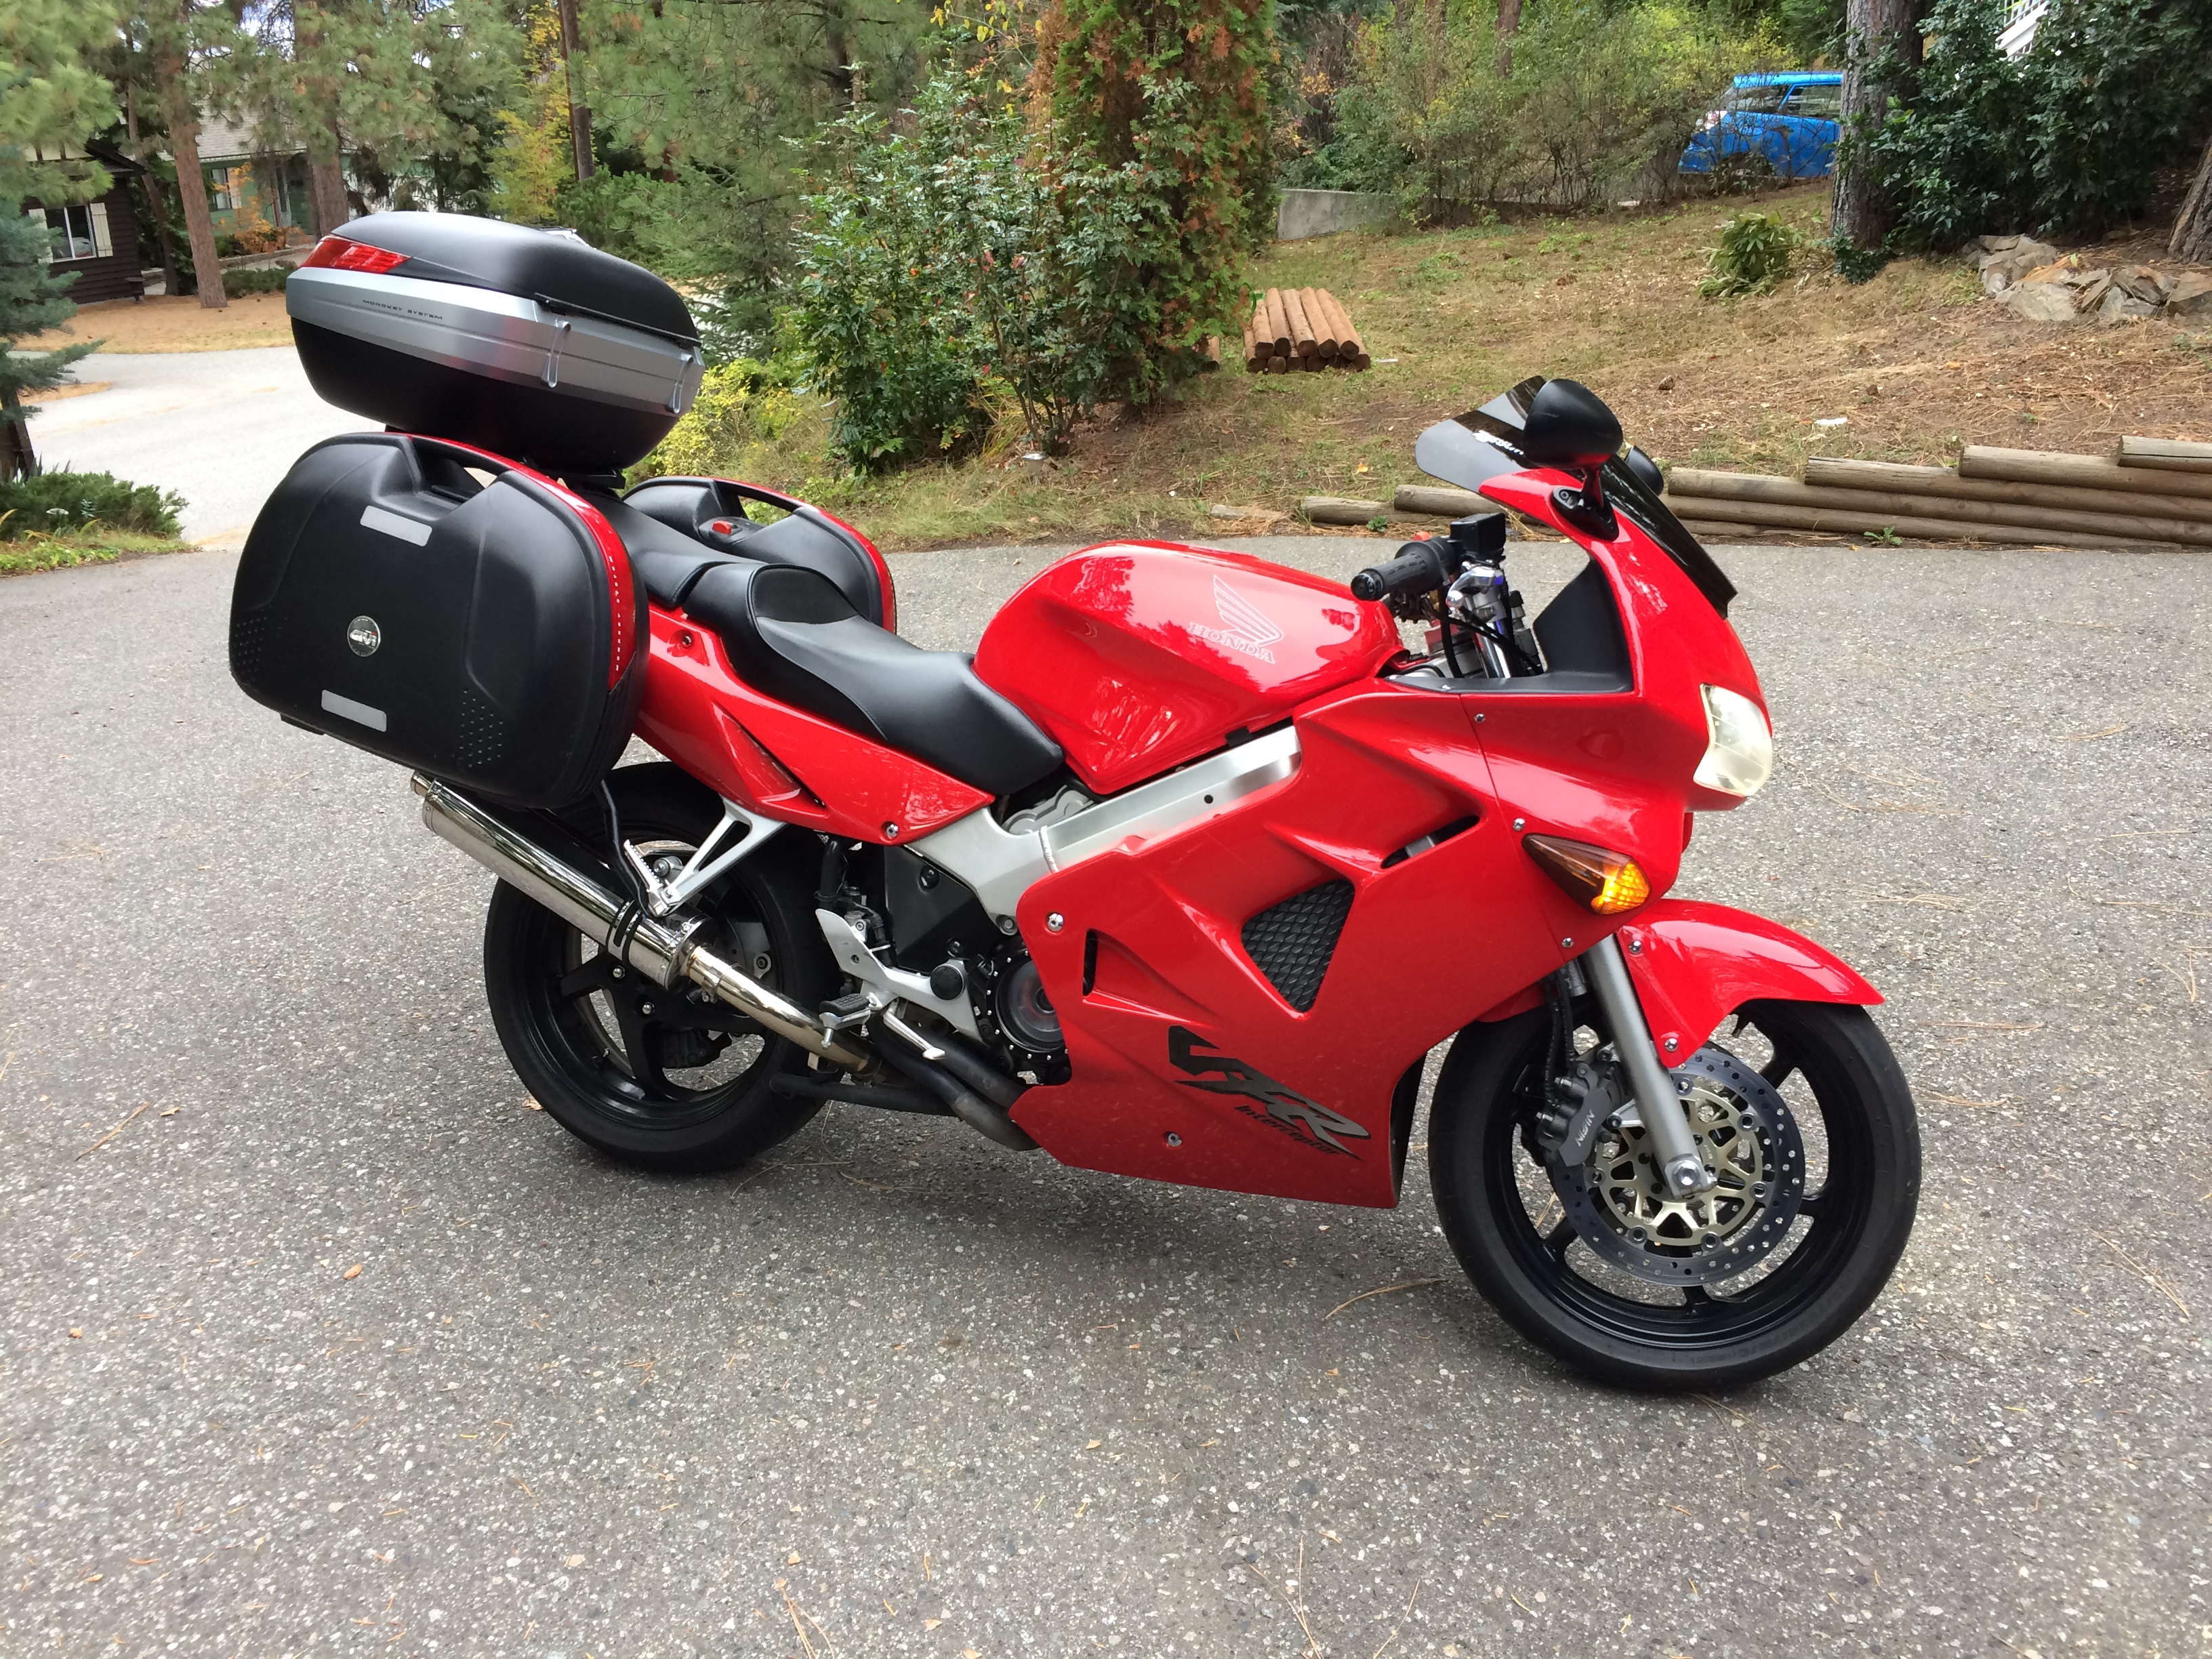
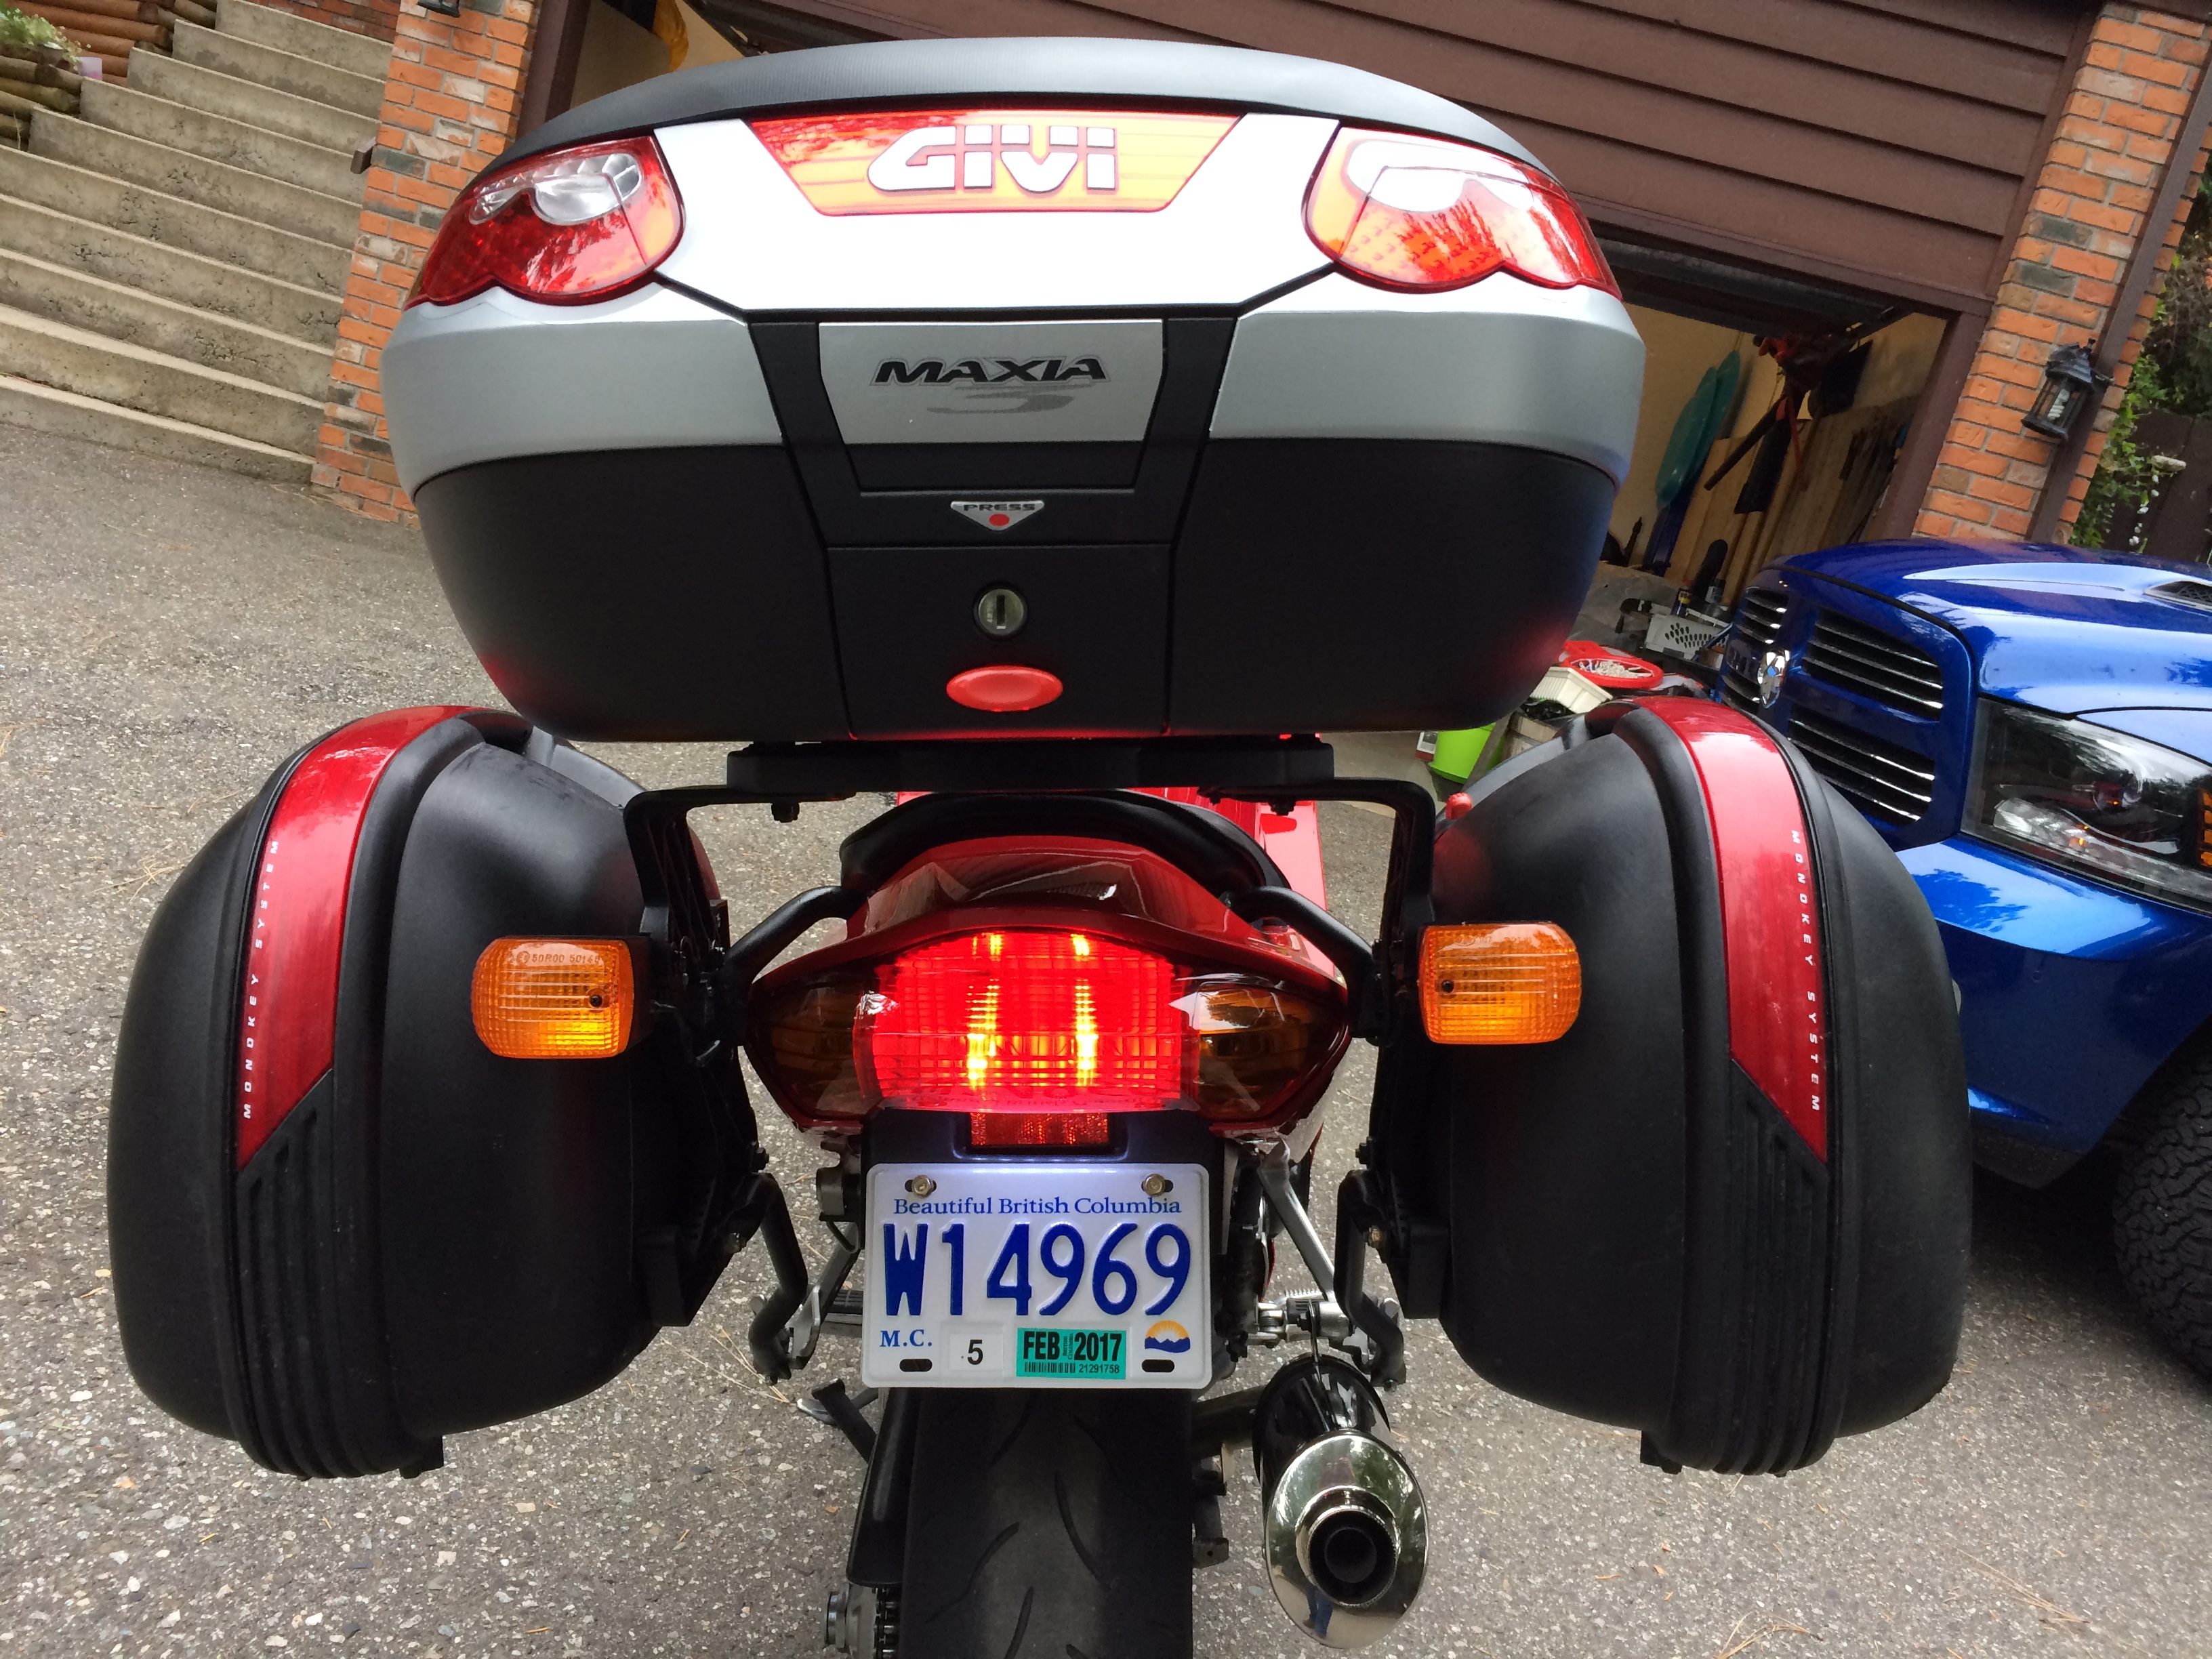
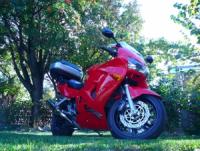
I wasn't a huge fan of riding with just the top case on my bike as it lowoked like something was missing. Found a guy locally who was selling his Givi Wingrack, 2 bag setup (side cases only) for his bike since it was cheap, I jumped at it. When I saw the mounts they were in great shape except for a crack on one of the plates the side case attached too. Guy said he had never had an issue, but it was one of the reasons it was soooo cheap. Found a Wingrack 2, new and in original packing for sale on Canada's Motorcycle that was being advertised for liquidation as the mounting brackets were no longer available and voila, I had a full Wingrack. Overall I think the bike looks pretty decent with all three bags and there's LOTS of storage. Here's a photo with the Givi 257FZ mounting arms and the E55 Maxia top case only. And here's a photo with the Wingrack 2 and all three bags. Top case is a Givi E55 Maxia and side bags are Givi E360.
-
I'm not too far away in Kelowna, and Apexandy is in the area too.
-
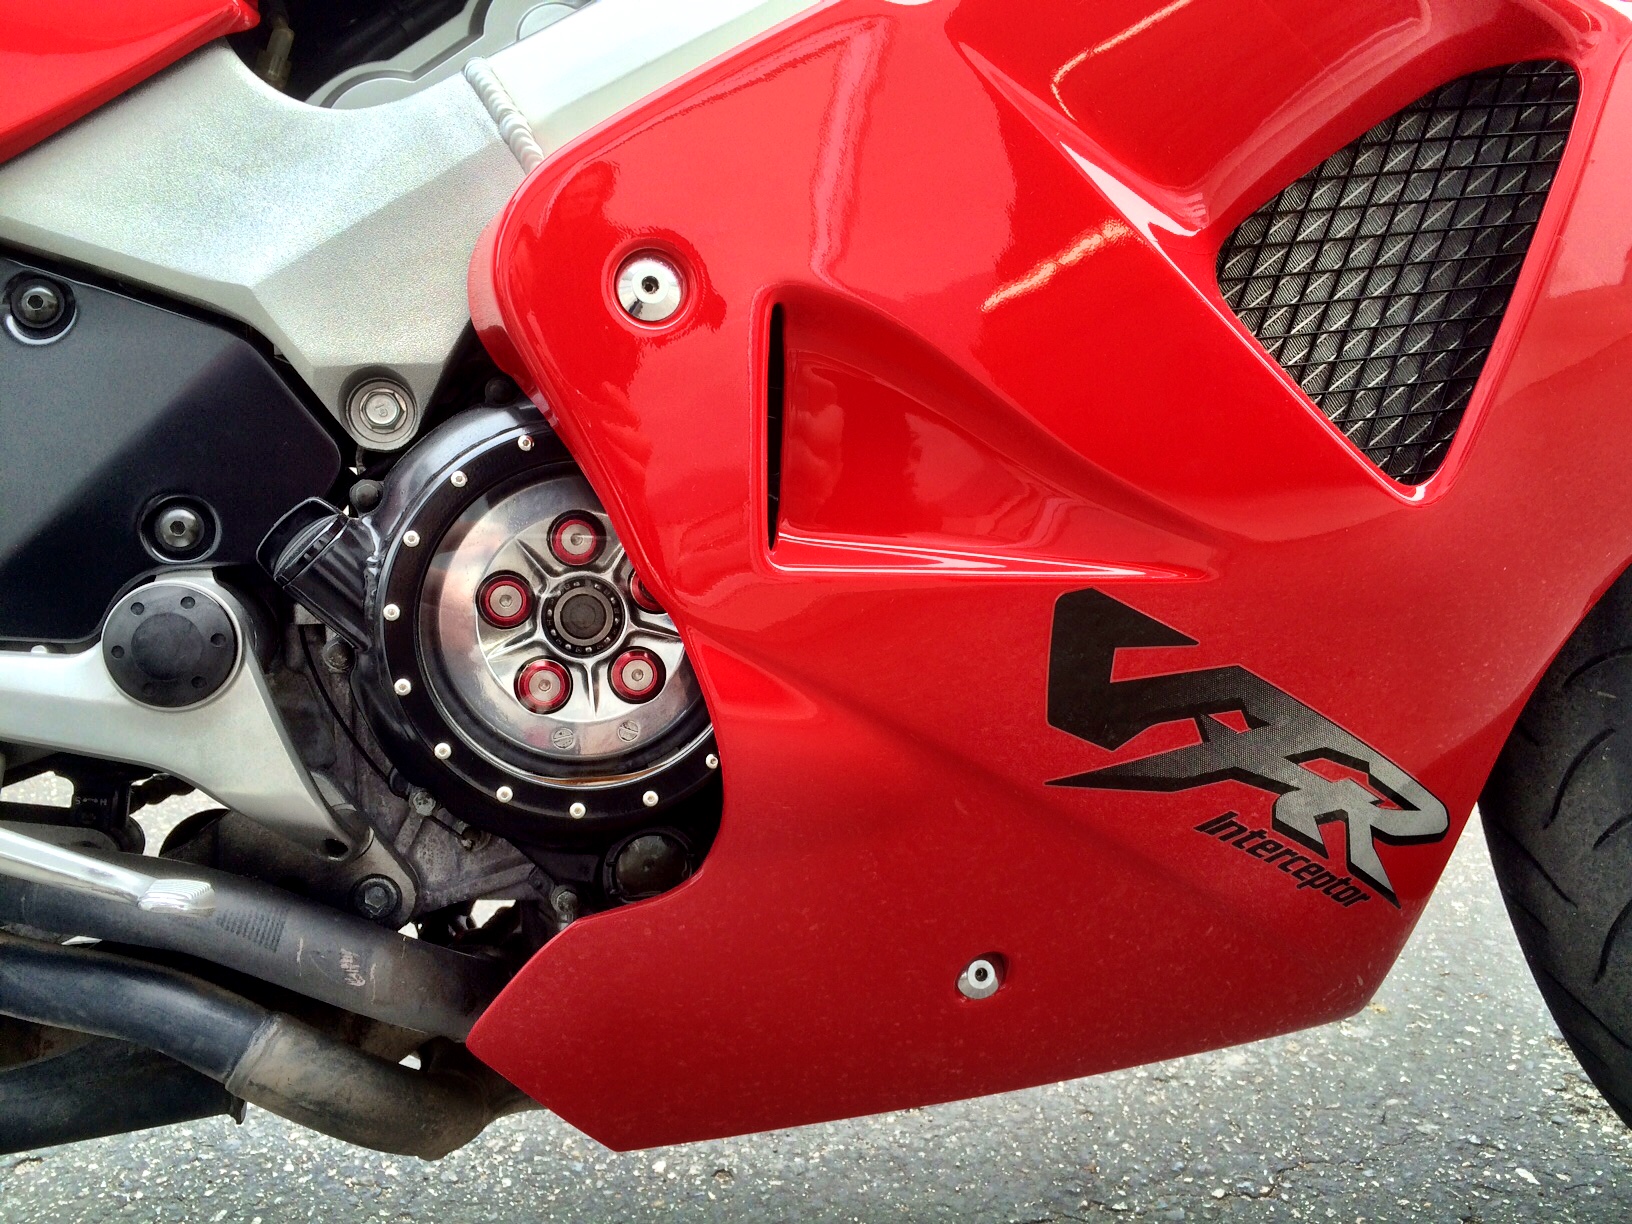
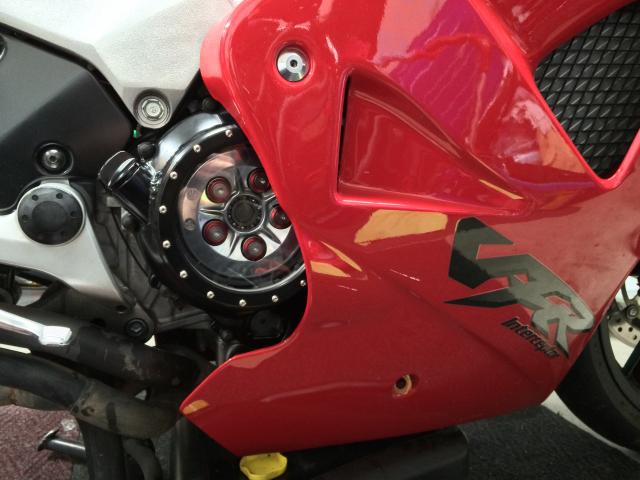
Hey 3D I purchased the washers and bolts for my cover upgrade from Pro-Bolt as well, and I have had the cover installed and in use now for 2+ years and about 10-15,000 km's now with no issues. One thing I did that might have been different was that I used the washers from the factory bolts and placed them beneath the coloured Pro-Bolt washers. I too was concerned about the possible strength of the Pro-Bolt washers and whether the constant pressure of the springs might cause a deformation in the Pro-Bolt washers. Since the factory washers are not removable from the factory bolts, I used a dremmel tool and cut off disc to nip th heads off the factory bolts so that I could remove the washers. The factory washers are slightly smaller in diameter than the Pro-Bolt washers that I ordered, and they don't show at all on my bike. Installed on the bike, they look like this.
-
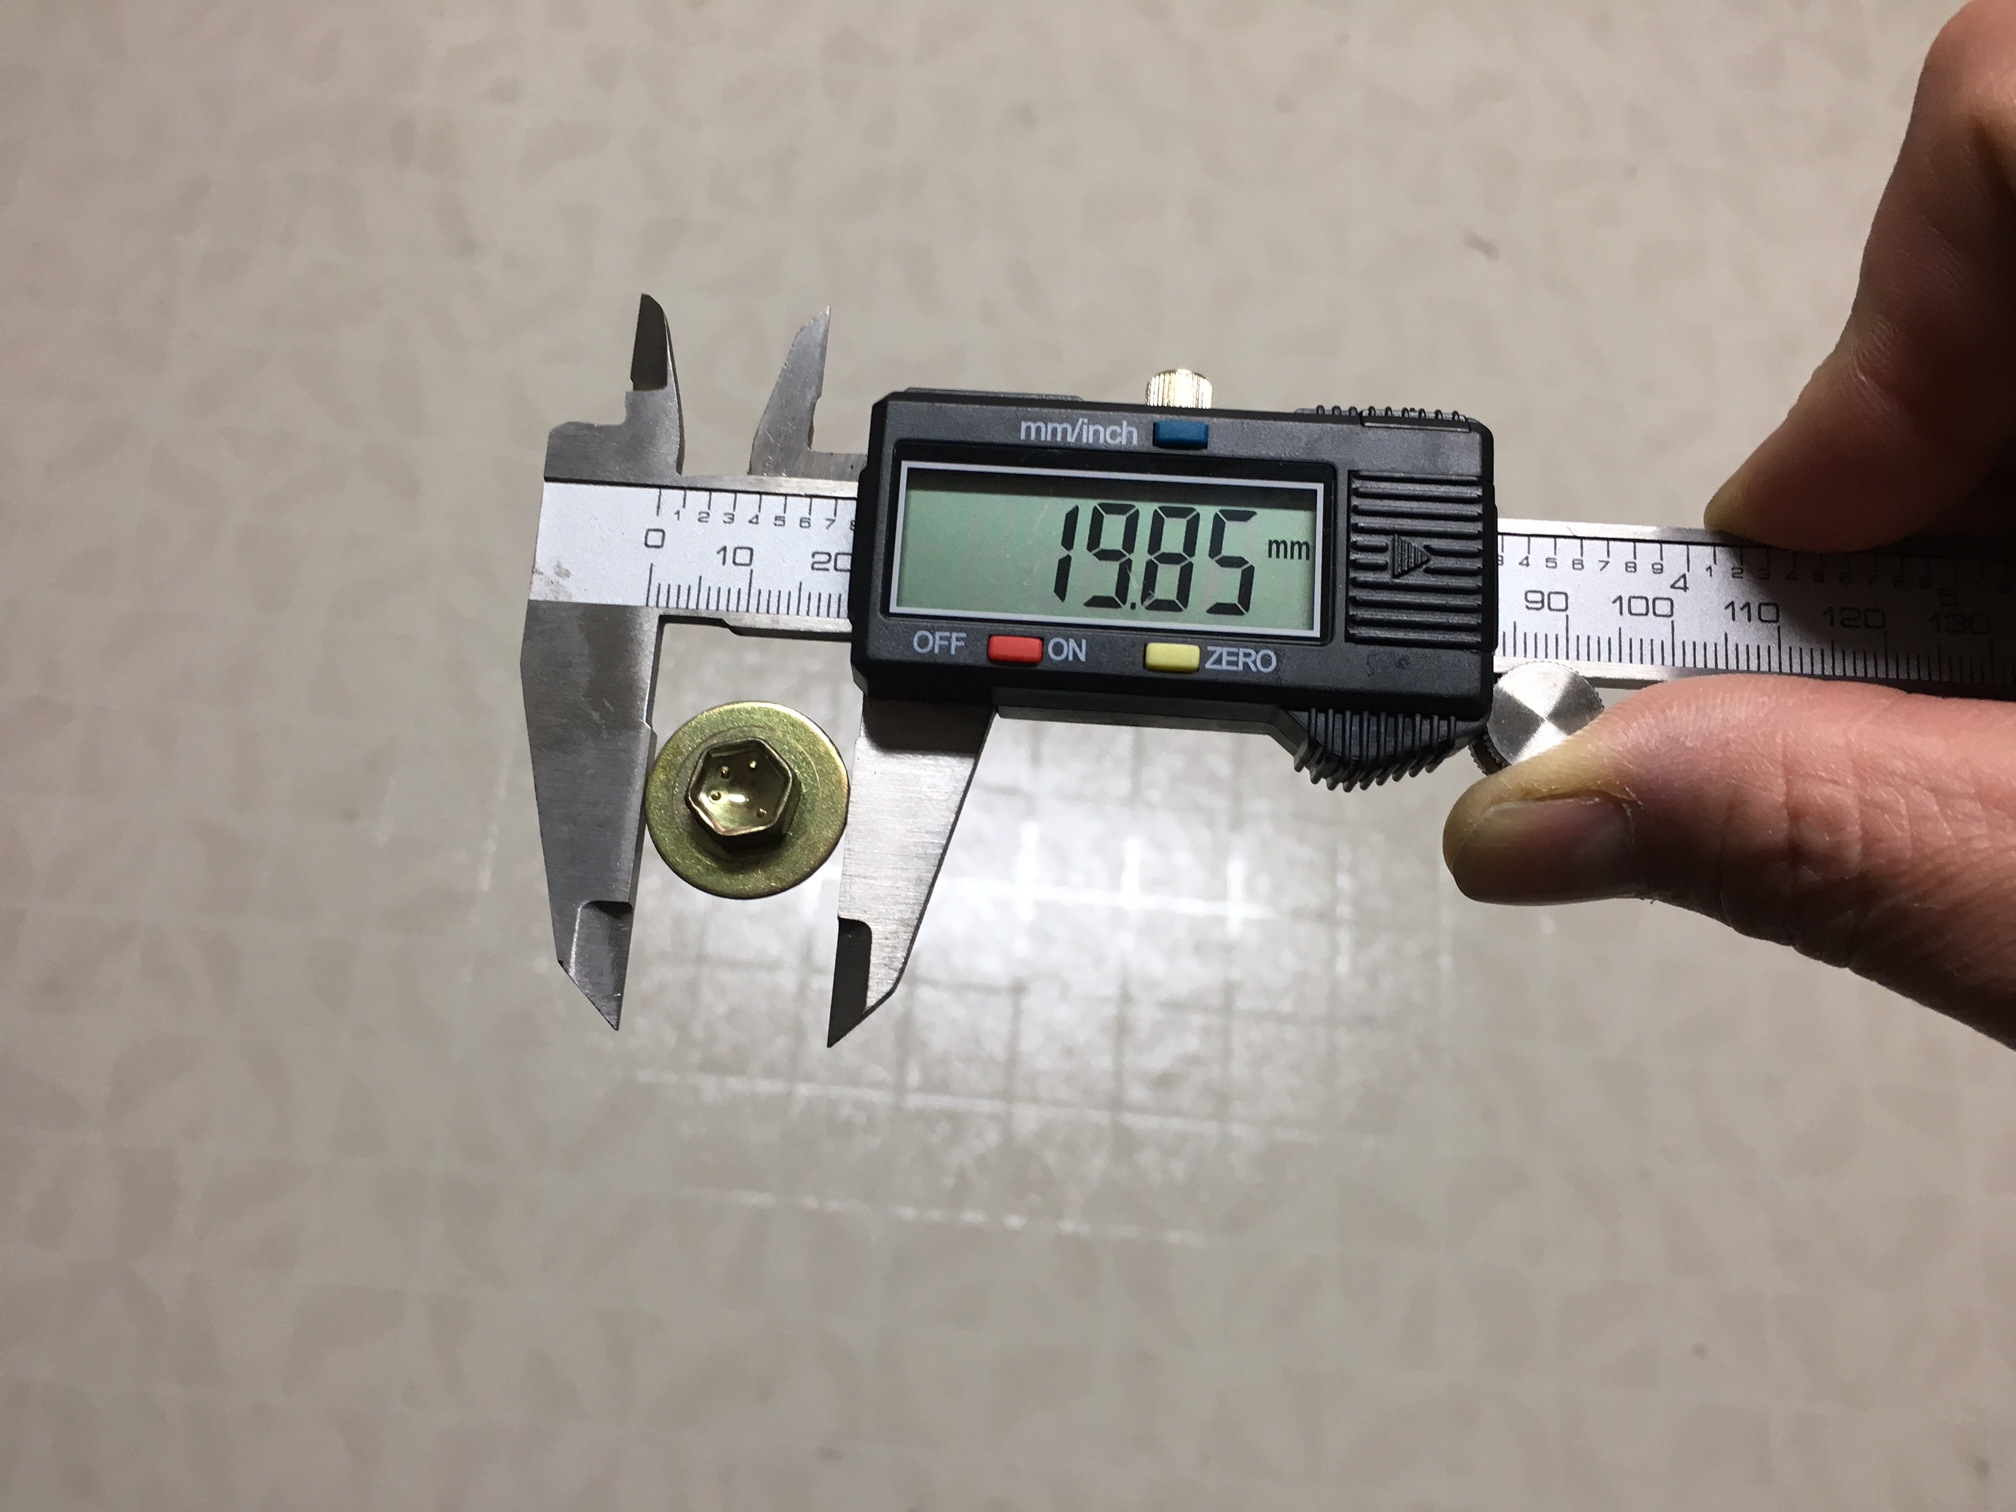
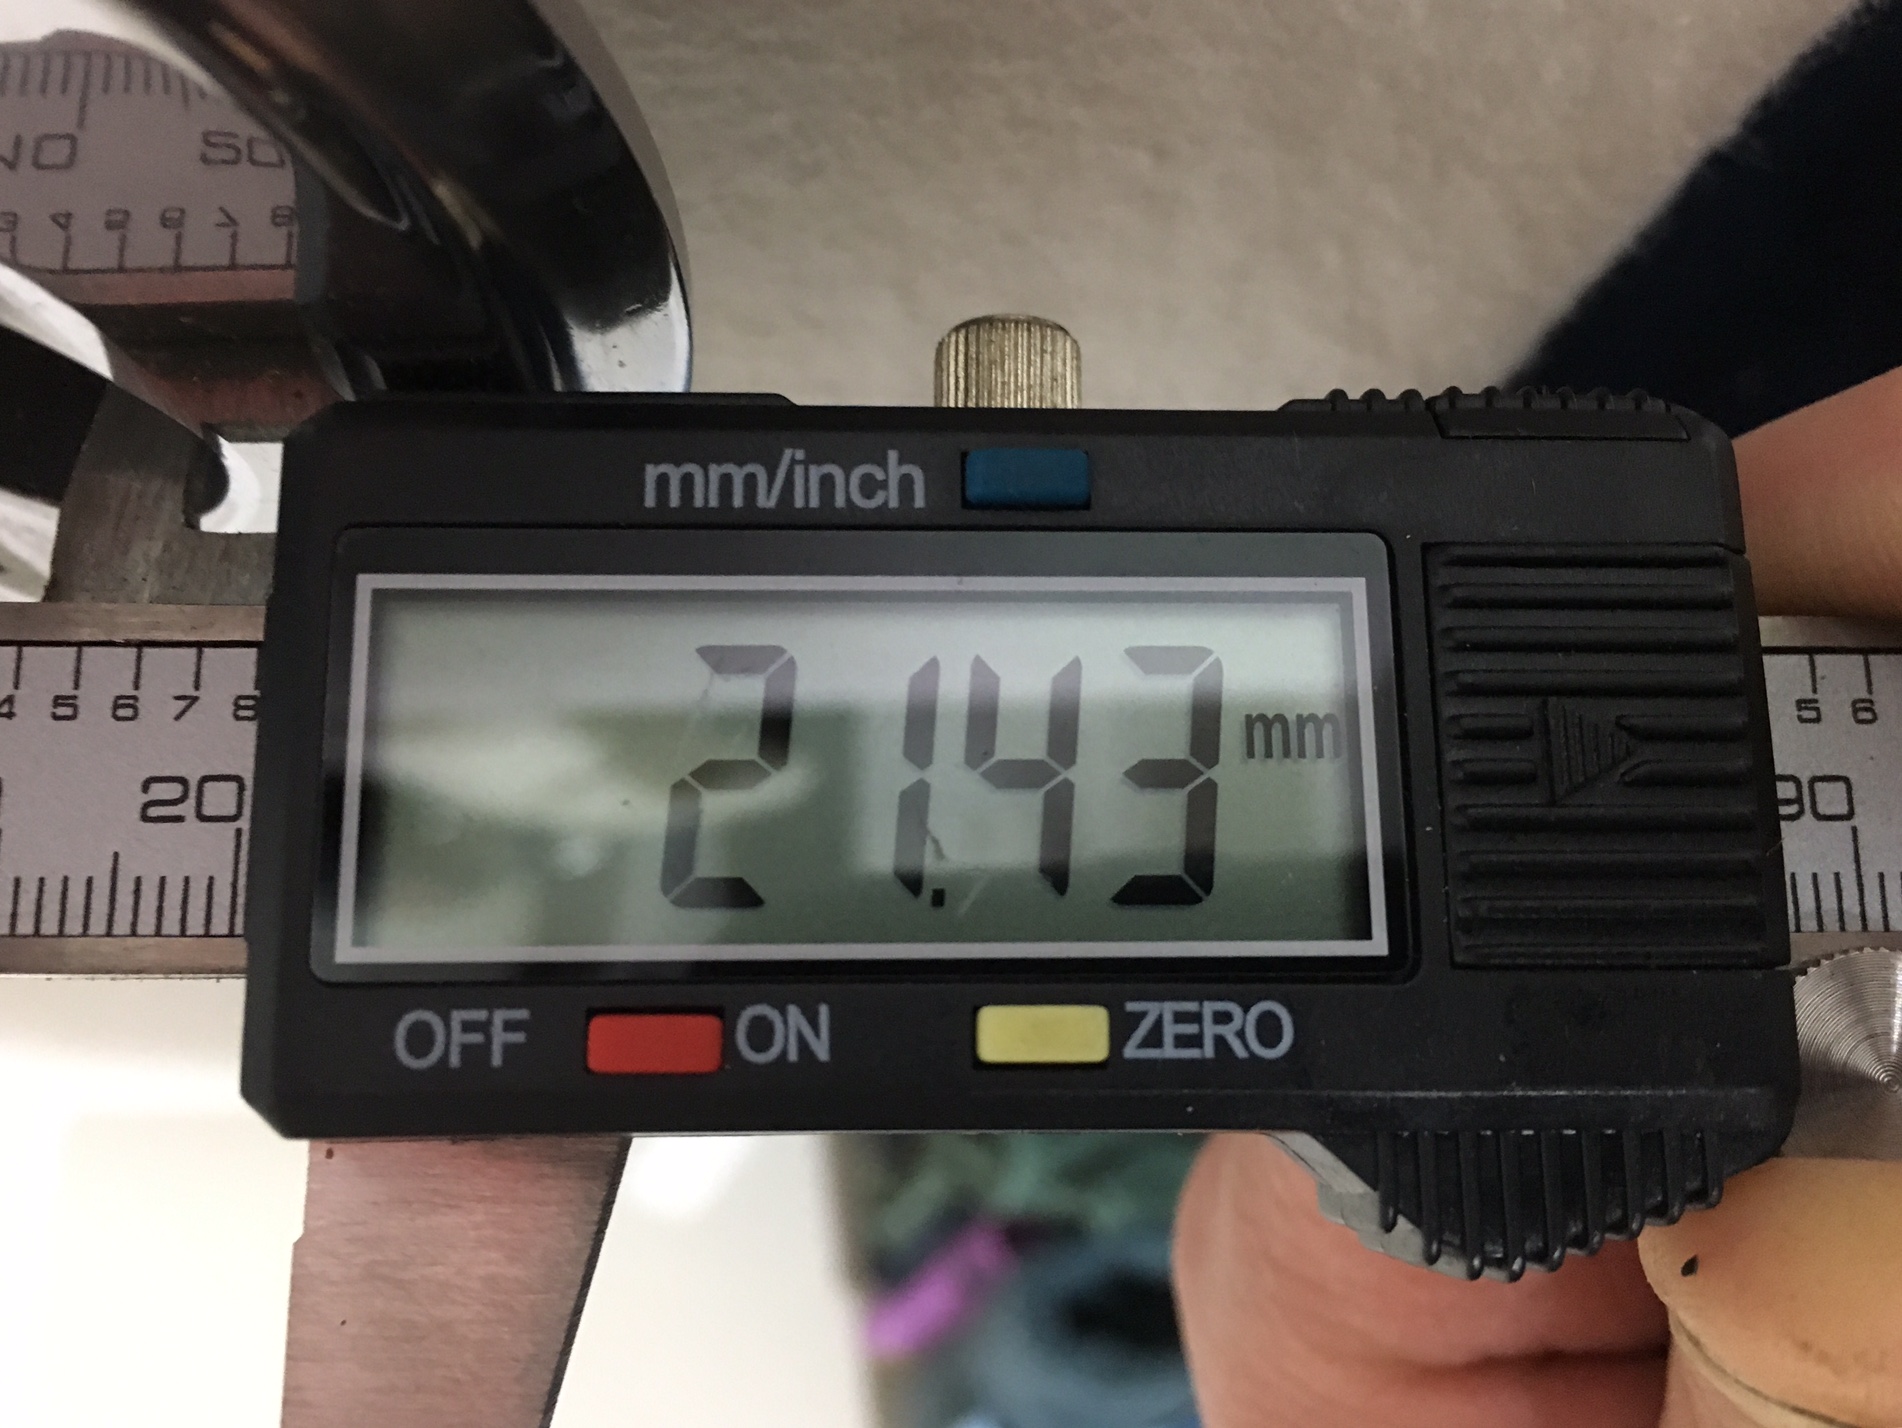
Since I have a 5th gen parts bike in the garage and the cover from the 5th gen is apparently the same cover as the 6th gens from what I understand, here are the measurements from the 5th gen. Outside Diameter of Clutch Spring Bolt Washer in millimeters Outside Diameter of Clutch Spring in millimeters And Finally the Inside Diameter of the Clutch Sping Hole in the Clutch Pressure Plate in Millimeters (taken as far down as the calipers would reach. The diameter of the hole at the top was 21.74 mm And, shameless plug here, I have a polished clutch pressure plate for a 5th gen for sale should anyone be interested. According to the parts fiche from Partzilla the clutch pressure plate ( Honda part number 22350-MBG-D00 ) will fit all VFR800's from 2000-2015. Notice I say 2000 to current, however the clutch pressure plate ( Honda Part number 22350-ML7-000 ) for the same part from 98-99 will also fit 94 to 97 VFR750 and 98-2001 VFR800. If anyone is interested in the Polished Pressure Plate, please shoot me a PM.
-
Just as a quick note. Though I can not say for certain, all the powder coat places in town that I talked to about my parts offer the media blast to prep the parts as part of the service. All I had to do in my situation was drop the parts off, tell them the color and then pick them up, pay (always hate that part, LOL) and then install. Keep in mind for powder coating the upper triple and Heli-Bars that if there are any bearing mating surfaces or threaded areas, make sure the powder coater you use doesn't get any coating on the threads or bearing surfaces as it is a &^%$# to remove after the fact. Good luck with the parts and let us know how it turns out.
-
The Heli-Bars are definitely not aluminum as a magnet will stick to them, meaning they are made of ferrous metal. Best bet here would be as 3dcycle suggests and have the Heli-Bars, and probably the upper triple as well, media blasted and powder coated. Make sure the powder coater you use knows that the upper triple is aluminum as they have different media to use on aluminum. I have sanded and polished the upper triple on a friends Hayabusa and though it turned out amazingly well, he discovered after riding it for a few months that the reflection of light off the triple was extremely distracting, and almost to the point of being dangerous he mentioned.
-
Clutch Window/Clear Cover VFRD Promo Special 2016
zoomzoom replied to SEBSPEED's question in Bargain Finder
Hmmmmmm, I hope he has your cover. USPS said it was delivered and signed for. LOL -
Clutch Window/Clear Cover VFRD Promo Special 2016
zoomzoom replied to SEBSPEED's question in Bargain Finder
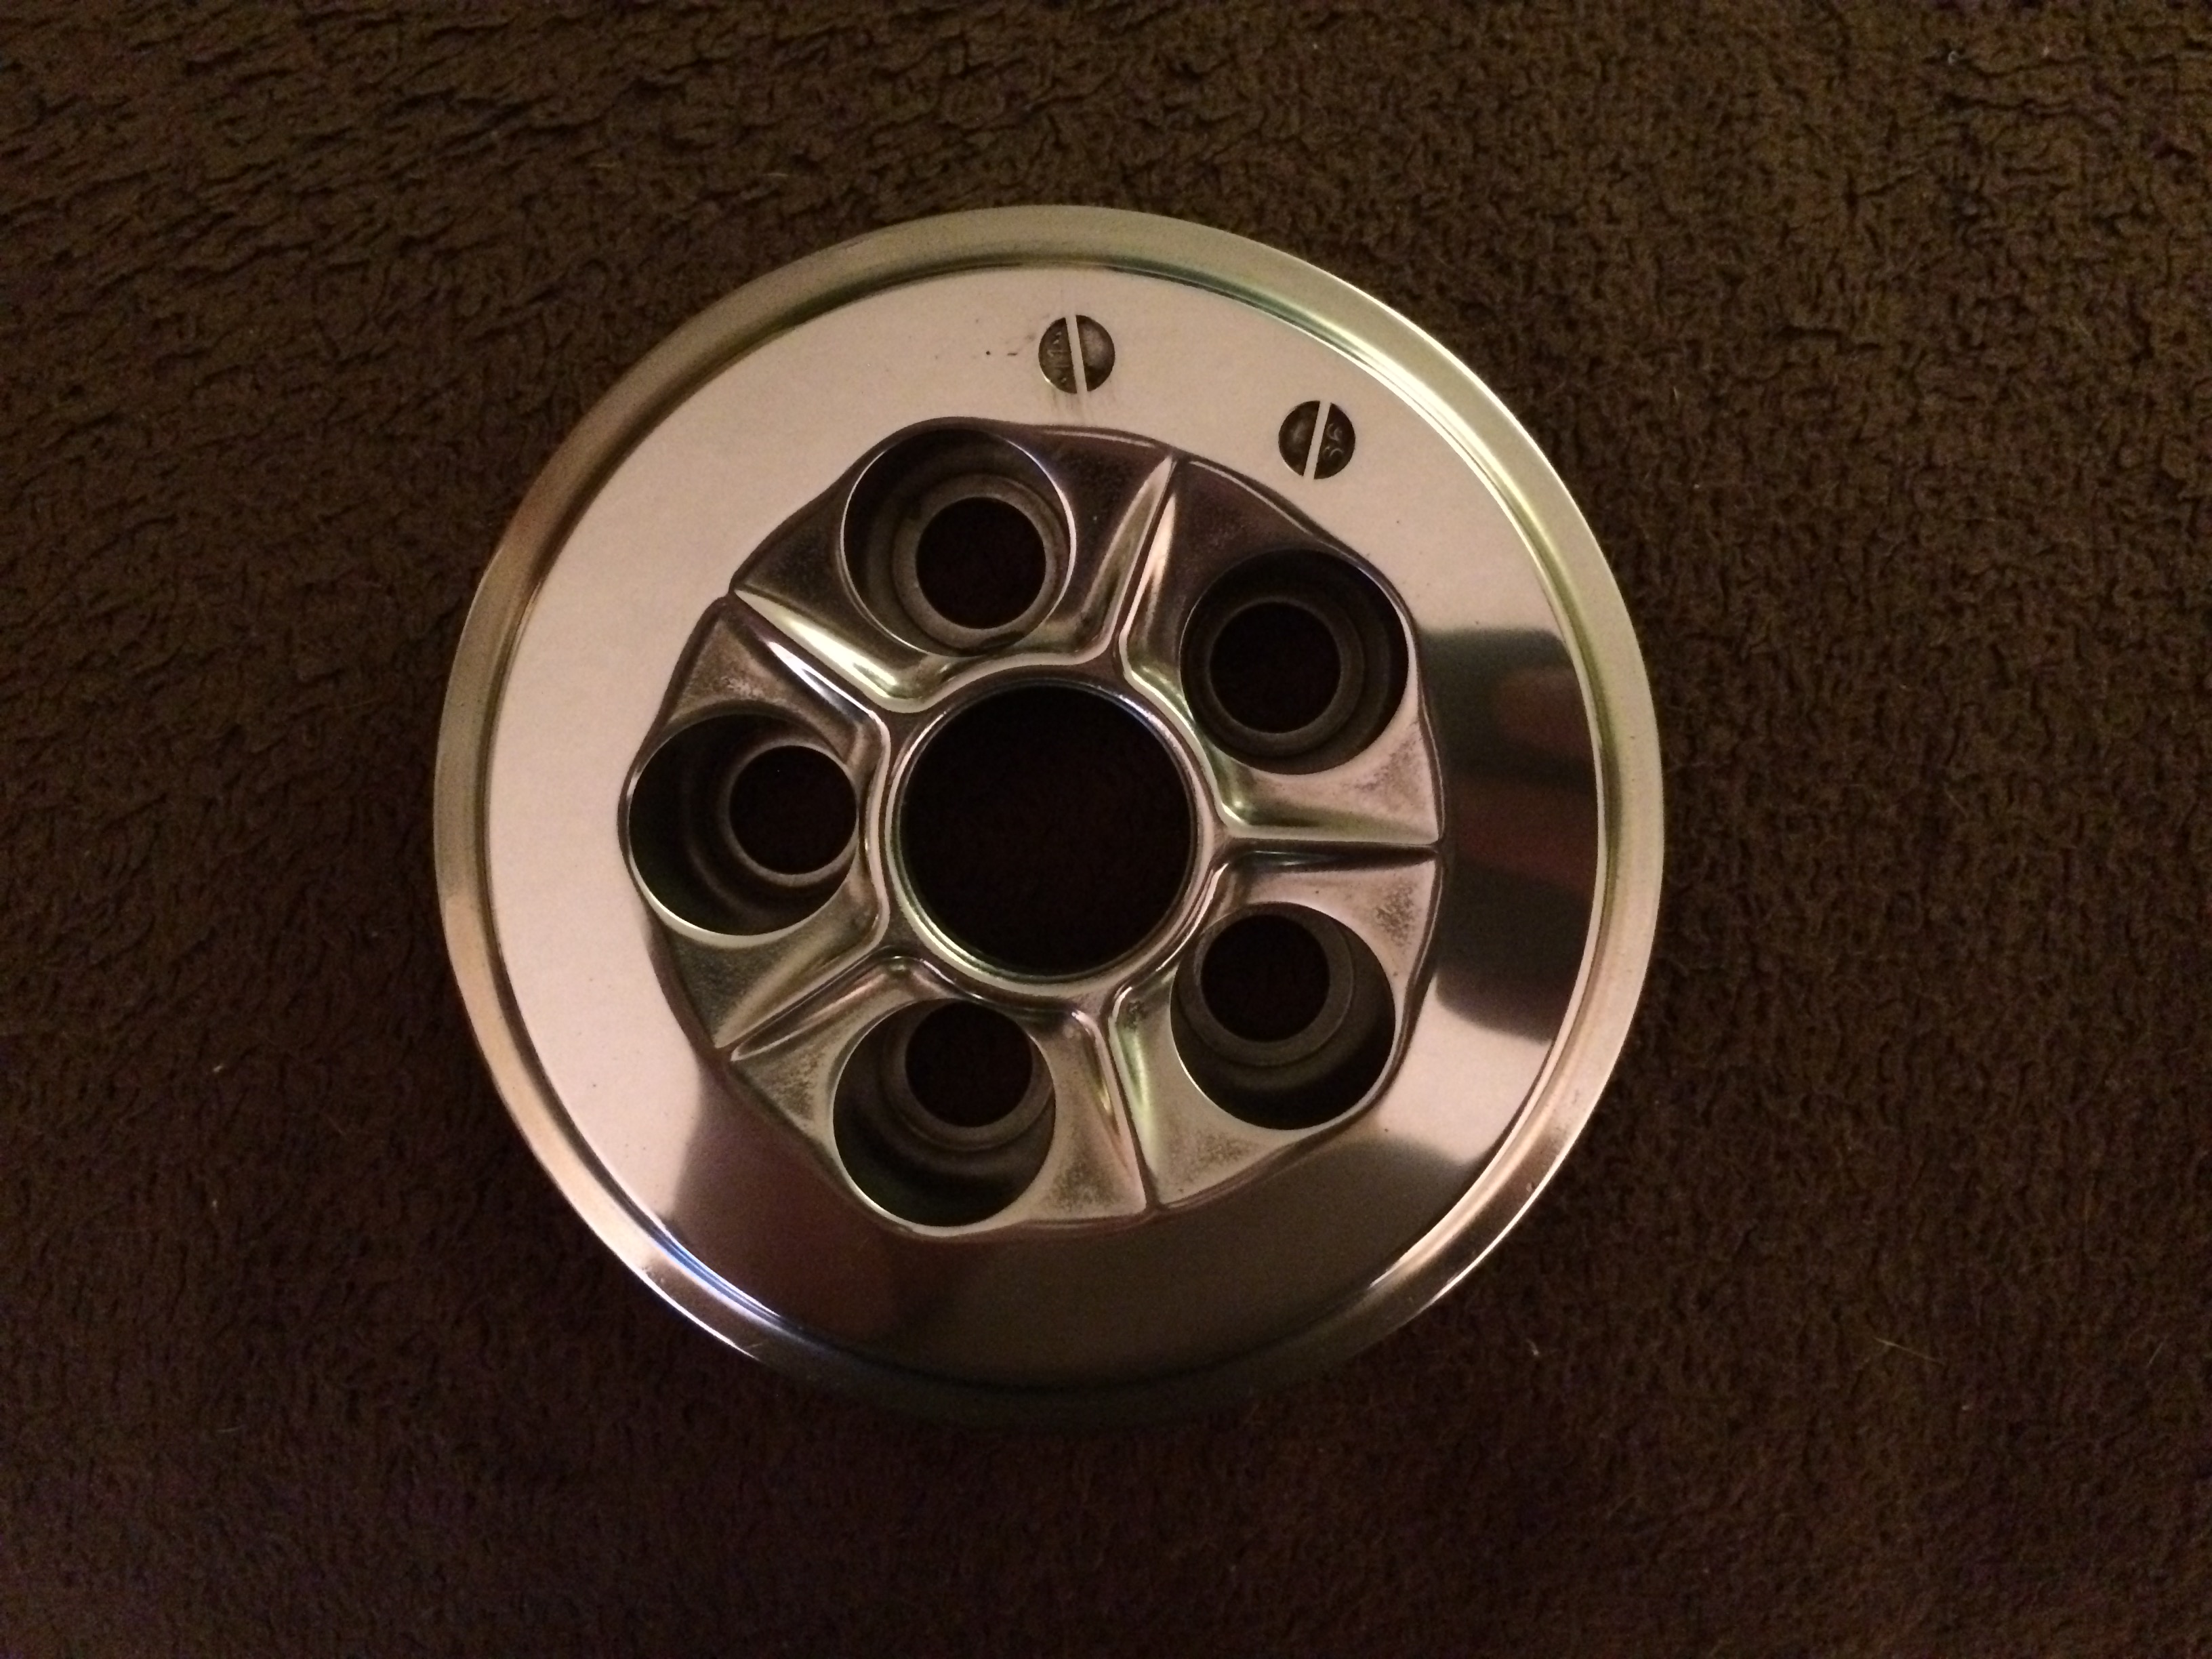
In case anyone is interested. Here is a photo of the polished pressure plate that is available. Also a photo of a polished fuel cap. Both are off of a 2000 VFR800 and should fit any 98-2001 VFR800. Not sure if they fit any other years as well but perhaps someone in the know here might be able to answer this question.
-
Clutch Window/Clear Cover VFRD Promo Special 2016
zoomzoom replied to SEBSPEED's question in Bargain Finder
I look forward to hearing from you once you get it all sorted. On my bike the bearing in the center is just a slightly snug fit but was very easy to press out with your fingers. I can only imagine that yours will be similar. -
Clutch Window/Clear Cover VFRD Promo Special 2016
zoomzoom replied to SEBSPEED's question in Bargain Finder
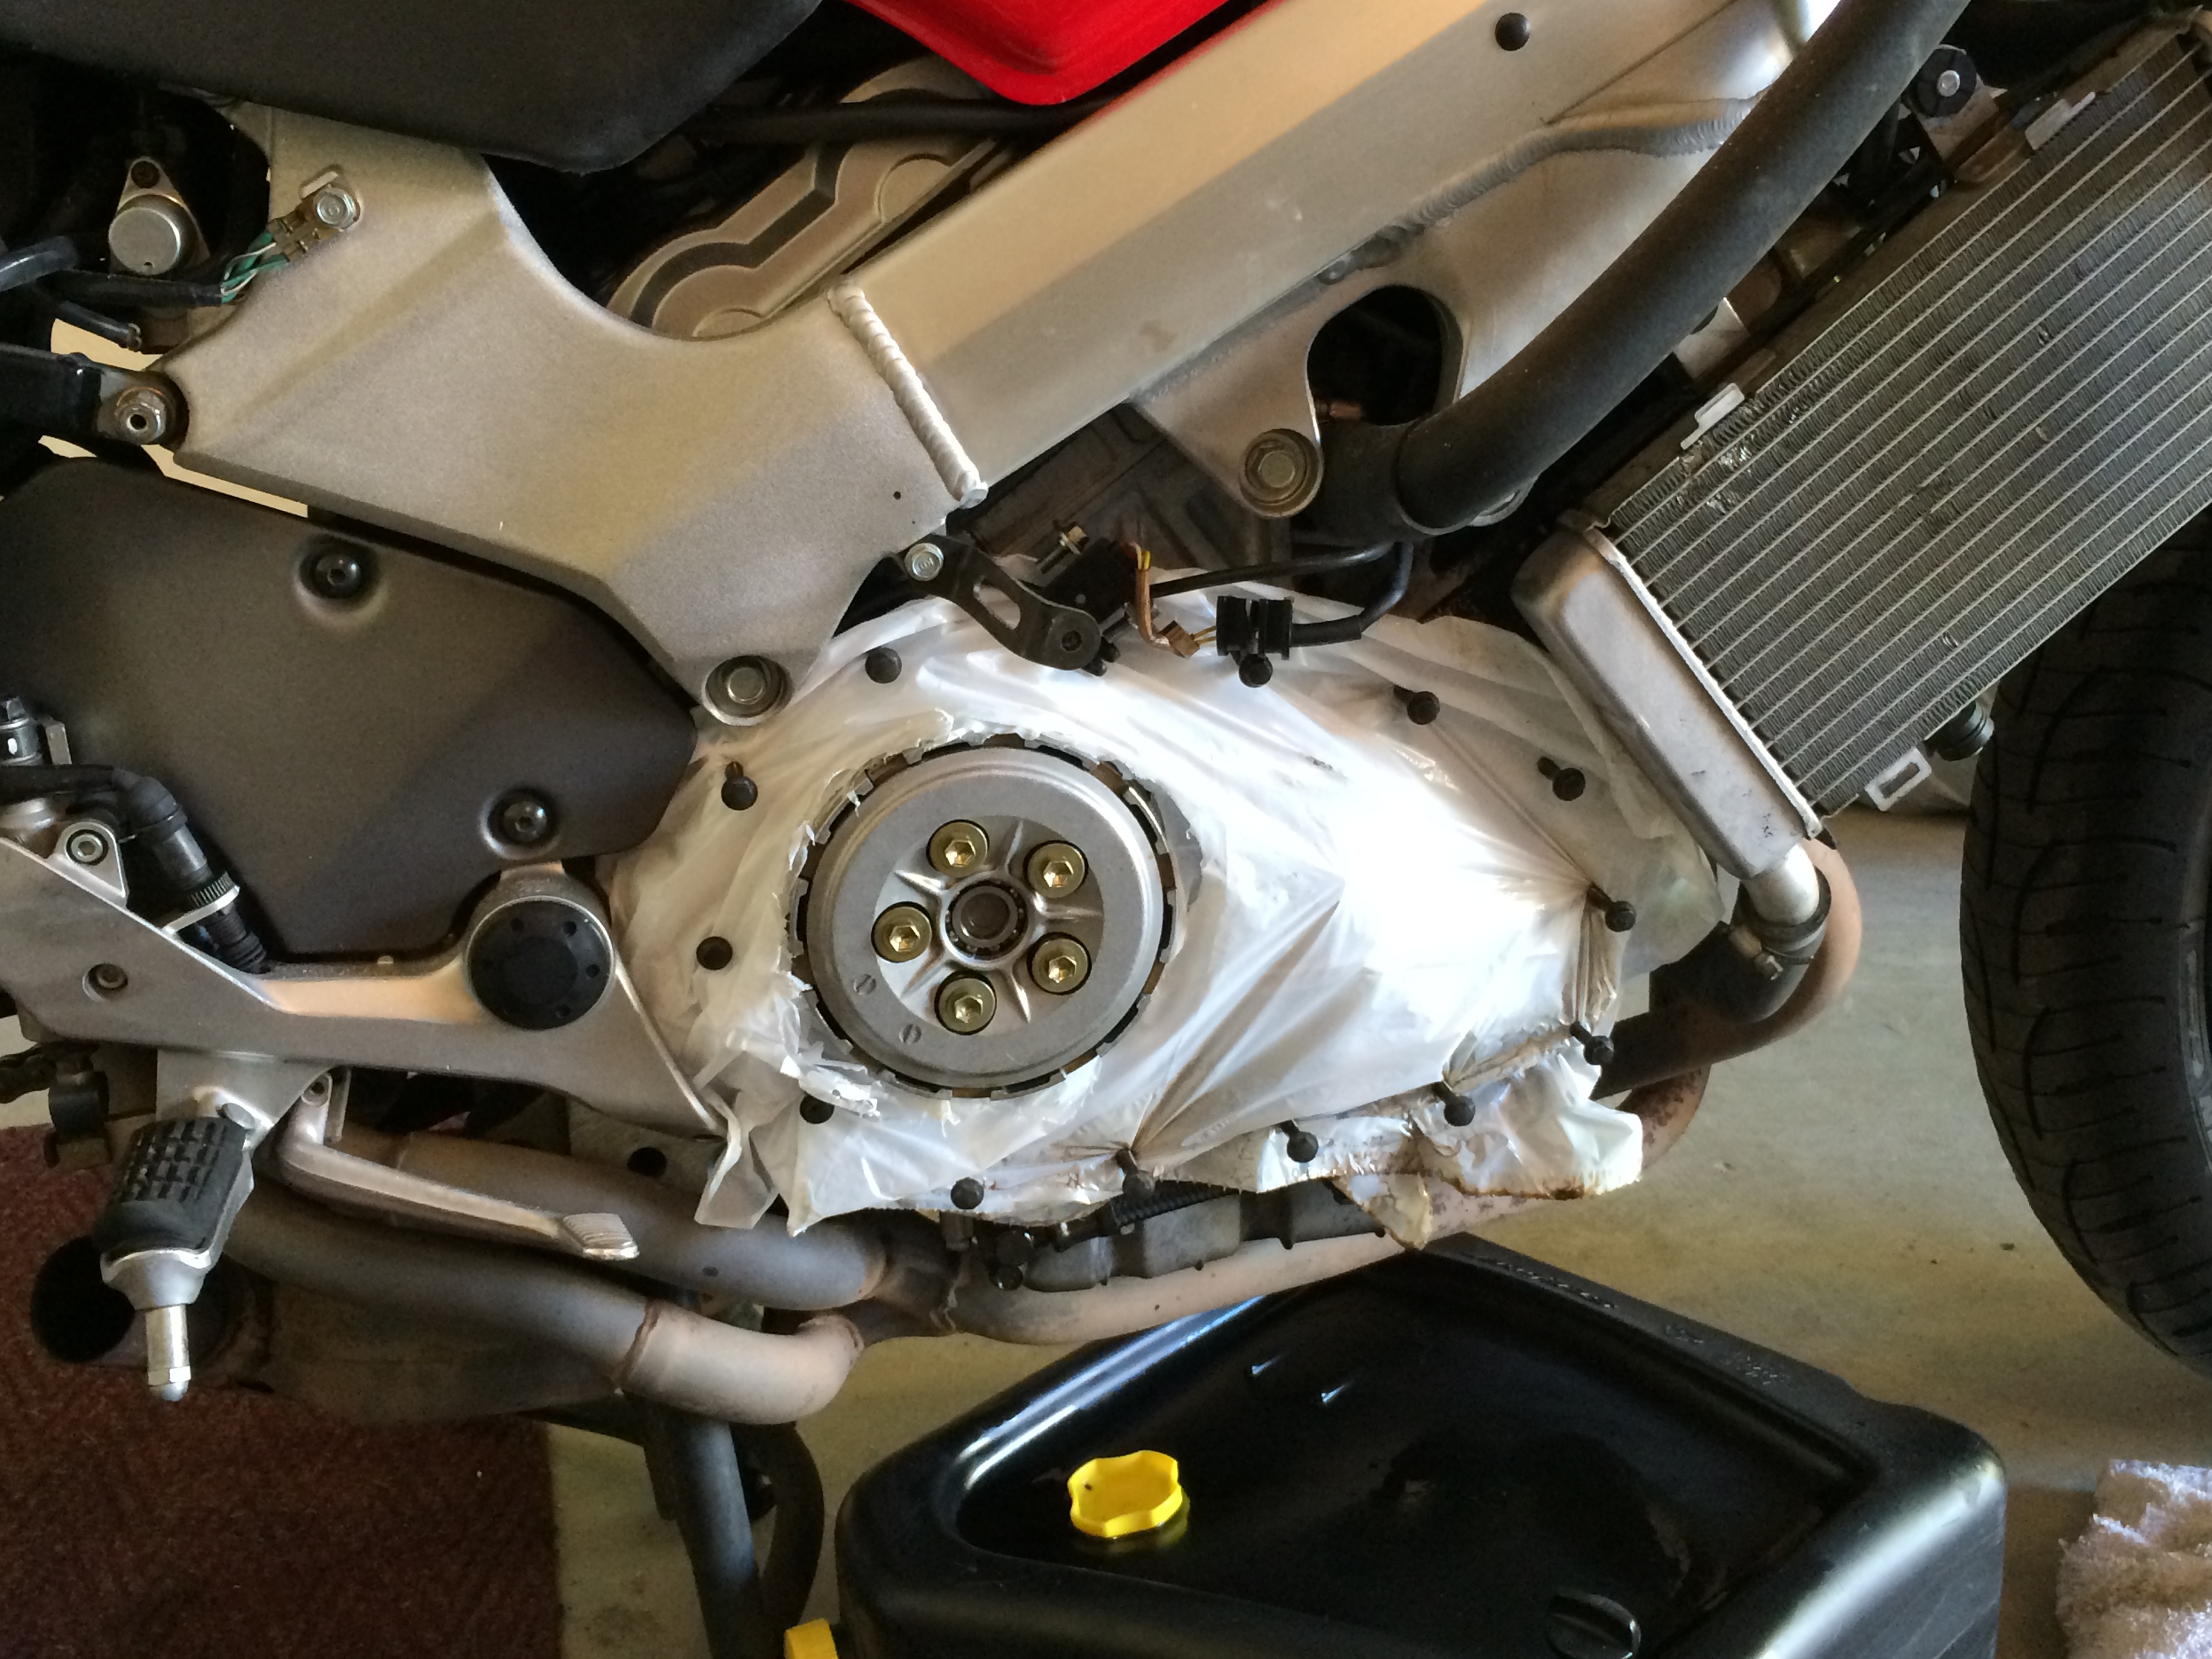
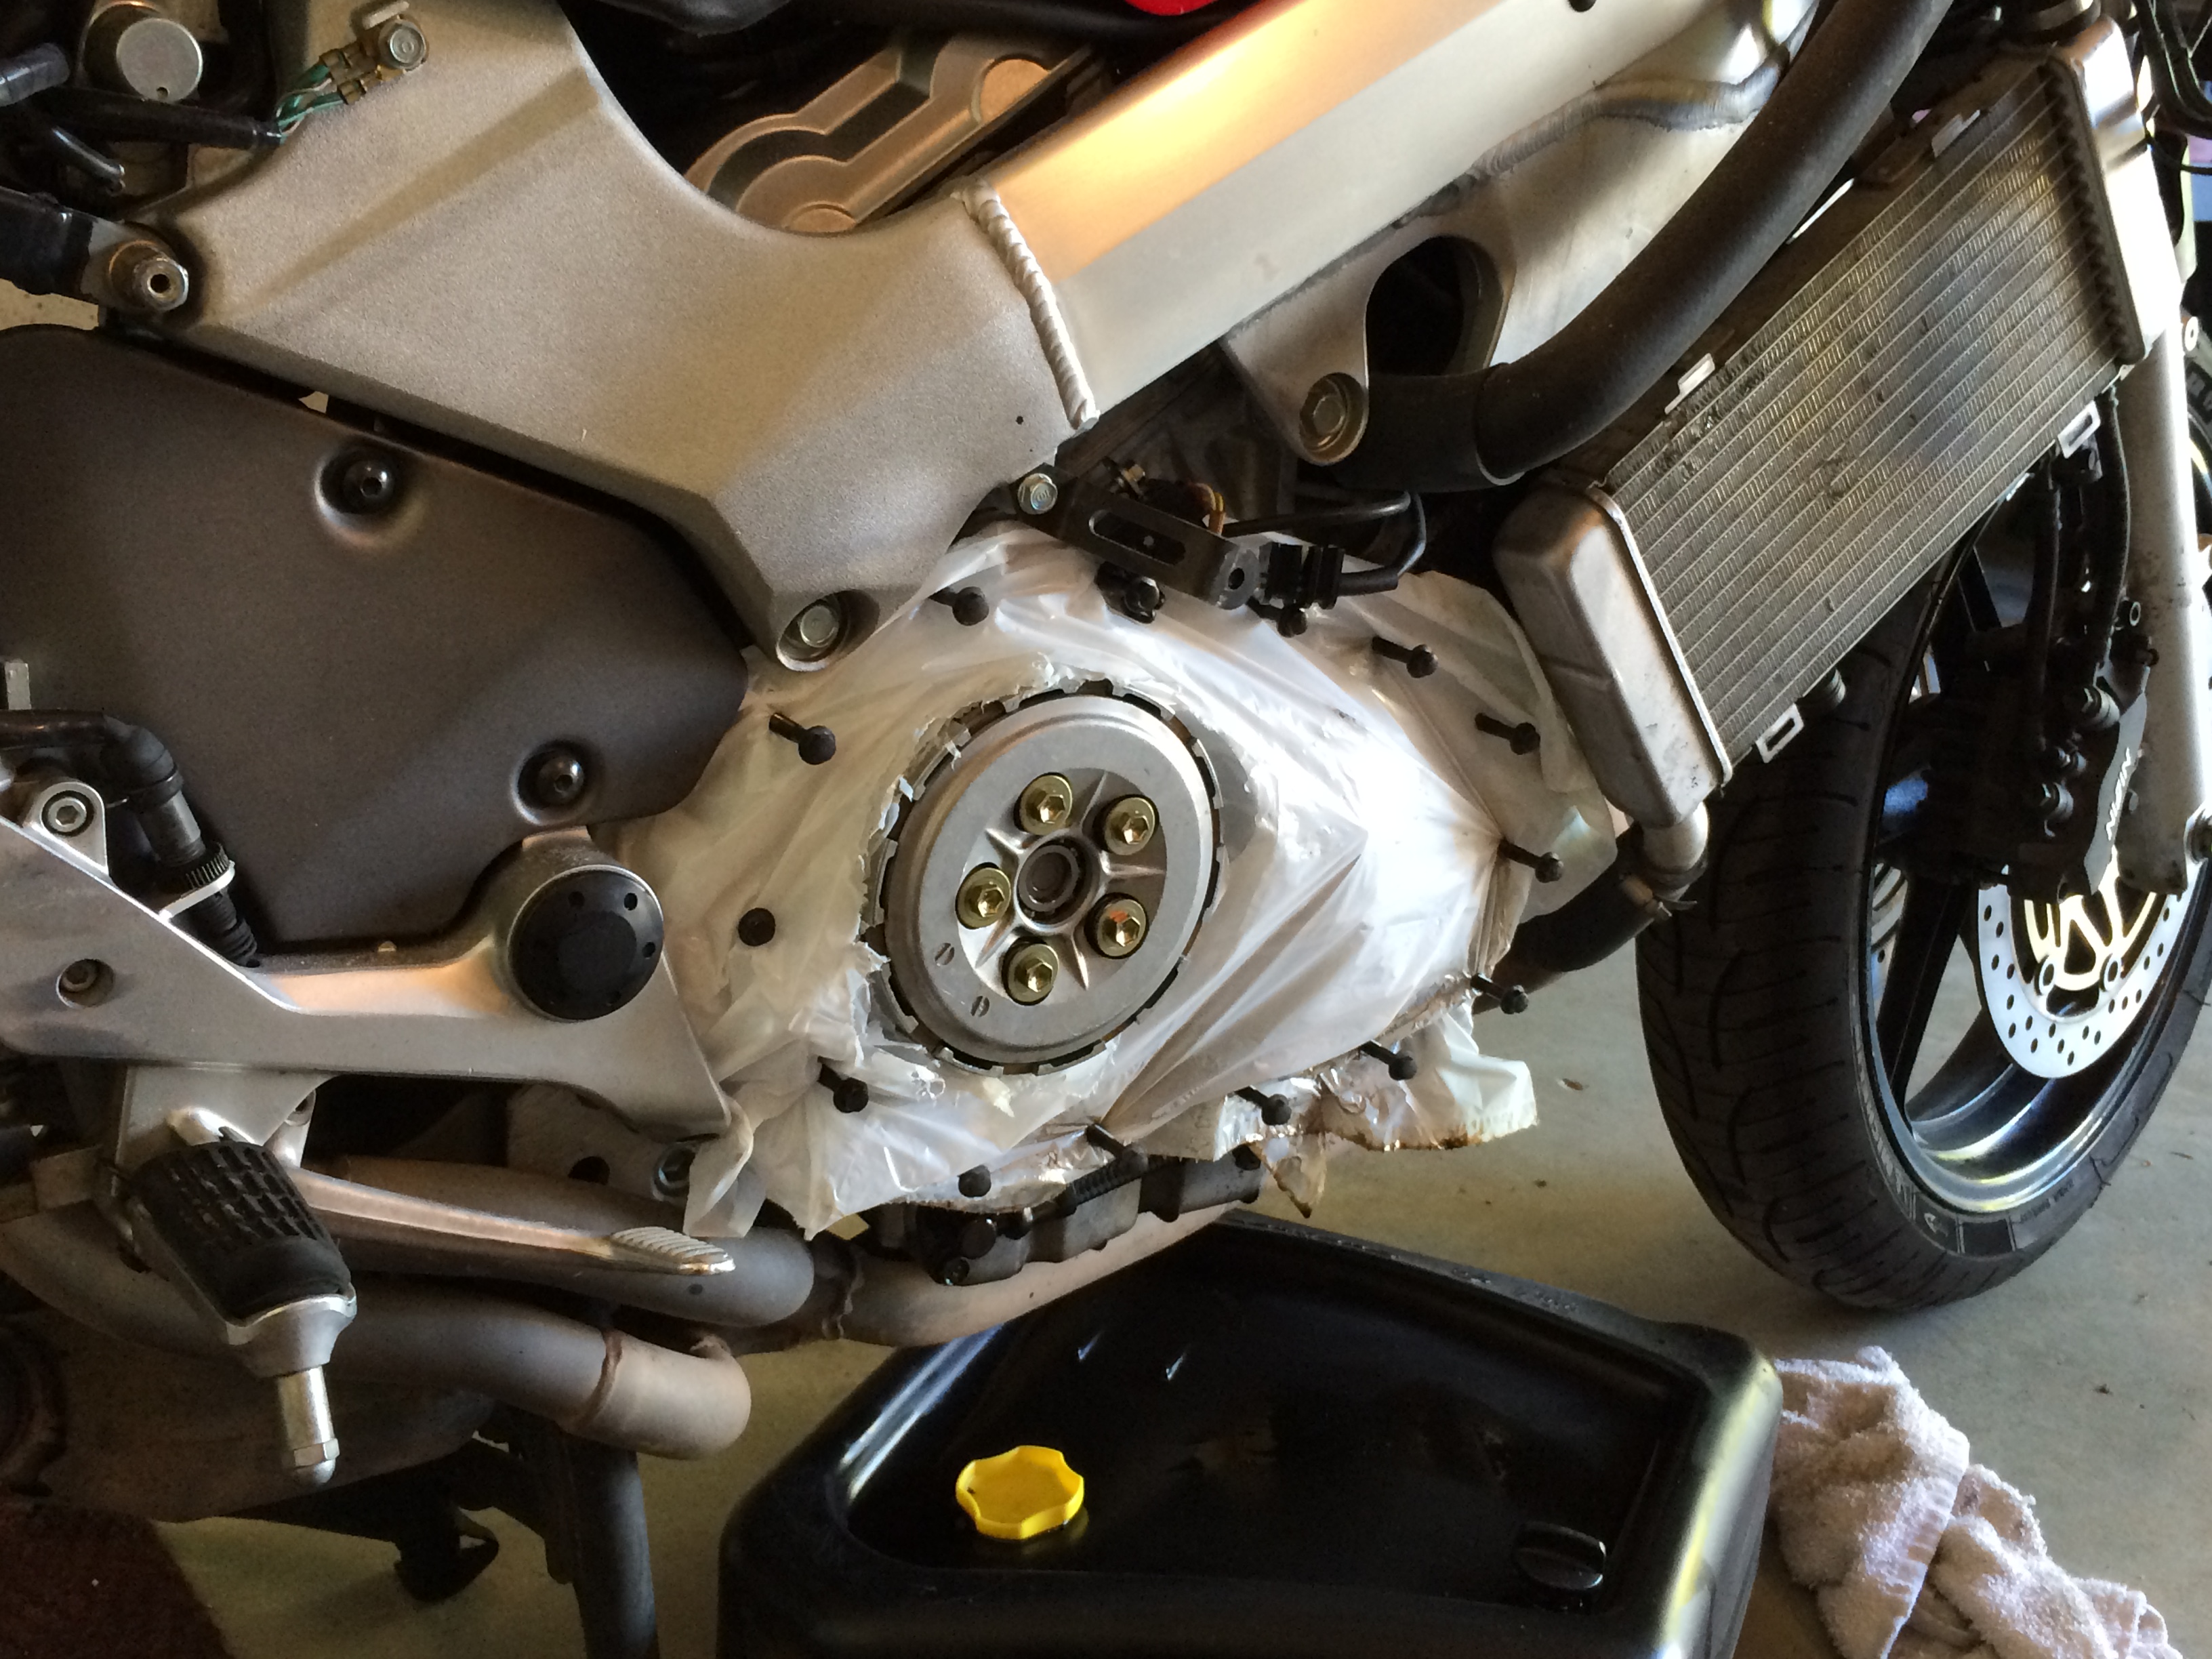
I wet sanded visible surface of the pressure plate with 400, 800, then 1500 grit sandpaper an polished it using Tripoli (jewelers rouge) and a sewn cotton buff. I have a 1 hp buffing motor mounted to a post and it has two different wheels, one on each side. One side is to cutting and polishing, and the other has a soft buff for finishing and bringing out the luster. You can do the same thing using a power drill with a buff attached to it, but I purchased the buffer motor and wheels since I've done a fair bit of metal polishing in the last few years. Here is a link to a video on metal polishing done by Eastwood. Eastwood sells a lot of polishing supplies and equipment. Video is LONG but offers a lot of good info on products, processes and general safety. If you go this route you might want to get a disposable painters suit and definitely a mask and eye protection. The rouge can be messy so don't do it in the house unless you plastic wrap everything within 30 feet of the buffing wheel as the rouge and fluff from the wheels goes everywhere. LOL. If you got a spare pressure plate and wanted it done, I enjoy doing the polishing and would happily polish the part for you as long as you cover the shipping costs. The buffer and supplies alone cost around $600-800 for the equipment I have, but the job can be done for far less depending on the amount of equipment and products you want to buy. I've polished a few pressure plates now for VFRD and VFRW Forum members, so please don't be afraid to ask. LOL. -
Clutch Window/Clear Cover VFRD Promo Special 2016
zoomzoom replied to SEBSPEED's question in Bargain Finder
All the glory here must remain with SEB. Were it no for his superb skills, well, you get the idea. Thanks for the compliments on the plate Cogswell. I racked my brains for quite a while trying to decide what to do, and one thing I had lots of experience with was aluminum polishing. Keeping the bike shiny is a favorite past time, other than riding it of course, so adding more shiny bits just seemed natural. It's amazing how shiny the plate remains after 20,000 km's. It looses a bit of gloss when bathed in oil, but overall it stays amazingly shiny. -
Clutch Window/Clear Cover VFRD Promo Special 2016
zoomzoom replied to SEBSPEED's question in Bargain Finder
Not sure if anyone would be interested but I thought I would throw it out there. I have a spare pressure plate from a 2000 VFR800 which I have polished to a mirror like finish. If anyone would like it, shoot me a PM. Once installed, the pressure plate would resemble the one on my bike or.................
-
Ya mean I didn't clean the parts well enough before packing them in the box. Personally, I thought they were pretty clean. LOL.
-
Hey Lee. I like Kev's idea. Since you already have the shifter cover off (or did anyhow, but not sure how far you've progressed on the re-assembly process) you may be able to slip the chain under the lower foot peg mounting point. Just undo the small (5mm Hex key I think) bolt in the lower part of the footrest bracket and leave the footrest (under the black cap) bolt attached, and back off the nut on the right side of the swing arm. Gently tap the bolt from the right and the whole footrest bracket will likely move out from the frame enough to slip the chain, height wise, behind the foot rest bracket arm.
-
Unfortunately, I wish this was the case. The chain routes through the gap between the upper and lower mounting bolts on the drivers side foot peg mount. The lower foot rest bolt just goes in to the side of the engine case but, the main mount is the swing-arm pivot bolt. Having just removed the swing arm on my parts bike, I don't see how the chain can be removed in one piece without removing the swing arm pivot bolt.
-
When you go to remove the master link, I've had good success with grinding the end of the rivets off with a Dremel tool and a cutting disc. Since you are going to have to replace the master link, the new one will come with the outside chain plates so not to worry if you scratch them while grinding down the end of the rivets.
-
Hey Lee I have re-inserted the axle through the cush drive assembly so that nut has only been tightened on by hand but you'll have to remove the axle anyhow to install your brake rotor. Just back the nut off by hand. If it's too tight to remove by hand, you could use a pair of large channel lock pliers. Once you get everything re-installed then you can tighten and torque the 46mm nut and then stake it properly.
-
Apex Andy in Motorcyclist Nic 2016 Issue
zoomzoom replied to V-FORE's topic in Third and Fourth Generation VFR's
Once again, immortalized in print for more of the masses to enjoy. I've said it before and can't not say it agin Andy, "WOW, such a bike!" -
Last set of parts I sent out went to a guy in Florida and they took 6 days total. Shipped them on Tuesday morning and they were delivered on the following Monday morning. They were sent expedited post which is supposed to be 4-7 business days. My guess would be they should be there by Tuesday this week.
-
The tech I talked with at the local Honda dealer who took the nut off for me said I could borrow his anytime I needed it. Mind you, I've fixed a few dents for him over the years so he knows where I work. LOL
-
You need one that is 46mm. No direct equivalent in inches. You can buy it from Honda or maybe order it online. I chose to remove the swingarm and take it to the dealer to have it removed. Of course that involved removing the swing arm completely. LOL. You could probably use a really big cresent wrench to put it on and tighten and stake the nut so it can't back off it and then ride it to a Honda dealer to torque it down for you. Ride it slowly I might add.
-
Check out this post from over on VFRWorld. I remembered reading about this a while back when I was helping a friend who rebuilt a 98. His issue turned out to be a crack in the flexible PCB board caused by a broken mounting post. Might prove helpful though. http://vfrworld.com/forums/showthread.php/39032-VFR800-5th-gen-no-tach-or-multi-panel
-
Clutch Window/Clear Cover VFRD Promo Special 2016
zoomzoom replied to SEBSPEED's question in Bargain Finder
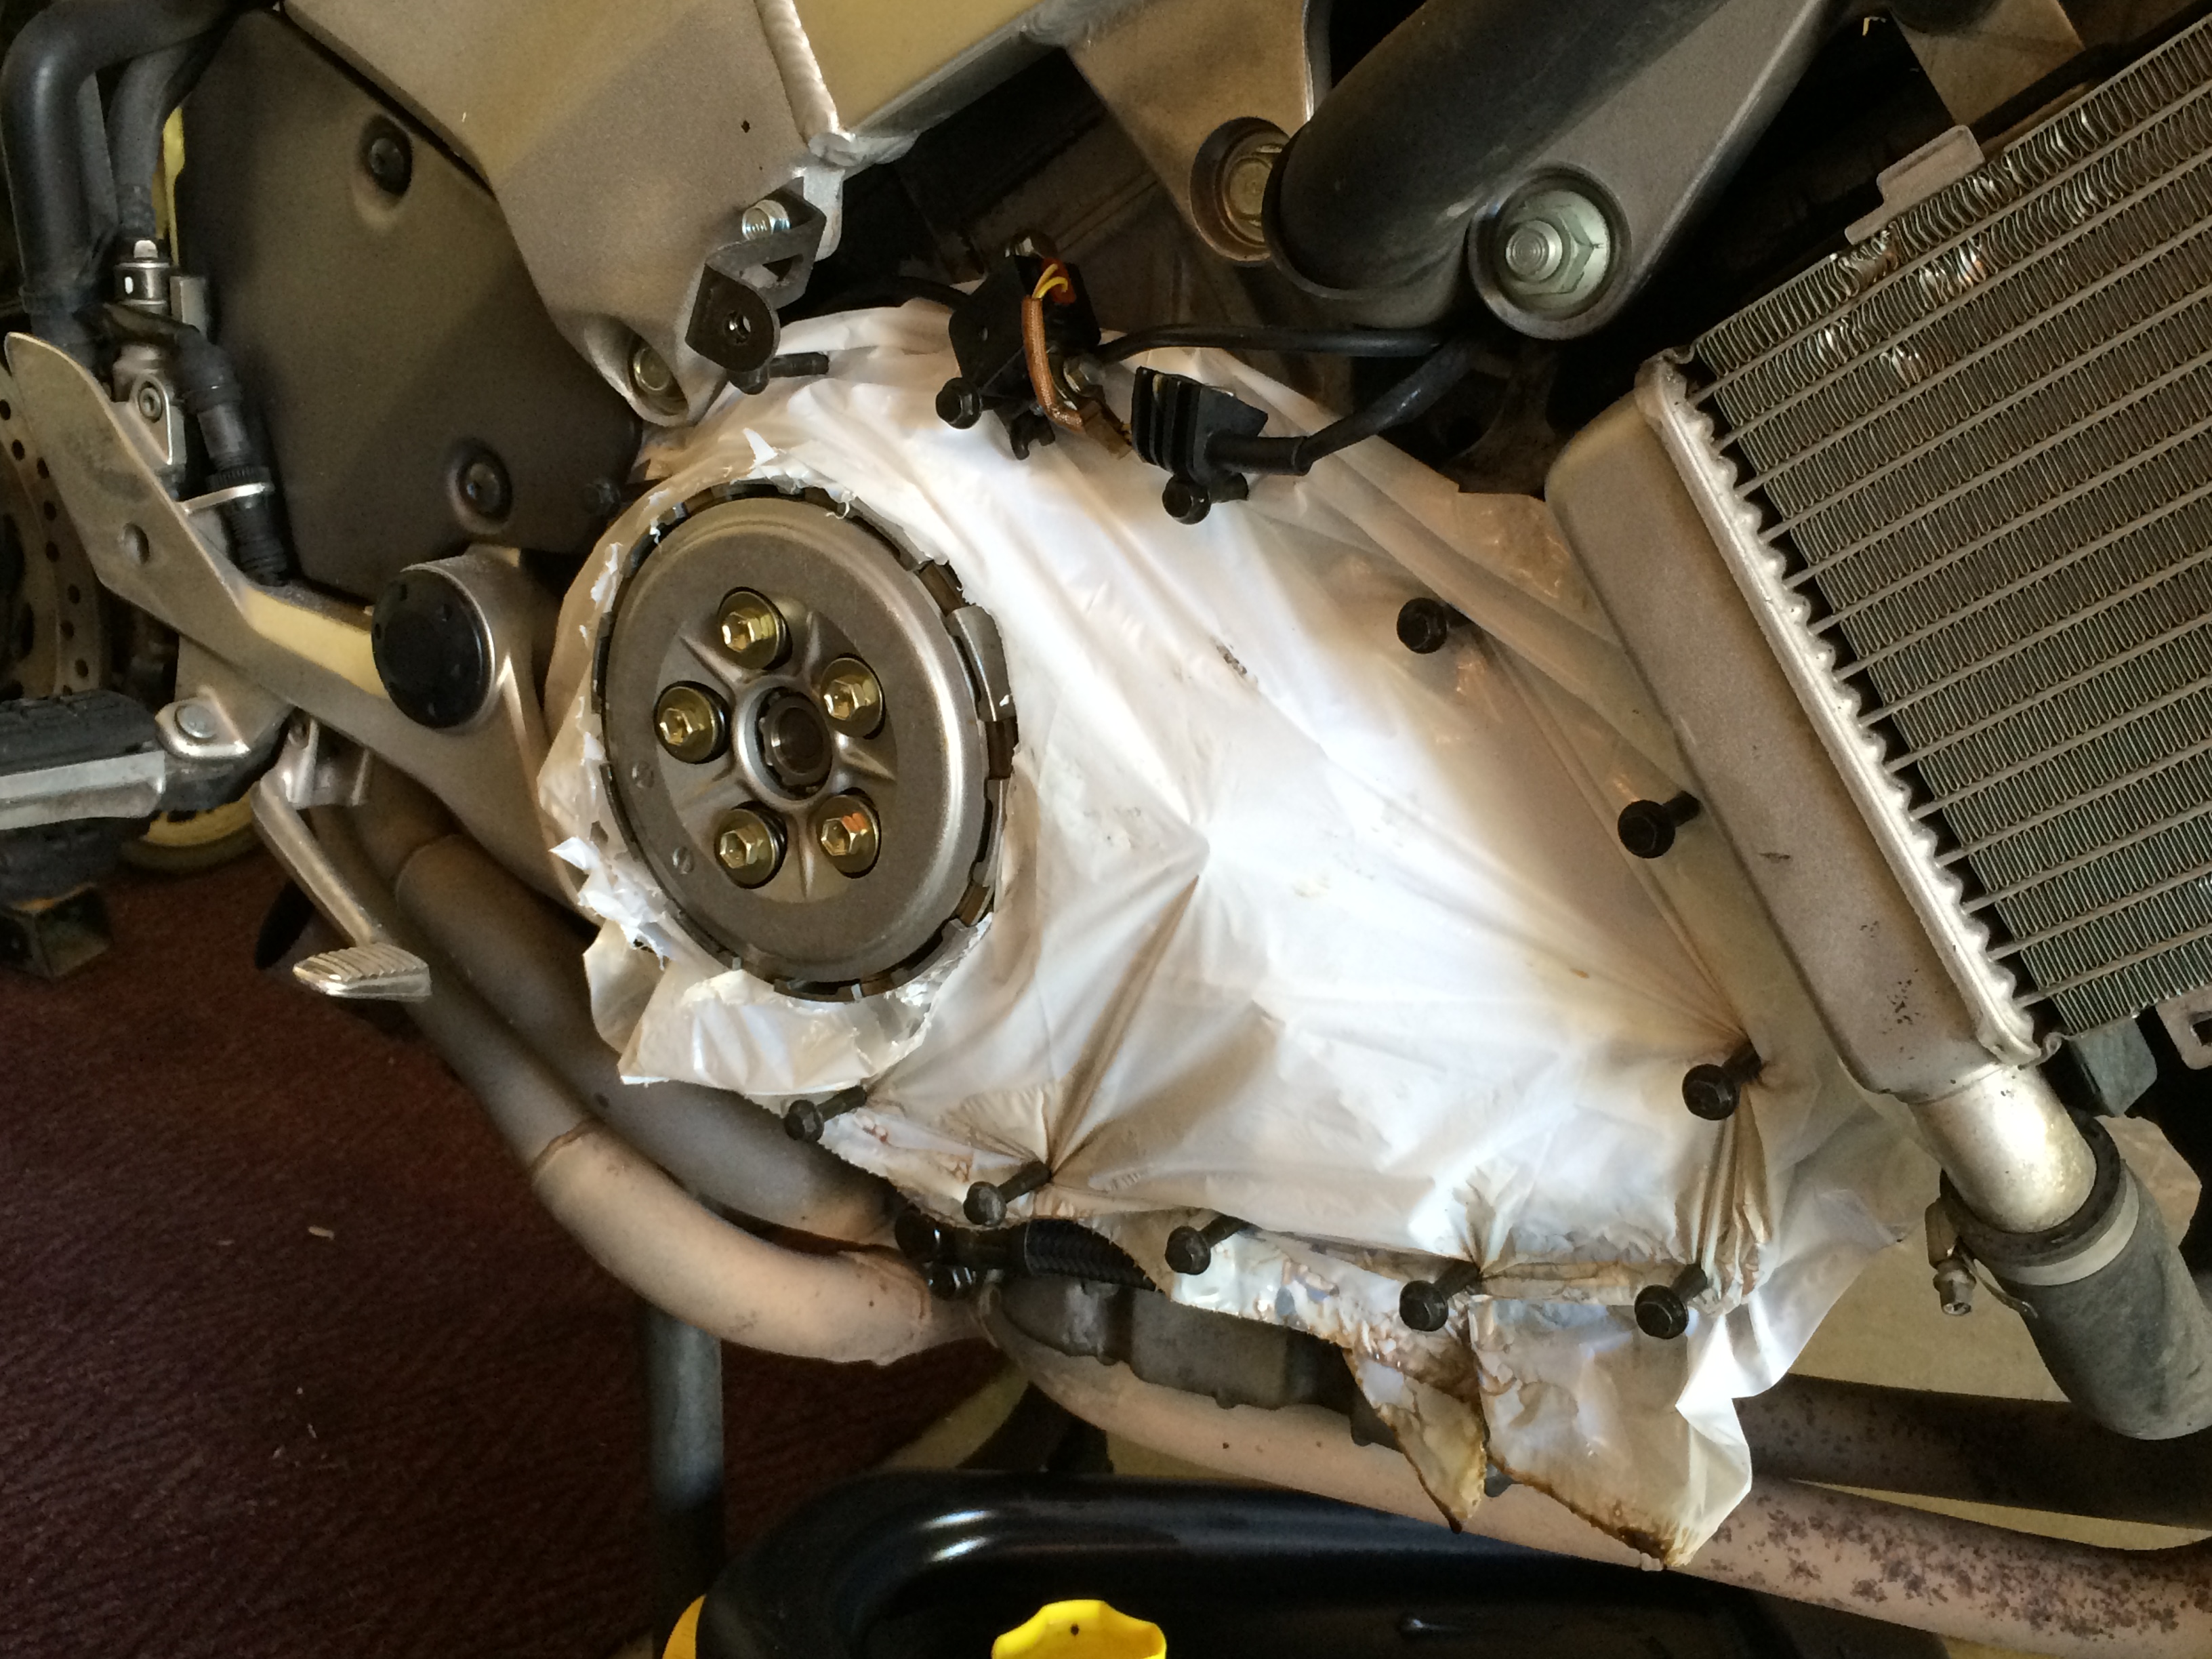
Well we were sitting in the garage and staring at my buddies VFR and he has always wanted to get one of Sebs fantastic "Windows to the Soul of the VFR". Since funds were a bit of an issue we decided to make the "You Might Be a Redneck if". Jeff Foxworthy version. LOL May you all have a good laugh. But seriously folks, if you are looking for one that WILL NOT leave you carrying a jug of oil with you everywhere,. SEB is the Man and his cover is the one you need. Should probably have the legal disclaimer , "Warning !! Do NOT try this at home."
-
Glad the damage doesn't look as extensive as your first thought Lee. The parts bike is awaiting your list of various bits and bobbles.