PorradaVFR
-
Posts
235 -
Joined
-
Last visited
About PorradaVFR

- Birthday 10/18/1970
PorradaVFR's Achievements
")


-
Rear Axle and bearing Inspection
PorradaVFR replied to HispanicSlammer's topic in Maintenance Guides
Yep - I was going nuts and realized that M35 means inner threads just like an M8 bolt means 8mm thick. Now I gotta return the 35mm and find a 46mm. Dang it. -
Rear Axle and bearing Inspection
PorradaVFR replied to HispanicSlammer's topic in Maintenance Guides
Arrrgghh!! Other VFR boards say 46mm bolt…but the 6th Gen. parts fiche says 35mm! (And I just bought a 35mm socket due to arrive tomorrow). Is it 46mm after all? Item 24? NUT, LOCK (35MM) 90306-MZ7-000 -
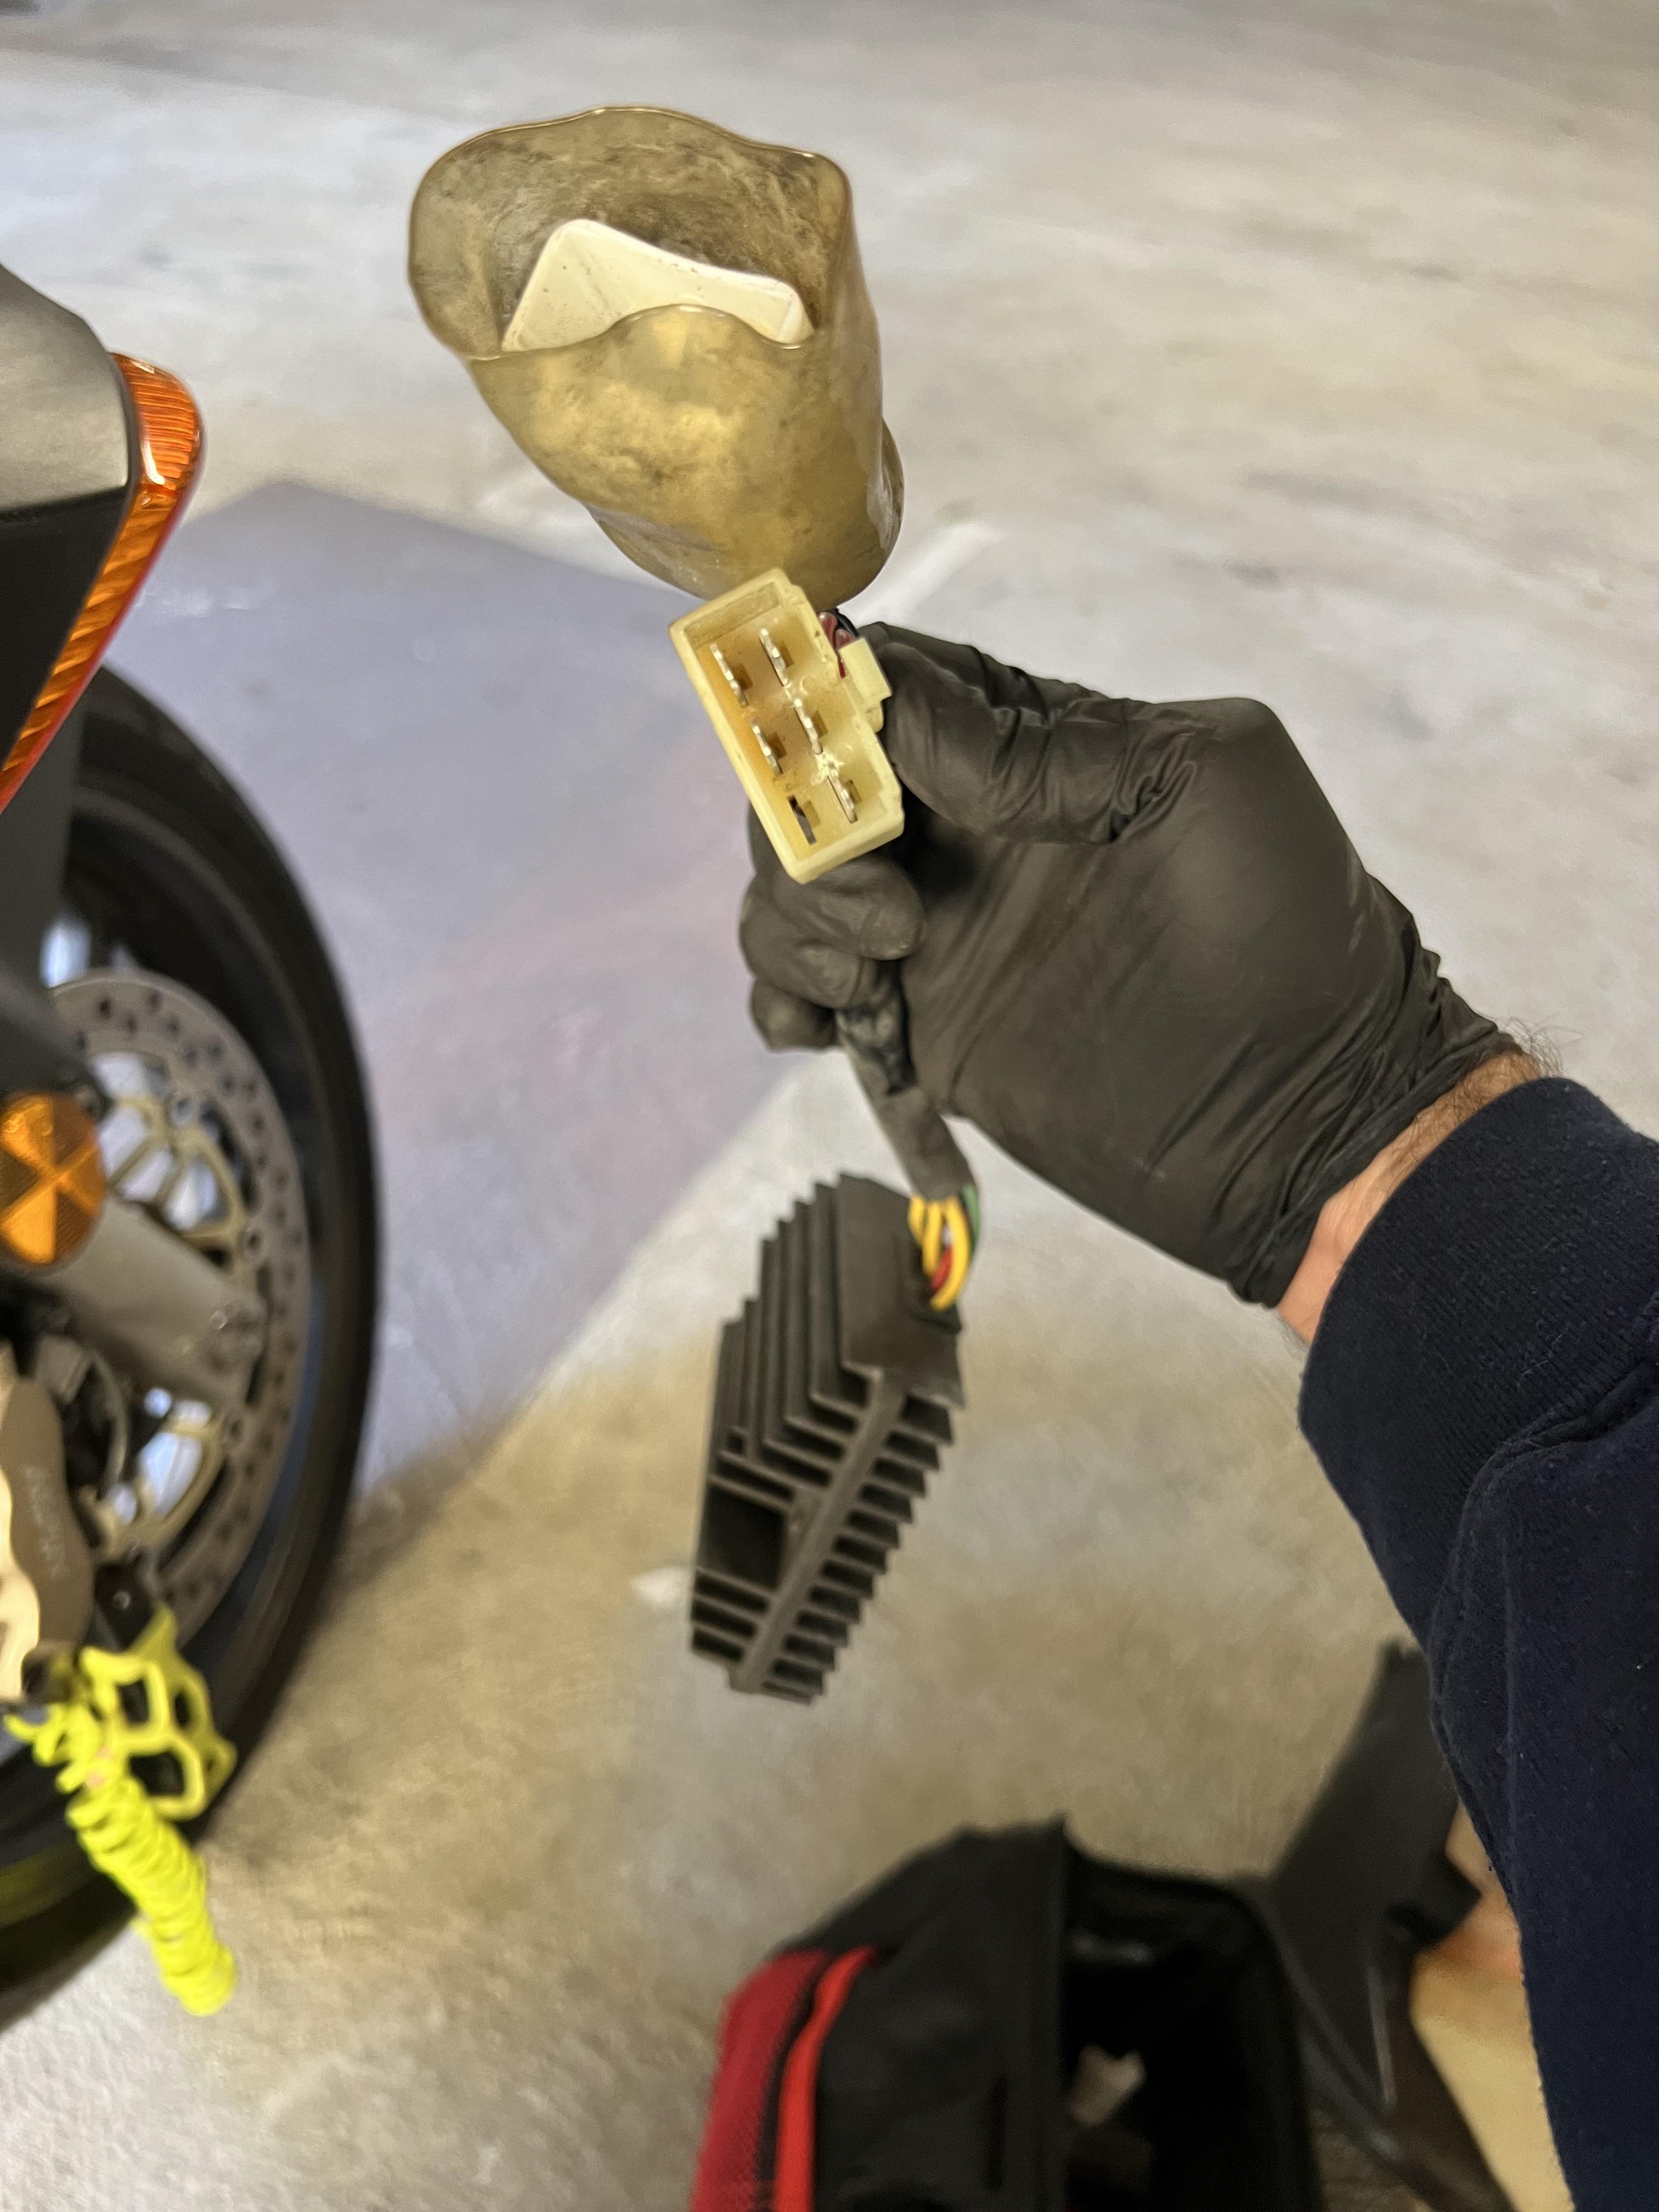
I do not, but is that all it changes? I thought it was a better ground path for the system as well.
-
What a shame, I didn’t know that. The replacement R/R I already installed replaces the stock wiring so I hoped this would improve on it a bit. Hopefully someone has one still laying around and wants to get rid of it. Will standby.
-
It appears wiremybike.com is no longer active and when I emailed them it bounced back as unreachable. If that’s correct is there anyone with a 6th Gen VFRness that no longer wants it and might be willing to sell? I recently replaced my stator, R/R and battery due to some issues and am thinking adding this might be a good idea. Thanks!
-
Looking forward to seeing more! Great thread so far. 🙂
-
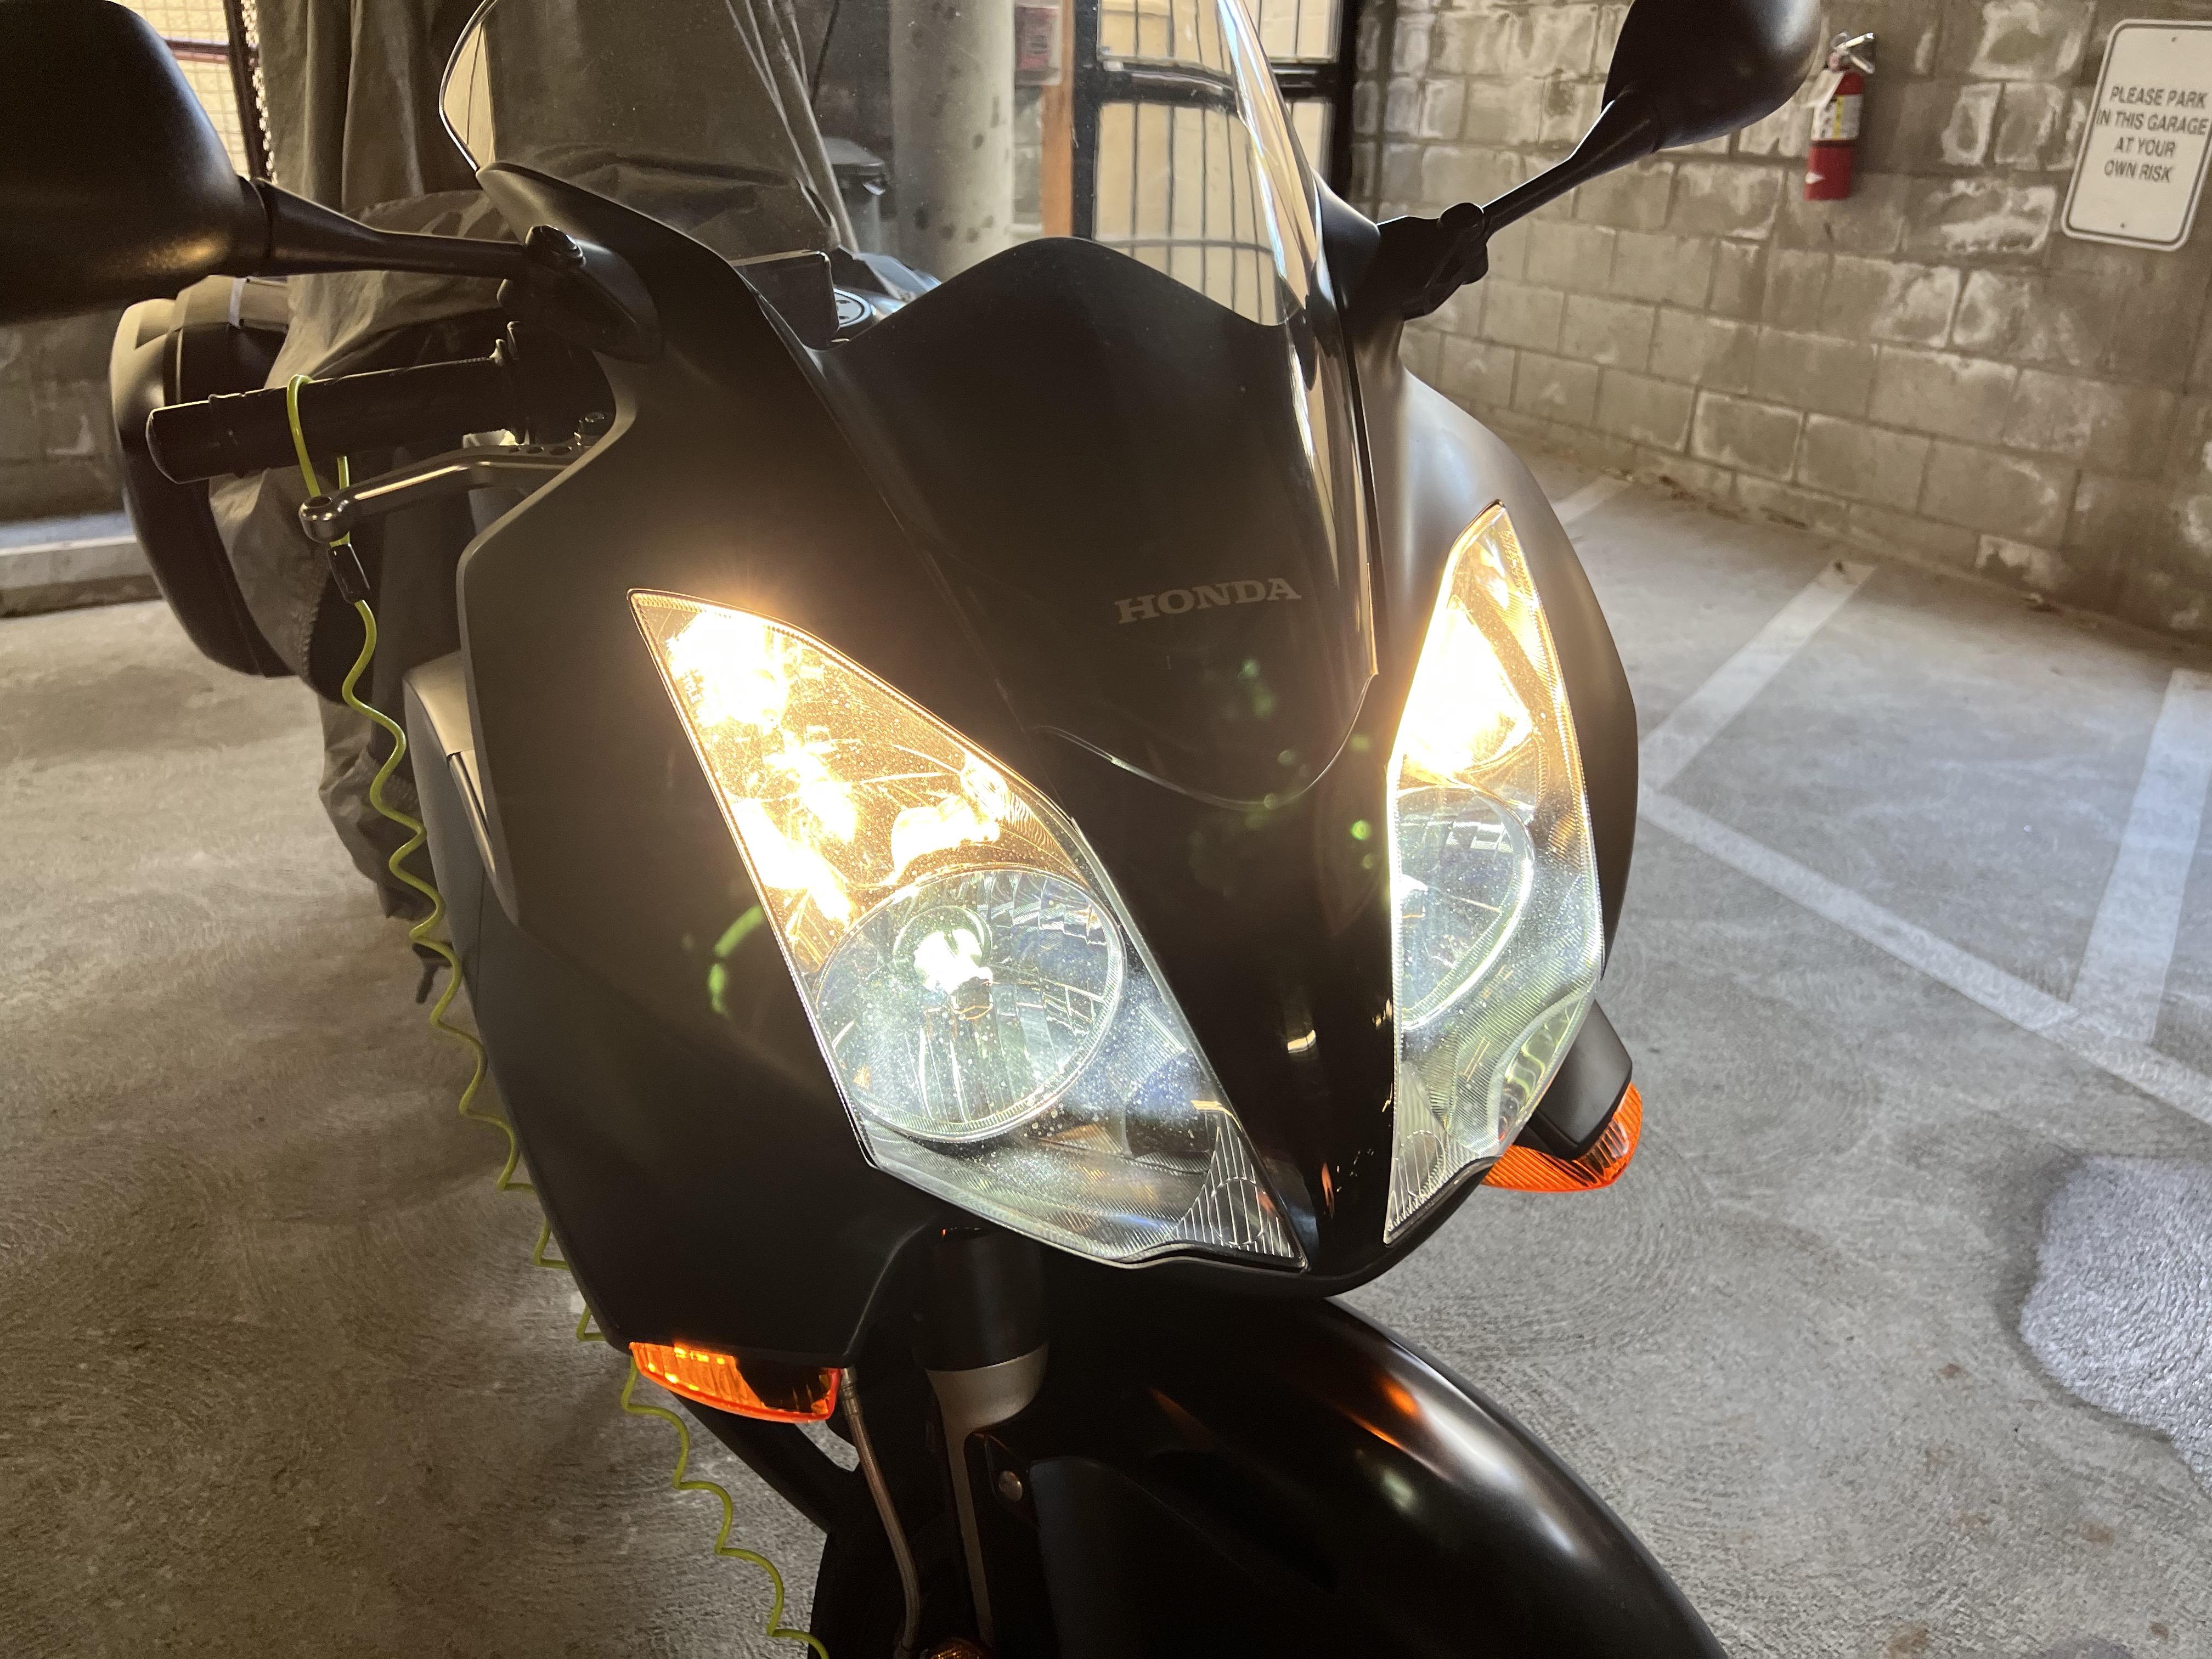
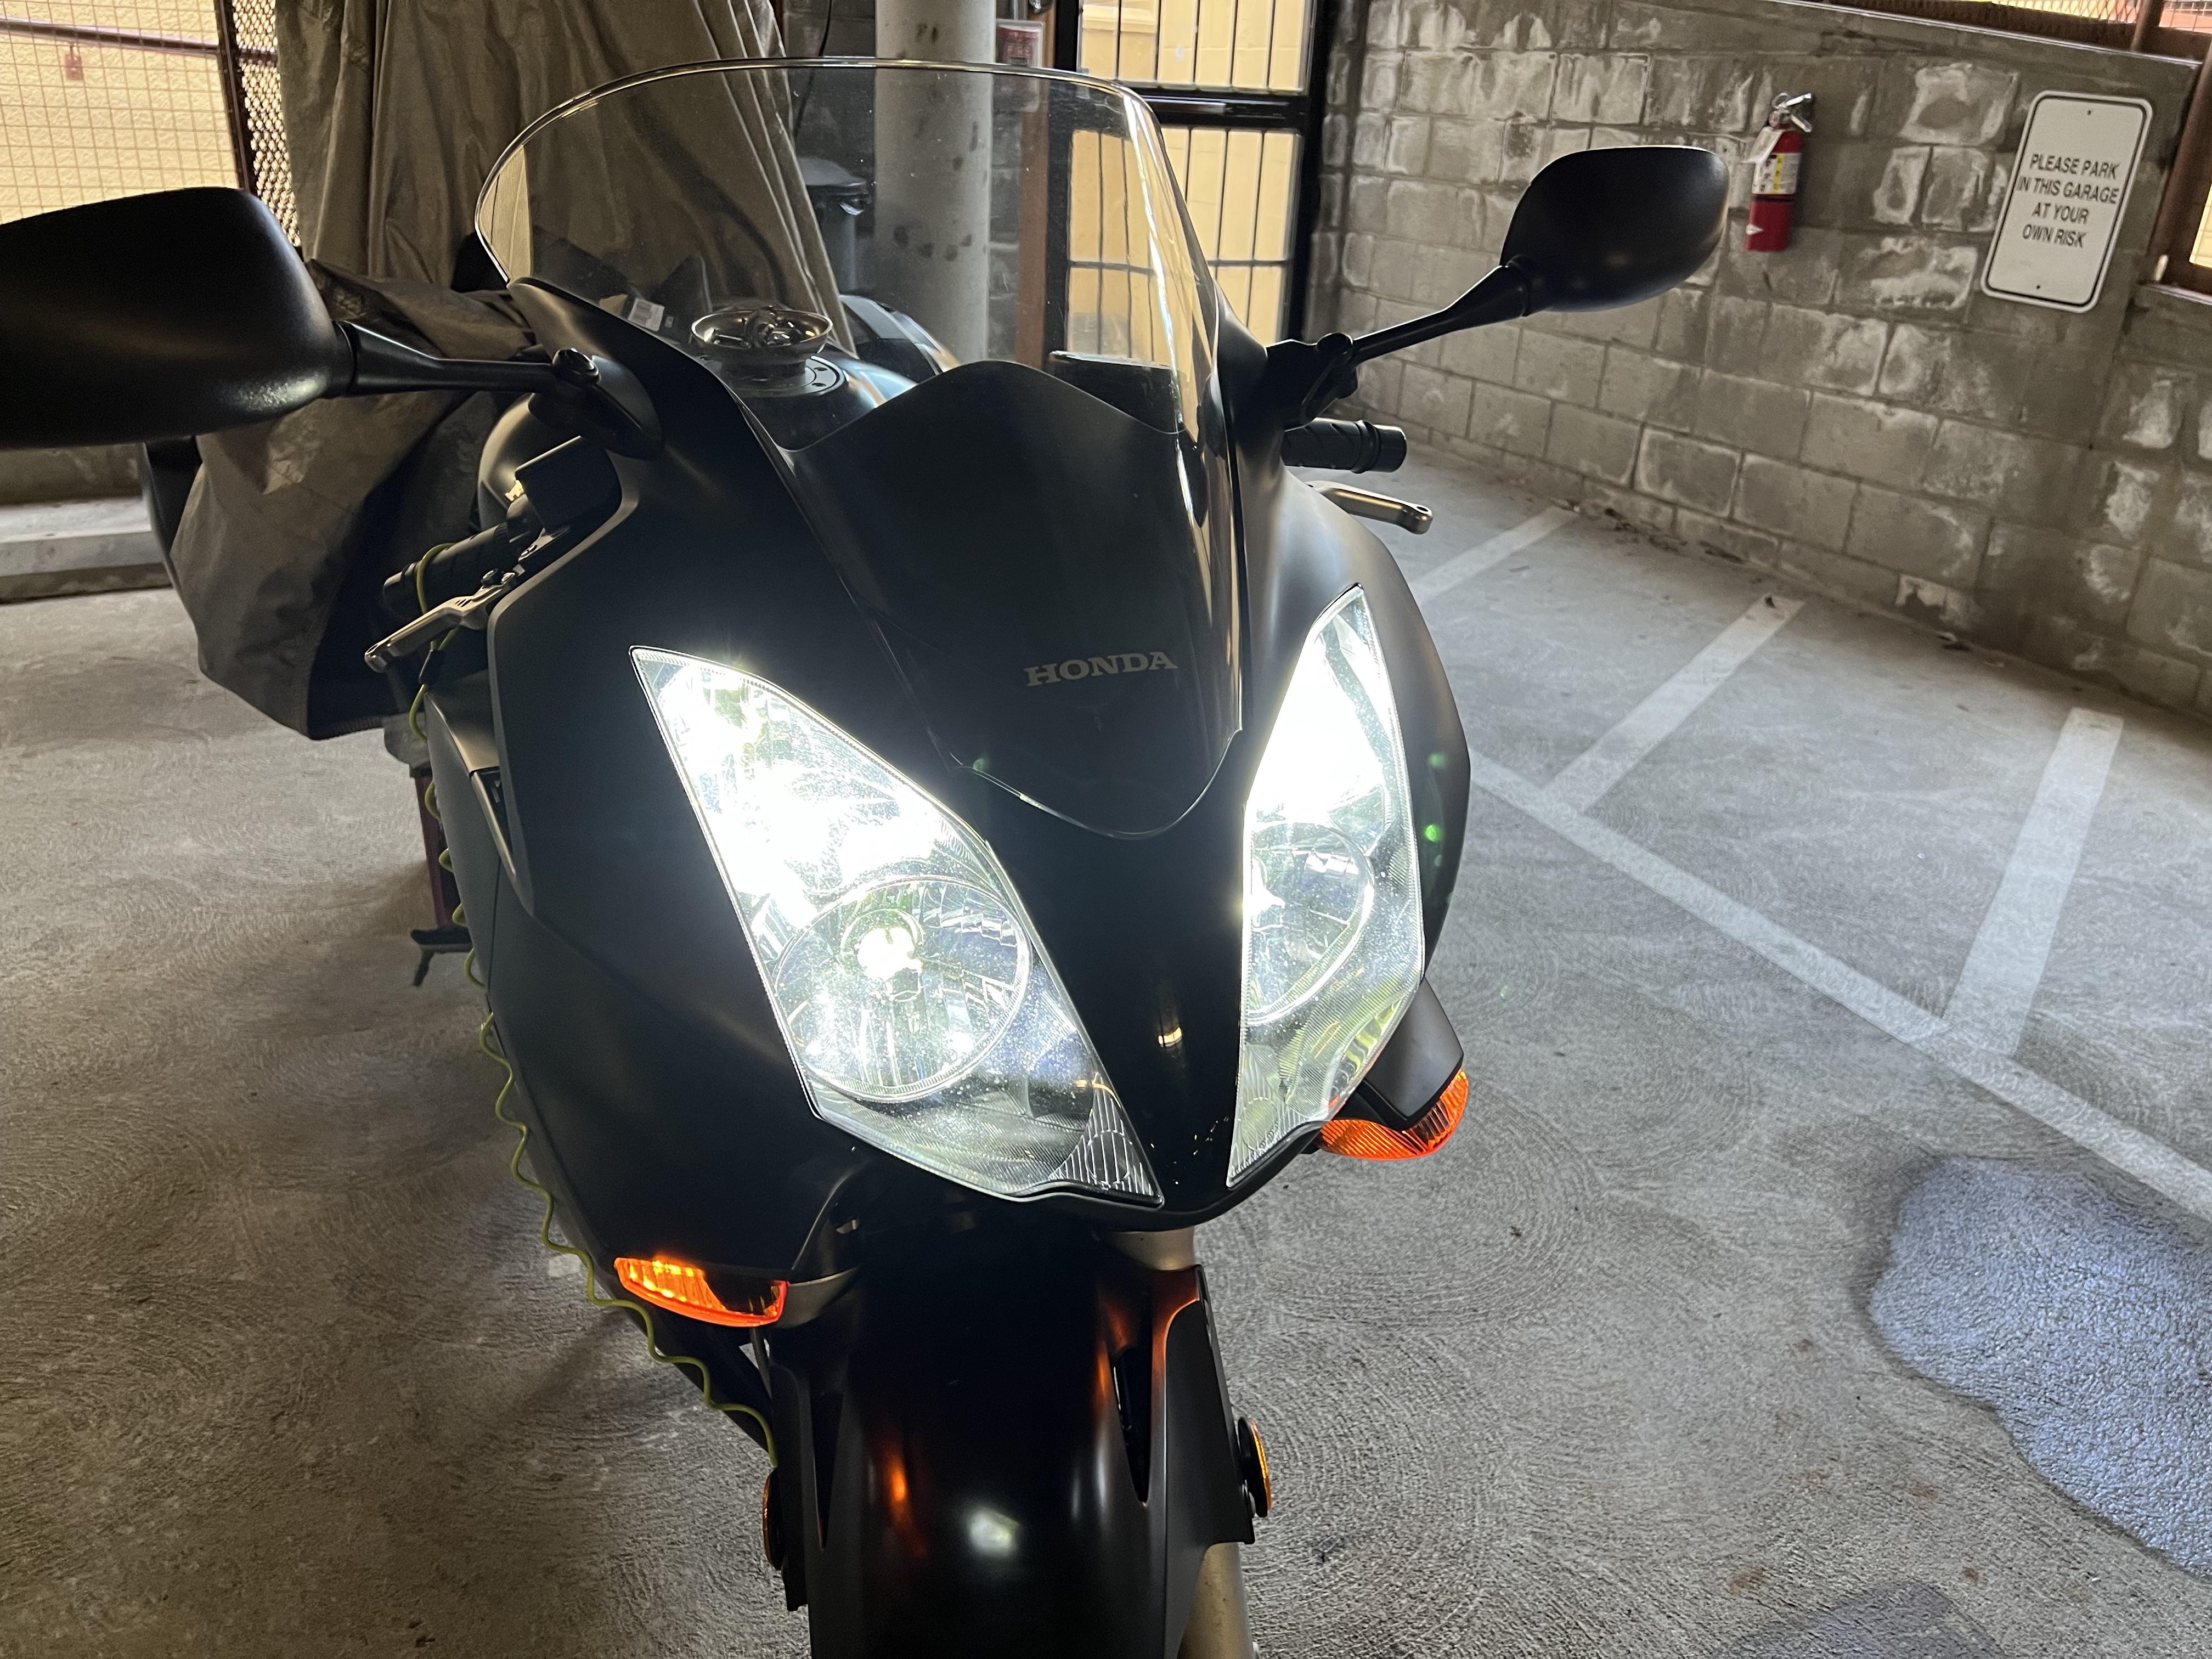
Headlight (Hi-Beam) fairing removal
PorradaVFR replied to PorradaVFR's topic in Sixth Generation VFR's
Got the install done with only a minor hiccup. Removing the fairing takes ALLLLLLMOST too much force, the plastic makes unhappy sounds, but it’s fine. I did have to rotate one harness 180º as otherwise the LED bulb would not illuminate and with the tabs it only had one position it fit properly in...polarity is wrong for one side I guess (at least with these bulbs)...and there’s definitely a “right” position. No biggie. LEDs look a lot nicer and brighter too .
-
If you believe YouTube and the VFR shop manual removing two bolts and the dashboard push-clip releases the triangular fairing over the Hi-Beam housing...but I tried the right side and it was FIRMLY in there. I’m not anxious to break tabs but I agree the information suggests that’s all there is to it, along with some force...can anyone clue me in to any tips / techniques? It seems you need to pull DOWN to release the dashboard tabs and BACK towards the tail to release the rubber post from the grommet. After having to replace the H4 plug from too many uggas replacing the Lo-Beam bulbs last week I want to do this one right. 😉
-
Points to look out for on a test ride?
PorradaVFR replied to daved's topic in Eighth Generation VFR's
Will somebody PLEASE explain to me why Mother Honda decided on those absolutely LOVELY wheels then put a big ass muffler in front of them? Why they dropped the center-up exhaust from 6th Gens I’ll never know. -
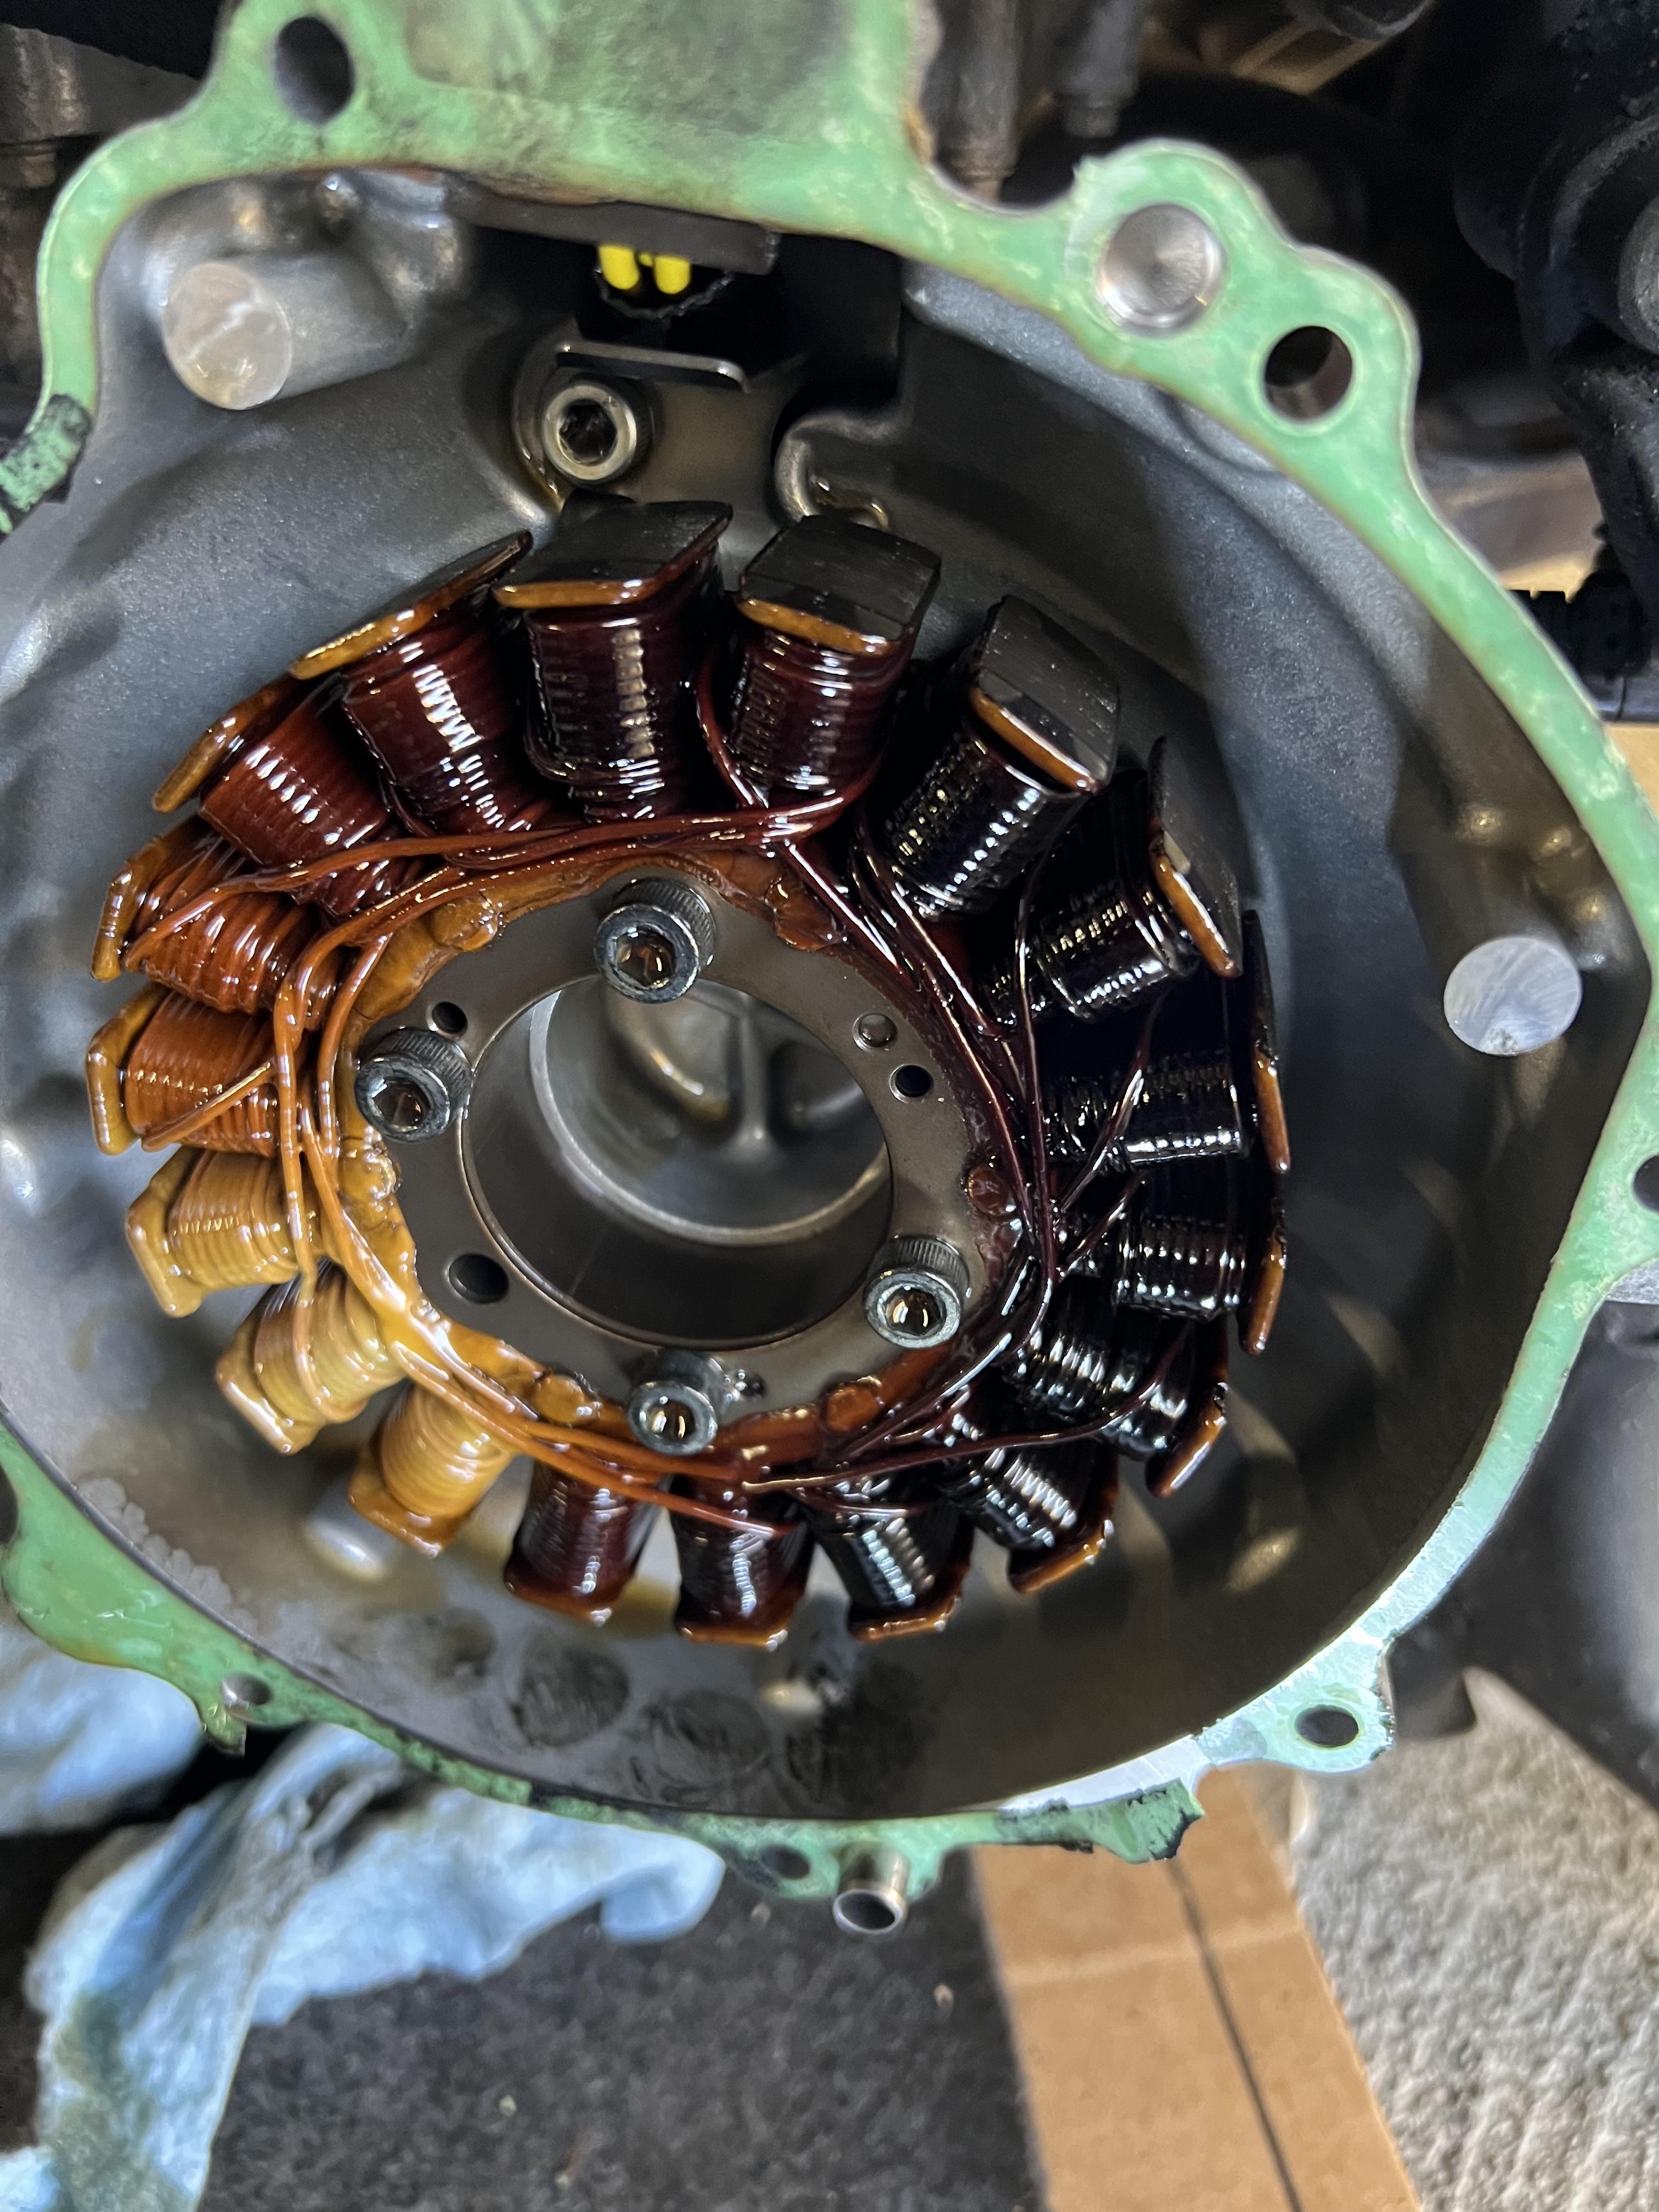
Yeah, the harness beyond the torched stator wires (replaced) looked fine. I cleaned ‘em up and added dielectric grease wherever I touched wires which should help in the future.
-
Dude, I was just on that thread...I was proud at the outcome of my few hours over the weekend swapping the stator...your bike looks....astonishing. What an amazing project! You greatly overestimate my skills if you think I can manage even a smidge of what you’ve done! 😲
-
Well after having the old Shorai abruptly die on me mid-corner in December I replaced it with a...generic lead-acid battery (whatever the local shop had in stock that day) and moved on with my life...I had not ridden since but the bike sat on a Battery Tender since and the other day I decided to start her up after adding some Techron while I washed my wife’s car...bike was idling fine, then died and would NOT restart. Ran the battery down so I gave up and left her to charge overnight...next morning, still no dice. Uh oh. Came home from work and tried again and realized that I was NOT hearing the fuel pump whine...but after checking the terminals and starter relay it turned on and fired up...but would die the moment I put hi-beams or grip heaters on. Nuts. Using the internetwebz and my marginal wrenching skills I checked the R/R - the harness was extremely difficult to separate - explained once I managed it and found it utterly scorched (no pic). That’s when I decided to wipe the slate and replace the R/R, stator and battery. Opted for Ricks and a Yuasa AGM which I installed over the weekend - bike seems happy and values all in spec...13.85V at 5k RPM (was hoping for 14+) but it’s still within limits. Still irked by not knowing if the stator harness was the symptom or the cause, but nearly 20 years with the factory bits is fine. Gave up on LiPo batteries - I had tried a couple but when they die it’s far more abrupt than I’d like...not worth the weight savings (and I wonder if the voltage might have contributed to the electrical woes...dunno).
-
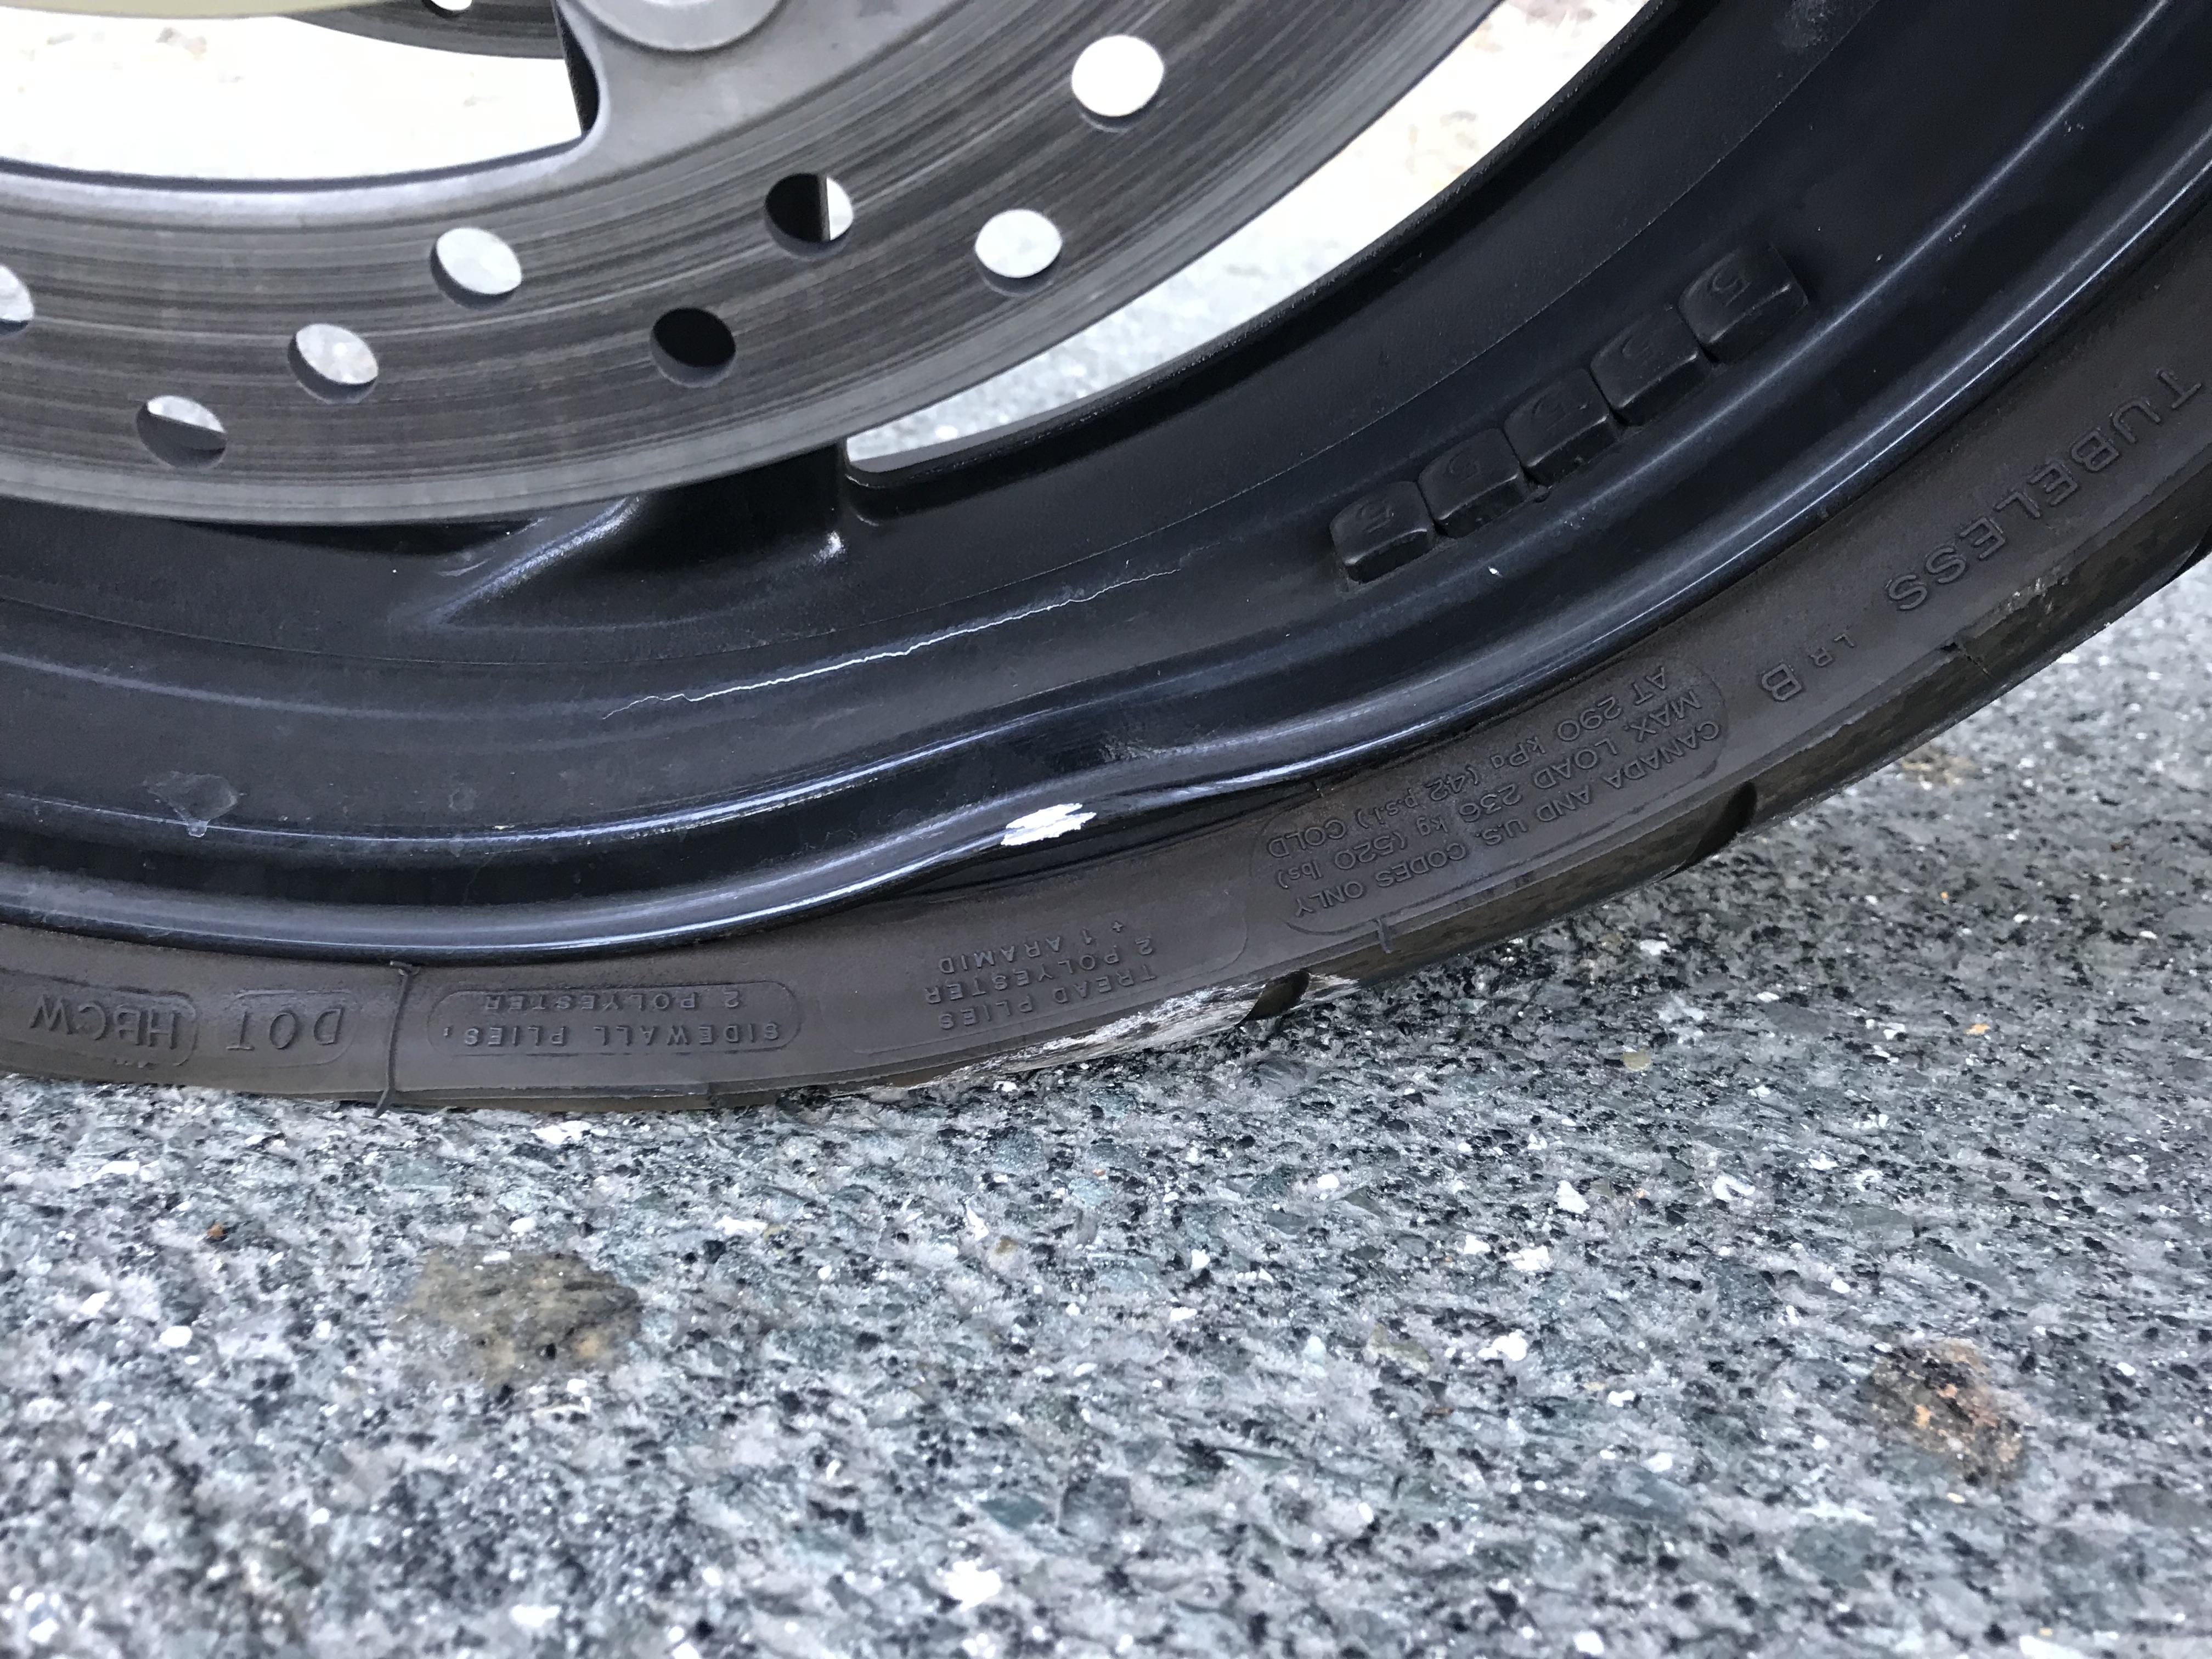
Not sure yet, the shop has not replied with a decision. I don't know if that's a crack in the paint or the wheel itself, but I'm pretty resigned to having to replace it. Lee: yeah, no lead in CA weights so I guess balancing takes more of them...got me.
-
Had a rare (these days) jaunt in the Bay Area hills and was heading home on 280 southbound when I hit a rock / chunk of concrete at ~65-70mph. The bike went into a brief headshake then settled down, but I knew it had been a nasty whack and started to pull over to check it out. As I went from the #3 lane to the next exit ramp the steering got heavier and heavier...leading to me stopping about halfway up the exit ramp with barely any control at the front end (rear brakes DO work! 😉 ). Thankfully no further drama, aside from waiting around for the tow. Took the wheel in to a shop but I’m pessimistic that it’s repairable. Anyone have a line on a good condition 6th gen wheel?
-
Replacing Front Brake/Clutch Levers HELP!!!!
PorradaVFR replied to 5thgendaily's topic in Fifth Generation VFR's
I have a feeling you purchased or were sent the wrong fitment - that does not appear to align (understatement). I’ve installed two sets of the HK levers on my bikes (and a third on a friend’s) and the installation took only a few minutes - it should not be flummoxing you.