apexandy
-
Posts
333 -
Joined
-
Last visited
-
Days Won
6
Content Type
Forums
Profiles
Gallery
Blogs
Downloads
Events
Everything posted by apexandy
-
not sure that's true. It certainly sounds like a 180* setup. I think in the beginning they tried some different setups with their crank arrangement. But… you could be right. Im definitely no expert. Paging Busylittleshop…
-
I'm definitely interested in this topic. It does seem like the VFR 180* engines pair different cylinders than the 360* RC engines. Although, I think the new 8th gen might pair the front bank together and the rear bank together before the final merge. And Ducati's GP bike has them paired that way. As far as I can tell it sounds like a 180* crank. The unequal length headers that you mentioned might be a factor.
-
Bike looks fantastic! I'm never gonna live that one down…
-
Pretty sure it's a no go. But maybe they make an adapter?
-
Looking really good man! I like the grey and black.
-
I've definitely thought about it. I have a desire to change the headers at some point, and potentially enclose an oil cooler in a belly pan, so I don't want to spend too much time on a belly pan that might not fit future plans. I used to spend a lot of time on the custom fighters forum and I always appreciated the members who "completed" a build and then continued to modify and refine the package as time went on. The itch to do new builds will always be there however…
-
Mail Order Rvf 800 – Some Assembly Required…
apexandy replied to Rush2112's topic in Fifth Generation VFR's
Awesome :) -
A belt sander clamped to the work bench is very handy as well
-
John Britten was from another planet! I couldn't last a week working at the pace he managed for years. I modified a motorcycle with a few hand made parts… he build an entire racing motorcycle and took on the world. My house has some hand built cabinets and custom touches… he made everything in his home, including his own sink fixtures! Incredible! The VFR launches so well at the strip! My best time was a 7.6 in the 1/8 mile. With the track being at 4100 feet it equates to about a 7.2 at sea level I think. Which translates to low 11's I believe in the full 1/4 using online conversions. However I'm not sure how well my bike would do in the 1/4 without a fairing. 1/8 mile suits it well. My clutch was already a little suspect before the drag races, and I have a sneaking suspicion 2nd gear wheelies are a little hard on it, so I have a new one to install before riding season. I'm going to put in oem discs, but purchased stiffer springs based on positive reviews from others on here. I'm excited to see how it rides with the fresh clutch How's your bike coming along? I thought I read in one of your posts you have been working on it lately?
-
A variety of woodworking tools… As I'm a cabinet maker that is what I have access too, I'm sure there are better tools for the job. For sheet stock I sometimes use the table saw with an old carbide blade to cut it close to size and then usually a good jigsaw with a high quality fine tooth wood blade. It helps to clamp the aluminum to a sacrificial sheet of plywood or mdf and cut through both. For bar stock pieces I get creative with the table saw and mitre saw… can get sketchy at times though. Then files and sanding for the rest. Also, I find using a high quality sealer or wax on the parts keeps them corrosion free and easy to clean all season.
-
Motogp 2015 Season . . . Five Manufacturers! W/spoilers
apexandy replied to choco's topic in Motorcycle Racing Talk
This potential canadian track looks quite promising and impressive. I'm hoping they will open up motorcycle track days when it's built! http://www.area27.ca/facility/ And it's only a few hours from my house :) -
I like the tank grip Beck Thanks man! That was the goal of the build, OEM+ Cool to see you plugging away on your bike again! I can't wait to move into my 2 car garage to have some room for bike work again. I've thought about doing the hugger in body color…but I was thinking it might look a little "90's". It does need a new finish of some sort. I just wrapped it in 3M carbon fibre vinyl for now. I was thinking of maybe organizing a bit of a VFR ride in the okanagan area. A nice sunday ride to the motorcycle museum outside Salmon Arm would be sweet :)
-
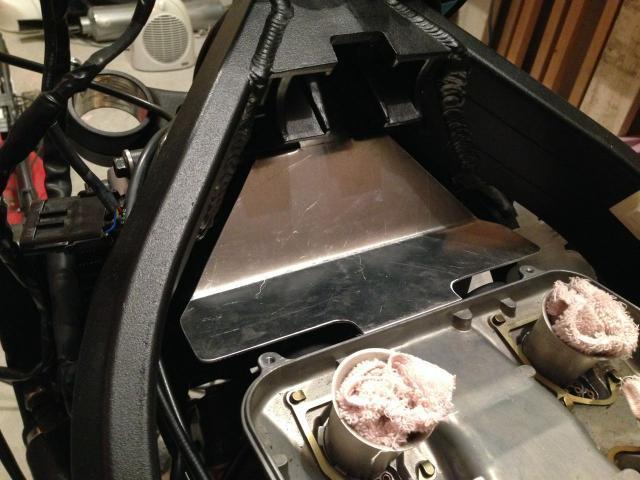
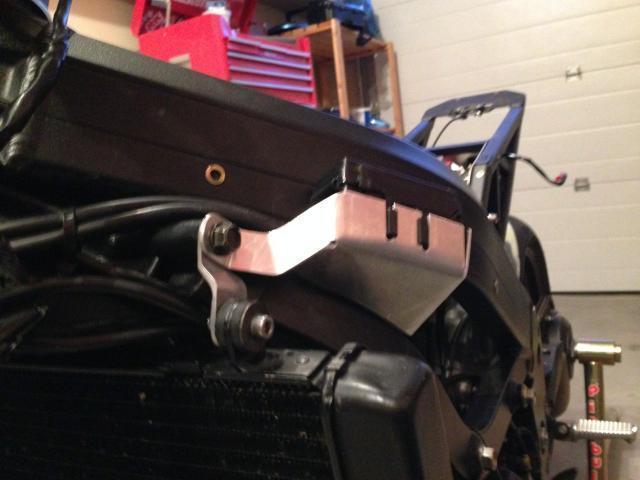
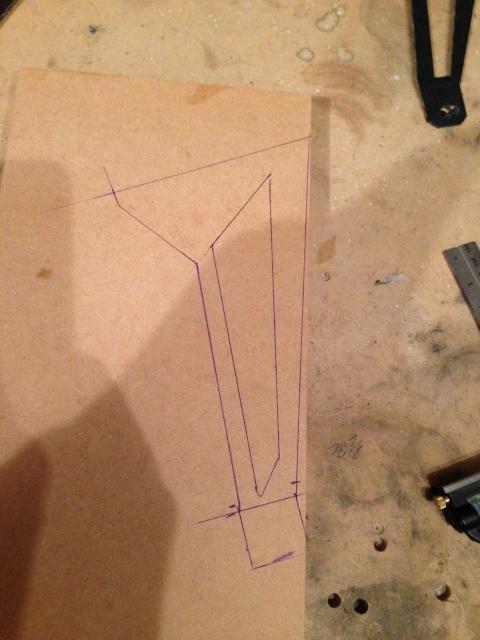
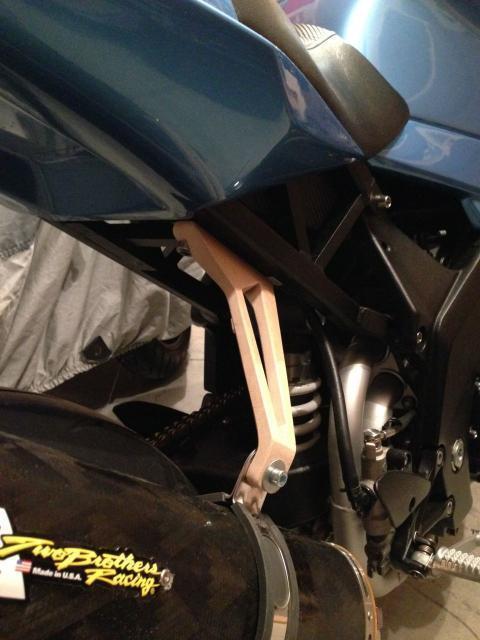
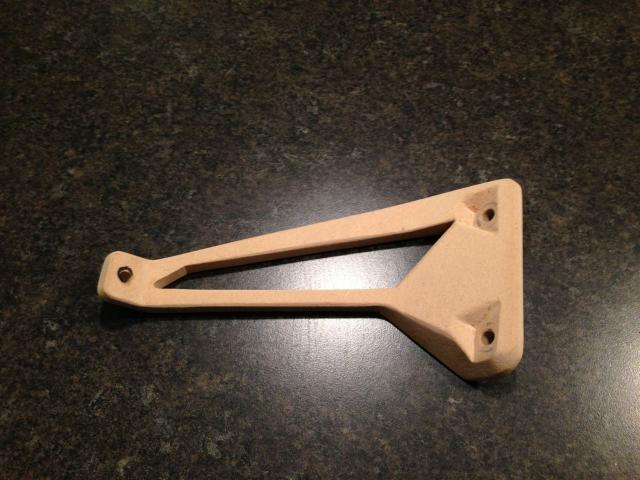
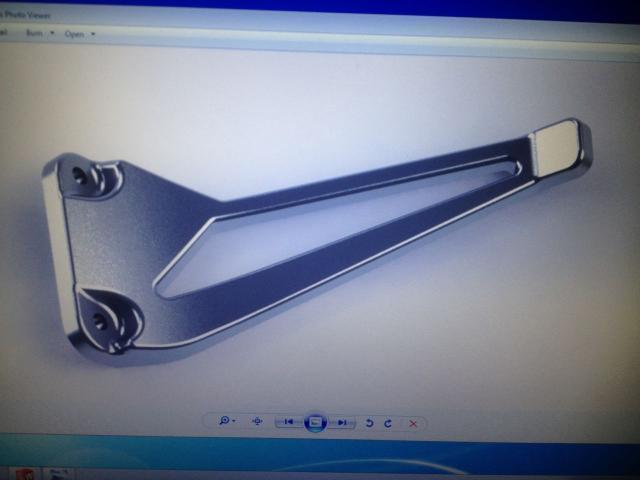
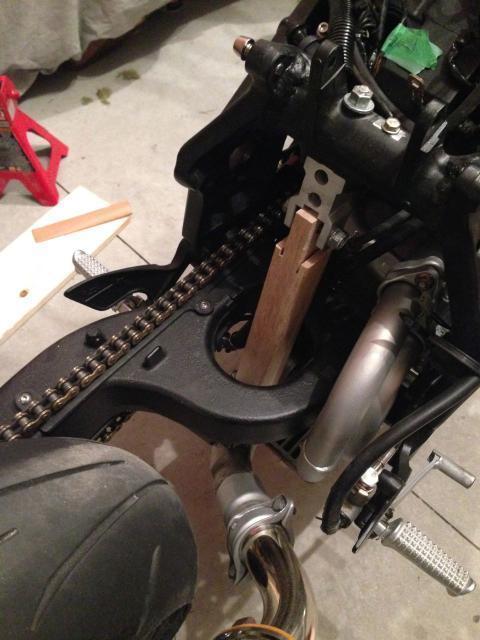
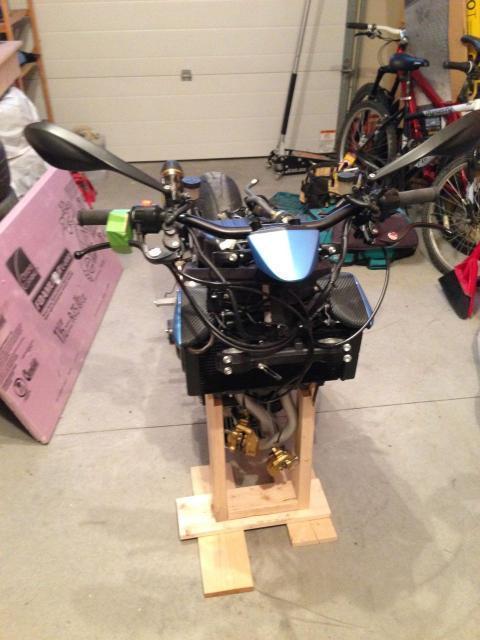
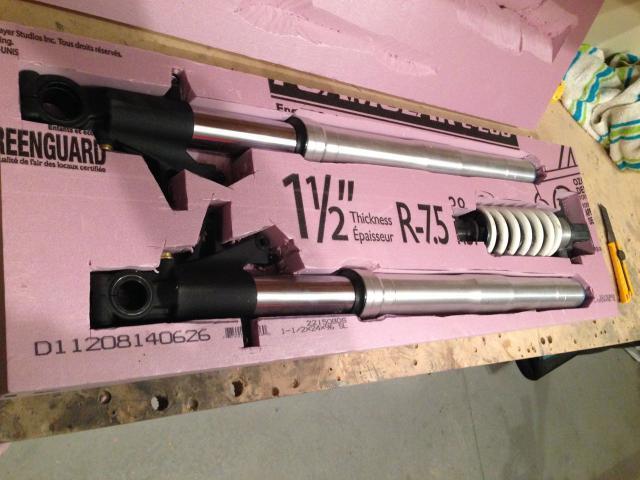
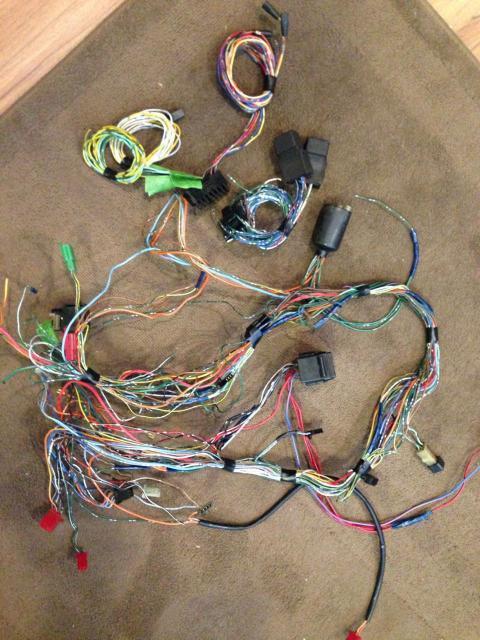
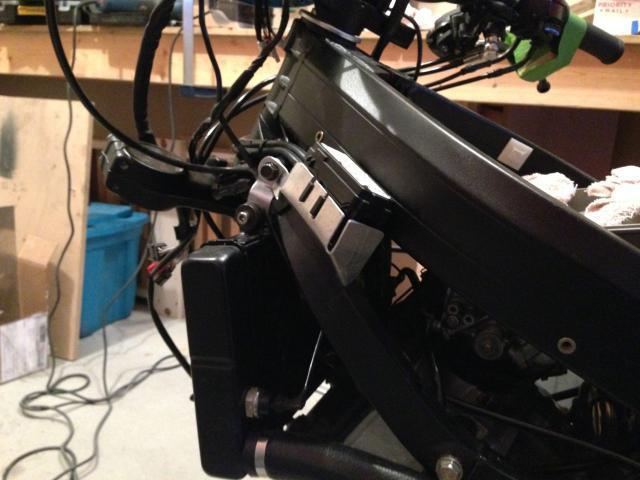
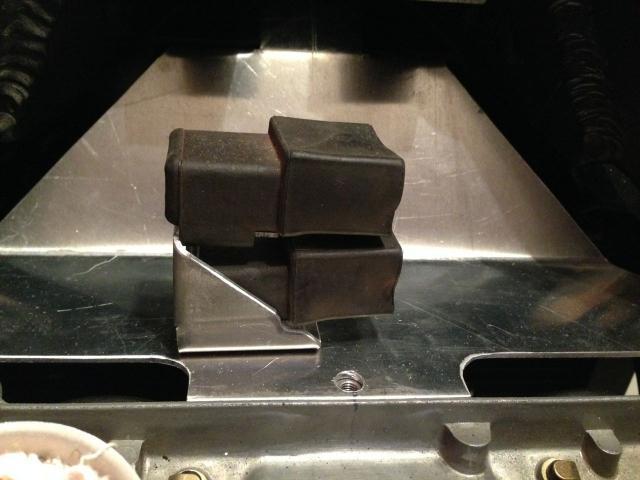
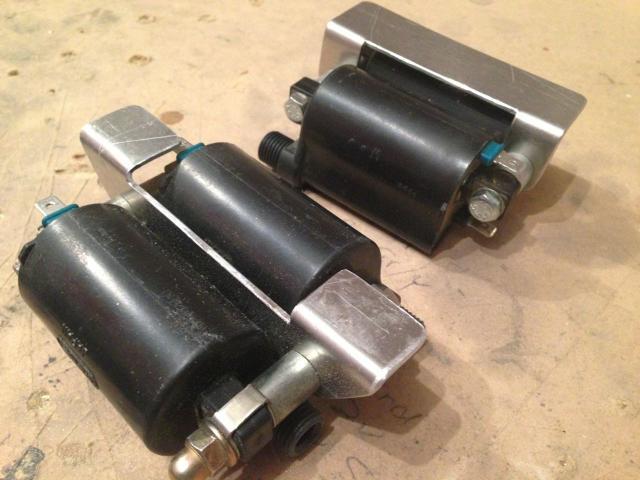
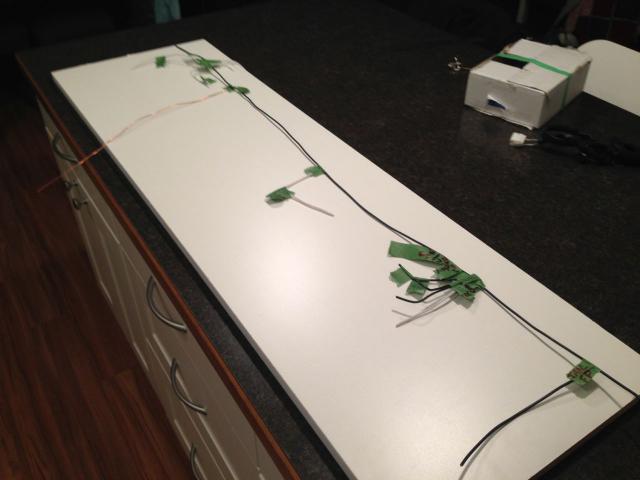
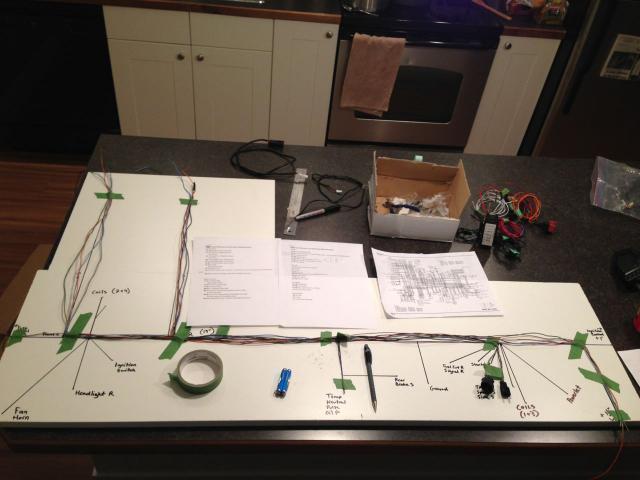
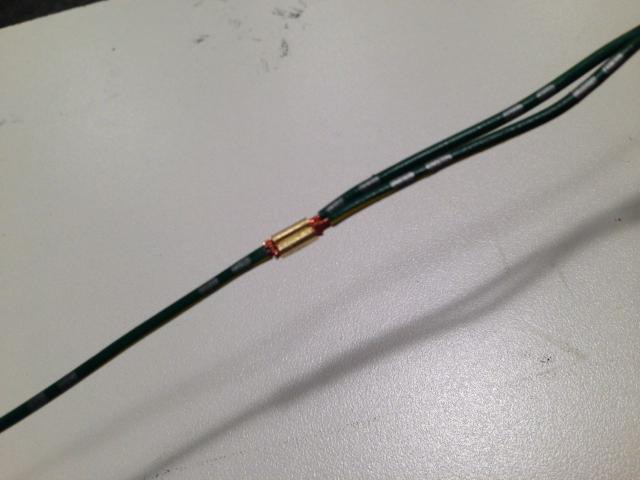
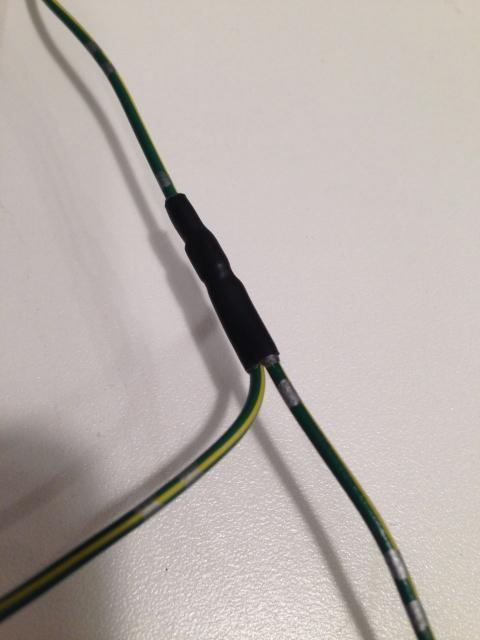
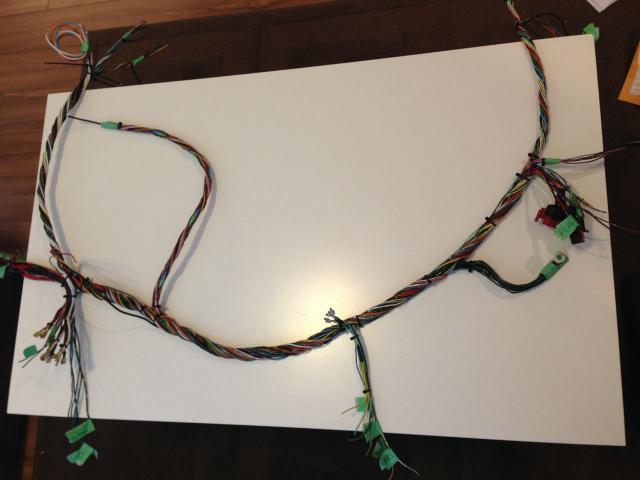
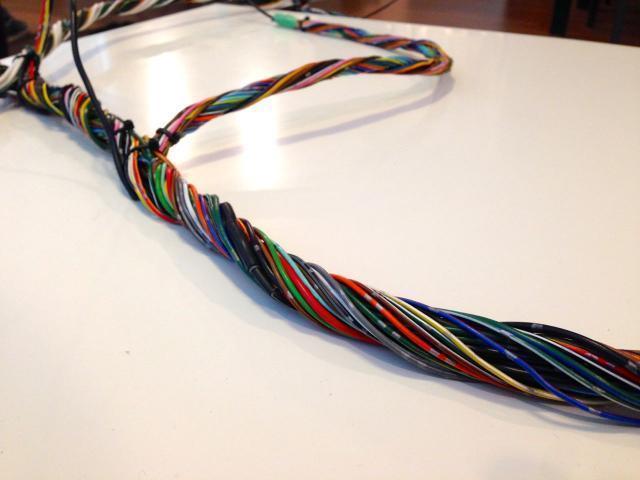
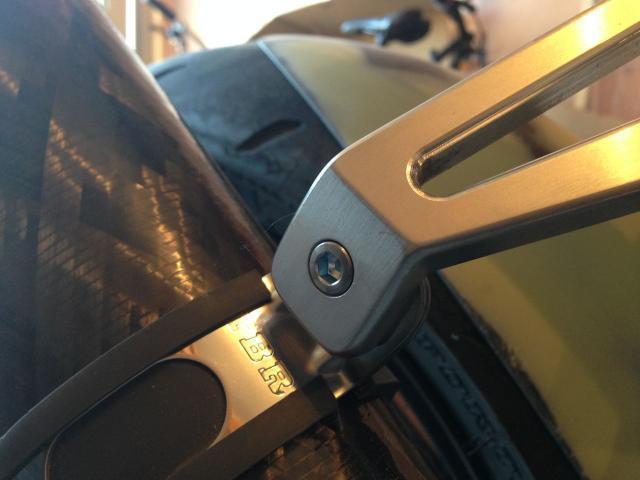
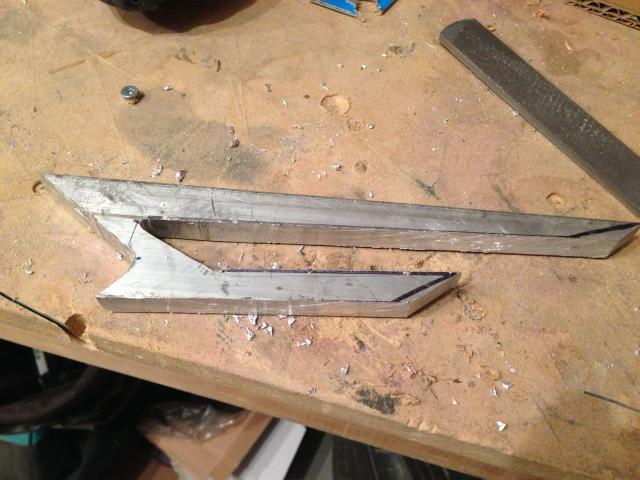
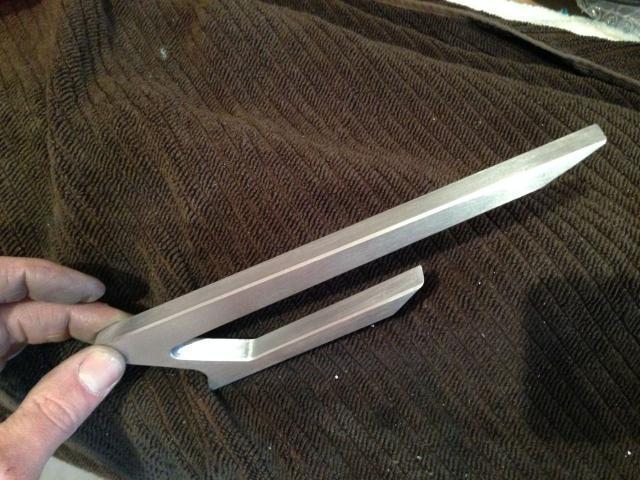
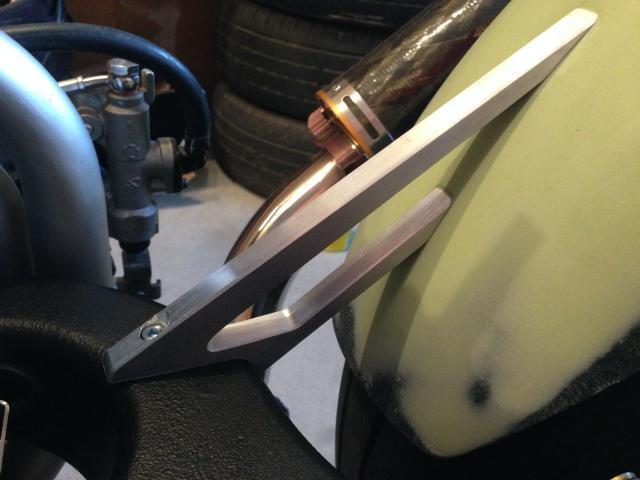
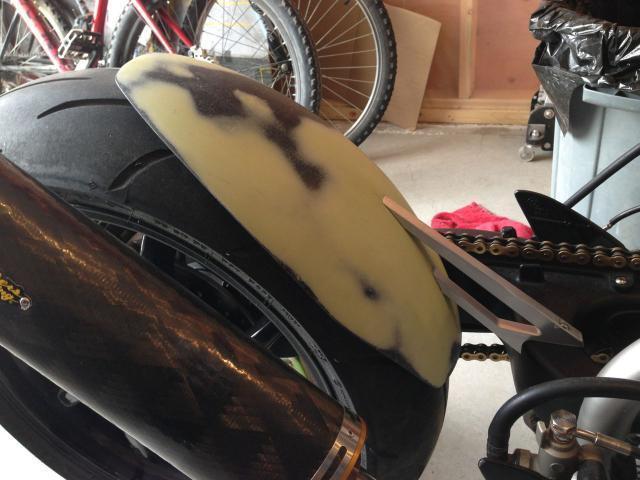
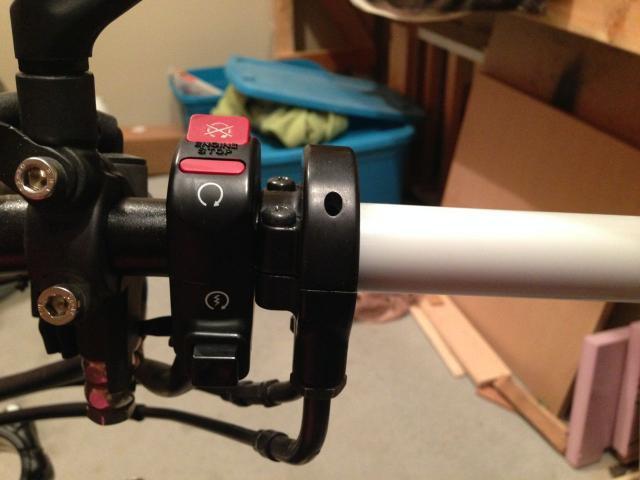
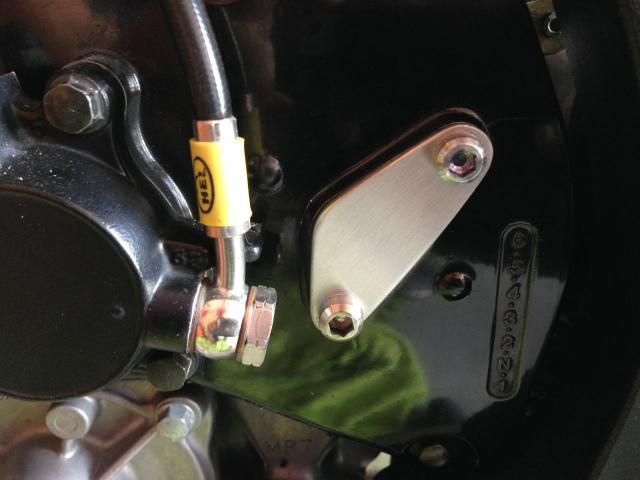
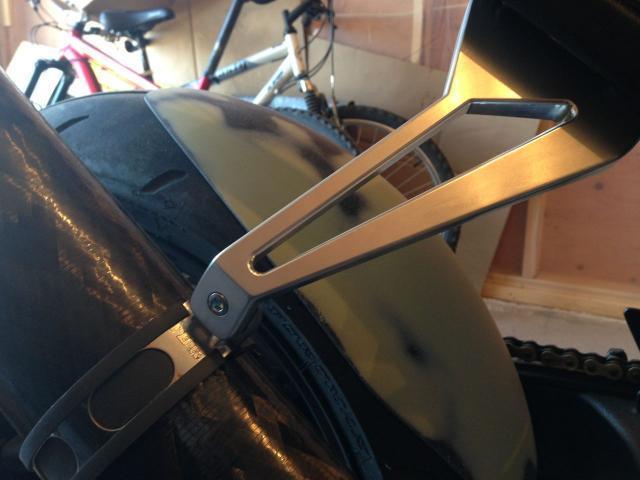
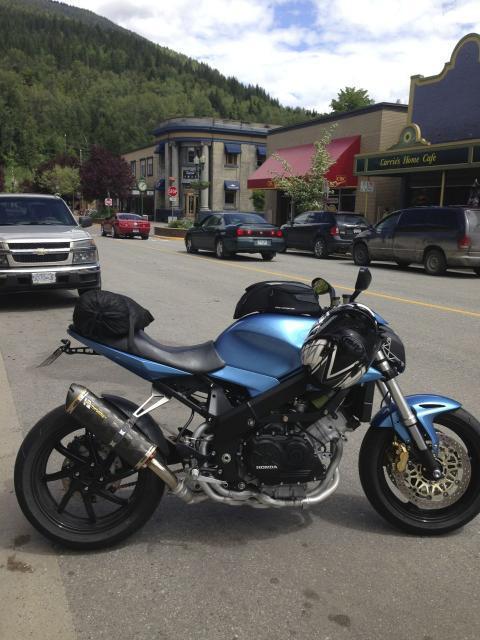
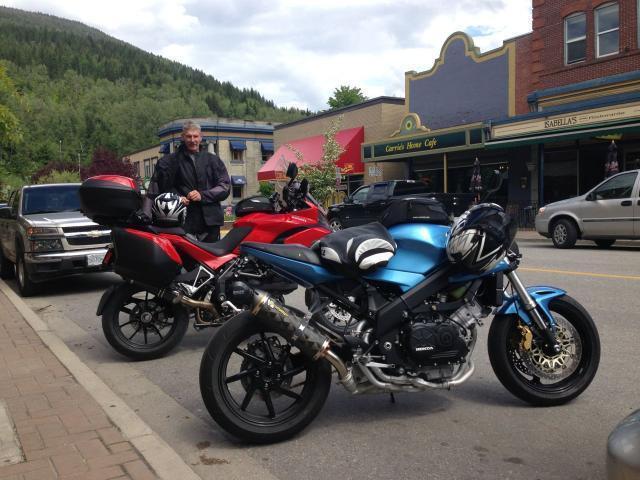
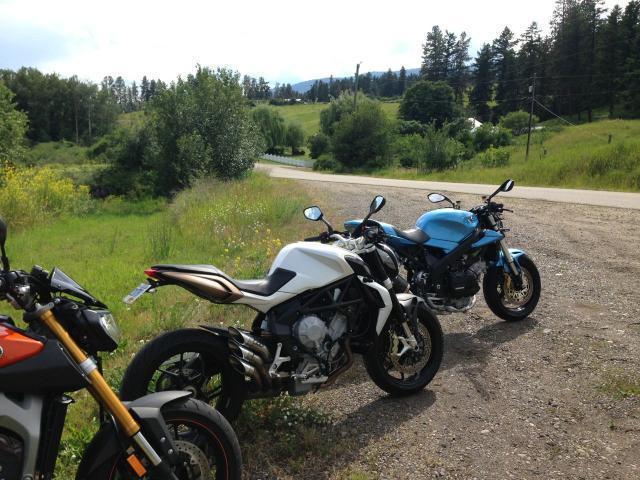
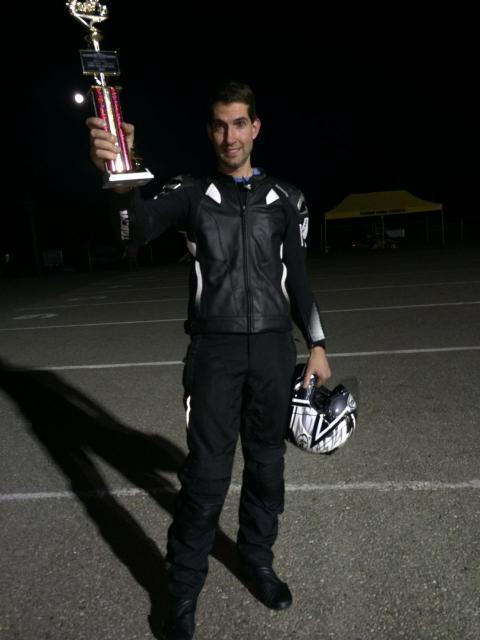
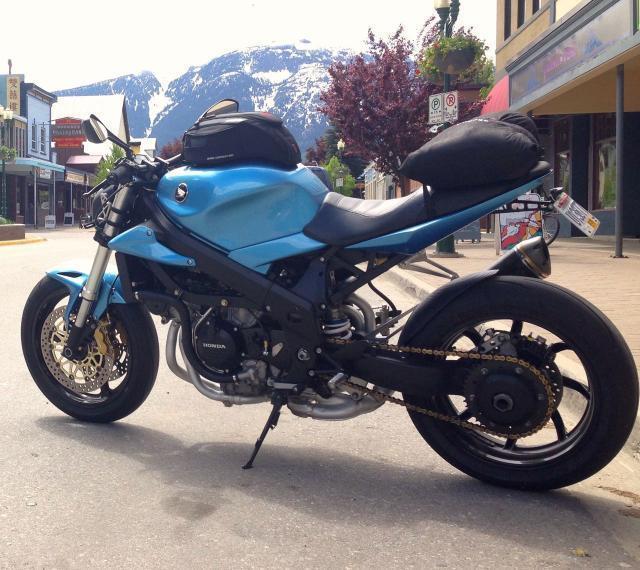
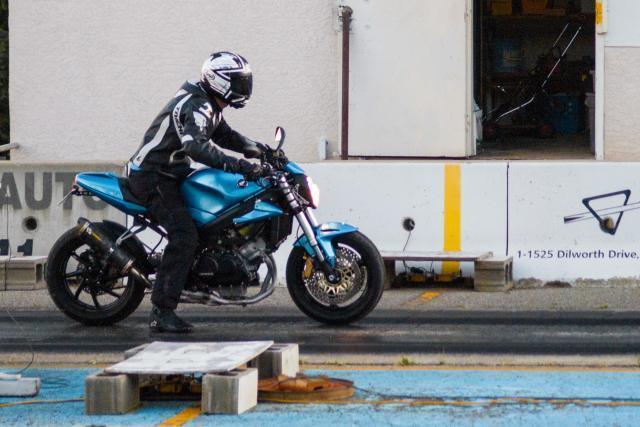
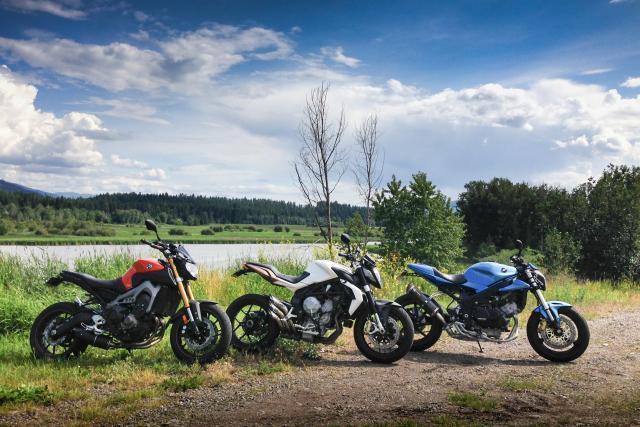
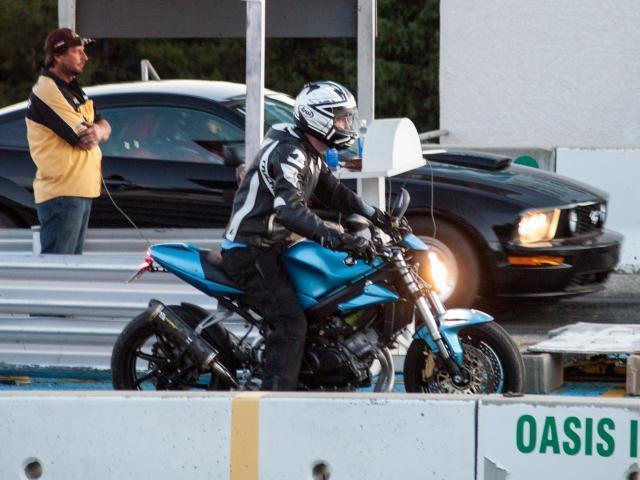
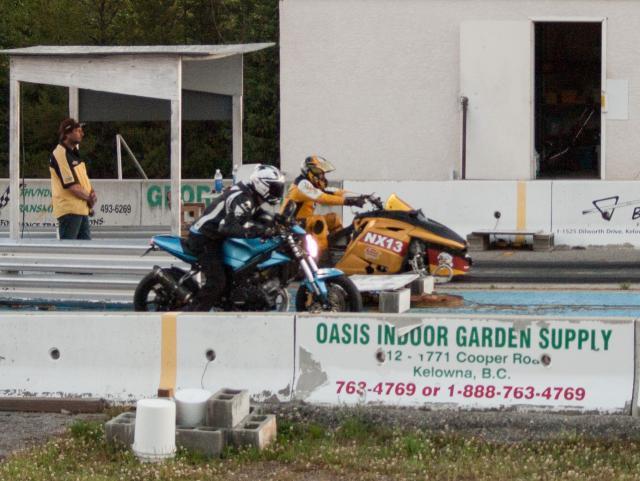
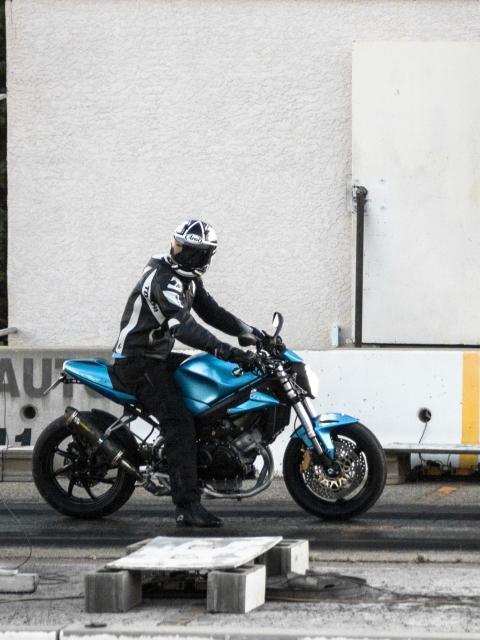
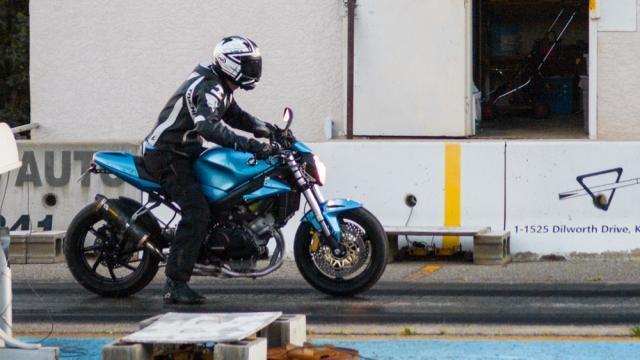
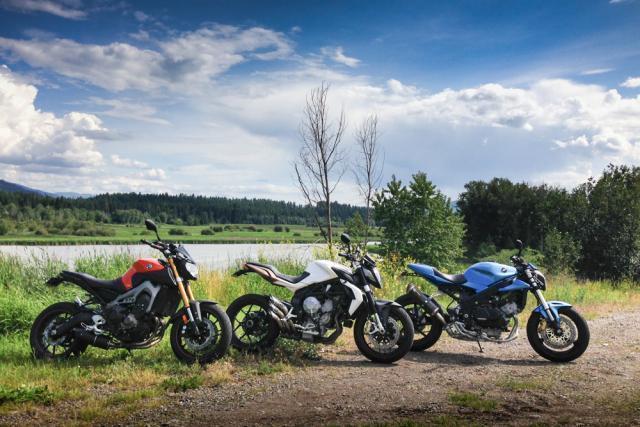
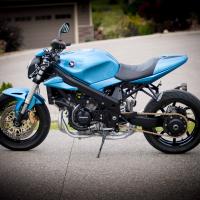
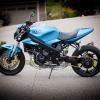
So this update has been a long time coming! After moving last summer my wife and I decided to build a house this winter… so that has been keeping me extremely busy lately. But today I am home sick and finally have some time to post up some pics of last years mods: Since I mostly ride solo I decided to remove the passenger pegs and make a new exhaust hanger. I made an MDF mockup and a friend of mine machined it for me Decided to send my forks and shock off to Jaimie Daugherty Motorsports to be resprung and revalved The wiring harness always bugged me, nothing was where it needed to be on the bike, so I decided to start from scratch. This is the stock harness without tape Needed to make better mounting points for the various components And then began the long tedious journey of building my own harness Decided to crimp all connections and seal with heat shrink Concentric twisting of the layers leaves the harness much more flexible. I eventually wrapped the whole harness in motorsport spec flexible heat shrink and used high quality weather sealed connectors almost everywhere. Finally made a mount for my hugger fender. Used my own carpenter techniques this time Upgraded the switchgear and throttle. Used a CBR throttle housing and an R6 throttle tube for a quick turn modification. I would highly recommend this change on the VFR. Since I use the Koso gauge speed sensor I made a block off plate for the stock sensor location A few pics from the summer. Met my dad for a few day ride My riding buddies Had a fun night at the local 1/8 mile dragstrip. Even took home a trophy (okay… only a turbo 900cc snowmobile and myself in the bike class that night. But hey, a victory is a victory) That's my buddies mustang… and no, it's not stock. 800+ hp on drag slicks. We actually ran very close times that night. He runs low 10's in the quarter. It is so strange having a car match your speed under full throttle! And that's all the pics I have for now. The only other mod I didn't have a close up of was the addition of a dedicated LED brake light on the license plate. I didn't feel comfortable the run/brake LED had enough of a difference between the two to be really noticeable. I rode another 5000km this season and enjoyed every km of it. The bike is working like a dream. It honestly feels like a brand new machine every time I hop on and ride.

-
Vandalized 1991 Vfr Will Live Again In 2014
apexandy replied to thumper's topic in Third and Fourth Generation VFR's
Love the look of a VFR rolling chassis after fresh powder coat :) -
Lookin good :)
-
I'm going to be very honest in response to this comment. There is some very good information from many members on this thread, and there are good reasons why you seem to be having trouble finding solid information. -Modifying motorcycles can get complicated fast. One component change can result in 5+ more modifications being needed. -A lot of information regarding fork swaps can translate from one bike to another, but there are a lot of details that can be different. -Related fork swap topics and probably most of your questions have been addressed quite often in various past threads and topics on this site as well as many others. A lot of information can be learned by diligent searching and reading. -Even in depth experience and information from a source can be incomplete or inaccurate. This can result from separate model/modification issues, or maybe just one persons standard of quality compared to another. To explain a little more I'm going to address a few of SOCal97VFR's points. And this isn't meant to say he wasn't thorough or truthful, but I do notice some potential issues: I used the stock 929 clipons which are factory raised and left them under the top clamp and just migrated all my controls over. -There is a very good chance the stock 929 clipons won't work with your VFR fairings. Thus requiring higher clip-ons or handlebars. Which can in turn require longer brake lines, and potentially different clutch line and throttle cables. Fork cap extenders (I know little about them) are potentially an option for mounting clip ons above the upper triple, but again, another modification to take into account. You can use your stock brake master with the 929 calipers if you have adjustable levers. This is because the throw is longer with the small diameter master plunger so the adjustment will be maxed out to compensate, but it works well. -I would say using a master cylinder with that big of a difference in size is a safety risk. Every rider rides differently, SOCal97VFR might use 3 or 4 fingers to brake, whereas I use 2, and I am willing to bet I would pull the lever right against my 2 fingers on the throttle before reaching maximum braking force. The stock VFR master cylinder is 12.7mm and 929 is 19mm. That's a big difference. An example of where it gets tricky relying completely on someone else's info is that the 954 have visually identical brake callipers but with different piston sizes, and a smaller master cylinder at 17mm. That's about where the easy parts end unless you are good loosing max turning radius. -SOCal97VFR didn't mention steering stops. Without drilling and tapping for bolts the 929 forks would contact the frame on my 95 vfr. This can be mitigated by adjusting your preload all the way in on the 929 forks which when all is said an done is where a 200lb riders sag ends up being anyway. -Basically any stock bike can benefit greatly from suspension adjustment and rebuilding… fork swaps are no different. Taking forks from a 450 lb sport bike (that were too lightly sprung from the get go) and putting them on a 550 lb sport touring bike isn't going to be a magical fix. My bike is 80lbs less that a stock VFR and I weight 180. I maxed out the stock 929 preload adjusters and was still only at 45mm front sag. That was before I had my 929/954 fork and shock re-sprung and valved. And this is all besides the point that no motorcycle should have parts touching under full suspension compression. Adjusting preload isn't the way to fix that. I also reccomend the CBR 929RR rear shock swap. Finishes off full adjust ability for the complete modern ride. While the shock is directly bolt on, you do need to extend the upper mount to make up for lost length but its minor. -Again, tons of info on here about shock swaps. And they aren't necessary that straight forward either. 929 shocks aren't necessarily going to be a great improvement until resprung and valved, and not everyone on here would call fabricating a well engineered shock extension a minor modification. And all of this is information pertaining to the 4th gen VFR, which is very similar to a 3rd gen, but not completely the same. I hope I haven't come across too critical but this is a very knowledgable and helpful forum and usually if there aren't answers to questions I believe it's because nobody has done it before, or because it has been discussed many times previous. Good luck with your modding!
-
^^ I would do this and save yourself lots of headaches.
-
Keep in mind with 954/929 forks you most likely wouldn't be able to mount clip ons above the upper triple.
-
I agree a handlebar conversion would probably be smart. I have a 954 front end on my bike with a rc51 top triple (flat, easier to mount handlebars) and would not want to drop the front end any more than it is. I also don't have an oil cooler or fairing on my bike, so I can't speak for clearance issues you might encounter. If you used the 954 top triple you would gain something like 15mm in height, but they are harder to mount handlebar risers to. As for steering stops, you don't need to mill anything off, just tap the existing stops and install bolts to give you the proper steering lock.
-
Oops. Of course it's in KM's.
-
Interesting test. Would it be safe to assume this information could be applied to my 4th gen engine? The 4th gen manual recommends the same viscosities per temperature range. I normally run 10w-40, but only ride my bike in 5-40*C weather. Would 0w-30 be a safe choice? And which mobil one are you using? Thanks! PS is that 92,000 miles on MR.RC45??
-
Haven't ridden it yet… probably this year.
-
-
Keep up the good work!
-
I saw that too and was curious… I was thinking perhaps something to do with the pneumatic valves?