Search the Community
Showing results for tags 'wheel'.
Found 7 results
-
Got hit from behind & insurance is making you feel some kind of way? Buddy slam dunked your ride out of the parking lot and just perfectly bent your frame? Ship me your entire 8th Gen front end! 😆 I'm looking to convert my beloved 5th gen to a 6th gen triple clamp & 8th gen forks, brakes, wheel & splashguard. You too can partake in my never-ending desire to modify this bike from *barely* this century! Prefer pickup in Houston, TX. Will drive in a ~300 mile radius.
-
First and foremost, want to thank Mrmatt for his post a while back that make me decide to do this for my project. Here's the link to his thread. Now that I am finally getting around to doing it, I can verify all the measurements he took. Lots of the pictures are just of measurements, but this way it can't be questioned in the future. *** Not finished yet. Still need to take measurements with the wheel on to get final info. Forewarning, you are going to need either a very large snap-ring plier, or you will need to modify a pair of needle nose pliers to get the snap ring off the eccentric. This is the hardest part of the disassembly. Snap ring pliers this size are $35-$50. Otherwise you can grind down the tips of the HF 90 degree needle nose pliers with the orange grips. The VFR ring is fairly easy. The triumph one is a dog. So lets begin. First things first. Injure yourself in such a way to make tool handling painful and difficult. As a side note, rags are not sufficient protection against 20ft long chips. - Next, find yourself a comfortable environment. 88F and 70% humidity will do nicely. Then find the mess that someone has left behind at your work area, and clean it up. - Wiped down and chip free surface. Grabbed some blocks, clamped the swingarm down, and got to taking measurements. - Measurement for inside of sprocket carrier for VFR - VFR sprocket carrier thickness. - VFR sprocket carrier surface to surface double check. - VFR swingarm surface to wheel mounting surface. - VFR wheel mounting surface thickness. - The hammer lies upon its prey. Triumph eccentric tapped out and removed. It came out nice and easy. I couldn't get the caliper hanger off, so I had to use the hammer to give it a couple of light taps to get it started. Once the caliper hanger was on the step, it came right off, so must have just been a little dirt keeping it from coming off. - So nice of triumph to add never-seize. Probably helped with the removal. - Either Honda didn't bother putting any grease on the eccentric, or it all dried up and washed away. The honda eccentric was pretty difficult to get out. Had to use the mallet to get it to the caliper hanger, but the eccentric kept getting stuck part of the way out. Turns out that there was so much dirt and debris in there that it would get stuck between the middle of the eccentric and the swingarm and bind everything. Took lots of shaking and blowing junk out to finally get it out. - Total height of the triumph eccentric - Triumph eccentric swingarm section. - VFR eccentric total height. - VFR eccentric swingarm section. - Just for giggles. Triumph eccentric weight. - Honda eccentric weight. - The VFR swingarm after removing the eccentric. You can see that the surfaces aren't very clean, and there's still some dirt in there. - Time to toss the Triumph goodies in there. Fresh new coat of never-seize on the triumph eccentric - Sitting nice and flush - Nice and flush on this end too - Somehow I feel like I have just made it heavier. Also, you need to use the triumph caliper bracket to have the eccentric sitting where it is supposed to. The VFR caliper bracket has the same ID, so if you really wanted to use the VFR hangar for whatever reason, you could possibly make a spacer for it. - Triumph rotor carrier thickness. - Thickness of sprocket carrier for triumph bit. - Triumph wheel mounting surface to swingarm surface - Triumph sprocket carrier surface to swingarm surface - VFR Wheel offset 848 Wheel Offset Weights are added to the chart. I don't think anyone wants pictures of all that. You can go in the photobucket album if you really want. So here's a chart of the differences in sizes and some weights End result is that I gain 0.5 lbs by doing the swap for the opportunity to run a single nut wheel. I have a VFR wheel with a tire and the 848 without, and still have to consider the caliper, caliper hanger, and the rotor, and the wheel nuts, so that's not the total weight just yet. Looks like everything is still pretty close to where it should be, unless someone finds a fault in my math and measurements.
-
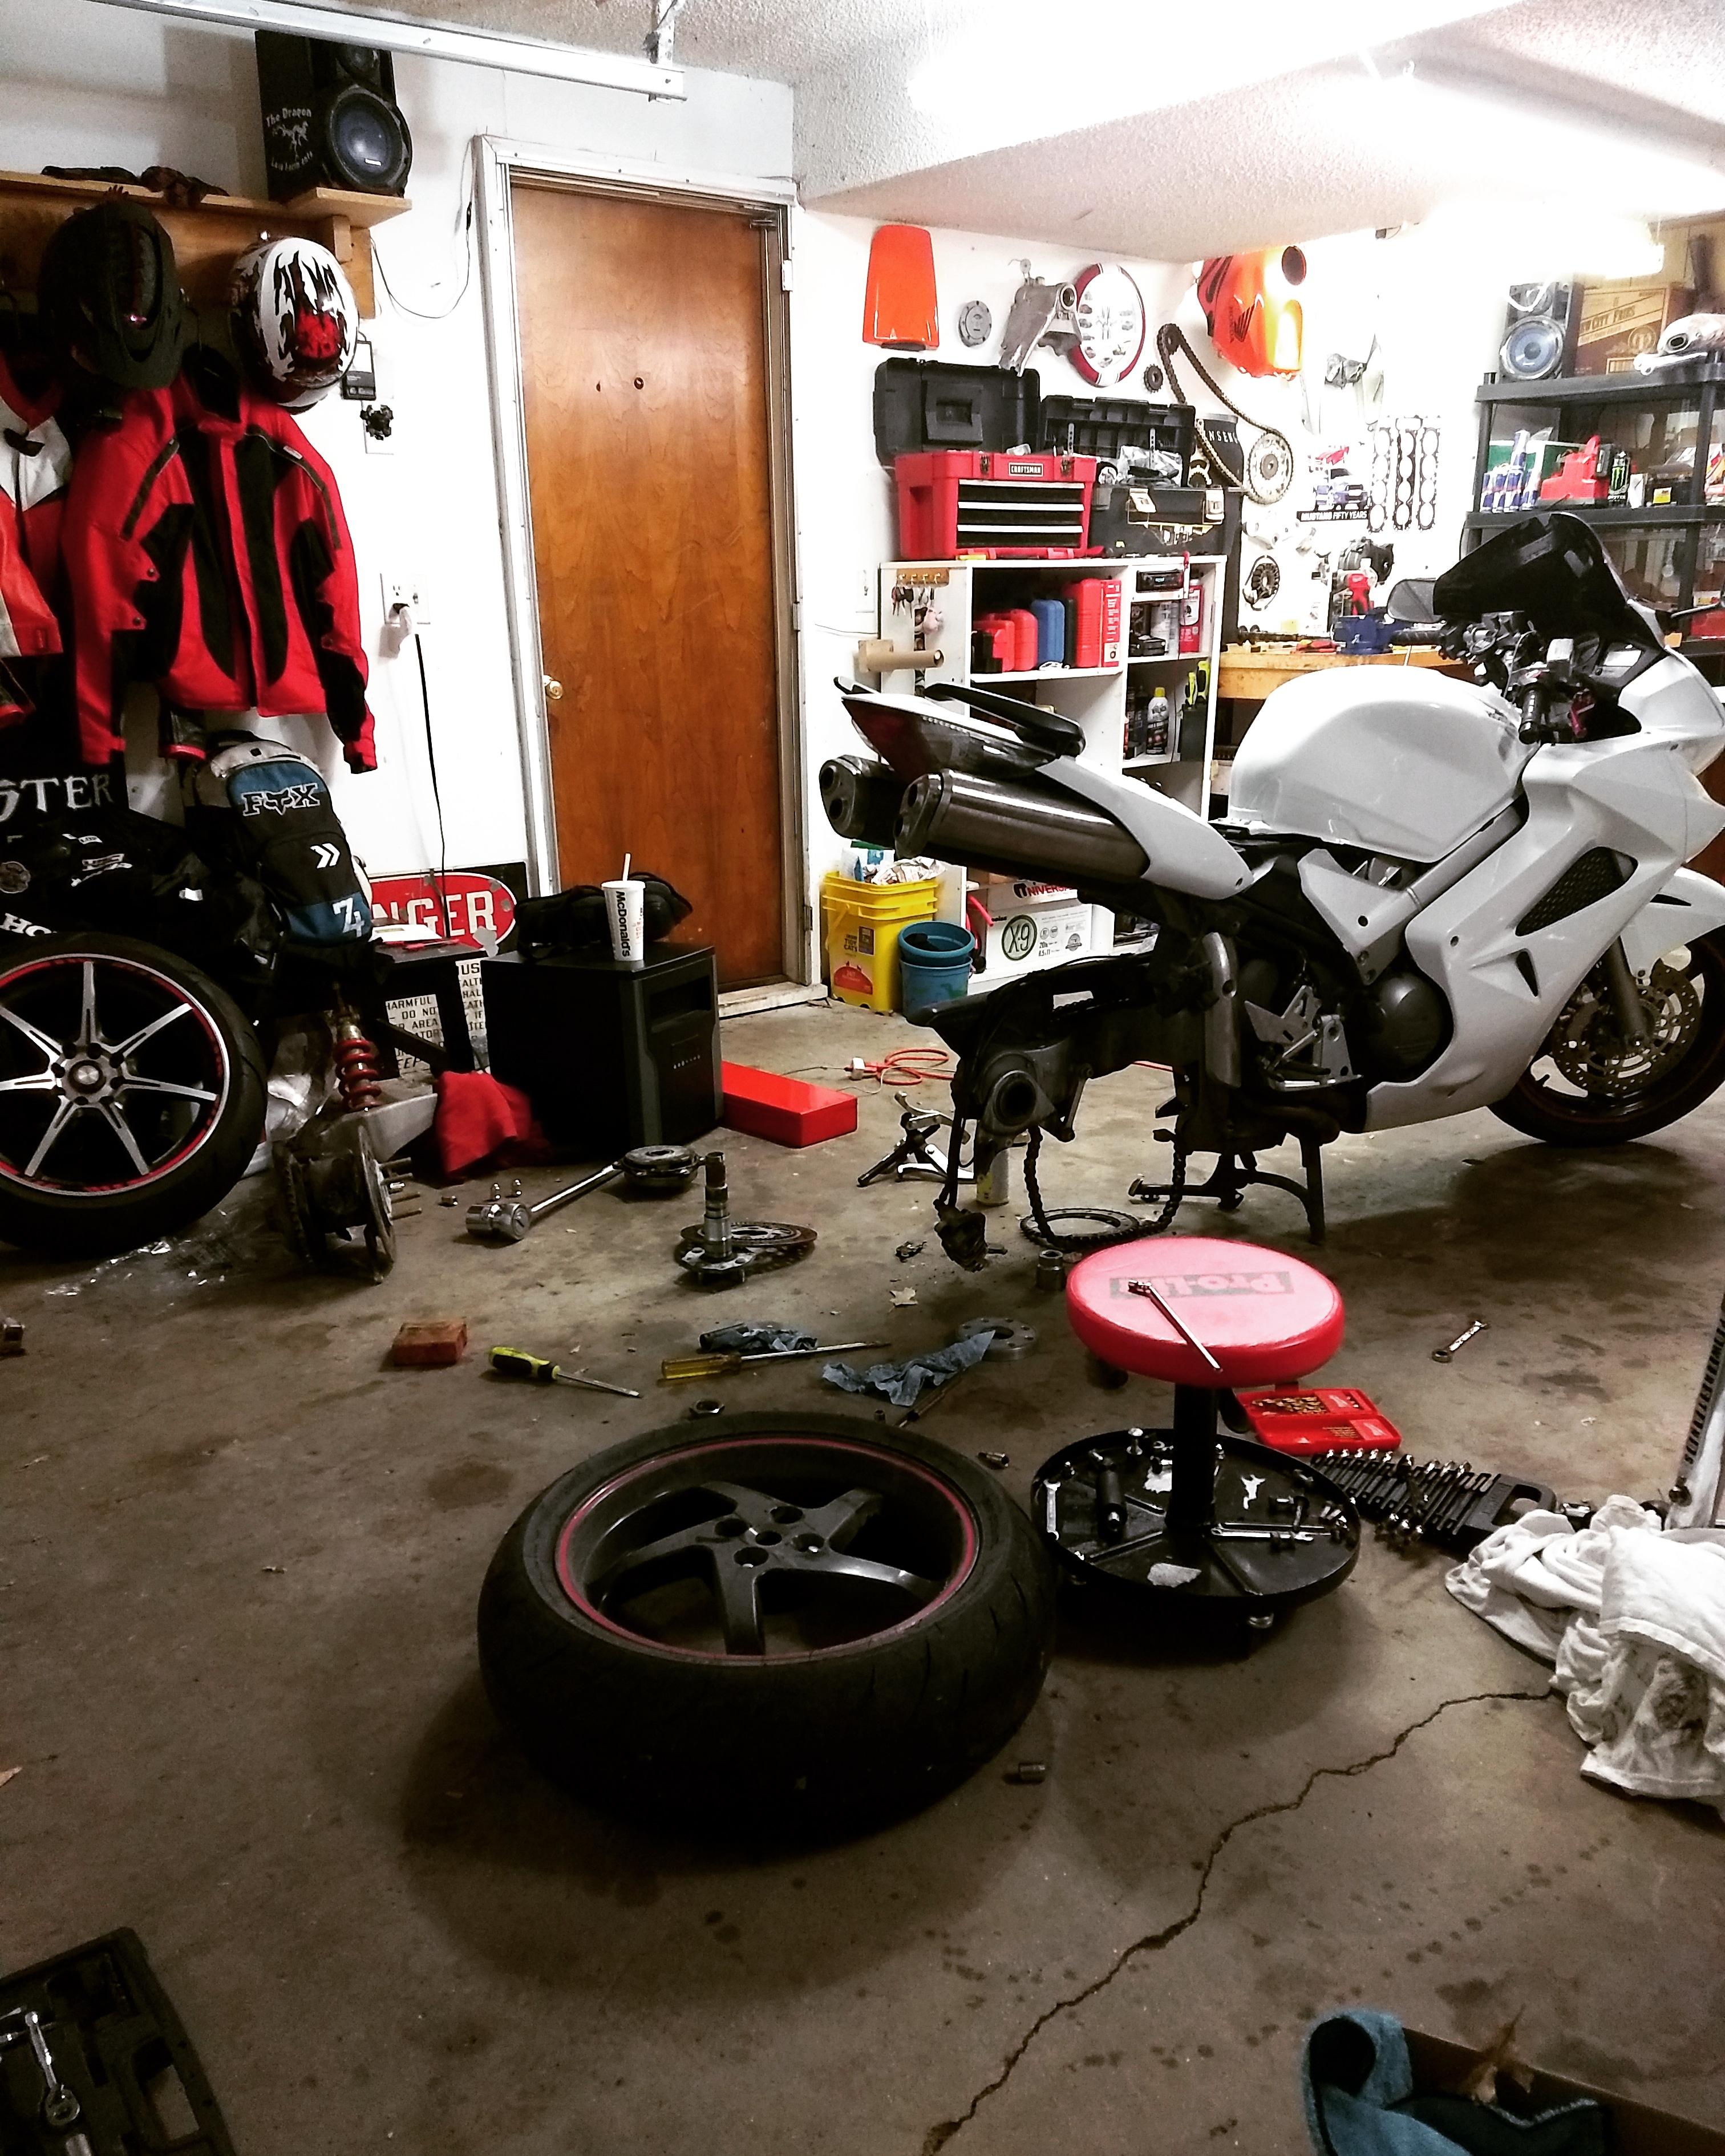
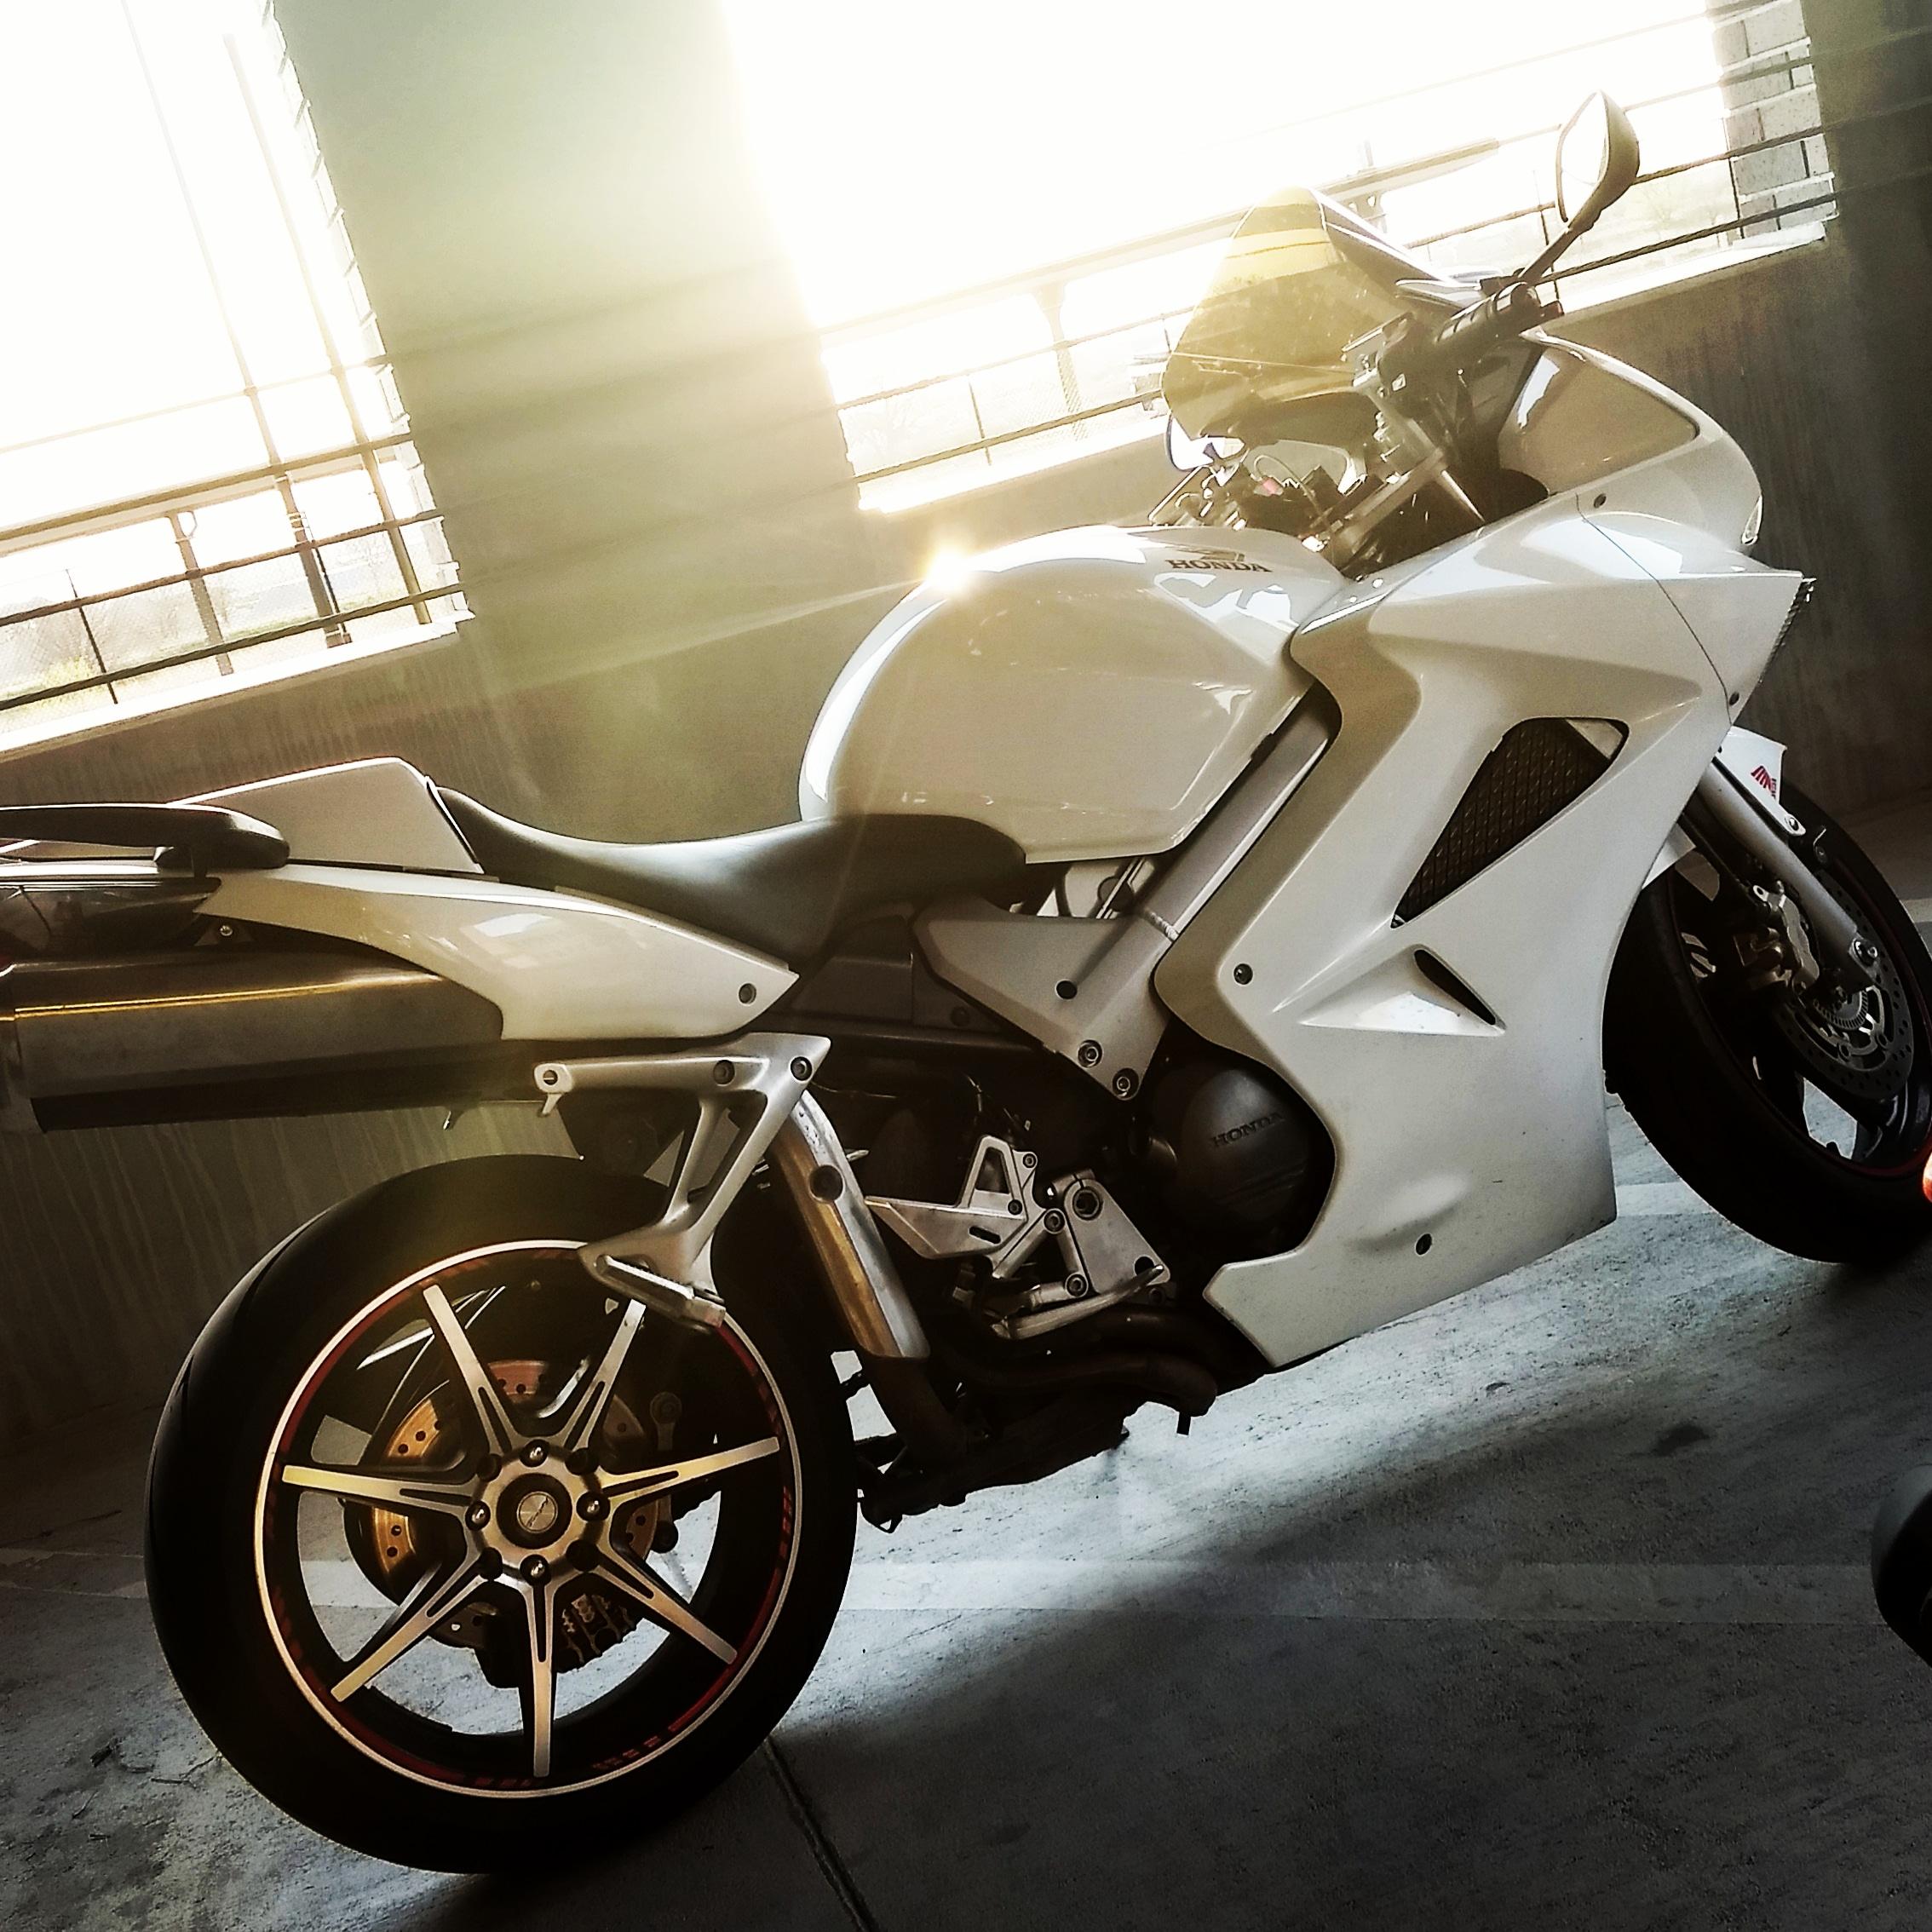
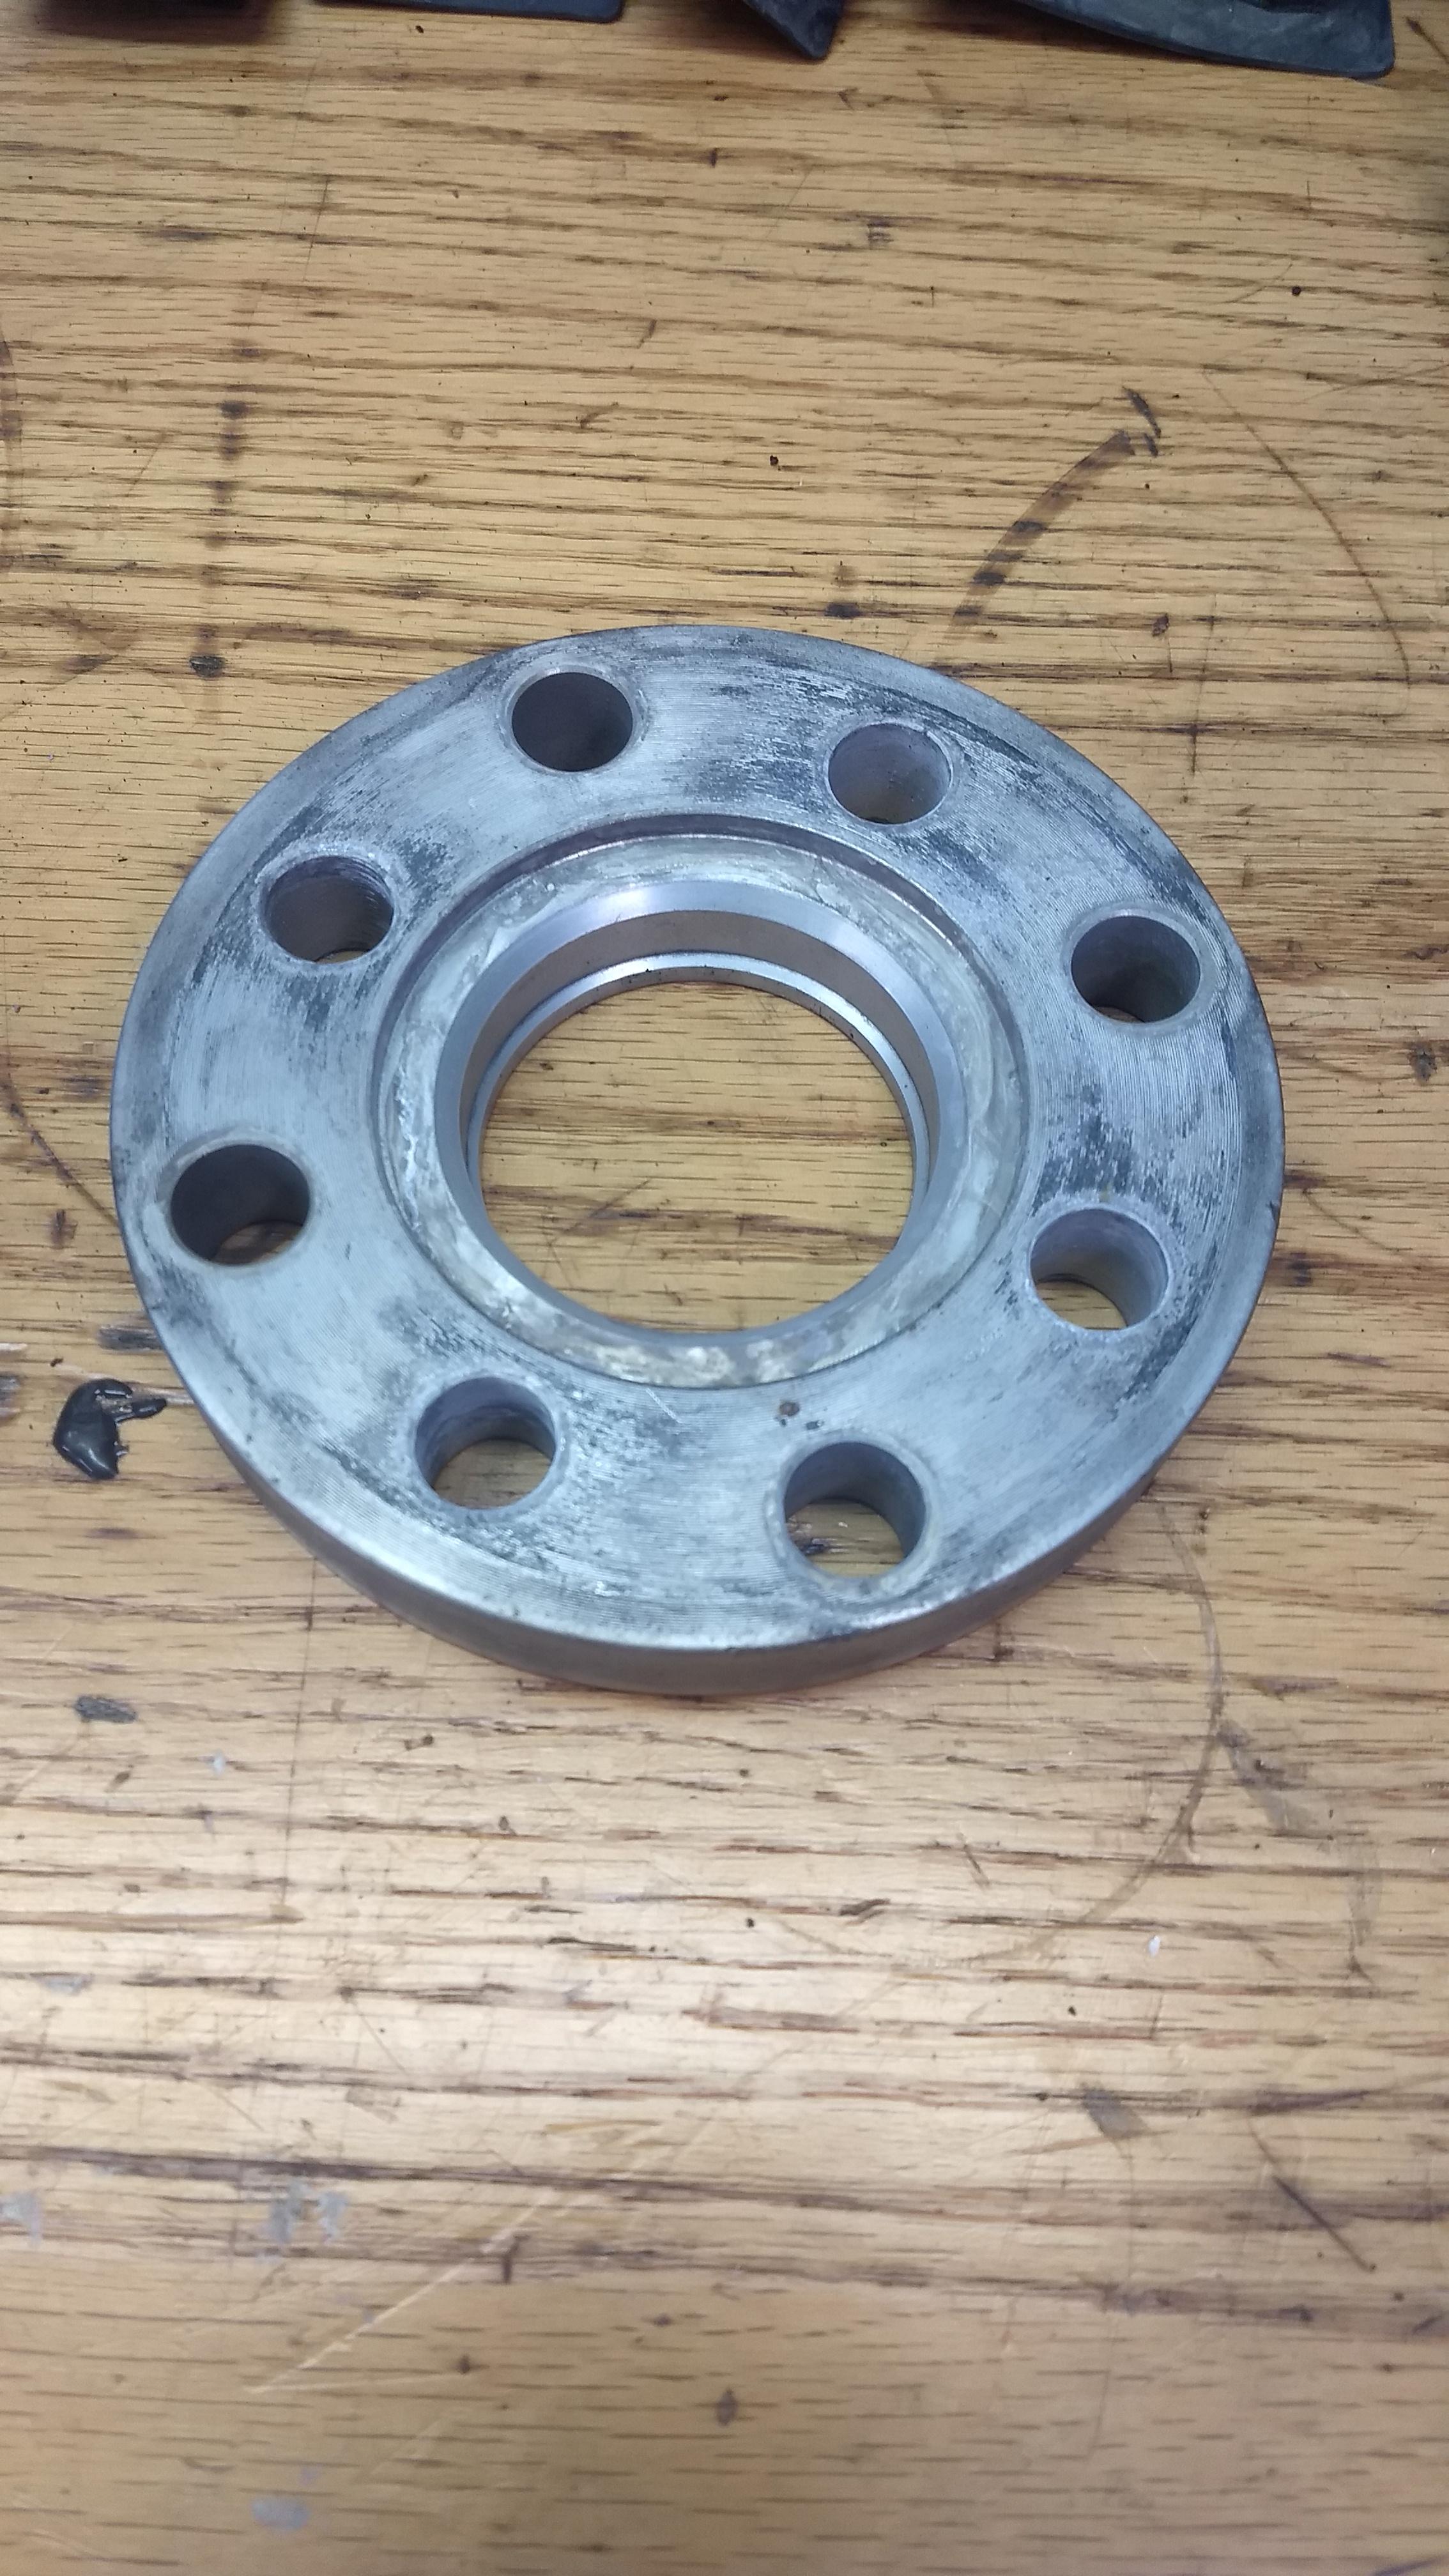
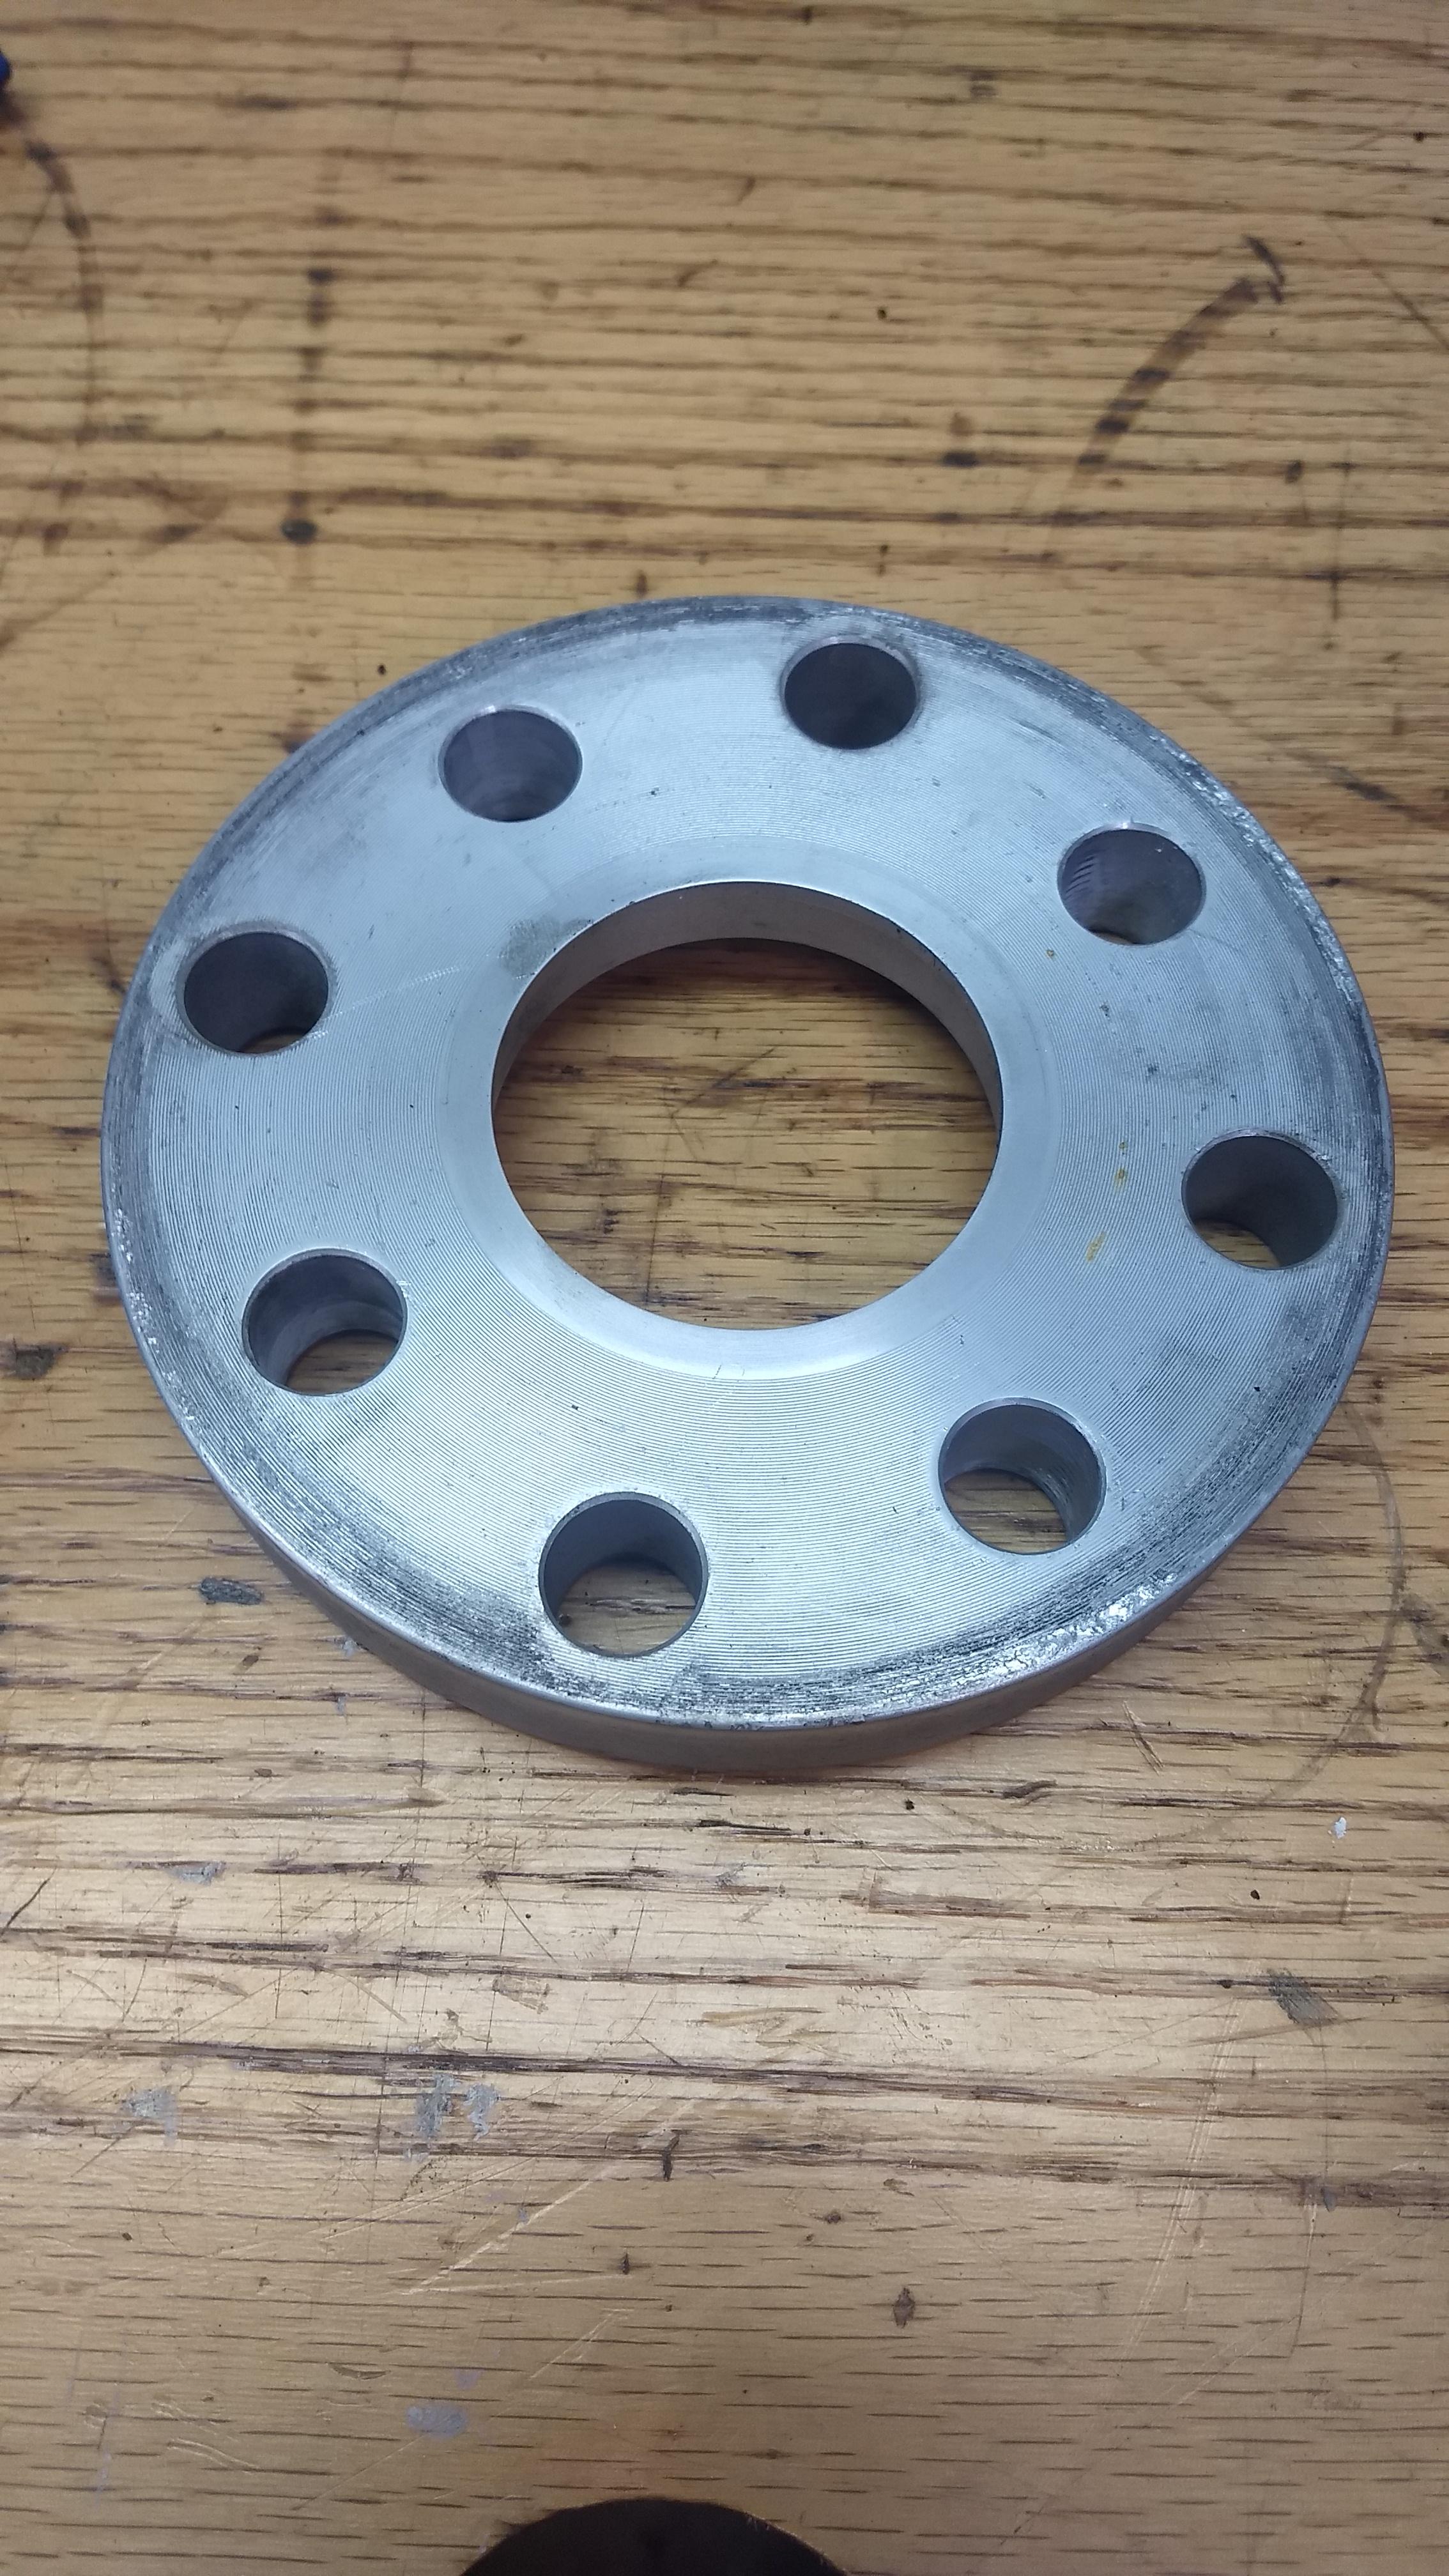
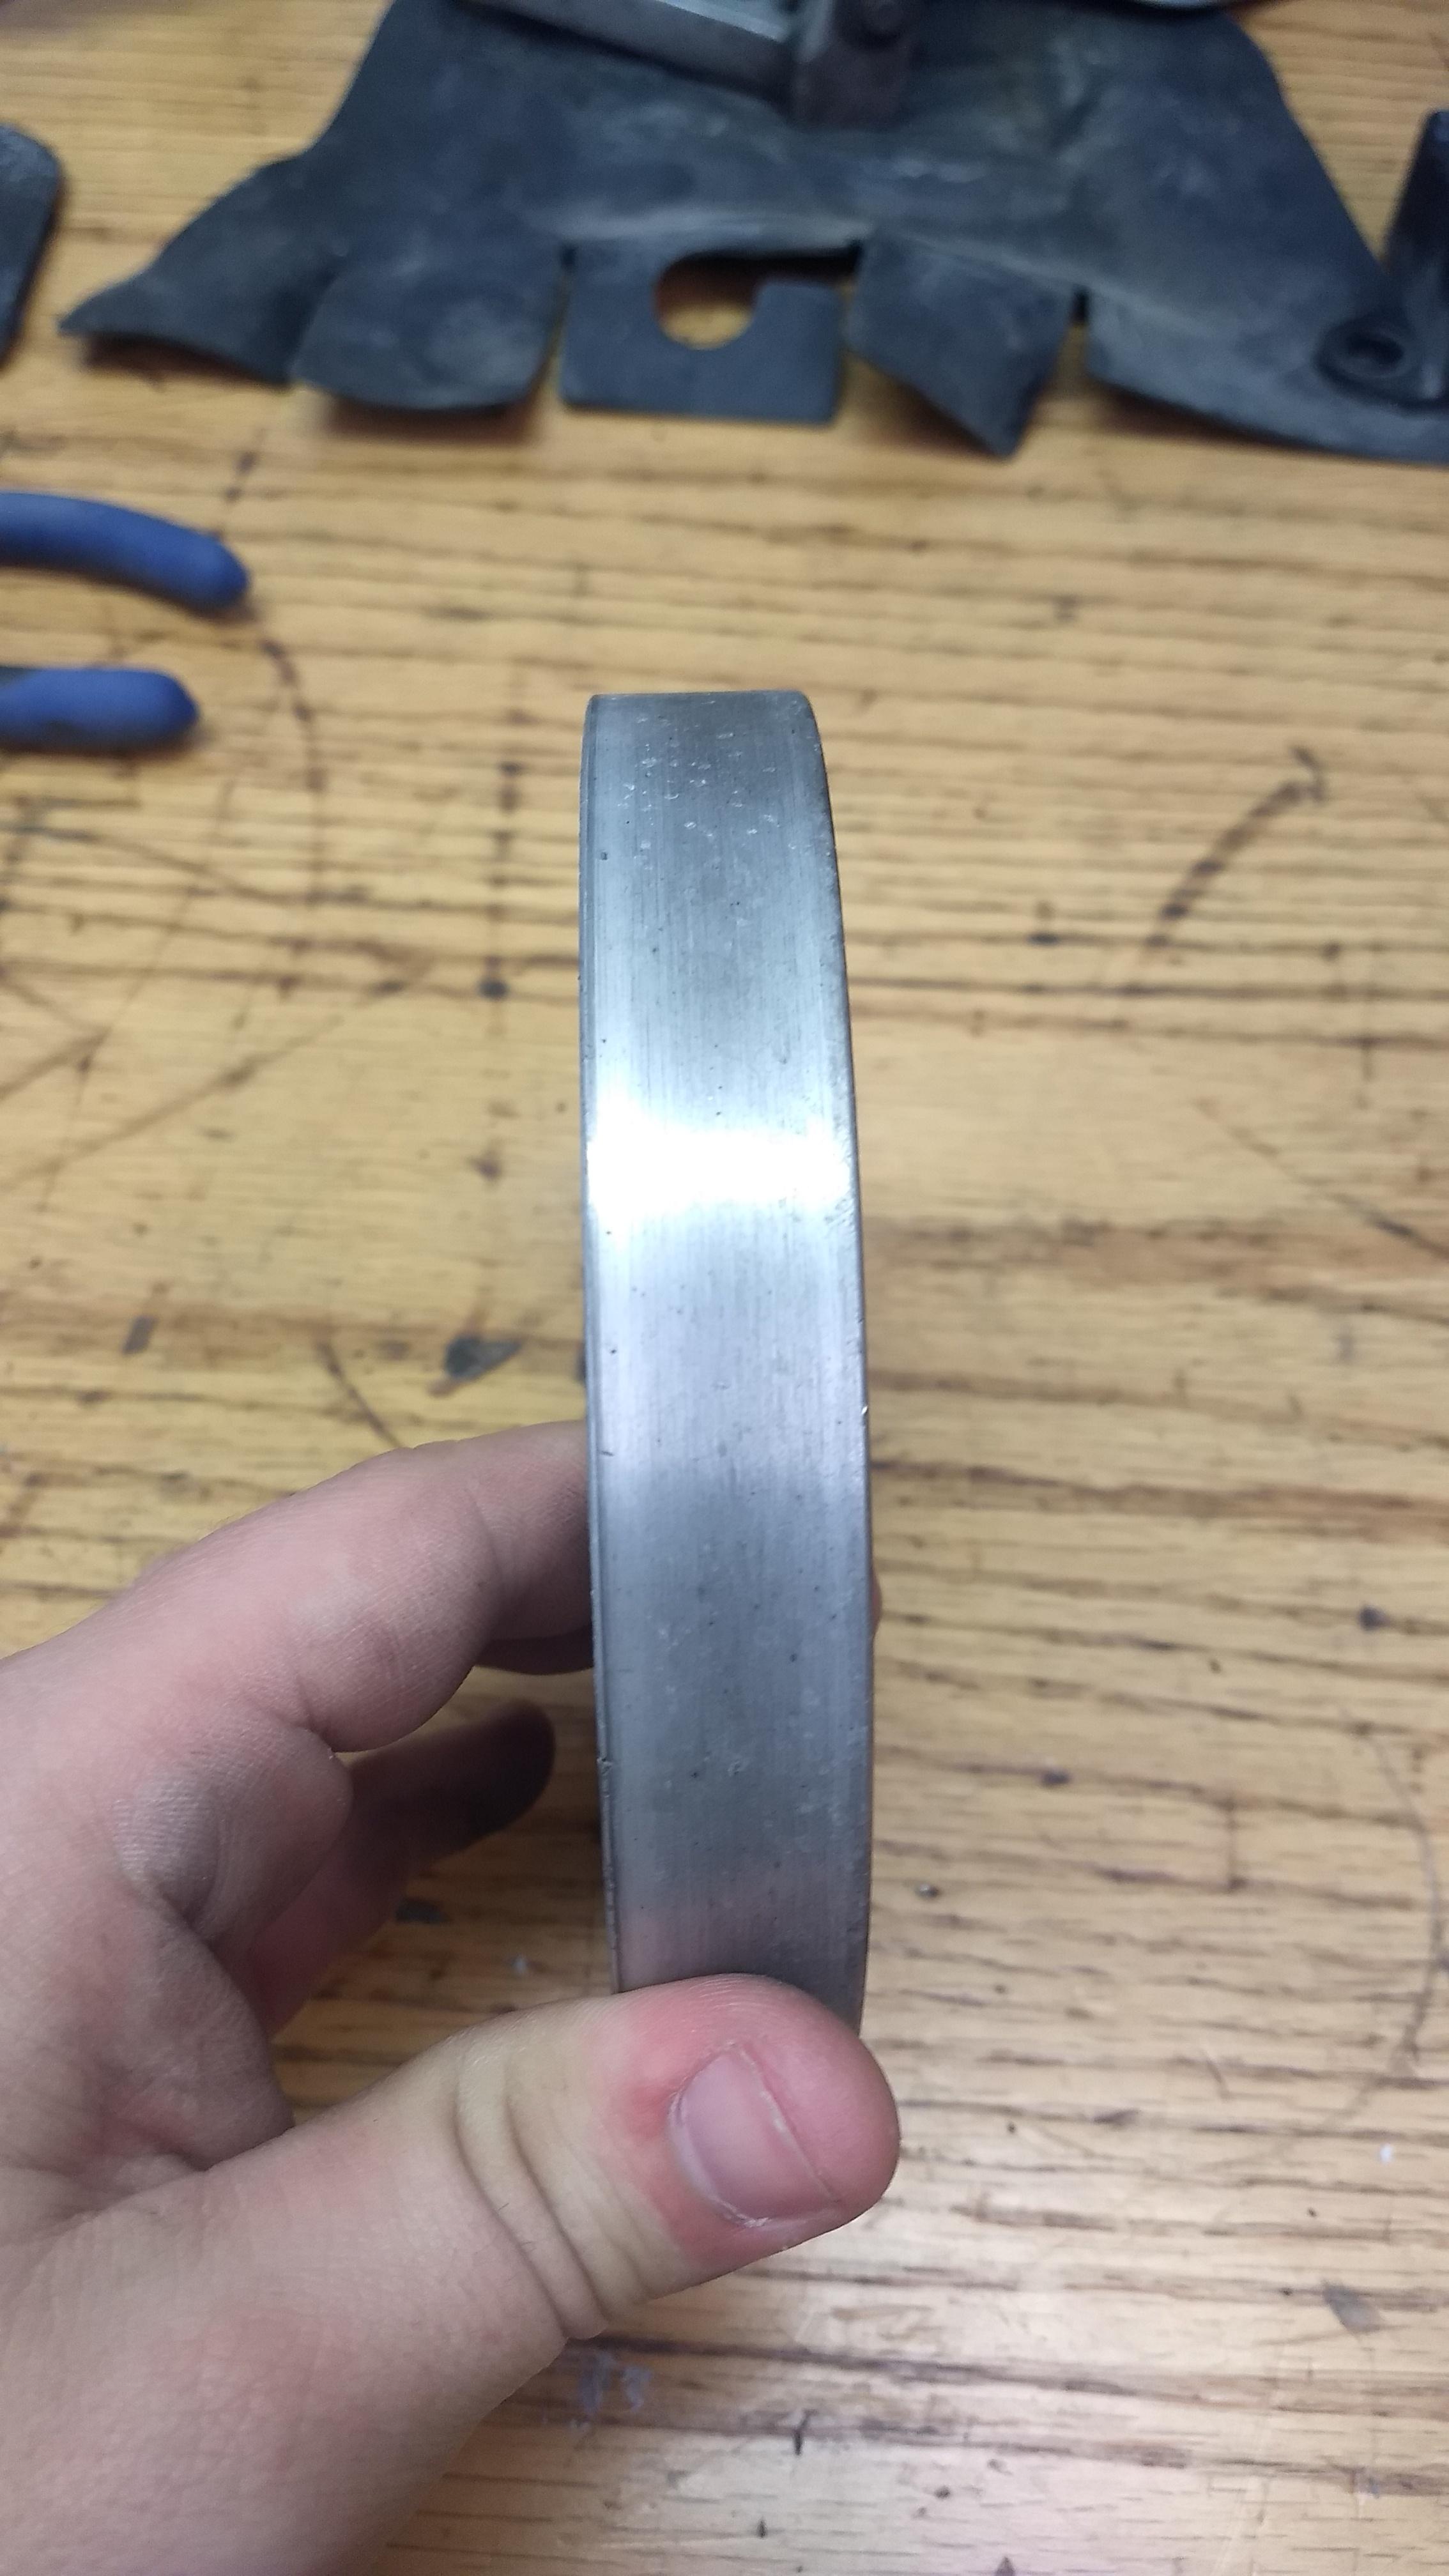
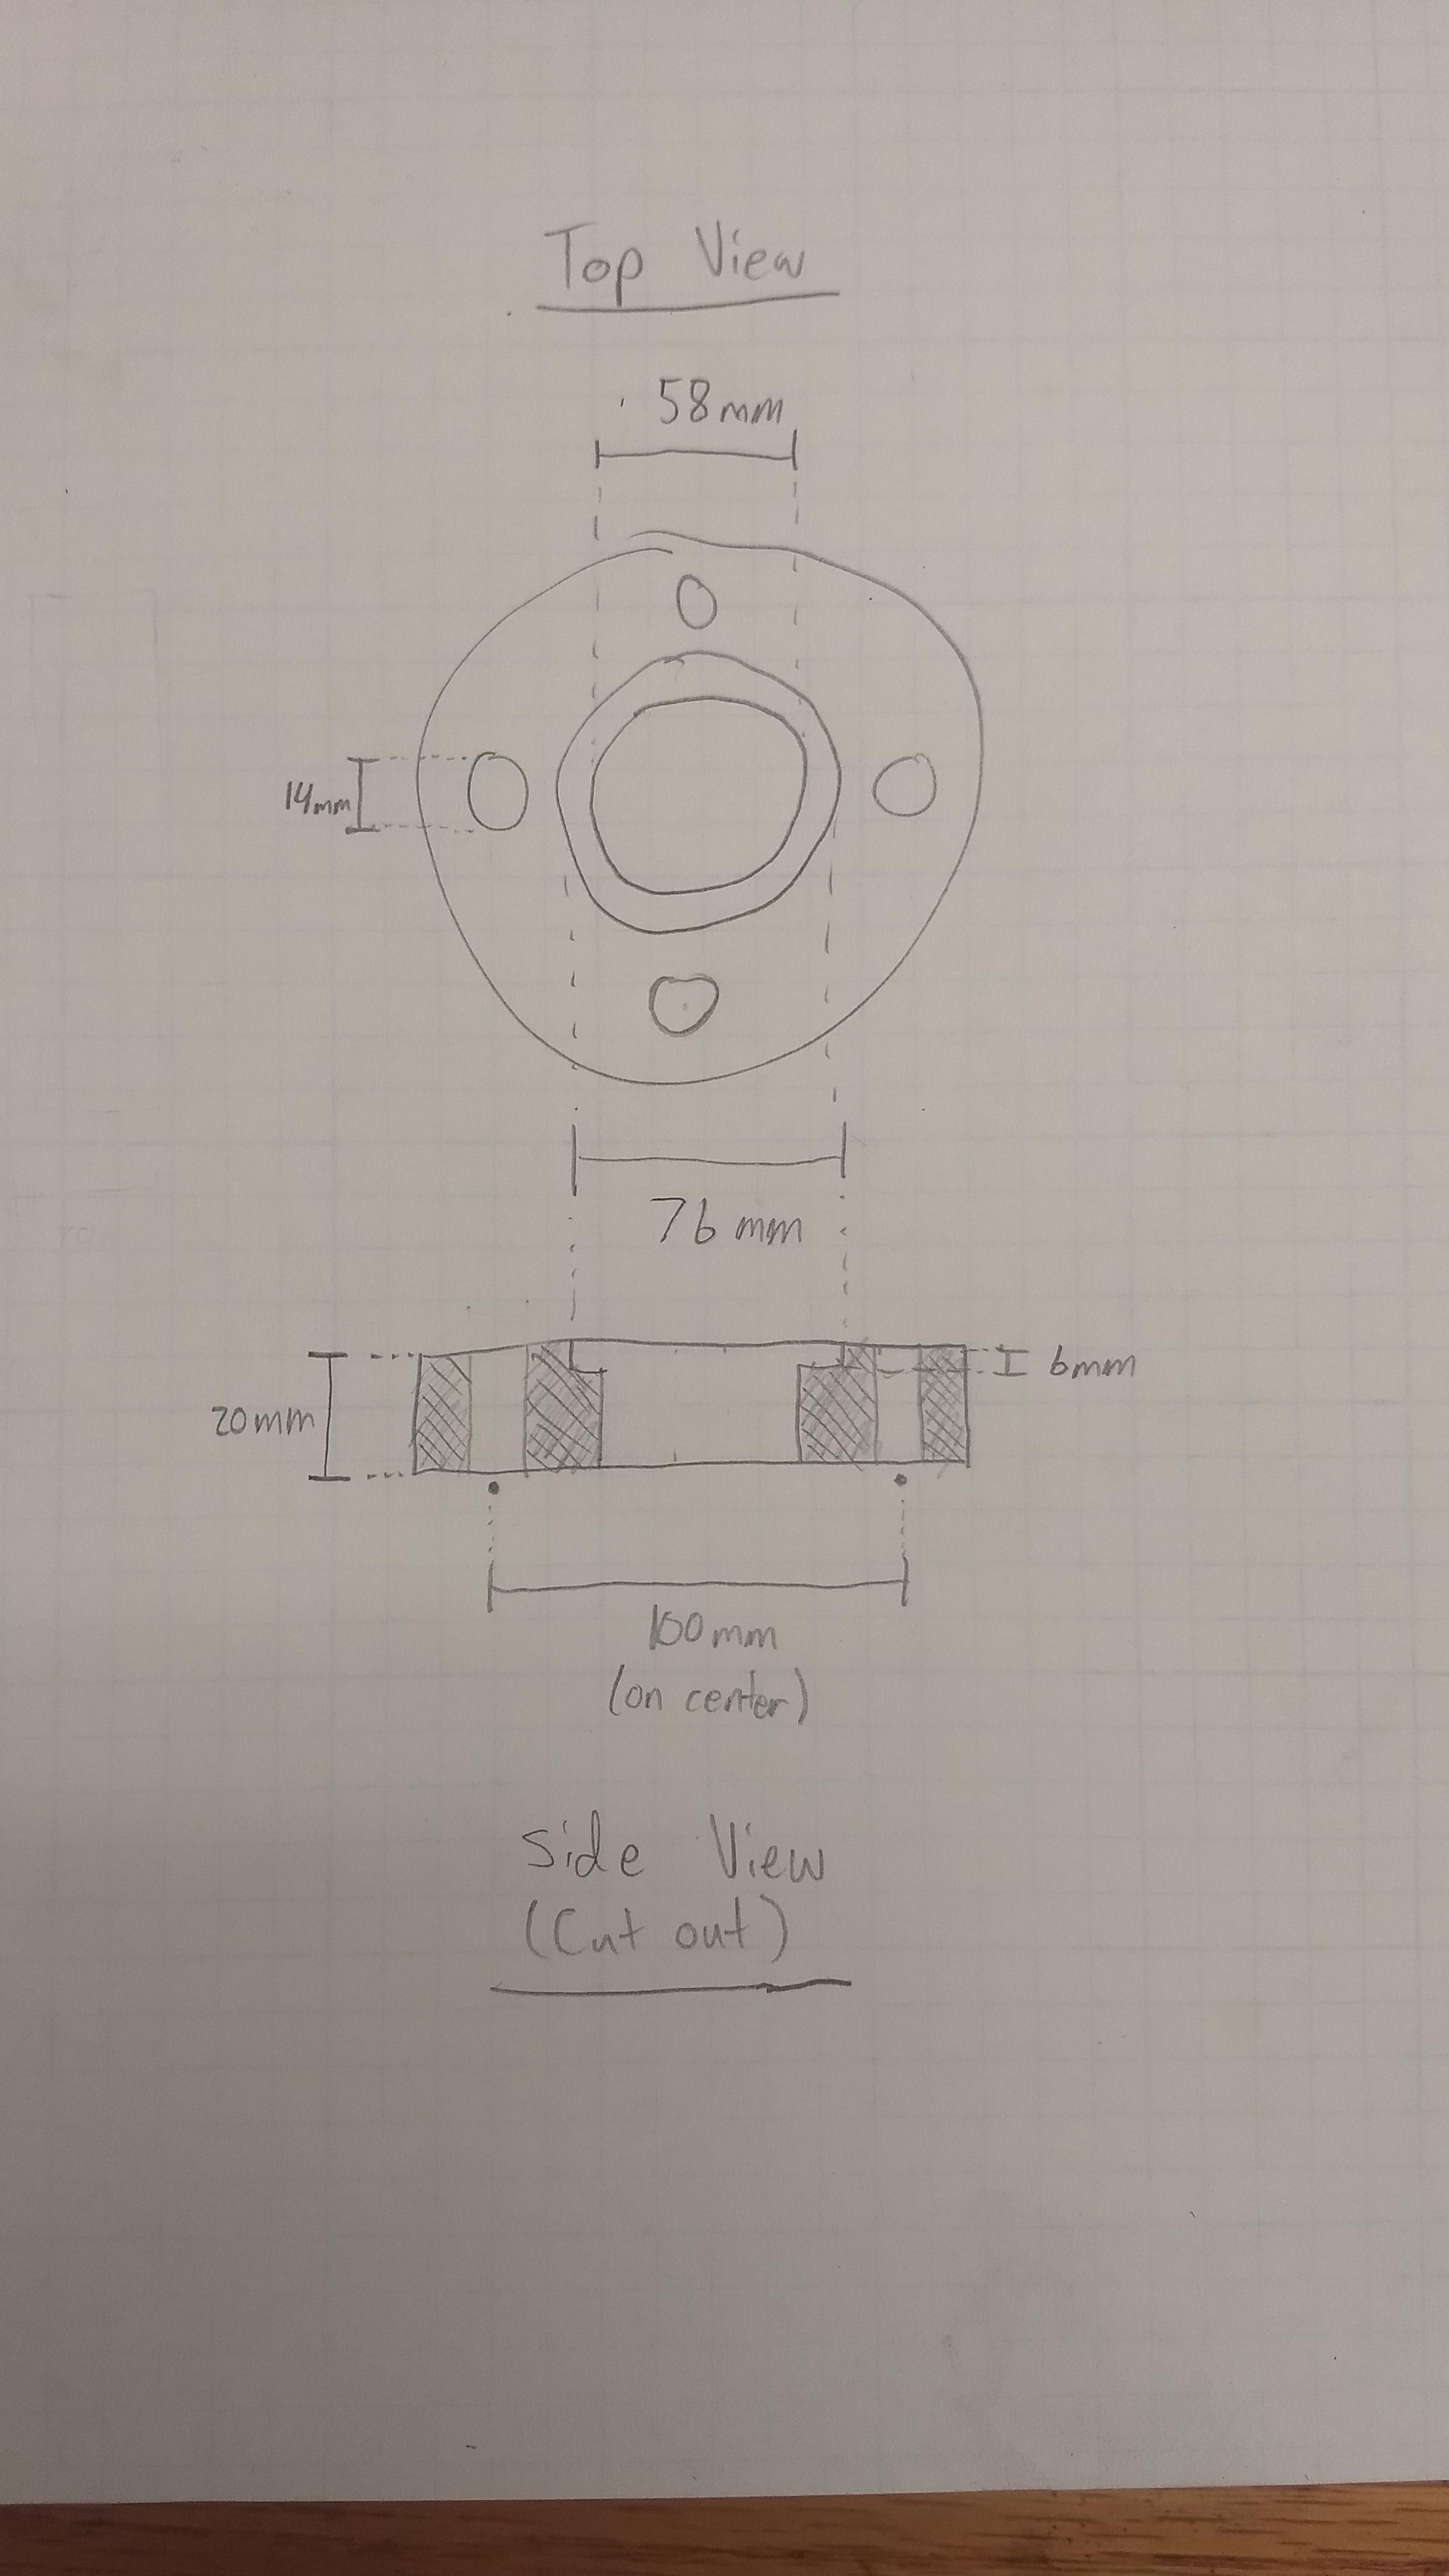
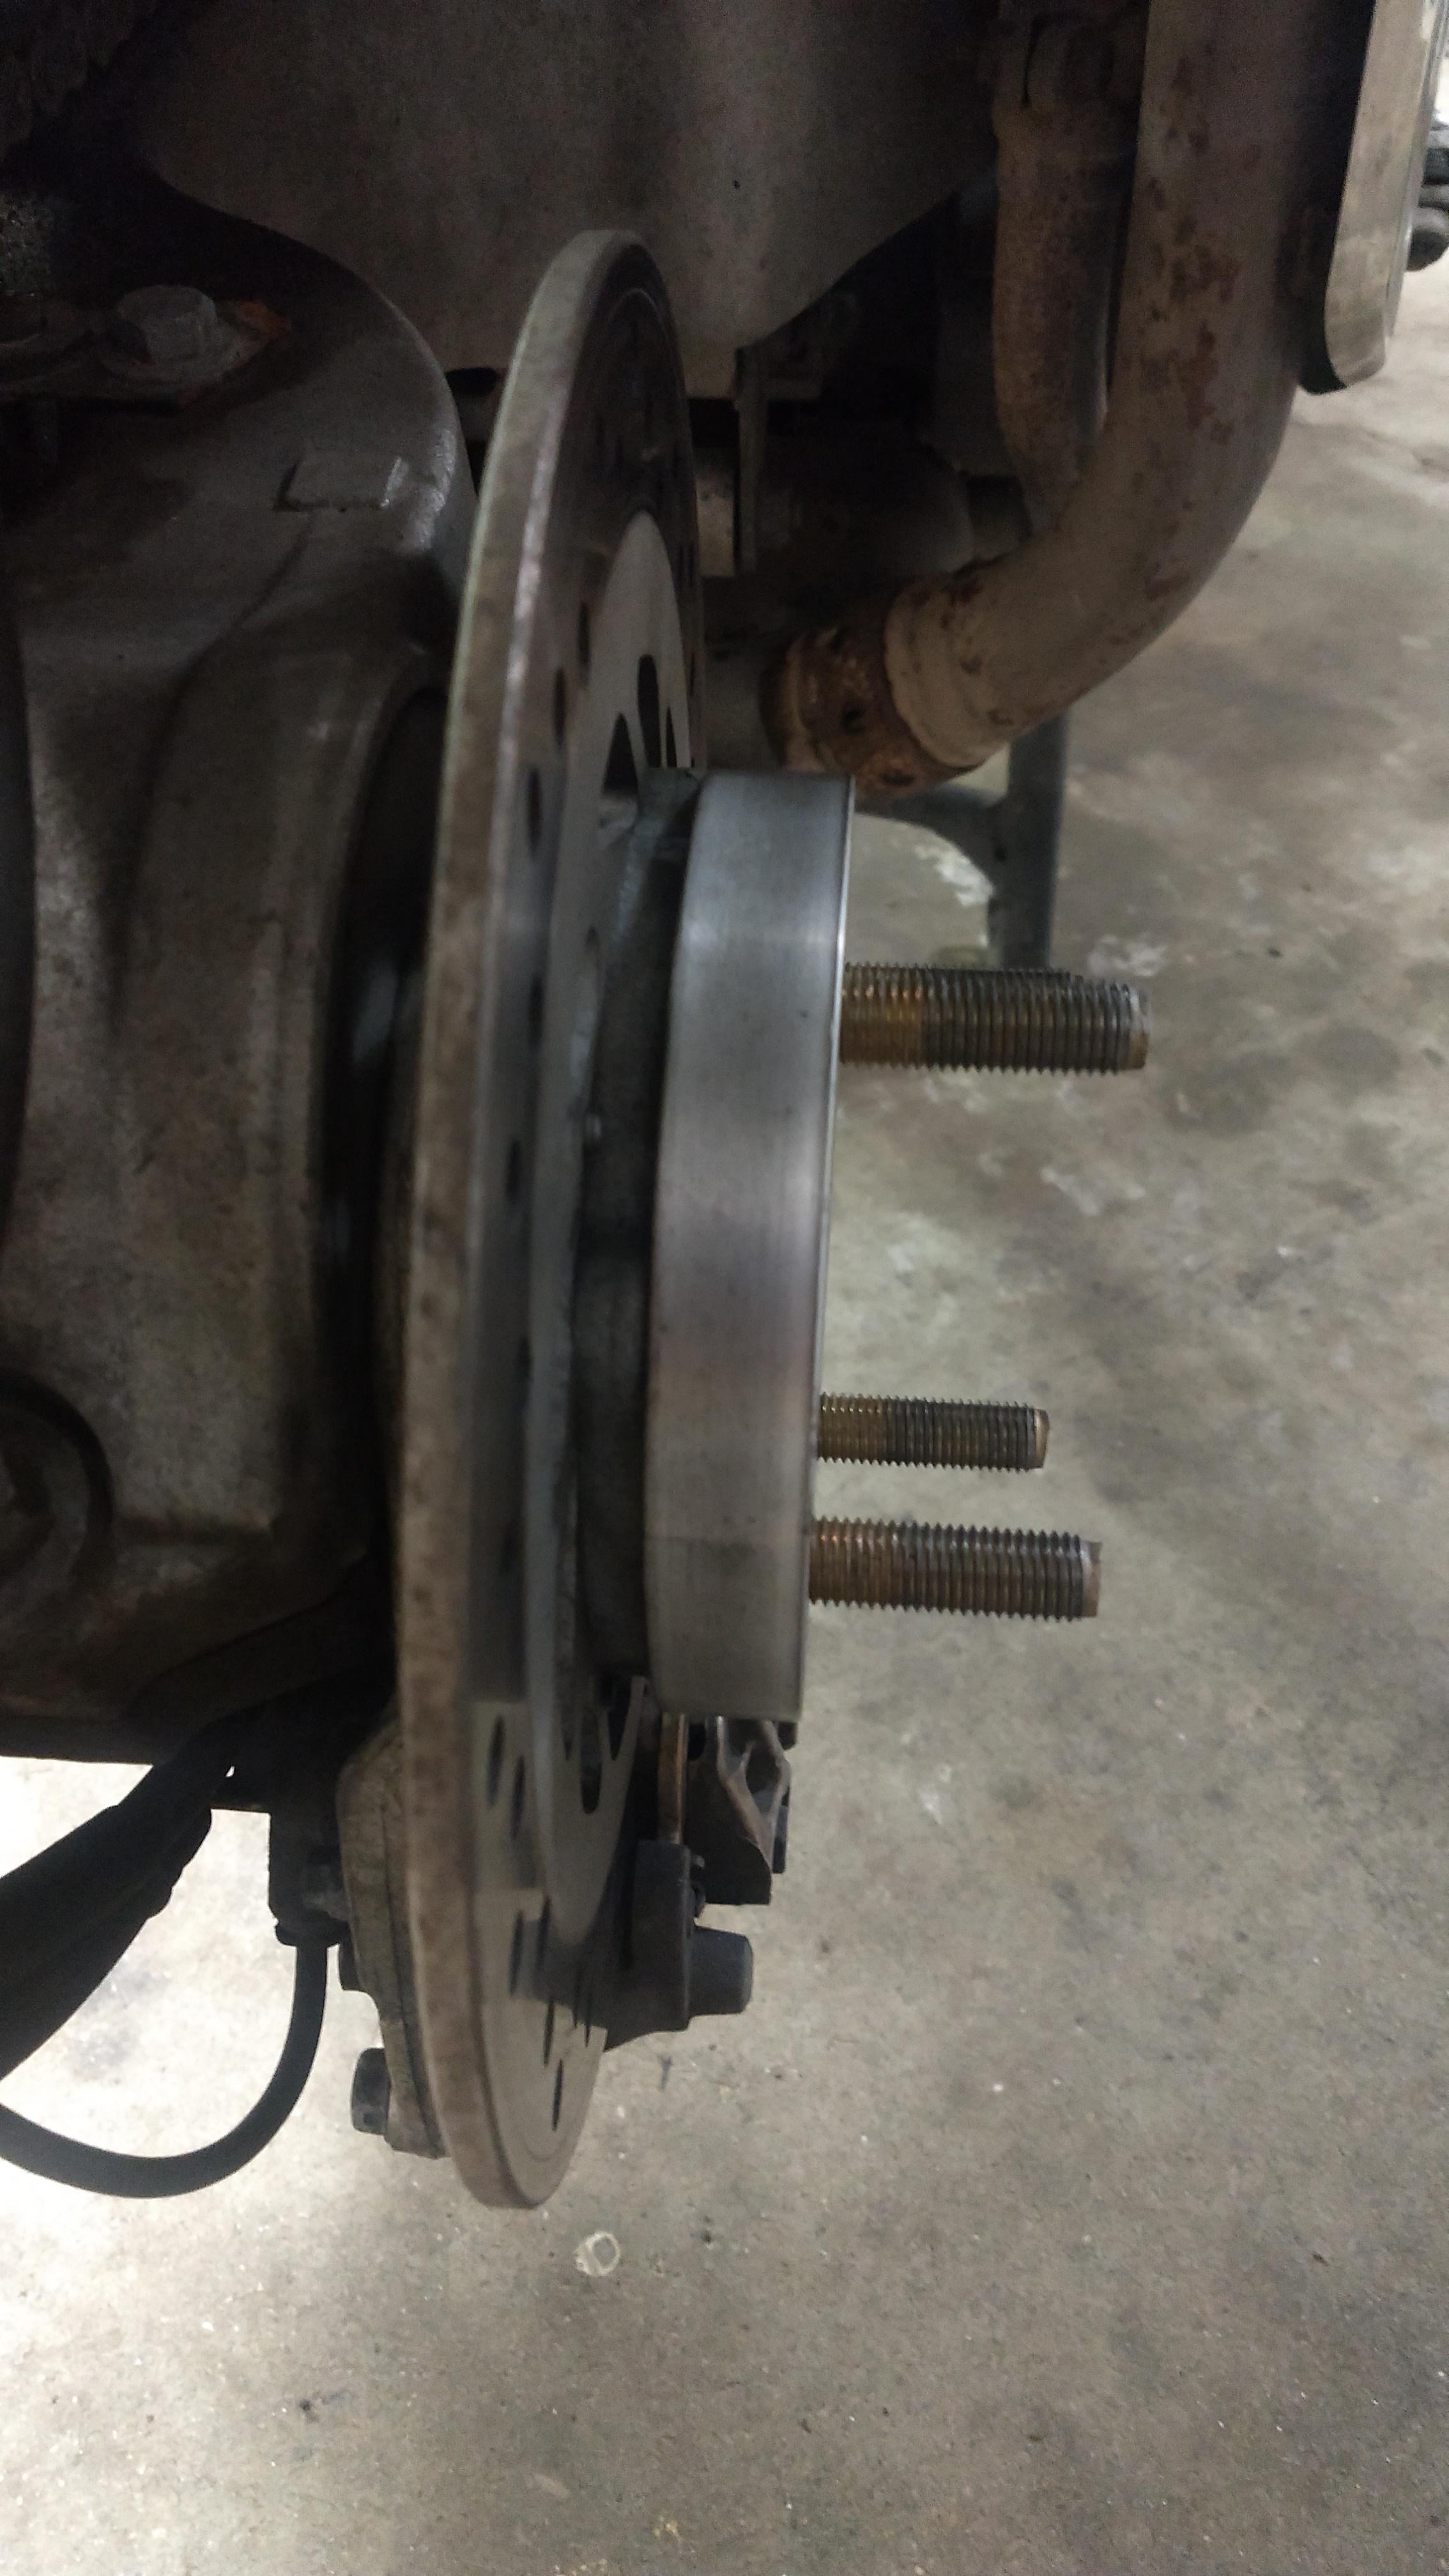
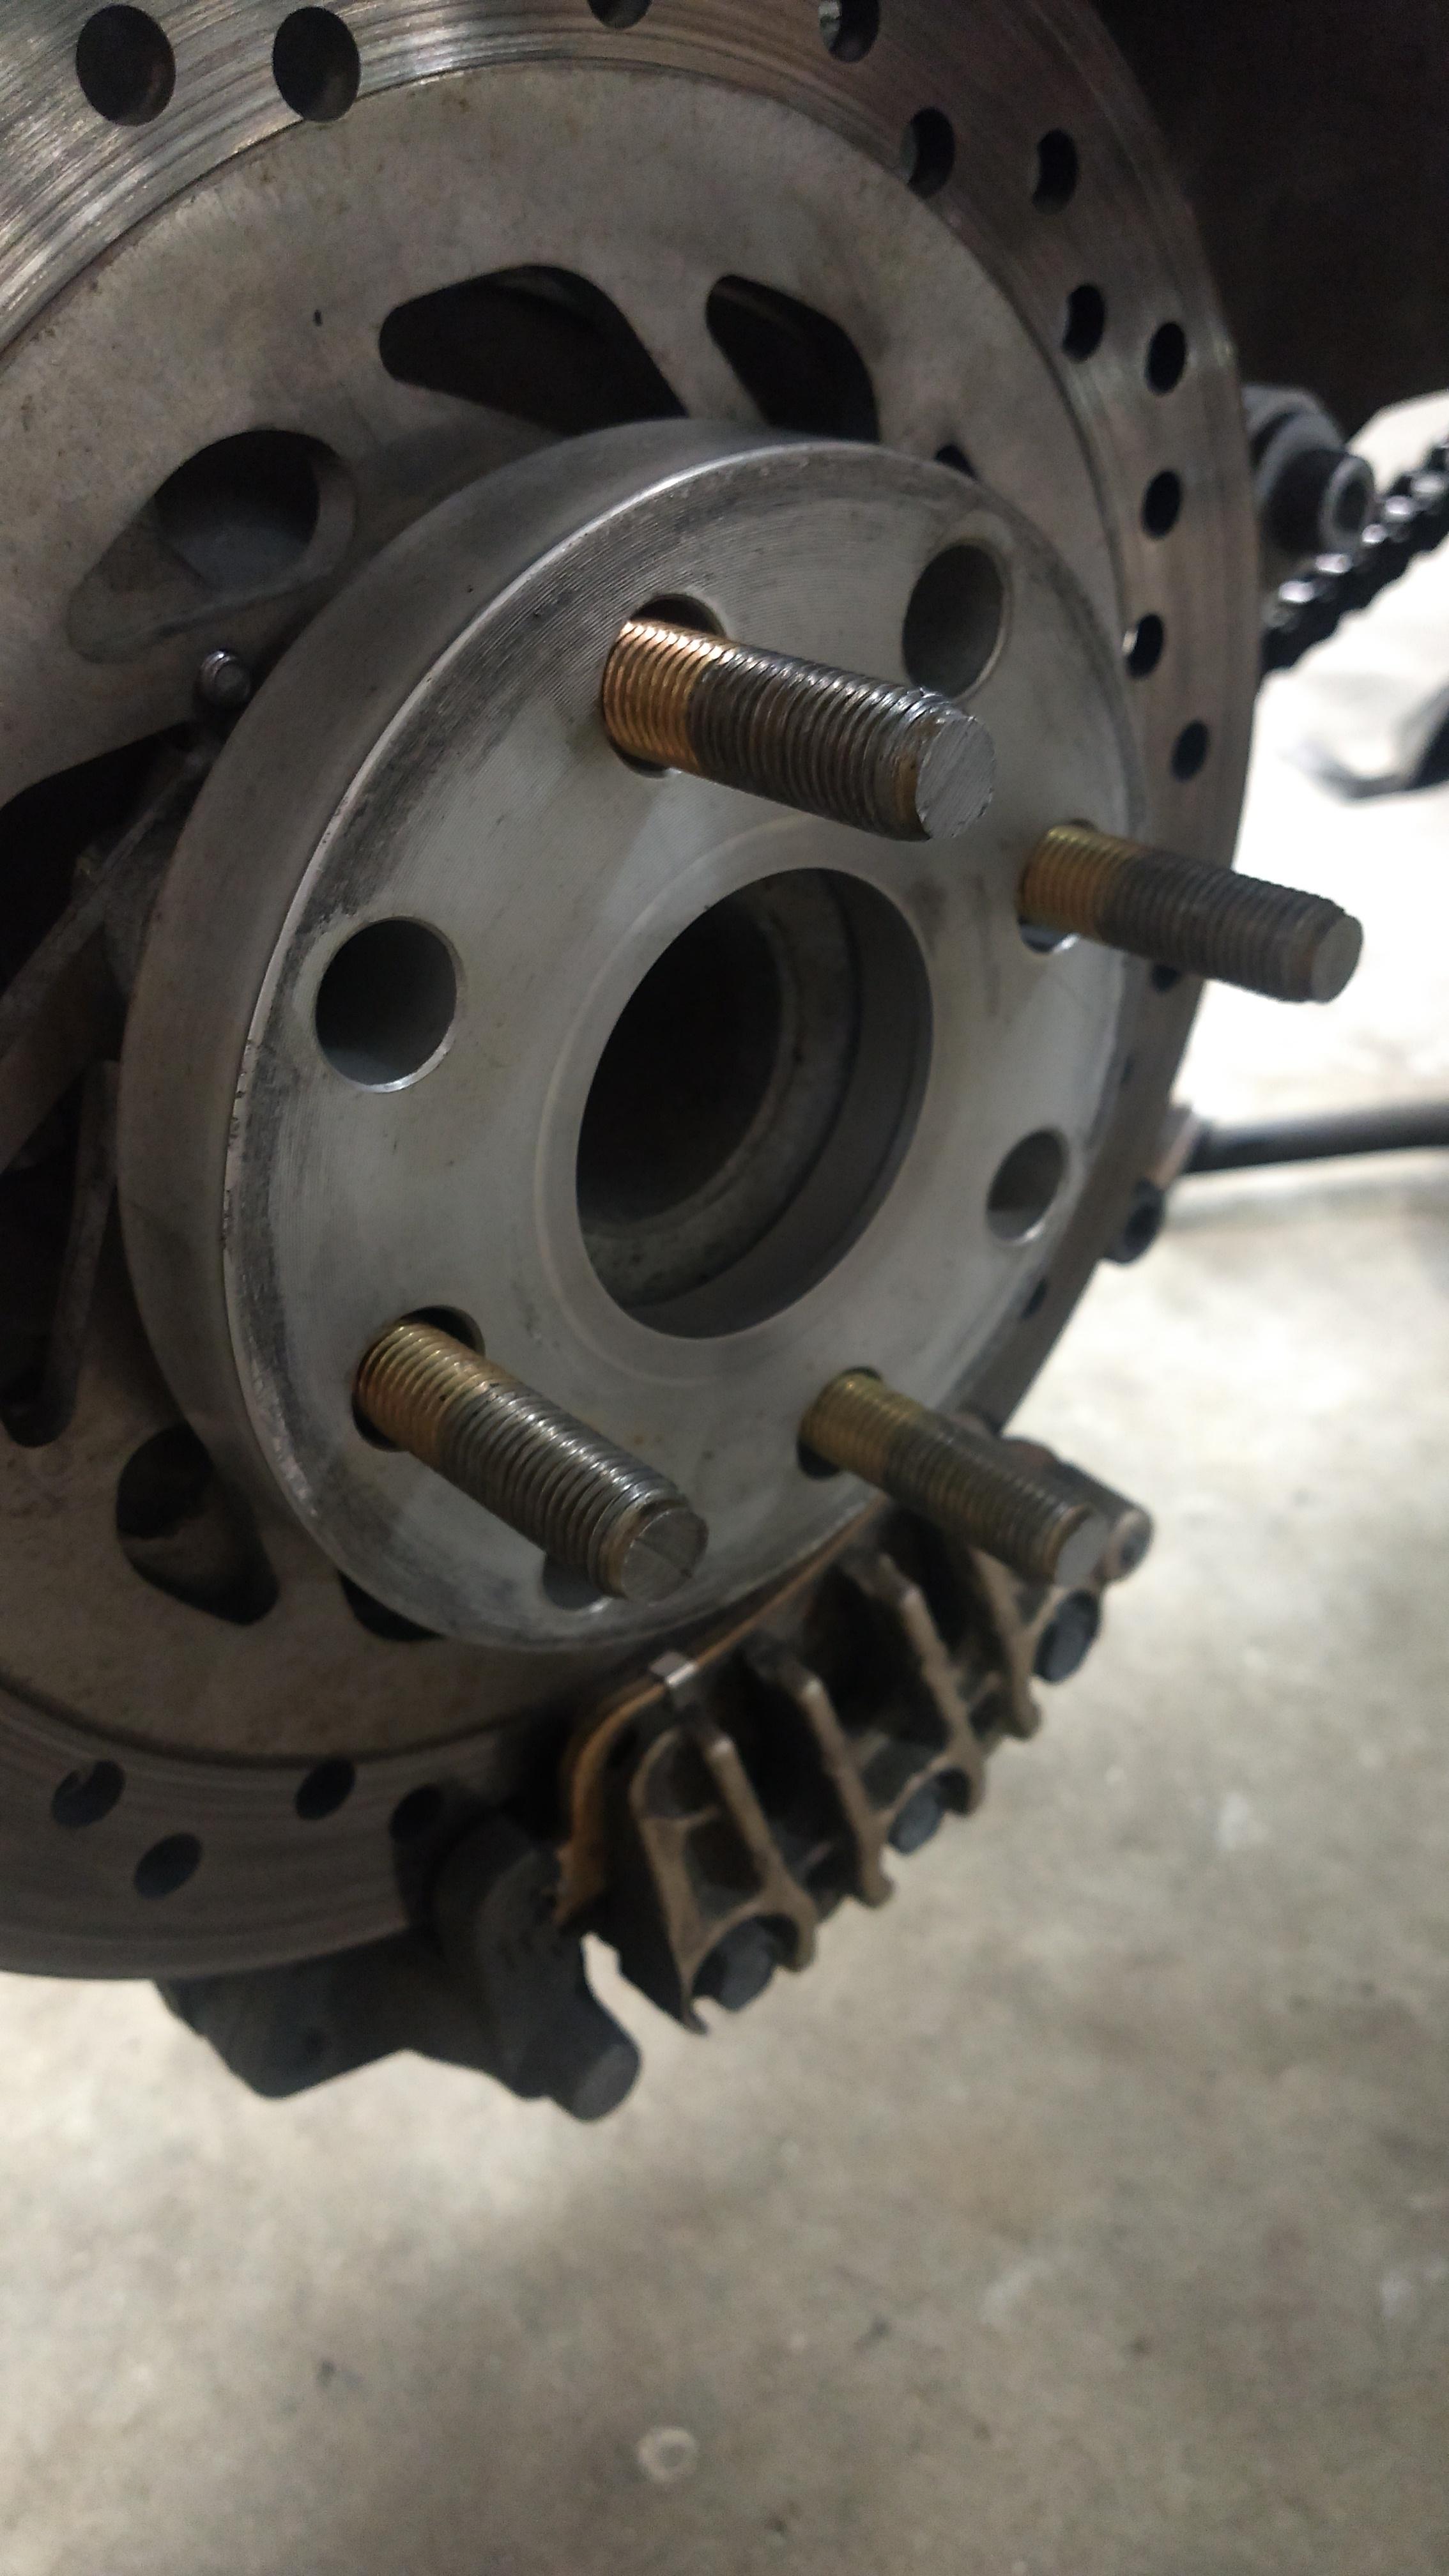
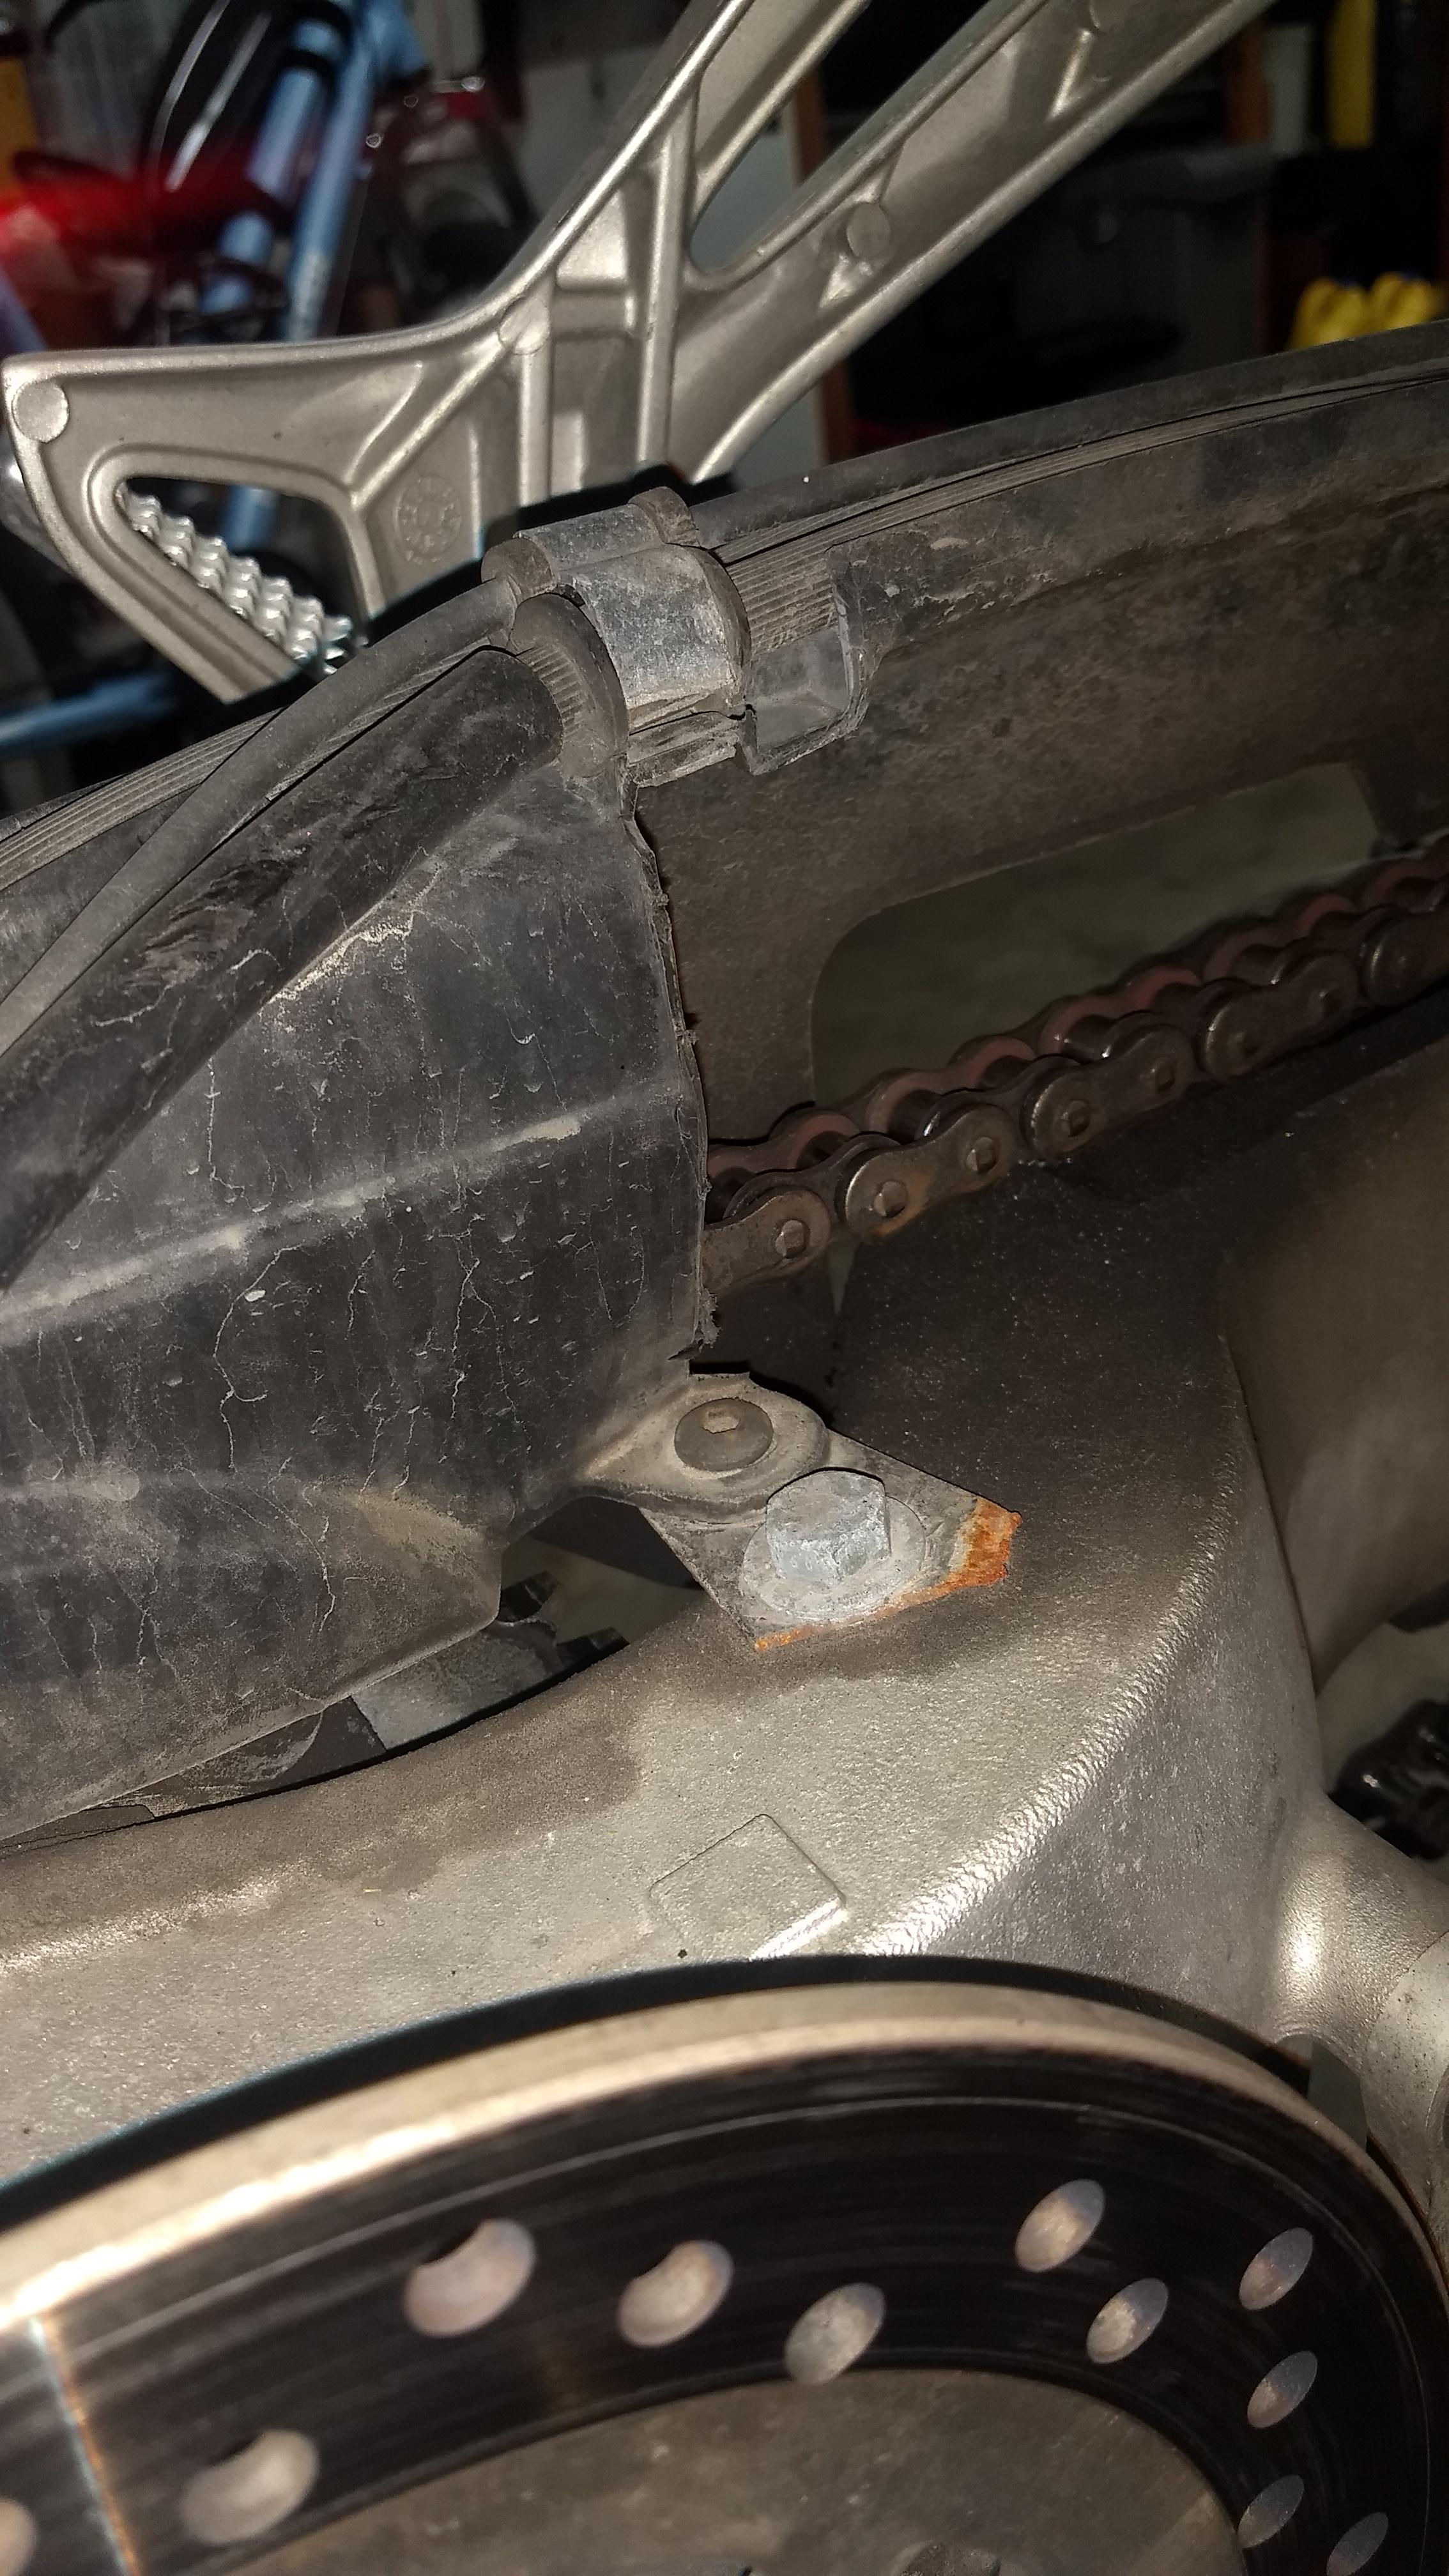
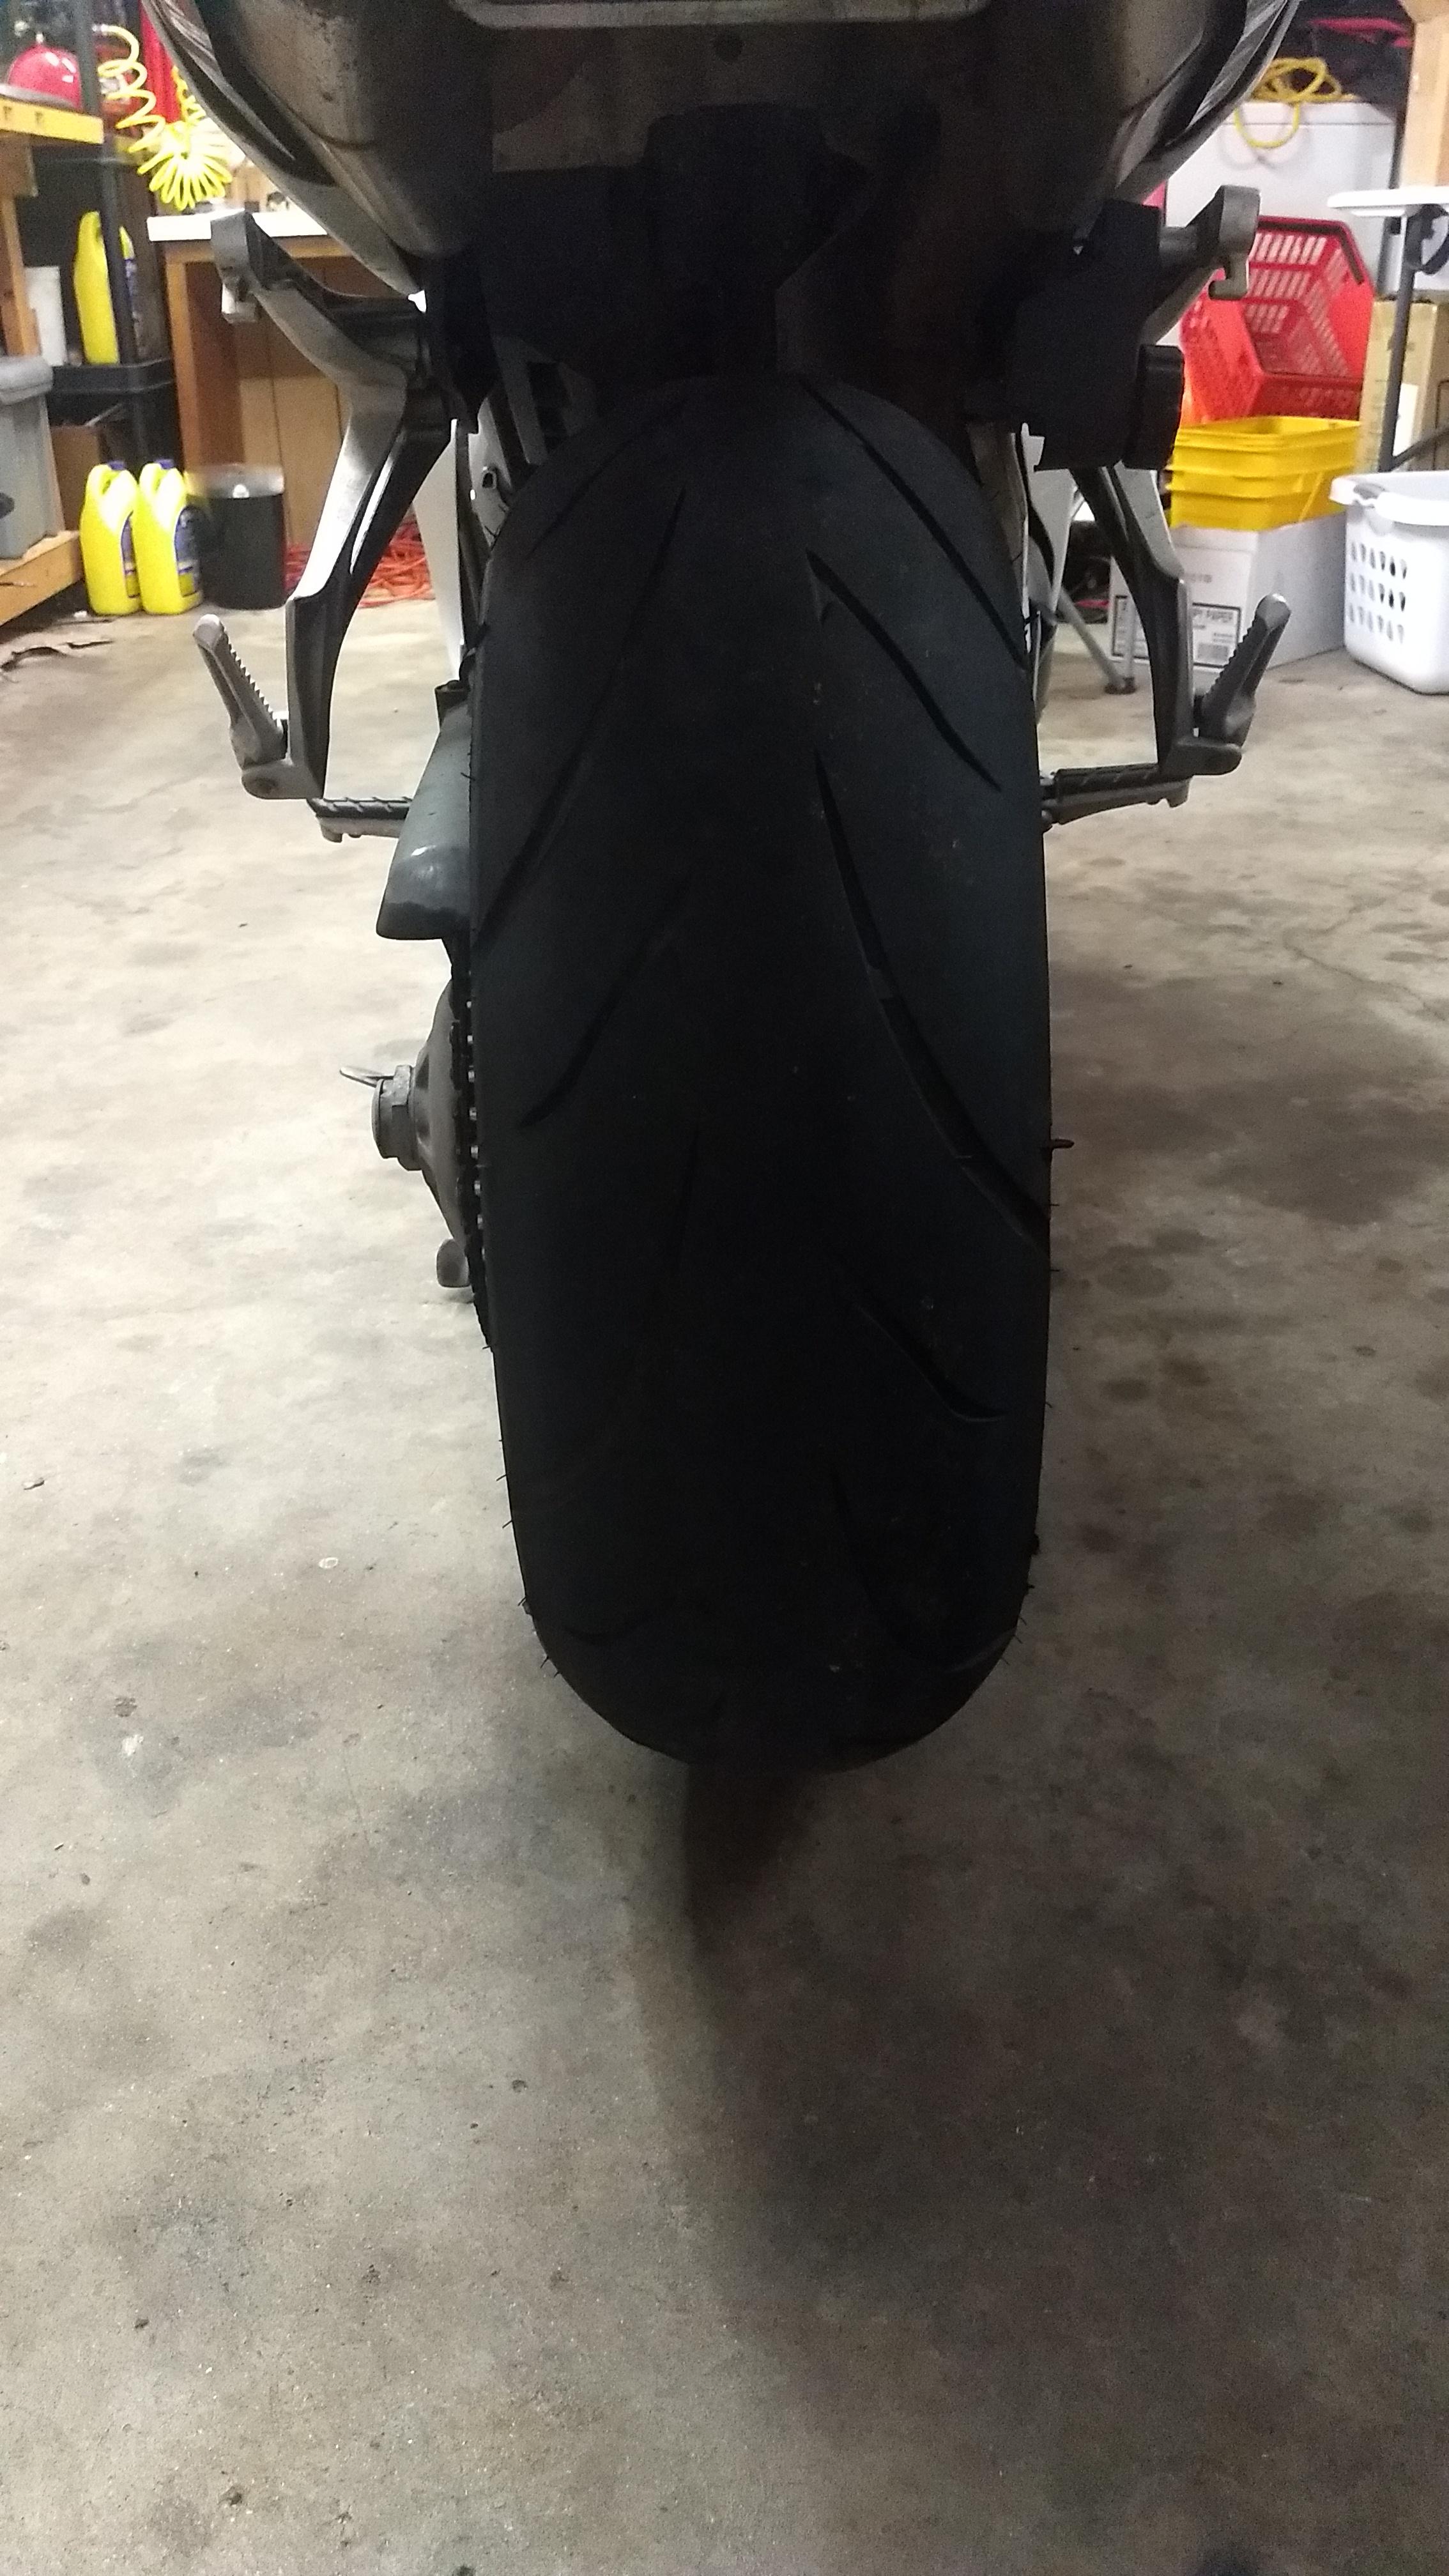
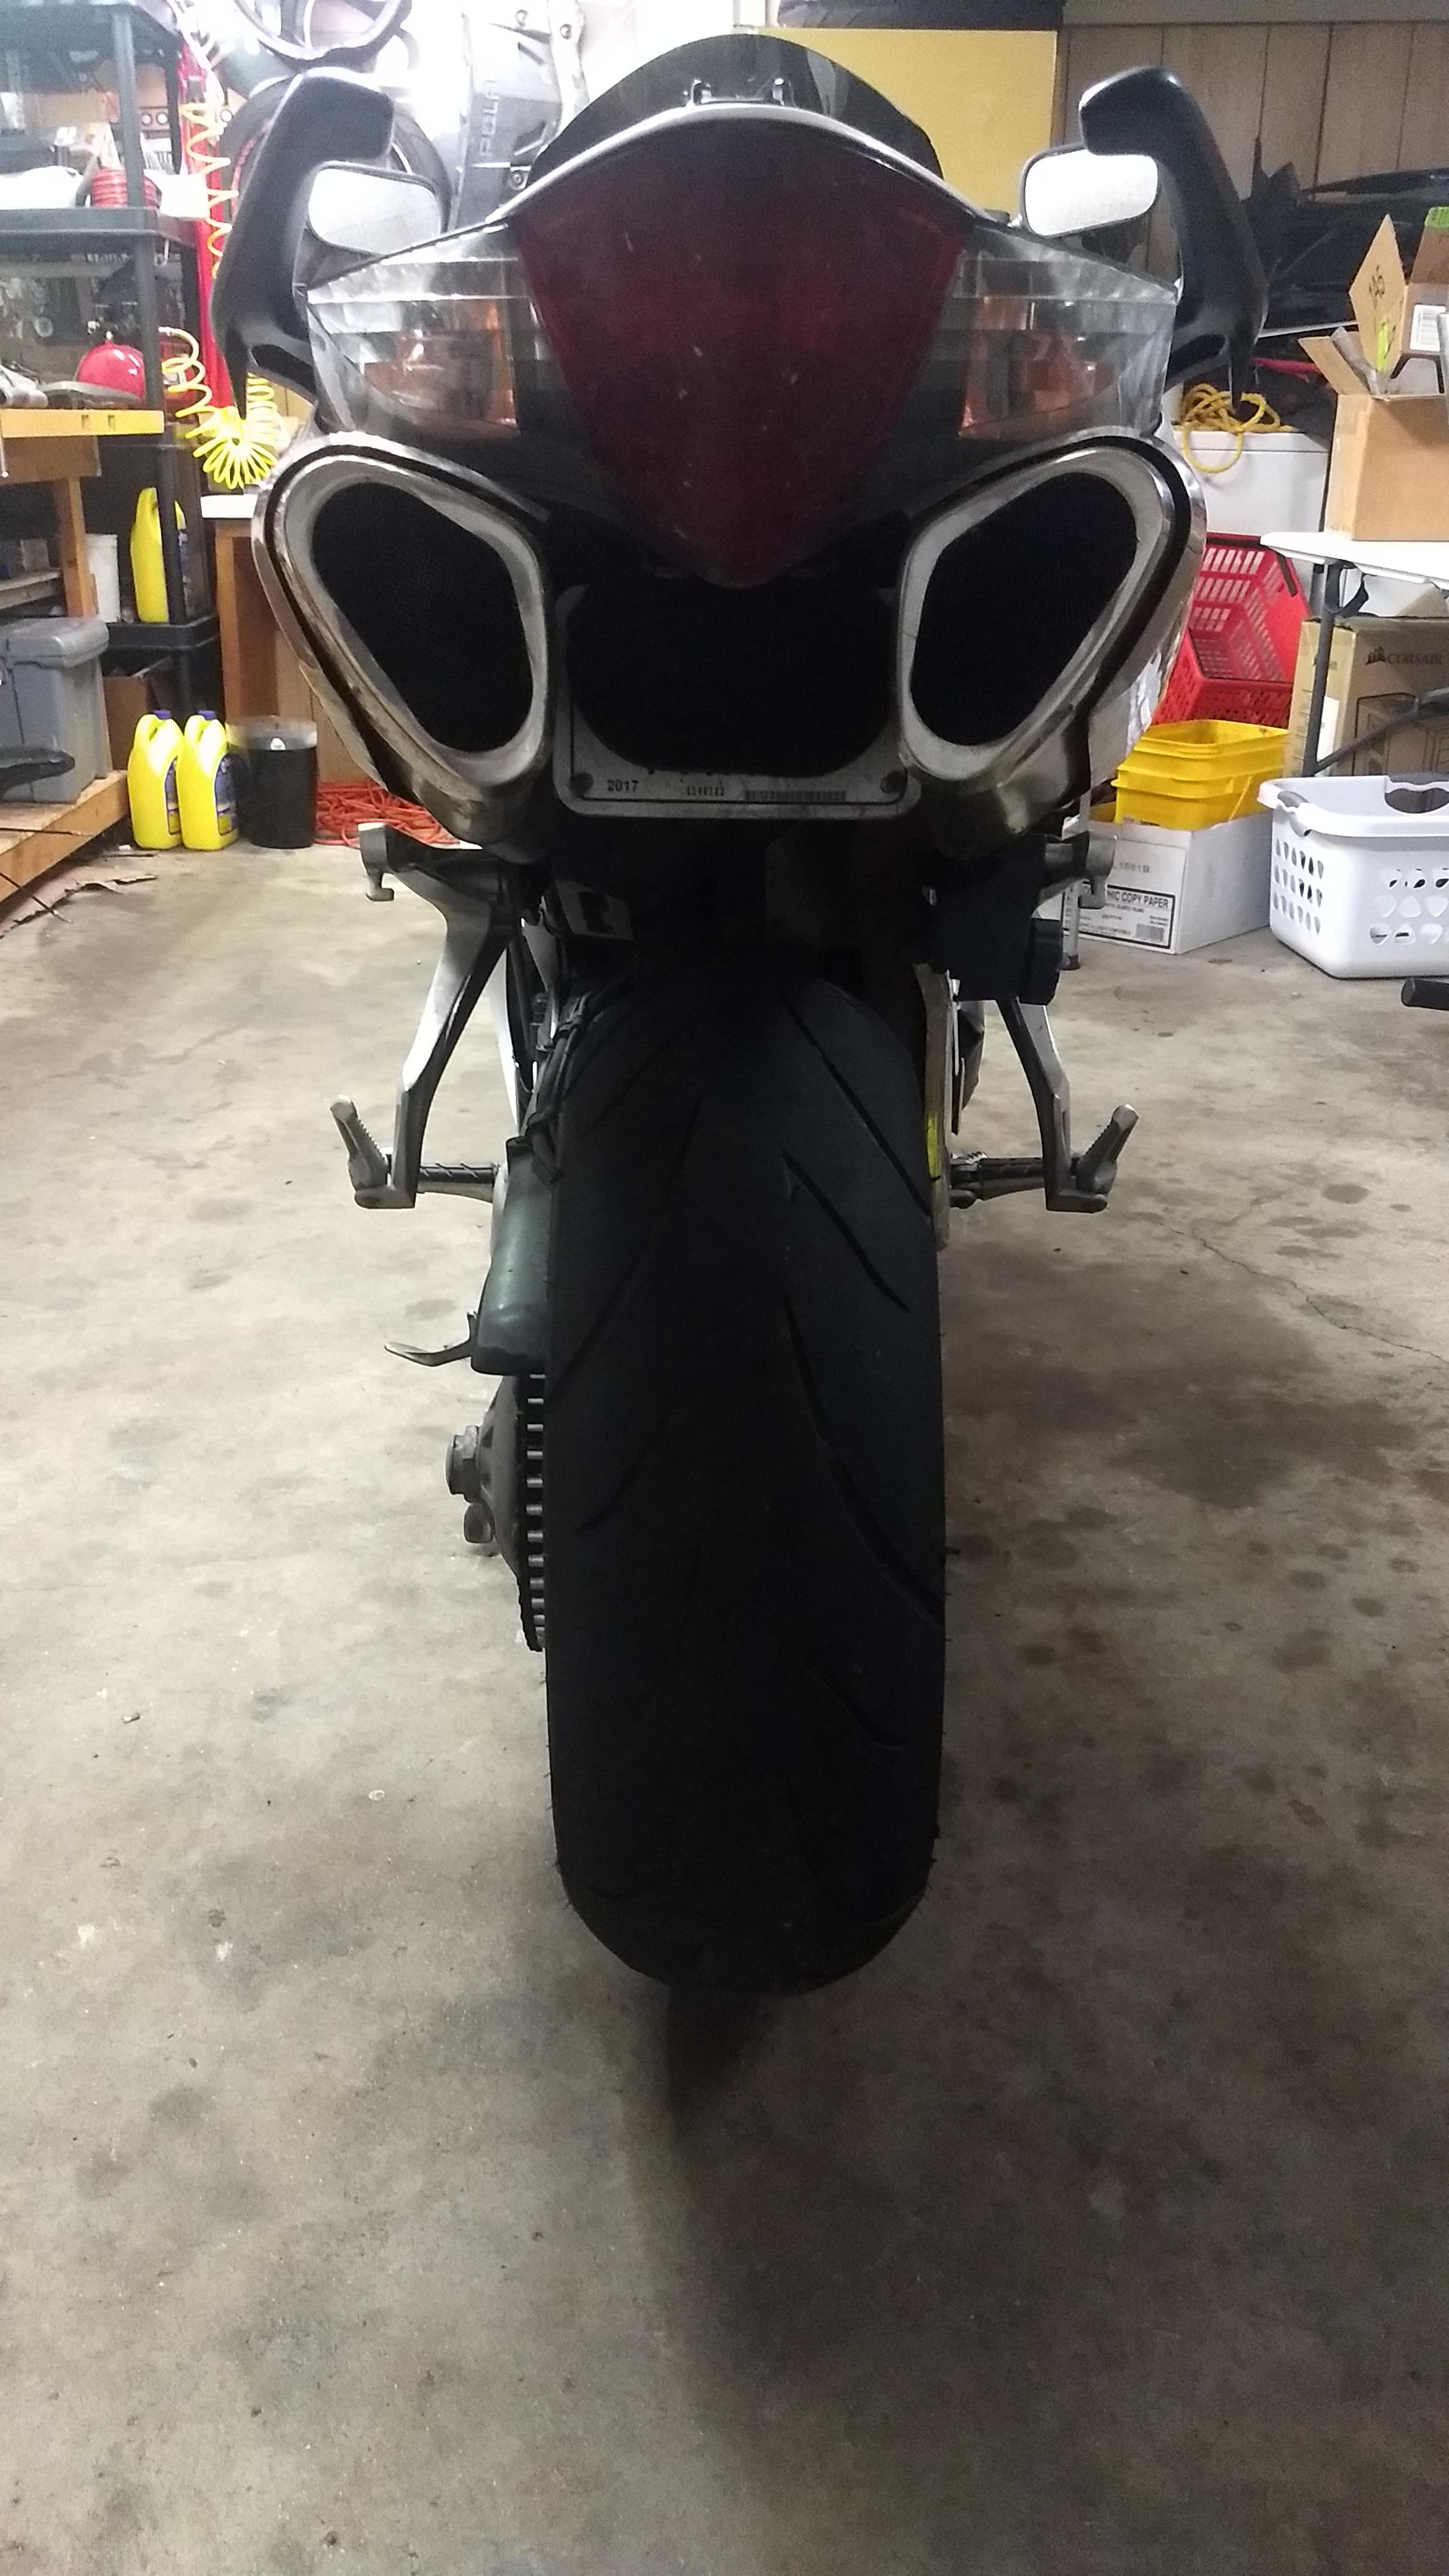
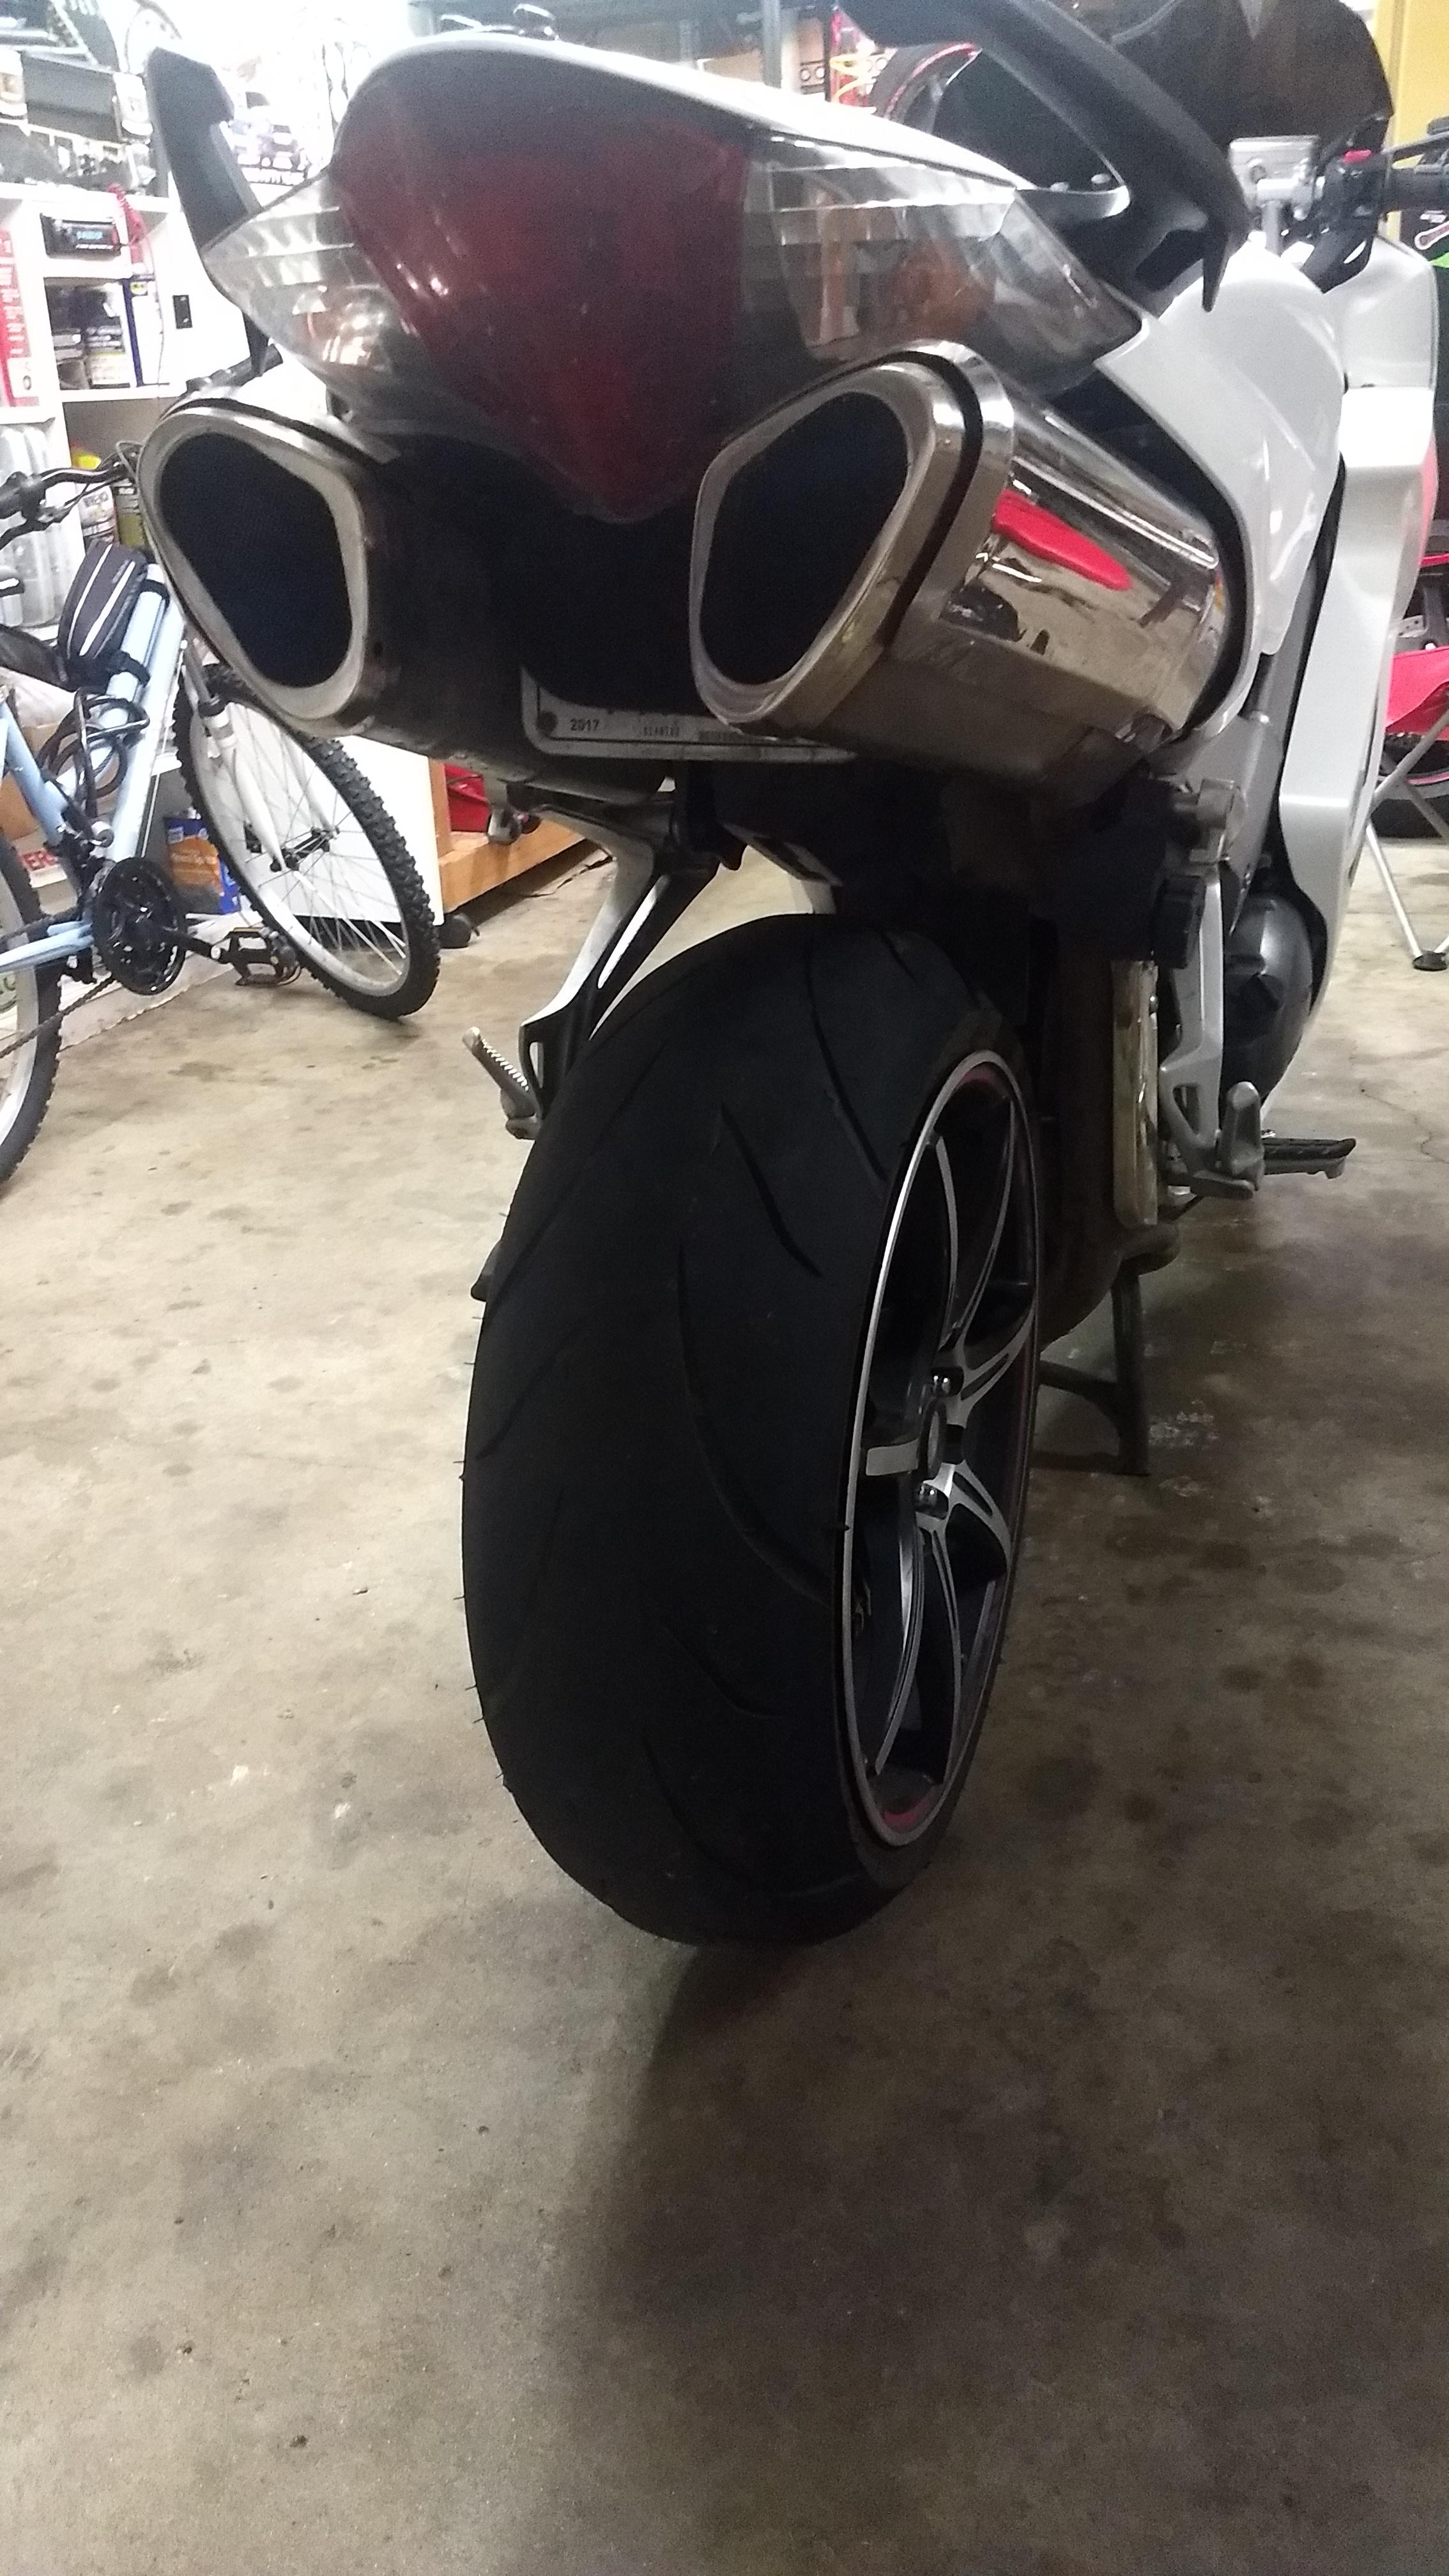
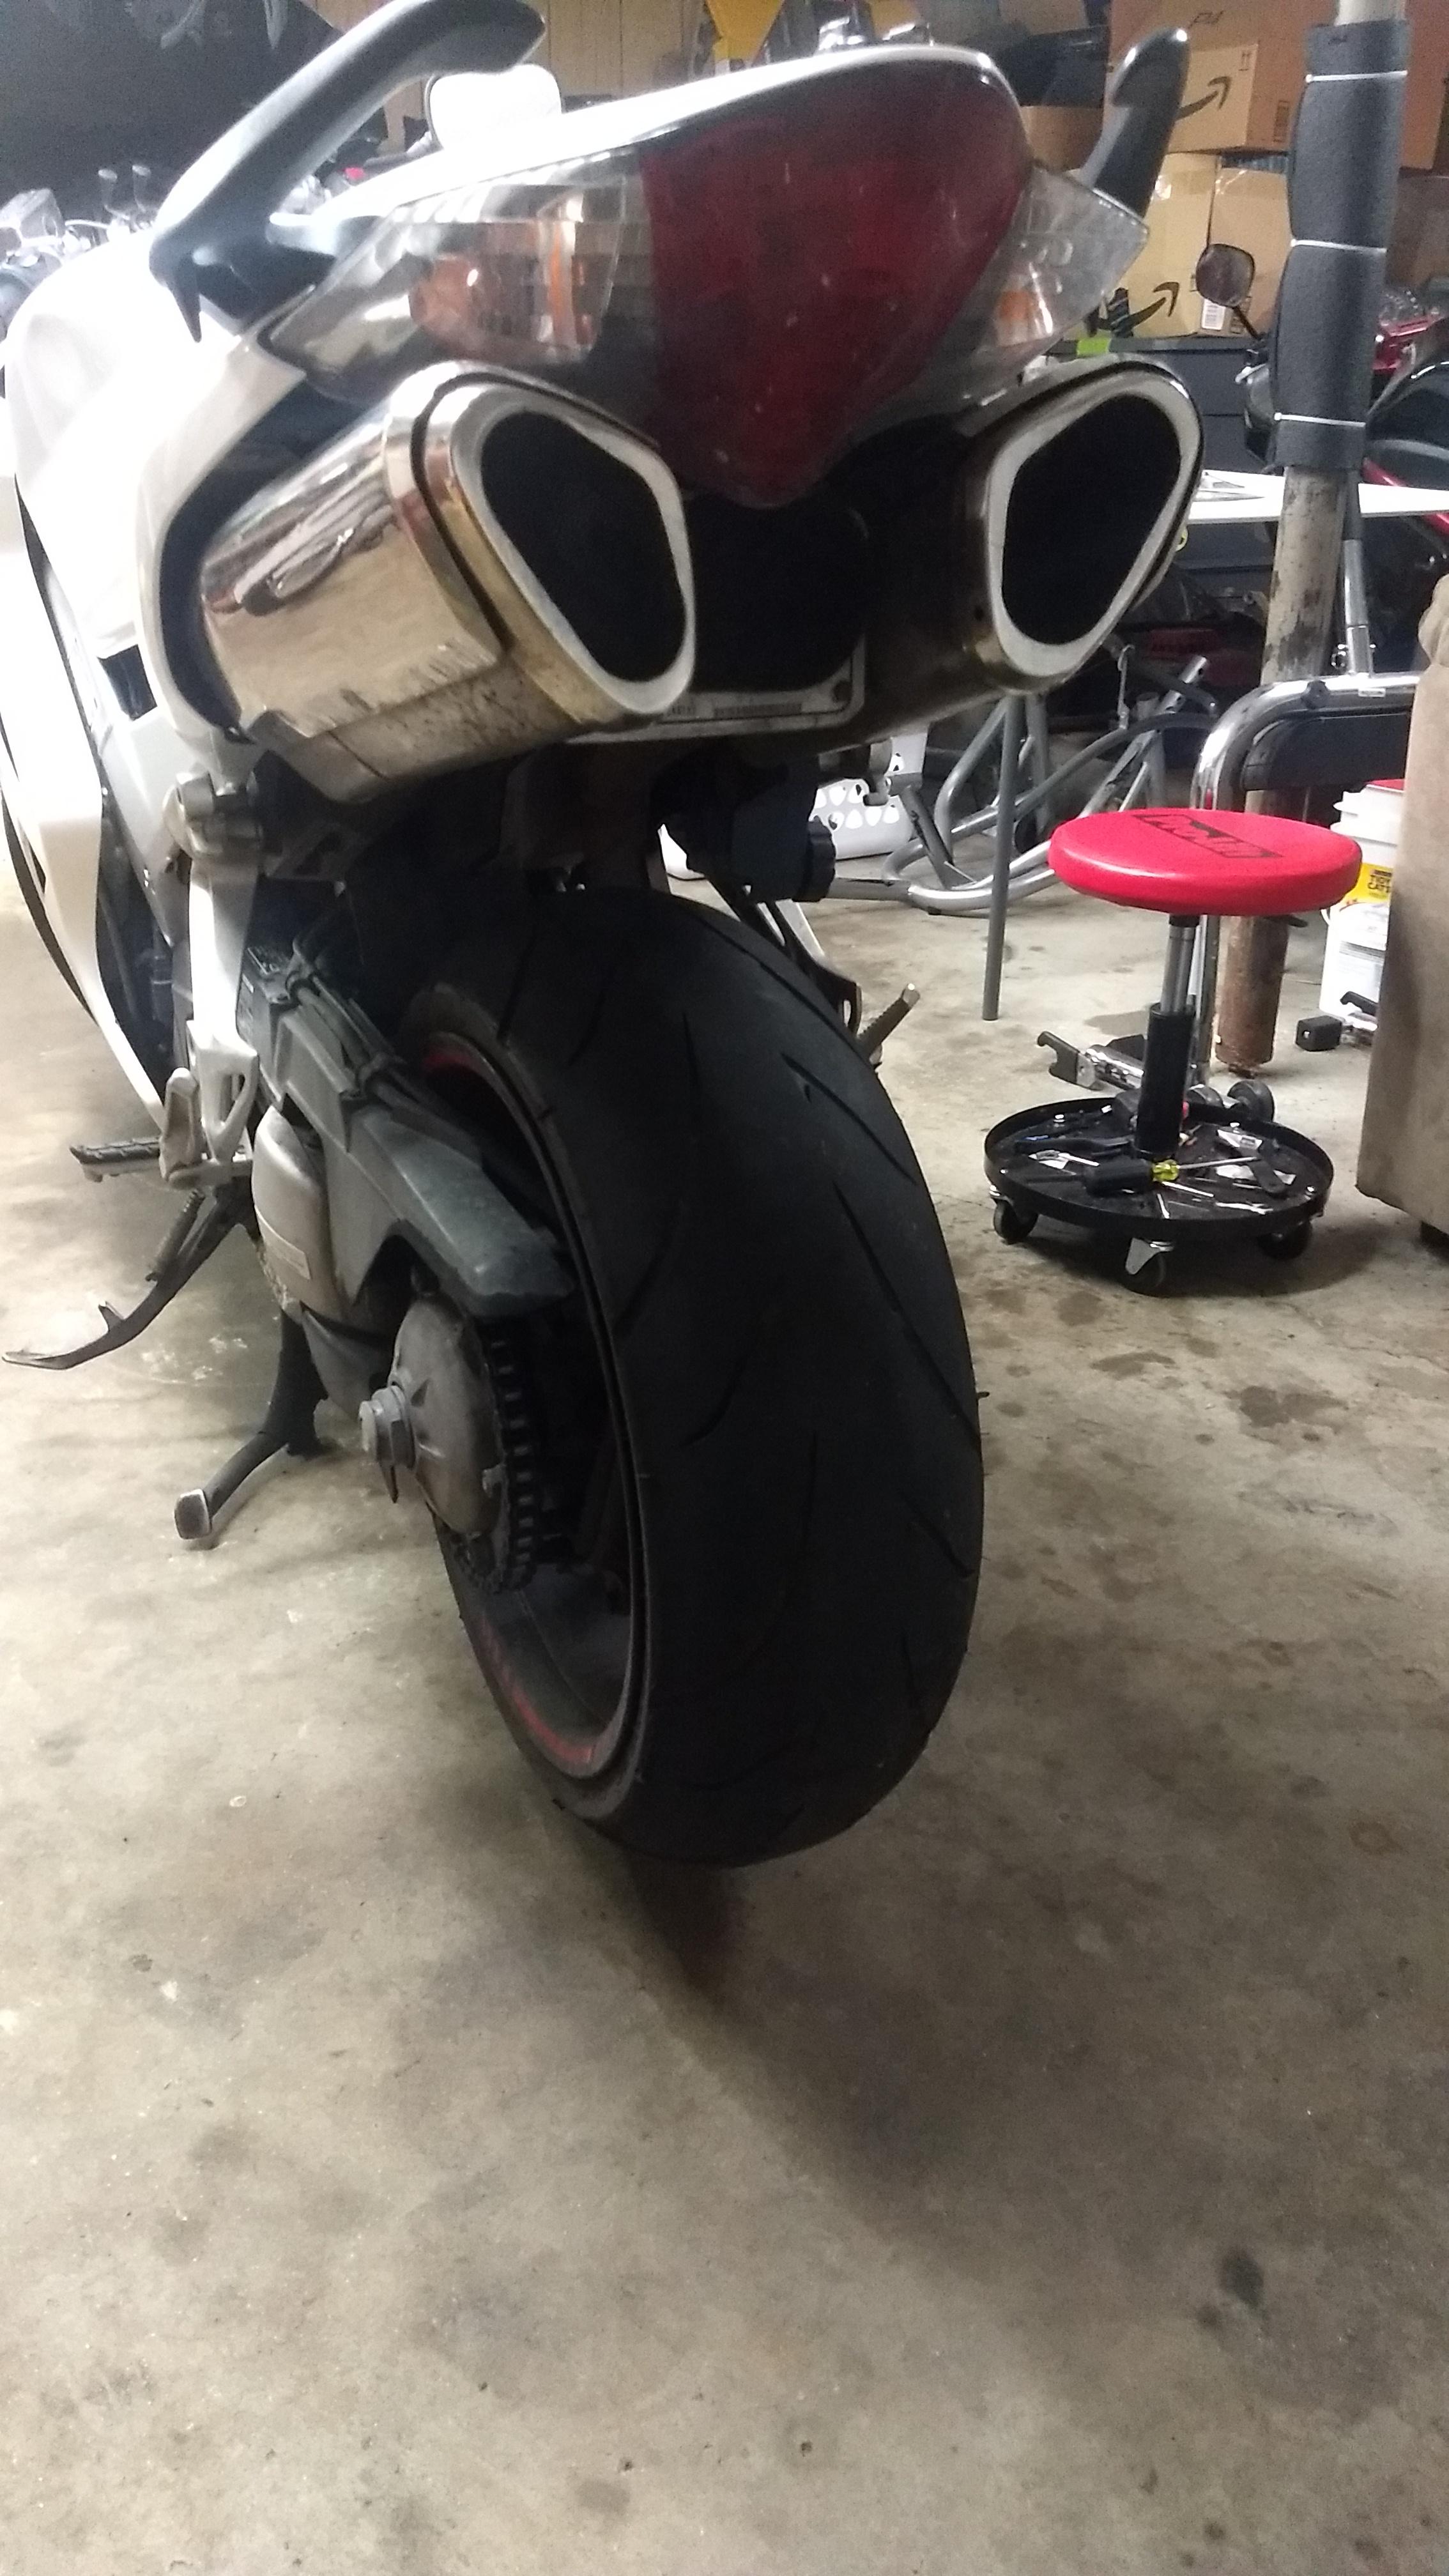
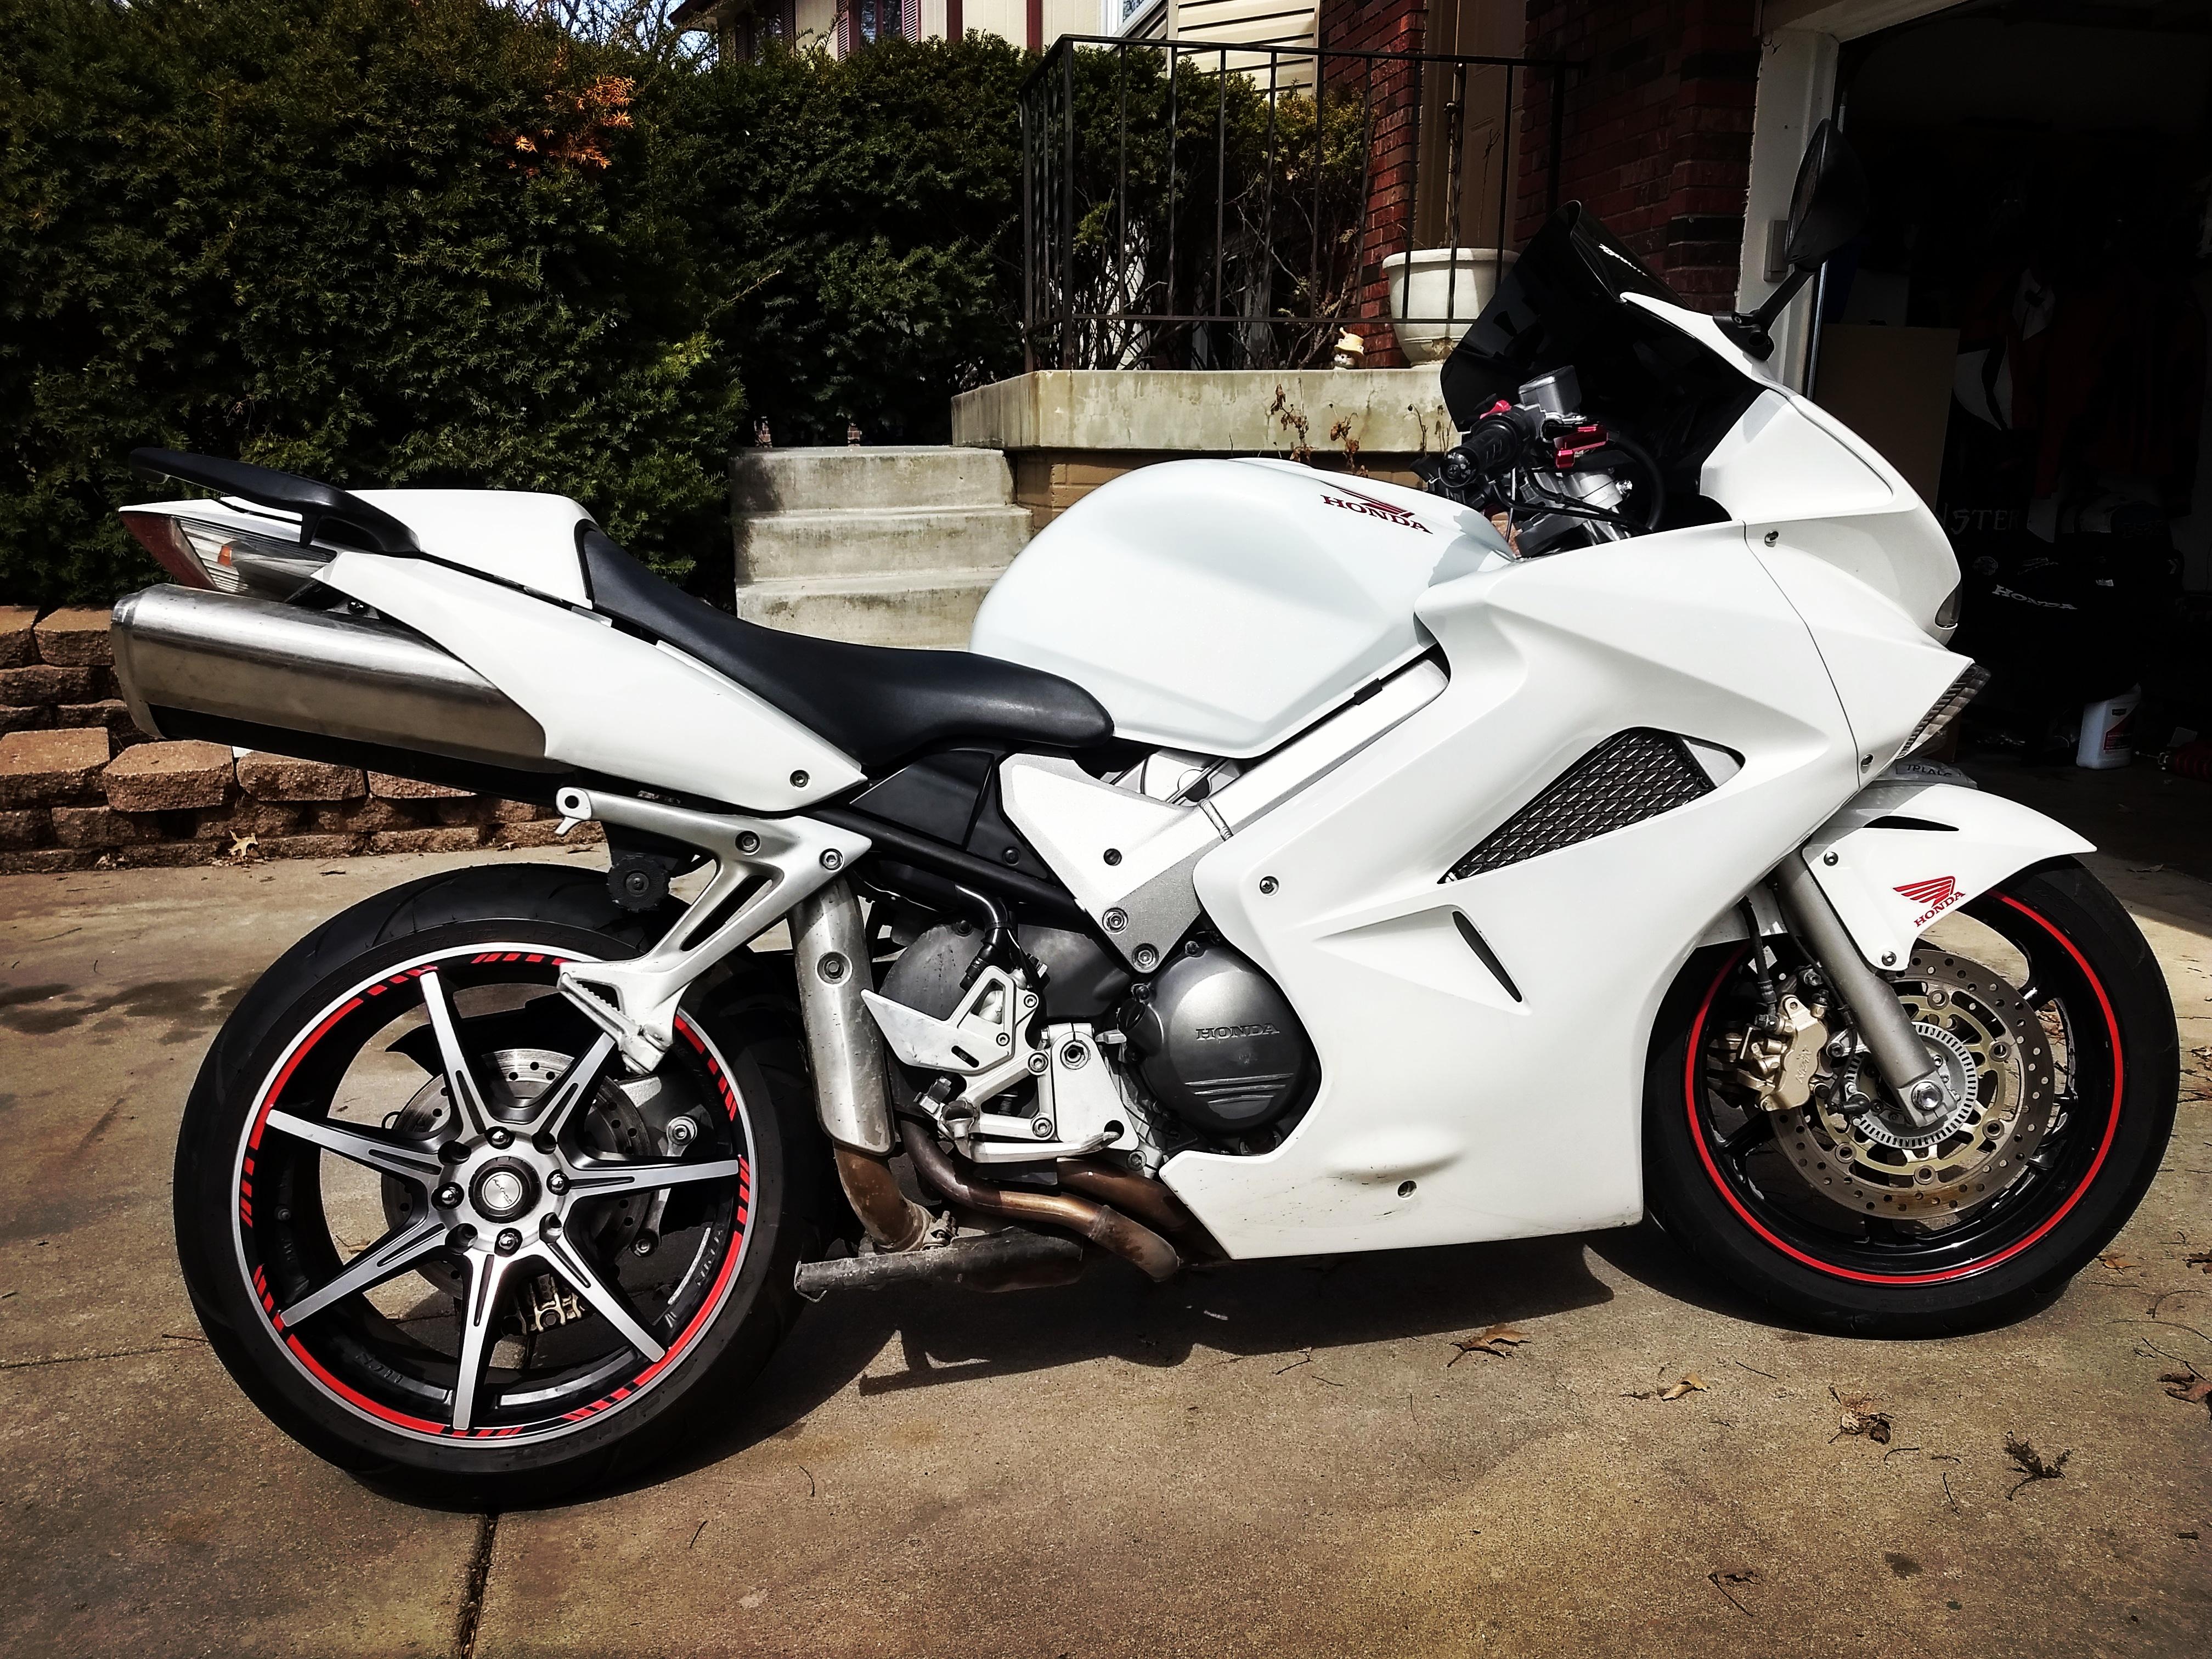
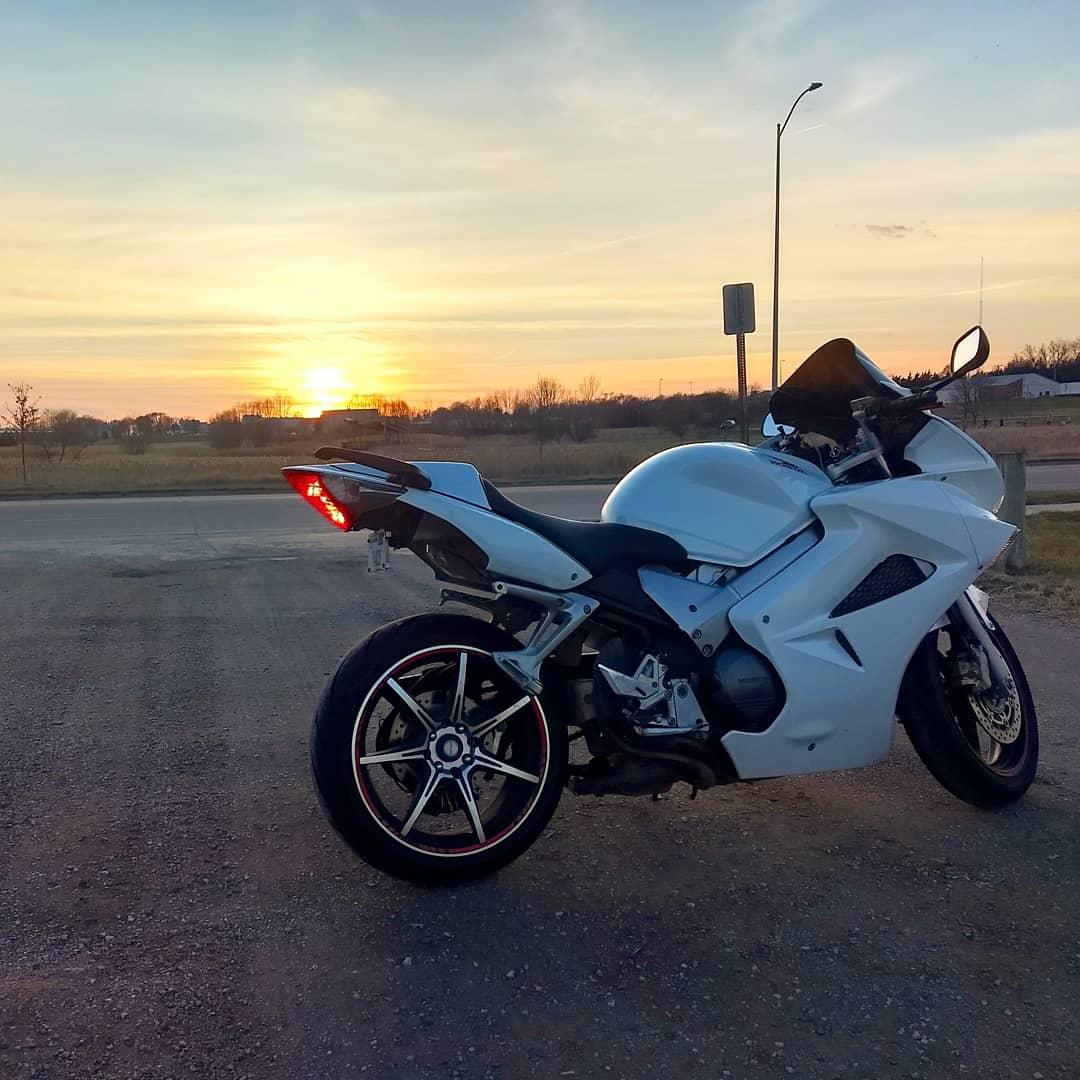
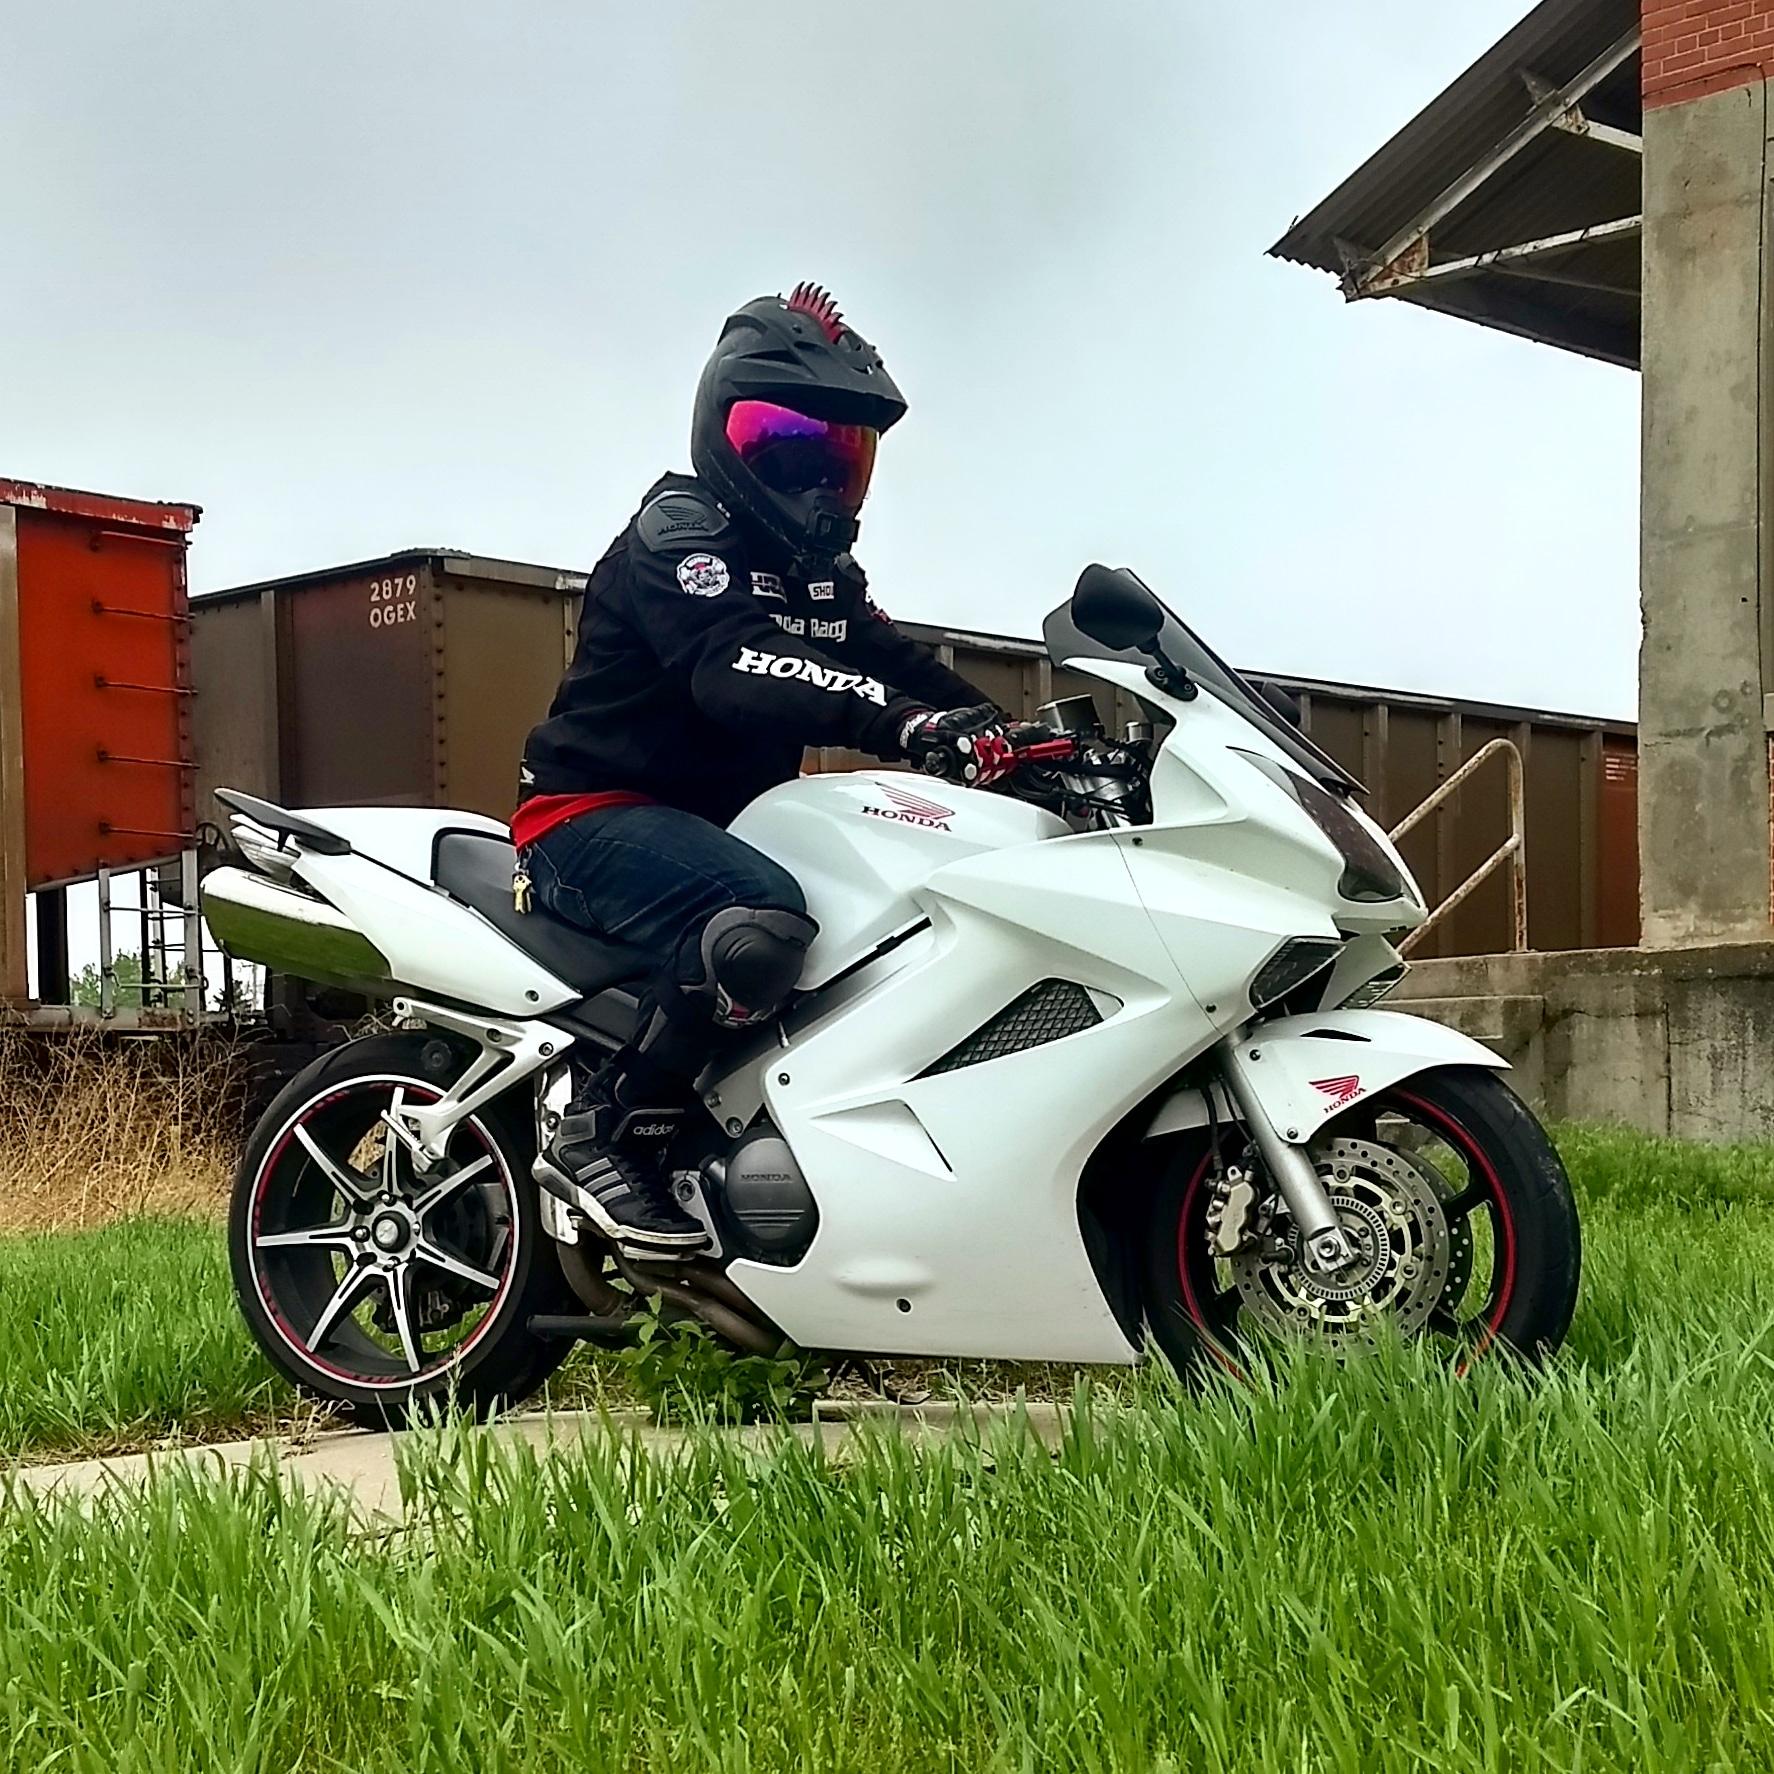
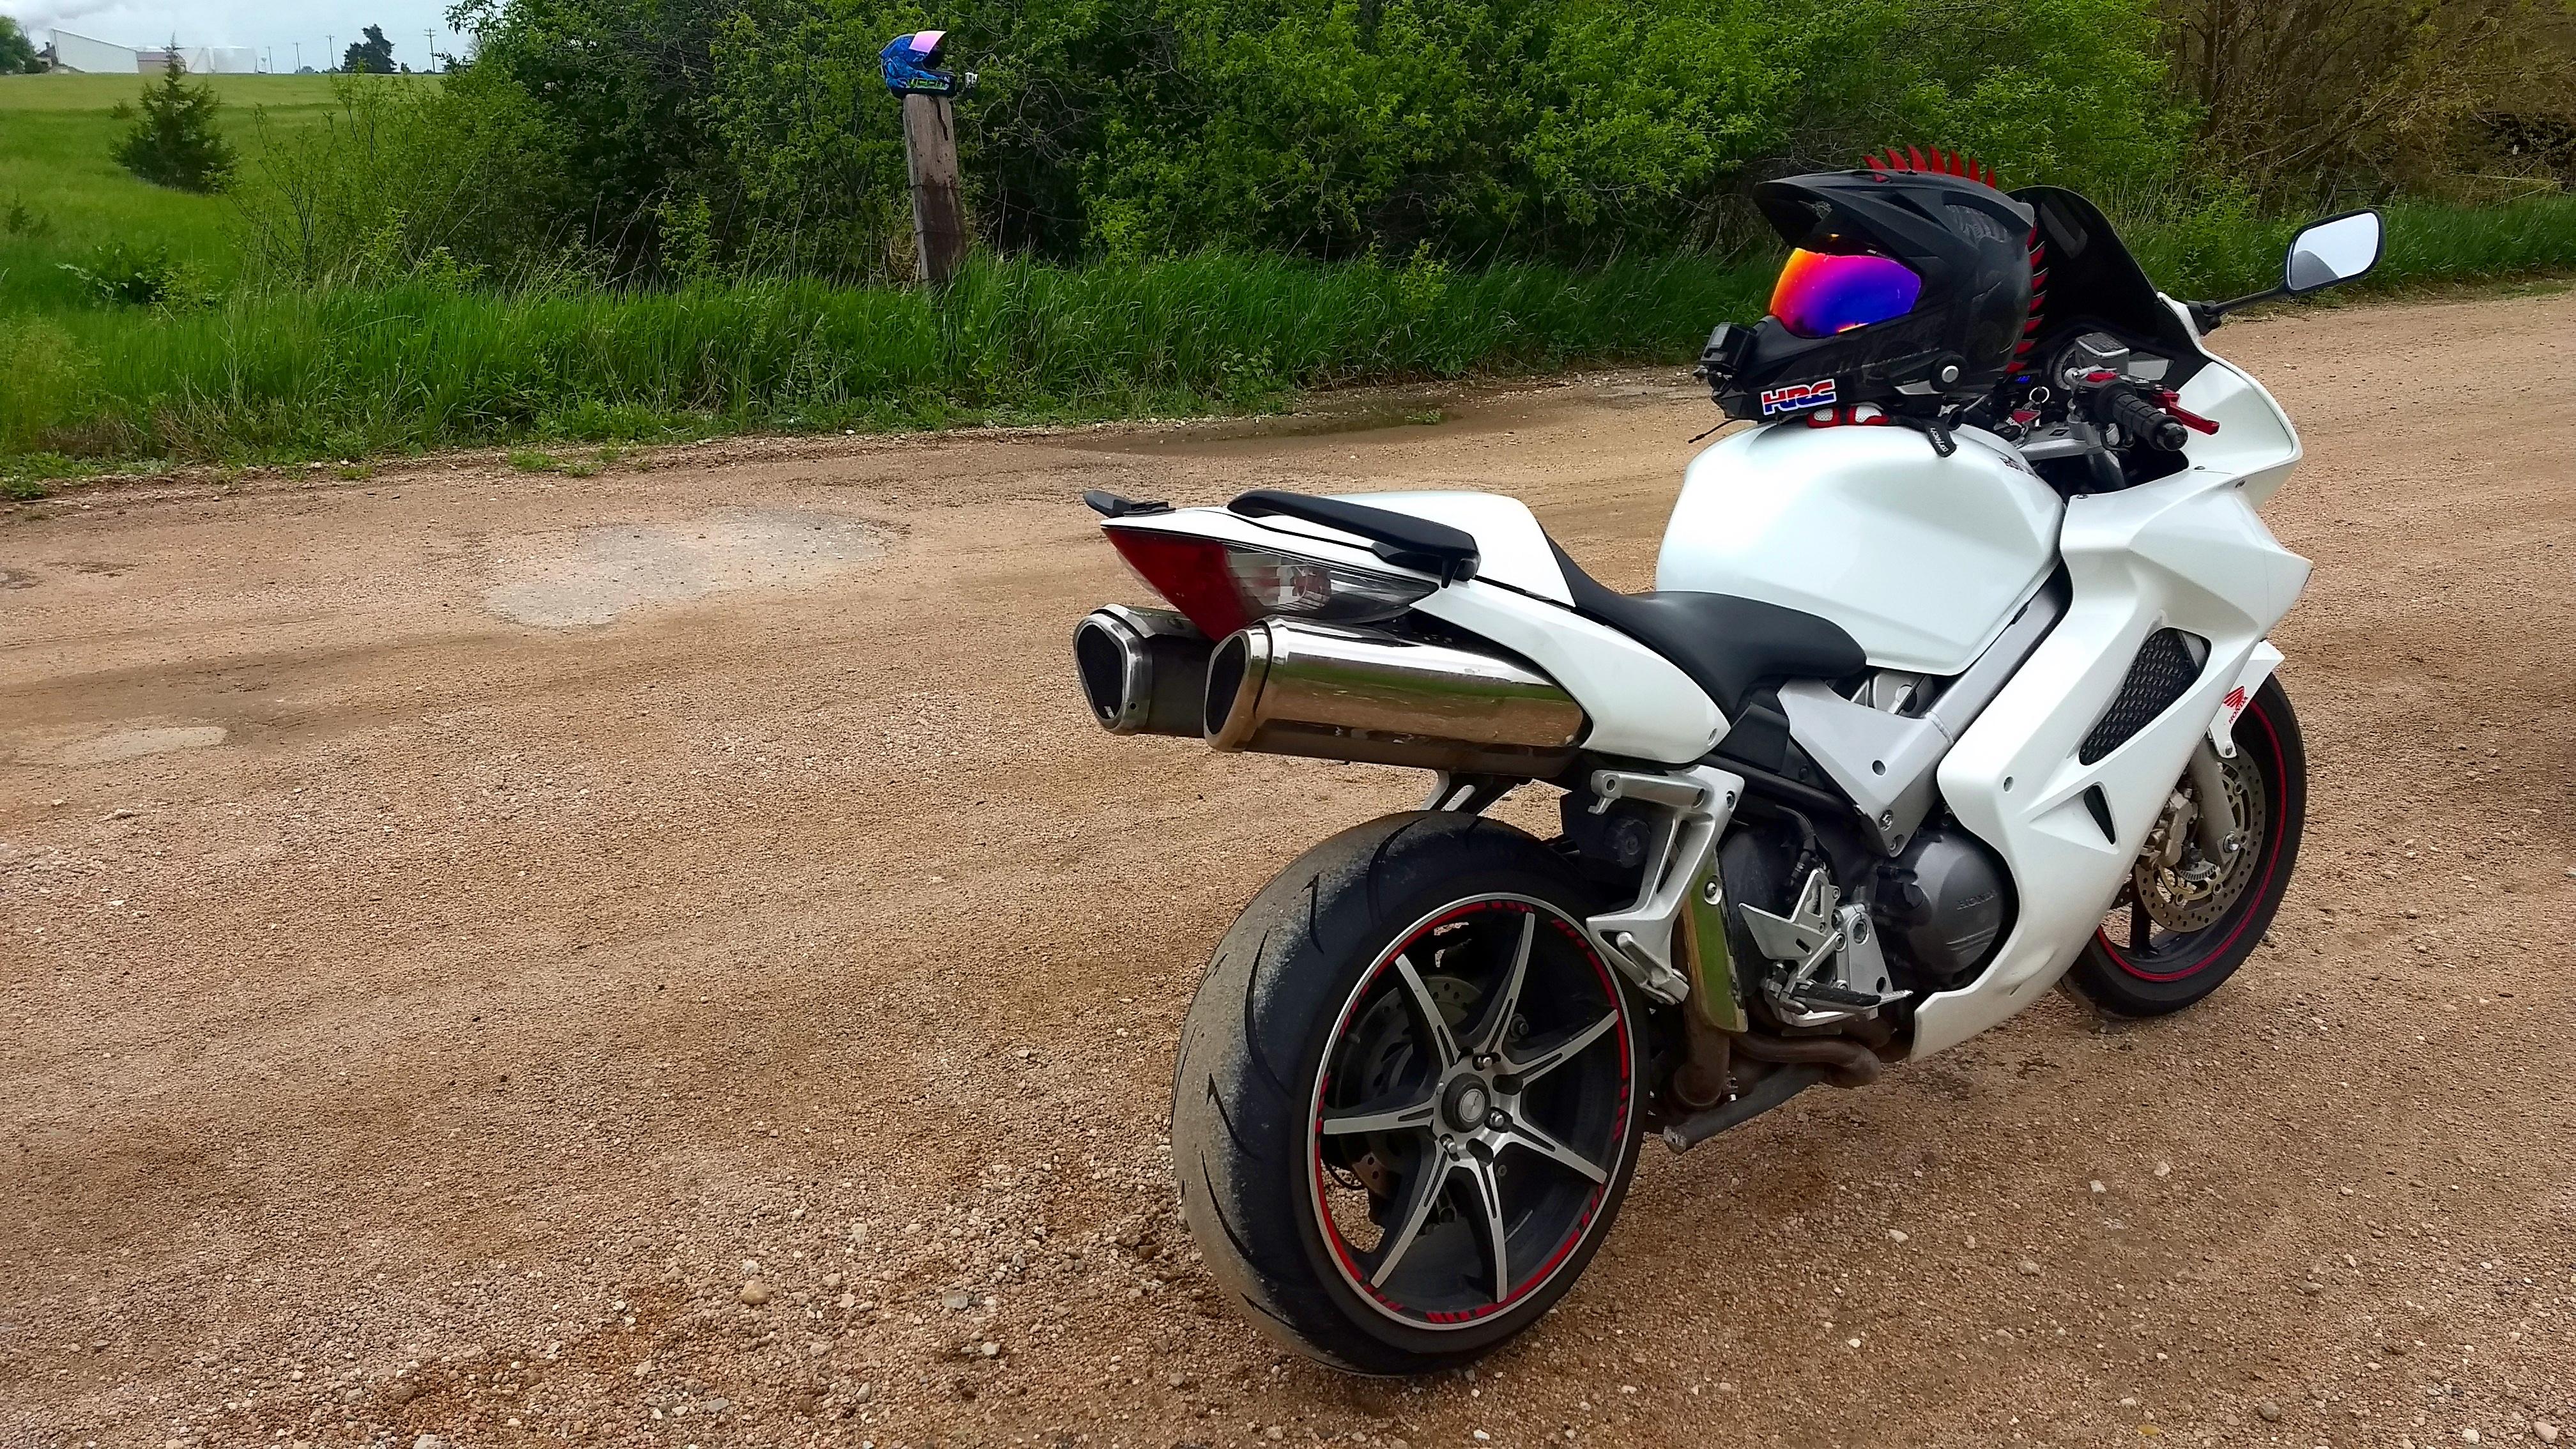
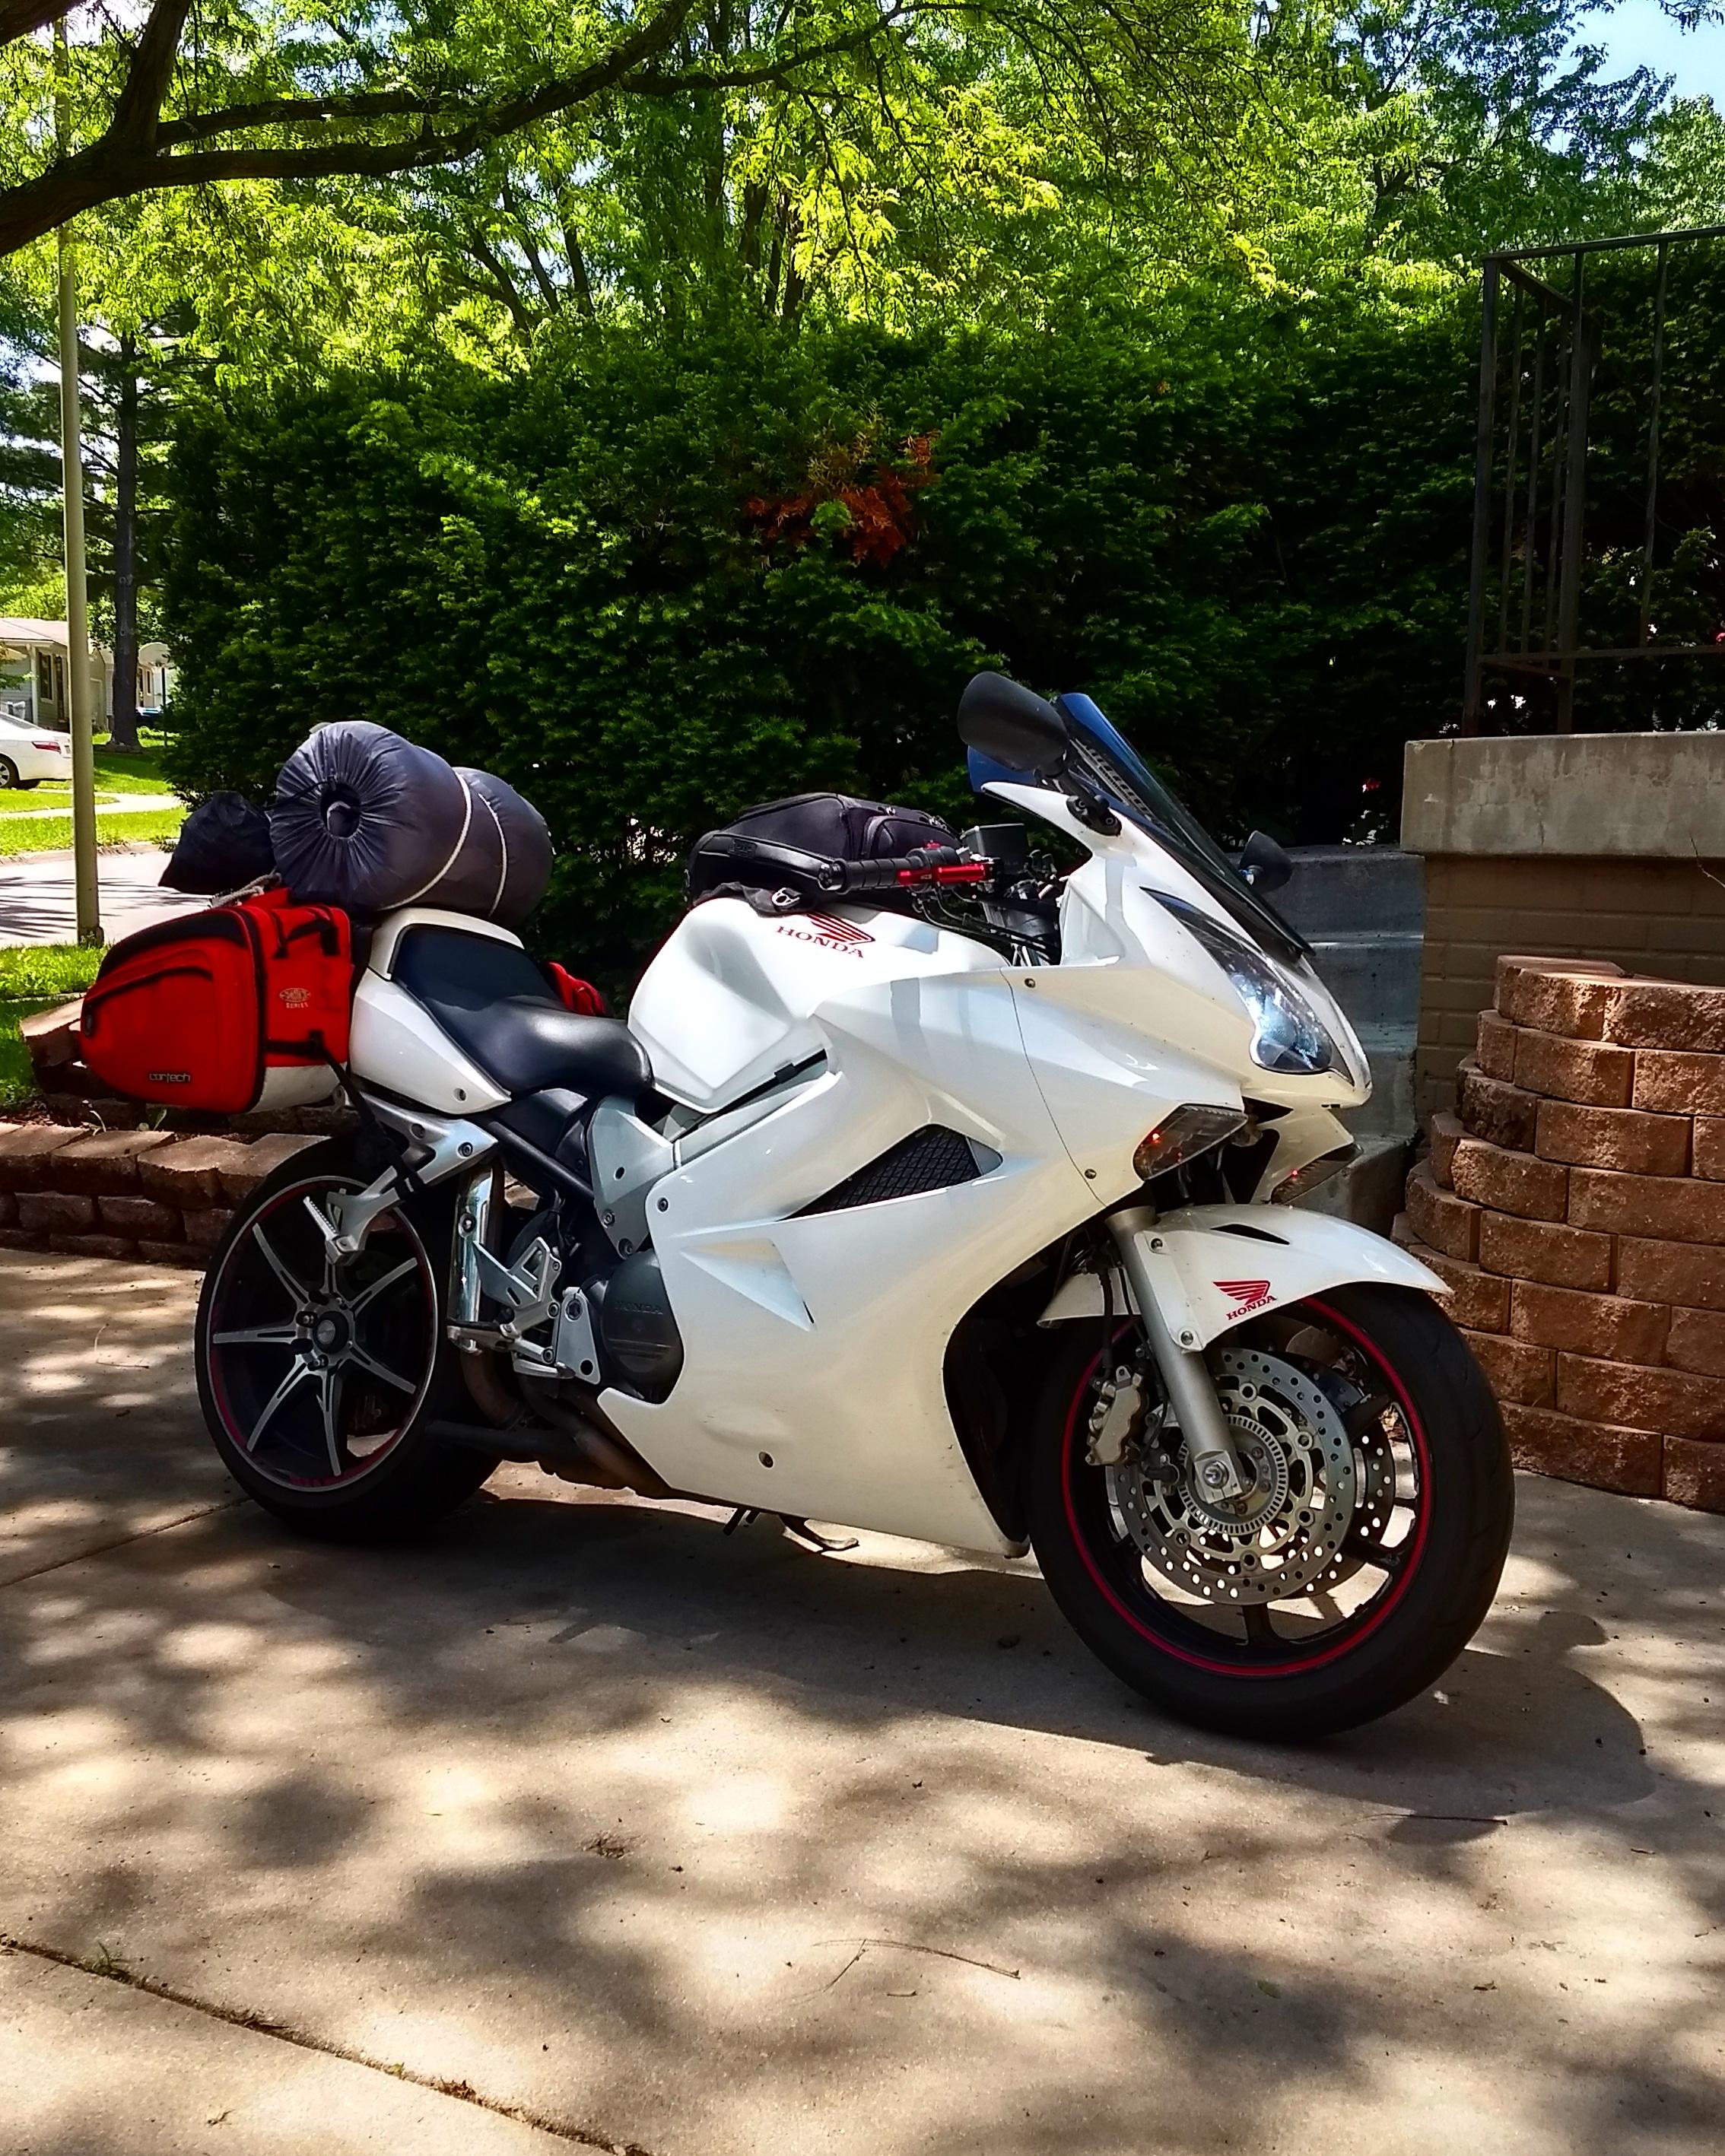
Hello all! So I did this mod a couple years ago and I've absolutely loved it! I originally did it to my first vfr800 which was a silver 2003 non-abs model. I put about 17,000 miles on that bike with about 8,000 - 10,000 of those miles after I did this mod. Unfortunately I was in an accident and the bike got totaled. I skipped between a couple other bikes but eventually bought myself another vfr! My lovely white 2006 abs viffer I currently ride. I swapped the aftermarket rear wheel from my old bike onto the new one right away and I've put 3,000 miles on it since then! If done right this mod works amazingly! I trust my bike any distance on any road, from the city to highway, and even the mountains to the canyons! Rain or shine! When it comes down to performance, I've never noticed any less after the mod was done as compared to stock. With the new rim I went with and the wider tire, the rear wheel for me weighs about 3 pounds or so more than the stock one did, sure That may make an incremental difference to a very experienced track rider but these bikes aren't designed for track only use and they are far from the fastest bikes out there, so to me, the extra weight is well worth the look! And again all that being said I've never noticed any kind of performance loss, I've burned trough my chicken strips with easy and the bike seems to have all of the get up and go that it did before. So I definitely recommend this mod! Before doing this mod I referred to many of the other forums where people have discussed this. And I took a little bit from each of them to get it done. I still recommend reading through all of those as well as this one to get as much of an understanding of it as possible. The biggest problem for most people was finding a good rim that worked well with a motorcycle tire. I don't remember exactly what brands, but there are some brands that you definitely want to avoid and others that are very safe to use. I found that out from reading those other forums and hearing how some people struggled while others did not. This issue comes from the fact that you are using a car rim with a motorcycle tire and they aren't exactly designed for one another. That being said each rim manufacturer varies somewhat from one another so some rim work great while other not at all to mount the tire to. The rim brand I went with is NinjaWheels, and the exact rim I bought was the Ninja NJ11. My tire guy had to use a little extra elbow grease to get that tire on there but it went on without any problems and hasn't caused me a single issue since! Now the rim I bought was a 17"x7" rim with a 40mm offset. This offset was too large to fit center when mounted to the hub. So in order to correct the offset, a spacer was necessary. I took a spacer I already had and had it machined to fit my application. I drew up some specs for it in the picture below. Its a 20mm spacer with the 4x100mm holes drilled for the studs to go through and the center cut out in a way to maintain strength and cut weight. (This particular spacer also had 4x114.3mm holes drilled in it that are unnecessary). It may be worth noting that this 20mm spacer was required since the rim used was a 40mm offset. If you choose a different rim with a different offset, the spacer and stud length will need to be adjusted accordingly. With the VFR, I wanted a good sport touring tire, and with the rim being a 7 inch wide rim, my options were limited. That being said I found an amazing tire (that I've bought again for the rear and the front) which is surprisingly, the Shinko Verge 011. Now yes, you dont got to tell me twice about the general perception of shinko's, I know that alot of them are just trash, BUT NOT THE 011 VERGE!!! Haha Since I was searching for a 200/50r17 tire, the Verge kept popping up as one of the few sport touring tires offered in this size, and after reading countless reviews almost entirely 5 star rating, I was sold enough to give it a shot. Now I've used dunlop Q3's and Pilot Road 4's before and they are both amazing tires, but the Verge is honestly just as good! It's a dual compound tire so it's center offers incredible longevity while the sides are very soft and sticky allowing for excellent cornering in the twisties! Plus it does absolutely amazing in the rain! And on top of all that, you just cannot beat its price point of ~$140! Lastly, since you are using a spacer for the rear rim you will need longer wheel studs to account for that. I went with ARP Extended Wheel Studs. Now I used 12.5*1.5 wheel studs that were 2.5 inches long but I ended up having the cut just a little bit off of the tips so that my lug nuts could secure all the way tight. If you can find 2 inch long wheel studs those would probably work, but for the peace of mind that you have as much threads in there making contact with the lug nuts, you can do what I did and just remove any extra as necessary with a hack saw. Also, With this specific rim, there was not enough space for normal lug nuts to fit so i bought a 4 pack of splined lug nuts with the special splined socket that came with it. These are slimmer in profile and fit into the lugnut holes into the rim perfectly. This may or may not be a problem for you depending if you bought the same brand rim as me. One thing worth noting here is that the rear wheel studs are pressed in and will require you to take the hub (once its removed from the bike) to a shop where they can then use a hydraulic press to press out the old studs and press in the new ones. There are ways to do this at home but with this sort of thing I didn't want to risk messing up anything or damaging my hub, so I had a friend at a shop do it for me. After all of that the final thing you need is to slightly modify you chain guard by cutting off on small part of it so it will not rub on your rear wheel. The wheel will have about 1/4 inch of clearance between it and your swing arm when its all done and tight. The slight modification done to the chain guard can be seen in the picture below. Summary List of Parts Used: Ninja NJ11 Rim, 17"x7" size, 40mm Offset, 4*100mm bolt pattern 200/50r17 rear tire, Shinko Verge 011 Custom made, 20mm thick, aluminum wheel spacer (as seen in pictures above) Extend ARP Wheel Studs, 12.5*1.5, 2.5 inches long (with some of the tip of the bolts removed for secure fit) Slight modification to the chain guard (to eliminate any wheel rubbing) The exact process of doing this mod consists of: 1) With the bike on its center stand and in first gear (and possibly with the help of a friend holding the rear brake) brake loose the large hub nut on the left hand side of the swing arm 2) Remove the rear wheel and real break caliper 3) Remove the large hub nut on the left hand side of the bike 4) Loosen the chain bolt and then put all of the slack in the chain 5) Pull the chain off of the rear sprocket and let it hang down onto the ground 6) Pull off the left hand side of the rear hub assembly (the big bowl like piece the sprocket is bolted to) 7) Slide out the rear axle/hub out the right side of the swing arm 😎 Replace the wheel studs as described above 9) Reassemble in reverse order of the steps described above with the new wheel And here's Just a bunch of pics of the bike with the wheel! Please wheel free to ask any questions or comment below!

- 15 replies
-
- 1
-

-
- aftermarket
- custom
- (and 8 more)
-
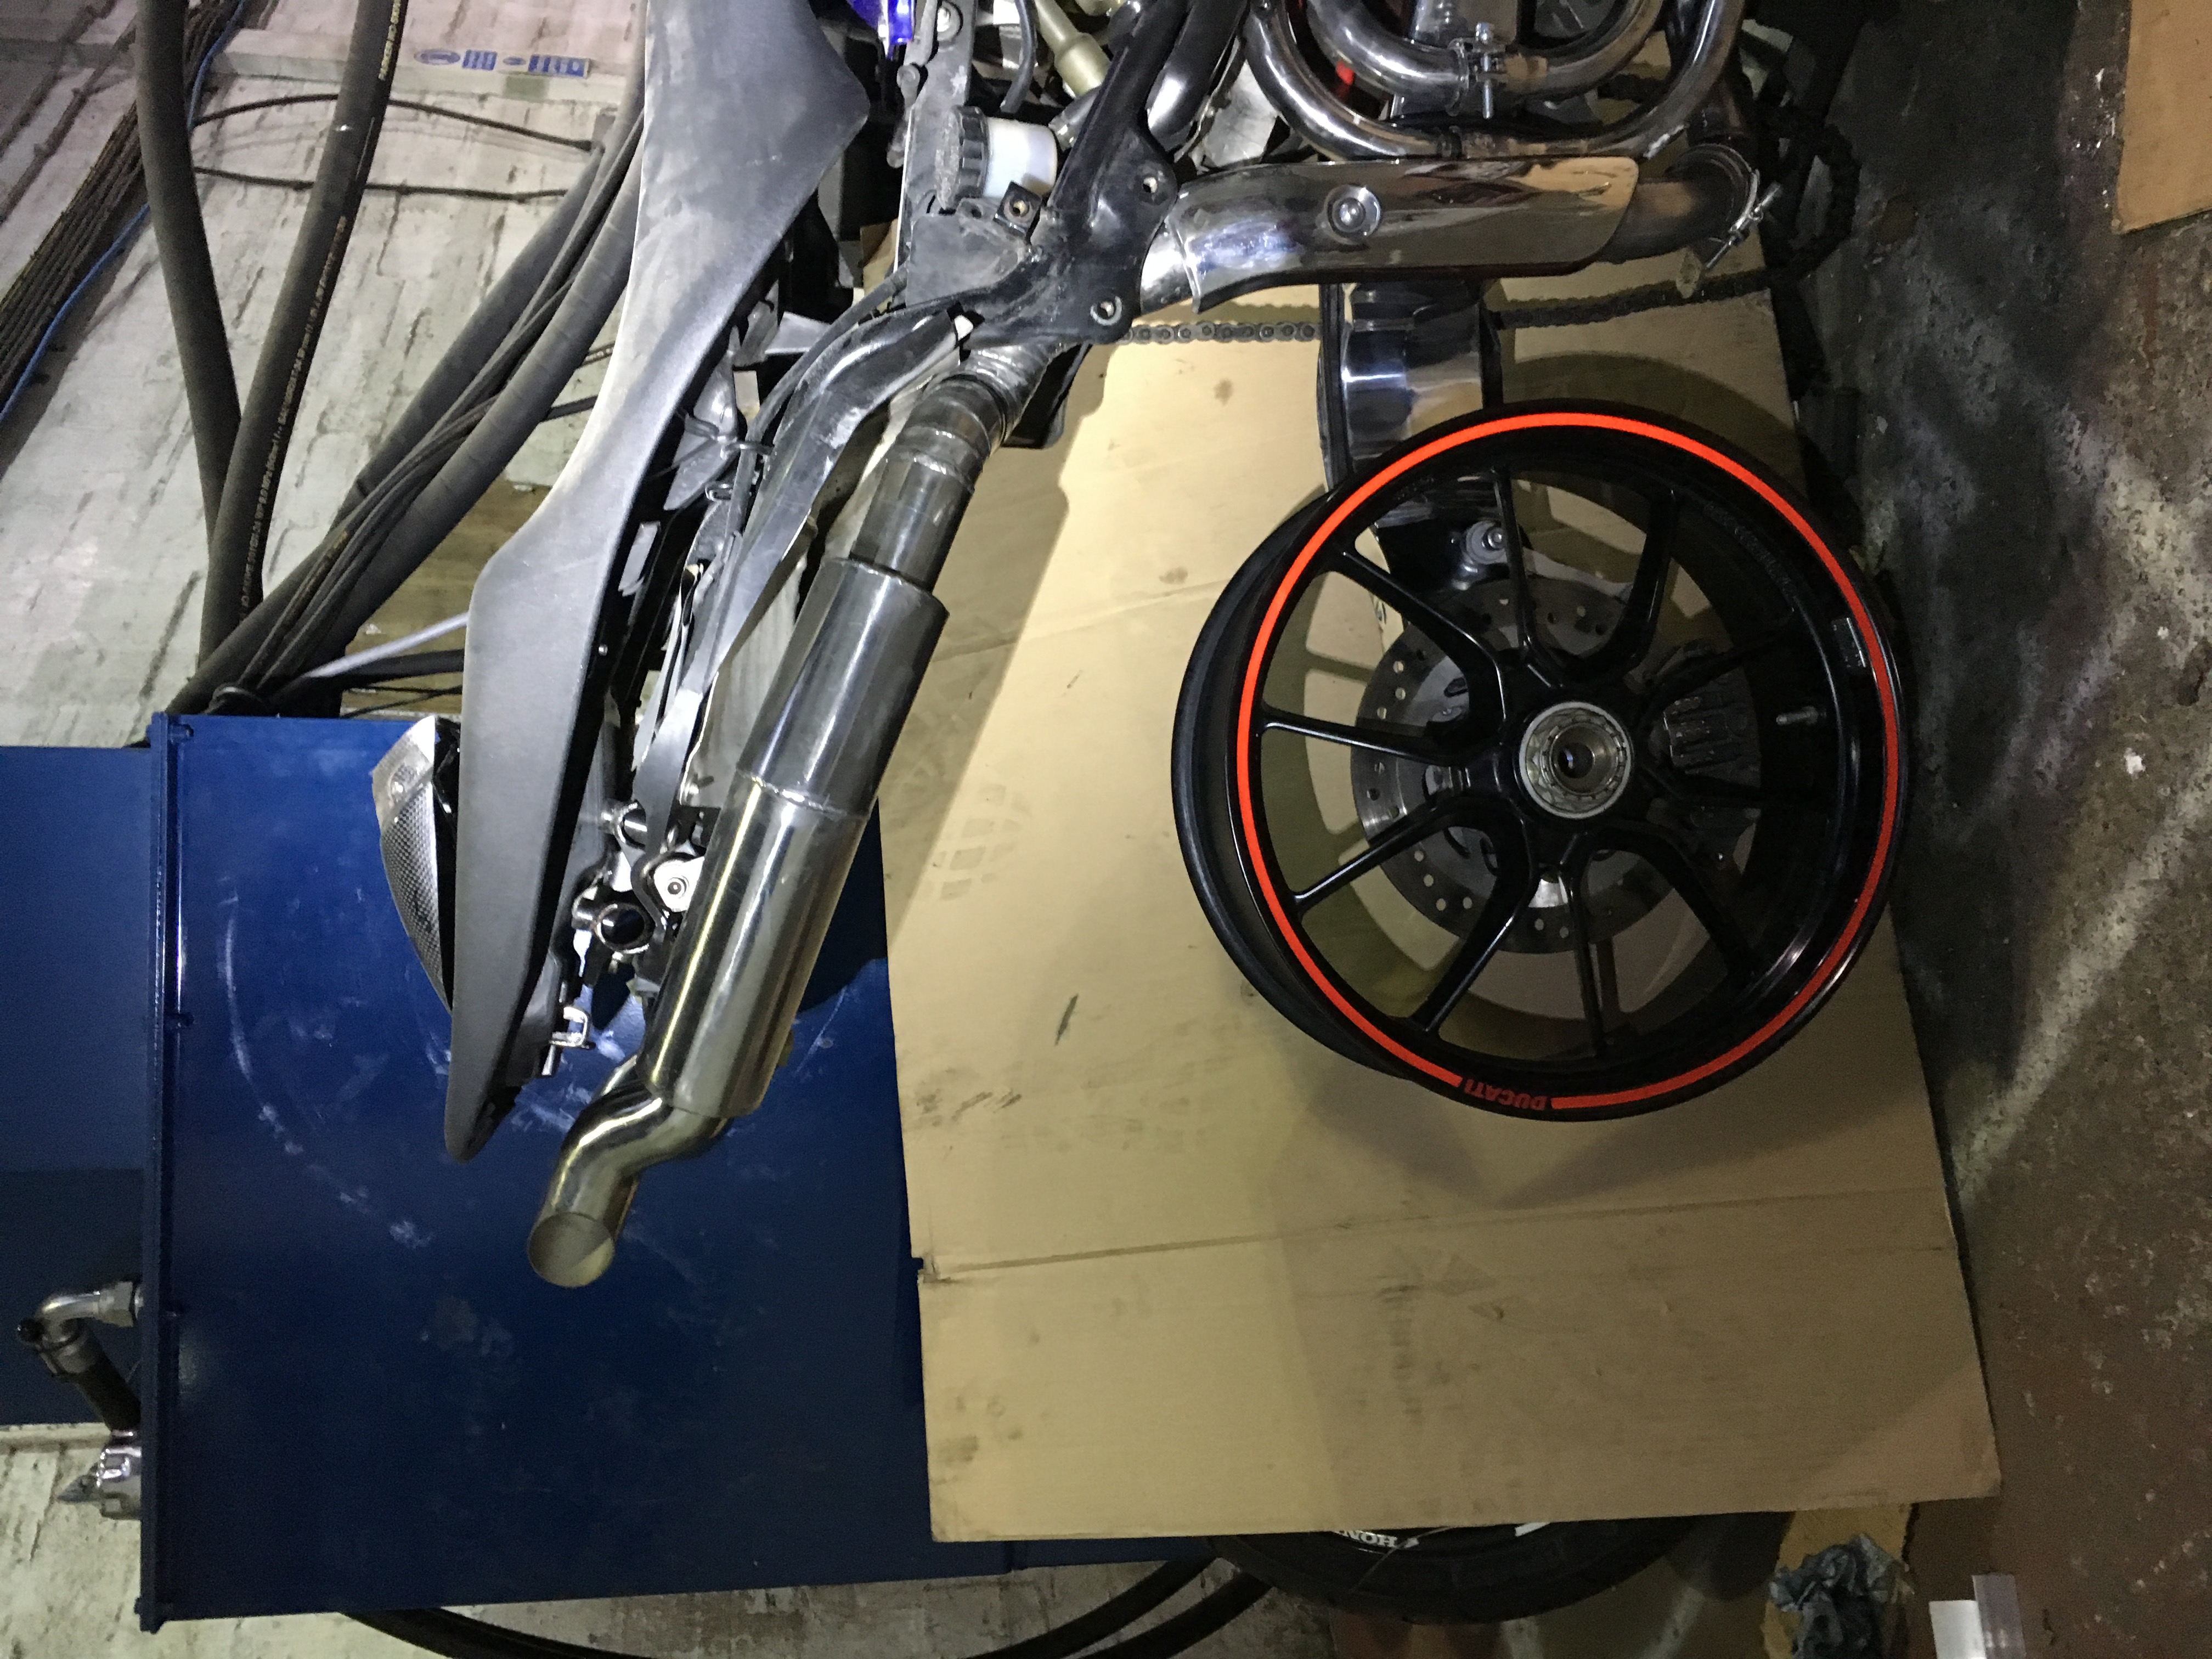
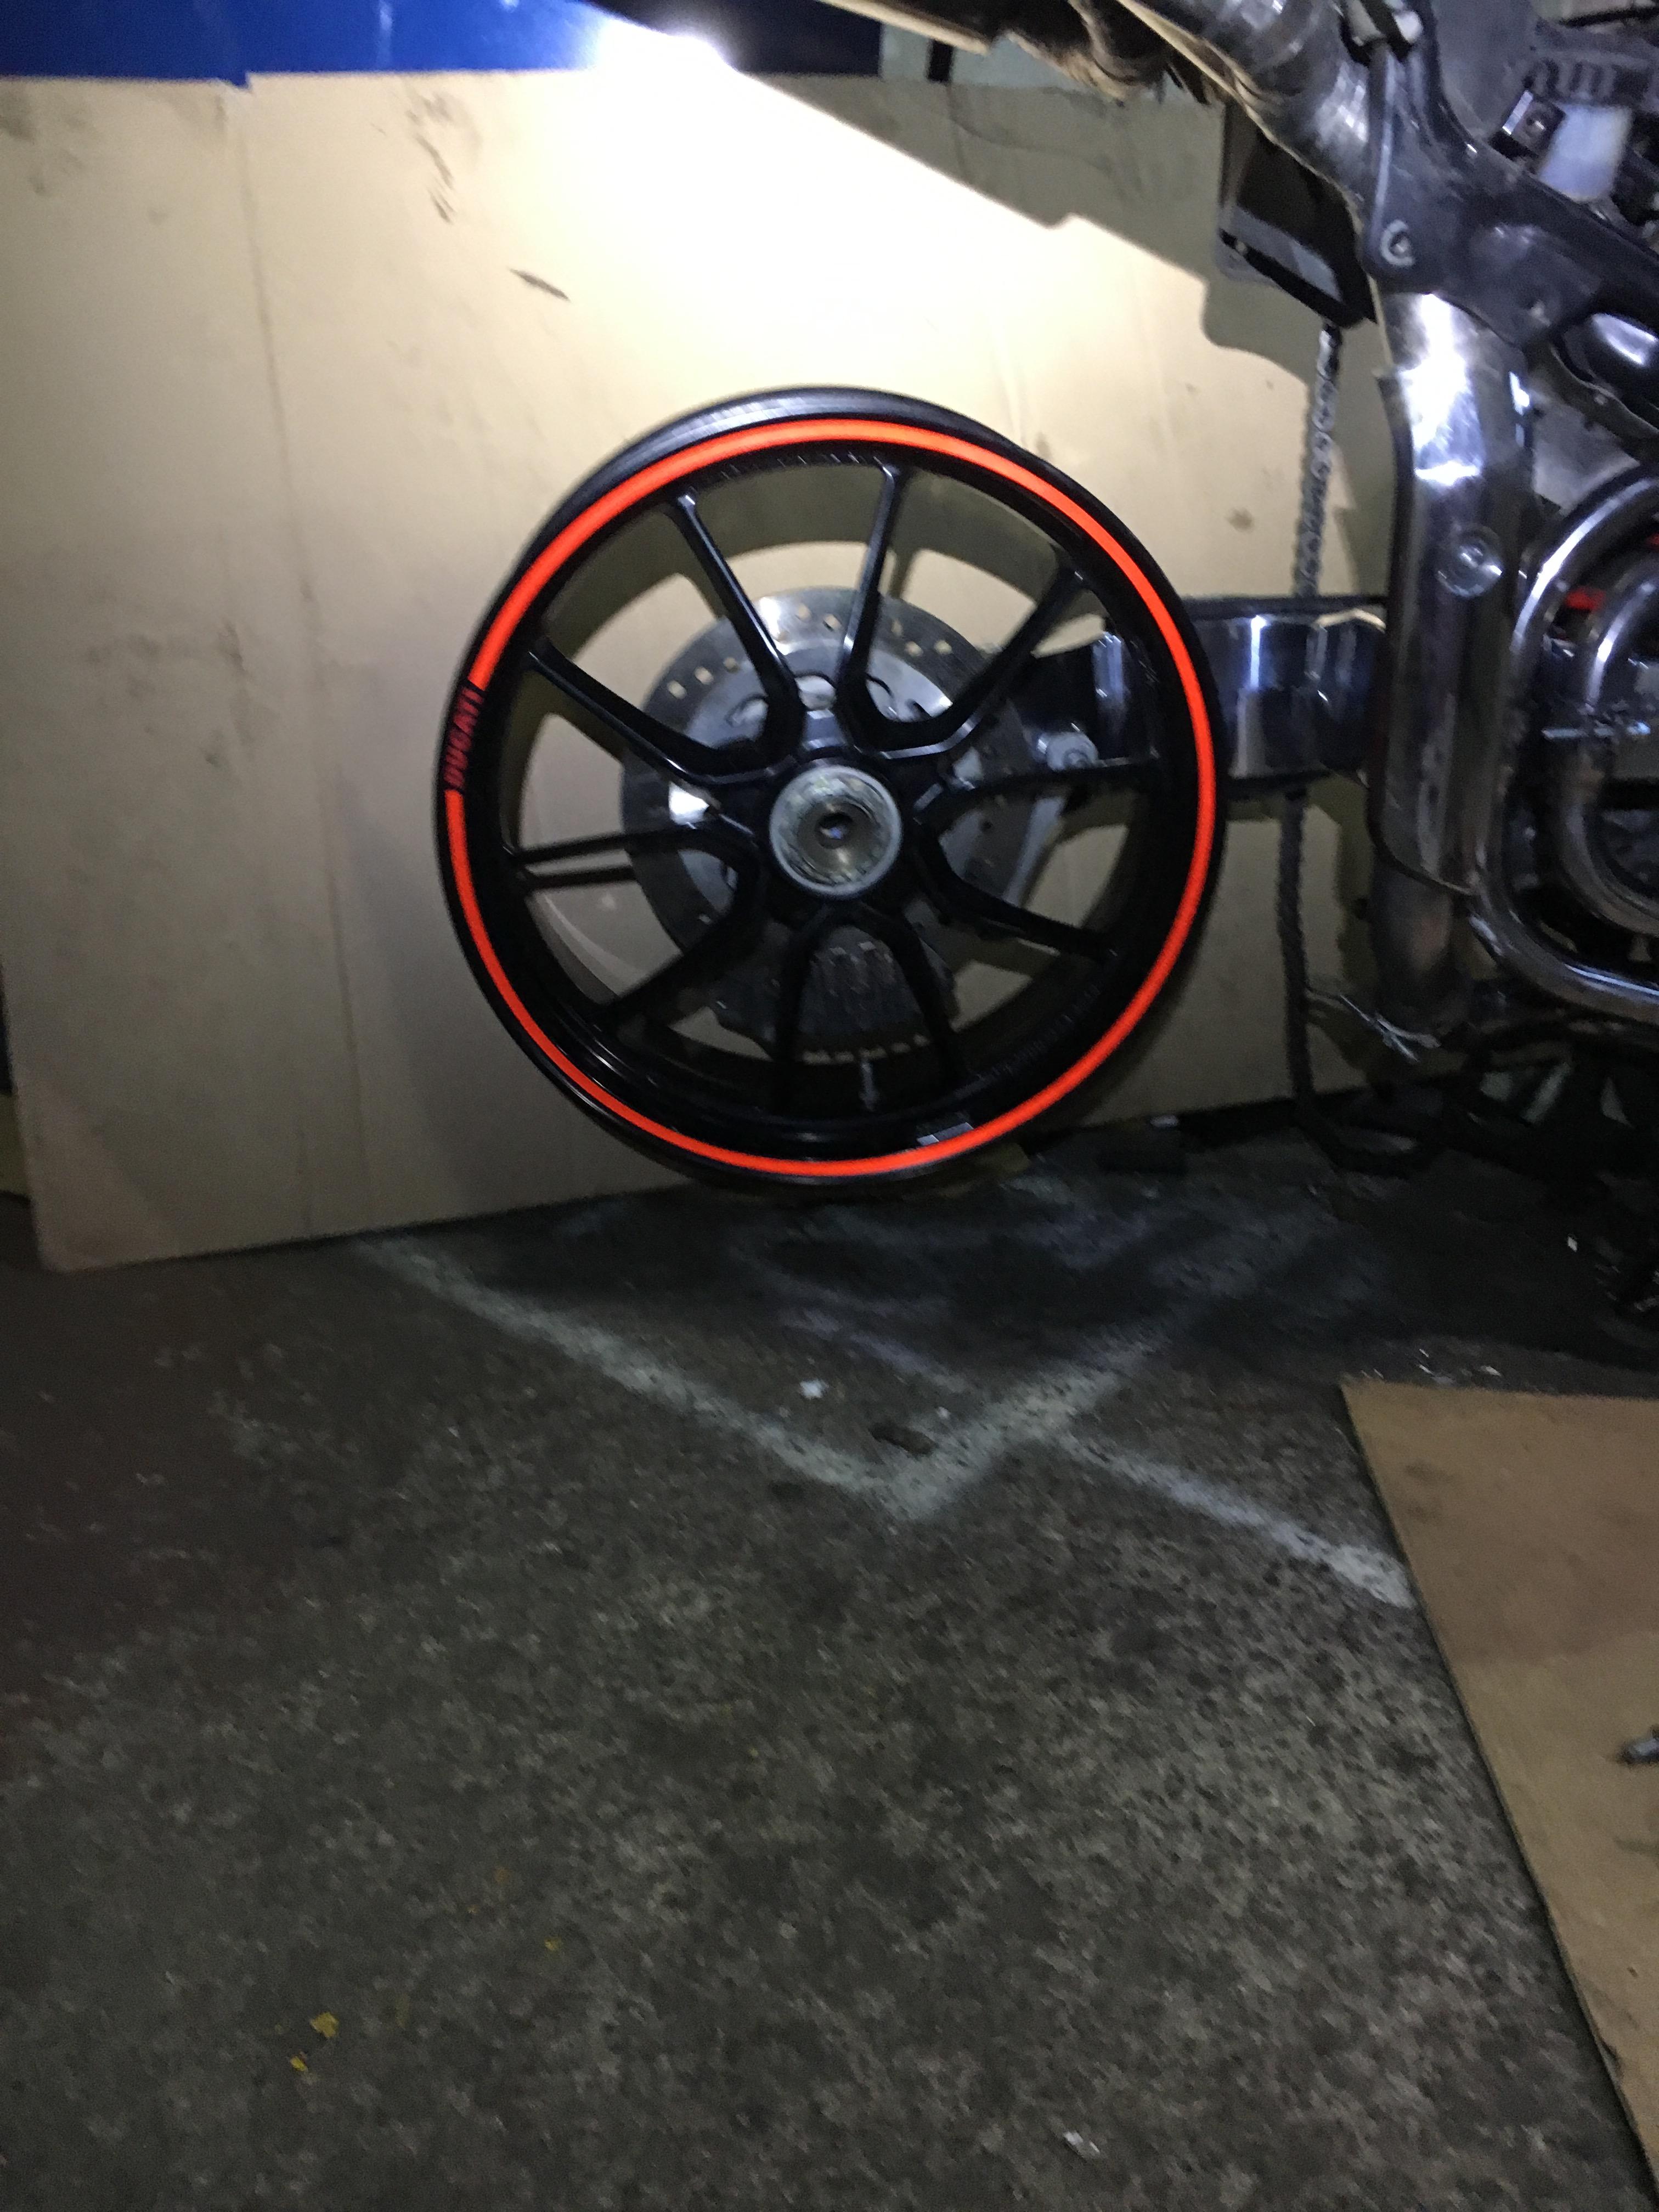
CENTRE NUT REAR WHEEL CONVERSATION I have just finished manufacturing a rear wheel conversion that takes the Ducati 1198 wheel (17x6). The nice part about this conversation is that the only item changed is the rear axle everything else is standard OEM. There are no brake Caliper changes or shimming of hubs this is a straight removal of original rear axle and replacing it with the new one.If anyone is interested in this conversion I can supply this and all you need to do is purchase your own wheel.Pm me for details
-
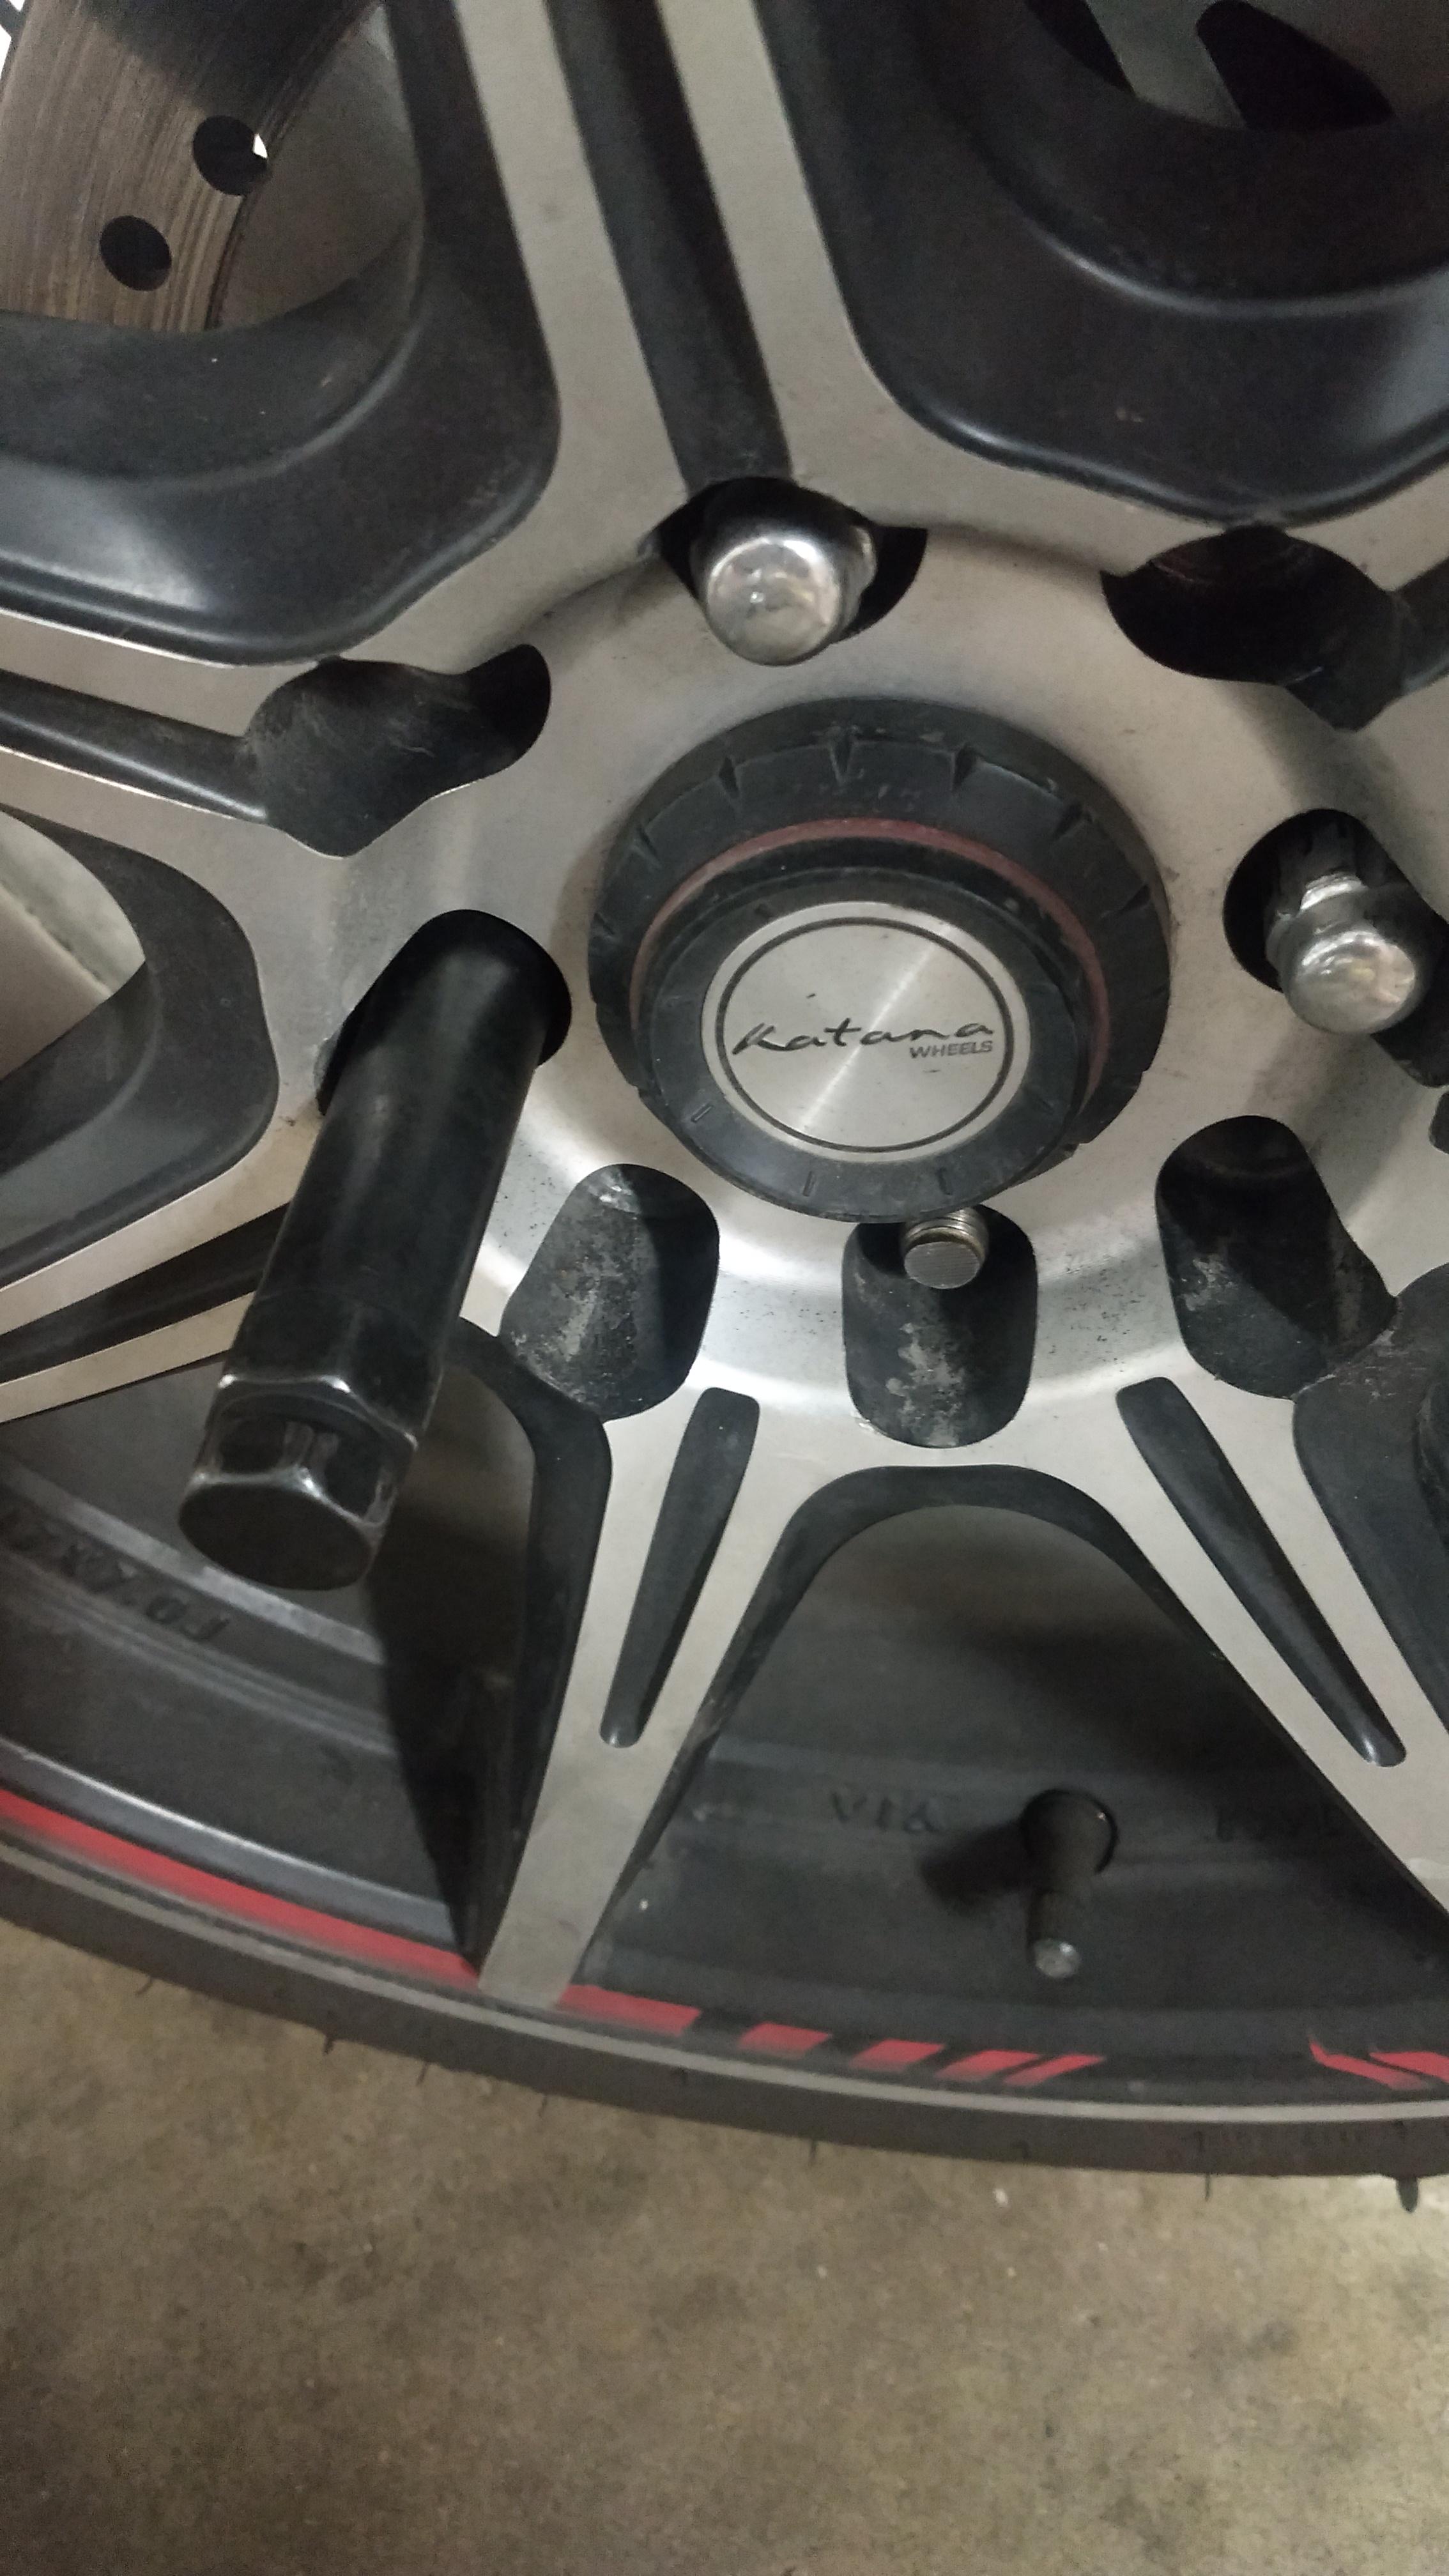
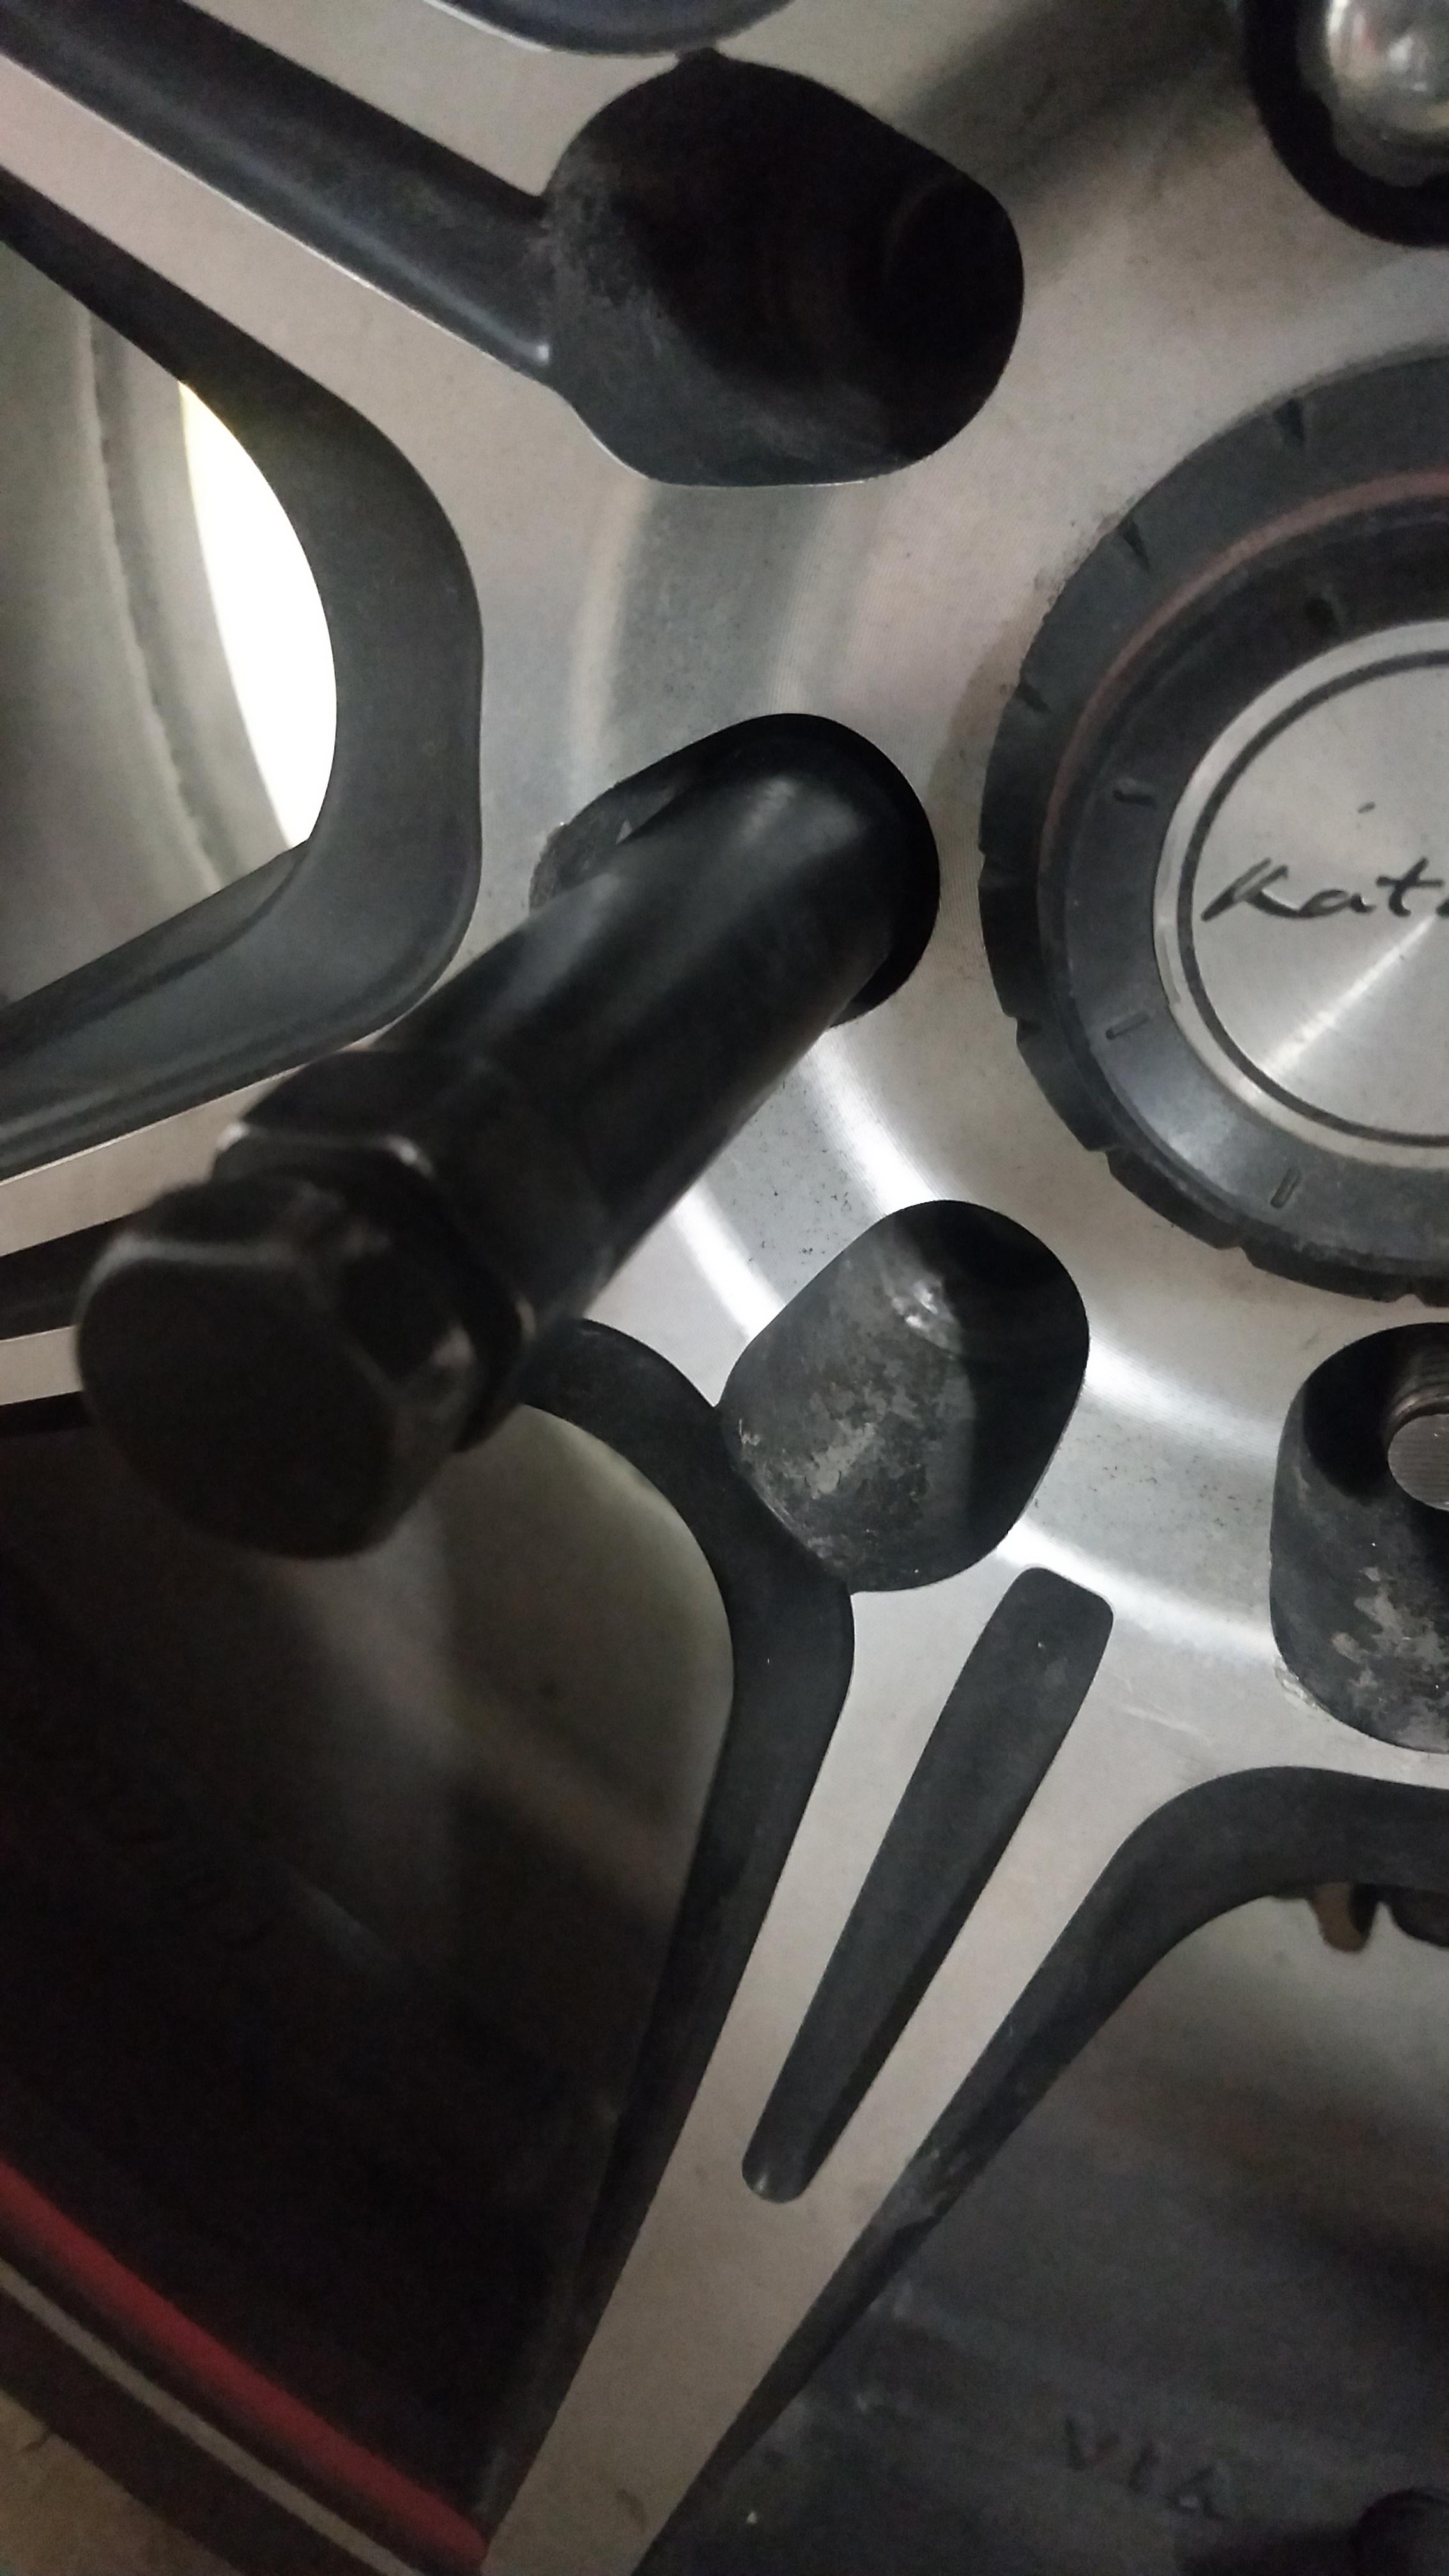
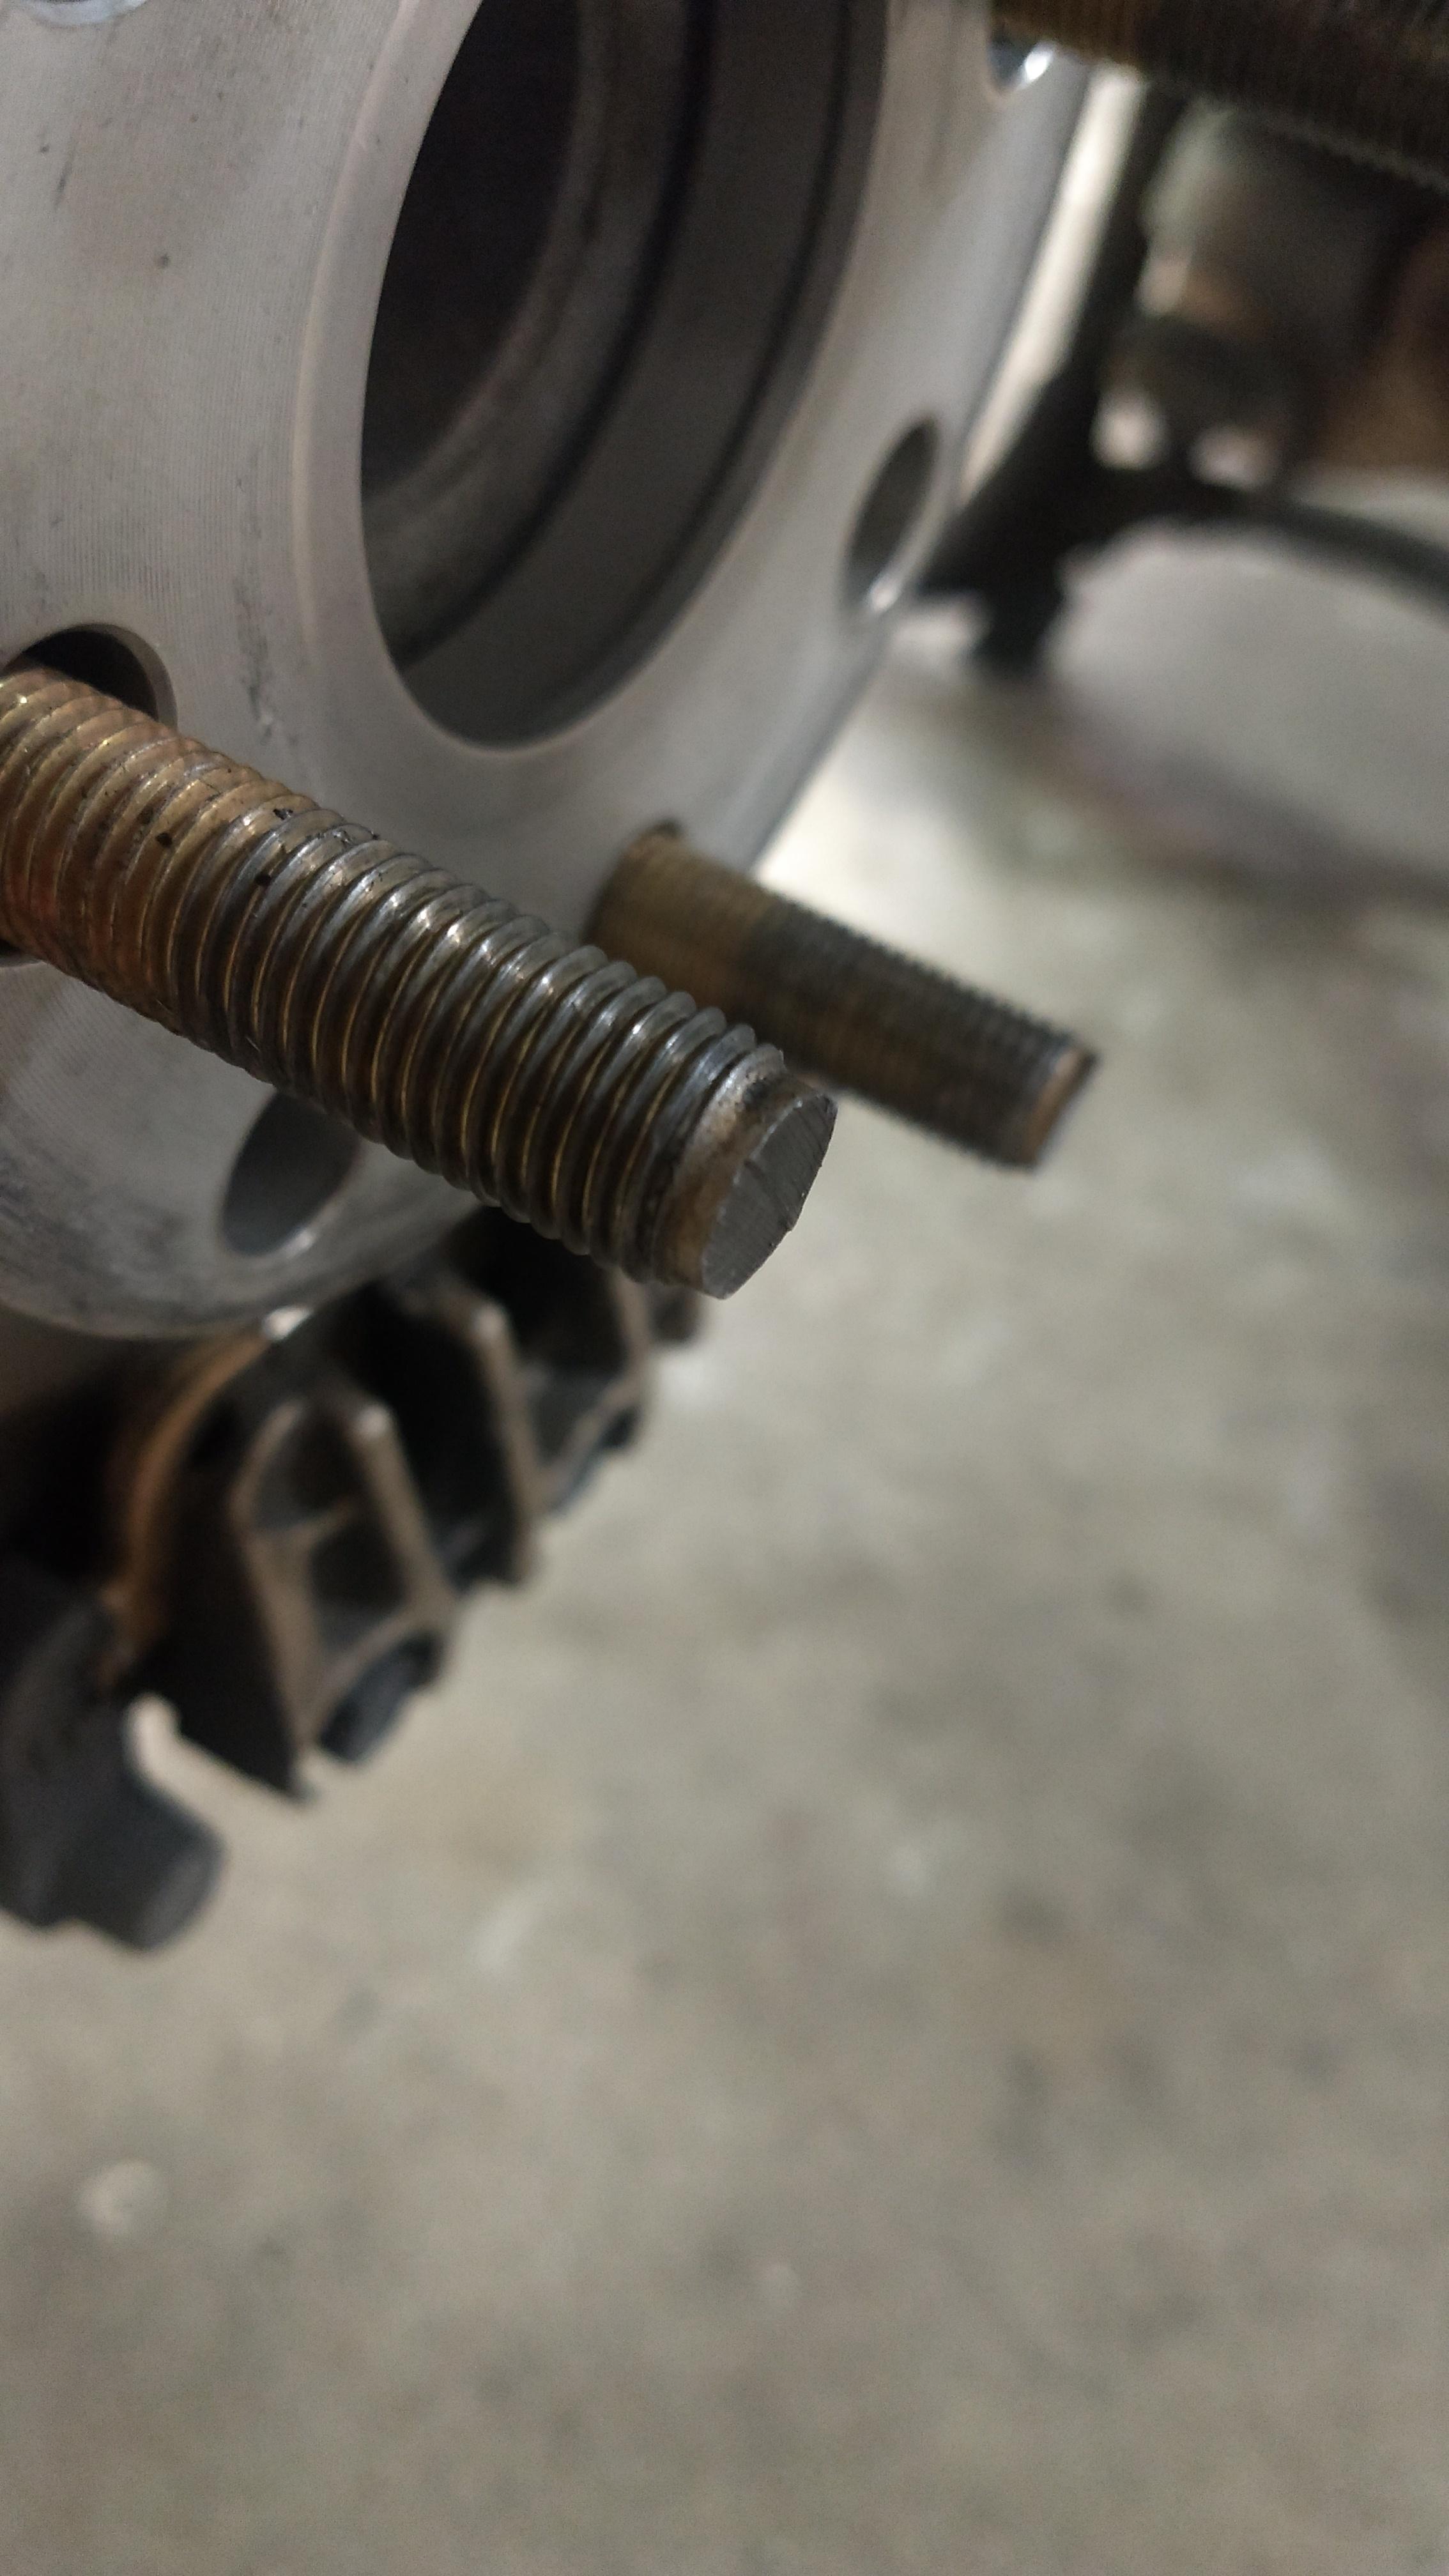
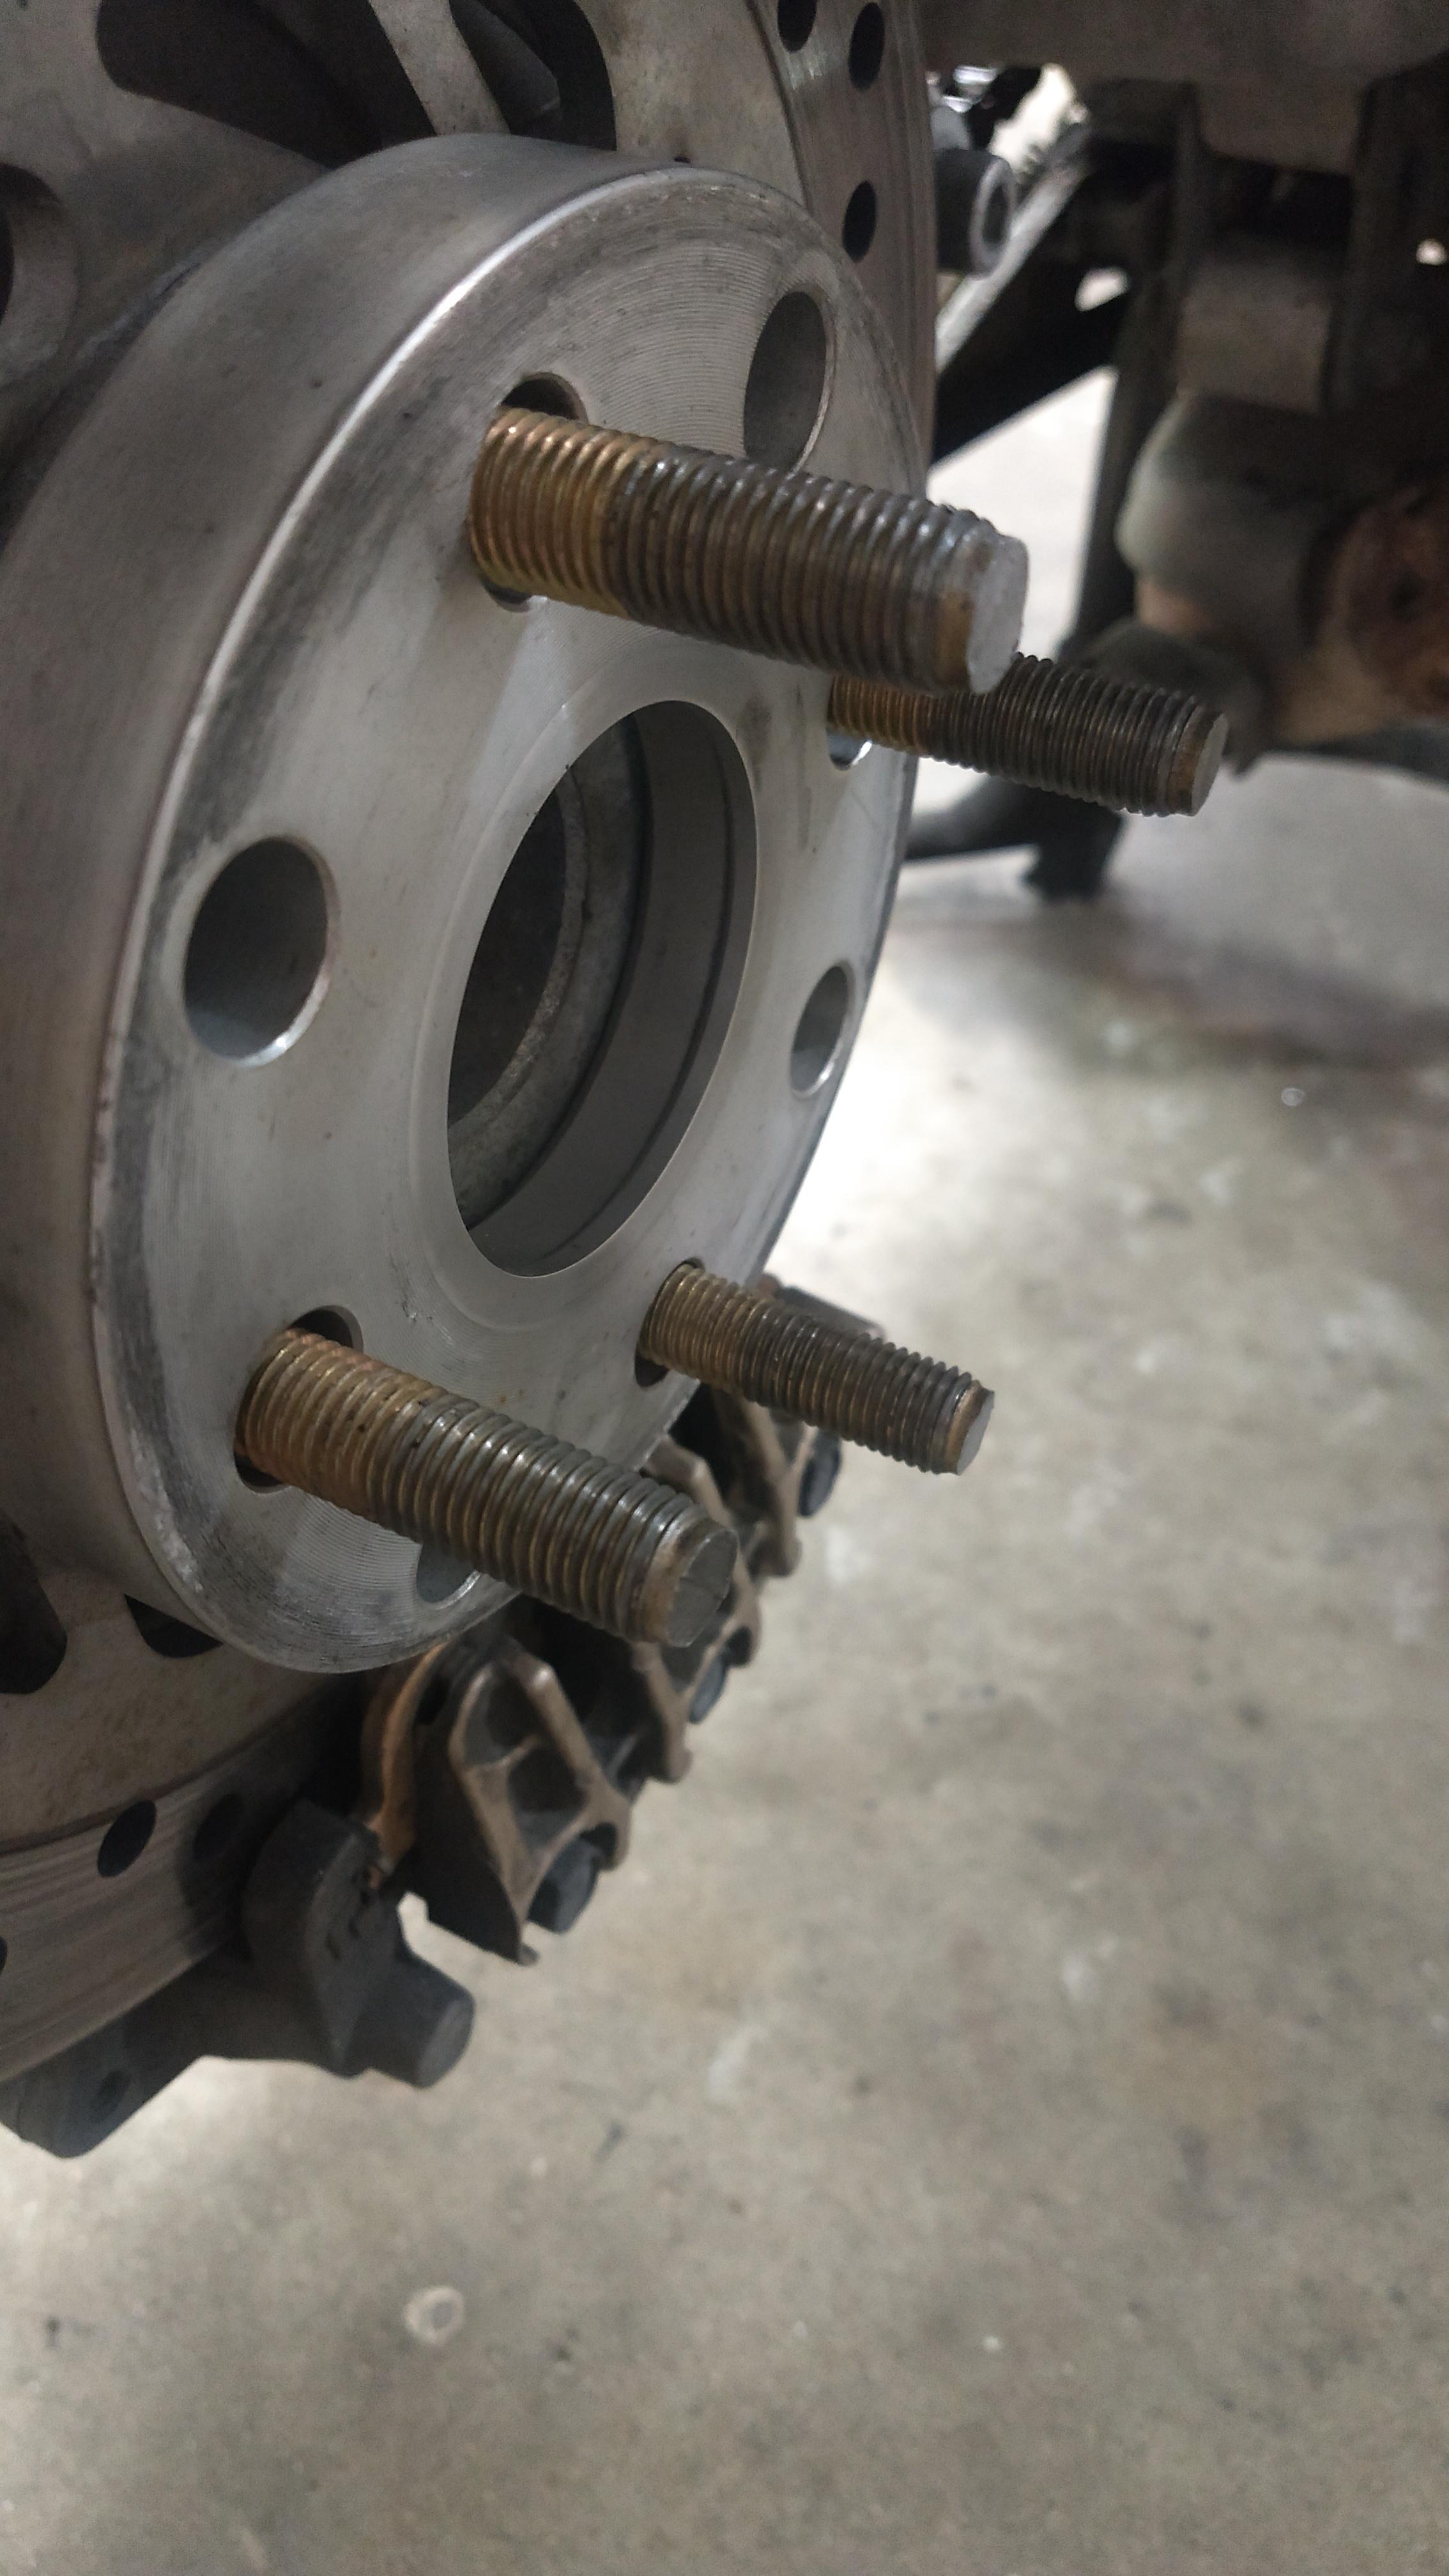
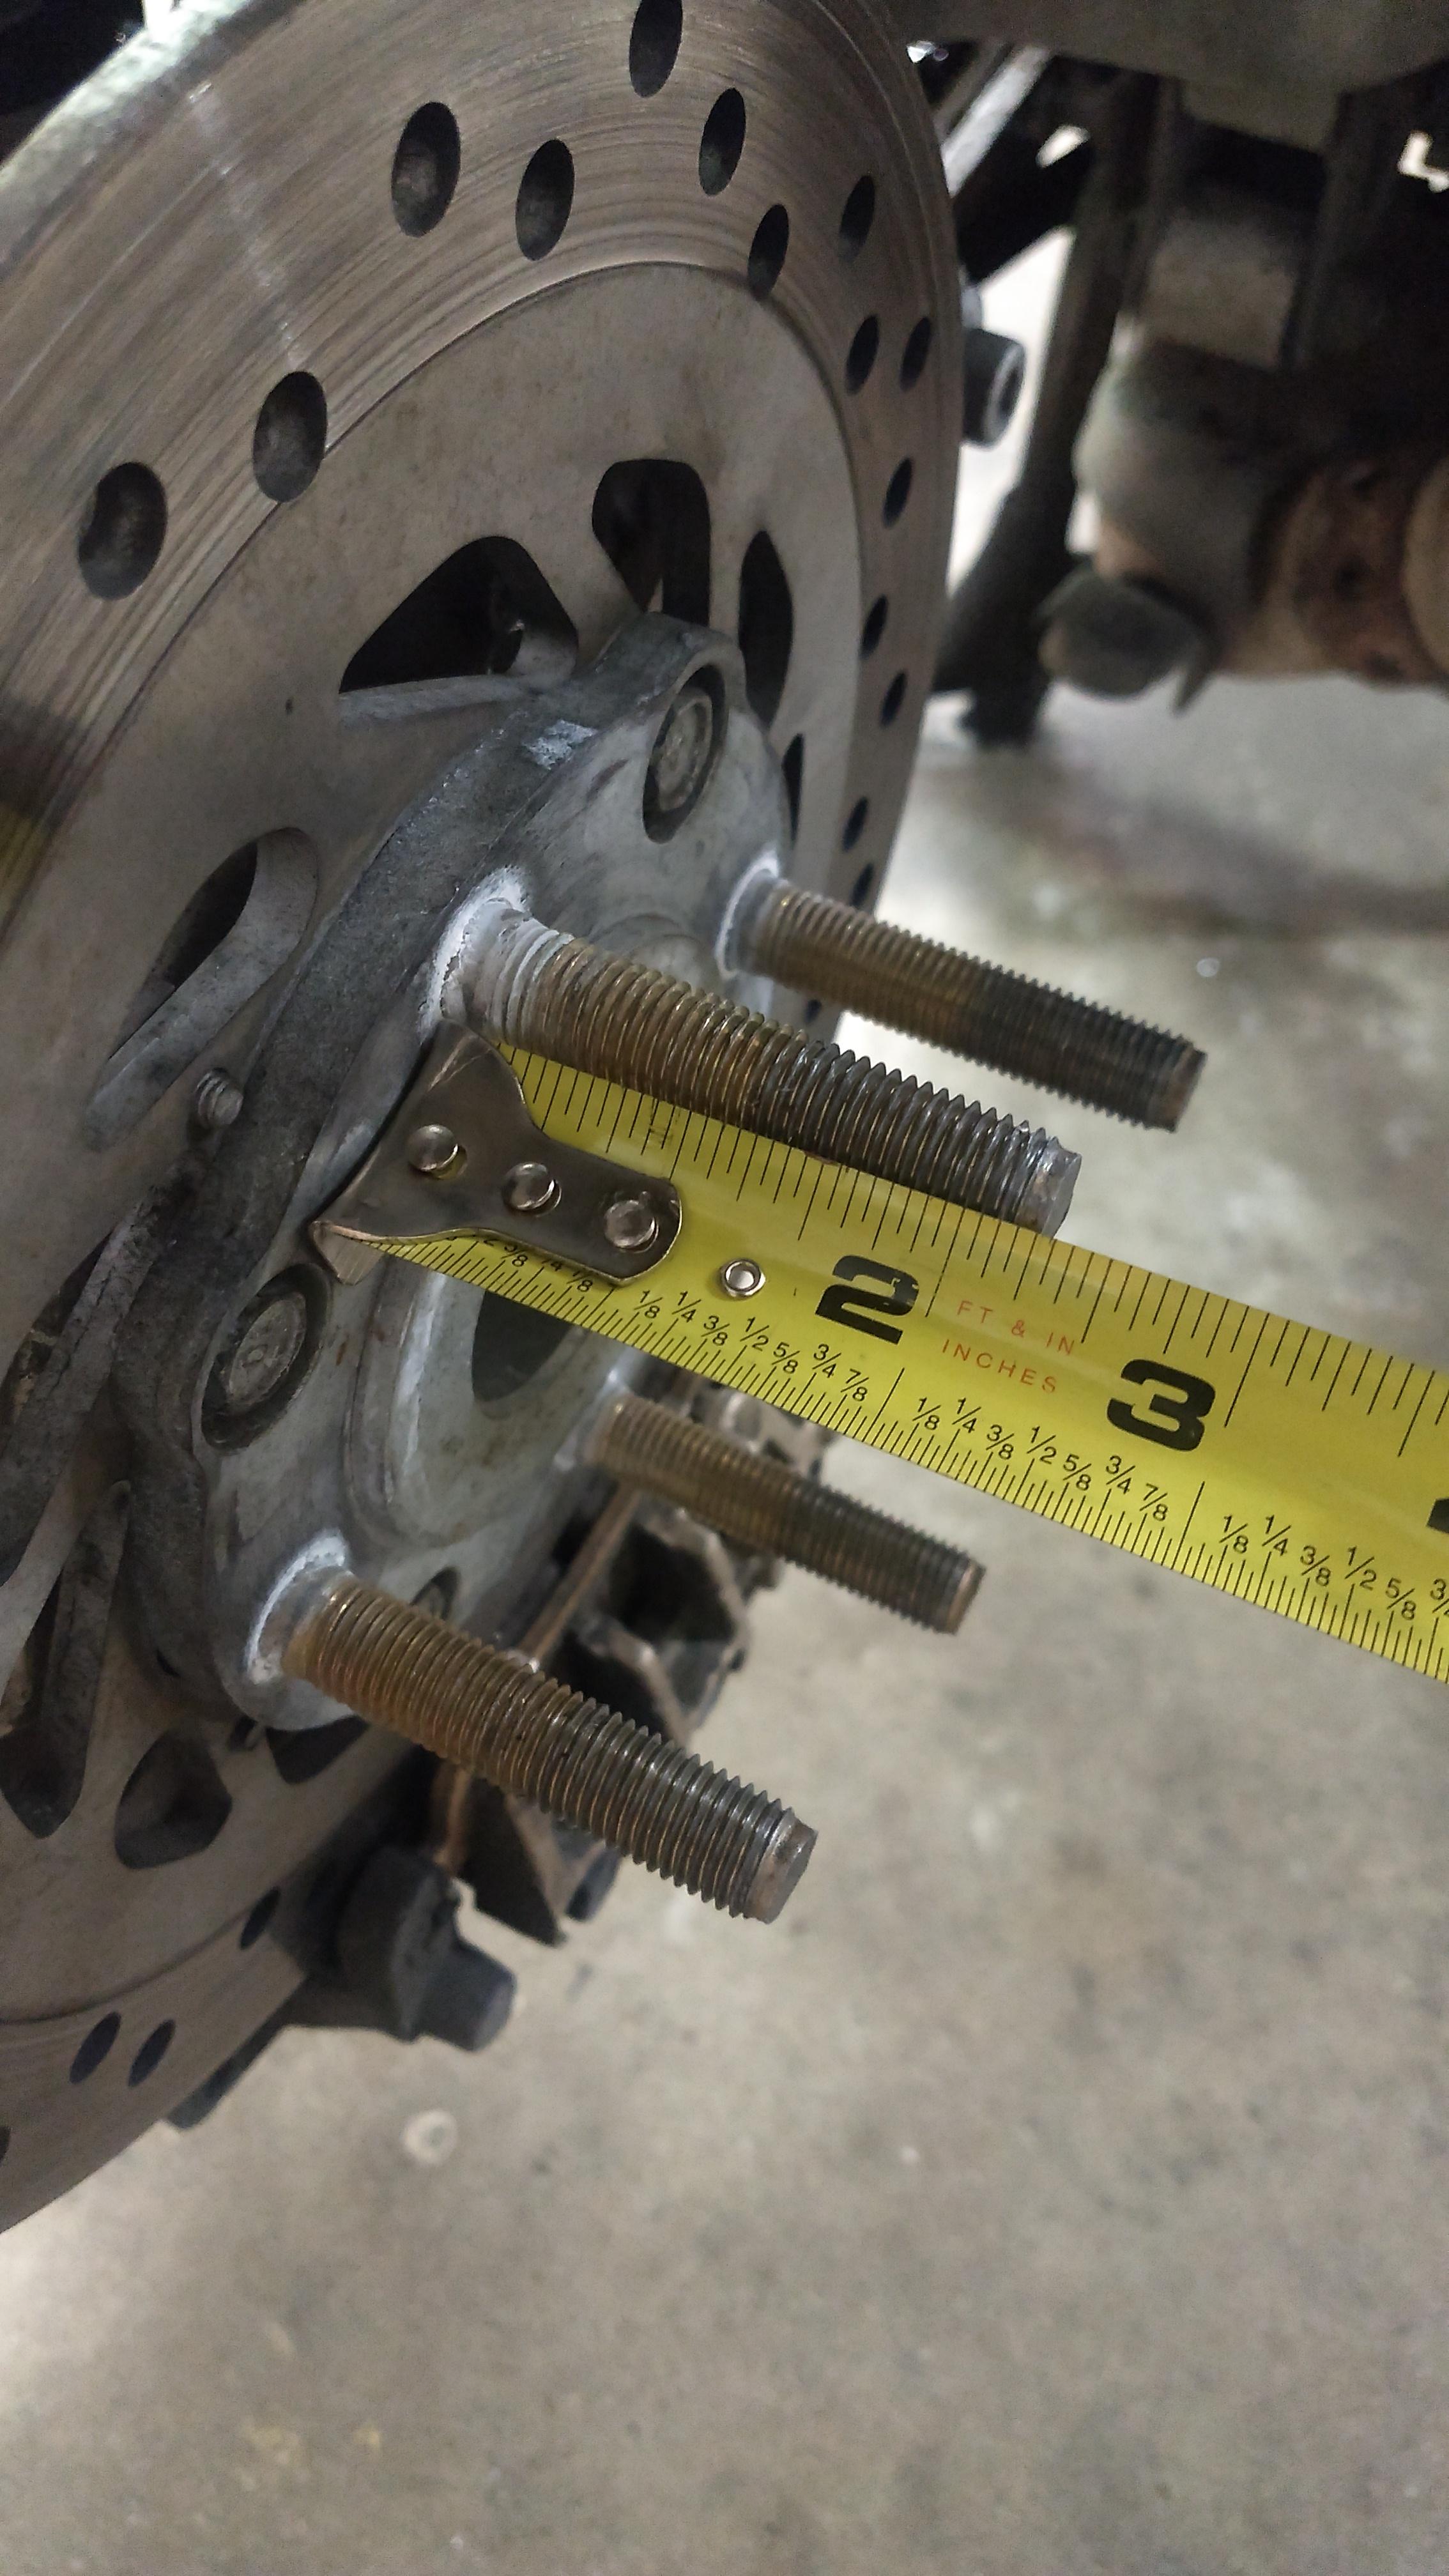
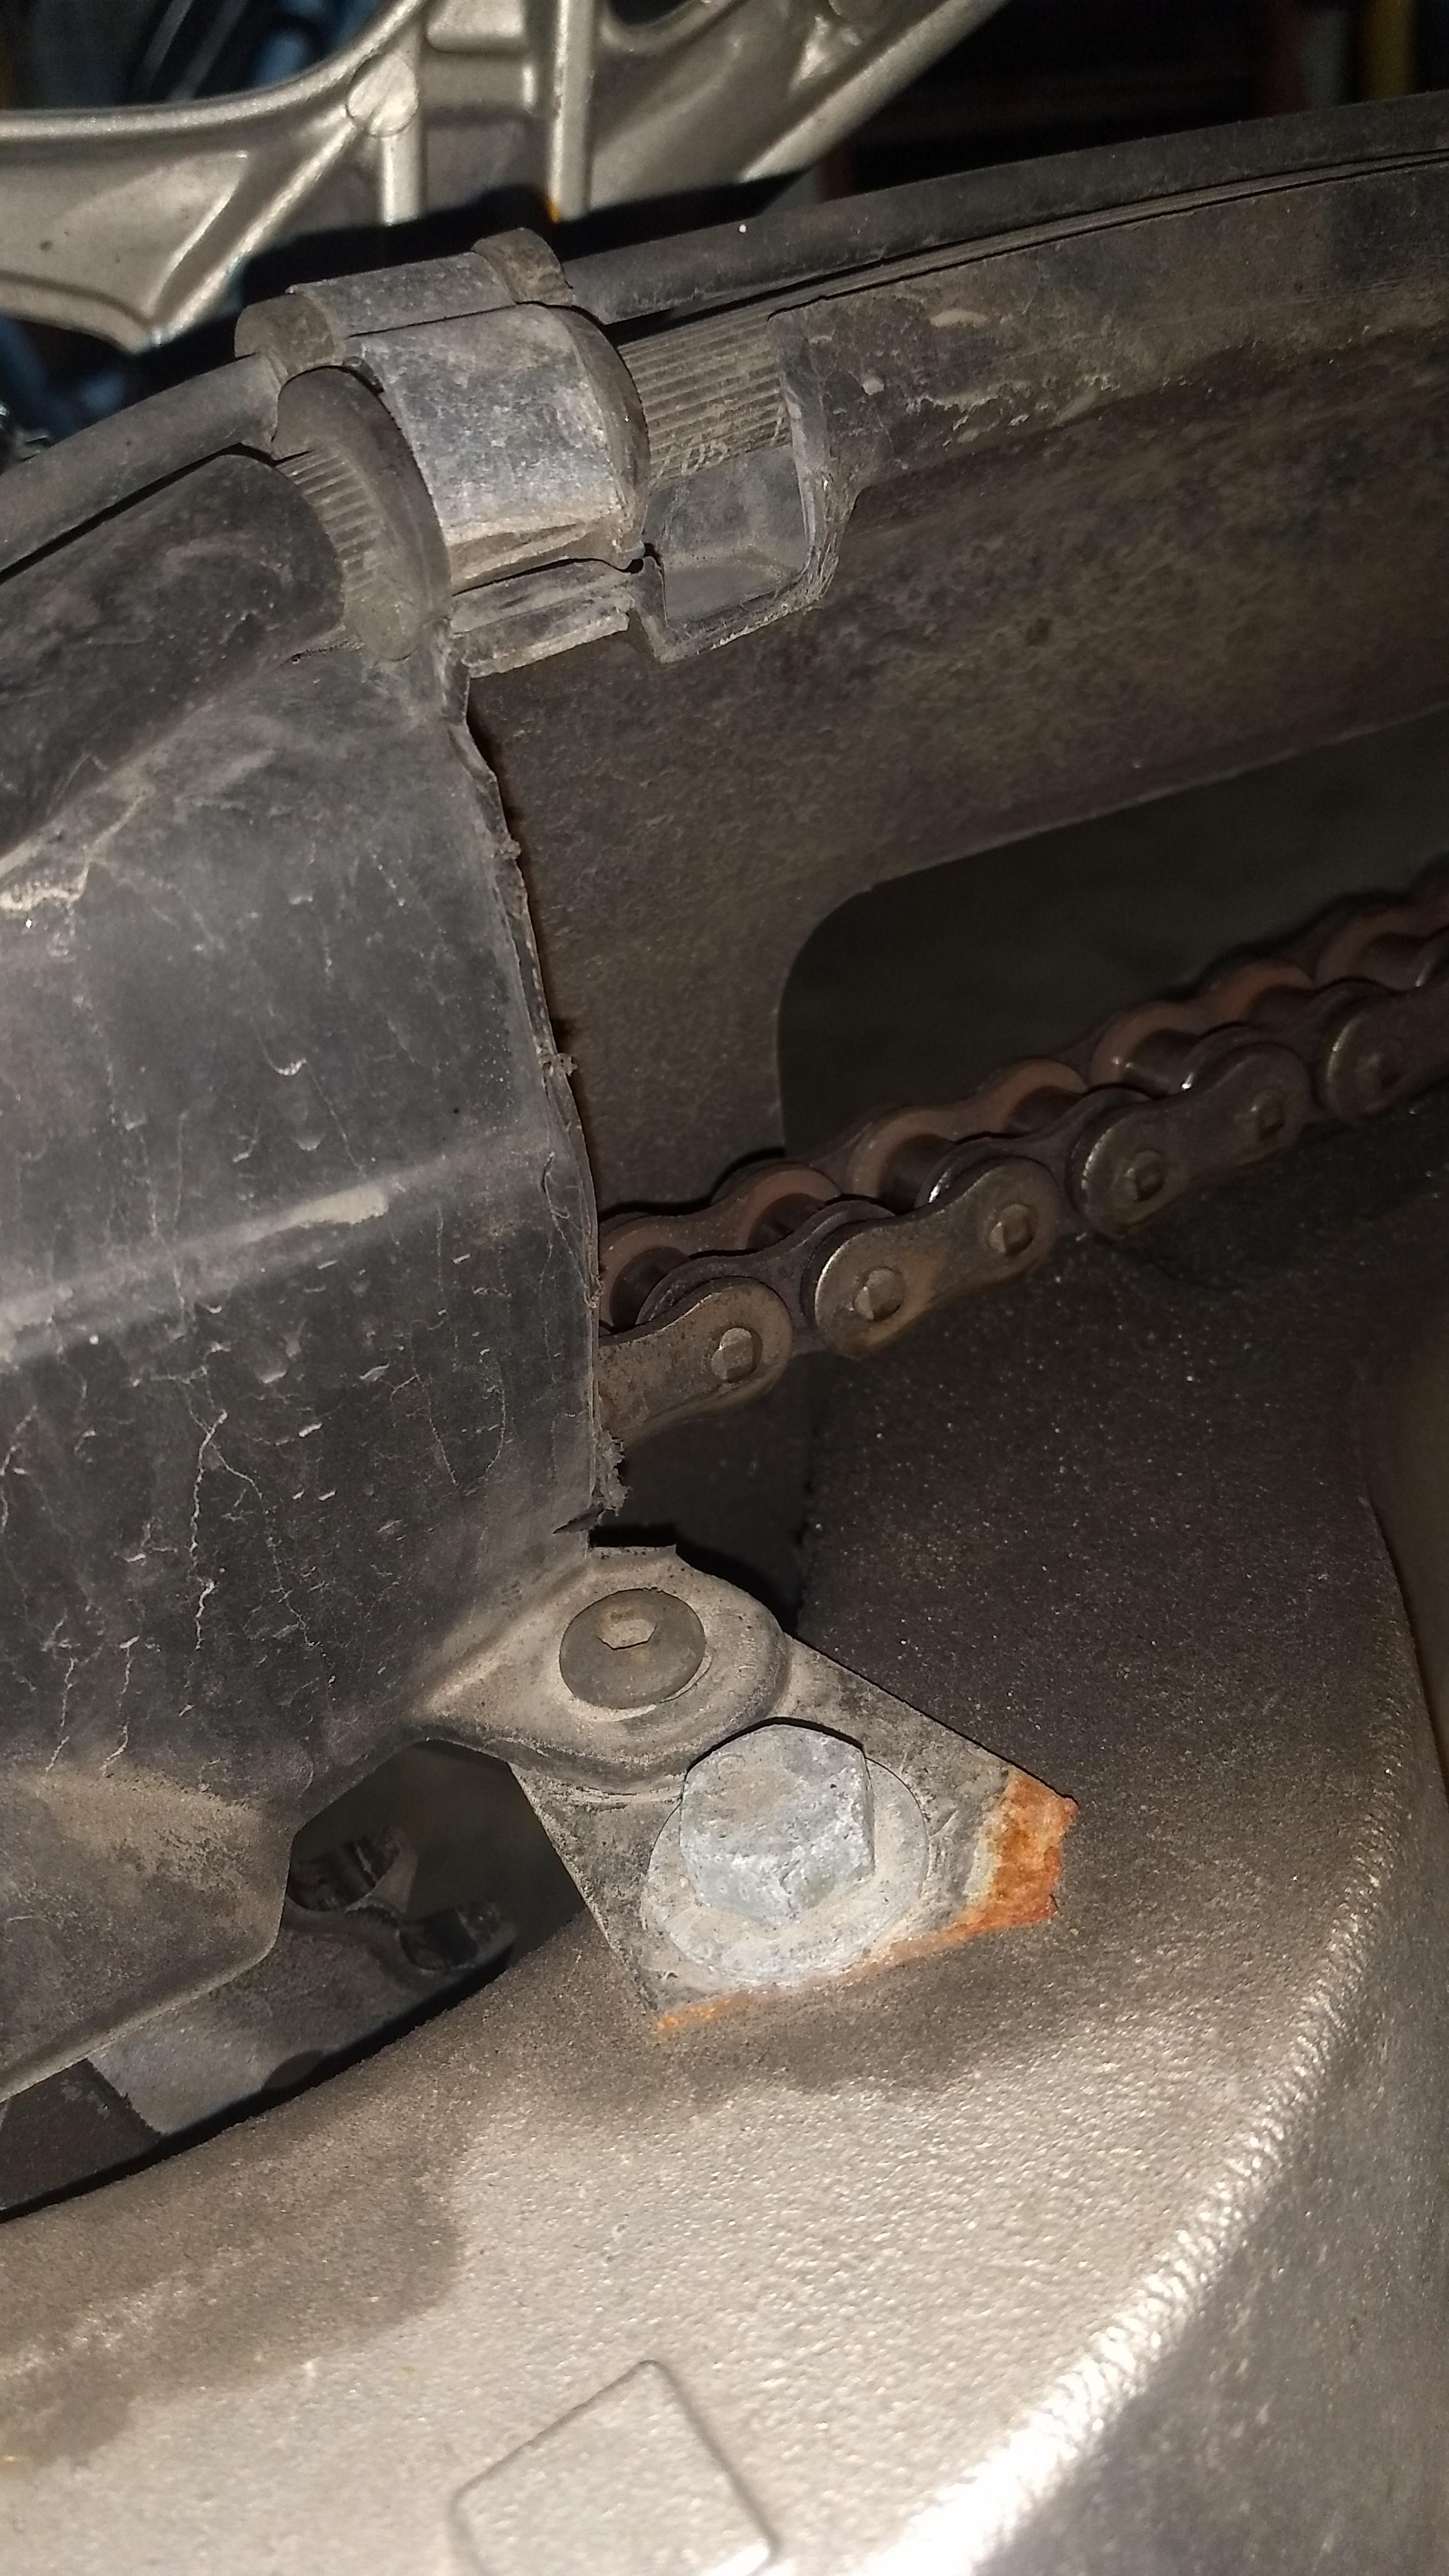
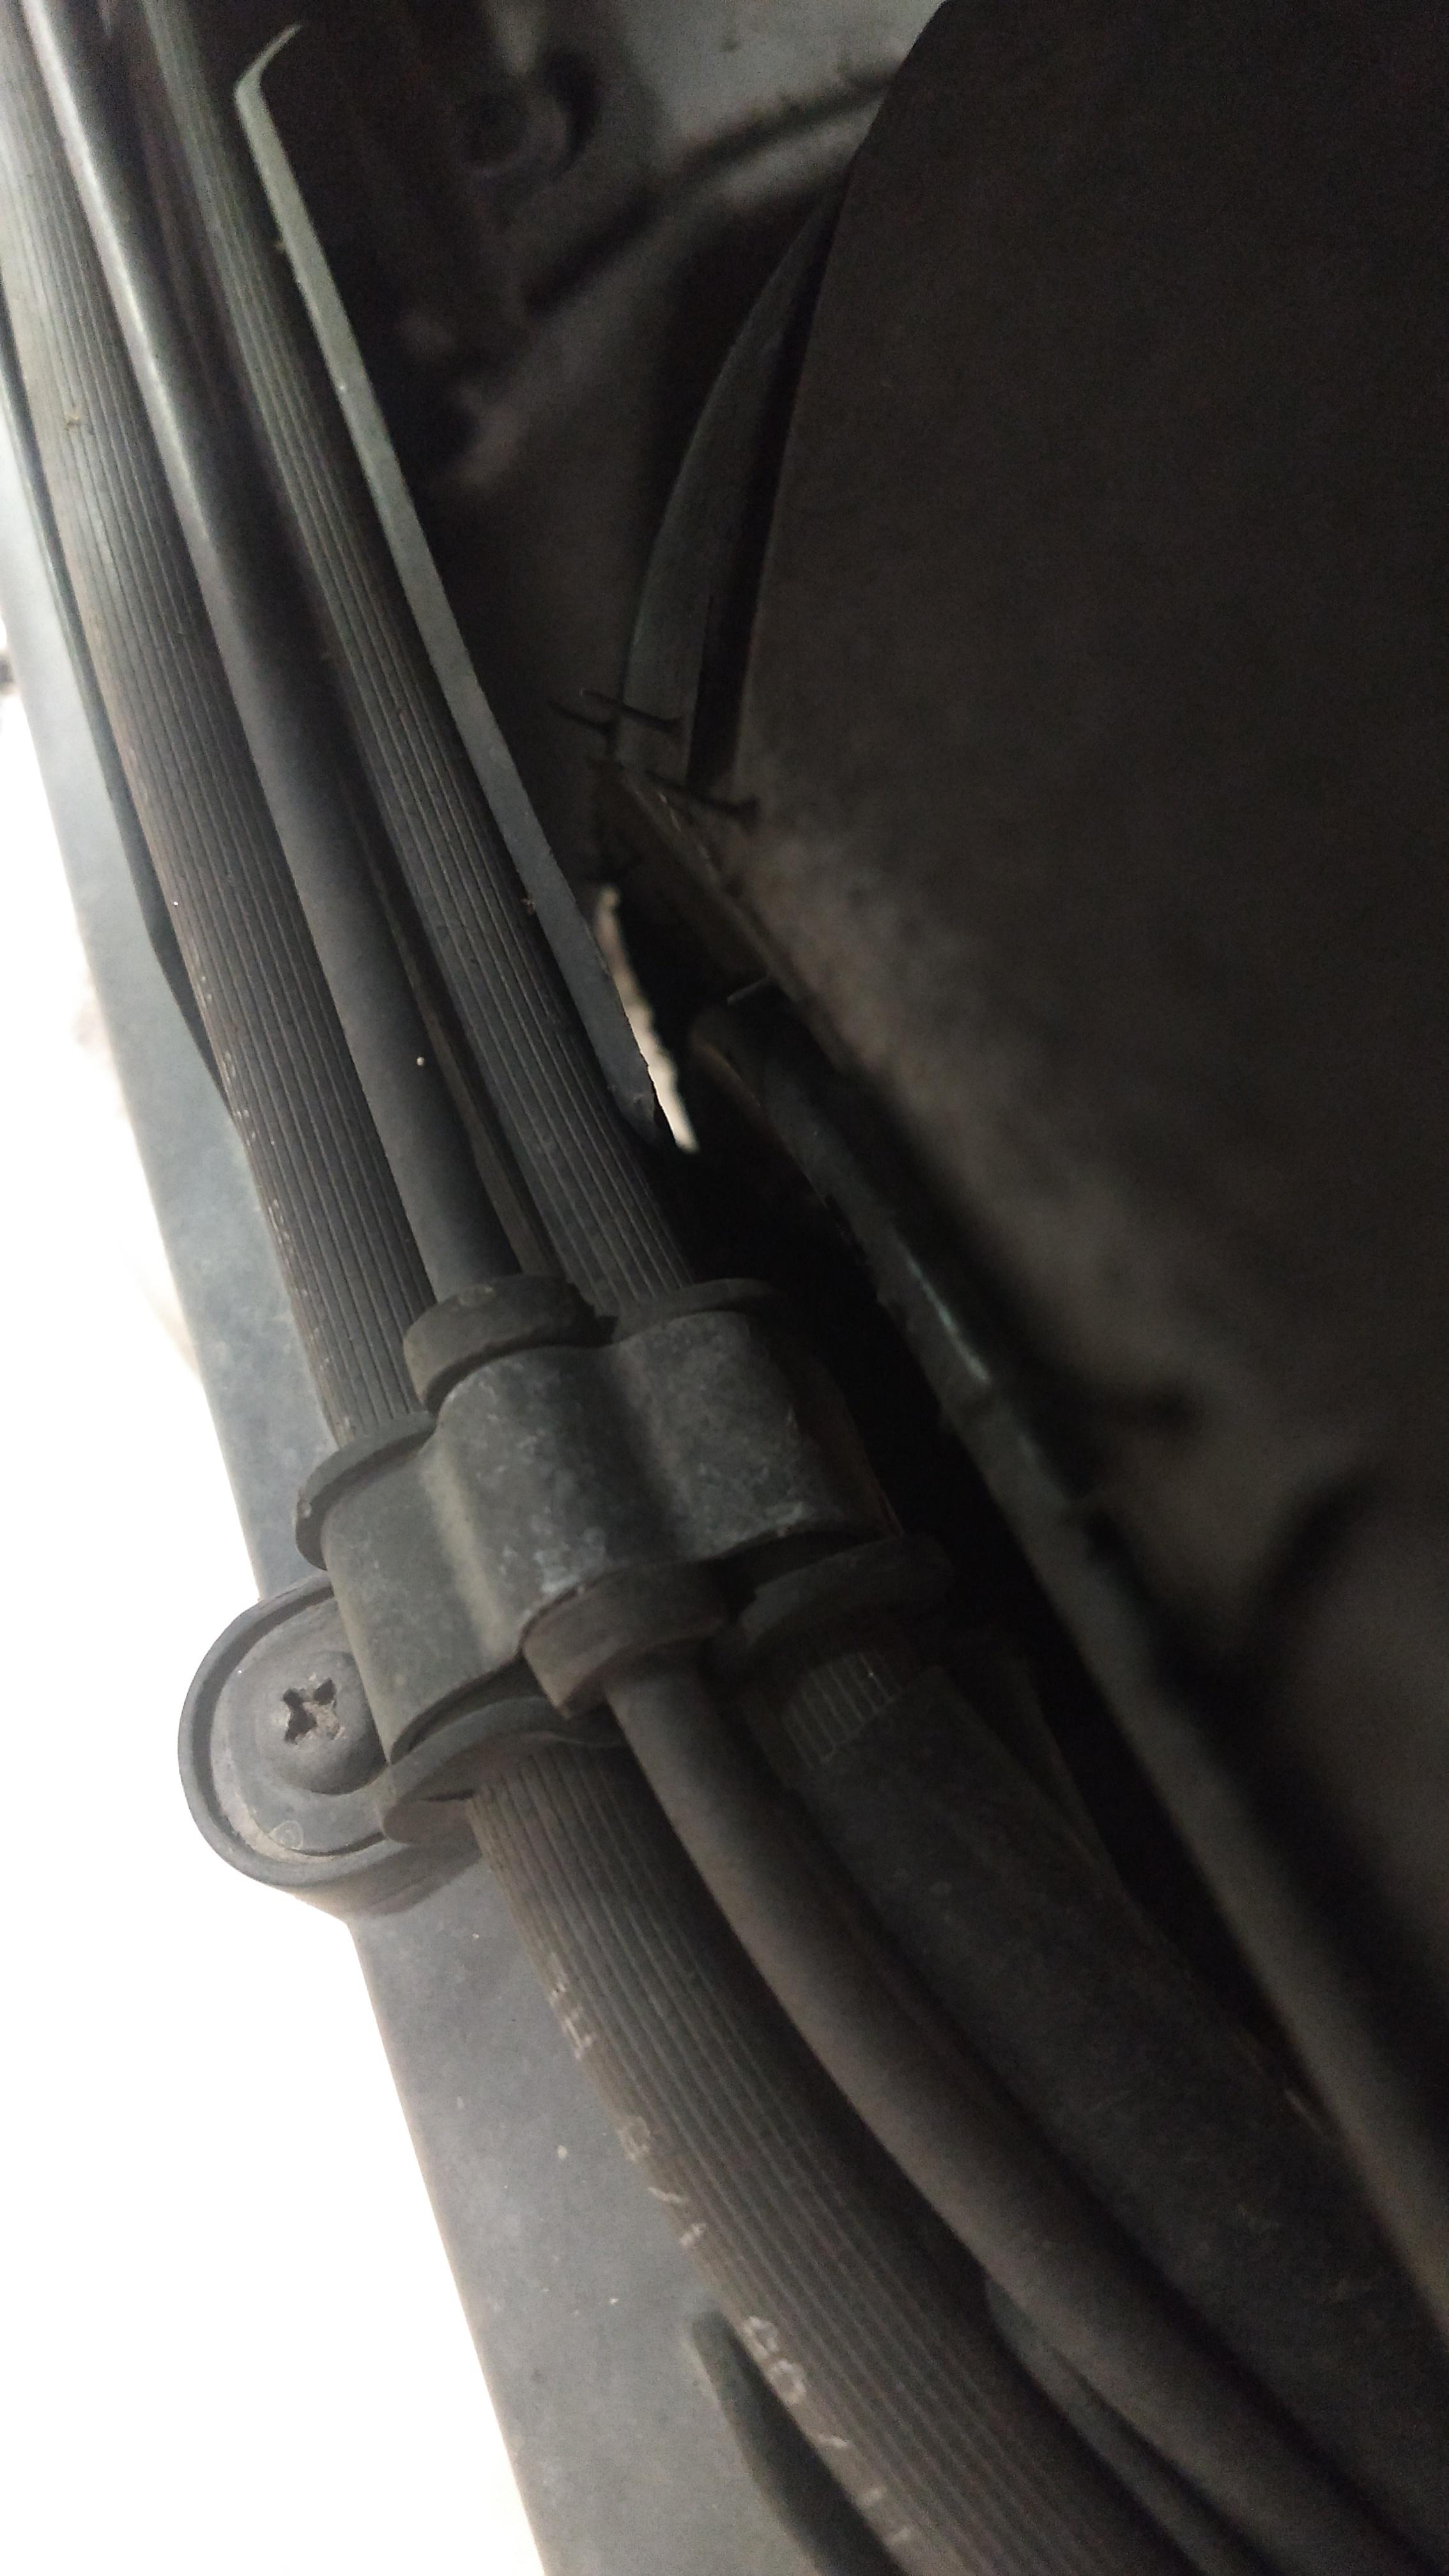
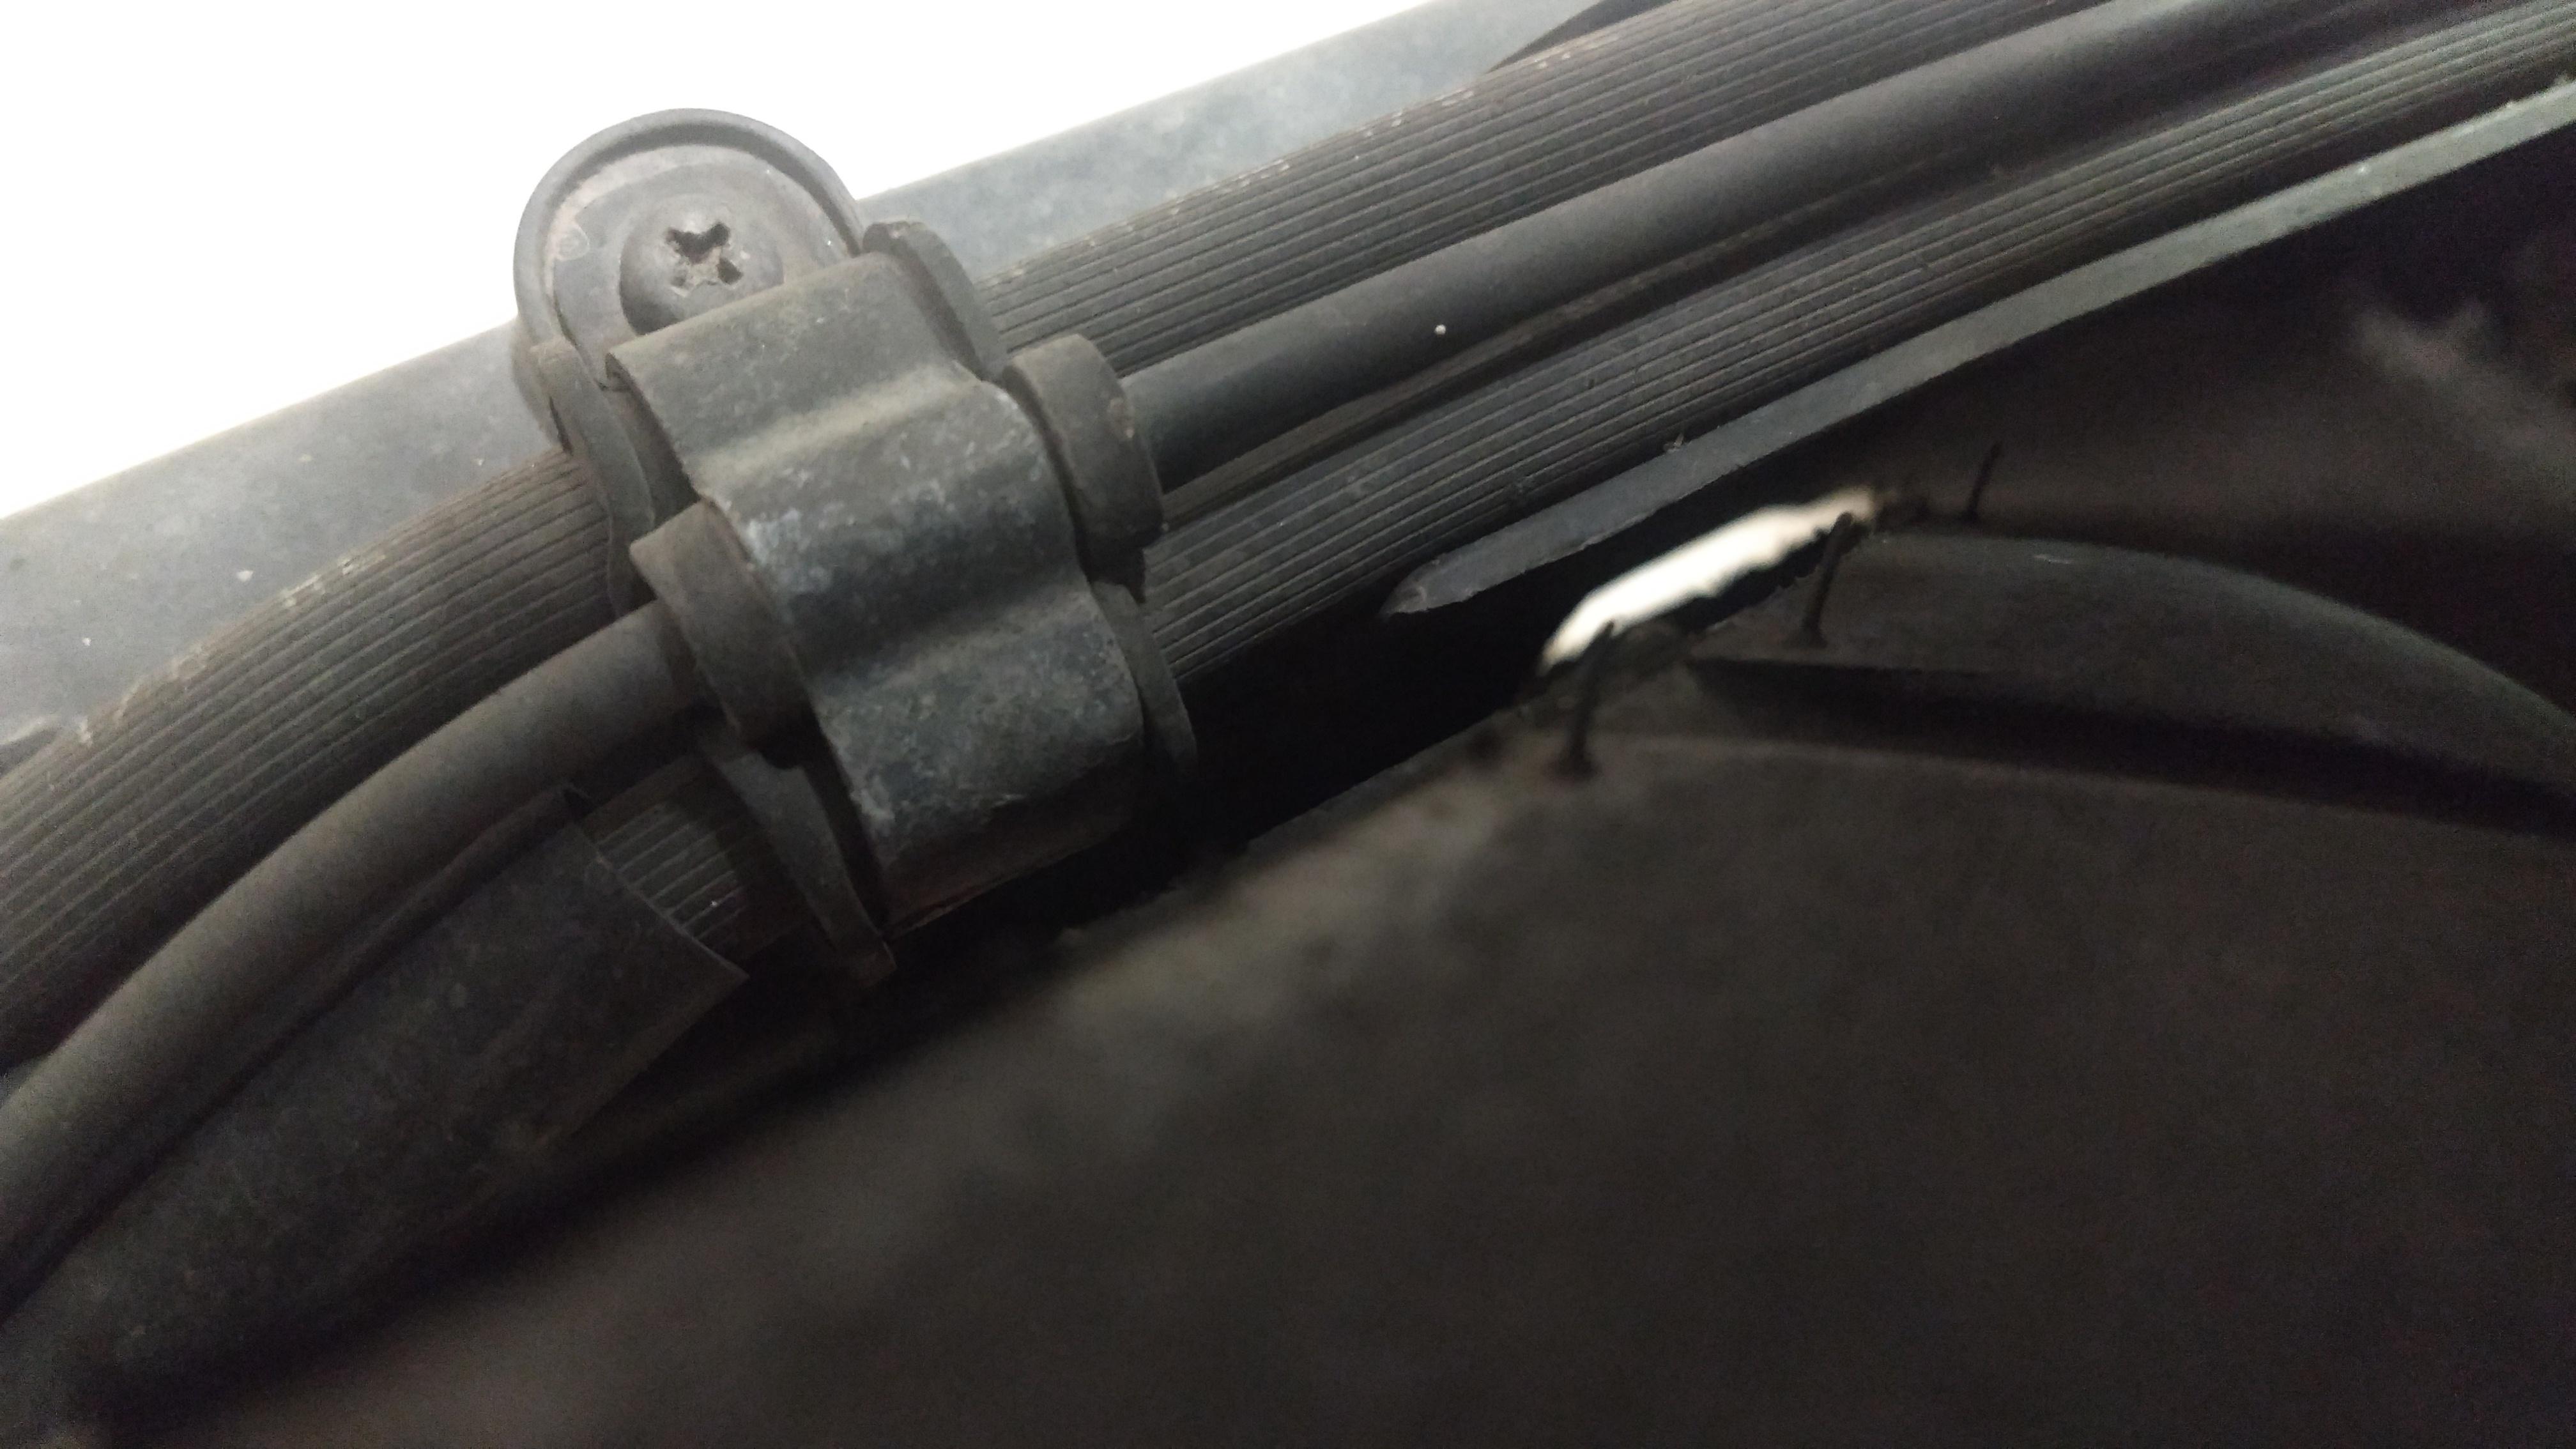
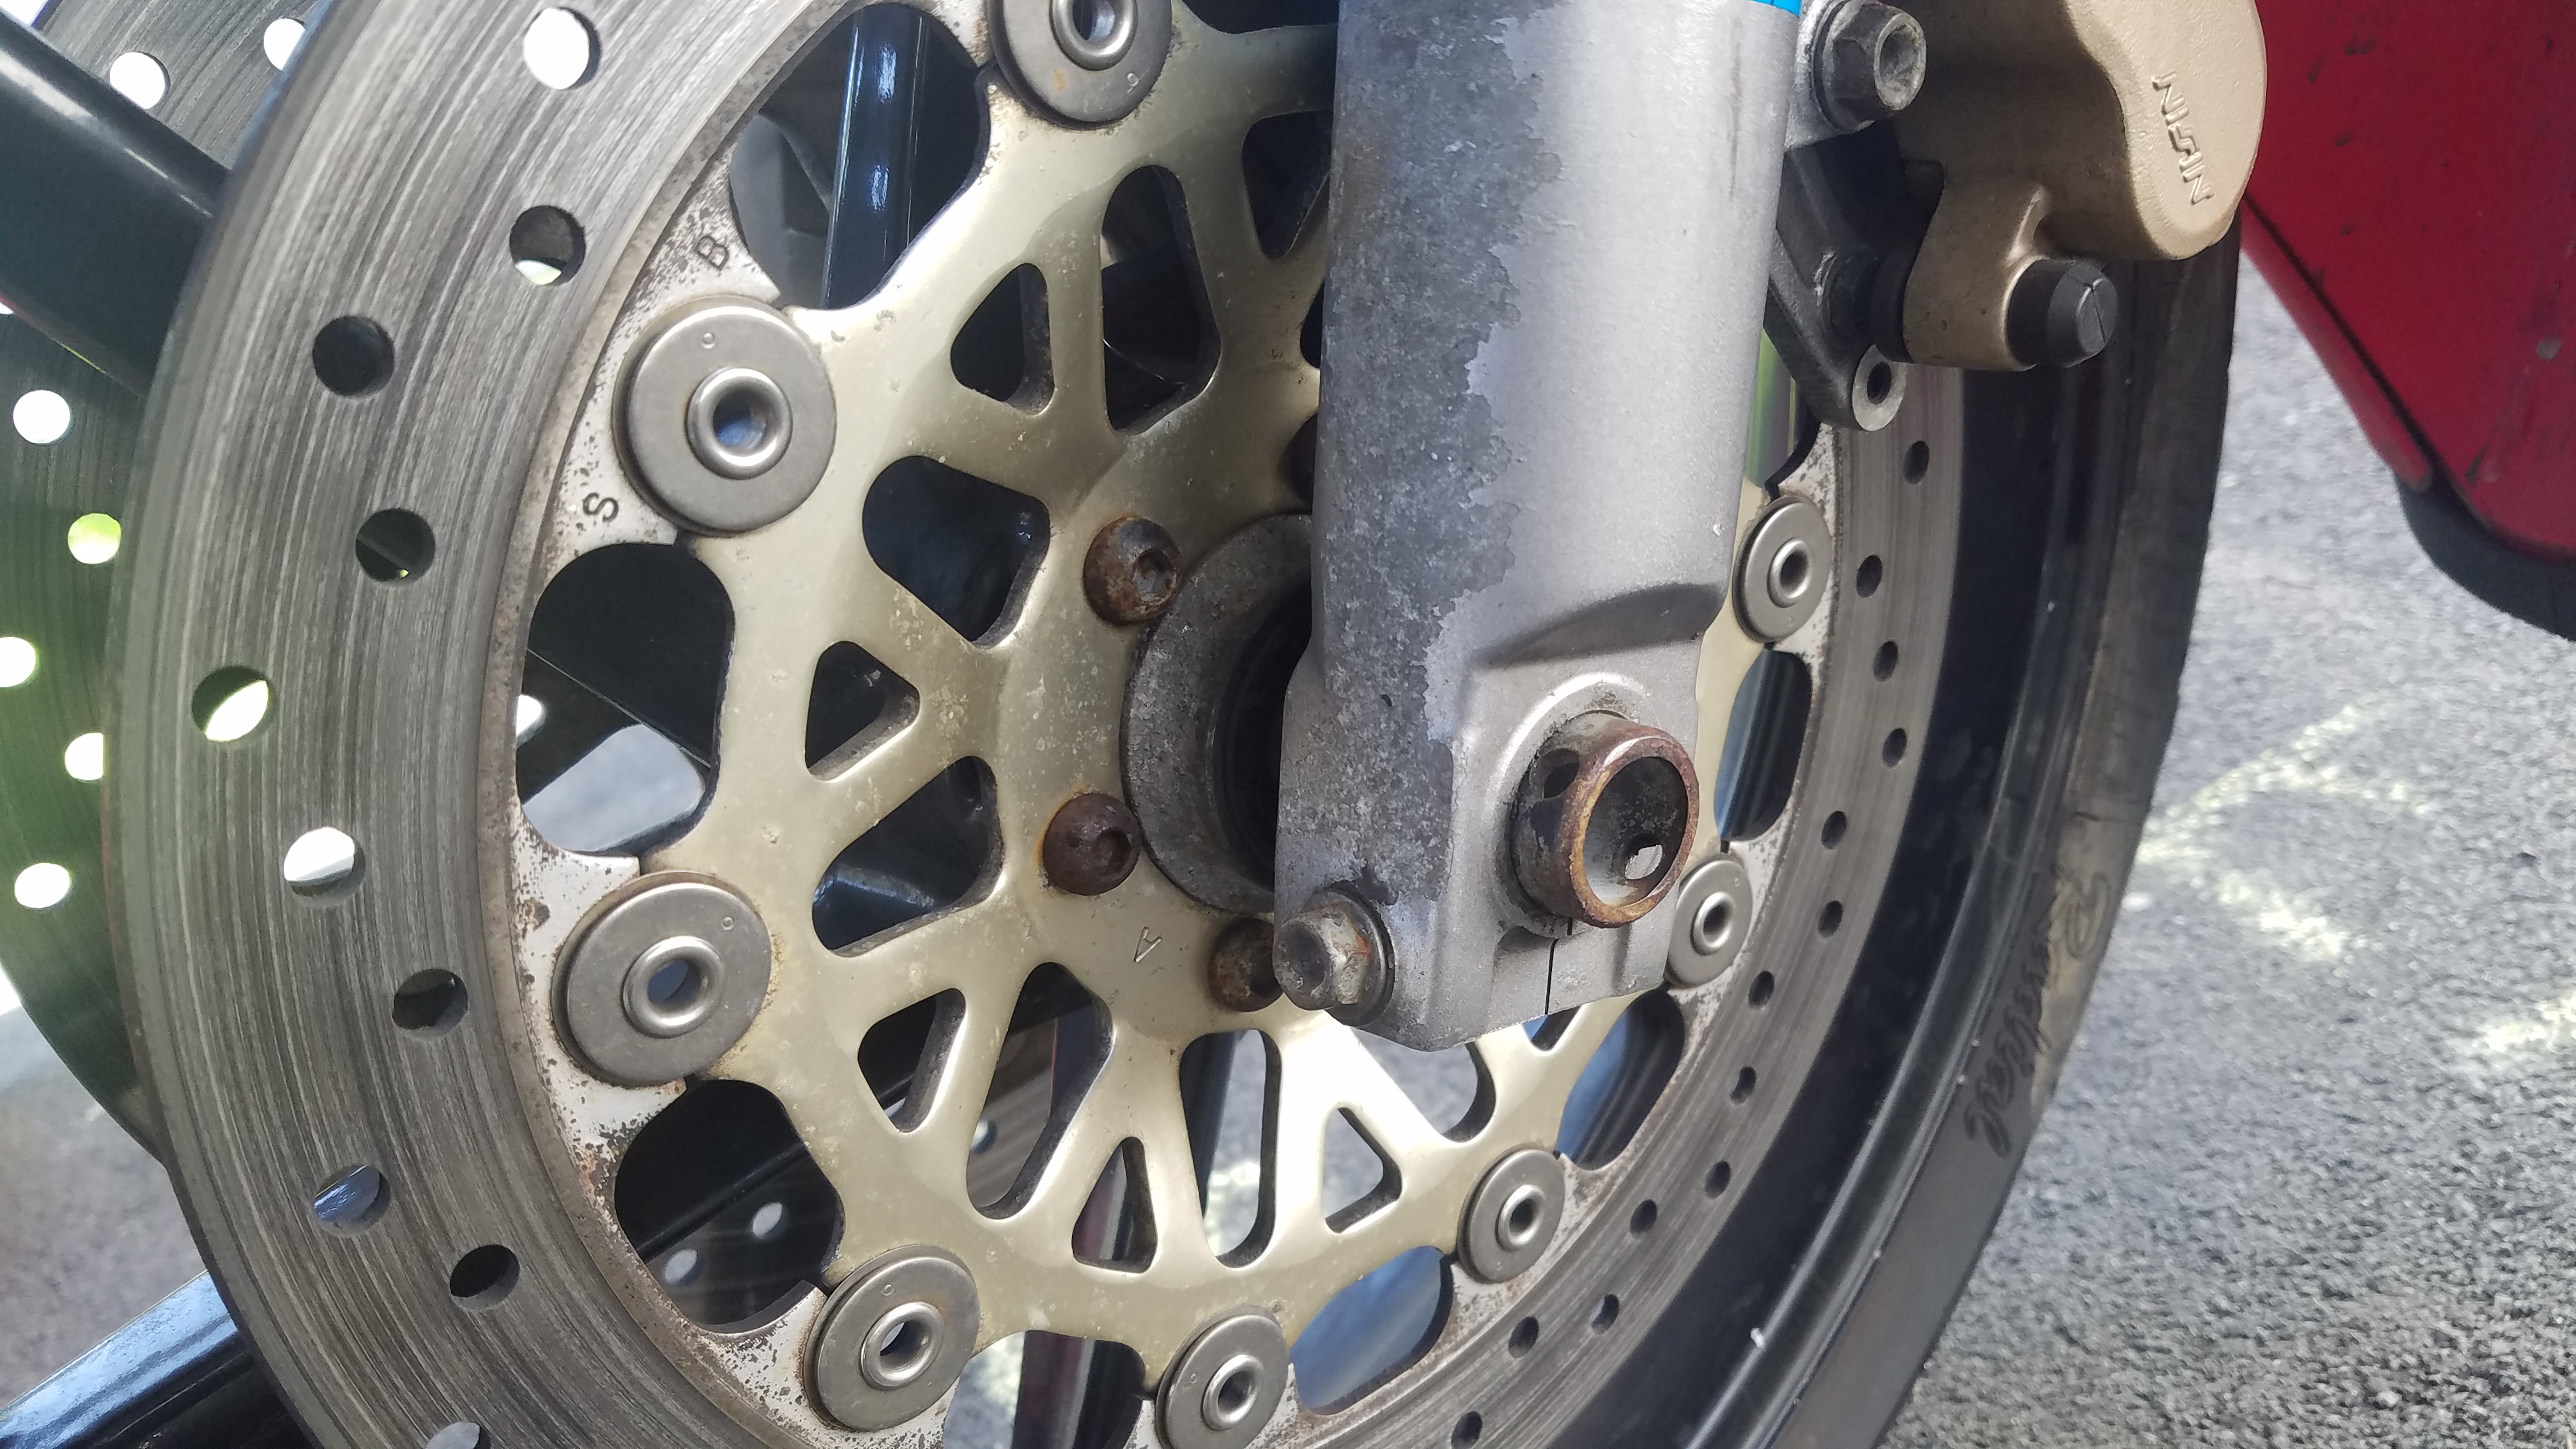
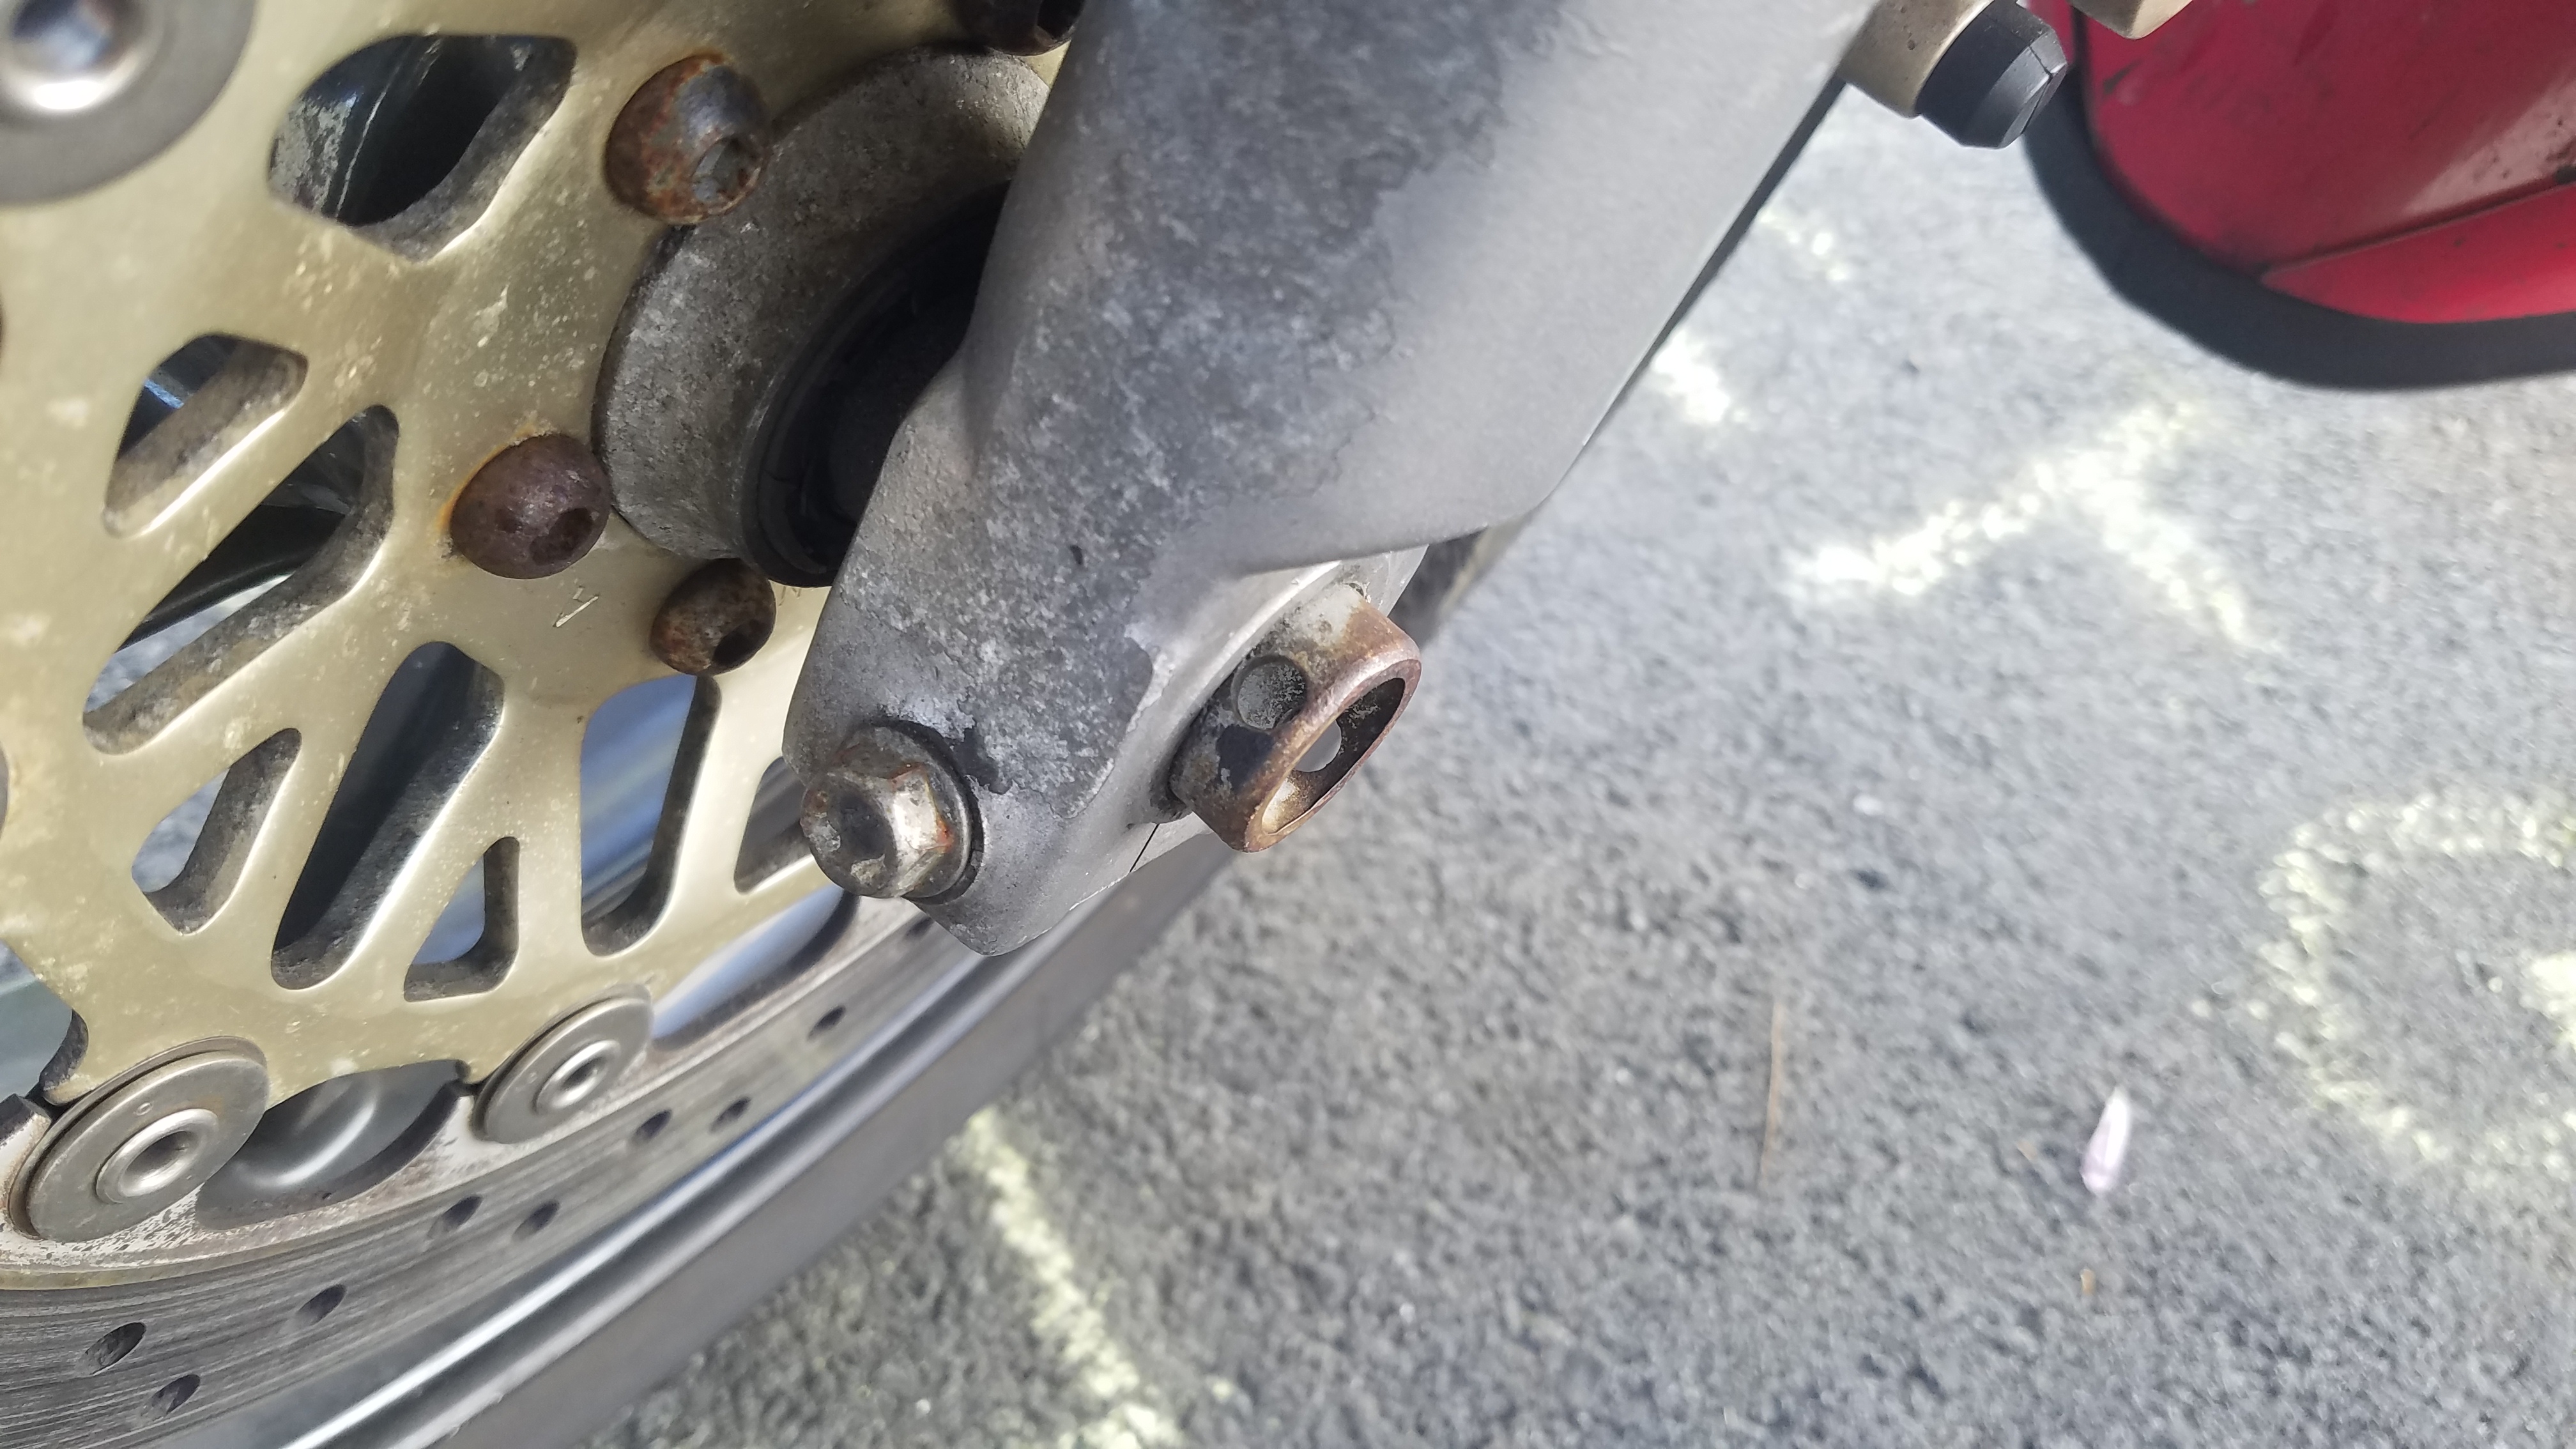
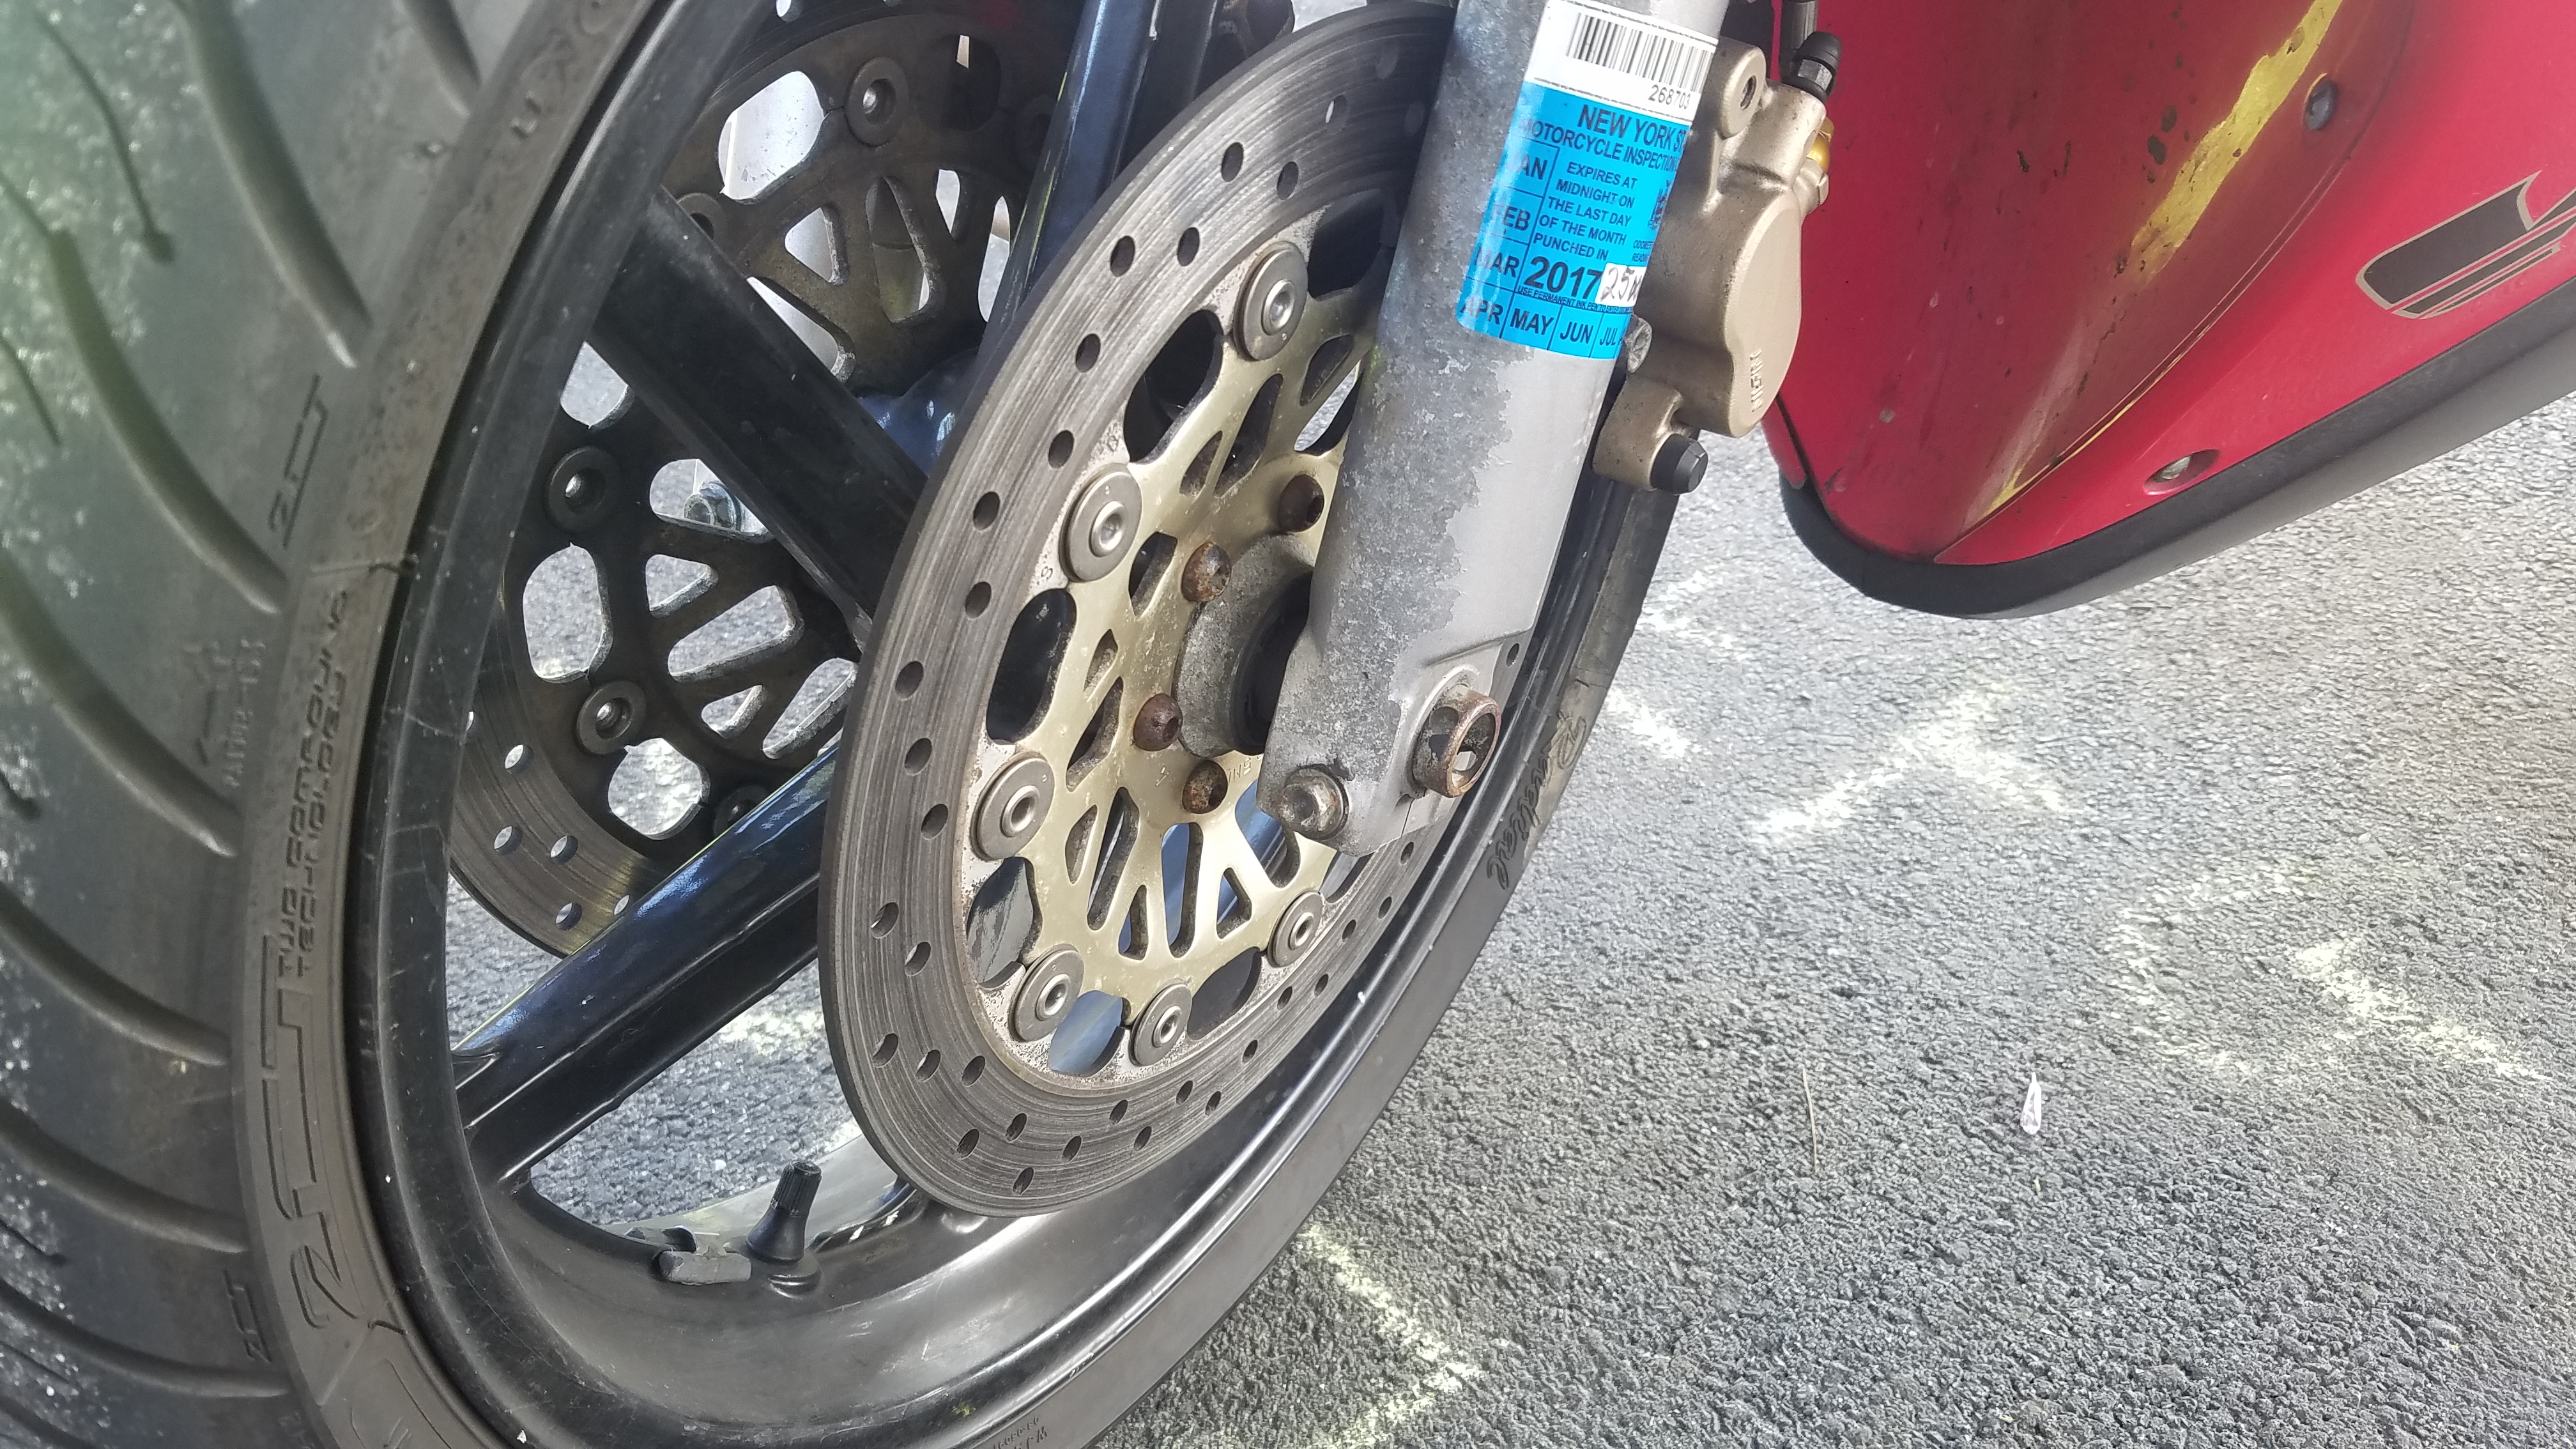
Hey guys, I have a 4th gen and the front wheel locking screw seems to be missing something. The bolt that goes across the front wheel hub that holds the wheel, should it have some kind of pin, screw or nut on the other side? It has a hole but I don't know if whatever that was there fell off. I attached some pics. thanks.
-
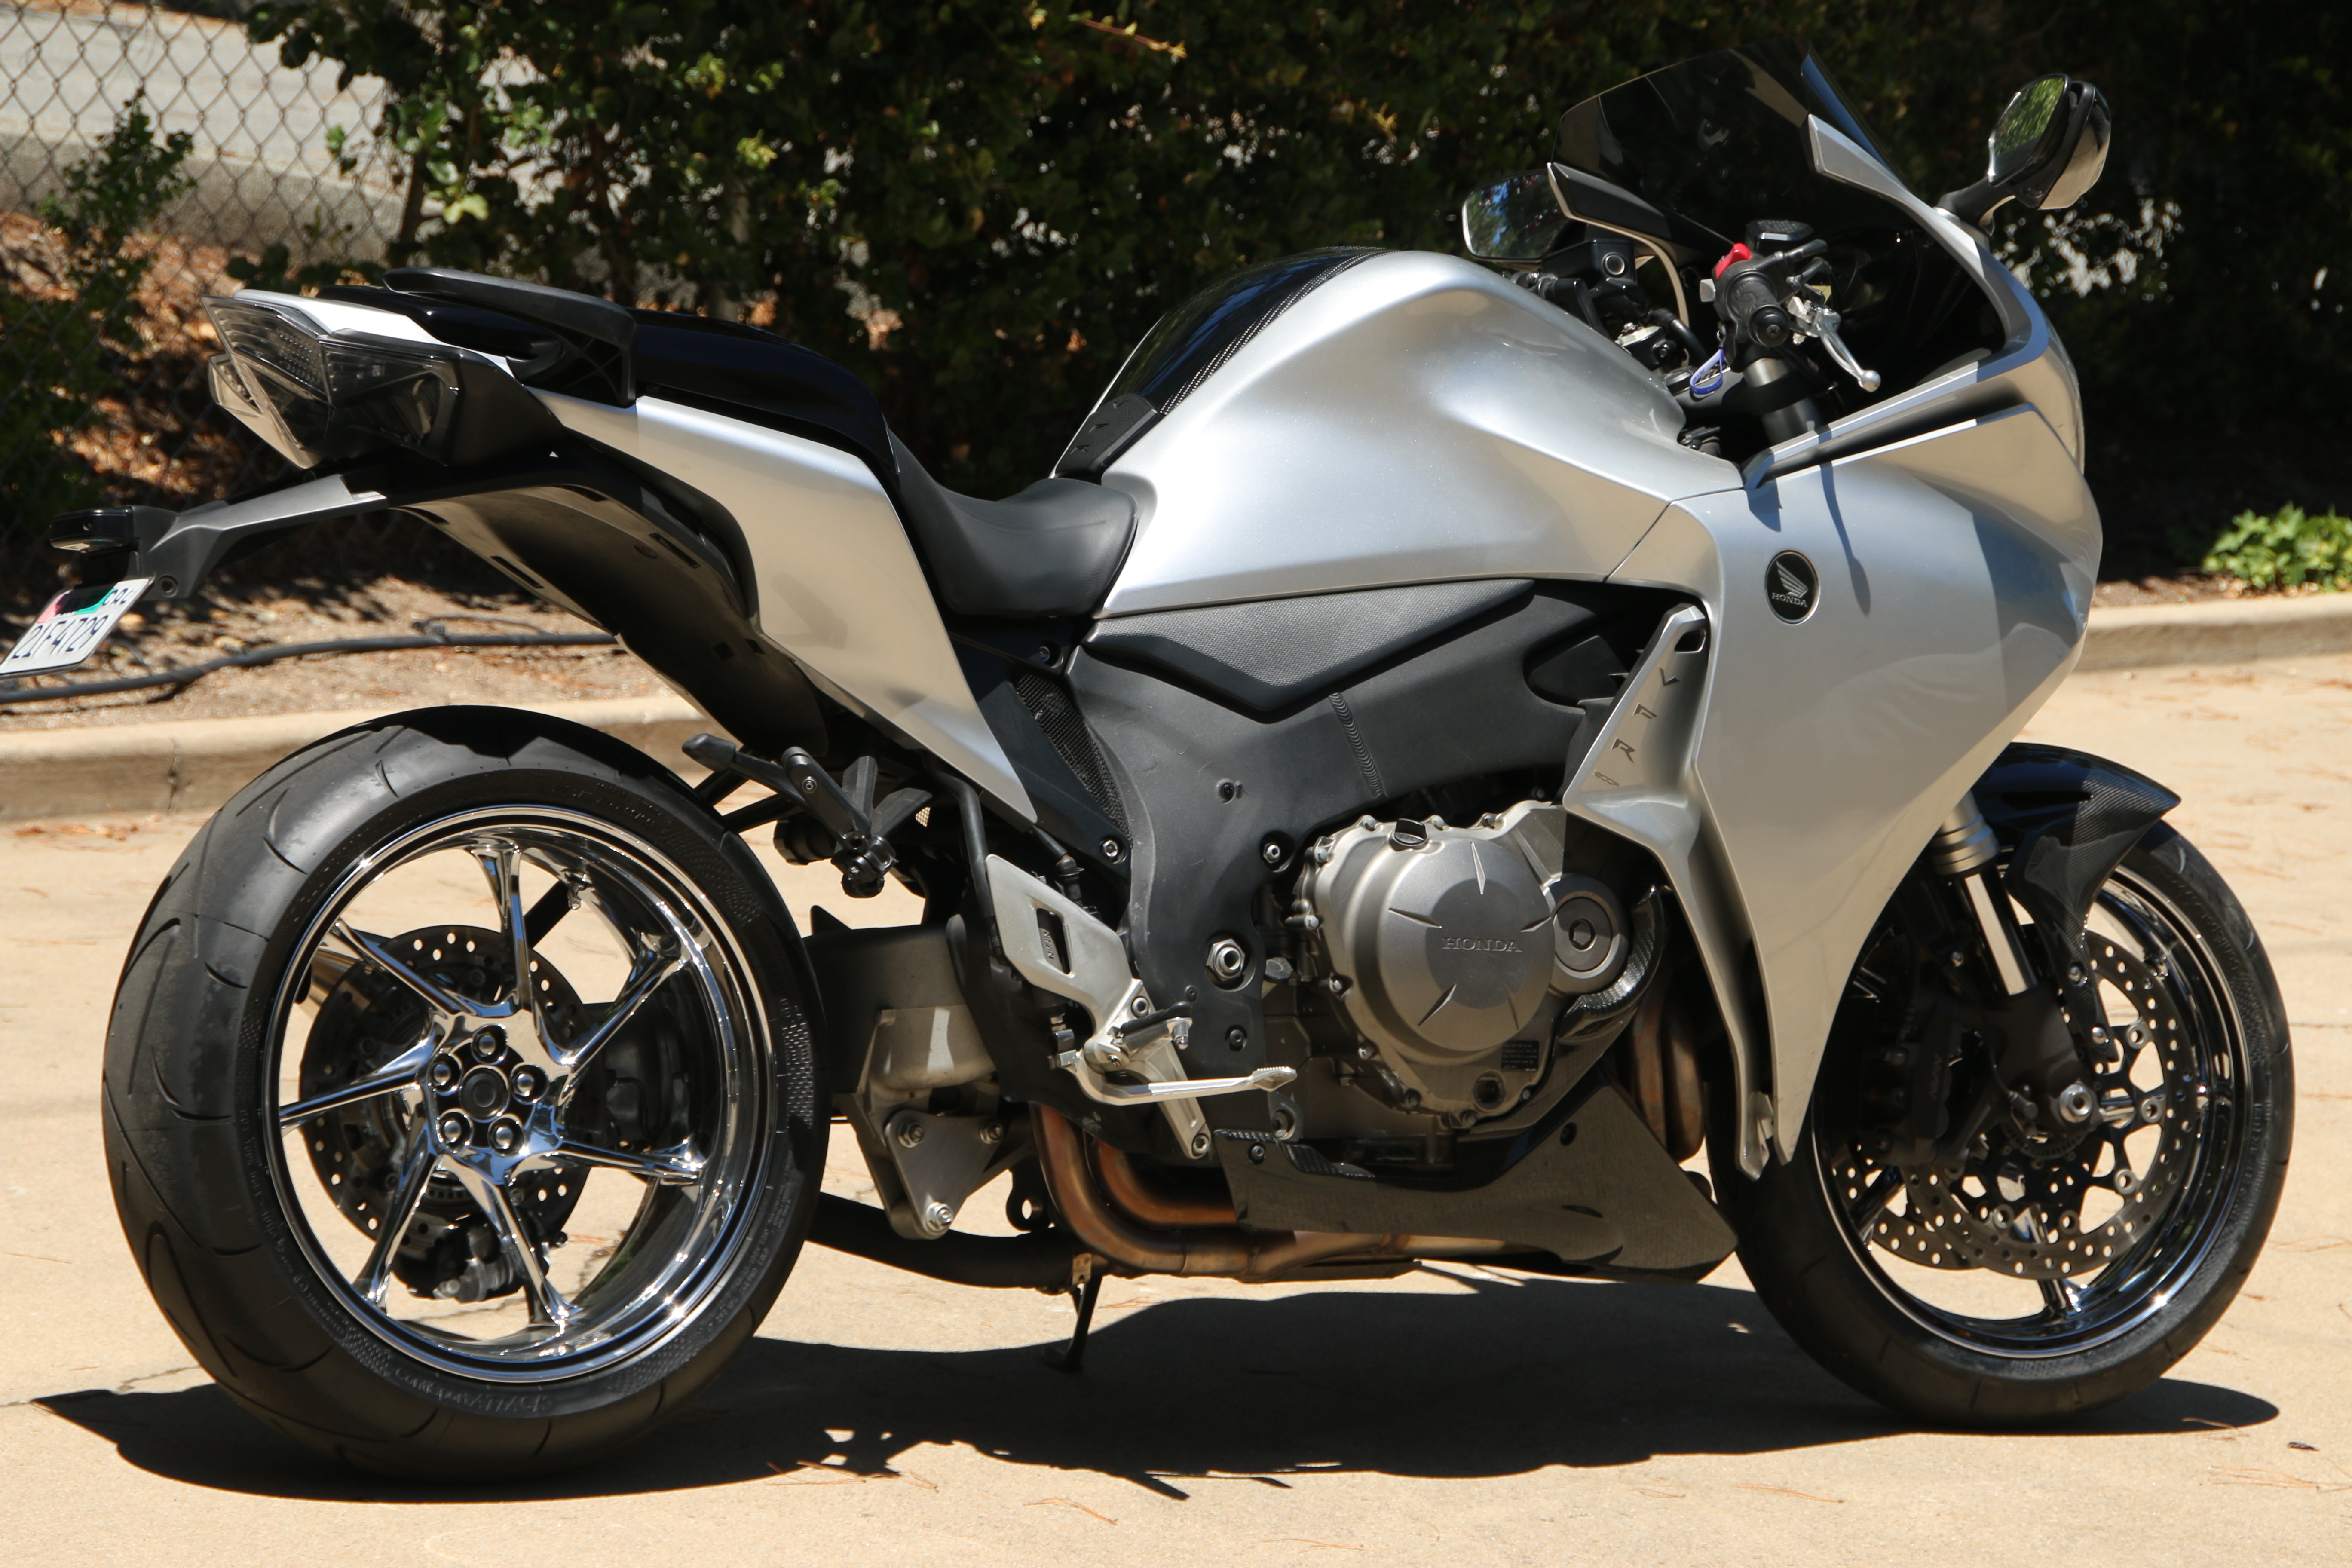
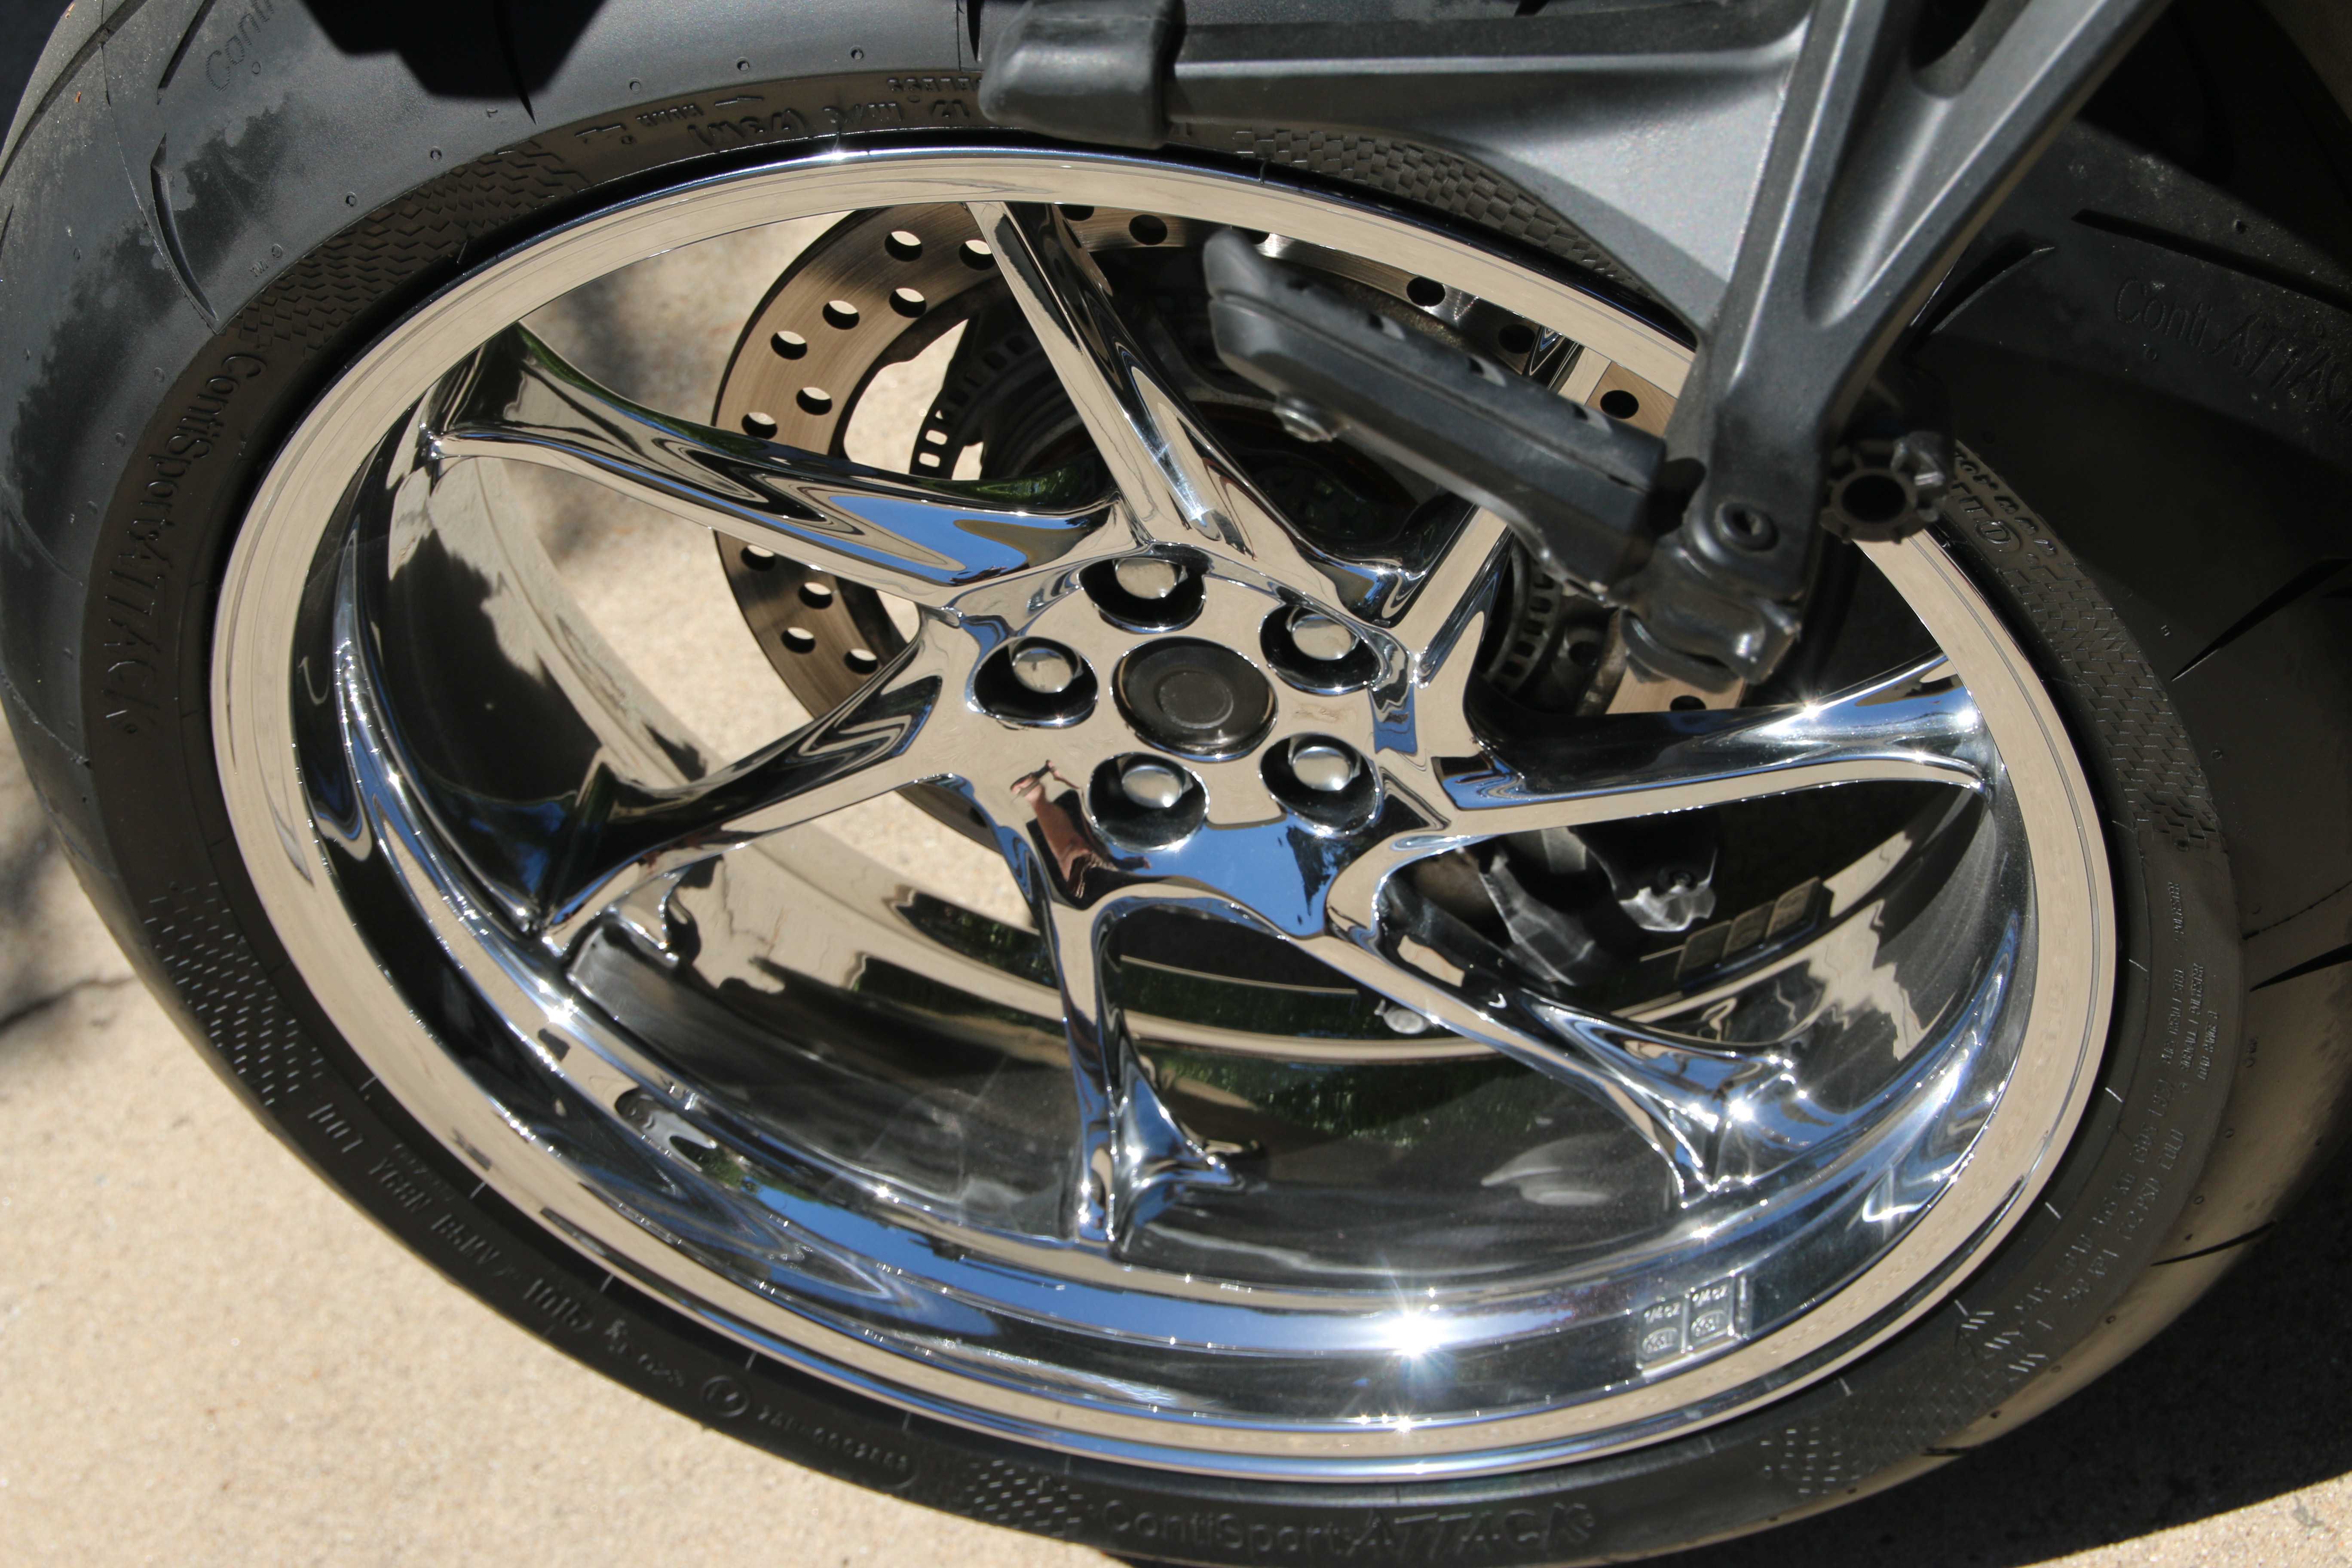
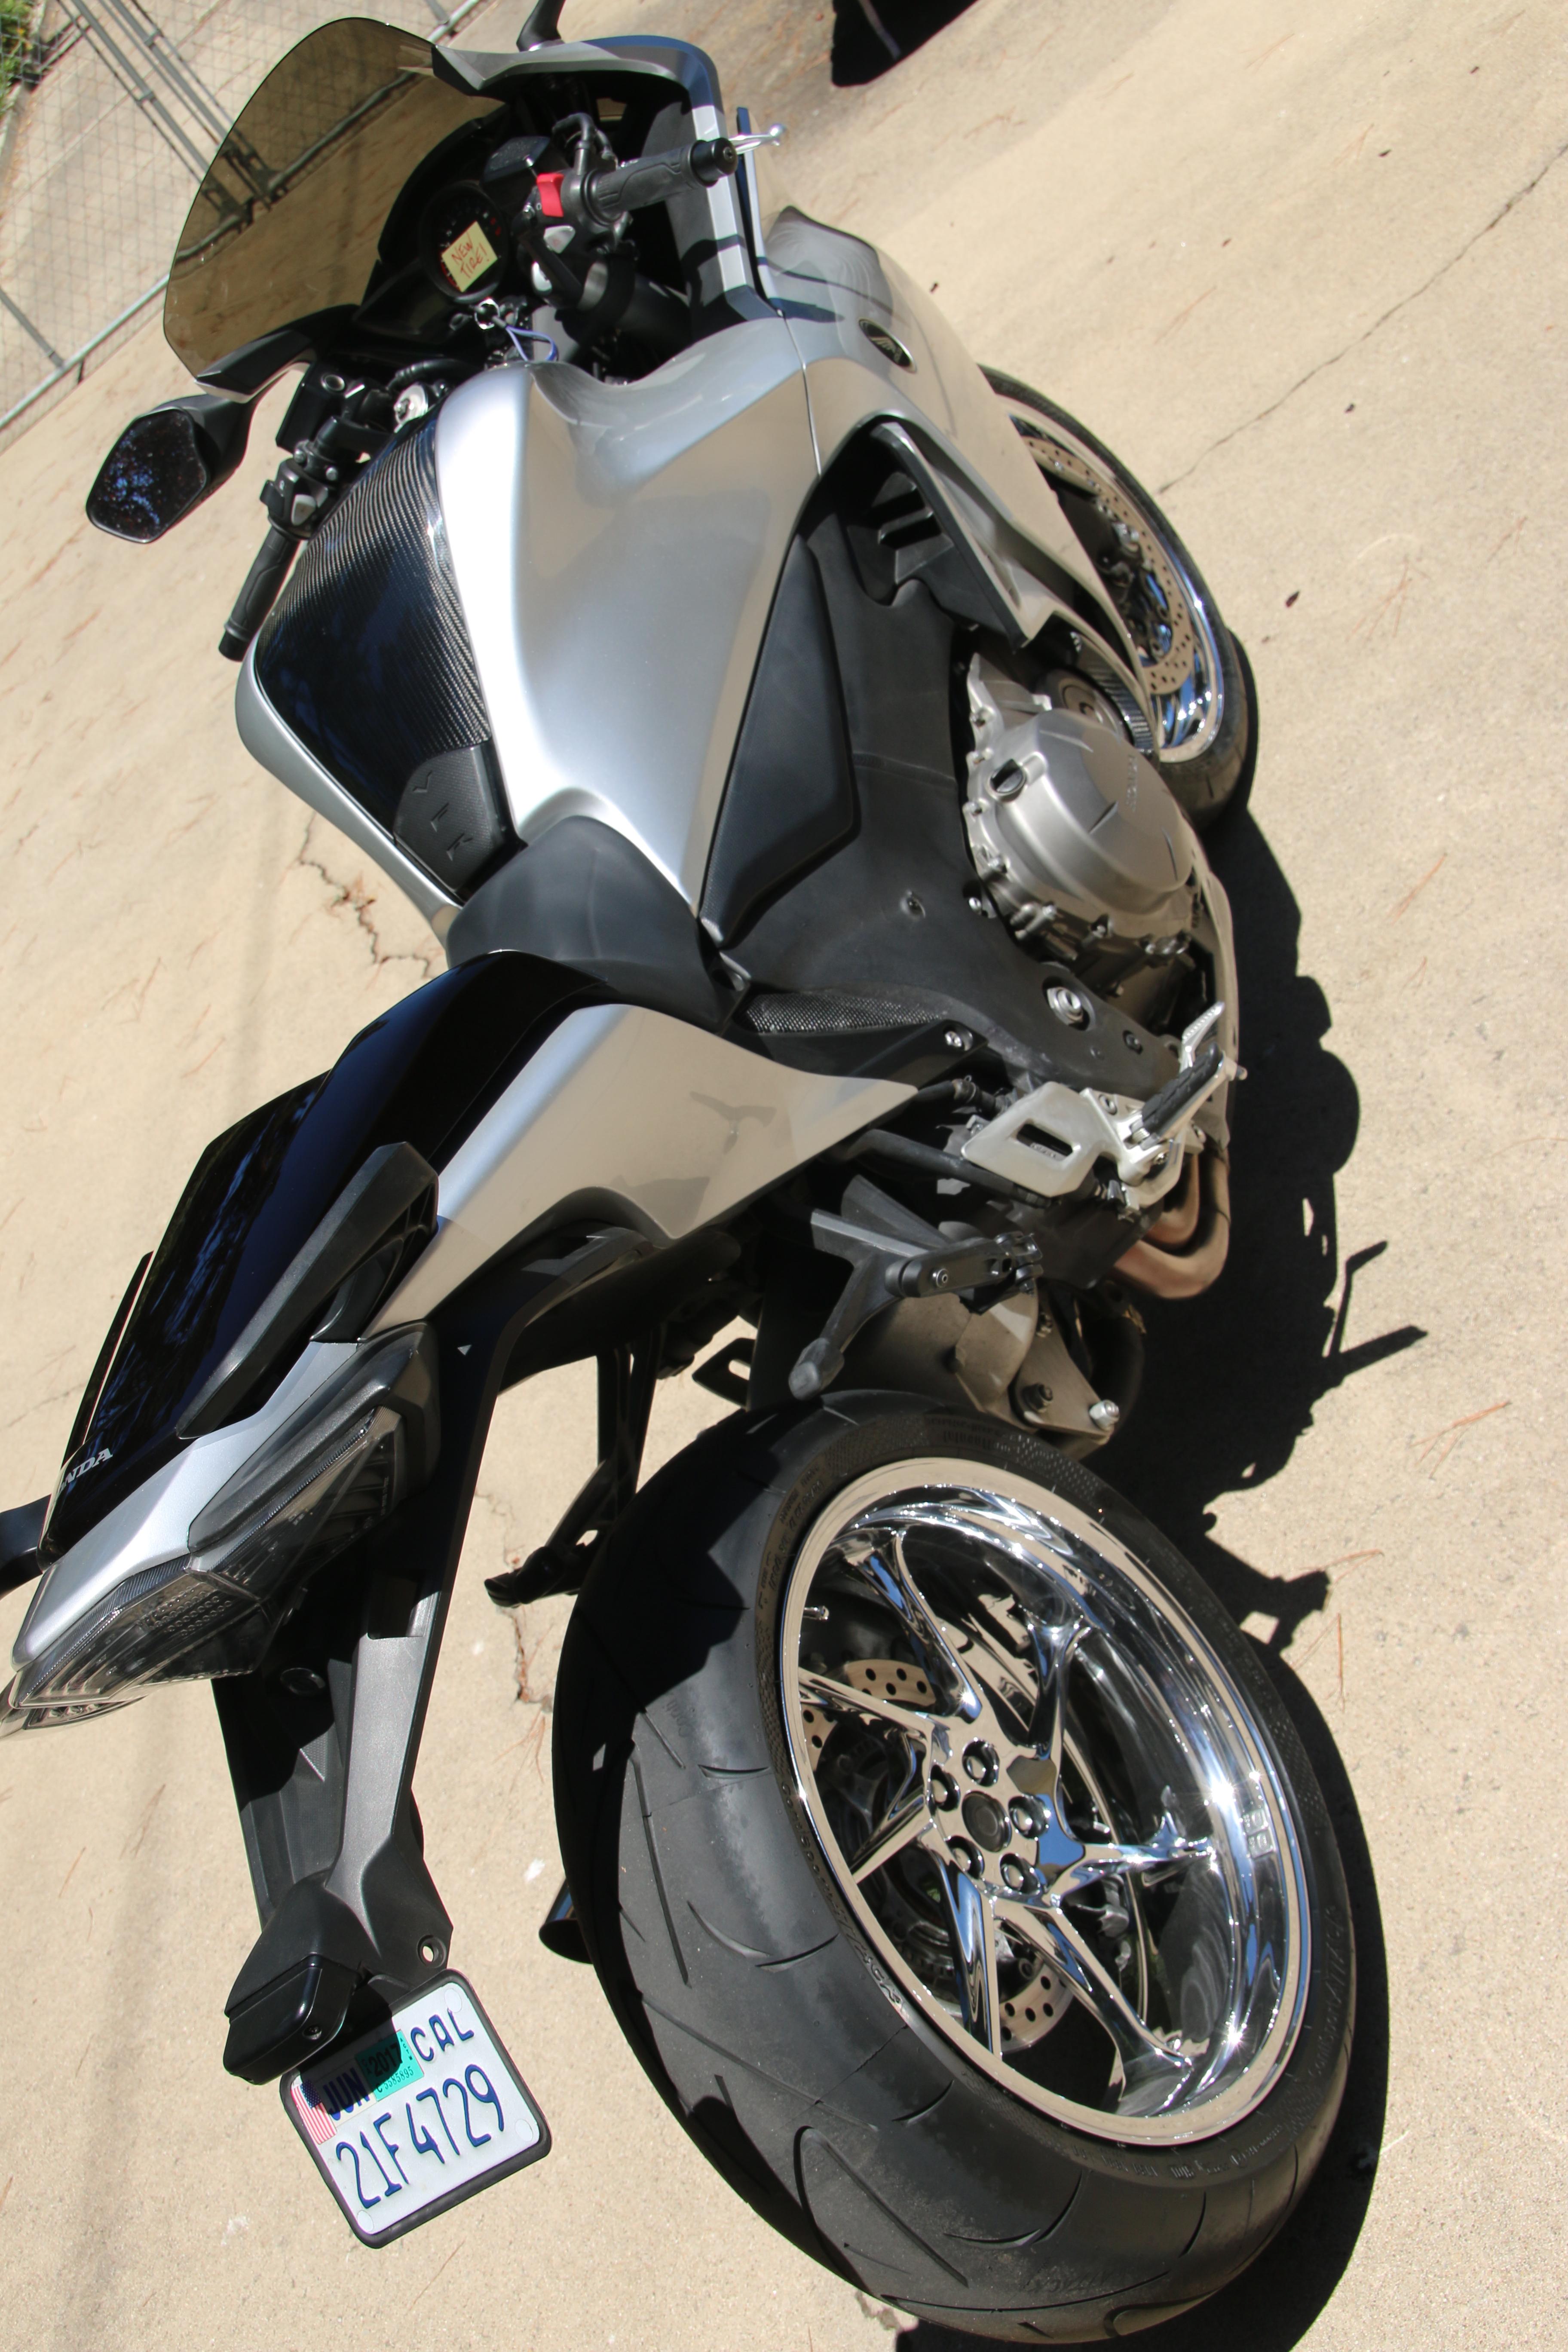
Hi Guys, I bought a set of used rims for my VFR1200 on ebay and had them chromed. I like the look, and think they make the porky VFR look a lot lighter and a bit 'sportier'. Here's a link to some more pics: https://photos.google.com/album/AF1QipOA-Kns44H9K-5_rvWlNM-ofCDvUTB07zoBE9an Major chicken strips, just put the new Conti-Attacks on, and rode around the block before the photos. BLIGHT
-
did they ever come with a plug. hate the odd looking hole or is there a after market option