

KanadianKen
-
Posts
1,159 -
Joined
-
Last visited
-
Days Won
12
Content Type
Forums
Profiles
Gallery
Blogs
Downloads
Events
Everything posted by KanadianKen
-
fuel pump pee pee... My Sixth Gen. Is Taking A Leak!
KanadianKen replied to Veefer Madness's topic in Maintenance Questions
That's the exact product Greg. I just saw this thread title and went to have a look. That stuff is wicked odour chemical. It I'd the job for me. -
fuel pump pee pee... My Sixth Gen. Is Taking A Leak!
KanadianKen replied to Veefer Madness's topic in Maintenance Questions
Sorry - I"m a dumbass and forgot to check what the product was - I will set a reminder and check again tonight. And NO - I won't voluntarily work on getting another fuel pump into a gas tank again, ever....... its a PITA big time! -

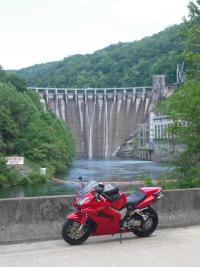
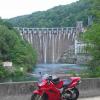
From the album: Muff
-
-
-
fuel pump pee pee... My Sixth Gen. Is Taking A Leak!
KanadianKen replied to Veefer Madness's topic in Maintenance Questions
I had this problem on Gronds VFR a couple years ago after the tank was painted. I ended up removing the pump again, very carefully tapping the flange as straight as I could get it - then applied some airplane quality gasket maker and it seemed to hold. I think the gasket maker I used was from Permatex - but I recall it having AIRPLANE in the title. I can look tonight when I get home as to what it specifically was. -
Nice narrative Timmy - I needed that!
-
Could it be your caliper isn't retracting the pads off the rotor when not applied? might be time to rebuild the caliper.
-
Things Fudged Up After Oil Change
KanadianKen replied to brownelvis's topic in Maintenance Questions
LMAO.......... Bastages..... We have a very OPEN border - likely another Murican snuck through...... imposter!!! -
I actually read through your thread - and was curious what your end result would be. Good job on following it through to the end!! I'd also like to say good job on not flaming the members that sometimes appeared to have "less than encouraging comments" to throw at you - your diplomatic skills are clearly a strong attribute.
-
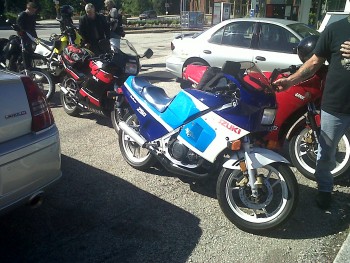
Just a morning gathering at the Ice House in Campbellville.
-
-
From the album: Ice House Ride July 28
-
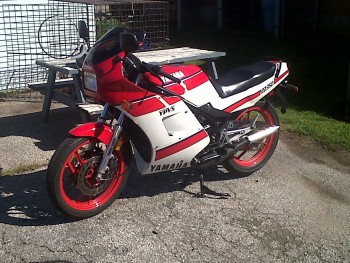
From the album: Ice House Ride July 28
-
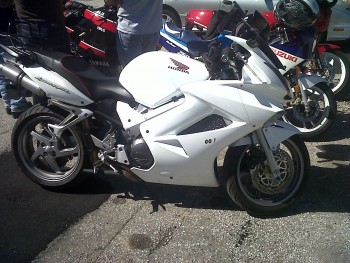
From the album: Ice House Ride July 28
-
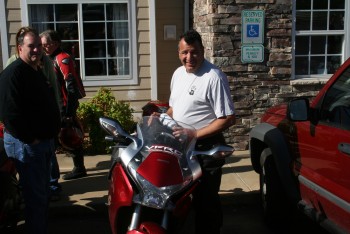
From the album: Ice House Ride July 28
-
From the album: Ice House Ride July 28
-
From the album: Ice House Ride July 28
-
From the album: Ice House Ride July 28
-
From the album: Ice House Ride July 28
-
From the album: Ice House Ride July 28
-
Here you go: http://www.vfrdiscussion.com/forum/index.php/topic/34394-6th-gen-blue-connector-ground-fix-how-to/?p=411780
-
(but you never get out of 3rd gear, nor do you move off your seat..........)
-
Meet In The Middle-Ken & Timmy
KanadianKen replied to timmythecop's topic in Ride Reports - VFR Touring/Riding
Yep - I recall being a little "provoked" firing that thing up.... I'm still laughing about not really being able to use all the gears properly. So easy to travel in 3rd gear to cruise on the highway. I can't imagine what its like for the RSV4 boys on the highway - 2nd - maybe 3rd? Wish it had been better riding conditions - I hope to get a chance to ride it again through some actual curves in the dry. And I also hope to get to ride it again before the flat black attack happens. -
Meet In The Middle-Ken & Timmy
KanadianKen replied to timmythecop's topic in Ride Reports - VFR Touring/Riding
I was not upset by making the decision to trailer down - as upon my return to the Great White North - the wait at the border was about 1 hour 20 mins long... Of course once I got my turn - i was stopped for a whopping 35 seconds and across I went.... But think - 95 degrees, wearing a Snowsuit (read Aerostich) and stopped in the baking sun for that long will leave long term heat stroke! The area we were in was absolutely gorgeous scenery. The roads seemed to be in great shape, and what we rode on was nice. The people of Wellsboro were over the top friendly. Even a slightly dubious Chinese Restaurant turned out to provide amazing food. The downtown area of Wellsboro is one block from the Penn Wells Lodge, and its loaded with restaurants, grocery, etc.. We ate at the DIner that Timmy posted a pic of - the food was excellent - the server was challenged..... The Motel has wifi - although it is limited to the lobby area. Its a very clean motel, and I'd gladly stay there again. Behind the motel is a volleyball court on the grass, along with BBQ area to grill up your own grub. I made it home on 3/4 tank of fuel used in the Pilot. Its an easy drive from Toronto and next time I go - I will again trailer - as the roads leading to Wellsboro are slab, slab and more slab until about 30 minutes from Wellsboro. Last thing - I will bring my family next time- as they would have a hoot in the pool at the motel and there seems to be lots to see and do in the area. Only thing we couldn't find in Wellsboro were the whorrrrrrrrrrrres....... Quick Vid I edited.... -
 Happy Birthday Slammer!
 -
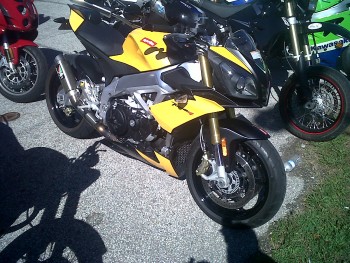
10Th Annual Tmac Picture Thread
KanadianKen replied to HispanicSlammer's topic in VFRD Spring Memorial Ride (TMAC)
I think I have some more to post. Will have to look. I see that one"douche bag" made it into the background once. My photo shop skills are limited so for now he'll have to stay.
