Search the Community
Showing results for tags 'volt meter'.
Found 5 results
-
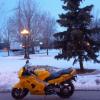
I picked up this 1992 RC36.1 last spring (2018) in Connecticut (USA). It was a really good price, but not exactly a cream puff so I’ve been trying to bring it up to a decent standard and as cheaply as possible. To do that, I've been poking around online and you all have been guiding me too, so thank you for that. By now I have a few insights and experiences of my own that might actually help somebody else. Time to get out of the shadows. The odometer was at just over 25,000 miles when I got the bike and I am at least the fourth owner. The bike's history is long lost along with a number of odds and ends, bits and pieces. I wonder if there is a way to trace it all back. The guy I got it from seemed honest and funny but he had some curious theories of shade tree mechanics so it's taking me a little while to learn to trust the ride. I'm still semi worried about the long term effects of some of his theories but so far, so good. The title showed that he'd bought the bike in 2012 at 23,122 miles. So we're talking 2000 miles in 6 years. I’ve ridden about 1200 miles in less than 4 months without major surprises. I've also encountered the usual gen3 issues. When I took it on, the bike had almost new tires and chain and battery, and the upgraded regulator/rectifier. The starter clutch is supposed to be new too. The engine oil was the color of honey. I needed a few things right away and, as you'll see, this is a work in progress. The cosmetics really, really need help. Really. Look closely at my photographs and you'll spot plenty of issues. I haven’t decided exactly how to proceed on those yet, but I’m considering options. You are welcome to make suggestions here and I might even follow some up. And I can tell you all my experiences so far. A few things done as soon as I got the bike home... Front Brake Switch I needed a front brake switch. These are $16 at Honda or $3 from China for a generic one on Ebay, or maybe it was Amazon. I’m trying out the $3 version. Sorry Honda. The one I got is pretty cheaply constructed with a thin plastic shell, but it does fit and work as advertised so far. I check it before every ride. If it doesn’t last, I know where to find the real one. Or I can get 4 more cheapos… Krator Mirrors I picked up the Krator replacement factory-look mirrors too, also from Ebay (...or Amazon...). They’re fine. The bike came with carbon look mirrors that were a mess. I know lots of you prefer newer styling and you get rid of the boots. I’m content with the original look. The Krator fittings are plastic, not metal, and the boots are kind of a fiddly fit on the proximal end. But you can tighten down the collar so that with a little patience you can get the boot to stay in place. These cost $22 for the pair. Honda OEM? Um, more than $22. Keys I needed proper keys. The bike came with a single cut key that looked like a generic car key made at the DIY store. It didn't even fit all that great. I had to get the key code from under the gas cap and there are services that’ll make you the right key from the code for about ten bucks. Once more to Ebay. Once more cheaper than the dealer. I don’t have anything against my local dealer. Not at all. I feel bad not supporting the guys more. But jeez louise, I just can't afford it. I wouldn’t even mind paying a little extra, especially if I could just walk in and out again with the parts I need. Unfortunately, not only is the dealer expensive, but most things have to be ordered from the warehouse anyway. So I still have to wait three or four days. I’m just sayin. So far I’ve had good results from all Ebay orders. I'm not thinking they're better than OEM. But some things are good enough. There's plenty more to add, but that's it for today. Stay tuned.

-
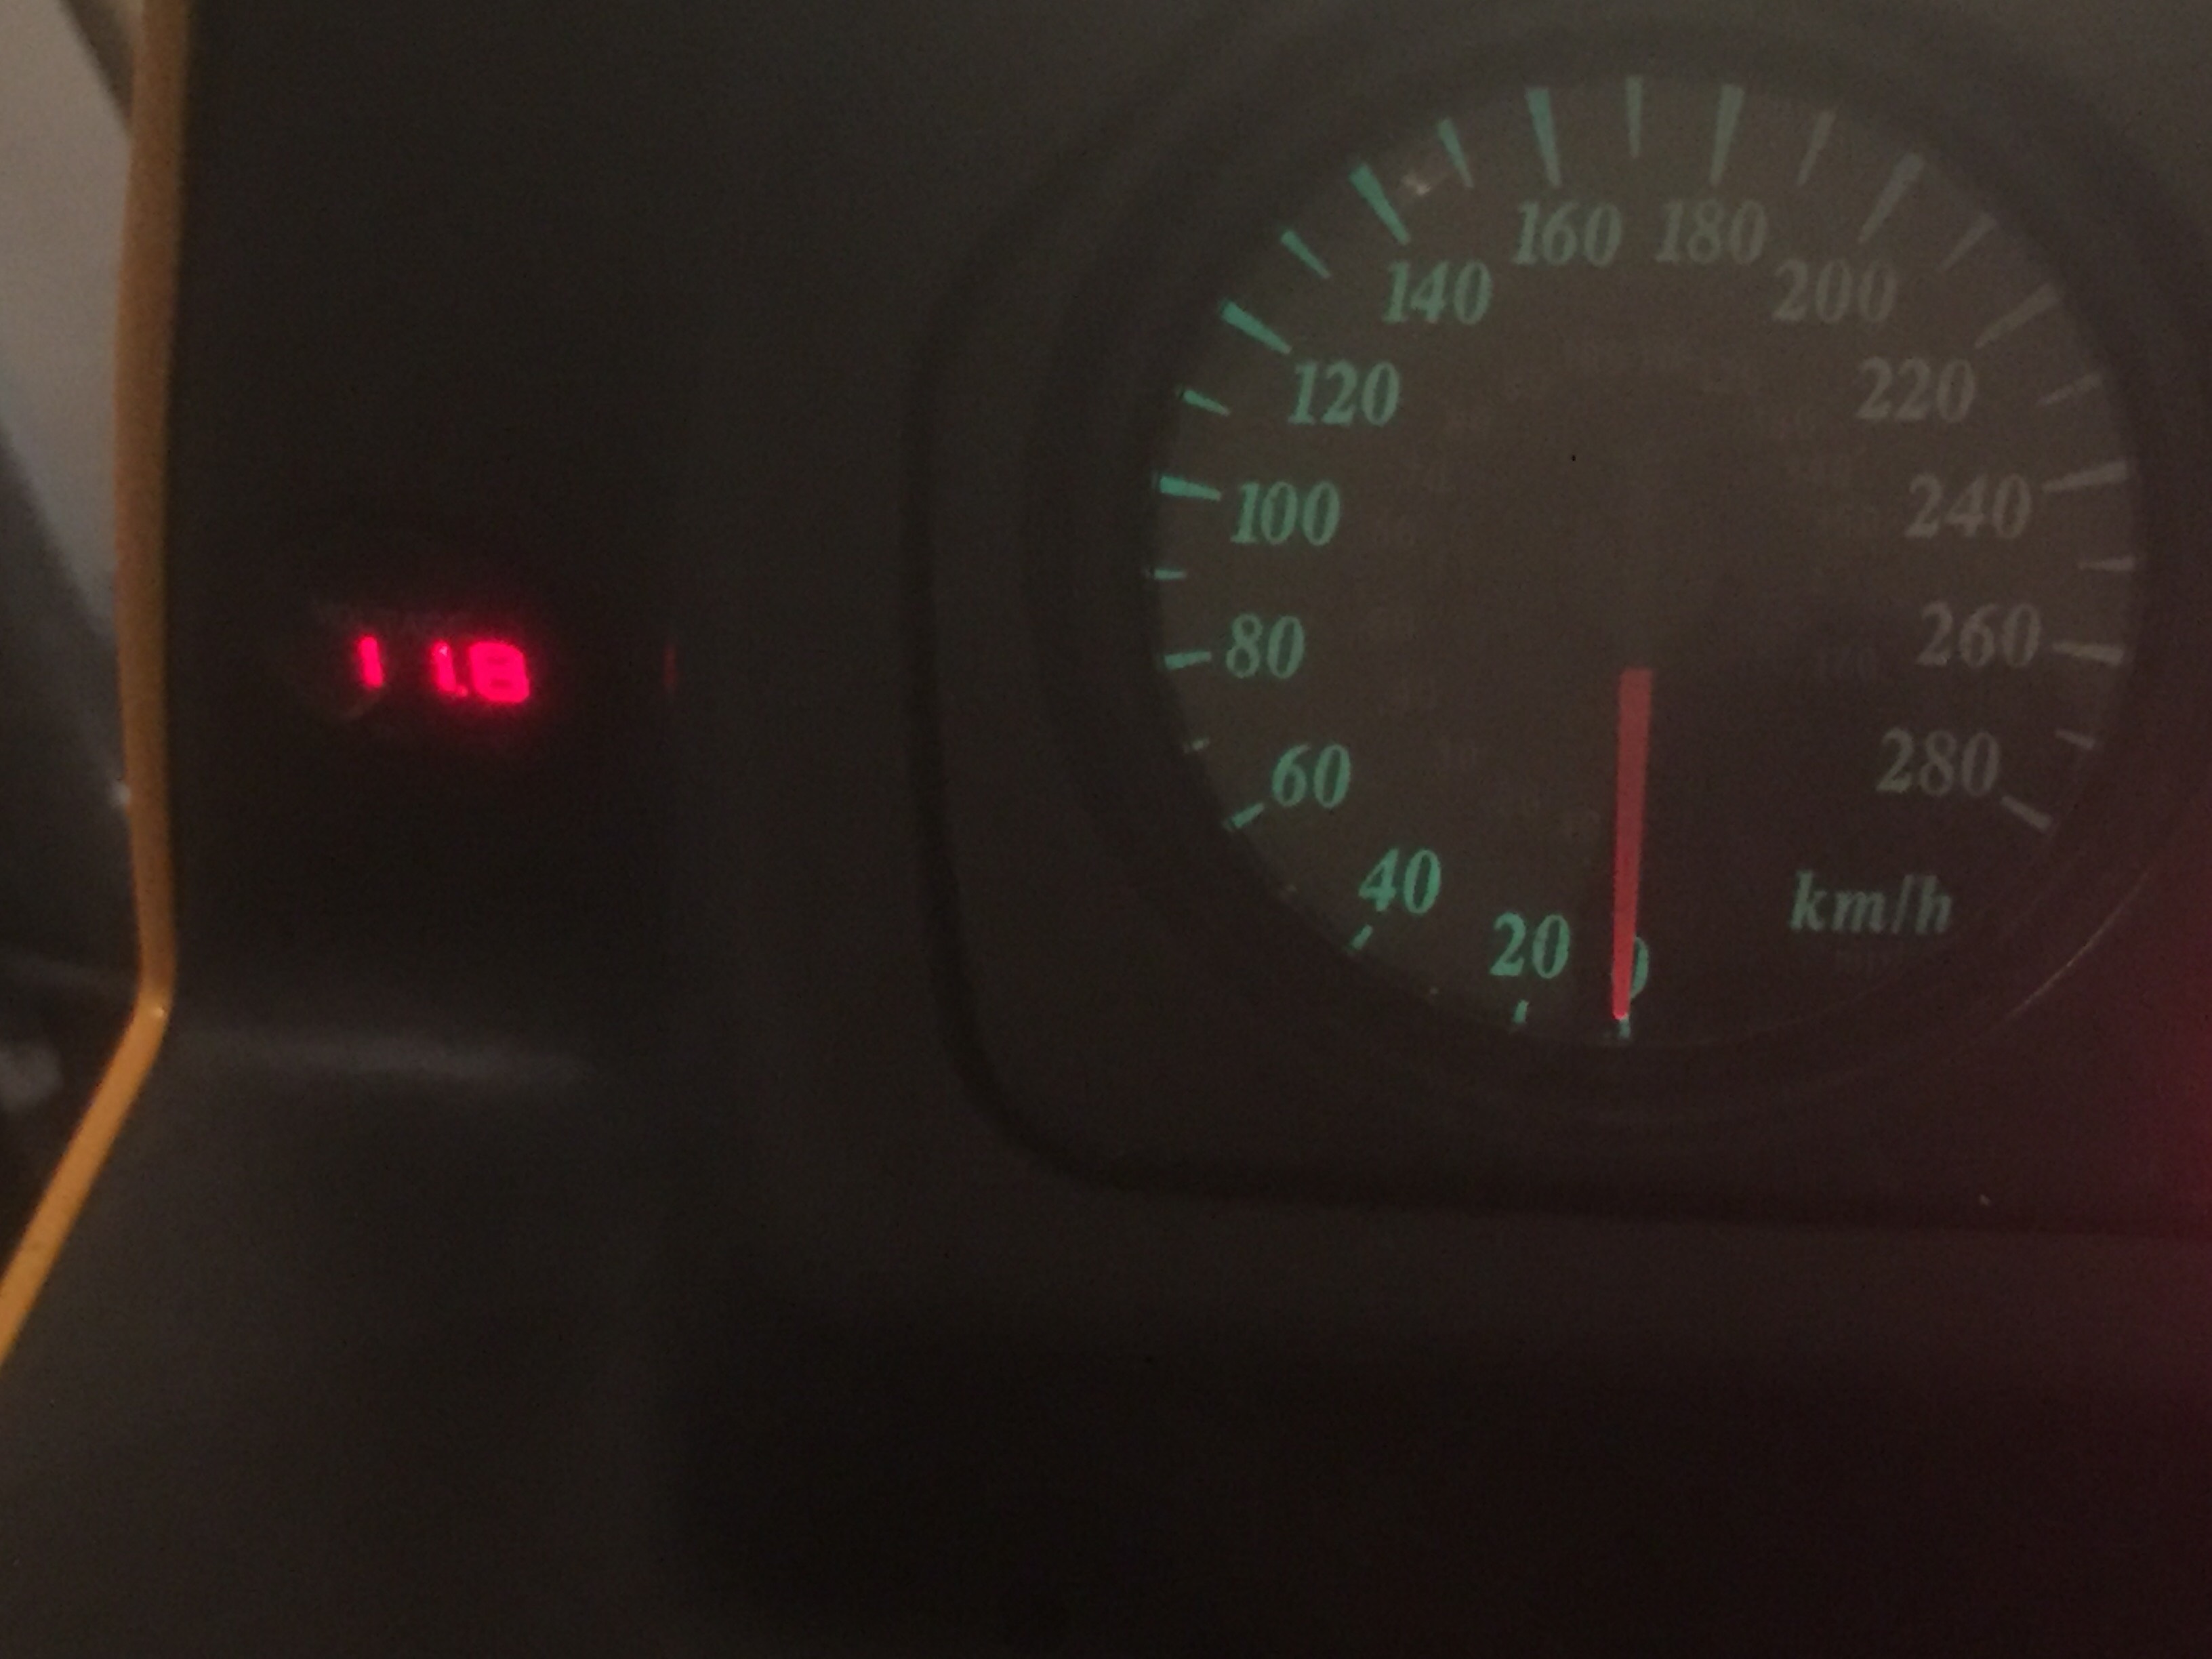
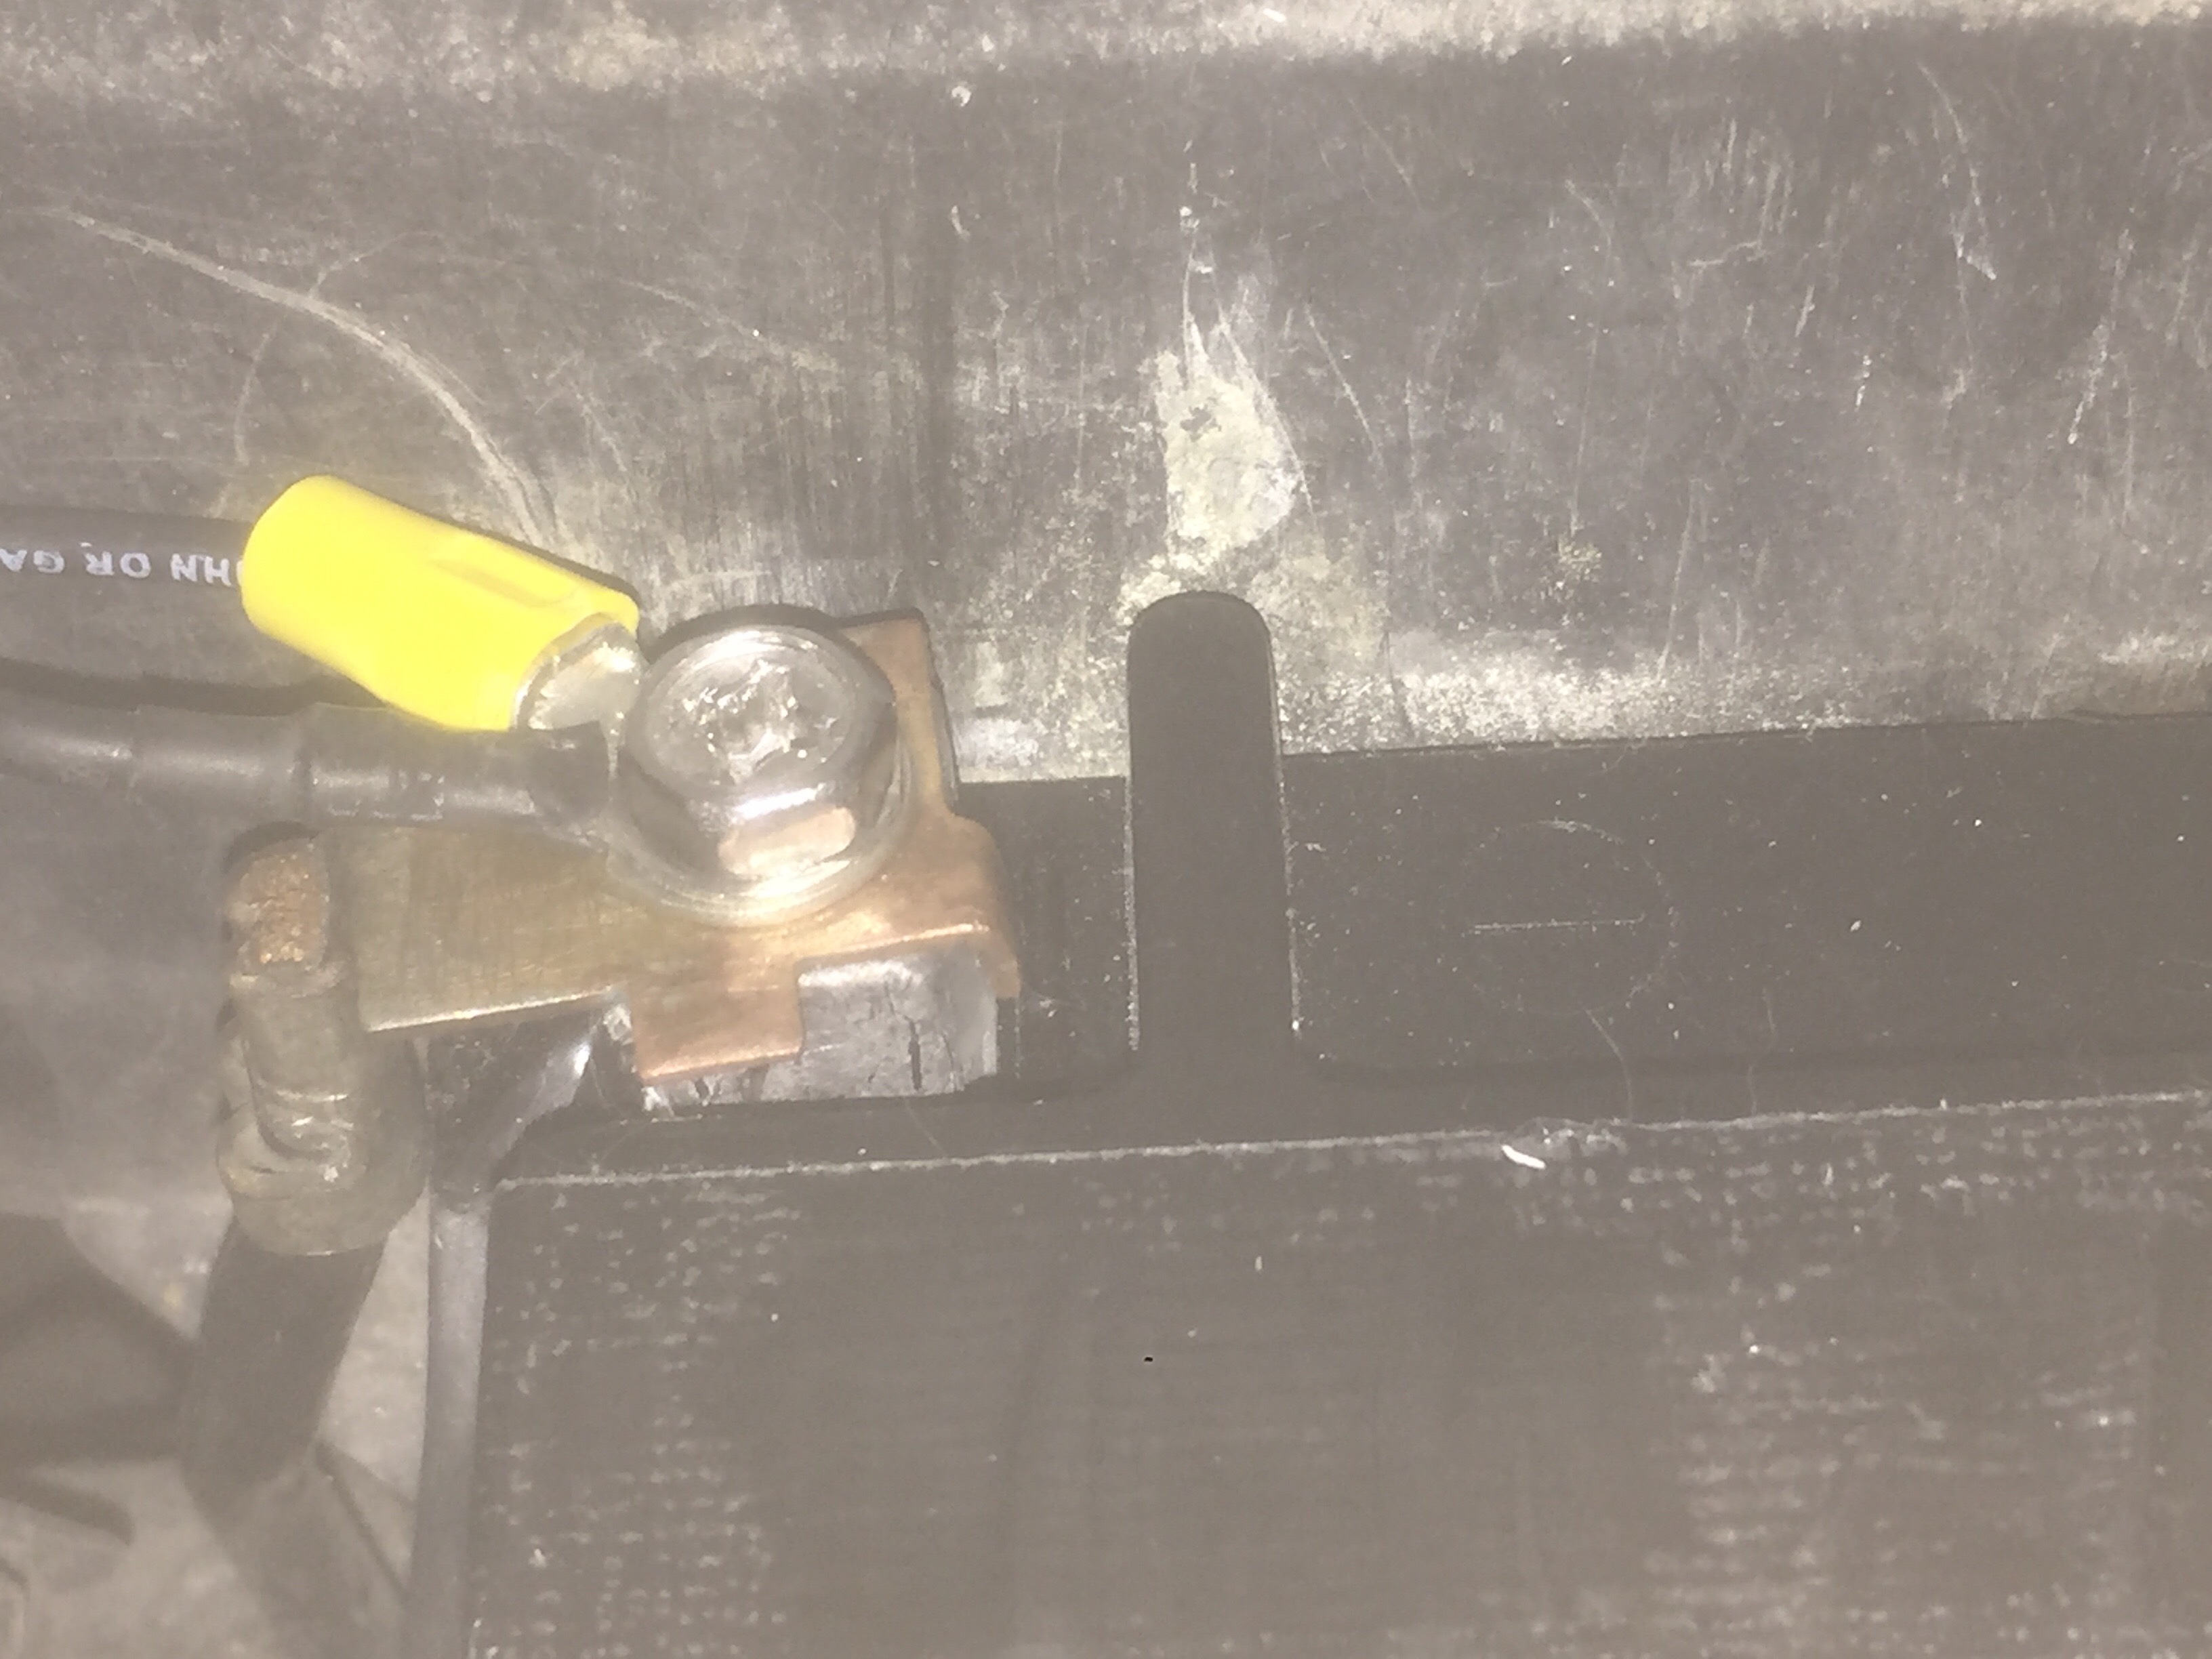
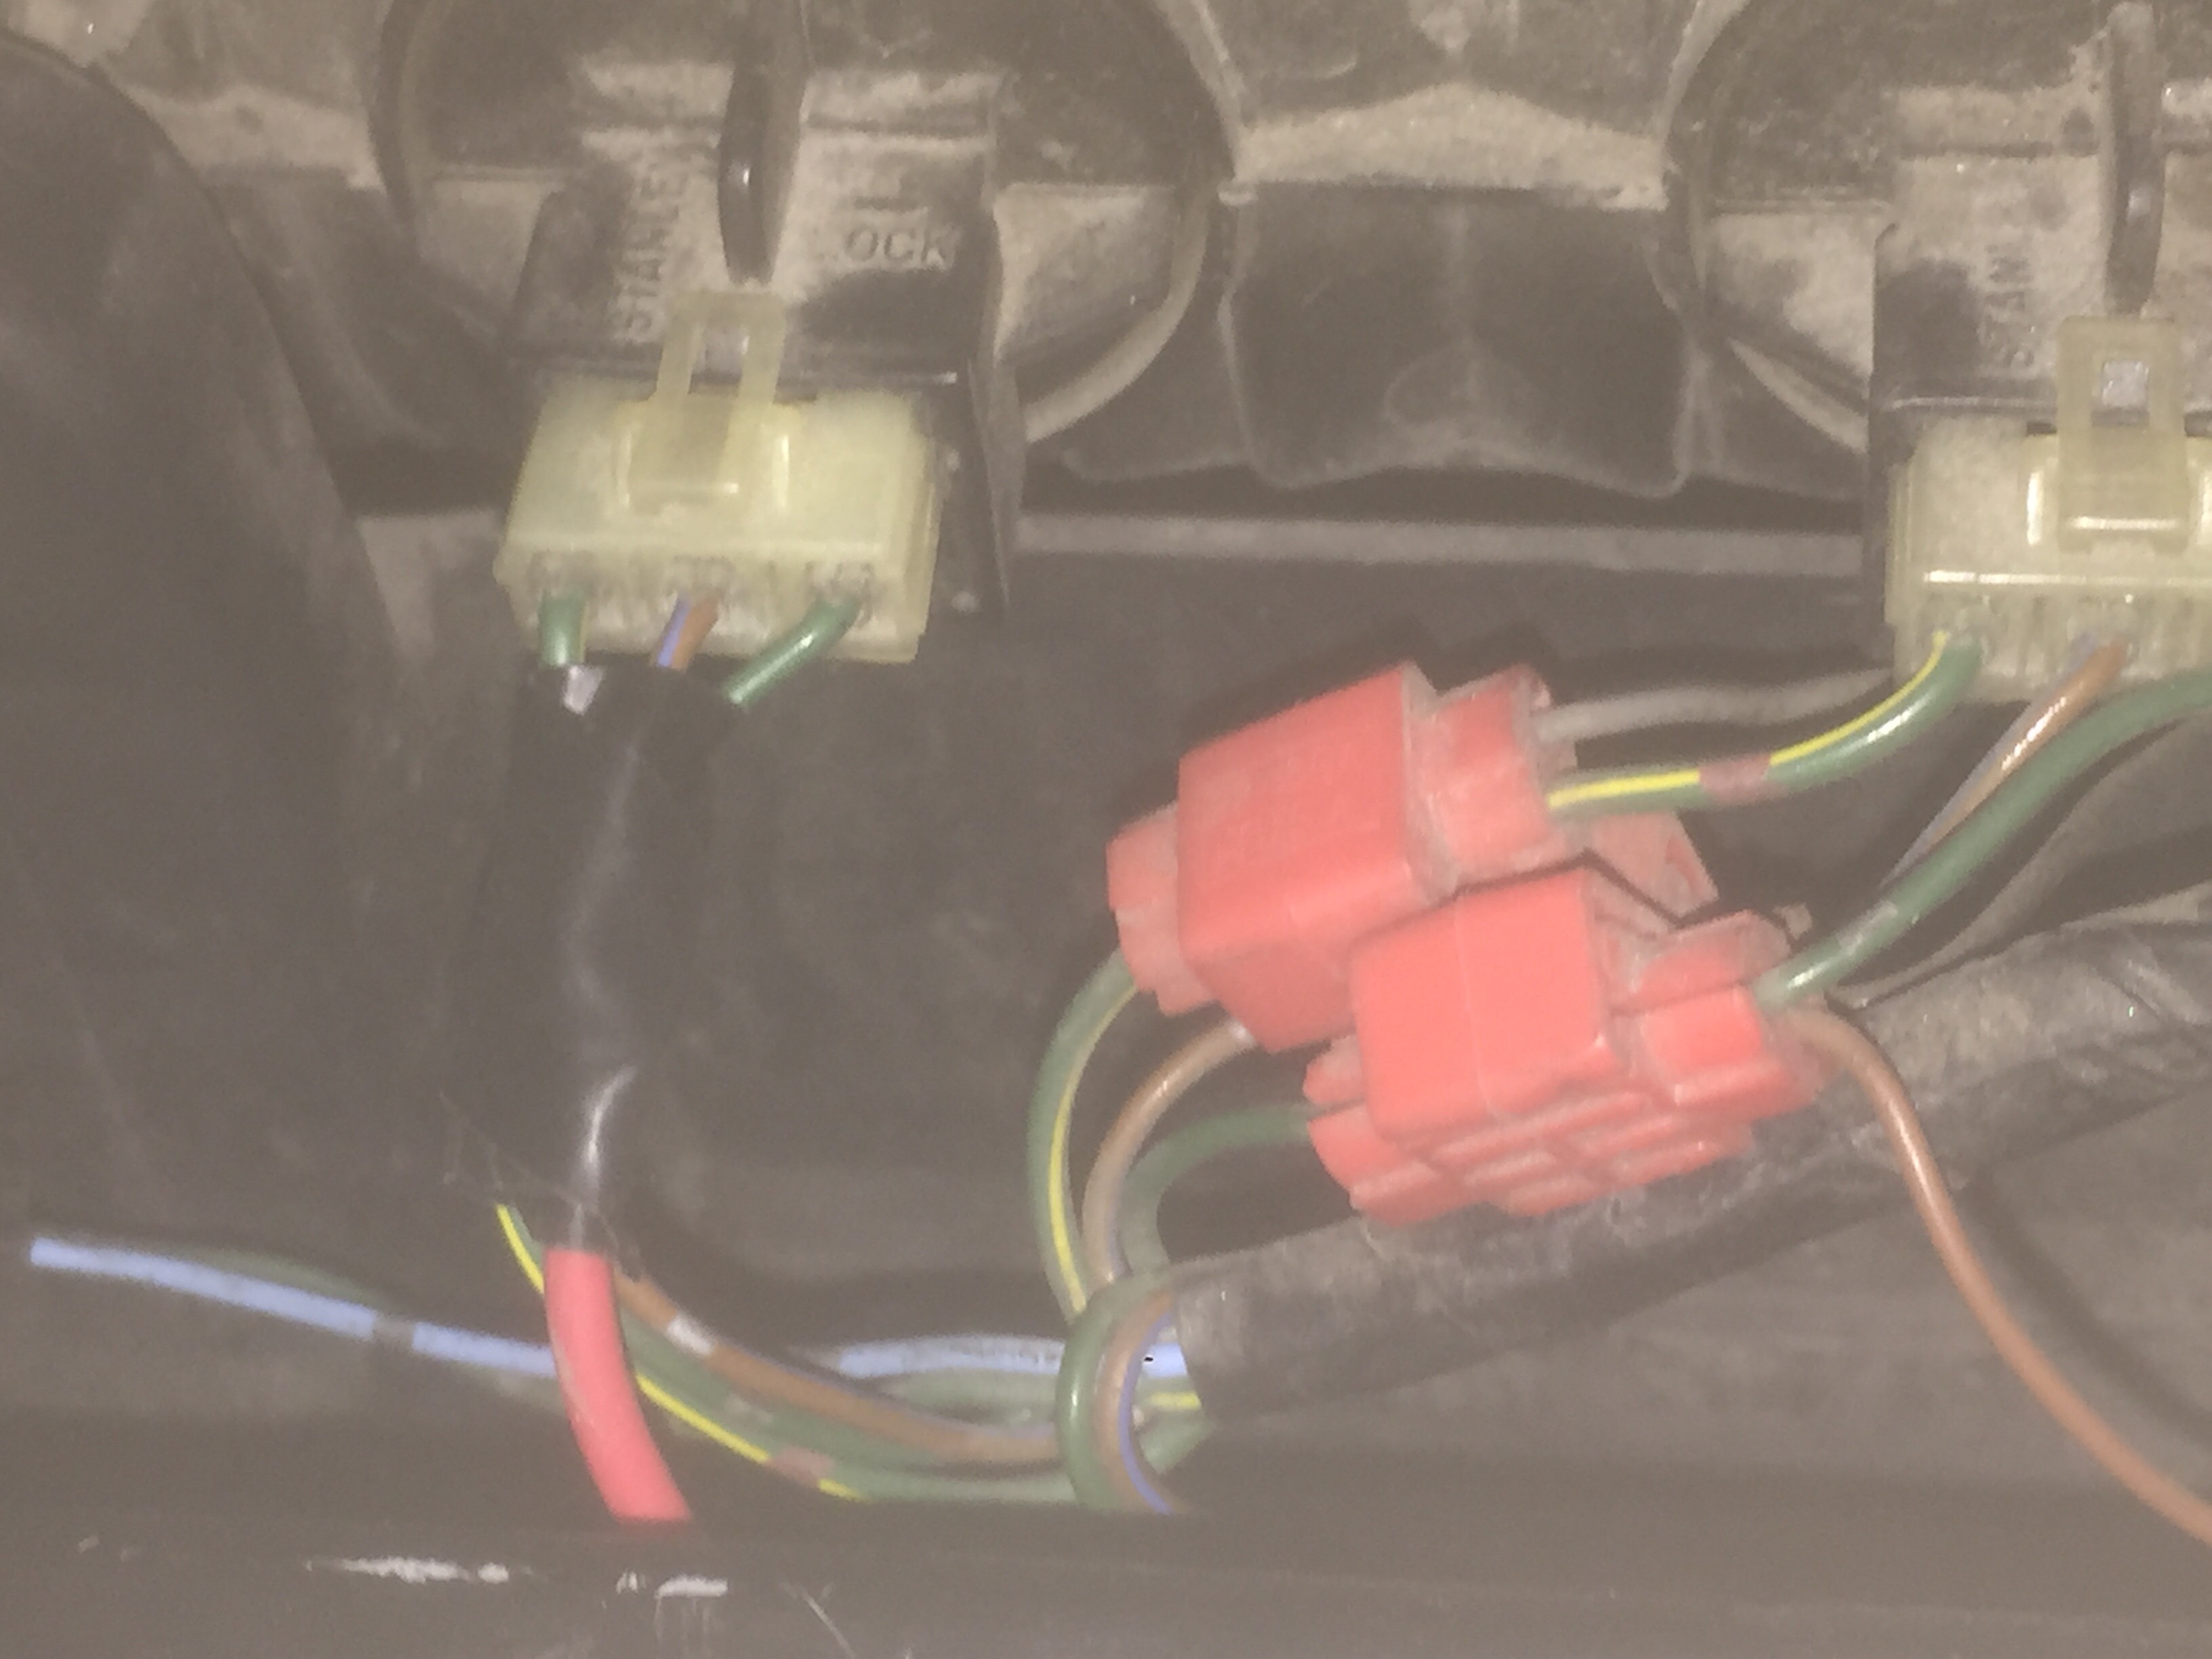
Howdy folks, Had a bit of a frustrating time installing my volt meter so I'm sharing my experience so others don't have to feel the same pain. First, here's what NOT to do. DO NOT install your volt meter directly to the battery. Although the meter I got says it draws a minuscule amount of power - after several days of not riding it drained the battery. I'm sure if you ride everyday it wont be a problem, but why take the chance. DO NOT touch the frame when you are installing a live wire. I shorted out one of my fuses when testing one of the connections when the wire accidentally touched the frame. Ok, now for the fun stuff. 1) Decide on a mount location 2) You will want to tie into an existing wire that is triggered by the ignition (eg. headlight, tail light). That way the volt meter is not drawing any power when you're not riding. Decide where you will tie in your live wire (red) and leave enough wire to reach that spot. I tied into the tail light and snaked the wire along the left fairing and under the gas tank. You want to ensure the wire you cut is the one that power runs through. Check your wiring diagram if you have one, or use a voltage multi meter to test. 2a) Optional - connect a fuse switch to your red wire. This will prevent a short in case of a faulty connection. 3) Using an x-acto knife strip the tail light wire about 1/4 inch in length of where you want to tie into. Be careful to not cut the tail light wire. The wire is small and in a cramped place so find someone with tiny hands (perhaps The Donald?) to help if you can't get in there. 4) Wrap the red wire around the now stripped tail light wire. 5) Solder the connection. Wrap it in electrical tape for good measure. 6) Connect the black wire to your negative battery terminal. You'll need to get a solderless electrical terminal to attach to the end of the wire so you have a solid connection to the battery. 7) Done!
-
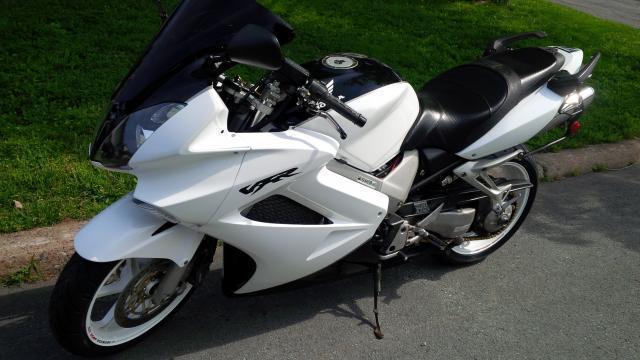
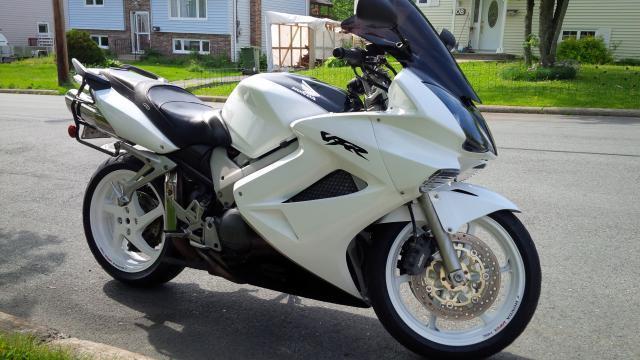
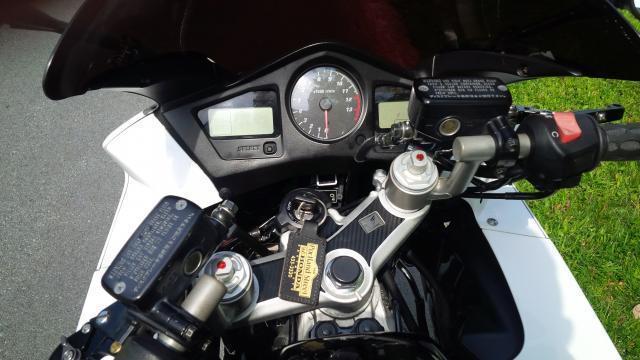
A little background first... I've been riding about 8 years now; started with a 2005 Ninja 500, then 3 years ago I made the move and upgraded to a 2002 VFR800. I was looking specifically for a 2009 in white/black (as I find this to be the best looking bike on the road), but when I saw a 2002 painted in that exact color scheme (!!!) on Kijiji for about half the price the 09's were going for, I knew what was going to happen next... and 2 days later I own a 2002 VFR800! 43,000km or so, currently at about 54,000km. 'Mods' when I bought it: - Repainted in '09 White/Black, no decals on the bike - all logos are airbrushed - Carbon Fibre-ish gas cap cover - Carbon Fibre-ish mirrors - Carbon Fibre-ish barends - Carbon Fibre-ish tank pad - Black Double-bubble windscreen - LED license plate bolt bulbs Mods to date: - Carbon Fibre-ish triple cover - Clear front signal lenses - Heli-bars - Pro Grips - Power Commander 5 - Corbin Seat - Honda Factory Sidebags - Fiamm Freeway Blaster Horn - Battery Tender Jr SAE harness (and BT SAE->USB adapter for charging) - RK Gold XW 520 Chain conversion with steel -1+2 sprockets - EBC HH sintered rear brake pads - De-snorkeled, de-flappered, PAIR removed JUST ADDED: - Autotune - Aftermarket clear/red taillight - "Chrome-dome" turn signal bulbs - full amber glow, only chrome tipped not fully dipped, but when off show silver when facing bike (in transit) - Gear indicator (cheapy Chinese eBay unit - have not finalized the pickup locations as my forks are still off, need to get it on road to test it) - Volt meter (eBay cheapy from China) - SpeedoDRD to correct changed gearing and factory inaccuracy - 6sigma PAIR blockoff plates - VFRness - Ricks R/R - Jamie D rear shock (CBR600F4), fully adjustable cartridge kit in forks - Replaced carbon-fibre look barends with OEM black barends - Replaced carbon-fibre look mirrors with OEM black mirrors - New starter relay / connector / wiring (due to melting, see thread "crispy starter solenoid") - Went through every connector and as much wiring as I could access to ensure nothing else is burned/melted/needed to be replaced. Dielectric grease ftw - New rear Pirelli Angel GT - Replacement OEM Honda spark plugs - Chinese adjustable/foldable black/titanium levers Mods to come: - 8 spoke 90-93 rear wheel (working on finding one) - Sebspeed clear clutch cover - Staintunes (possibly) - Rear OEM topcase (possibly) Its been a fun winter of farkling... If anyone wants details on install of any parts, or any specific pictures, post up or PM me! Pics (taken today 07/04/2015)
- 8 replies
-
- 1
-

-
- pcv
- power commander
- (and 8 more)
-

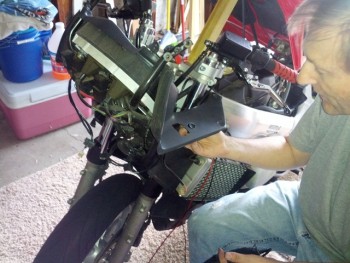
From the album: mello dude whack job wiring
-
From the album: mello dude whack job wiring

.jpg.bd5e9f6b3ba3663fb38f0d9441c4c2e4.jpg)