Dutchy
-
Posts
10,249 -
Joined
-
Last visited
-
Days Won
370
Content Type
Forums
Profiles
Gallery
Blogs
Downloads
Events
Everything posted by Dutchy
-

VF500F2 Aka MBD Incubation Period At Least 52 Years
Dutchy replied to Dutchy's topic in Earlier VFRs
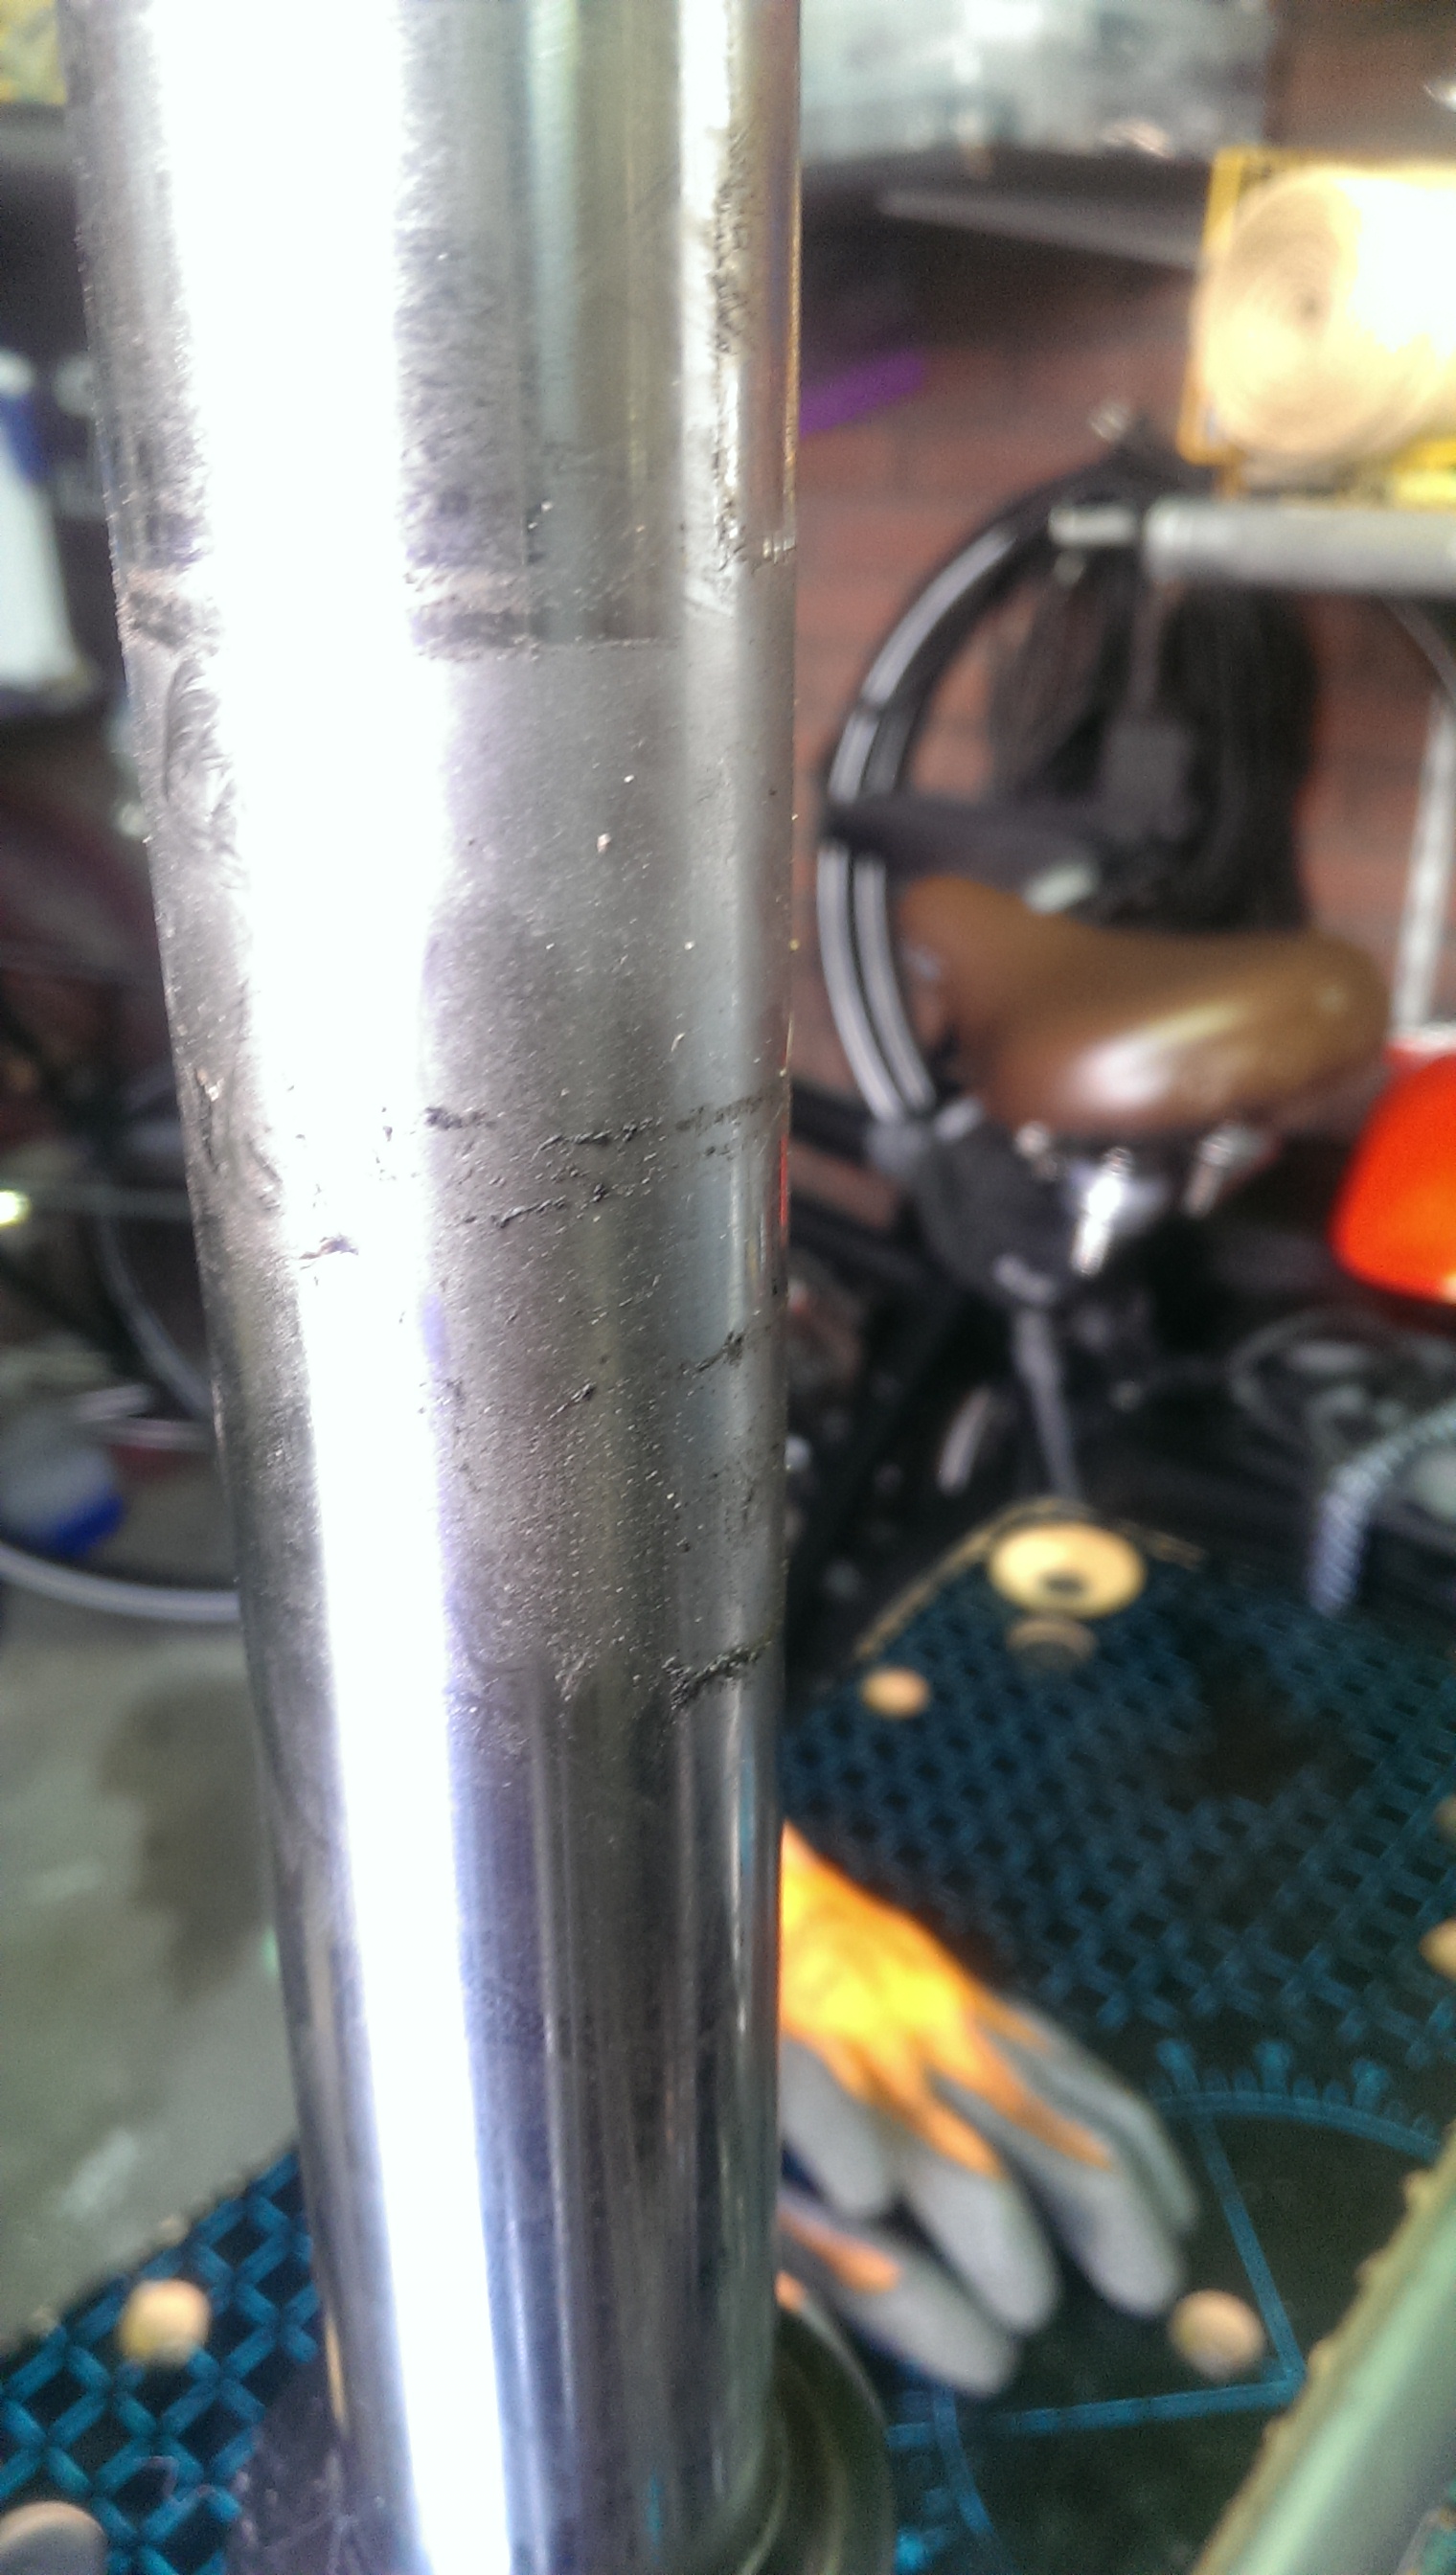
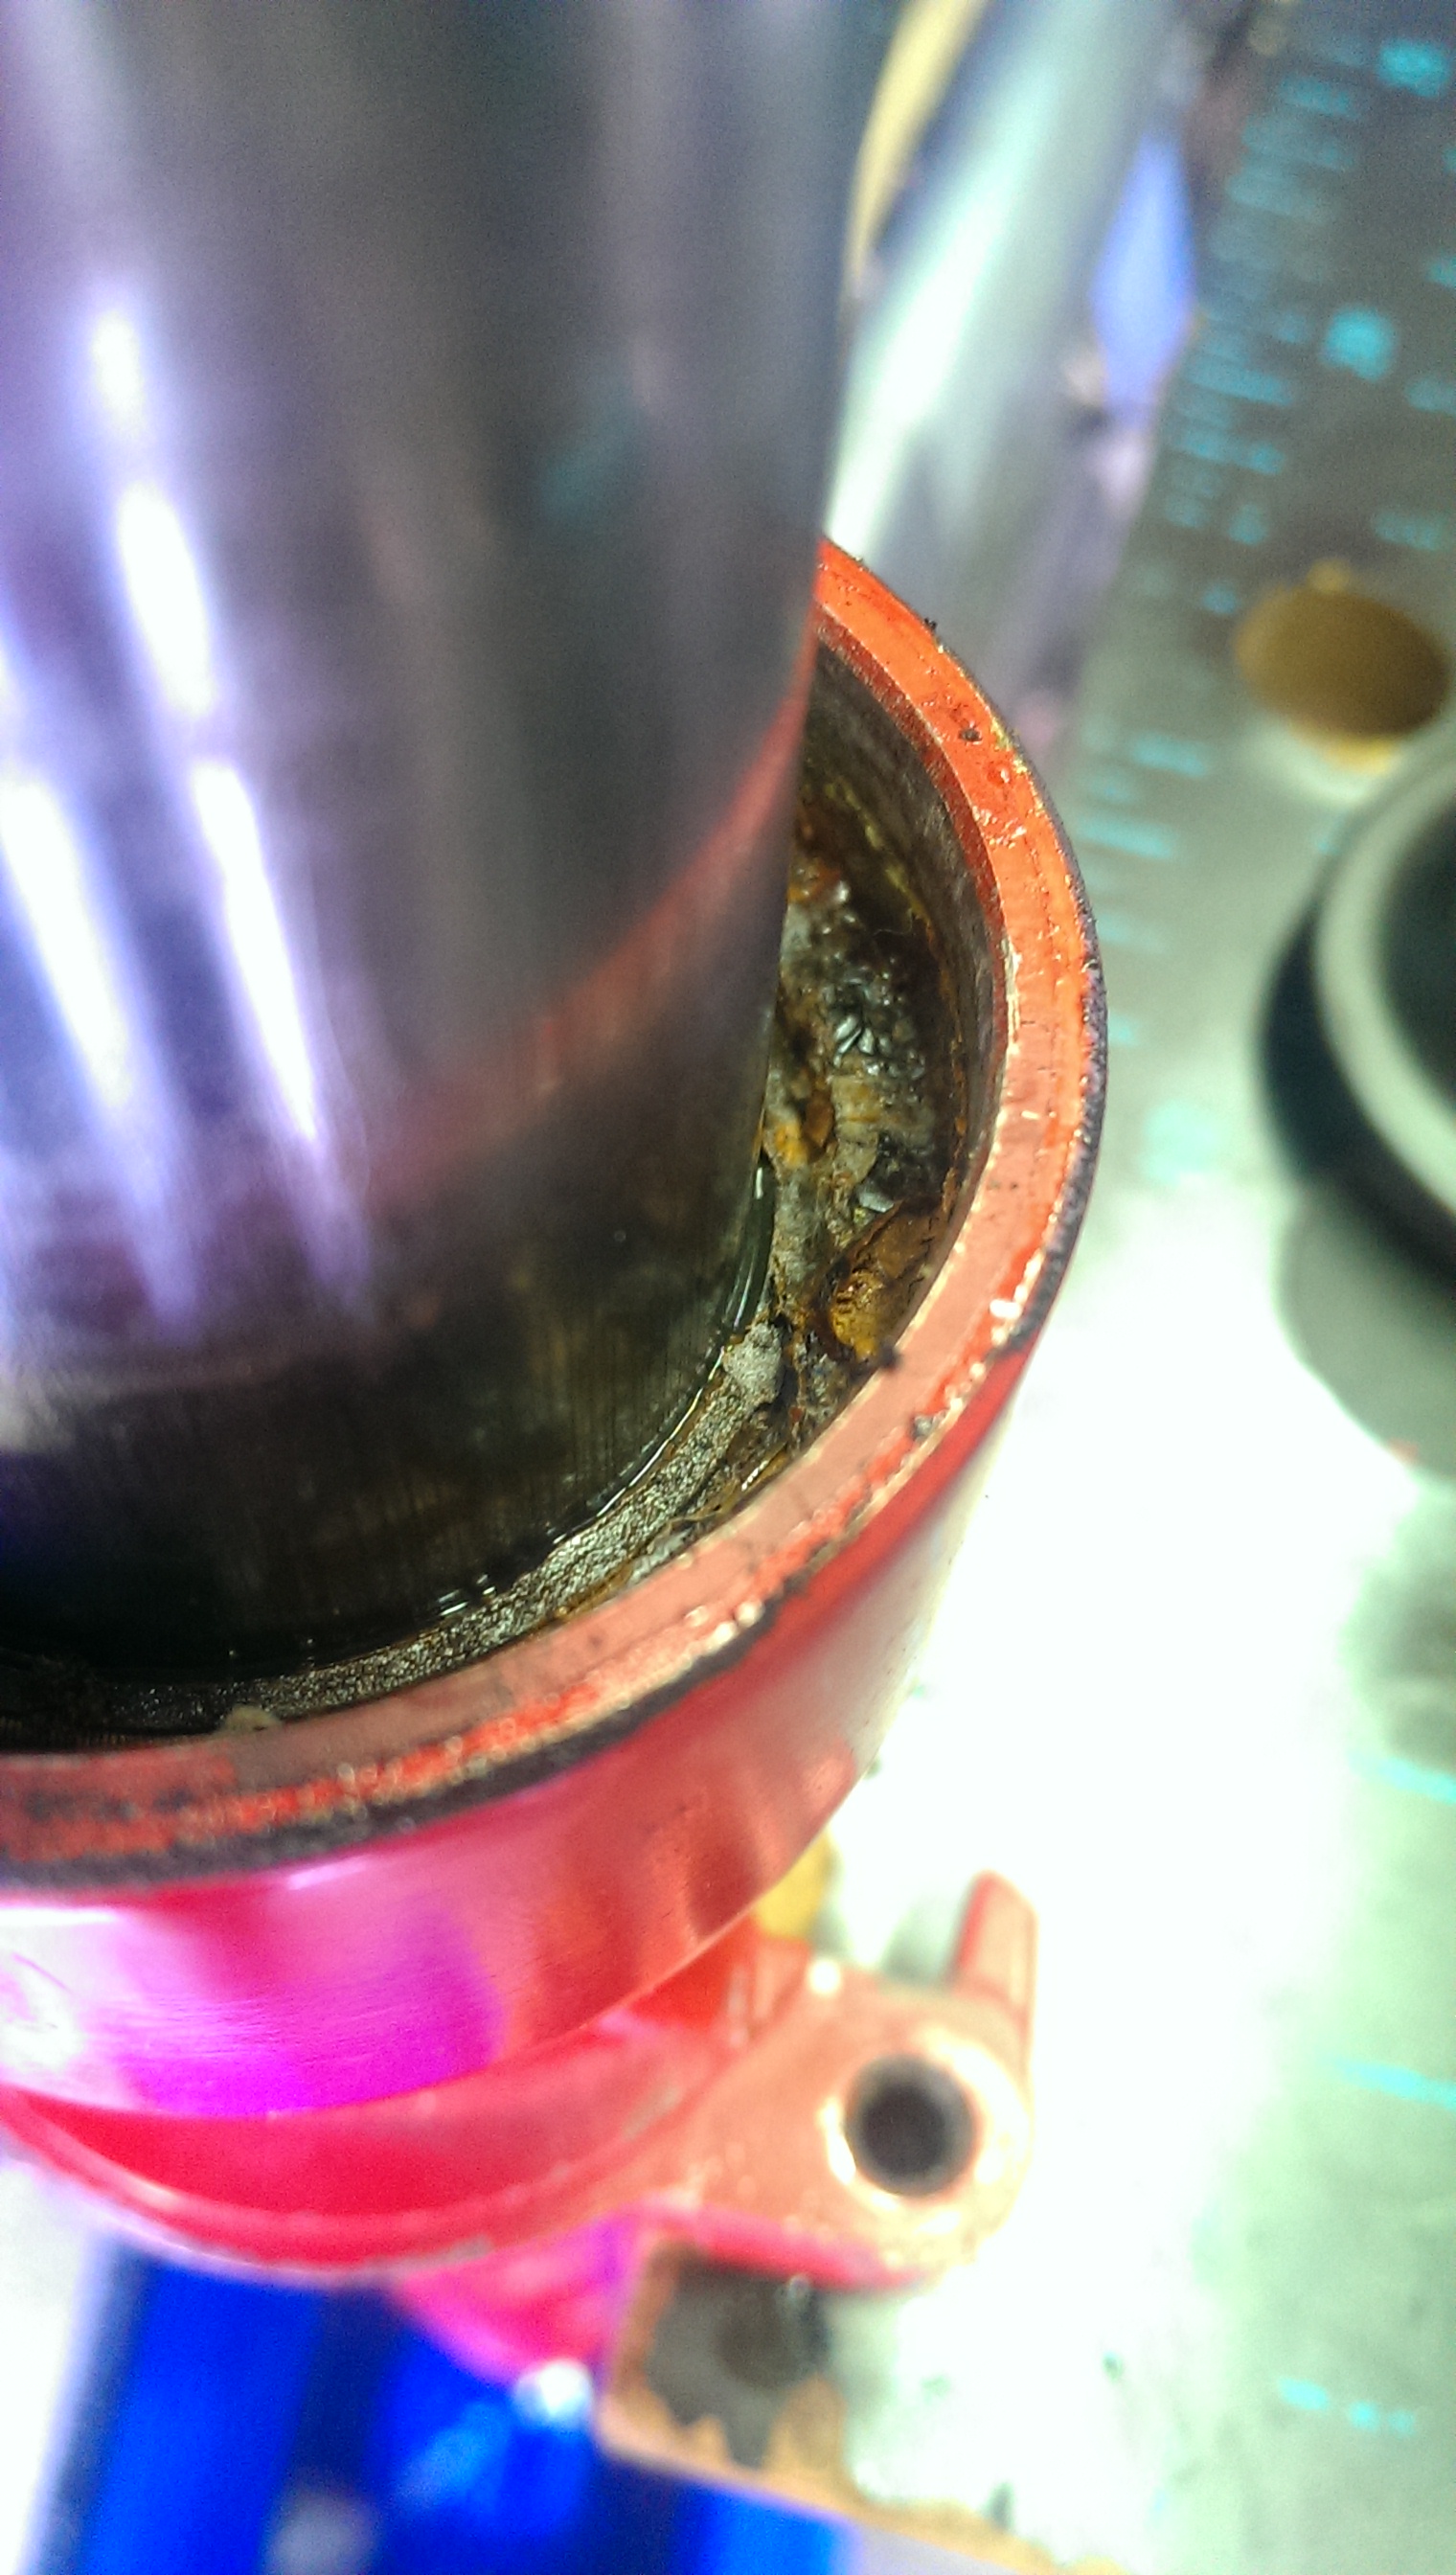
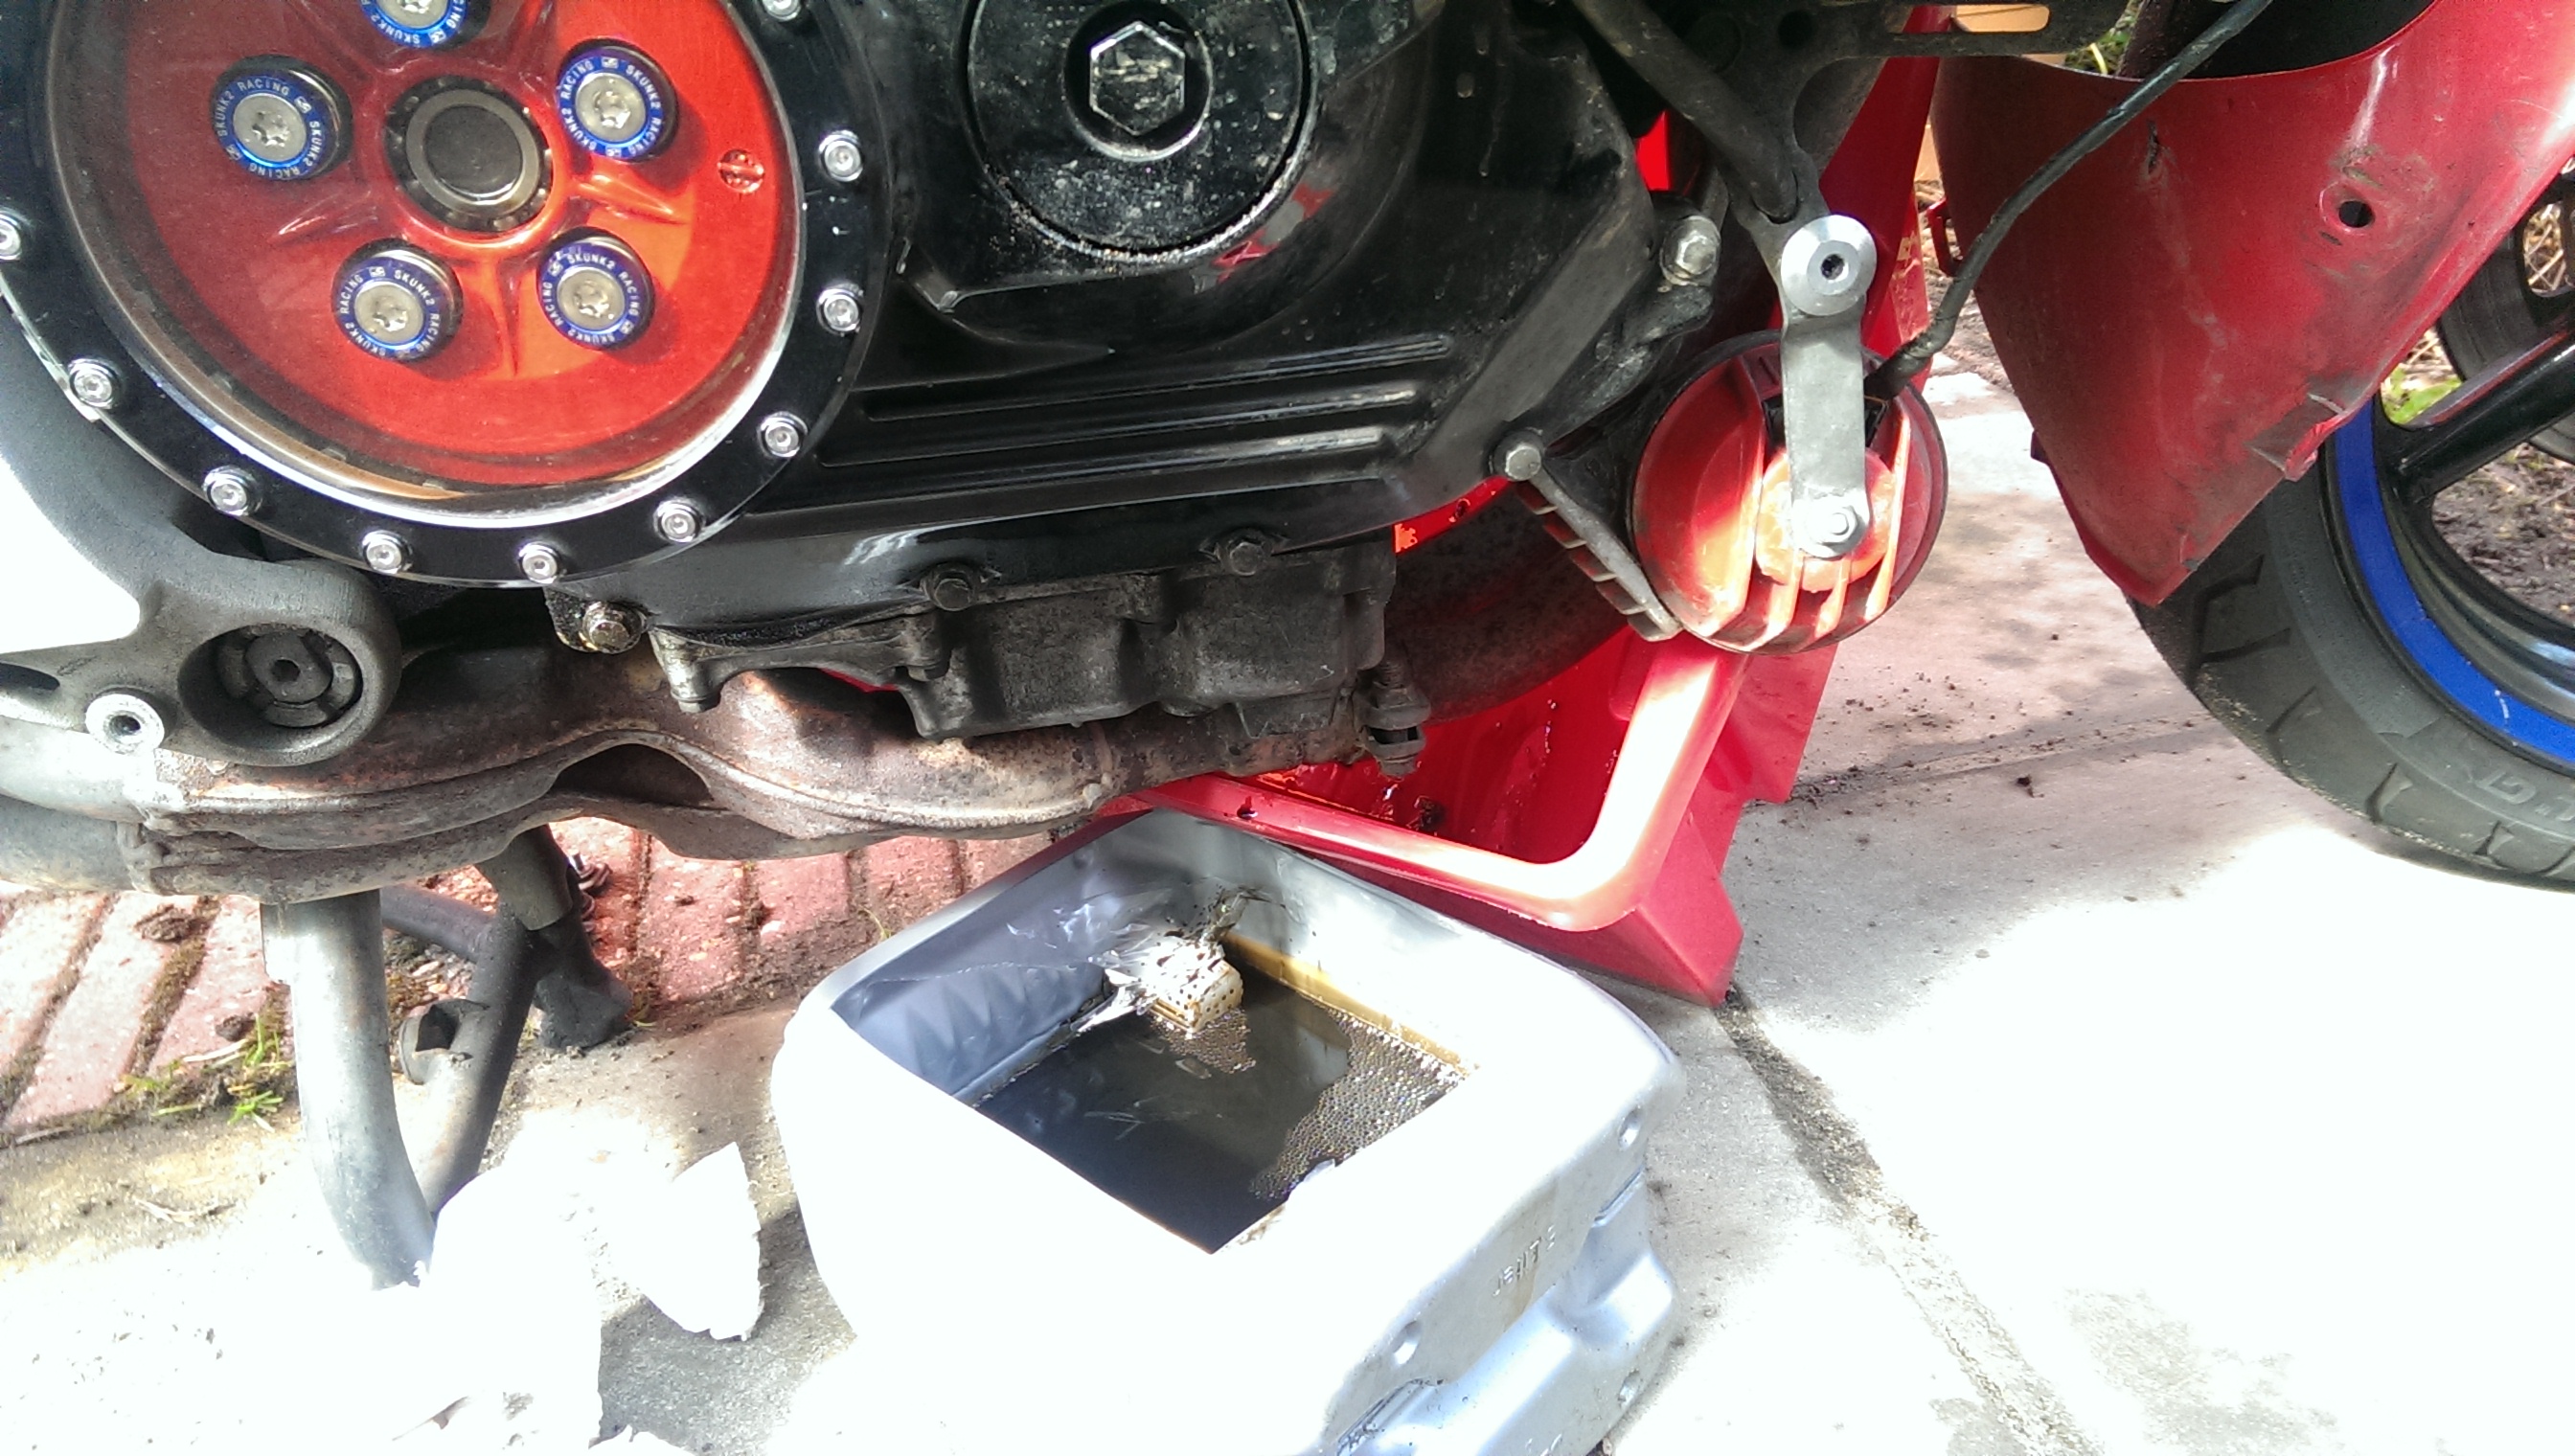
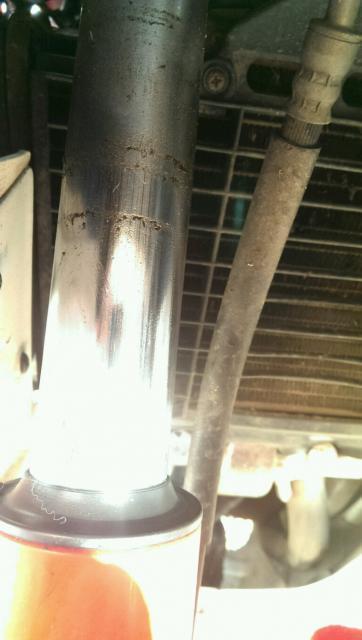
And so it begins.... There is a 1st time for everything, so is taking the forks apart to service them (and drill holes for the RT emulators) Aye, this one is leaking.. Nasty crud inside and the circlip will not budge This helped some, but not all the way. Will buy a proper circlip wrench tomorrow, this cheapo "Wallmart" is not cutting the mustard...
-
VF500F2 Aka MBD Incubation Period At Least 52 Years
Dutchy replied to Dutchy's topic in Earlier VFRs
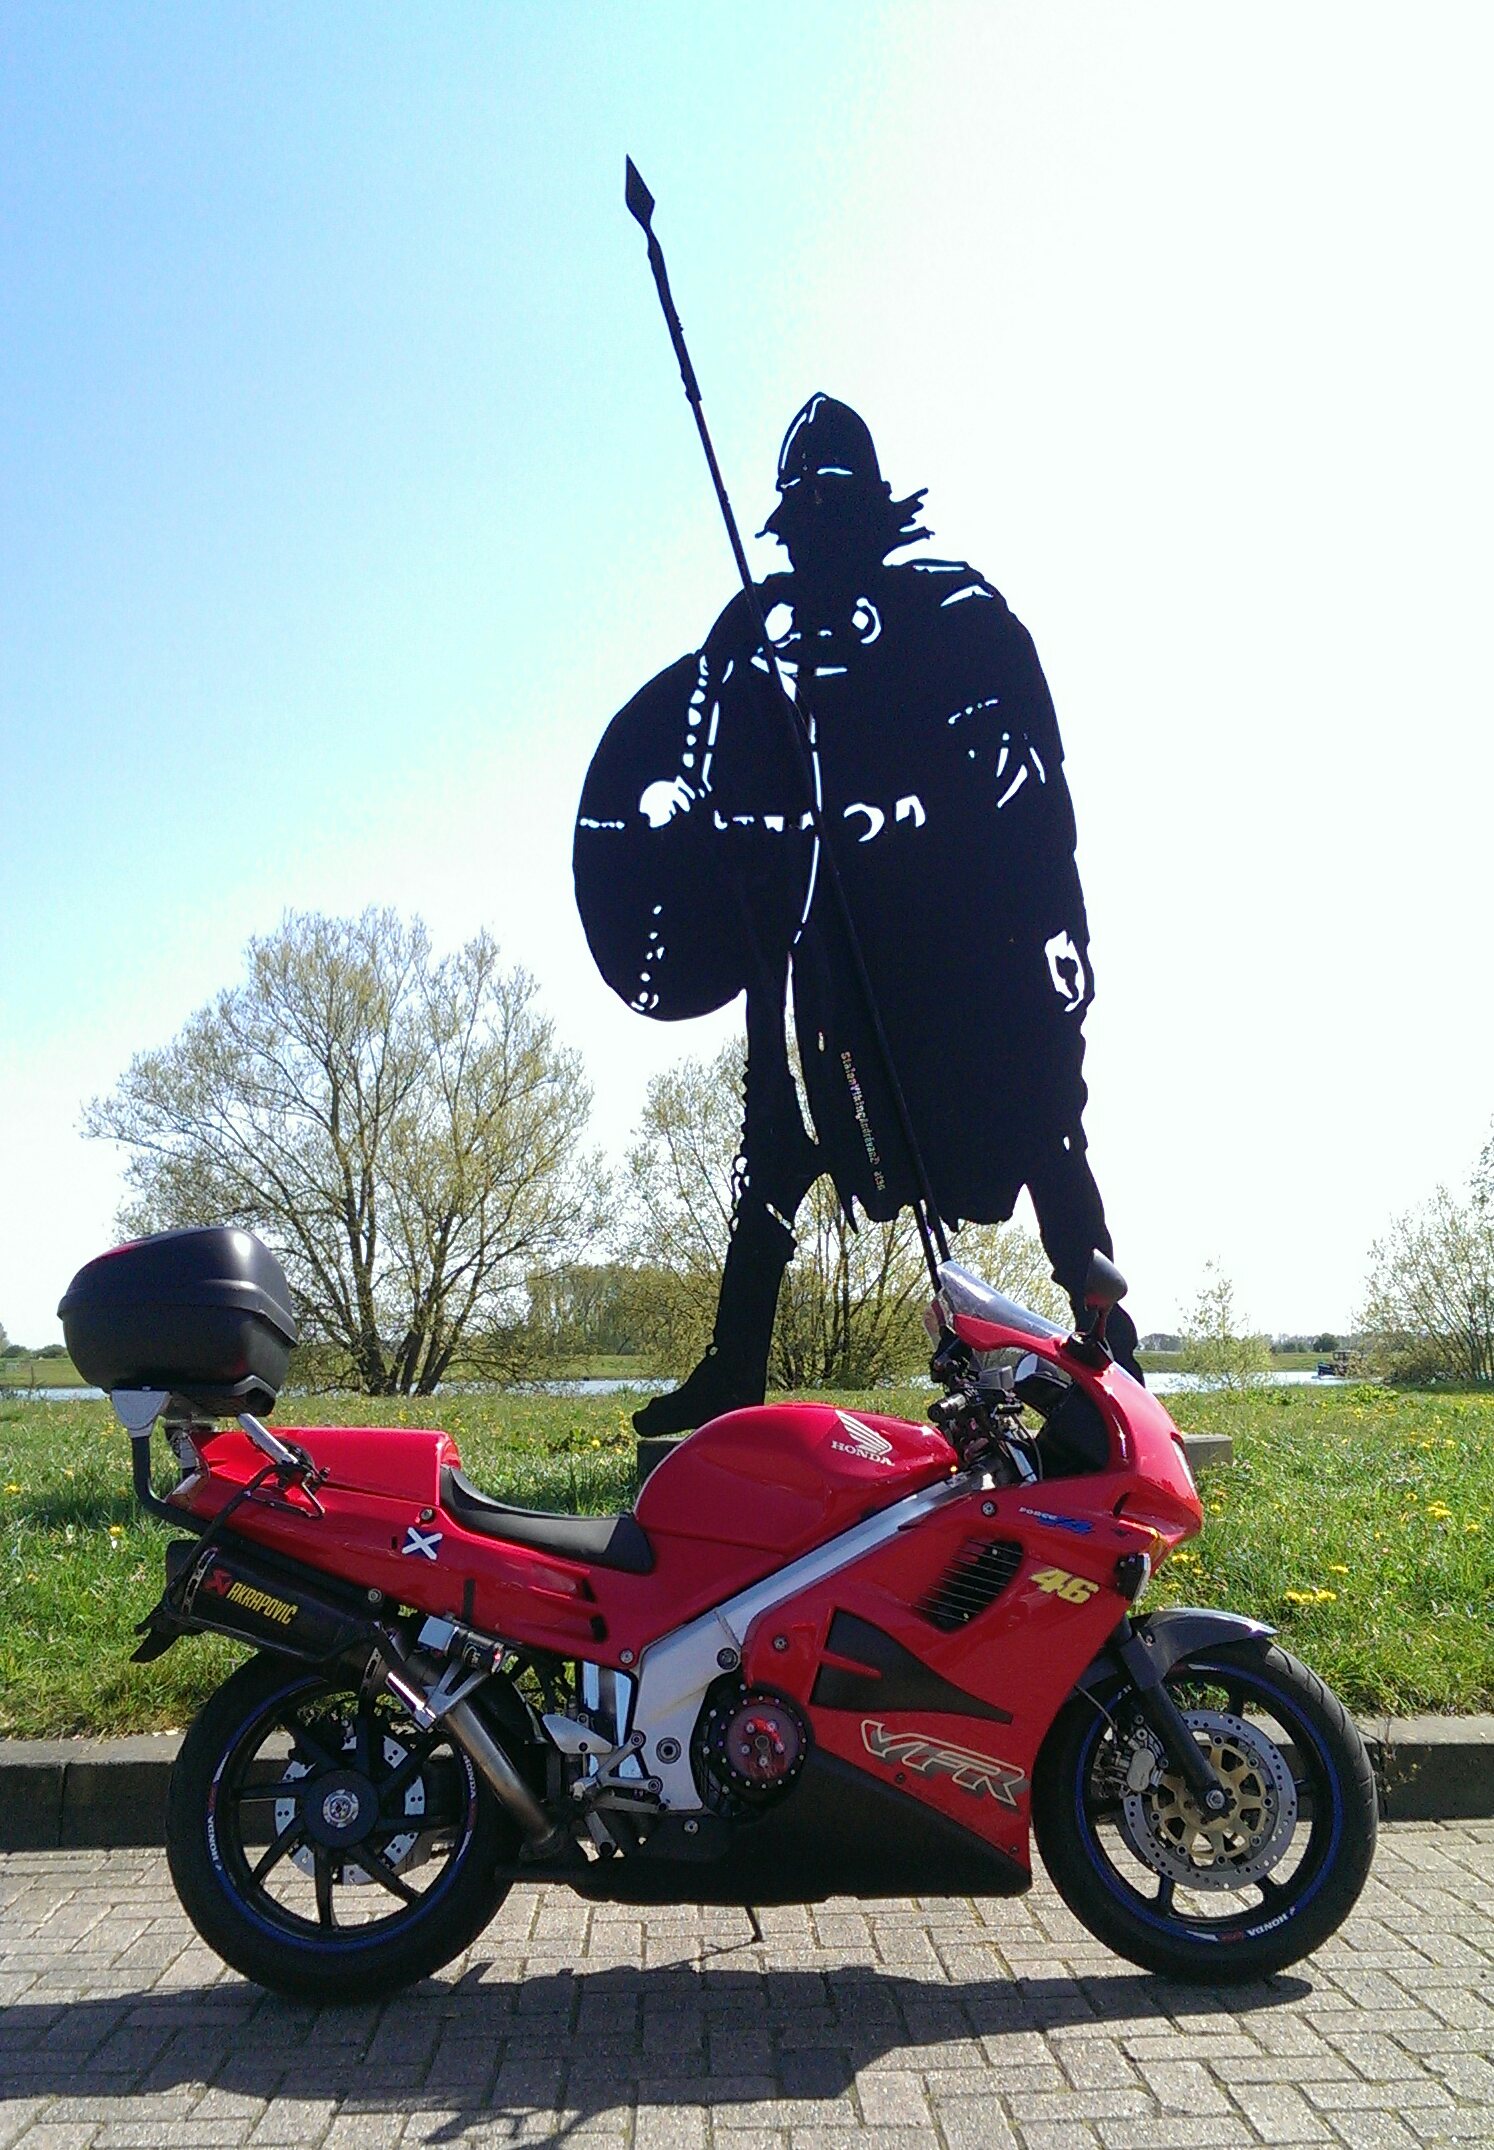
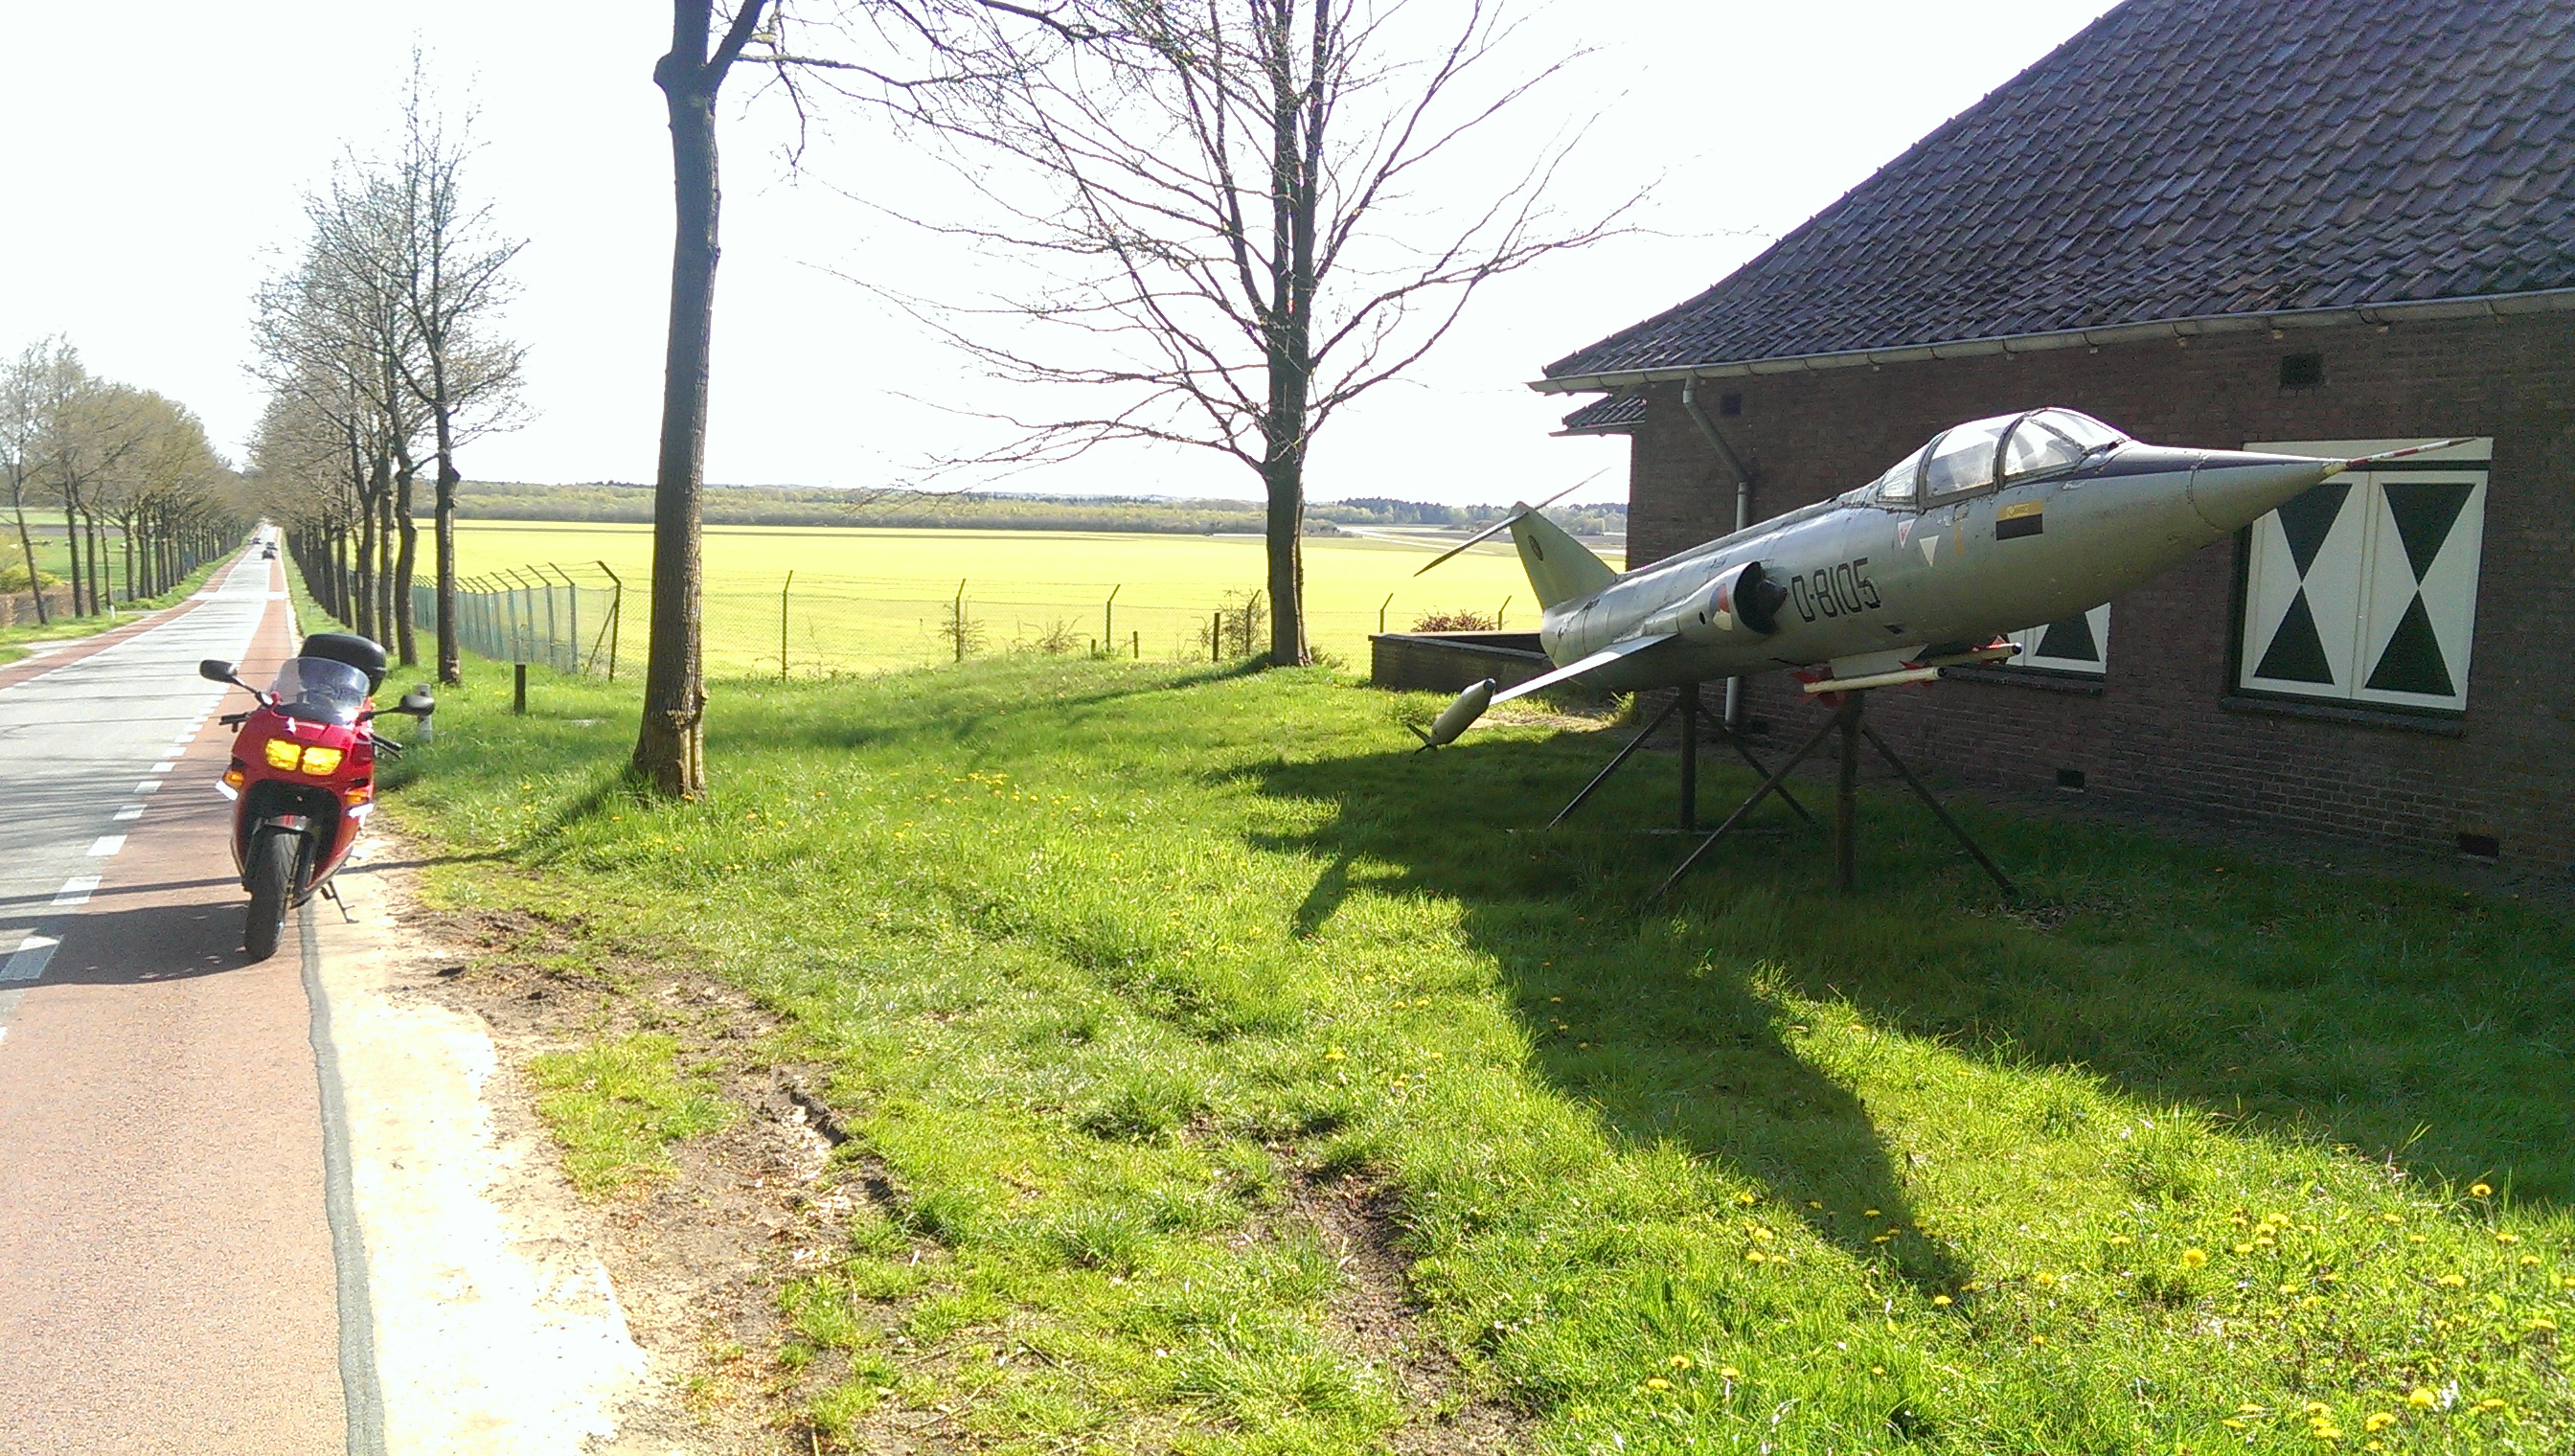
Here is one for Keny :-) And one for you AF buffs...
-
VF500F2 Aka MBD Incubation Period At Least 52 Years
Dutchy replied to Dutchy's topic in Earlier VFRs
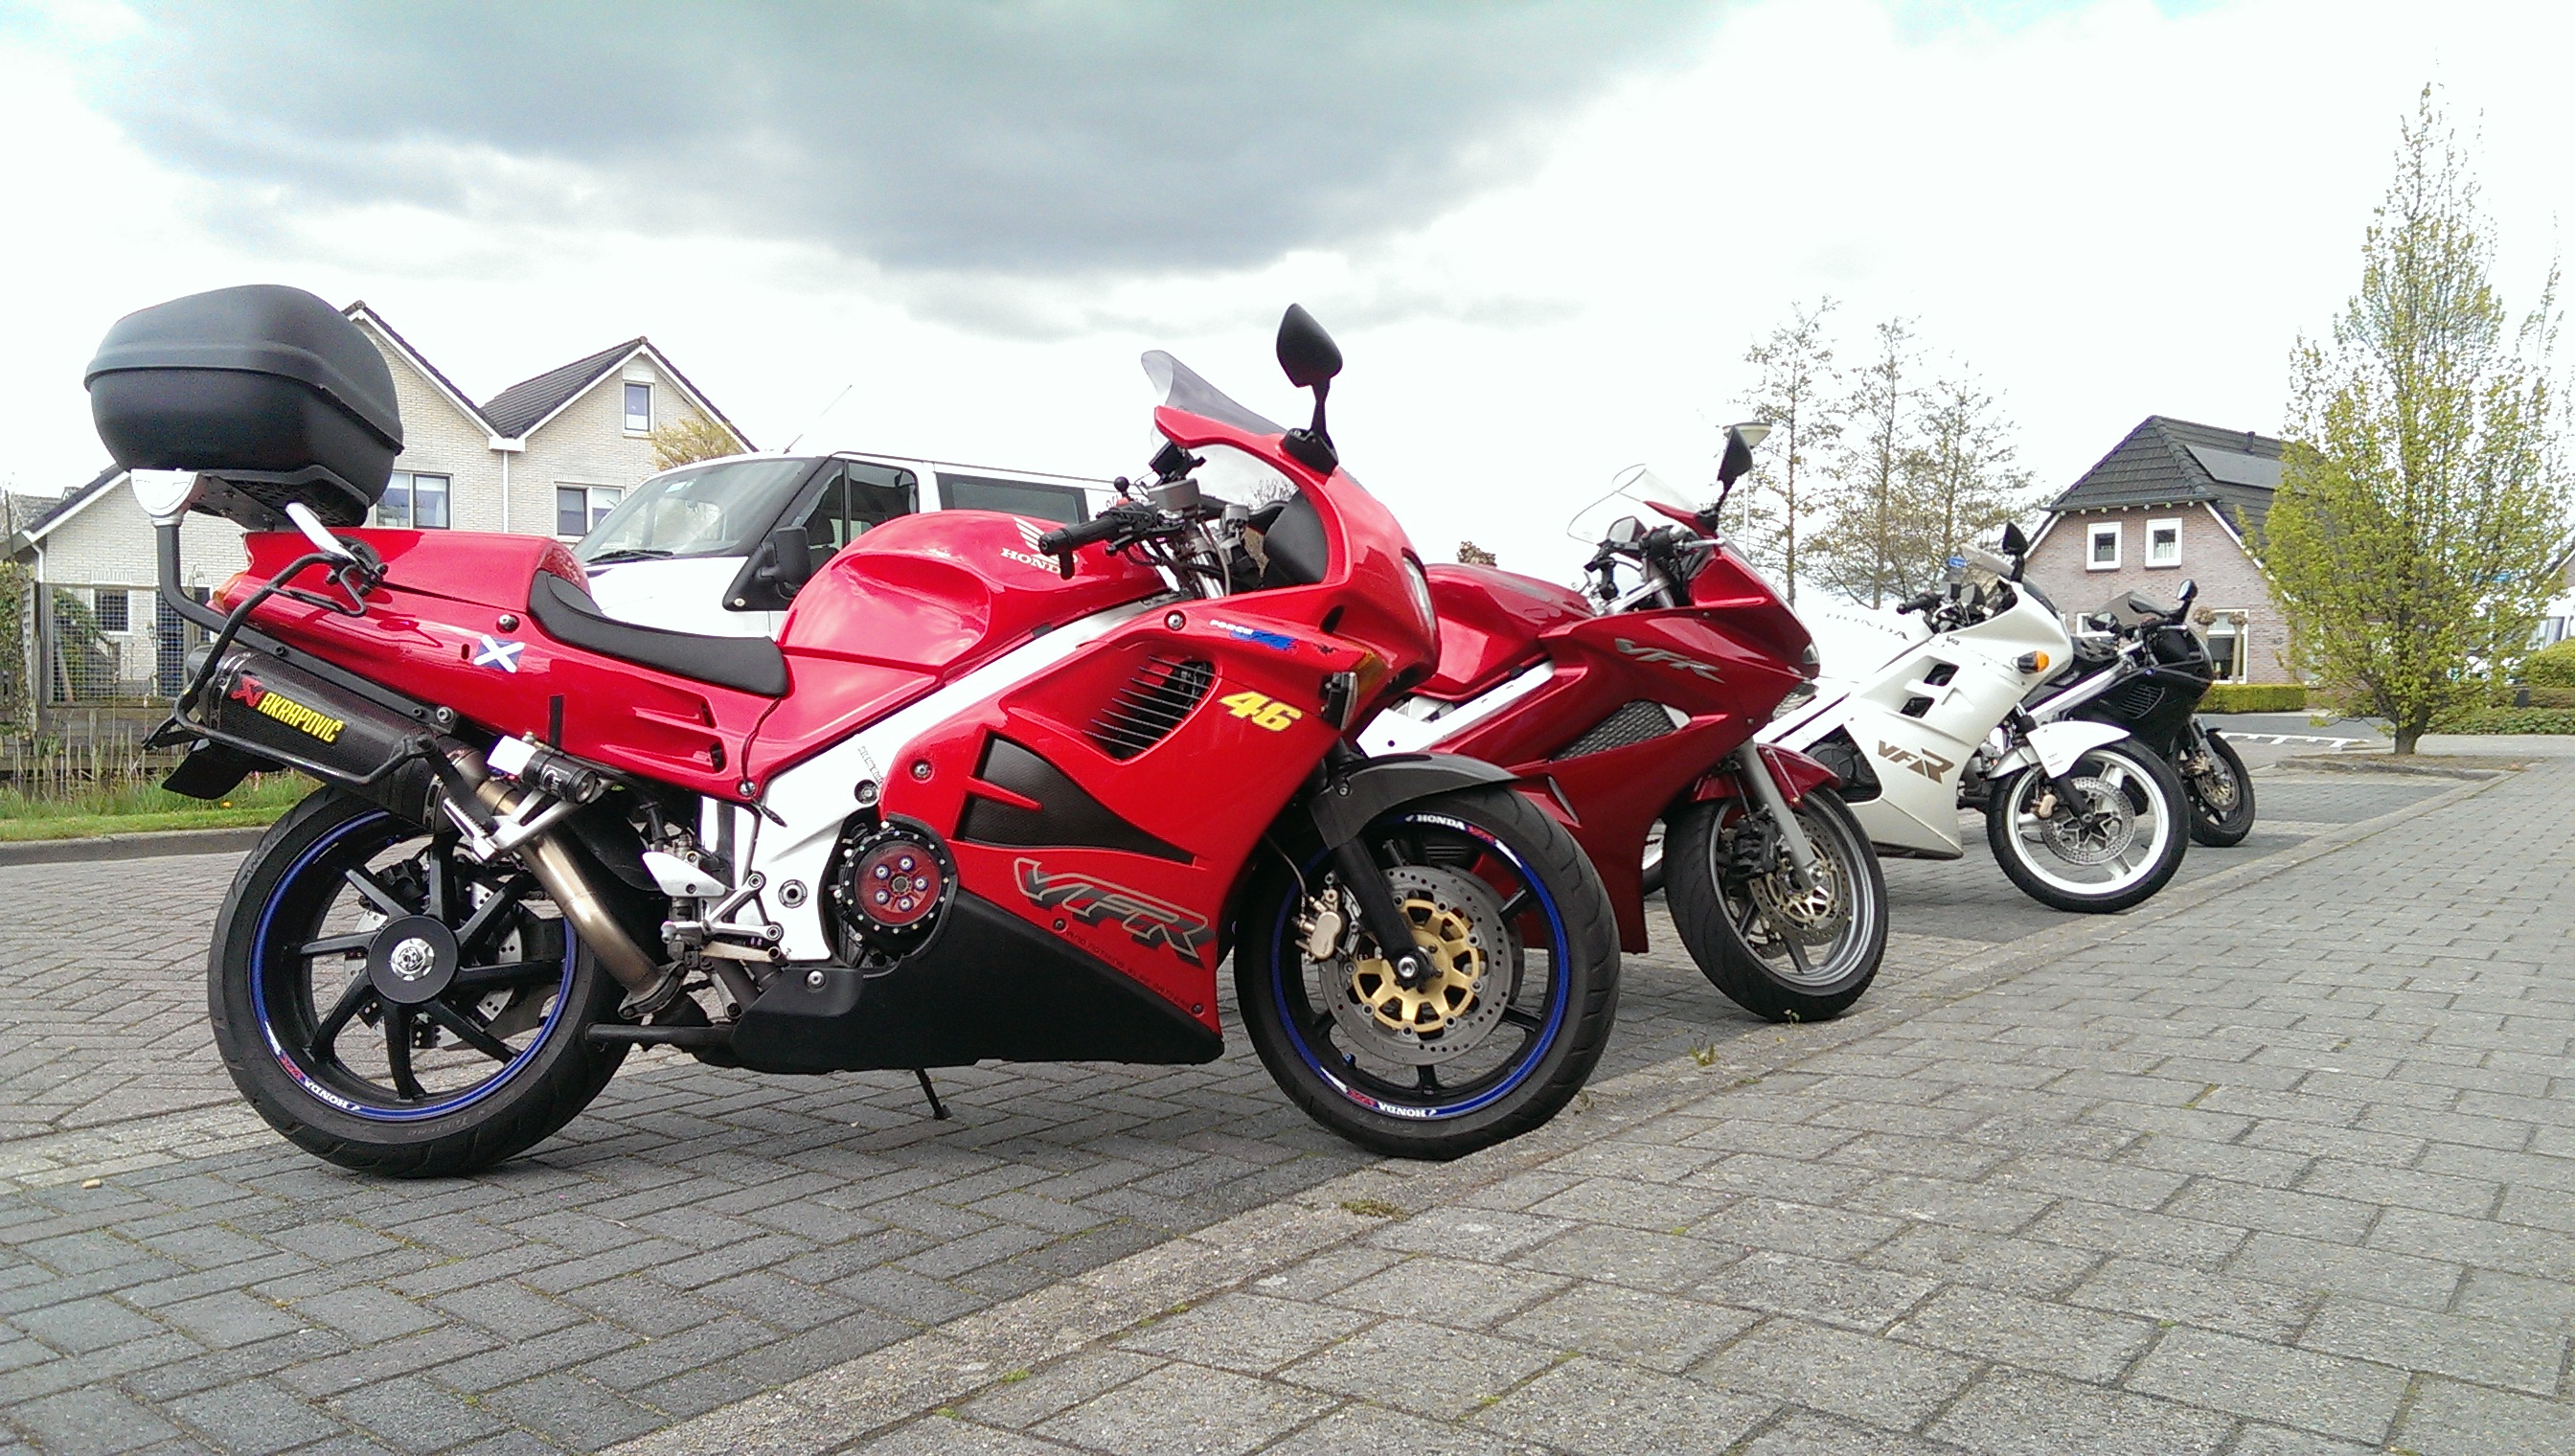
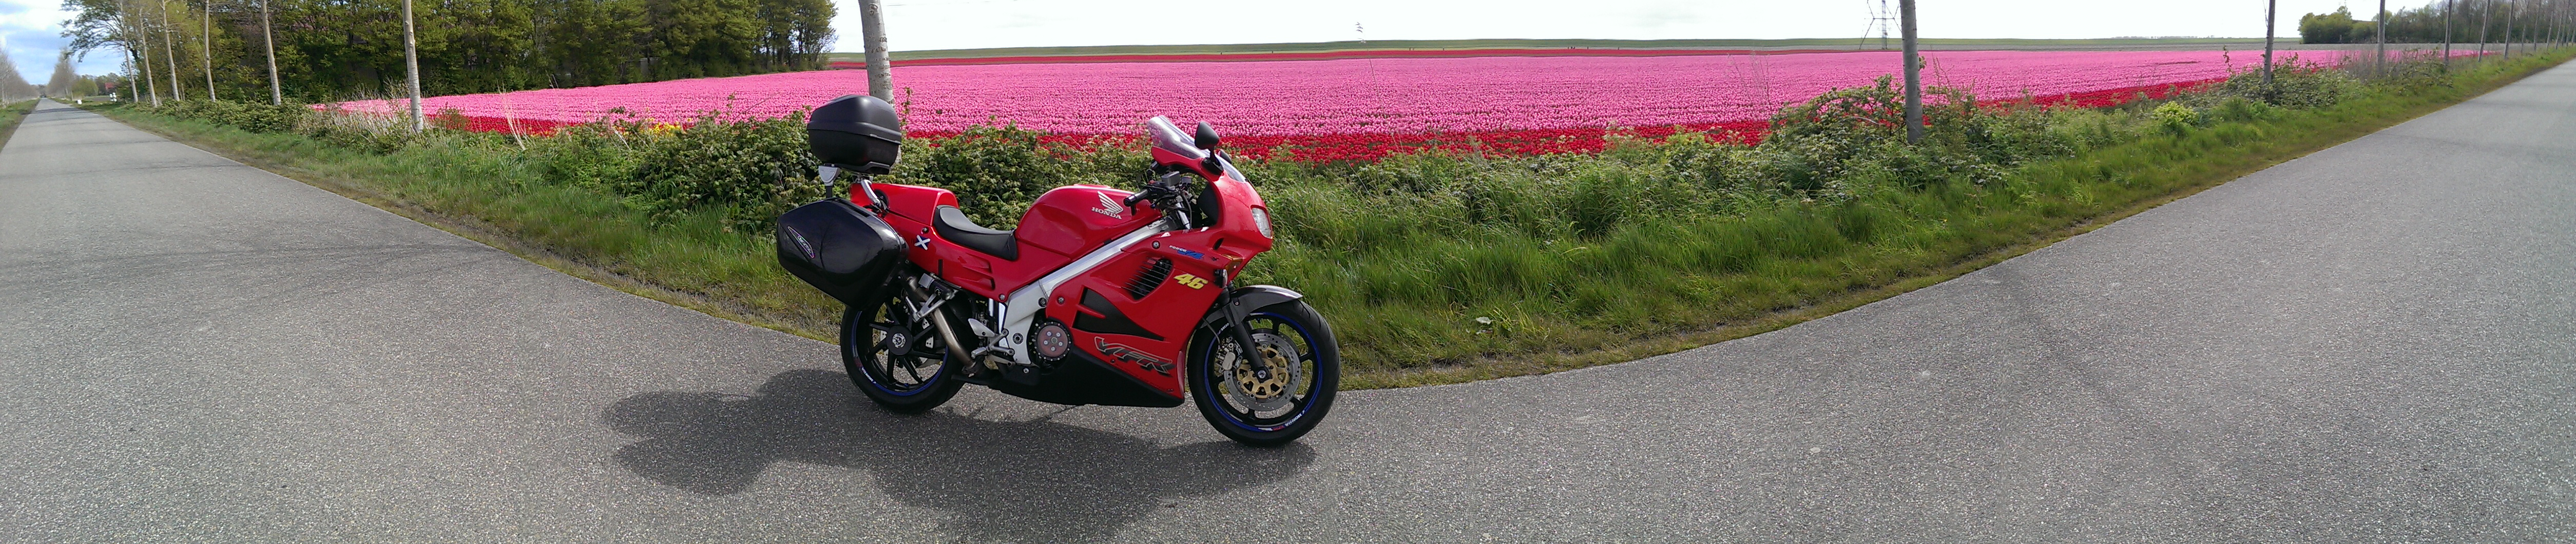
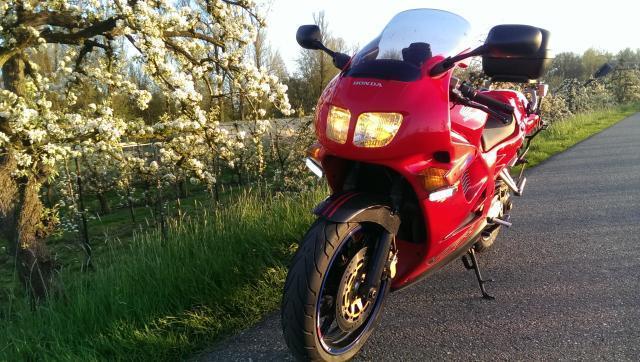
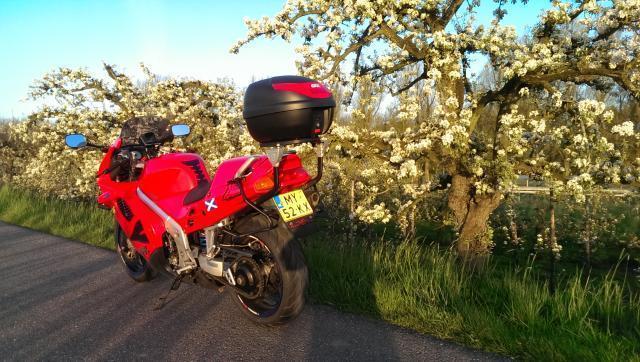
Today redslut got some TLC and ride :-)
-
VF500F2 Aka MBD Incubation Period At Least 52 Years
Dutchy replied to Dutchy's topic in Earlier VFRs
Bump on the questions! Does the left (trac) fork requires one or two slider bushings? -
VF500F2 Aka MBD Incubation Period At Least 52 Years
Dutchy replied to Dutchy's topic in Earlier VFRs
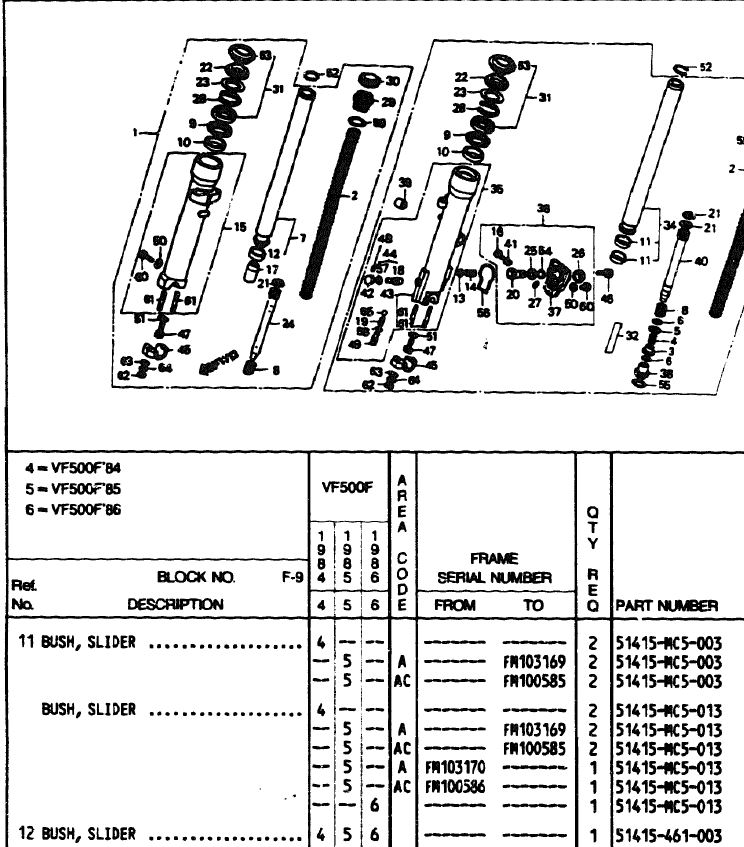
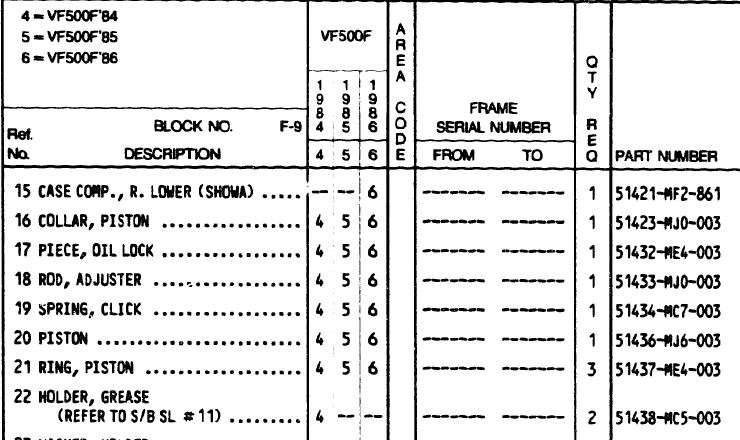
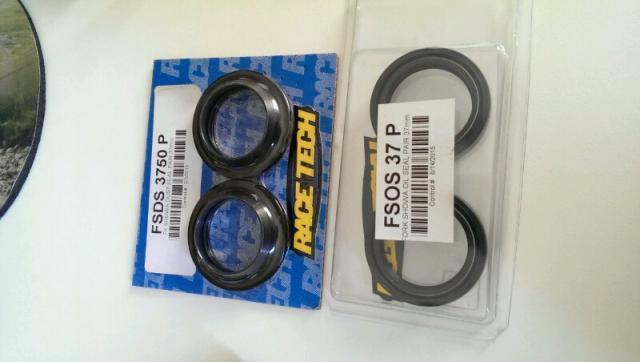
Right, parts order time for the front forks.... Got the RT seals and top caps. Is it correct that the right leg (left in the picture) has ONE slider bush (#12) whereas the left leg (TRAC leg) has TWO #11's stacked on top of each other?? What about part #22 (one each)? These were used on the 1984 only (as per the fiche table below, mine is an 85-86 F2)? no need to order? The Dutch shop manual says #22 is a "felt ring" which must be soaked in Molykote?
-
VF500F2 Aka MBD Incubation Period At Least 52 Years
Dutchy replied to Dutchy's topic in Earlier VFRs
Well, it was damaged like that when I bought the bike, but nothing seems to touch it. But for good measure I will bend the bracket out a bit more. The new front tire works flawlessly for me But today after work was done, I took out redslut for a bit of quality time!
-
VF500F2 Aka MBD Incubation Period At Least 52 Years
Dutchy replied to Dutchy's topic in Earlier VFRs
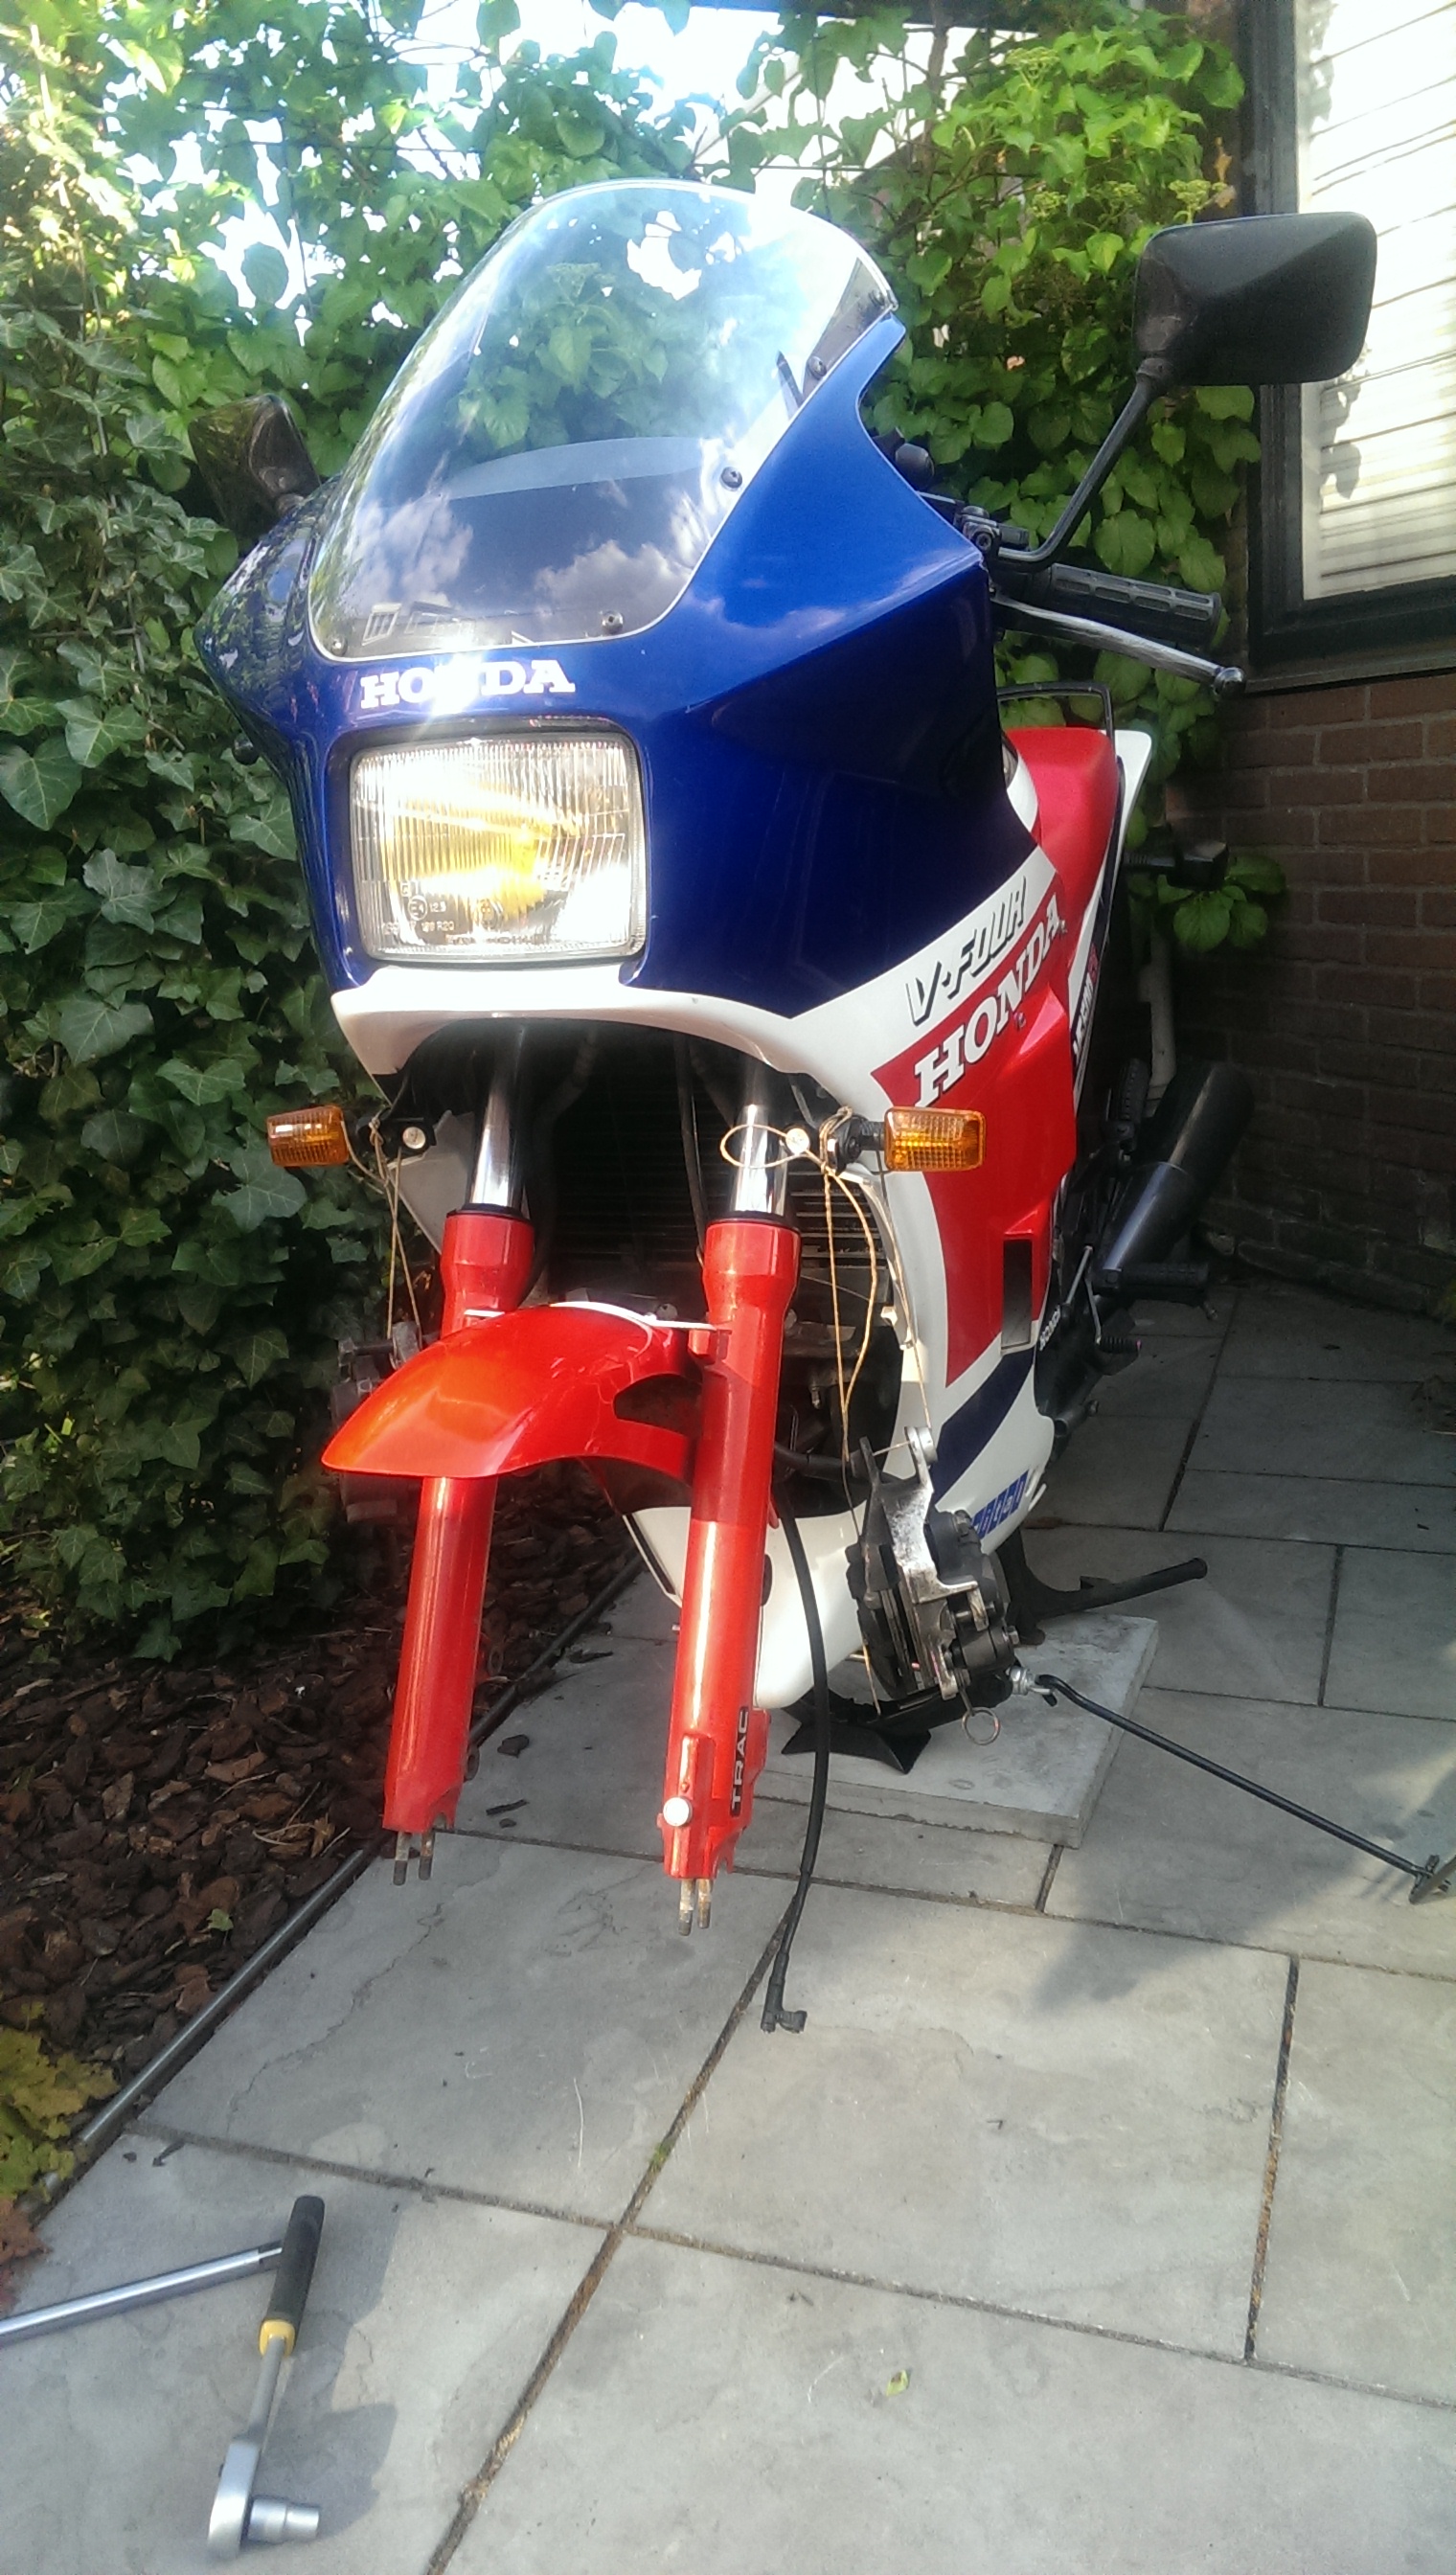
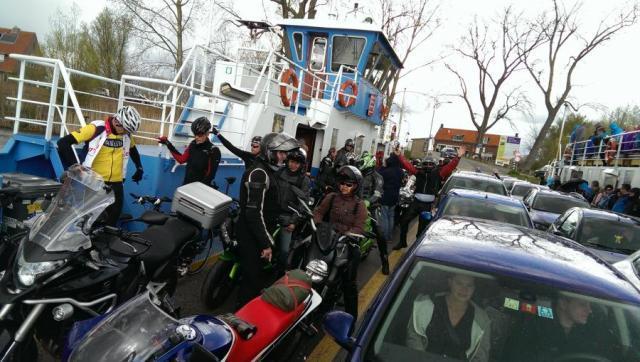
Puma was out playing with some 20 colleagues yesterday during a 170km loop on dikes and polders. So that means (3) ferries. It was below 10C with ominous dark clouds but be luckily did escape most of it. Not the hail though.. In our group a guy on a HD Sportster wore jeans and a fabric jackets, yeah his core temperature dropped significantly.... I enjoyed my Powerlet gloves! But.......... when I bought her, the right front fork seal looked dodgy and 5,000km later... So time has come to replace the seals and decided whether or not to drill extra oil passages as per the instruction that came with the RaceTech emulators... Time to call The Dutchy! "Go see the doctor...."
-
yes scroll up in the post for a picture of Bert and myself removing the bolt after having taken out the front axle
-
Hello Faran How much do you weigh? If you have the tools and time, taking the forks out is preferred. You can clean the brake pistons as well. As for settings, I like using an sae10 oil with a 130mm air gap. Measured with springs out, rod all the way down (tie string so you can pull them put easily after) and stanchions all the way down into the lowers. In between filling up towards the 130mm air you want to move the stanchions up and down say 10 times. And push the lower up and measure. It is so much easier with the forks out and the time saved minimal. Just be methodical as per the workshop manual
-
VF500F2 Aka MBD Incubation Period At Least 52 Years
Dutchy replied to Dutchy's topic in Earlier VFRs
Well, on Sunday we have a mc tour with some 25 work colleagues, on roads I know well so I will put it to the test. The rear shock a height adjustable YSS, I had it raised a few mm. With the RT emulators and springs, I already felt the front end riding a bit higher, so depending on what gives, I will play with forks height, maybe dropping a bit. -
VF500F2 Aka MBD Incubation Period At Least 52 Years
Dutchy replied to Dutchy's topic in Earlier VFRs
Handling is fine, which is most likely my lack of skills in noticing differences.... Yet to take puma out in earnests and will check speedo vs GPS Been giving redslut some TLC and riding time, to make up far last year's lack of giving her some. Hell knows no fury like a woman scorned and all that... -
VF500F2 Aka MBD Incubation Period At Least 52 Years
Dutchy replied to Dutchy's topic in Earlier VFRs
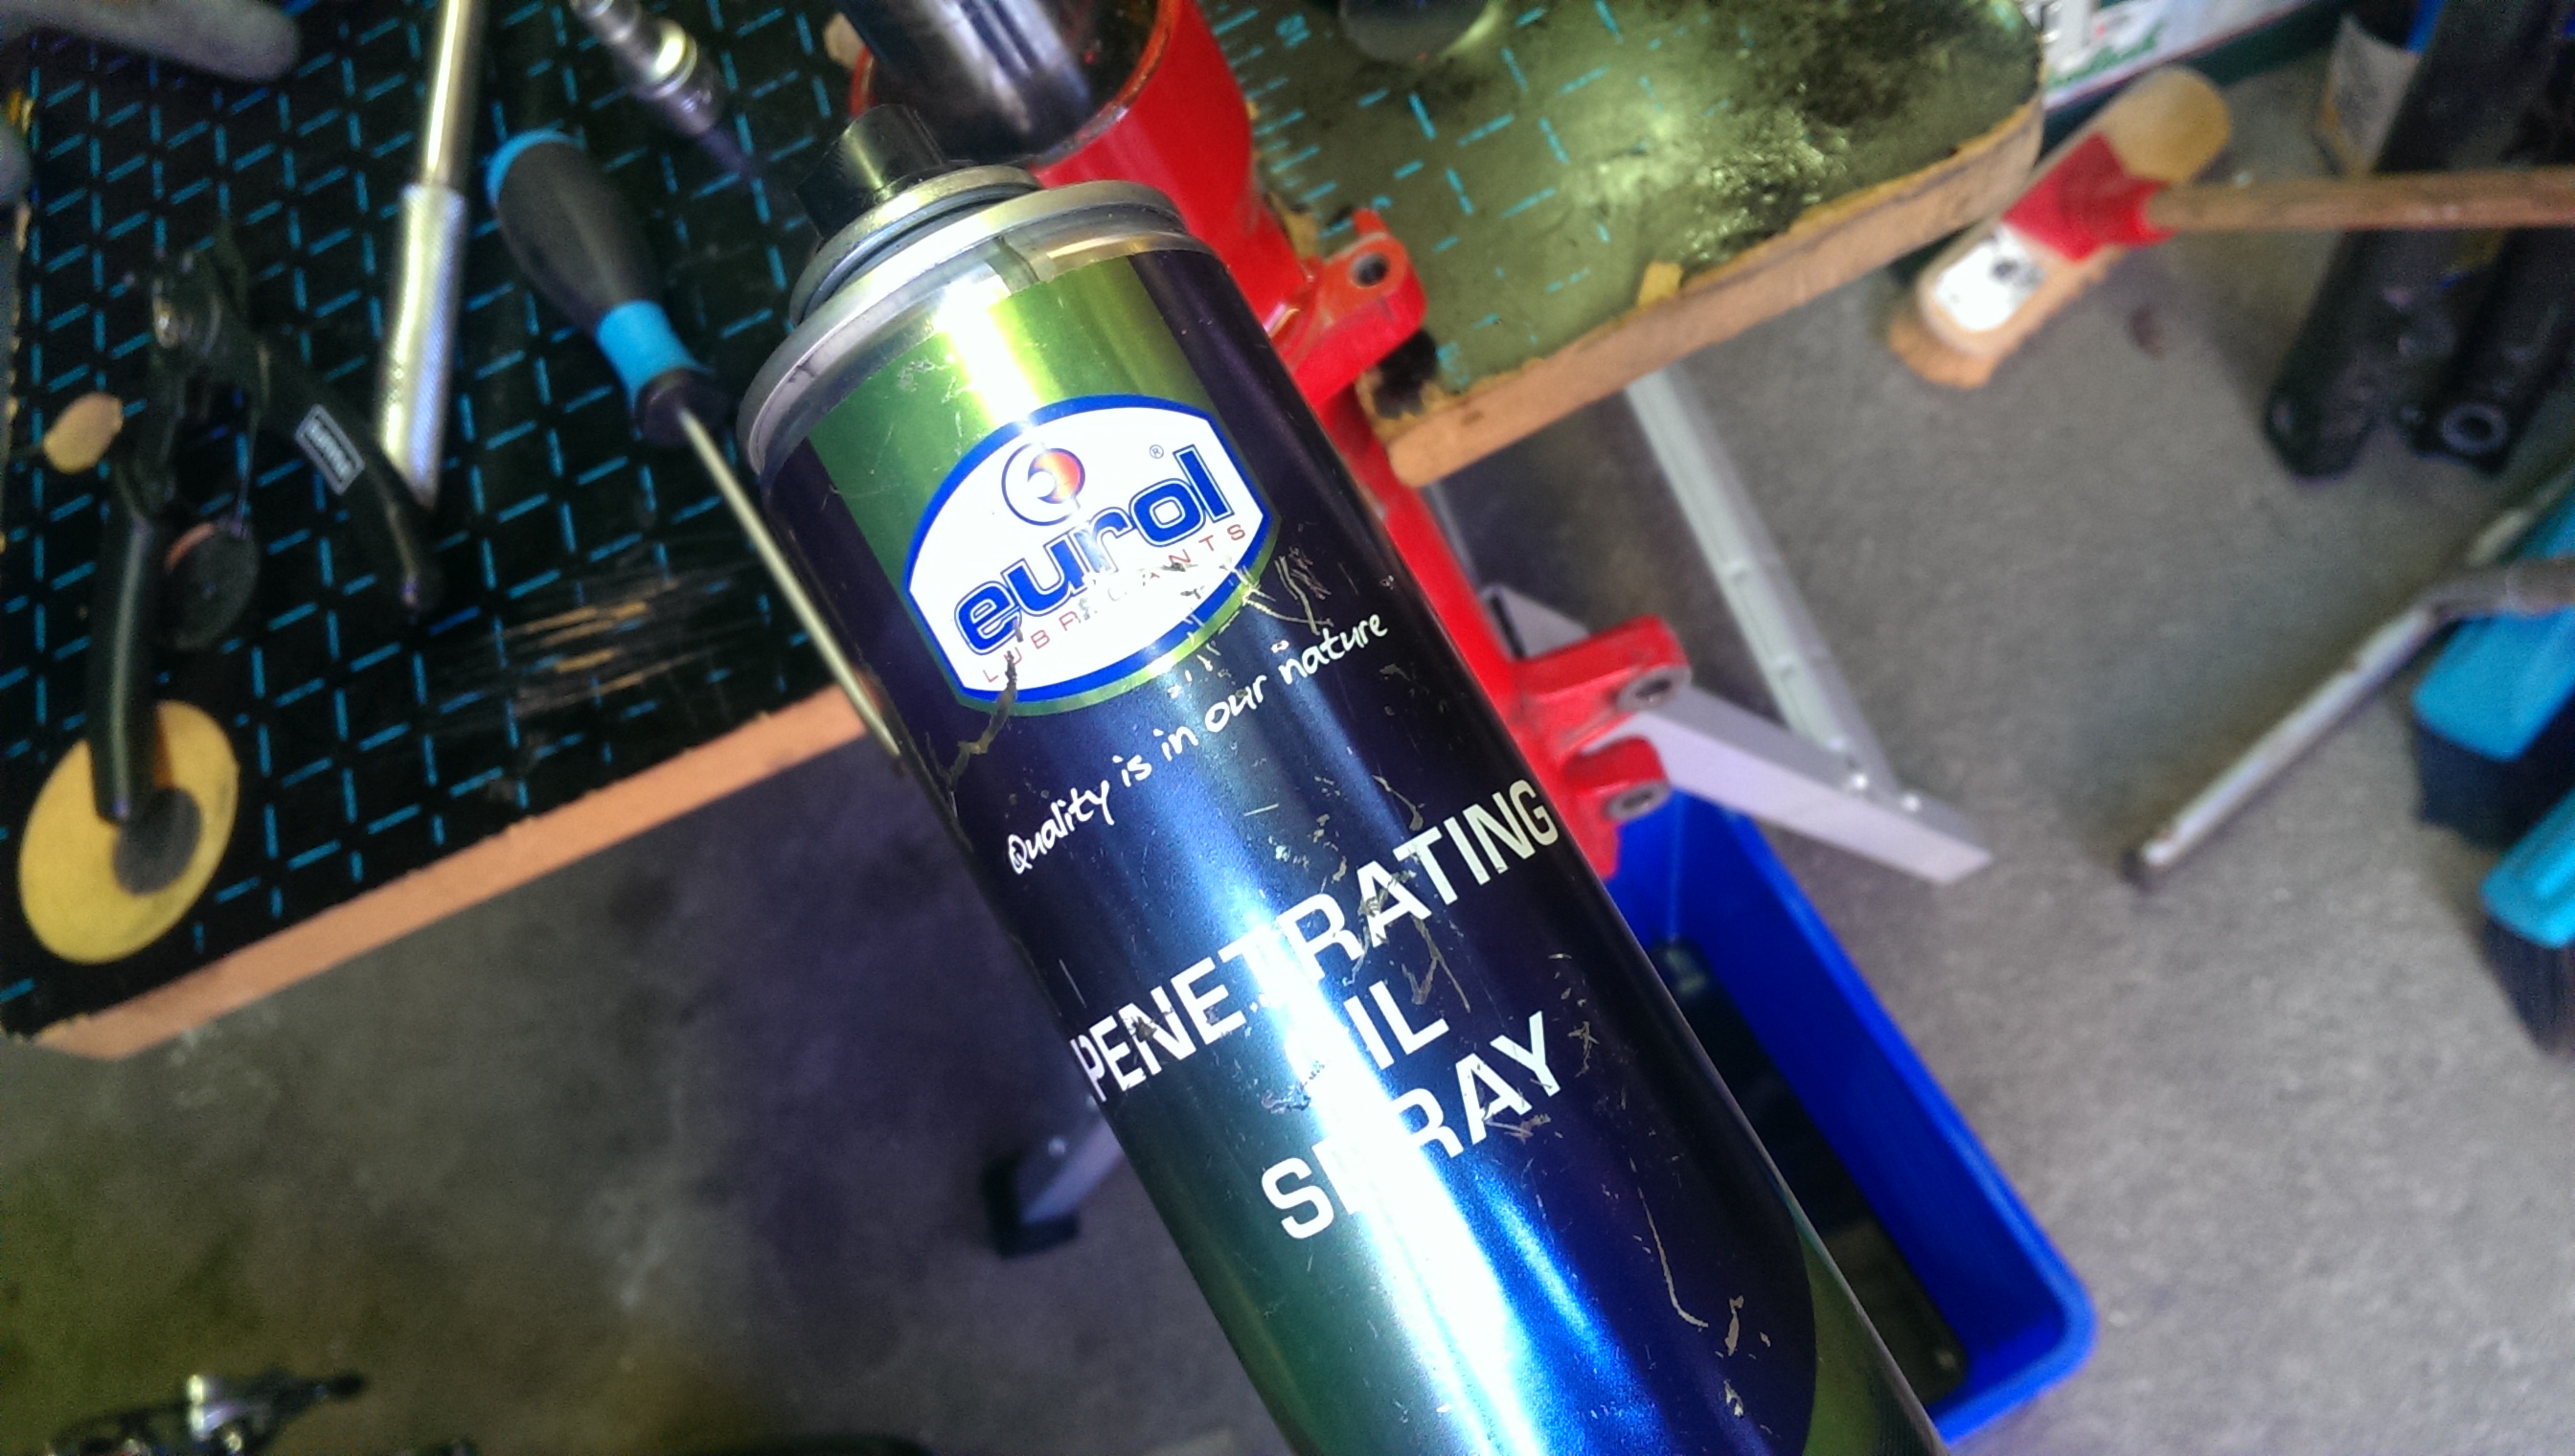
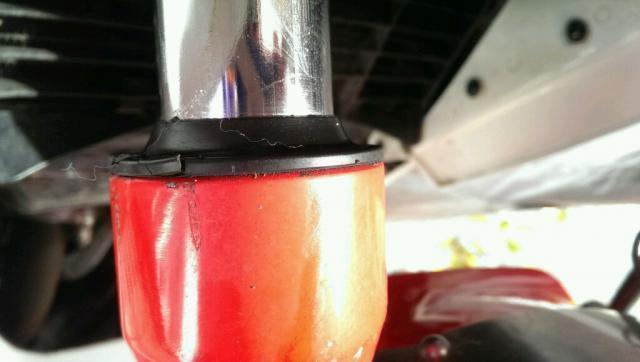
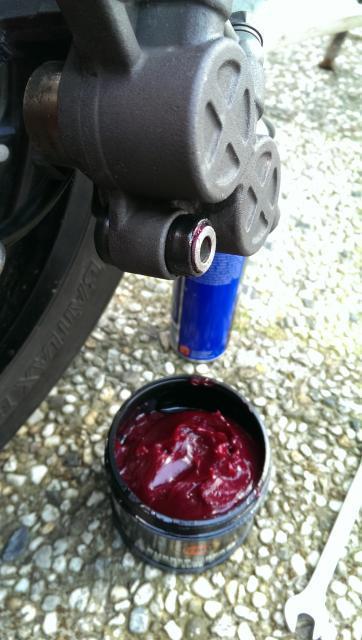
110-90/16 Streetsmart Already being sold, plain old oil or grease ! That's what swells them, beccause they are NOT rubber, but are a hydrocarbon based man made rubber, which absorbs HC lubes ! Use red rubber or a NON HC based lube ! Aye! but using penetrating oil prior to loosen the slider pin did the damage I reckon.... Checked and cleaned the calipers on redslut today (different slider pin design), not a speck of rust/dirt. Did remove the old grease and put some red inside :-) -
That day I will put a small flying pig decal on my bike No pressure ok? :-)
-
VF500F2 Aka MBD Incubation Period At Least 52 Years
Dutchy replied to Dutchy's topic in Earlier VFRs
Clear! I will remove all the bolts now just to be sure, degrease the threads and holes. -
VF500F2 Aka MBD Incubation Period At Least 52 Years
Dutchy replied to Dutchy's topic in Earlier VFRs
even with the torque wrench set to the right spec?? -
VF500F2 Aka MBD Incubation Period At Least 52 Years
Dutchy replied to Dutchy's topic in Earlier VFRs
Luck of the Dutch.... Replacing the swollen seal, I took my torque wrench to set the caliper bolts. The bottom one protested with a snap... Phew! Good thing it came out. Ordering new ones!
-
VF500F2 Aka MBD Incubation Period At Least 52 Years
Dutchy replied to Dutchy's topic in Earlier VFRs
If I figure out what caused the increased girth of the seals, I will sell loads of it.... :-) -
VF500F2 Aka MBD Incubation Period At Least 52 Years
Dutchy replied to Dutchy's topic in Earlier VFRs
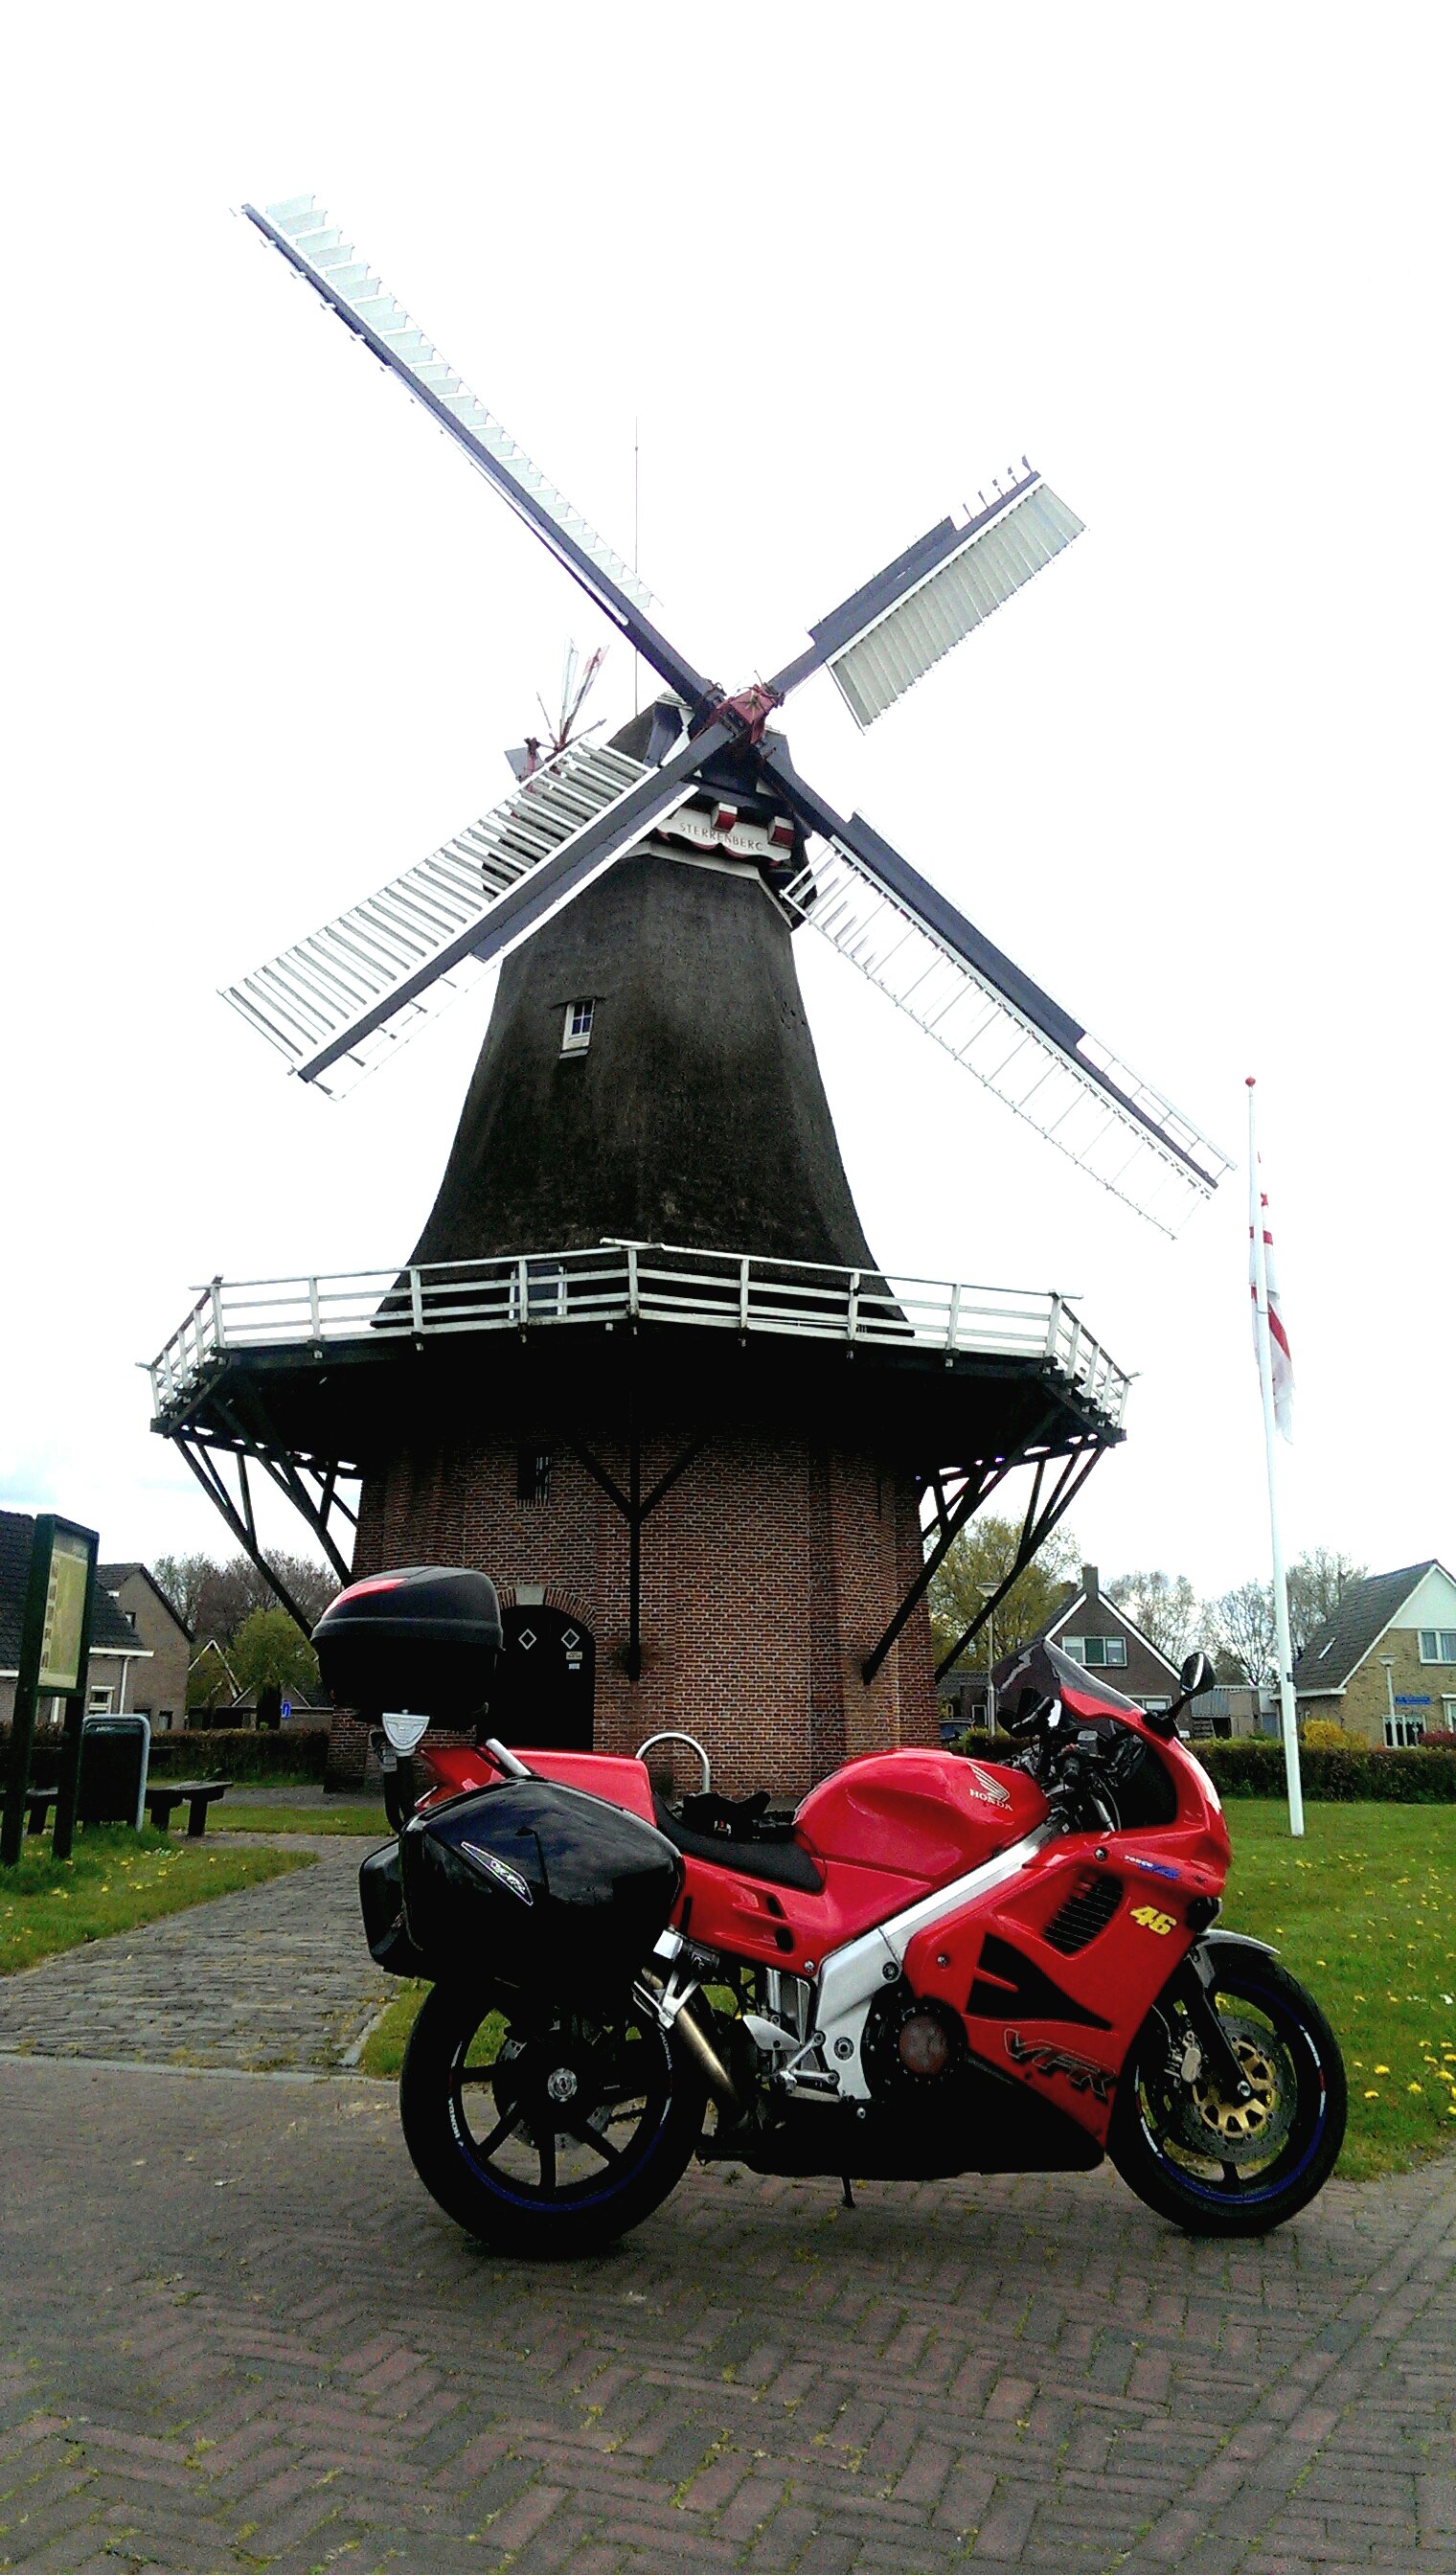
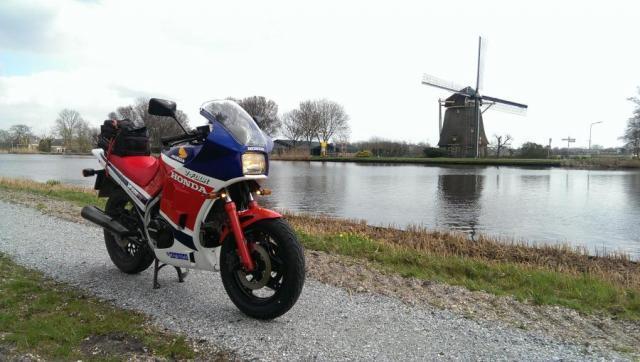
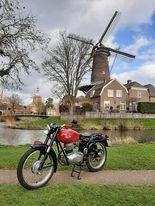
Where there is water There is windmill :-)
-
VF500F2 Aka MBD Incubation Period At Least 52 Years
Dutchy replied to Dutchy's topic in Earlier VFRs
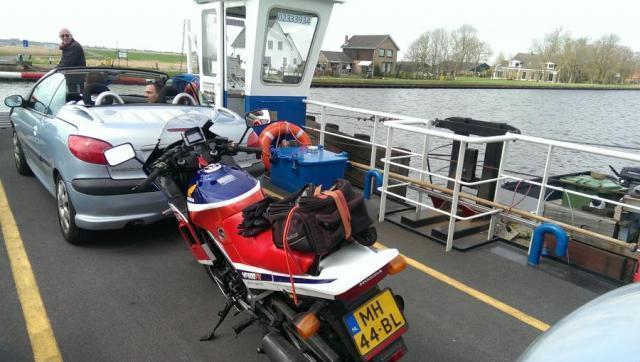
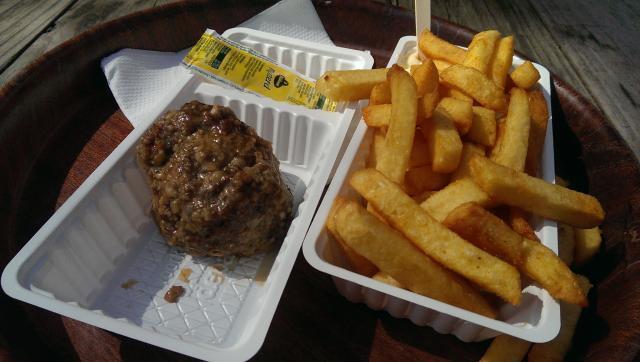
Fresh rubber for puma Decided to give the Streetsmart a go Food for puma Food for Dutchy
-
VF500F2 Aka MBD Incubation Period At Least 52 Years
Dutchy replied to Dutchy's topic in Earlier VFRs
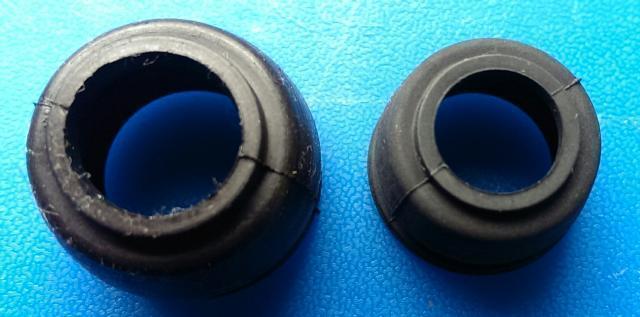
Plenty room in the side cases.... :-) Got the new rubbers in today (and 2 new slider pins, what the hey! it is only money) and it is either amazing how much they can swell, or a wrong one was fitted by the PO. But it looked like a perfect fit when it was still on...
-
VF500F2 Aka MBD Incubation Period At Least 52 Years
Dutchy replied to Dutchy's topic in Earlier VFRs
-
VF500F2 Aka MBD Incubation Period At Least 52 Years
Dutchy replied to Dutchy's topic in Earlier VFRs
Ob blond, ob braun, ob schwarz, Ich liebe alle................ V4's... -Nina Hagen Band- -
VF500F2 Aka MBD Incubation Period At Least 52 Years
Dutchy replied to Dutchy's topic in Earlier VFRs
-
VF500F2 Aka MBD Incubation Period At Least 52 Years
Dutchy replied to Dutchy's topic in Earlier VFRs
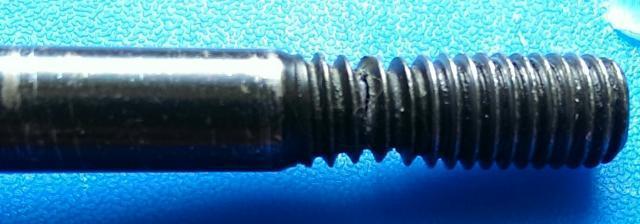
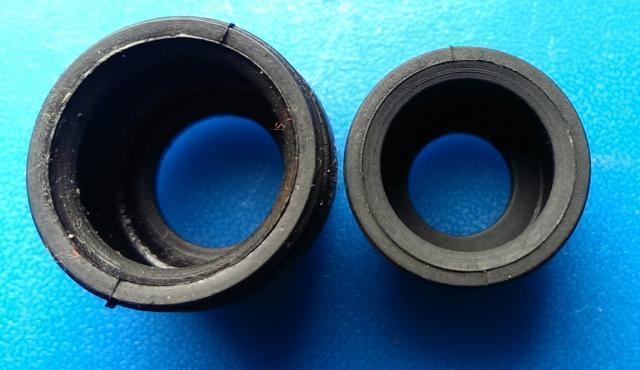
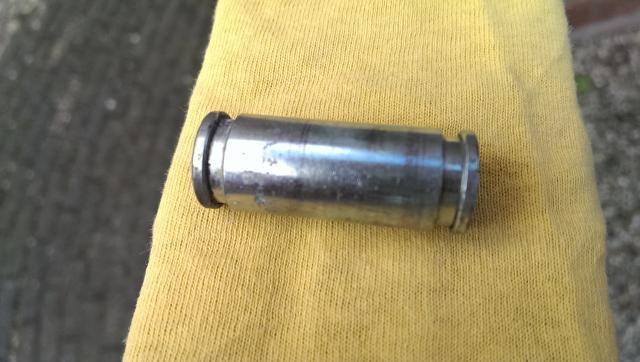
The right caliper sliding pin looked like this: The rear caliper On all, the rubber seals were intact so why the right one would be perfect??? Only the previous owners might now... Crazy thing..... I took out the rubbers for cleaning and one from the right caliper would NOT fit in anymore. the diameter simply too large... Weird....... Och well, at $2 a pop I will order some.
-
VF500F2 Aka MBD Incubation Period At Least 52 Years
Dutchy replied to Dutchy's topic in Earlier VFRs
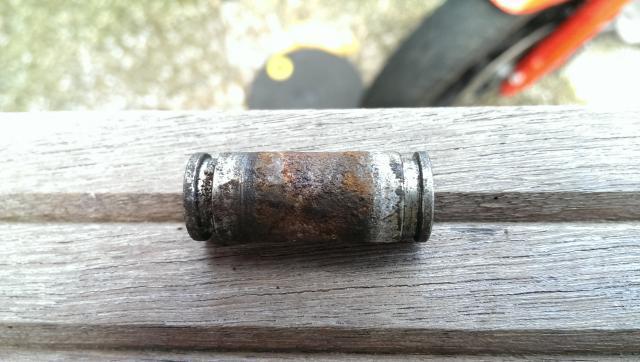
Or not!! Brass brush and Autosol cleaned things up well. Lick of red rubber grease and we are good to go methink