Search the Community
Showing results for tags 'vfr800'.
-
I’m contemplating using H4 headlight bulbs in my 1998 VFR800. I see from reading the forums that some have fitted H4 bulbs by trimming the tabs of the standard H4 bulb to fit Honda’s oddball headlight bulb socket. My concern is for the wires, connectors, and switches in the headlight circuit. A standard H4 is rated at 60W/55W, while Honda’s VFR bulb is rated at 45W/45W. A standard H4 will pull 33% or 22% more current, depending on whether it’s in high beam or low beam. For those that fitted standard H4 bulbs, especially in hot climates, have you had any issue with melting harnesses? Thanks. - Walt
-
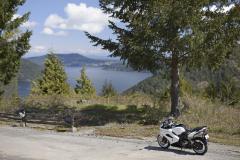
From the album: my VFRs
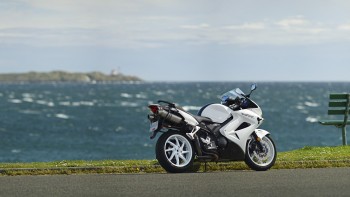
Overlook of Finlayson Arm from Malahat Drive, north of Victoria, BC© Lorne Black
-
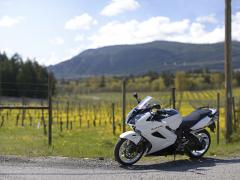
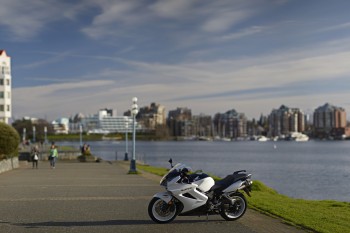
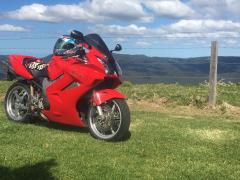
From the album: my VFRs
Sunshine prompted a weekend ride even with cooler than normal temps. Zanatta Vineyards near Duncan, BC© Lorne Black
-
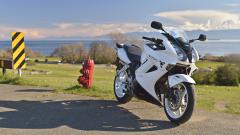
From the album: my VFRs
Beacon Hill park with Washington State's Olympic Peninsula in the background on an early spring day.© © Lorne Black
-
From the album: my VFRs
Feb. 1998: I traded my VTR1000F for a VFR800, but not before having the wheels painted a proper colour.© Lorne Black
-
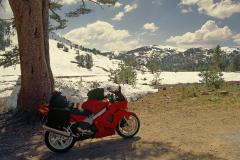
From the album: my trips
Atop Sonora Pass en route to the 1998 WSB races at Laguna Seca, California.© Lorne Black
-
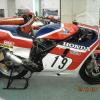
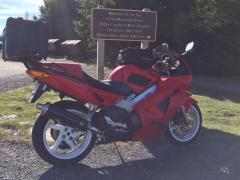
From the album: my trips
In 1998 I jumped back to the VFR fold with this brand new VFR800. Resprayed wheels improve visual and a Yoshimura RS3 helps unleash the aural. Unfortunately this bike met an untimely end when it was stolen less than a year, and 25K km later.© Lorne Black
- 3 comments
-
- 19
-

-
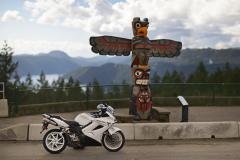
From the album: my VFRs
This totem is the Salish Bear pole at the summit of the Malahat highway near Victoria BC. It was carved in celebration of the 1966 centennary of the merger of colonies of Vancouver Island and British Columbia. The elevation is a modest 356 metres, or 1157 feet, above Saanich Inlet which can just be spied in the background.© Lorne Black
-
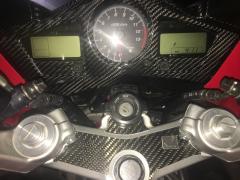
From the album: My 03 VFR
New Carbon Fiber dash thanks to http://www.motocomposites.com/ -
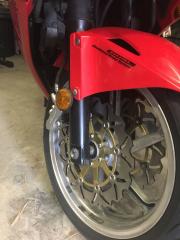
From the album: My 03 VFR
New Discs and a Spot of paint does wonders :) -
From the album: My 03 VFR
-
From the album: SailorJack
-
- 1
-
-
- spruce knob
- wv
- (and 1 more)
-
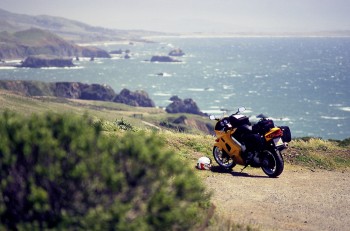
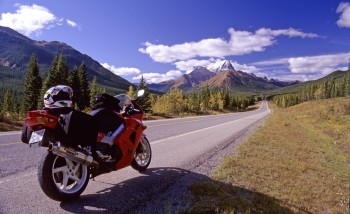
From the album: my trips
Taking 5 on the PCH near Jenner, California after a touch of vertigo.© Lorne Black
- 1 comment
-
- 10
-
-
- vfr800
- pacific coast highway
- (and 2 more)
-
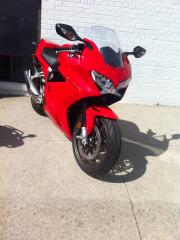
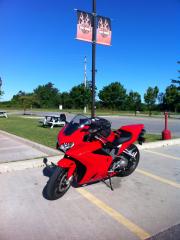
From the album: Xena
Her first picture. Fresh out the showroom! -
From the album: Xena
-
From the album: Xena
-
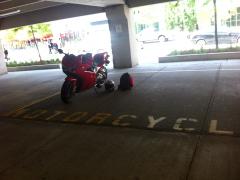
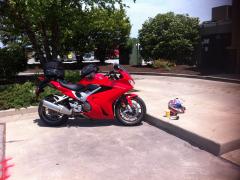
From the album: Xena
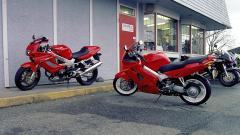
Love dedicated motorcycle parking -
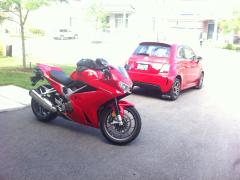
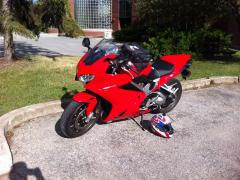
From the album: Xena
Like my machines red -
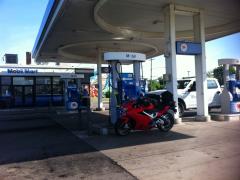
From the album: Xena
Got off the interstate after it was closed down due to a fatal accident. Stuck for more than an hour on the hottest day of the year, in full gear. Not fun. At all. -
From the album: Xena
Her first outing -

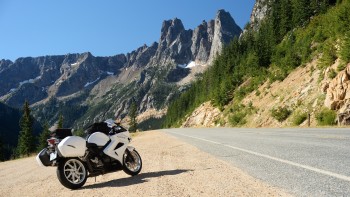
From the album: 2014 Can-Am
© Lorne Black
-
From the album: 2014 Can-Am
© Lorne Black
-
-
From the album: help
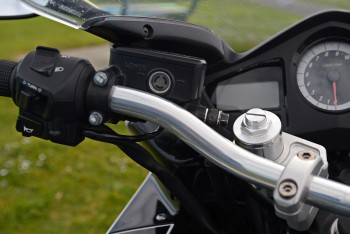
LSL kit: slight interference with windscreen bracket at full lock© Lorne Black