Captain 80s
-
Posts
2,294 -
Joined
-
Last visited
-
Days Won
185
Content Type
Forums
Profiles
Gallery
Blogs
Downloads
Events
Everything posted by Captain 80s
-

Fuel tank cushion rubbers
Captain 80s replied to Oldred's topic in Third and Fourth Generation VFR's
Yes, 23 is an adhesive pad to help secure 16. They get old and fail often. I usually put a little 3M black silicone adhesive in the slot when I've decided where I want the side rubbers to live. Which is usually around the bend in the frame. I have an original 95 tank in my office under some blankets that likely has remnants of where the factory put #16 if that is what you are looking for. But exact placement is not critical. If you have mismatched rubbers somebody probably replaced one at some point with a different style off of another model. There are a few styles. -
Very likely painted or powder coated. That rear wheel is unique to 94 - 97. I find that the stock position of the bars on the 90 - 97 are a little too angled inward for my preferred riding position. There are lugs on the clip-on that can be cut off and it allows you to rotate the bars more forward a fair amount. I make that mod to all of my bikes that have room at full lock for the bar to rotate around bit and not let anything hit the cowling. It "opens up" the cockpit a bit and makes a big difference to make a bike feel how you would like. Still plenty of clearance... If it seems good for you, disregard. Other's might find it useful. Cheers!

-
Excellent.
-
NICE!!! Gonna be a great Summer, you made the right choice between the two in my opinion.
-
I have no idea how this particular bike had been stored, but this picture is very representative of what you'll find in bikes that have just been ran out of fuel for storage instead of draining the carbs. When you just run it out, there is still fuel in the bowls. Evaporated fuel (especially today's SHIT variety) leaves behind a residue that builds up overtime, to eventually break up and clog the pilot jets and passages. Looks like yours were imminent, good timing. Also, for a couple bucks a piece, you're not going to install new float bowl orings while you have the carbs out? How old are they?
-
Nice! Just broken in... 😉 And welcome. Got a 95 and love it.
-
Fuel Tank Sources/Similar Models? Repair?
Captain 80s replied to JimCMA's topic in Fifth Generation VFR's
What is the "dot" from? If there is one, how do you know there is not 10 more on the inside about ready to do the same thing? -
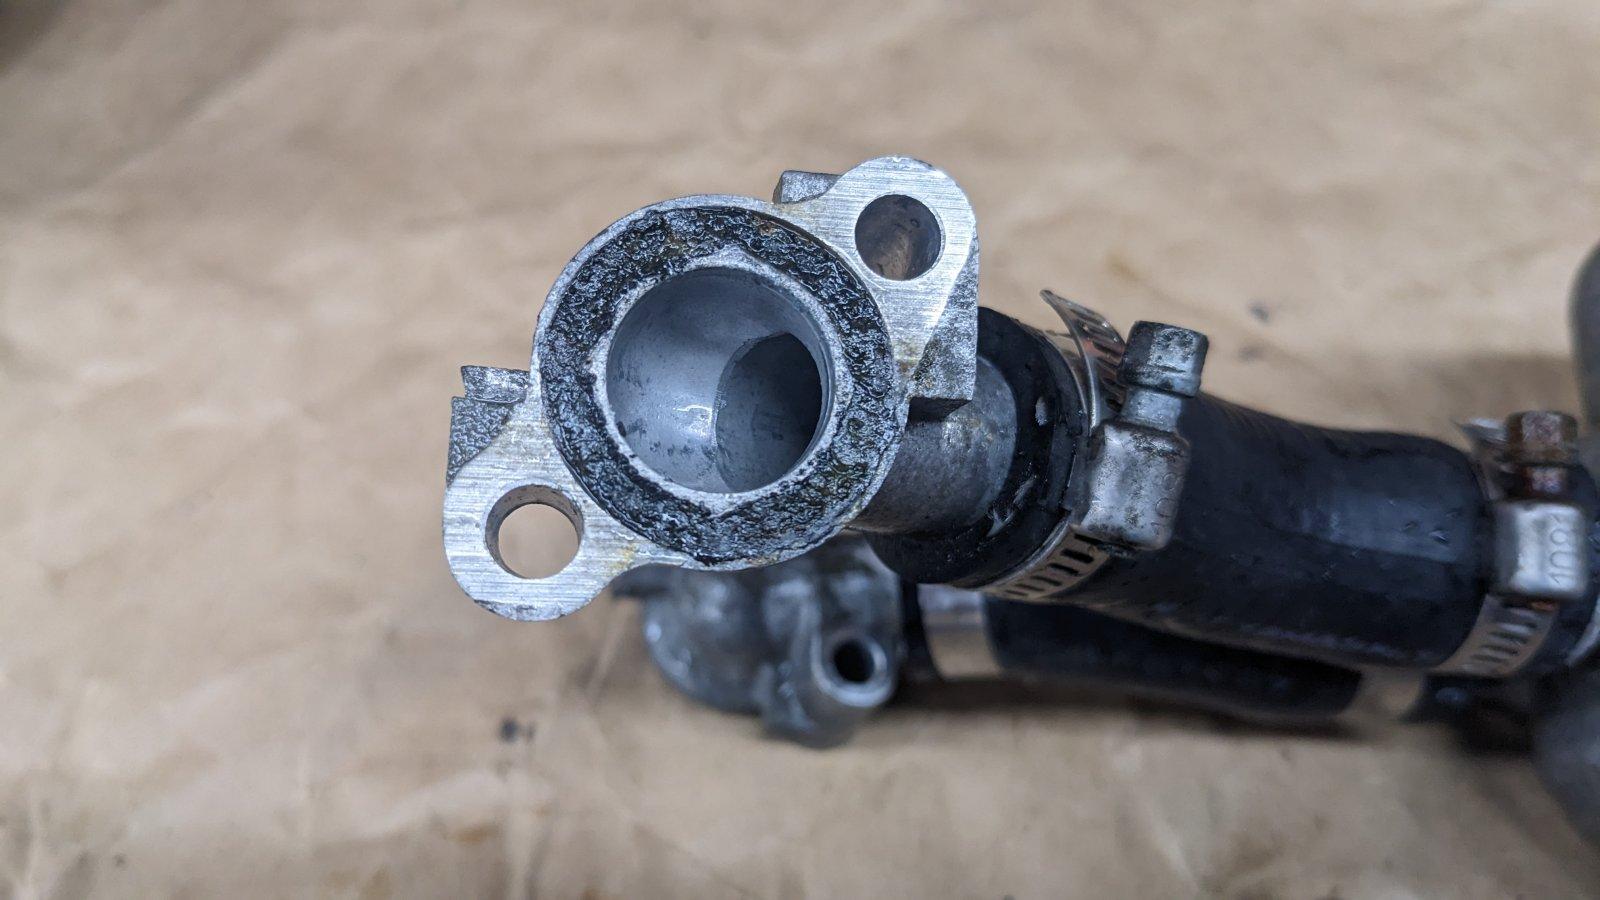
Heat the insulators with a heat gun on low to get them soft. If they do not want to come out by hand, CAREFULLY lever them out between one of the rear carb bodies and the read head cover with something like a wooden handle. This move is at your own risk, but is how I do it nearly every time unless I have just installed brand new insulators. If you REALLY want to make the installation easy as pie, buy some new insulators. It is like cheating going back in on a RC36. How I do it: Insulators on the heads, heated up with a heat gun and a light smear of red rubber grease. Fully seat the front carbs. The rears will seem off and impossible, but with downward pressure the front insulators will give, improving the rear gap and the rears will pop in. I use a snap on coolant hose tool to sweep around the lip of the rear insulators to help the carbs get past and down. Again, new insulators and they will almost fall in. Re-using old ones, a heat gun is a must. Some people do a half on half off angled thing with insulators. I have never needed that. Bottom line is whatever works for you and gets the carbs fully seated and doesn't damage the insulators. HIGHLY recommend replacing the coolant fitting orings if you are doing this job. They will be a solidified goo like substance that no longer looks like an oring. Probably a good idea to replace the float bowl orings too when you have the carbs out, they are cheap. https://www.oringsandmore.com/fkm-o-ring-76-x-2mm-price-for-1-pc/ Somewhere I have all of the FKM/Viton equivalents for the whole cooling system. Pennies on the dollar.
-
Fuel Tank Sources/Similar Models? Repair?
Captain 80s replied to JimCMA's topic in Fifth Generation VFR's
Buy a decent tank that is clean inside, needs some work, but isn't smashed, get it pro repaired/painted and don't look back. Money will seem well spent after a few months of not always checking that same spot for failure. There is NO WAY I would spend any kind of real money painting that tank after lining/soldering. Had a friend who did that and the kick in the balls when his new paint job was ruined was sickening to even witness. It was like my balls got a glancing shot. -
Right brake disc gets hotter than the left one
Captain 80s replied to M0rf3M's topic in Eighth Generation VFR's
Topic is in "Eighth Generation VFR's"... no DCBS. Additionally, how could a 6 piston caliper have 3 active pistons? Linked Brakes would be even worse than I thought, if that is even possible. -
Parts Bike to Rider - '86 VFR700 (Cali v. 49-state Q)
Captain 80s replied to NotSoLilCrippseys's topic in Earlier VFRs
Bam! Some Honda bolts or allen heads look the part better, but like you said, for this application... done. -
Fuel Tank Sources/Similar Models? Repair?
Captain 80s replied to JimCMA's topic in Fifth Generation VFR's
I will do ANYTHING to not line a tank these days. Small dents and dings on a donor tank can be fixed without a bunch of body filler AND not compromising the interior. But then you have to pay for a real paint job. Which I'd still rather do. Finding a perfect tank in the right color is gonna take time. Maybe keep an eye out for a tank bra and a "decent" tank to go under it until you find that unicorn tank. Or maybe a Bagster cover. Good luck! -
The RC36 fuel pumps don't "prime" when you turn on the key. None of the carb bikes do. Sometimes you can get a single click. The Fuel Cut Relay is energized by an ignition signal, so it only allows the pump to operate when the bike is being cranked or running. I wire in parallel toggle switches so I can prime the fuel system and/or get home when the relay fails. You can eliminate the relay too and have the pump constantly ready to pump when needed. I like at least having the toggle so I can turn off the pump if I'm working on the fuel system and turn the key on. The Service Manual will tell how how much fuel should pump over a certain amount of time to check your pump operation. Sounds you like you feel you have good volume. It will also tell you which wires need to be jumped at the relay connector.
-
That's why I usually local repair/etch prime nicks/dings and wet sand the original finish for paint. Honda finishes make the best primer.
-
Honda used white primer on these wheels from that era, regardless of the final wheel color. Which seems odd to me.
-
The design of that clamp, I'm not sure how. The tangs move away from each other to get tighter, I don't think going around the back would quite work out. Maybe. You could try I suppose and see what happens. Sucks when you go to service something.
-
You can "shrink" those clamps styles down to a smaller size too, I've done that on some in between applications.
-
Oh, yeah. Duh. Your fuel line is smaller OD, and I think the clamp is out of it's sweet spot. But Honda does have another version that provides a stronger clamp. You might have to try the next smaller size of your style, maxed out to get over the line. You can always run small hose clamps, I just try not to whenever I can for servicing.
-
Post pic of the clamp style. There are a few varieties that sometimes get moved around on bikes. There is a wide style that can clamp quite strong, but your fuel line likely has a smaller OD too not being double walled reenforced.
-
Bam!!! Hell yeah. I may be using much, if not all, of this when needed.
-
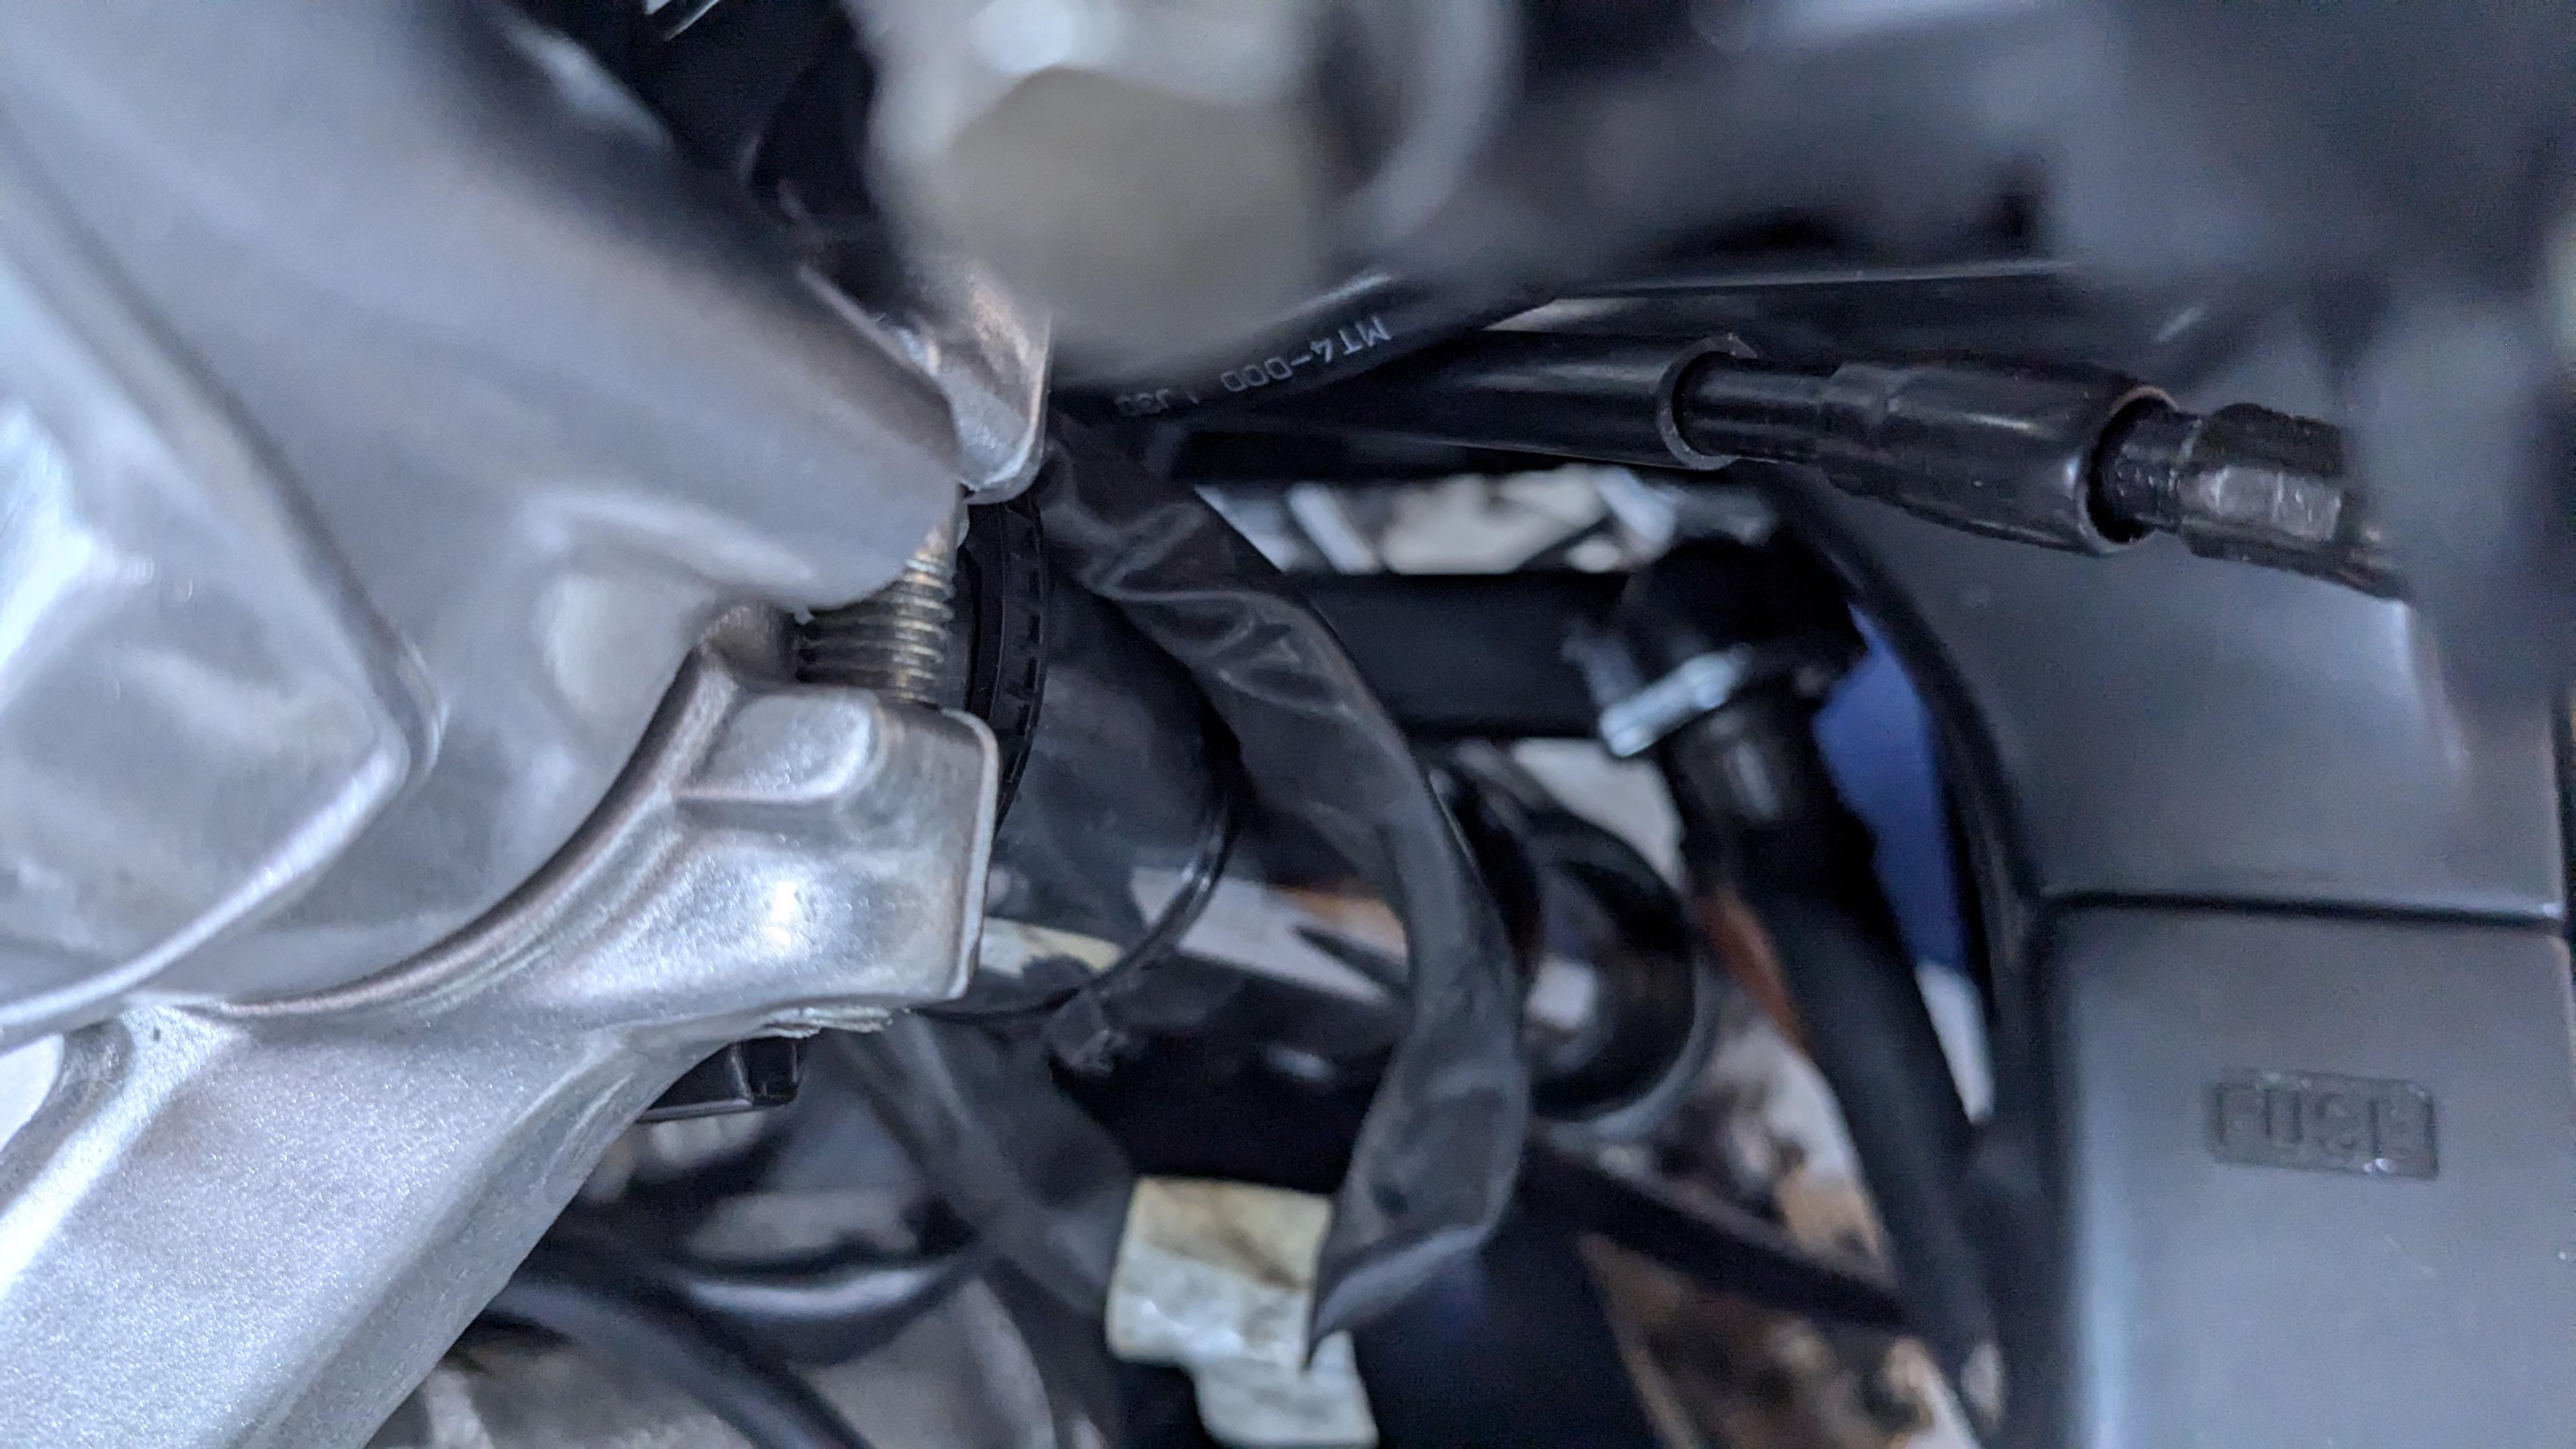
I'm just thinking of using one of the mounts up behind for the reg/rect and coming down with another small, simple bracket to the back side of the pump bracket. Shit, even a zip tie from the back rubber suspension mount up to something there would do the trick to take A LOT of stress off of everything.
-
Yes. You can have strong brackets, but with each added one strength gets lost and leverage increases. I've learned many times how brutal actual street riding can be. I had some cowl brackets on my 500 race bike that had zero issues in years of racing. One ride down to Ballard for a bike night and they were toast.
-
I remember now the extra little "gusset" the fuel pump bracket has at the 90. A few test rides would show any issues I'm sure. Just with it up and so suspended now, my mind goes there thinking about the accumulative effects of constant bumps and jolts. Easy enough to address if needed.
-
Coil mount! Of course. Gotcha. But typically when you start to tighten that bolt, the bracket rotates to the right and contacts the subframe. I'm sure it's just fine. I tend to overthink some things.
-
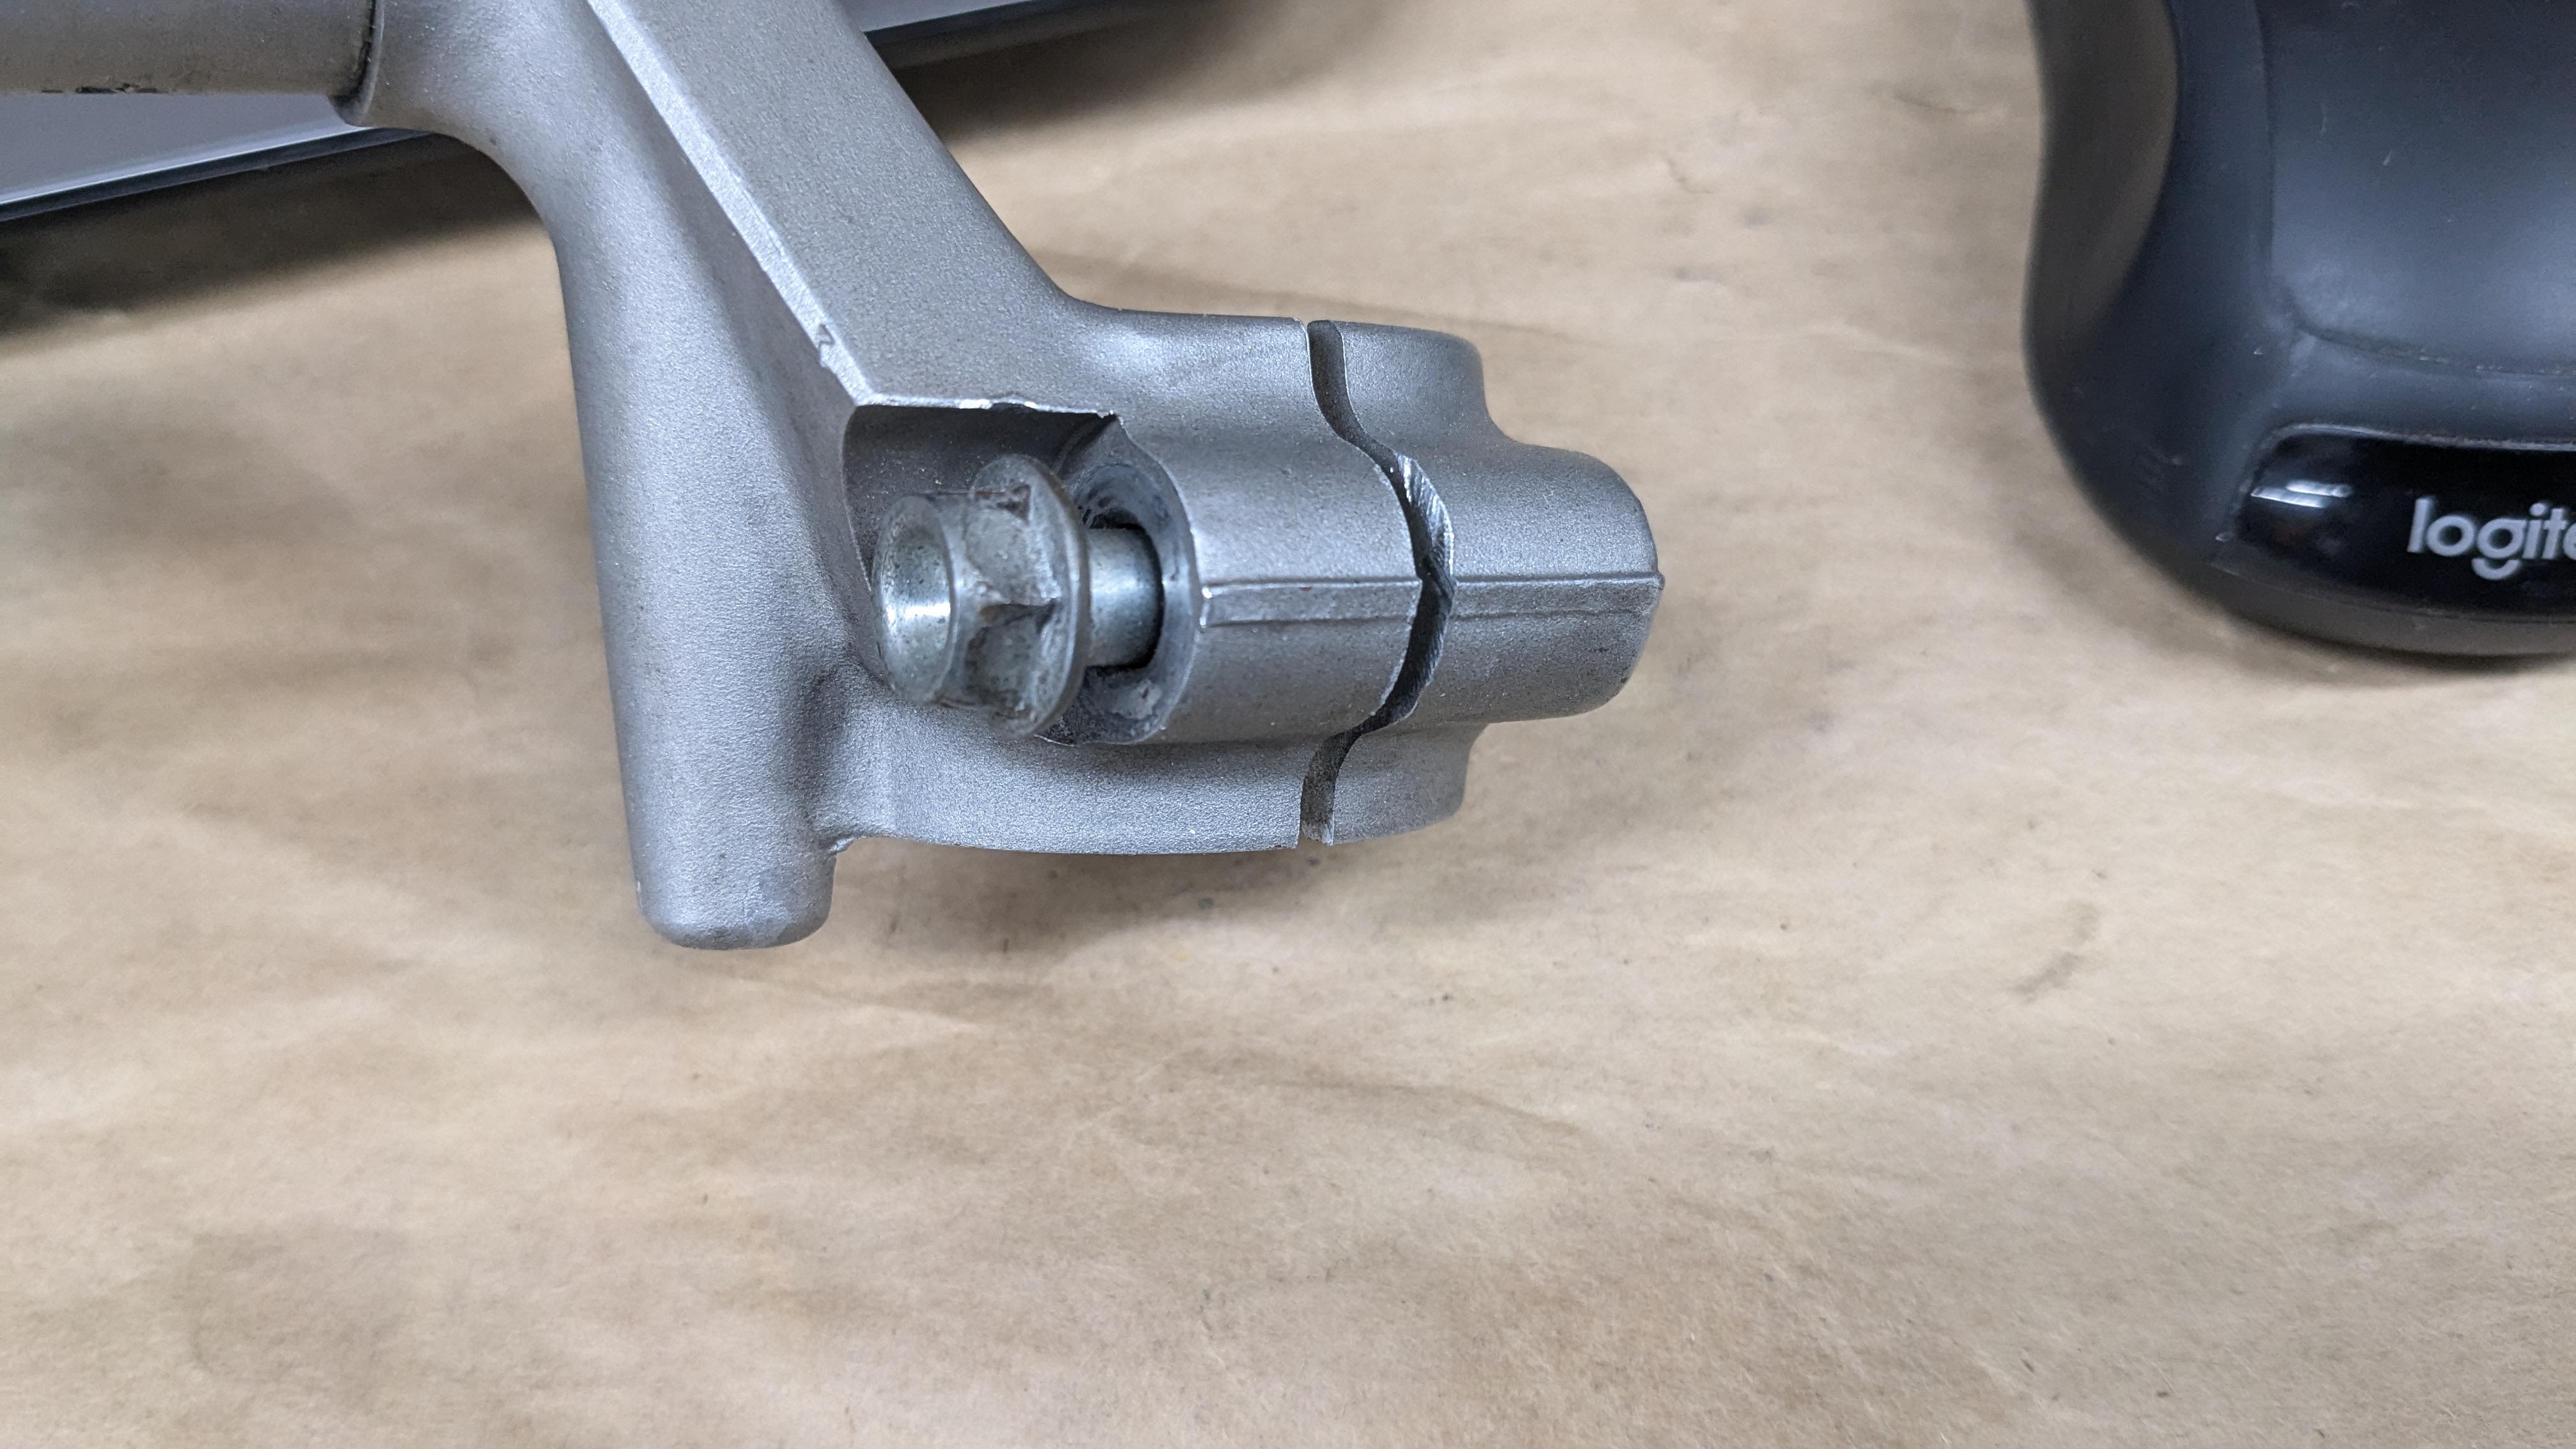
But the 90 deg bent tang of the fuel pump bracket is certainly not. Stock, the bracket and the pump get to rest on the subframe rail. The bolt hole just keeps it in place. Over a short amount of time it might just bend down/back to the point that the back of the pump is hitting something and be ok.