tsmitty
-
Posts
389 -
Joined
-
Last visited
-
Days Won
4
Content Type
Forums
Profiles
Gallery
Blogs
Downloads
Events
Everything posted by tsmitty
-
that mirror stay is 1/2ish so a smaller 3/8 tube might be good looking. Chrome Molly?
-
Cant lie...I tried my idea until I started forcing it to work. So you think 1/2 od tube will work? 3/8? I'll have to see what Lowe's has. Still...those clean crimps you're creating there are sweet.
-
Whats your technique for making the crimp look good?
-
@BusyLittleShop nice lathe work.
-
I'll see what I can come up with. There'll wave to be some kind of dog leg on the piece and it will rest on top of the mirror mount pad area being sandwiched between the pad and the mirror hardware. Bringing the bracket up under the pad is too complicated because the pad piece is stamped and gusseted around the edge down there...(thinking out loud) The mount holes on the bracket will have to be so large on the mirror end, dictating tube stock diameter.?. 1/16 wall thickness Thanks for the input Captain, stay tuned...
-
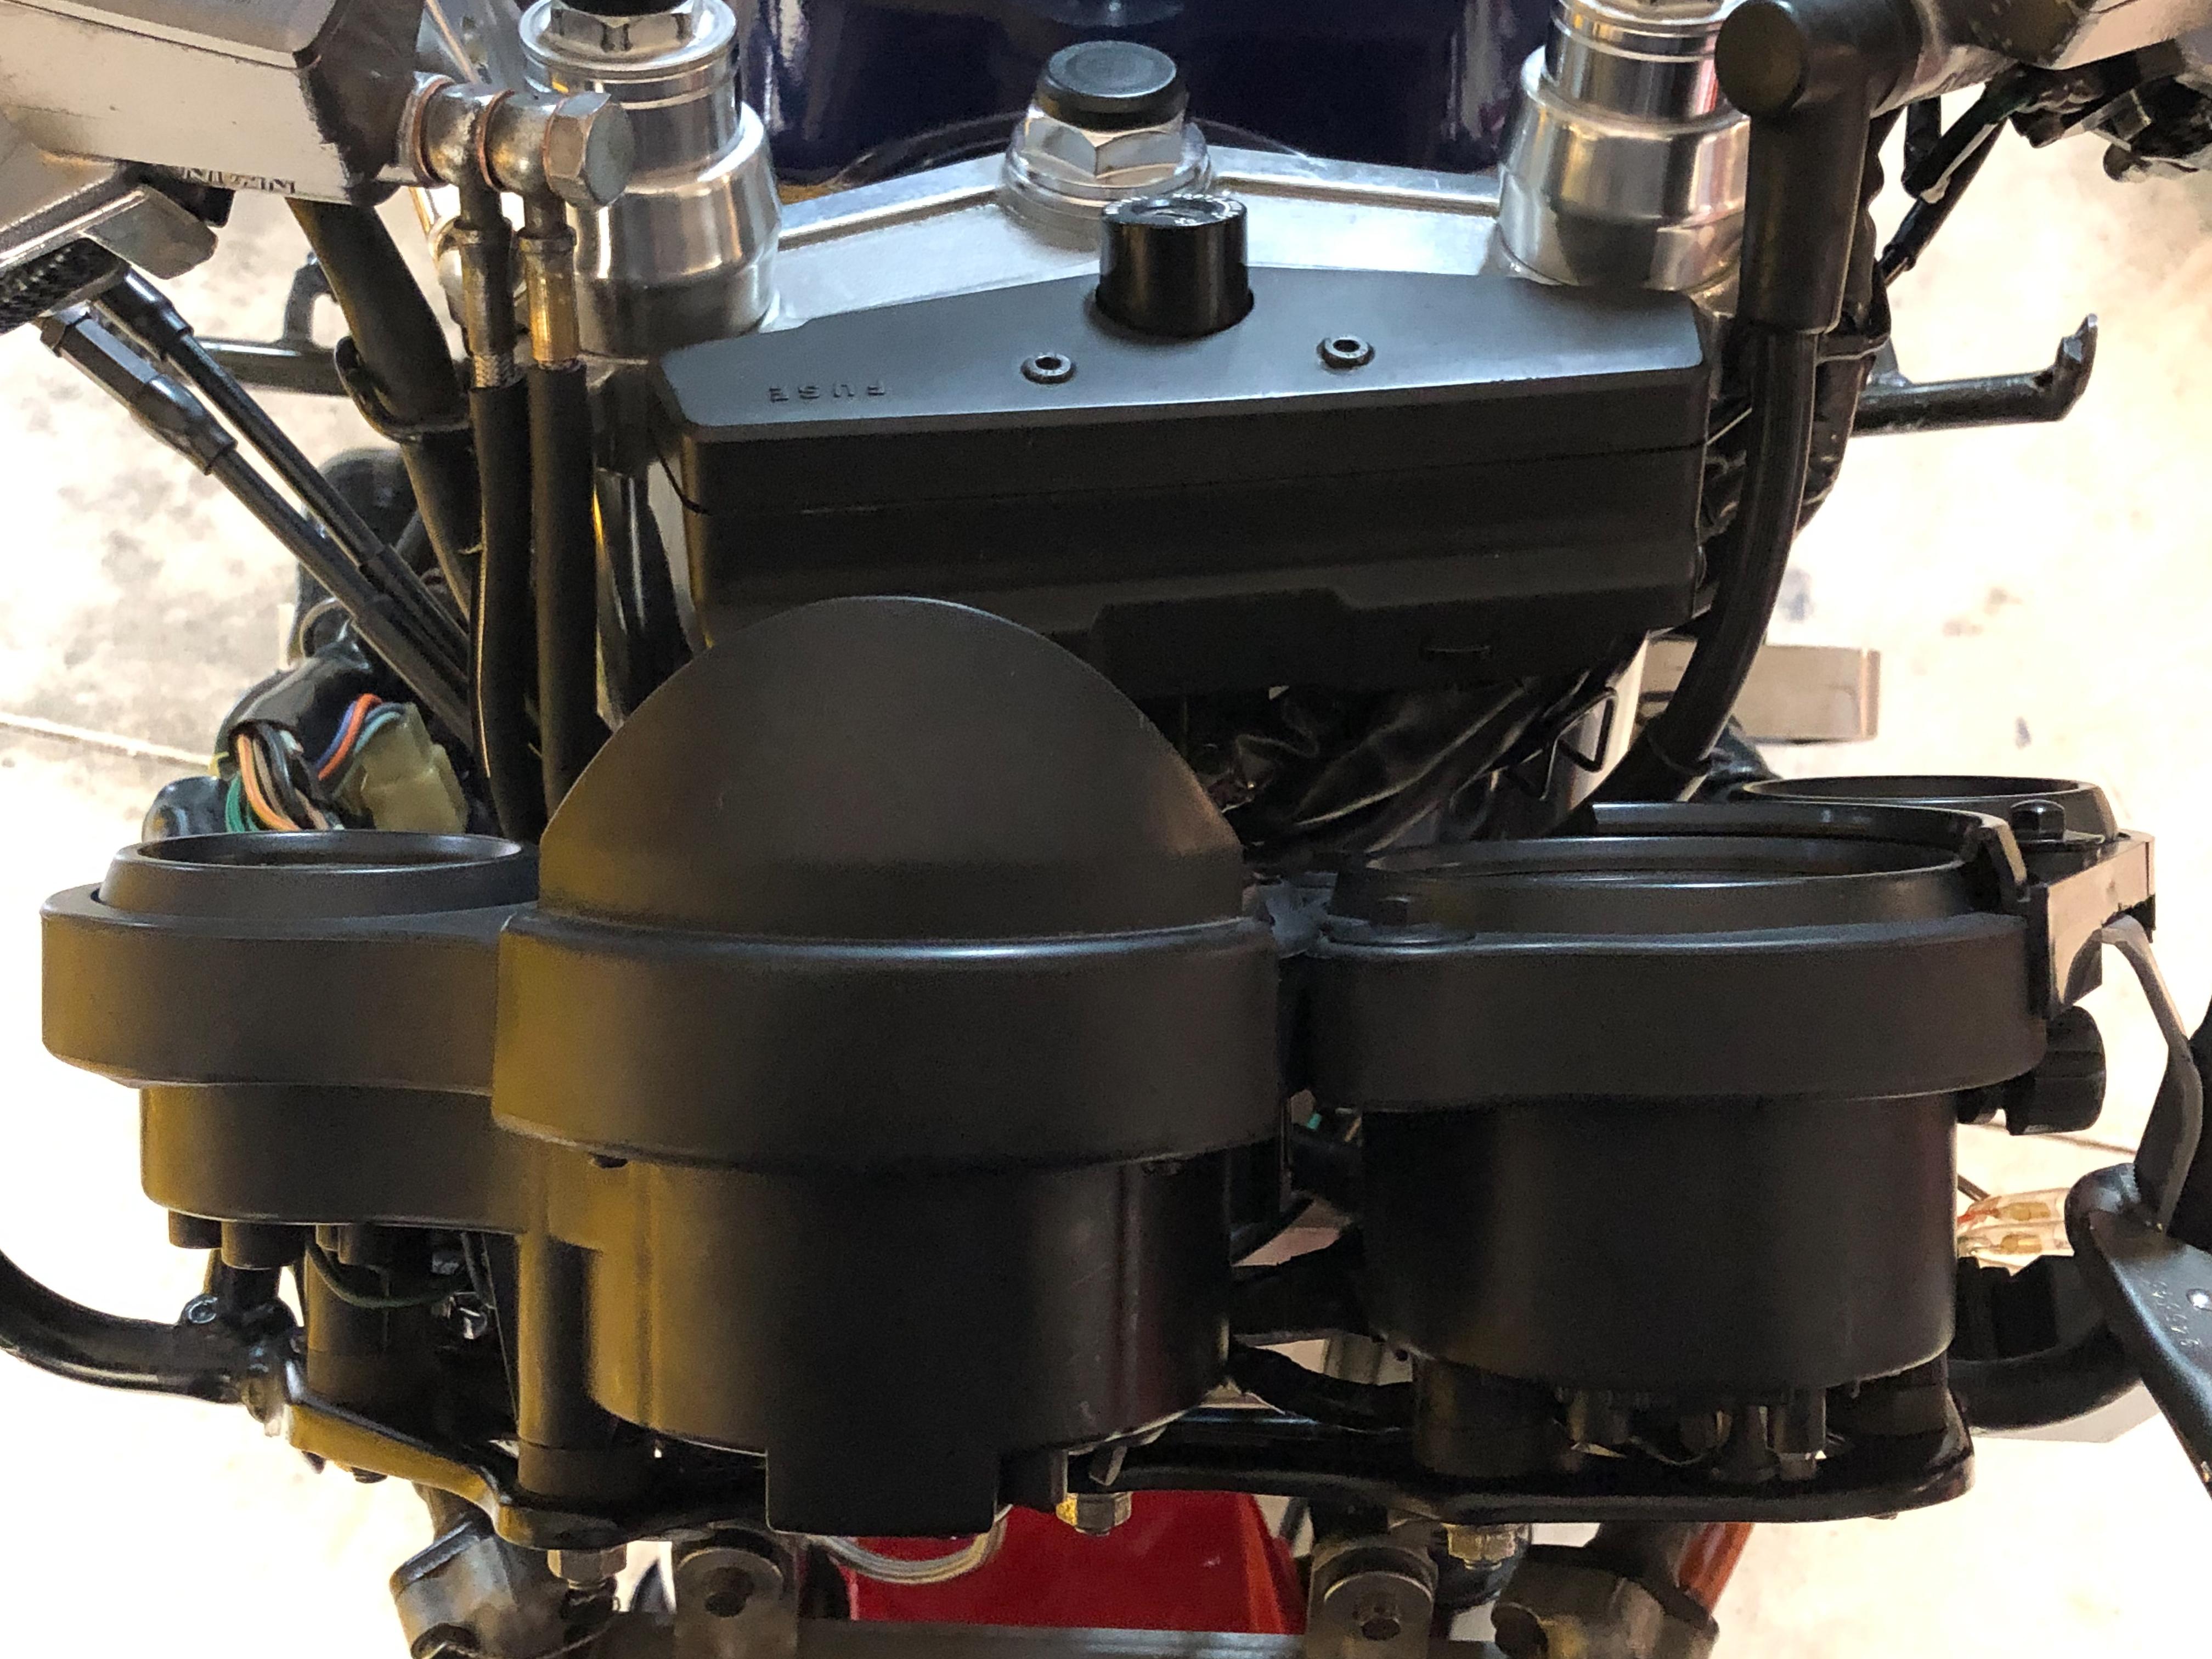
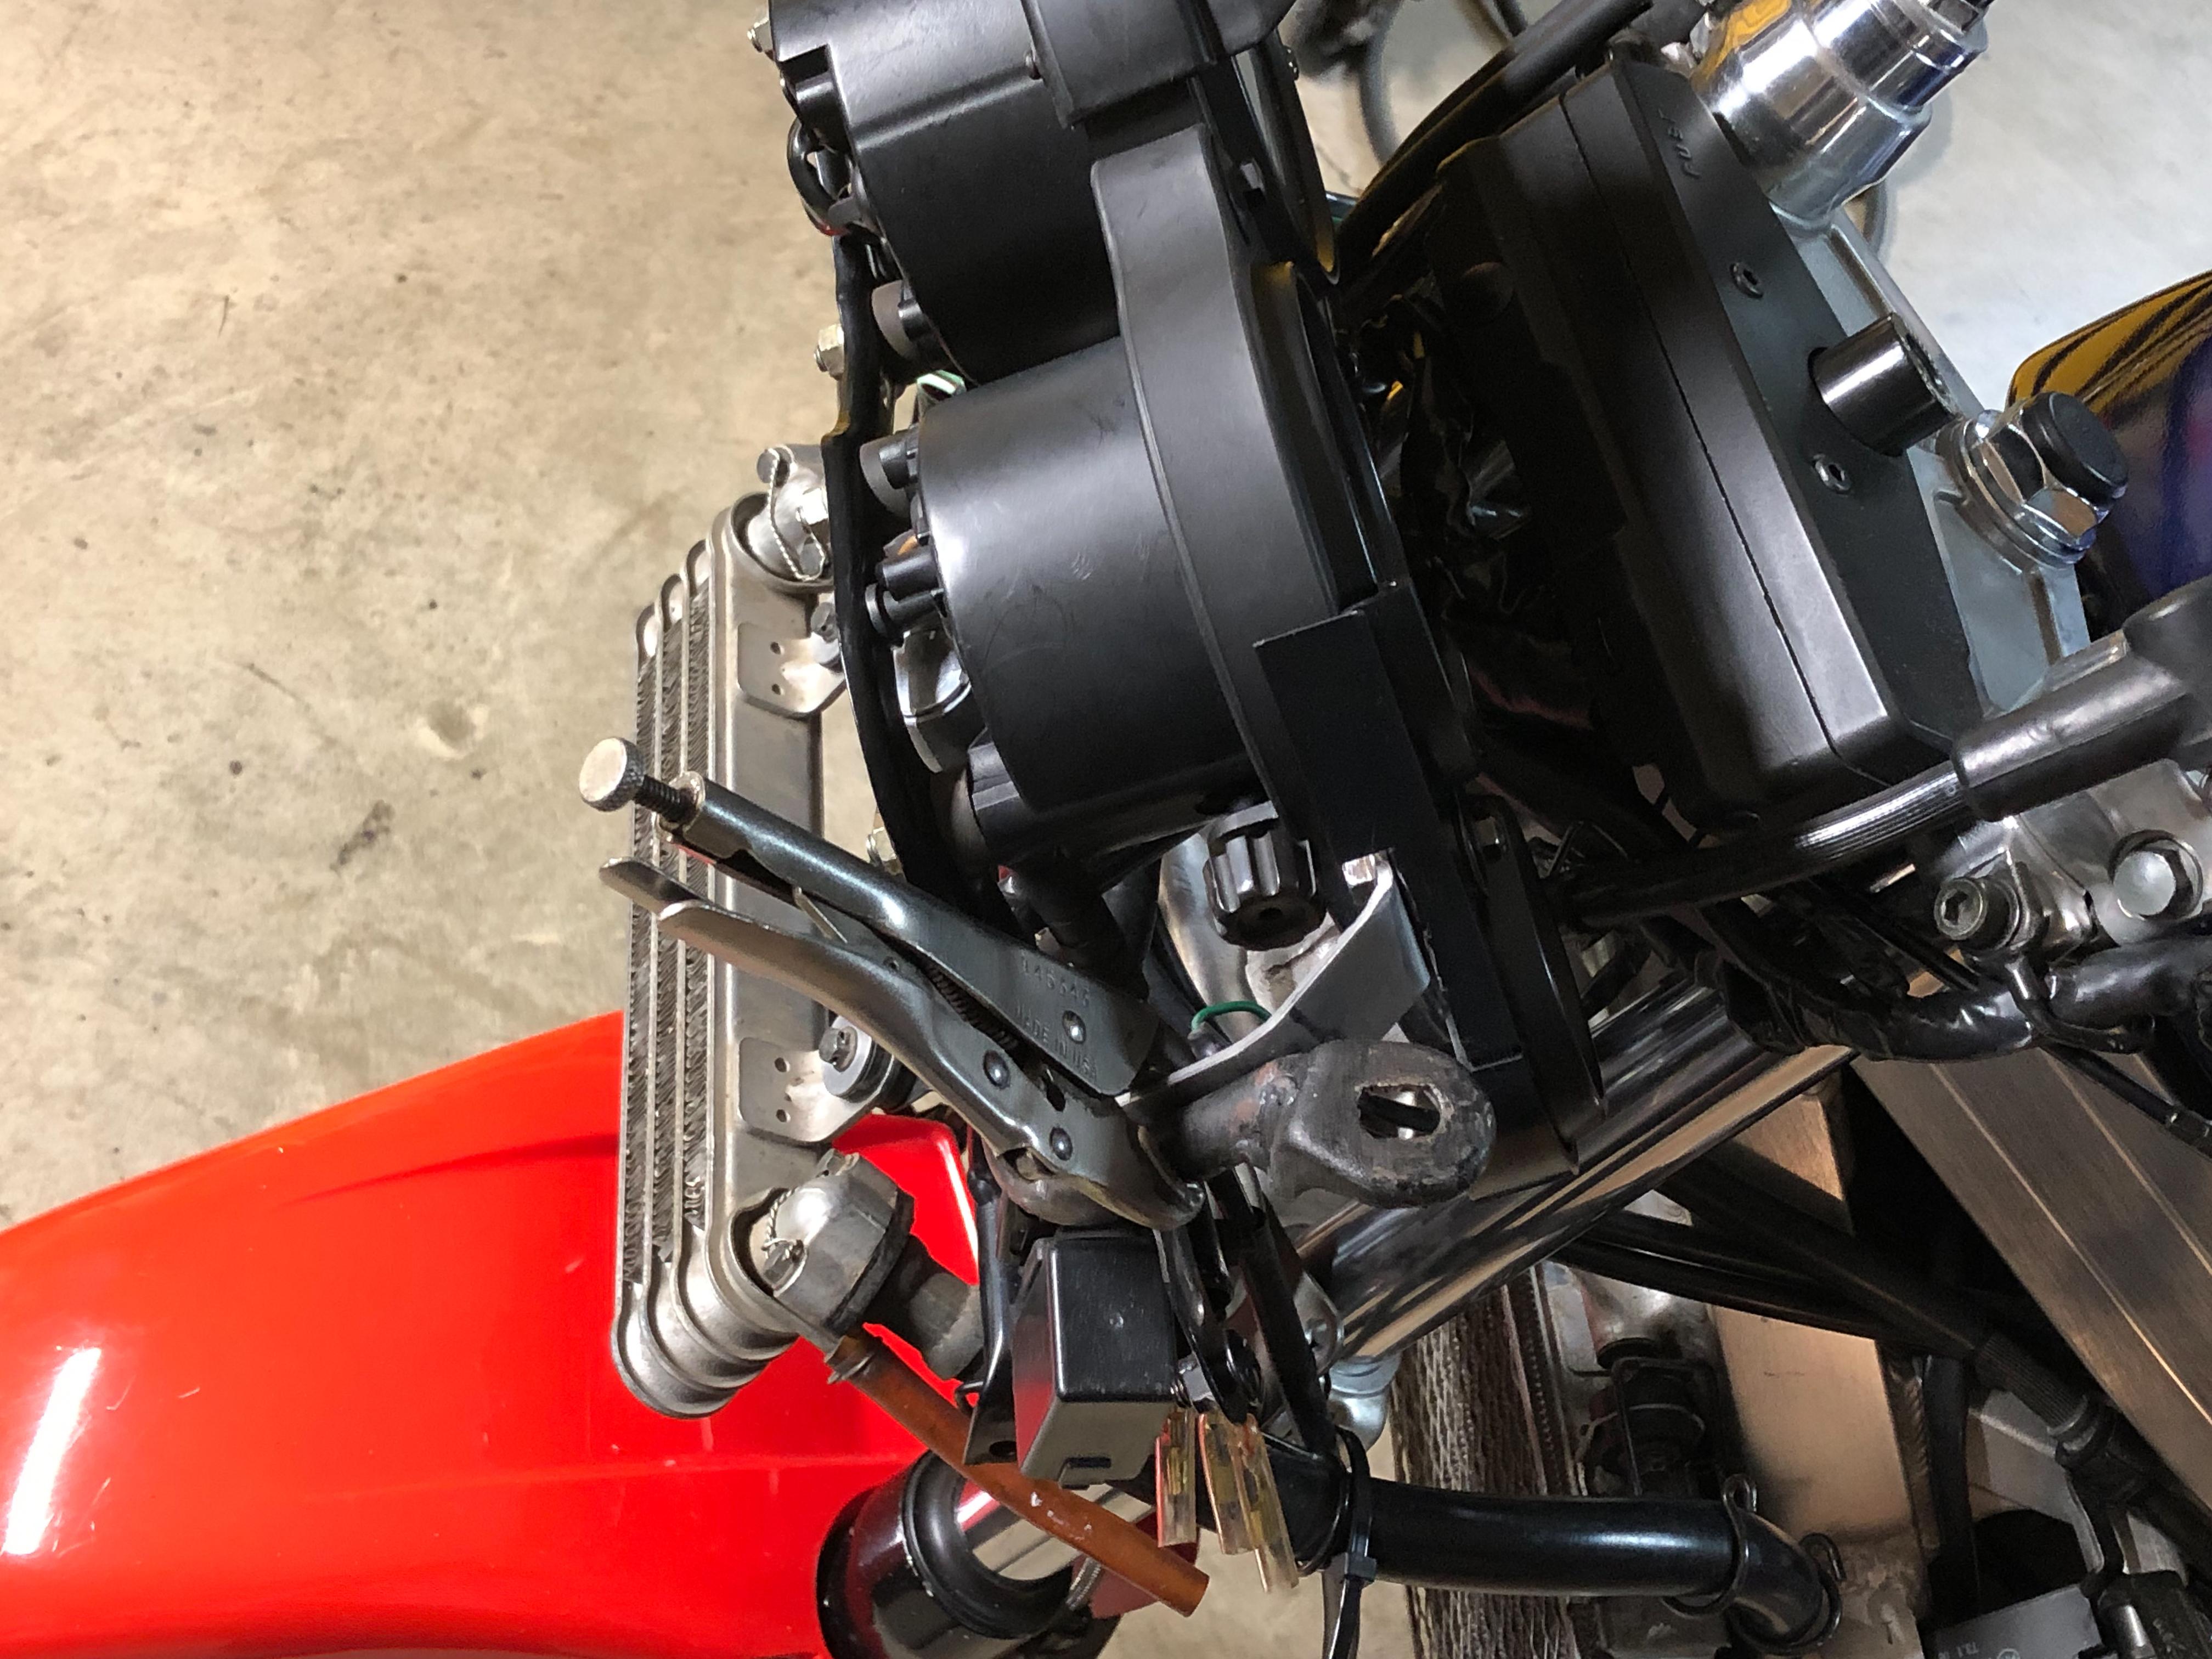
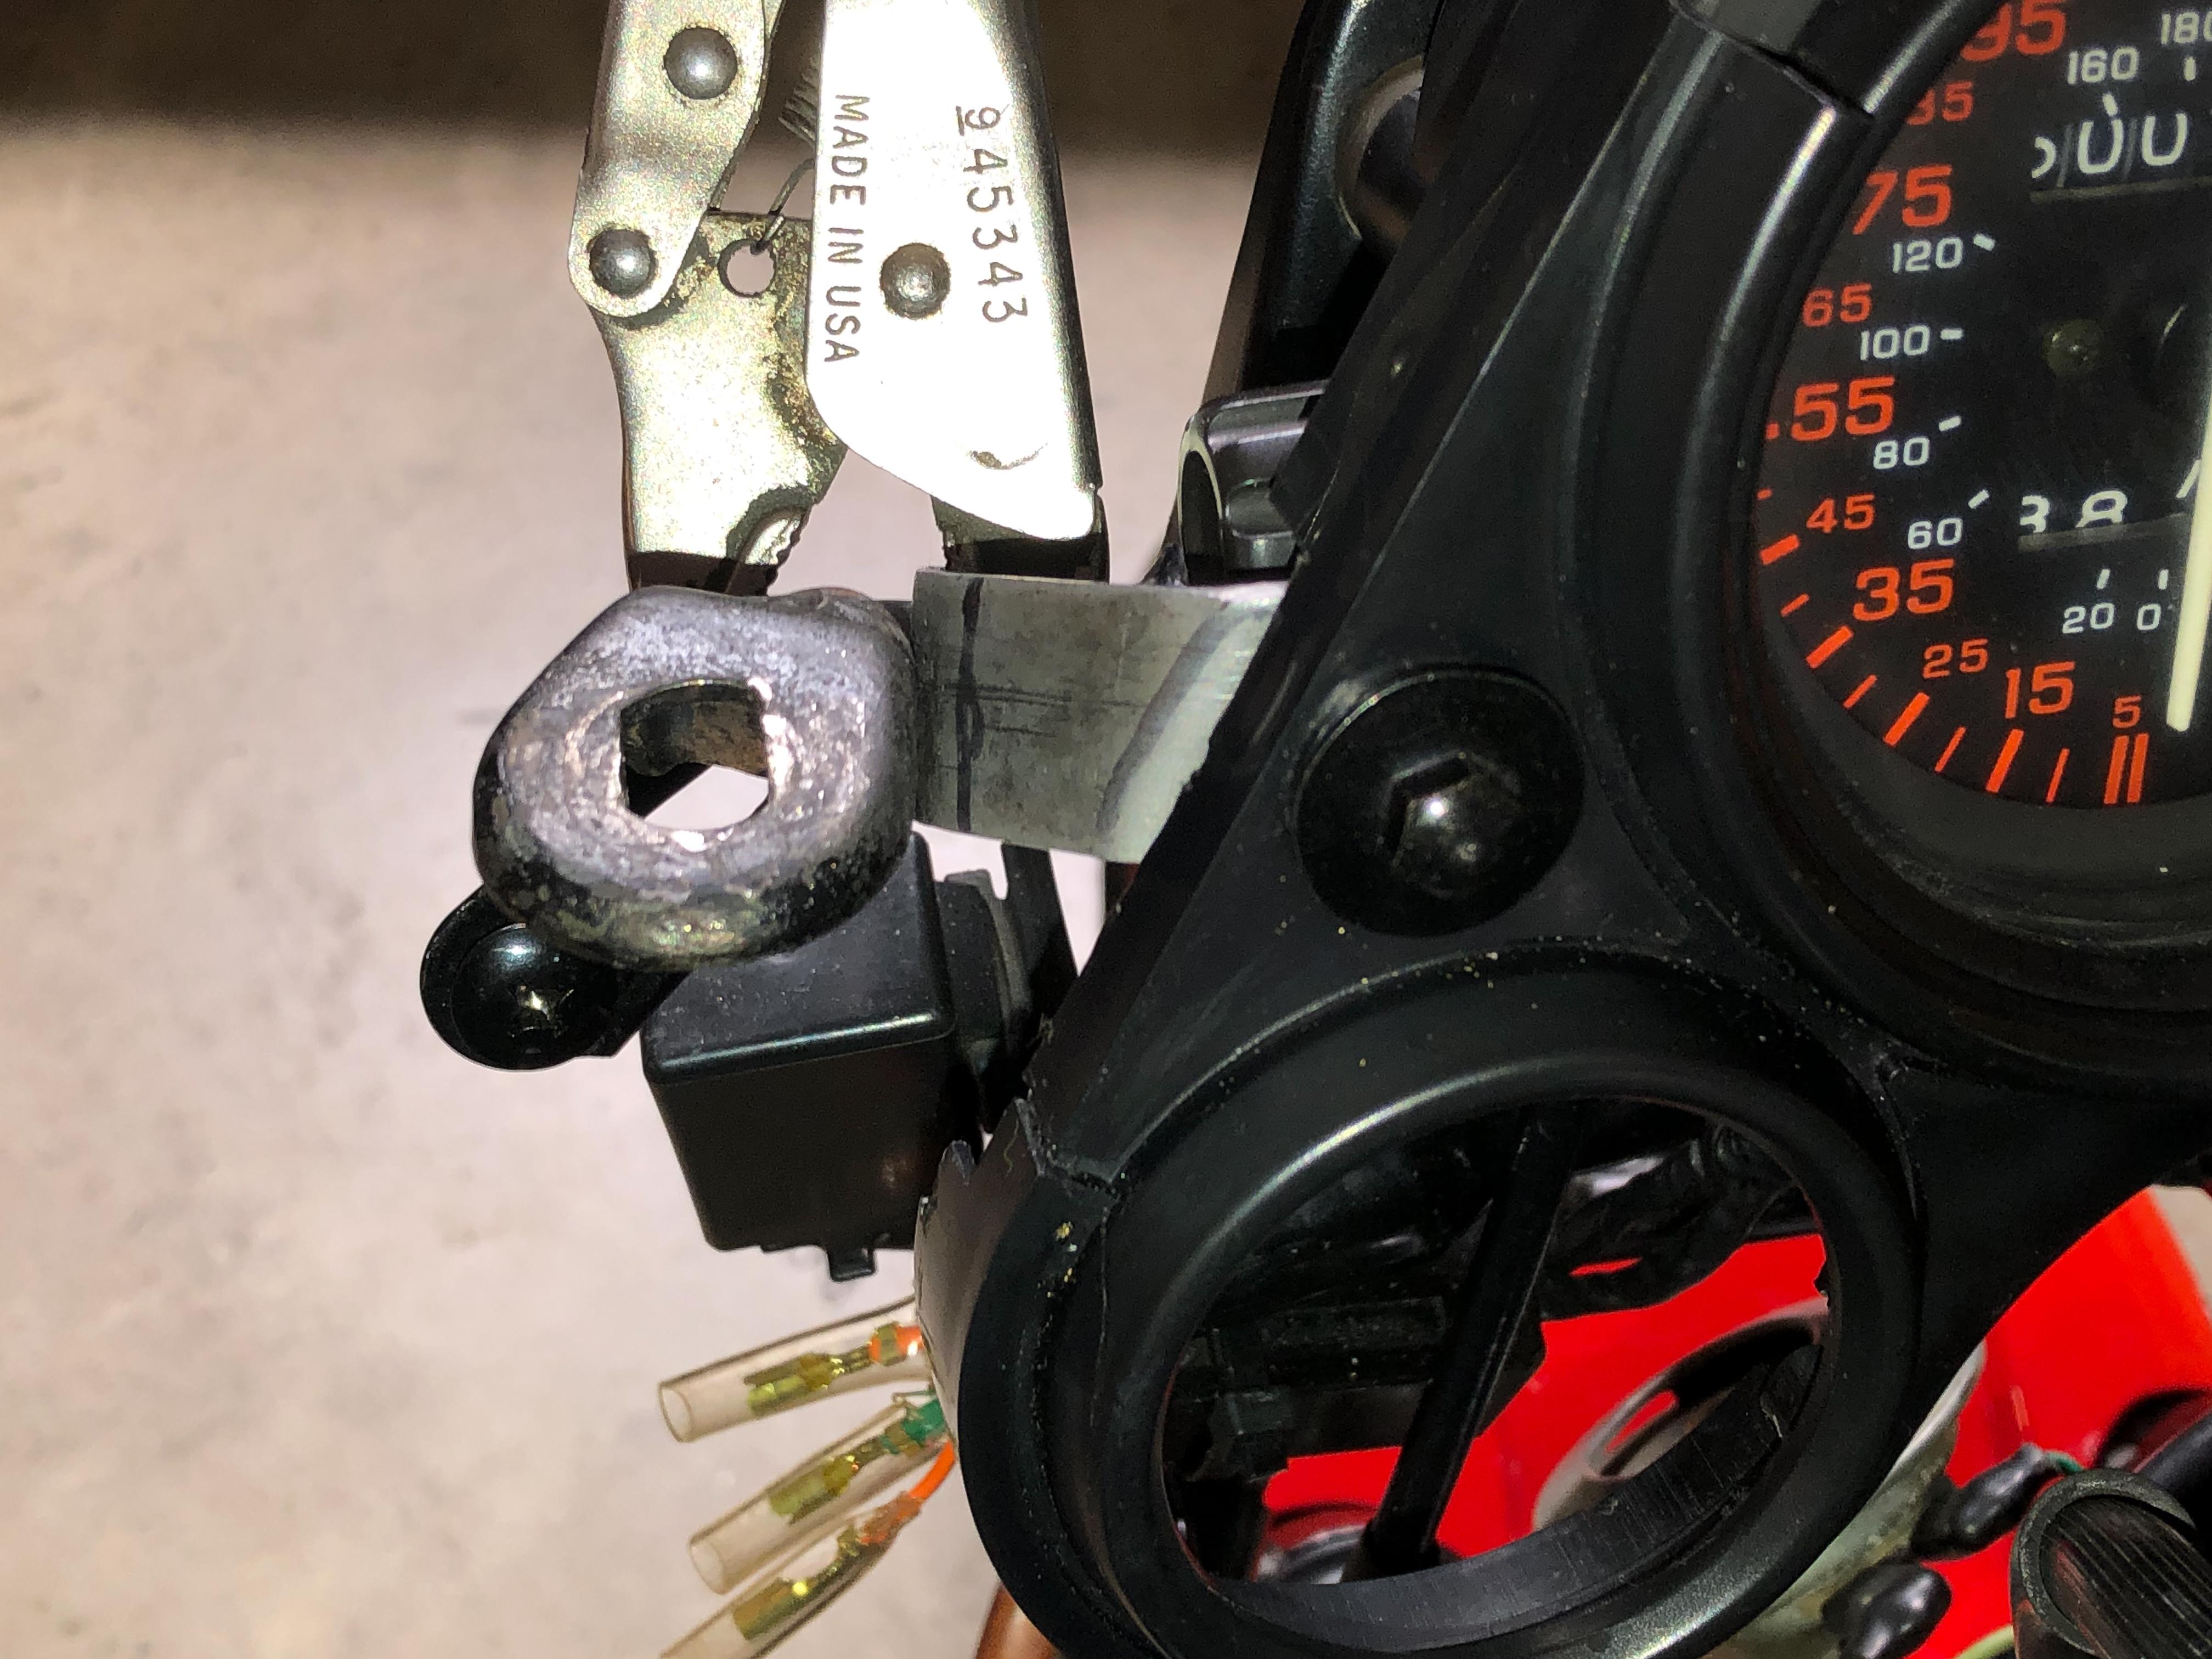
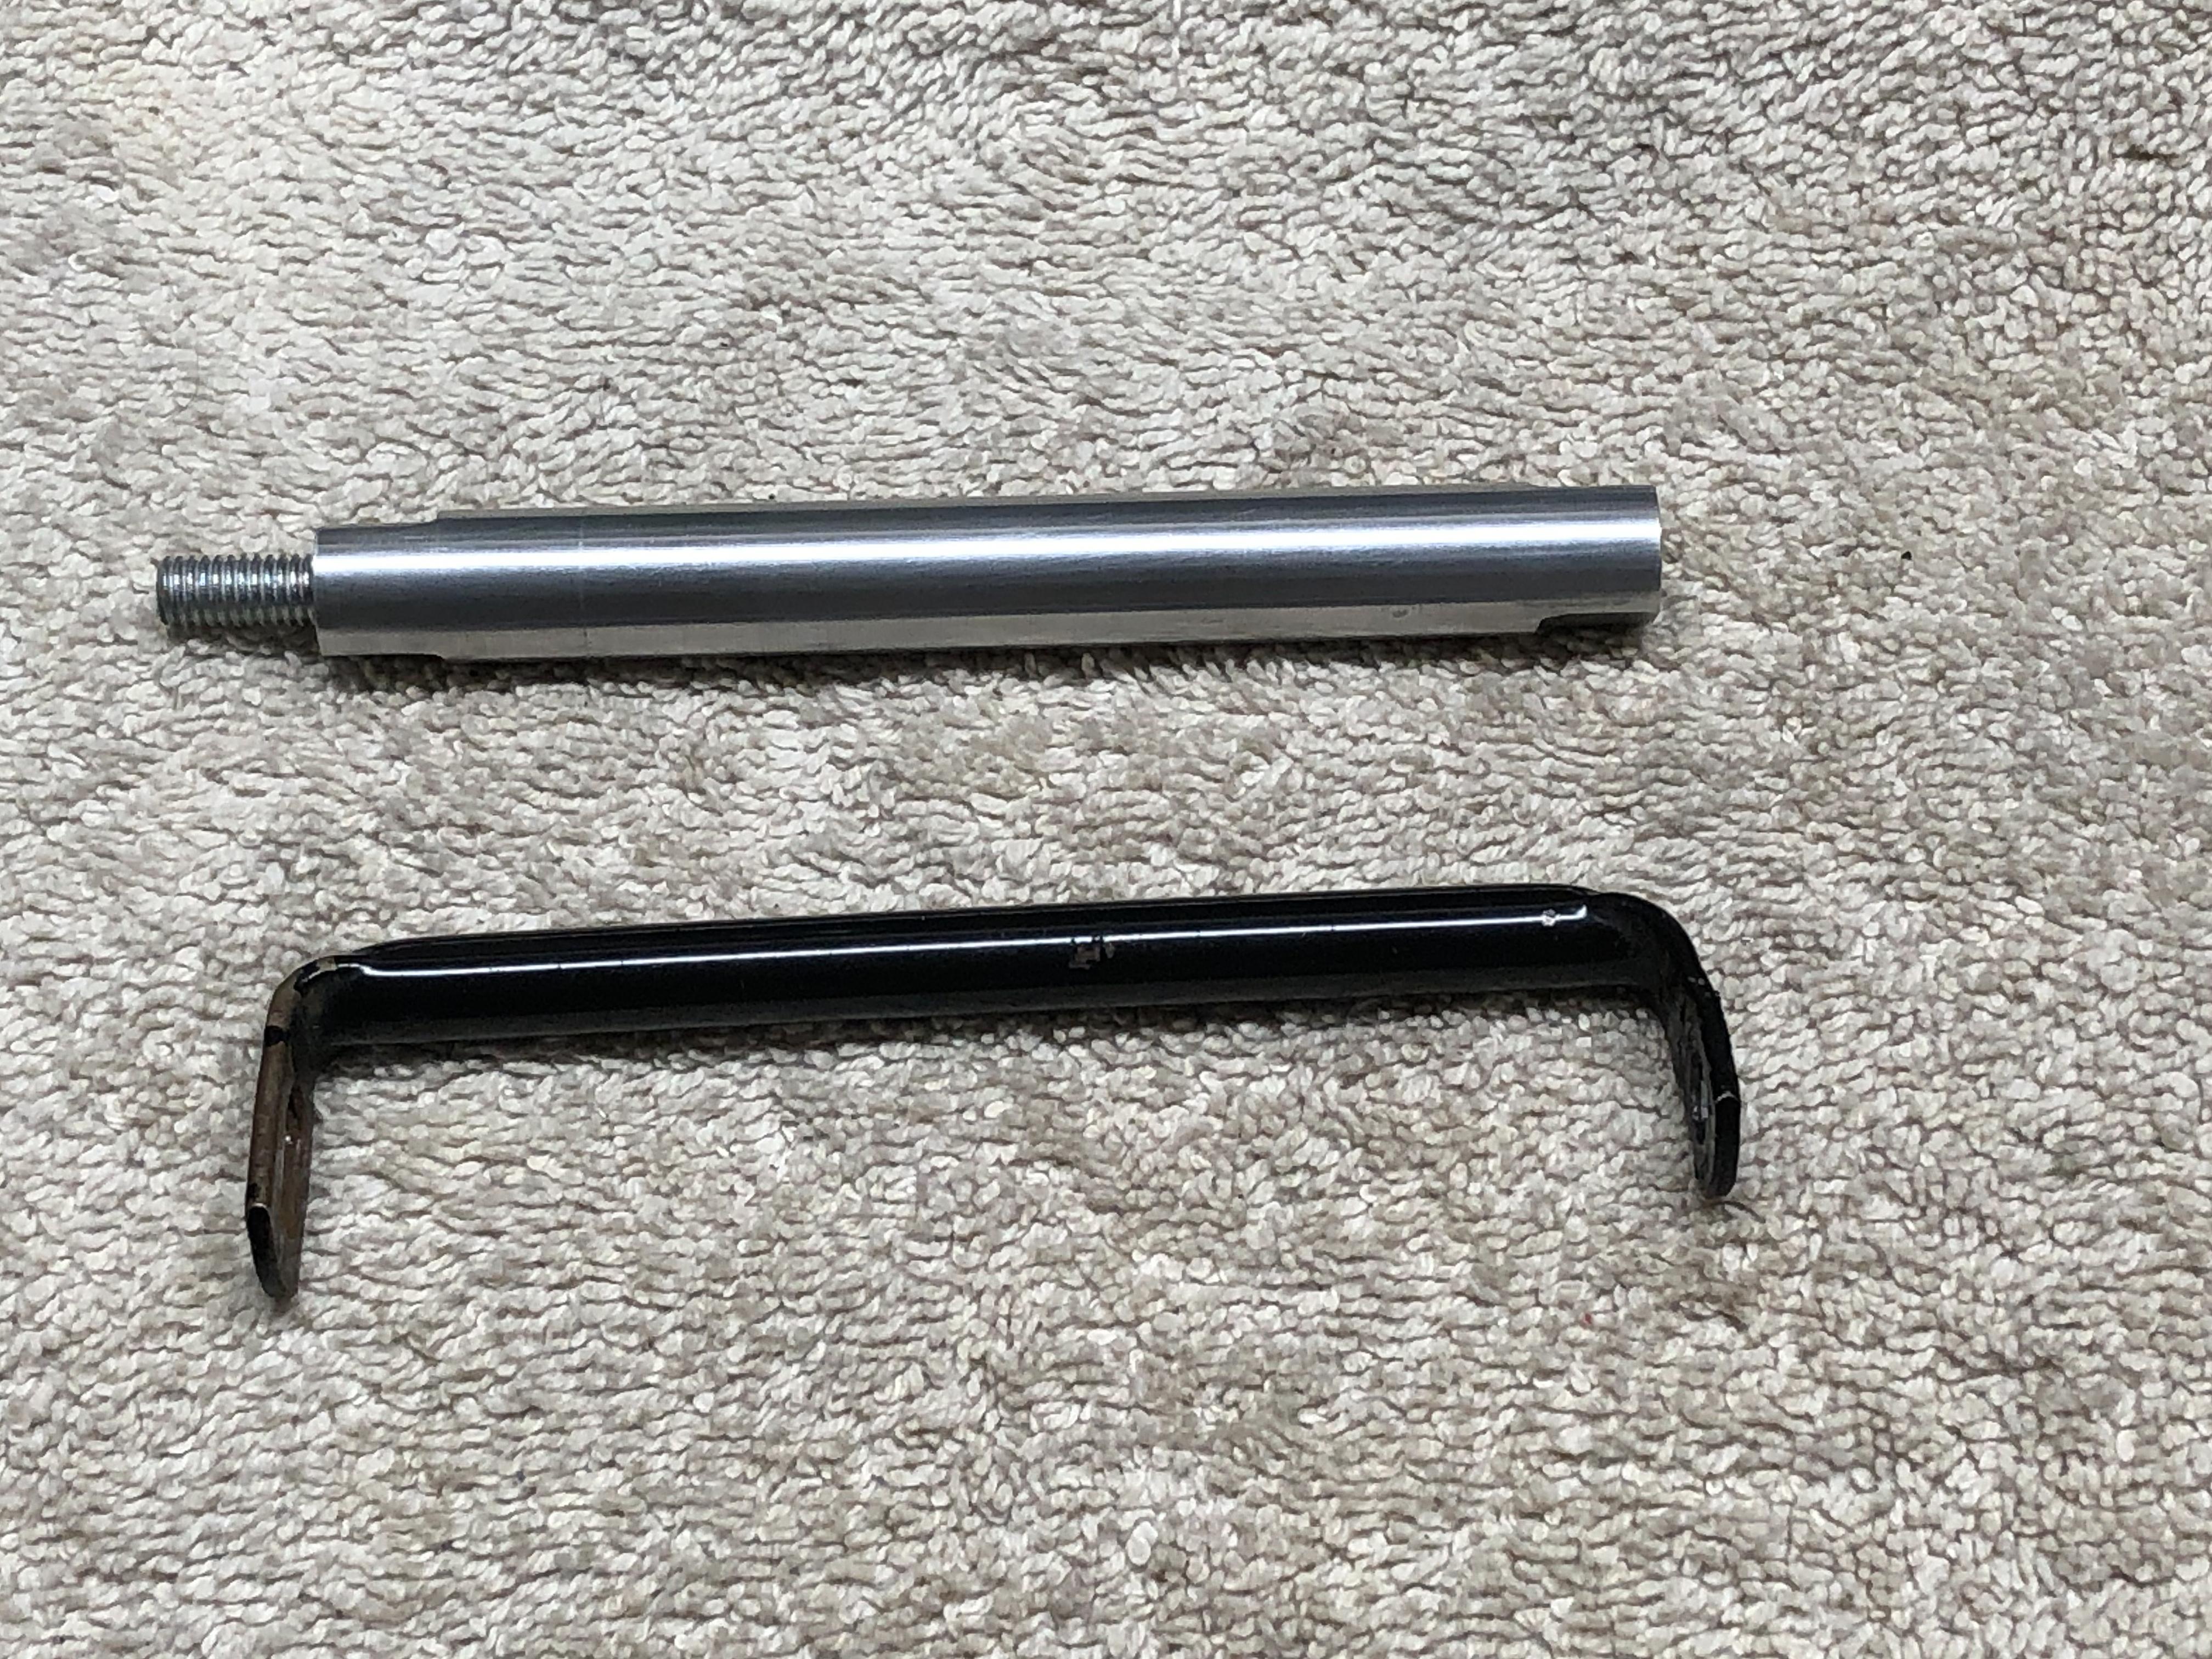
Moving right along...here is what I have so far. I don't think a hose clamp will be strong enough to secure the 1/8x3/4 steel bracket I'm using for the bezel to the mirror stay by its self. Maybe a small anti-rotation bolt at the bottom of the bracket and hose clamp? What do you think...

-
I subscribed one year and had to watch WSBK on the web browser on my TV
-
Then try to come up under the mirror mount nut? We'll see where this goes... The wire harness plugs in at the left turn running lights plug.
-
Yup. Its warming up in the garage to work out there for a few. I'm going to work that angle. That one mount lug on the bezel looks plenty stout enough to hold the assembly.
-
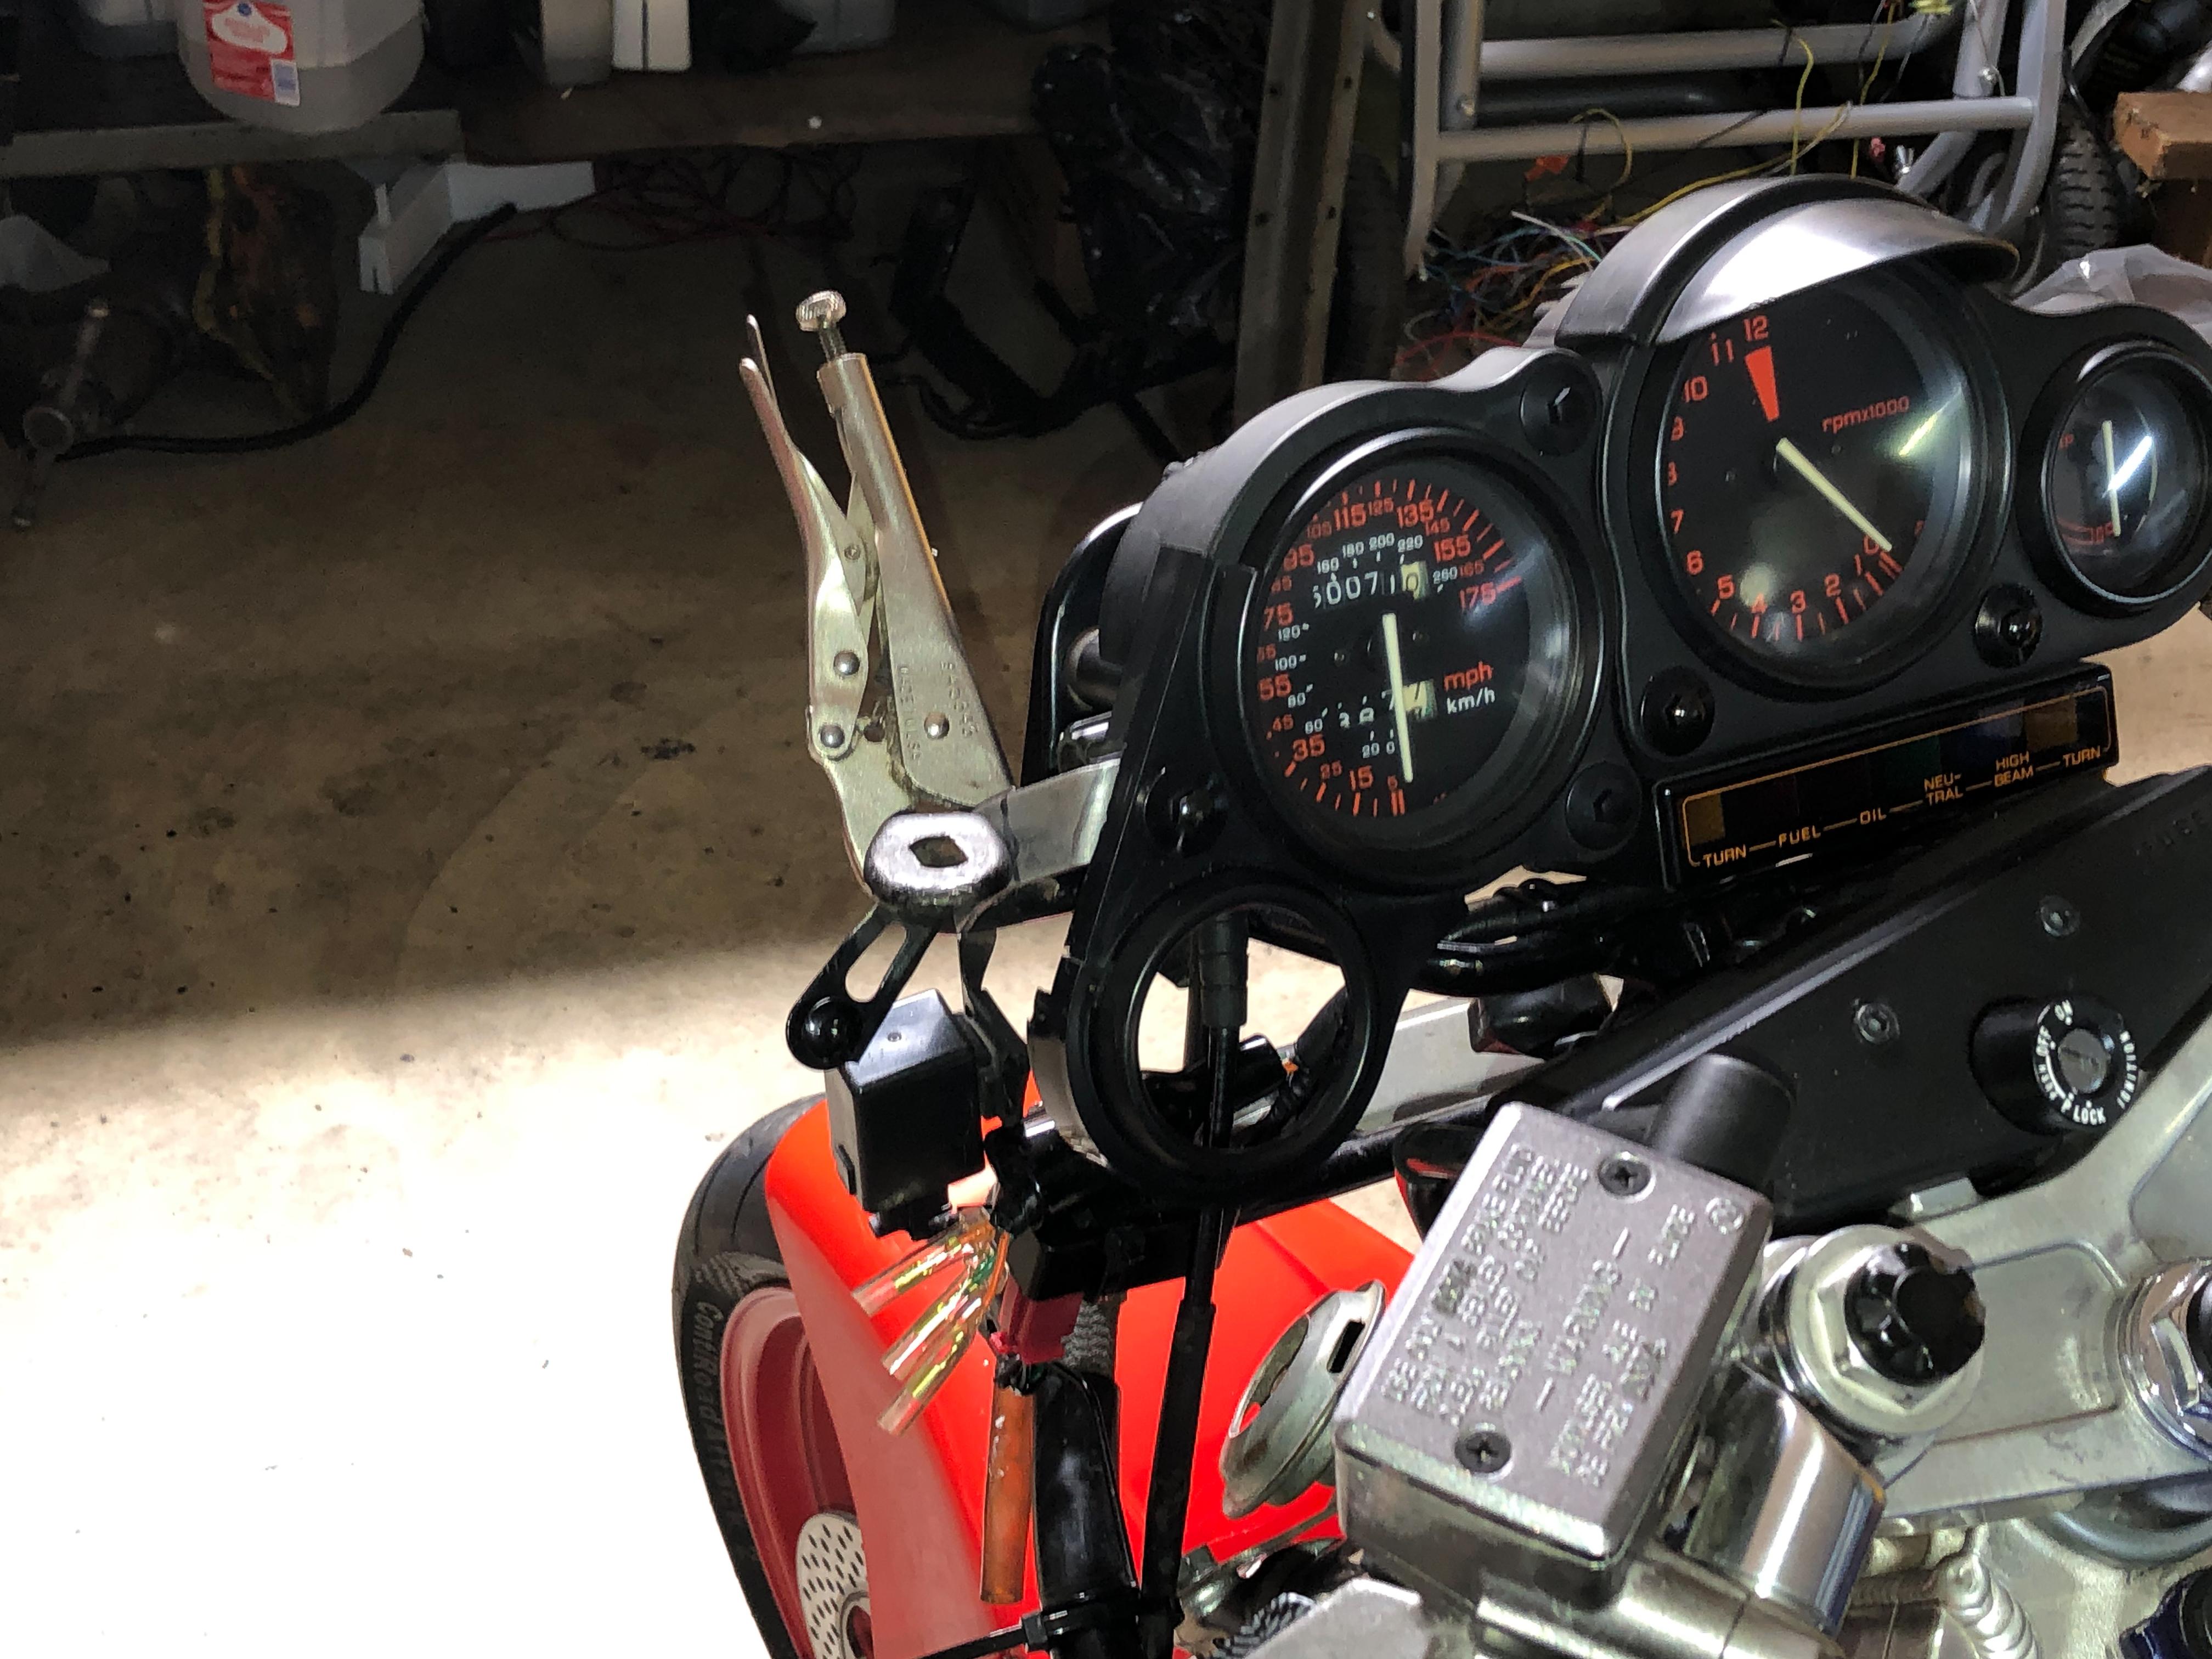
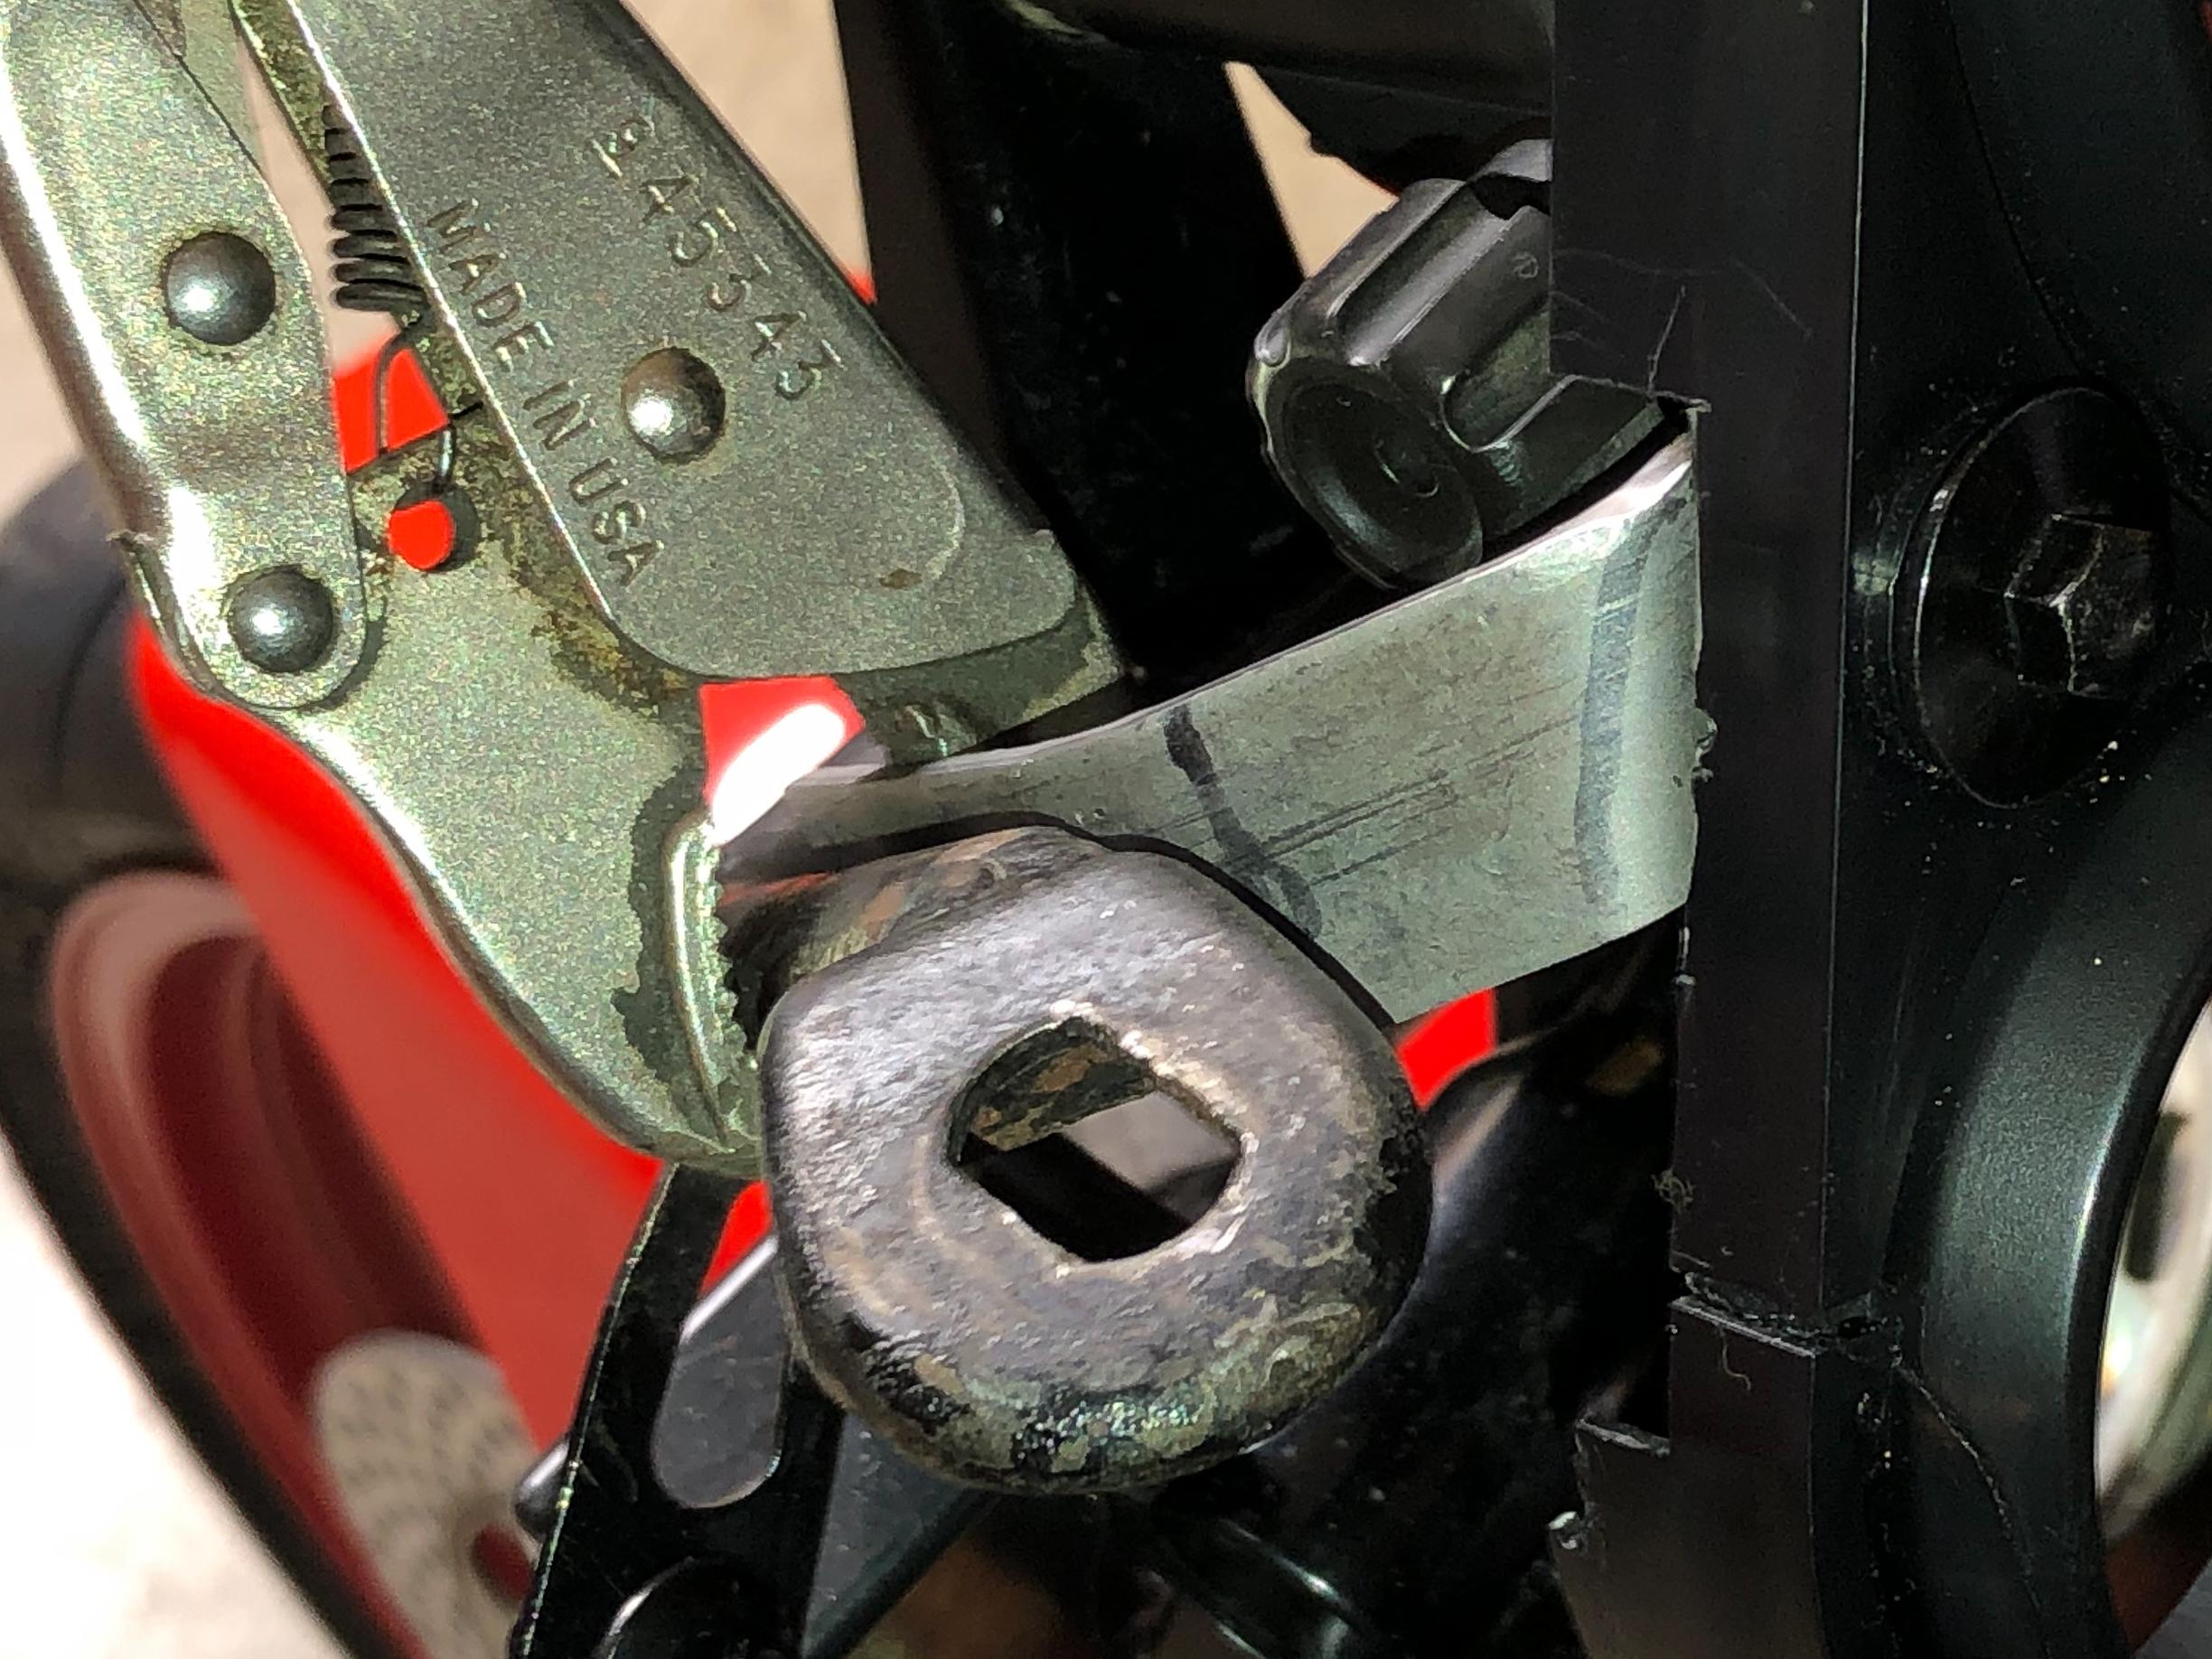
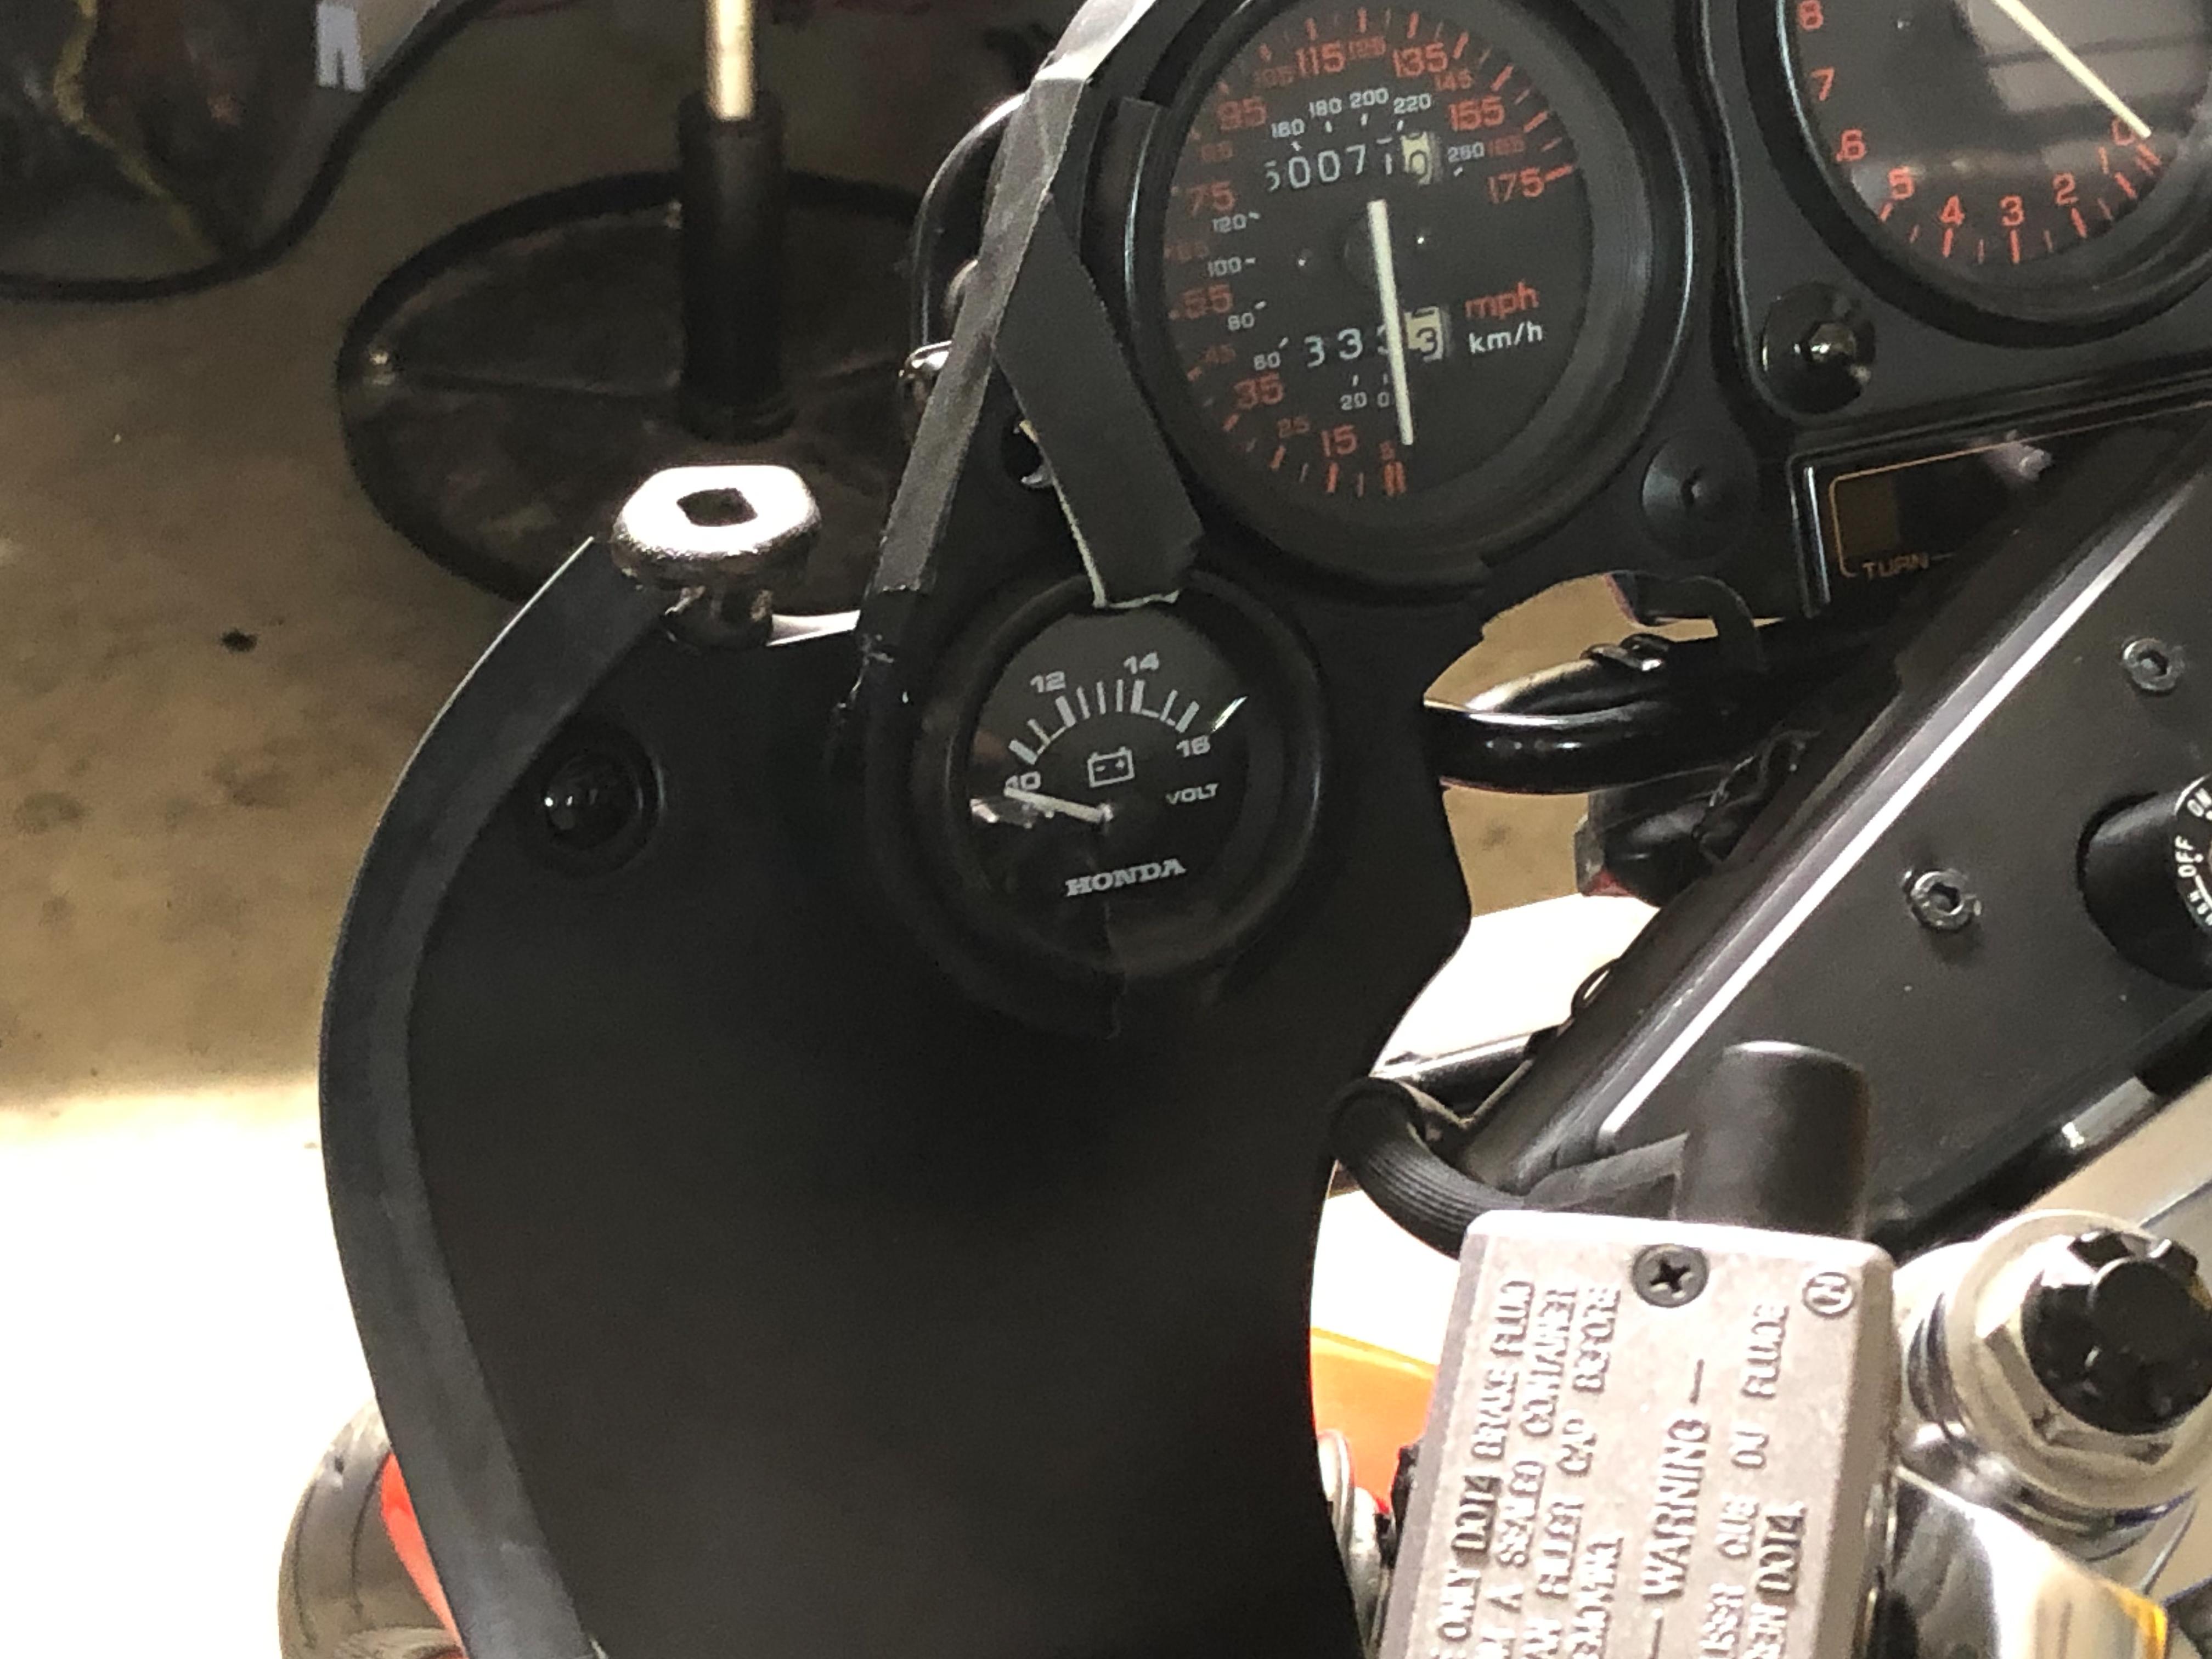
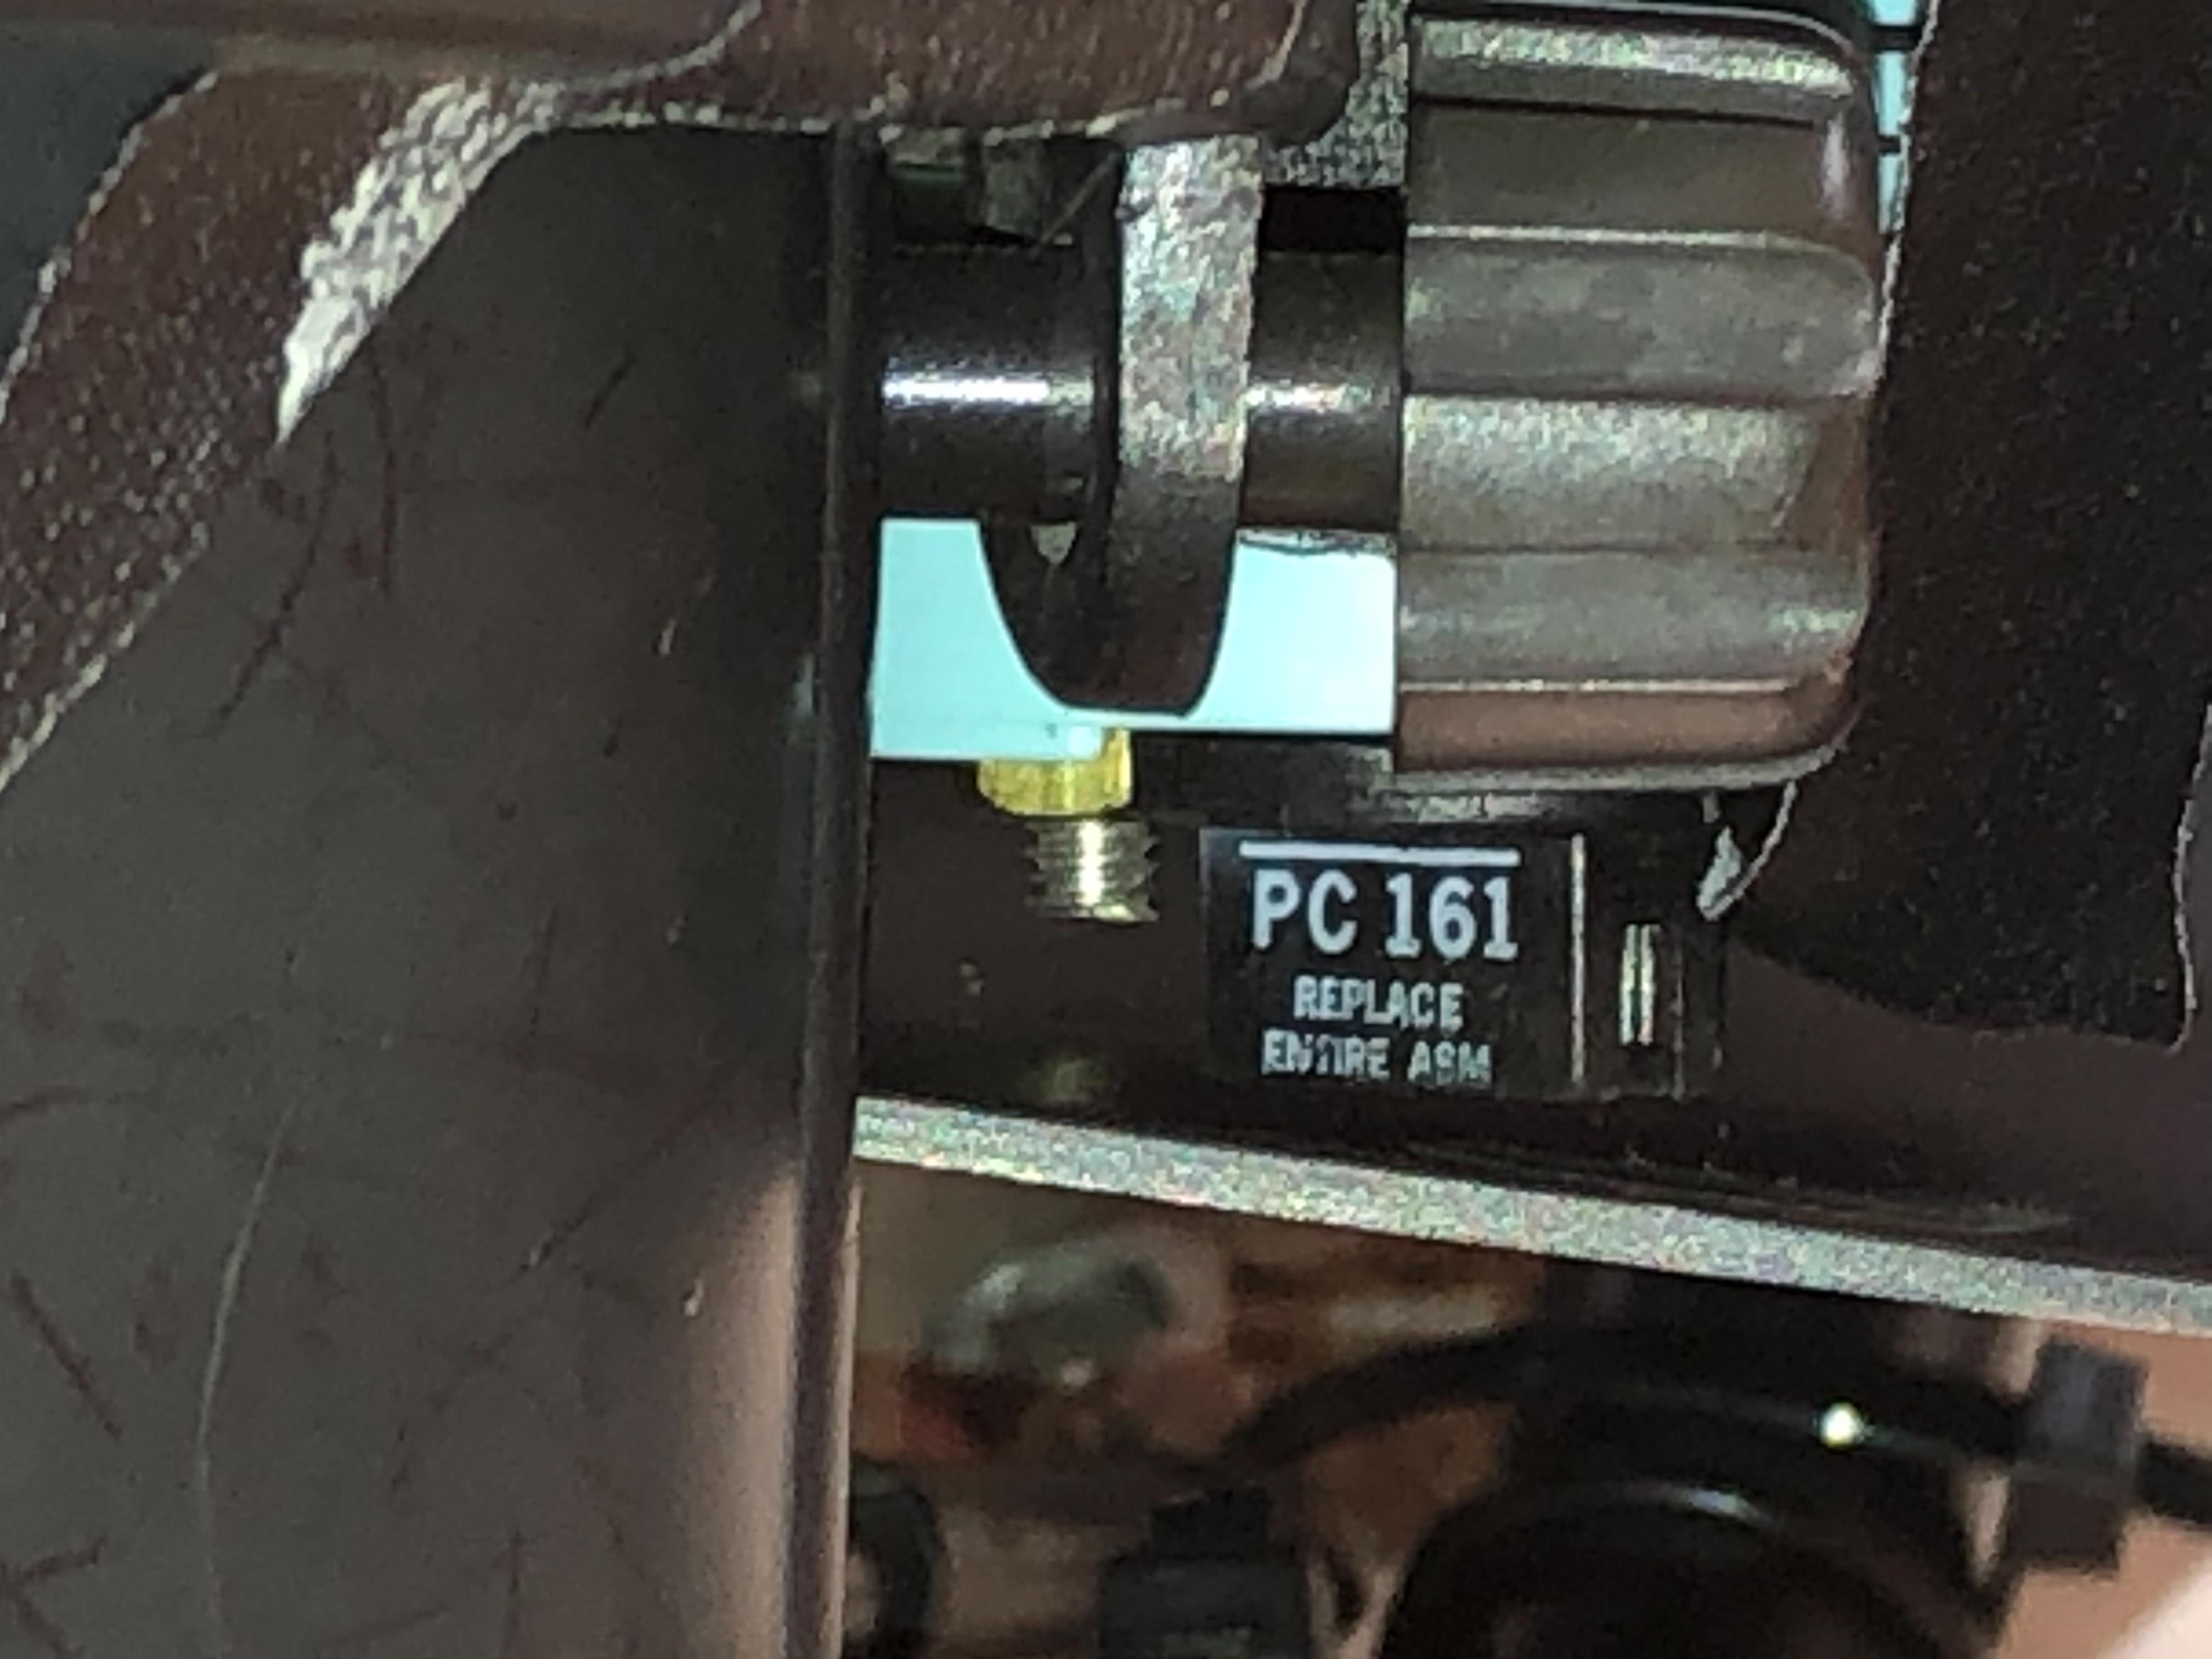
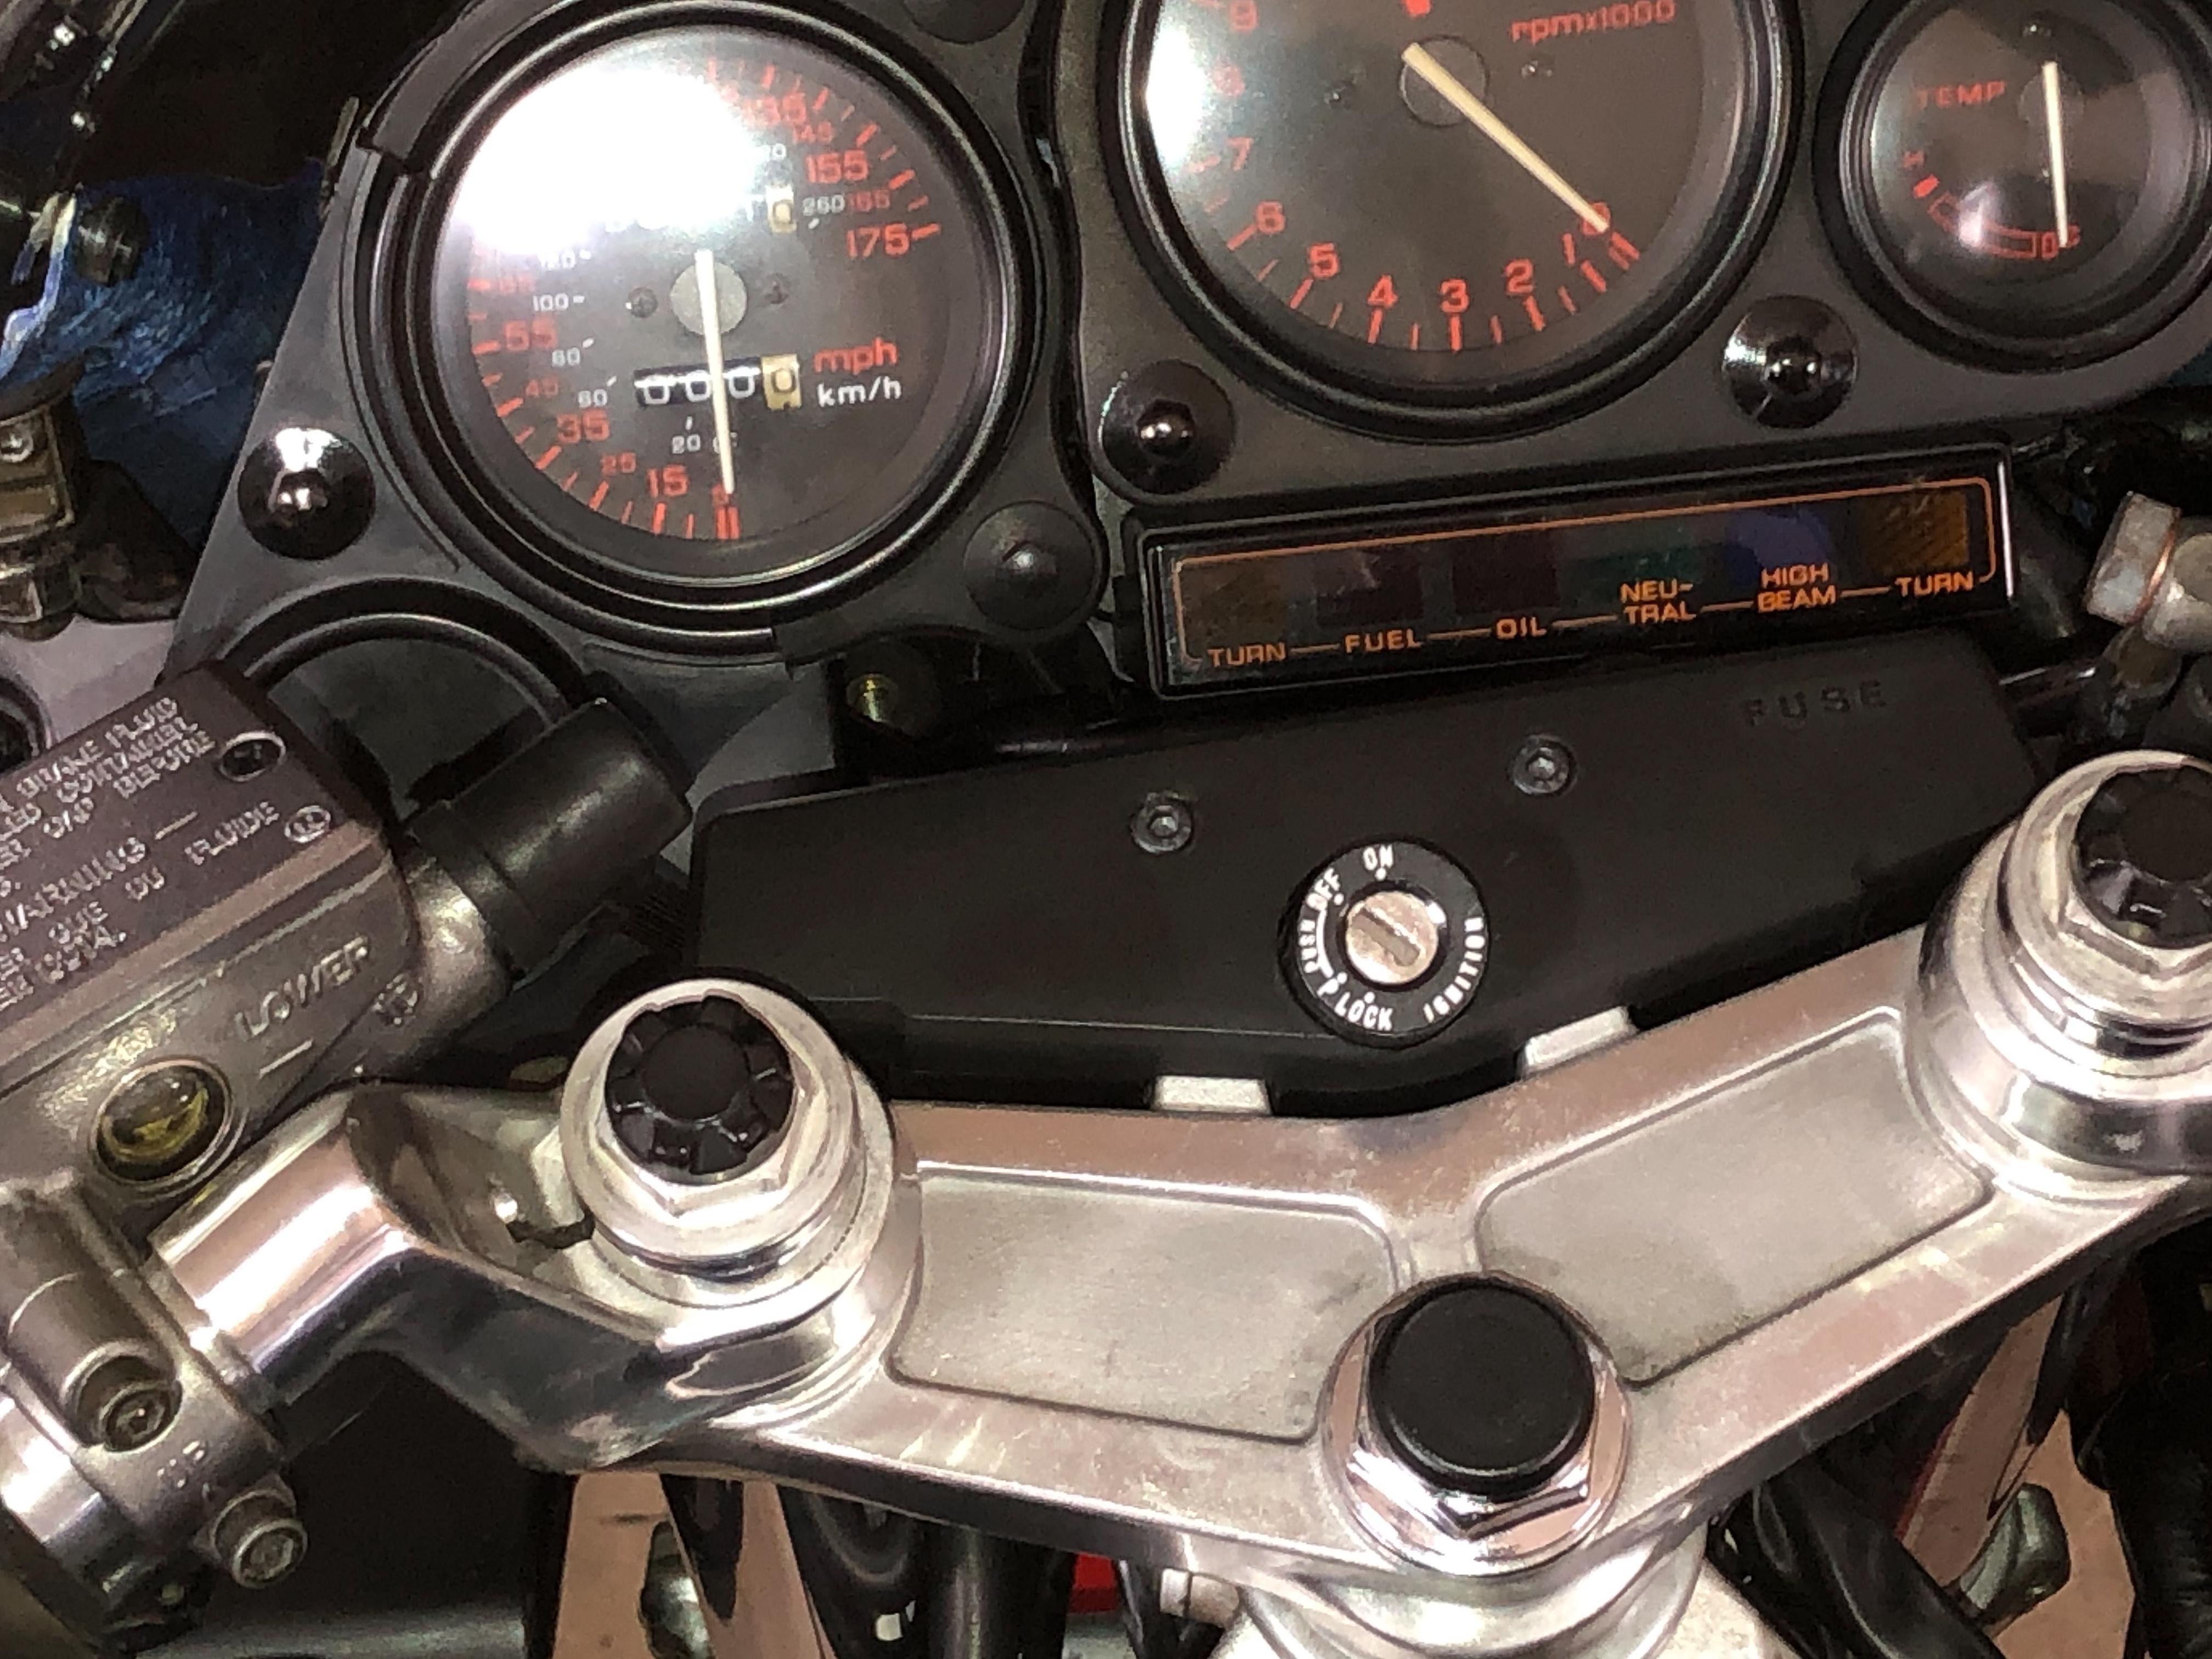
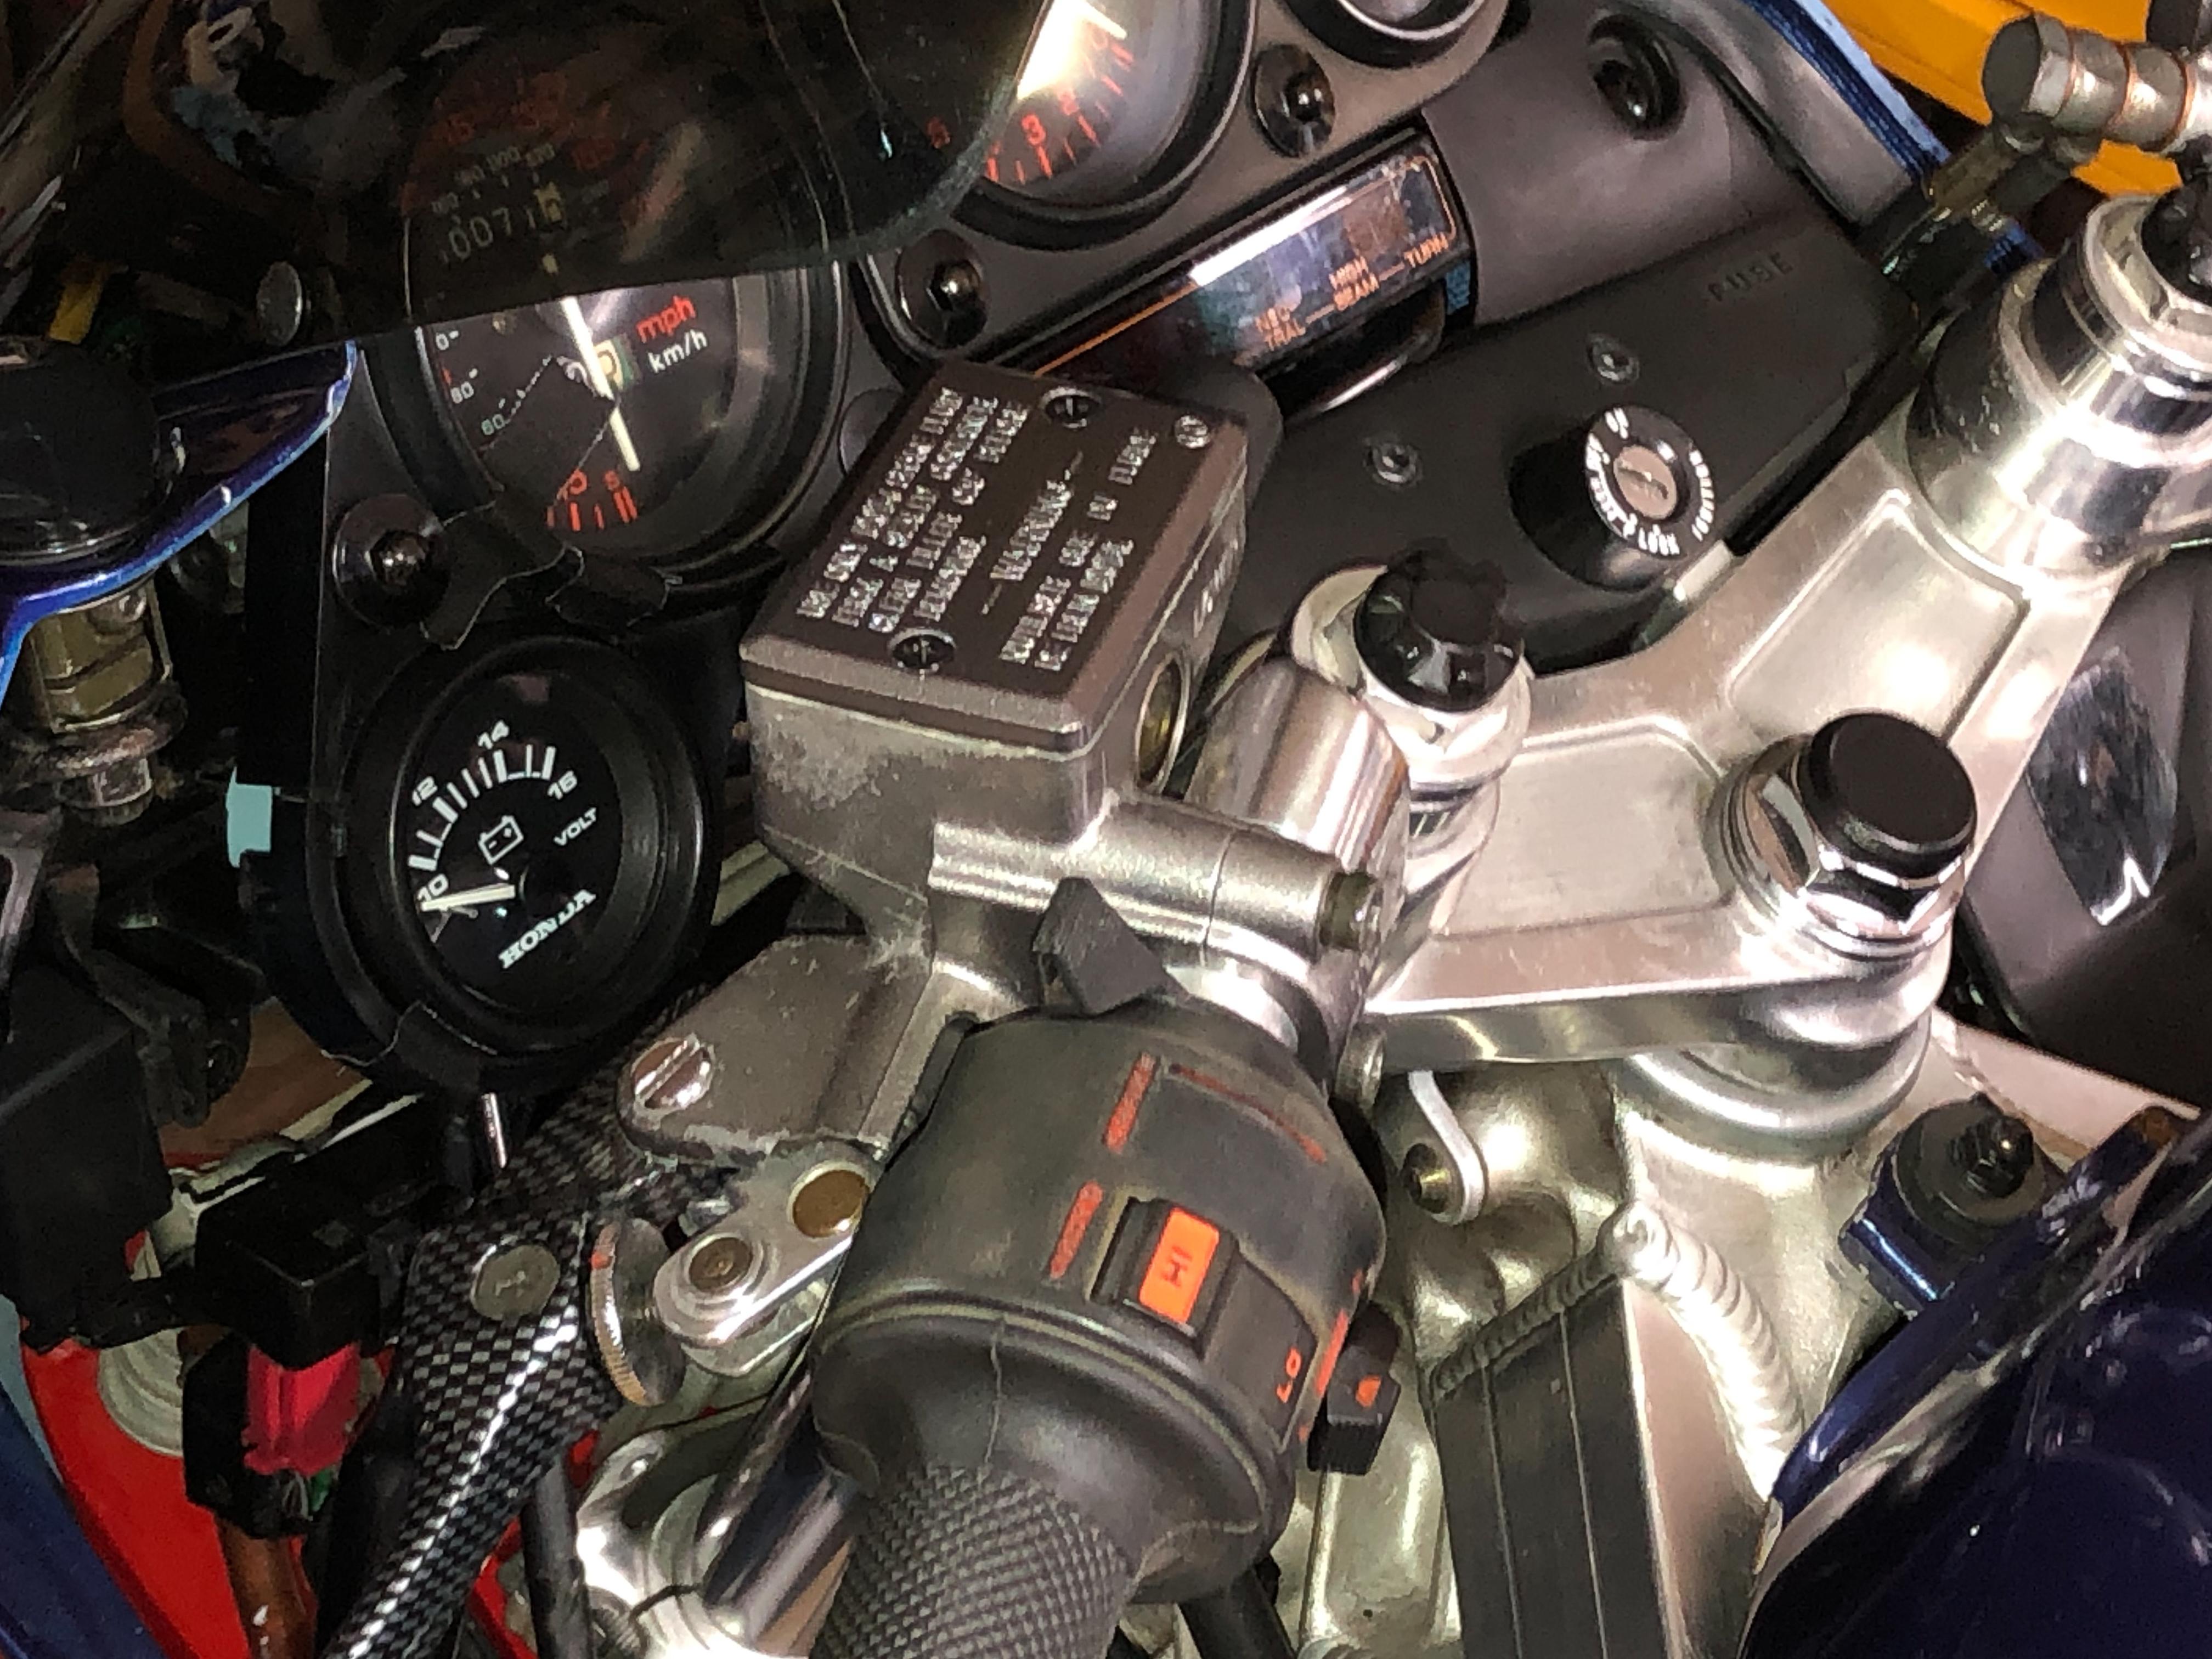
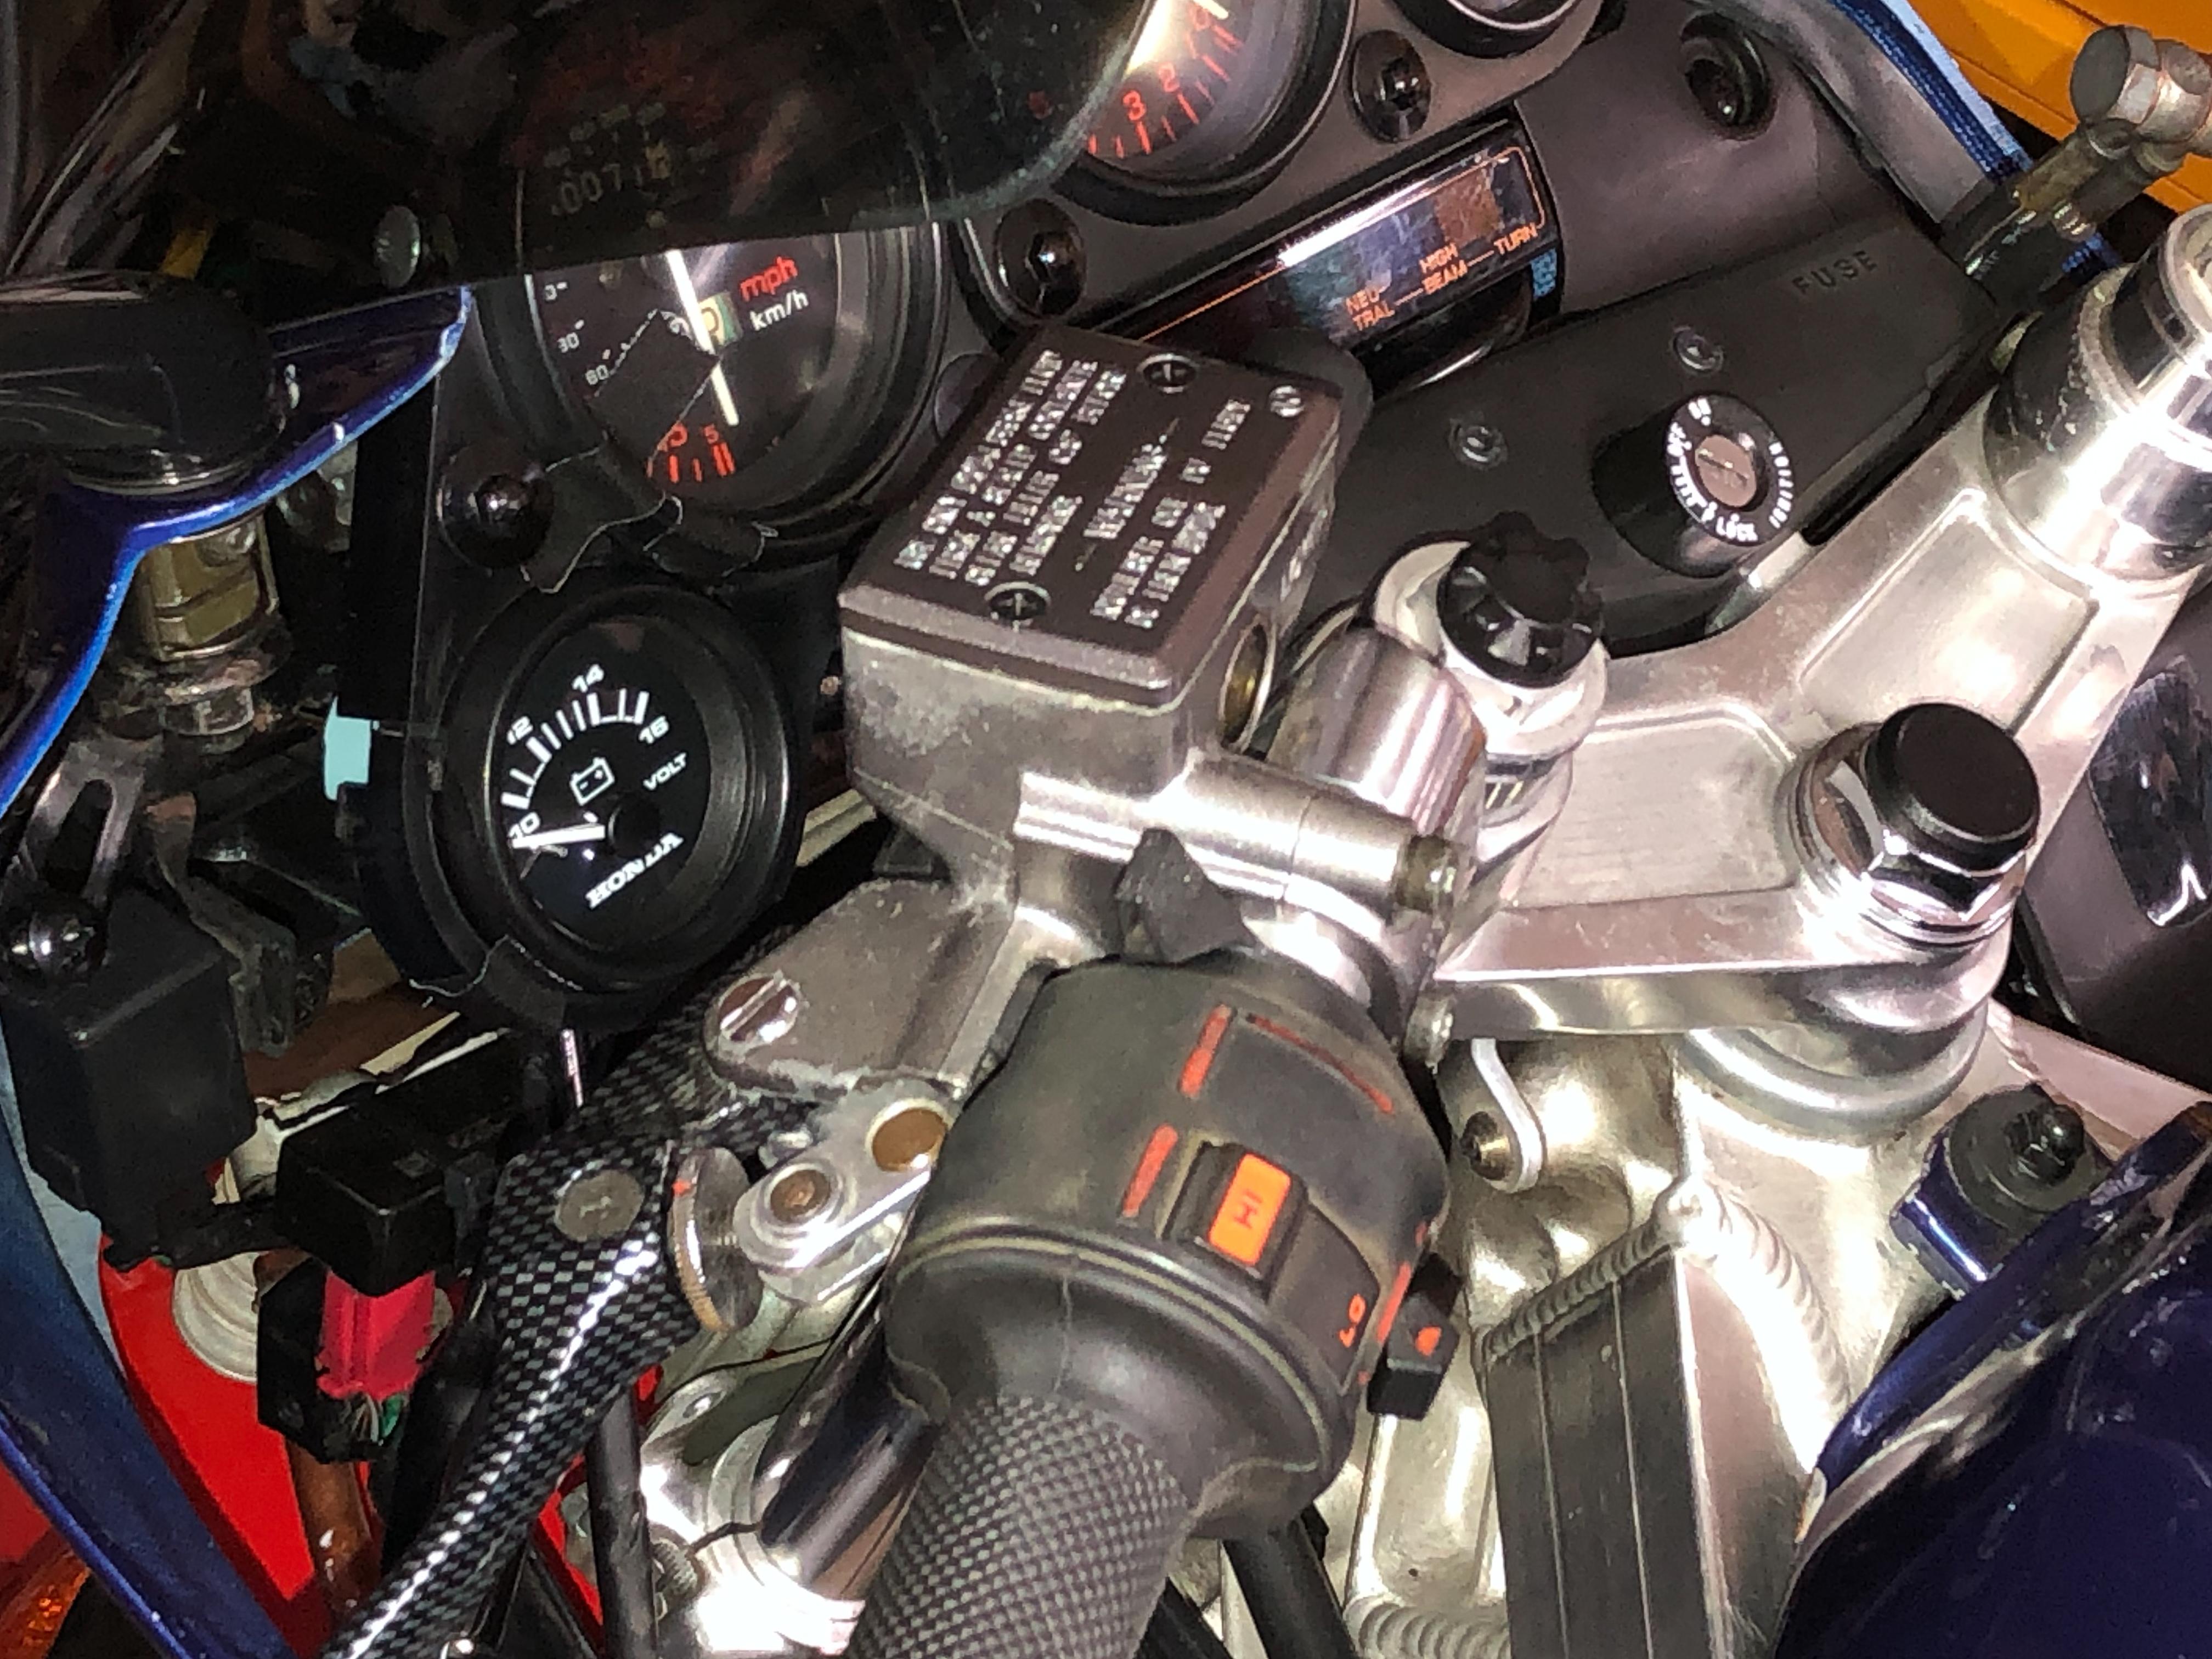
On the volt meter side, using the mount hole with a rubber washer for a little cushion. The knob for the trip counter is directly behind, so any brackets has to come around that...
-
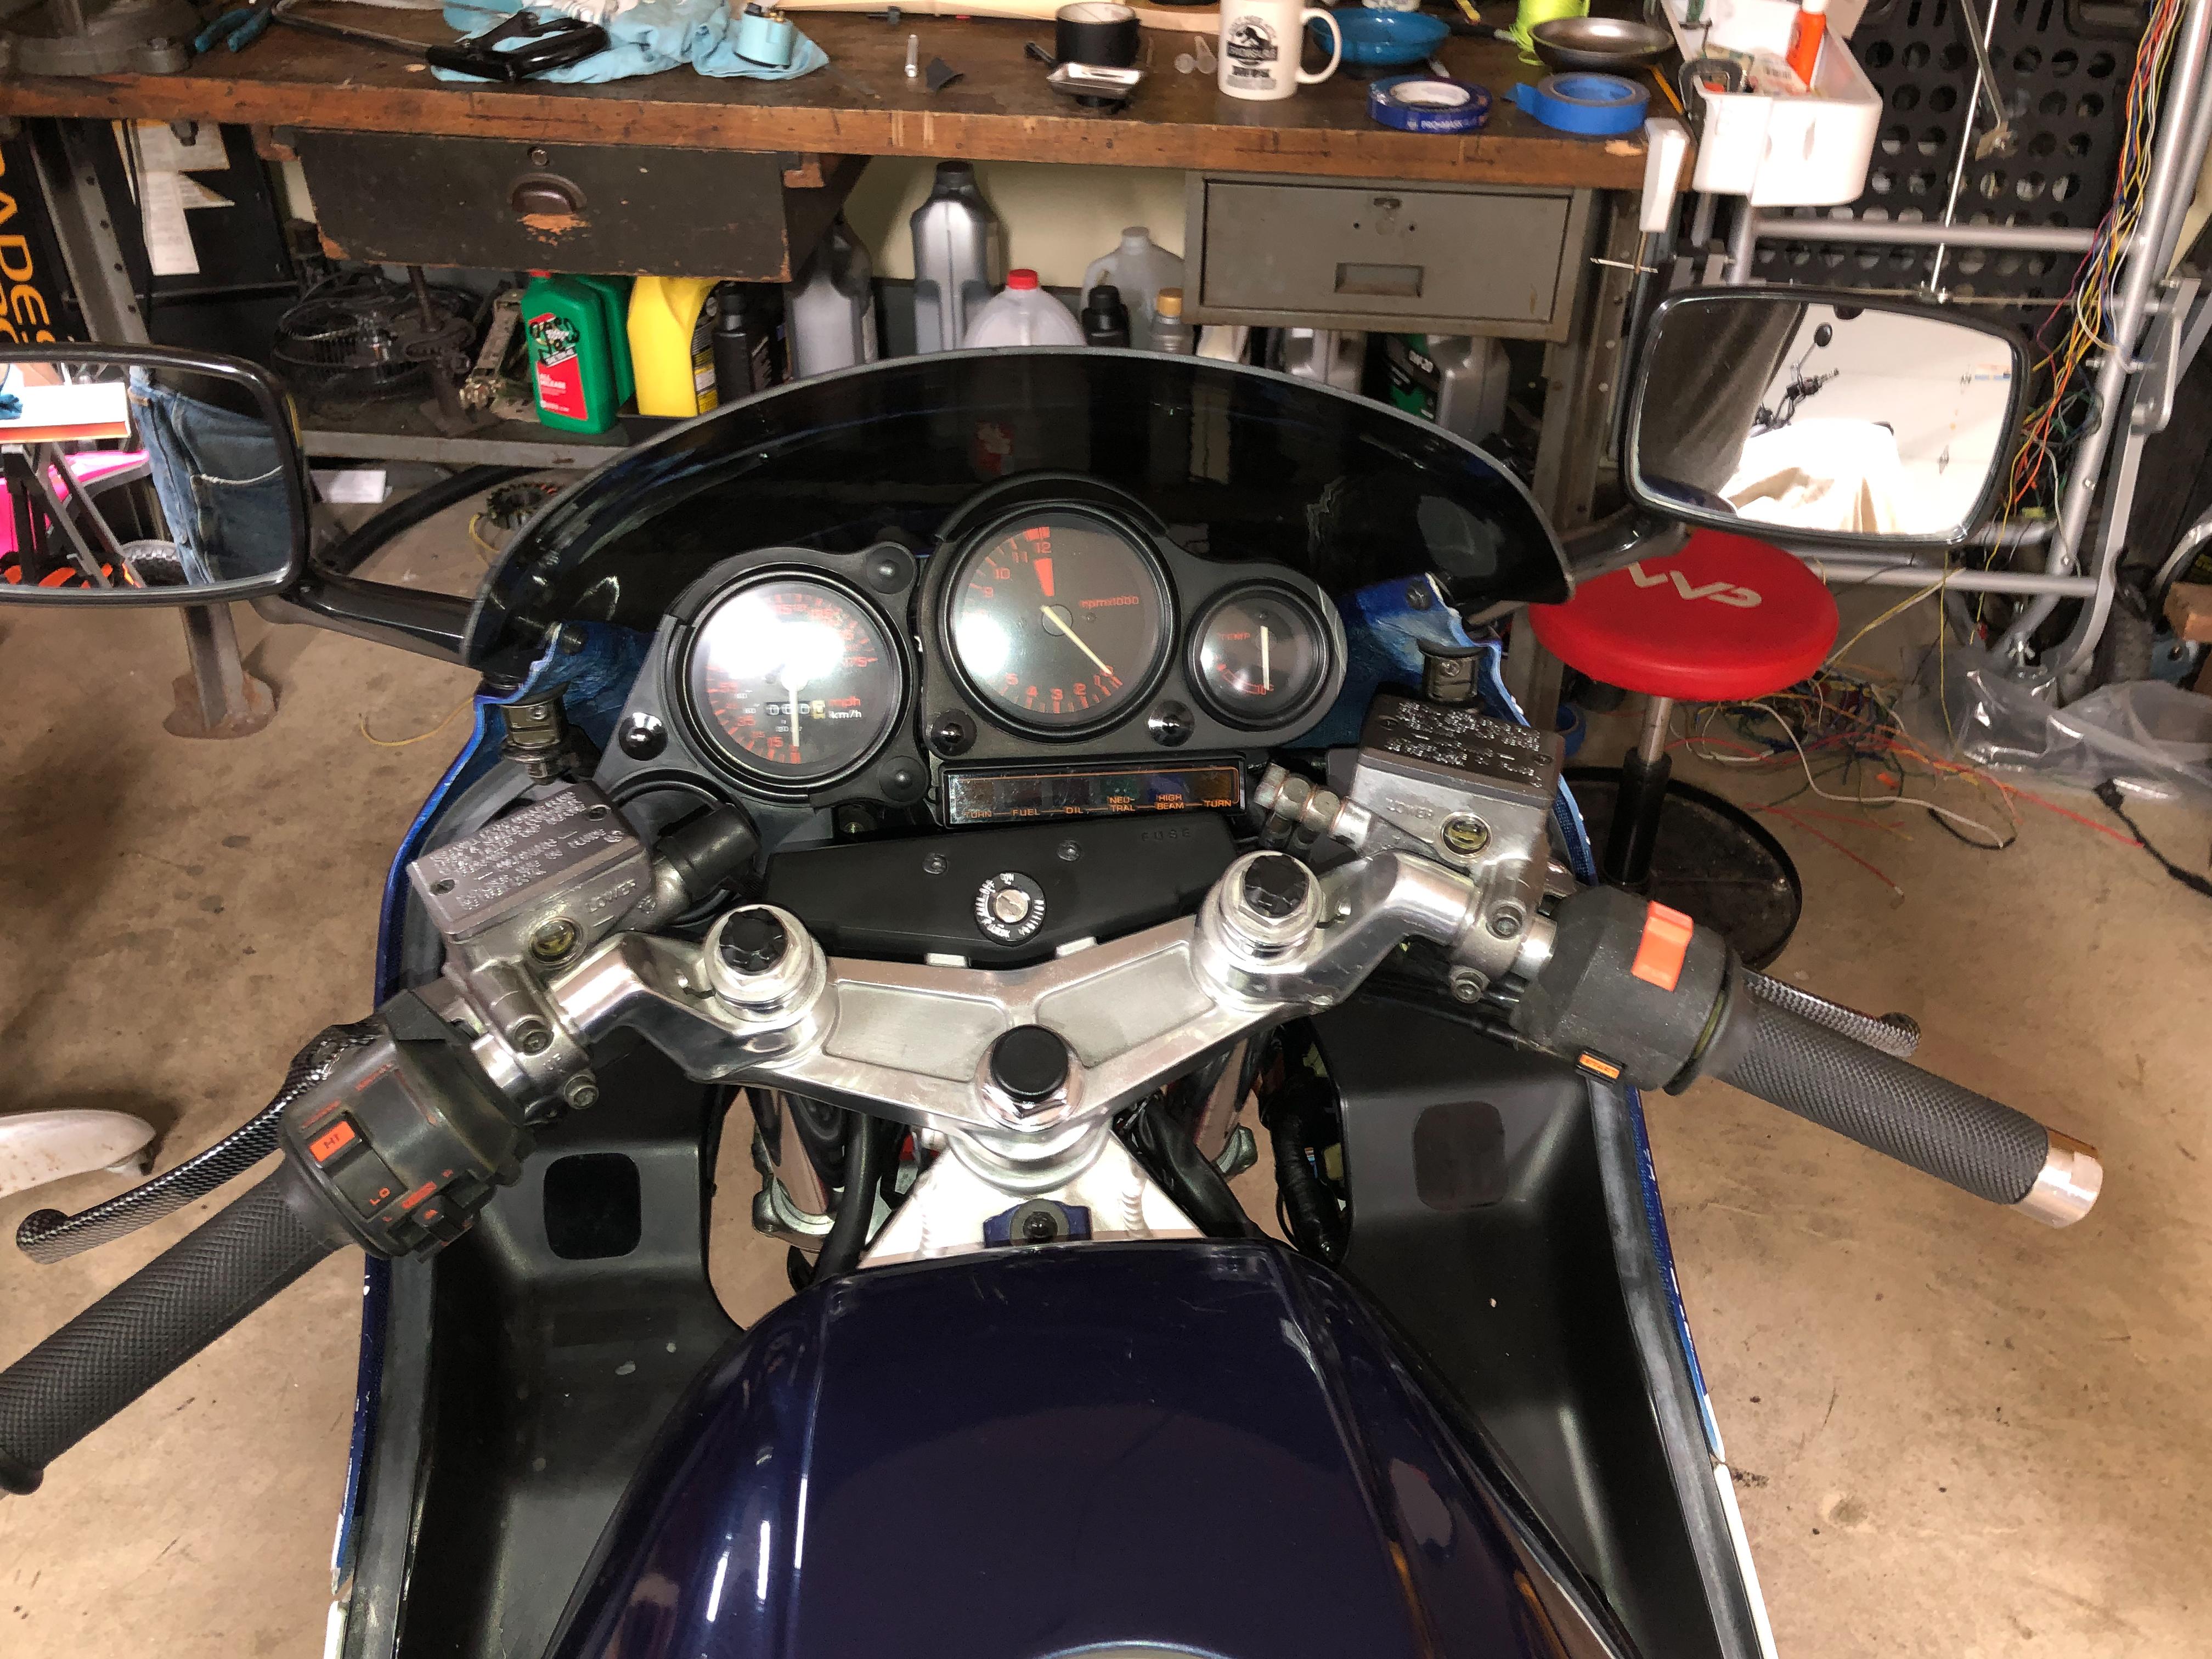
ummm..we have a crew of our brightest engineers...we are just hours away... I'm going to try to bring a bracket from under the left mirror mount, so it won't interfere too much with the speedo moving around. Also looked at a bracket going down to a mount just under the speedo mount and fab up my own damper. Or both. Possible bracket running alongside the speedometer and zip-tie the volt assembly to the tach. assembly, but thought that might be too much load on the two speedhometer damped mounts. What do you see here?
-
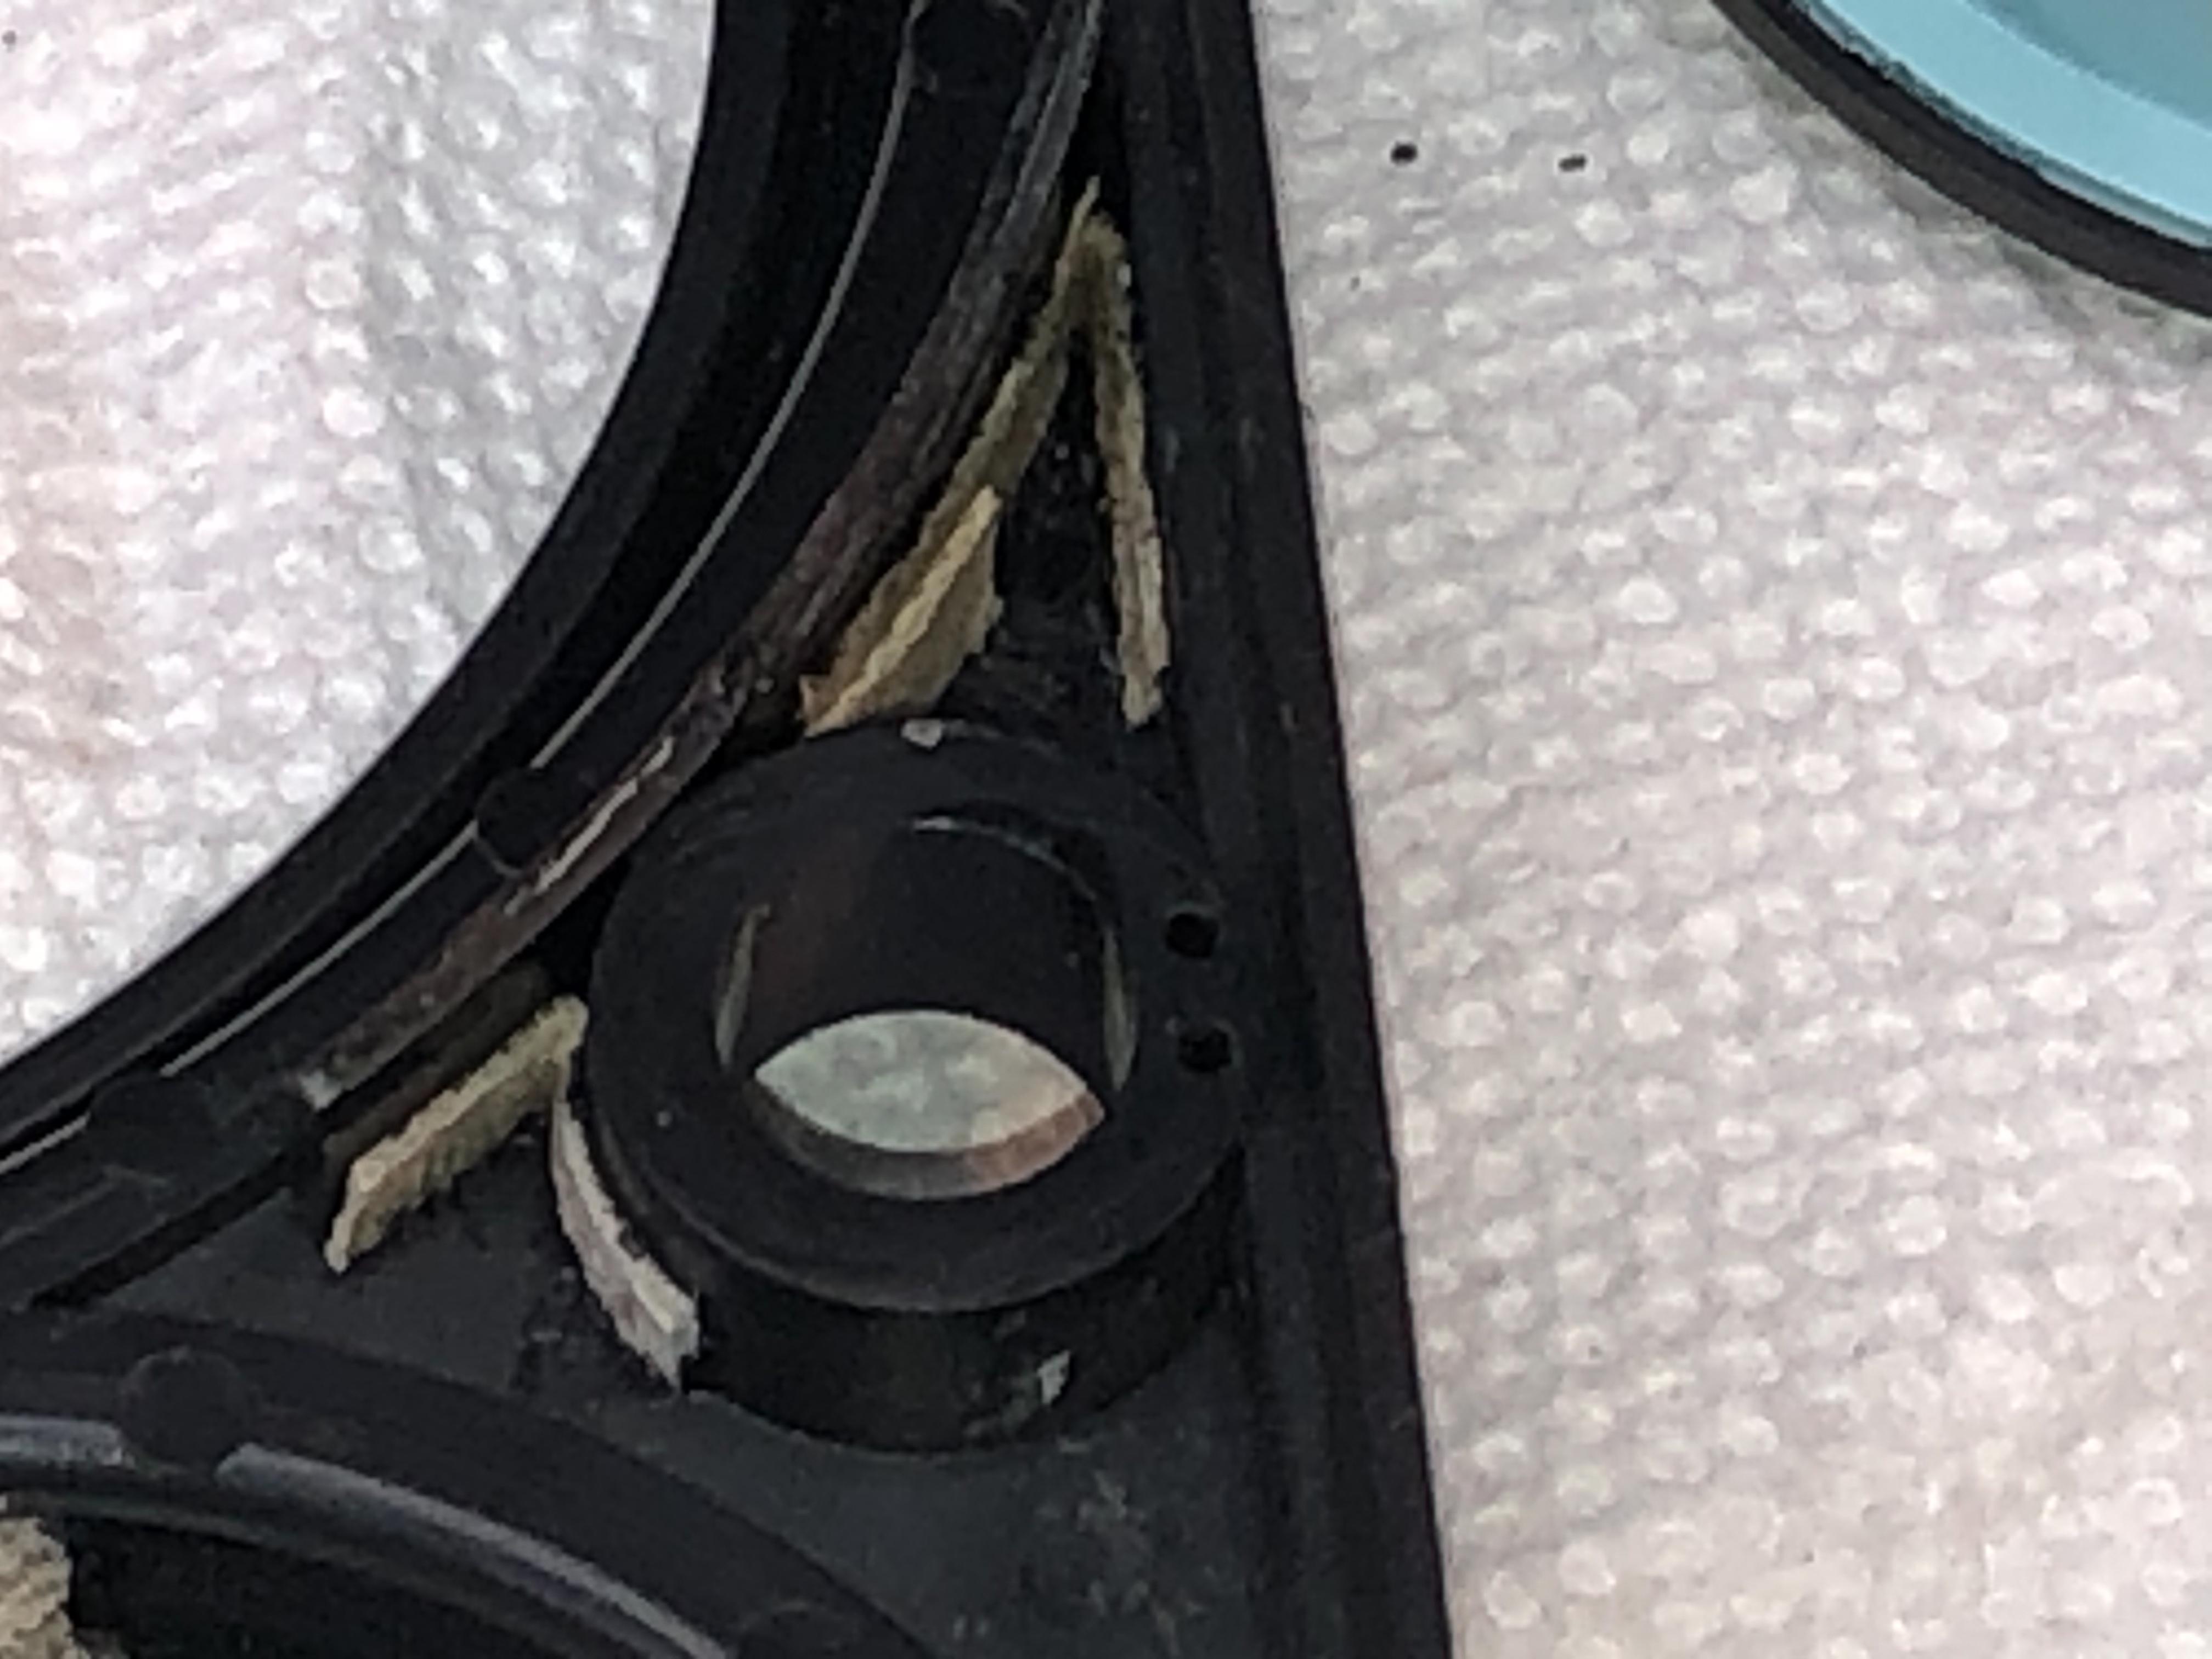
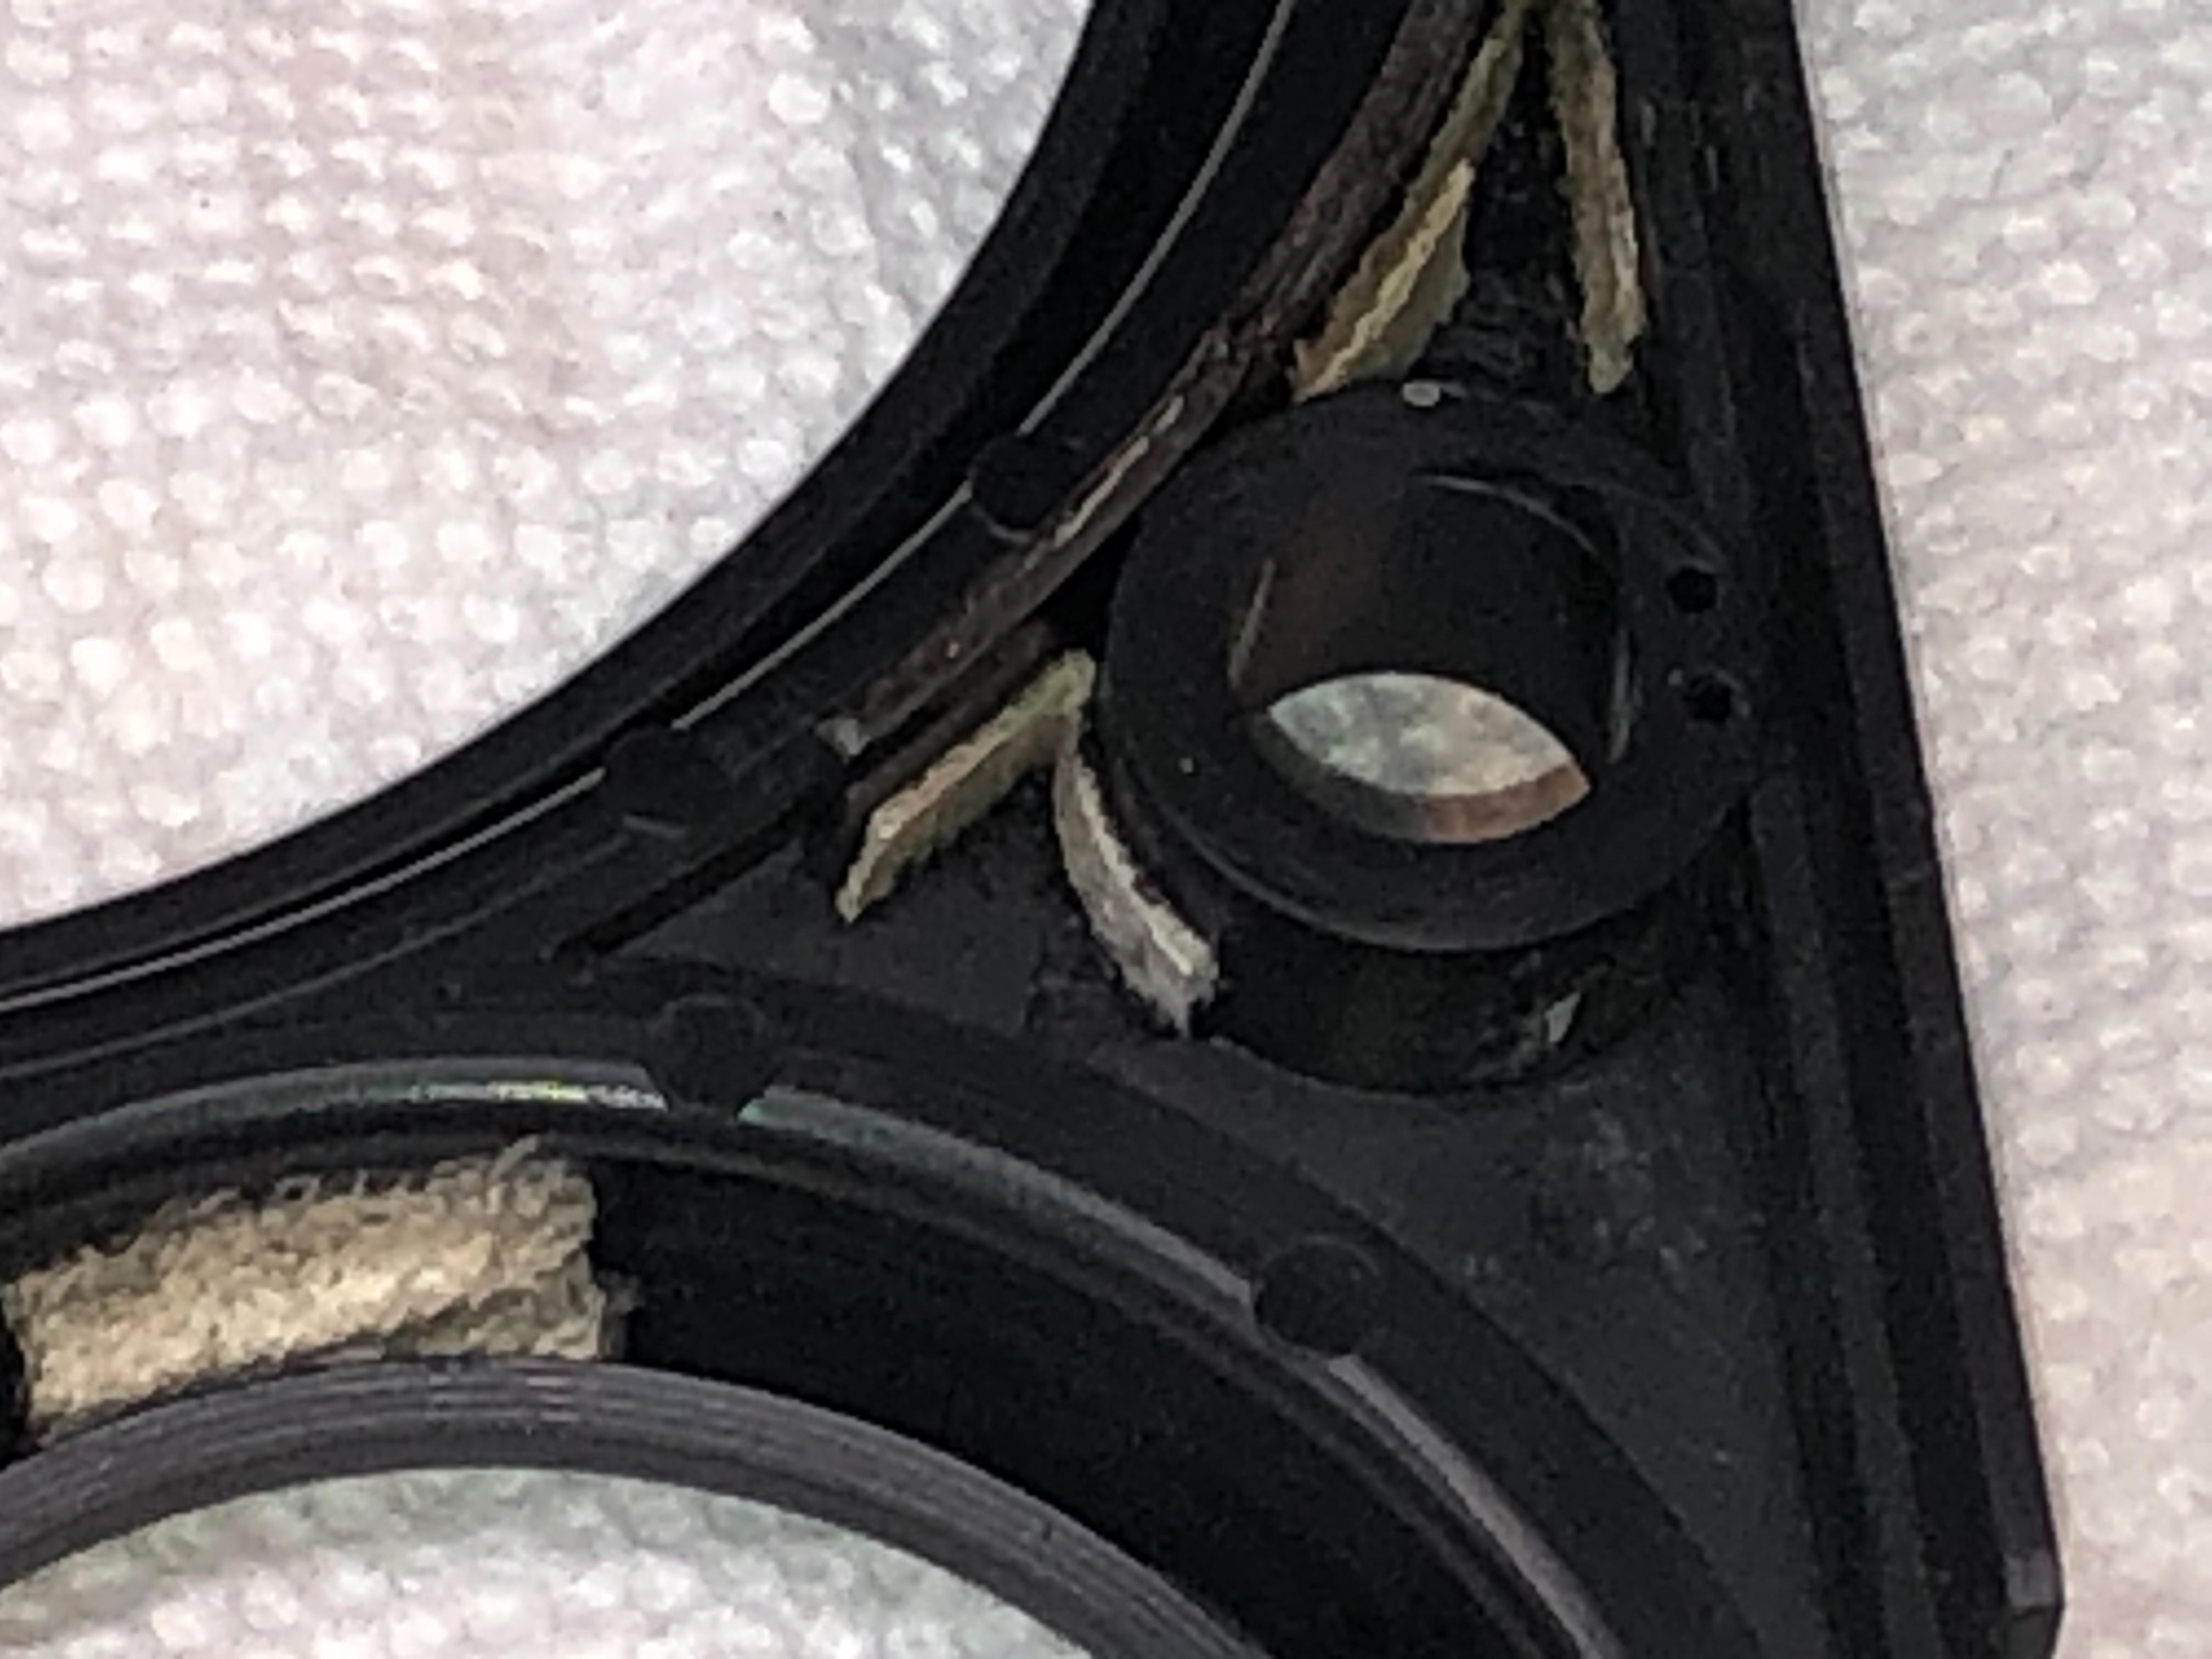
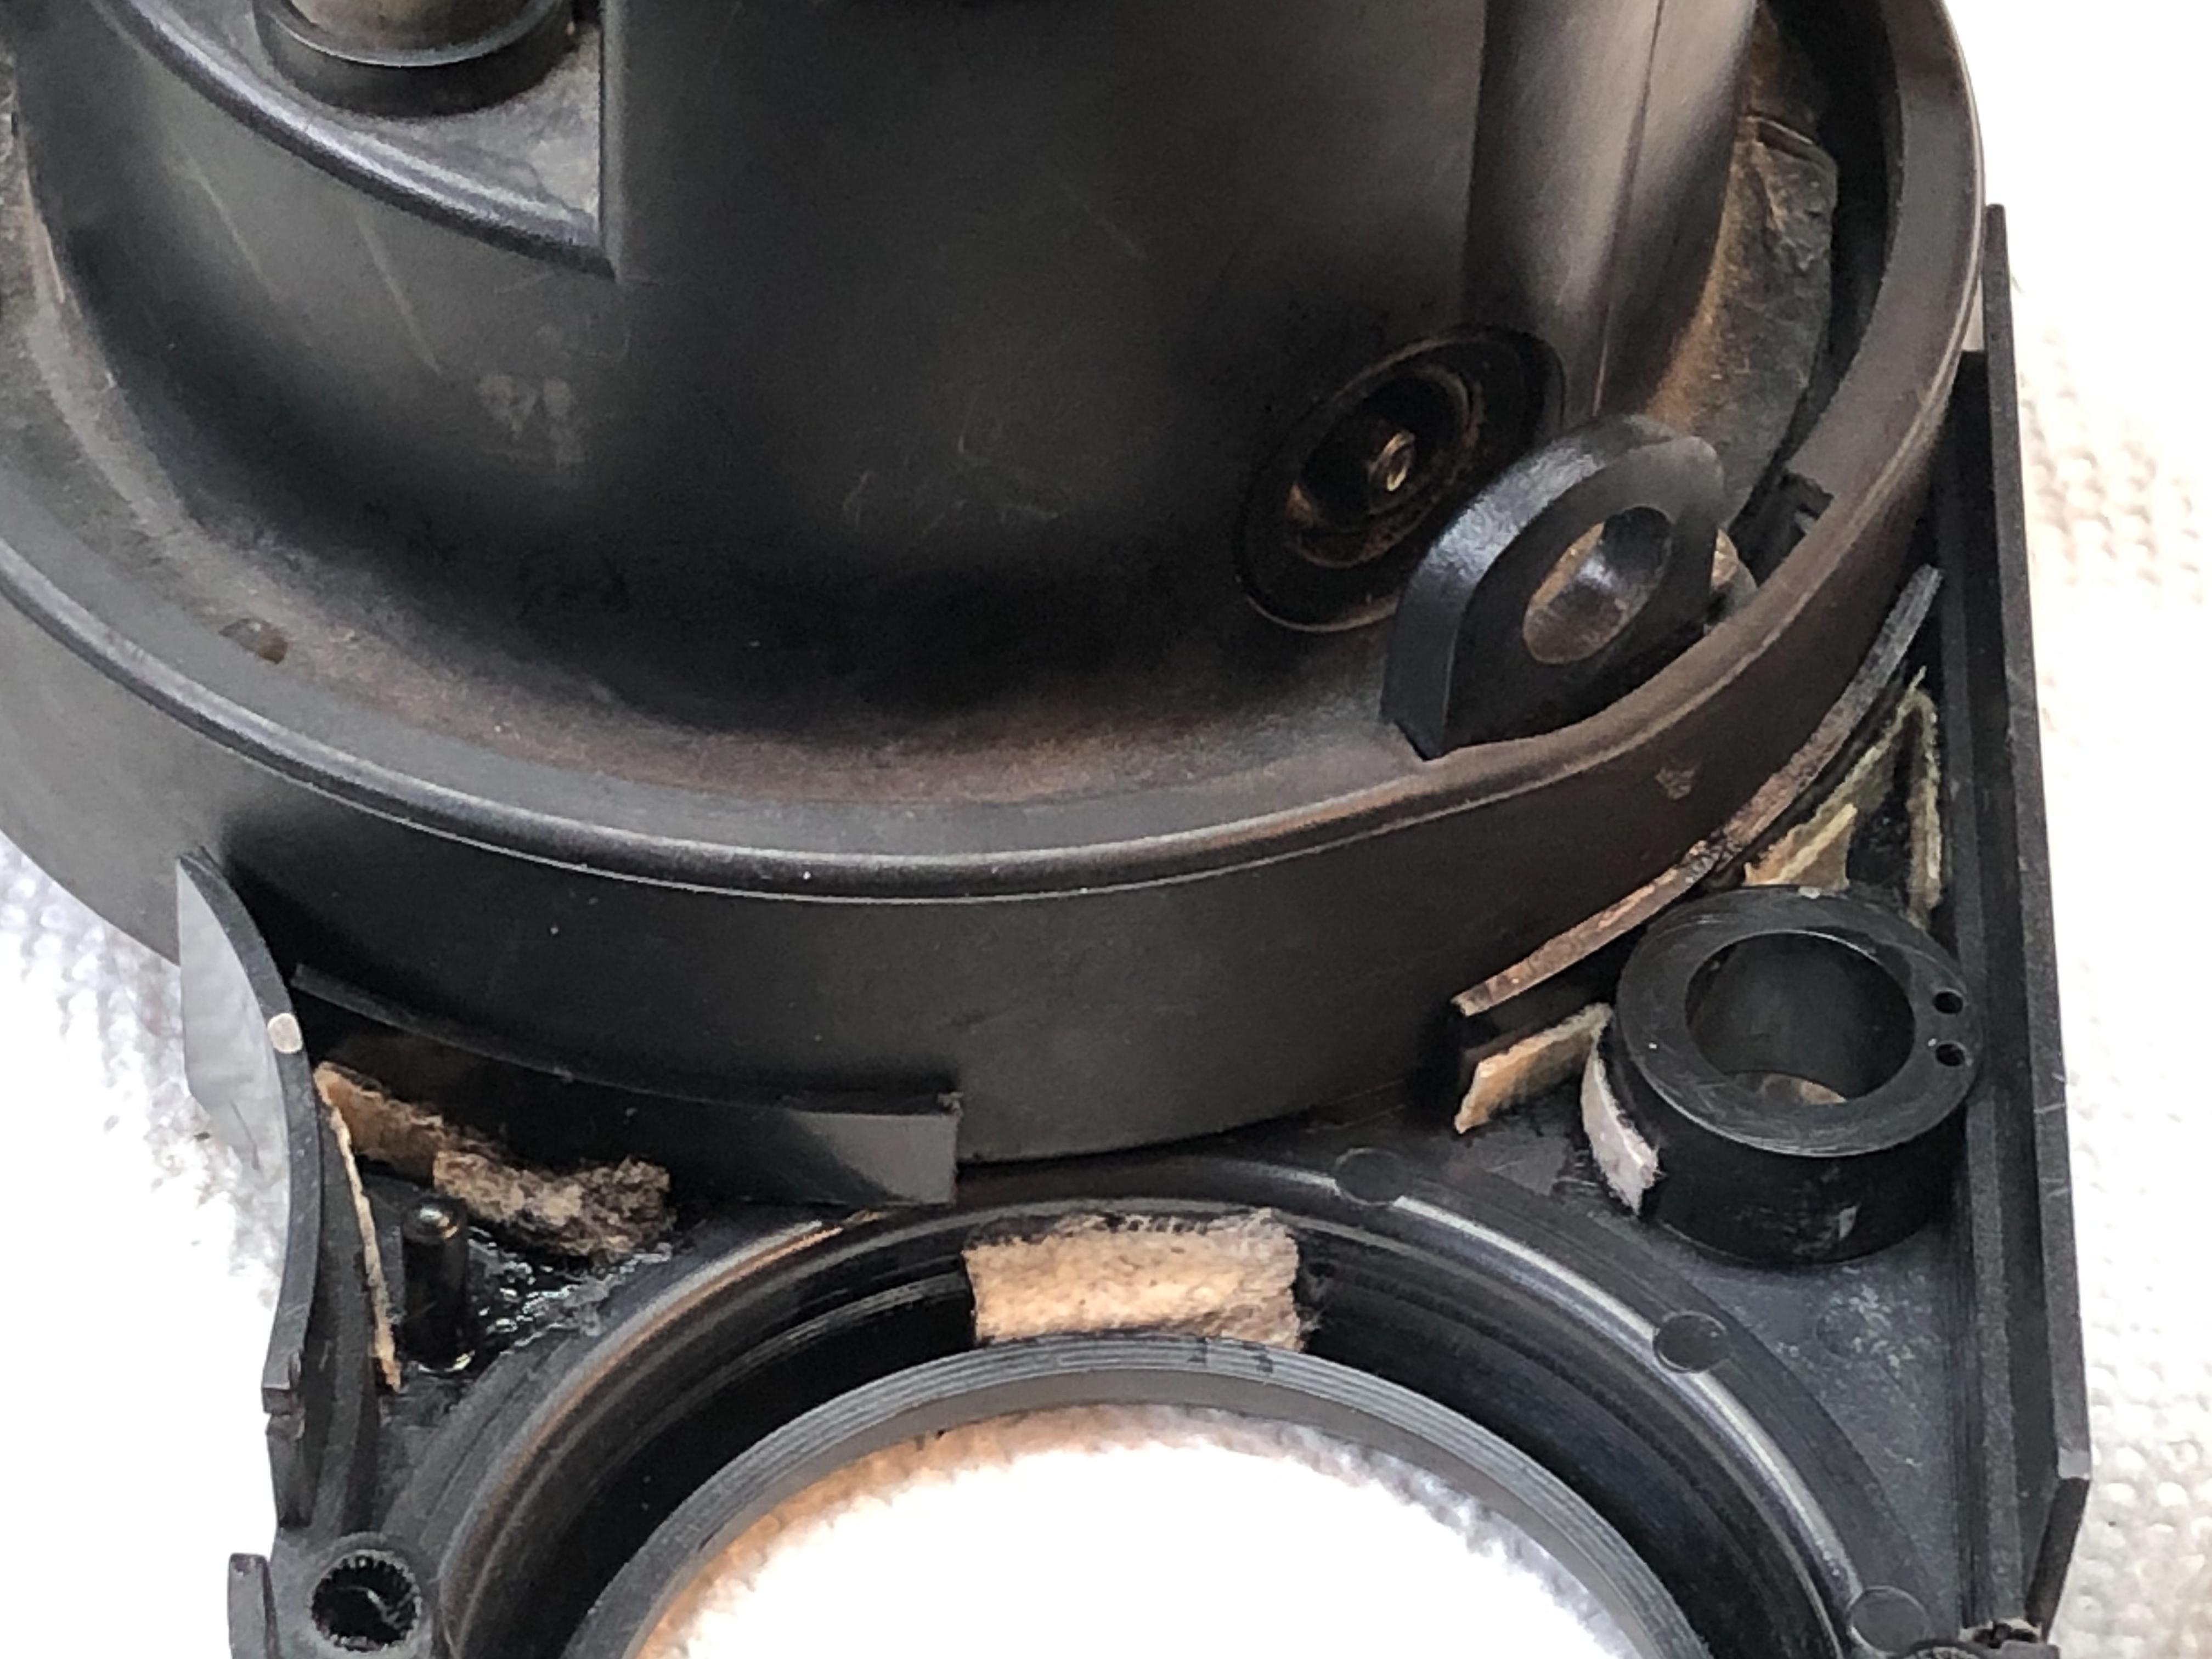
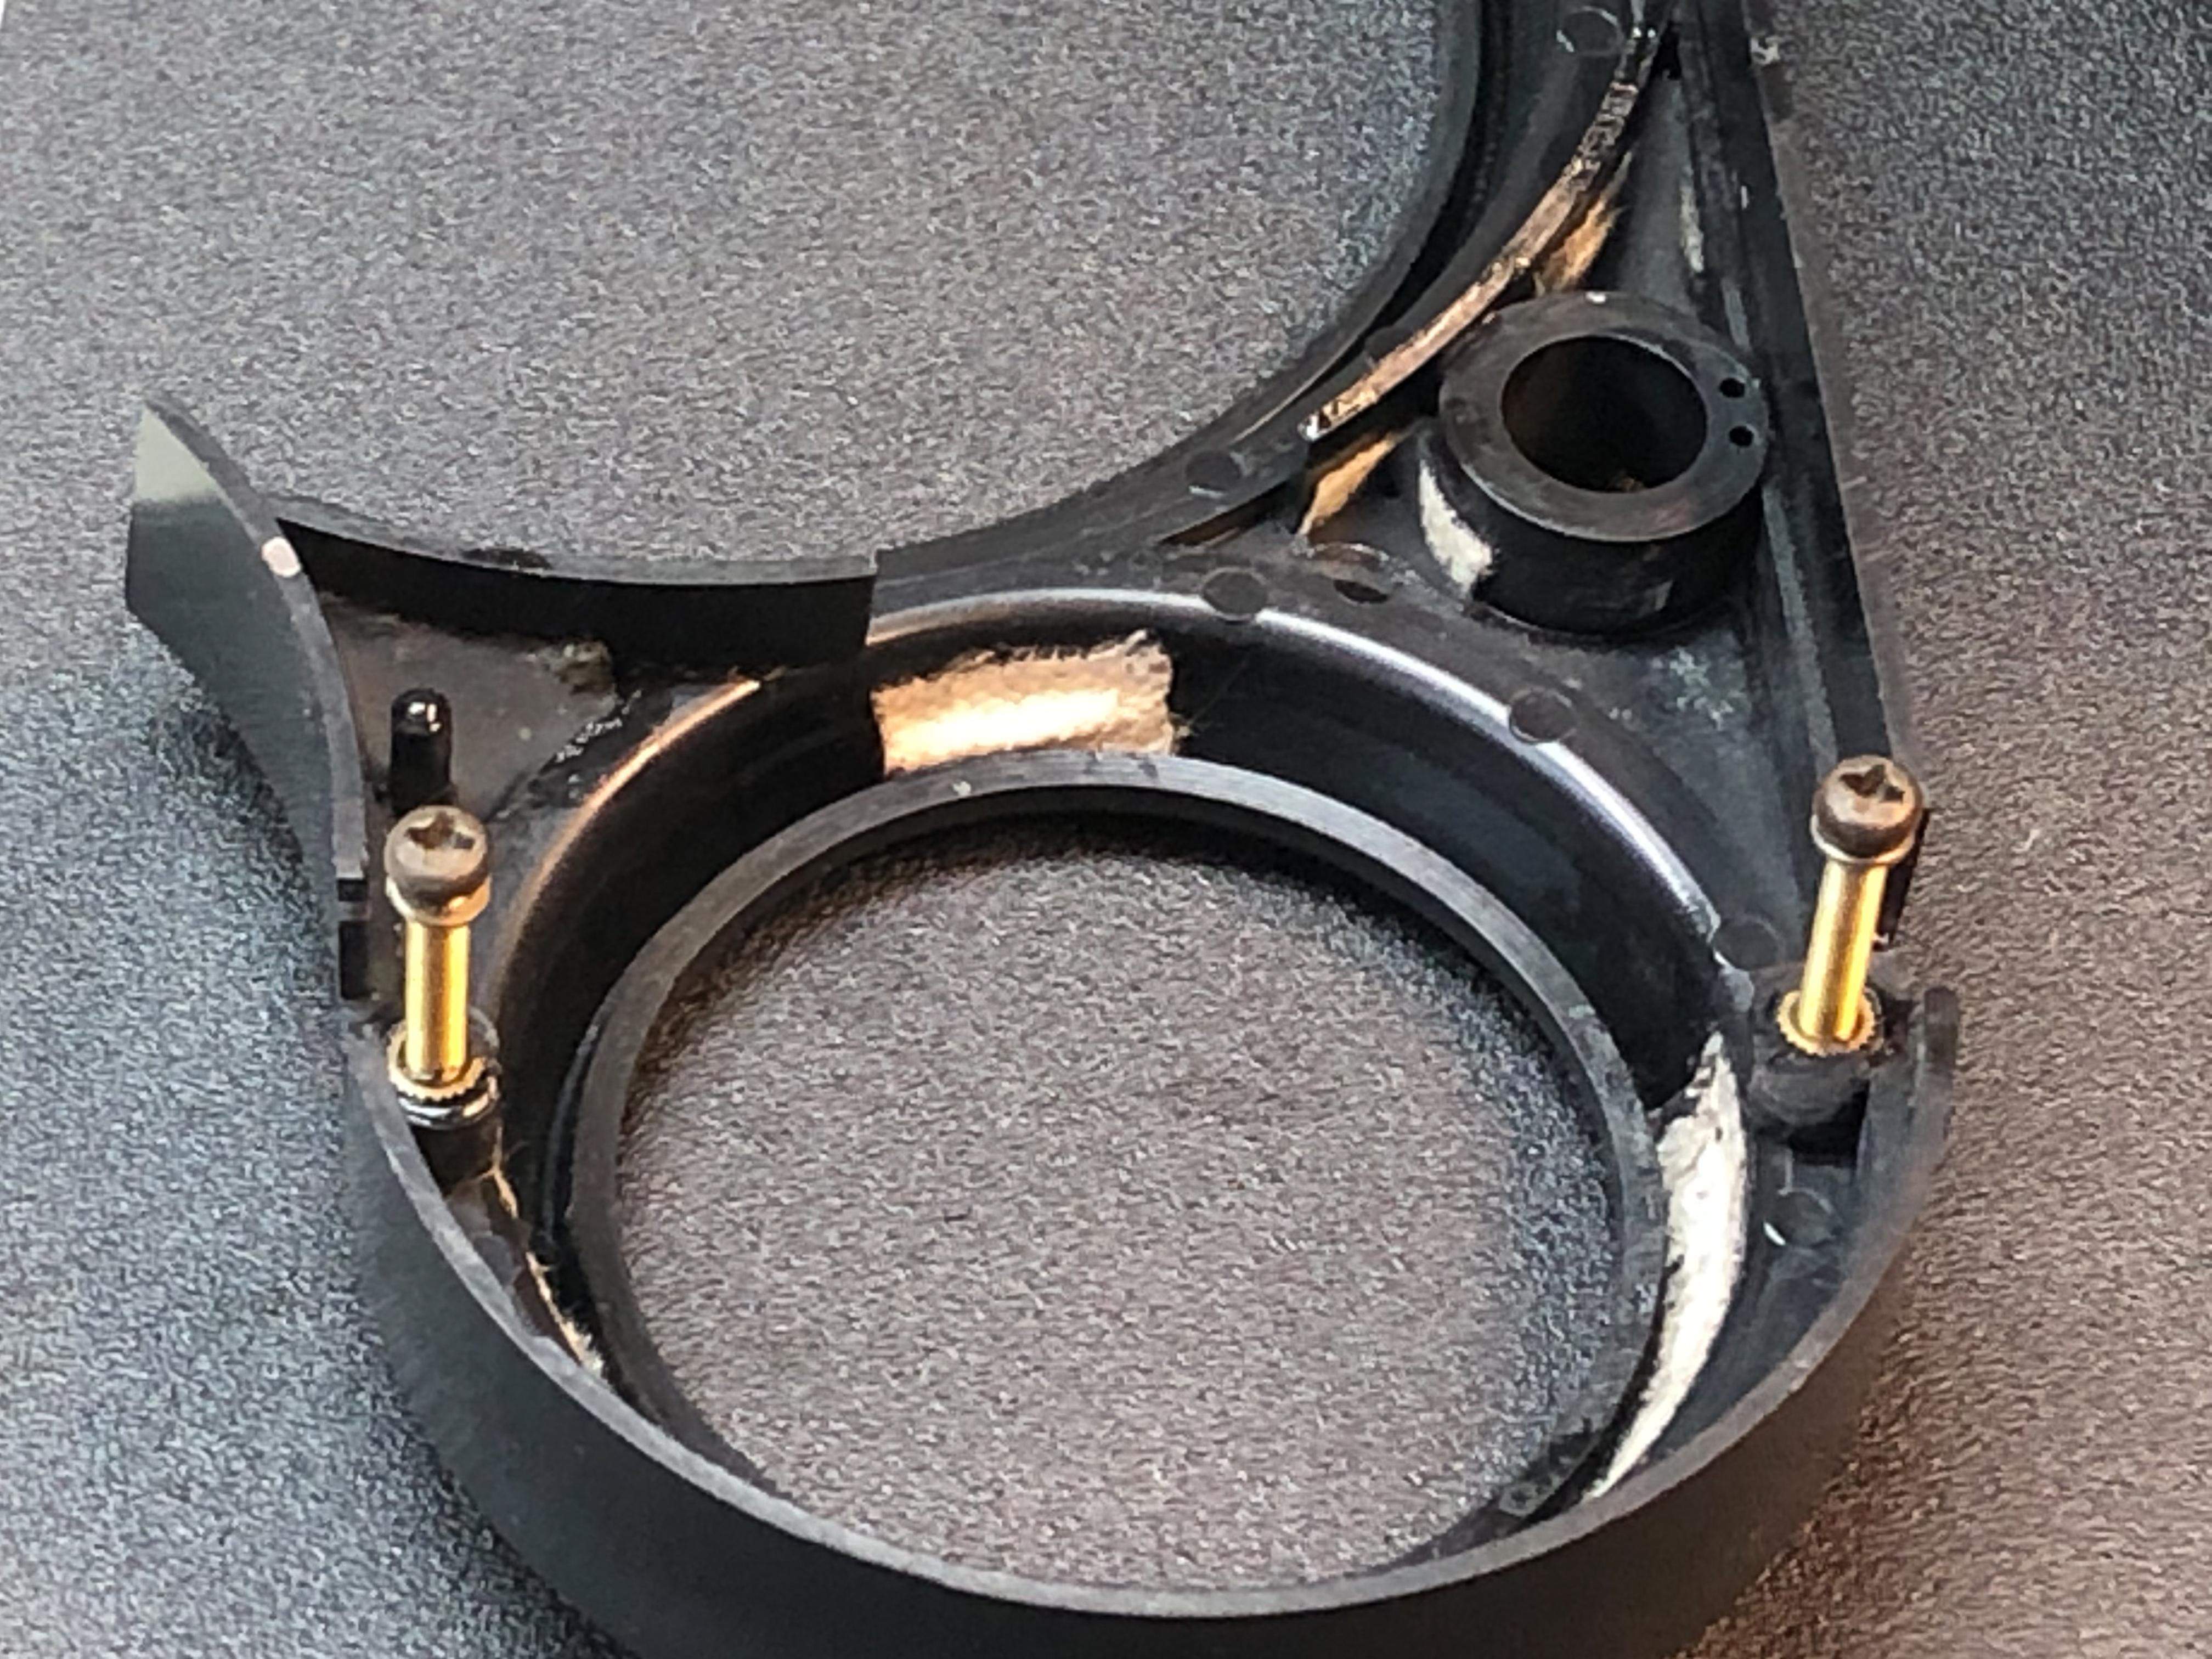
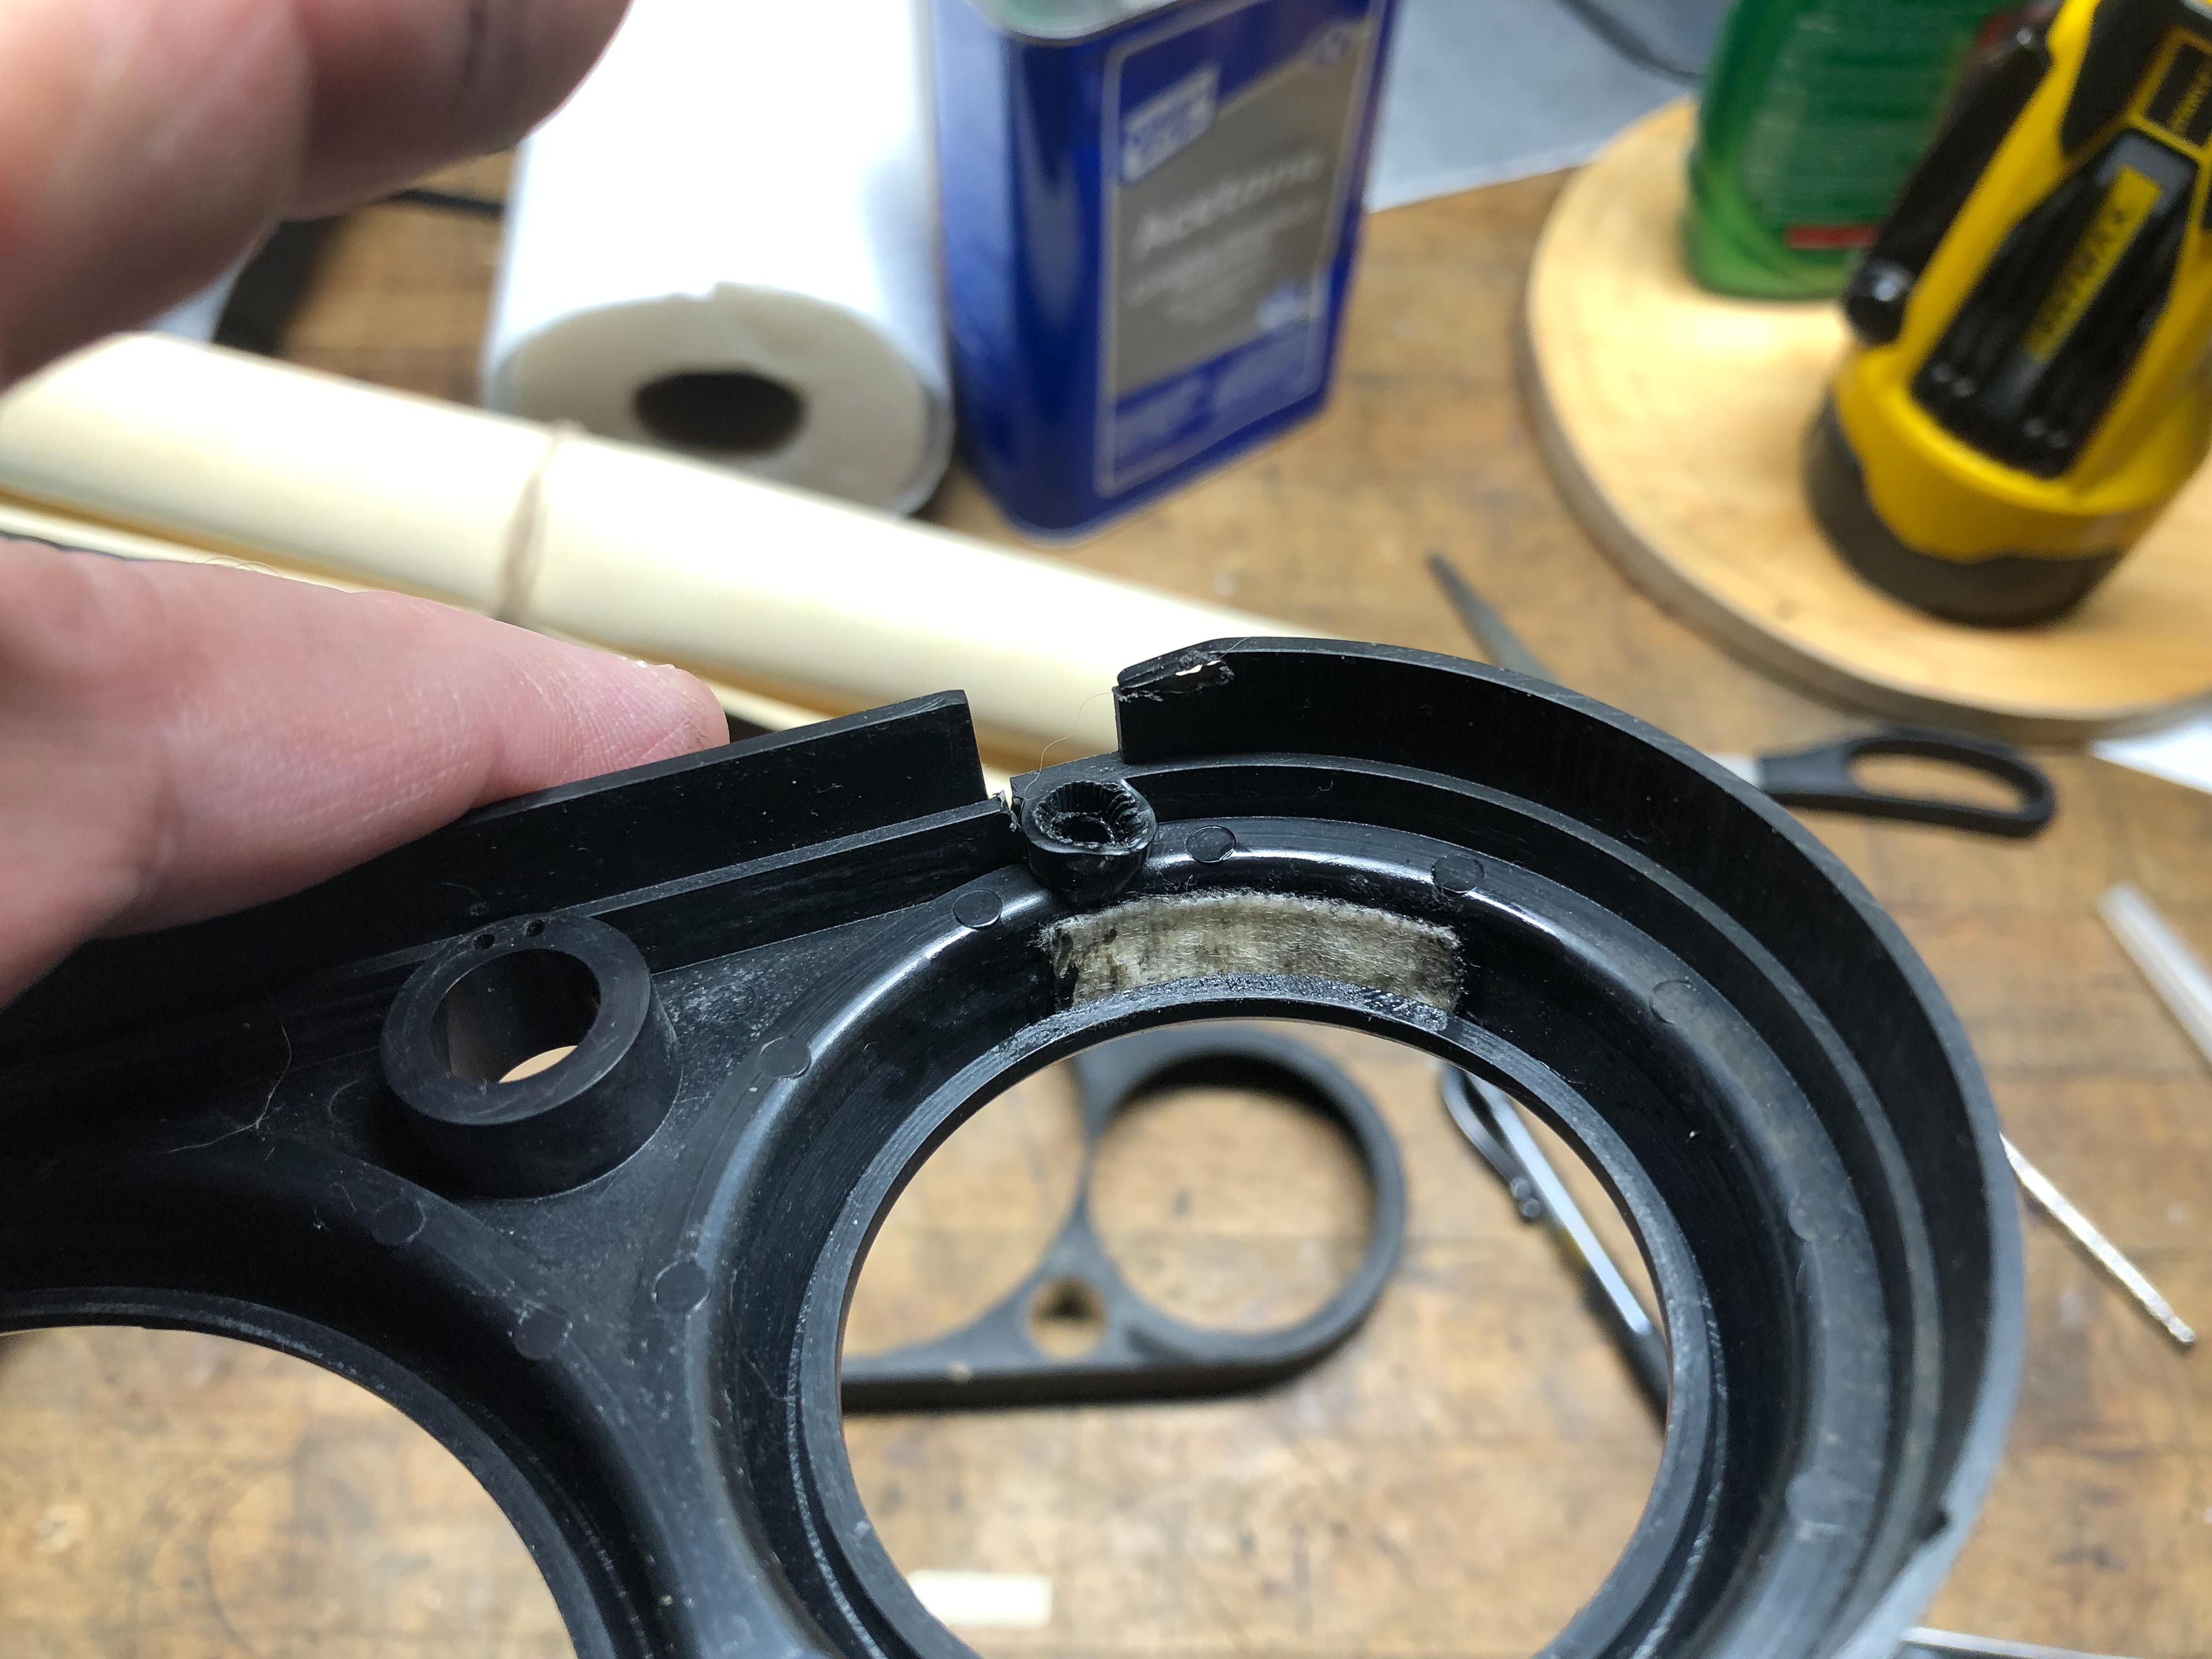
Inching forward, I did some reinforcing to the underside of the bezel. I added some curved plastic from scrap to better allow the assembly to nest to the tach-o, that fabric stuff I have is flippin awesome at this, I still went by later with Plastex in the corners of the unions to make me feel better but I'm sure wasn't necessary, that fabric holds quite well. Fixed the threaded incerts for securing the meter. Any thoughts?
-
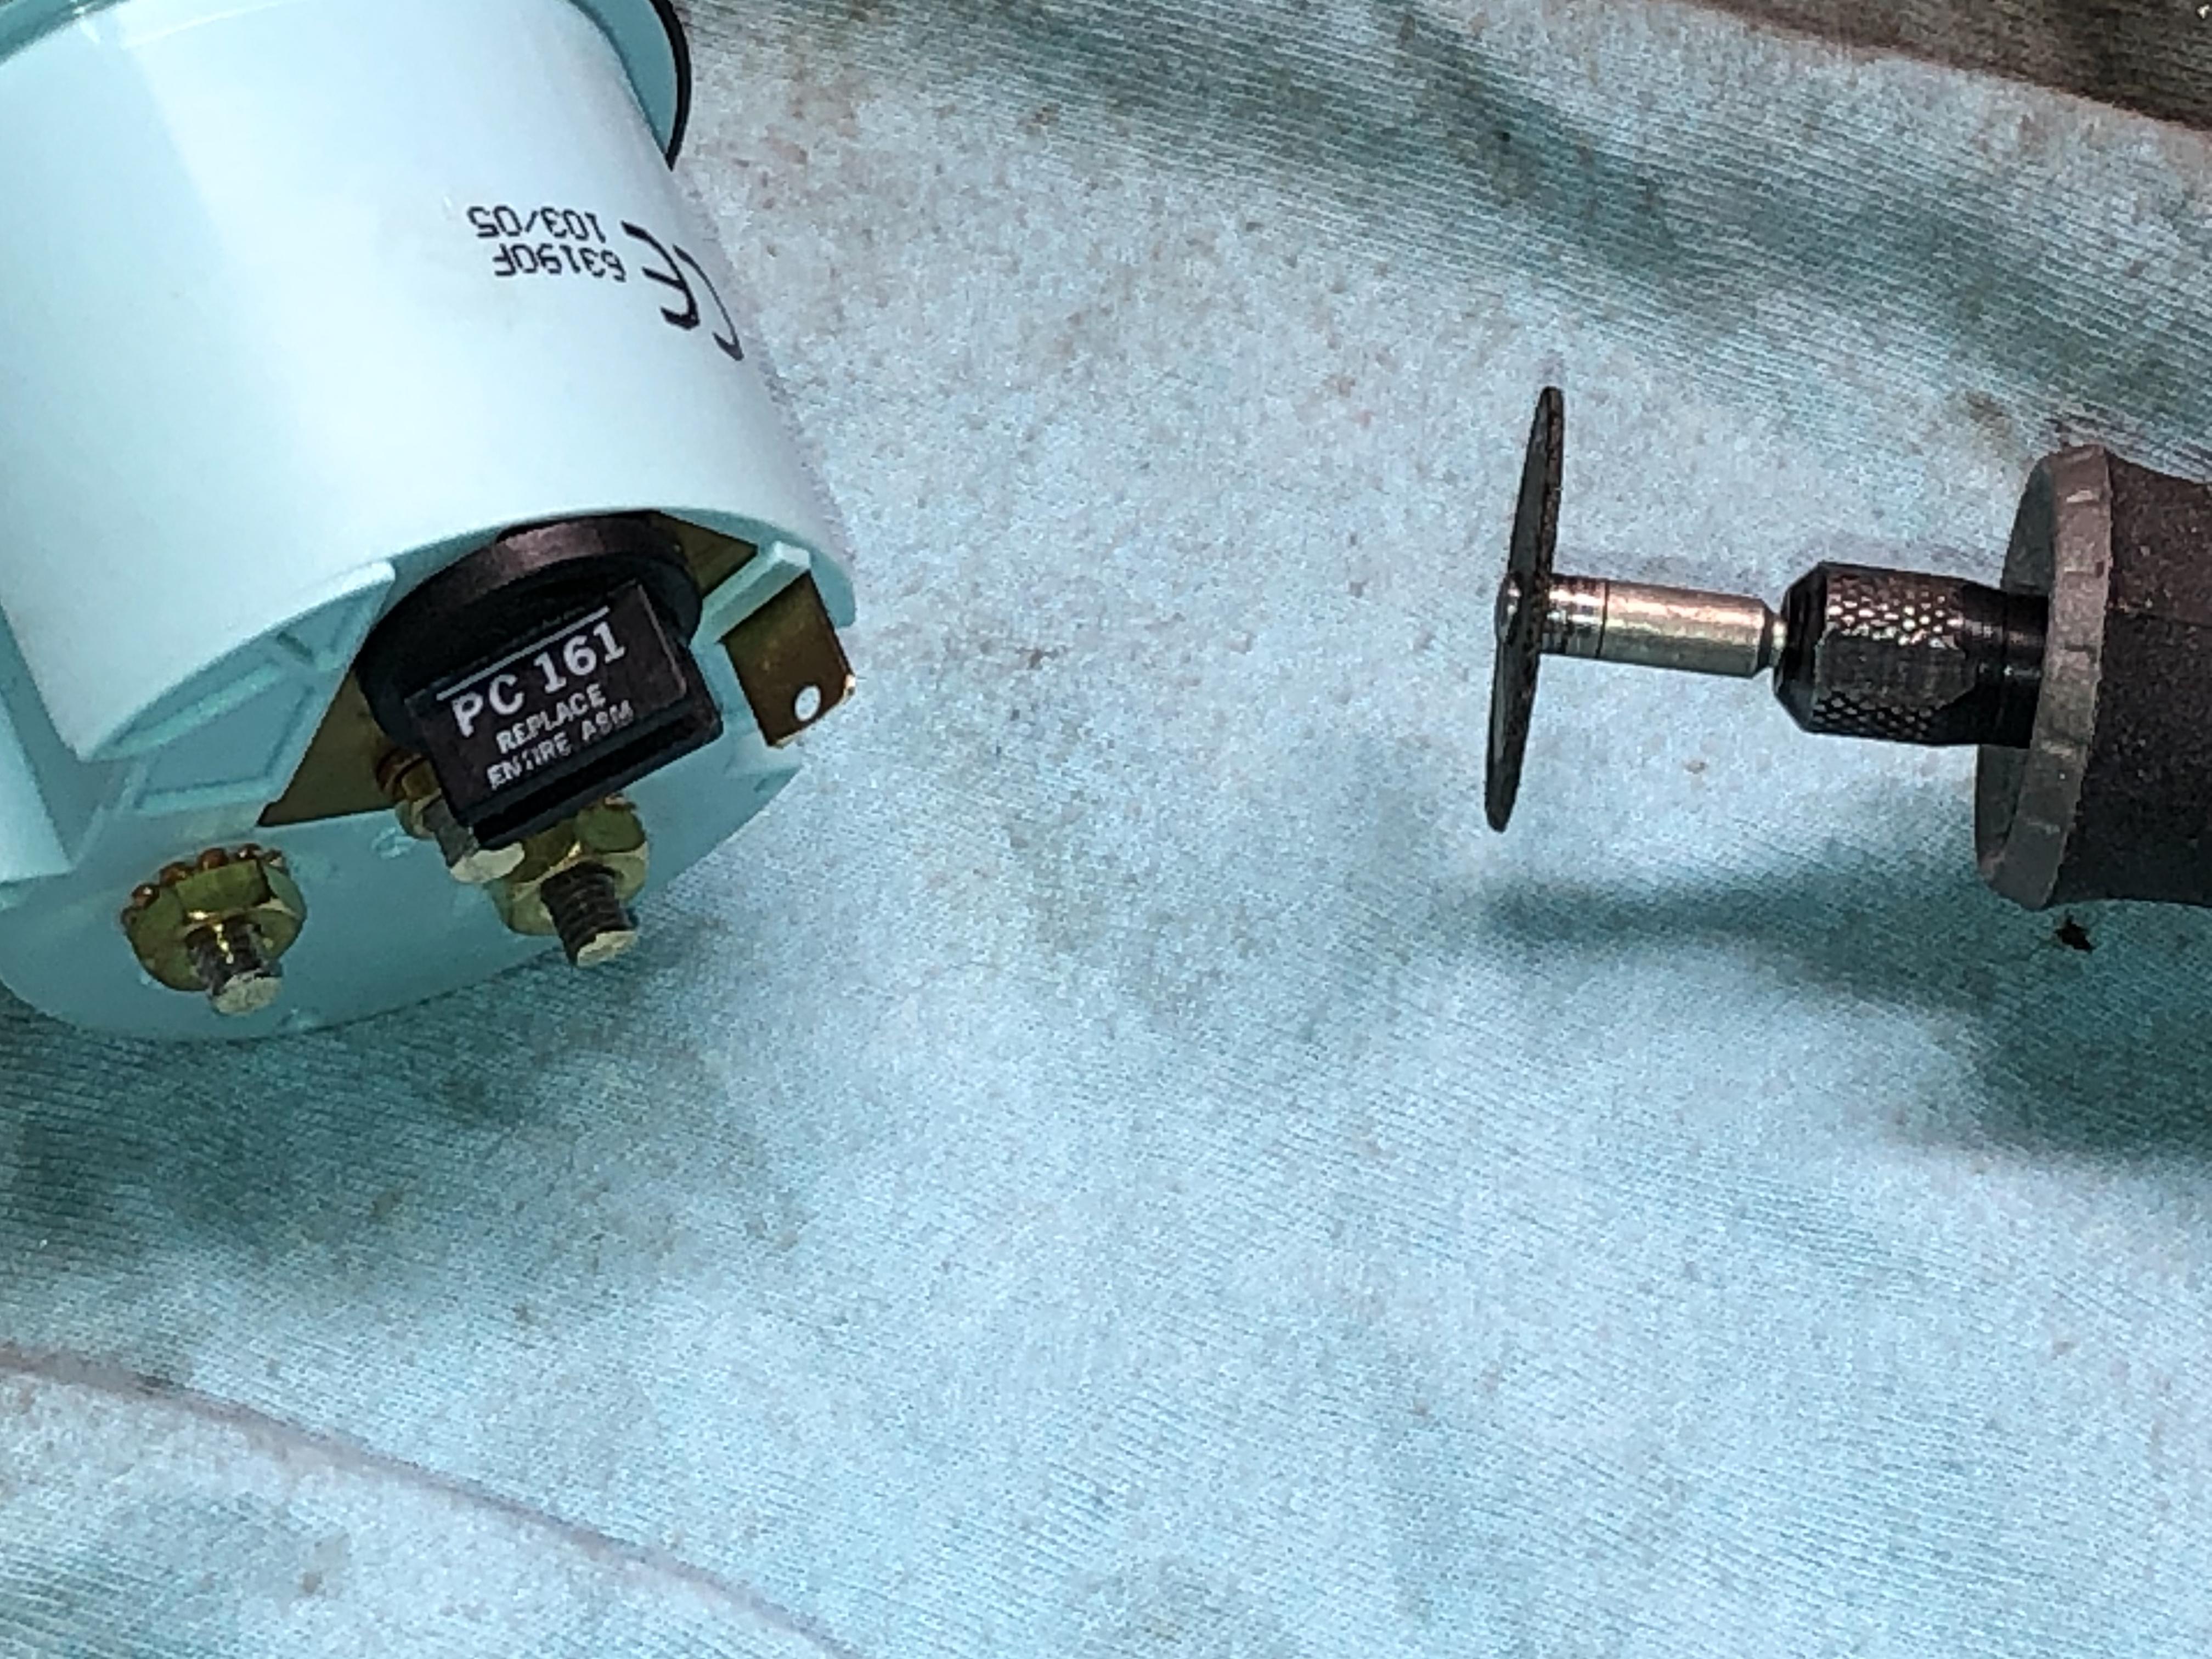
Keny, I have a hard time keeping up with these forums but did you ever get this issue worked out? Between then and now I made a set of these and have a set to give if you want. Sorry for the interruption folks...
-
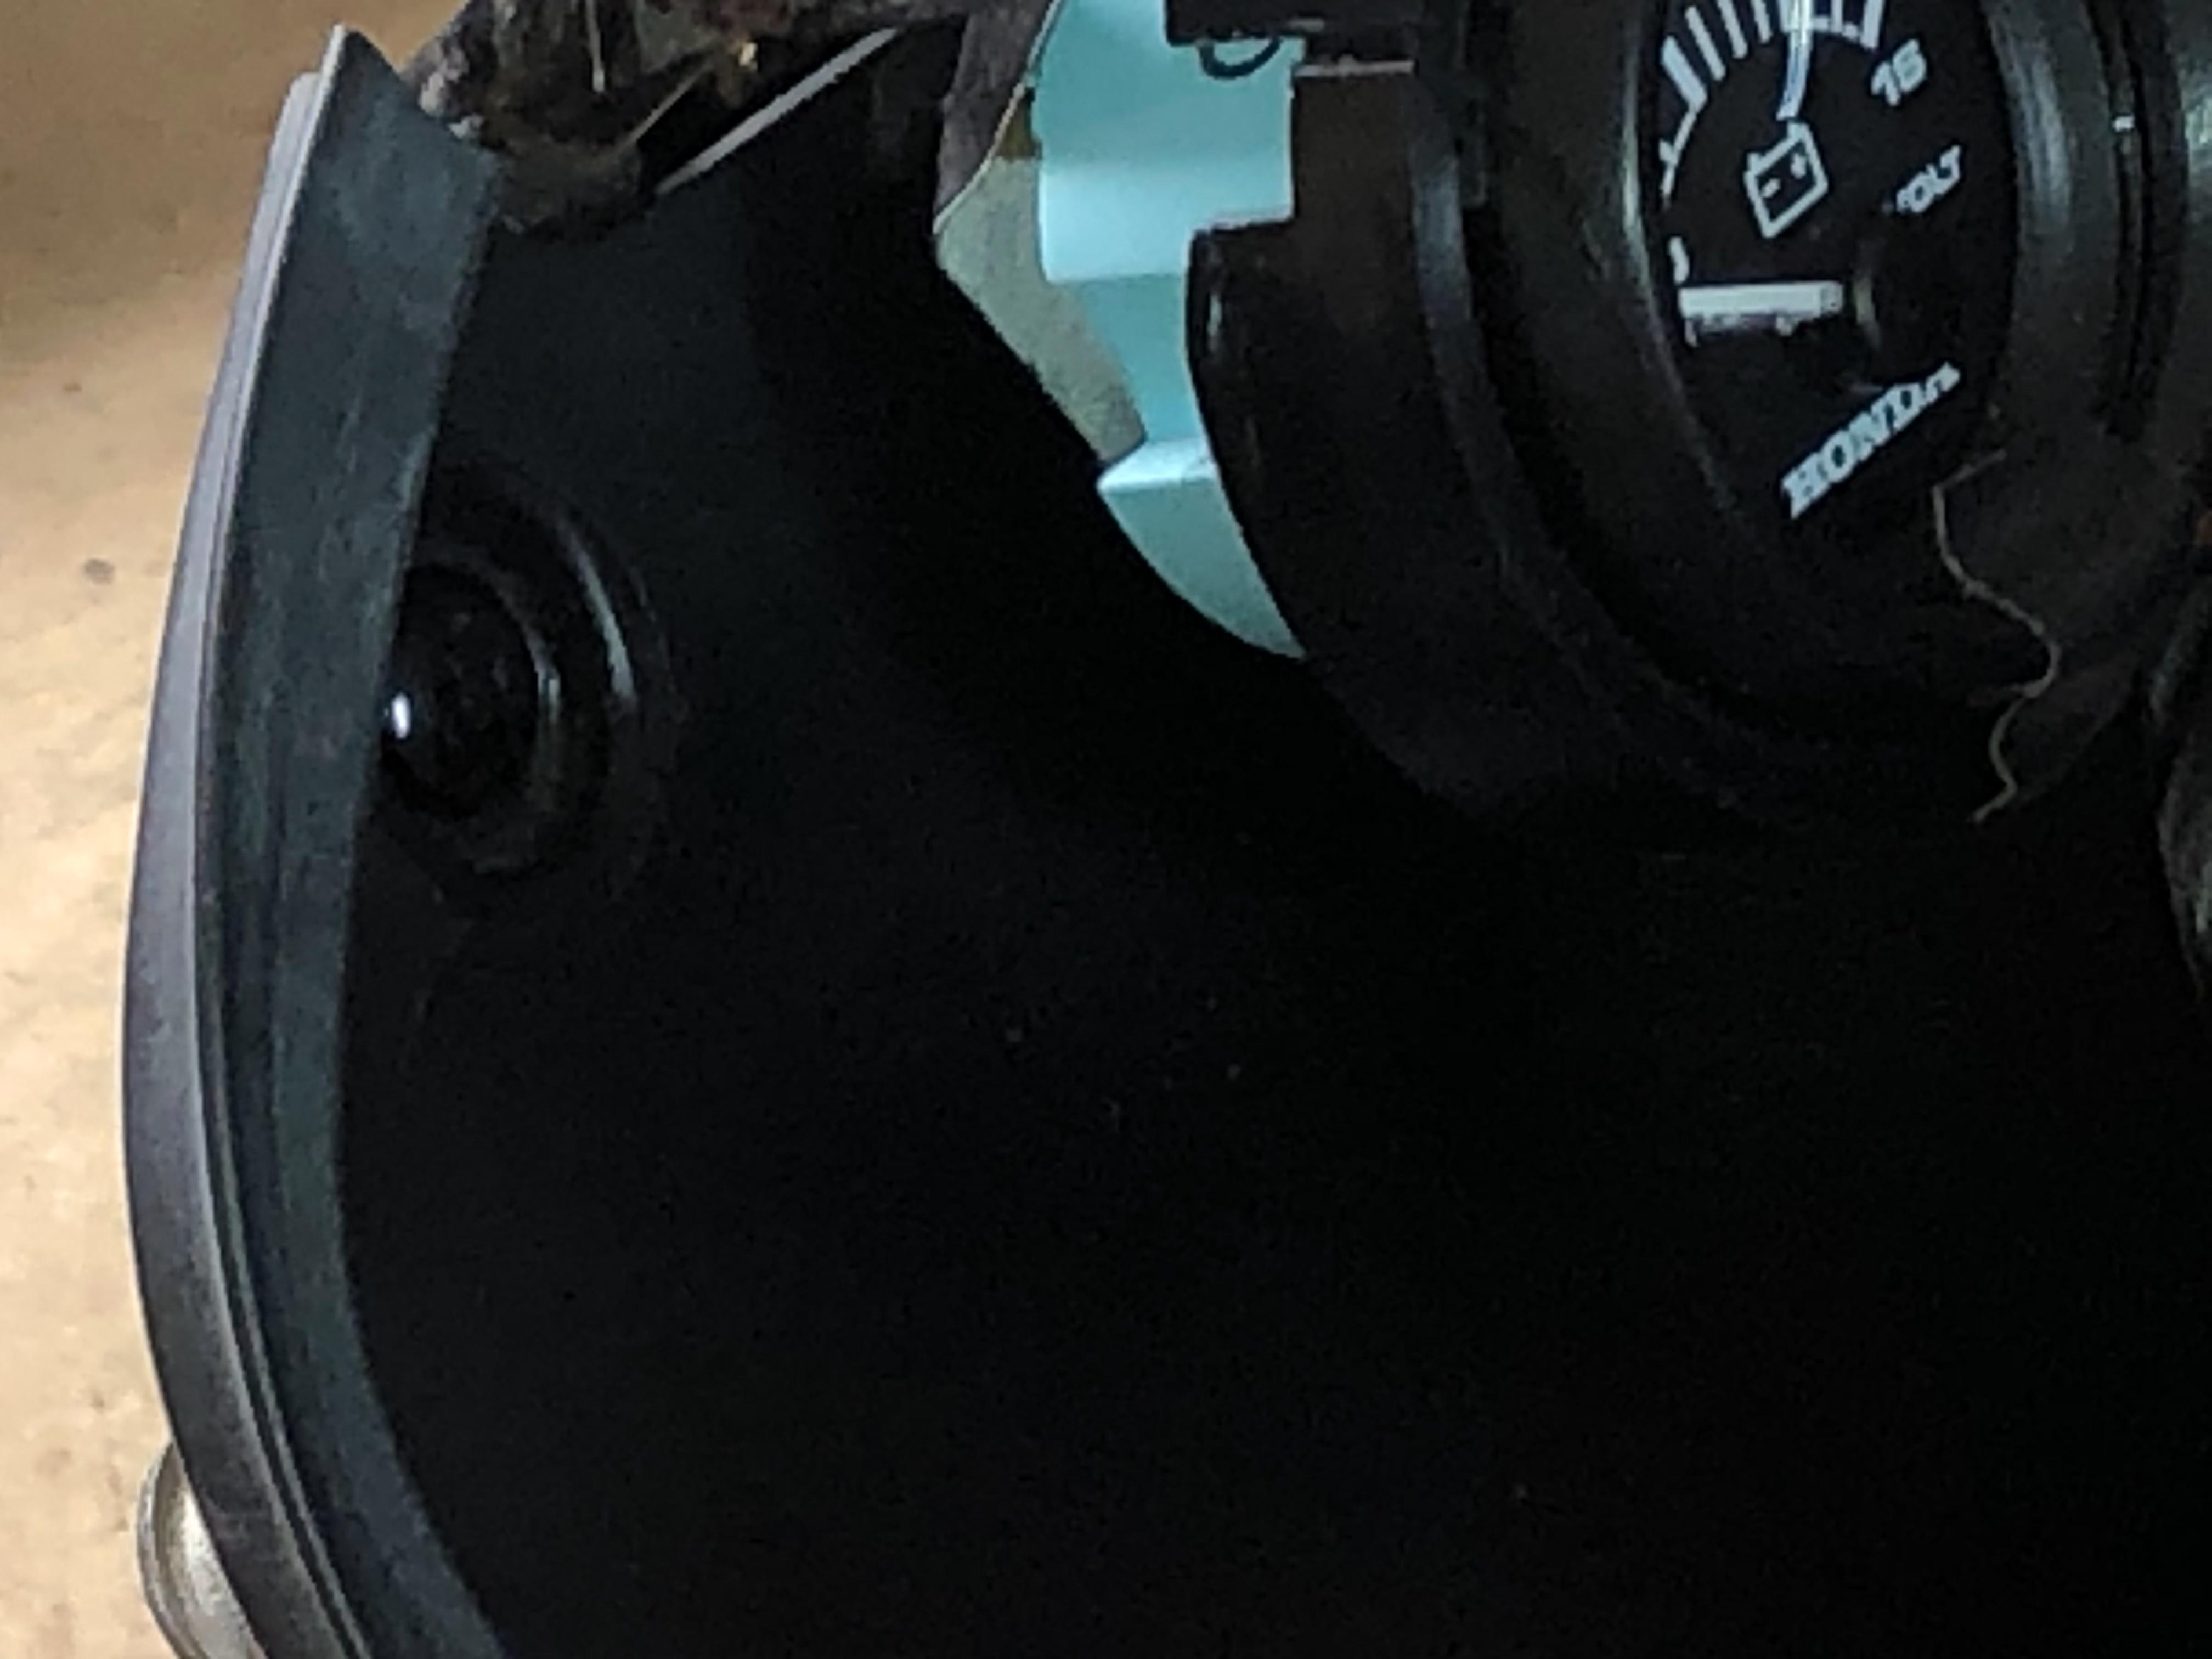
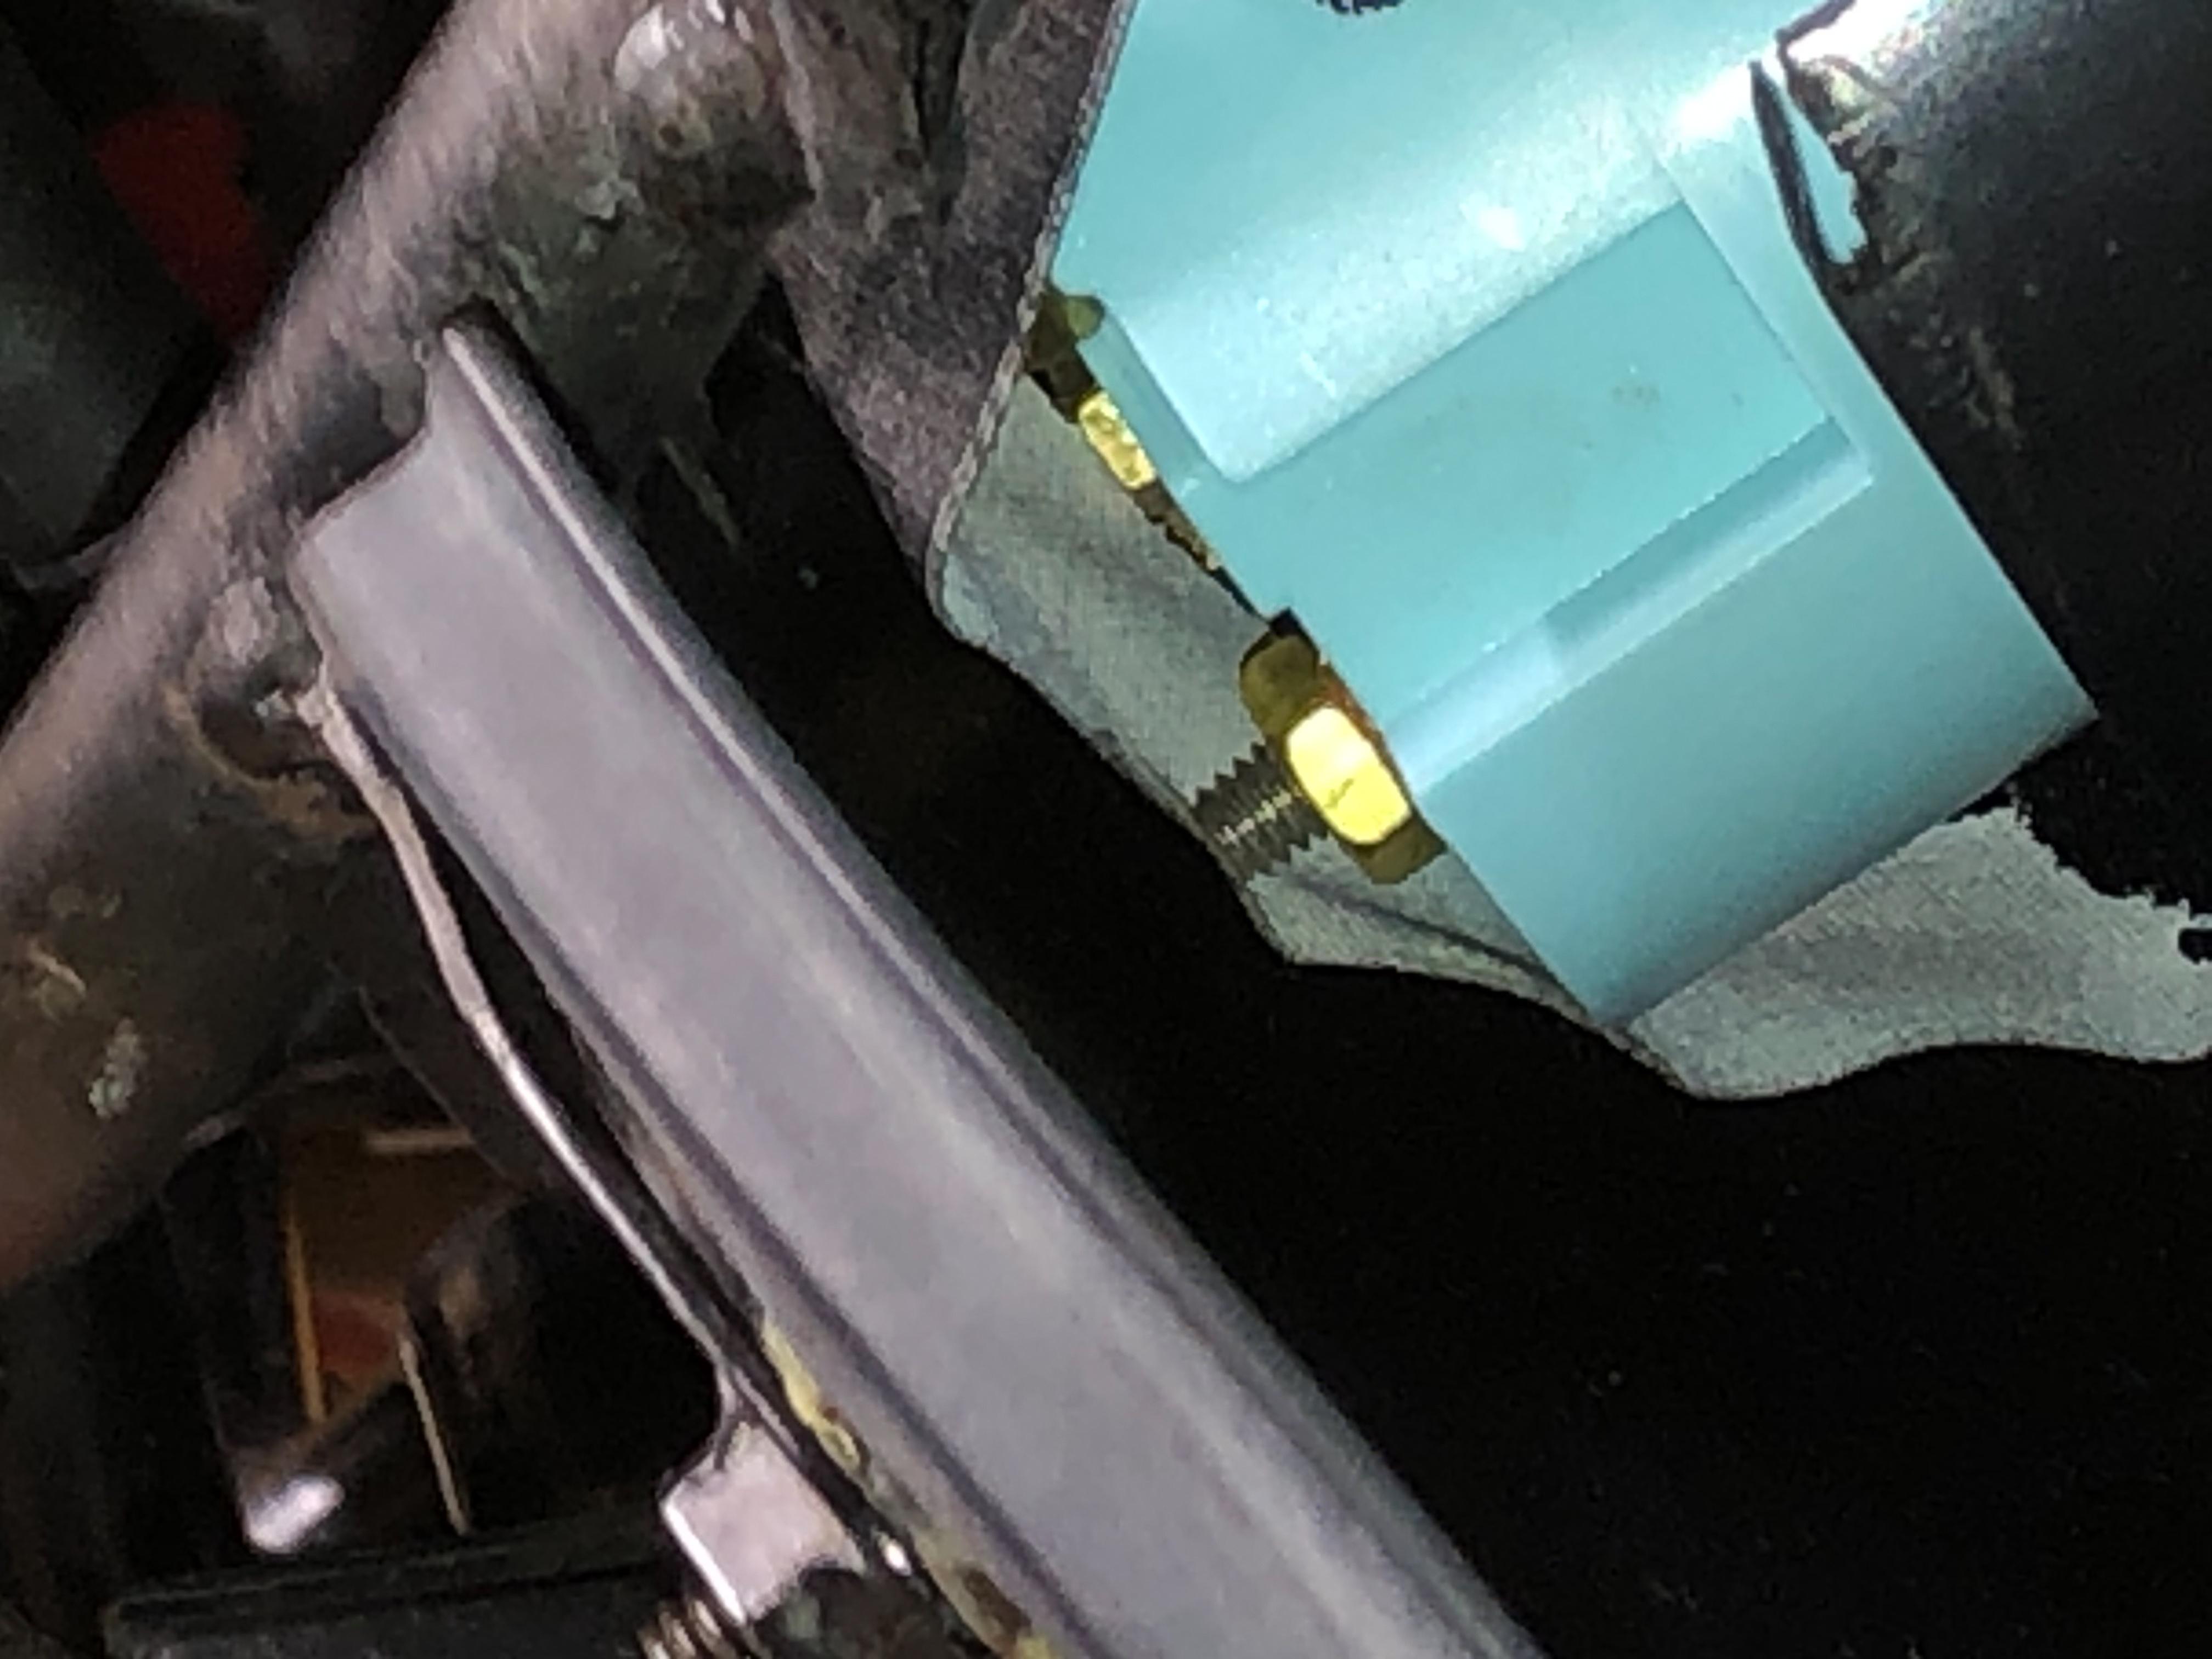
This is the clearance behind the volt gauge after trimming the terminals.
-
I have a wishlist going on Amazon. So I'll pull the tank and drain. start collecting supplies. I'll be pulling the plastic today or tomorrow to help me form some kind of mounting bracket of my temp gauge project. (kind-a-think its going to look bad ass)
-
Yeah...Cap there's a new valve setting out in the drawer.... haha What primer will I be using? What am I using to scuff the paint? I'll start picking some of this stuff up. So glad I started this thread. Thanks Dude.
-
btw I need a bracket making genius for my other project...haha
-
Crap! This shit's starting to get real. Will I have to drain the tank to get into that petcock cavity? Plug the top hole and take the escutcheon ring off petcock? Valve stays in place?
-
Graphics will stick to the scuffed tank? What is 2K?
-
Let me know. In my case, do I need a primer over everything (areas to be painted white)or just the petcock area? Will this cover the blue areas that will need painted white? so not ready to pull the trigger yet... When the decal gets applied and clear coated, will the entire tank be getting sprayed as well? So the whole tank gets scuffed up?
-
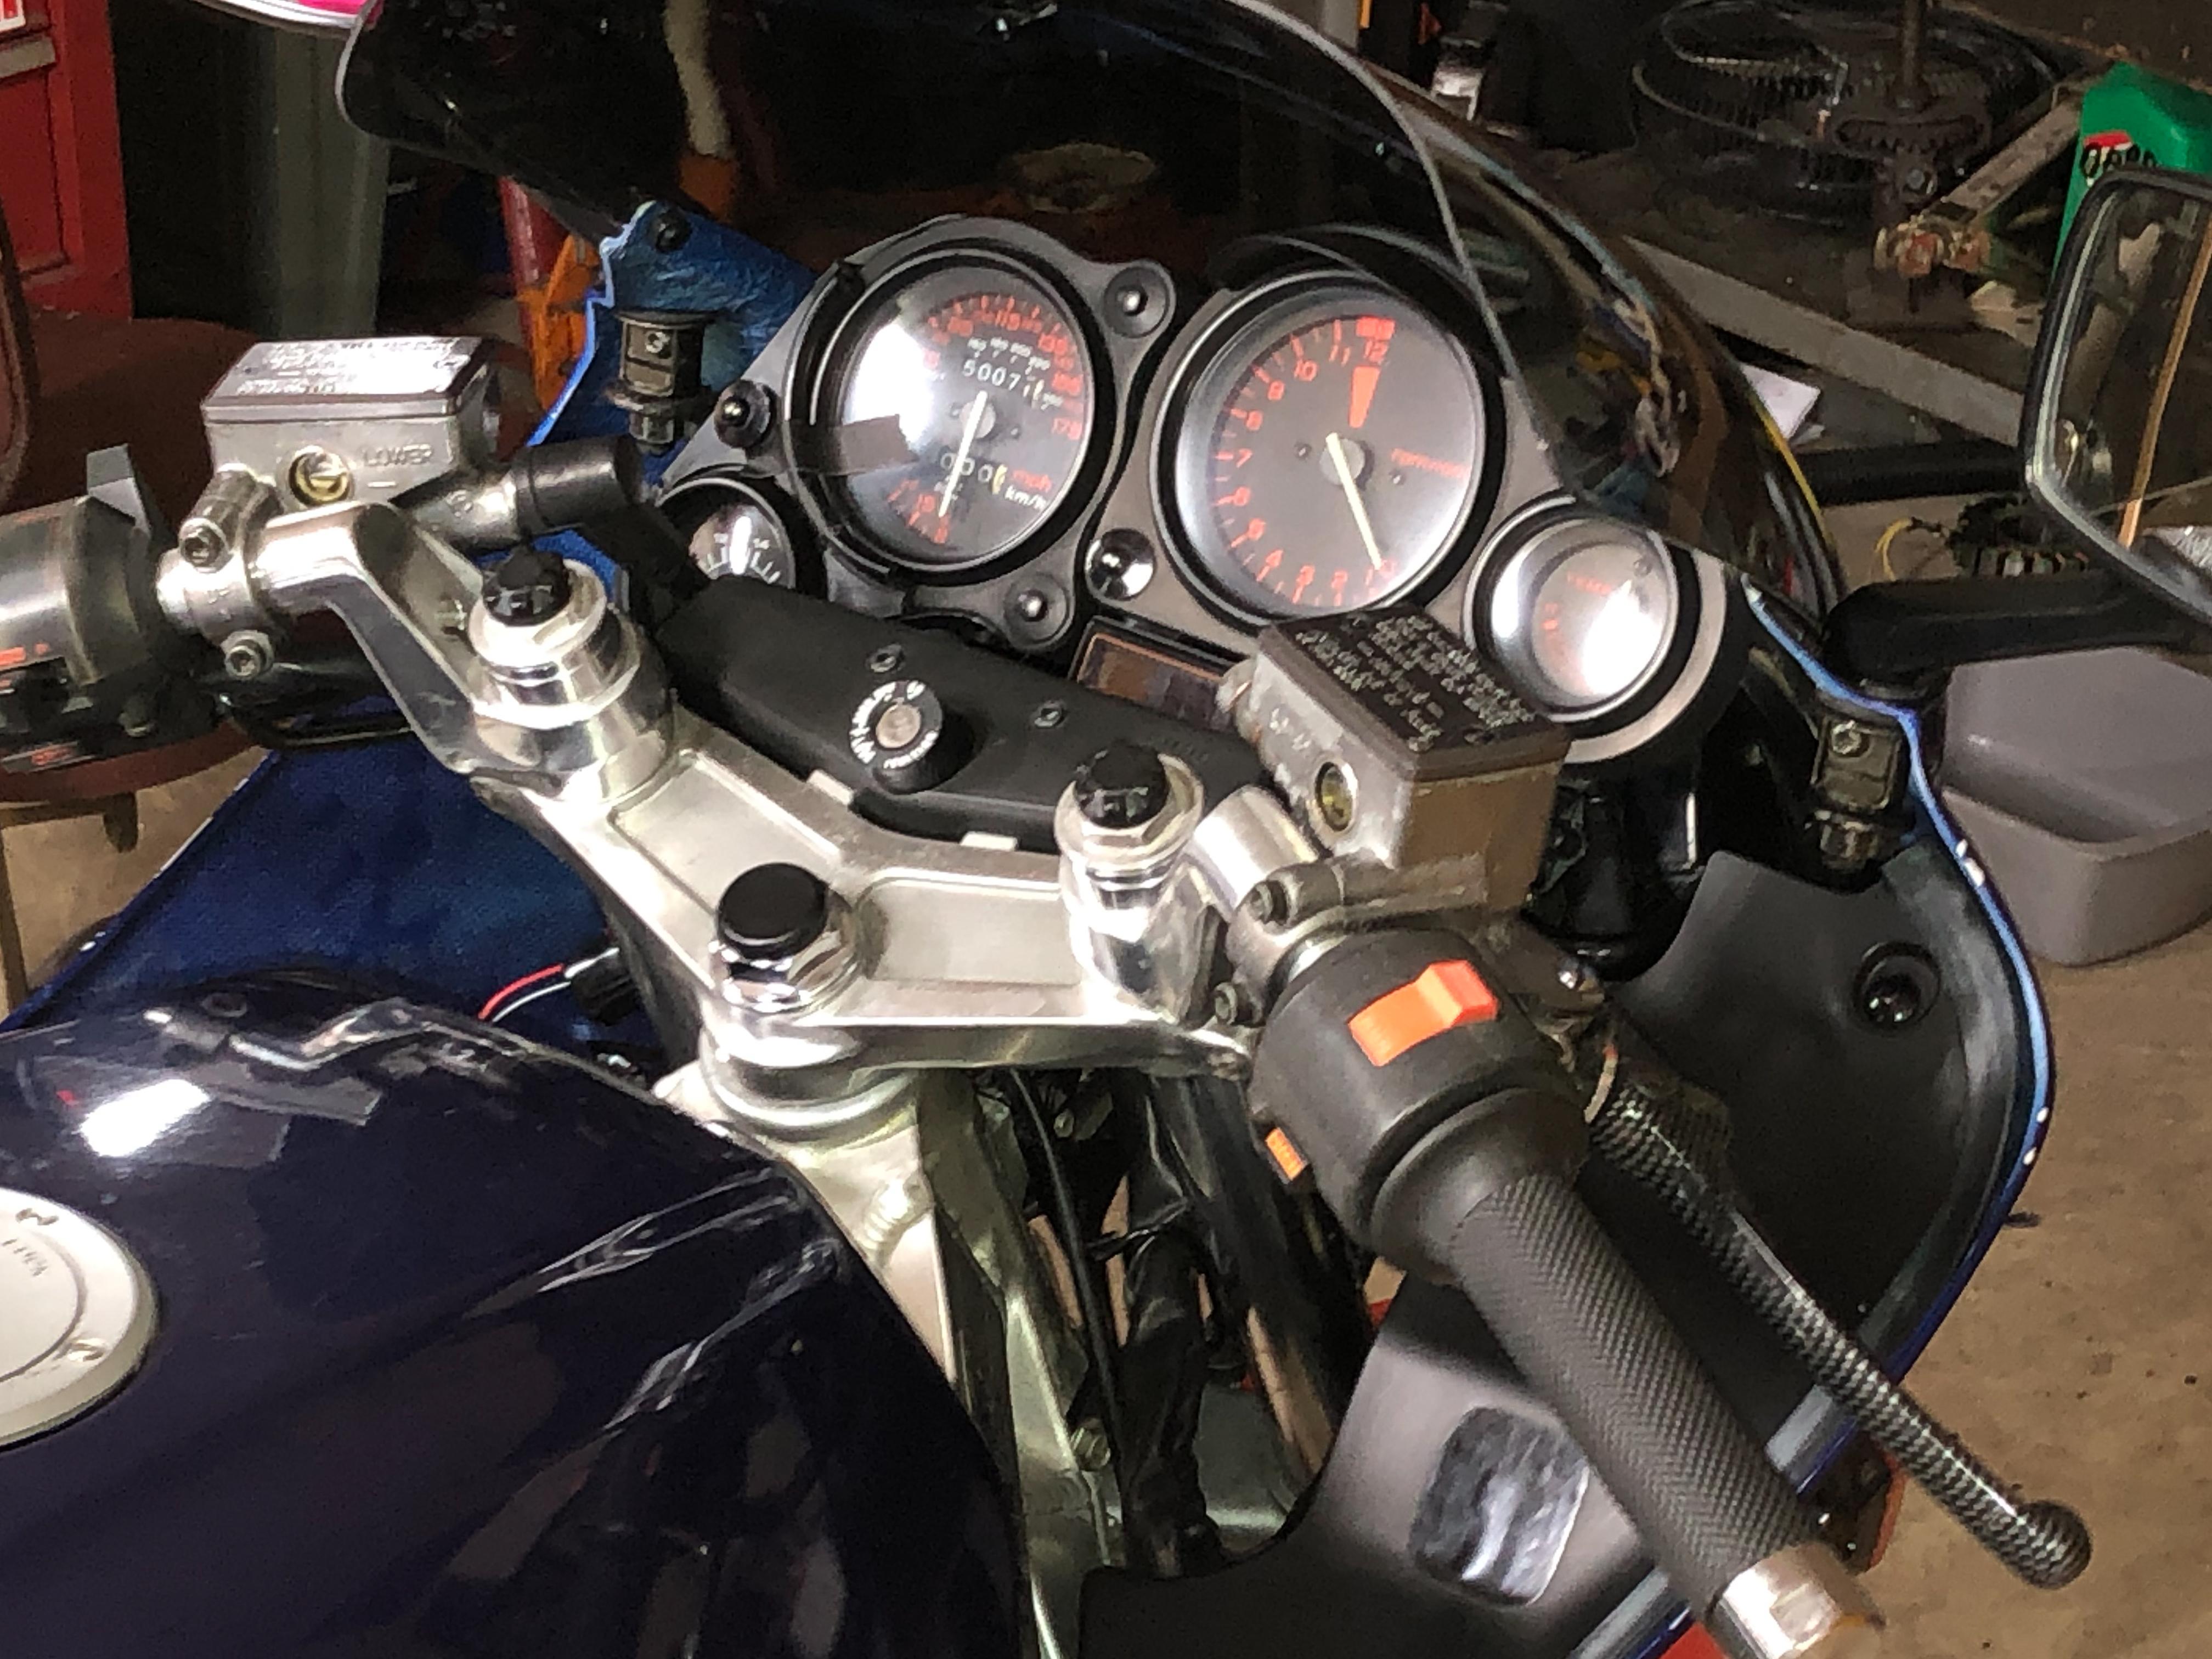
So if I pivot the bezel closer to the mirror mount, I can still just manipulate the "trip counter", more trimming of the V/M connectors, surface mounted bracket from the mirror m/post???? Long story short, there is clearance and everything can be reversible. I plan to do the same for the wire harness. So do you thing the Honda gods would be pleased or should I go with full concealment..?
-
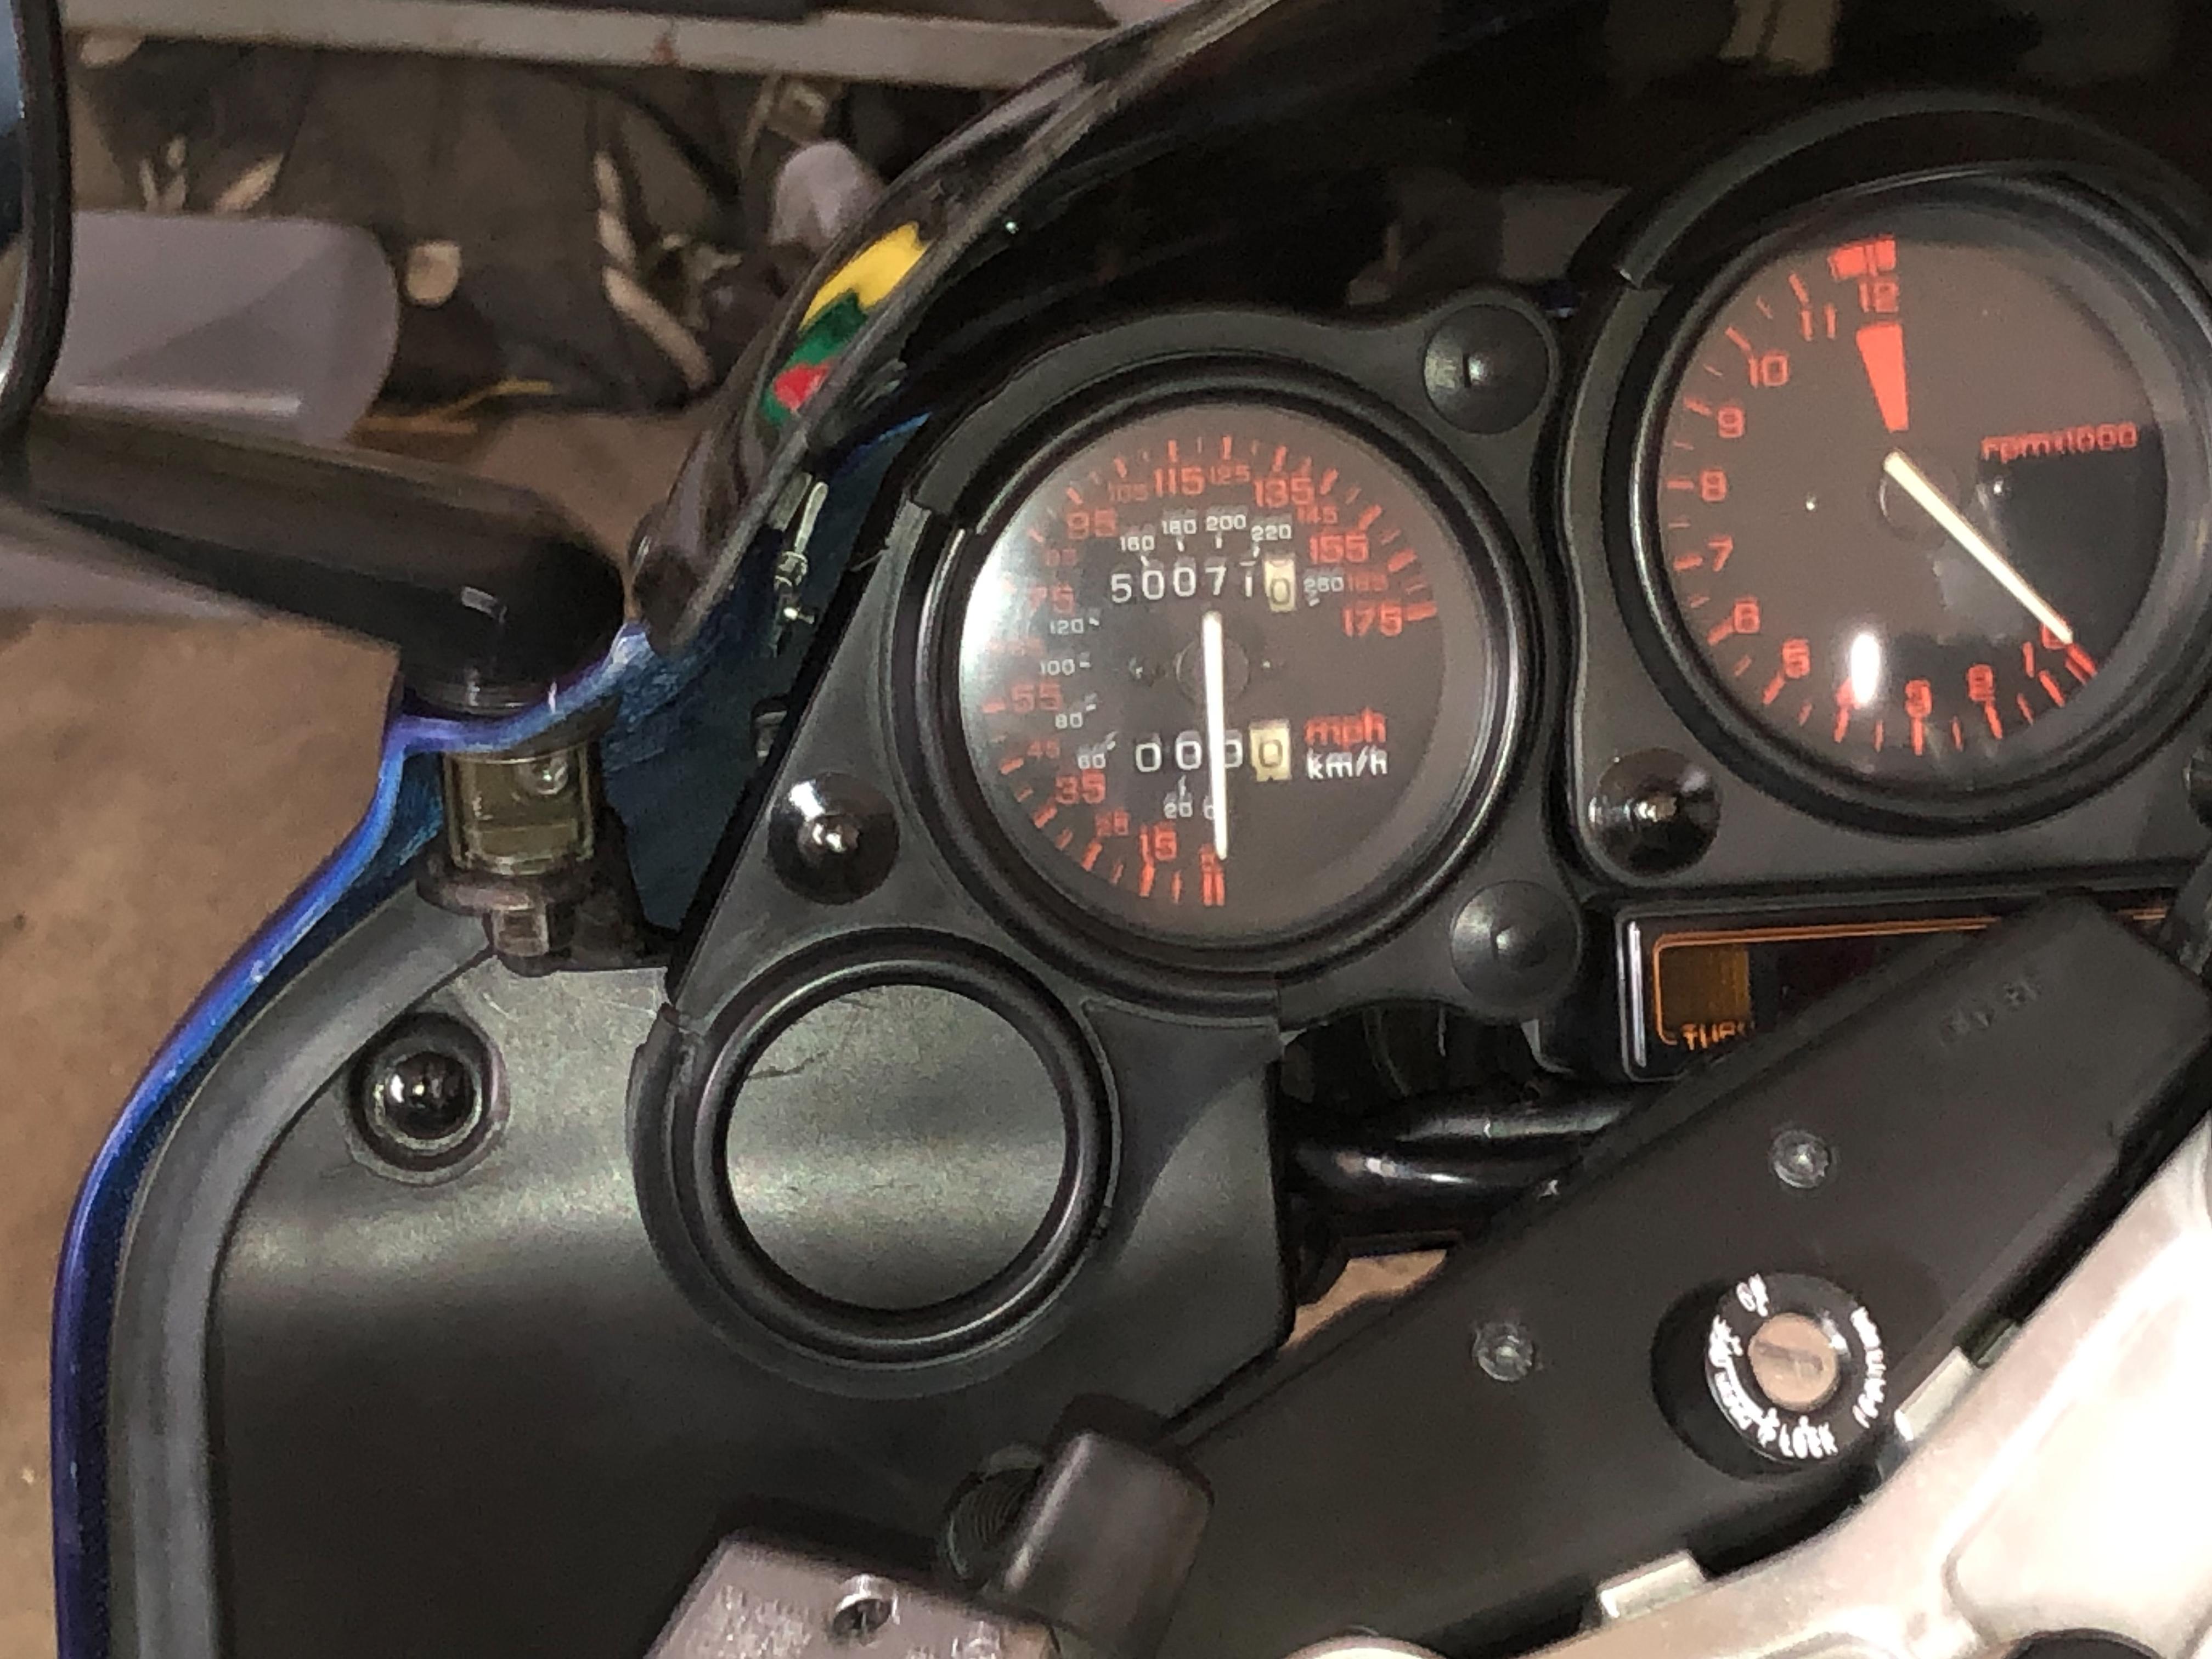
I think it might and the thought is not a pleasant one. If I can raise the bezel up a little maybe no, thats what I'm going for. The gauge and bezel will be mounted independent the Tach. I already trimmed the long ass terminal screws of the temp/g but plenty room to trim more.... I think I can pull this off without harming anything actually. Including those panels...
-
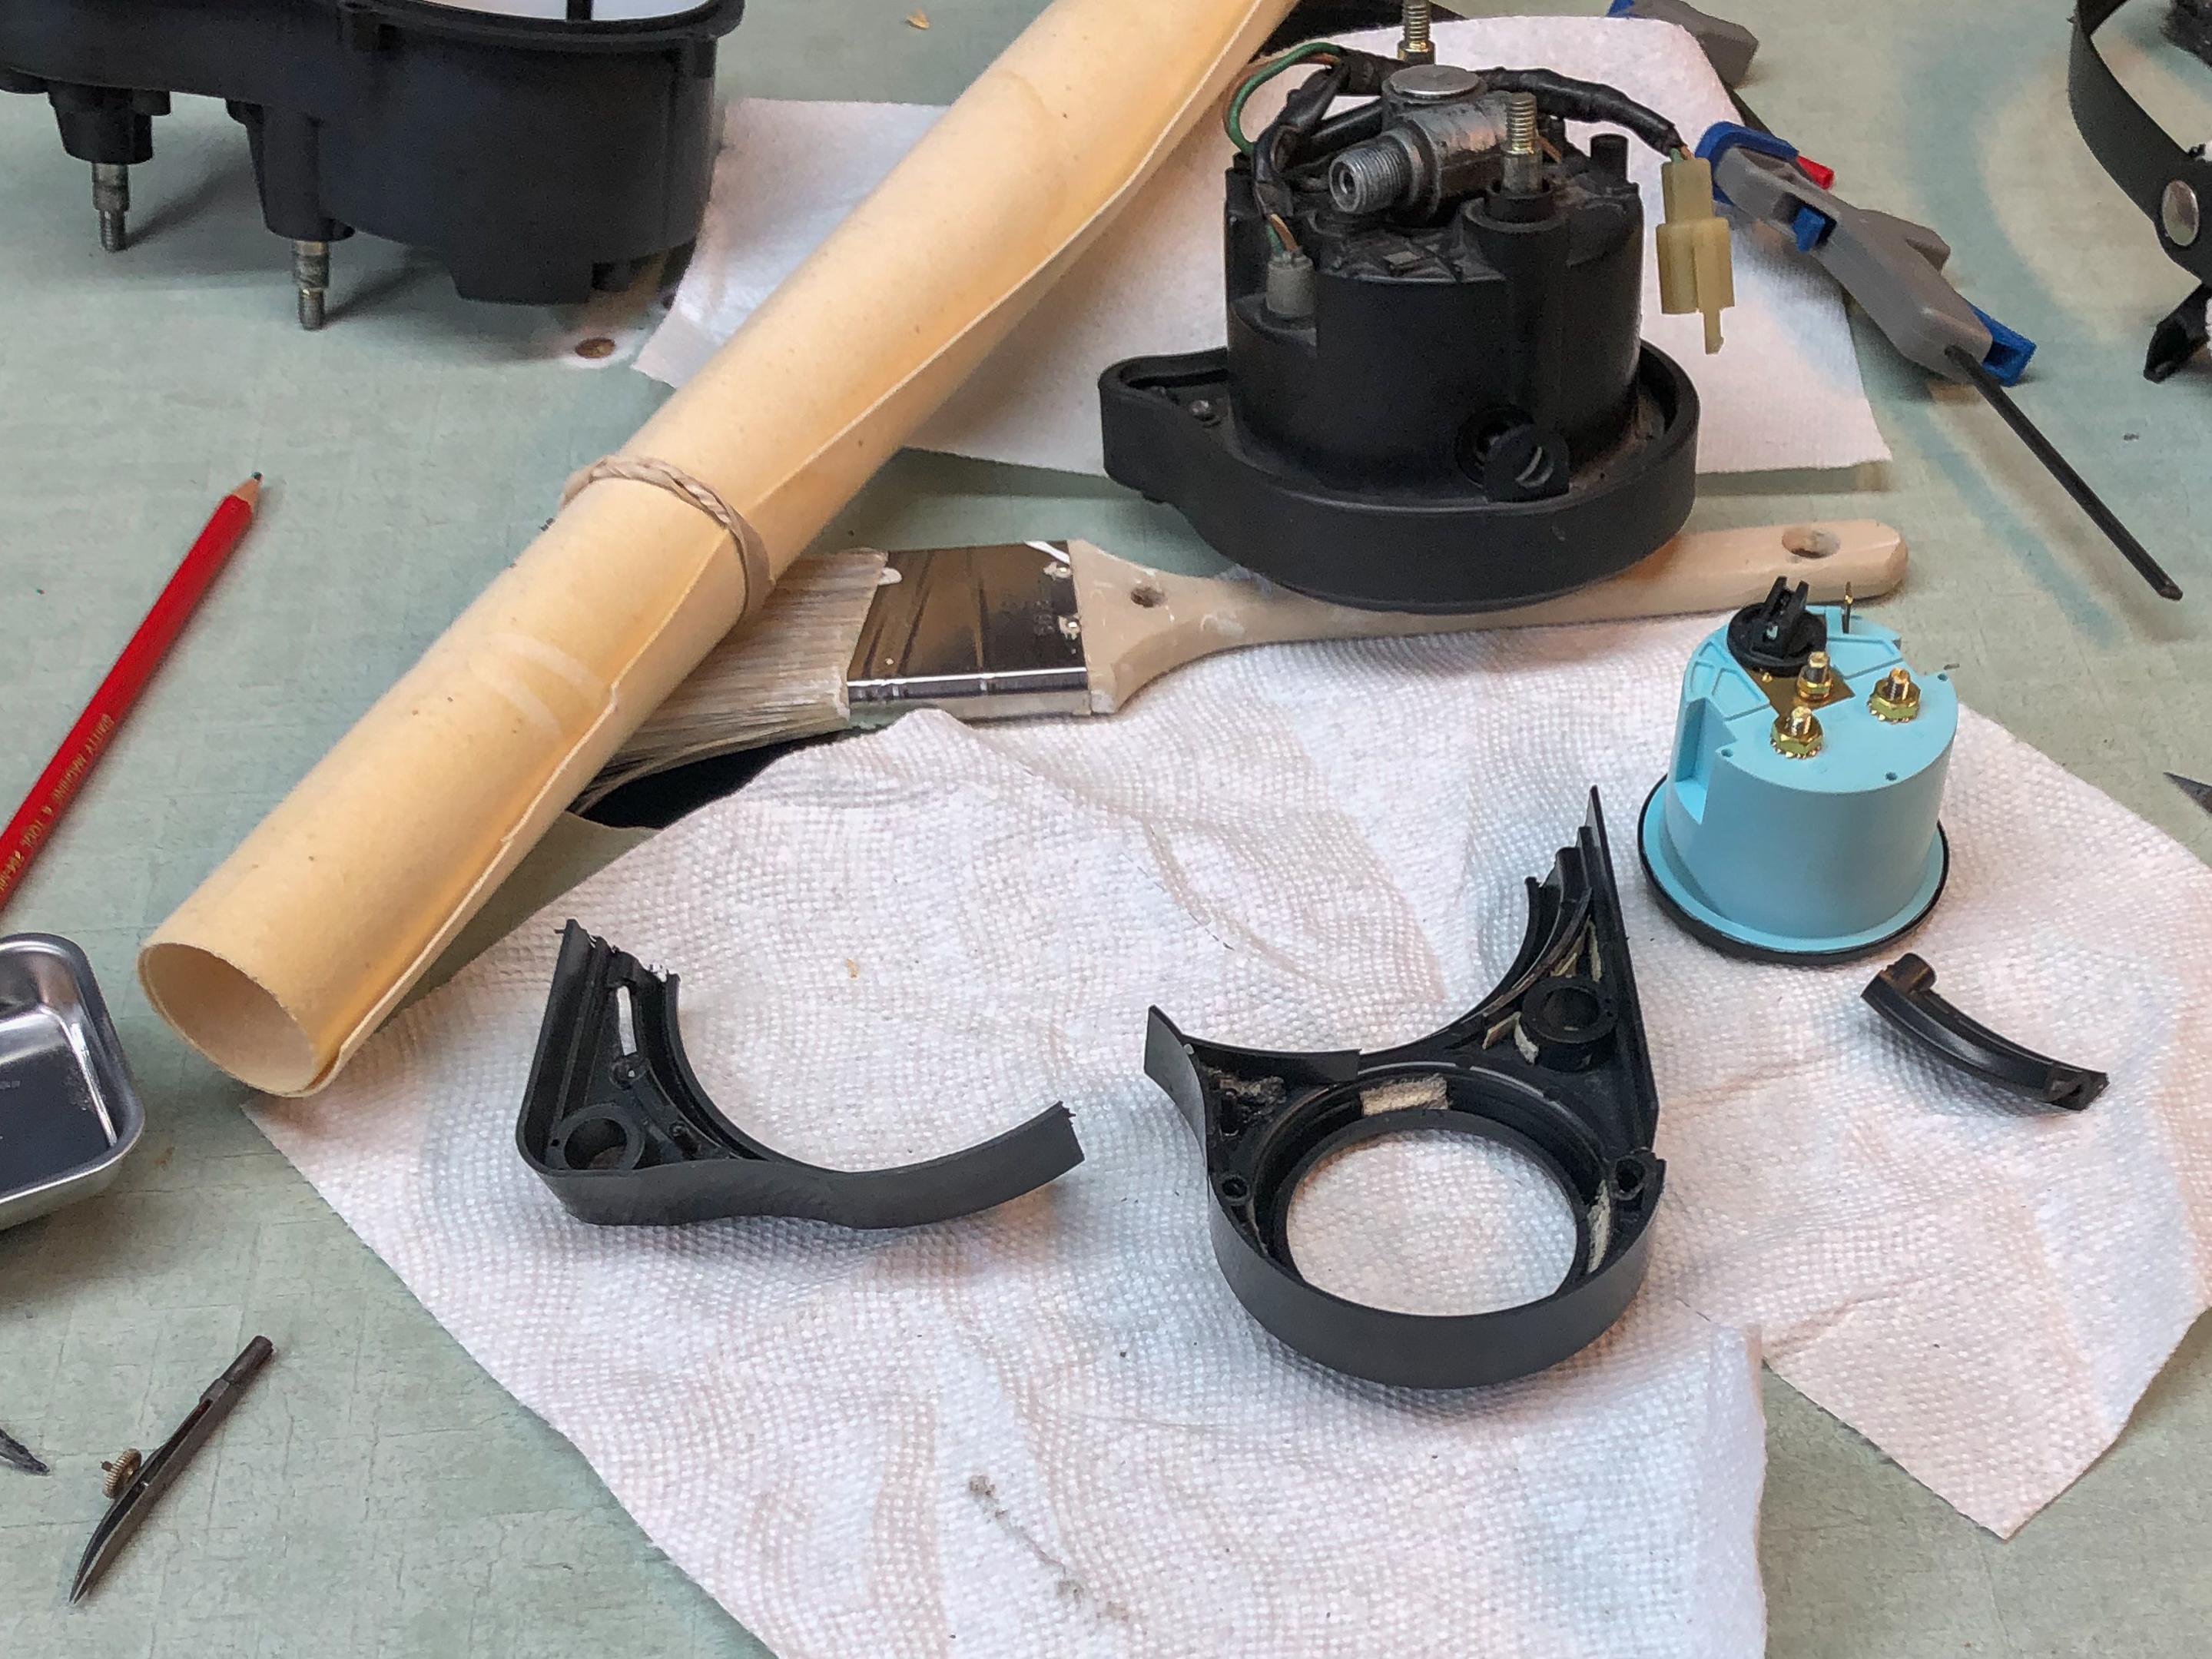
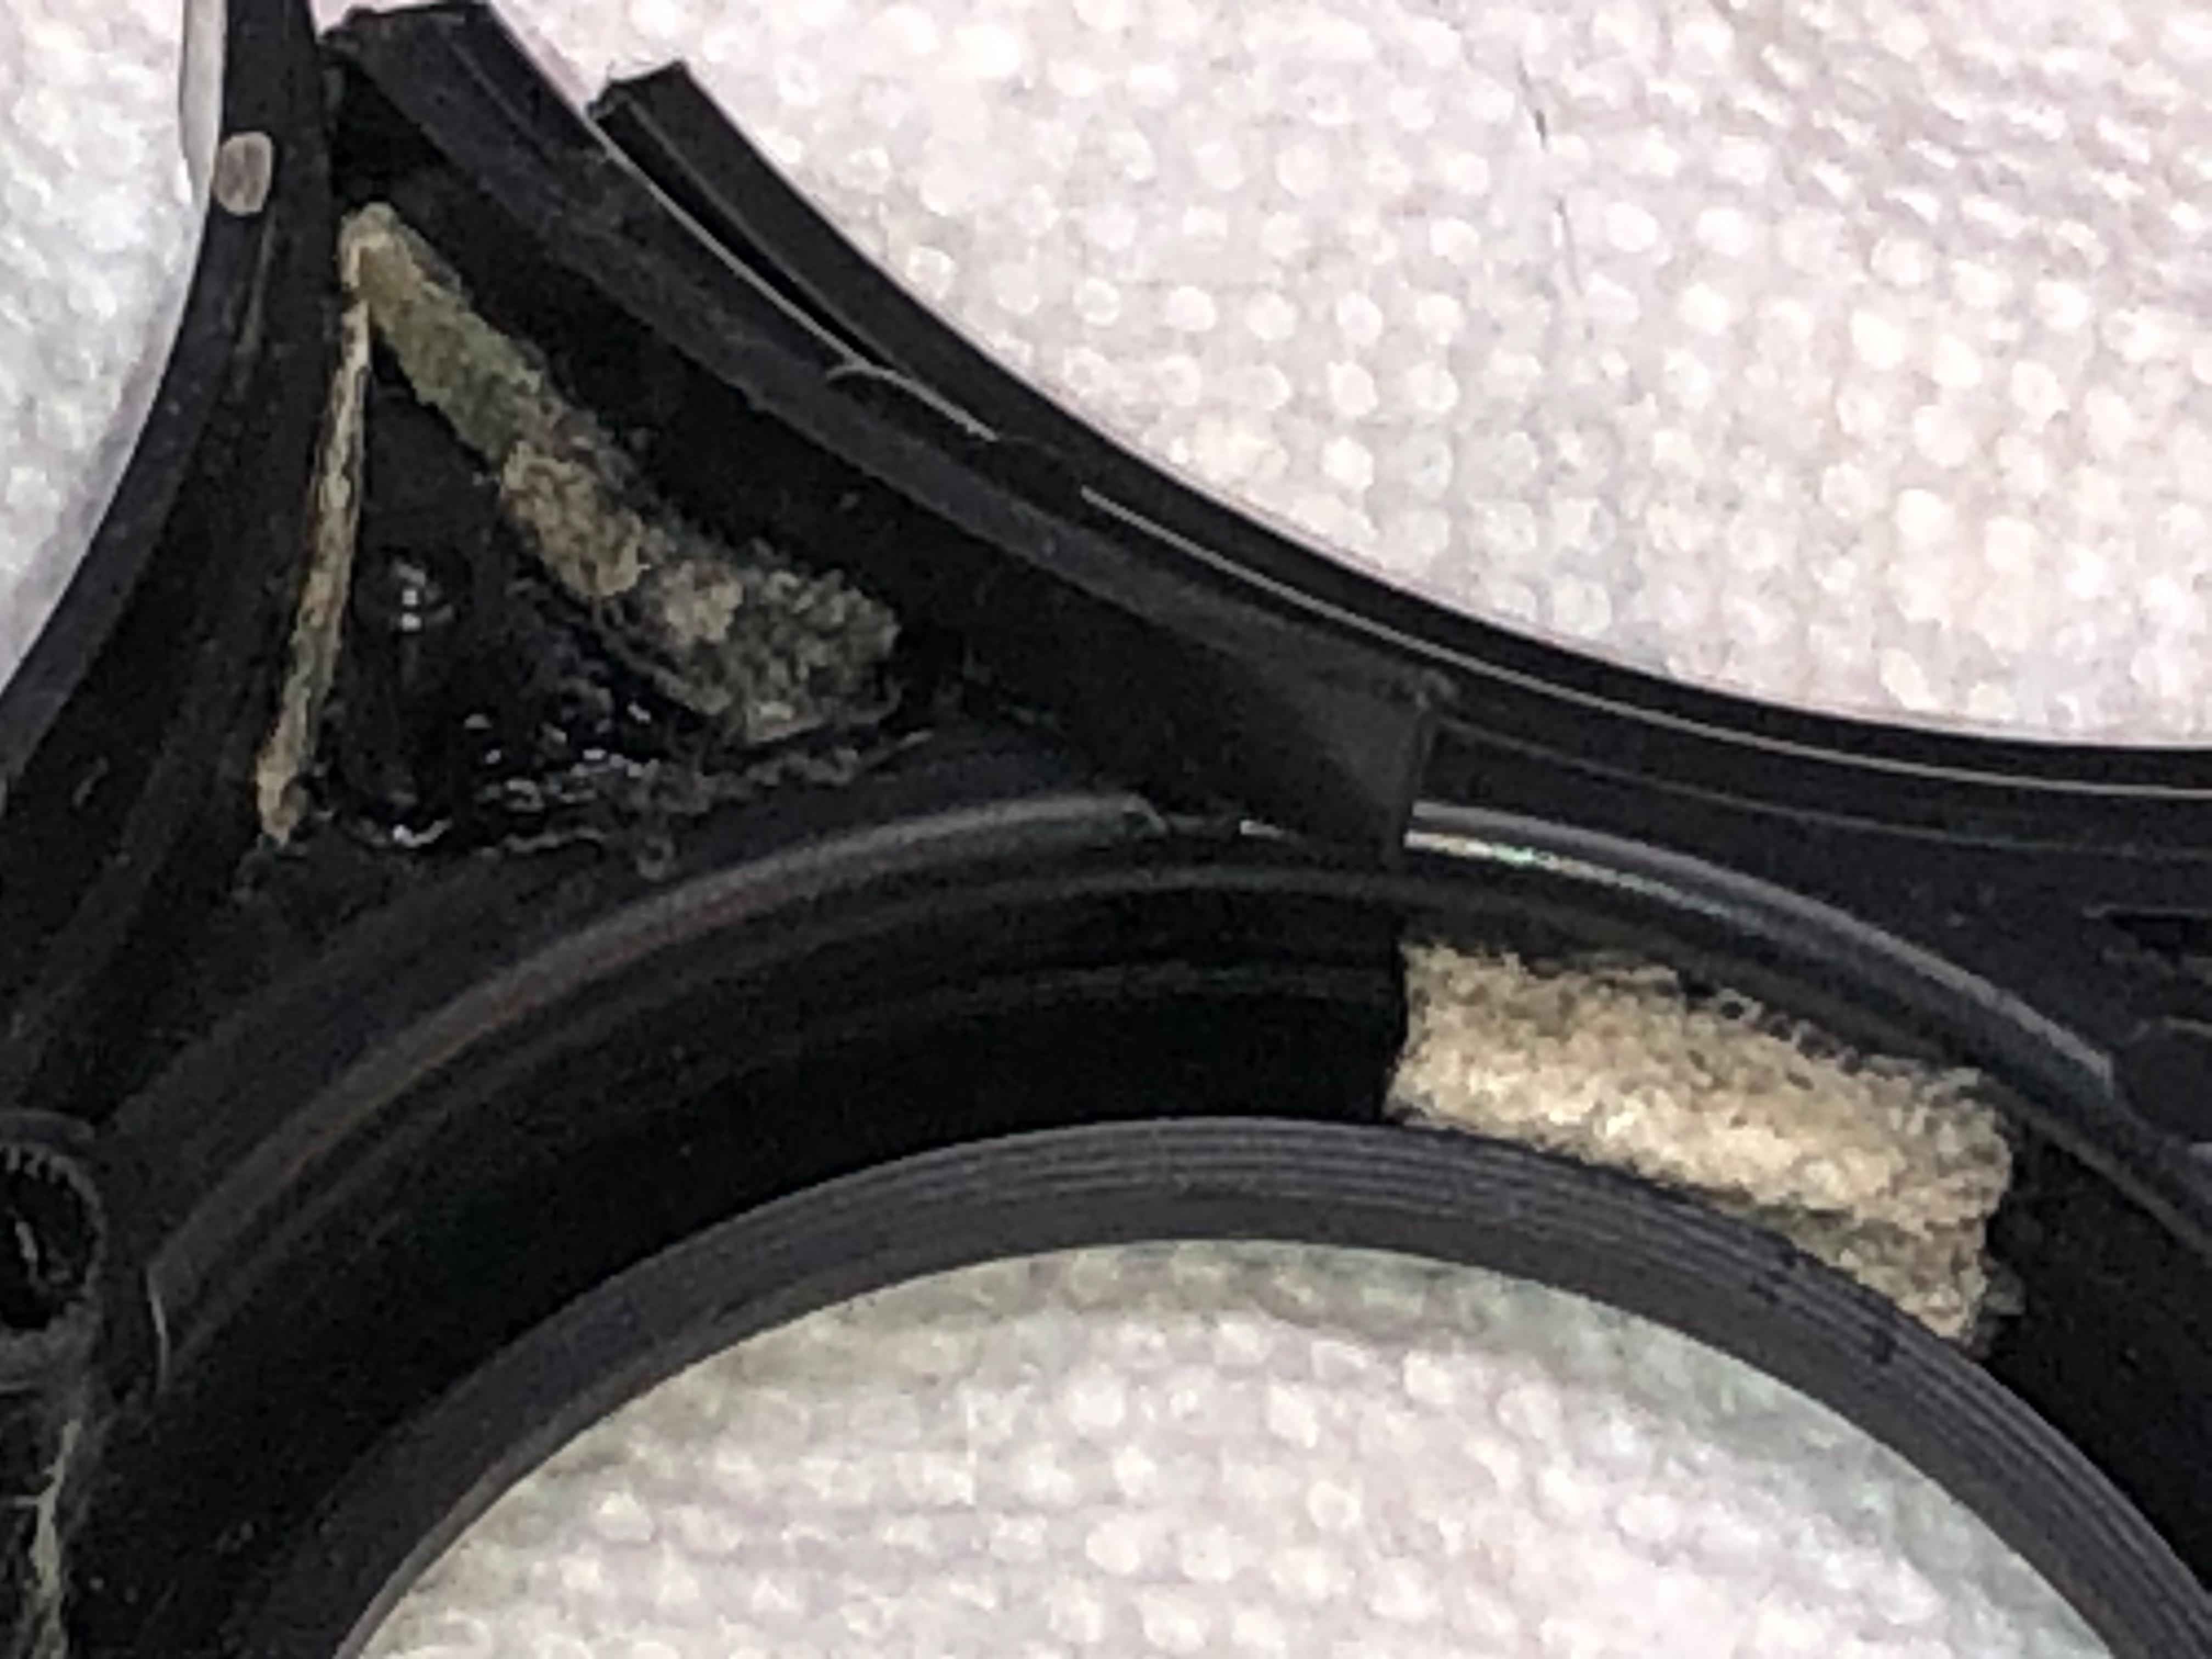
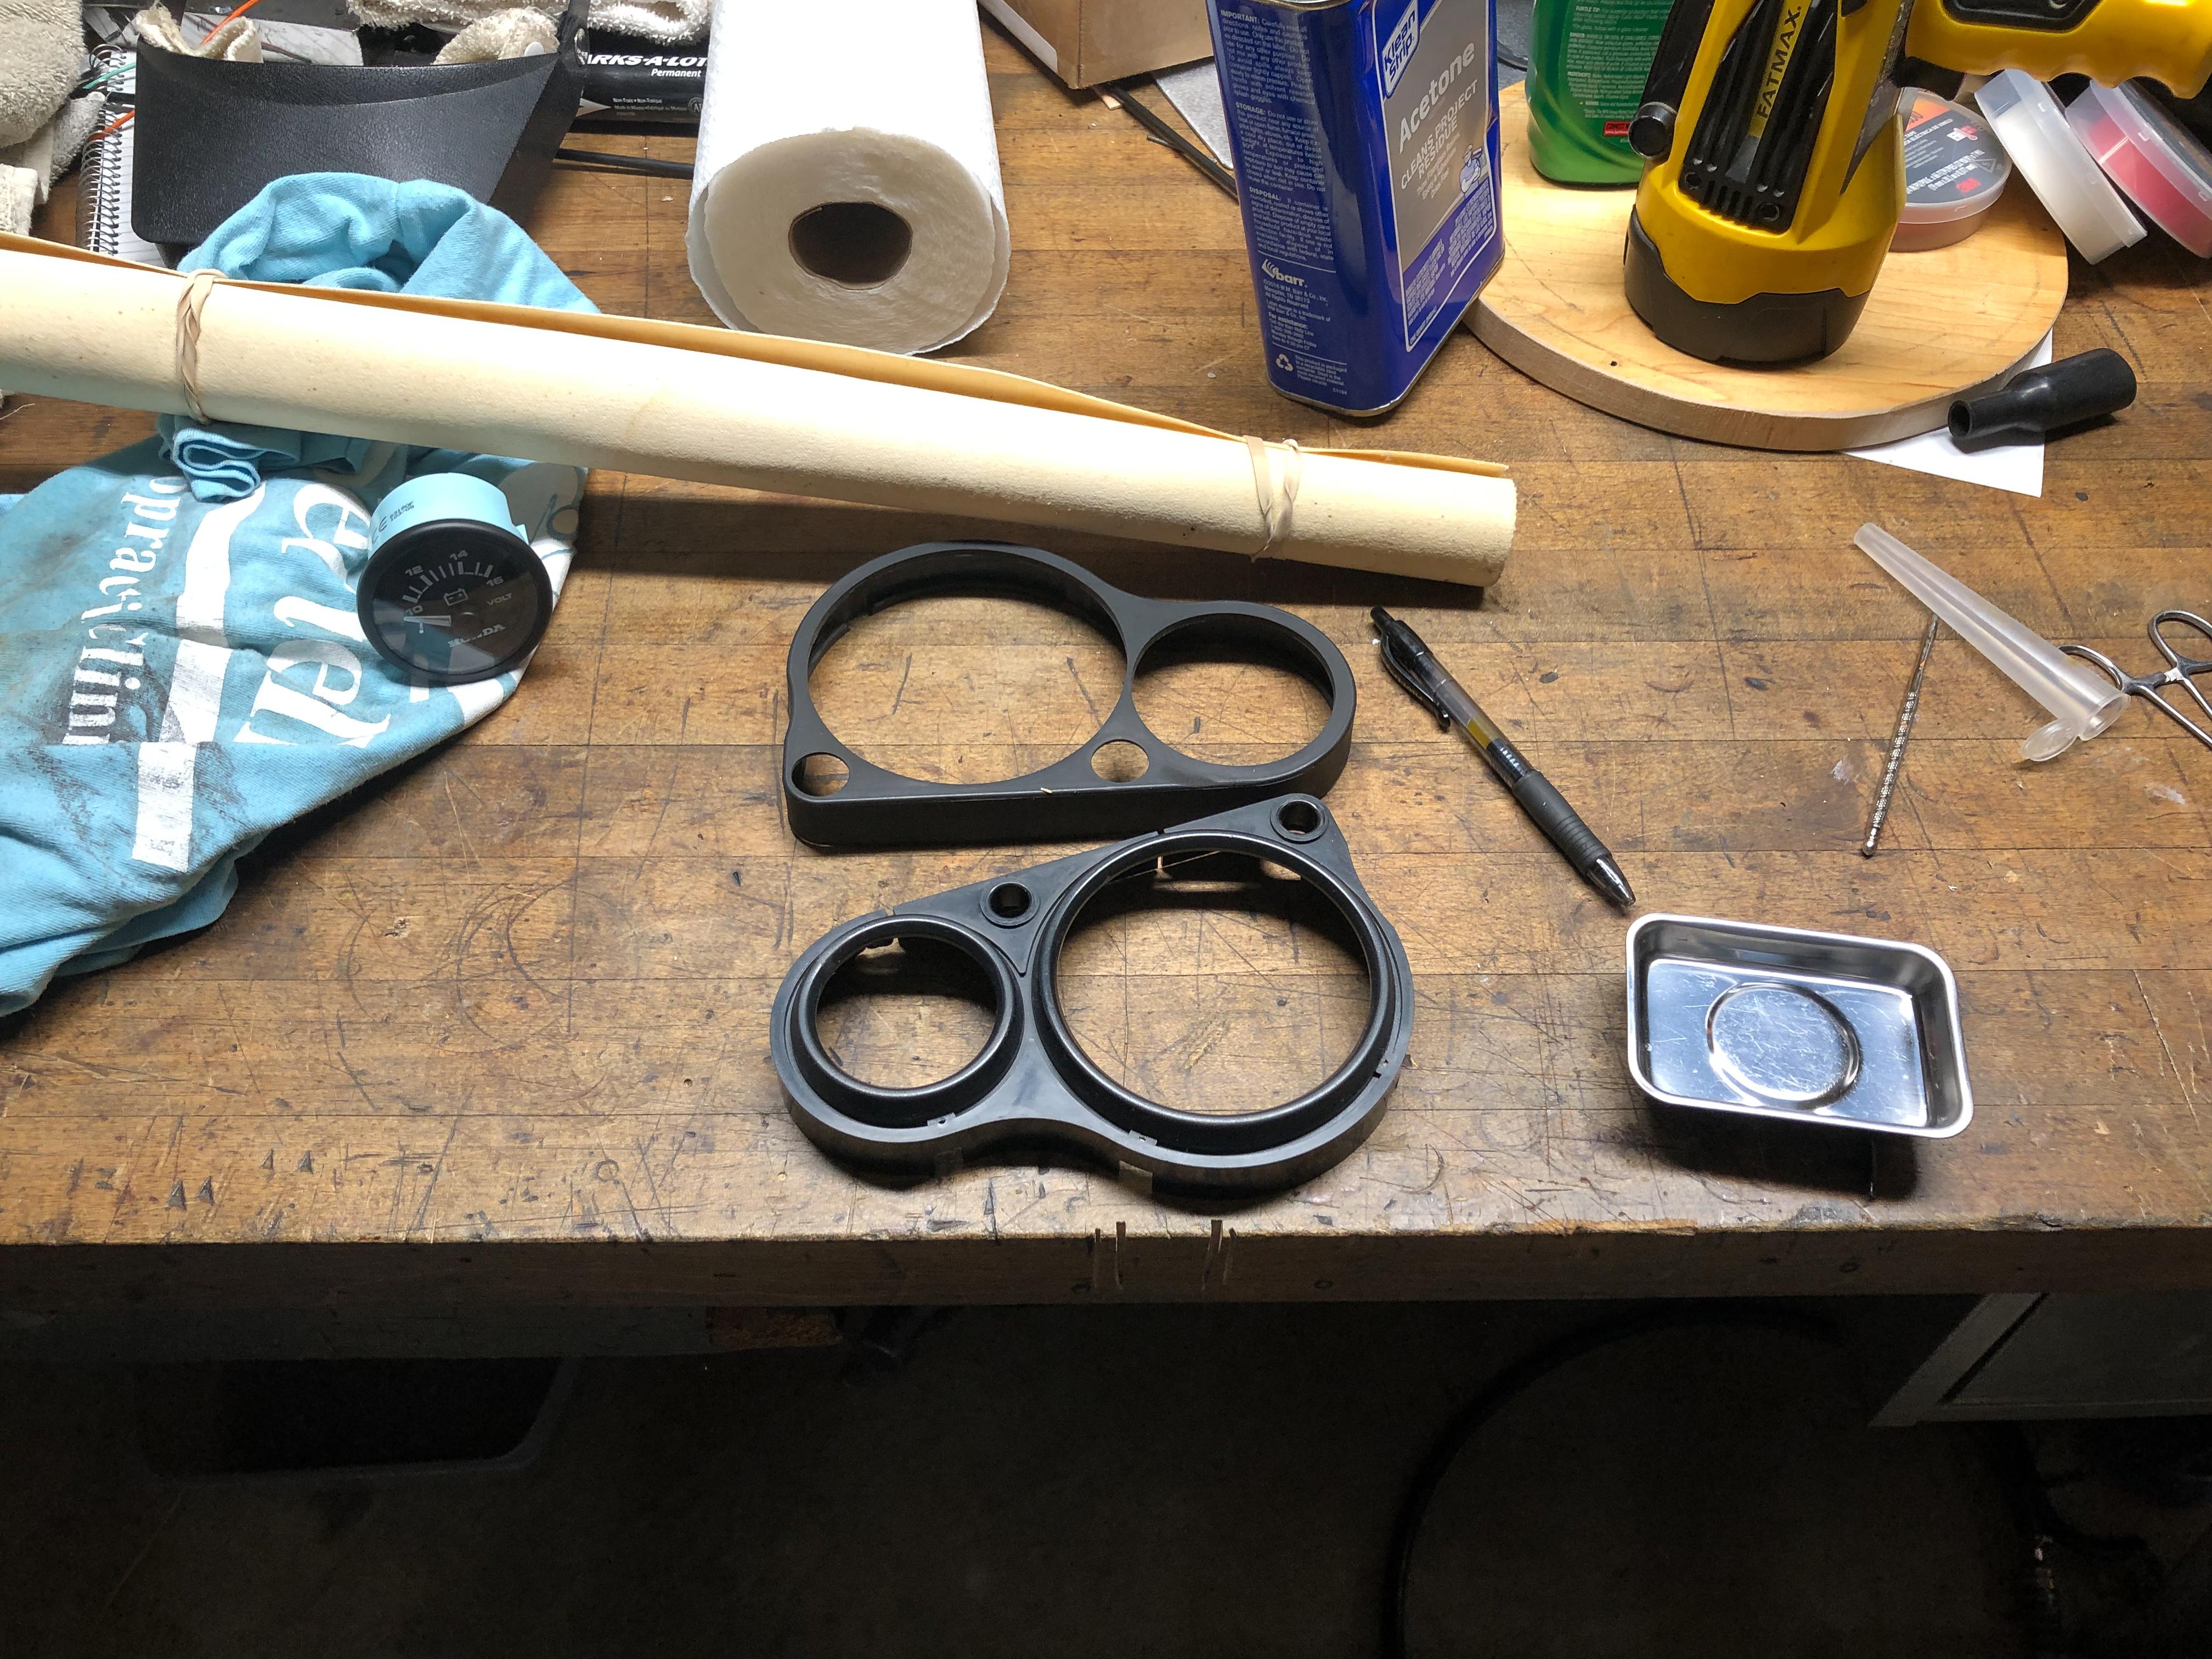
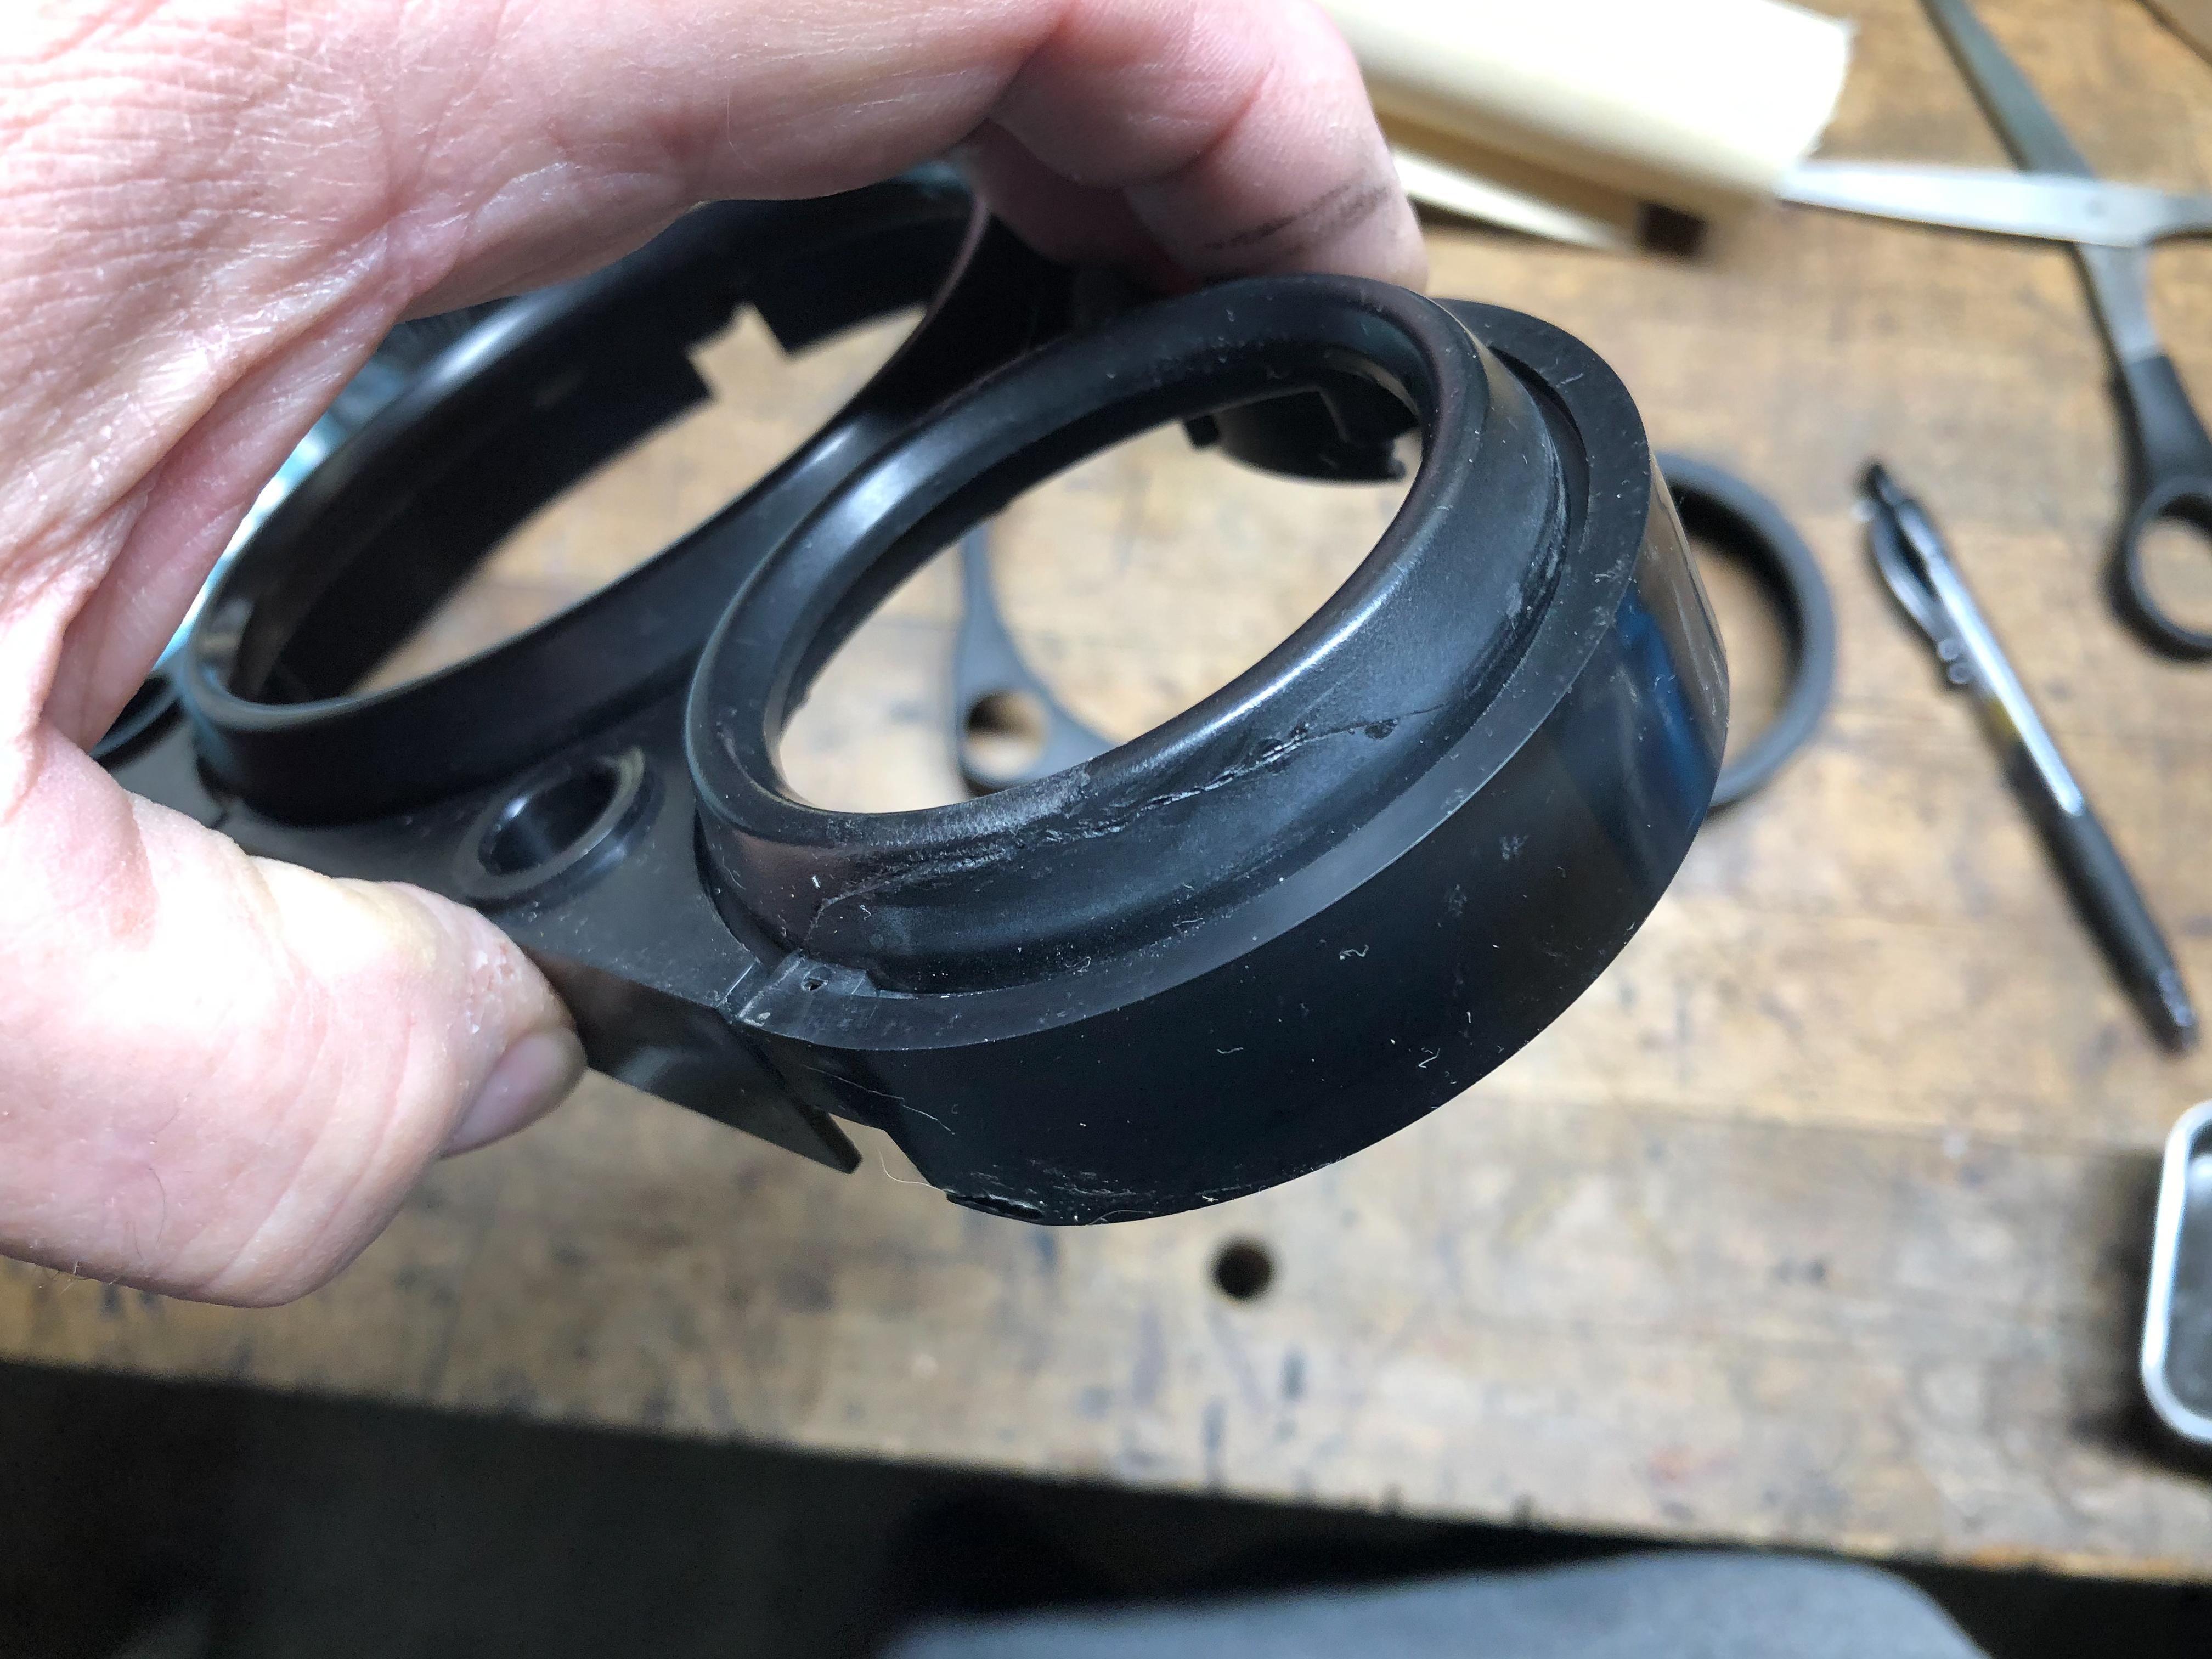
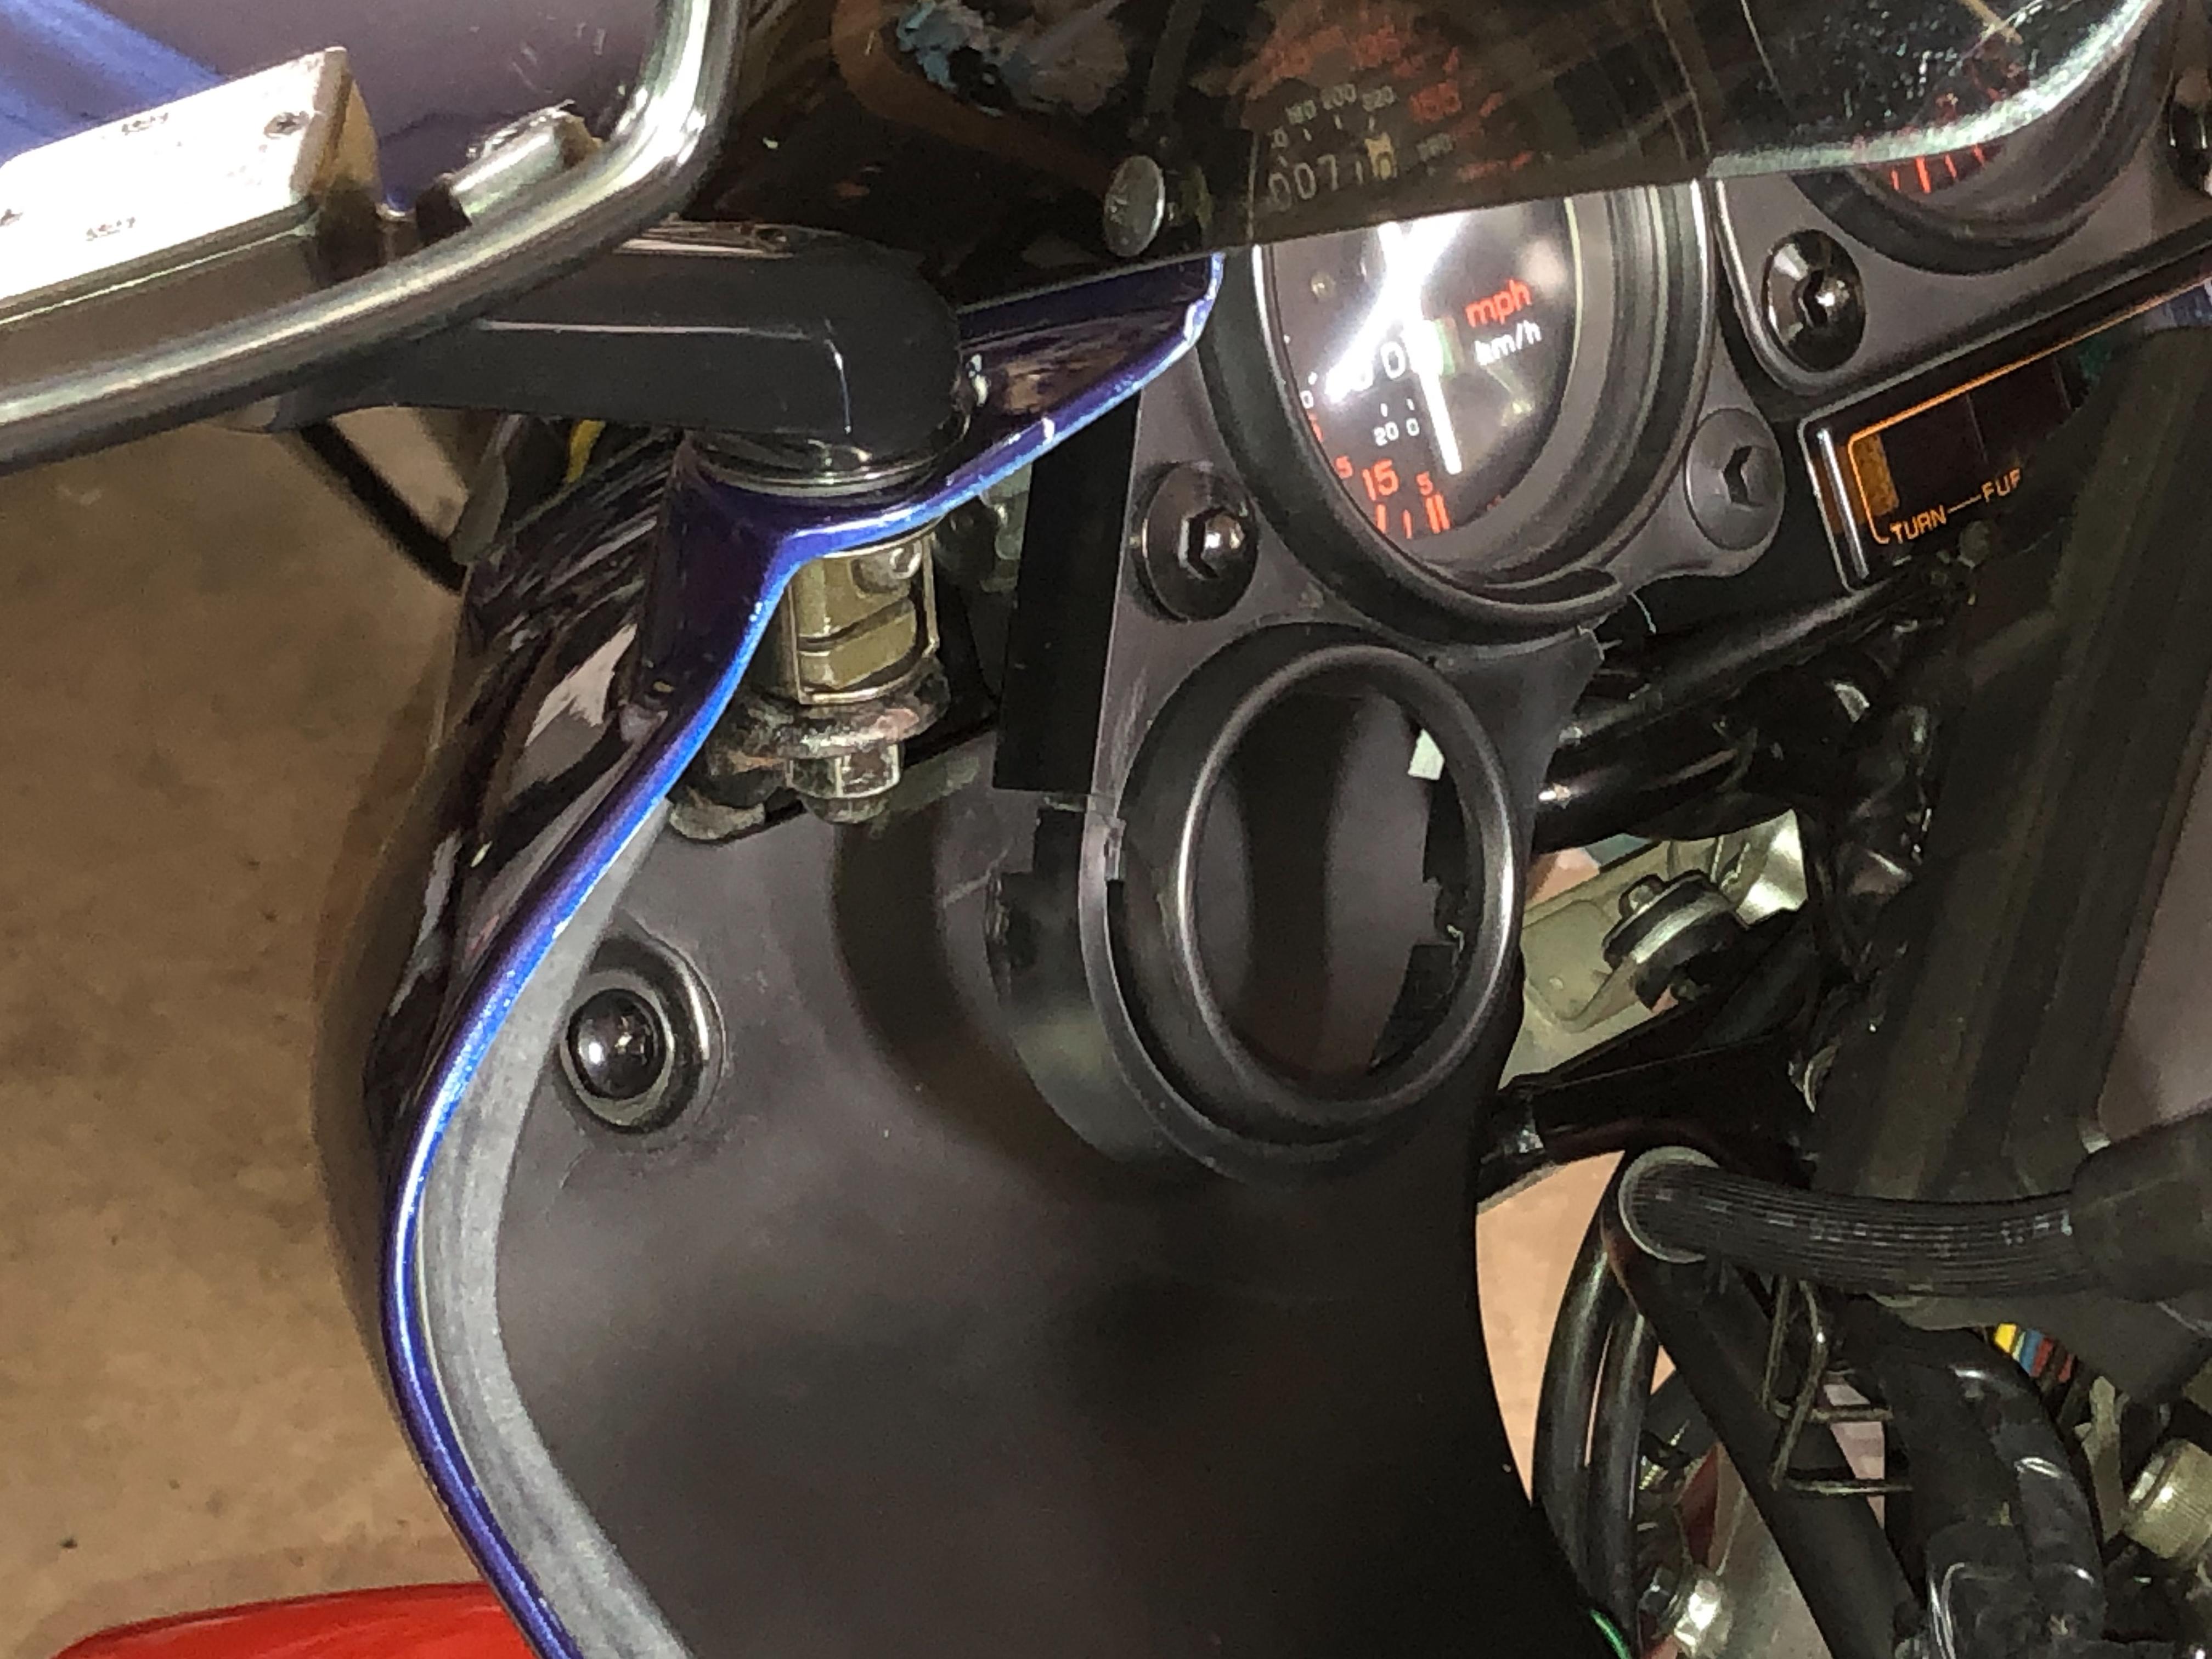
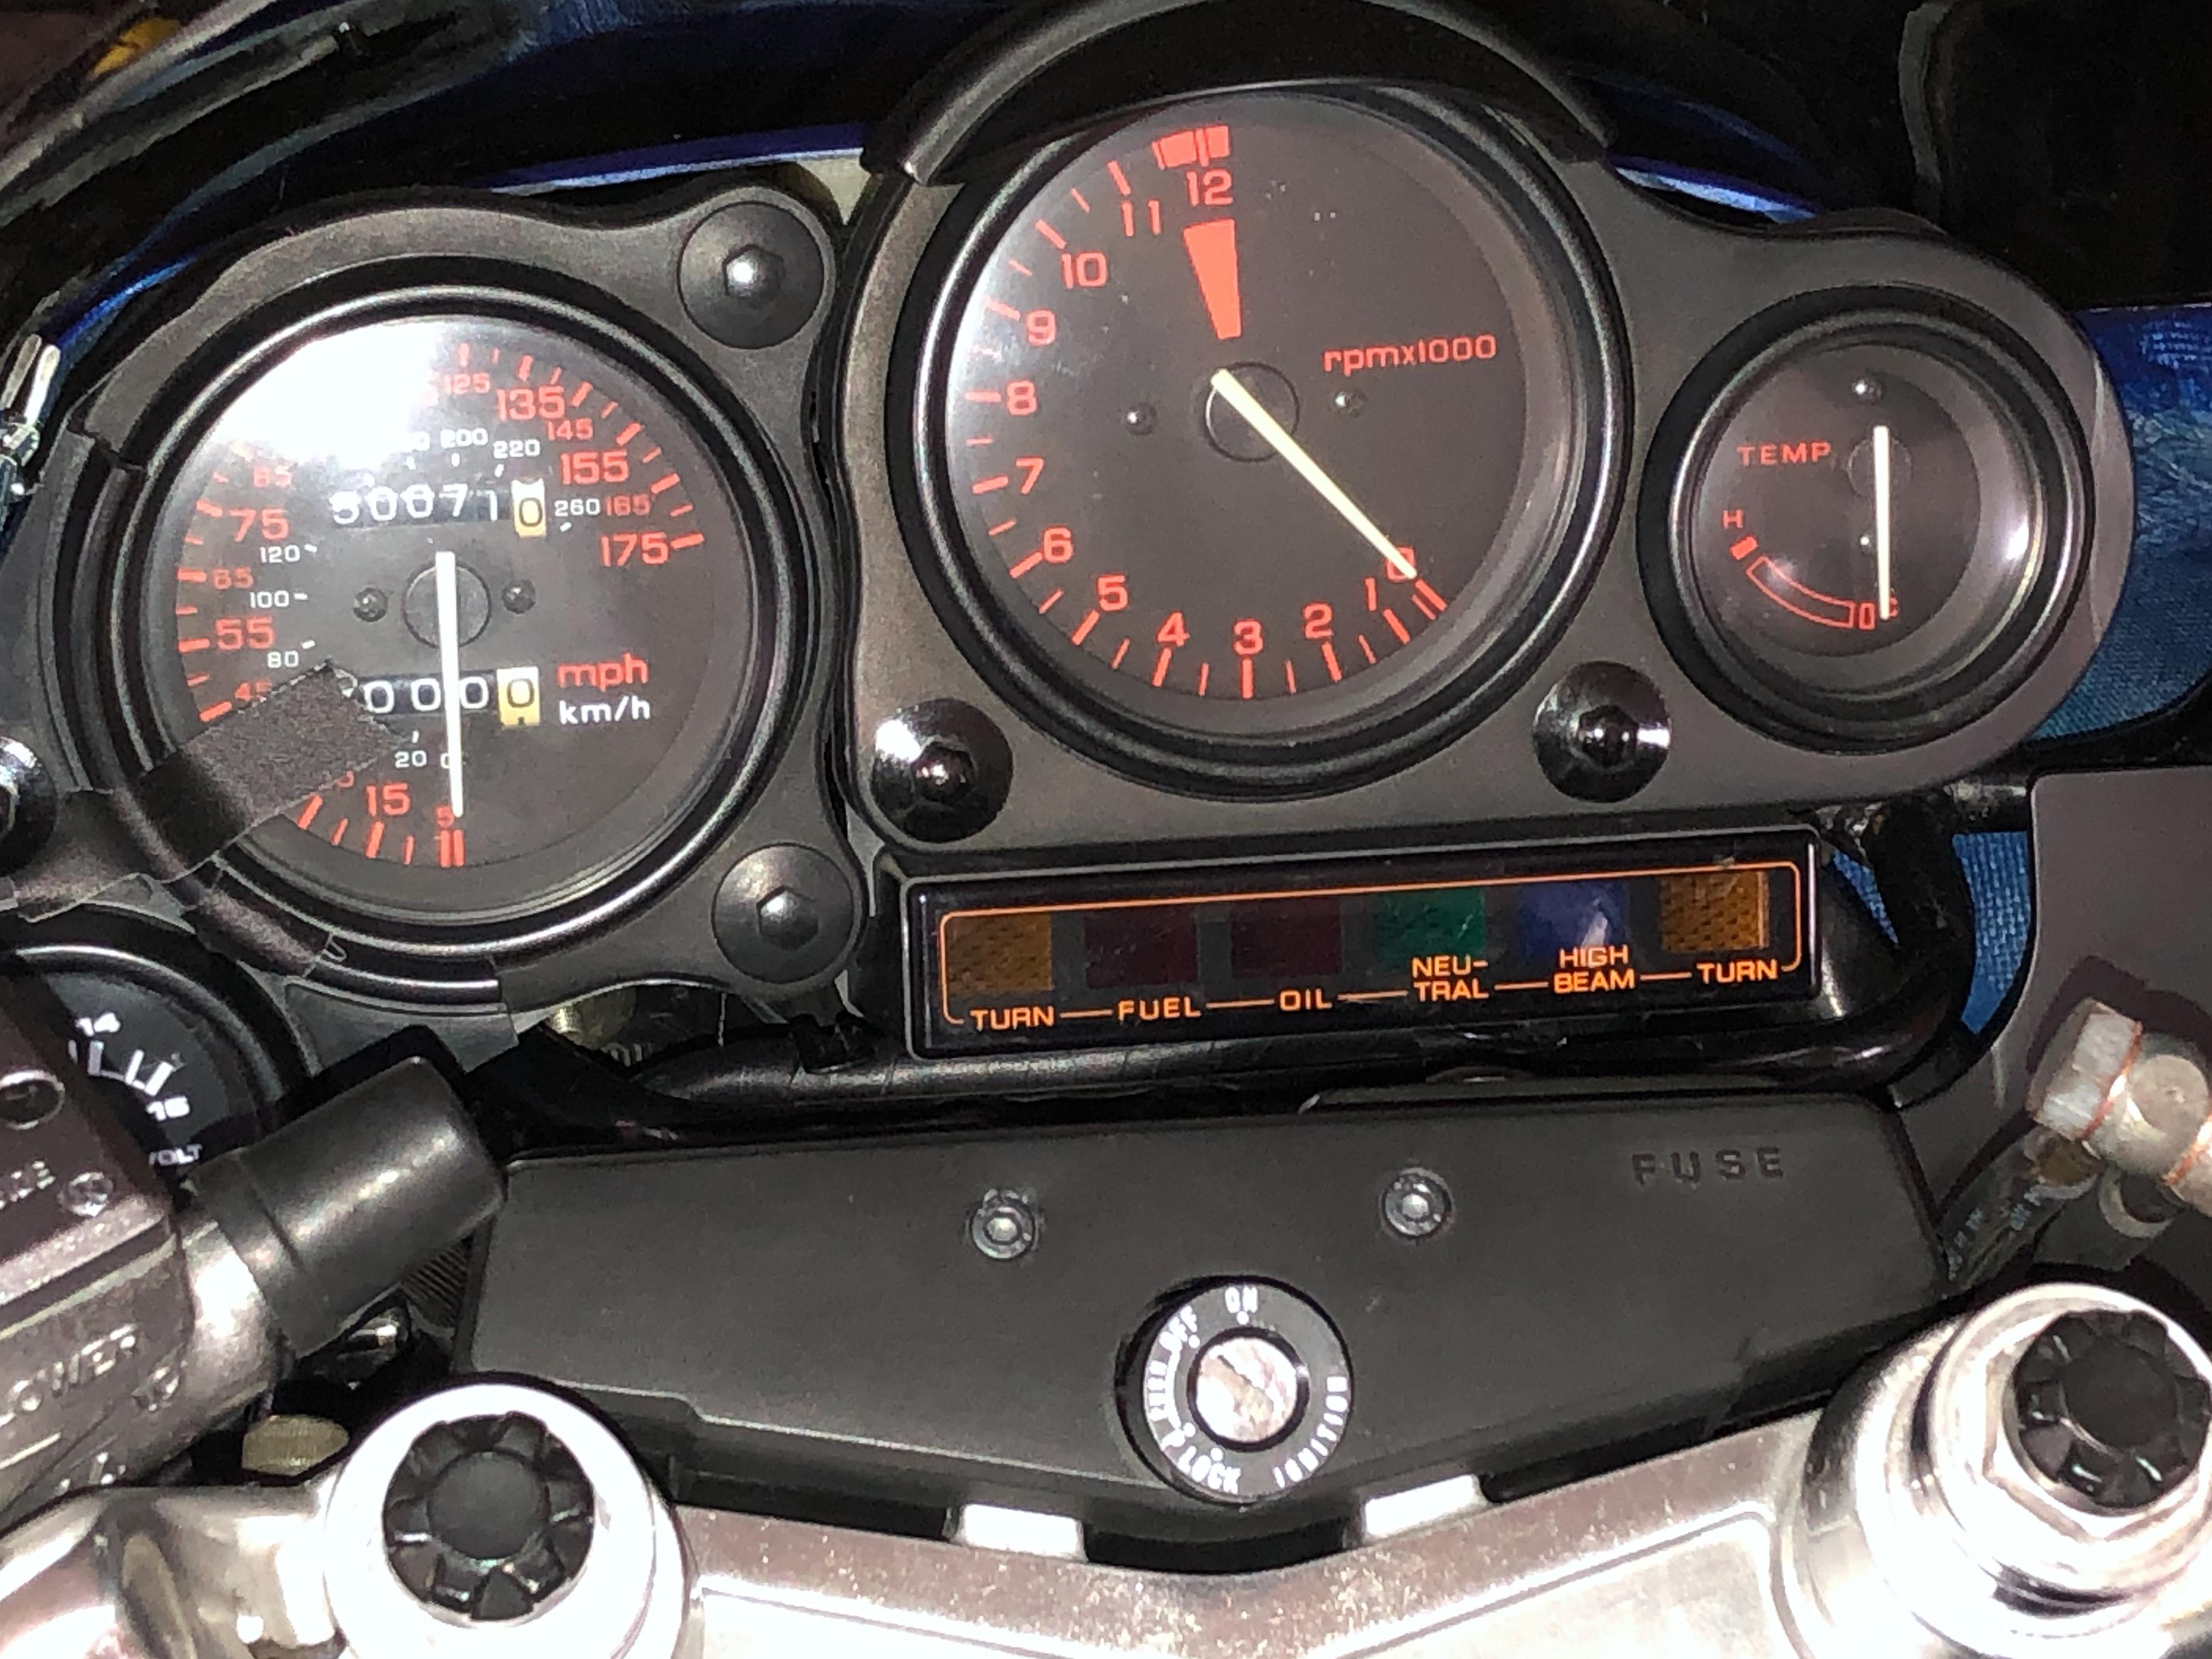
Well...I've been kicking this concept around ever since the repair of the bikes original busted up stock gauges...so I got a volt gauge last year and realized it fits perfectly into the "temp" gauge bezel of the stock cluster. Does this look too weird? I had to fix the busted bezel first with a bandaid. But this idea may involve altering the in-fill panel, that thought about sickens me I didn't put the rubber overlay on for these pics.
-
Nice bike! I'm partial to yellow, had a bike affectionately named "Bumble Bitch" Welcome! These guys know their shit...
-
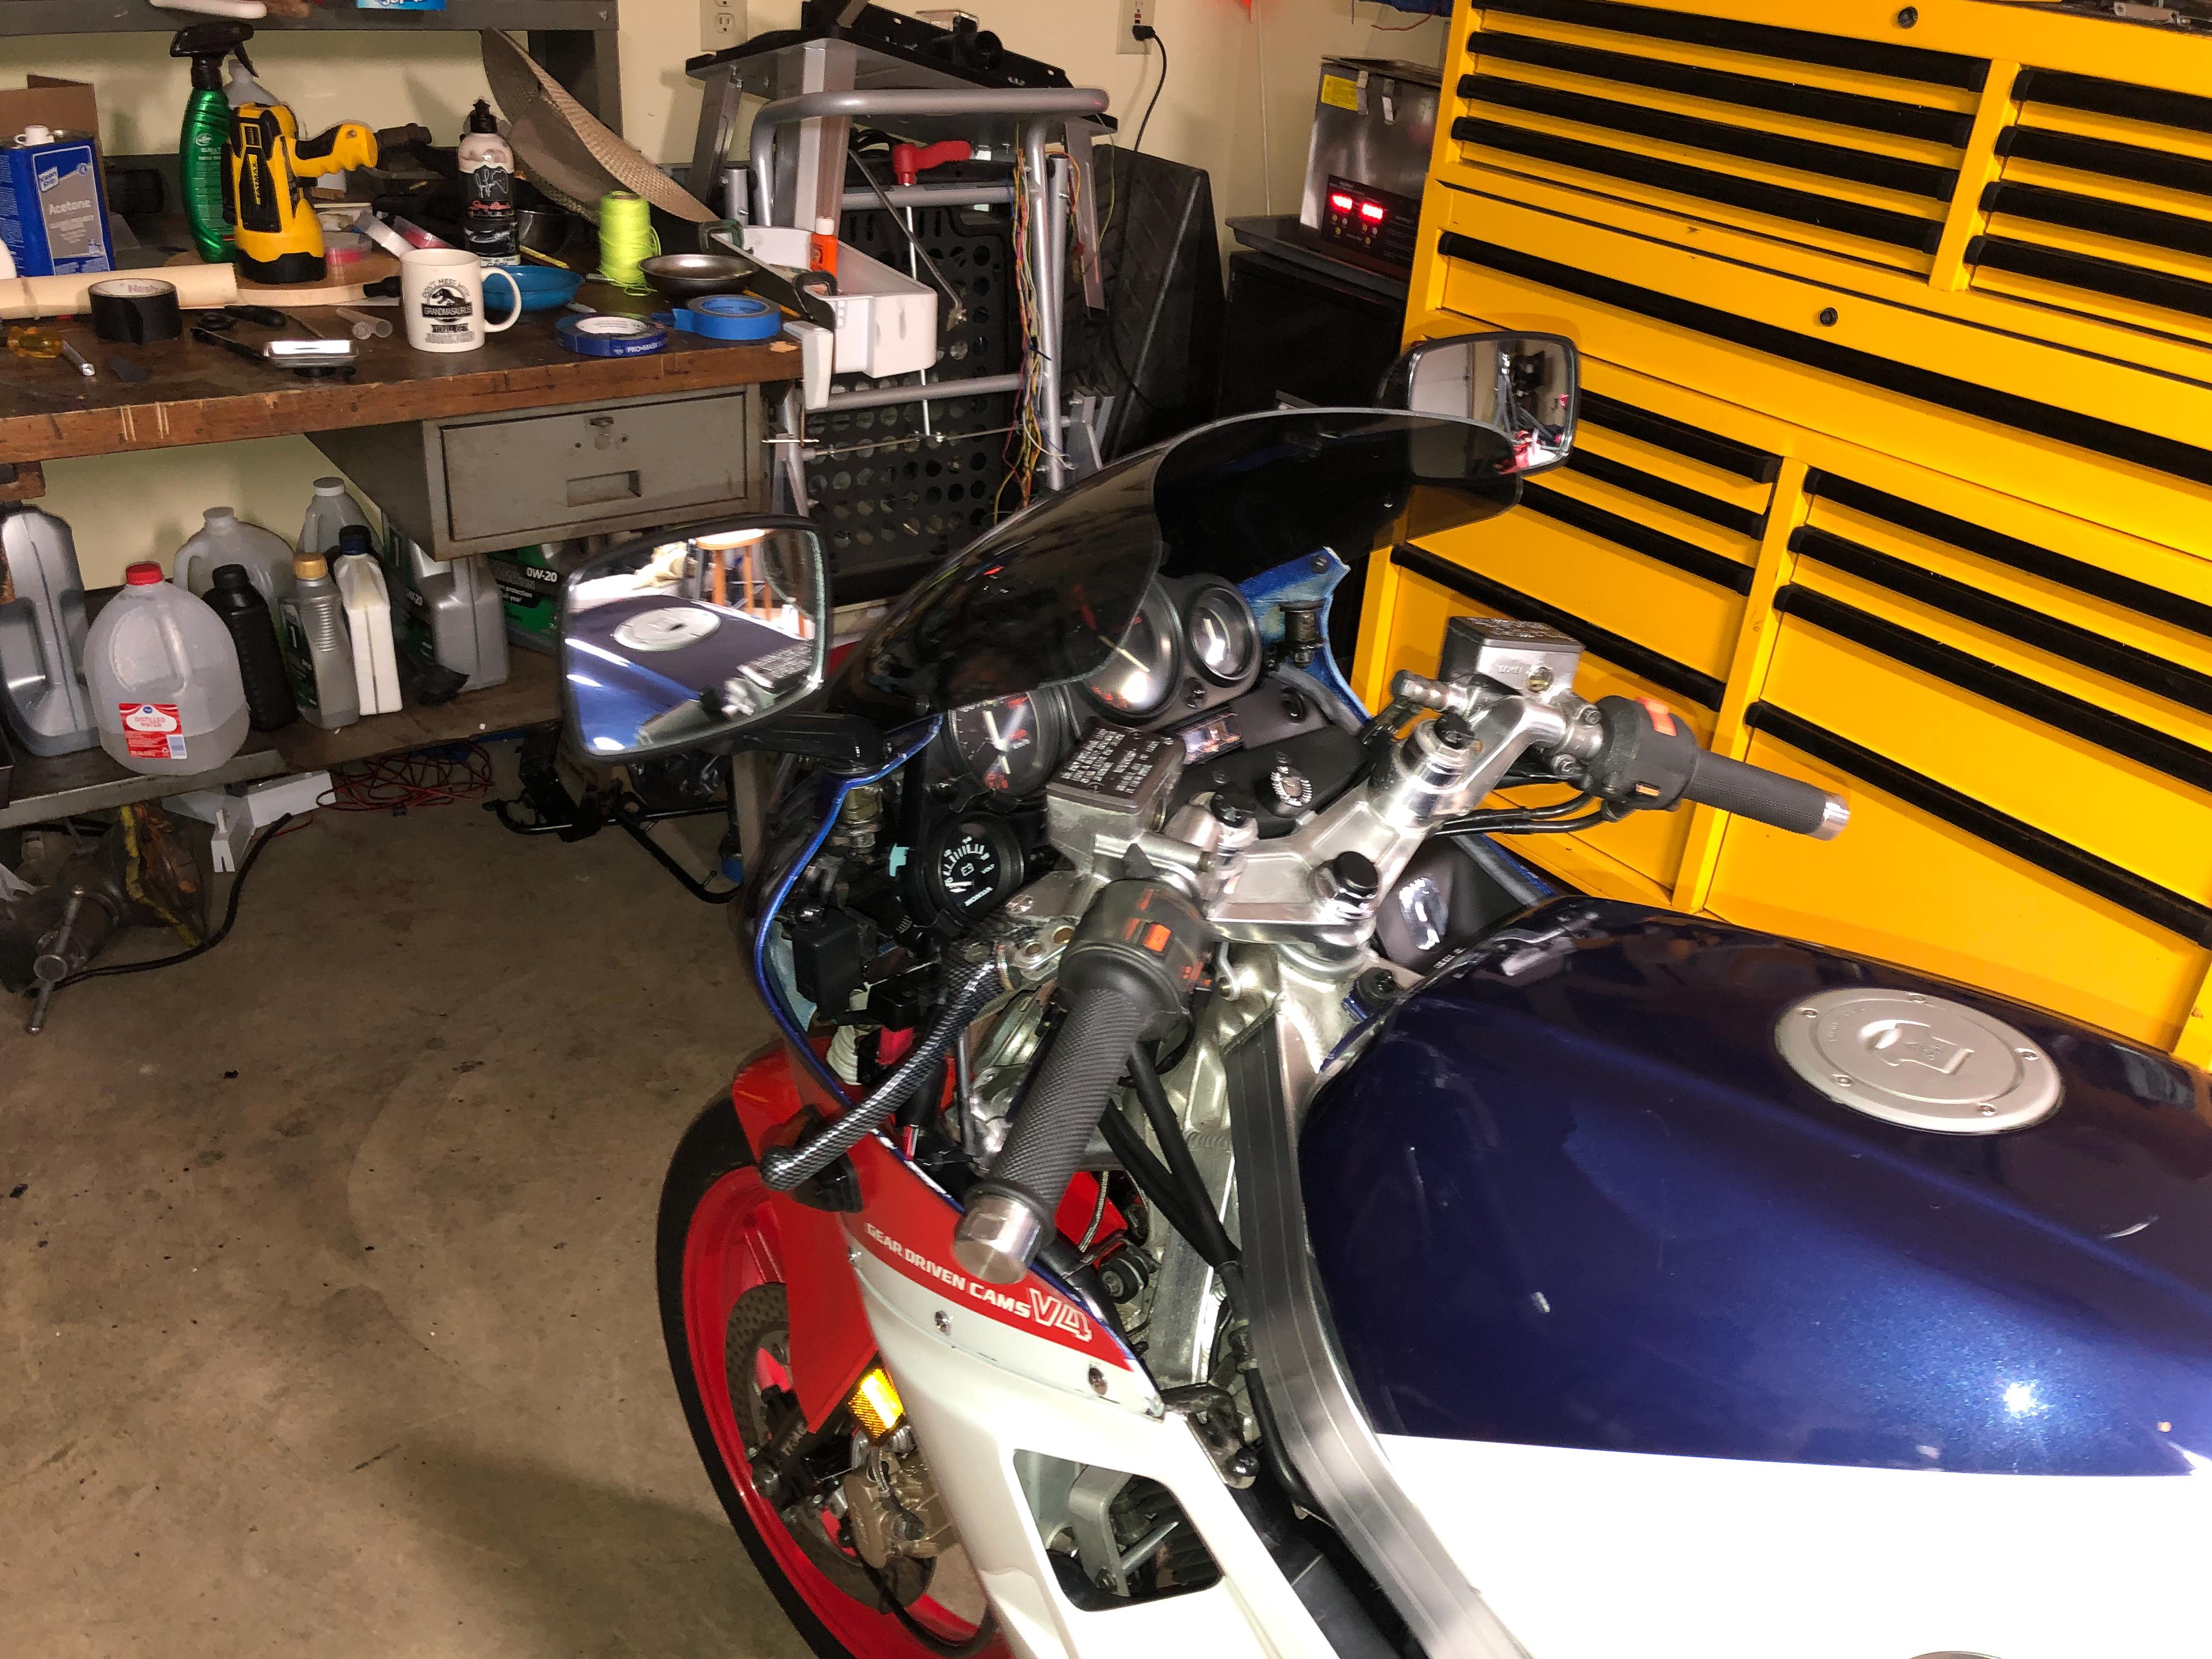
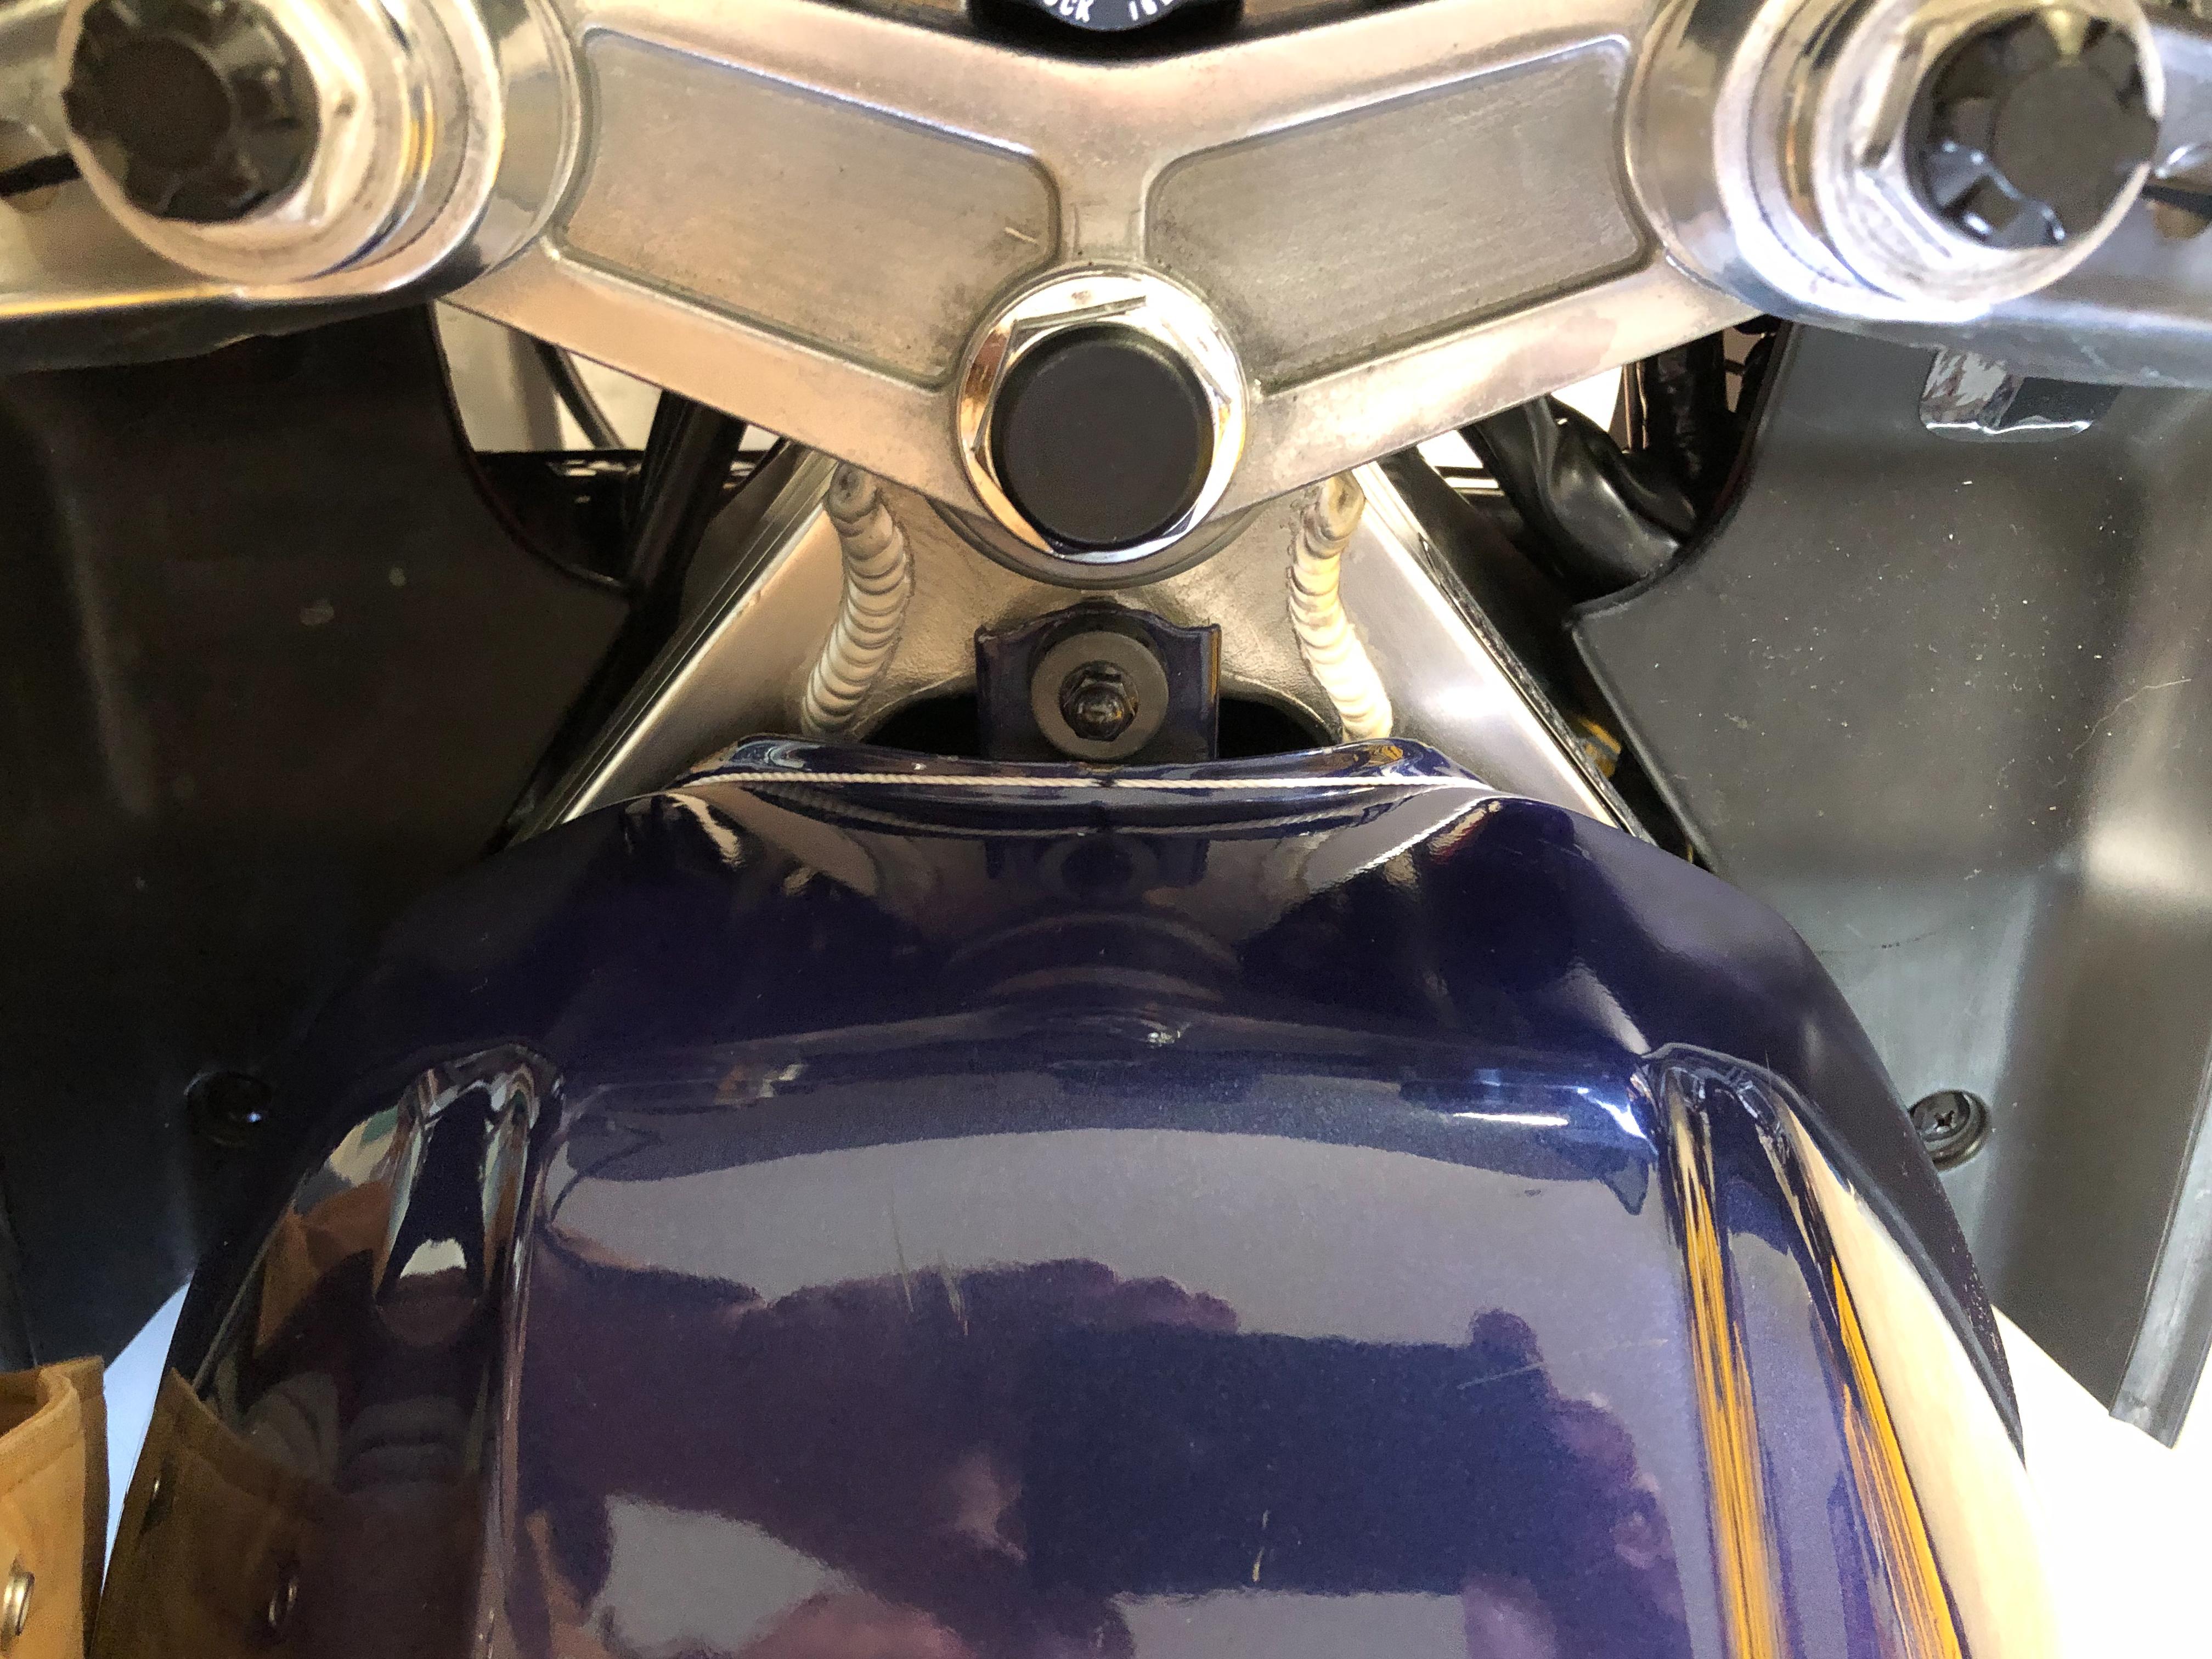
Captain your "string theory" looks pretty bullet proof; I marked center of the string, taped it to the tank, put white electrical tape to the string marks and literally stepped back and took these pics.