
Grum
-
Posts
3,850 -
Joined
-
Last visited
-
Days Won
119
Content Type
Forums
Profiles
Gallery
Blogs
Downloads
Events
Posts posted by Grum
-
-
Do a search for LCD Polarizing Film, there's lots out there.
You might be able to remove/unstick the front film and replace it. Haven't done it but it would be worth a try
Good Luck
-
 3
3
-
-
5th and 6gens are all done on center stand, going by the book!
I'm sure the 8gen mentions side stand to allow for the US Standard version.
-
1 hour ago, lawnmowerman said:
grum last question i dont ride the bike much could it just be sticky clutch plates? i maybe ride it three times a year
I have heard they can stick together from long periods of non riding, having the bike in gear, clutch pulled in and rocking the bike back and forth can break the stiction, but once you're up and running and warm engine you shouldn't have any sticking plate issue at all.
- Its easy to check - If in gear engine not running and you pull the clutch in, if you can't move the rear wheel then you have an issue.
- Another test is with your bike on the center stand engine running, place it in gear let the clutch out to spin up the wheel, if you pull the clutch in the rear wheel should come to a stop.
Give the clutch a good bleed, see if that helps.
-
21 minutes ago, lawnmowerman said:
grum, would this bend a shift fork if it went into gear hard
Sorry, not experienced enough to say, perhaps others might have a better idea about that.
-
Might be worth firstly giving the clutch a good fluid flush. You might have a bit of air in the system not allowing the clutch to fully disengage. There will always be a certain amount of clutch "chunk" when stationary and selecting a gear due to the multiplate design.
-
8 hours ago, Hingley said:
Would or could you get a bad AC voltage reading by checking on the regulator side of the stator plug?
If this is the case that the AC Voltage must be checked with the connector unplugged, why?, that is the advantage in doing it this way?
Thanks for the help
Yes, you could measure a bad AC voltage by measuring with the plug connected to the R/R.
- If there is a fault with the R/R causing the AC voltage to drop badly, how will you know if its the R/R at fault or the Stator?
Note - While not specified in the Service Manual the AC output from the Stator at 5000rpm should be anywhere from 50 to 75 ac volts when unplugged from the R/R.
By having the plug separated and measuring the unloaded AC from the stator, provided they measure equally across any combination of the three wires and you don't measure any ohms to ground of any of the wires, and you should measure low ohms 0.1 to 1ohm between each of the three wires then you can say the Stator is O.K. Conversely, if voltages and/or ohm measurements are bad, you certainly have a faulty Stator.
Remember, unlike the DC side where the Negative is Grounded to frame, the AC Stator and its AC voltage has NO connection to frame/ground, its said to be floating!
So if the Stator checks out O.K. then that only leaves the R/R as the faulty item if you have a charging issue, thats assuming all your connections are good.
Hope this helps.
-
- Popular Post
- Popular Post
Opps the end looks near! Certificate has expired.
Thanks to everyone for this wonderful forum. Its been my almost daily hang out for a few years and I will miss it greatly. Its been a joy to learn from so many experienced members, and a lot of satisfaction to help (where possible) those with a sick VFR.
All the Best of Health and safe riding to all.
Fare Thee Well VFRD and it's members.
Cheers.

-
7
-
 3
3
-
Fully understand where you're coming from Miguel, can't thank you enough for all your efforts in running VFRD. It's a sad sad day for VFRD and its core members, a huge melting pot of knowledge, experience, and information I've been so grateful for. To all the wonderful members out there, cheers, good health, and safe riding

-
7
-
-
7 hours ago, bmart said:
Is there any value is getting rid of as much 14 ga as possible and replace that with 12 ga?
Any idea why one of the R/R wires is copper while the other two are silver?
I do have a Rick's MOSFET R/R in the trunk where it has been for a long time as a spare, but with the measurements I've taken, the Stator and R/R appear okay.
Hi bmart.
12g over 14g? Probably only of benefit from the RR output to the battery. Given the very short wire lengths and that the electrical loads are split into two virtually at the battery by Main Fuse A and B. Again, with such short wire distances, probably not an issue, its more about good solid, weather proof connections throughout that really matter.
As for the Stator wires, the way I see it is you'd still have some length of wire at 14g so there's no real advantage in having a section that was 12g. and you'd be introducing another join in the wiring.
No real concern about your stator wires, all three are copper but two are tin plated no difference in conductivity but the tinned ones will have better corrosion and oxidization qualities, but if all three are well connected either by solder and sleeved or high quality crimp joiners and sleeved you shouldn't have any issues.
And.......... I make no apologies for repeating myself and advising to keep well away from Auto Reset Circuit Breakers for the main 12v output from the R/R to the battery positive.
As always YMMV.

-
1
-
1
-
-
30 minutes ago, vfrgiving said:
I see Honda gave a full 7 segment display for the first digit in the hundred thousands position. Does that mean max 8th gen odometer reading is 999,999?
You got it vfrgiving.
The worrying thing as stated in the Owners Manual under the heading of "Instruments, Controls, & Other Features" it states - Odometer "The display locks at 999,999 when the readout exceeds 999,999" .......Buggar, so once I've done a million kilometers I'll need a new instrument panel, bike will be only just run in at that stage!

-
1
-
 5
5
-
-
That's great news Duc, glad you're well on the way to riding after such an ordeal, you'll soon be on the Steel Stallion again.
I know how you feel in missing the riding. I've been off my bike for just over 3 months from major surgery and can't wait to get riding again, sadly winter is just around the corner, buggar!
Take care, ride safe.
Cheers.

-
1
-
-
8 hours ago, toreckman said:
The kit comes with fused direct wiring on the battery side.
Glad you mentioned Fused.
NEVER use cheap and very nasty Auto Reset Circuit Breakers!
-
1
-
-
8 hours ago, toreckman said:
The kit comes with fused direct wiring on the battery side.
@vfrcapn: how many miles were on your bike when your original stator plug got that fried?
After 30k miles, mine had no damage, except a tiny bit of yellowing on 1 of the pins:

That connection is on a path to destruction! Glad you've detected it early enought. Take rayZerman's good above advice and get rid of the stator connector.
"I would not use spades or even consider a connector for the stator wires. Crimp splice connector OK, but solder it as well and heat shrink over it."
-
1
-
1
-
-
Isn't this a kind of "how long is a piece of string" topic? Just so many variables.
- acceleration rate from stationary.
- up shift, down shift technique.
- slow riding technique, use of clutch friction zone.
- type of friction modifiers in the oil you use
- etc!
For info, previous vfr 94,000kms and current 8gen vfr 92,000kms. No clutch issues at all.
-
2
-
-
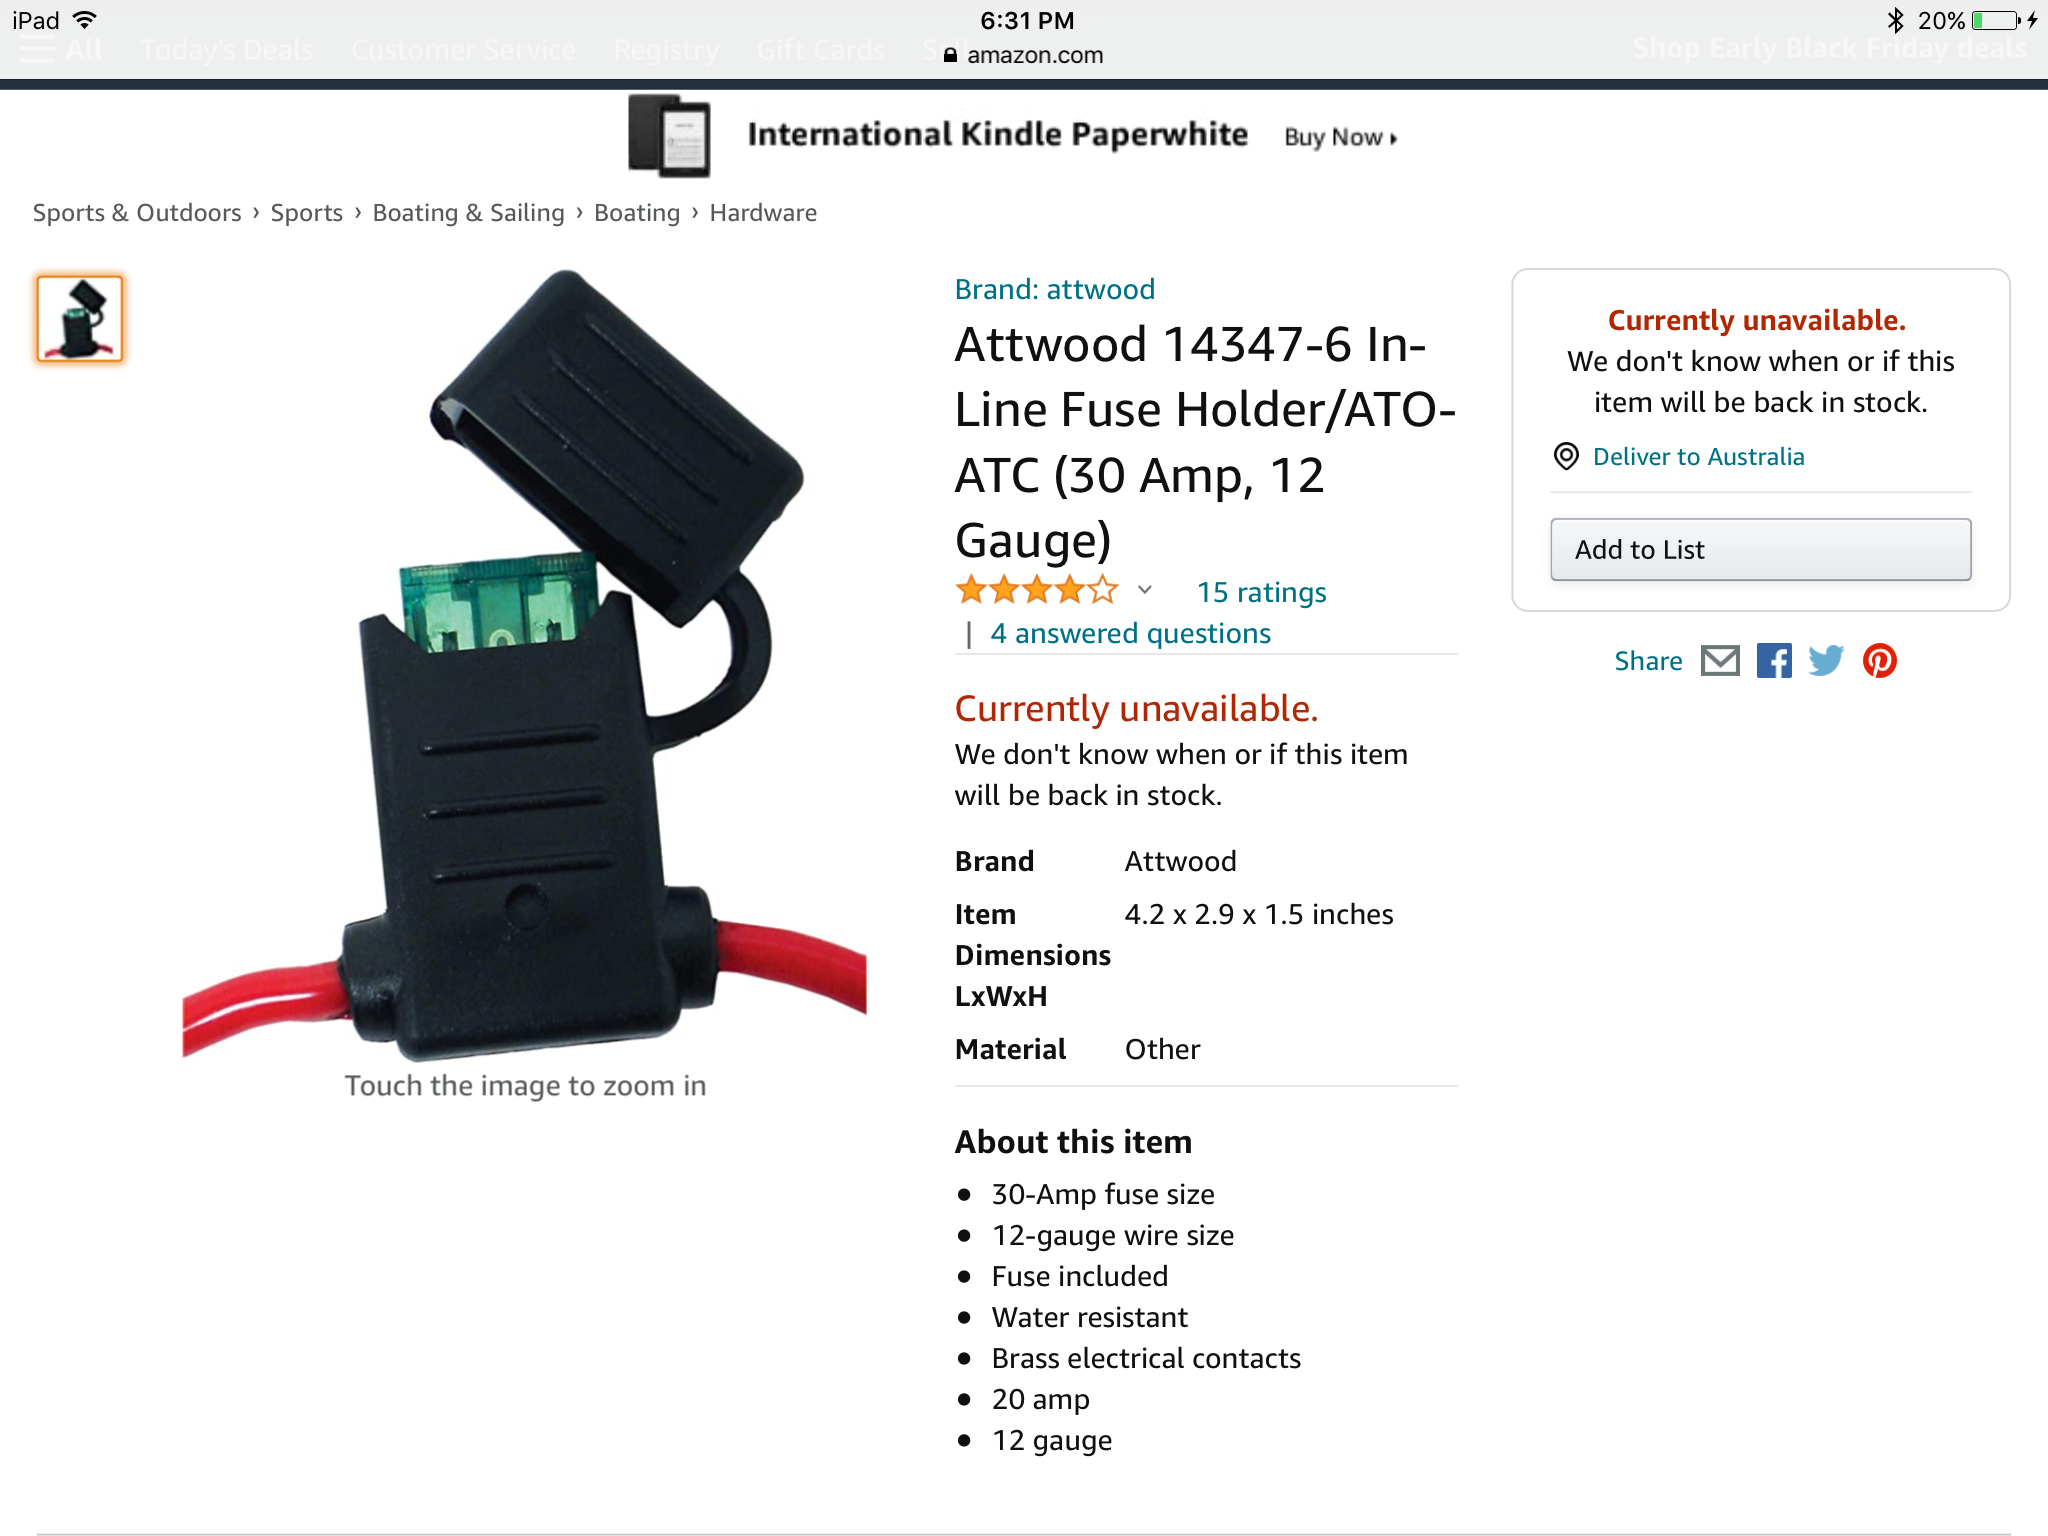
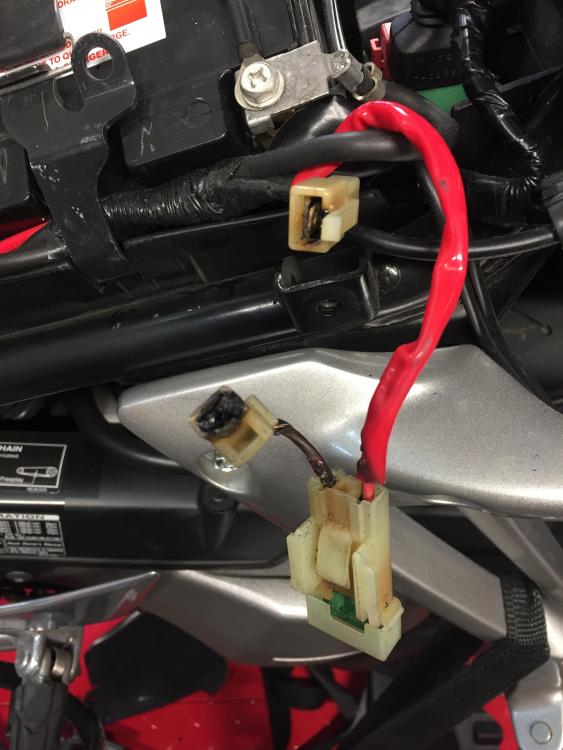
What does the fuse holder, wiring, and the inline joiner look like, anything like the picture above?
You could purchase one of these from any good automotive store. (See attached) Solder and sleeve this into the existing wiring eliminating the inline joiner.
Have you re-measured that 8v you had since replacing the fuse, has it increased?
Suggest you clip your meter black lead to the battery Negative terminal, using your wiring diagram follow the Black/white wire back from where you measured 8v to the 18P Blue connector, probe the wire both sides of the connector see if one side has the 8v and the other 12v if so you've found the fault, if not then follow the wire up to the ESR Relay measure it both sides of the Relay. Keep doing this all the way back to the Main Fuse and ultimately the Positive battery terminal. Somewhere you should find where the Voltage drop is occurring. Perhaps you've already found the issue being the Main Fuse!
Good luck.
-
What is the state of Main Fuse B 30amp? Check this for an overheated discoloured fuse and wiring as it can suffer badly from high resistance joints and burn ups (see attached).
Main Fuse B is the 12v supply via the Engine Stop Relay for ALL your EFI stuff on the Black/White wire, it also directly feeds the Ignition Coils, and, as you mentioned, you should be seeing Battery Voltage not 8v on this wire, most likely the cause of all your problems.
The other weak link is the Blue 18P connector where this voltage goes to and from the Engine Stop Relay, high resistance joints can develop within the pins and sockets of the Blue connector.
Trust you have the wiring diagram and Service Manual for your bike, they can be downloaded from this forum?
For info - Make sure you have NO accessories or anything wired into Main Fuse B 30amp wiring as this power source is dedicated to the EFI system and should not be messed with.
Once you've got the 12v restored on the Black/White wire clear all the old historical codes from the ECM, then start the bike and see what fault codes reappear, if any.
Keep us posted with whatever you find.
Good luck.
-
Hi Skids. Sounds like you're up to a lot of fun with gen5. Sorry can't help you much, but I think you're up for serious trouble sourcing "NGK Titanium spark plugs"! Reckon you're thinking of Iridium, the ones you want for a 5gen are CR9EHIX-9.
Could enjoy an ice cold Chang myself damn hot over here too.
Cheers.

-
1
-
1
-
-
Good job bmart. That is a nice clean example, as long as it's all working ok, that's all that matters.
-
1 hour ago, bmart said:
From a dash connector standpoint, is there anything other than those two connectors (blue and grey)? I have it apart now and am about to clean and reassemble, unless there's more disassembly! Thanks all! (I thought there were some other smaller connectors in there.)
Hi bmart.
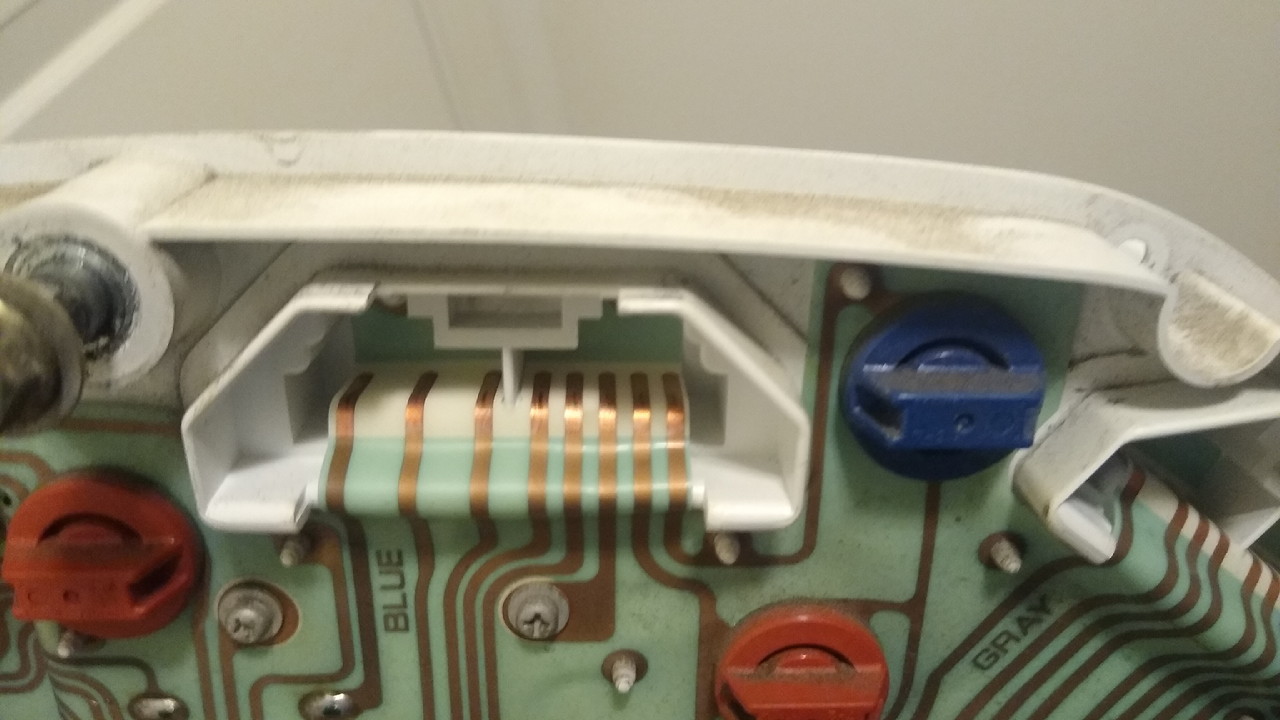
If you're confident enough to remove the back off the instrument panel. A good inspection of all copper tracks and Phillips screws for tightness would be worth it. There are numerous examples of corrosion and open circuit tracks effecting lighting and the LCD ops. They can easily be repaired by simply bridging the open break or corroded tracks with solder, tinned copper wire and solder, or a solder and wire link.
Attached picture is one example of a LCD with problems and a simple repair, note the corroded track circled in red.
Good luck.
Cheers.
-
1
-
-
On 12/15/2022 at 6:43 AM, CornPoweredV4 said:
From what I read on 6th gens, they should be all balanced due to slight changes in exhaust routing from the 5th gens. Confirmed per the Japanese manual.
Yep 6gen balanced, 5gen is different.
Also check your throttle cable free play, and make sure there is no change in idle rpm when moving the steering to both extremes.
I find setting free play to a minimum without effecting the above helps with off idle throttle control, YMMV.
-
On 12/13/2022 at 7:22 AM, CornPoweredV4 said:
Starting to think that the starter/idle air valves are the culprit of this unpredictable small throttle opening behavior like @ShipFixer is saying. Luckily that one seems like a lot cheaper of a fix, and seems to be only moderately tedious. Time to do some research I guess.
Seems to me a pointless waste of time doing all this Rapid Bike stuff Without checking the Starter Valves First!
Otherwise you end up trying to mask out a fundamental issue that needed addressing first.
I've not experienced the throttle issues you're talking about with any of the four Fuel Injected VFR's I've owned! Other than two of them needing minor SV synching.
-
1
-
-
3 hours ago, bmart said:
A VFR, a CB-1, and a Suzuki ride into a bar, and the bartender says, "what is this, a joke?" Anyway...
I finally got out on UGLYRED, the 1998 VFR you all talked me into keeping, for the first ride since months ago. It functioned fine, but there were peculiarities in the dash display, but not other systems. The clock would periodically reset itself, as would the two trip meters. I've never seen that before on...anything.
Voltage remained correct at ~14.7V, like always. It was 12.5V when I rolled it out, which was a little odd, as I charge it every two weeks. The Motobatt battery is just under 3.5 years old and they seem to go 6-8 years without issue. I checked the battery terminals; the fuses and other connectors are up next (tonight/tomorrow). Then I remembered a post, which I couldn't find despite my best searching, about corroded connections in the board that makes up the dash. Does this sound related? Any other good ideas? Grounding connections? I did not need another bike task on the winter list! Red. I hate red!
Hi Bmart.
If it was my bike, I'd go through those fuses and replace every one of them, they are most likely original and show signs of corrosion or oxidization on the legs. Give the contacts a wash with something like Metho on a firm small brush, then fit the new fuses with a small amount of Ox-Gard on the legs of each fuse. Given the not so good look of your Sub Fuses, have a good look at the state of your two Main 30amp Fuses.
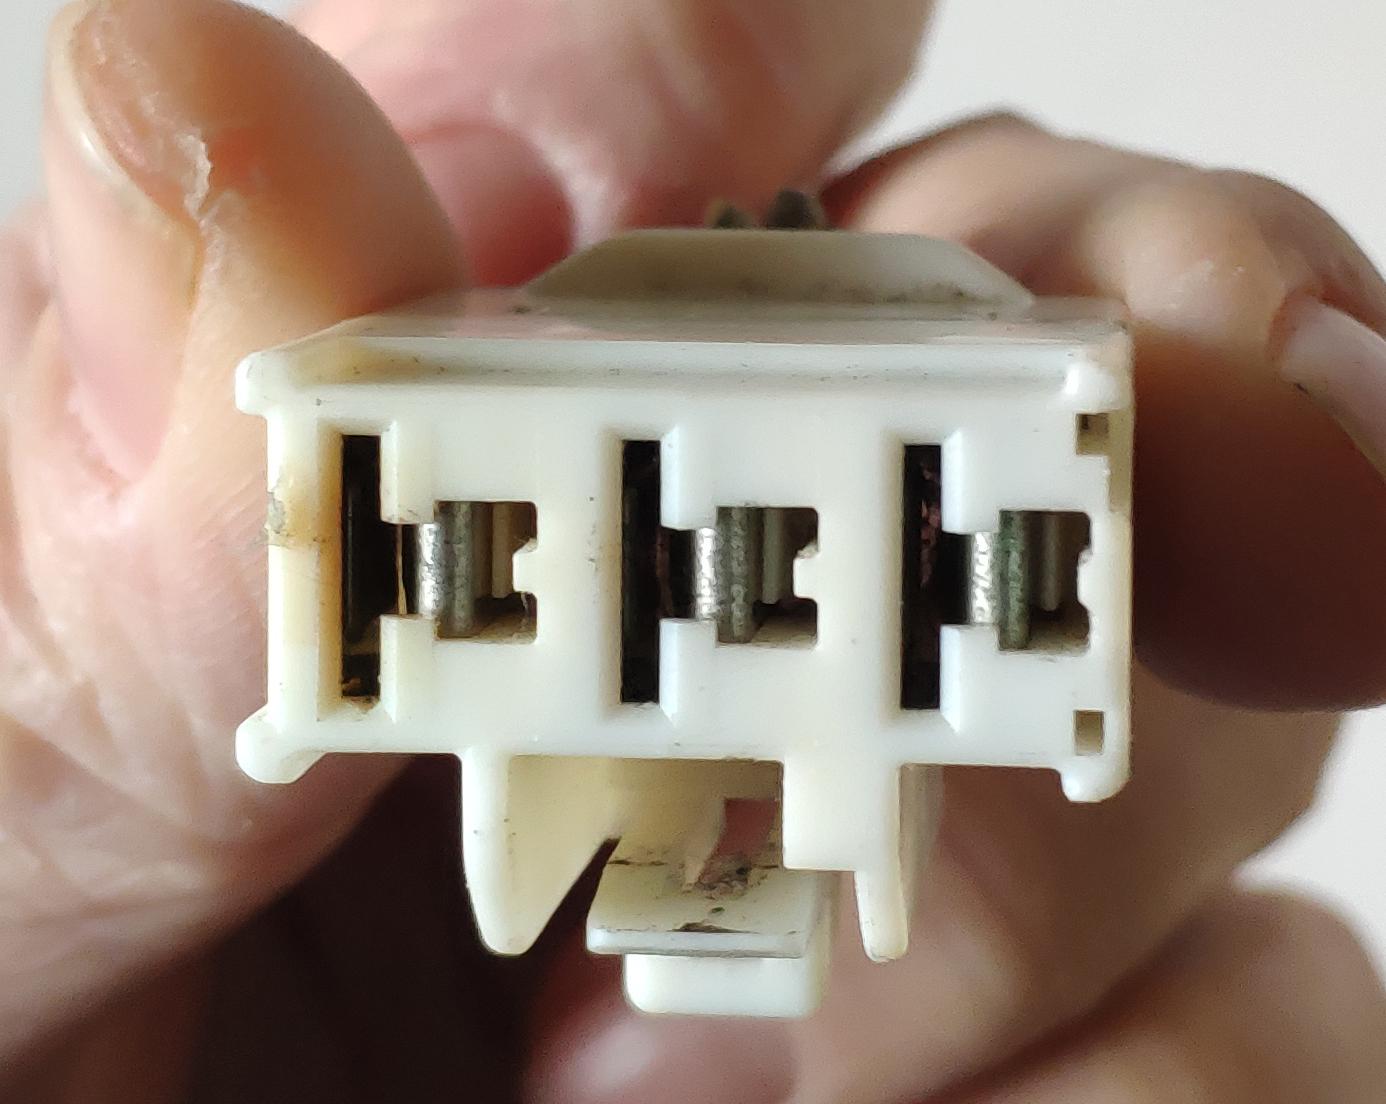
Do the same for the three legged Clutch diode, cleaning its contacts, and lightly shine up the Diode Legs with very fine emery paper or similar, and also a coating of Ox-Gard on its legs before re-inserting.
As for your instrument LCD. Most definelty the two main connectors making pressure contact to the PCB are a cause for the LCD to go blank(not the only cause!), as they can develop high resistance contacts. Again a good clean of both PCB copper contacts and the connector contacts then a light coating of Ox-Gard will help greatly. Do this then reassess the LCD situation.
Good Luck.
-
2
-
1
-
-
17 hours ago, PetePower said:
Popped a new Dunlop Roadsmart III on the front OMG it turns again hehehe.
Coming up to 30000kms so will get the Valves checked and pop some new plugs in.
Hey Pete.
Save your money, the plugs on an 8gen are good for way more than twice the 30,000k's you've done.
I decided to replace mine at 60,000ks they looked excellent and the gap was still in spec and the bike had absolutely no running issues. I wouldn't hesitate if need be in refitting the originals (which I've kept) and run them for another say 30,000k's.
The OEMs are NGK IMR9D-9H's, a top quality Iridium and Platinum long life plug.
NGK specify a design life (guide only) for these plugs at 100,000 miles !!! Though I'd definitely not run them out to that distance. YMMV.
Cheers.
-
1
-
-
2 hours ago, Philois1984 said:
Thanks for that Grum, I won’t be doing it myself but I use an ex Honda mechanic who will be happy for me to supply the chain and sprockets, and the best part is he charges very reasonable rates AND is happy for me to watch and learn. Great bloke whose (nick) name is Grub.
No worries Phil. Good to know you have a reliable Grub of a mechanic on your side to help you out.
Cheers.

.JPG.c067886b544569fcb2baa49eebd17c6e.JPG)


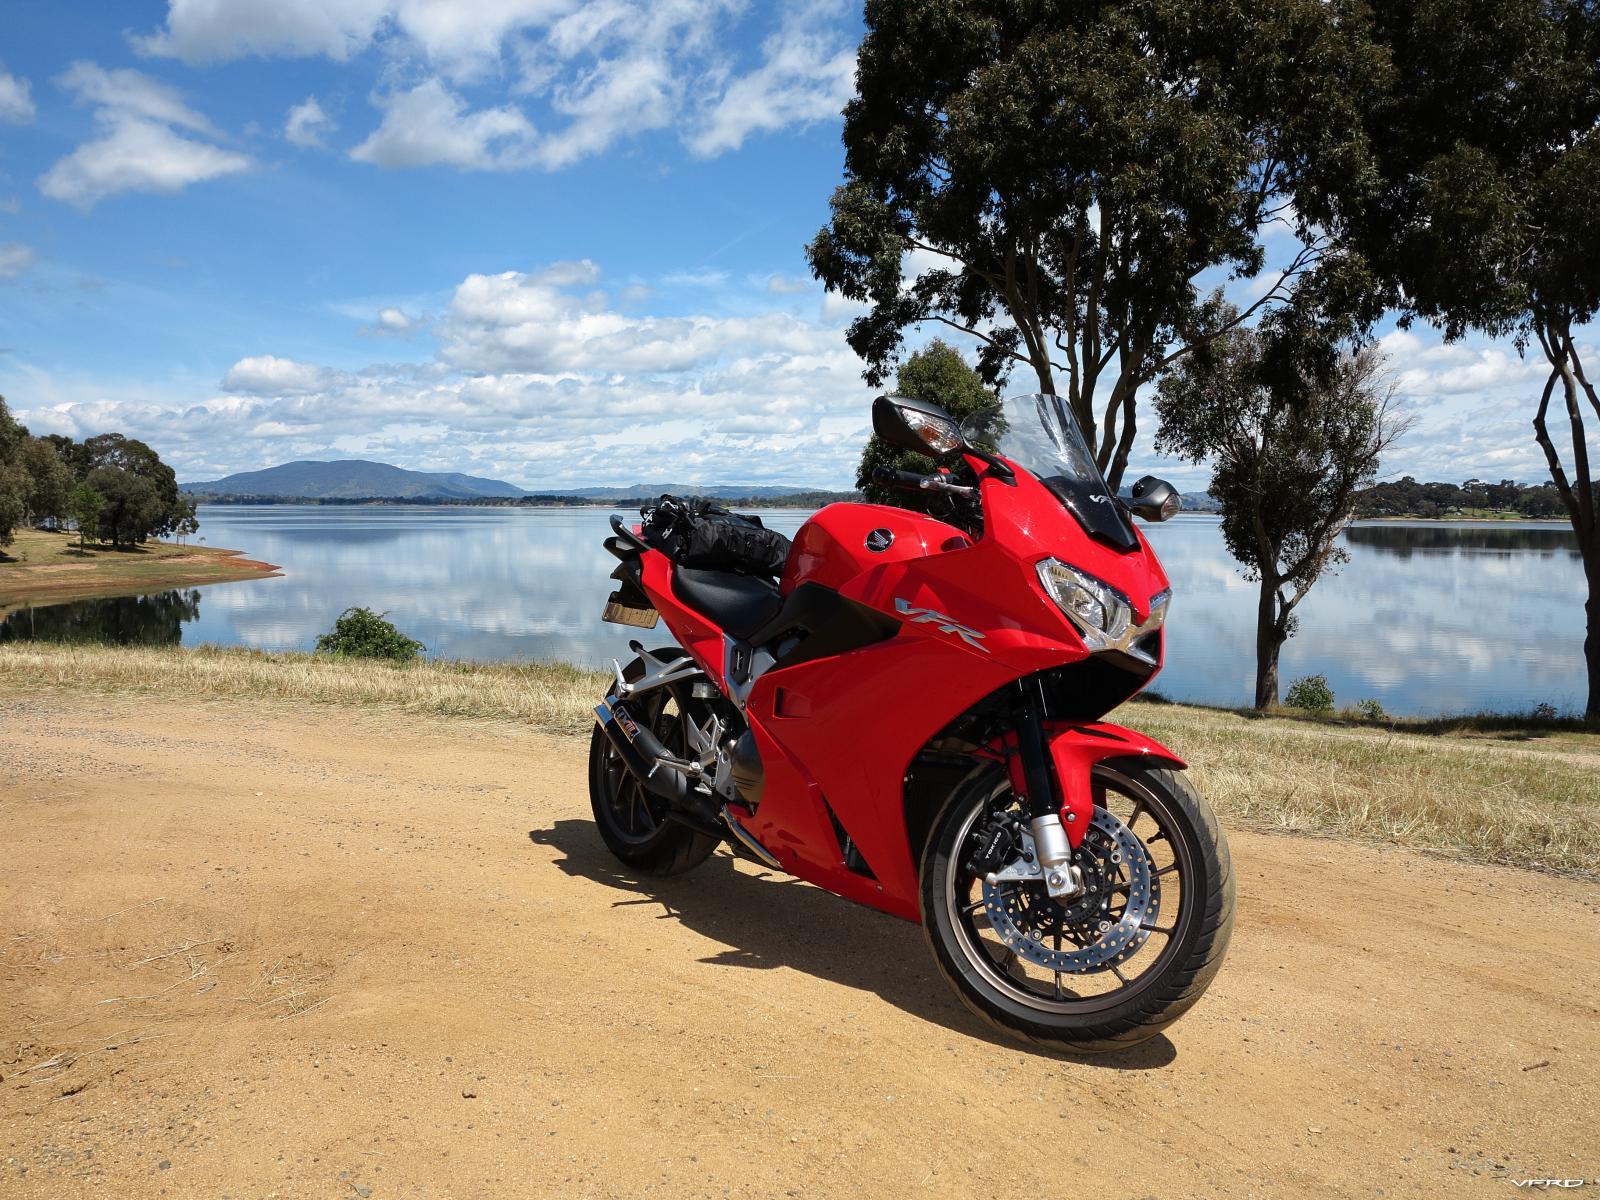
1999 VFR800 - Kaoko throttle lock
in Modifications
Posted
Hi Jim.
Kaoko website lists a HND31S for a 1999 VFR800.
Have had one fitted to my 2014 for a number of years. I think it's discrete, neat and works well, it's very handy on long straight roads and highways.