-
Posts
333 -
Joined
-
Last visited
-
Days Won
6
Content Type
Forums
Profiles
Gallery
Blogs
Downloads
Events
Everything posted by apexandy
-
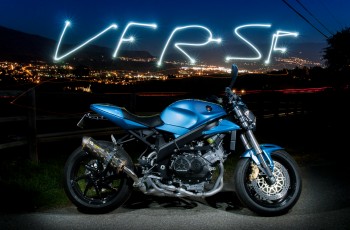
From the album: VFR-SF
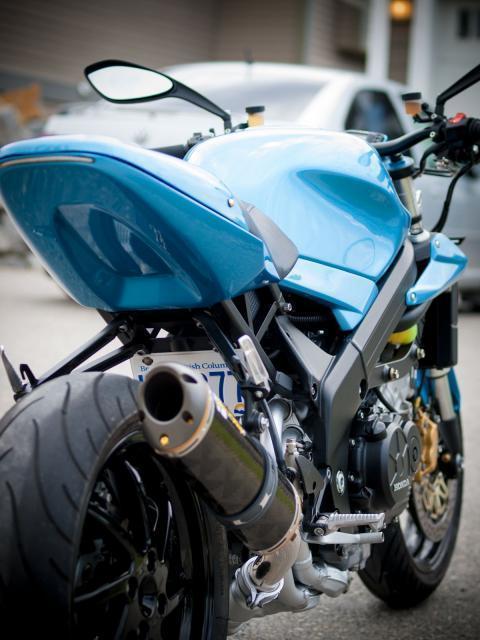
A cold fall ride was more than worth it for some night shots :) -
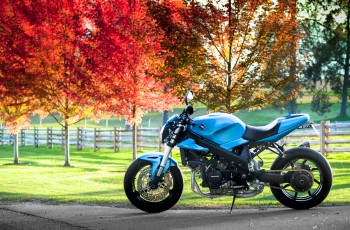
From the album: VFR-SF
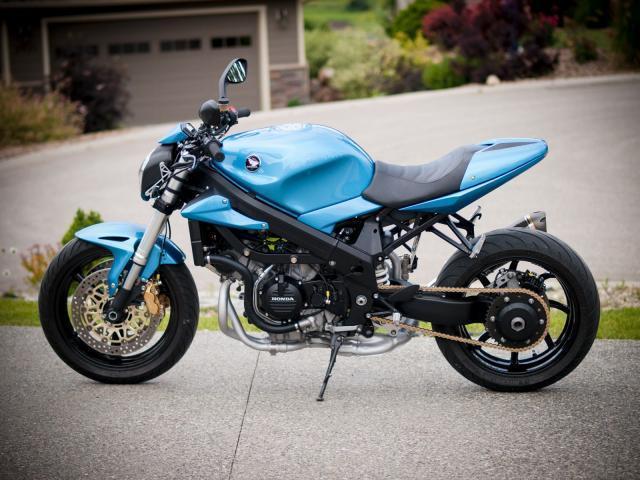
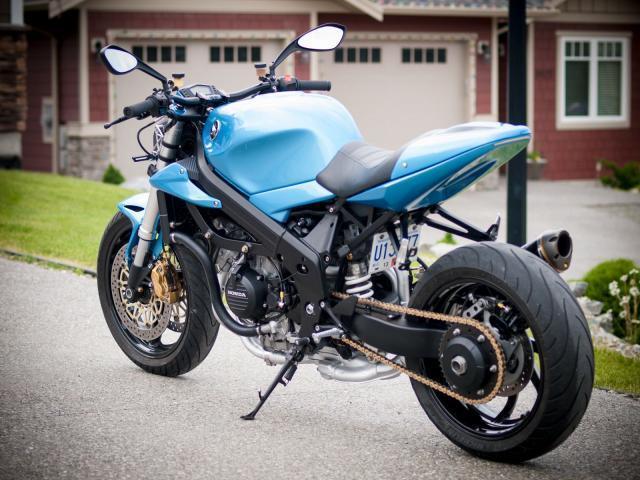
Went for a little fall ride on the local backroads. -
Im so angry you posted pictures of my bike on my build!!!!! It looked less clean after the rainstorm on the way home however... My friends idea to throw our bikes in his truck and head down to California this winter is looking better and better all the time :)
-
Thanks guys :) I wish I had more cool modification to post in here but have just been enjoying riding it! It honestly works so well. It's the most comfortable bike I've owned, (even better than my 6th gen), has completely smooth air on the highway (I've alway preferred smooth air over turbulent air from a windscreen), is refined and smooth but still agile, responsive and full of character. And I can't help turning to look at it a few times as I walk away from parking it... every time. This weekend looks like some decent fall weather (been pretty cool and wet for enjoyable riding already up here) so I hope to get some good riding in. This winter I have plans to work on some things so I will definitely keep this thread updated. Again, I appreciate all the comments and if this build has inspired you then I hope you have fun taking on your own project!
-
I believe rangerscott did that on his 5th Gen to test things out? I think it worked fine for him. Im too lazy to read through the thread again...
-
Made up a little video for fun. I know there isn't a lot of "off bike" footage... I guess I need to hire a cameraman.
-
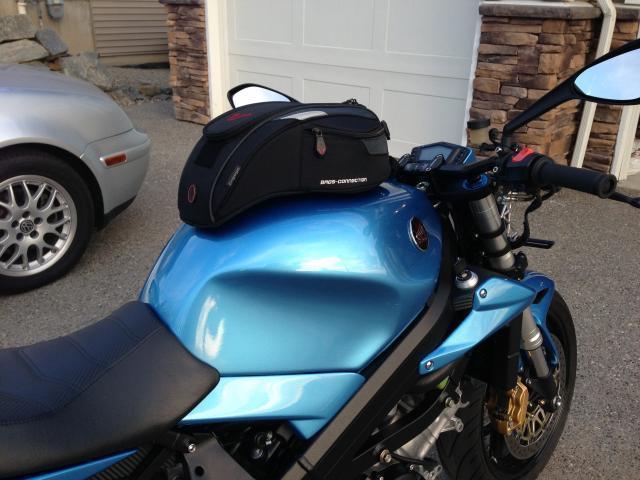
Did a little engine heat blocking under the tank/subframe/battery box area with the rubber heat guards I had from the stock bike. I think I have improved the issue but I'm not sure I can make it any better. Because there is much less in the way of fairings and plastic blocking and redirecting heat behind the engine and above the headers the hot air will get to my seat/legs anyway. Its not uncomfortable really... I guess I've just never had a bike that really does this. On Italian bikes they call things like this "character" Other than that... just riding! Oh, and my new tankbag came in: SW Motech Engage. A nice bit of kit! Amazing, sturdy quality, easy to get on and off, and doesn't touch the paint. Not cheap... but my last tank bag lasted 15 years!
-
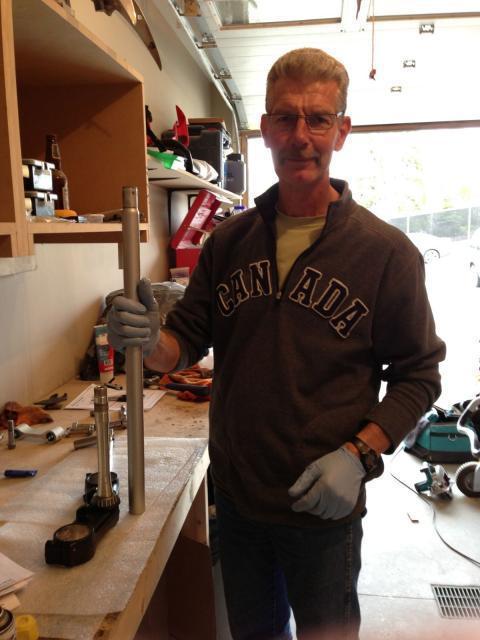
I finally got around to adjusting the sag on the suspension with the help of my dad who is visiting for a few days :) Completely confirmed my suspicions that the spring rates are quite soft. With front and rear preload maxed out I could only get 40mm sag. I will probably look into suspension upgrade options this winter. I'm thinking revalving and re-springing front forks and maybe an aftermarket shock... but we'll see. Also vacuum bled the front brake again to get rid of a bit of mushiness in the lever... firmed it up quite nicely... now the brakes feel even more powerful :) My dad took it for a ride today... it's cool to see and hear it drive away when I'm not on it. Gave me goosebumps. And to top it off he even washed it for me while I got some other things done... what a dad!
-
These stupid badges... Thanks for the tips zoomzoom, do you think I will have any luck removing the remaining adhesive on the badges and using 3m moulding tape to put them back on? That is if I don't crack the badges during removal. And thanks again for all the kind words about the bike.
-
Good description! I'm loving them. I have been practicing "emergency stops" to get my brain used to the amount of braking power available. I don't want to grab too much... which would be easy with these brakes. Oh they're just fine... still backwards however. I've been avoiding fixing them out of fear of damaging my new paint and possibly cracking the badges :( Riding is more fun anyway!
-
There is a pretty direct channel from from under the tank into the battery box area on my subframe... I think if I block this off it will help. I've removed quite a few heat /weather shields so that probably doesn't help.
-
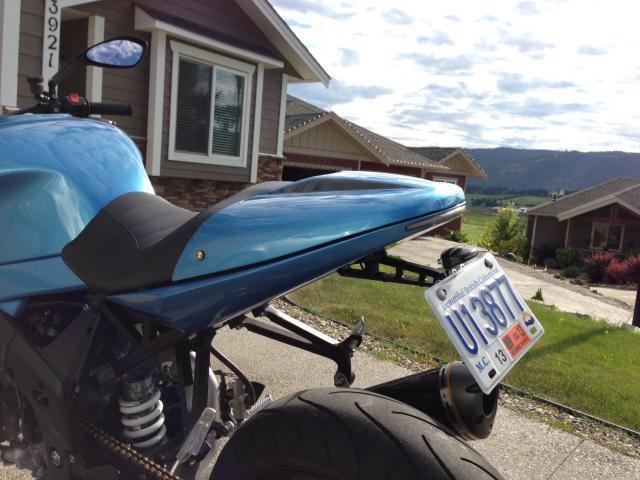
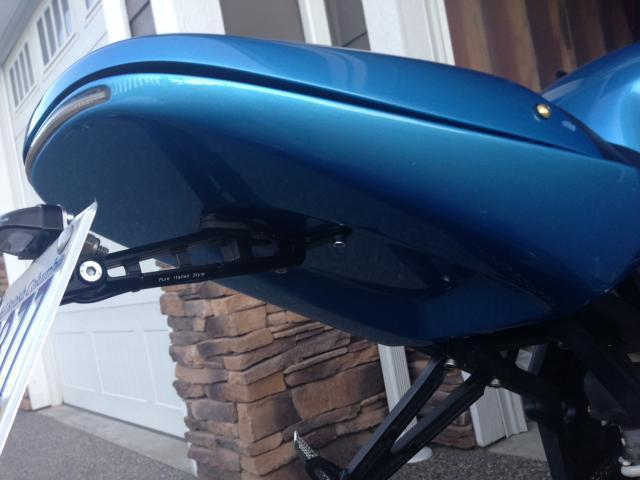
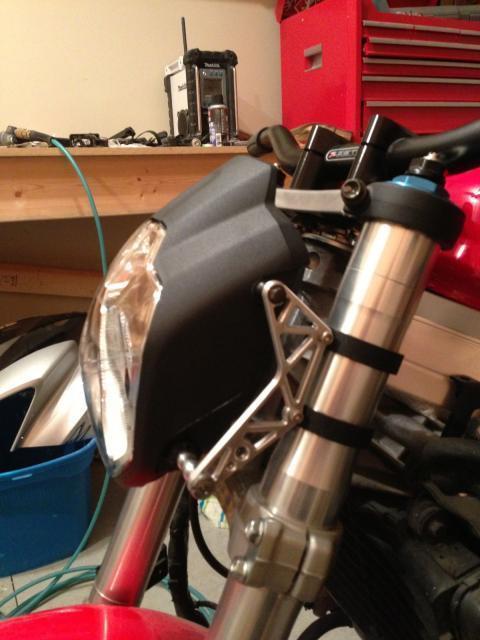
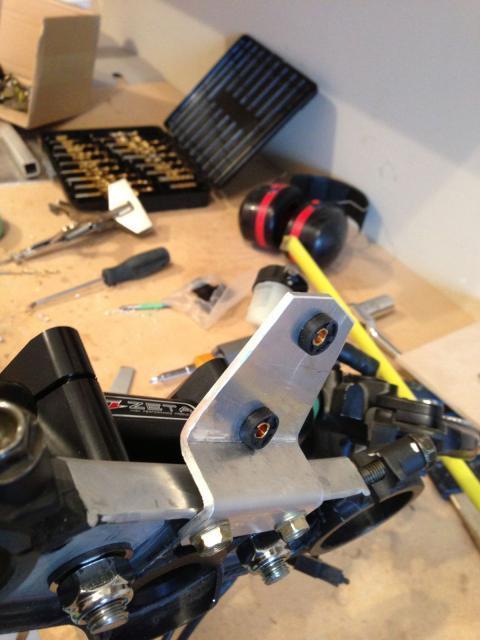
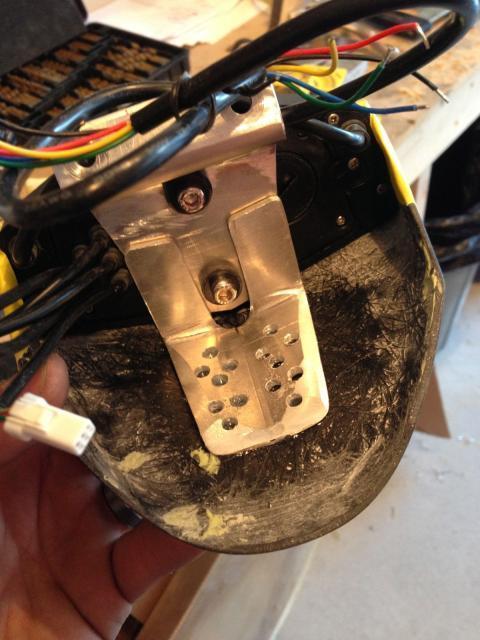
Here are a few iphone shots of the plate bracket and light. I decided I wanted to spend less time making things in the garage and more time riding so I ordered a CNC bracket off ebay made for an MV agusta and modified it slightly to fit. Just over 2000km on the bike since the rebuild and am really enjoying riding it. I feel like I should have more to put into the thread... but the bike is working so well there is little to report. One thing I do want to figure out is how to block some of the heat from making its way under the seat if possible. As soon as the engine temps reach 83*C (181F) the seat starts to get warm. Riding on the twisty backroads around here I'm having fun practicing smooth downshifting/throttle blipping and hard braking into tight corners. The front brakes are the strongest I've had on a bike which is awesome... but makes it a little harder to prevent the front end from moving up and down a touch during downshifts. Stiffer front springs would probably help, maybe this winter. But this is something I love about riding... there is always room to improve and become a smoother rider
-
Very true... My forks almost touch the frame and it's still a little tricky to do u-turns. But in general riding, after getting used to it, it's not so bad actually. My front end is quite low (954 forks with forks flush with top of rc51 triple) but I have no clearance issues to report.
-
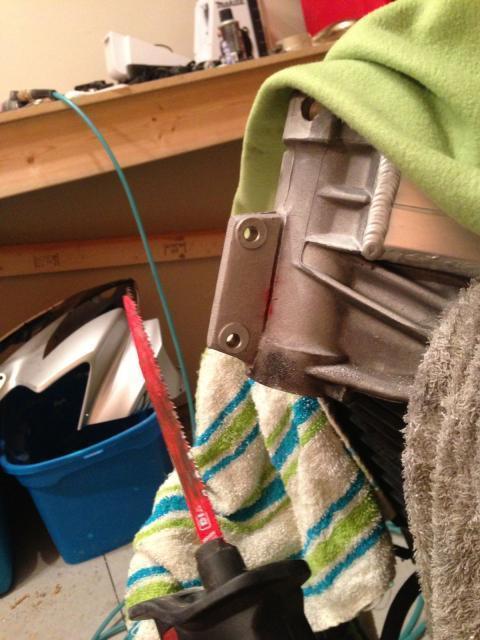
I ran COP's with my radiator fan intact. With the radiator off the bike, I basically rotated the fan upwards pivoting on the top right bolt (of the 3 on the back of the fan) and made extending mounting tabs with chunks of aluminum and rivets to reattach the fan. I also cut off the upper fan "block off plate" and made a new one out of sheet aluminum to cover the portion of the fan that sticks above the radiator. It was a very tight fit but the radiator still used the bottom mounting bar off the engine although my top mounts were slightly different (but I don't think they put the radiator in too much of a different position from stock). I had to put the coils in before swinging the radiator back into place... but it did work. I am now happily running on my stock coils that I managed to hide quite well... although still puzzled as to why I got 700km of good riding with the COP's and then had issues. Even if the coils I have are the issue why would they just start failing? And the other thing that confuses me a bit is why my charging system was only reading 13.2V at idle with the COP's but reads 14.3V with the stock coils at idle. Anyway, I hope you guys have better luck than me. They did look all tucked away and modern when I had them in...
-
-
-
I think I have the shorter GSXR coils and after moving the fan up (basically pivoting the fan on the top right bolt) and making a new upper block off plate with thin aluminum sheet (for the part of the fan that sticks above the rad) I was able to get the coils to barely fit. Although I had also made new smaller mounting brackets for the top of the rad but I was able to use the same lower left mounting bar off the engine. It is possible to keep the fan! One thing I have noticed after switching back to my stock coils is that my charging system is showing 14.2v at idle, but was only showing 13.8v at idle with the COP's. Not sure what this means really... just an observation. I really wish these had worked out, does anyone know how I can test the GSXR coils to see if they are the problem? I would like to have better information to help others who are considering this mod.
-
From the album: VFR-SF
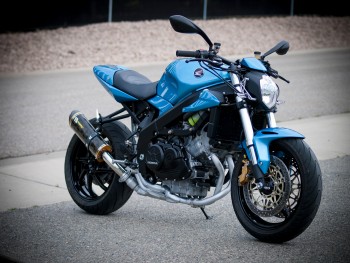
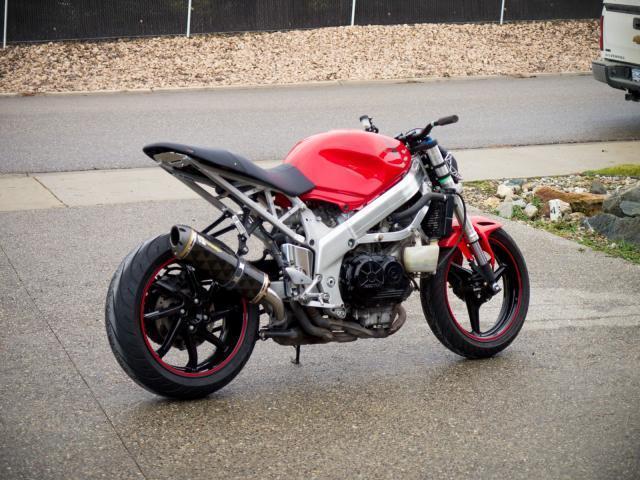
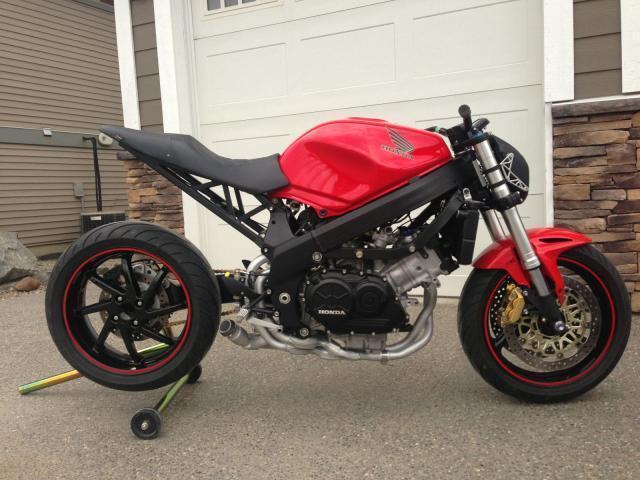
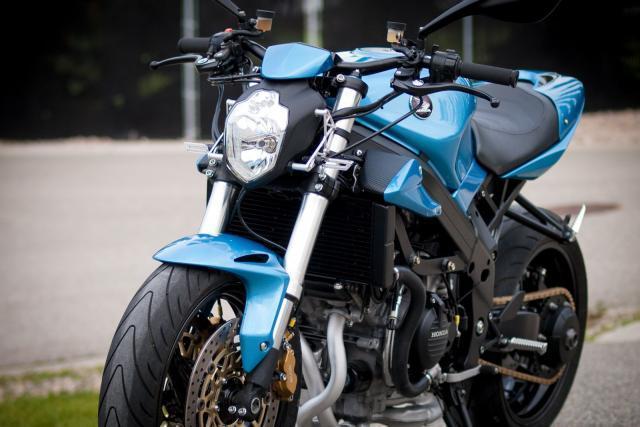
Finally completed my 4th gen VFR project! -
From the album: VFR-SF
Finally completed my 4th gen VFR project! -
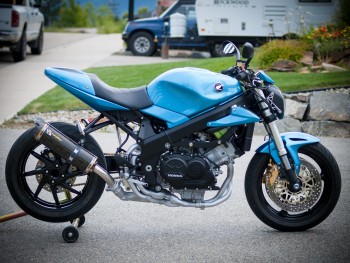
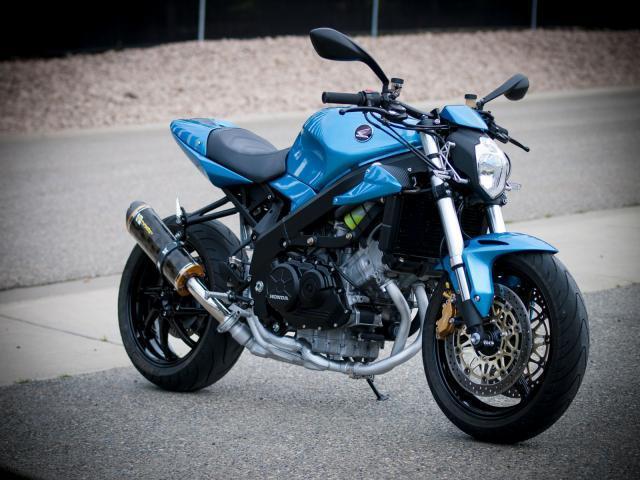
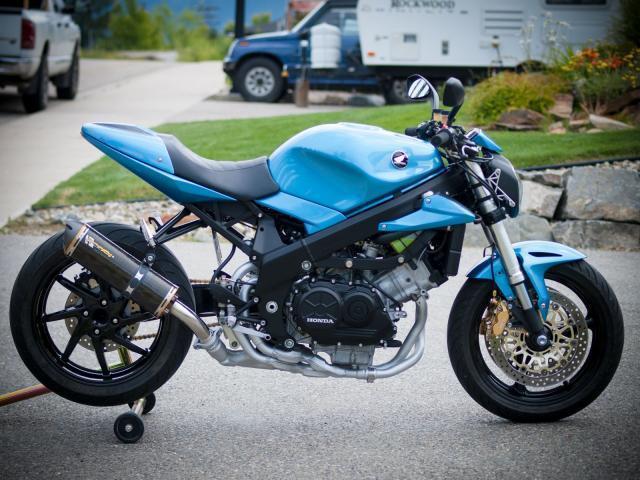
I was going to make a list of the things I changed but I think most of you know or can tell what the major changes are. A few that are a little less obvious that people might want to know about: -ZX14 nissin radial master cylinders for front brakes and clutch. The brake master cylinder is working very well with the 929/954 front brakes (I think they are actually 954 calipers). And the radial clutch master cylinder is working well with the stock vfr clutch and slave cylinder. This one was a bit of a gamble but it is working very smoothly. -520 sprocket kit with +2 on the rear and DID ERV3... though I can't really do a good comparison to stock 530 chain and gearing because the bike is so different. -Tried the GSXR COP mod... rode good for 900km but starting acting up after that so I switched back to stock coils and found a place for them. I posted more about it on the COP mod thread. Could have been bad coils.
-
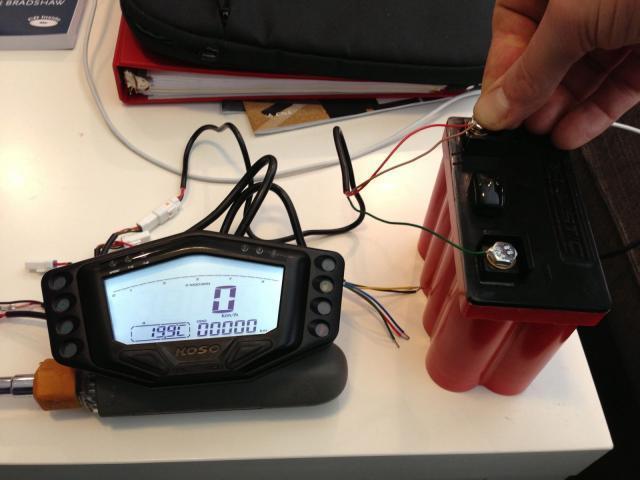
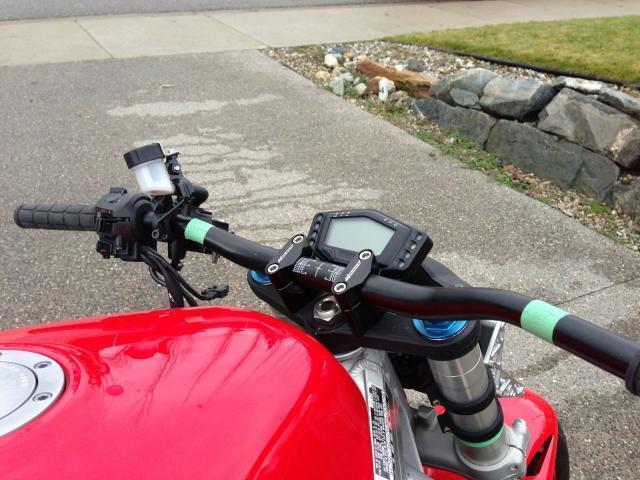
Thanks for all the encouragement guys! One thing I'm also very pleased about it how comfortable it is... I did a 900km trip last weekend (2 days) and it wasn't tiring at all to ride. Im 6'3 so the higher seat height (about 32.75") leaves lots of legroom and the handlebars are still low enough to have a balanced riding position on the highway at 110-120km/h. The seat is also quite good... though maybe a little soft actually. And you all know how smooth the v4 motor is... even without bar end weights. The ducati streetfighter mirrors are actually quite functional and the koso gauge gives me two trip meters, an ambient temp gauge, a volt meter, a fuel gauge, a bunch of fancy performance testing options (that I'll prob never use) and is very readable (the tach not as much... though there are shift lights). My charging system with a 8 cell ballistic LiFe battery, a mosfet regulator (from a kawasaki zx10r), and new eastern beaver connections direct to battery (with a metripack connector to the stator wires) is giving me about 14.2v at idle and 14.5v around 5000rpm. Also forgot to mention, measured with standard bathroom scales it weighs 450lbs full of fluids. That translates to 415lbs without gas (dry weight as manufacturers do it might even put it under 400lbs dry). Not sure how much I can trust the bathroom scales but that is a weight savings of 71lbs from stock. It is a blast to ride! With all the geometry changes I was unsure how it would be to ride. The 929 front end with a flat rc51 upper triple (the 929 upper is a gullwing design) lowers the front over an inch I believe but has a shorter offset, the rear ride height is maxed (haven't flipped the eccentric, and i don't think I will) and I ended up with a 24.5 degree steering rake angle. It handles quick (the lighter weight and the wide handlebar helping here) without being twitchy. Sportier tires would make it perfect I think. The rear seems a little soft and underdamped when the engine heats up and the air temp goes up (it was 35 degrees celcius today) but that's expected from a $20 ebay shock that's apprently made for 120lb riders. More things to tinker with down the road :)
-
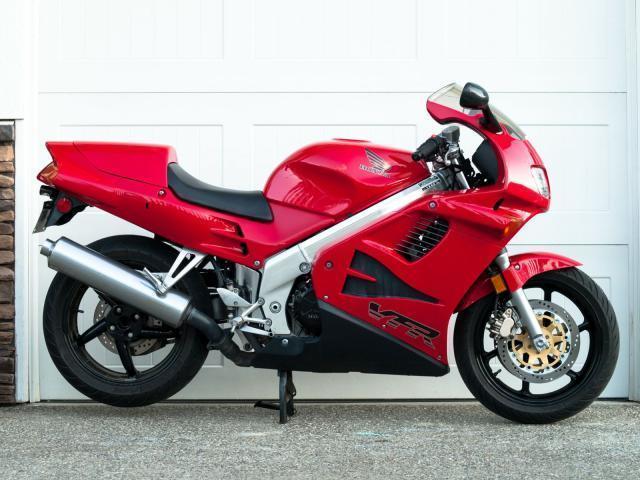
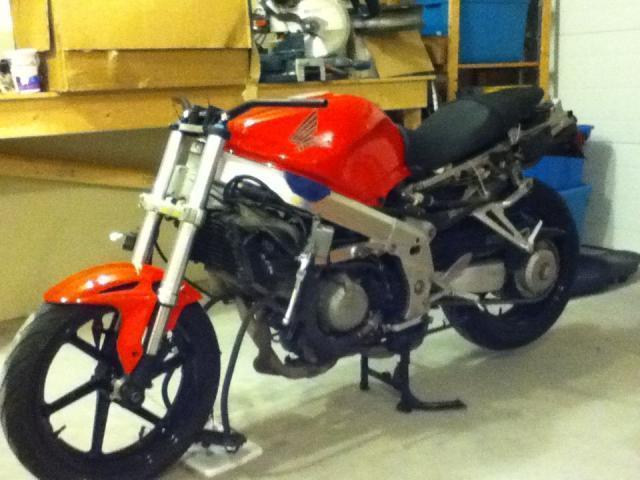
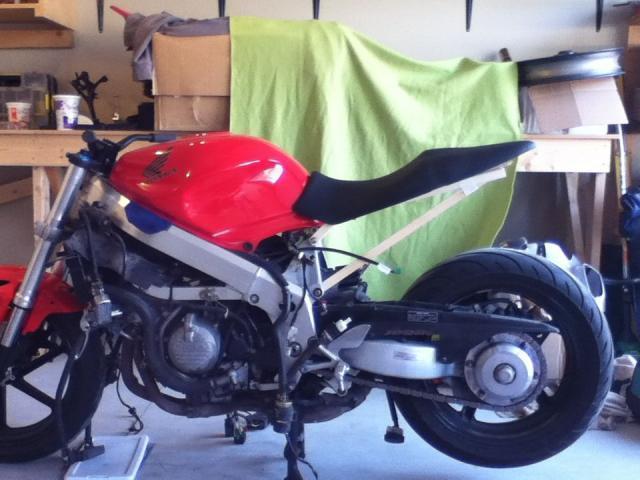
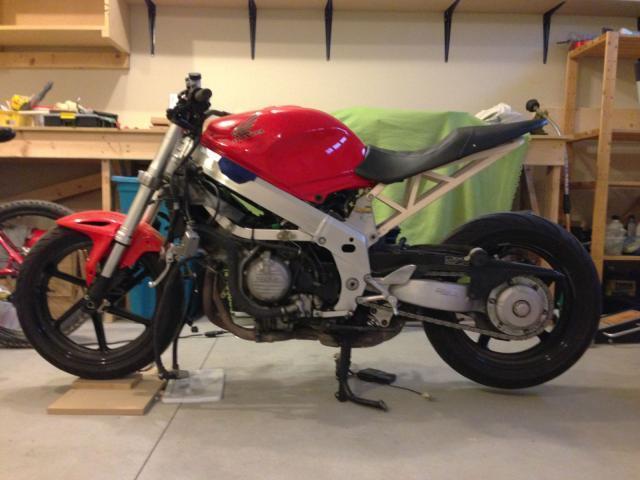
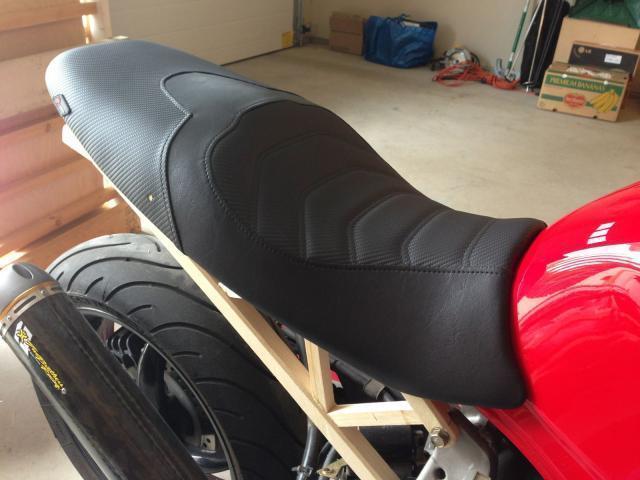
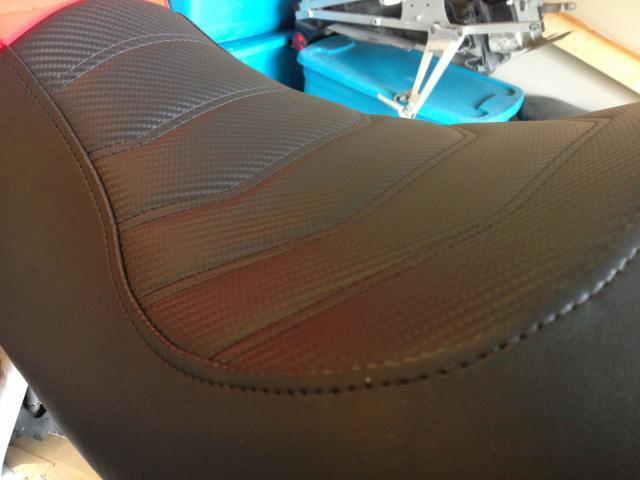
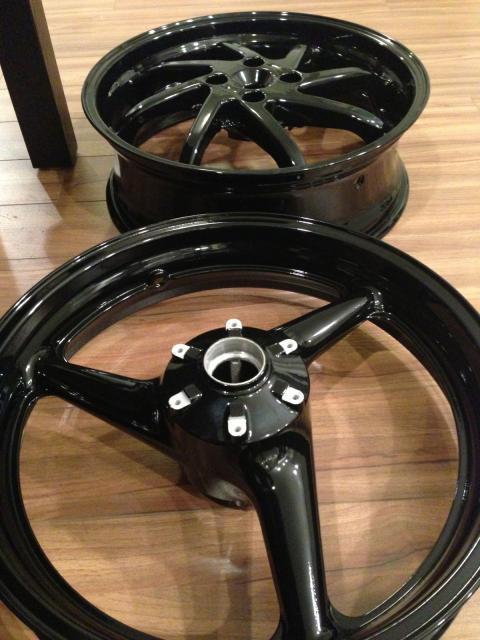
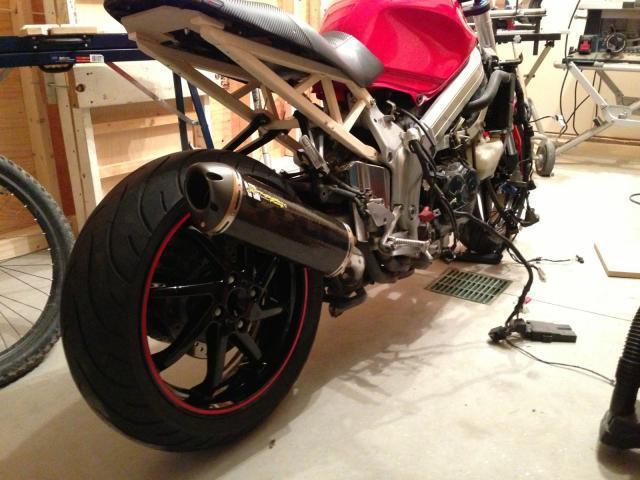
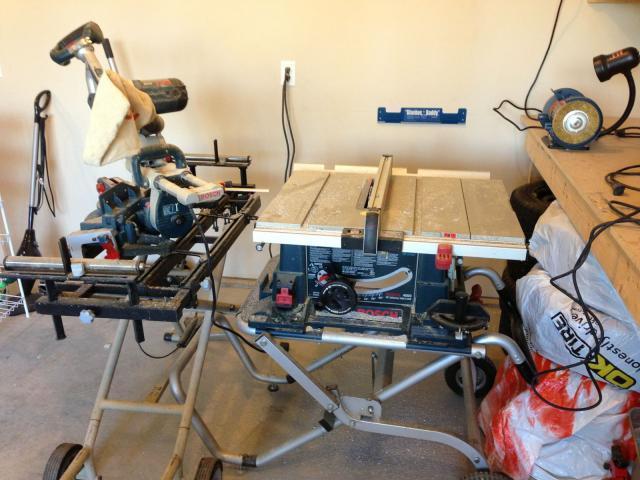
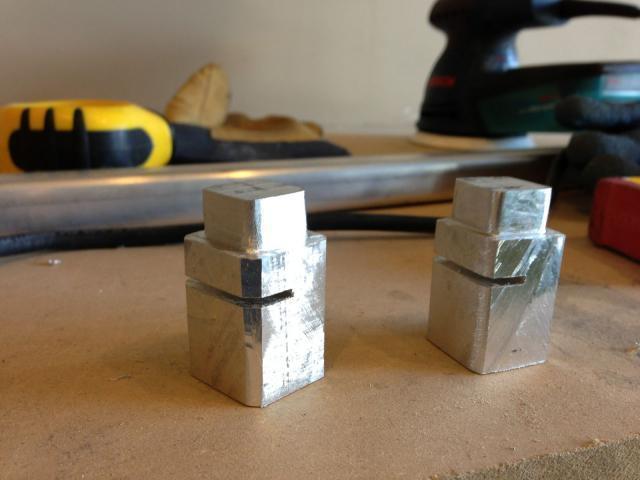
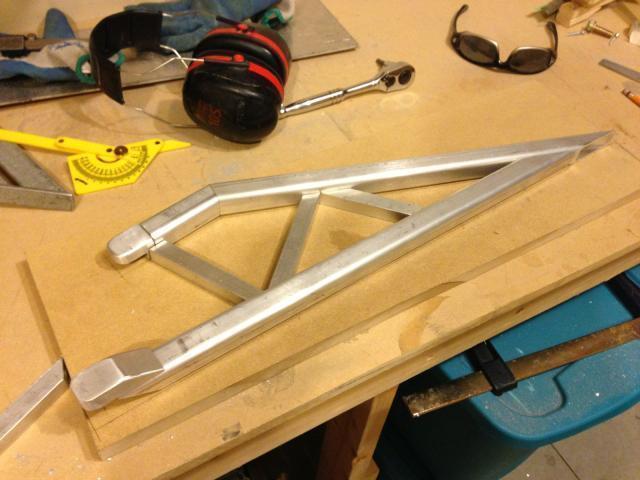
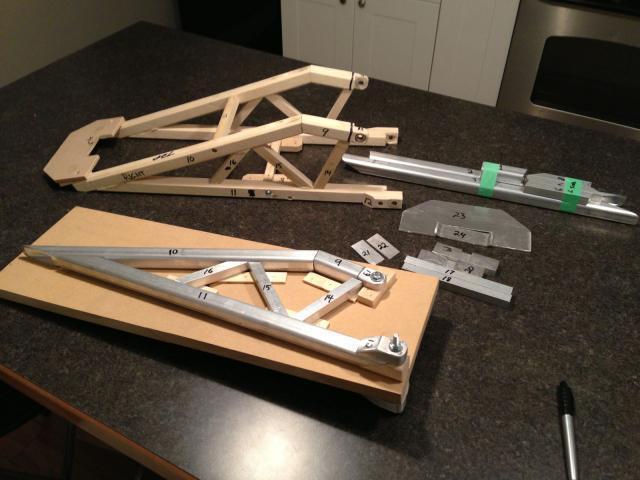
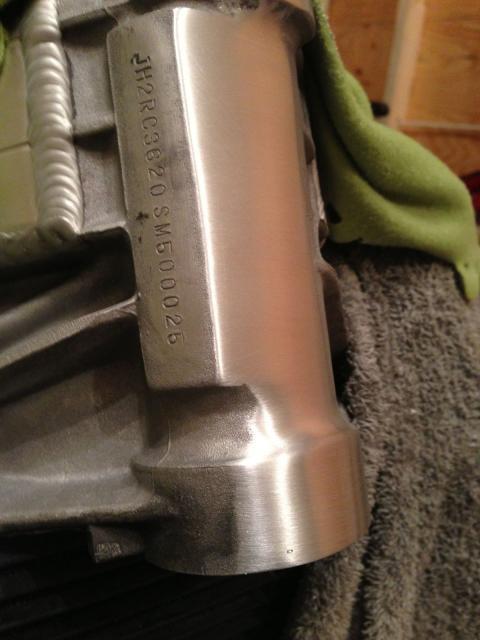
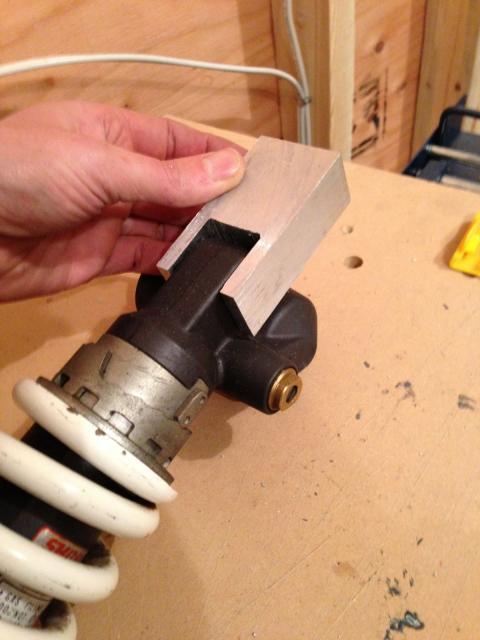
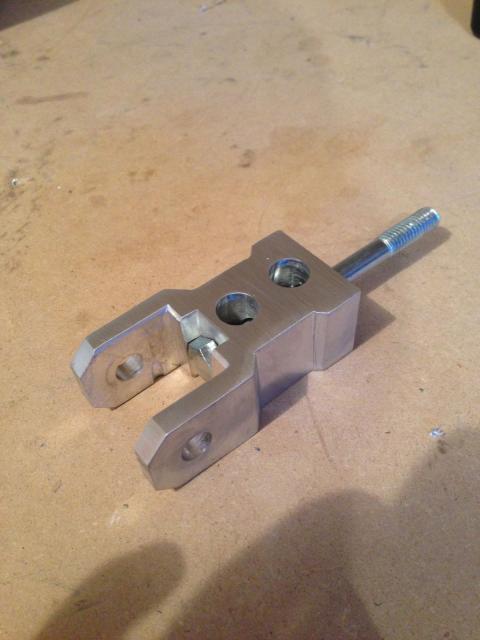
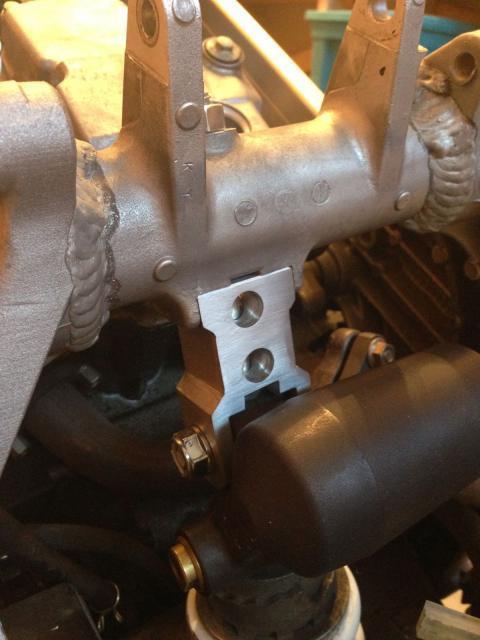
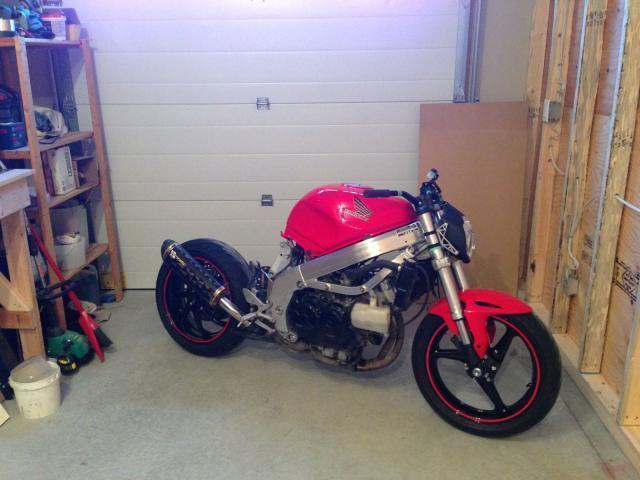
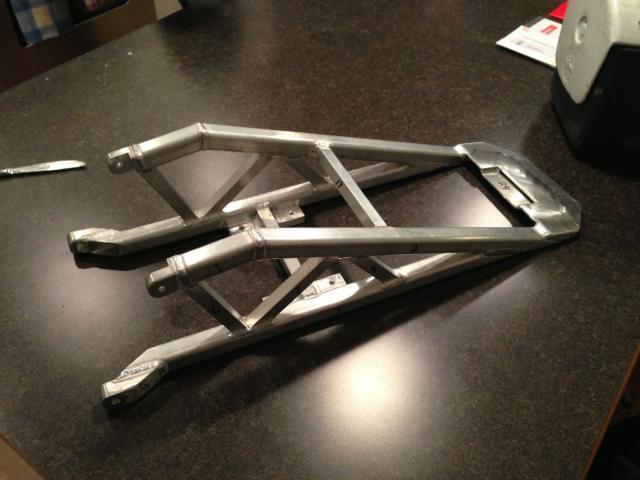
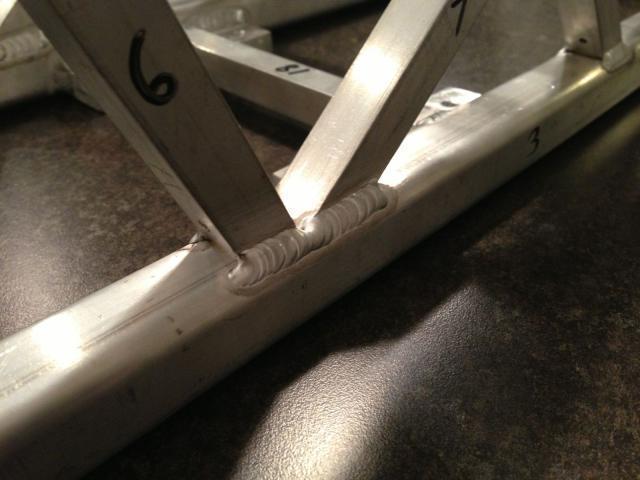
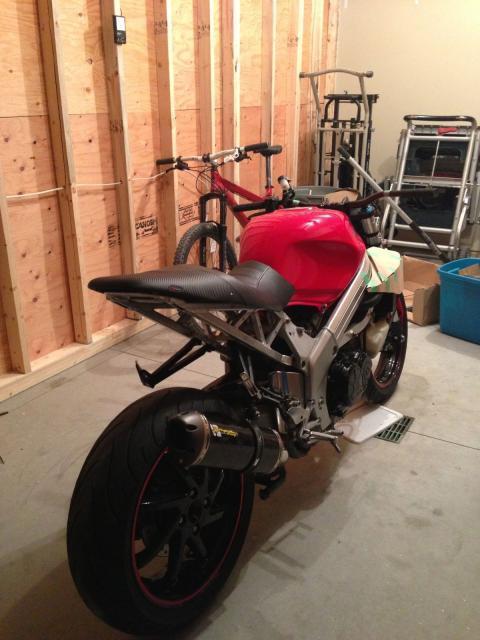
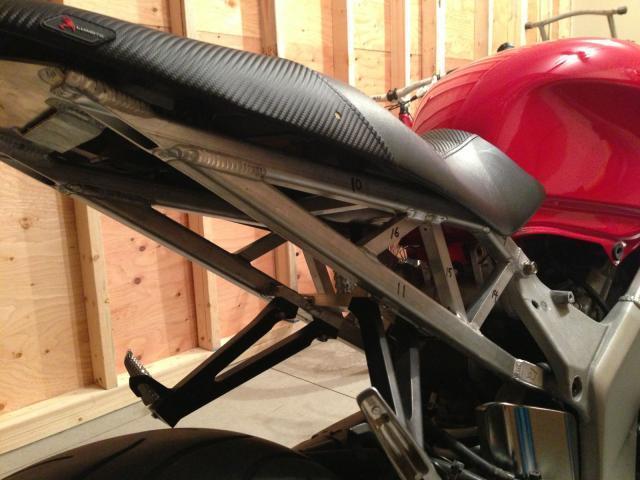
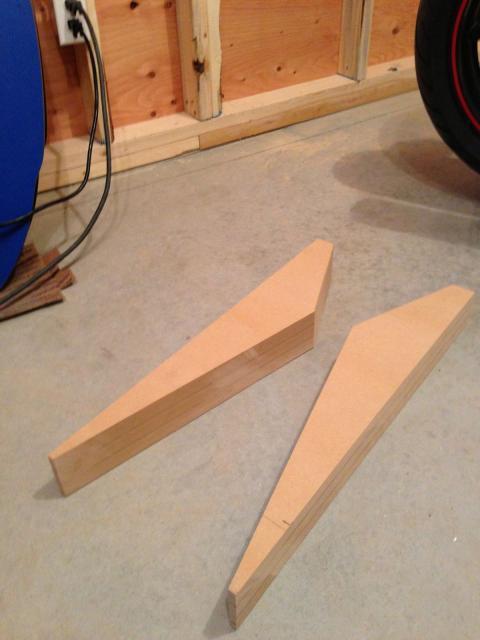
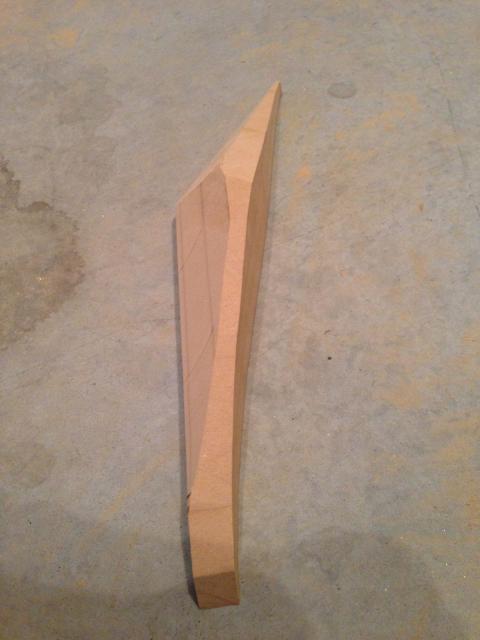
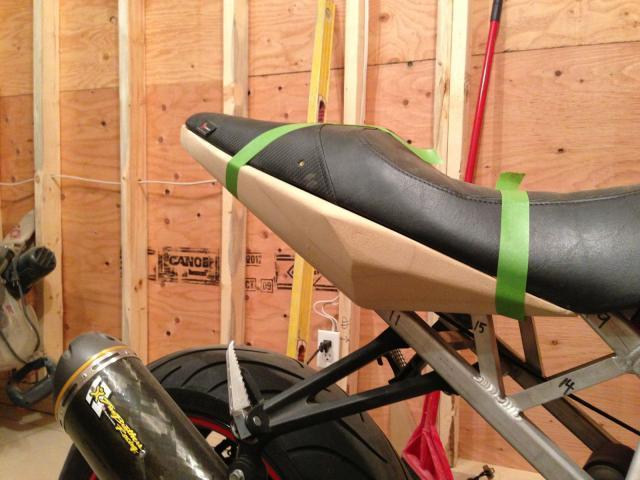
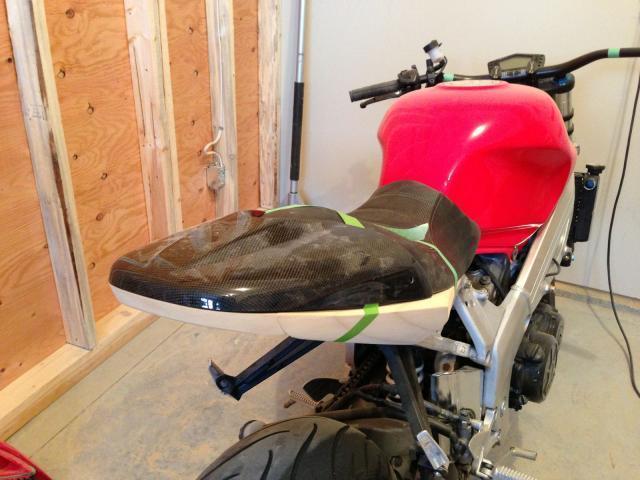
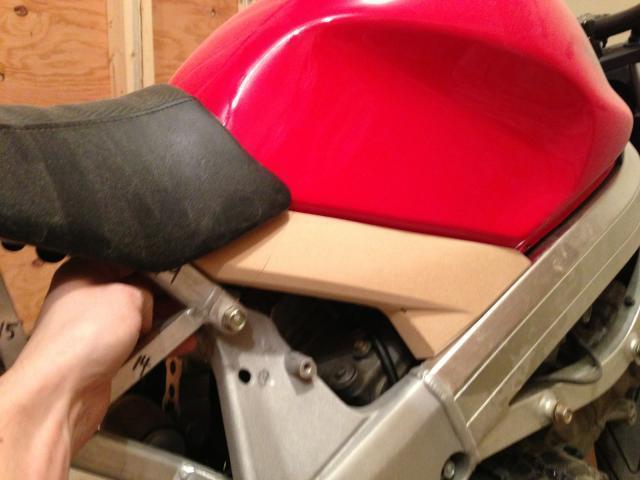
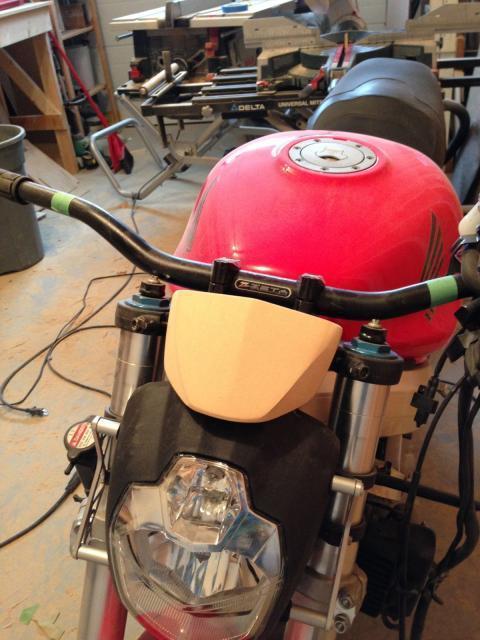
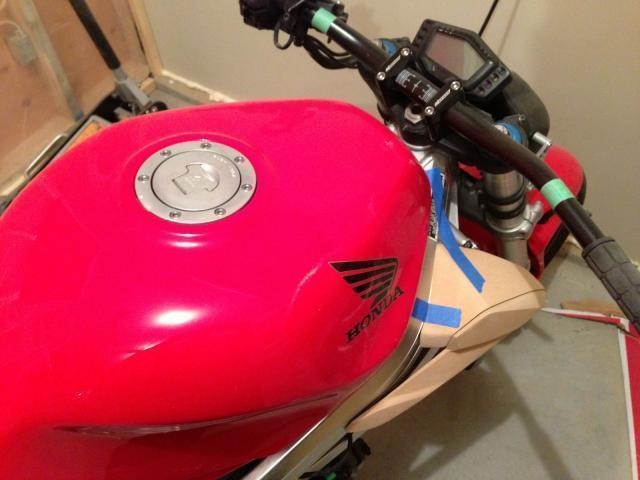
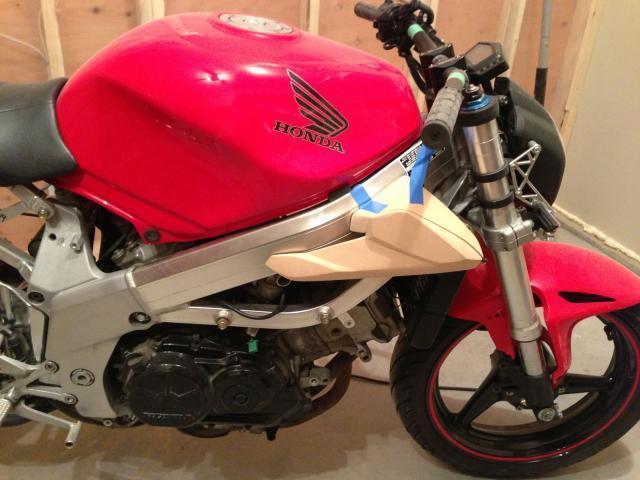
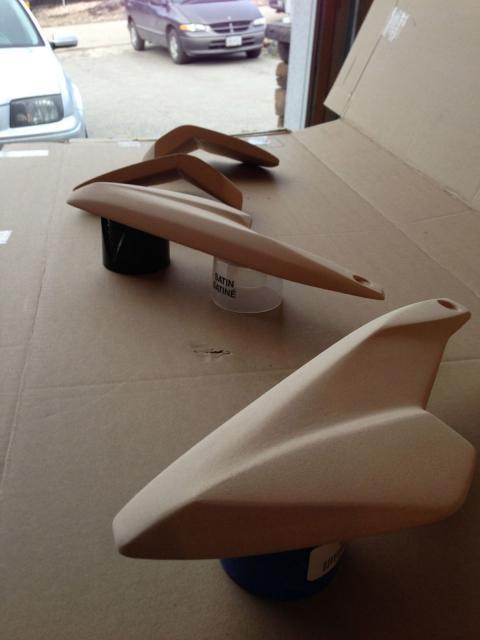
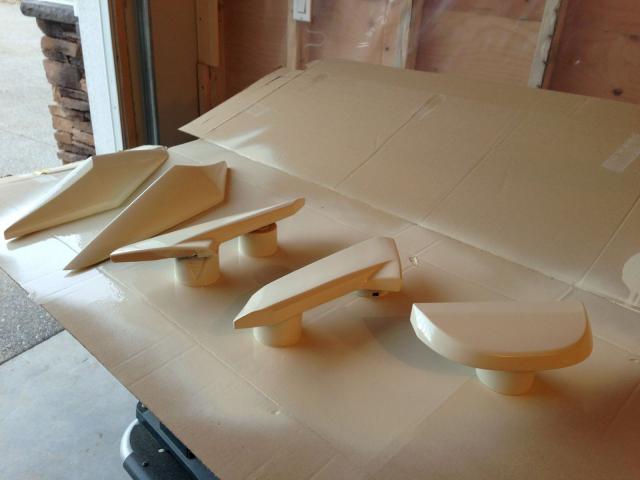
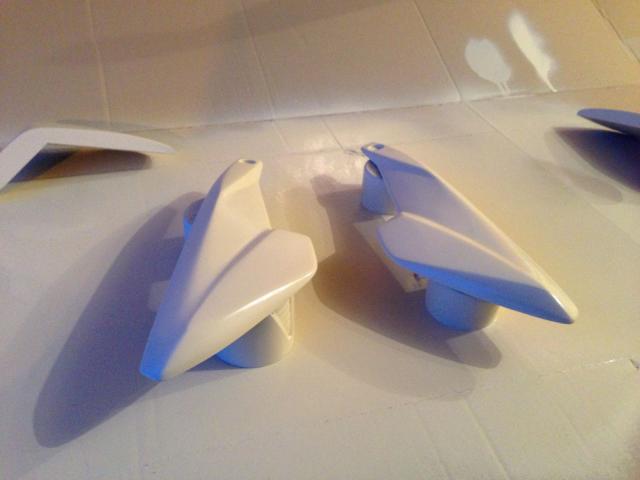
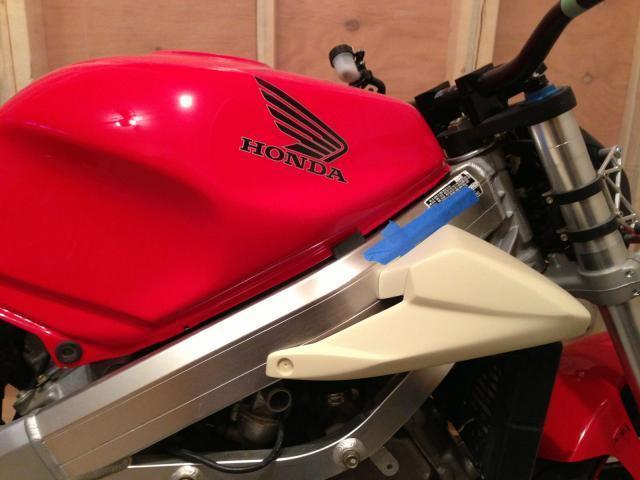
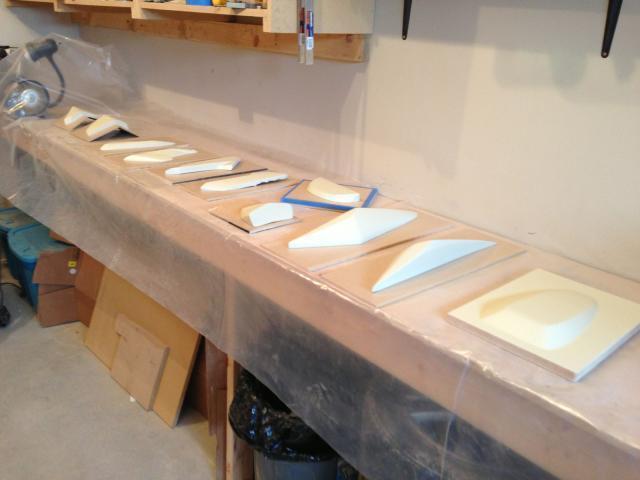
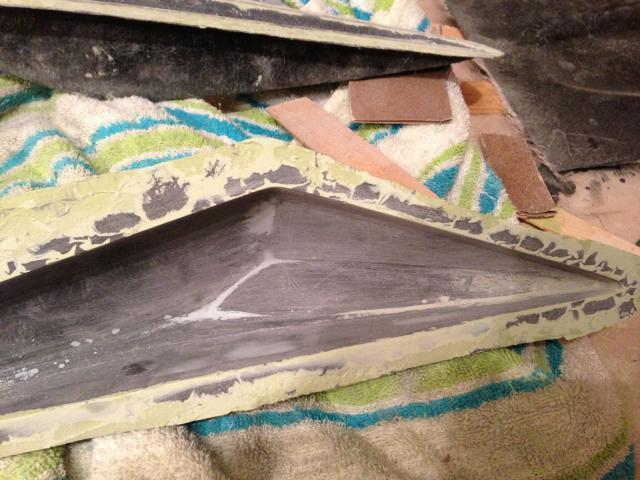
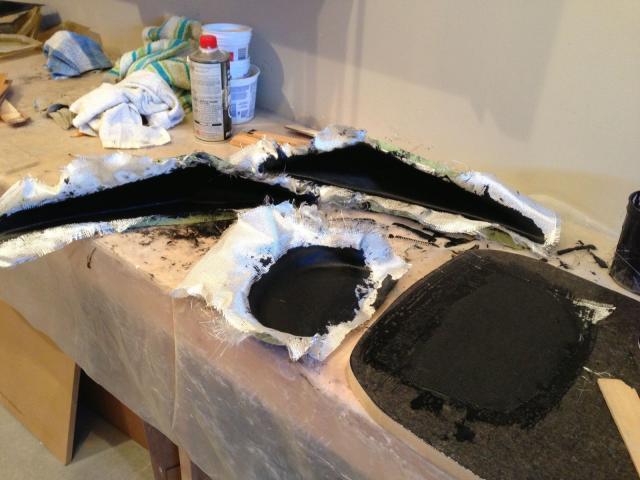
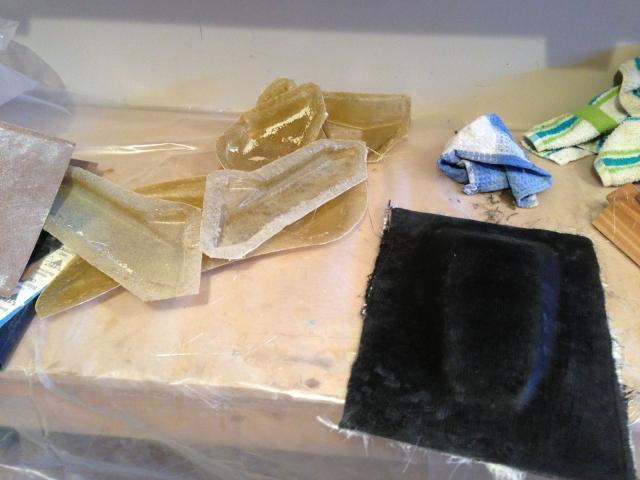
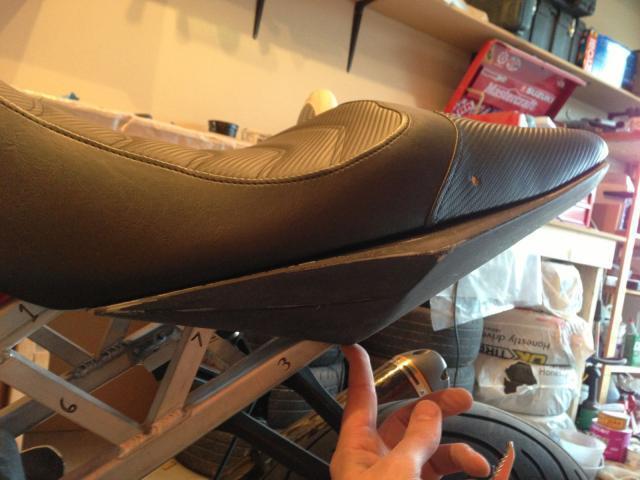
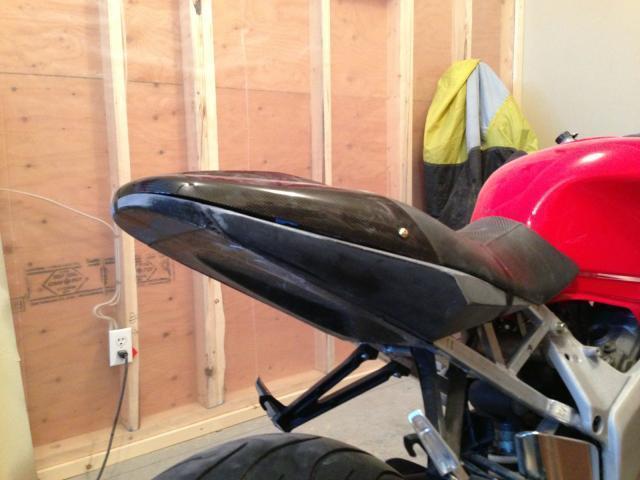
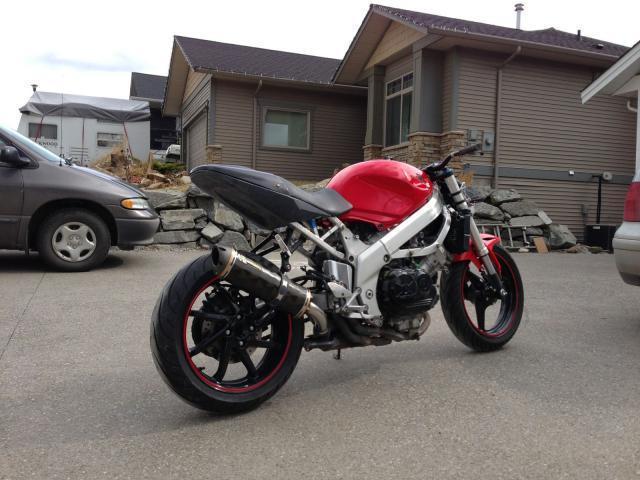
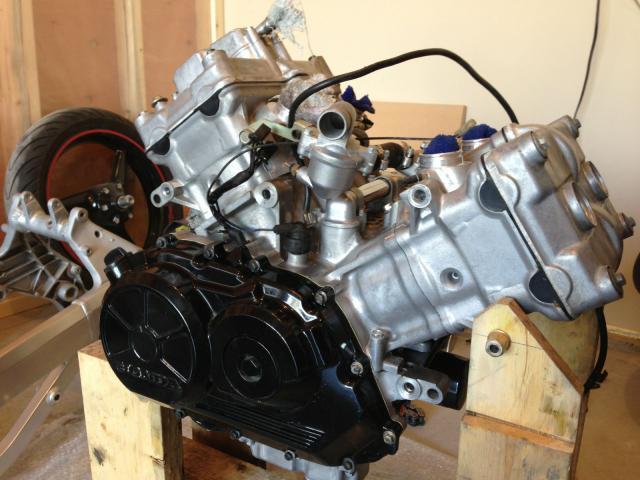
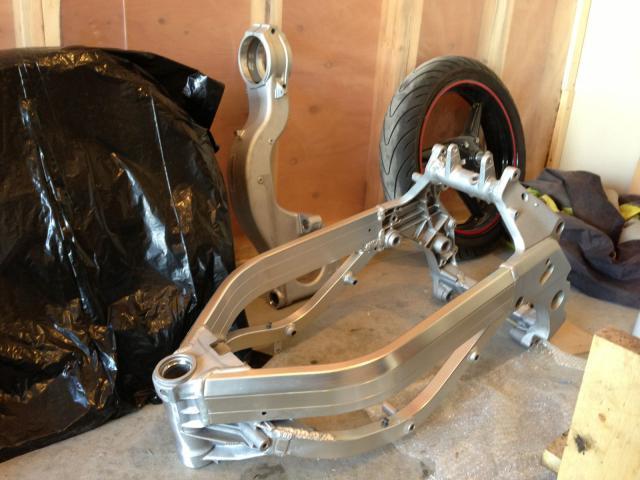
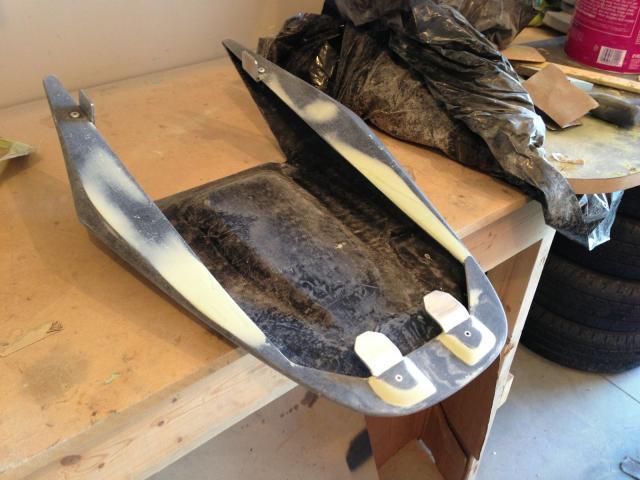
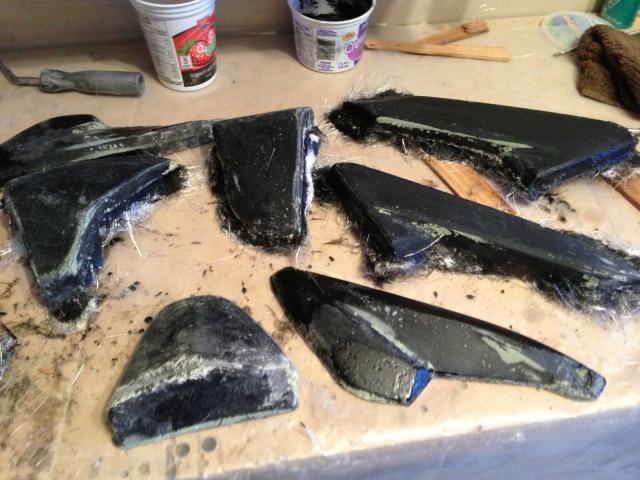
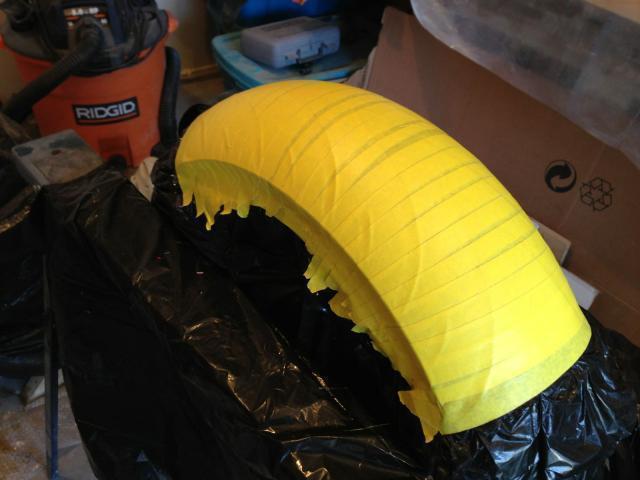
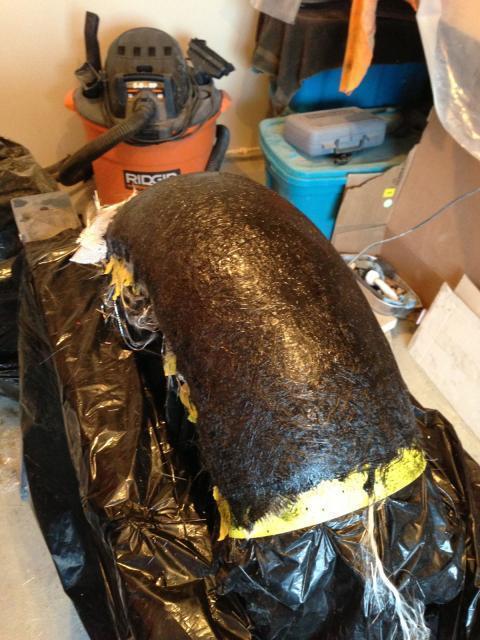
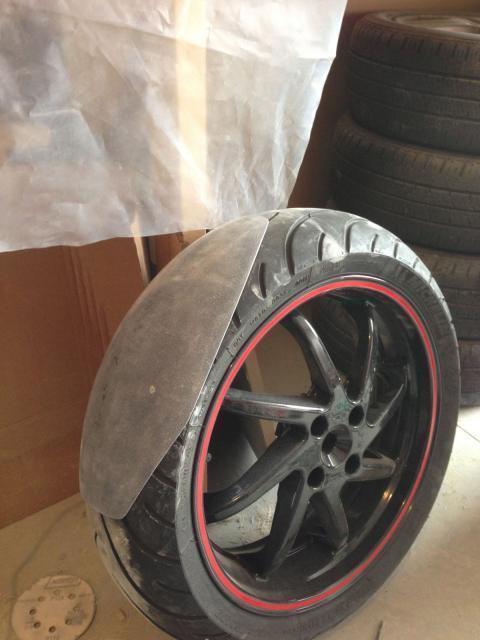
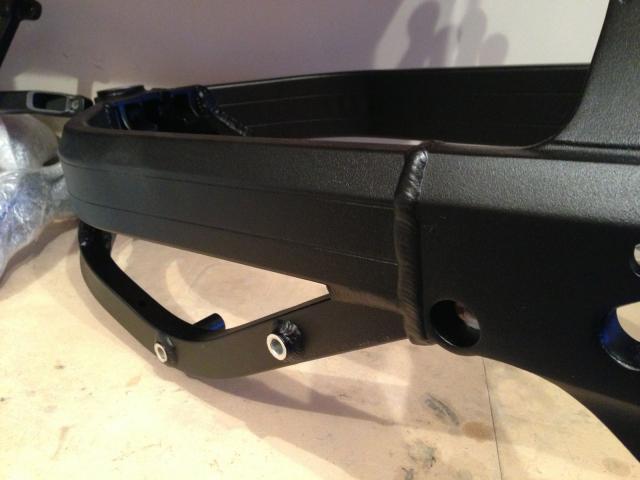
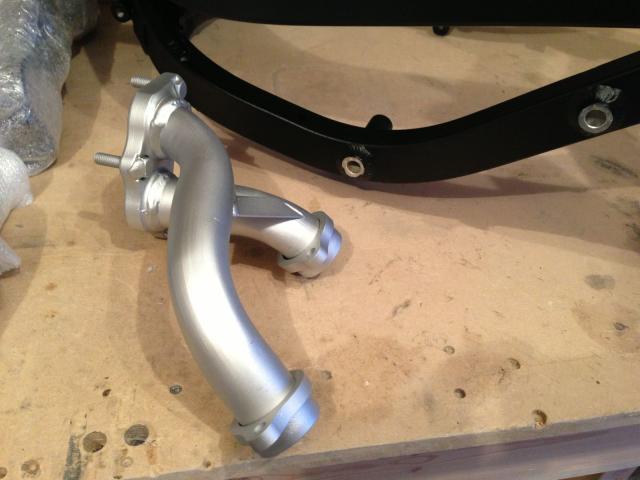
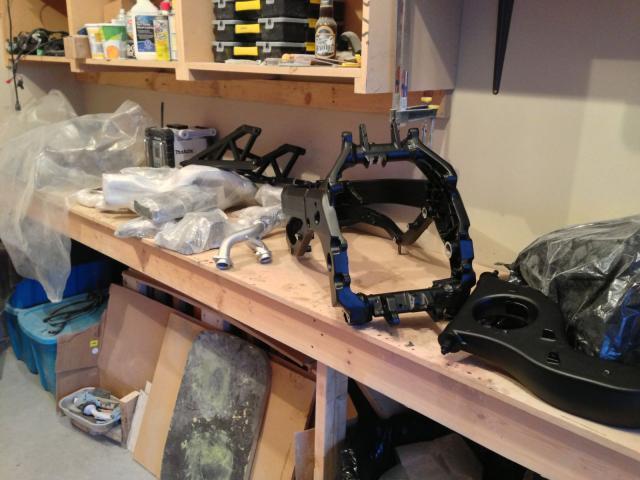
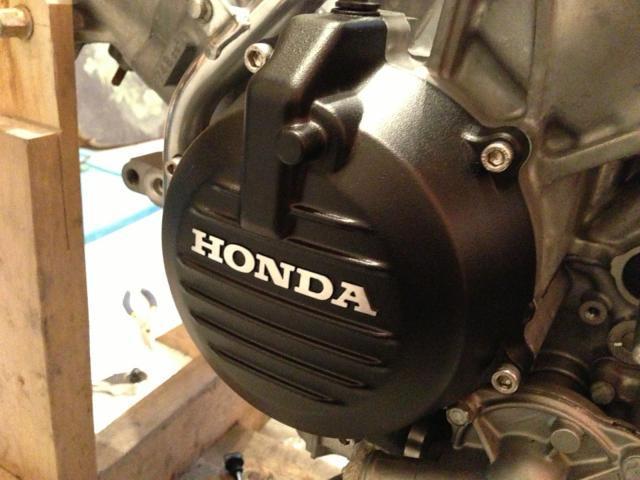
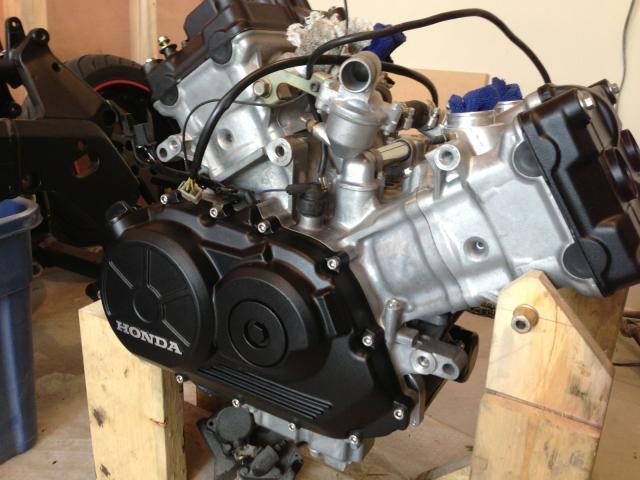
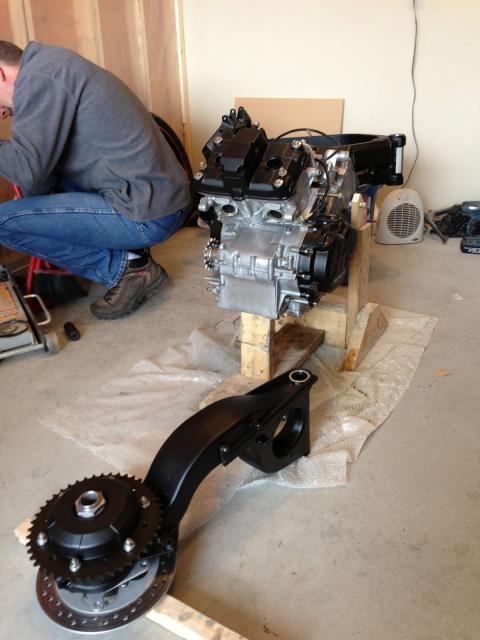
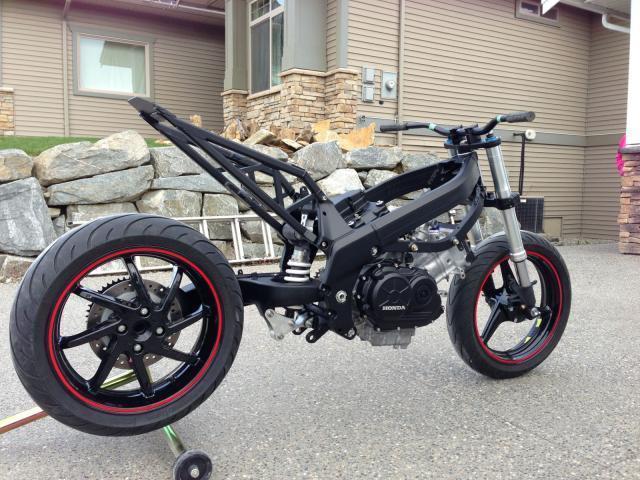
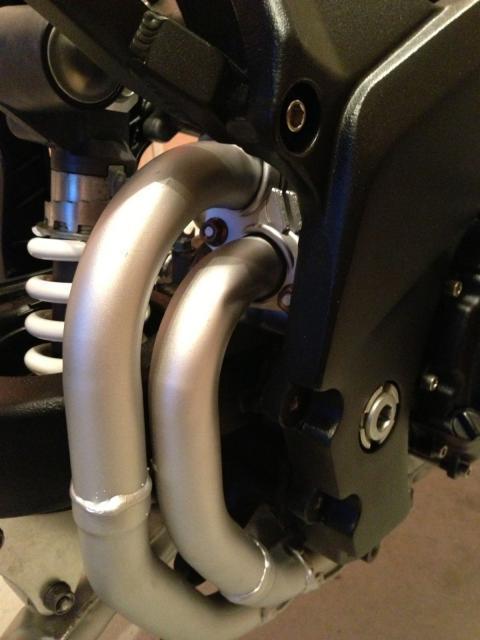
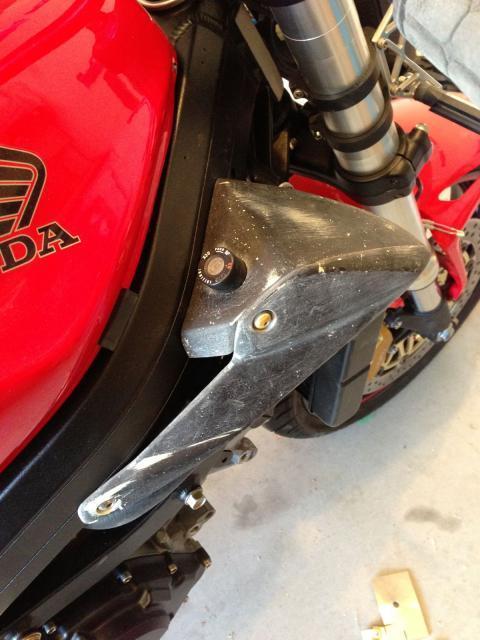
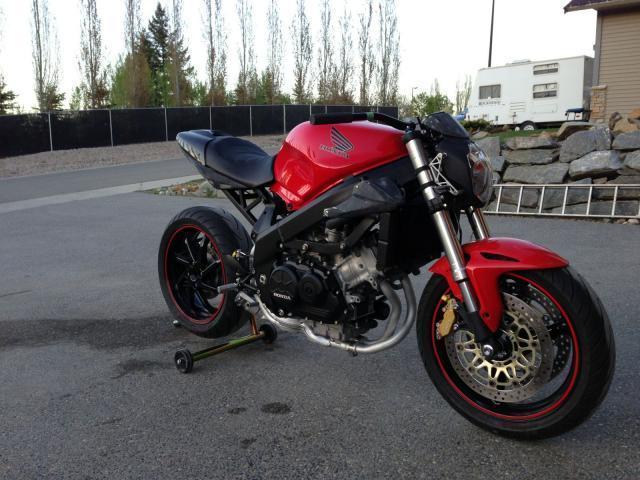
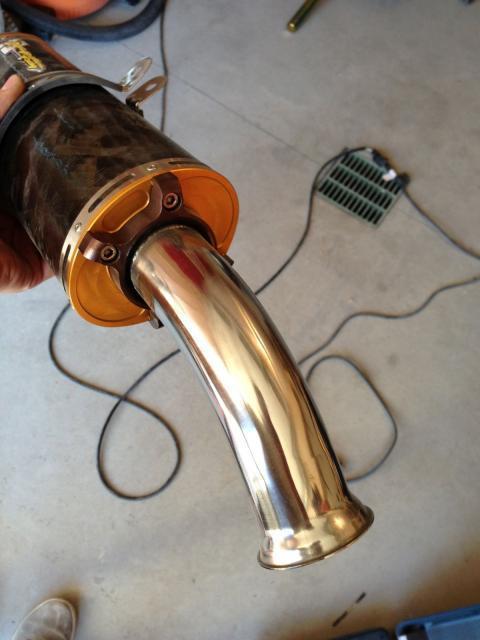
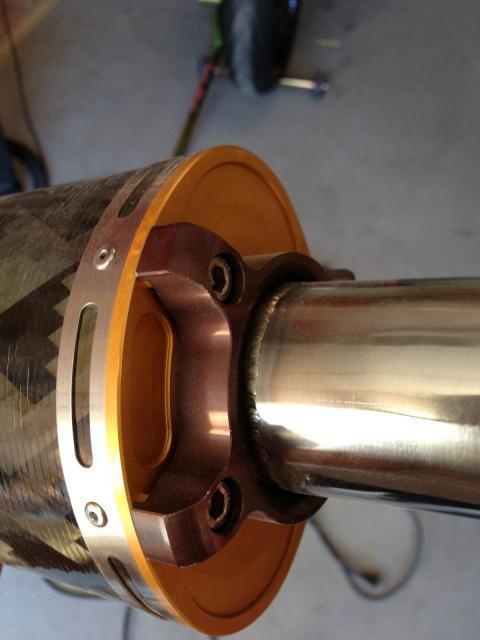
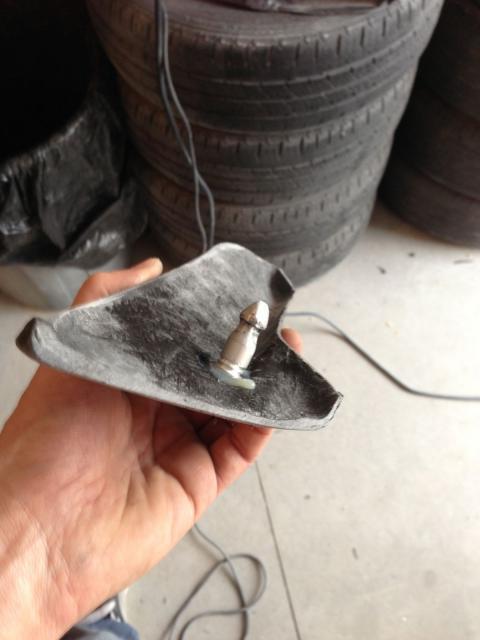
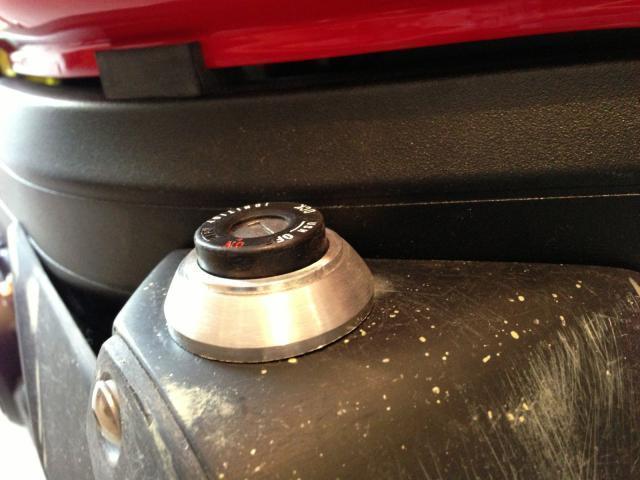
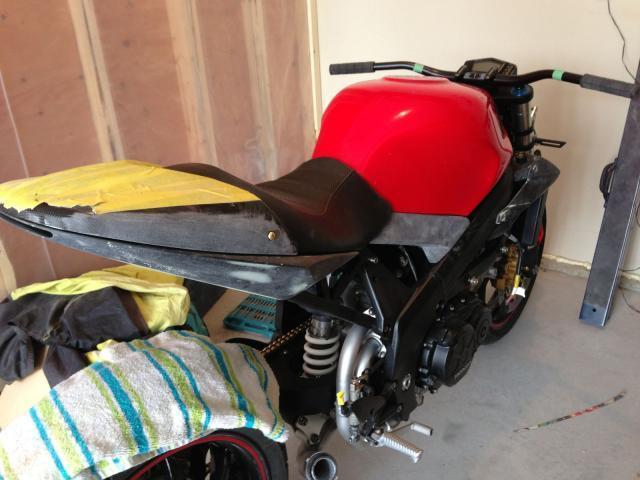
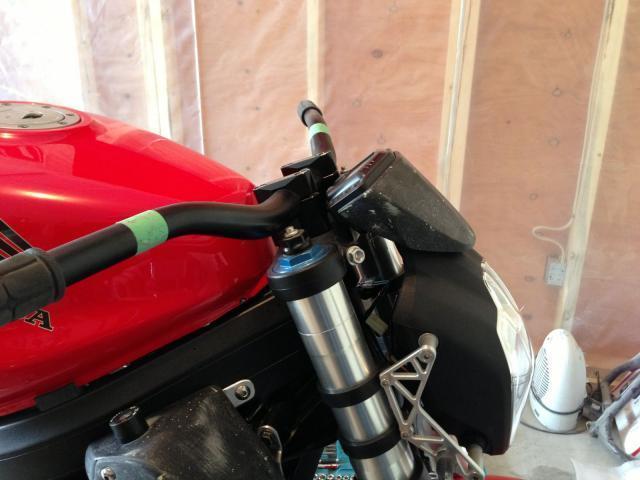
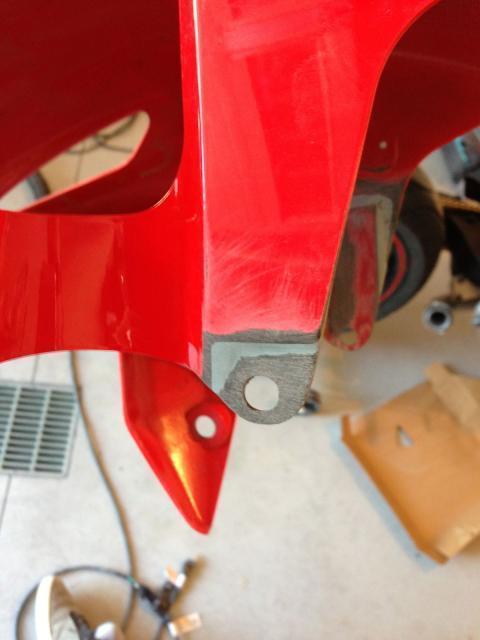
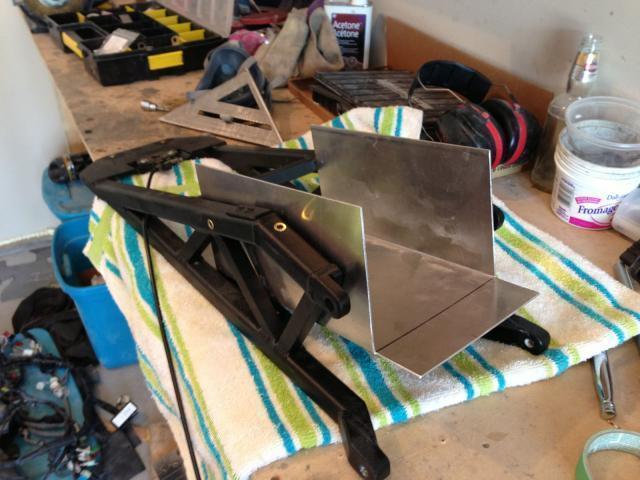
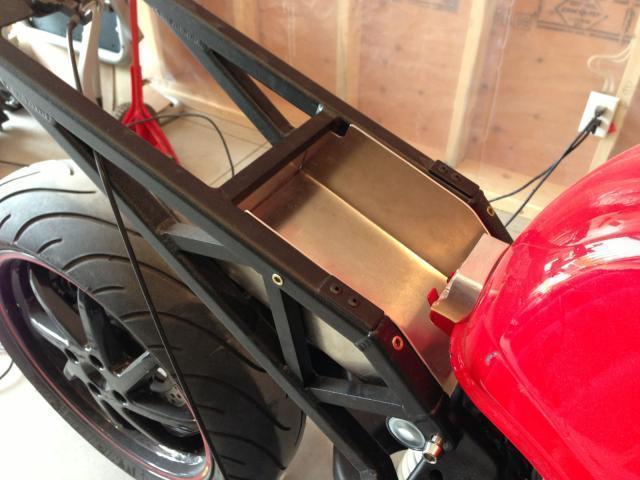
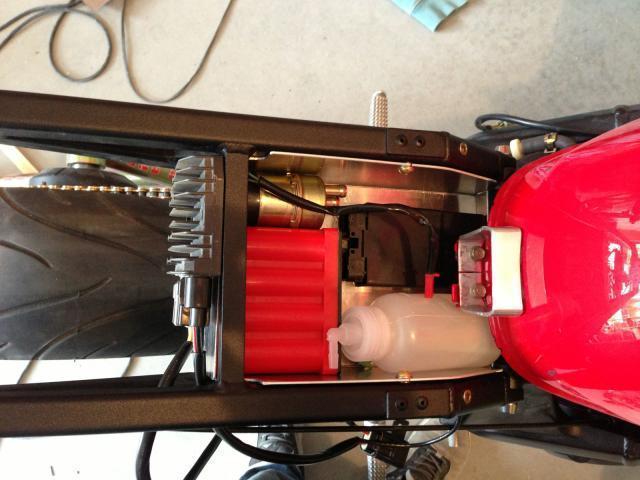
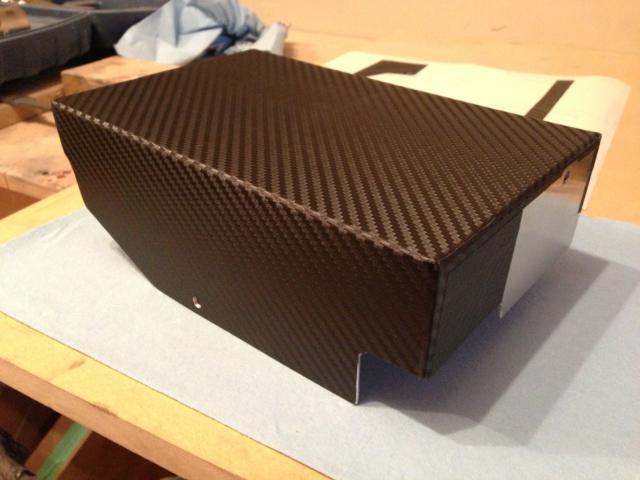
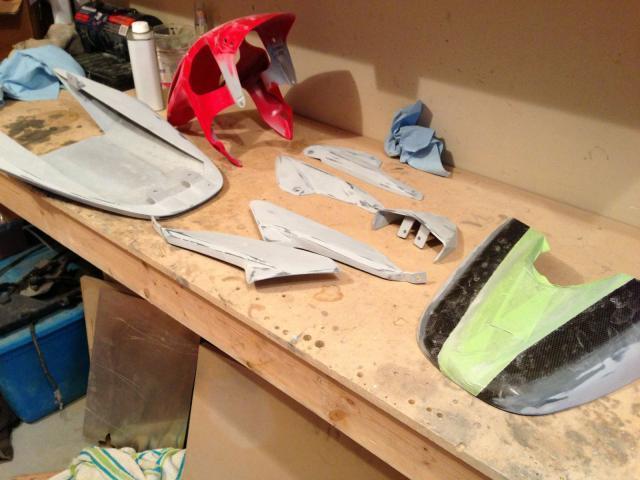
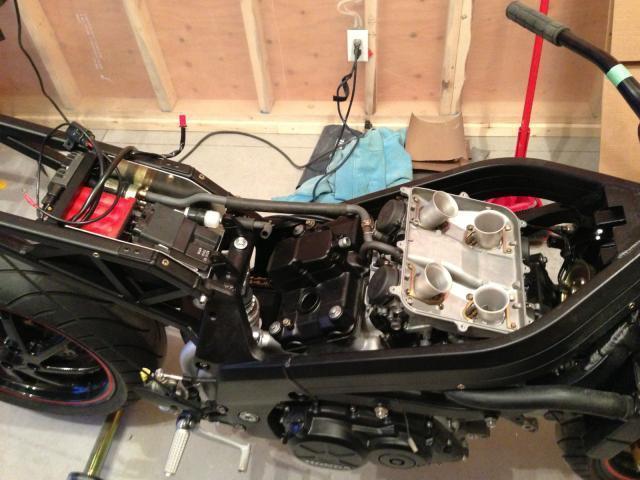
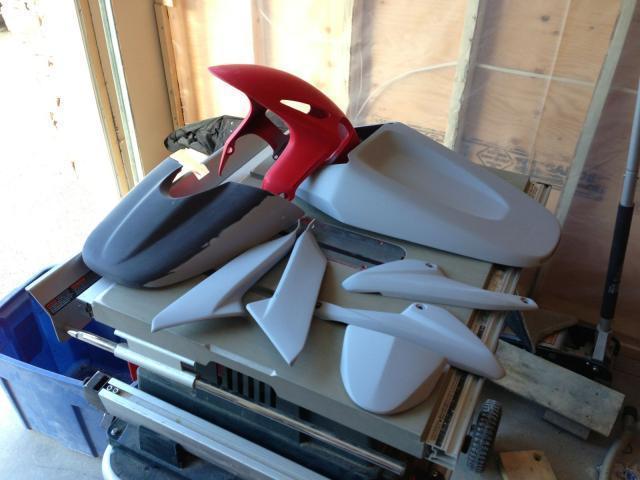
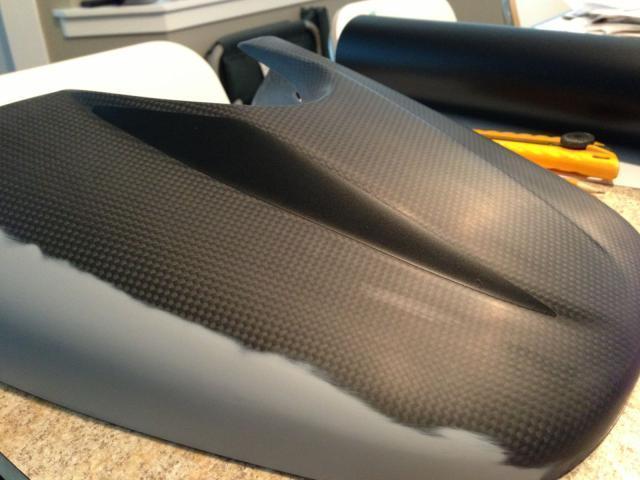
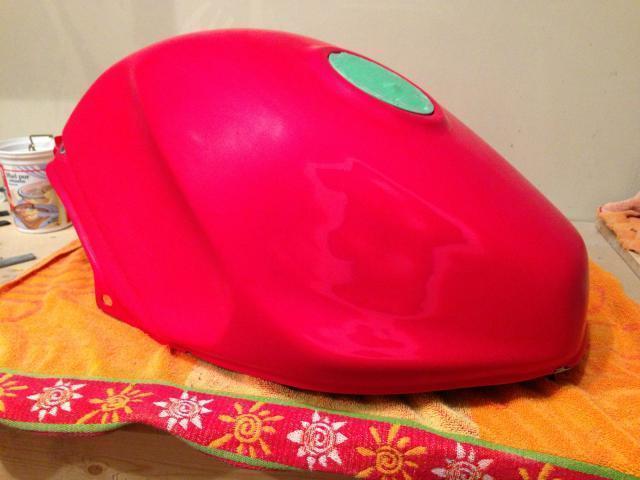
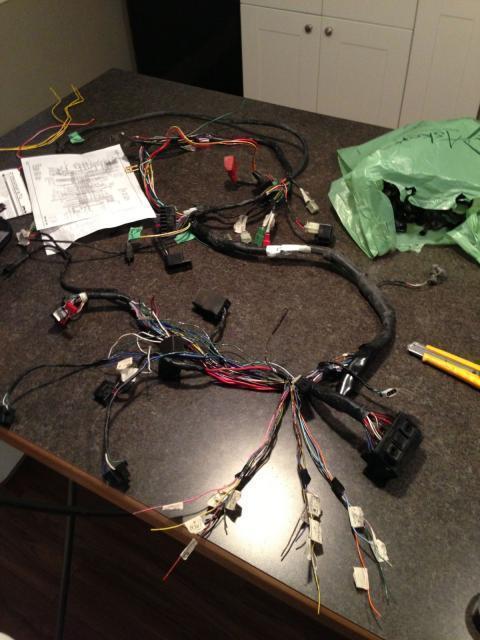
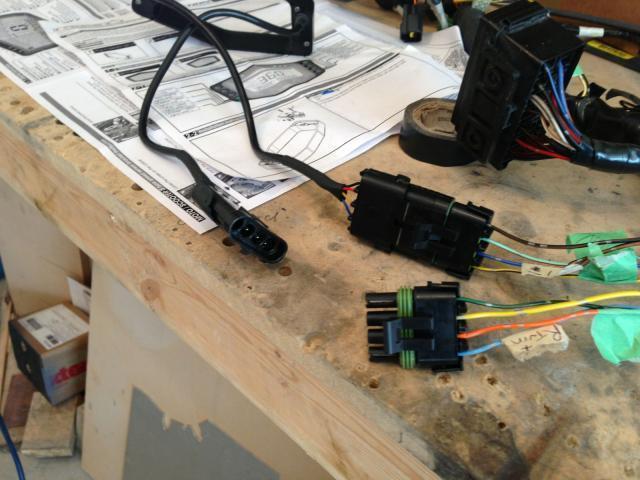
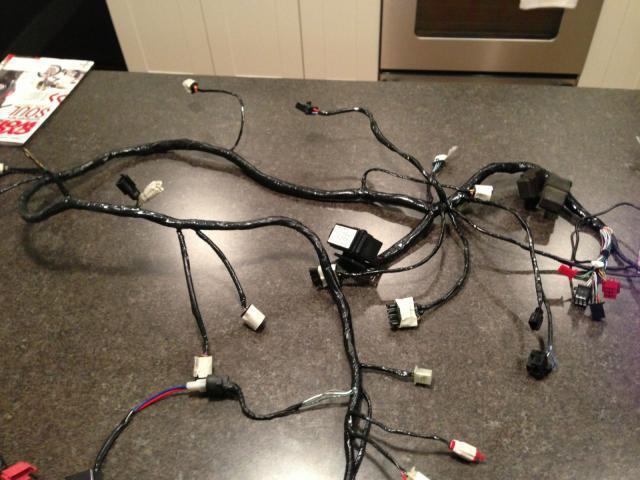
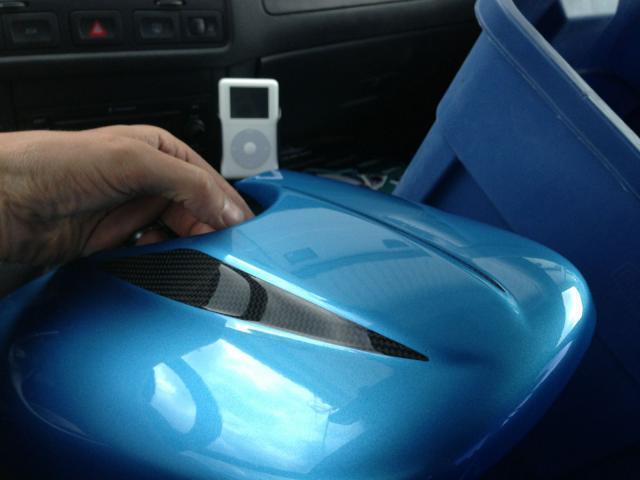
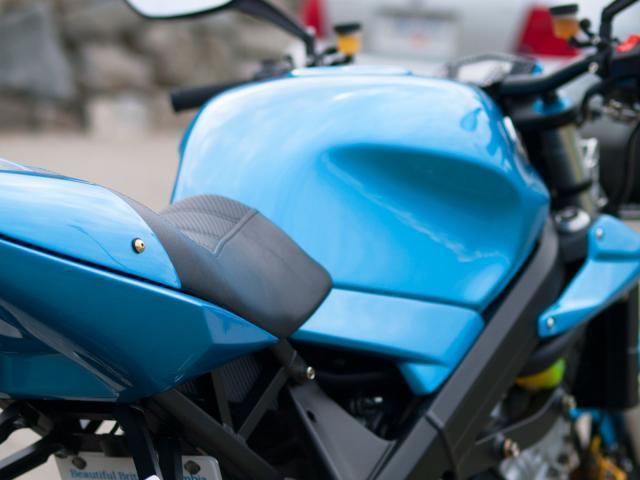
It is finally time to reveal my project, show the process, and hopefully give back to this great community I have learned so much from! I have been riding on the street since I was 16 (I'm now 30) and have owned a few different bikes: 92 ex500, 97 CBR 600 F3, 2000 DRZ400, 1997 GSXR 750, 2002 VFR 800 and now a 95 VFR 750. Please bear with me as I give a little explanation of how this project came to be... there will be lots of pictures to come! Over my time riding I have always liked the idea of owning a naked style bike like a triumph speed triple. Smooth windscreen-less air, fun sit up riding position, a tourqey engine, fairly comfortable, great on a tight backroad, cool looks... etc. And now that I live in a place with a lot of great backroads I decided it was a good time to pursue that idea. I really liked my VFR 800, it was smooth, refined and great for trips with my dad. However the idea of tearing it down for a streetfighter project didn't really make sense... too much complication and lots of things to hide. I thought about buying a naked bike but riding a brand new triumph speed triple showed me dreaming about a bike doesn't mean I'm going to love riding it. Besides... I was really on a tight budget with my wife finishing nursing school. So I sold the VFR 800 to a friend and decided to look for a bike to convert to a naked/streetfighter. I had enough money to buy a CBR1000RR or other similar bikes... but I wasn't sure I wanted that much power at my disposal and really loved the refinement and character the V4 VFR's provide. Really nothing I've ridden compares... The speed triple had character but lacked some of the refinement of the VFR. To me it was a no-brainer picking a 4th gen VFR. They have a good looking frame, a radiator in front, and are less complicated than 5th and 6th gen bikes. So I found a 95 VFR with 34000km in quite good condition to start the transformation. I know many of you will not like that I tore into a VFR in quite good shape, but let me give you a bit of my reasoning. Anyone who has tackled a project bike will probably attest to the fact that starting with a good base will avoid a lot of extra head-aches down the road diagnosing issues, wondering about frame straightness, fixing and repairing all sorts of components along the way... etc. And a bike in good shape allowed me to sell parts along the way to raise money for the build. Besides, I know the look of the VFR is a huge part of it's identity, but really that's just a plastic shell and in the end and the V4 engine is the heart of the machine. Anyway, my goal here was to have a bike that road like brand new in the end. To have a bike that I wish honda would build (though I probably wouldn't be able to afford it anyway...). OEM+ was the idea. I would give a lot of thought along the way to making a bike that functioned, looked and rode for the most part like an OEM product or better. I rode this bike for a few months until my regulator/rectifier went up in smoke... suprise! Oh well... winter was around the corner so it was a good time to start tearing it down! Along the way I had to source A LOT of parts and components (I'll make a bit of a list at the end). A big one at this point was the CBR929/954 front end swap. The forks and brakes were actually purchased from Bailyrock! And let me tell you... I think these forks are brand new :) I did some photoshop work and decided I wanted to try and adapt a speed triple seat. It looked like it would fit around the tank and it would allow my wife to ride on the back. Then I set about mocking up the subframe in wood. Then I recovered the speed triple seat with a luimoto cover Got my wheels powder coated Bought a Two brothers muffler used for a speed triple and had the V.A.L.E flange welded to a delkevic mid-pipe for the 4th gen bikes Put the wheels on so I could keep building After I was happy with the subframe mockup (test fitting the placement of the passenger pegs for my wife was kind of interesting with a wood frame...) I set about using my carpentry tools to cut up some aluminum. My dad gave me the tip of making a jig for the welder to hopefully keep his labor costs down... While the subframe was away for welding I cut off my front fairing subframe mounting tabs, fitted my front headlight (with mounts machined by a custom fighters.com member), and made a 929 shock adapter. It's starting to come together! The subframe back from the welder! I'm very pleased with the result... My ballistic battery and koso gauge came in. Made a gauge mount for the RC51 triple and let the bike out for a little air Now it was on to bodywork making time... This was a HUGE part of the project and I learned a lot along the way. I used 1" LDF glued together to shape the plugs for the parts. I'll let the pictures do the talking... And here are the plugs ready for fiberglass... a lot of things didn't go as planned at this stage and my moulds needed a lot of work to make even rough parts. But in the end I was able to come up with one off fiberglass bodywork. I knew this would be a lot of work... but it ended up being even more. And then I still had to figure out all the mounting tabs... I thought it would never end. Eventually I was finally ready to tear the bike down for thorough cleaning and powder coating. I had everything done in a fine texture black and the exhaust ceramic coated in a kind of matte aluminum color. It was like christmas unwrapping all the parts :) Then it was reassembly time. My dad came and helped me out for a few days. It was great to have his help and skill for this part of the process. I love that we have a common interest in bikes! Had a good weekend and got the bike into a rolling chassis. I'm sure my Dad has had enough of repacking bearings for a while... Then it was back to figuring out how to mount the bodywork and getting the parts ready for paint Found a nice spot to mount my ignition and made some aluminum bezels The CBR1000 front fender has some broken mounting tabs Made a battery/electronics box out of aluminum and covered it in 3m CF vinyl Found a local painter who let me help with the prep work to keep costs lower (he would spray the high build primer and I would do the wet sanding/spot filling) After a few rounds of primer and sanding the parts were all ready for paint. The plan all along was to match the stock pearl red on my tank and the painter didn't think this would be a problem with his ppg system... until he actually tried to enter the info into his computer. Apparently ppg doesn't have this color in their system. So... because the tank was getting painted anyway, I could choose whatever color I wanted! I knew red would look good... but I wanted something unique and fun, without being ridiculous. So I chose something else completely... While I was waiting on paint, I tacked the electrics, fuel pump and wiring harness... which is a TON of work and something I would like to do a better job of eventually. All the connections are soldiered and heat shrinked, and I used good connectors where needed, but to really do a good job of routing the wiring and taking out excess will take more time. And then the parts came back from paint! Its called Azzuro Meditterano (or something like that) and it's a ducati monster color. I know not everyone will like it, but I love blue and am very happy with the color! PS the seat cowl is a Carbon Fiber speed triple part I got off ebay. I haven't started making carbon fiber parts yet... maybe someday. I did however modify the sides of the seat cowl with fiberglass to help it blend in with the tail section better. And now its time to reassemble the bike completely! My dad rode his brand new Multistrada 1200 over from alberta to help out. Final assembly was a lot of work and I would prob still be working on it if it wasn't for my dad coming to help. Anyone who modifies motorcycles knows that every change affects so many other things... needless to say there were many things to figure out, and some that will be a work in progress. It took me over 9 months, and there are still some things to complete or change, but here is the mostly final product!!!! So far I have put about 1300km on the bike and am loving it!!! It has turned out to be pretty much everything I wanted it to be. I will give a more detailed ride report later but for now I need to take a break from the computer :) I hope everyone enjoys seeing the process. There are so many details I didn't cover but I will list the mods later and answer any questions people have as best I can. I need to thank this forum a million time for all for all of the things I learned from those who have done these kinds of mods before. You are a great bunch and I appreciate all of the help. Also my Dad deserves a huge high five for all of his help, My Uncle for all of the last minute tech support and above all a gigantic thank you to my wonderful wife for putting up with me as I built my dream bike!
-
I don't think it was just the rear COP's, one of the front ones was also stumbling as best I can tell. I don't think 80+ degrees celsius is really that hot, the fan doesn't come on until 102. Thinking more about it... I think the only three possiblities here are: 1. One or more of my GSXR coils are failing... but why would I have 900km of good riding first? Was it because the plugs were new and masked bad coils? 2. The GSXR coils just don't function properly on the 4th gen VFR unless the plugs are band new? 3. I am having a spark plug issue? Wrong heat range for the GSXR coils? Anyway, I really would like to figure this out but since the stock coils work fine I think I am going to have to give up on the COP mod for now. I just wanted to post up my experience for the sake of adding to the information here. As far as I know KGS and I are the only ones to do this mod to a 4th gen. His is working fine at the moment as far as he can tell but is running CR8EH9's.
-
As a heads up to those considering this mod on their 4th gen VFR, I posted in the "4th gen coil on plug" thread about the issues I'm having possibly related to using GSXR coils. http://www.vfrdiscussion.com/forum/index.php/topic/70686-4th-gen-coil-on-plug-mod-split-thread/page-20


