


Birdman
-
Posts
174 -
Joined
-
Last visited
Content Type
Forums
Profiles
Gallery
Blogs
Downloads
Events
Everything posted by Birdman
-
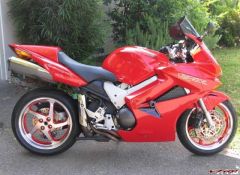
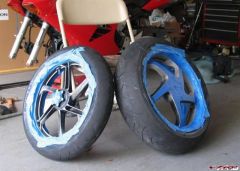
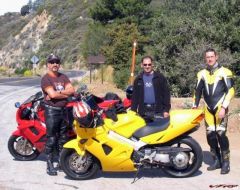
From the album: Assorted pics
-
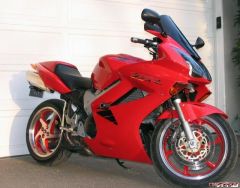
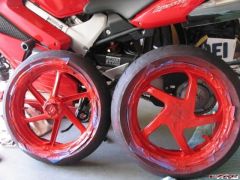
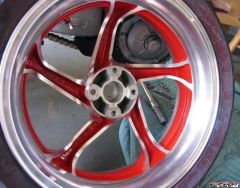
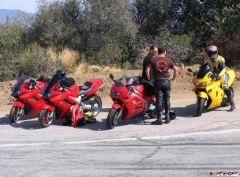
From the album: Assorted pics
-
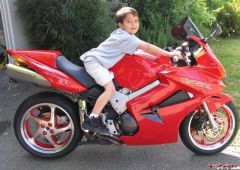
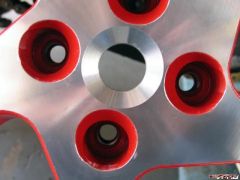
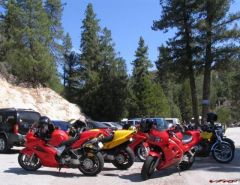
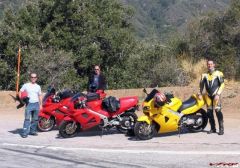
From the album: Assorted pics
-
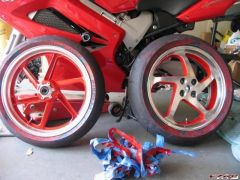
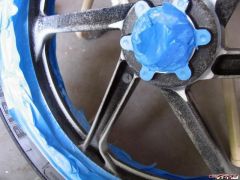
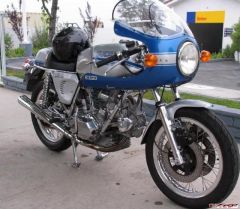
From the album: Assorted pics
-
From the album: Assorted pics
-
From the album: Assorted pics
-
From the album: Assorted pics
-
From the album: Assorted pics
-
From the album: Assorted pics
-

From the album: Assorted pics
-
From the album: Assorted pics
-

From the album: Assorted pics
-
So I Rode 1140 Miles Yesterday
Birdman replied to doug5551's topic in Ride Reports - VFR Touring/Riding
Congratulations. Quite an accomplishment. Especially on a VFR. Post up some pics. Oh, I forgot...no time for that! Next time, show us really how tough you are and do it on a Hardley chopper. :goofy: -
You must ride your PP's very hard. From what I gather, most can reasonably expect to get closer to double that. Unless you ride them to the cords like Topeka and XXBirdman (my namesake from down under)...then you can get 10k easily! I like riding one of the best performing tires out there, but, gawd, if it means dropping $250 every few months, I better think twice. Incidentally, on my road bicycle, I solely ride on of Michelin's best dual compound tires (Pro Race 2) and typically get almost 4k miles on them. Those Frenchies make one of the best bike tires ever.
-
There's a number of guys on VFRD that one can trust for giving good, sound advice. Jeremy is one of them. If he told me strapping a Pooh Bear to my seat cowl and wearing a tutu would make me go faster, I'd probably do it. You should get one of these, they will increase your top speed by 17% and give greater stability in turns... :goofy: Will do, sir. Where's the website?
-
My front is a 120/70 ZR17 on my '02. The rear is correct. That's a good deal from that outfit. I paid a little more than that a few months ago. The 120/70 might cost more.
-
There's a number of guys on VFRD that one can trust for giving good, sound advice. Jeremy is one of them. If he told me strapping a Pooh Bear to my seat cowl and wearing a tutu would make me go faster, I'd probably do it.
-
No brainer: Pilot Powers. Where's that guy who keeps buying those cheap Shinkos?
-
Yeah, thanks for the info, which is new to me. It's hard to believe that Honda made so many iterations of the VFR.
-
I like having the ability to quickly connect/disconnect, so I installed a Powerlet right in the fork crown. It required me to buy the plug-in adapter from them, as well. Be patient, somebody on here will give you the solution you're looking for. Good luck.
-
From the album: Racing pics
-
From the album: Racing pics
-
From the album: Racing pics
-
From the album: Racing pics
-
From the album: Racing pics